
CraigVT
-
Posts
23 -
Joined
-
Last visited
Content Type
Profiles
Forums
Gallery
Events
Everything posted by CraigVT
-
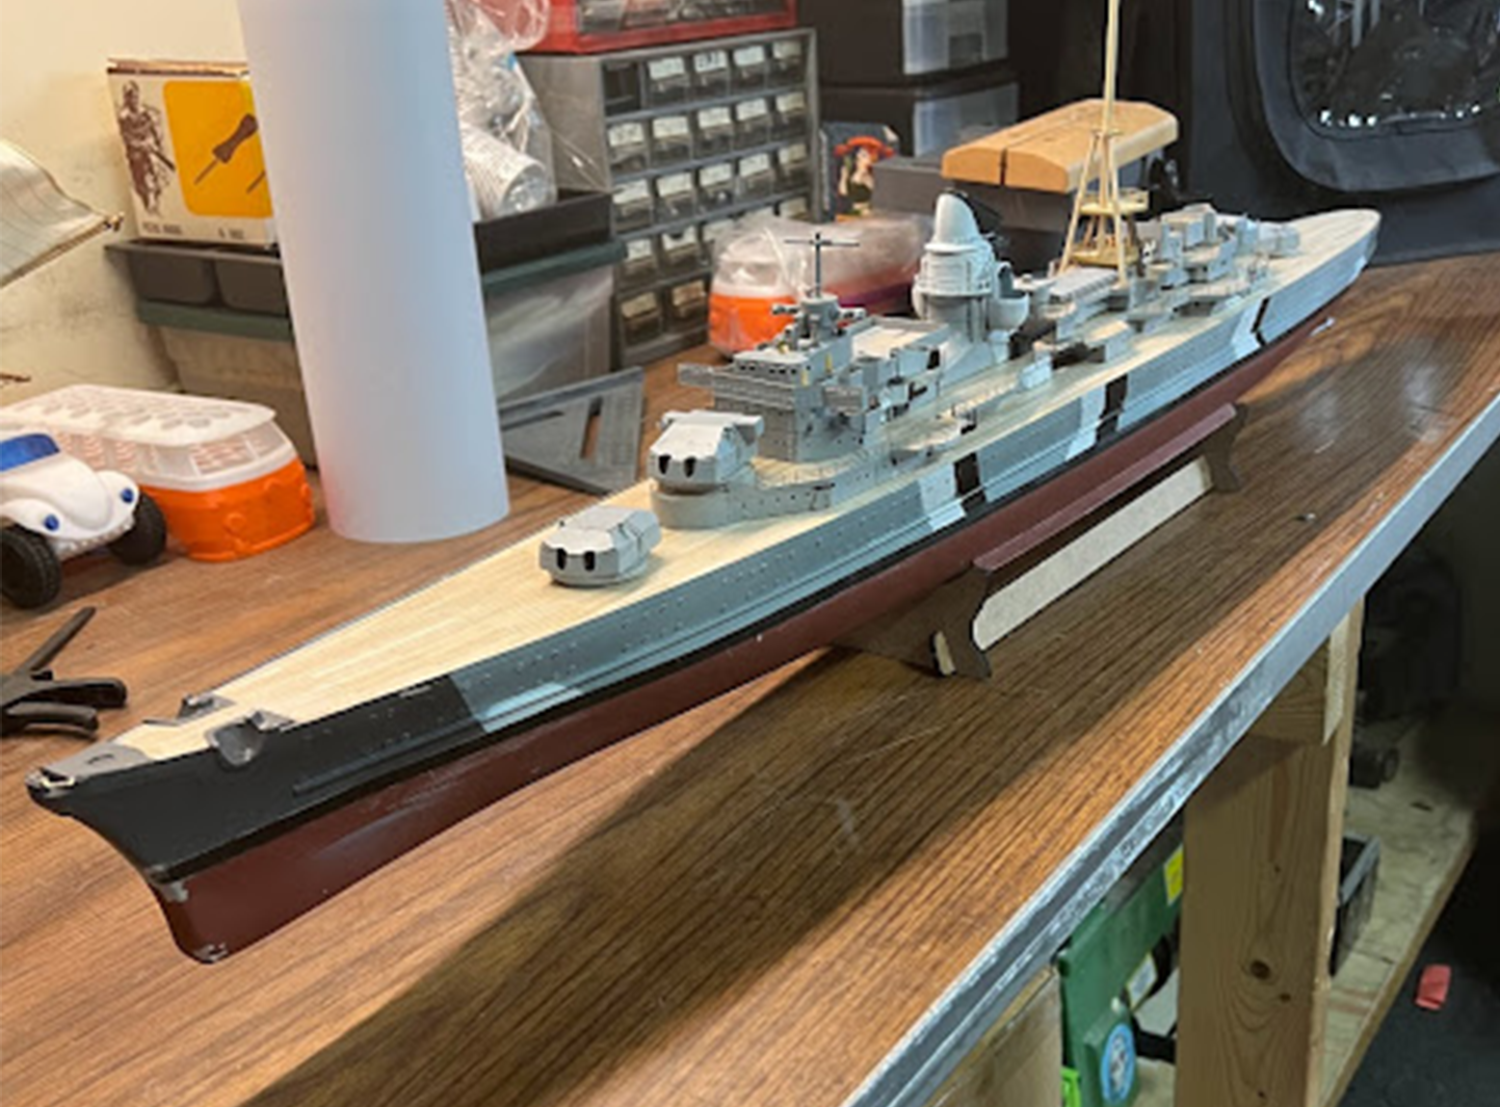
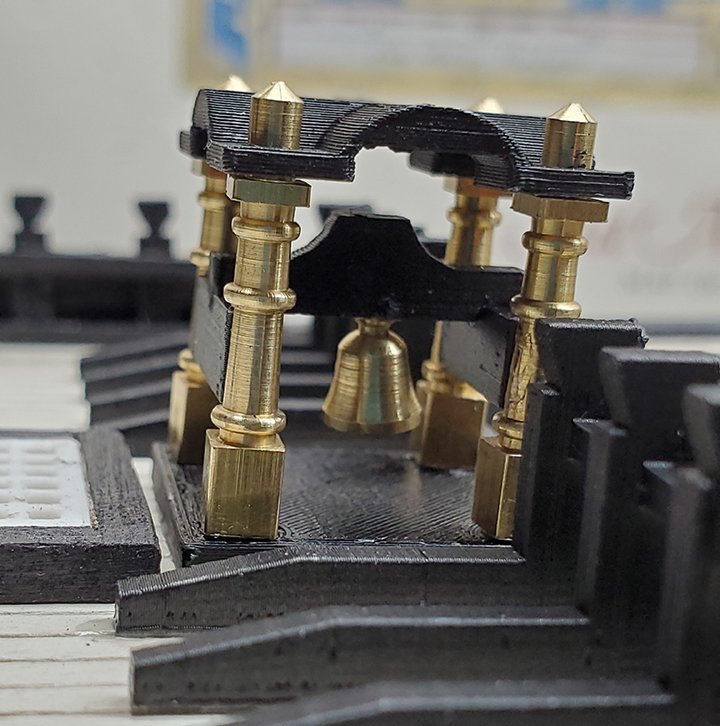
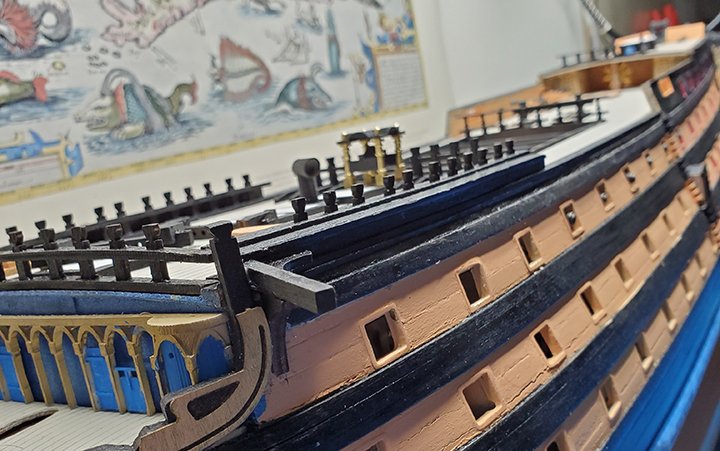
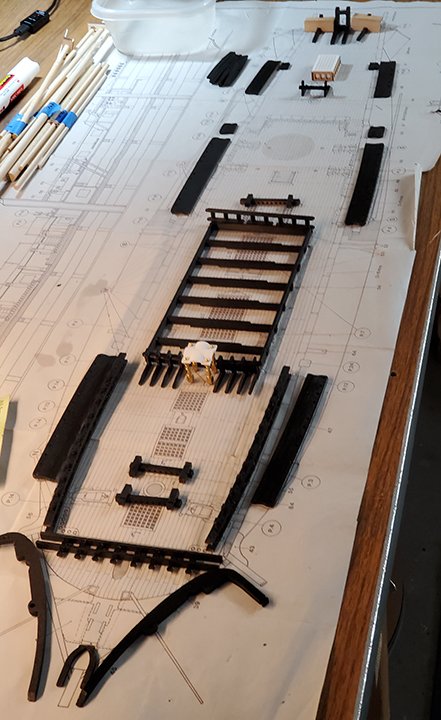
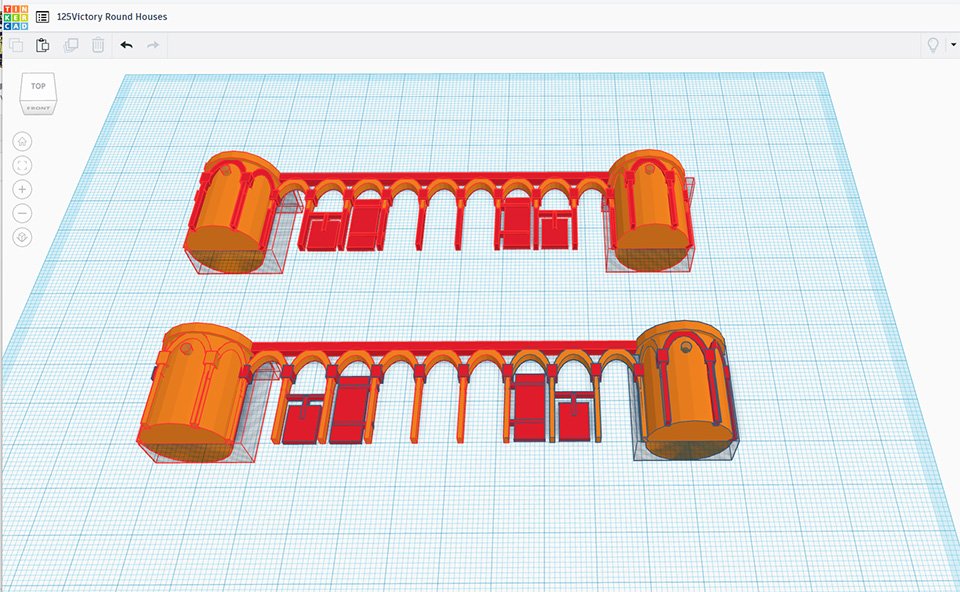
 Painting & Placing & PLA I painted the not-black stripe using Tamiya FX-15 Flat Flesh. I came up with this number from some perusing of this website (Go MSW!) and other sources. I like the color. To my eye it is real close to the "new" historic color from back in the day as shown on the YouTube video of the paint job. To get into the nuts and bolts: Kit Quality (inhale sharply as through a straw). Brittle does not adequately describe the plywood sheets and because of this, I had to create a lot of parts on my Ender 3 printers using TinkerCad. This included all the gunport doors, the bell housing, all the knees, the arches and roundhouses on the beakhead, the bits, the binnacle, the seats of ease, galley stack and a bunch of other parts. I'm a bit of a techno-geek old guy who loves mechanical drawing (just not the Fusion 360 level) and TinkerCad was really helpful.


-
lol, thanks mate, I'll take that as a compliment 😁.
-
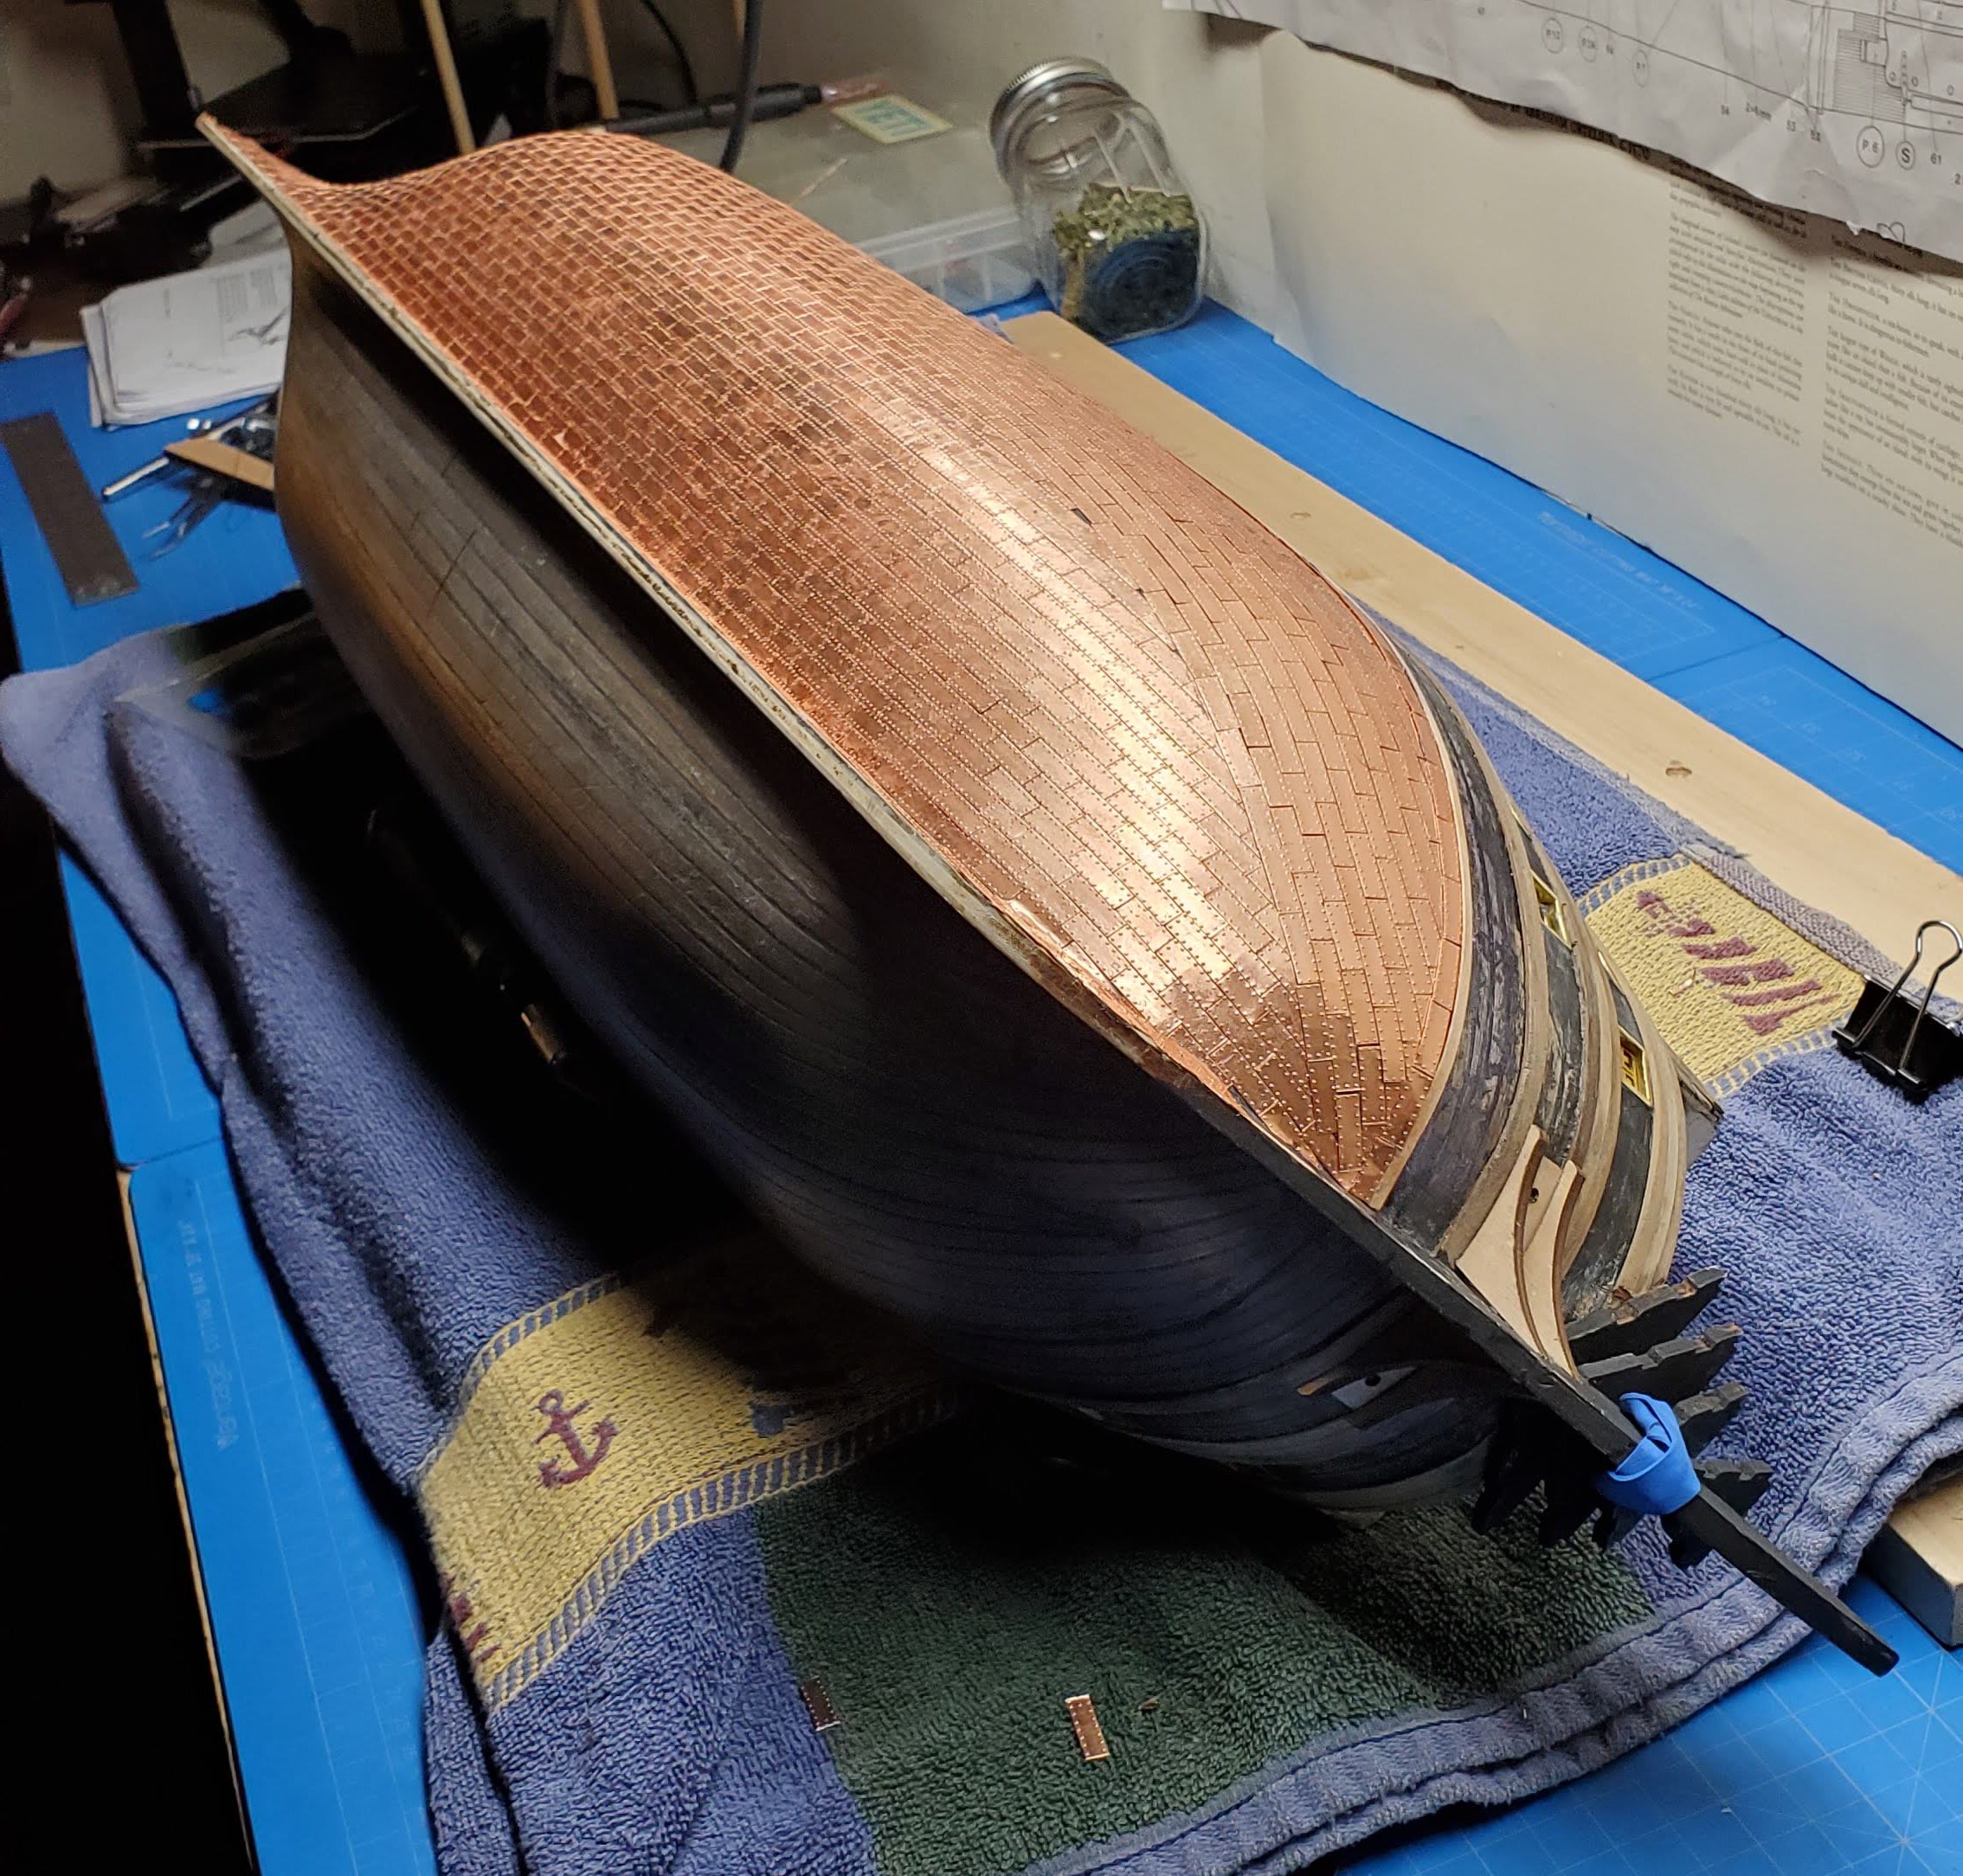
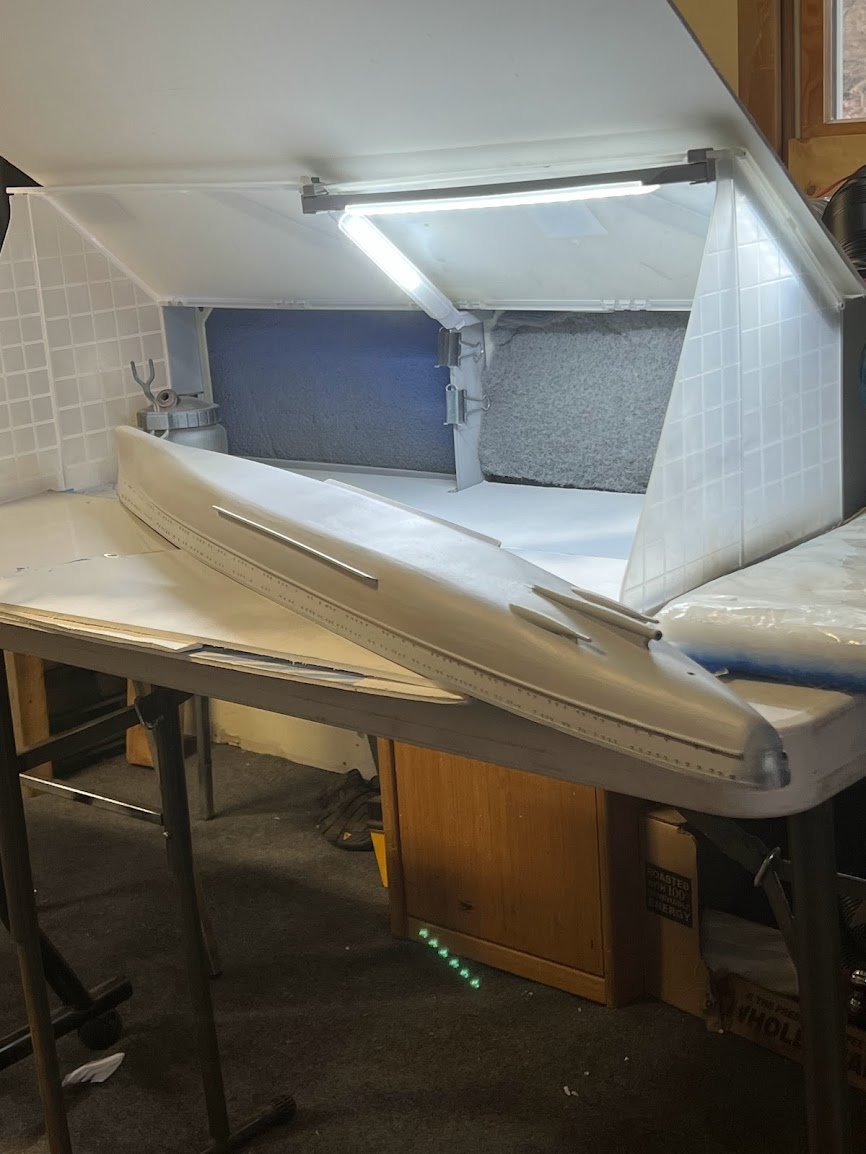
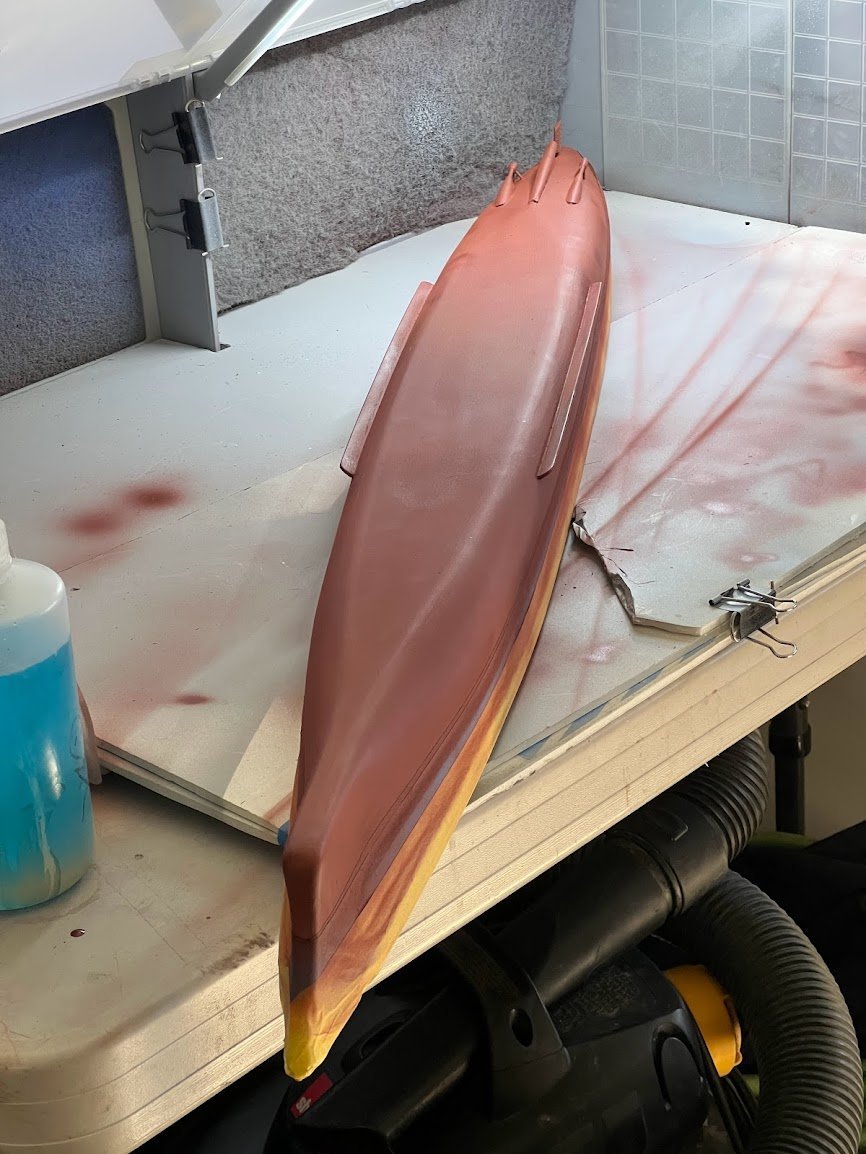
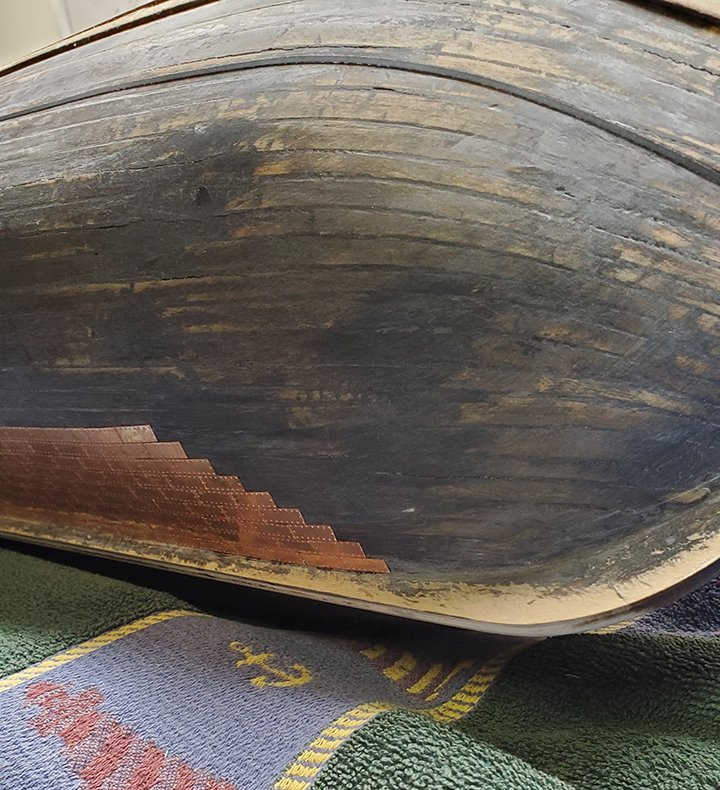
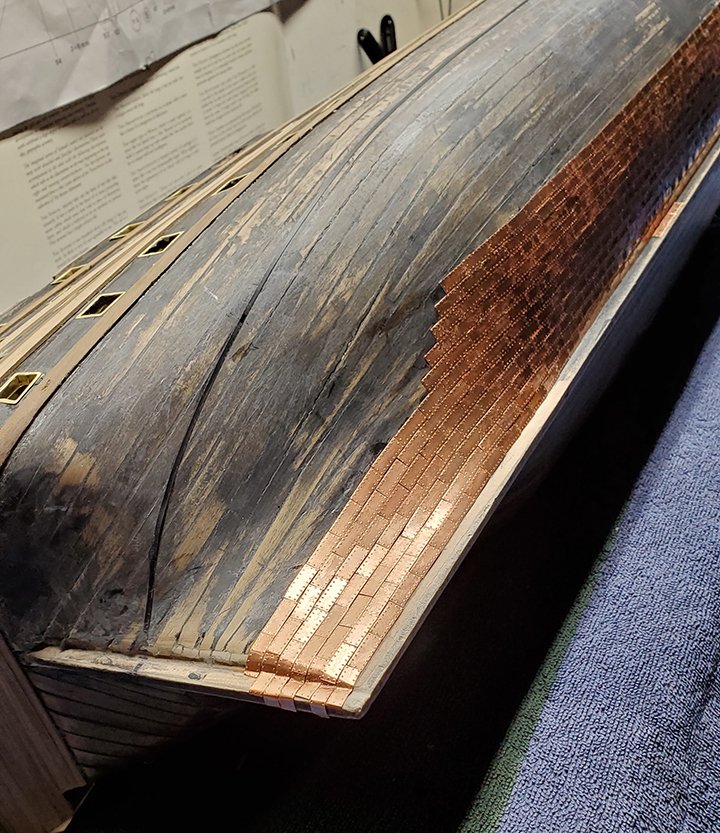
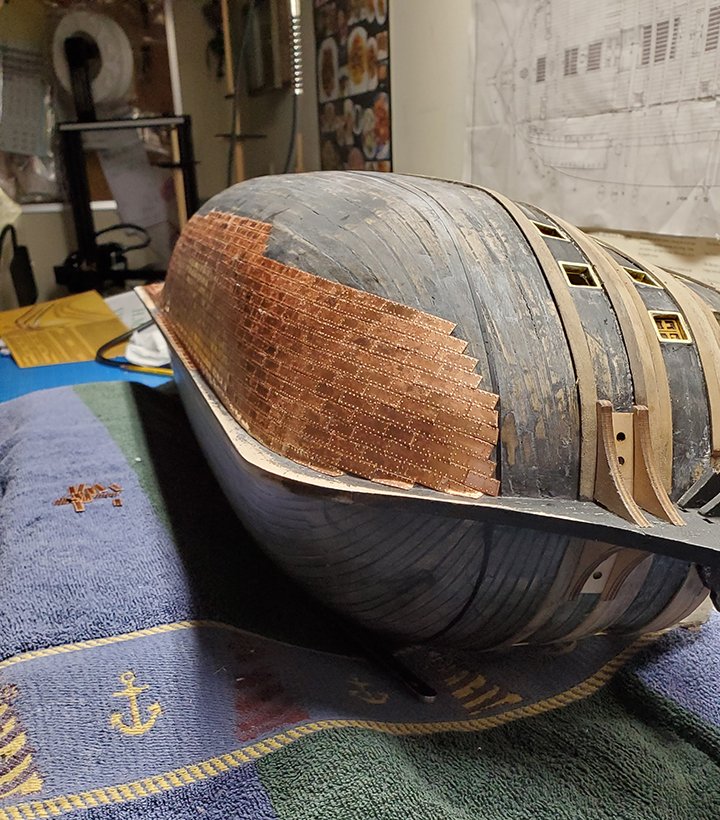
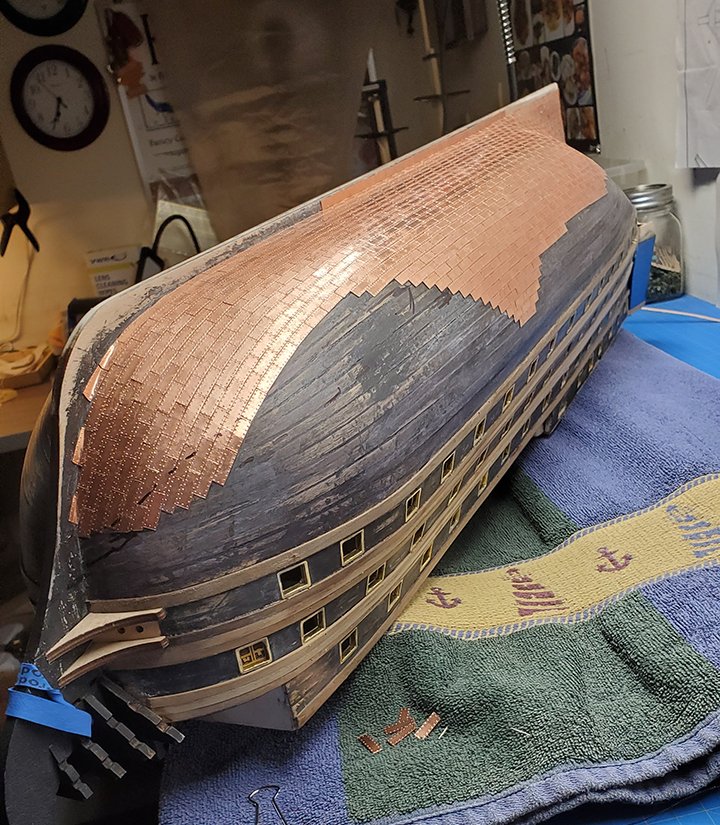
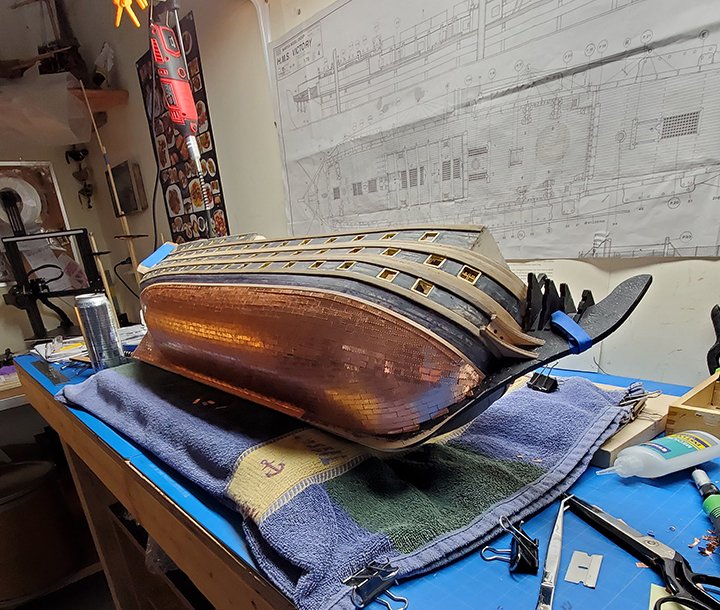
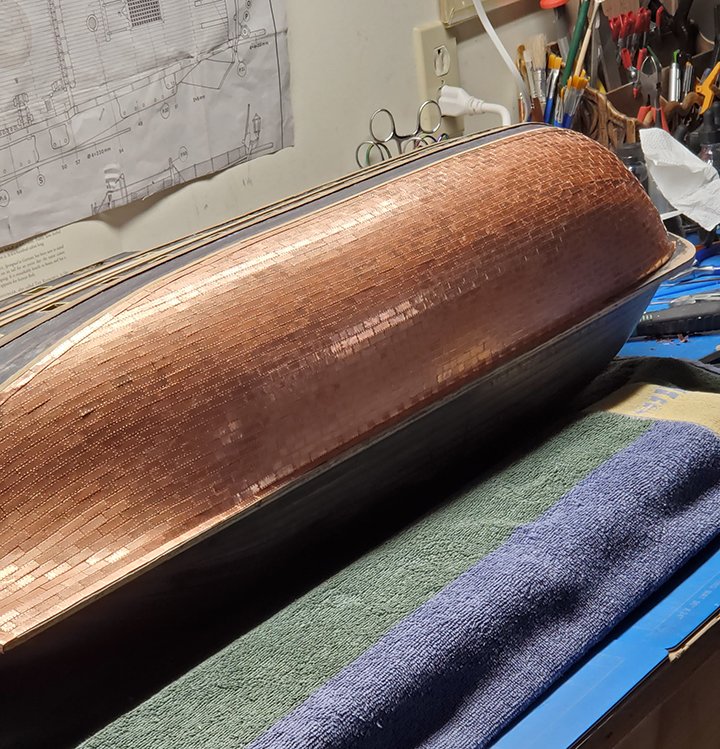
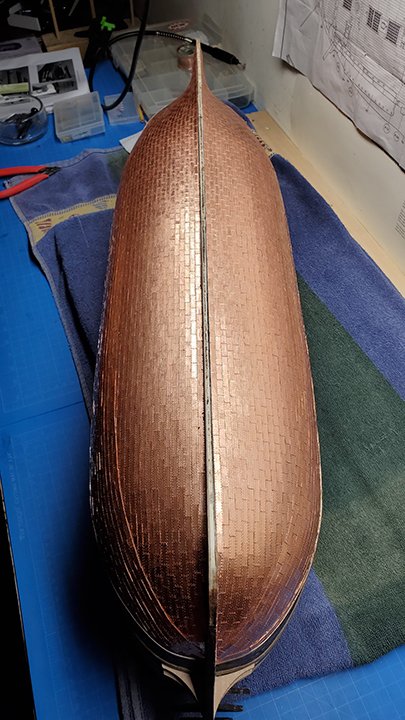
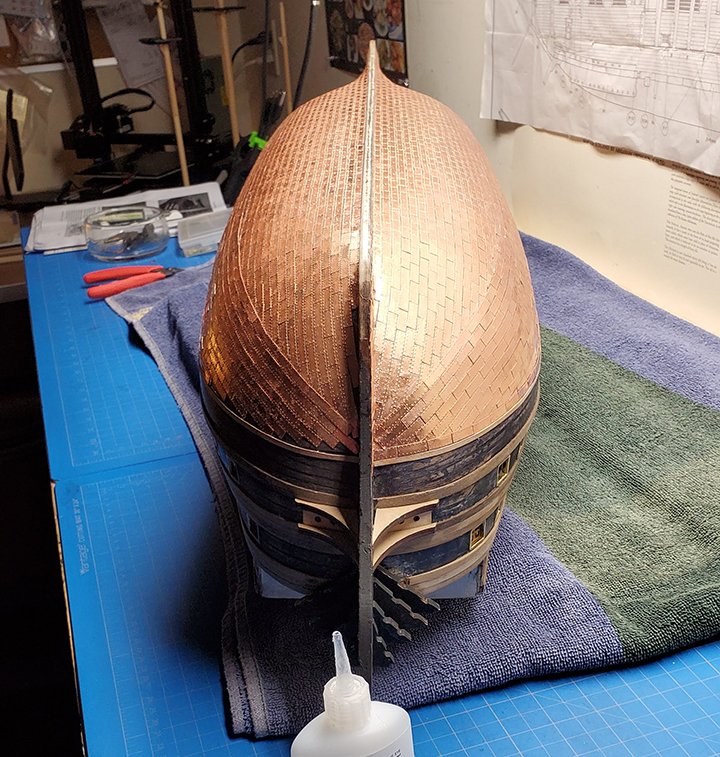
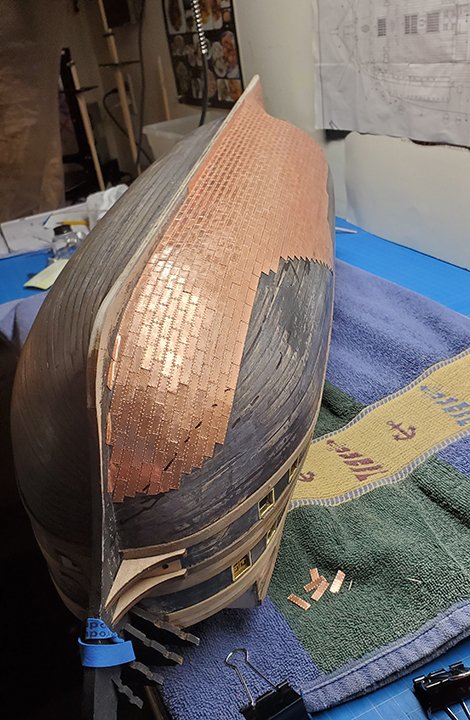
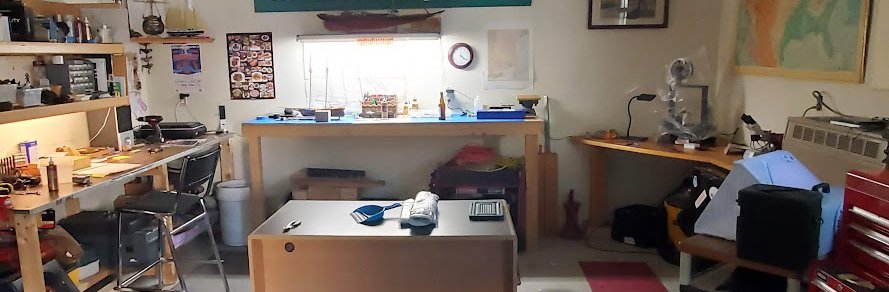
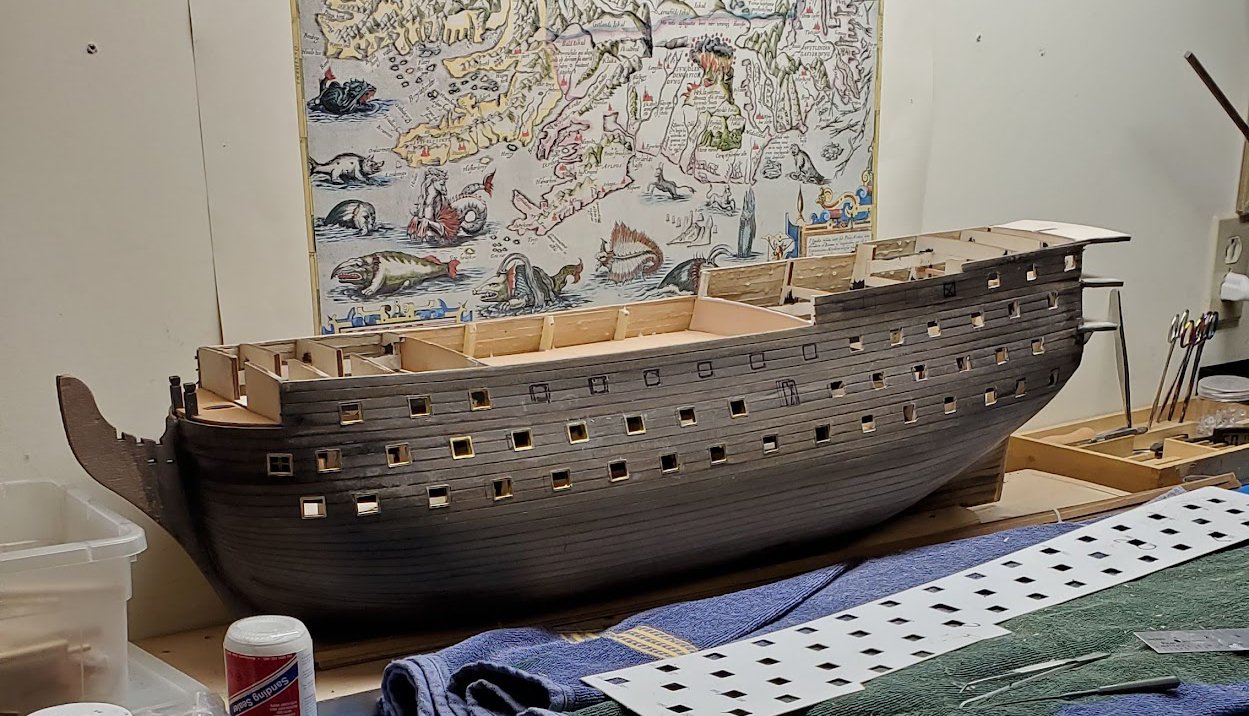
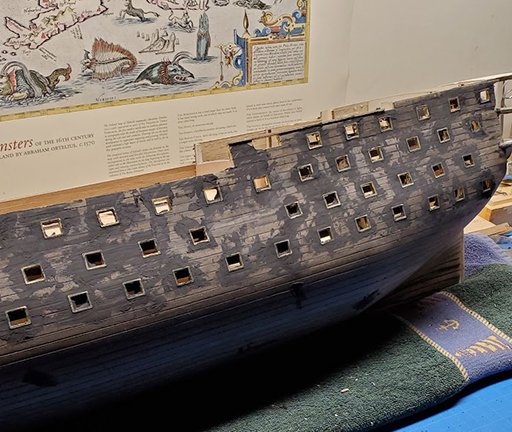
January 2021 Copper. Visitors to my Pandemic Hobby Shop remark that it must take months to place the 3,000 (more or less) copper tiles onto the model. It didn't really take that long once you get a rhythm going (Here's where the Pink Floyd happens). I did not like the look of the copper on the bow in some of the pics I've see, so I went a different route, with a more horizontal belt at the bow. I found info on it in some rabbit hole, I think it might have been called the "gore" line, but I'm not sure, I have to reread Longridge tonight. Anybody know? One final pic. This is the Pandemic Hobby shop on August of 2020, when I repurposed an assembly line into a man cave/hobby shop, where men can be men, where we can spit on the floor and tell lies, listen to Floyd and wonder what the hell happened to humanity. I recall I was setting it up to do this model. It made me laugh to see the picture again because here we are 4 years later and the shop looks like the Royal navy unleased a broad side. Next up? Lets paint! And dry-fit!

-
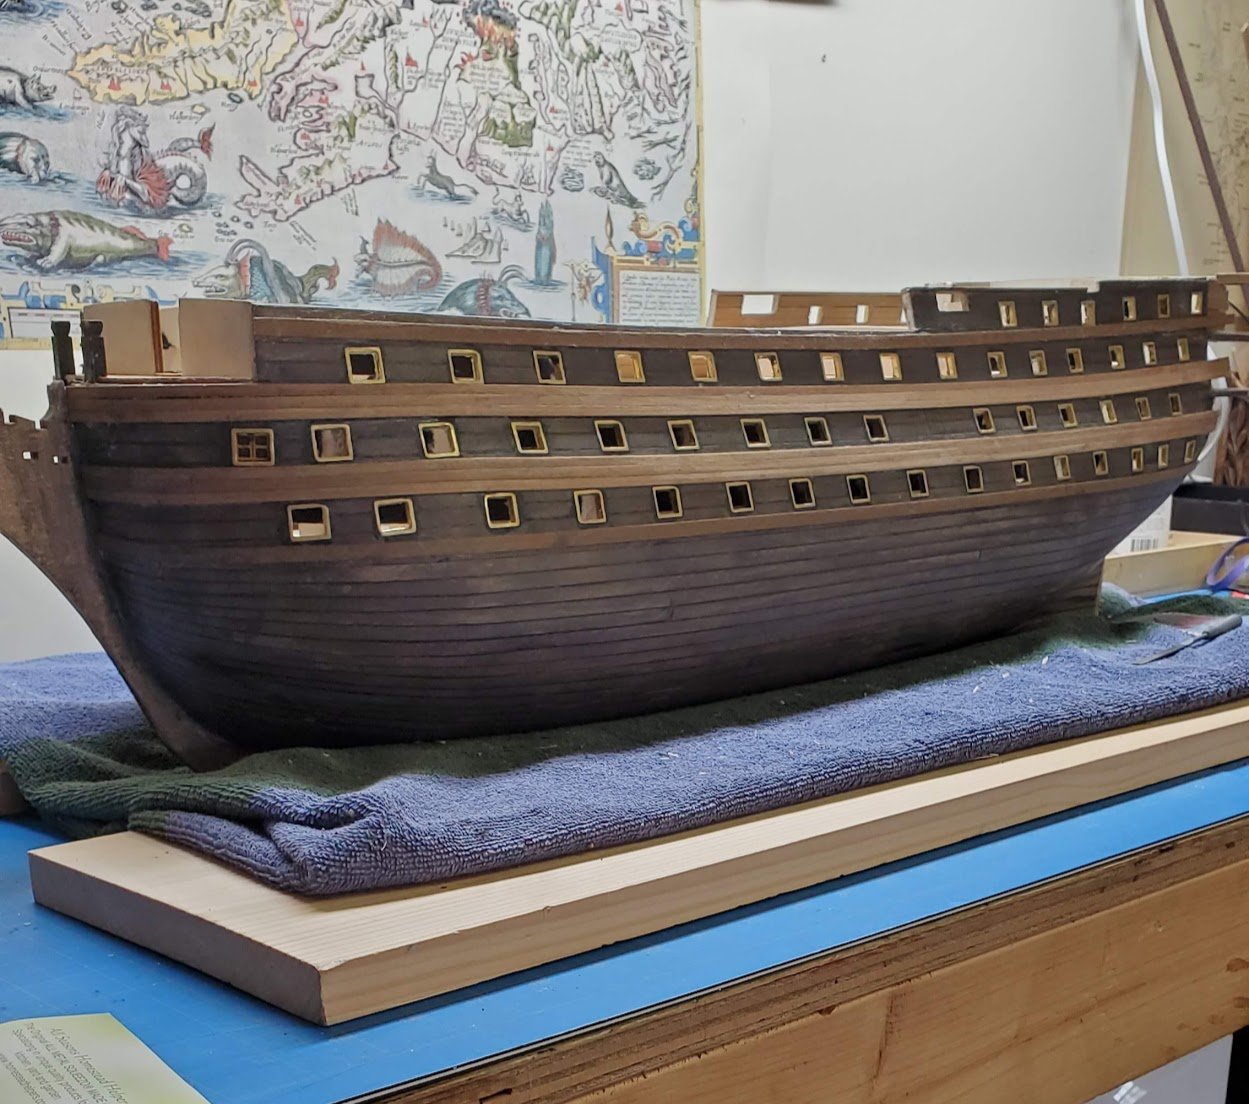
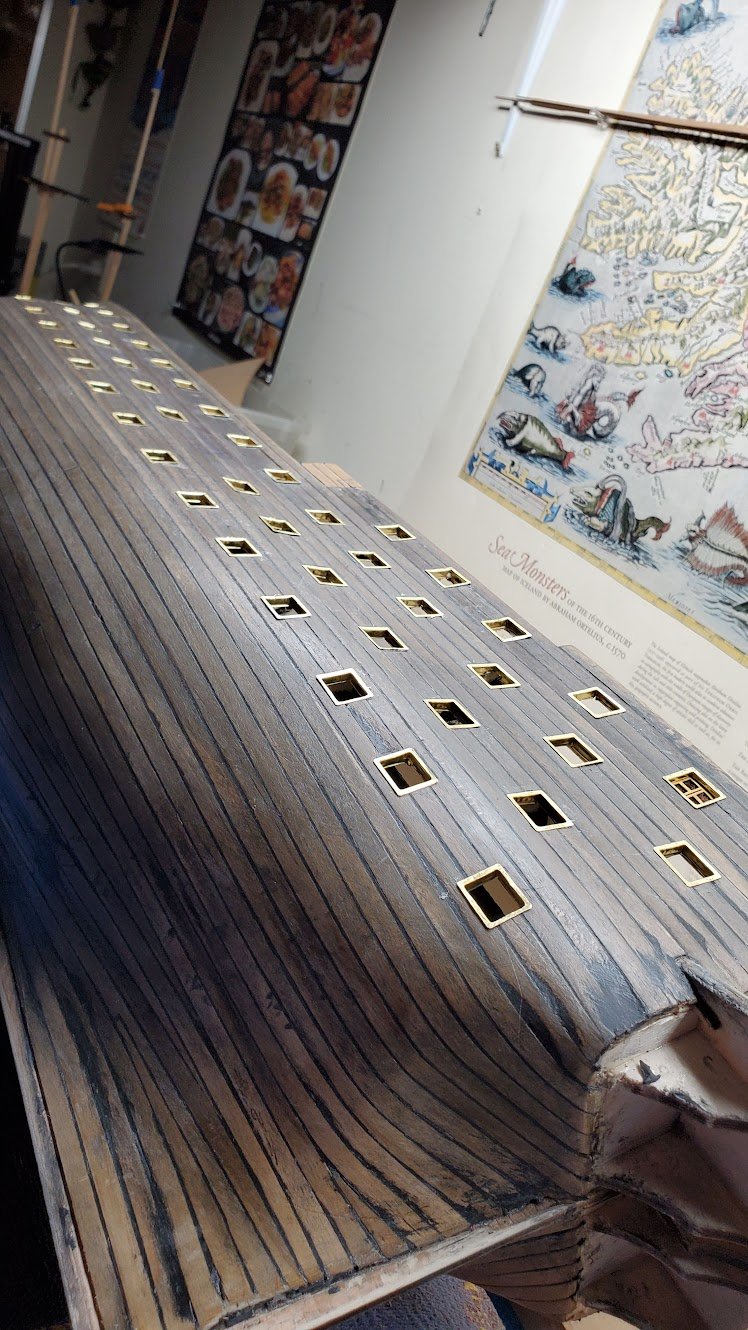
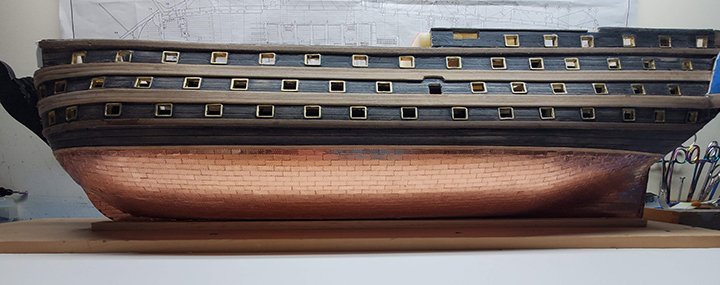
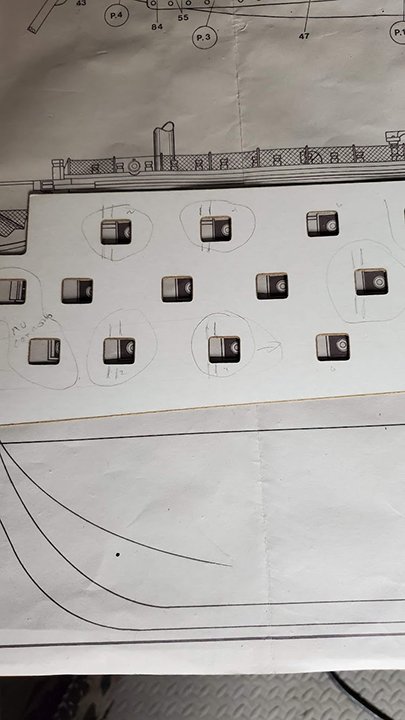
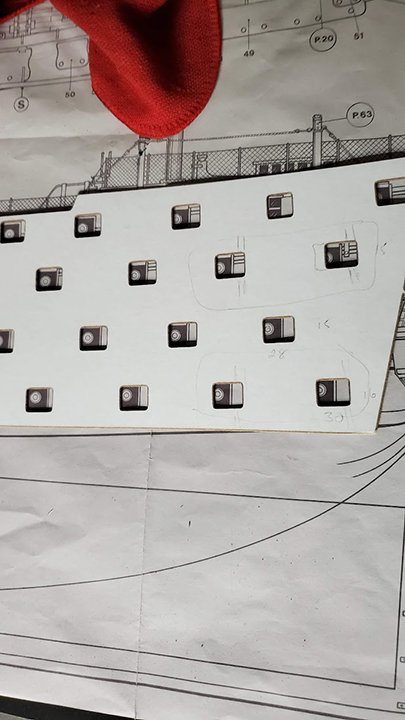
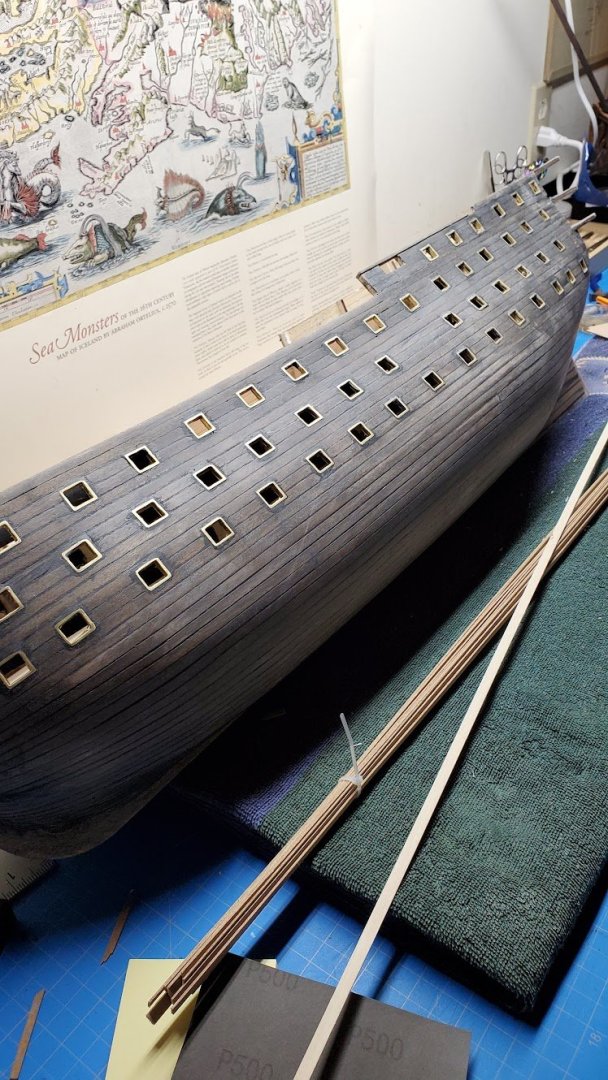
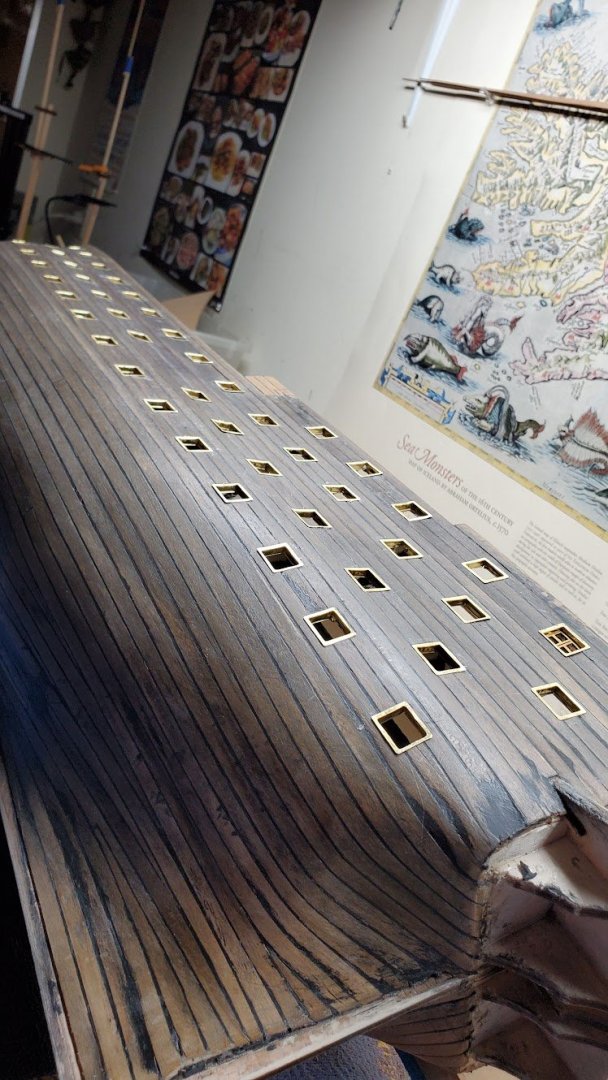
December 2020 As life continued and my son's girlfriend moved in with us (pandemic and all), my shop was the place to be. Ahhhh, blessed quiet (and Pink Floyd & Joe Rogan). Officially retired, I tended to rise as early as when I was working and by 9AM it was "off to the boat yard." 2020 was a horrible year, with the idiotic lock-downs and masking. At least there was Gumby atop the Christmas tree, a tradition in our house for over 50 years! I unsuccessfully tried to find the build log where it was pointed out that the cannon template included with the model was not in scale with the drawings OR the model. This would have been a huge surprise to find after the fact - the hashmarks in the pics show where bulkheads would be if the portals were not adjusted. This is what burns my butt over this model; the documentation was shameful, I'm guessing Mantua was under pressure to get the product to market. It's takes a breath or two before one begins cutting 100 or so holes in a hull that didn't turn out half bad. By the way Graham, I've been following your build of the Caldercraft kit. I have to say I envy your jig making skills 😁and wish I had your shop. I am currently doing the first planking on that kit and I think I am trying too hard, lol, I've got a number of drop planks in mine while the planking on your beautiful model is simply elegant. The kit included metal door linings, They tended to not fit flush against the hull so a liberal application of filler and hours of sanding got her ready for the Wales

-
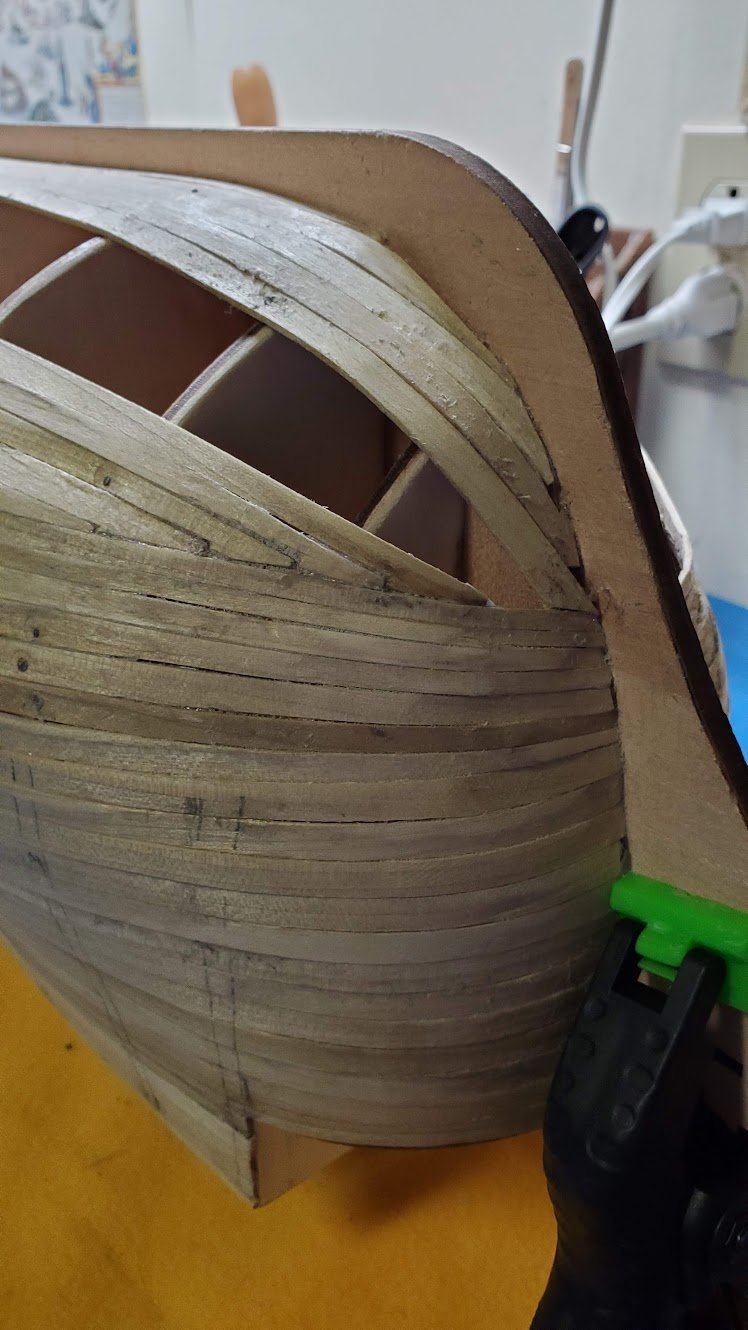
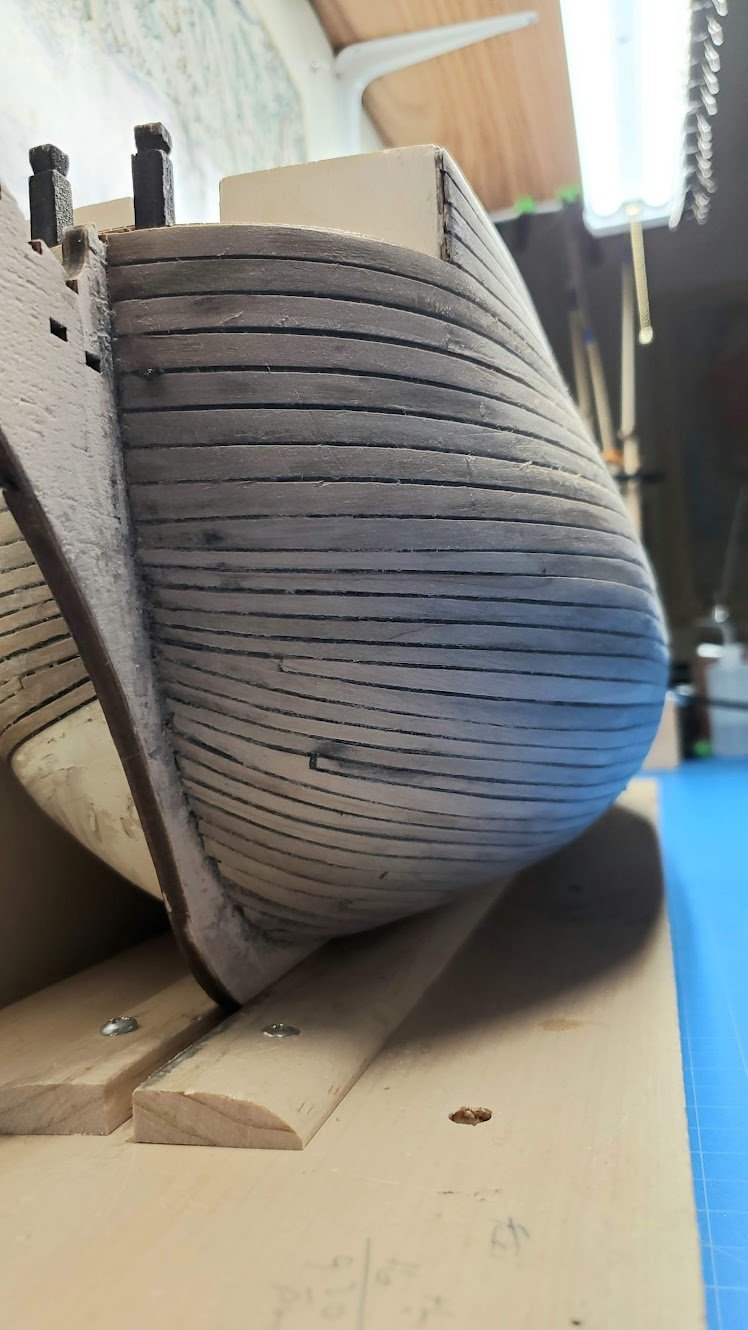
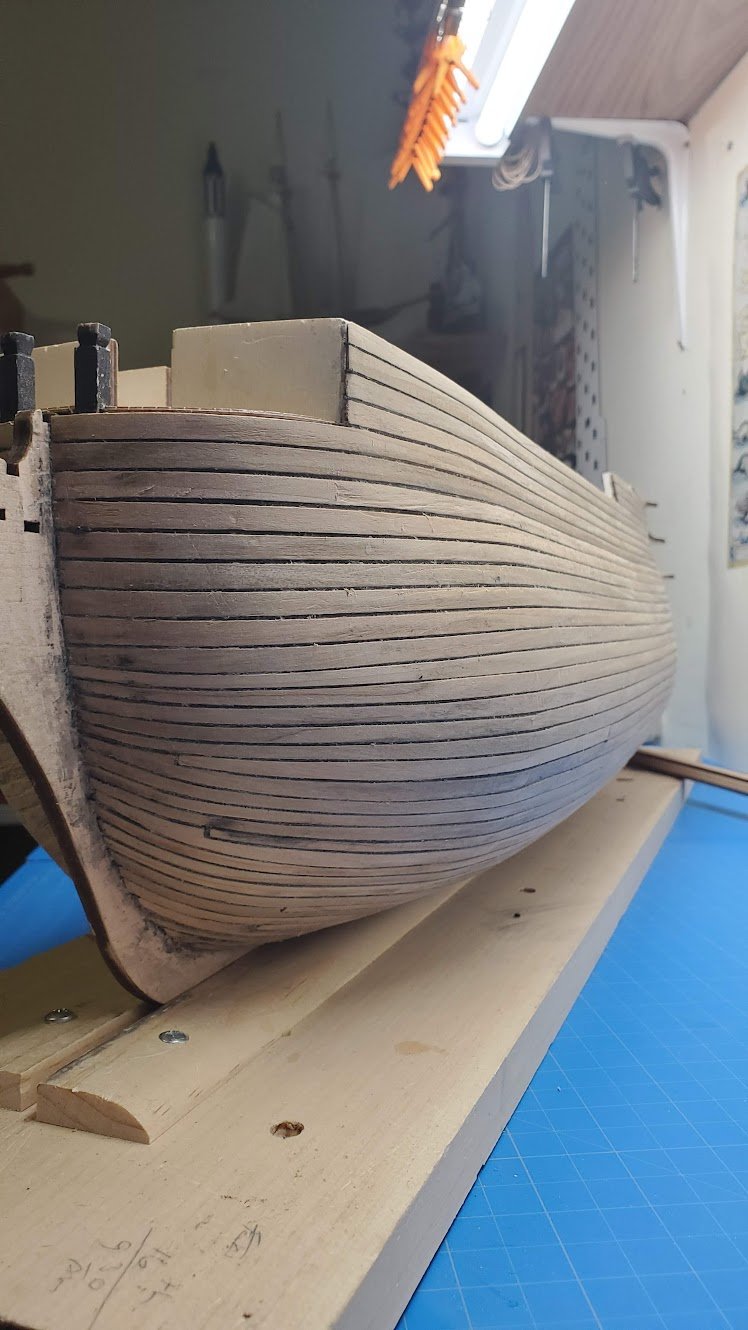
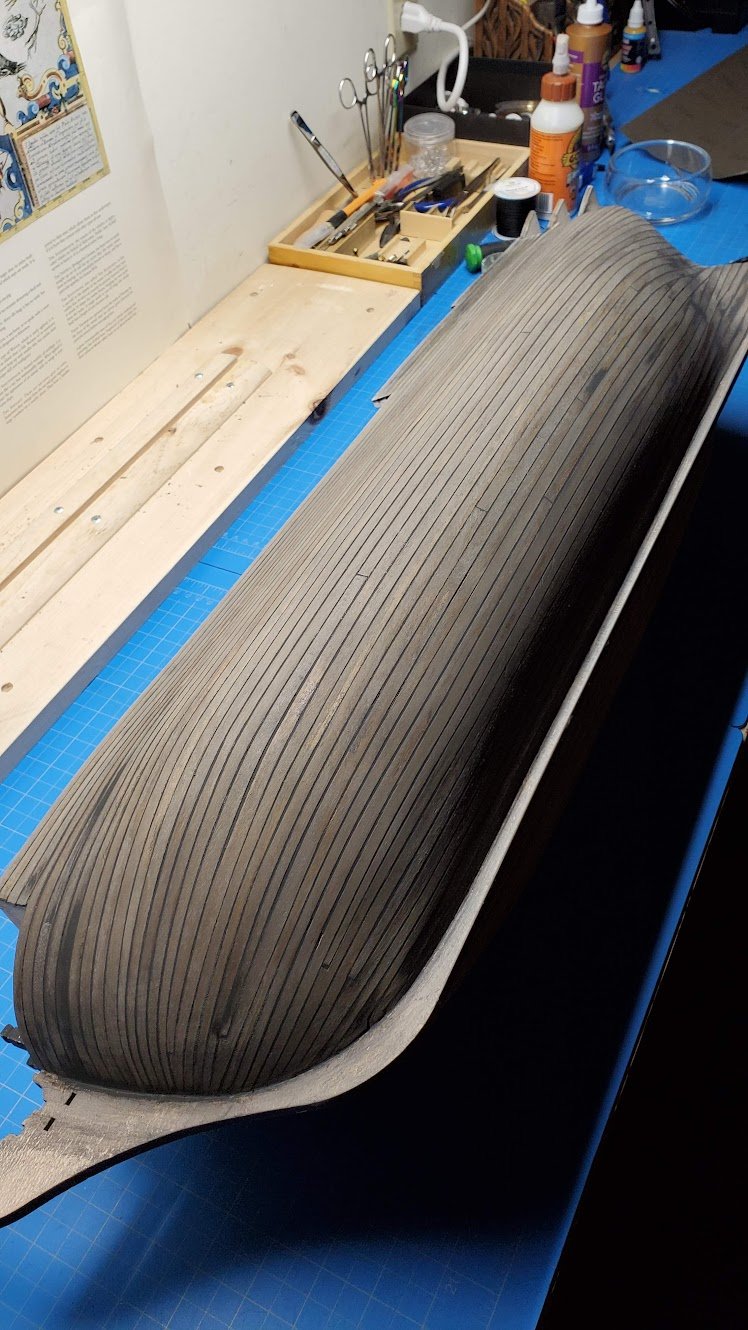
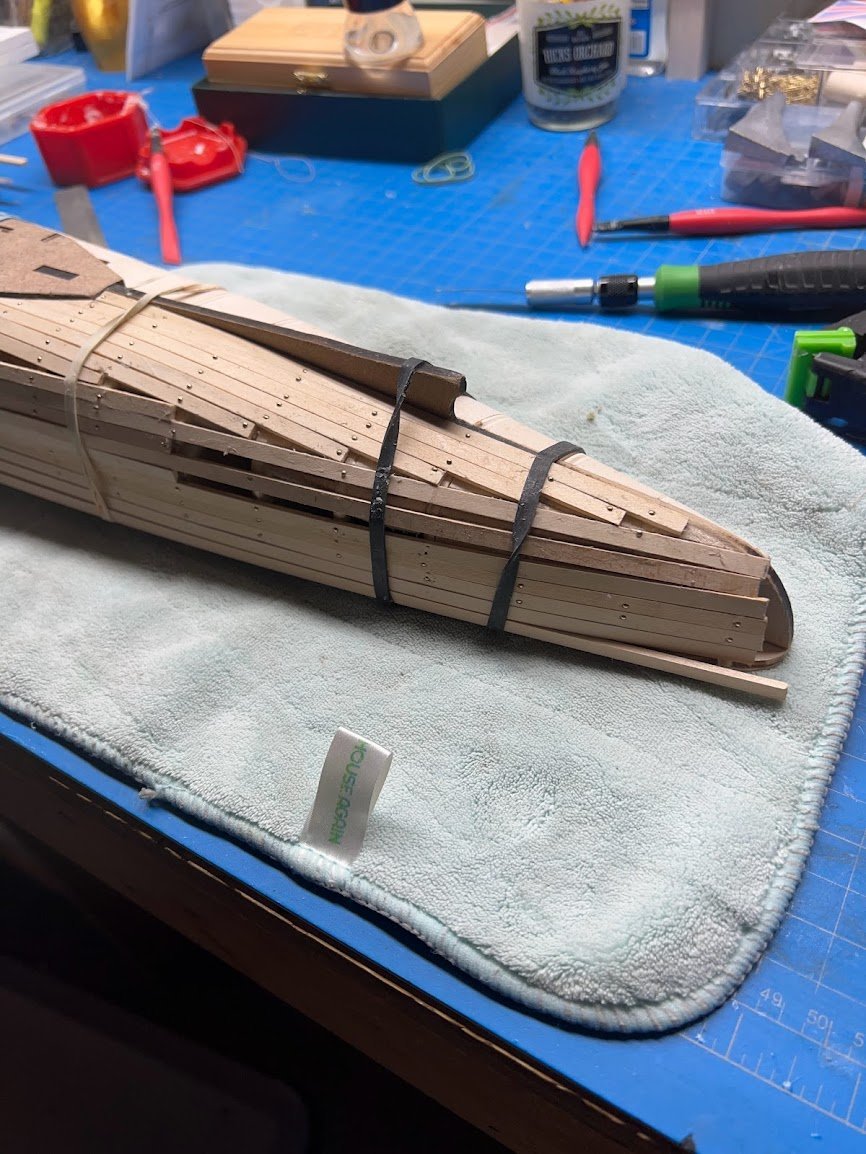
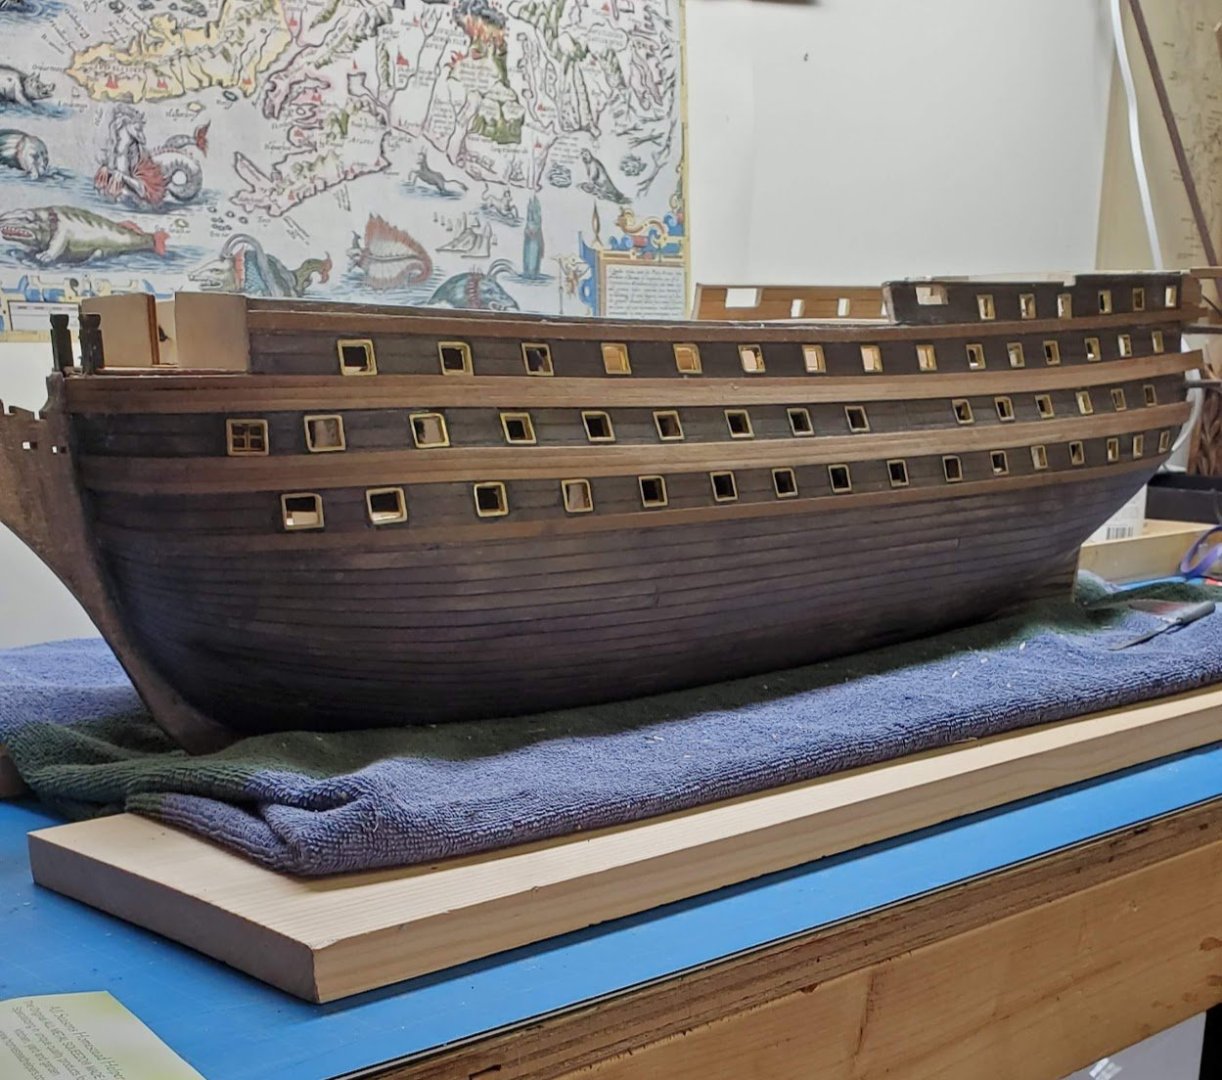
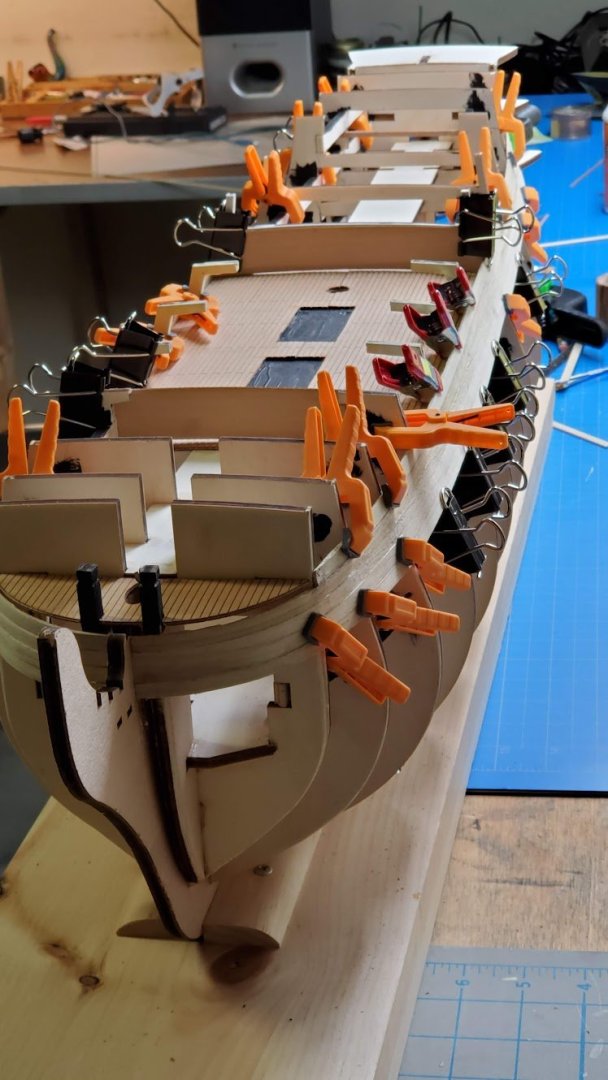
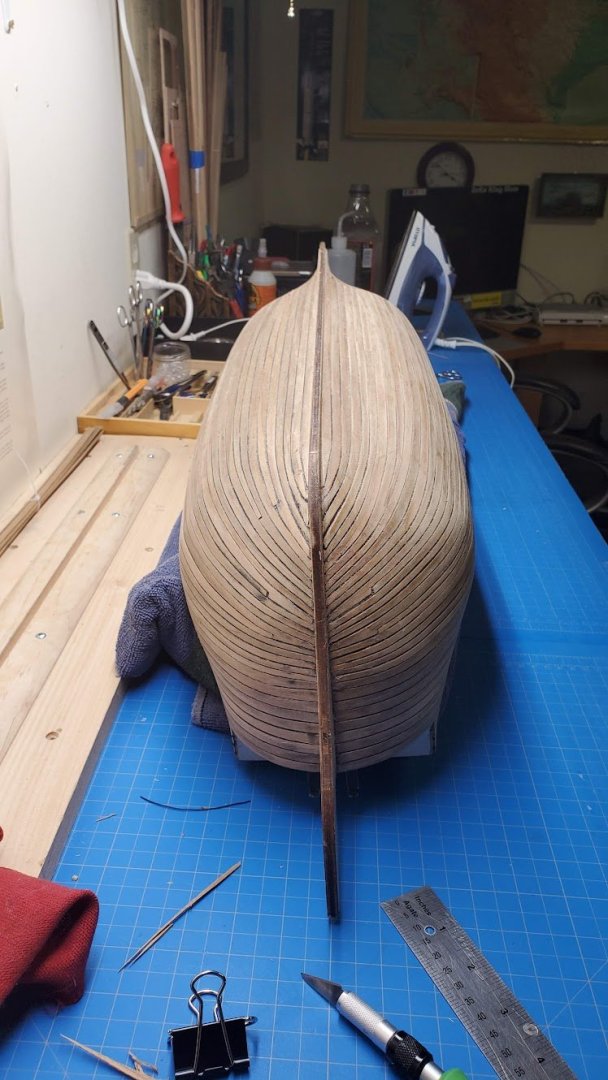
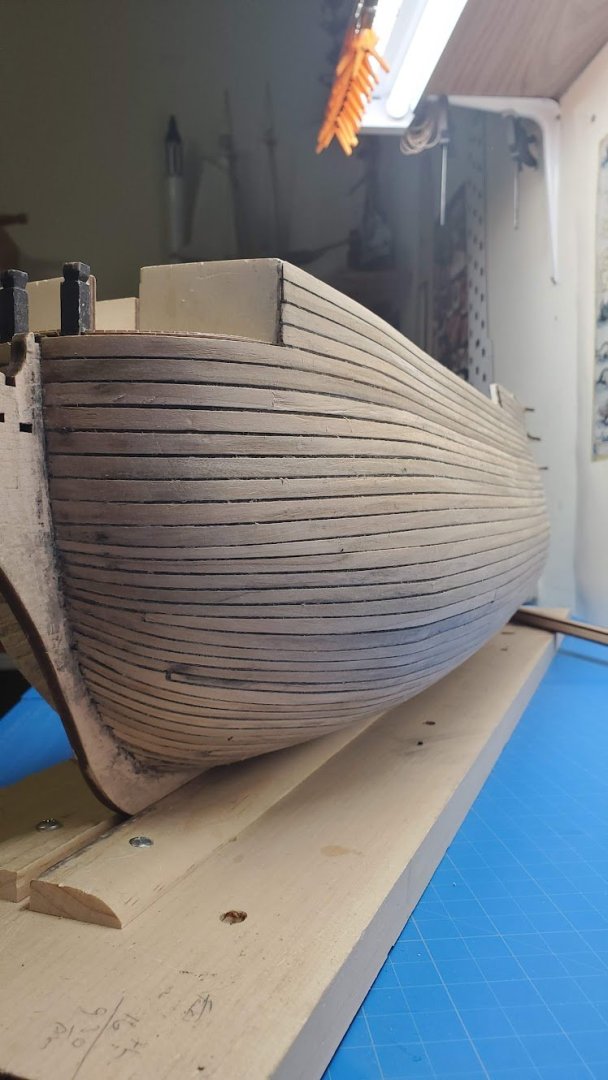
Graham, Thank you for your kind words, its motivation to process all the photogs of this build. Here's a few photos up to the end of the first planking. Of course at the beginning of planking I resolved to do a first class job, by the time I l got to the keel, I reminded myself that putty and sandpaper were going to be my friend. Second Planking I did a little better with the walnut planking. At this stage, I had put in some time and acquired the Longridge and McKay books, committing a grievous sin by pulling the Longridge drawings from the book to spread out on the bench. My big resolve for the second planking was to taper the plank no more than half its width. Working out the drop planks and stealers was easier with the big glue surface of the first layer. Each plank had a black thread running between them as well, some idea I thought was cool and looked OK but I probably wouldn't do again. I should probably say here that I also joined this website and thanks to some build logs on this kit was fore warned of a problem with the cannon port templates, in that it was out of scale with the model(more on that later). So Thank You ModelShipWorld.Com and the NRC. My trusty steam iron. Its amazing what you can do with these.


-
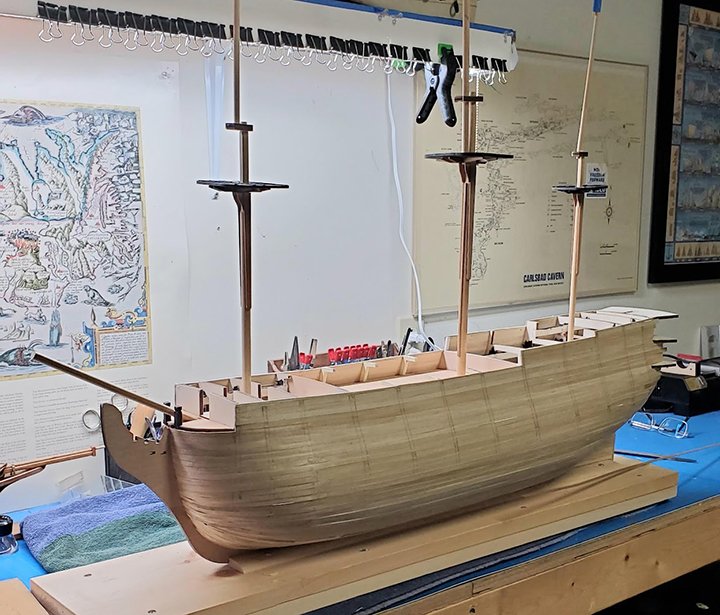
The Great Pandemic of 2020 pretty much took out the world and changed life in fundamental ways. For myself, my home based business went kaput. Fortunately, just before they fan got turned to high, a distributor purchased the tattered remains of a once great product line, another casualty of the "pandemic". So, I'm sitting in the empty remains of my assembly area, also known as the garage, and decide to turn the whole enterprise into the hobby workshop of my dreams. It was/is a work in progress. By August of 2020 I was itching for a new project and came across the HMS Victory by Panart 738 for a nice price. I started building her in August of 2020 and finished in January of 2023. I took a few pictures along the way so I am going to try to post some of them here with some comment along the way. I wrote Technical manuals back in the day and I was not thrilled with the quality of the instruction manuals and drawings. More coming soon!

-
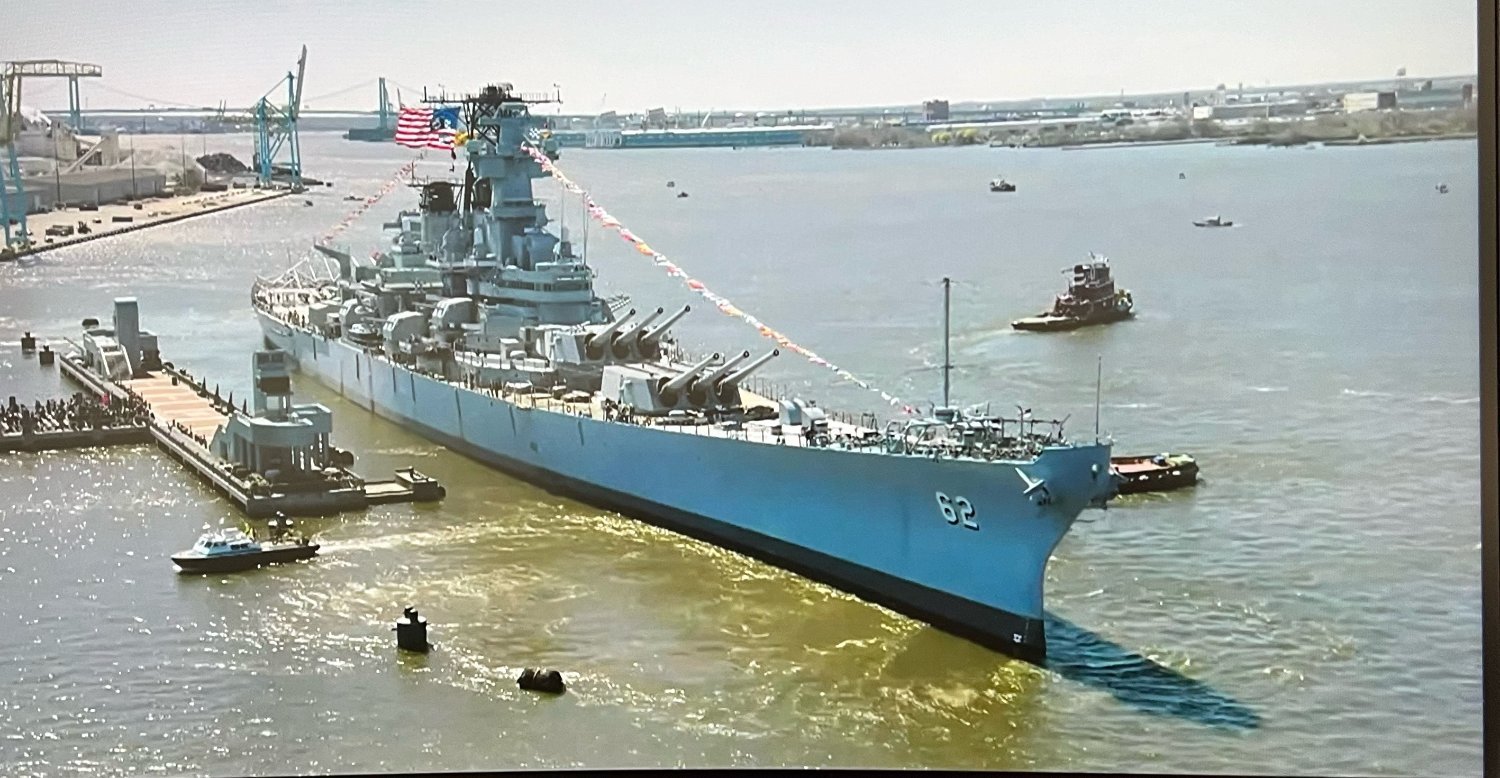
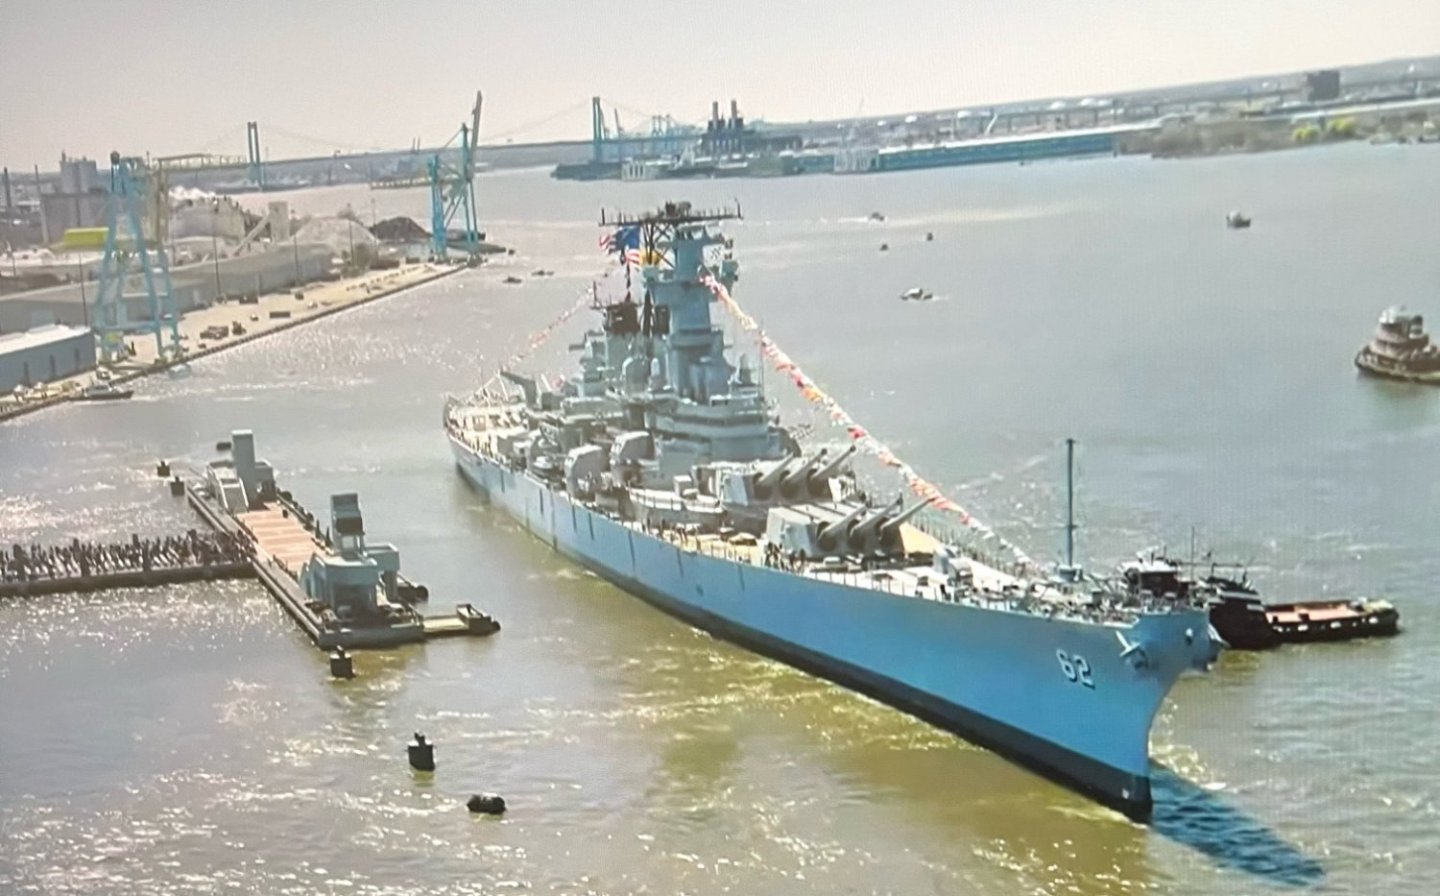
Being retired can be a hoot, especially when you get to catch live events on the Interwebs. Here's the USS New Jersey - The Navy's Big Guns, headed to drydock after 30 years in the drink. I got to tour the ship and meet the curator in 2022. Here's a few screen grabs of the move. Cheers!


-
- 4
-

-
- Battleship
- dry dock
- (and 1 more)
-
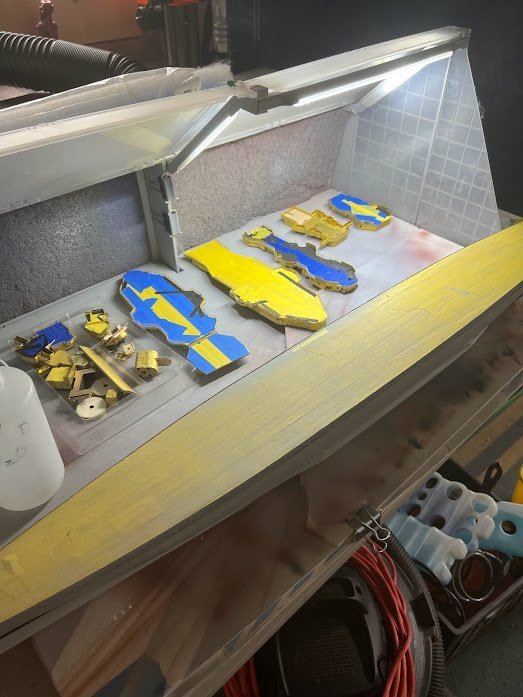
A very snowy day in Vermont today, about 18 inches deep. I could a., run the blower, b., go listen to Tucker and work on a boat, or c., sip my cappuccino and post a few pics. Here's a couple pics of my ADD in action, the assembly instructions make it easy to pic a page and build all the various sections. LOTS of clipping out brass parts and bending them to fit the mdf. My shoot-from-the-hip airbrush skills have mixed results although I can also blame the masking tape but its mostly my amateur knowledge of the art. This is my first crack at this, it looks great if you stand back about 10 feet. 😁

- 9 replies
-
- 8
-
-
- Cruiser
- Prinz Eugen
- (and 1 more)
-
Thanks Old Collingwood, your notification led me to fix the issue with the pictures. I will endeavor to post more from this build.
- 9 replies
-
- 2
-
-
- Cruiser
- Prinz Eugen
- (and 1 more)
-
If I keep this up I will need to think about a bigger spray booth. 😬


- 9 replies
-
- 4
-
-
- Cruiser
- Prinz Eugen
- (and 1 more)
-
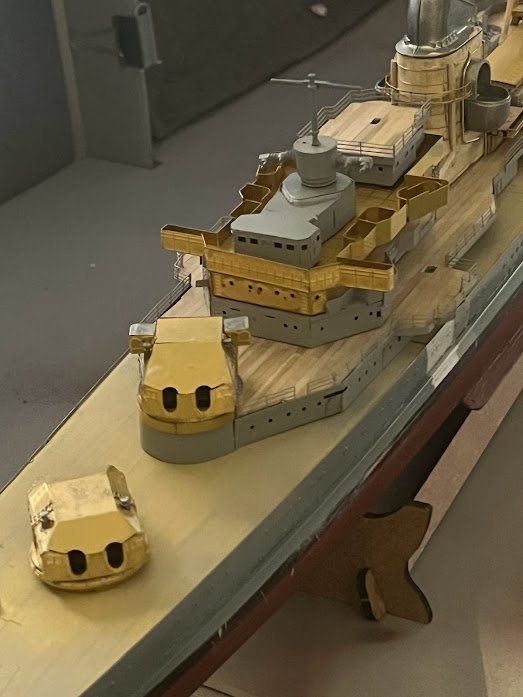
Planking up the hull is also pretty straight forward, especially with the balsa blocking.

- 9 replies
-
- 3
-
-
- Cruiser
- Prinz Eugen
- (and 1 more)
-
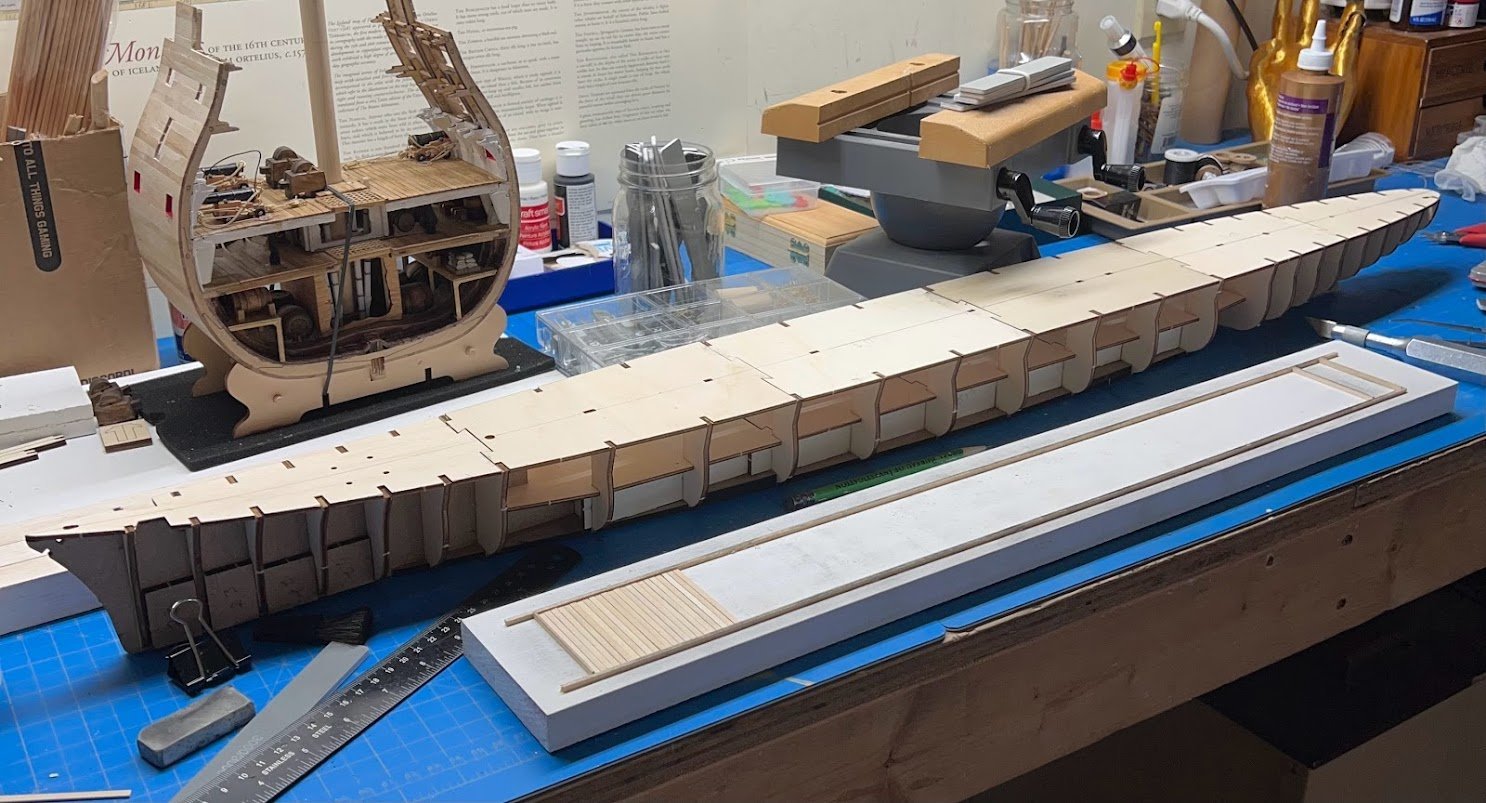
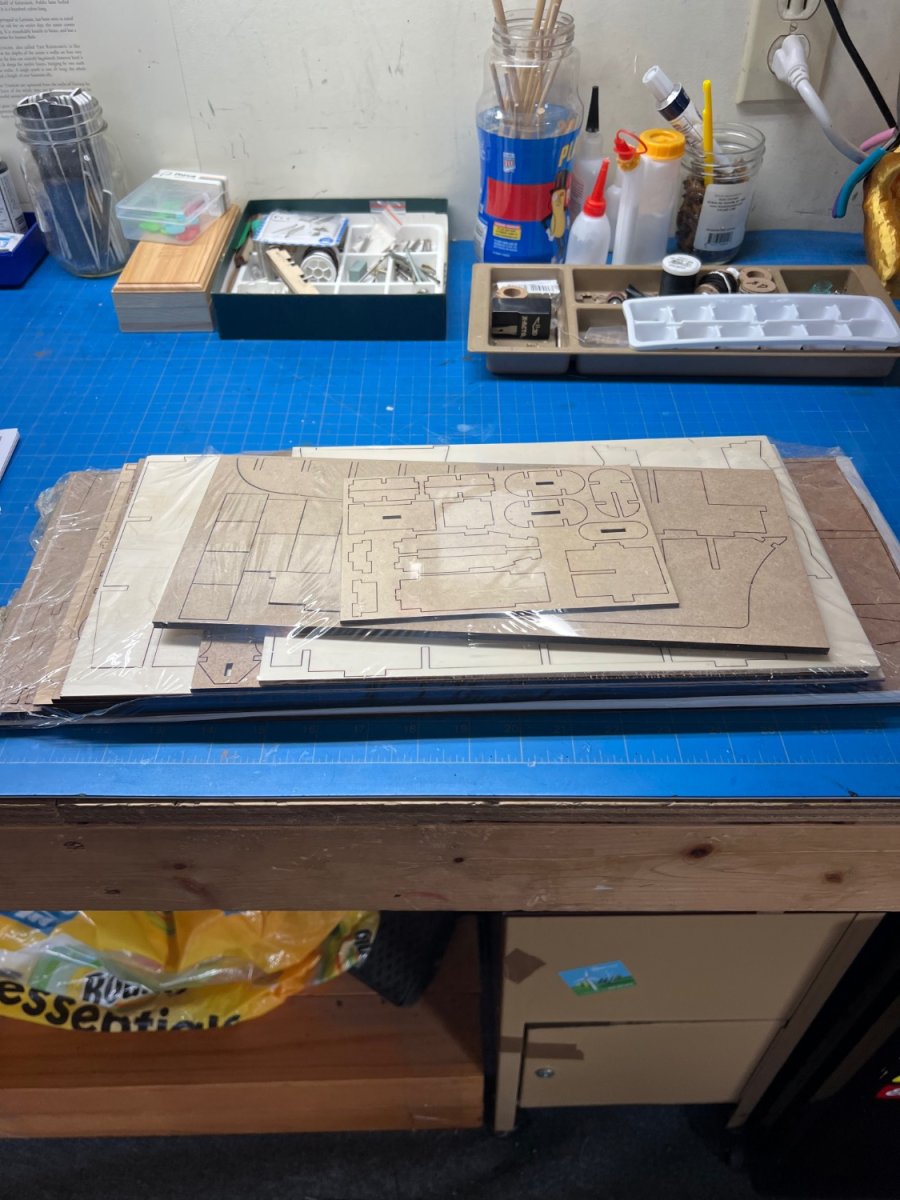
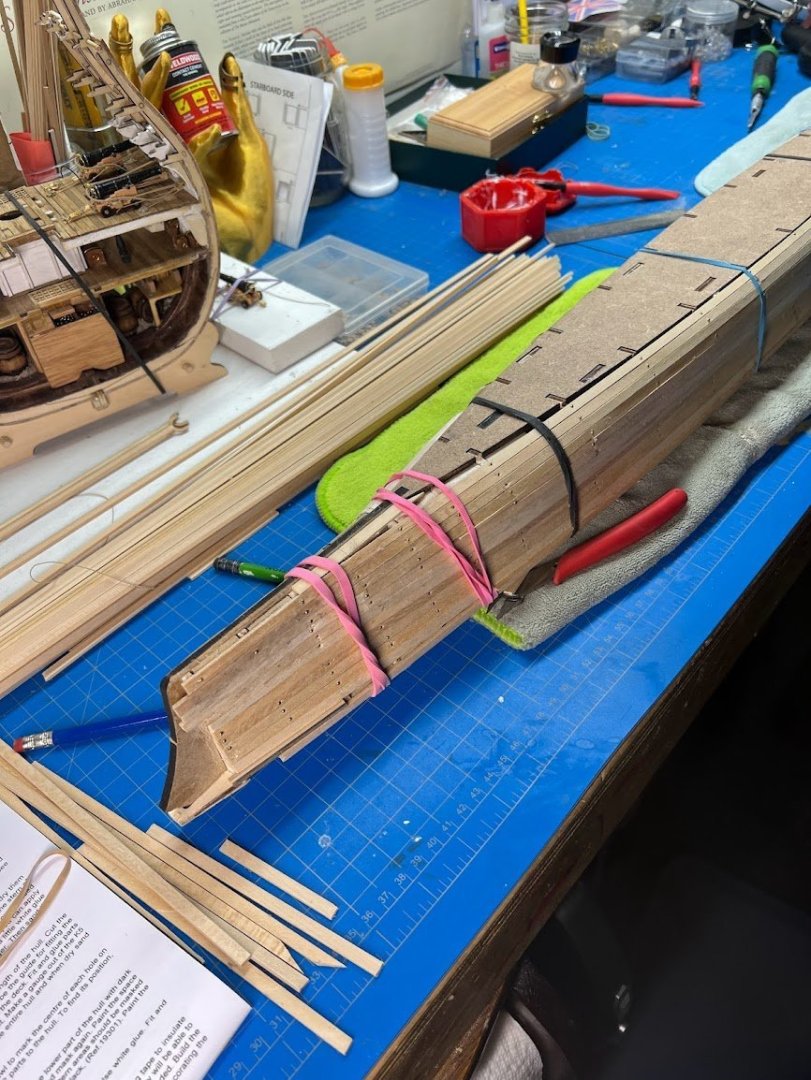
Time flies. The bulkheads fit tight to the verticals and there is blocking in all the right places. In the background is a DeAgostini HMS Victory Cross Section I've slowly been working on when I feel like dealing with a serious flaw in the design (but that's another build). I digress... My first impression is I like the kit and assembly. In front is a plank jig for the way-out-of-scale kit planking.


- 9 replies
-
- 2
-
-
- Cruiser
- Prinz Eugen
- (and 1 more)
-
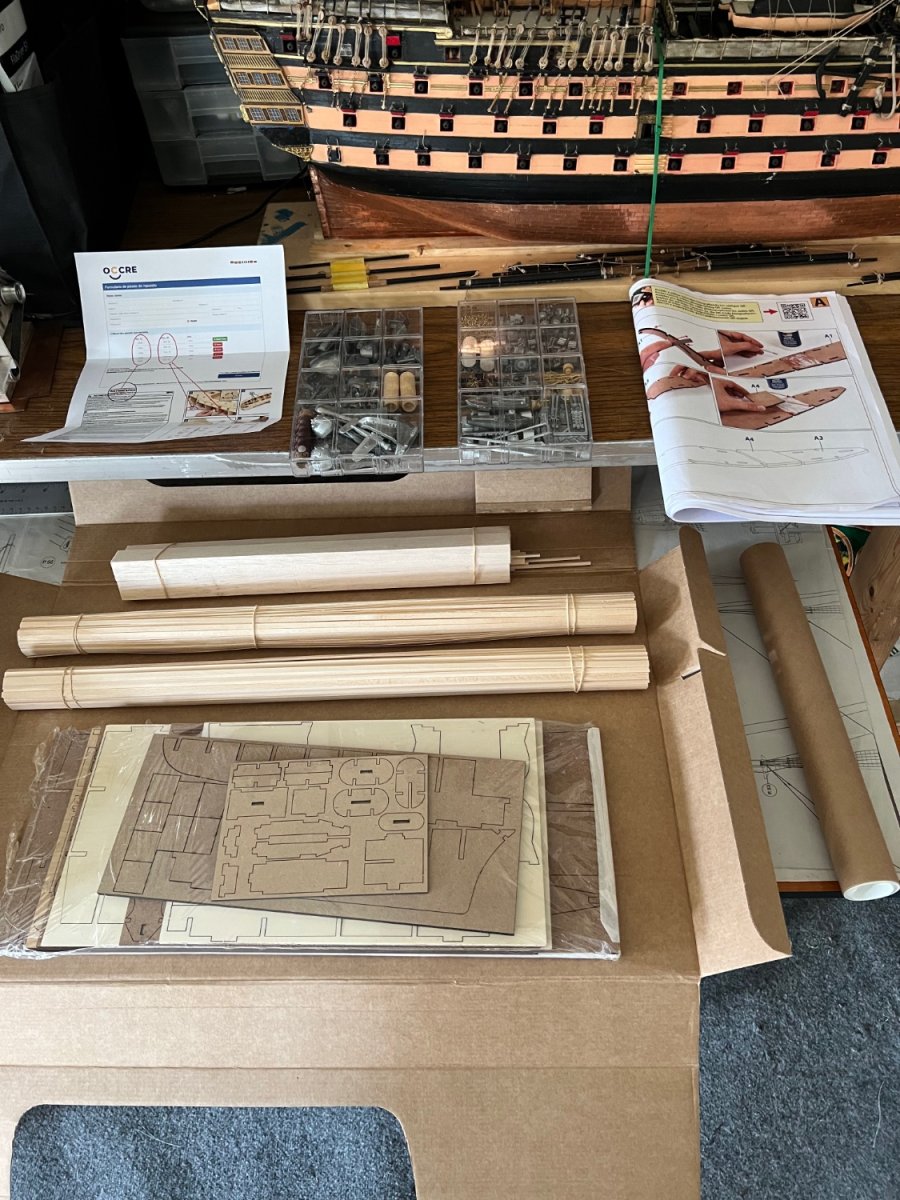
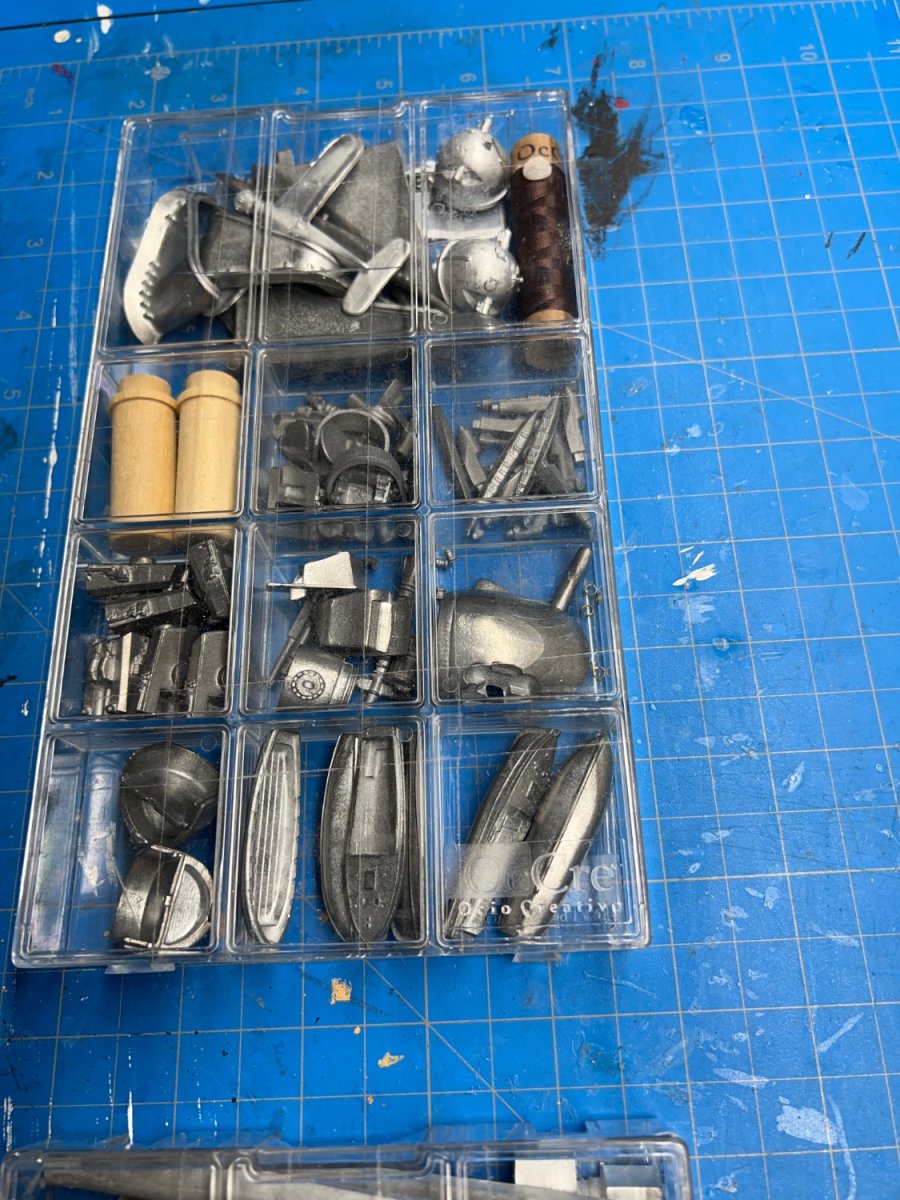
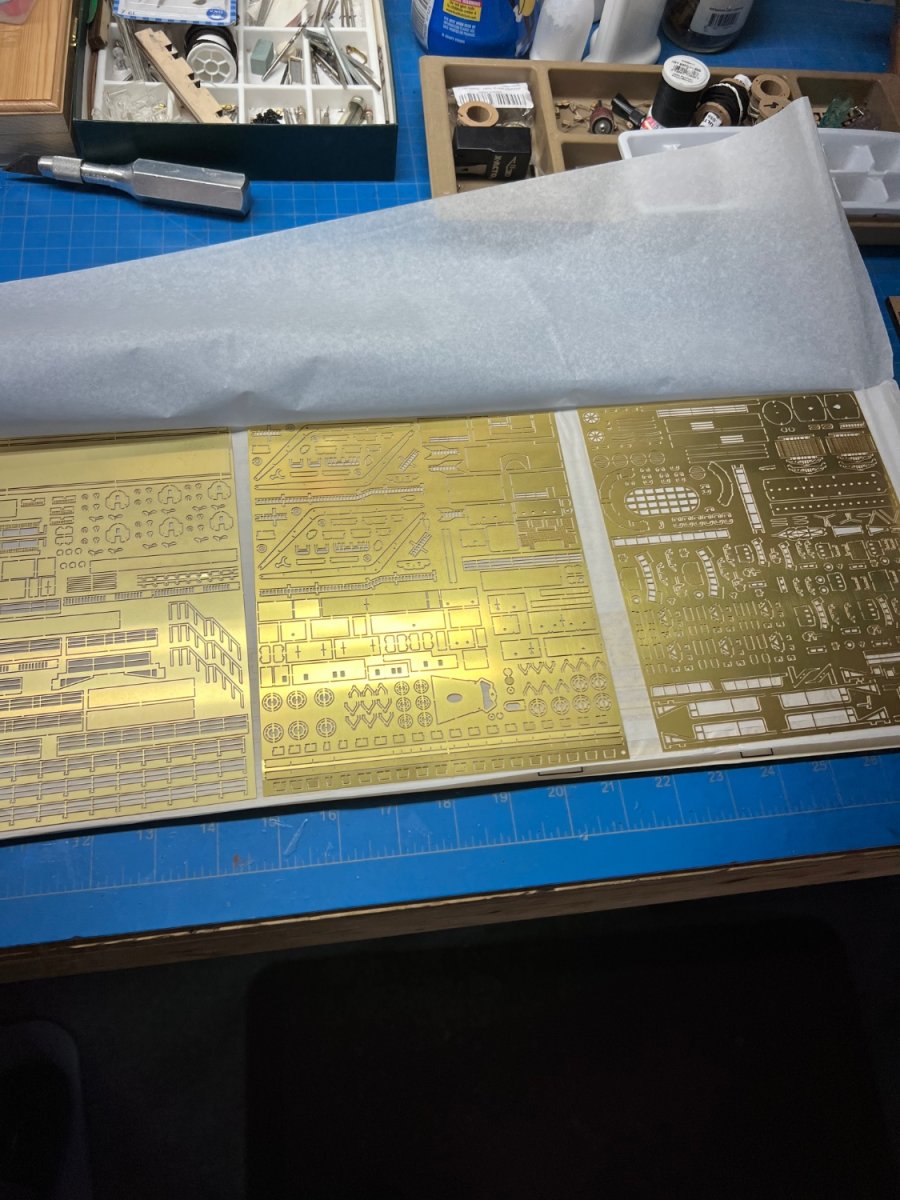
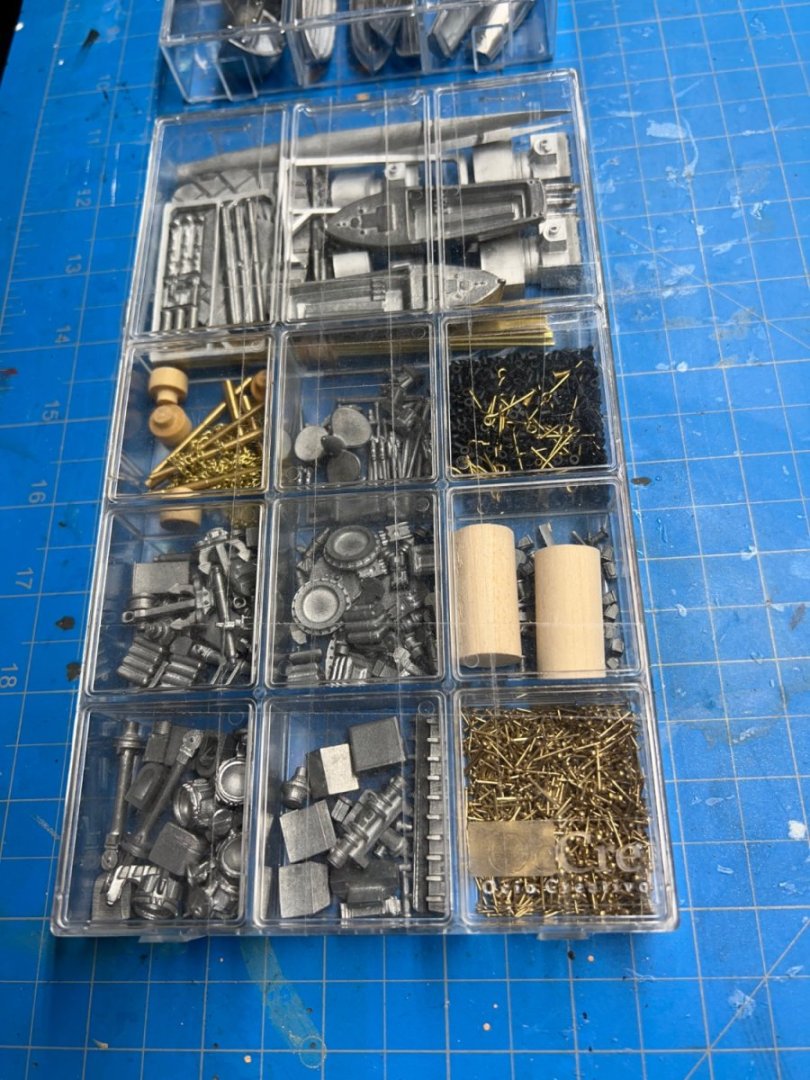
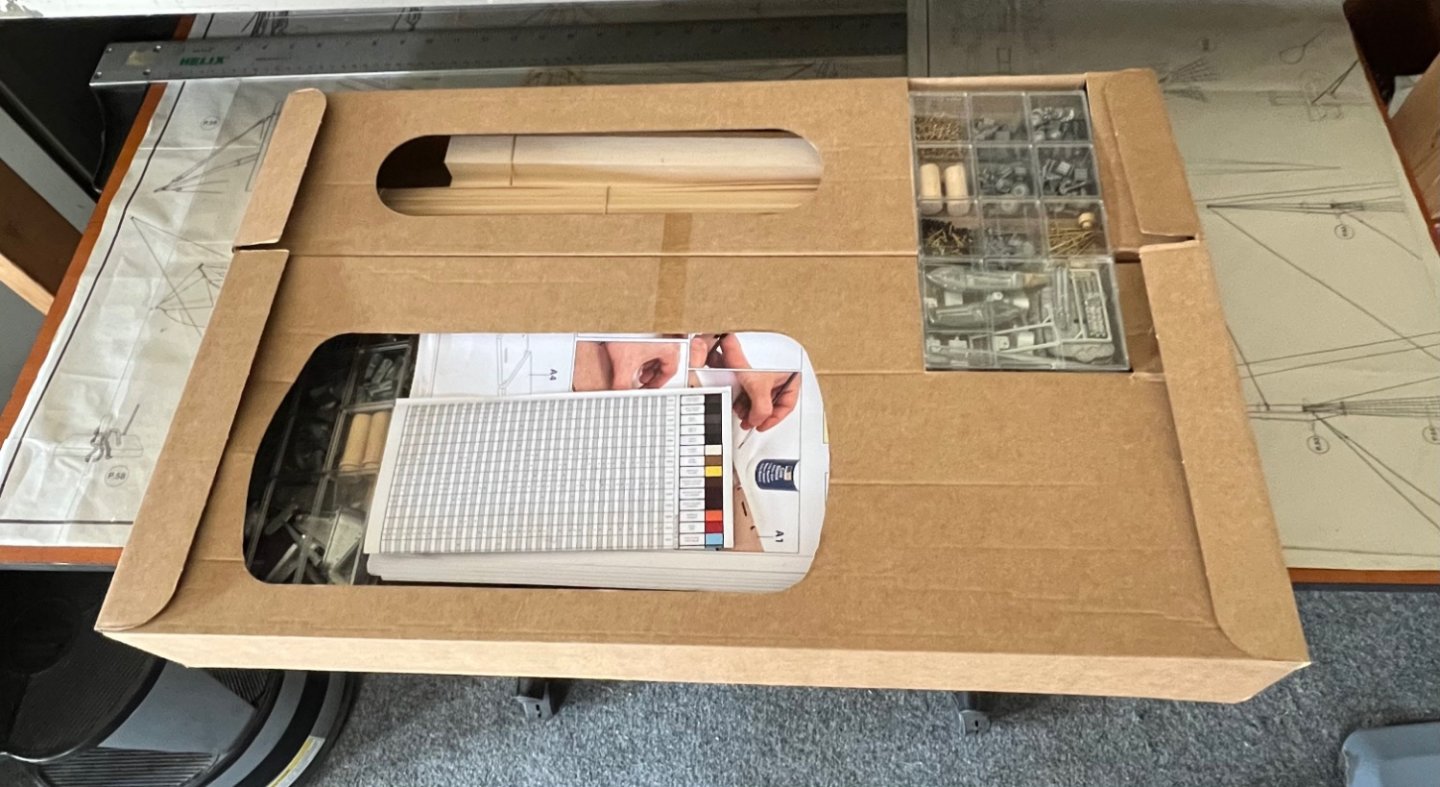
I ran out of scale rope for the Queen so I decided to unbox the Prinz. There is a better unboxing post that really explores the kit. I took a few pictures before diving in. The box is heavy. There are 8 or 9 sheets of photo etched brass!


- 9 replies
-
- 6
-
-
- Cruiser
- Prinz Eugen
- (and 1 more)
-
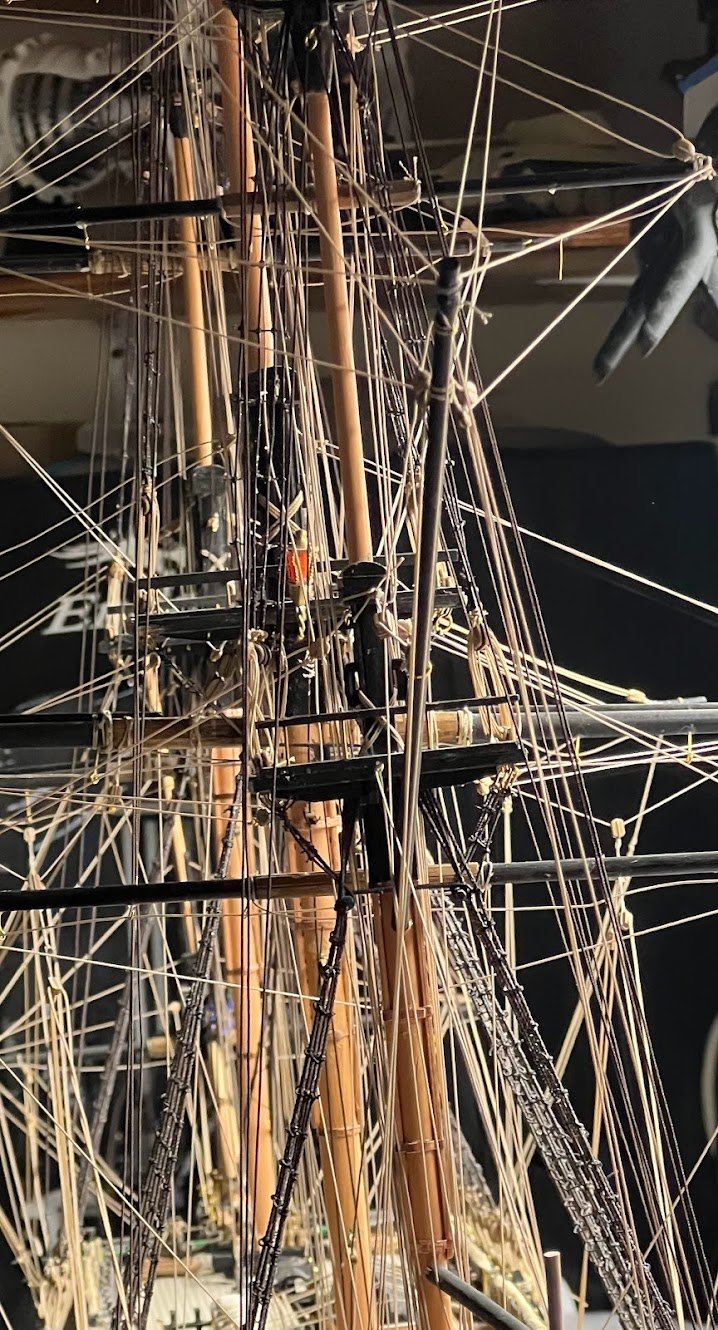
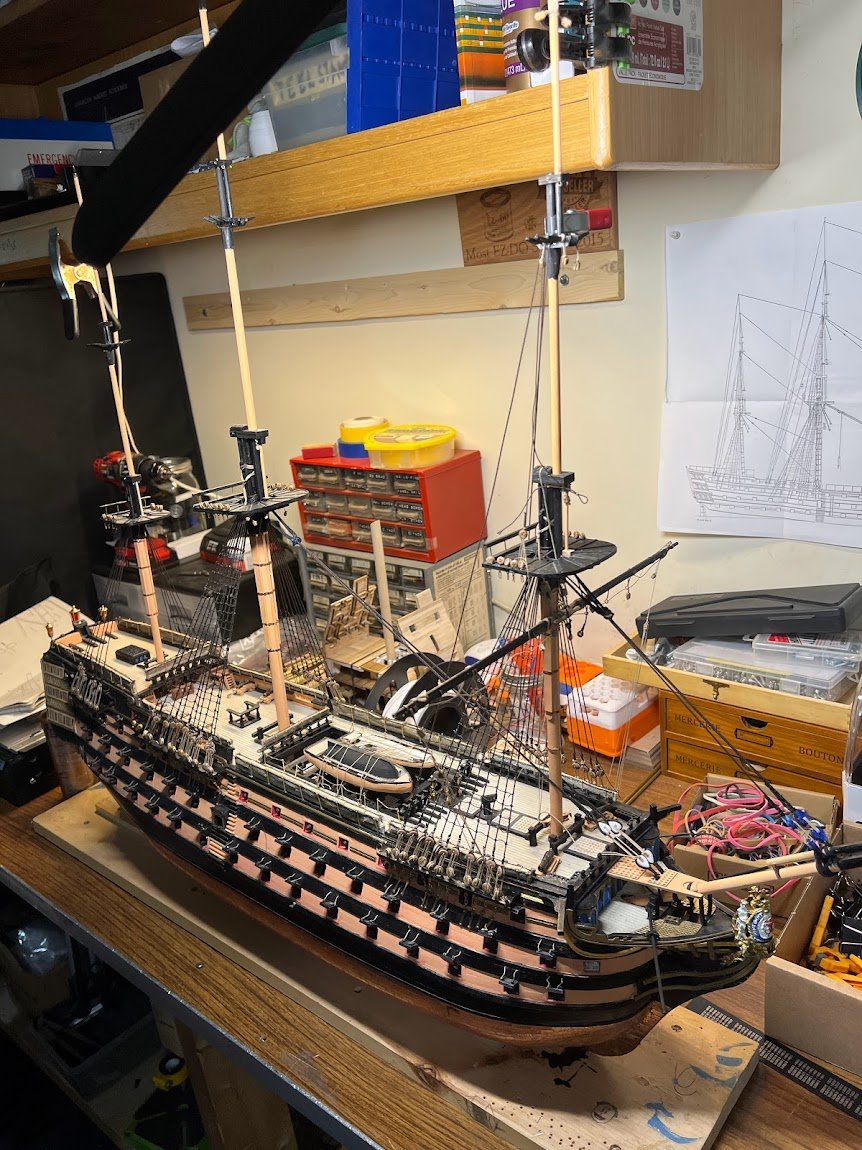
I bought this kit as a preorder and have been sitting on it until I finish my current build, the Panart HMS Victory. I'll be adding pics soon. In the meantime, here's a pic of my Vic. Cheers!

- 9 replies
-
- 9
-
-
- Cruiser
- Prinz Eugen
- (and 1 more)
-
HMS VICTORY 1765 by albert - 1/48
CraigVT replied to albert's topic in - Build logs for subjects built 1751 - 1800
I am happy to find a current build to follow and this looks to be an amazing journey. The detail is stunning and you are a master of the art. Bravo! -
I've built the Corel cross section and am looking at one of these on ebay. I will be following along with interest. Good luck!