Smittybear
-
Posts
20 -
Joined
-
Last visited
-
 GrandpaPhil reacted to a post in a topic:
Constellation by Smittybear - Artesania Latina - 1:85
GrandpaPhil reacted to a post in a topic:
Constellation by Smittybear - Artesania Latina - 1:85
-
 Jack12477 reacted to a post in a topic:
Constellation by Smittybear - Artesania Latina - 1:85
Jack12477 reacted to a post in a topic:
Constellation by Smittybear - Artesania Latina - 1:85
-
Jack12477 reacted to a post in a topic:
Constellation by Smittybear - Artesania Latina - 1:85
-
mtaylor reacted to a post in a topic:
Constellation by Smittybear - Artesania Latina - 1:85
-
mtaylor reacted to a post in a topic:
Constellation by Smittybear - Artesania Latina - 1:85
-
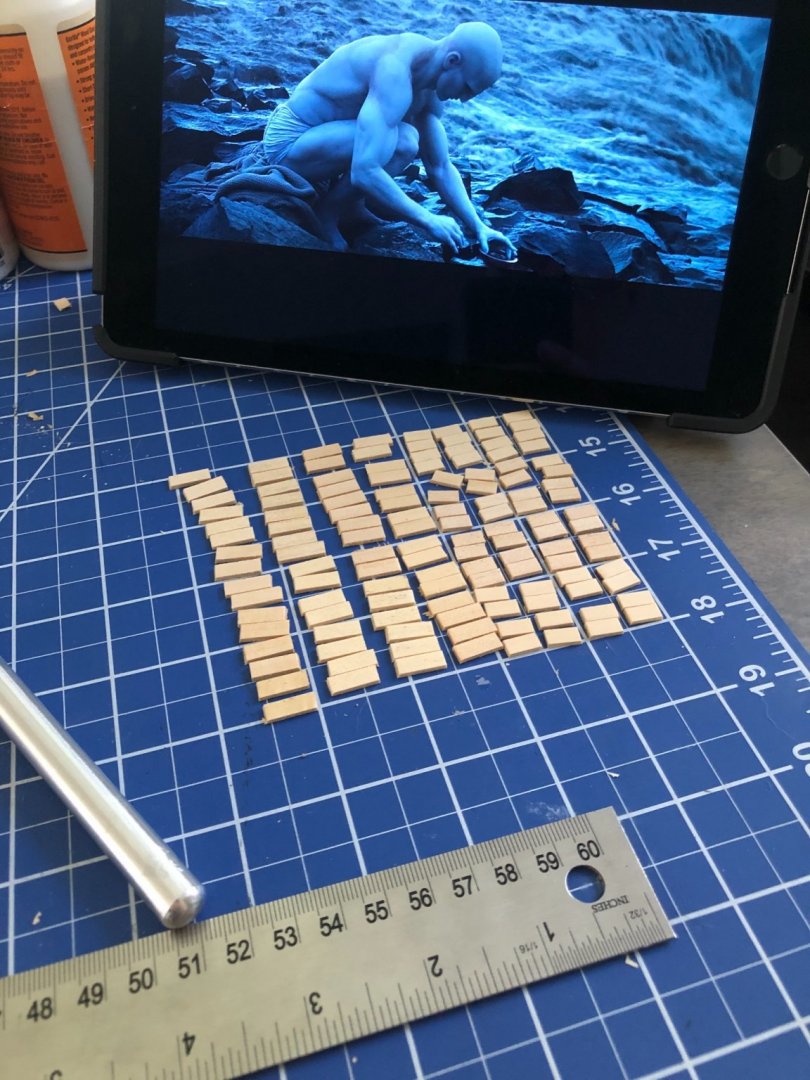
 Also apologies, I like to be auditorily distracted while I work and was “watching” Prometheus while working this day. I didn’t realize there were half naked aliens and severed Android heads in the backgrounds until I reviewed the post.
 -
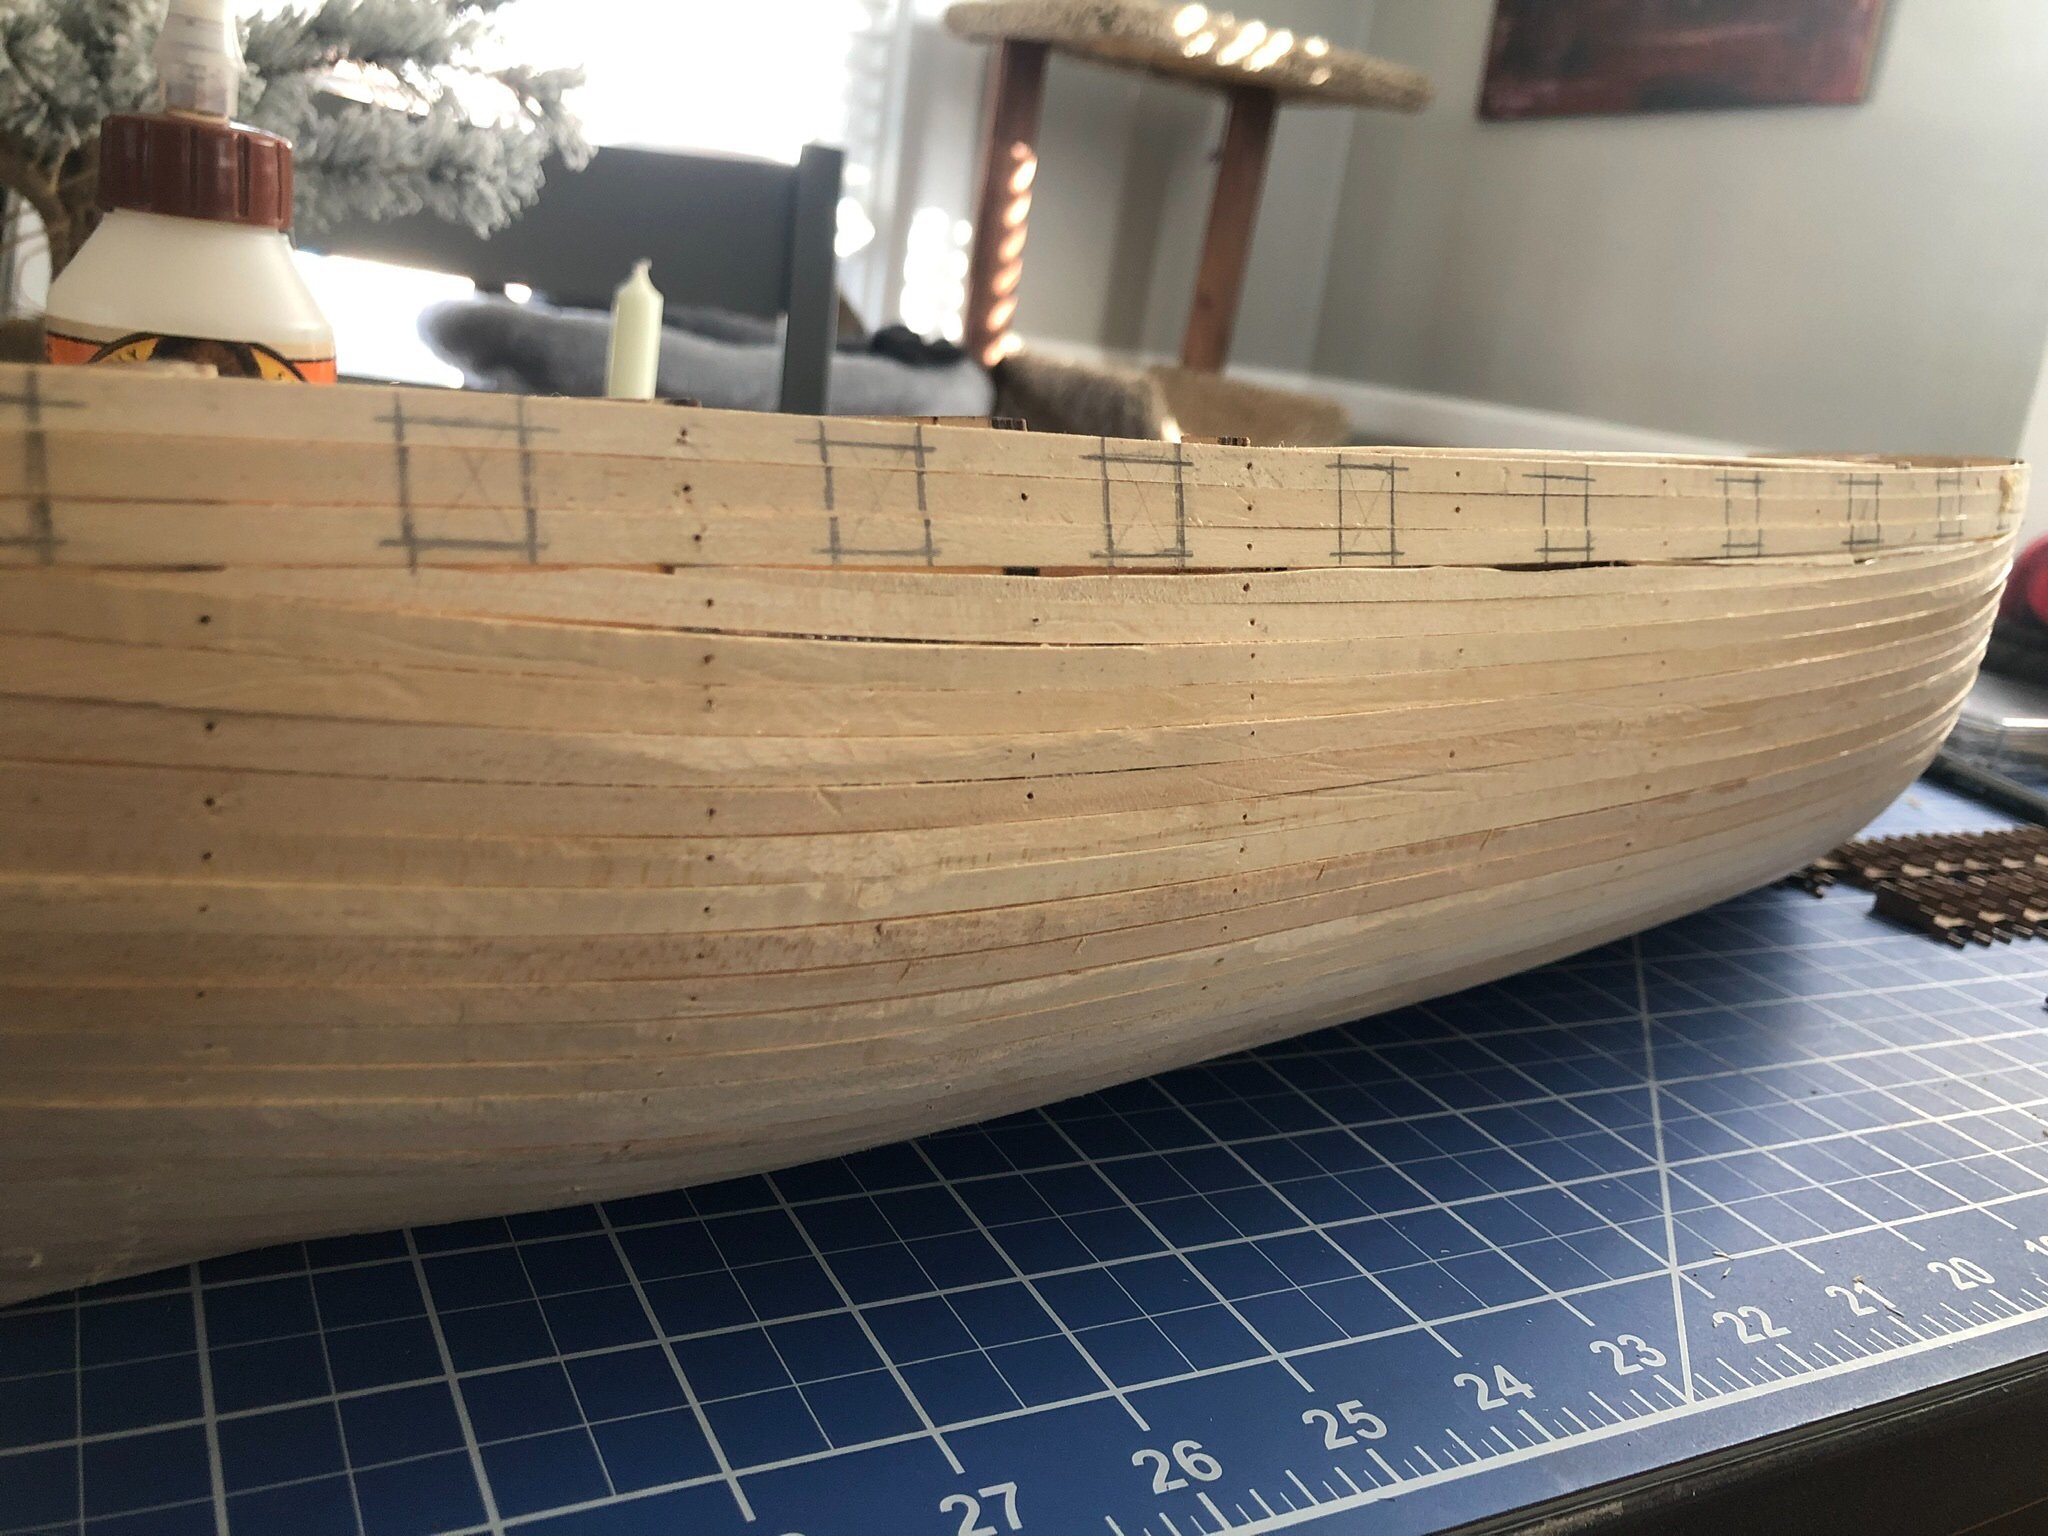
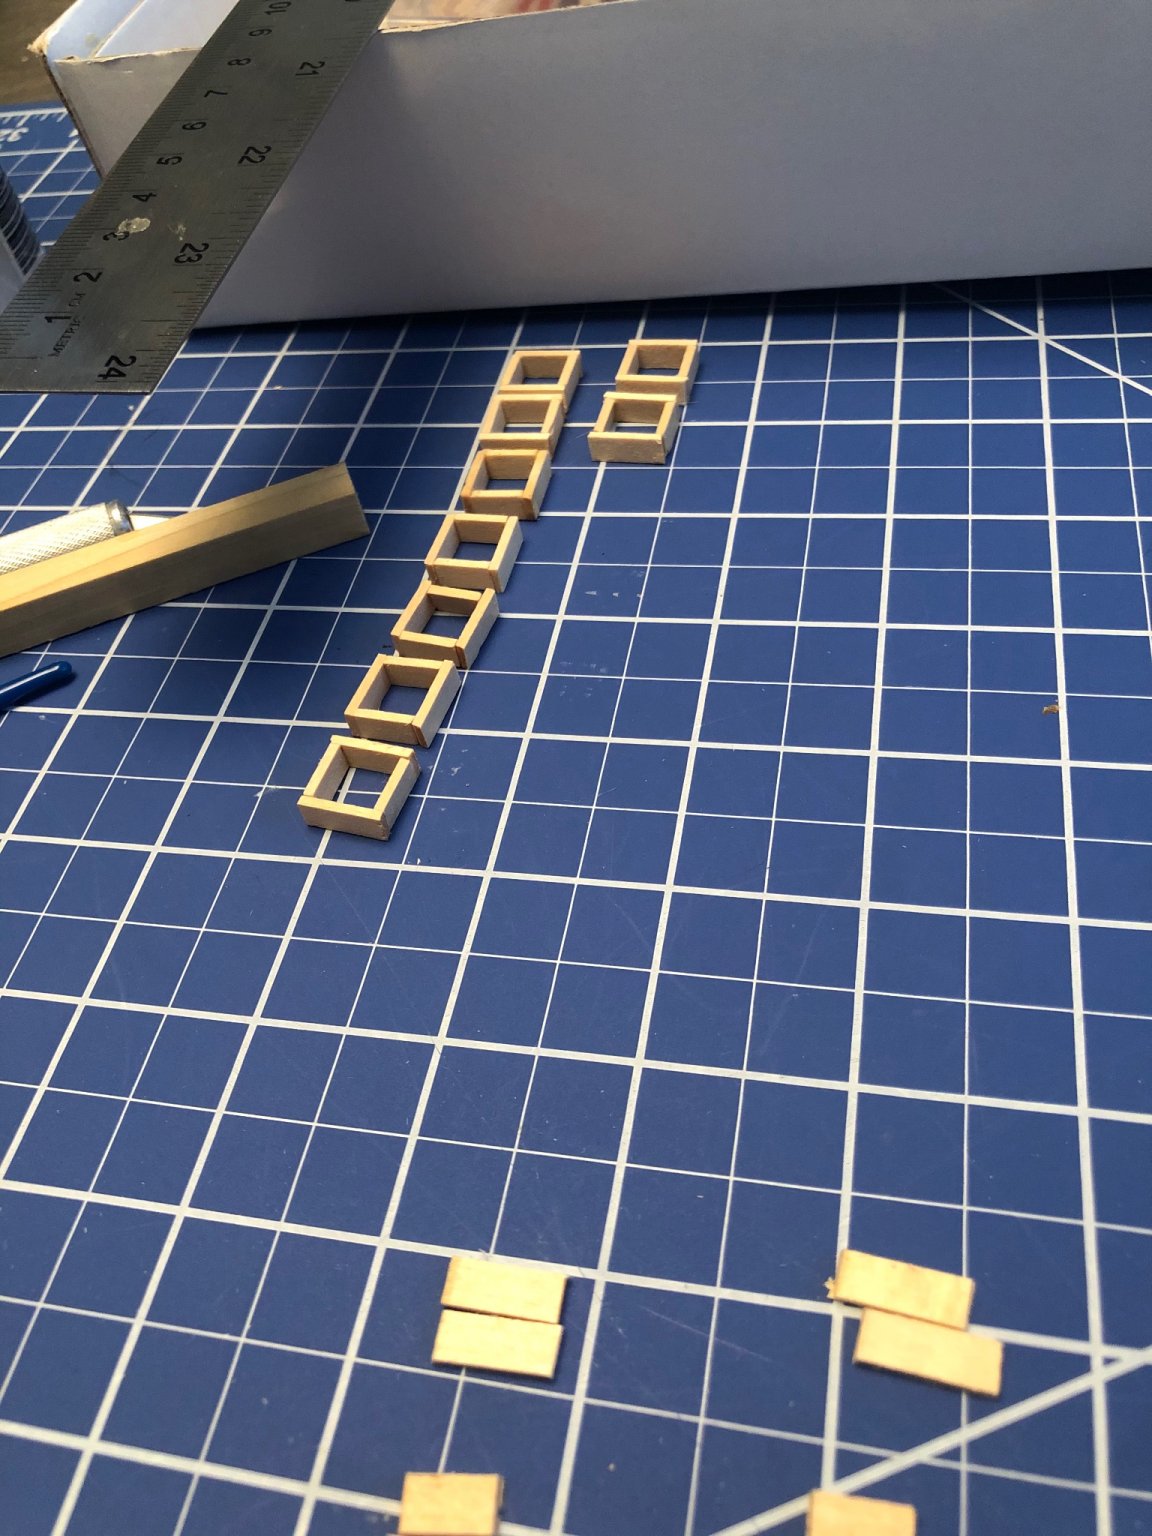
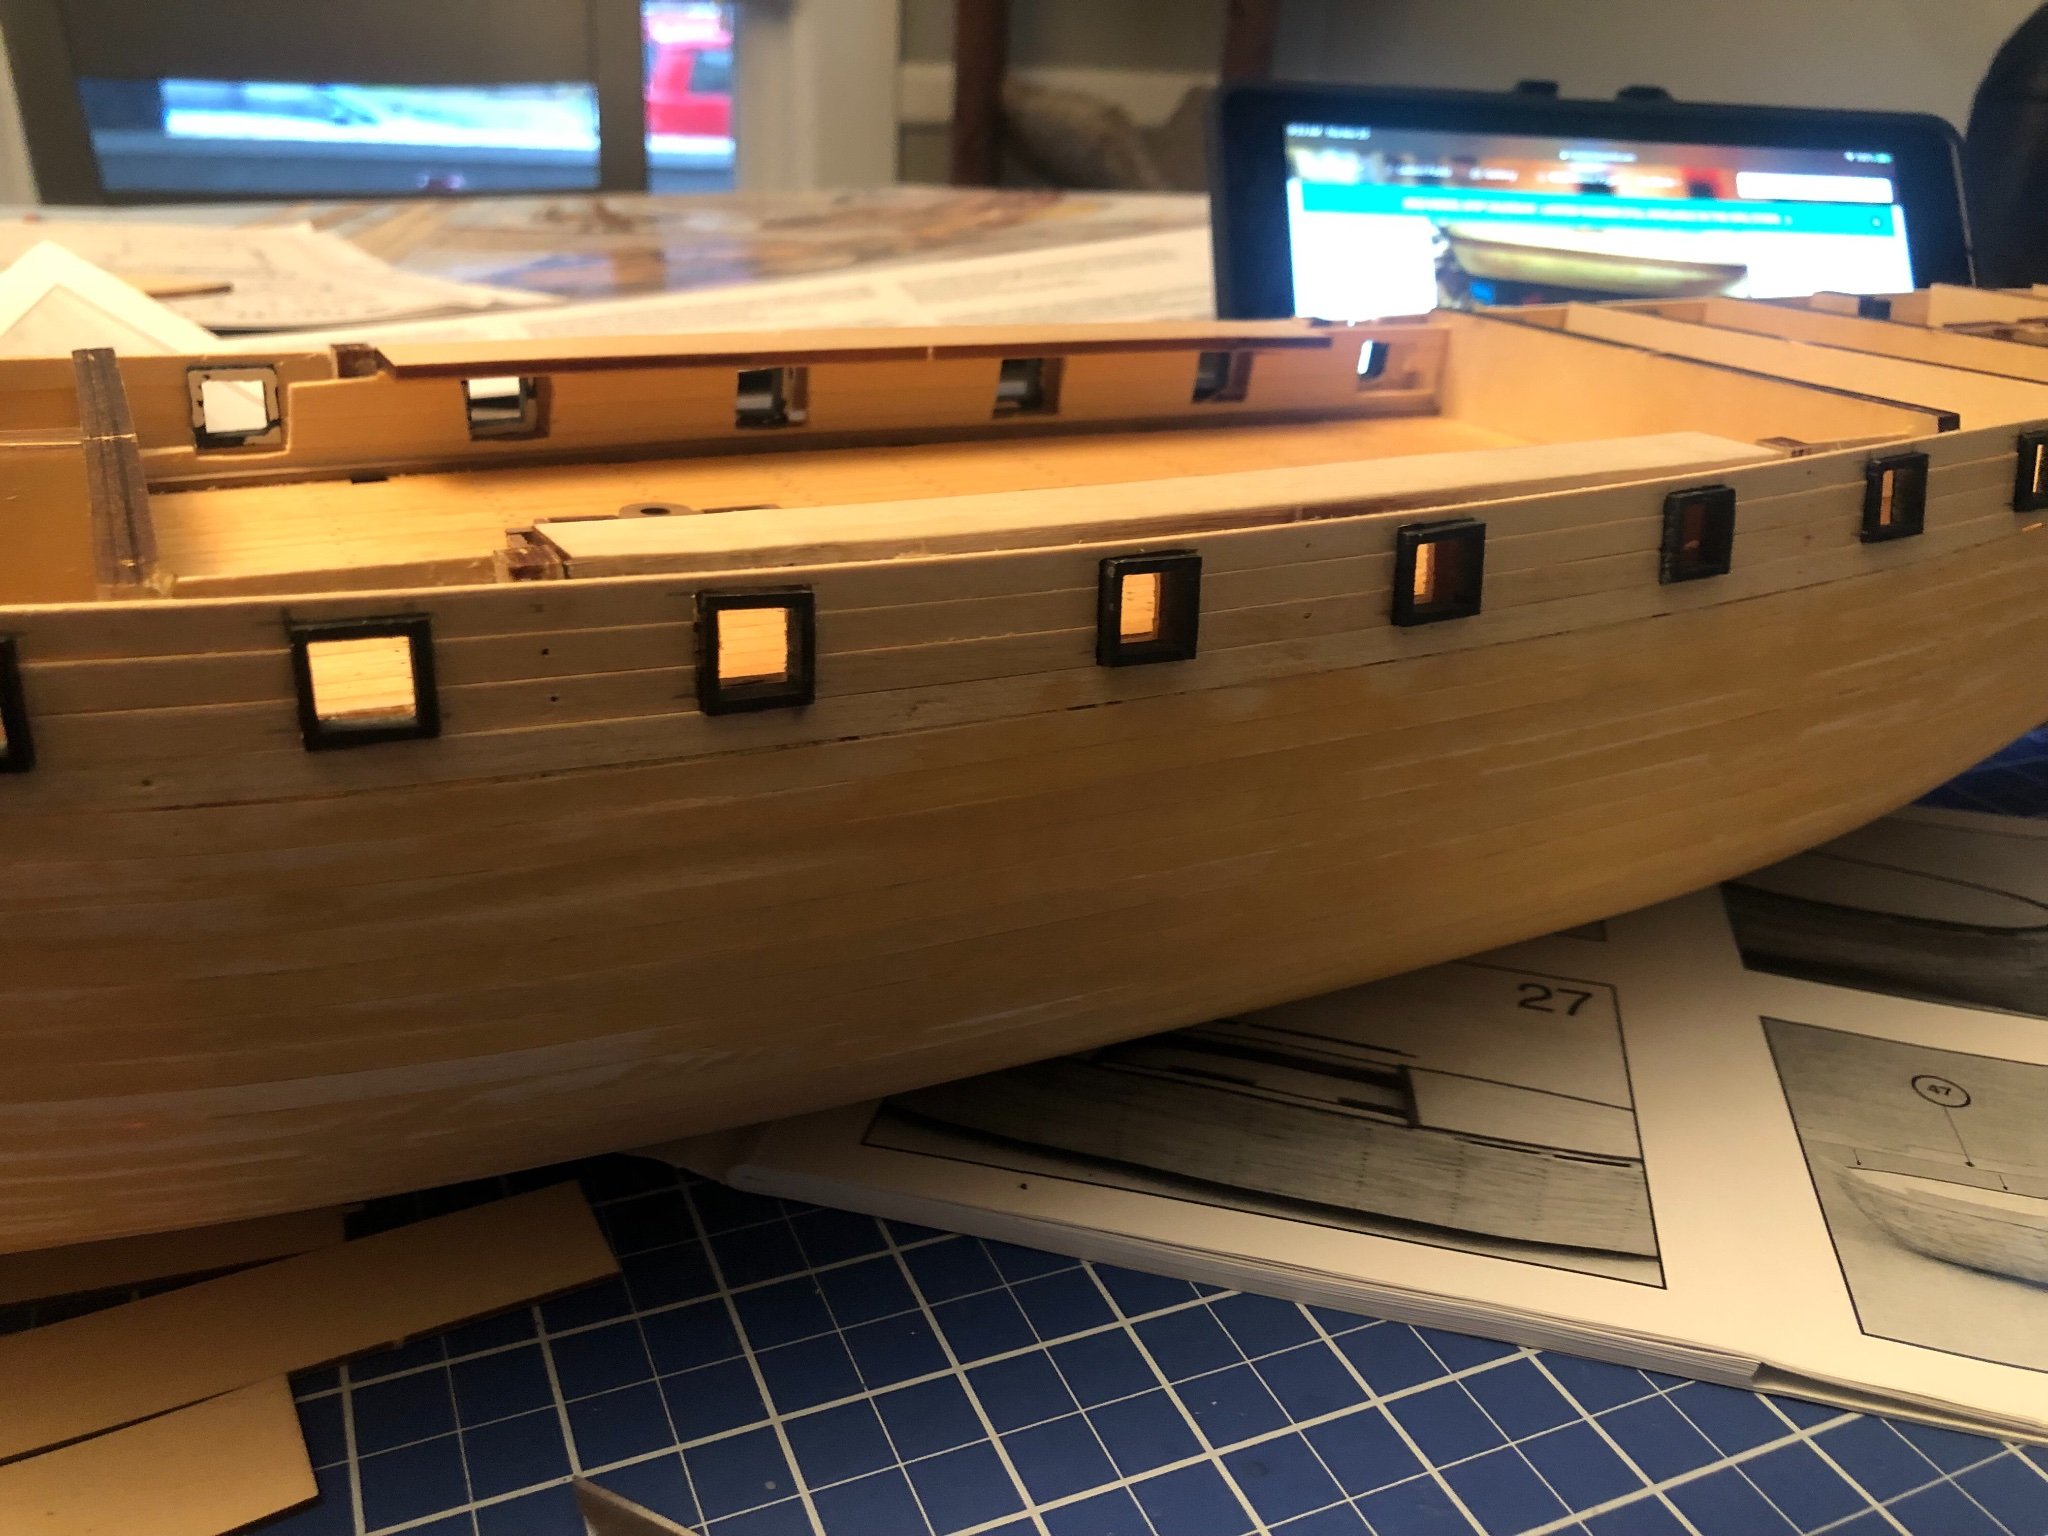
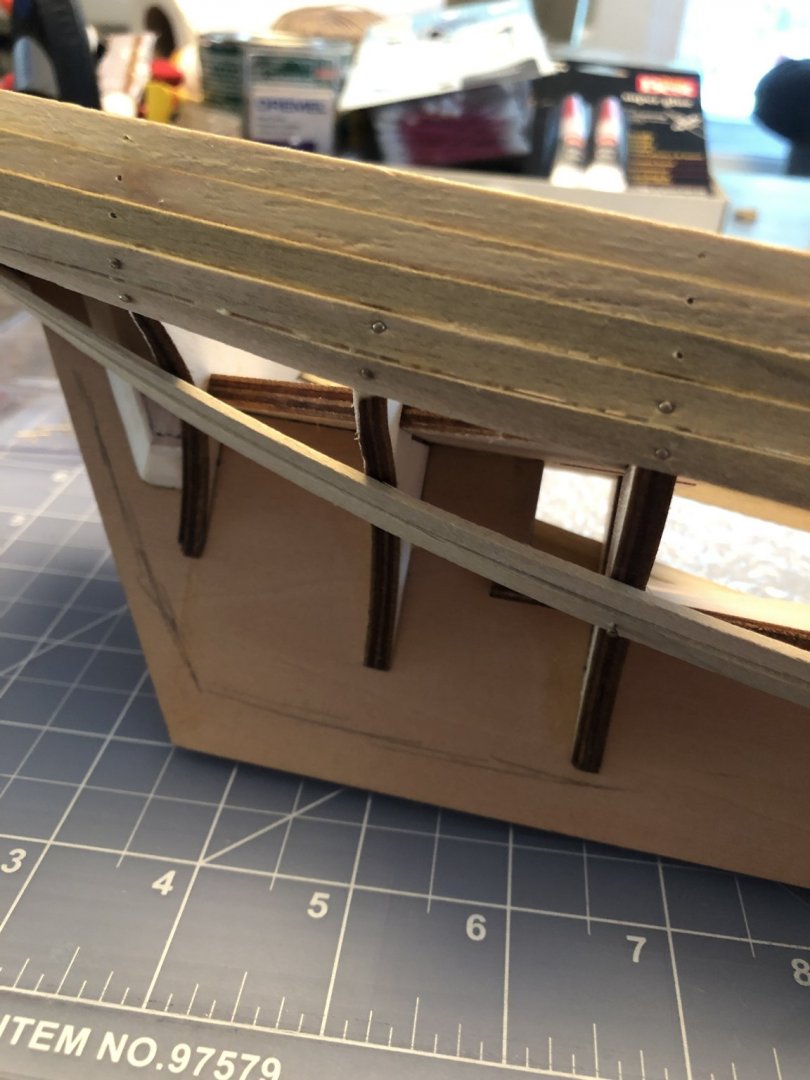
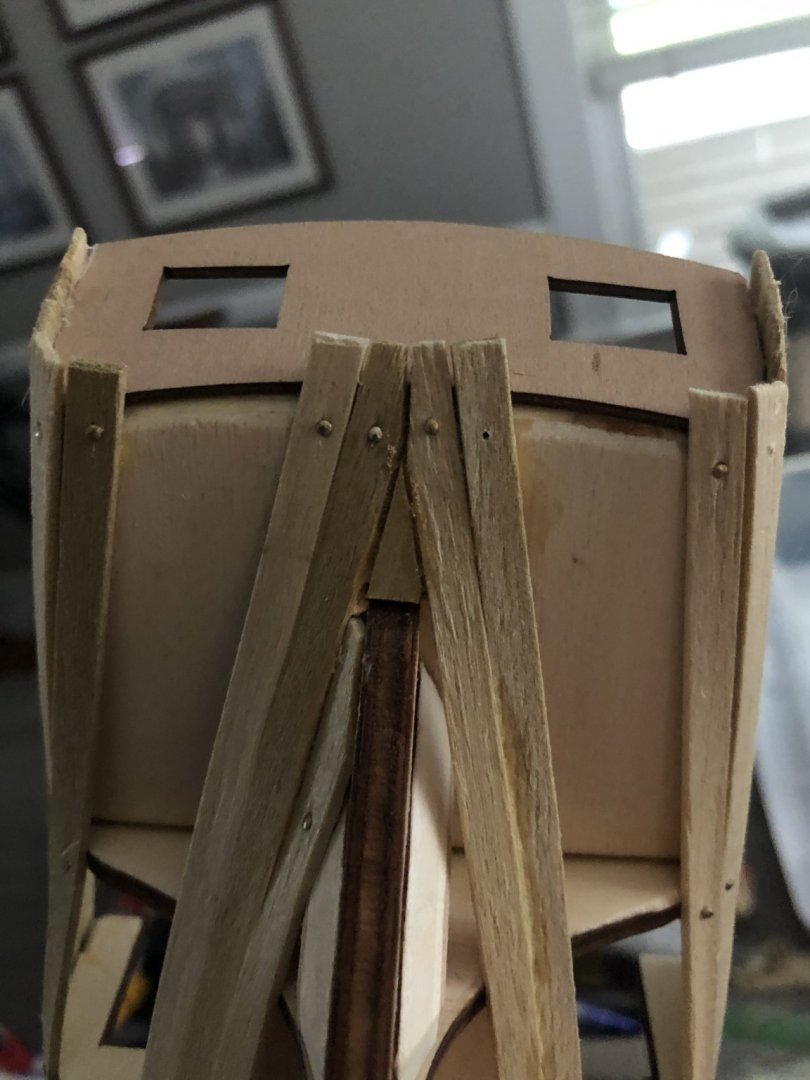
Took a hiatus out of frustration and in general life busy-ness. I’m back at it now that it’s cold out again. Cut out gun ports and put in the frames. See pic. I was dry fitting the bulwarks and one snapped. I don’t have an electric plank bender so plan on soaking and then using a hand iron to bend. If that doesn’t work I’ll use a clamp bender and sand down. Should be ok since it will be planked on both sides. For the frames of the gun ports I built them prior. Put primer on and then painted black. They will need a final touch up.


-
GrandpaPhil reacted to a post in a topic:
Scottish Maid by Smittybear - FINISHED - Artesania Latina - 1:50
-
GrandpaPhil reacted to a post in a topic:
Lynx 1812 by Smittybear - Mantua/Panart - 1:62
-
GrandpaPhil reacted to a post in a topic:
Constellation by Smittybear - Artesania Latina - 1:85
-
JDDouglass reacted to a post in a topic:
Constellation by Smittybear - Artesania Latina - 1:85
-
mtaylor reacted to a post in a topic:
Constellation by Smittybear - Artesania Latina - 1:85
-
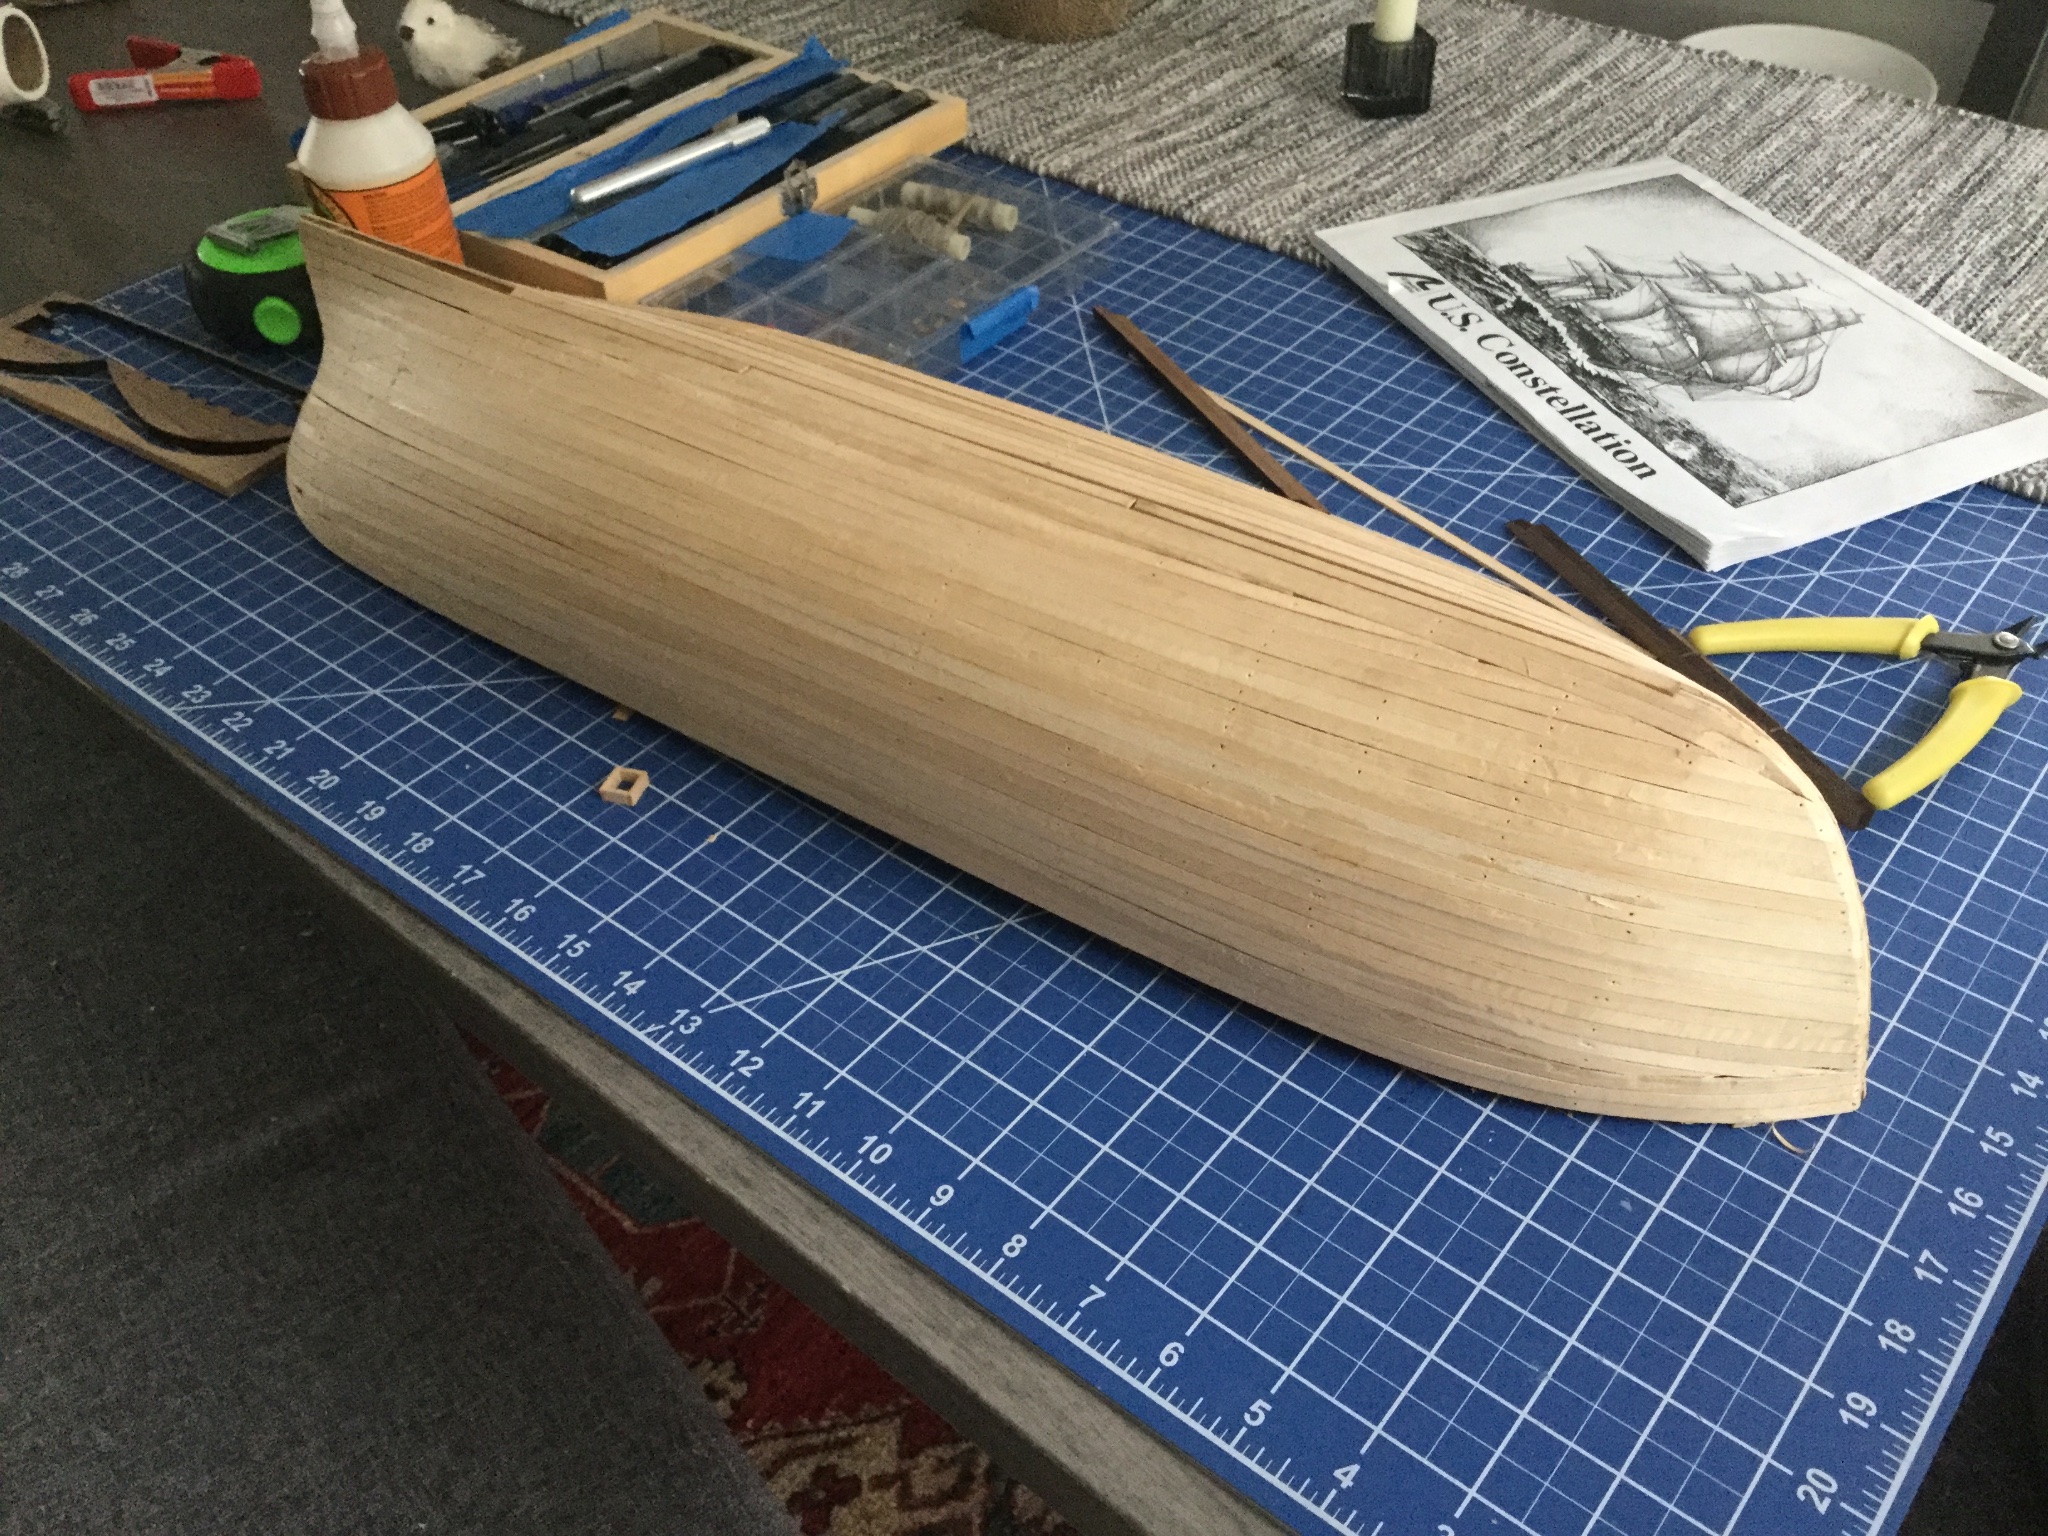
Have had quite a bit going on the last 2 months. Recovering from a hip surgery last week and can finally sit and work on the boat again. Because it’s been 2 months I’ve lost some of my train of thought. I’ve finished the first layer of planking and decided I want to cut out the gunports before using wood filler, sanding, and applying the second layer. I like JD’s idea of making the interior 9.5 vs 8 because a square wooden dowel of 9.5 mm (0.375in) is available at Lowe’s To use as a square guide. However it’ll be a few days before I’m out of crutches or wanting to run errands, so it’ll just have to wait. I’m having some trouble getting the bough keel cut out sufficiently. I’ve been using a razor blade but was wondering if you guys thought a Dremel router or cutter would be more useful? Also reference sketching on the gunports... any tips for accuracy? I’ve spent a lot of time searching the forums and referencing other build logs so look forward to your inputs. I have lots of other things to keep me busy with this build until moving forward with the gunports.

-
Side note. One this I haven’t done yet is add the inner under deck cannon supports. After reading toms10’s blog it appears that I should wait to do this and line them up with the other cannons when they are fitted in prior to installing the deck.
-
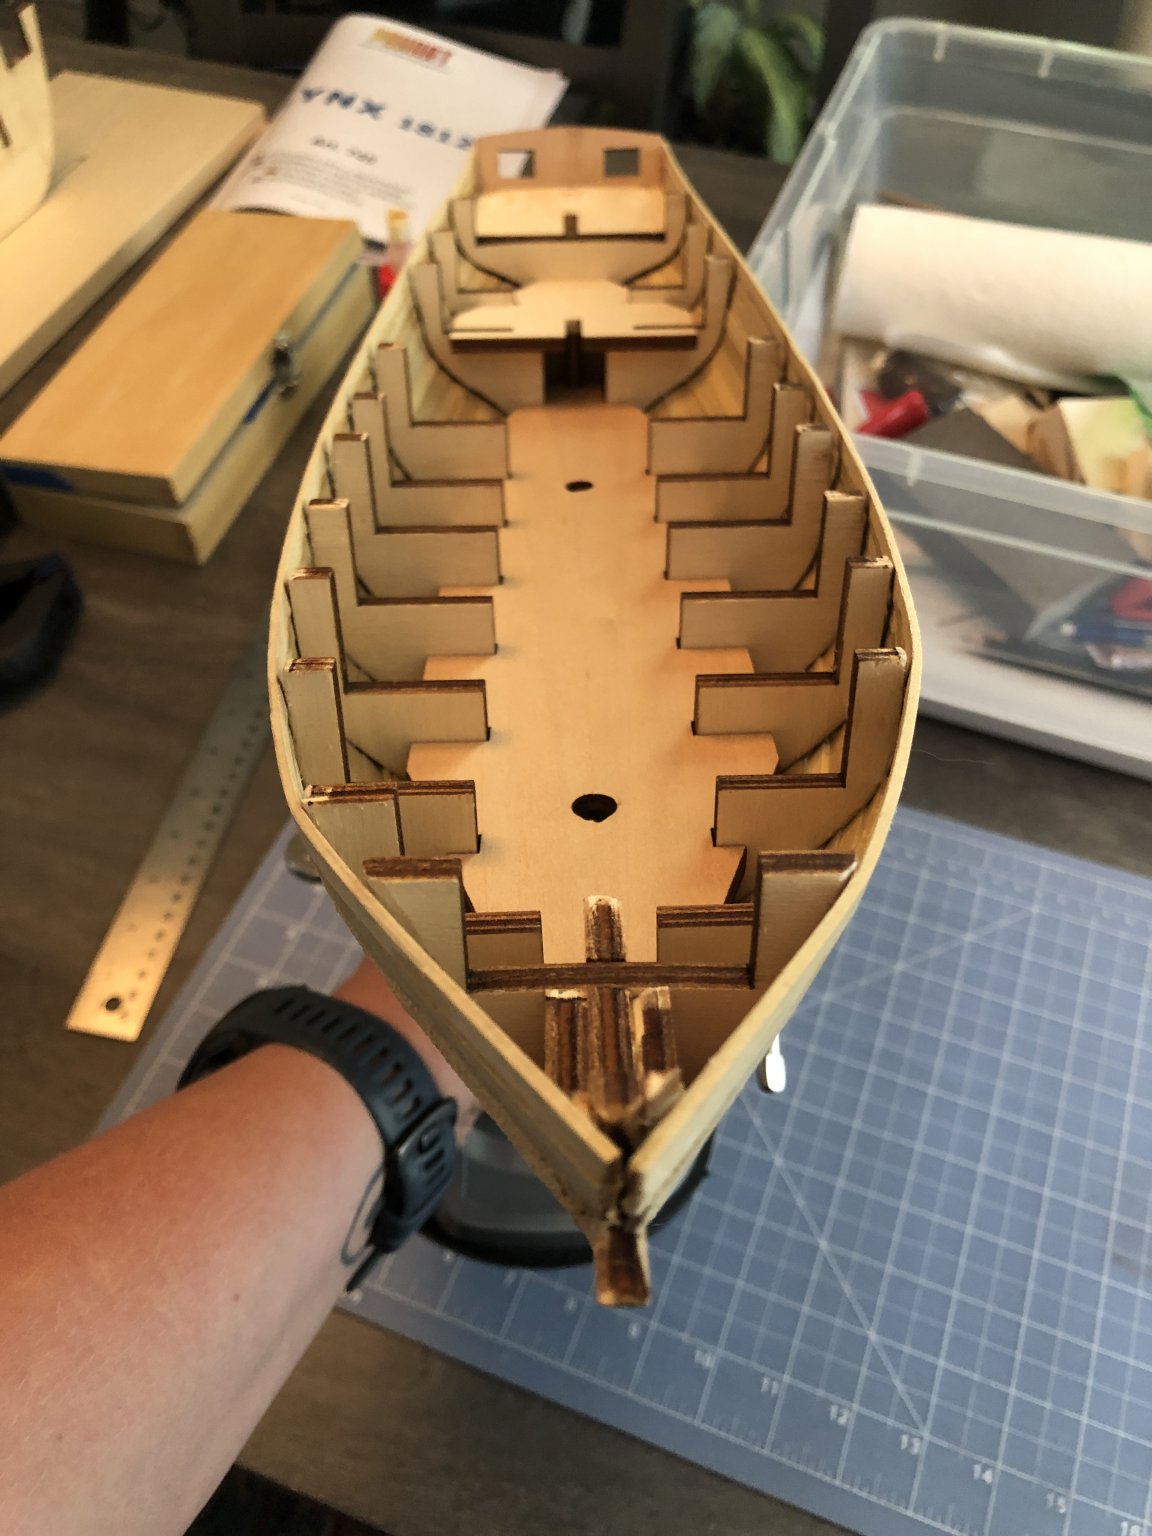
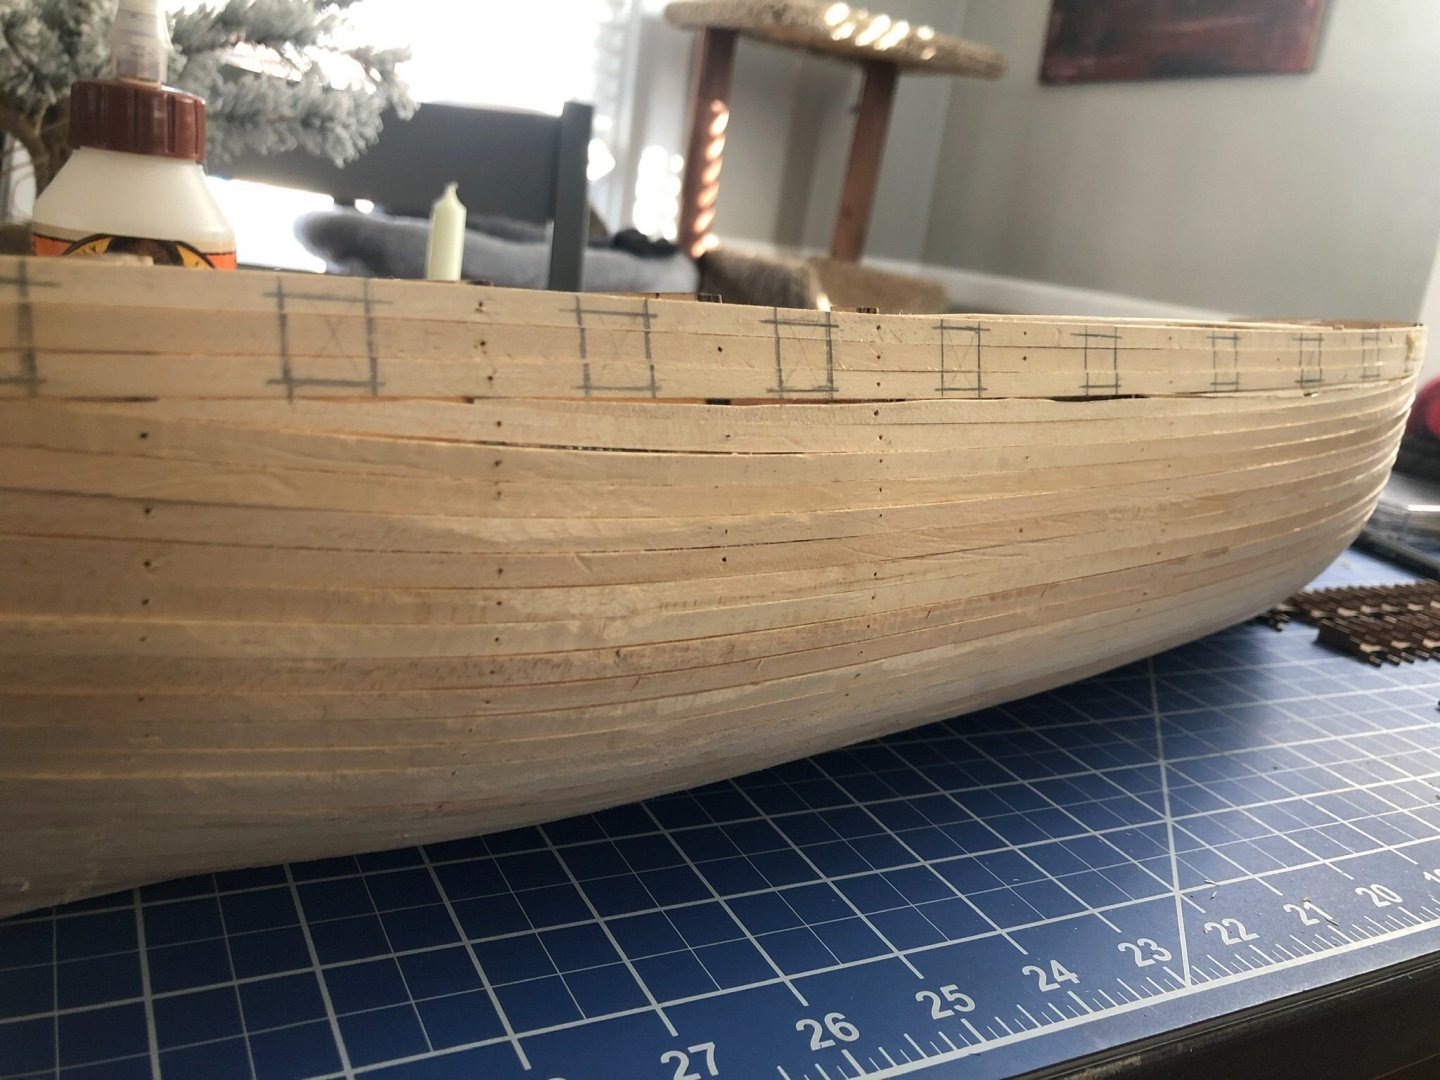
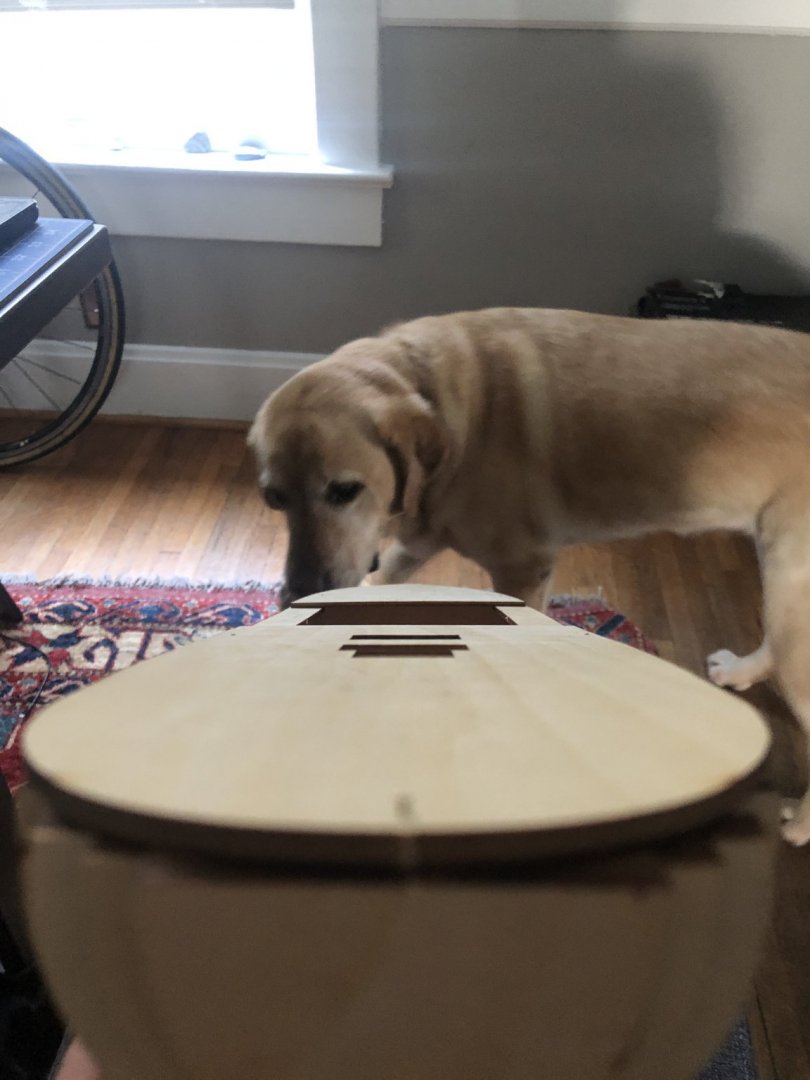
Finally finished putting the bulkheads in and still had significant warpage. Putting some of the inner decks in while still keeping it clamped straight has helped straighten everything out. The bow is still somewhat warped. I tacked on the upper decks temporarily which hold the bow where it is supposed to be. If it’s a little off I’ll just have to shape it by sanding it down a little more in some spots. I am planning on adding a few rows of planks and then I should be able to remove the upper deck and work from there. this isn’t the best shot and this isn’t tacked on to every bulkhead, but everything appears to be lined up. Lots of sanding to do today.
-
🤔 I wonder if they would ship me a new keel and bulkheads
-
I’ll check them out, I have only built AL and am in the middle of a panart/mantua. I do like the quality of parts of the AL brand, bummer they aren’t around anymore.
-
I will try this in the problem areas before moving forward. Hopefully, by weighing it down with multiple bricks glue and the wood it will straighten out twisting in the front especially. Also hopefully if anyone has an issue with this in the future they can reference this log. I also emailed micro mark and told them about the issue, haven’t heard anything back. For the price of this kit and the skeleton be so warped, I’m pretty disappointed in that distributor to not even follow up.
-
Smittybear changed their profile photo
-
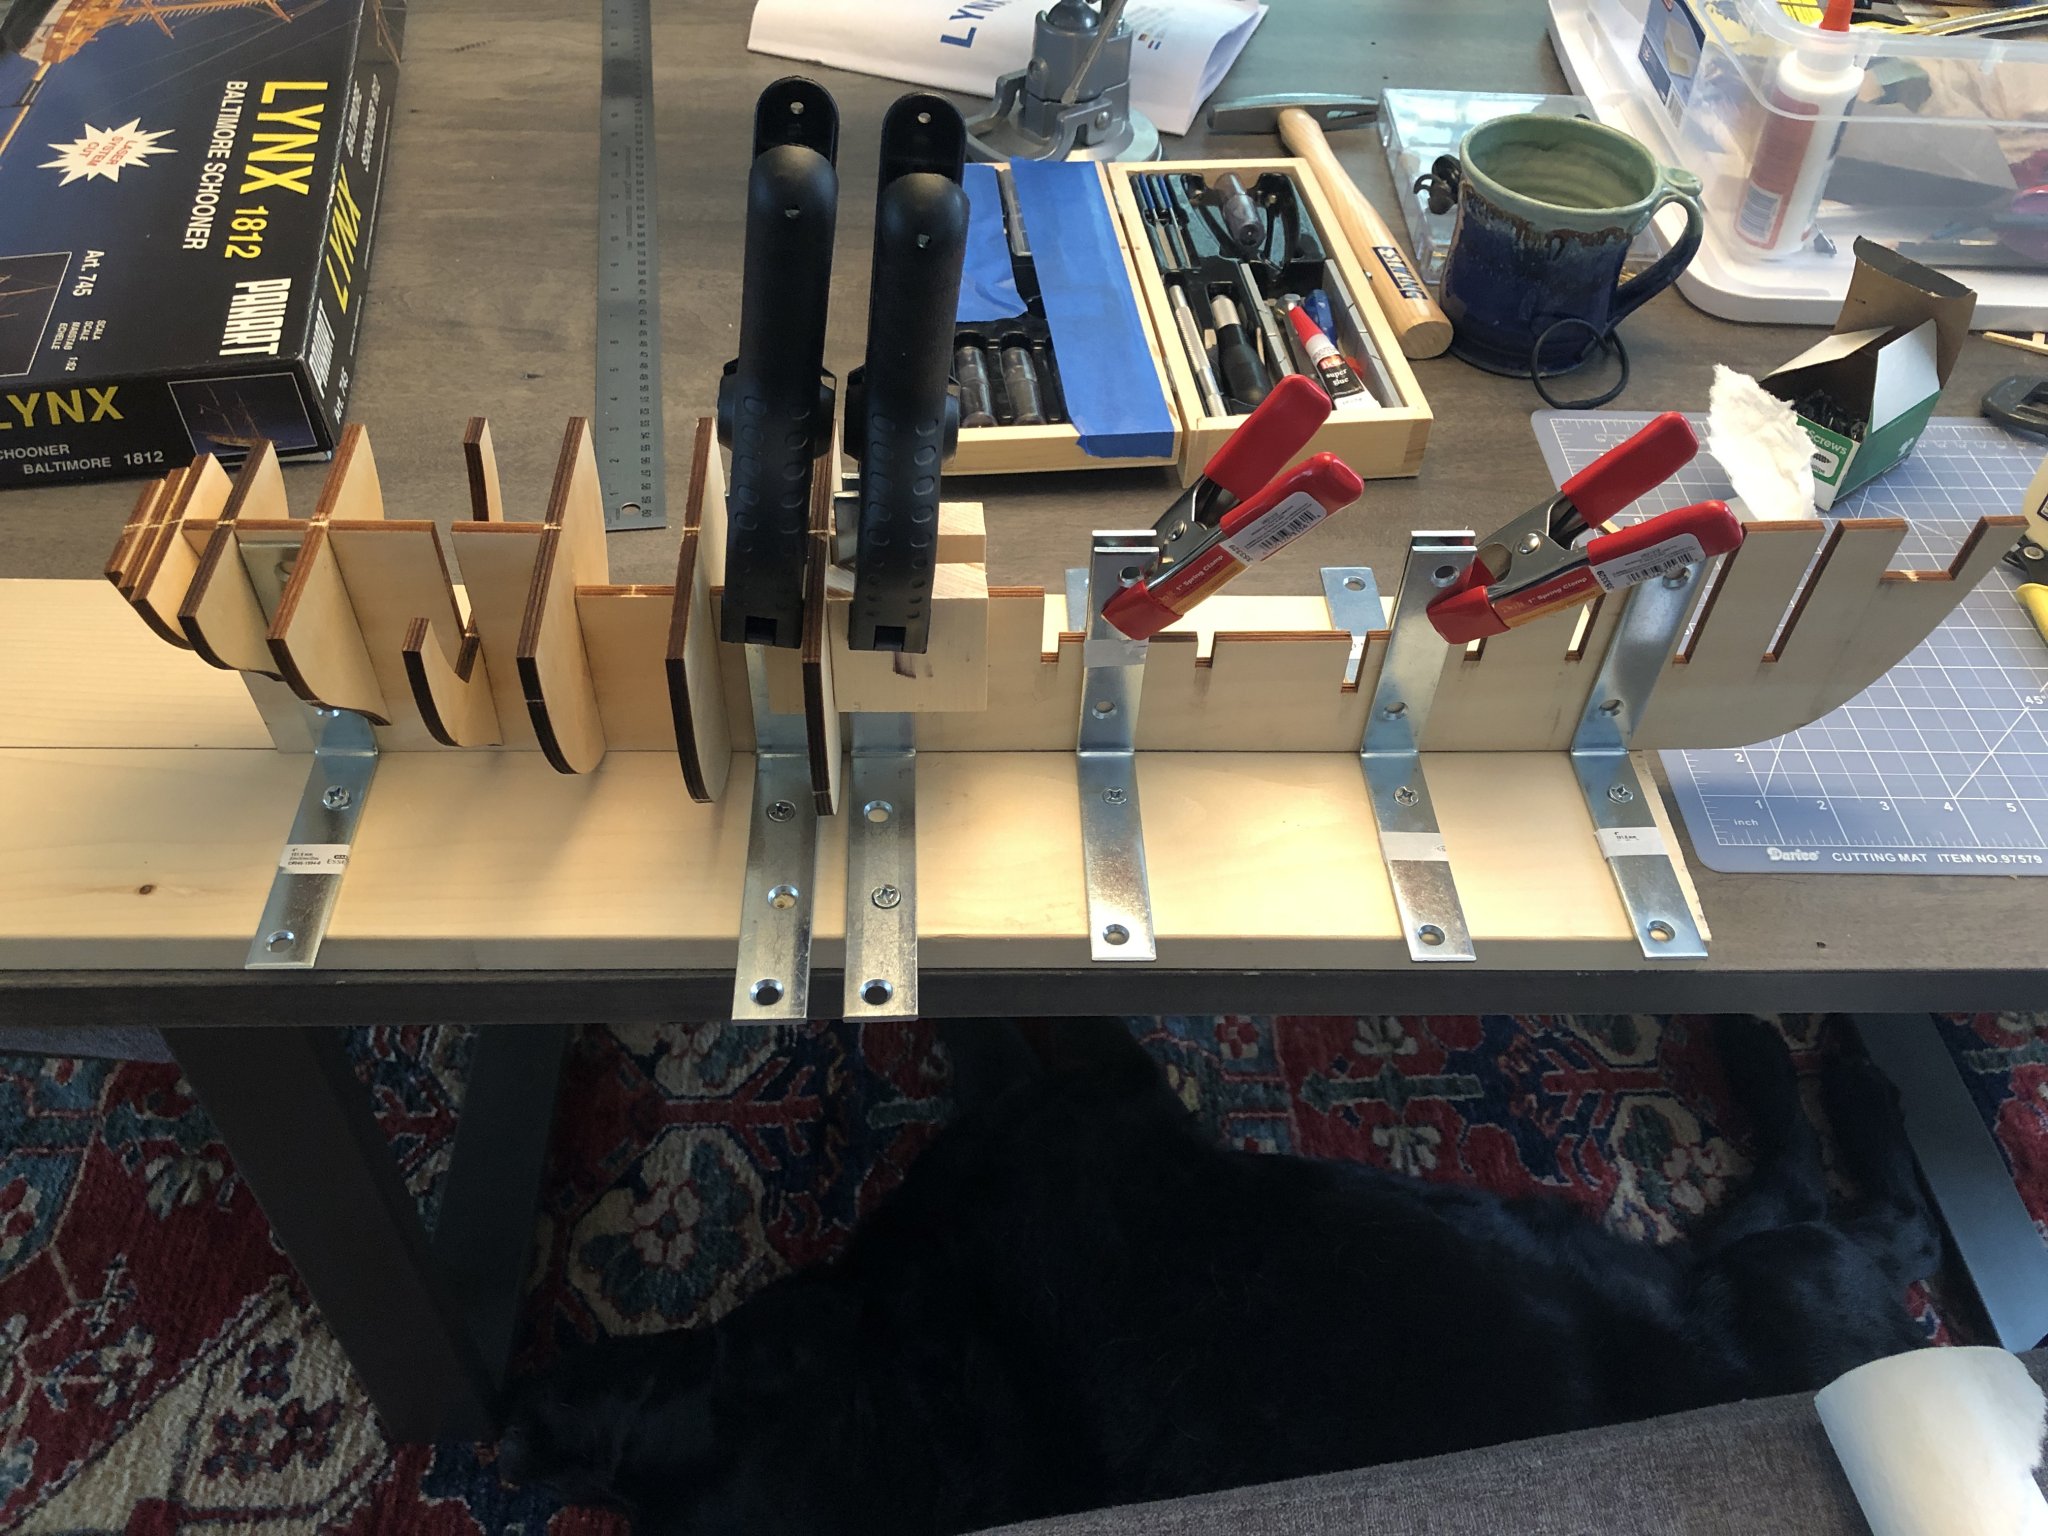
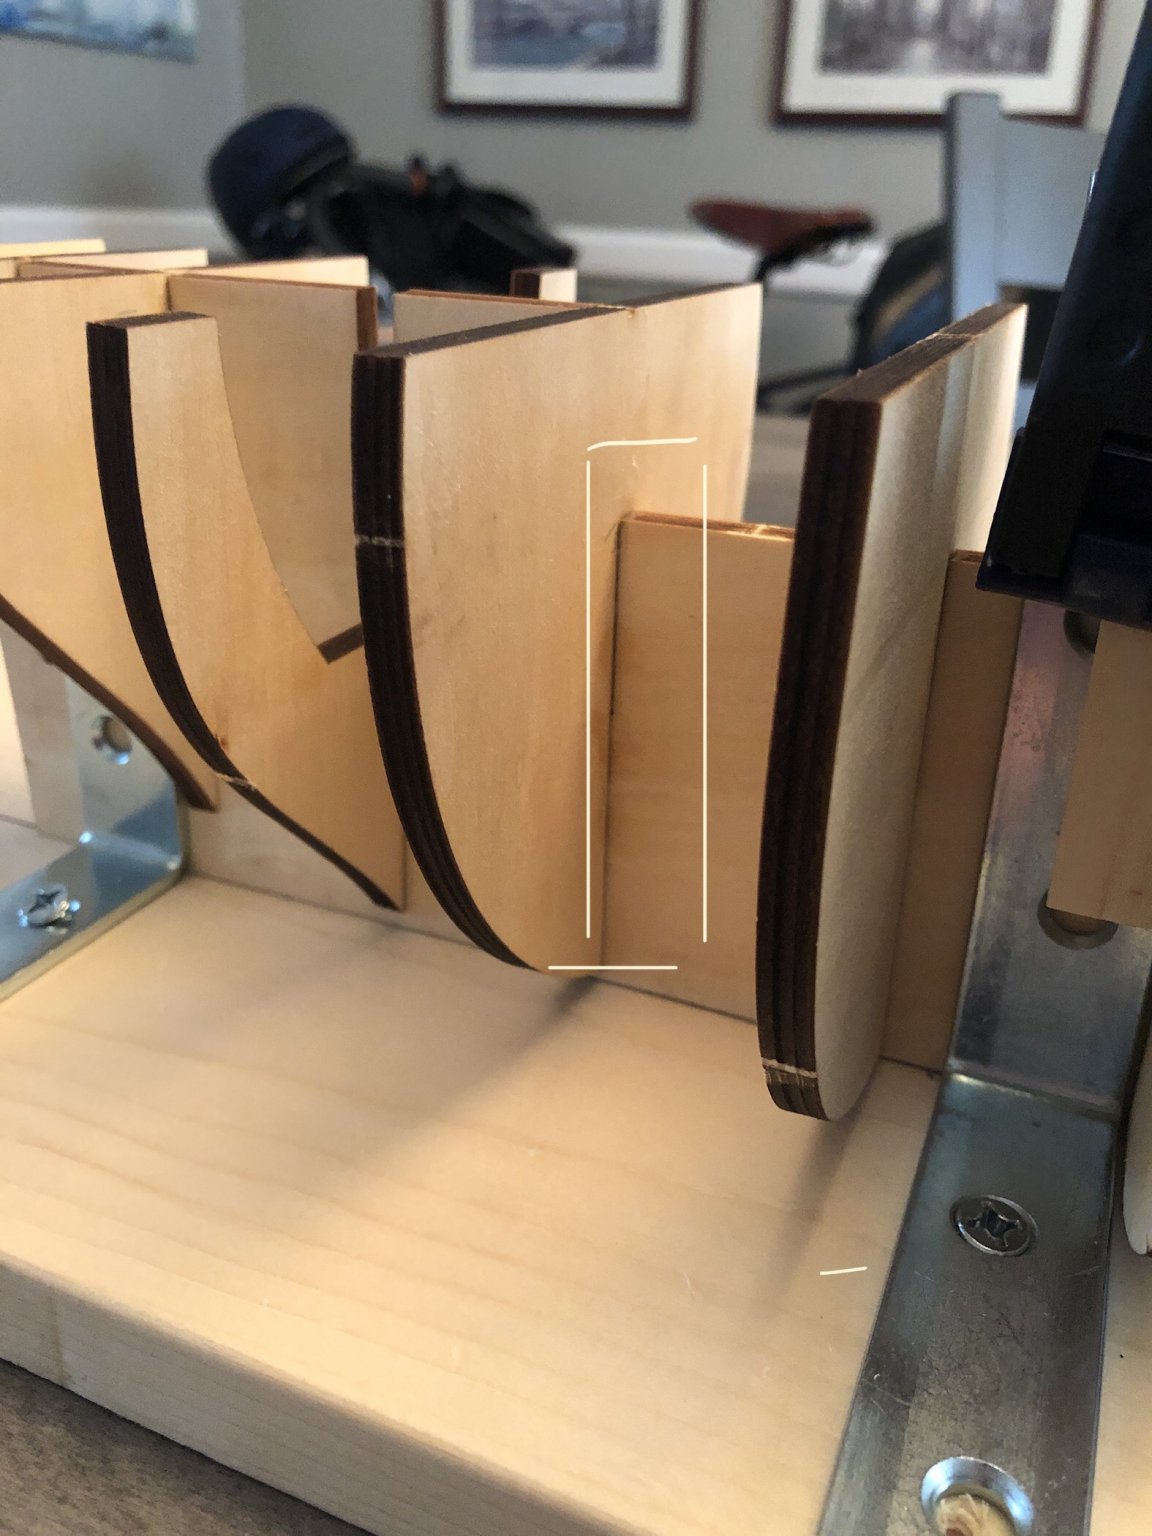
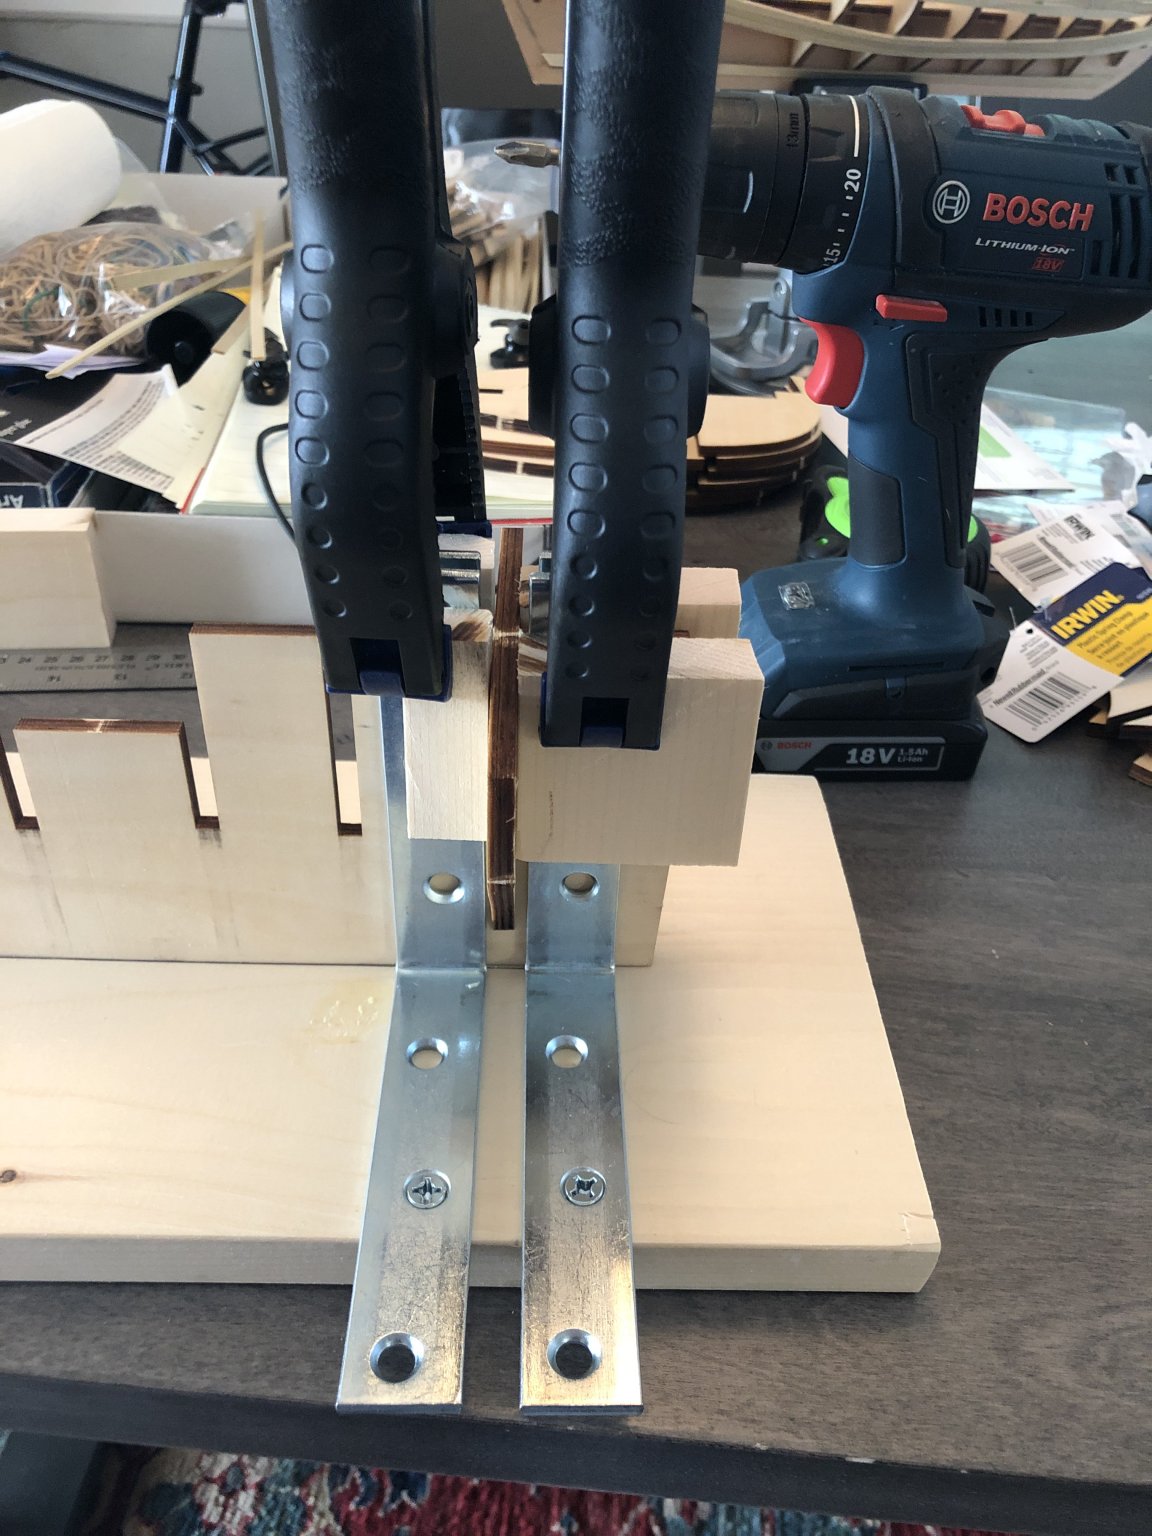
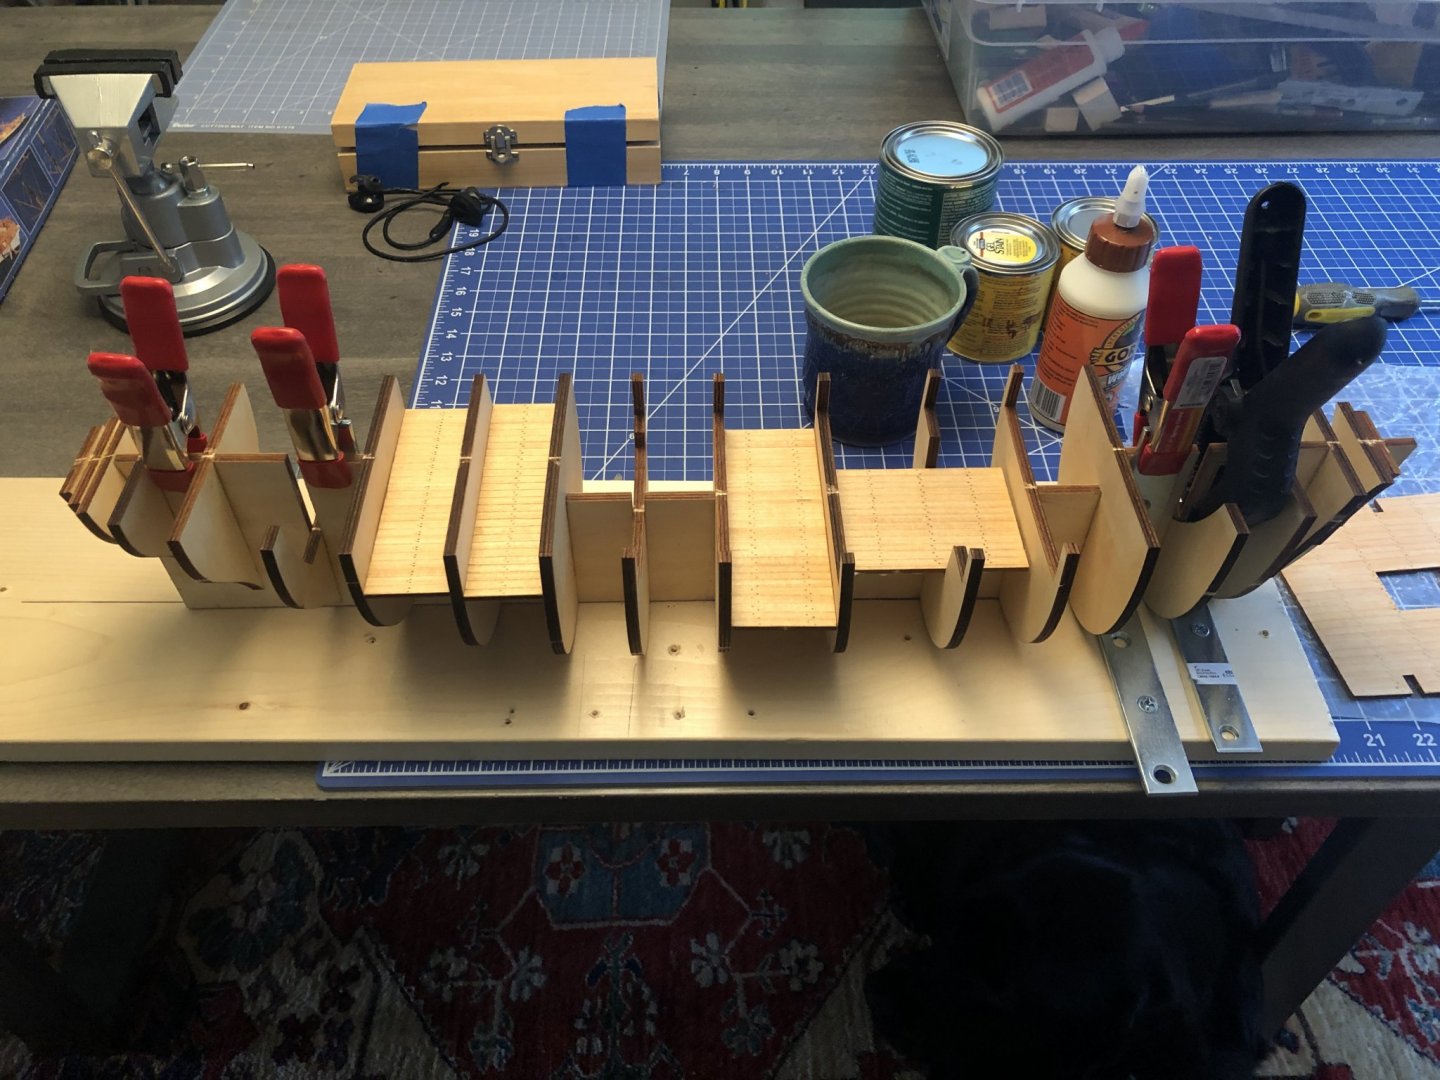
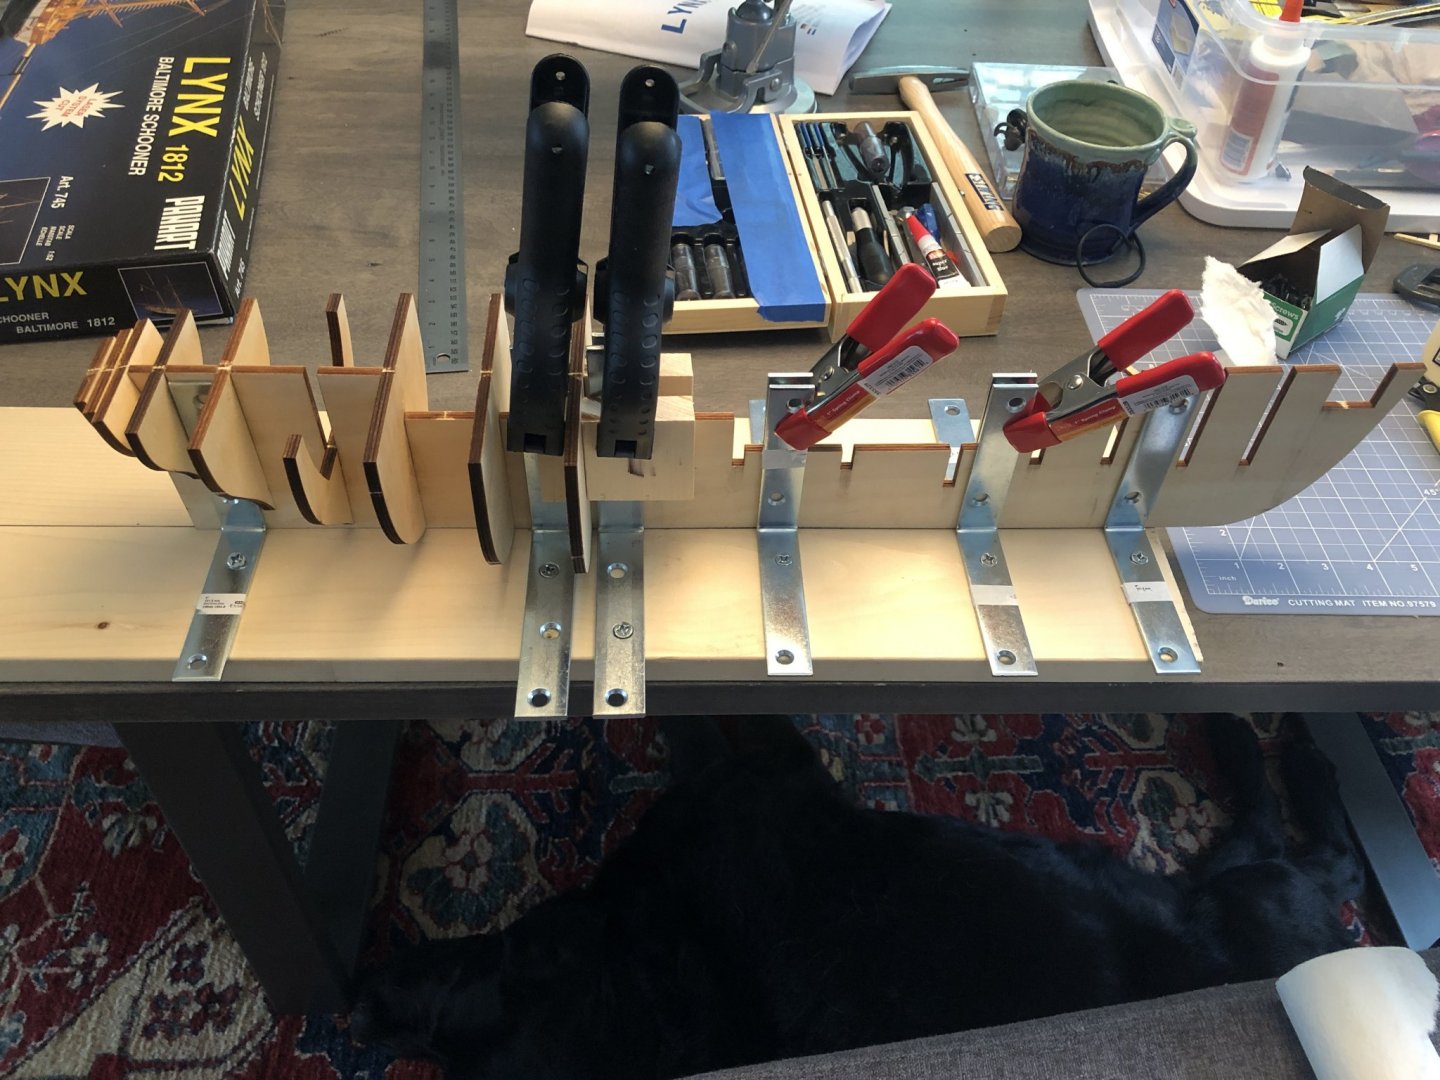
I’ve been plugging away once a day trying to get this warped keel straightened out. I’ve increased the brackets from 4 to 10. Do one, lift, slide, remeasure and level, measure again, glue, adjust, and measure one more time. Today I discovered some bulkheads (the ones on the same sheet as the keel) to be a bit warped. Compounding the issue of trying to get everything squared up. The keel, even with all of these brackets still wants to twist and turn too, so this has been a pretty frustrating endeavor. In hindsight I wish I would have just had the keel remade. I don’t think there’s a way to 100% salvage this project, but I’m still going to try. My question is, typically I see people put supports between bulkheads. Would it be better to try and ward off twisting by adding 90 degree supports to this location? It’s still twisting even after gluing the bulkheads in. Or just add wood pretty much everywhere? I’ll be out of town for a bit, so in a few weeks I’m going to have to tackle this issue at the bow. The keel has limited space to put angle supports. Any helpful suggestions would be much appreciated.

-
Good to know! Are their newer kits more user friendly?
-
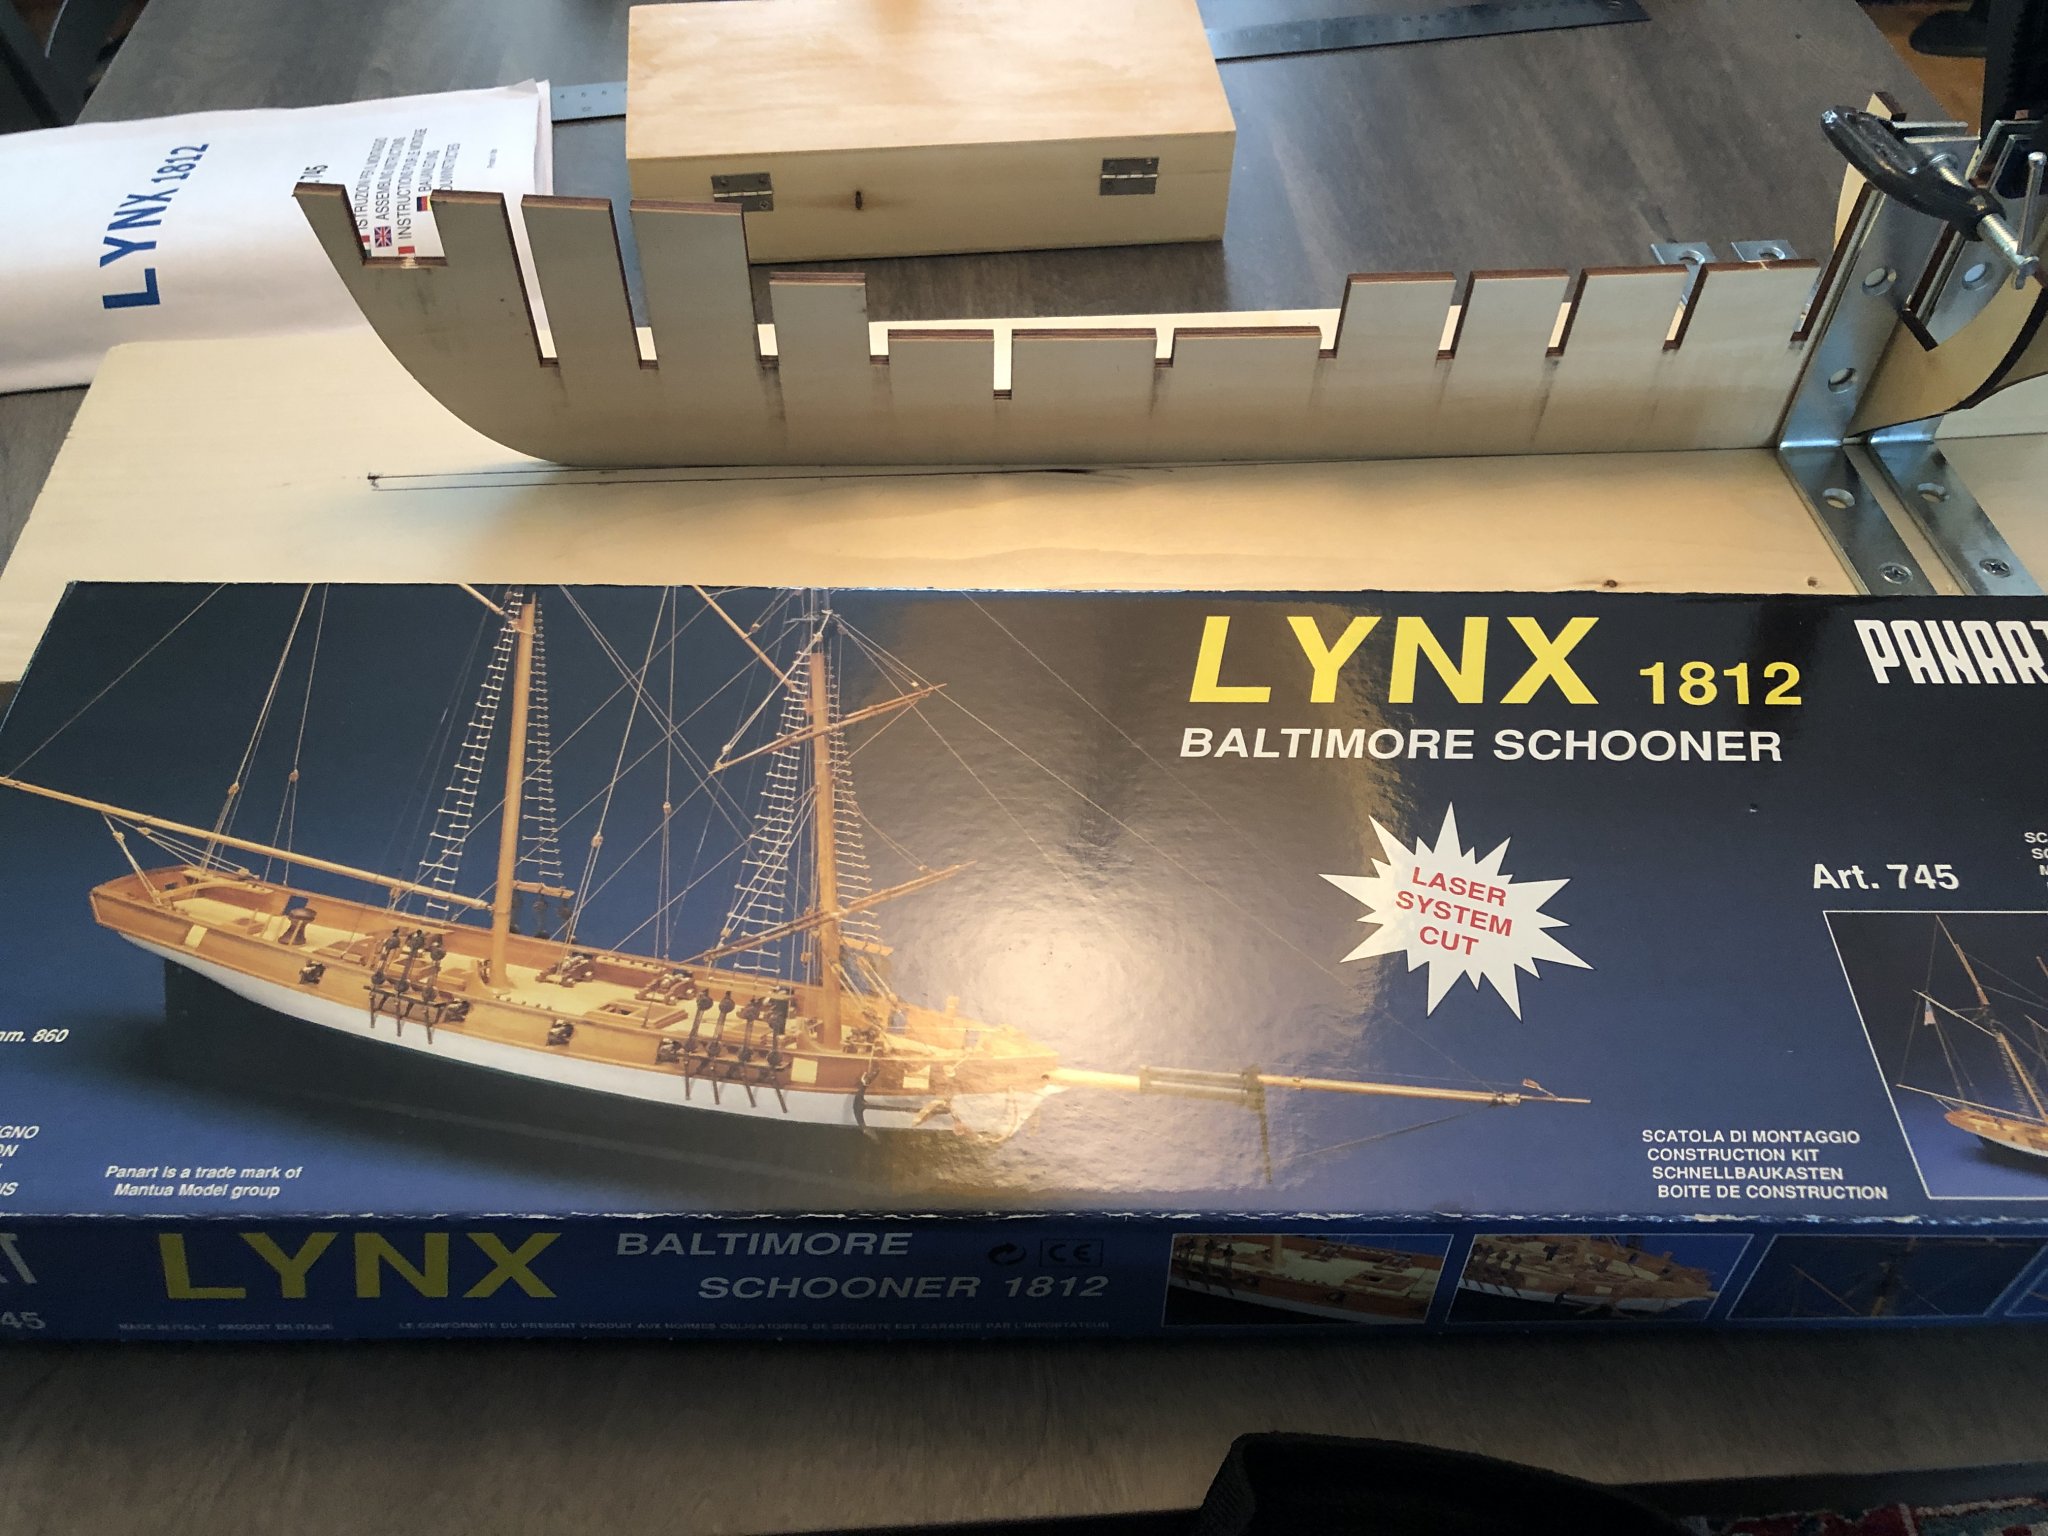
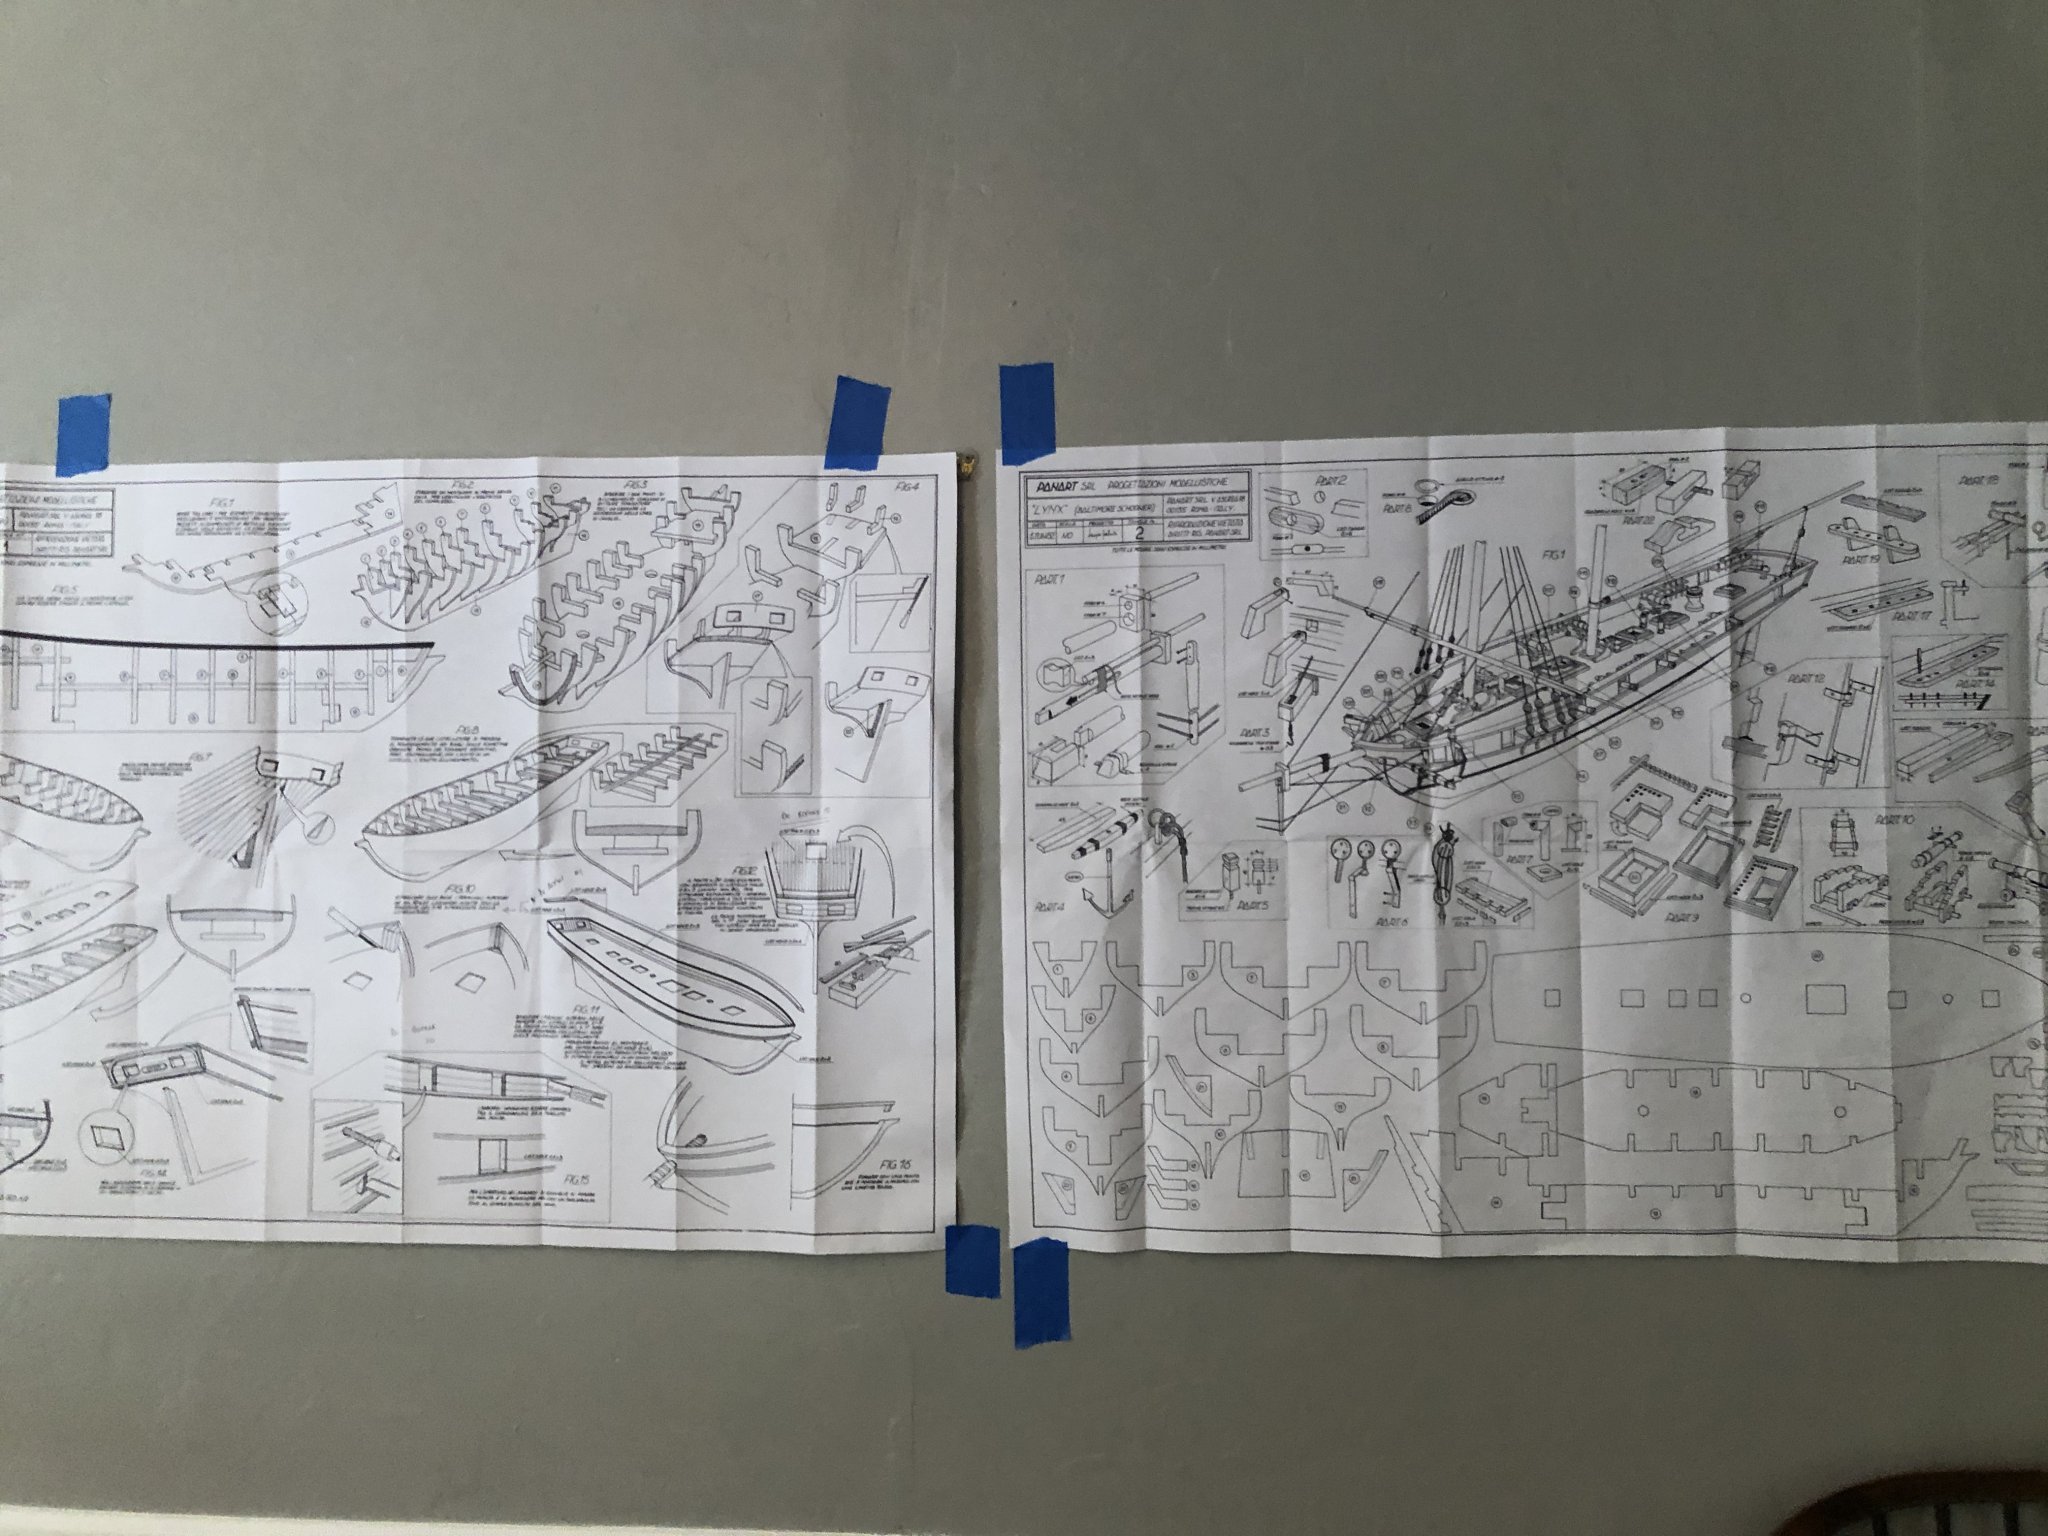
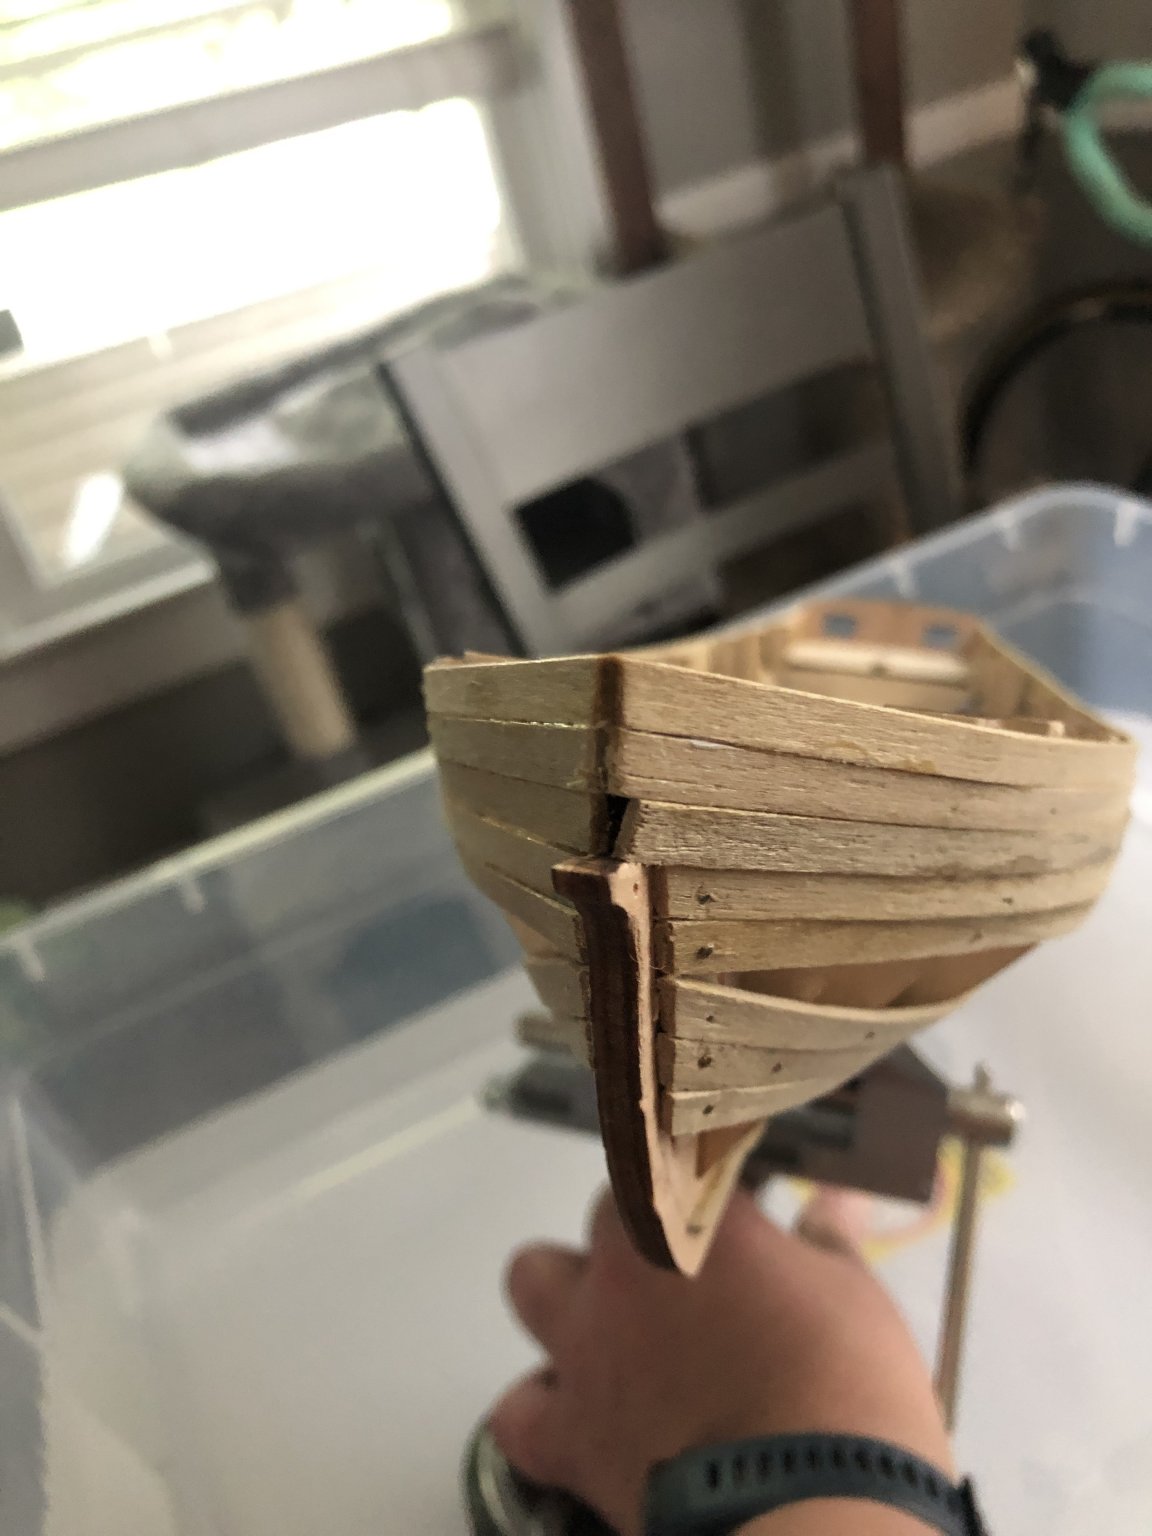
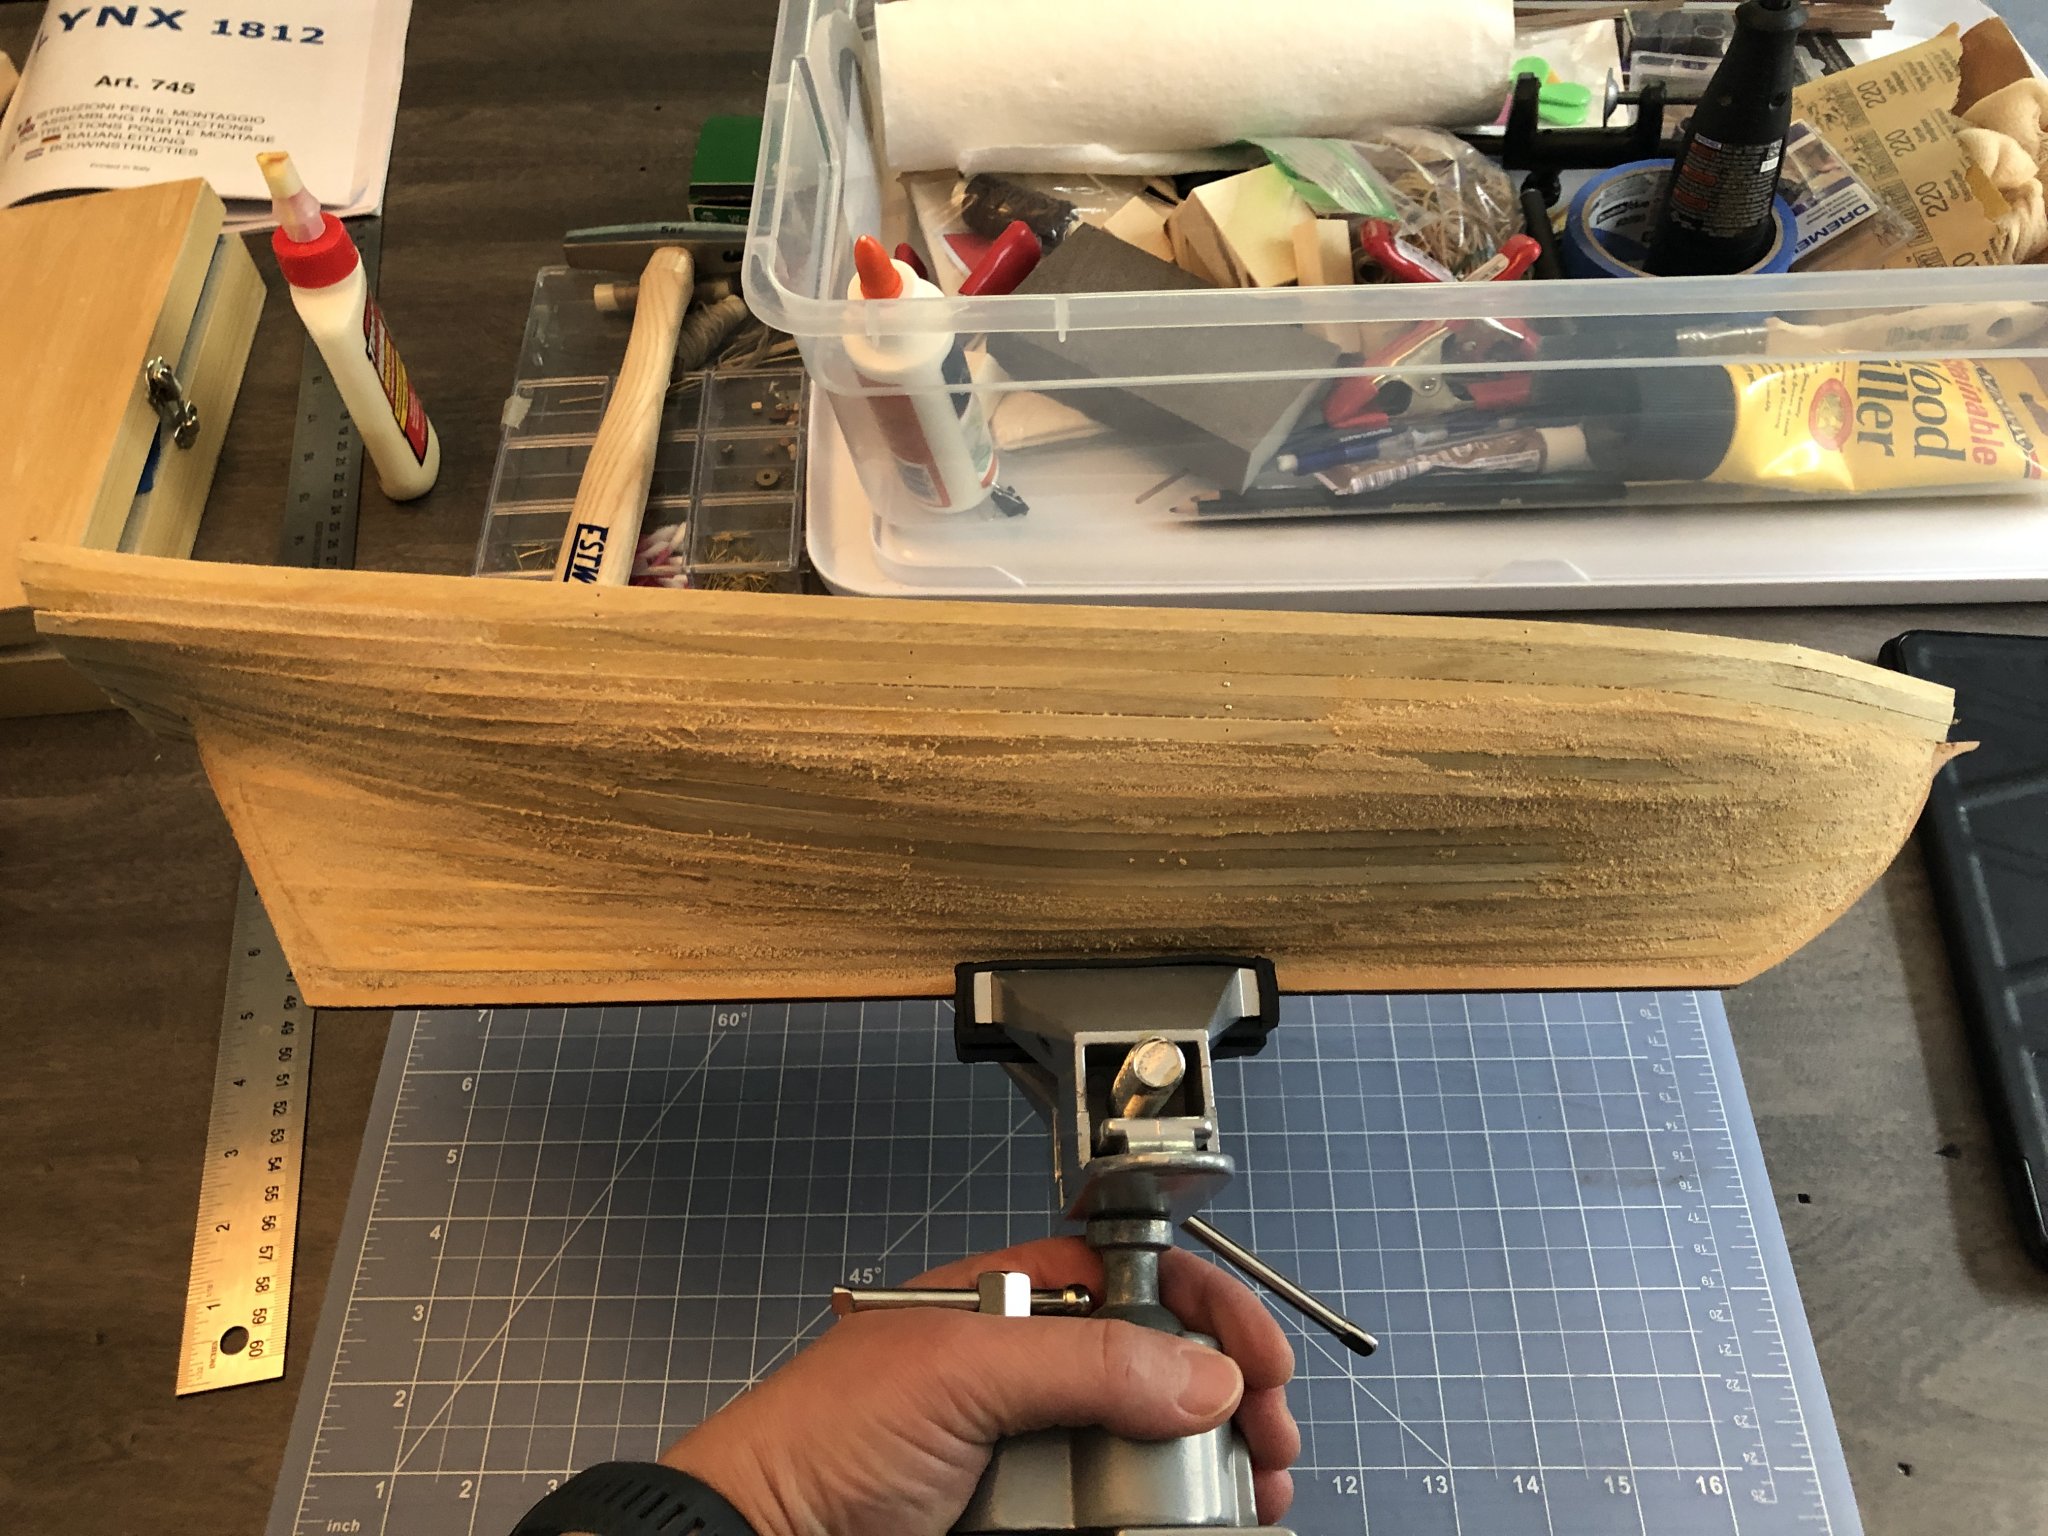
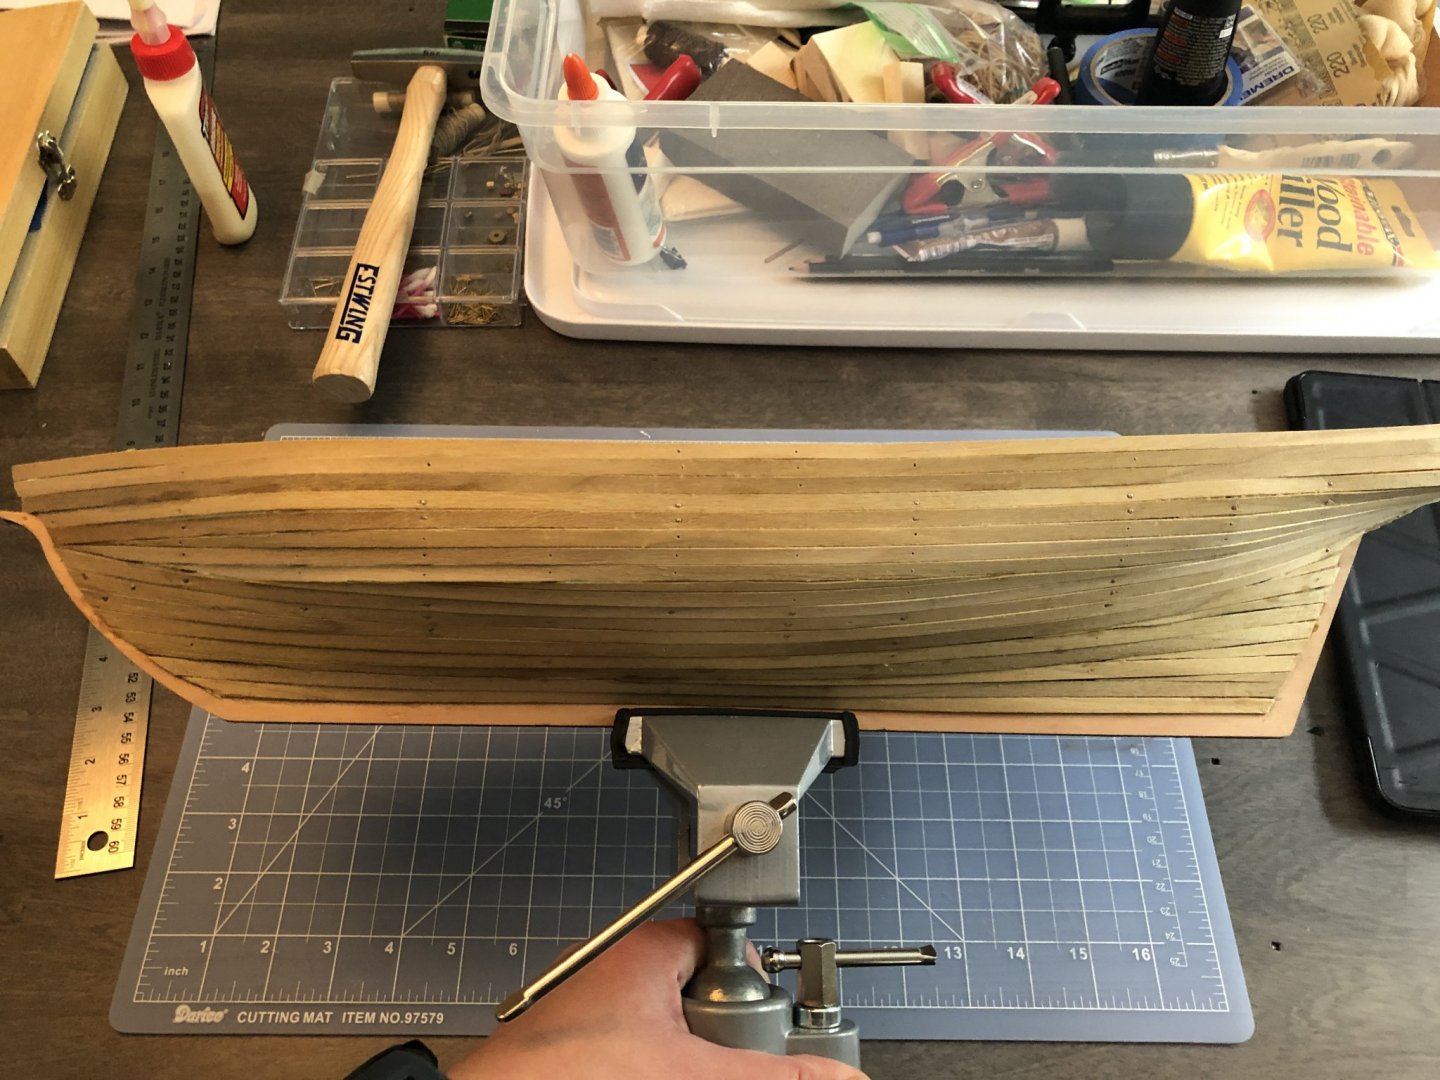
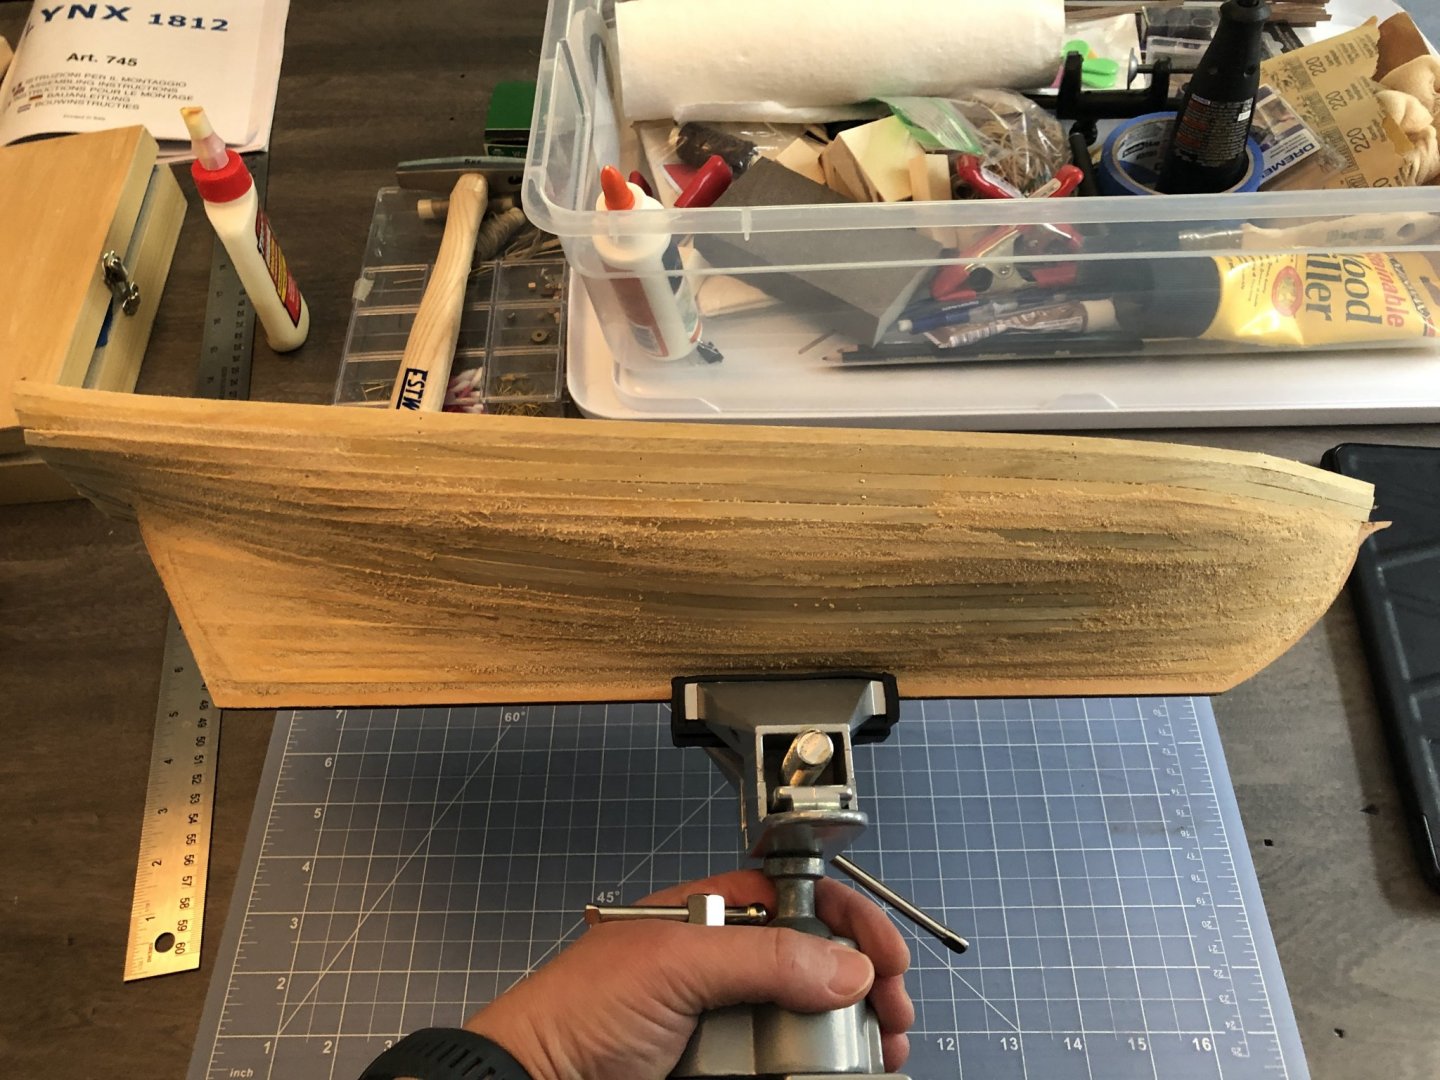
I started working on this model about a month ago. My dad and I FaceTime when we find a few hours to work on our respective models. I don’t have too many pics of it from the beginning and have finished the first planking. This is my second kit/build, my first being the AL Scottish maid. Mantua seems to not use as high of quality materials and I didn’t think that there could be any possibly worse instructions than AL, but here we are. I’ll be filling both sides in with wood filler today and sanding the hull down to start second planking this week.


-
I definitely plan on referencing a few builds of the Constellation I found on this site. So much useful information. Since I’m only doing a bulkhead a day, I’ll have plenty of time to catch up on the rest before planking.
-
Your kit unboxing looked a little different than mine also, 4 plastic parts bins where mine had 3. I only had 3 spools of thread, the olive thread had already been woven in to the sails. Yours was definitely stored better. Mine must have been in a wet basement next to a giant register in a climate that swung from 105 to -10 degrees. Probably on it’s side. And upside down. I’ve looked all over the internet and haven’t been able to find a keel in this bad of shape. Anyway, finalized a bulkhead with your suggestions, looks lined up so far.

-
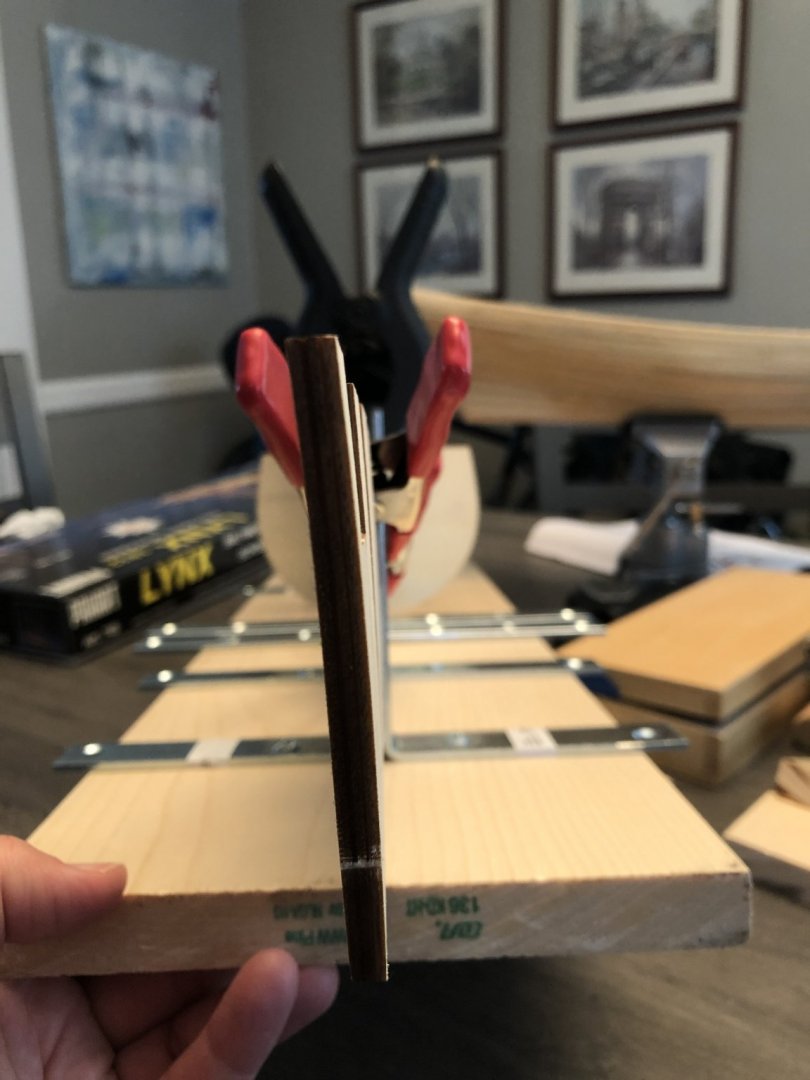
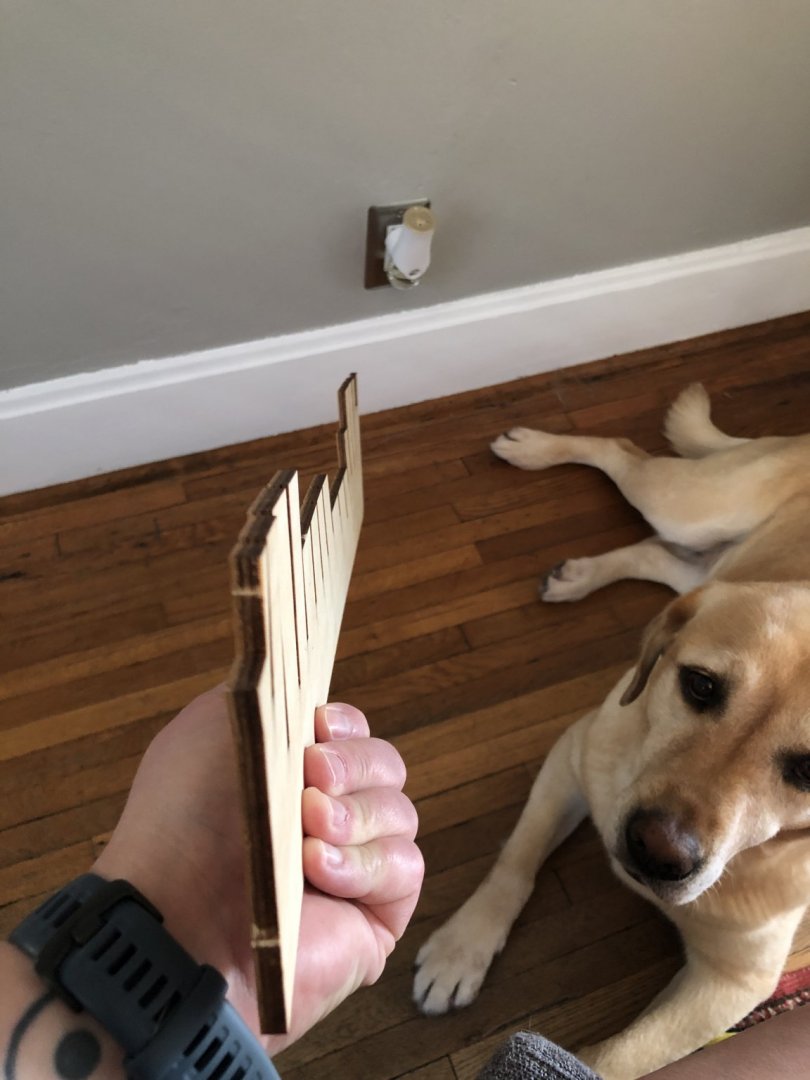
Here is another pic of how bad it is before I start trying to straighten it out. After soaking it over night and then clamping it and stacking piles of bricks on it and leaving it for 48 hours.... it straightened up a little and within 24 hours was back to this state.
-
Thanks Jack, I will try this idea. I may end up using 4 angles with clamps and extra wood supports.