


marsalv
-
Posts
528 -
Joined
-
Last visited
Content Type
Profiles
Forums
Gallery
Events
Posts posted by marsalv
-
-
-
On 12/7/2023 at 2:40 PM, Vladimir_Wairoa said:
Amazing !
I agree!!
- No Idea and Keith Black
-
 1
1
-
 1
1
-
Thank you guys for nice comments.
To dvm27: some pictures from exhibitions you can find here:
https://wchs-c-2023.eu/cz/zpravy/id:11385/mozaika-z-vystavy
https://shipsofscale.com/sosforums/threads/naviga-c-from-czech-republic.12620/
- CiscoH, scrubbyj427 and mtaylor
-
3
-
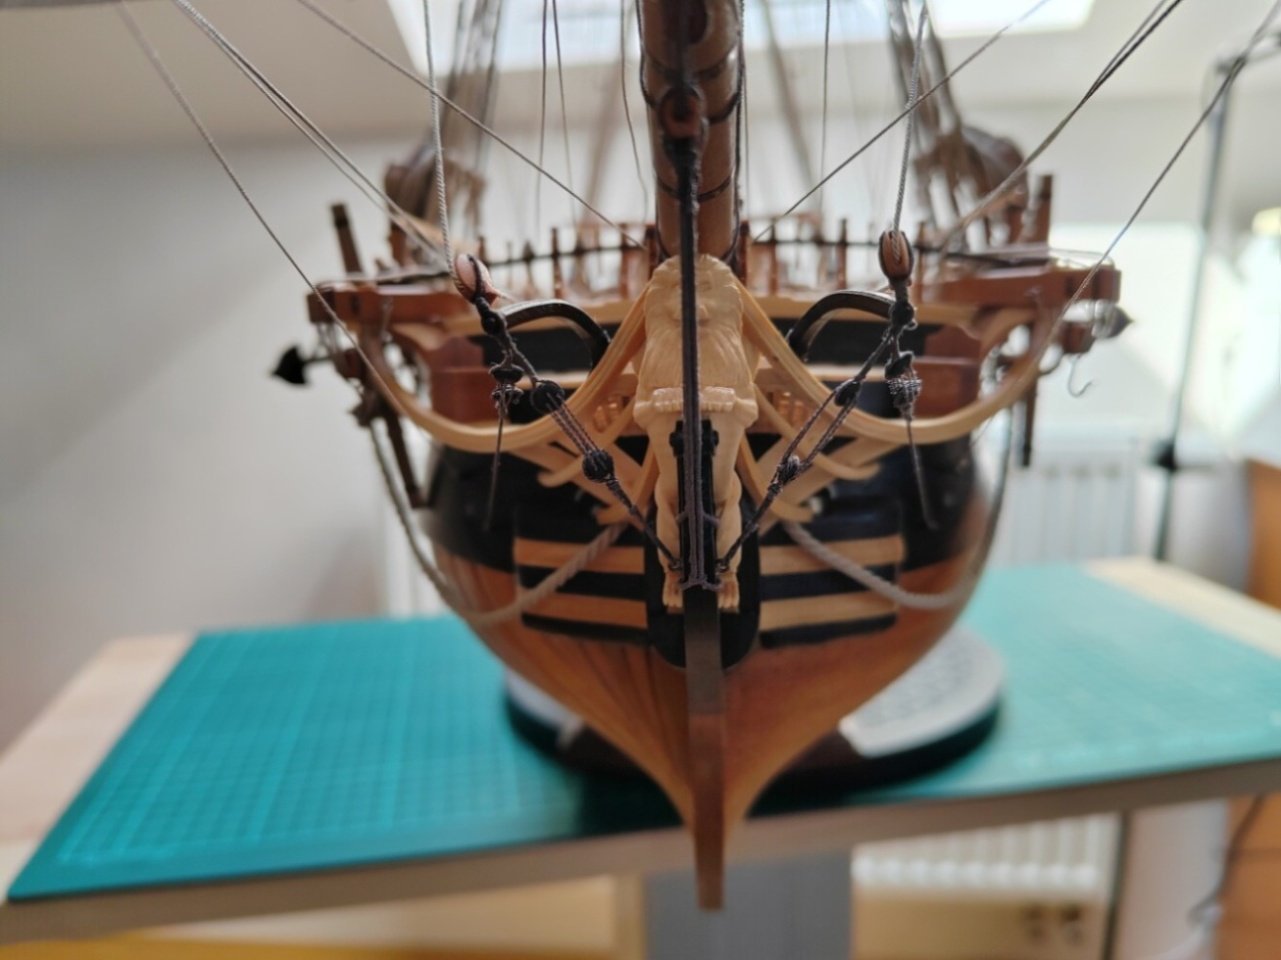
Beautiful carvings.
- mtaylor, Siggi52 and Keith Black
-
3
-
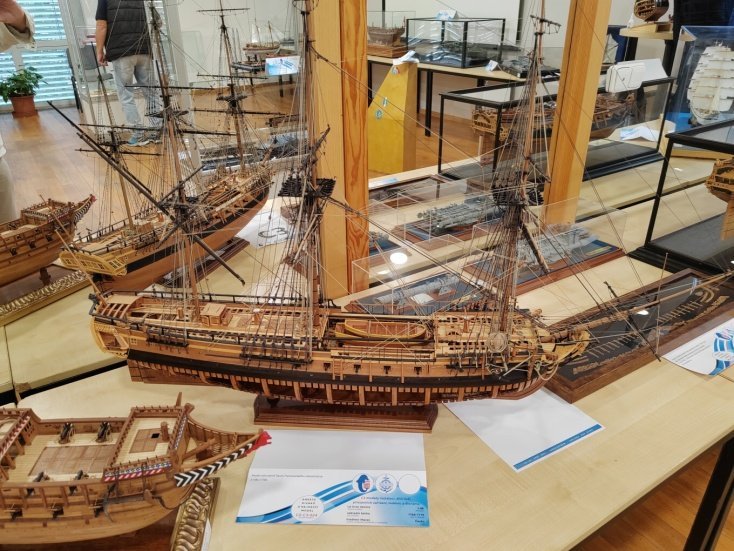
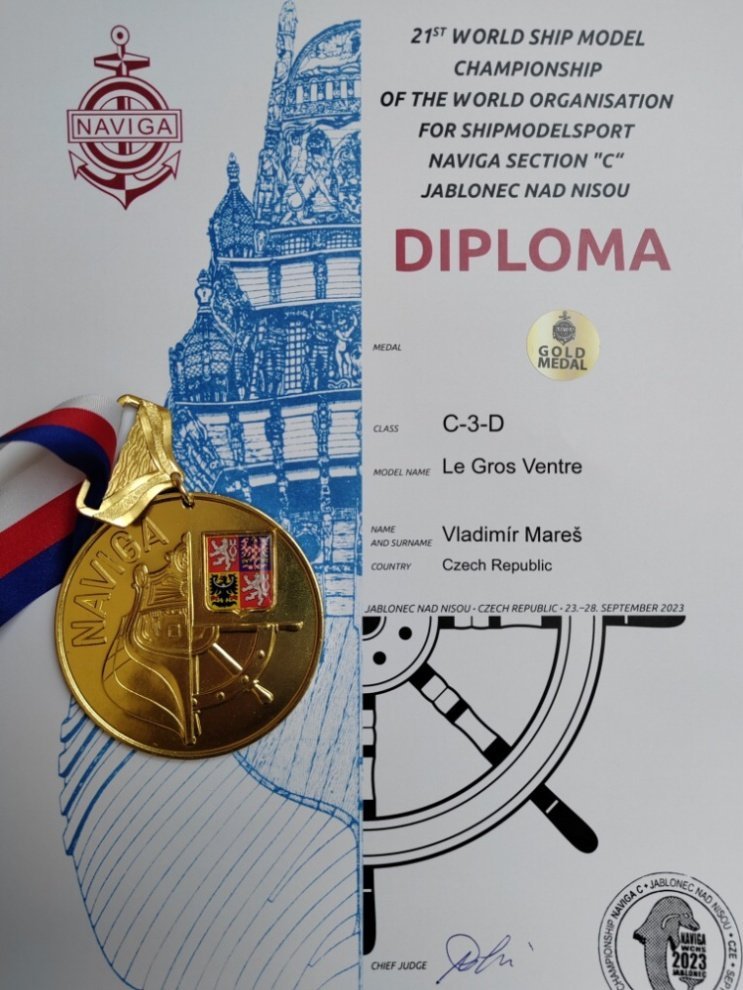
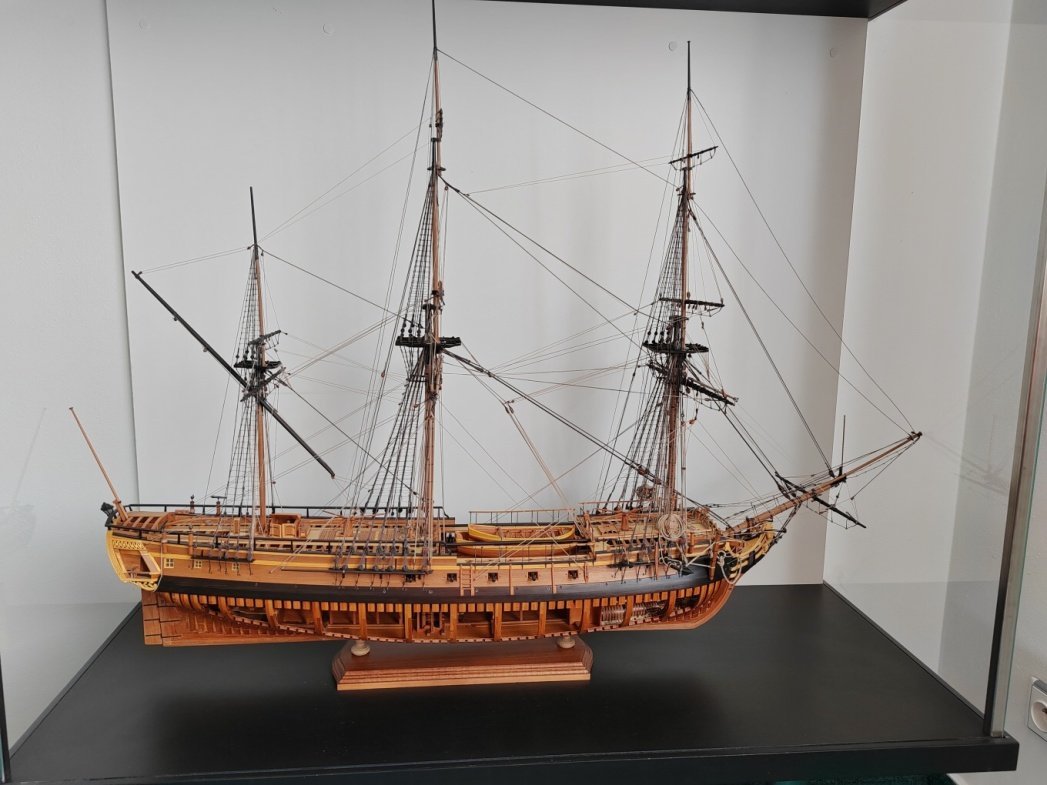
Once again, thanks to everyone for the positive responses. The last two photos remain to be posted. This week I participated in the Class C World Championship (NAVIGA organization) where I received a gold medal for the Le Gros Venter model. I would like to take this opportunity to thank Mr. Gerard Delacrox for his technical support during the construction. My next model will again be according to Mr. Delacroix's plans - L'Amarante.
marsalv
-
-
-
-
Thank you guys for compliments. To mtbediz - This is a normal slotting cutter, with only a reduced diameter of the shank to be used in the Proxxon milling machine. (https://www.uni-max.cz/produkty/drevoobrabeni/stopkove-nastroje/drazkovaci-frezy/dvoubrite-kratke/drazkovaci-freza-2br-6-19-8-mm)
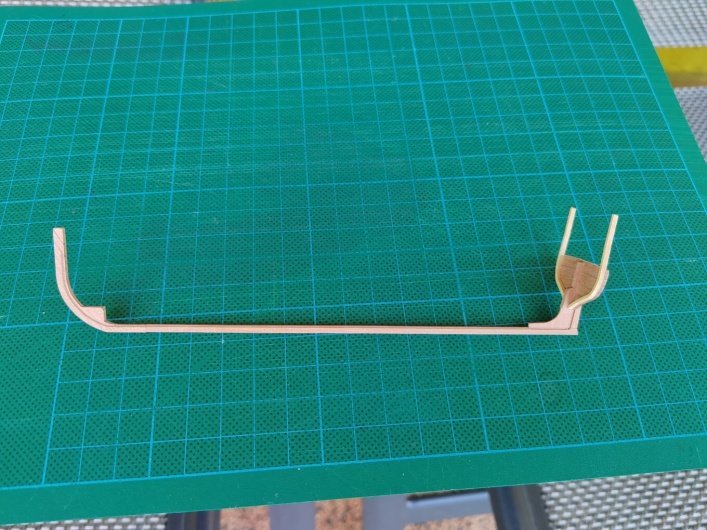
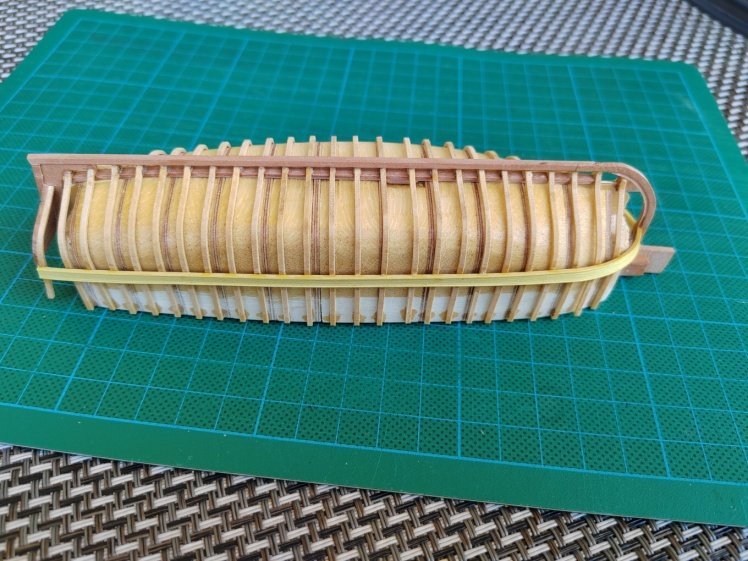
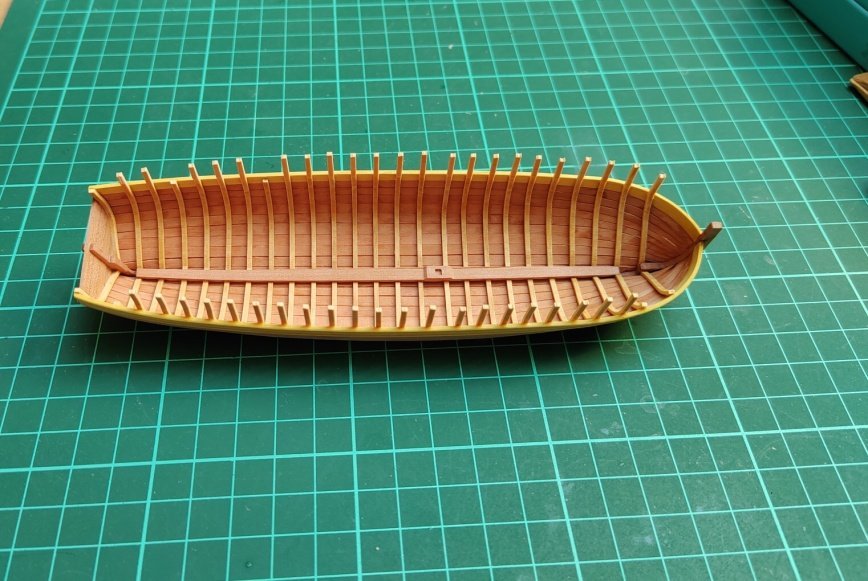
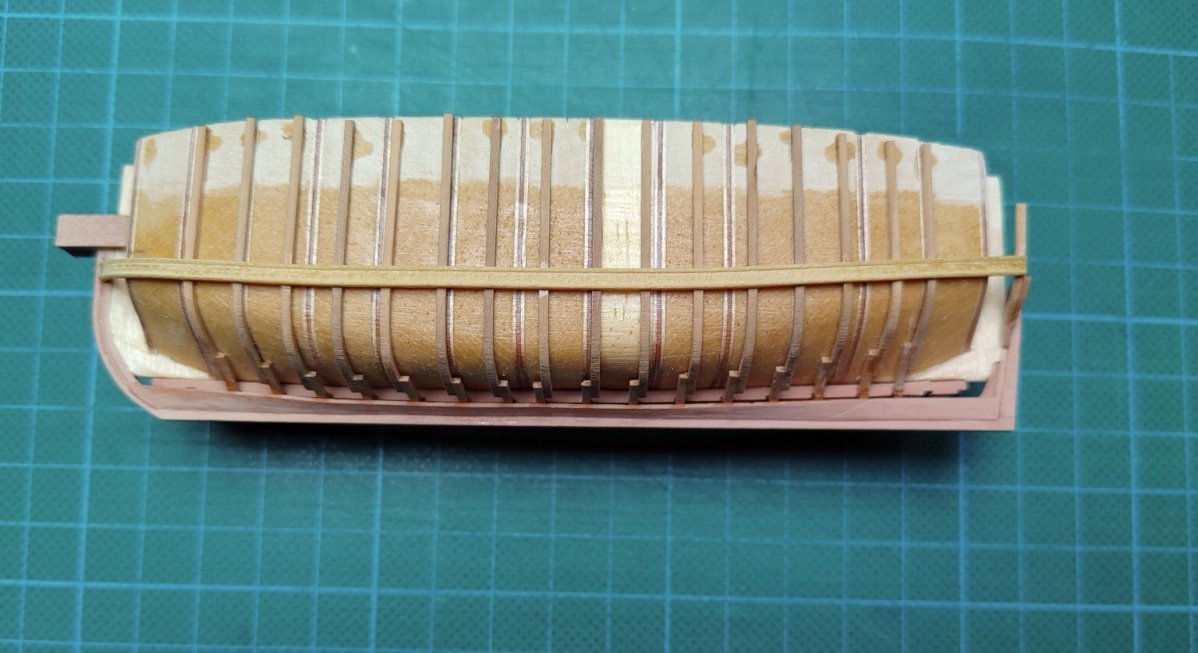
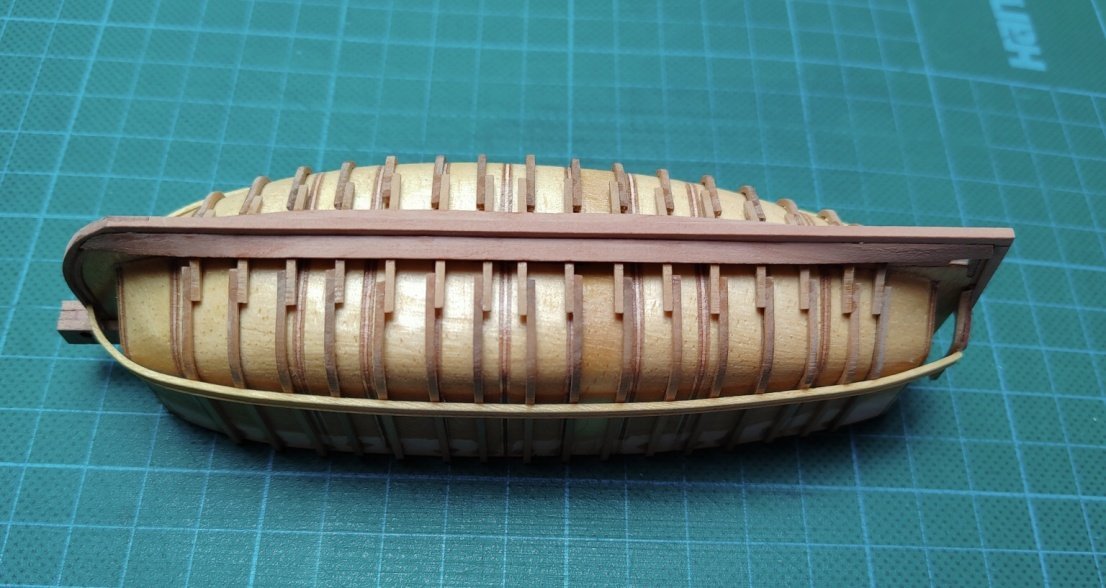
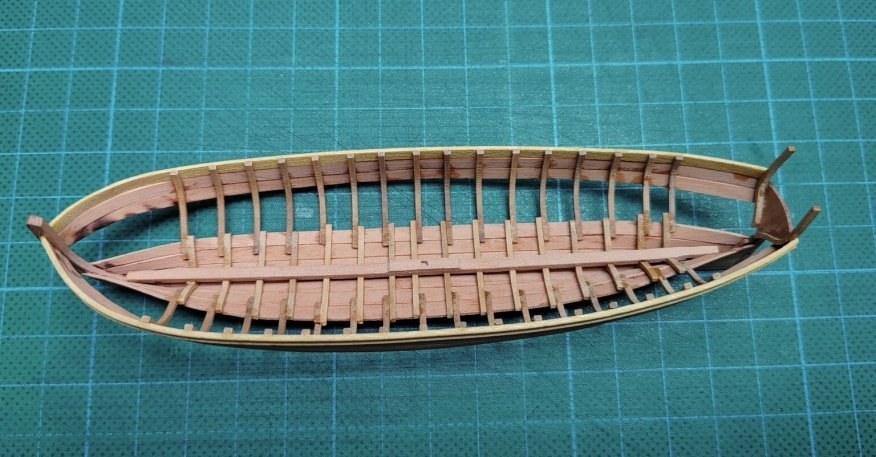
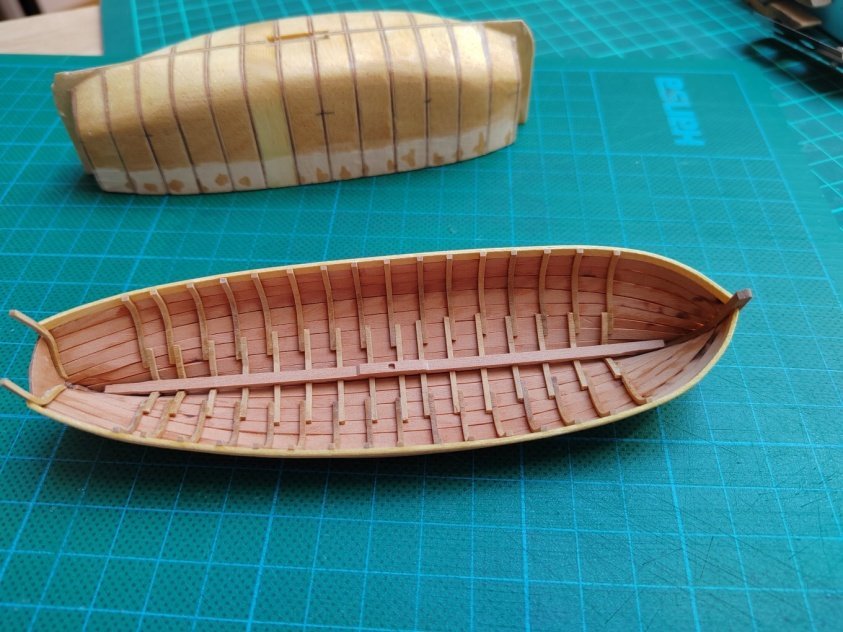
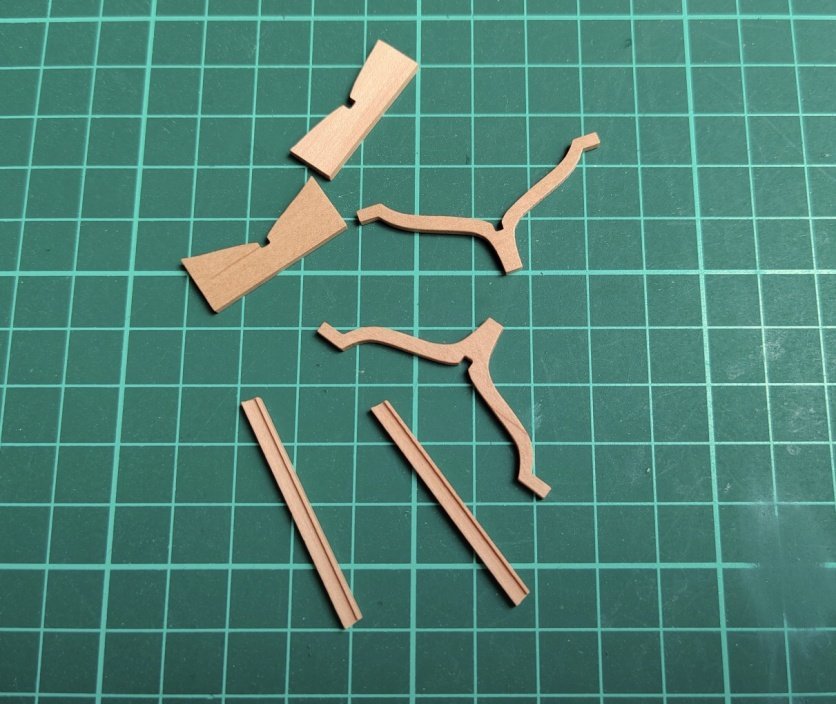
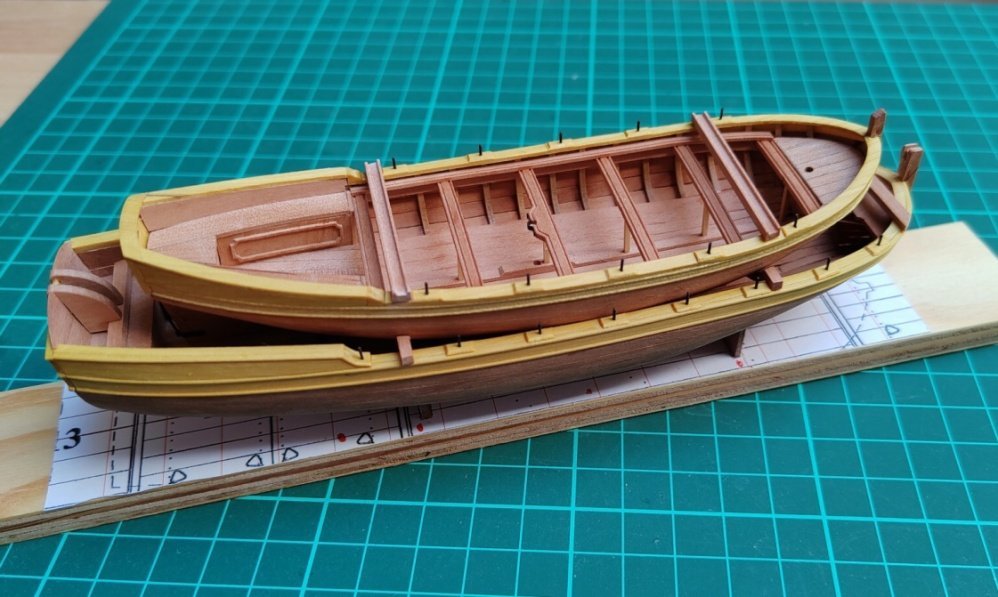
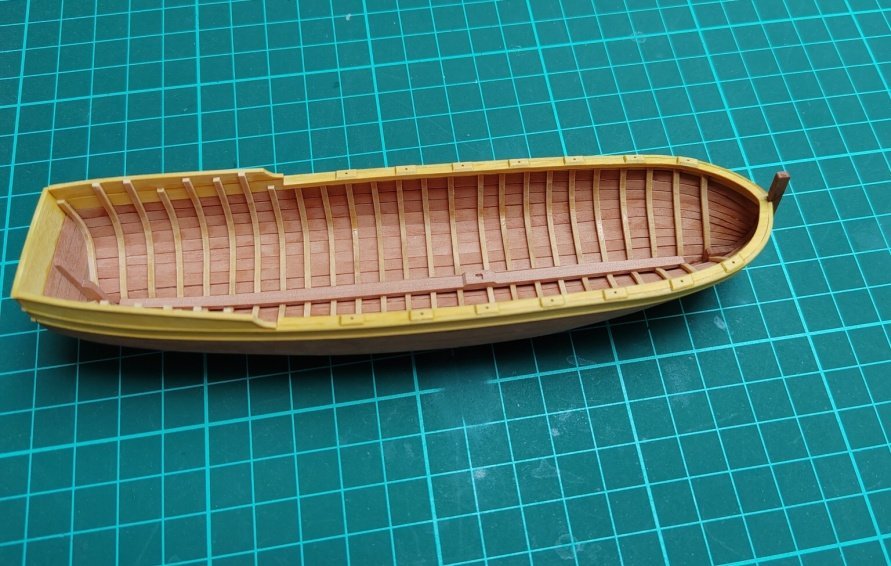
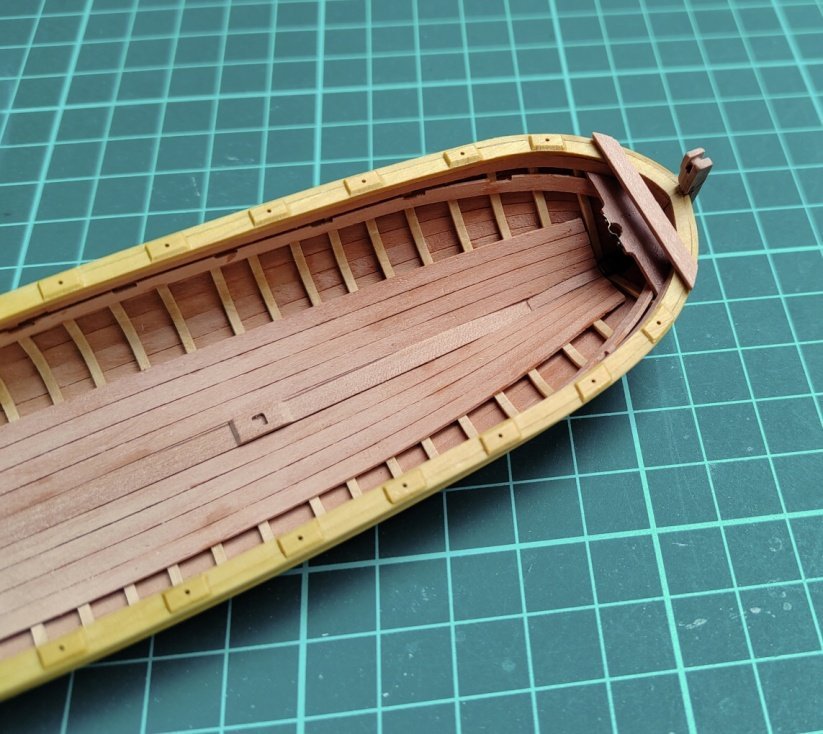
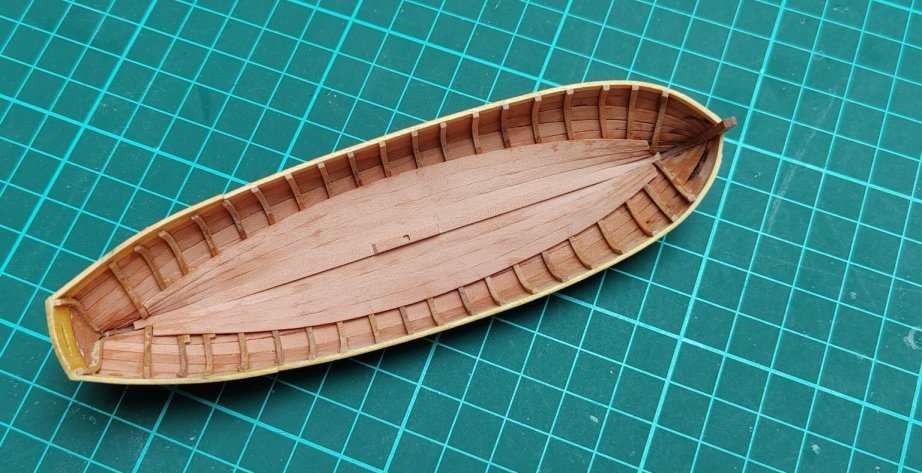
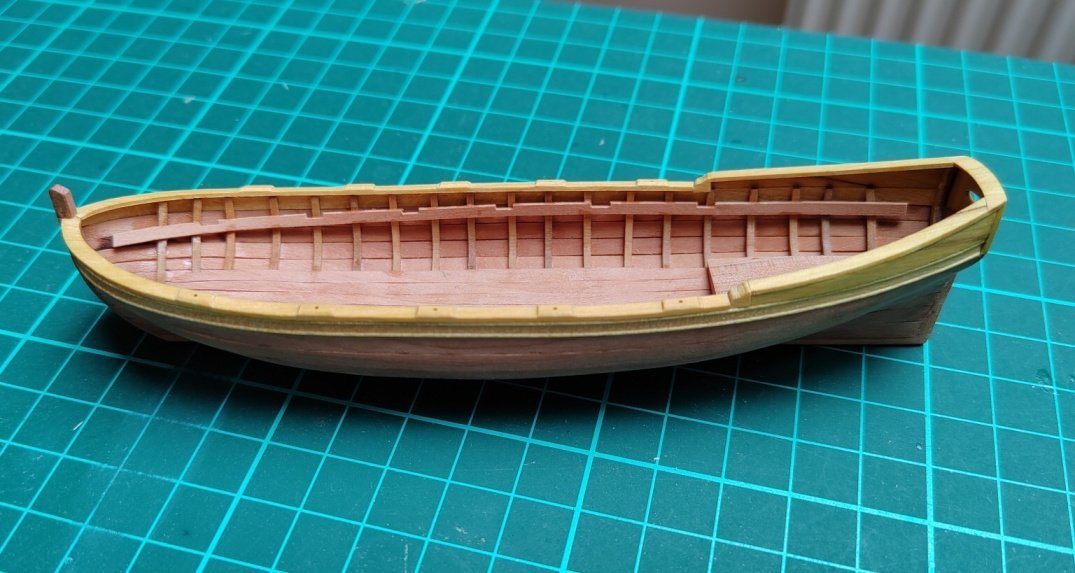
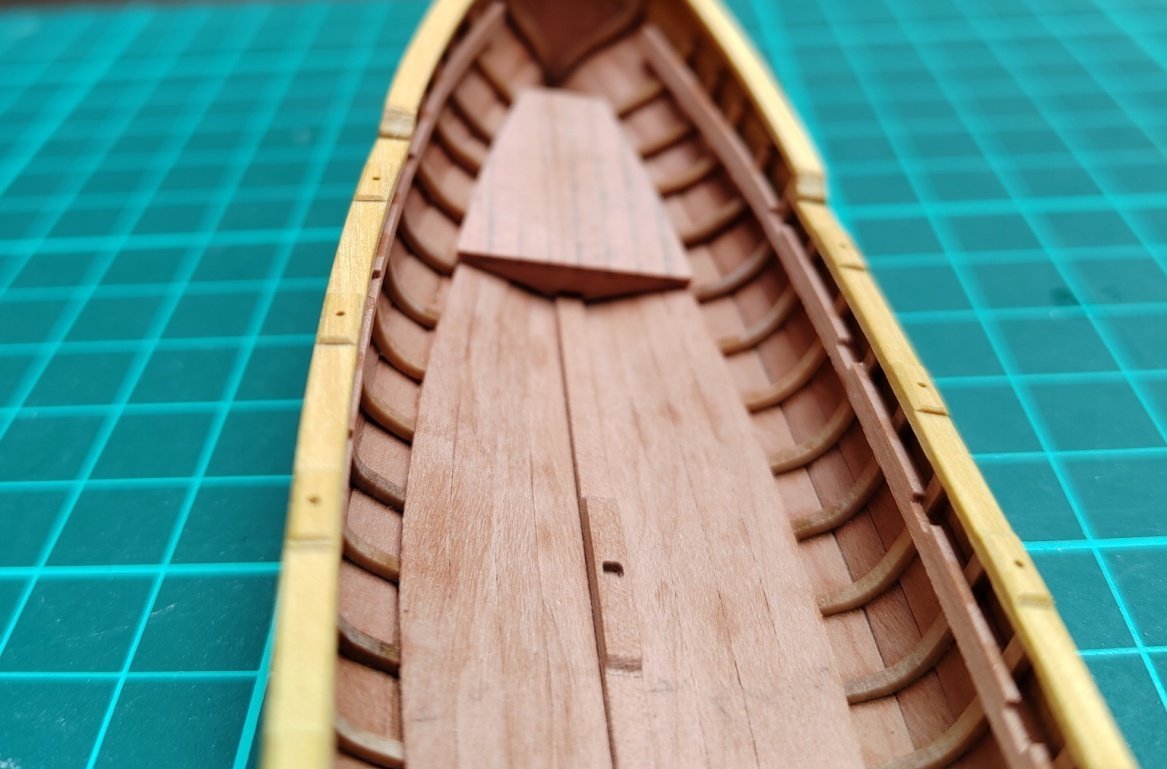
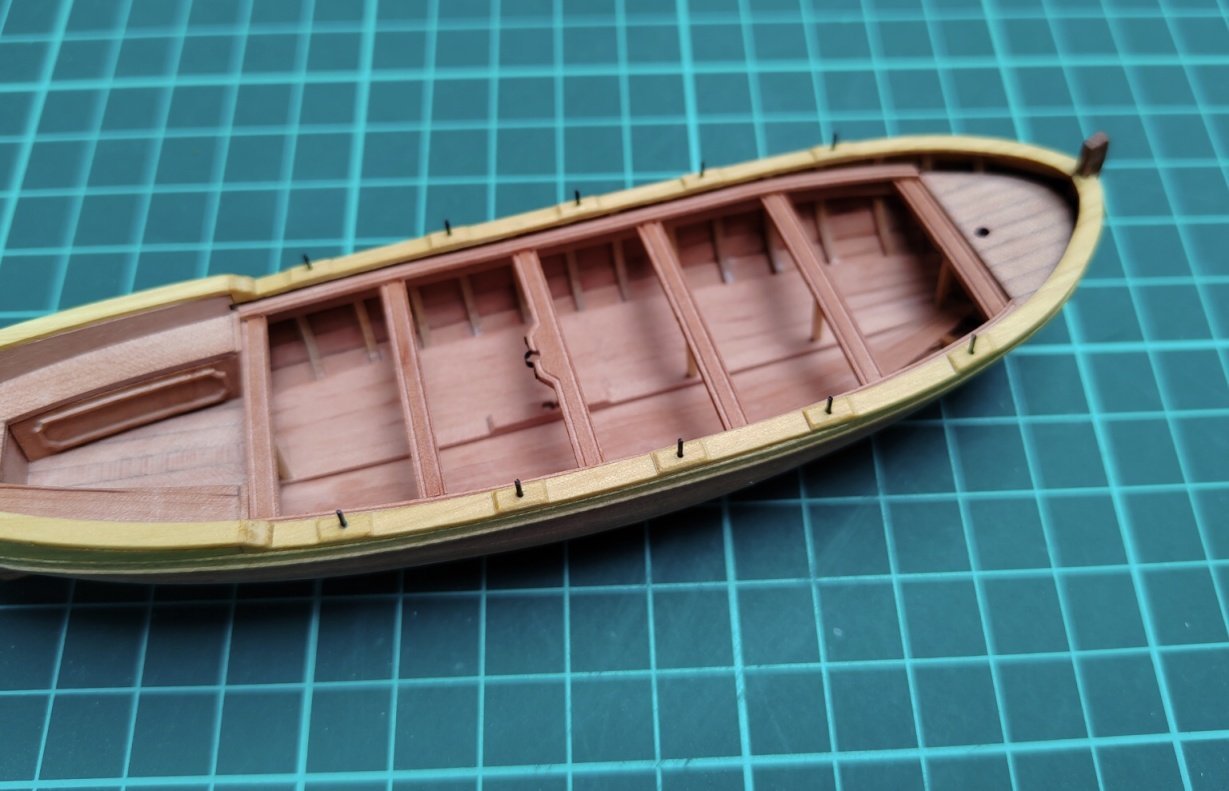
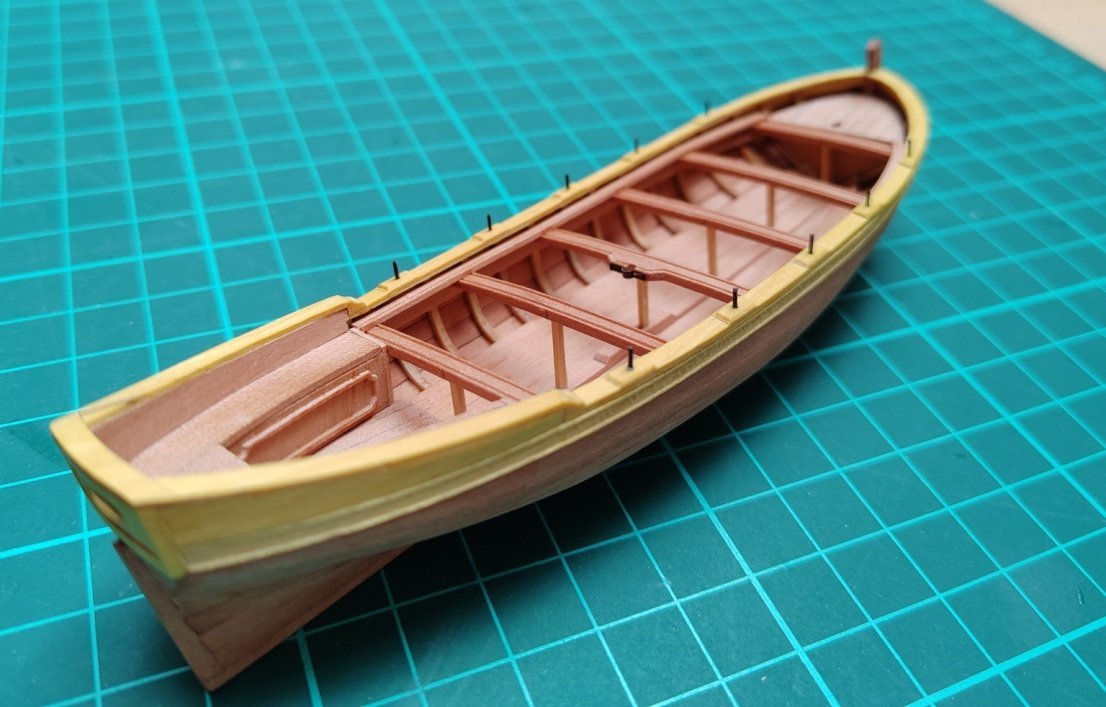
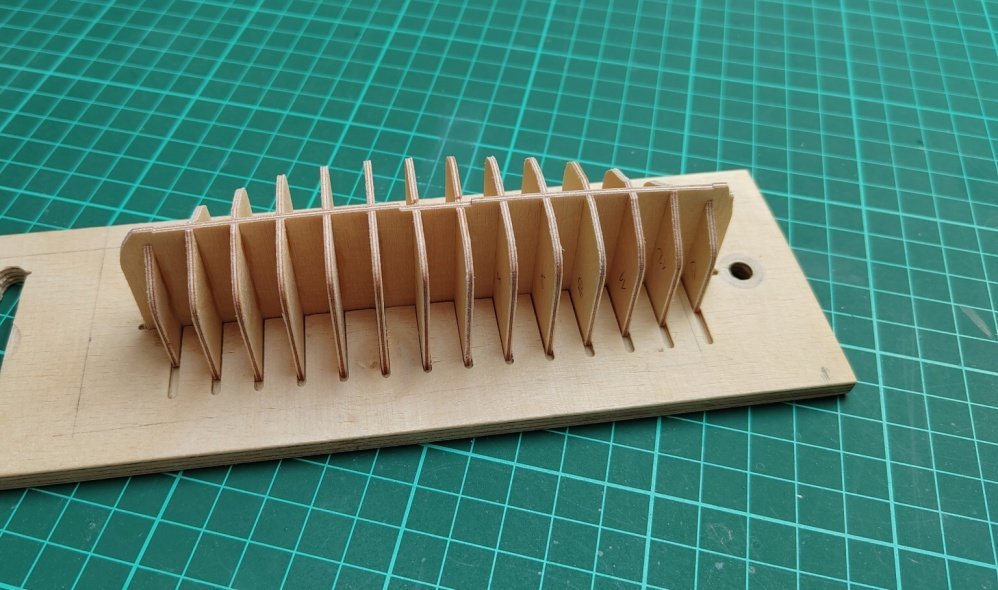
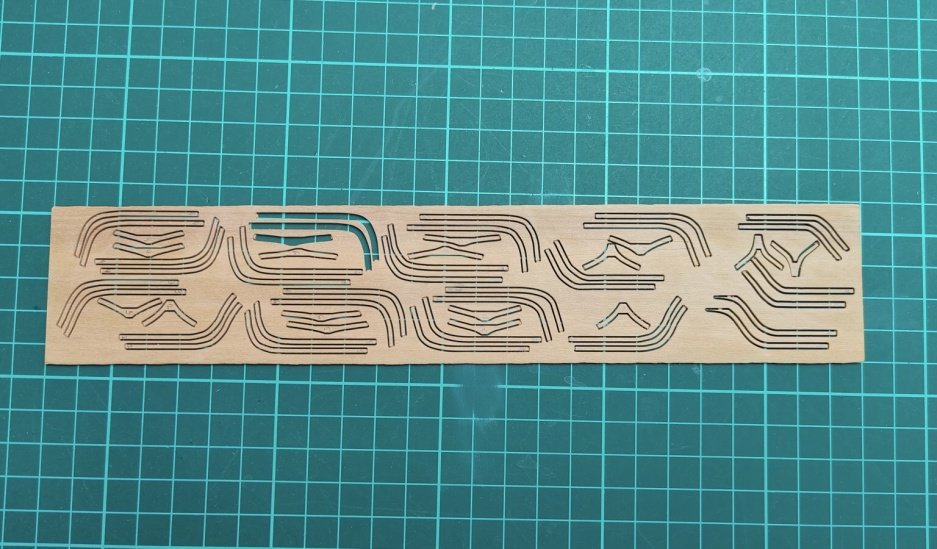
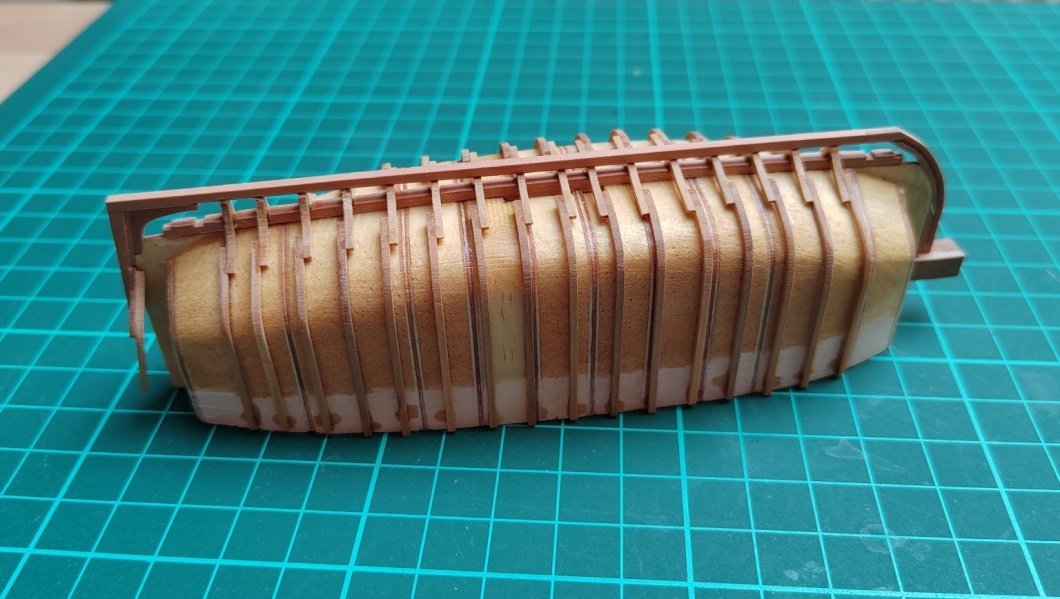
I continue with the second - bigger boat. Here I decided to make the frames from one piece only, because in the end the connection of the individual parts of the frames will be hidden under the floor and will not be visible.
-
-
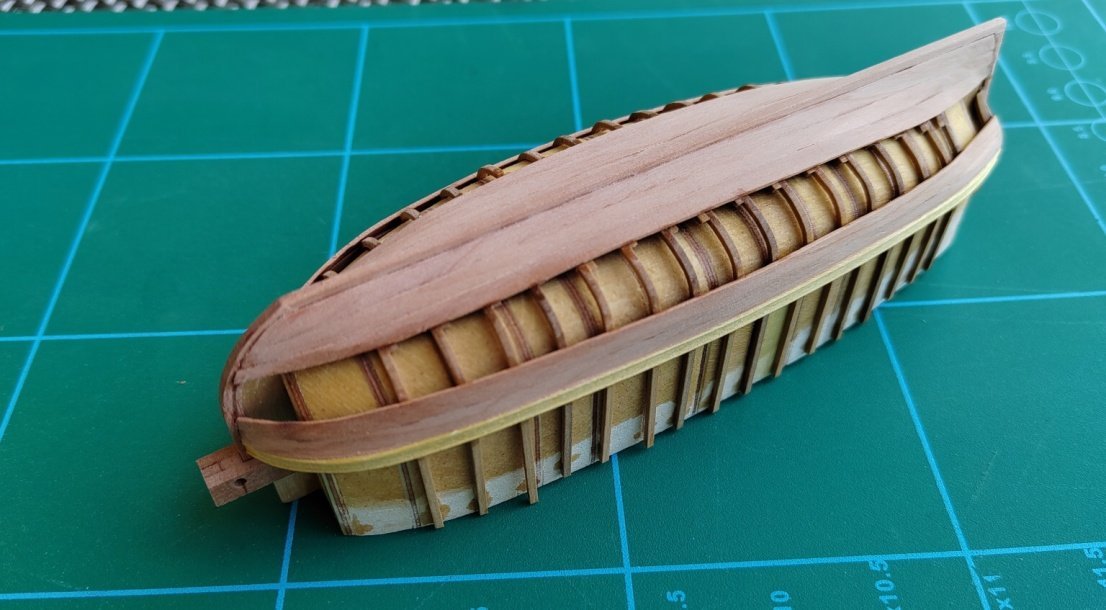
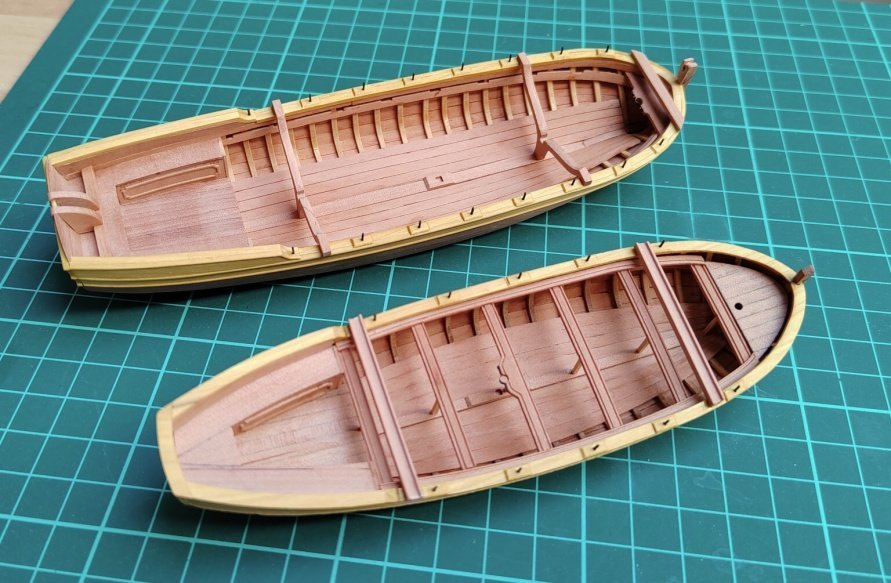
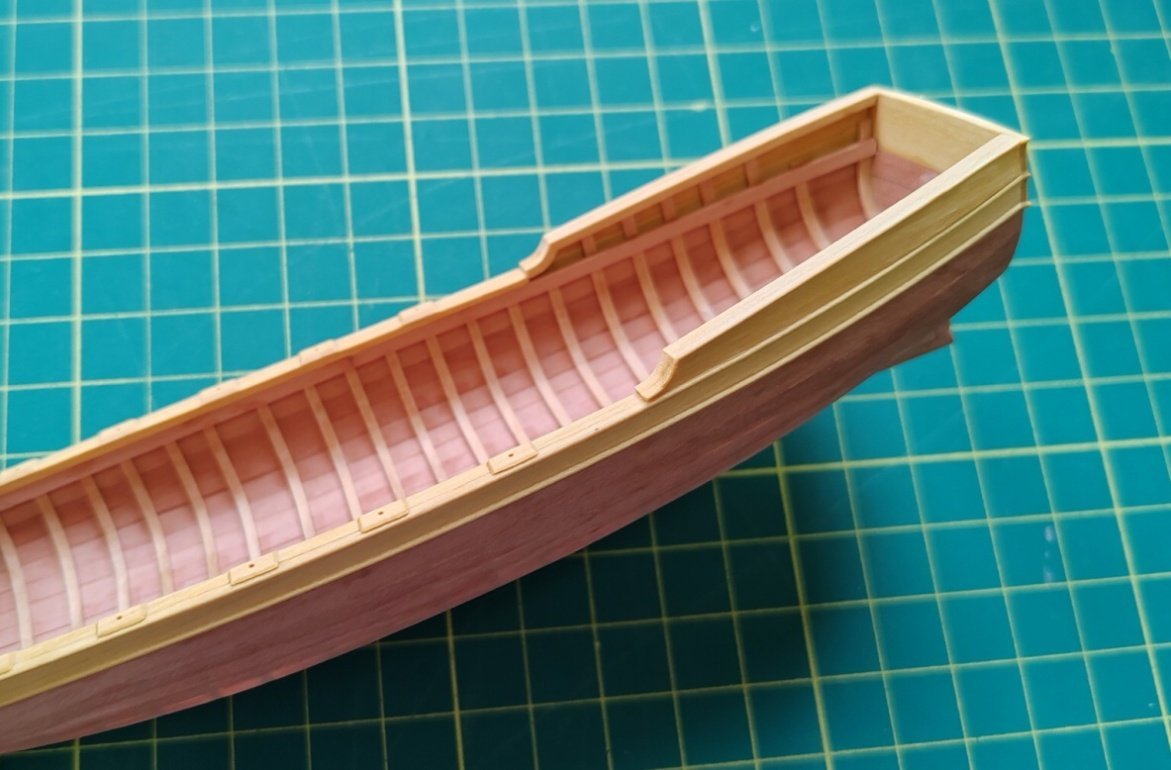
You're right, druxey. But after gluing a few planks on the ribs, the whole structure is strengthened and there are no problems with it.
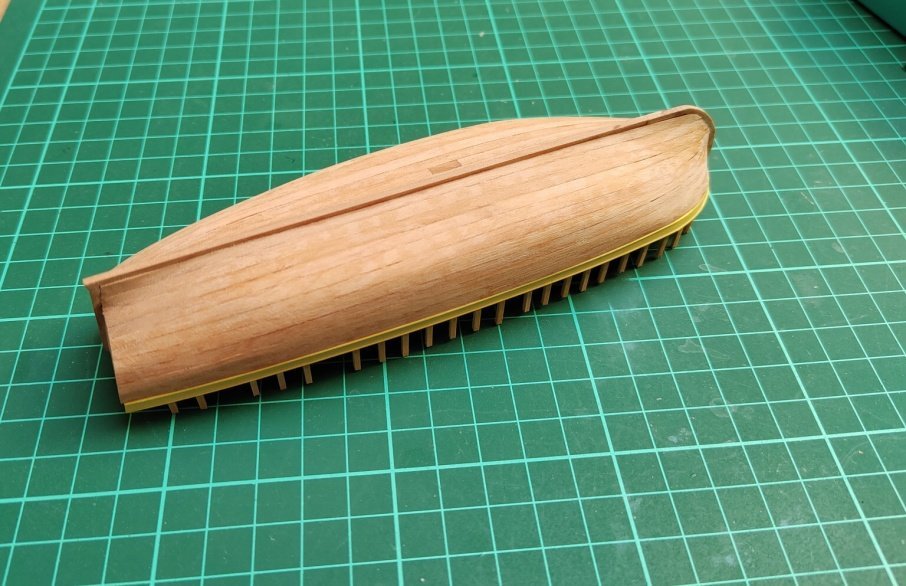
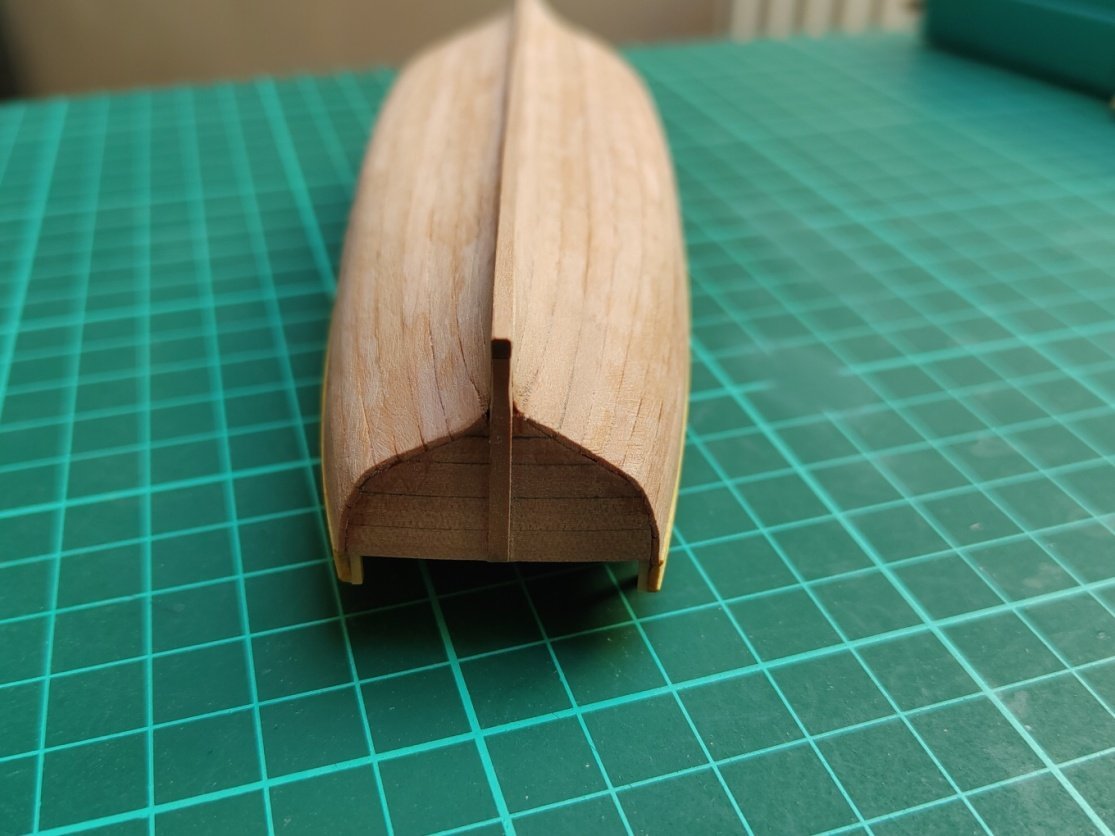
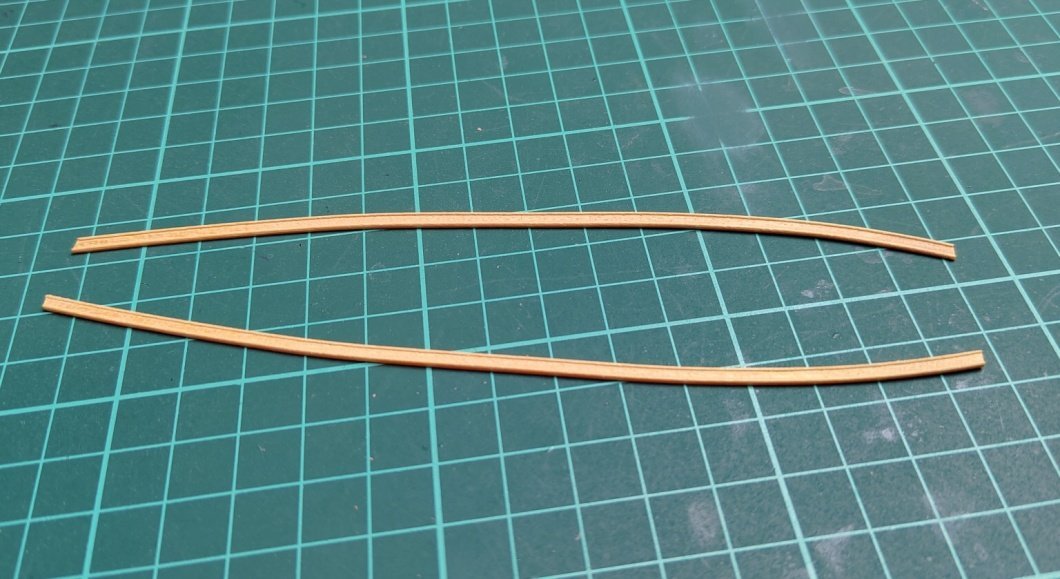
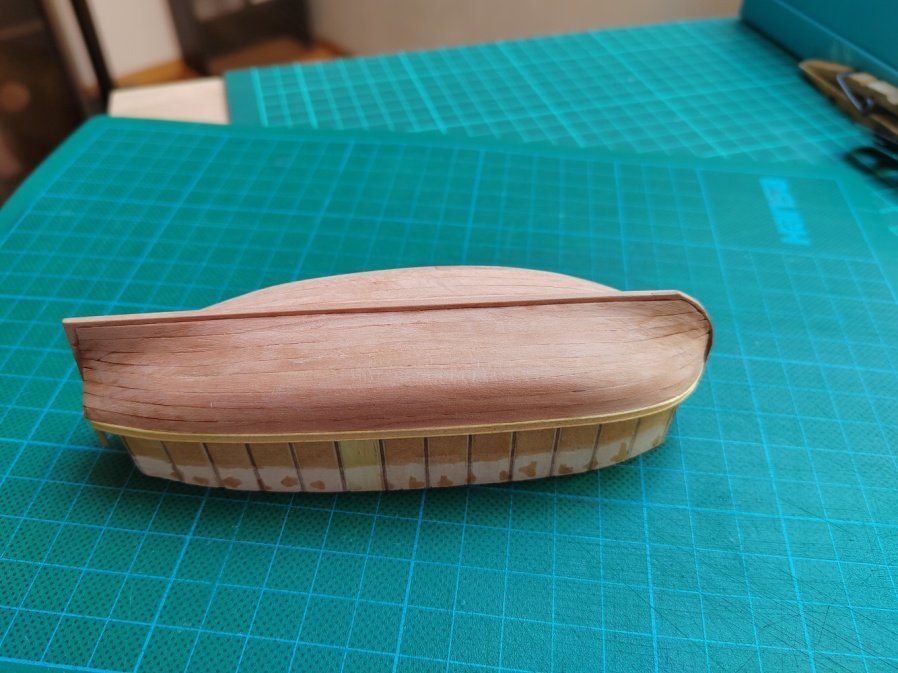
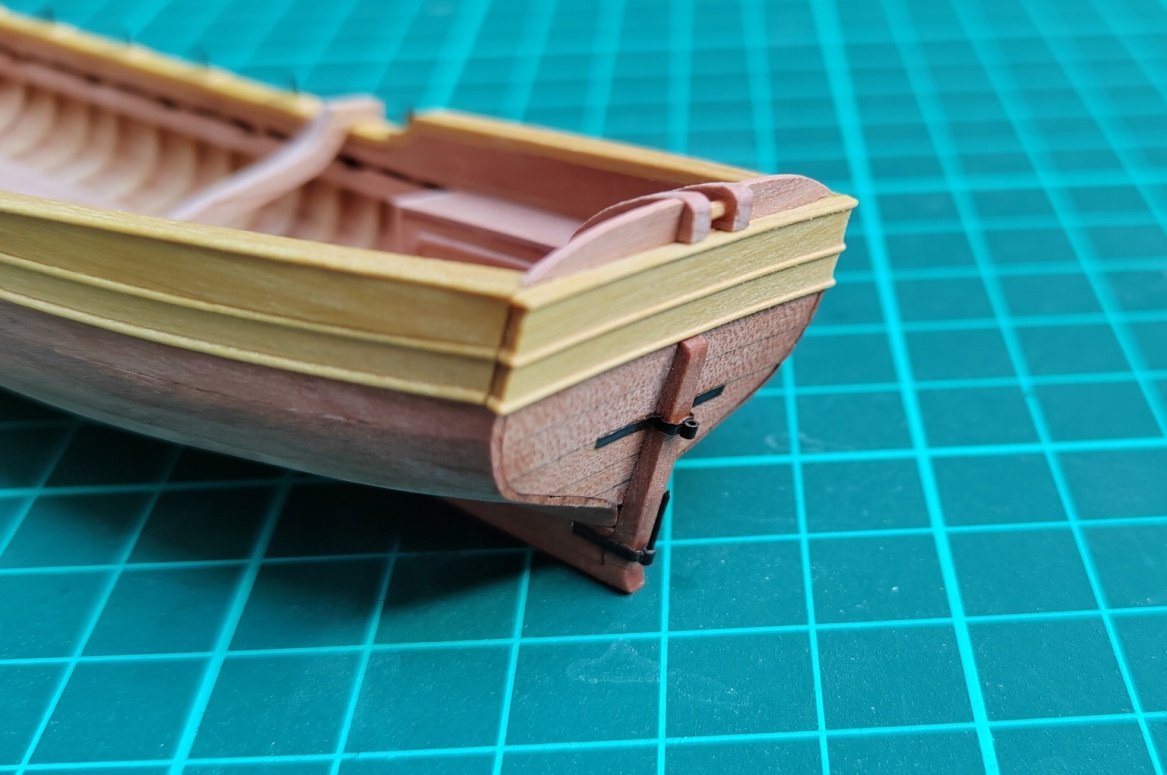
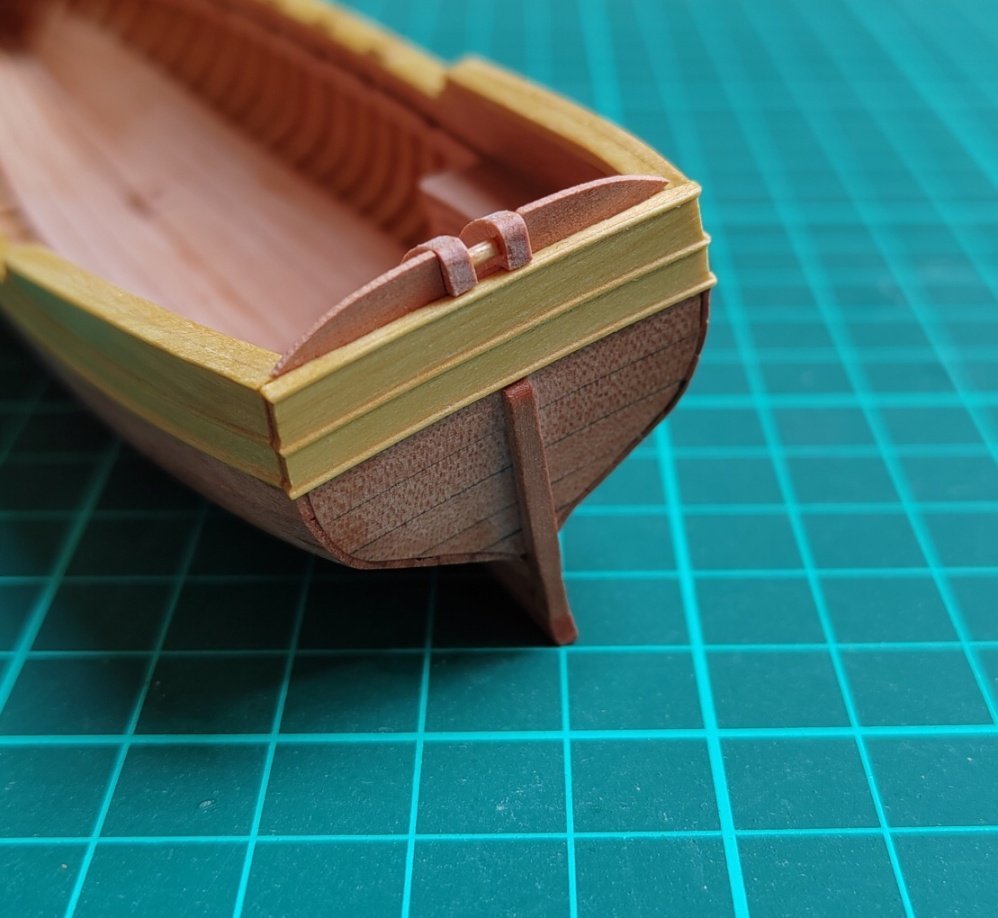
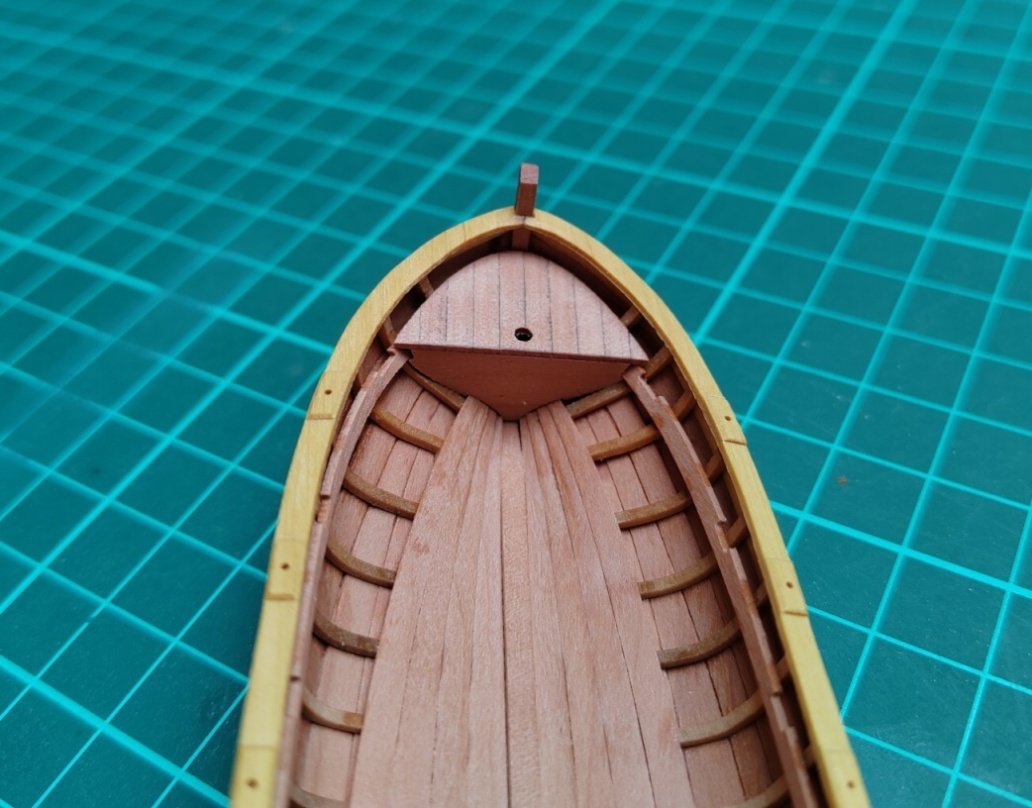
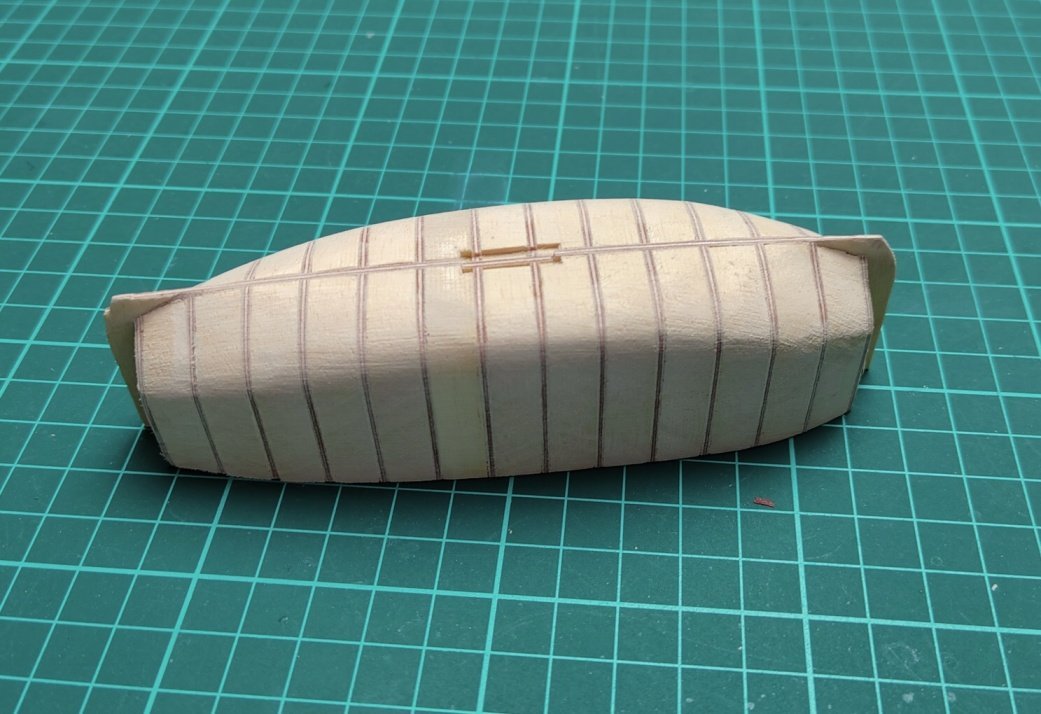
I finished the outer planking of the small boat. Now I will start on the frame of the larger boat.
-
-
-
-
To Kevin-the-lubber - The materials in the monograph are well prepared and provide all the important information for building the model. However, if any information is missing or there is any ambiguity, Gerard Delacroix (the author of the monograph) will be very willing and quick to answer the relevant questions.
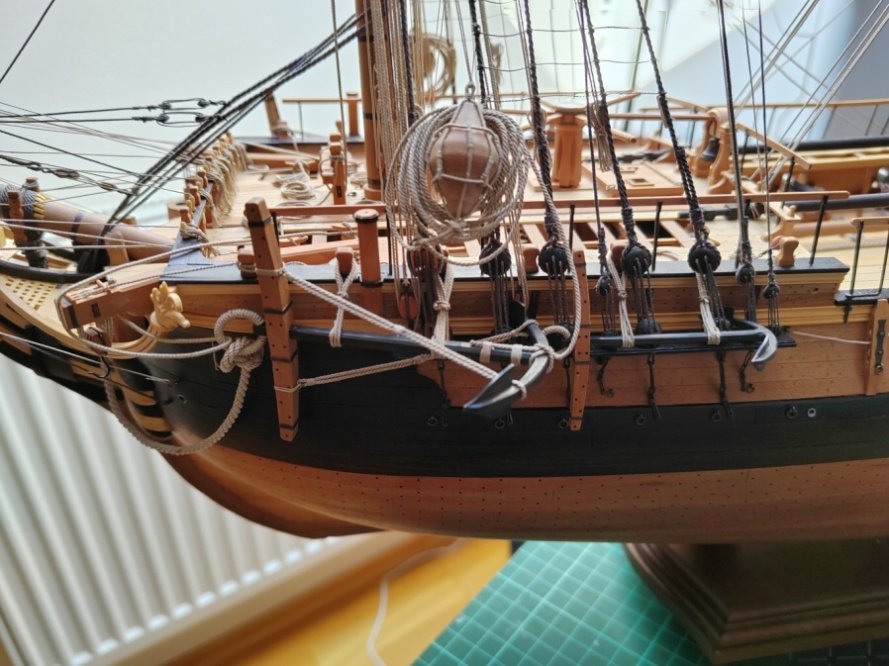
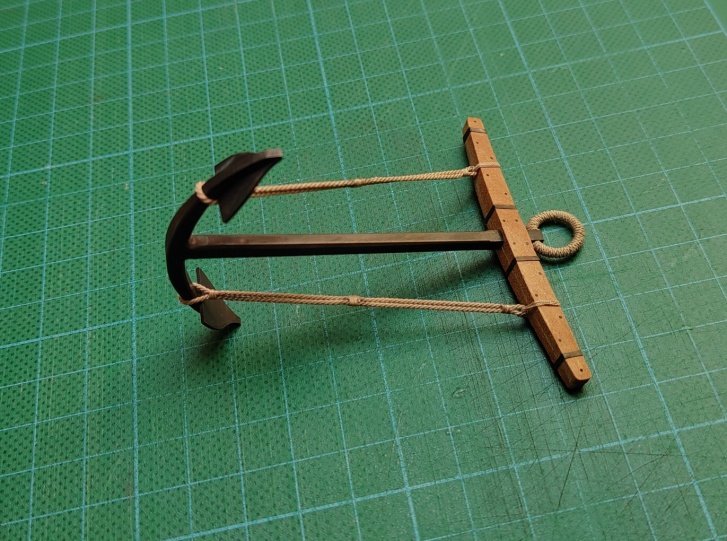
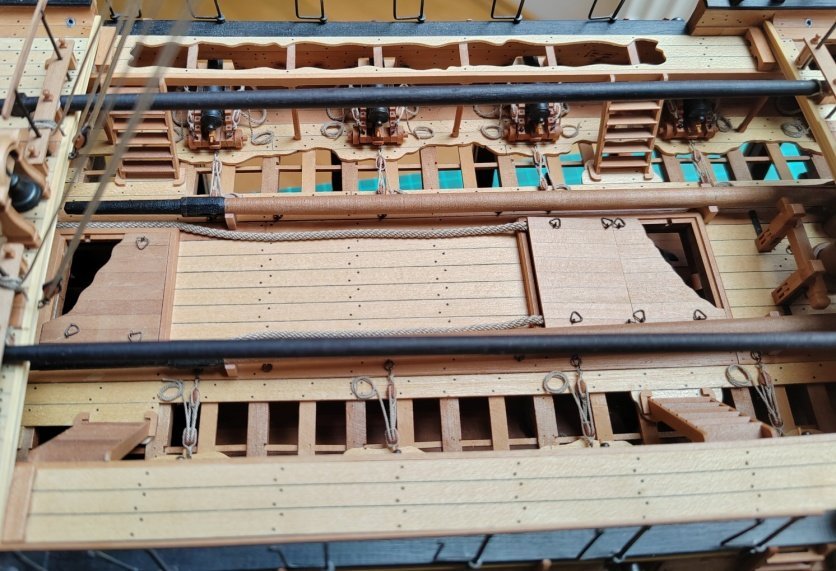
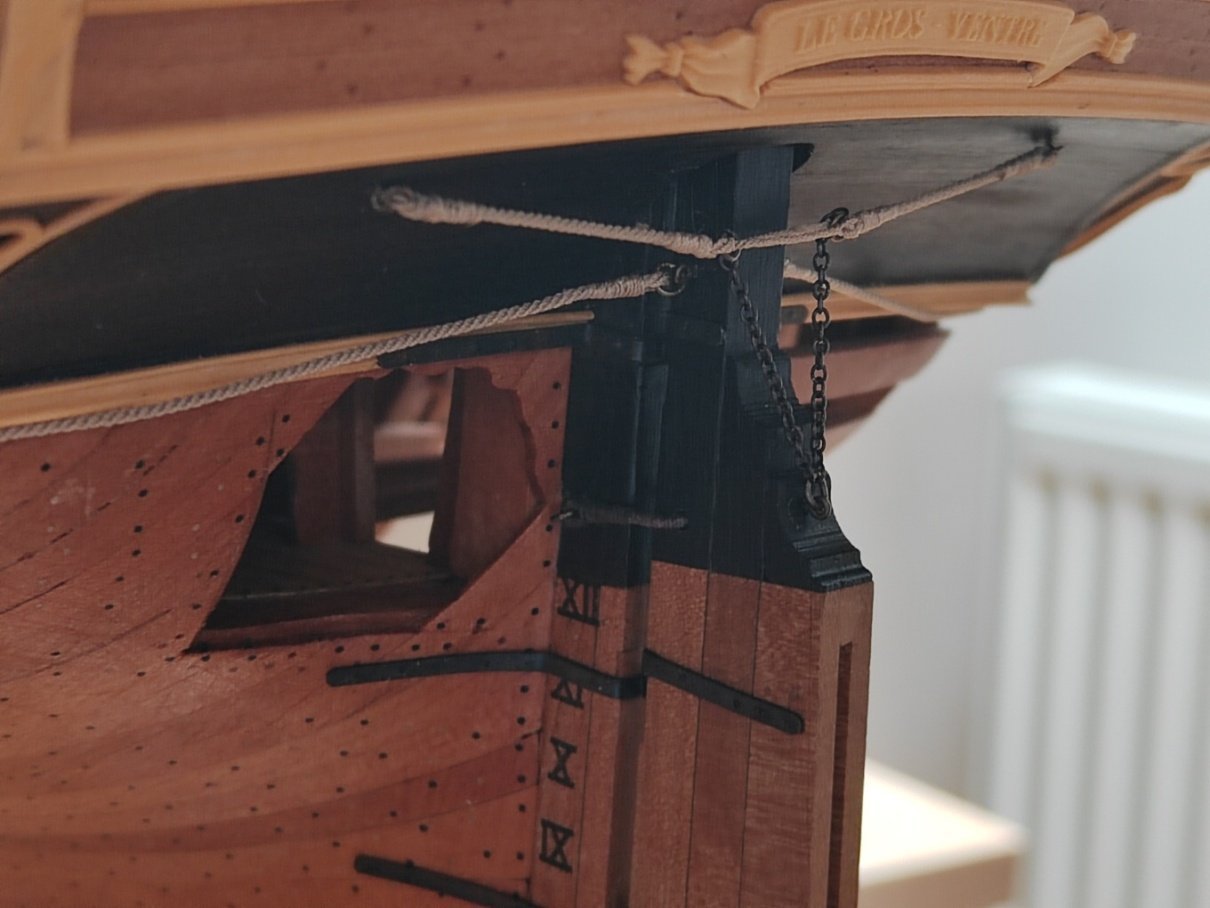
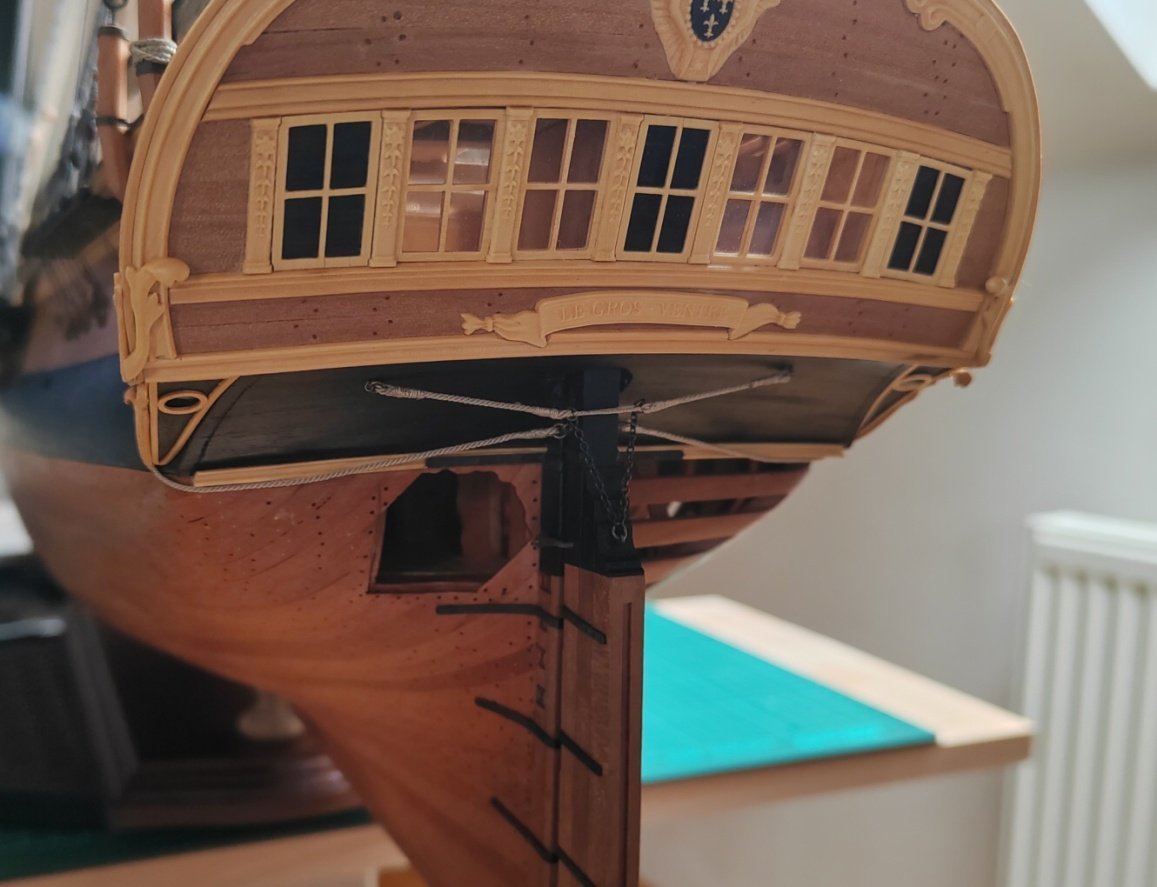
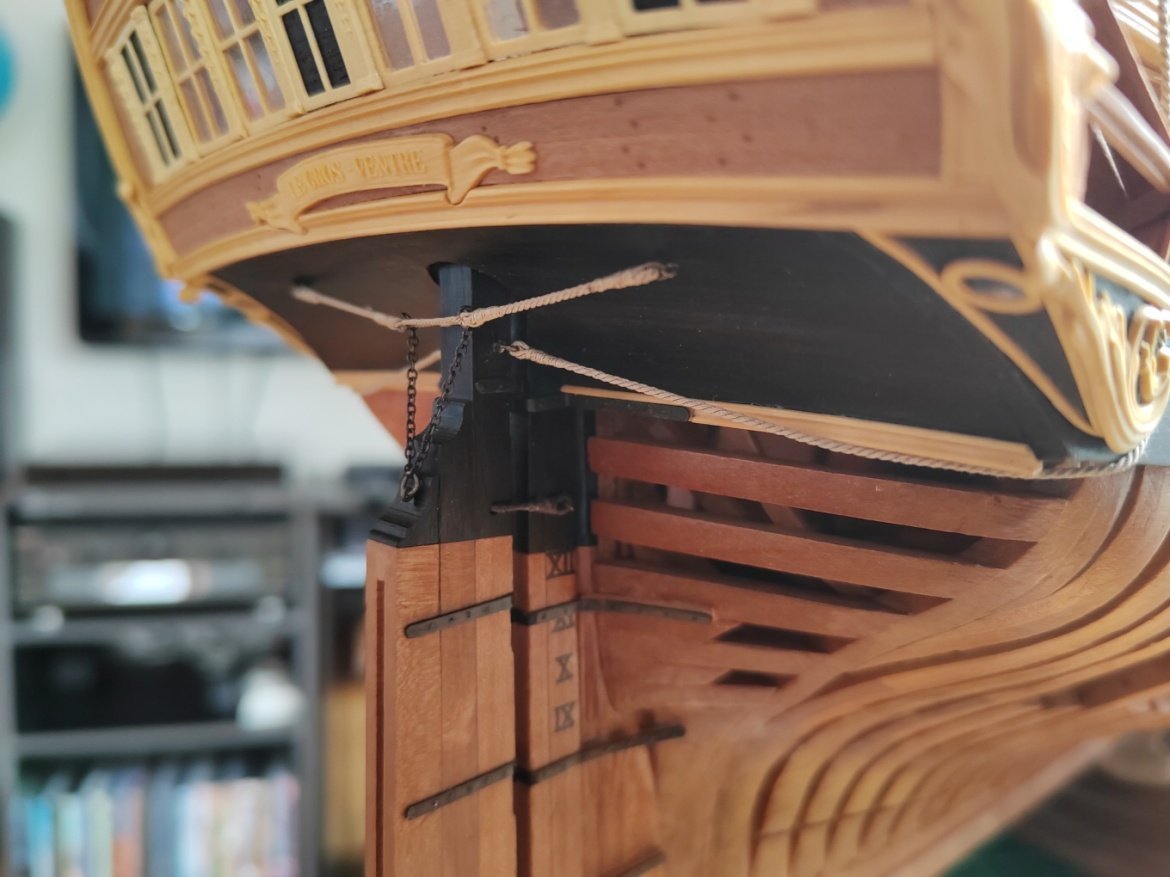
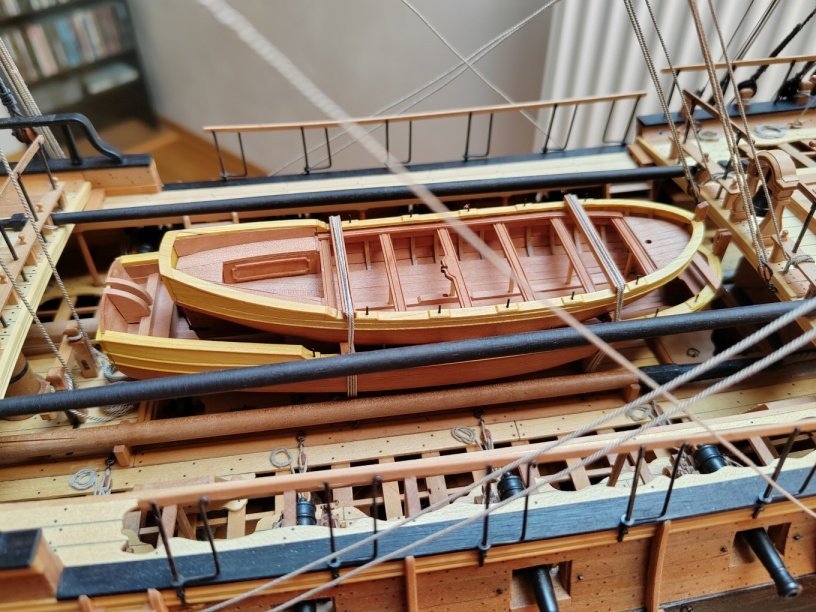
So the anchors are placed in their places, so to complete the model, all that remains is to make two boats.

-
Thank you guys for nice comments and all likes.
To Strelok - my next project will be L´Amarante according to plan G. Delacroix.
To dvm27 - The only advantage of my age (really the only one) is that I am now retired and therefore have plenty of time to build the model. But this does not mean that it is a full-time job - it is usually 3-4 hours a day.
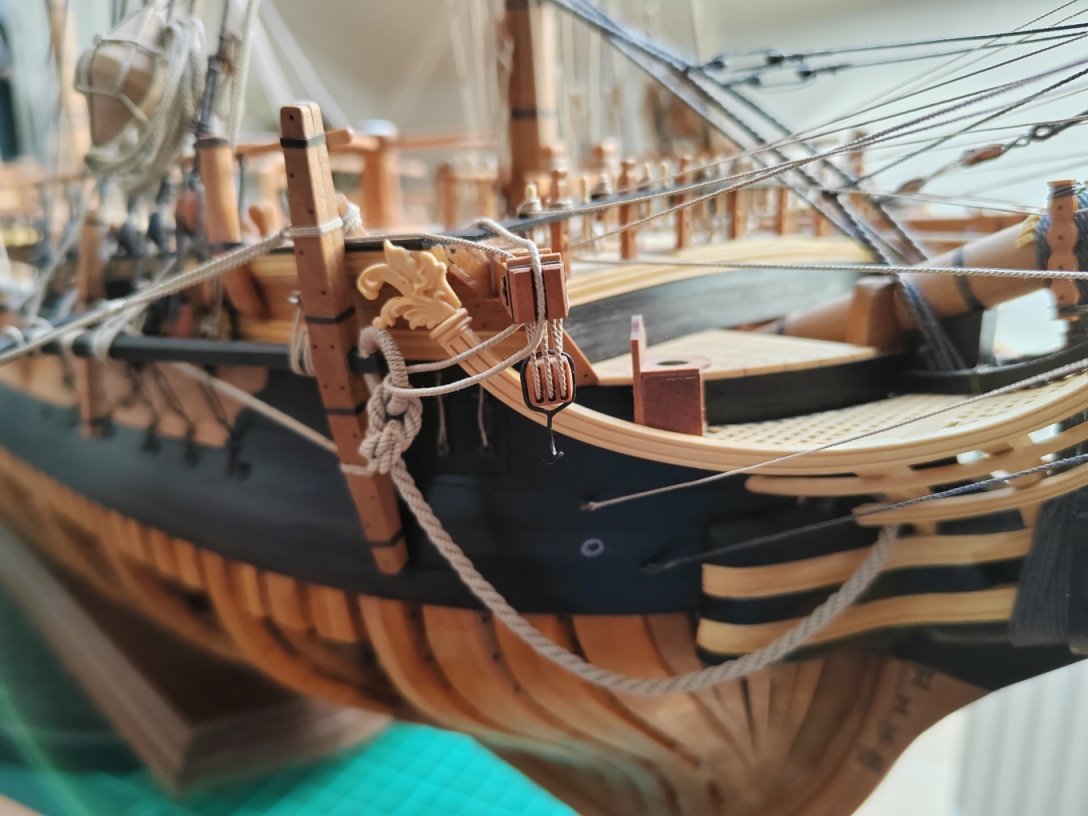
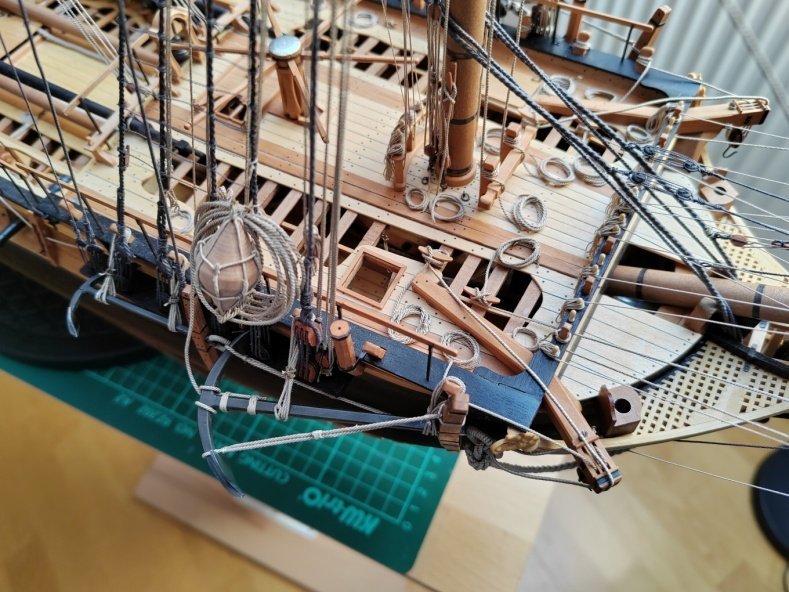
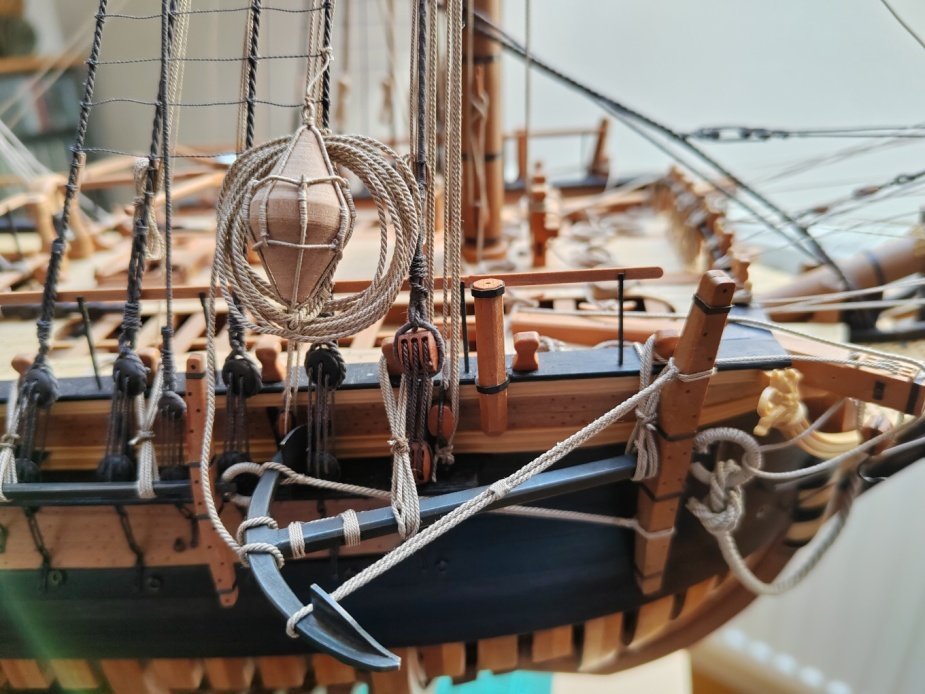
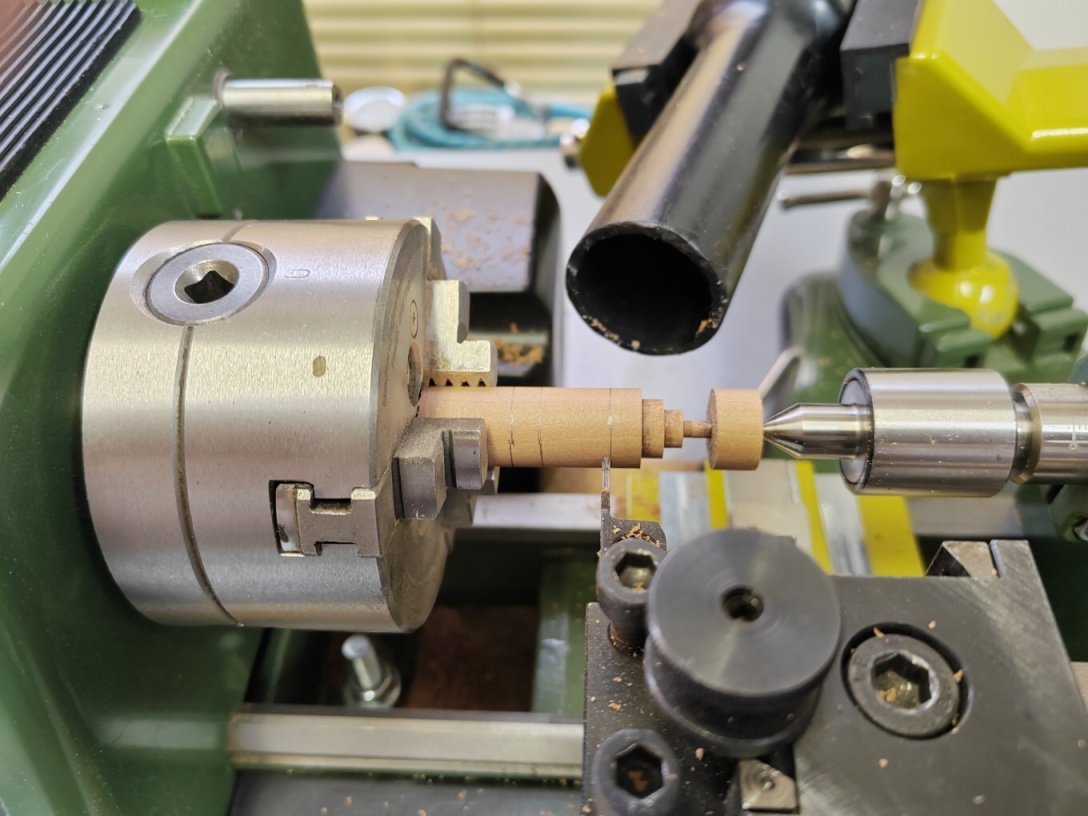
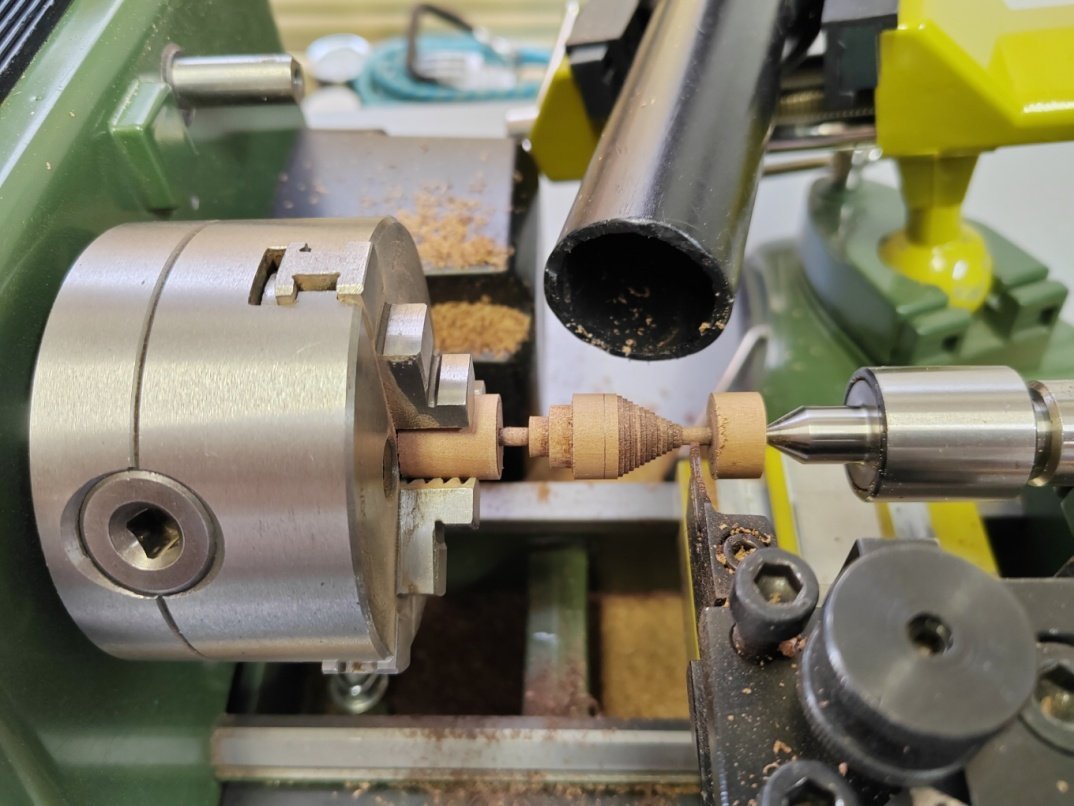
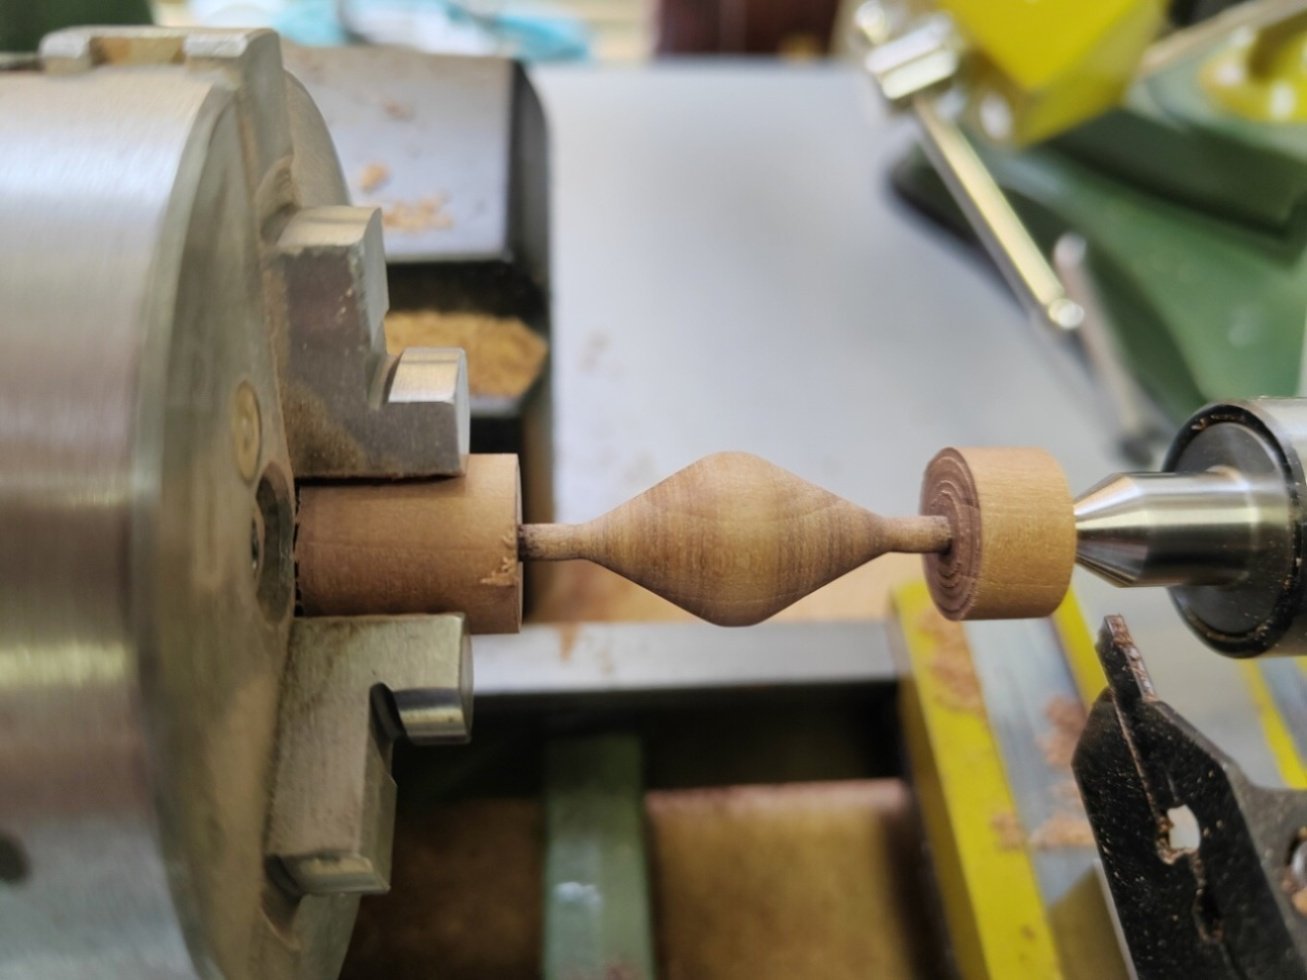
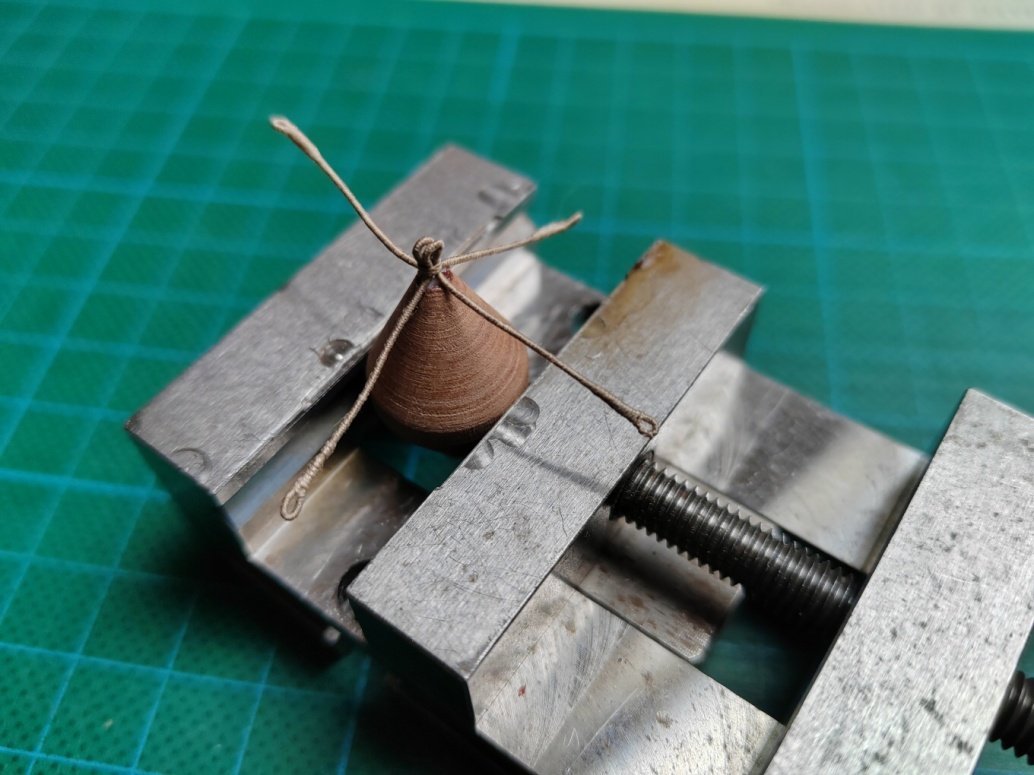
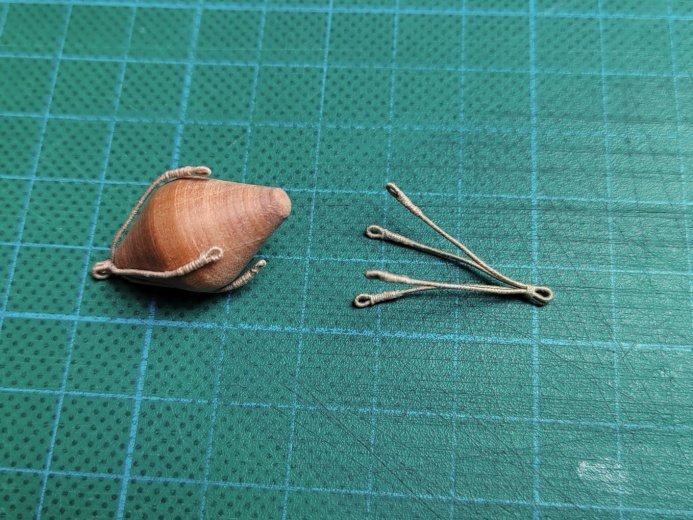
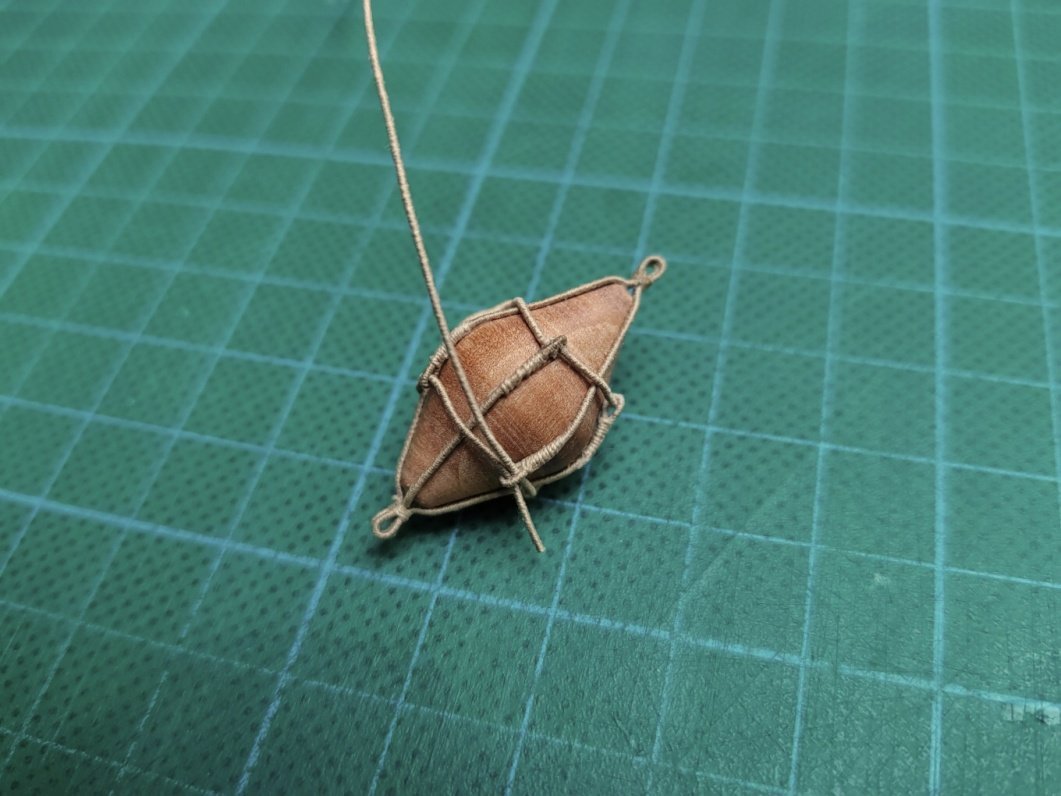
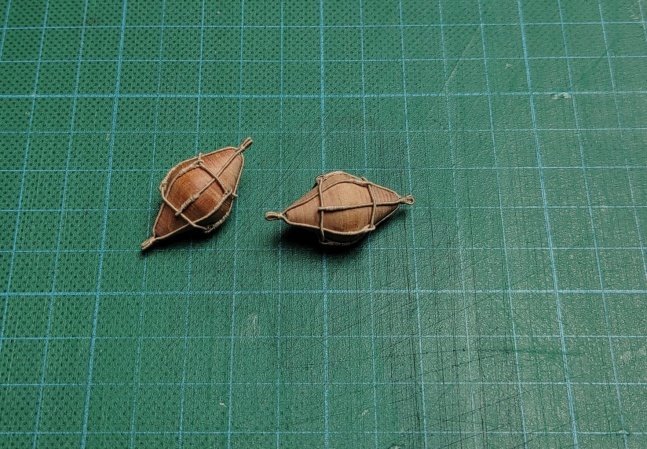
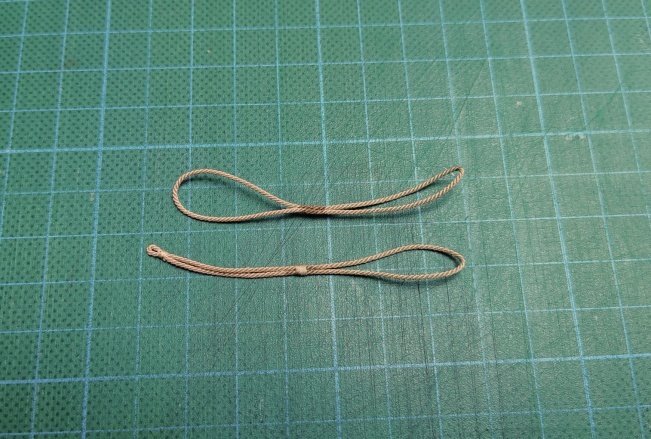
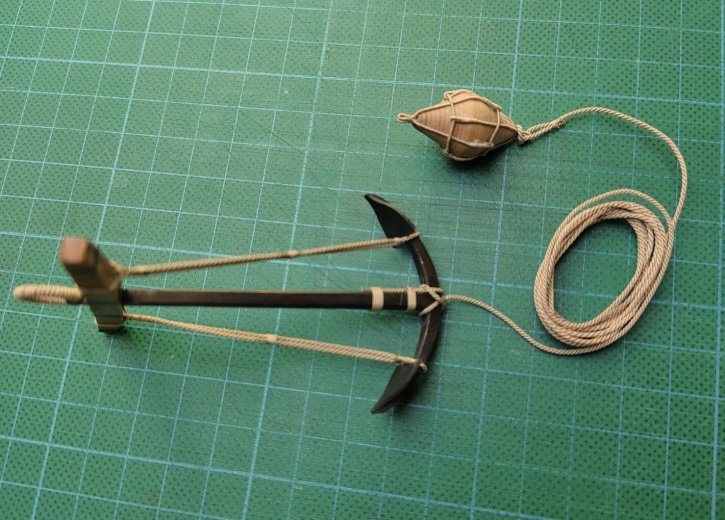
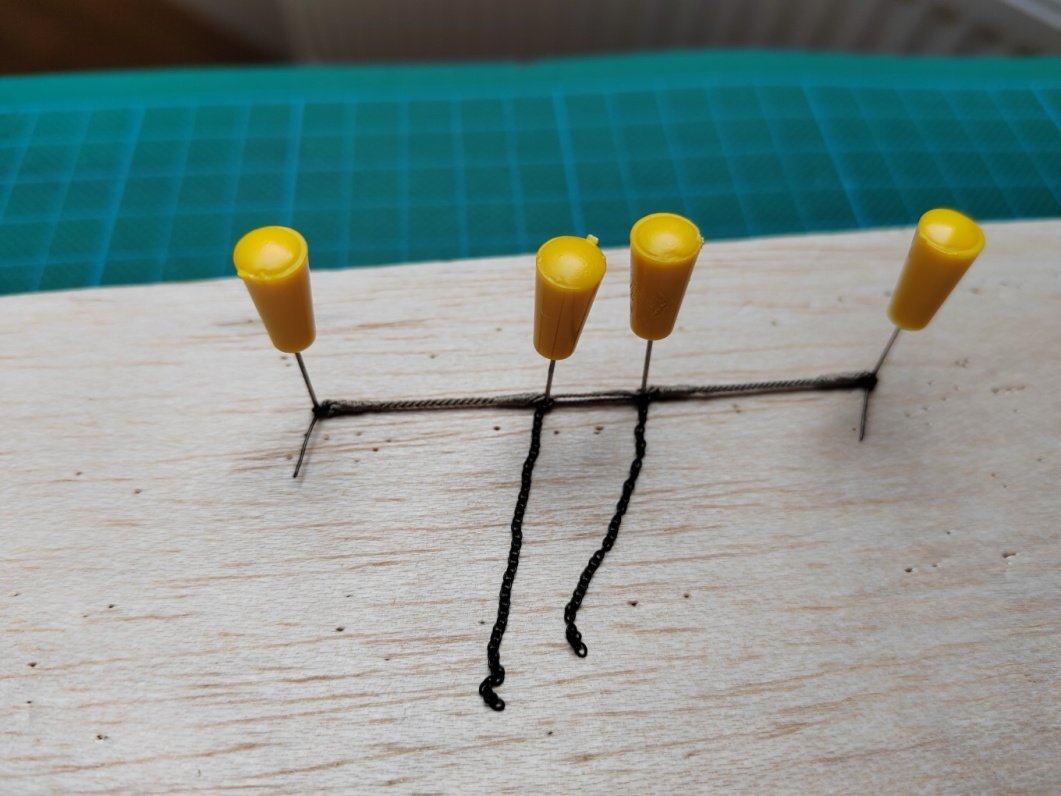
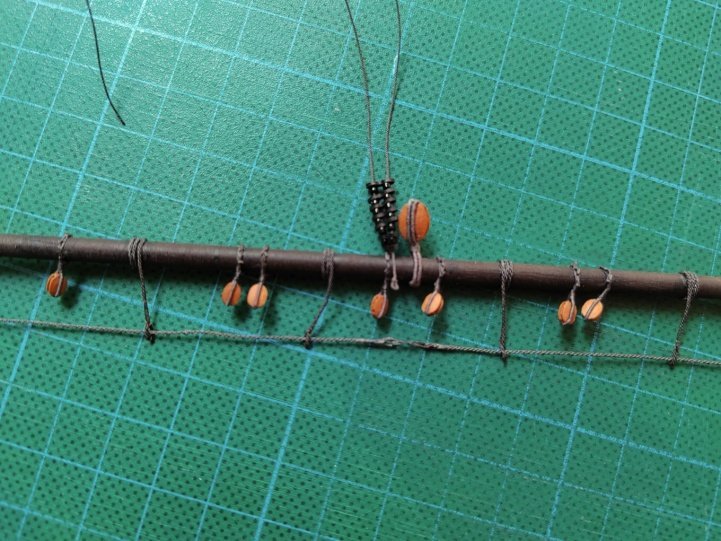
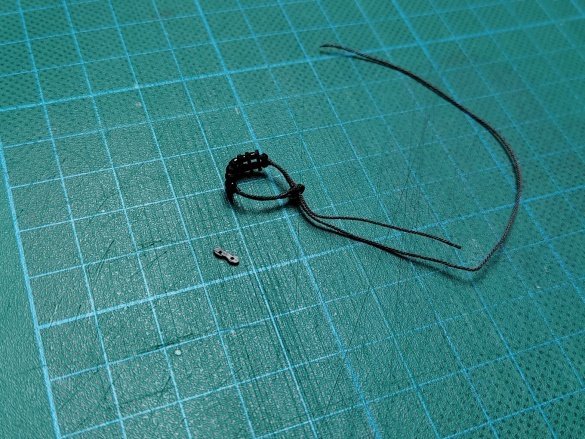
Preparation of anchors for hanging - buoy, fish strops.
-
-
-
Wonderfull built
 .
.
- mtaylor, No Idea and Keith Black
-
2
-
1
-
-
-
Thank you guys
 .
.
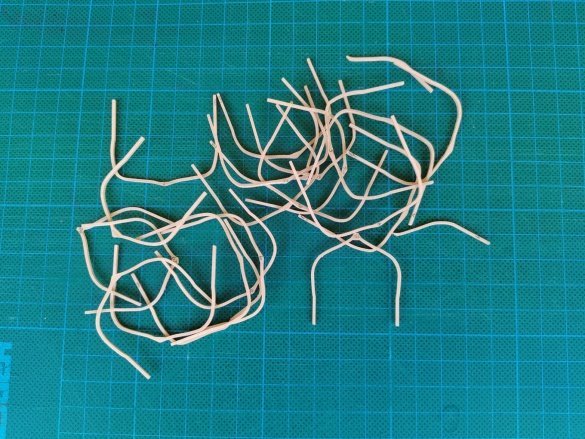
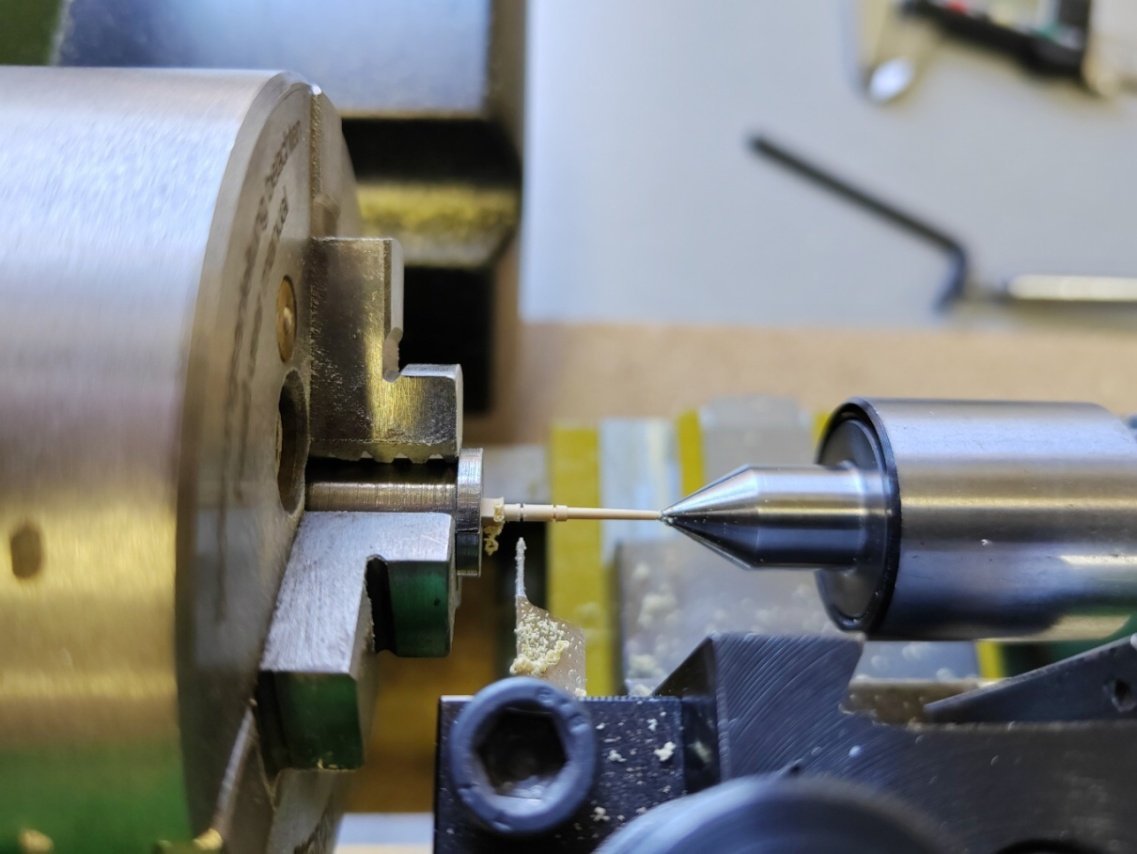
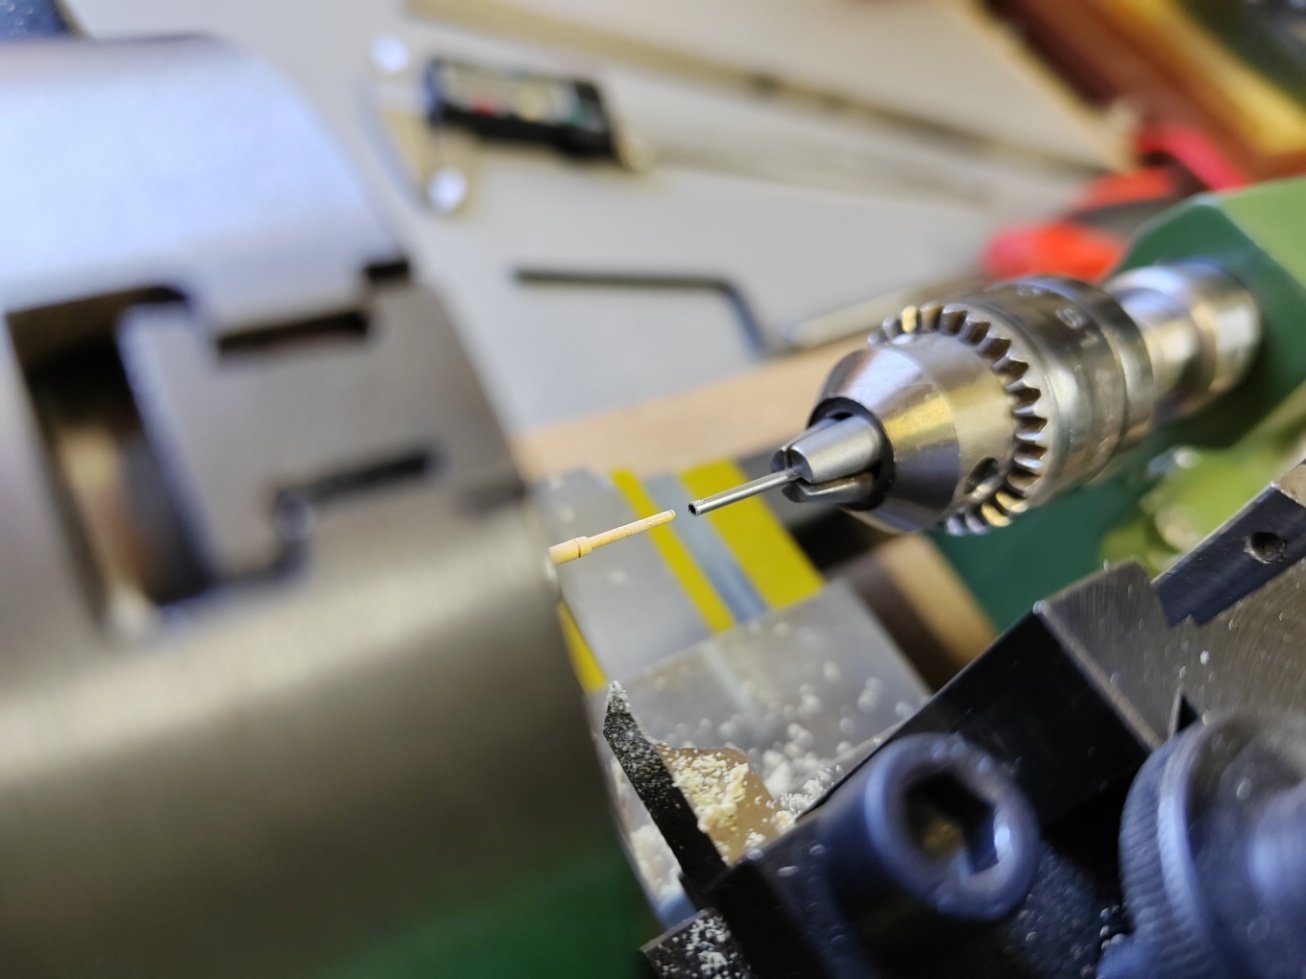
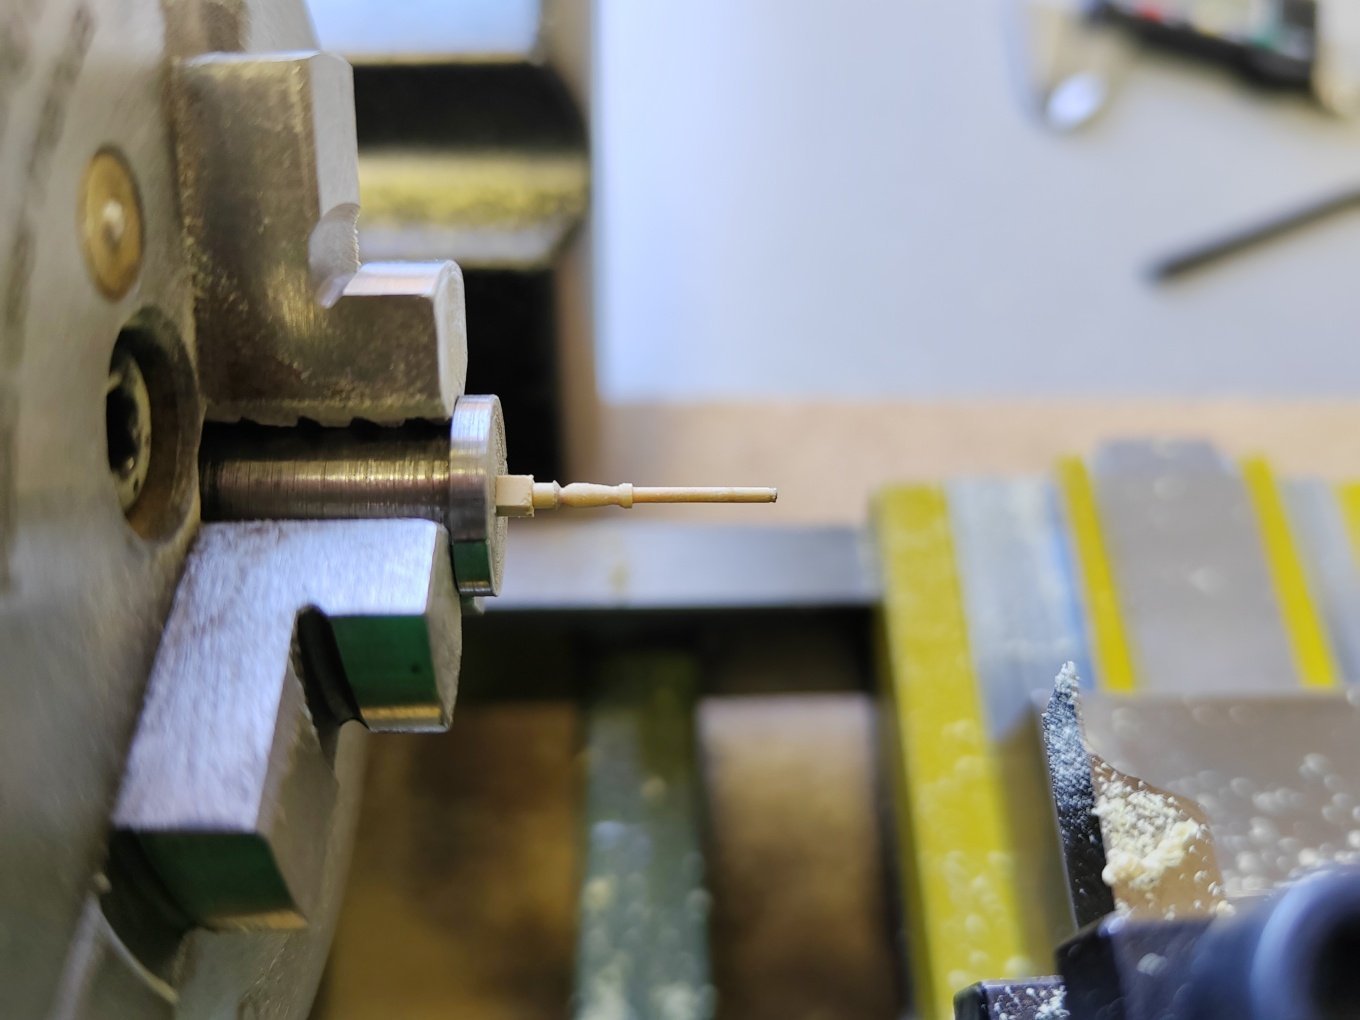
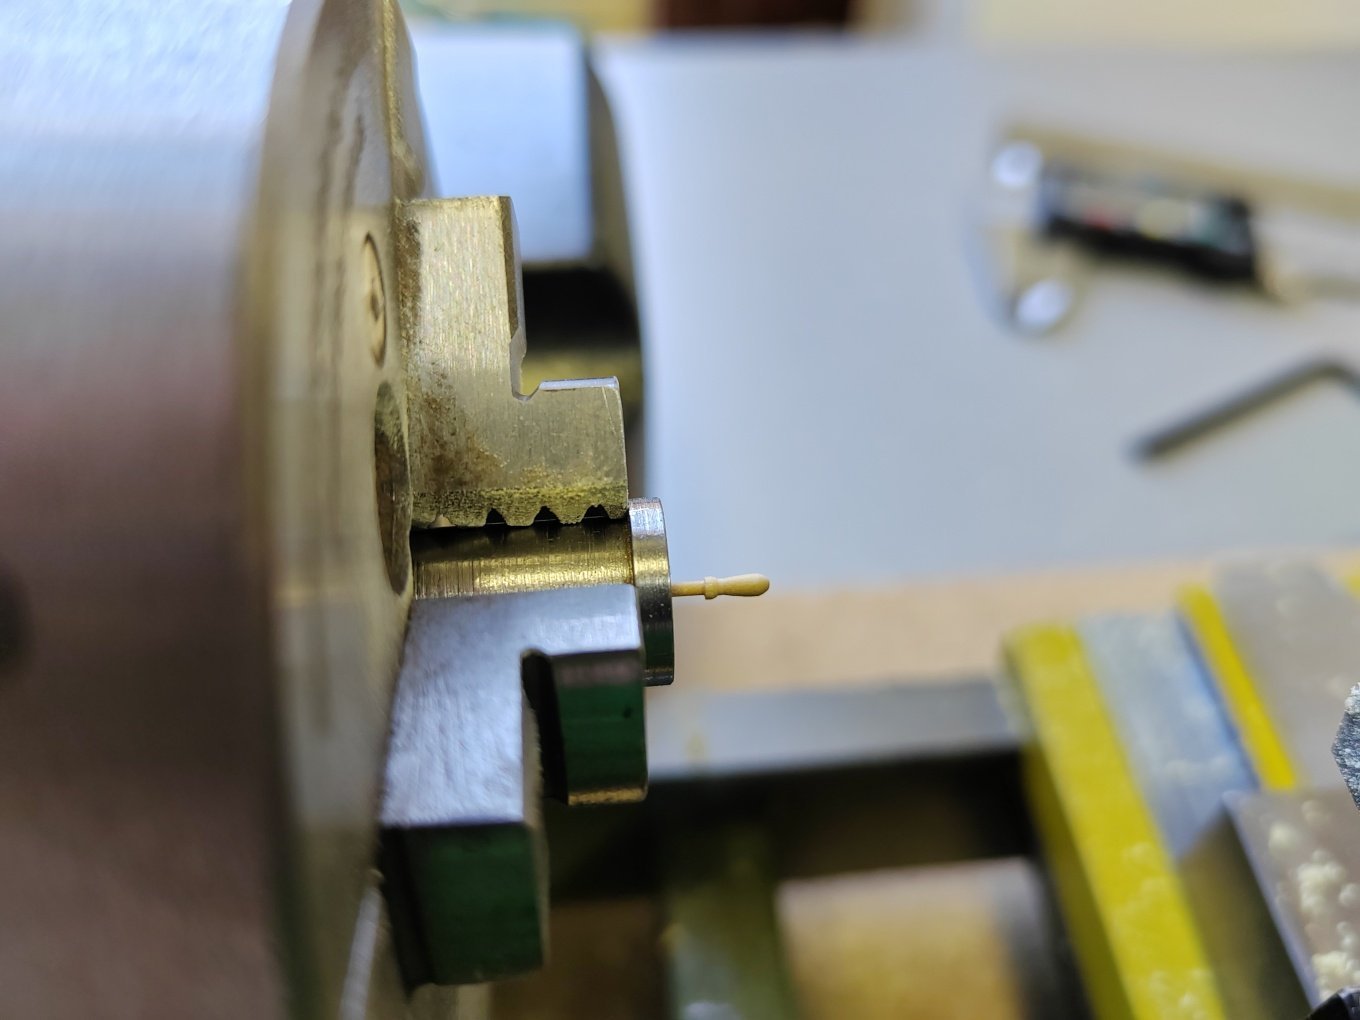
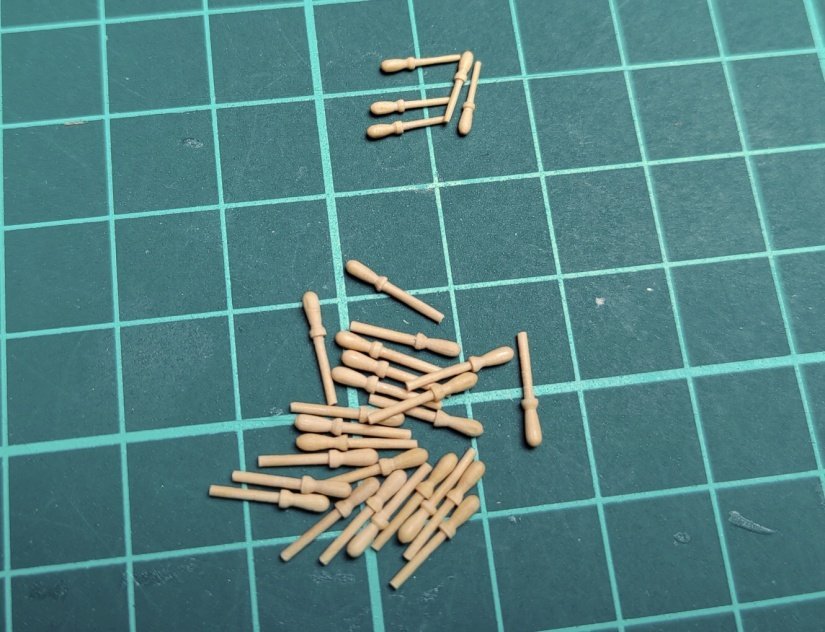
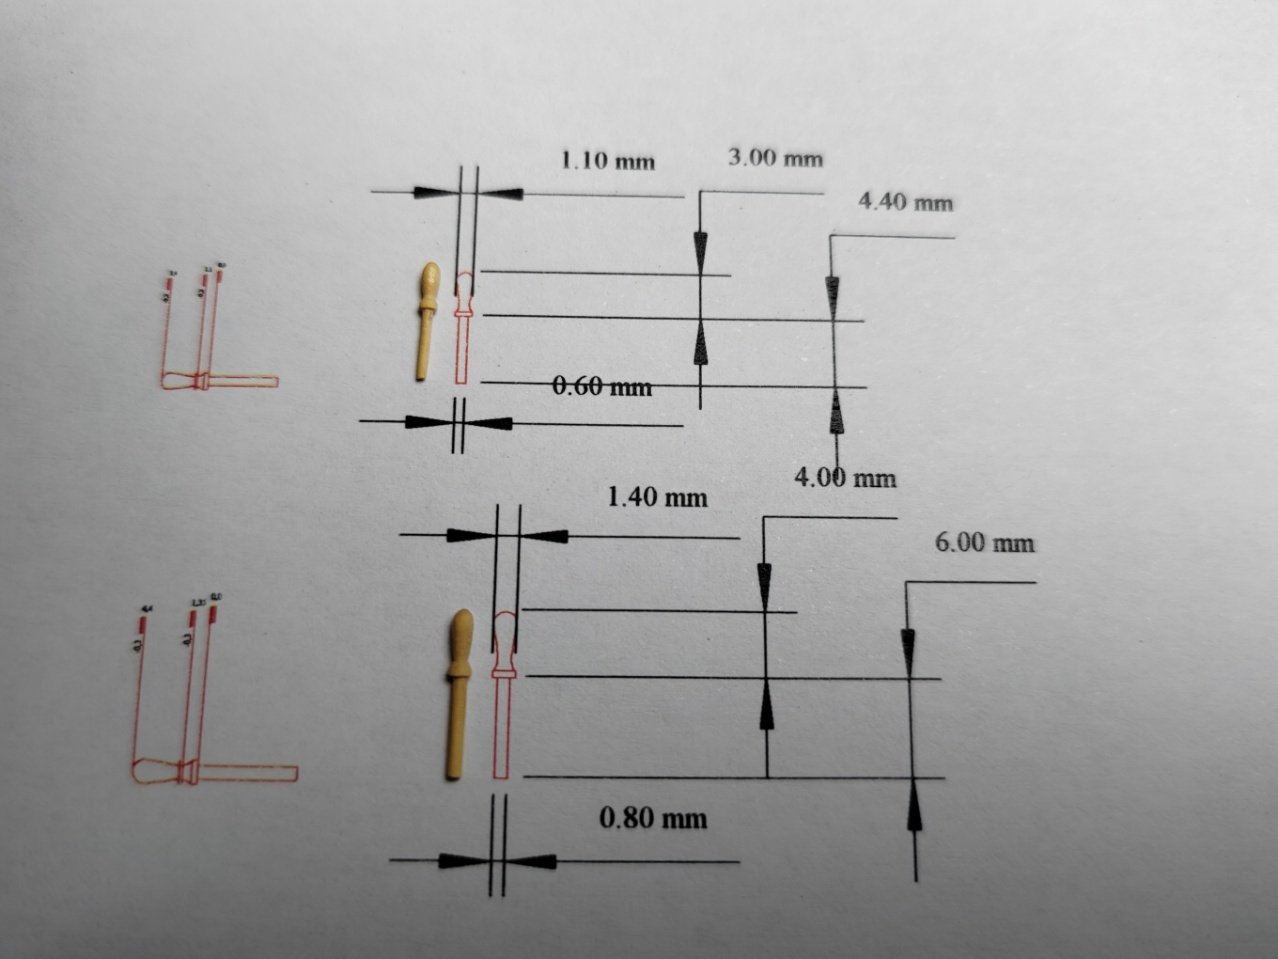
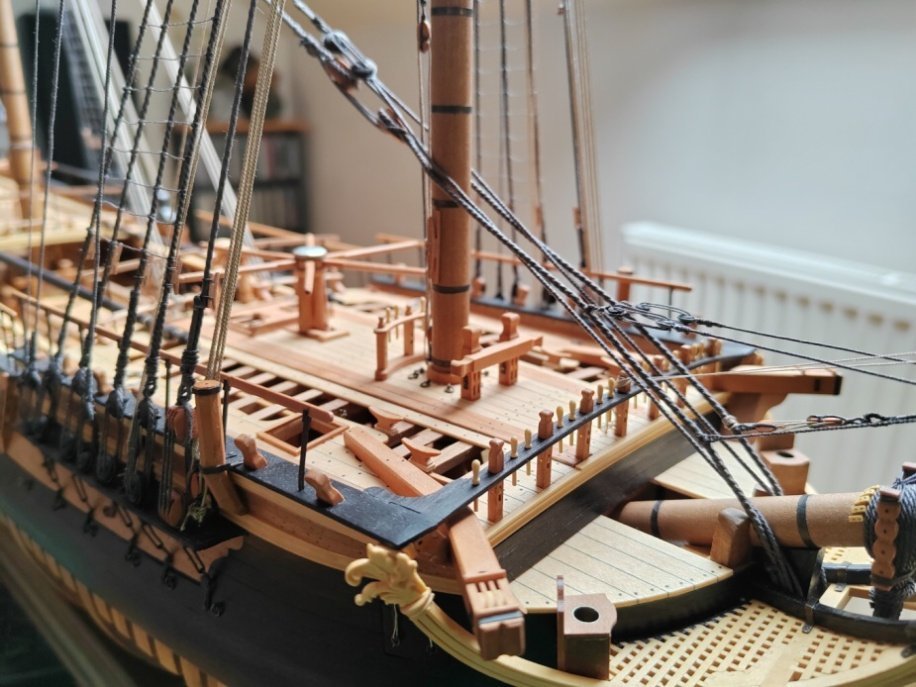
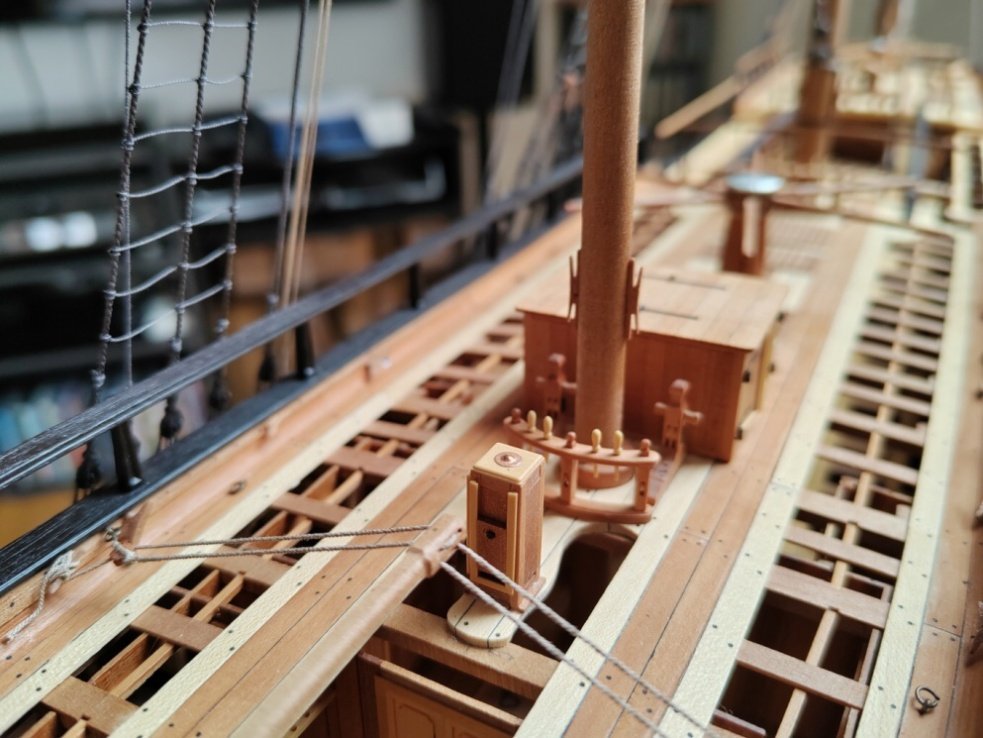
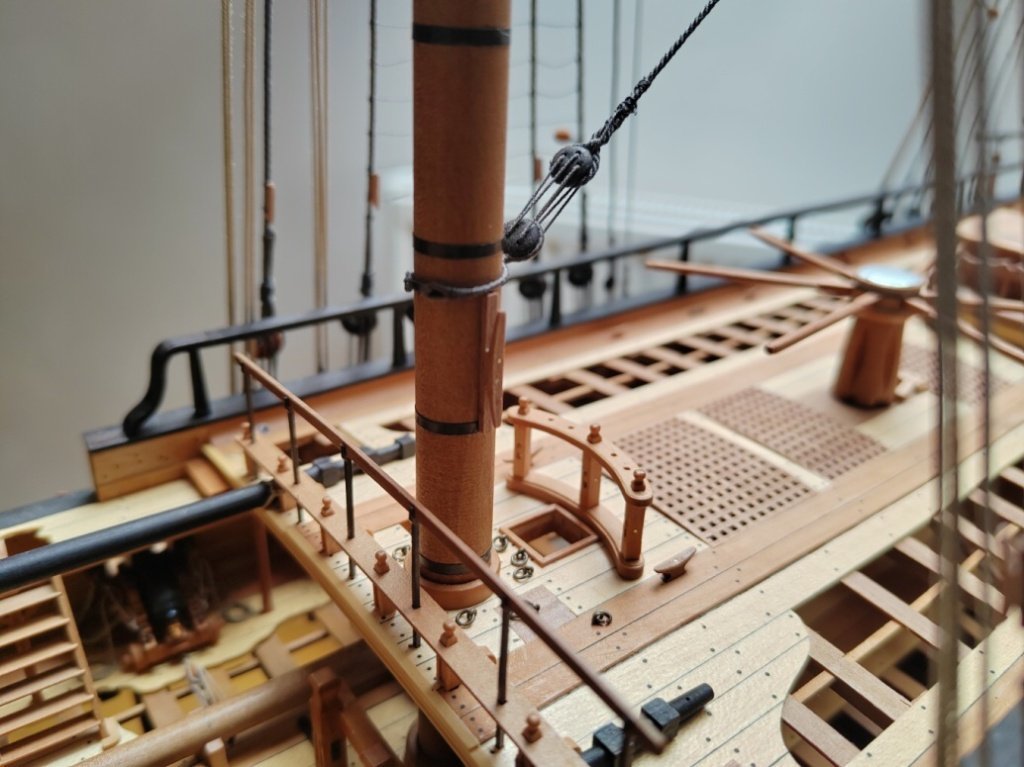
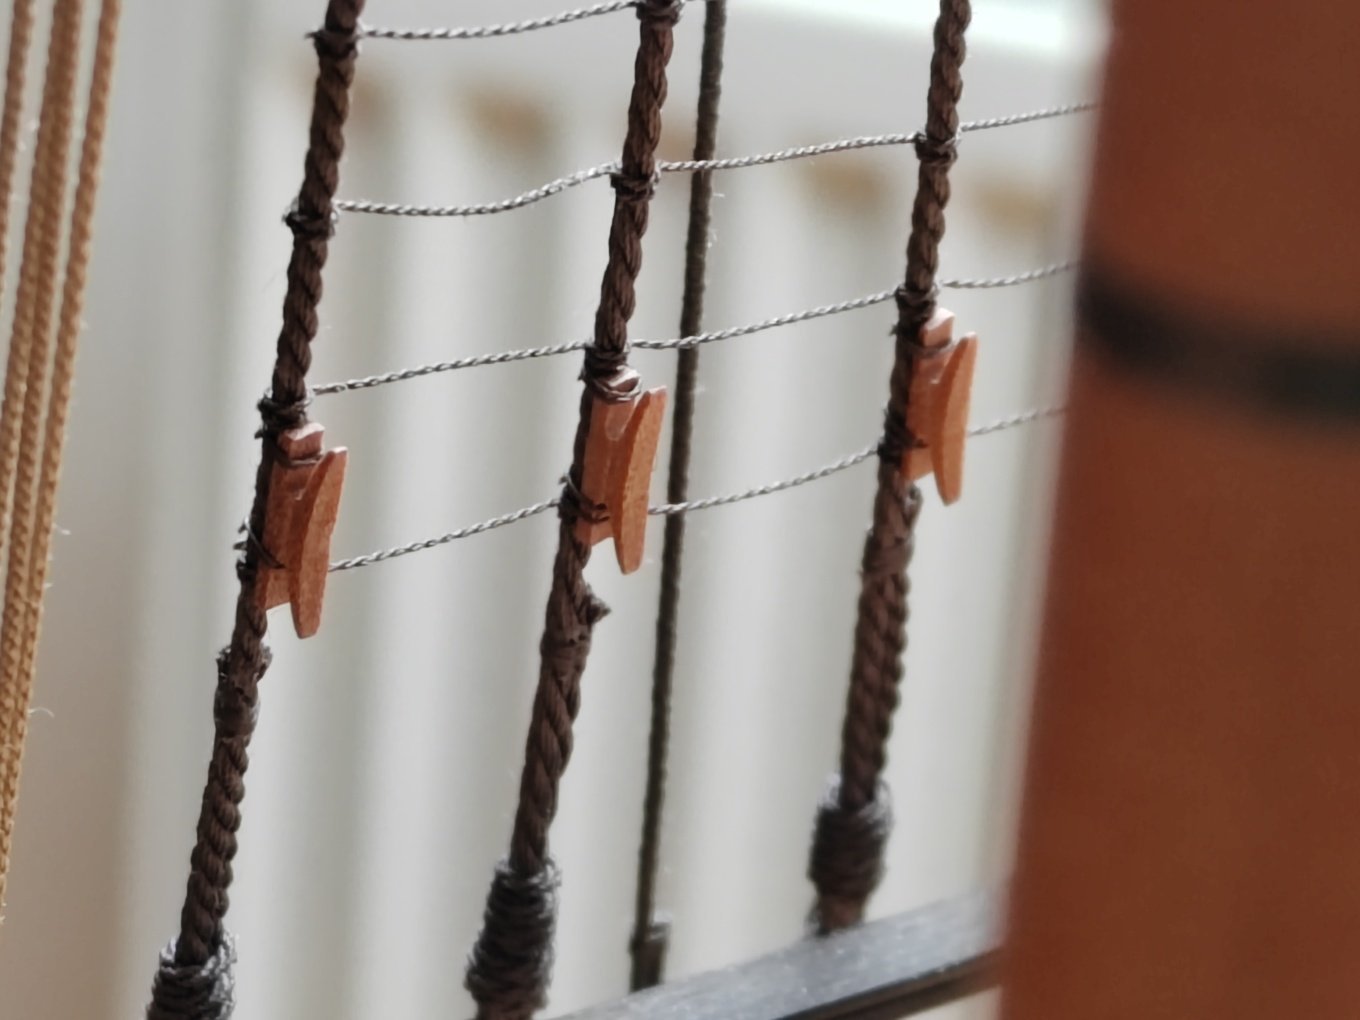
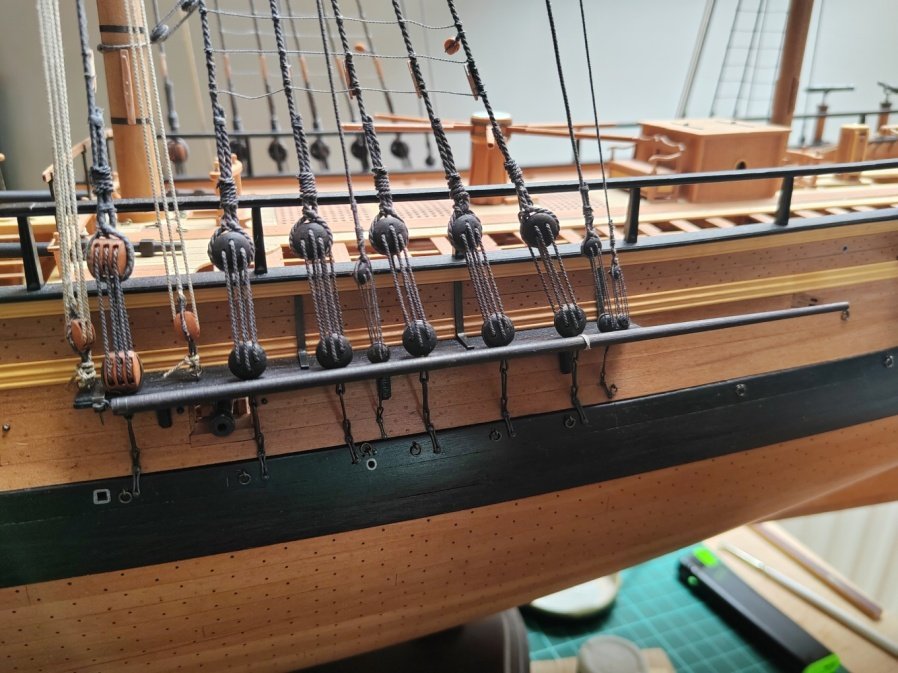
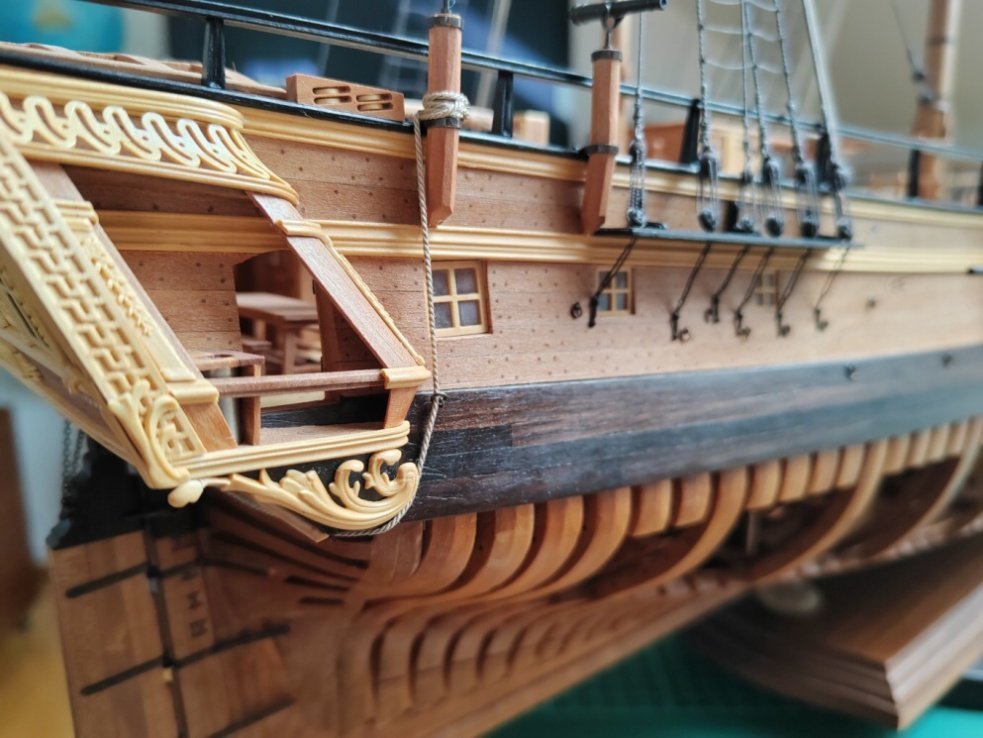
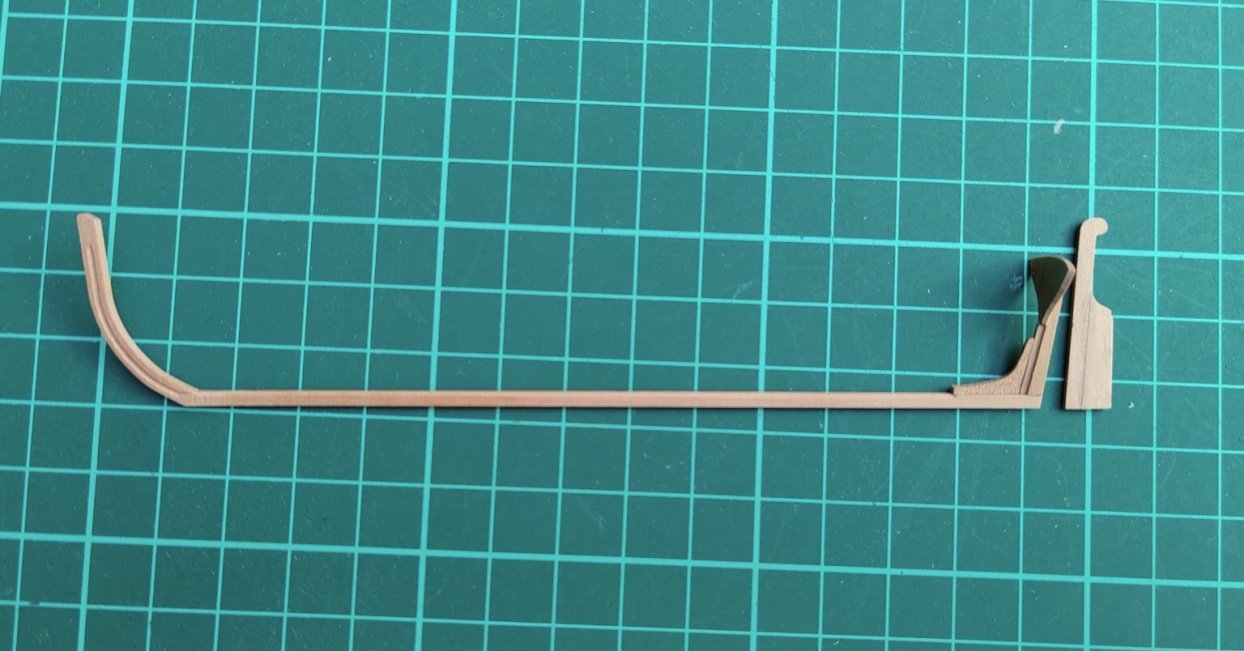
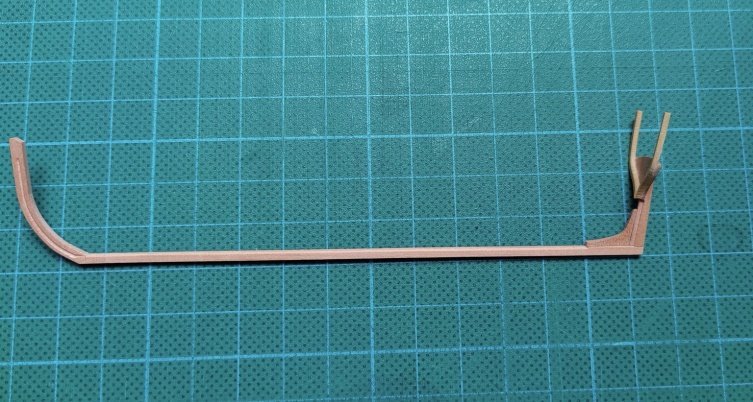
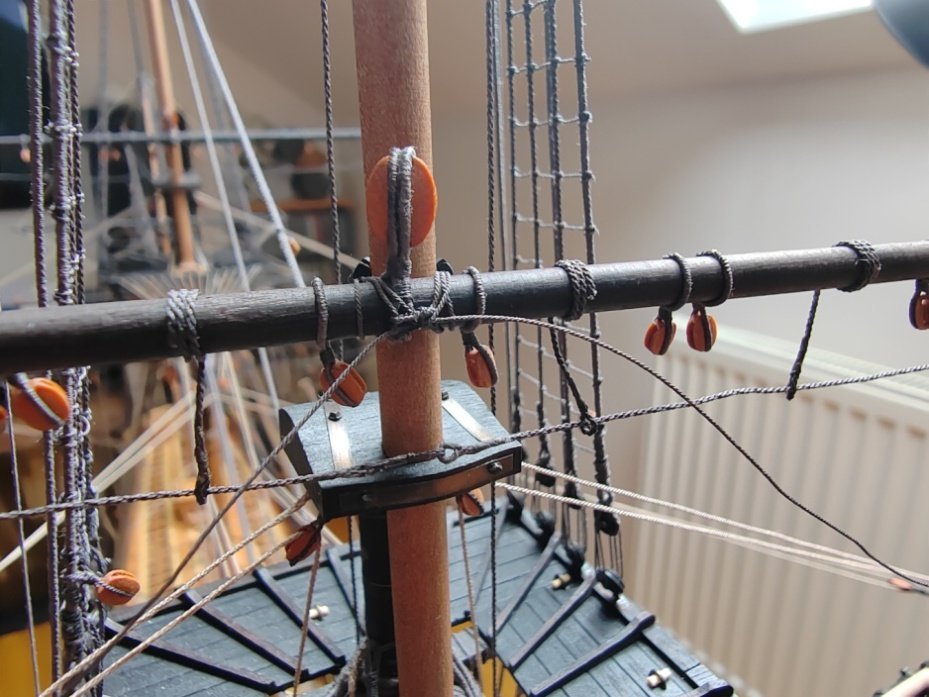
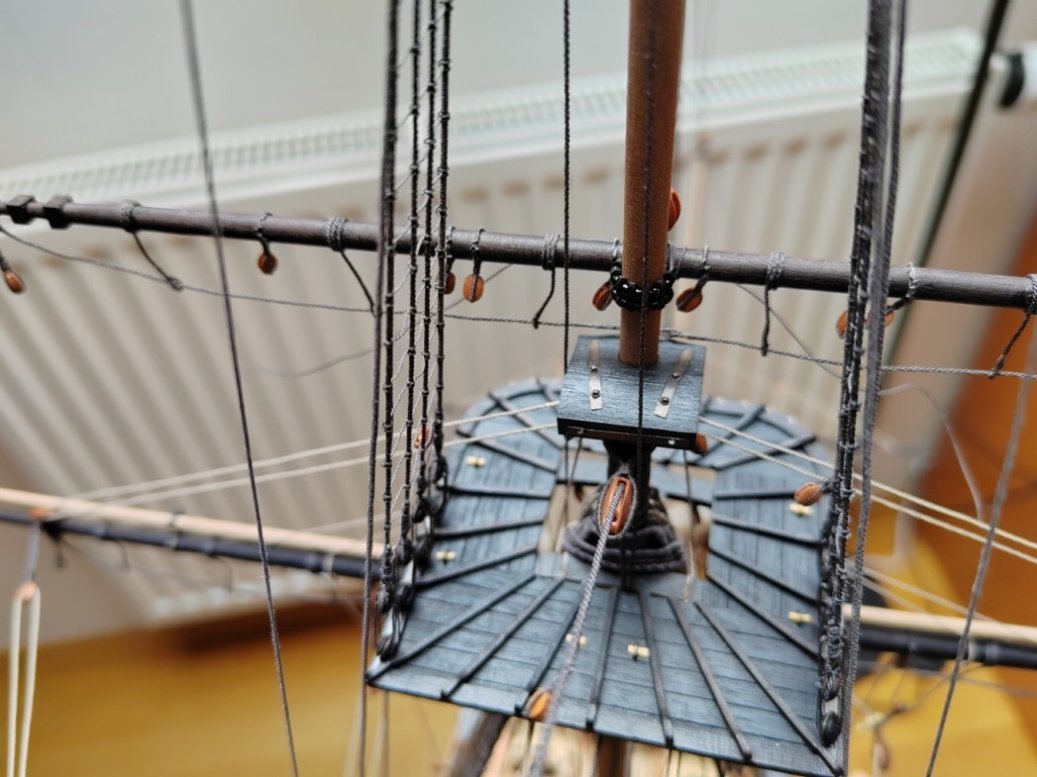
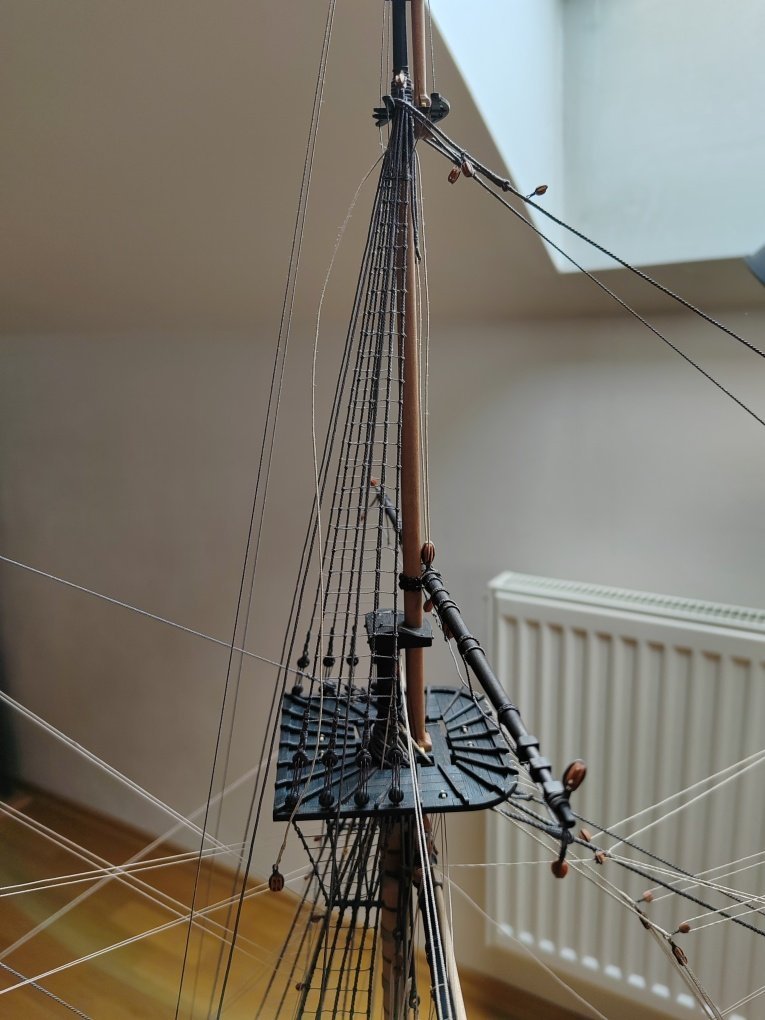
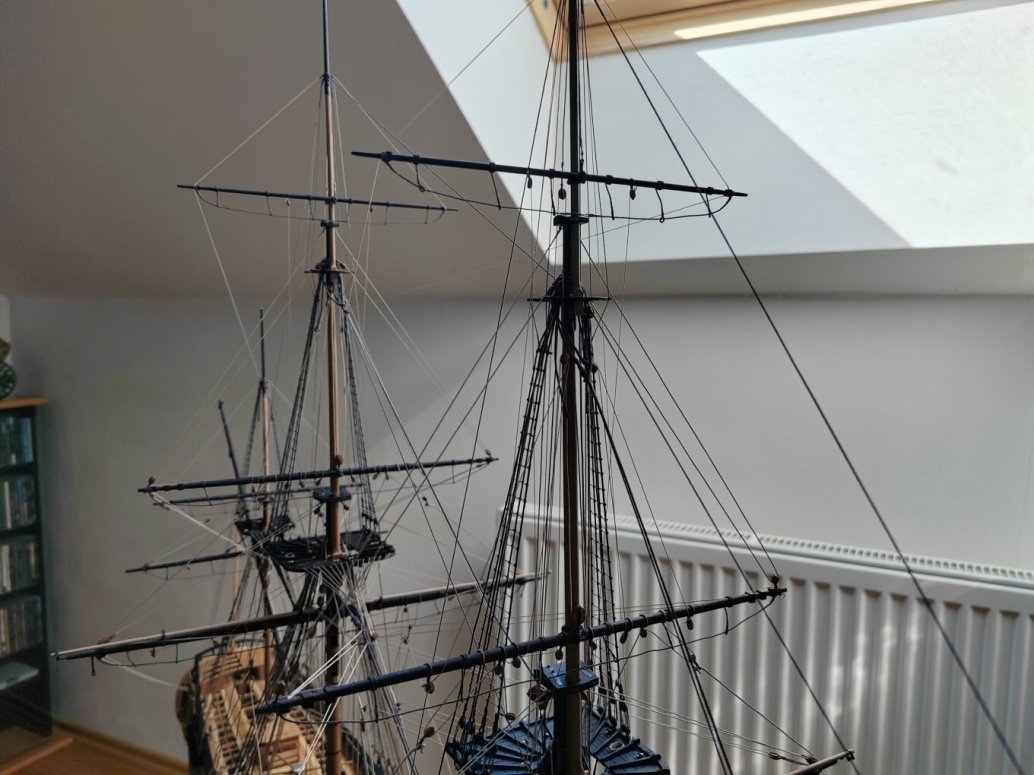
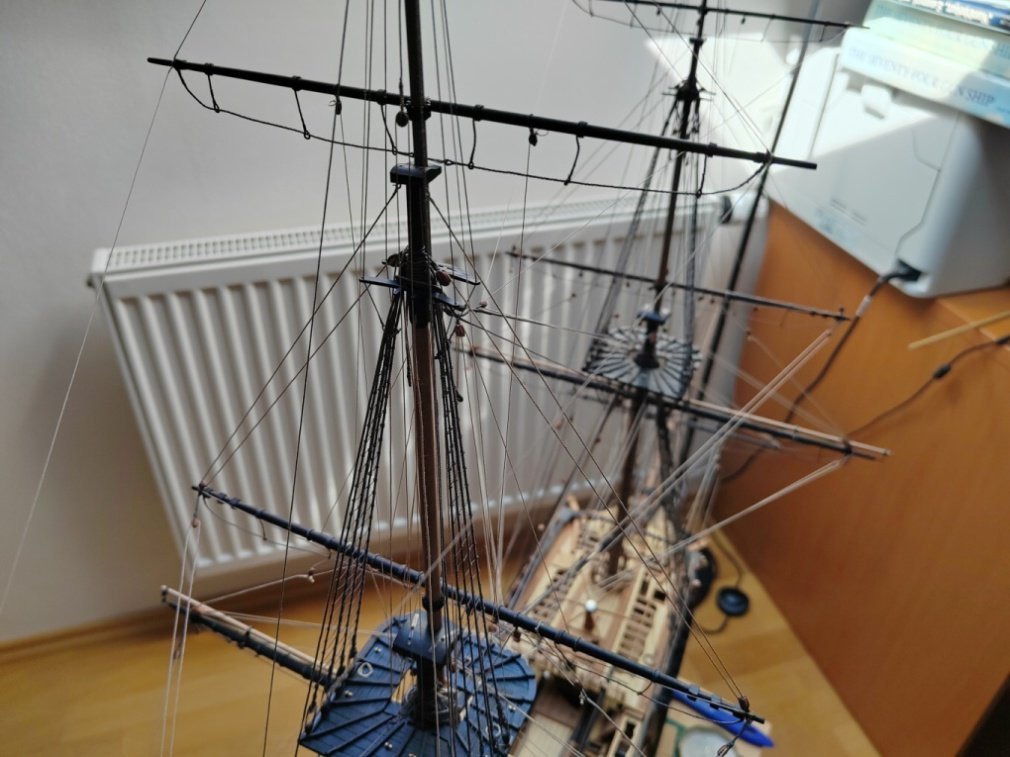
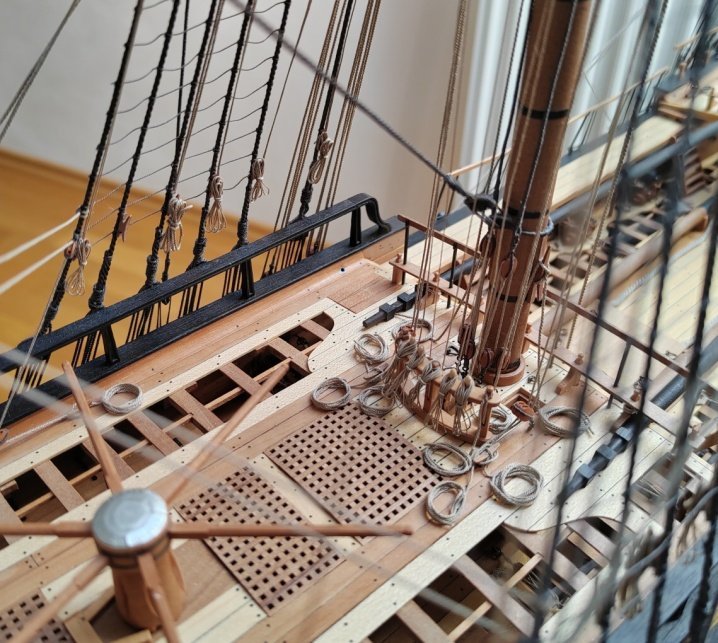
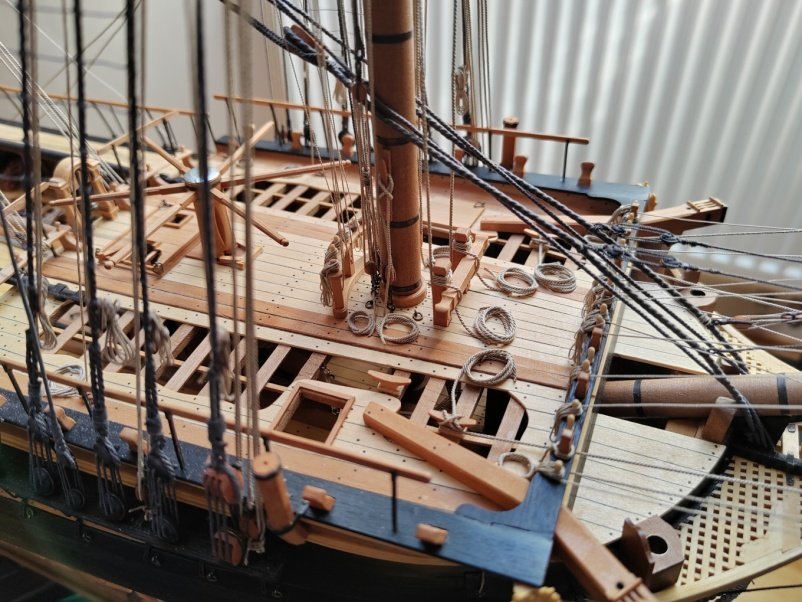
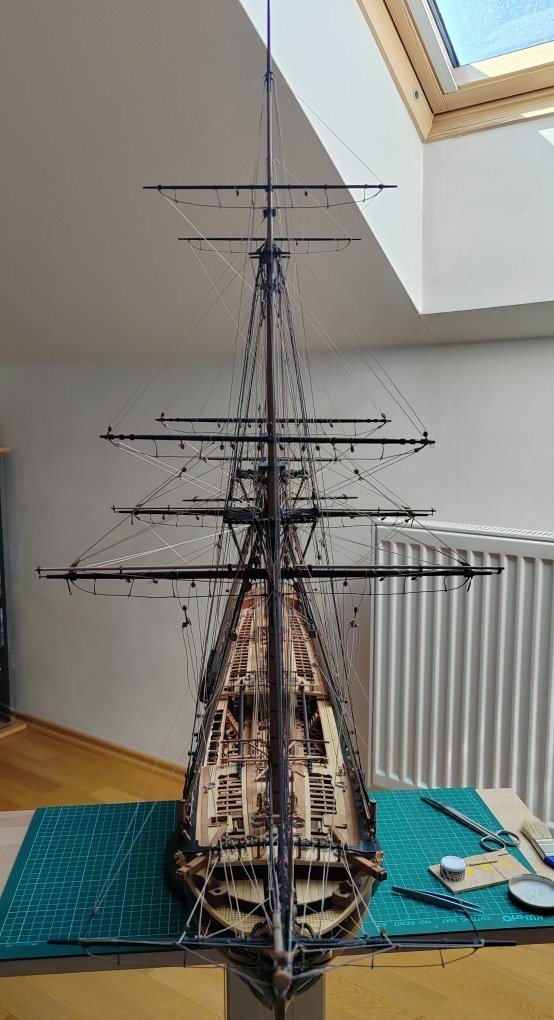
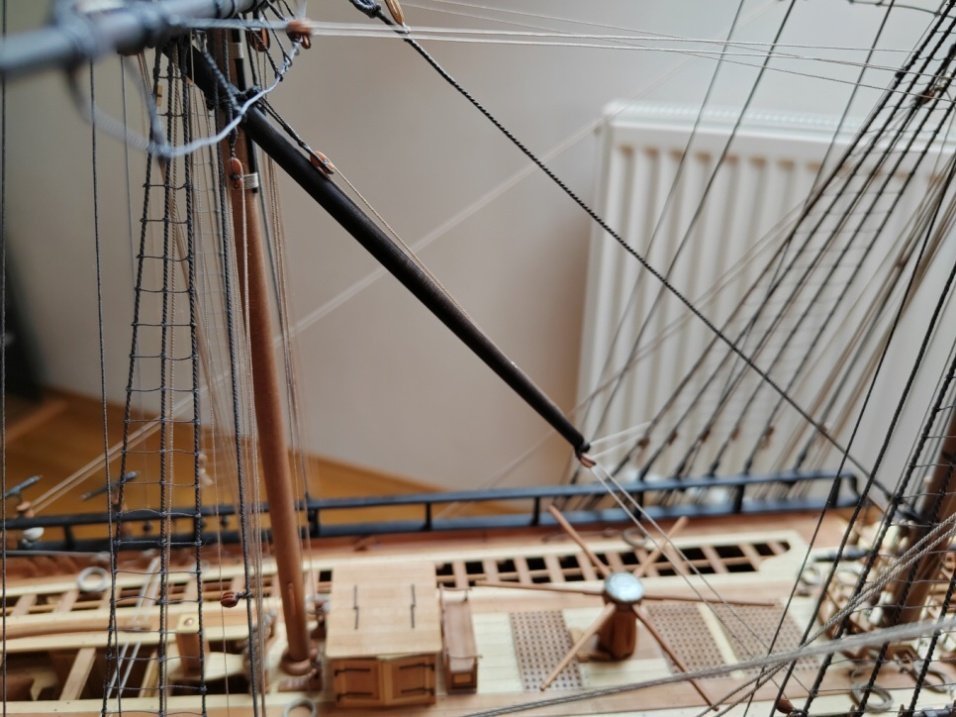
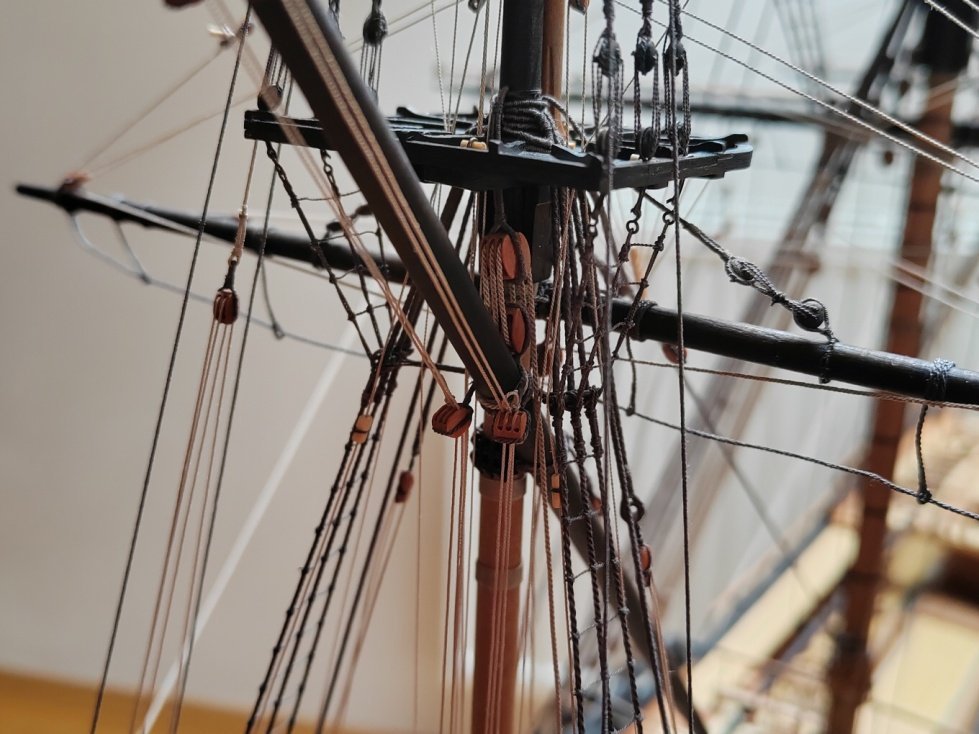
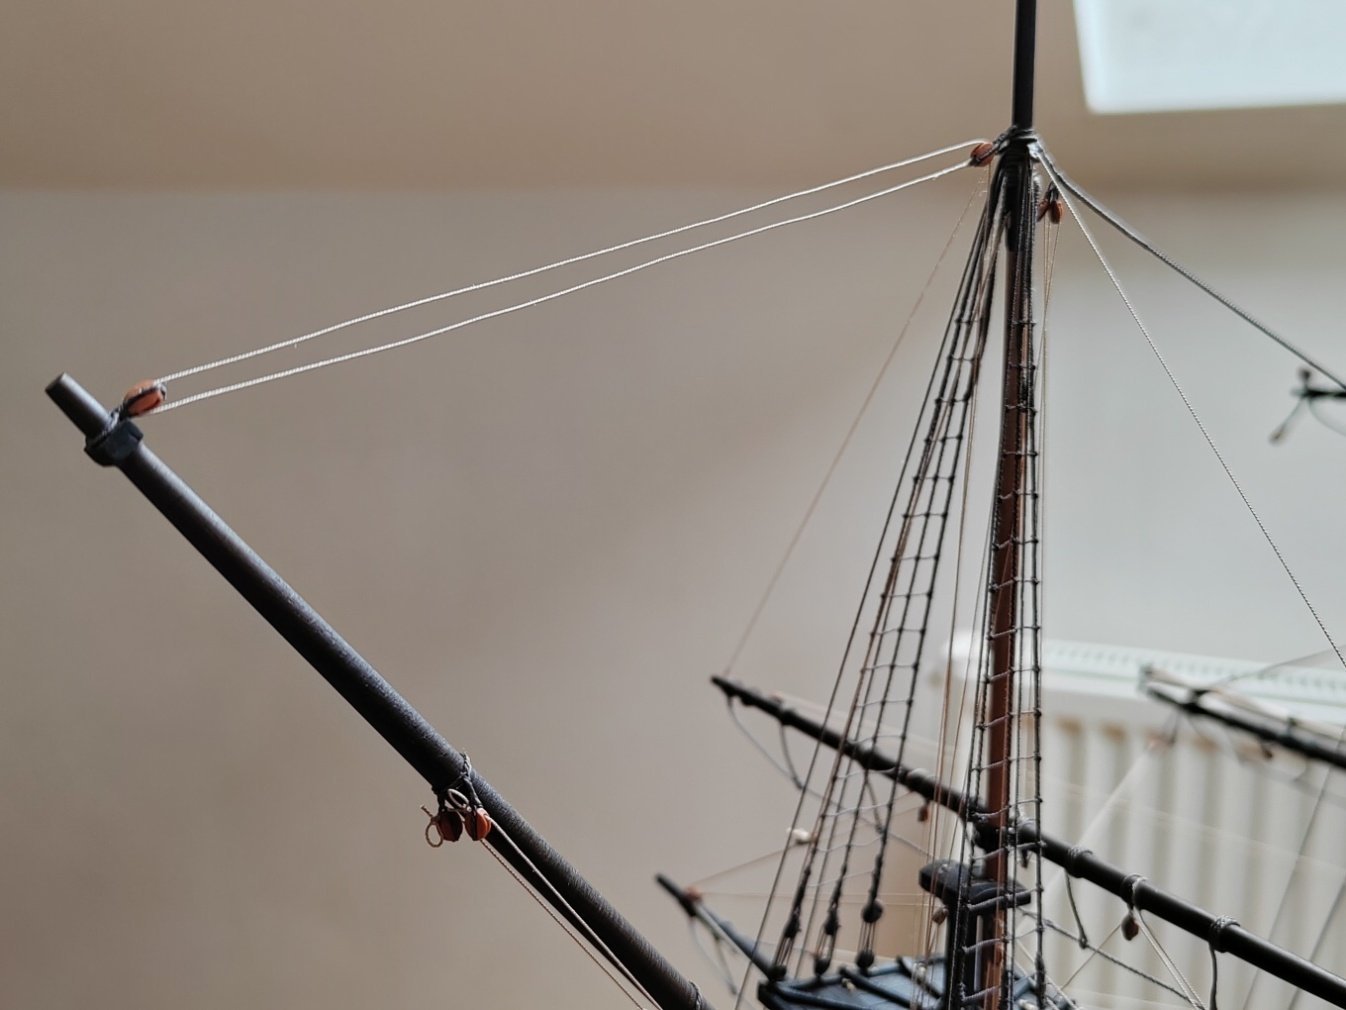
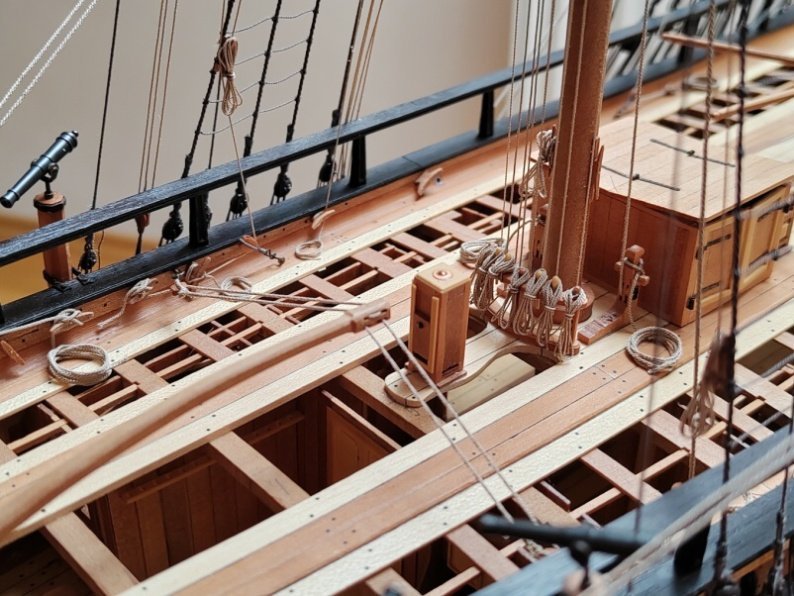
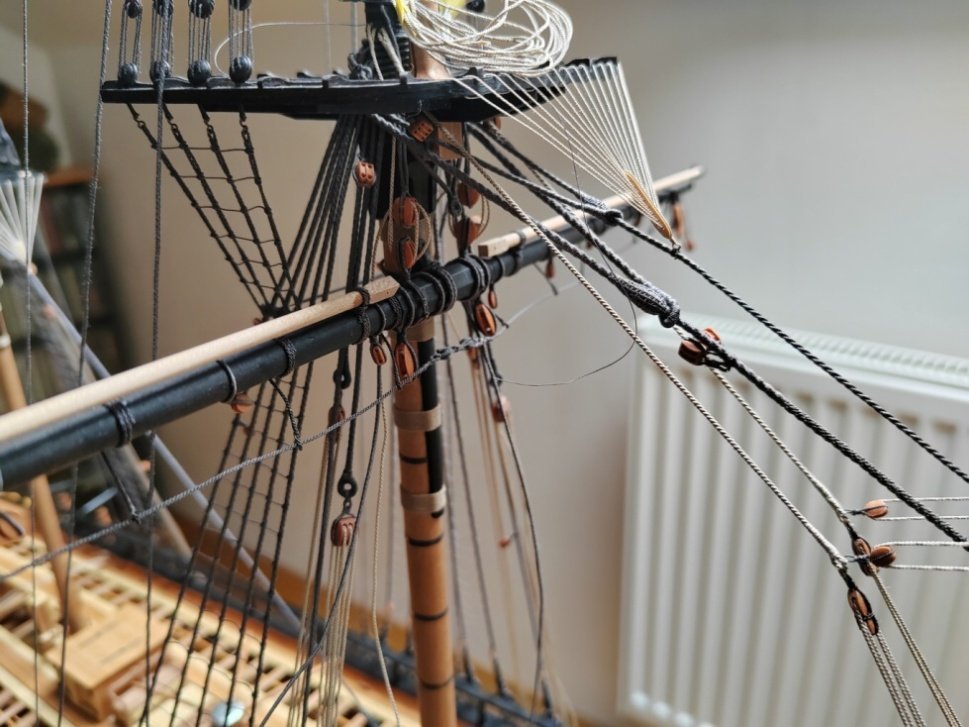
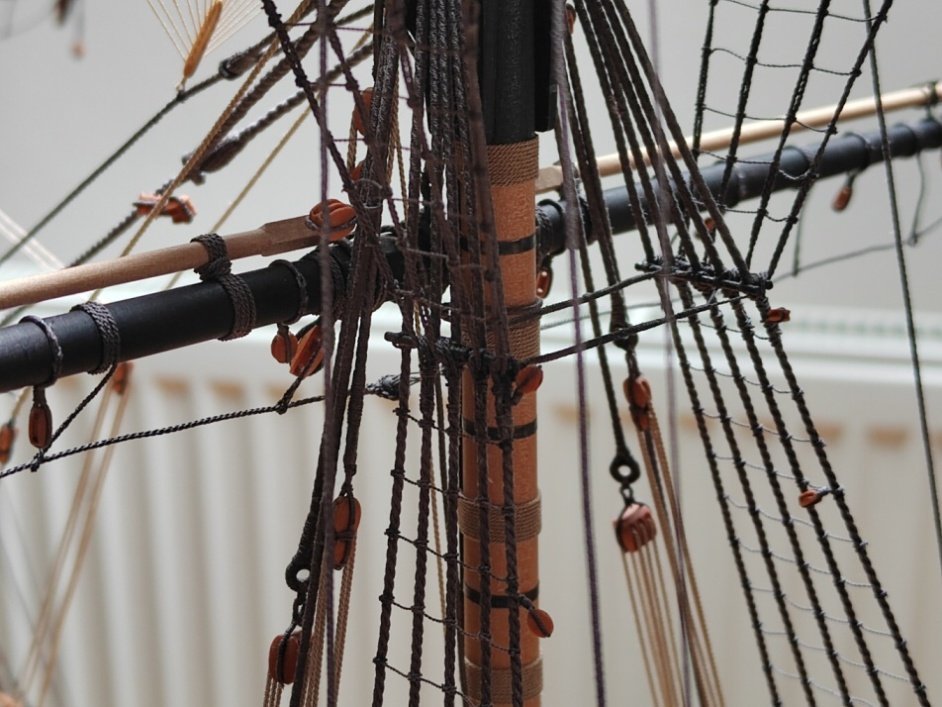
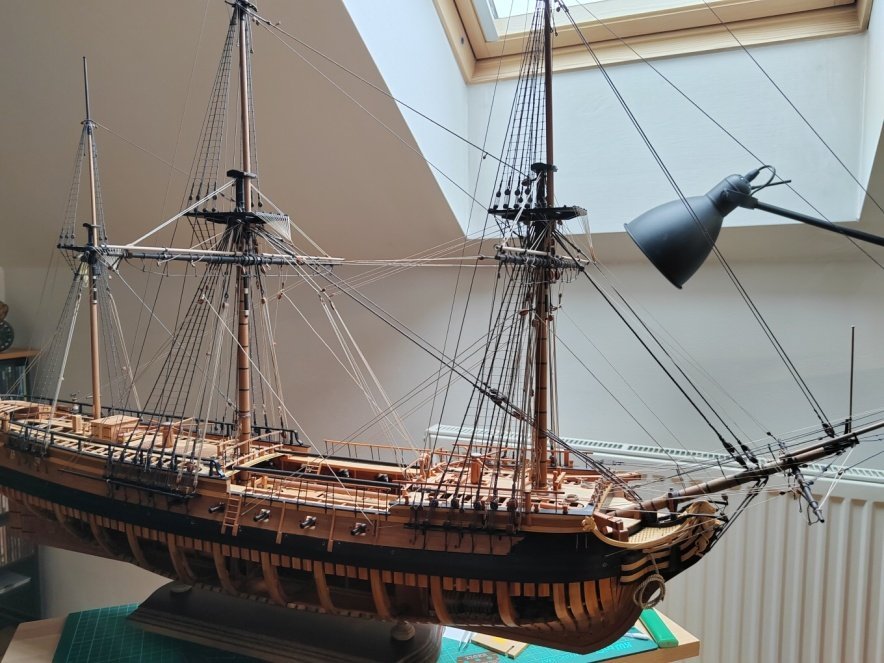
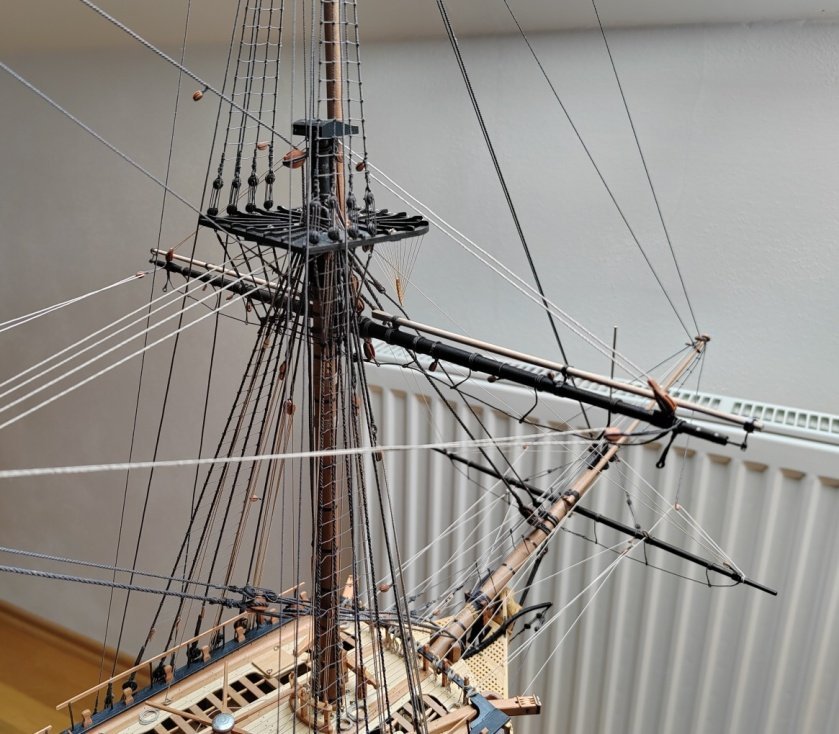
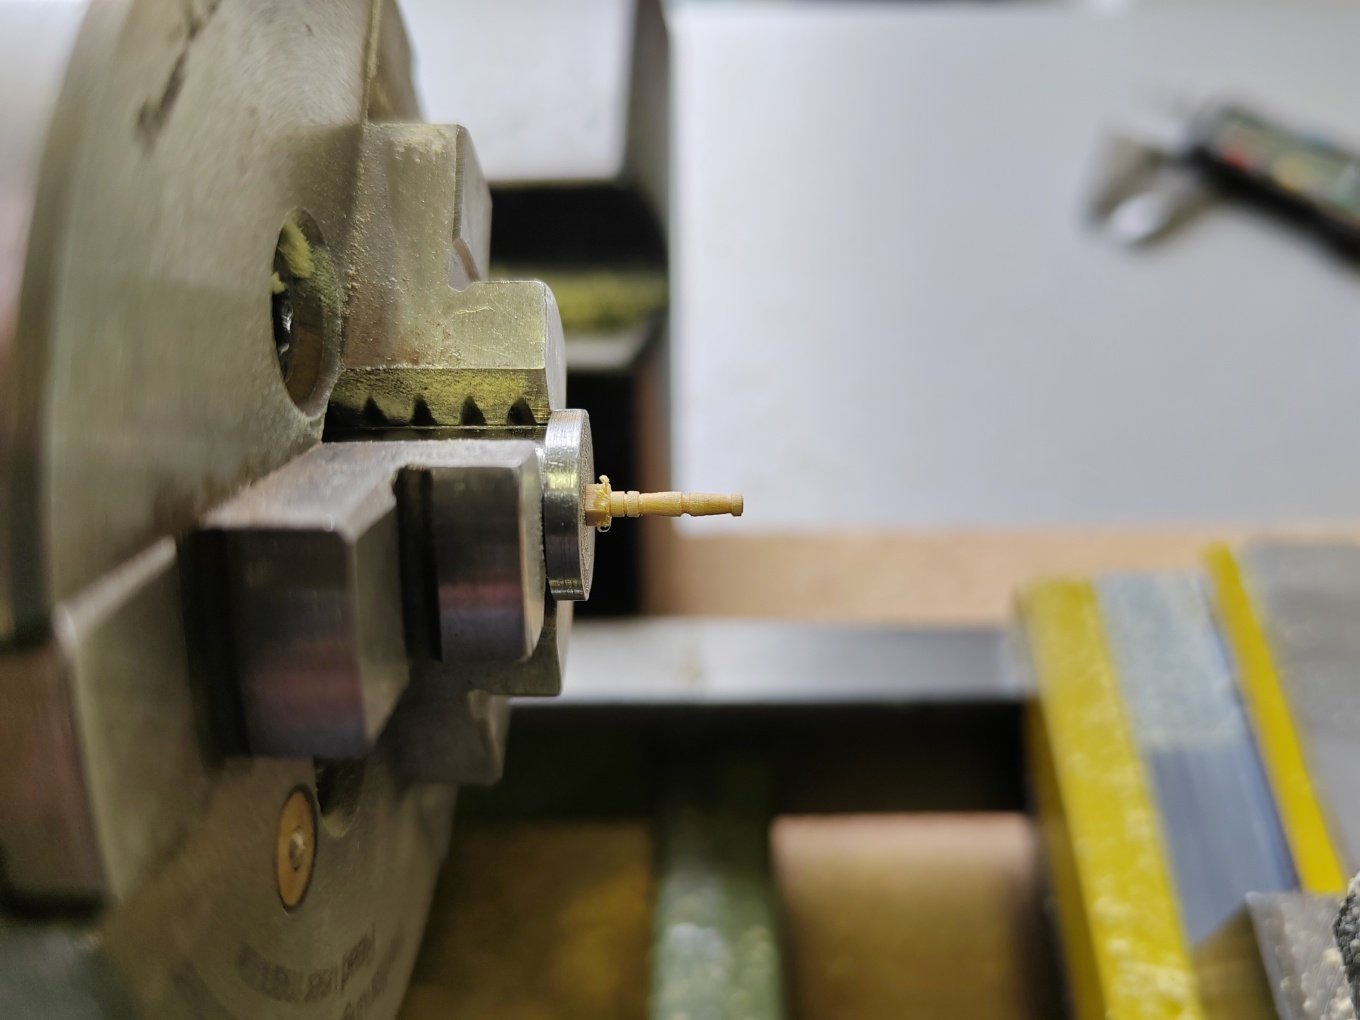
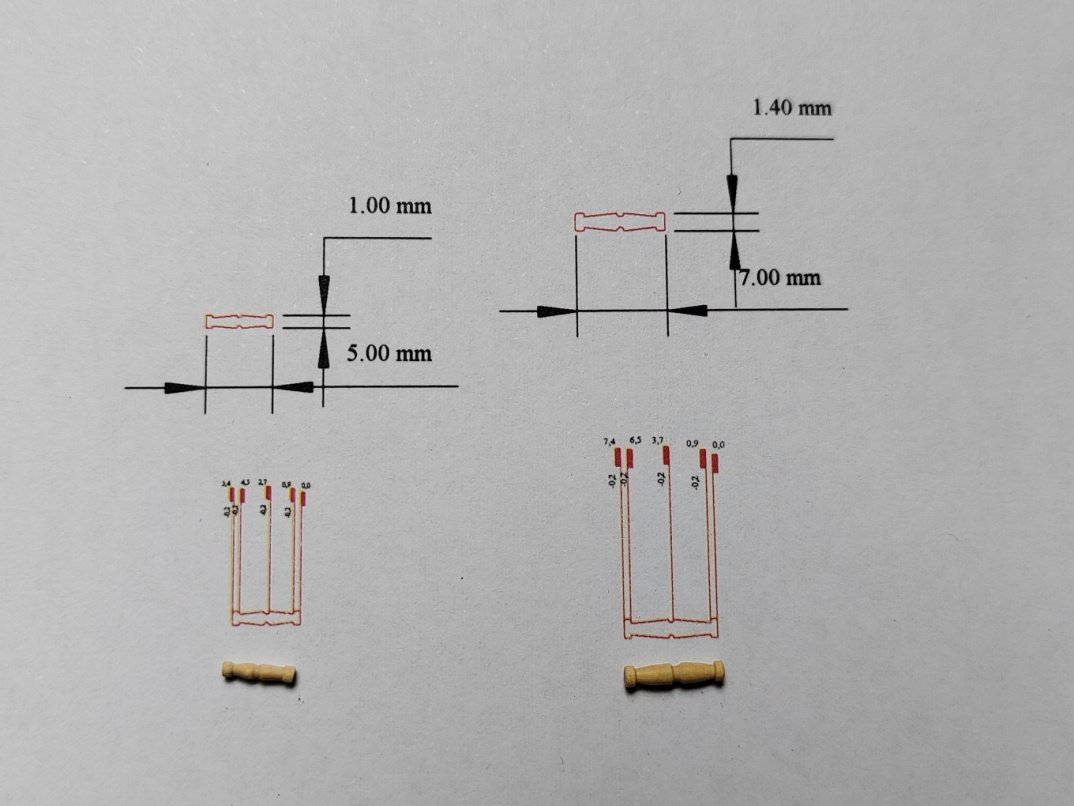
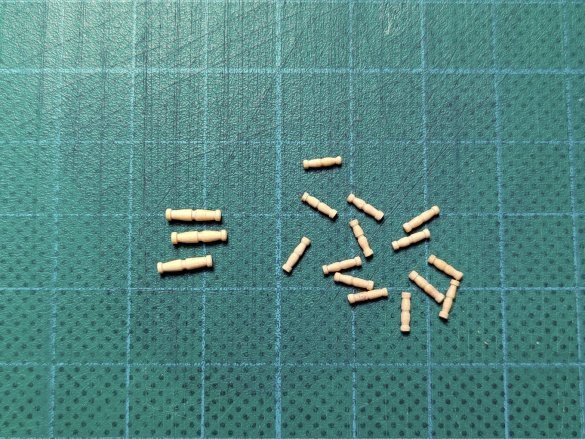
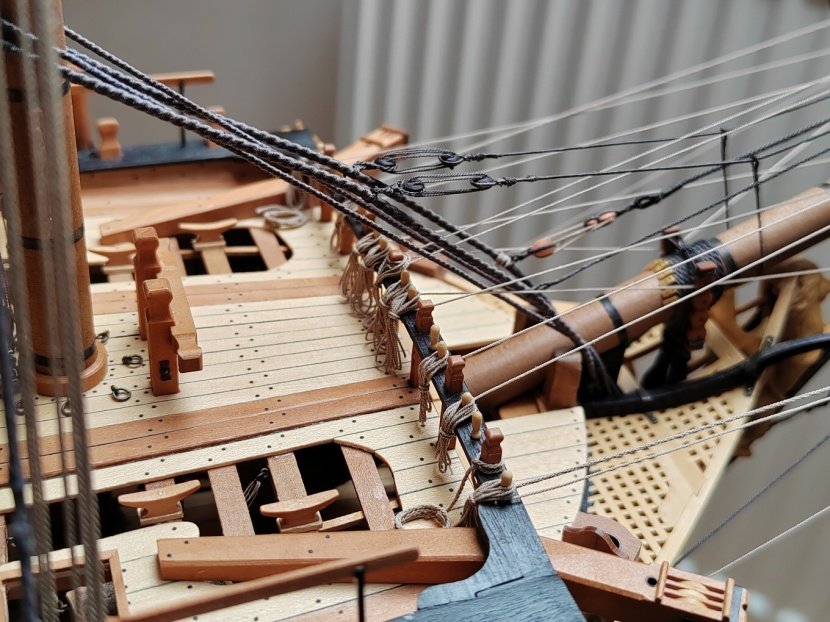
Before installing the yards on the mast, it was necessary to make the belaying pins.

-
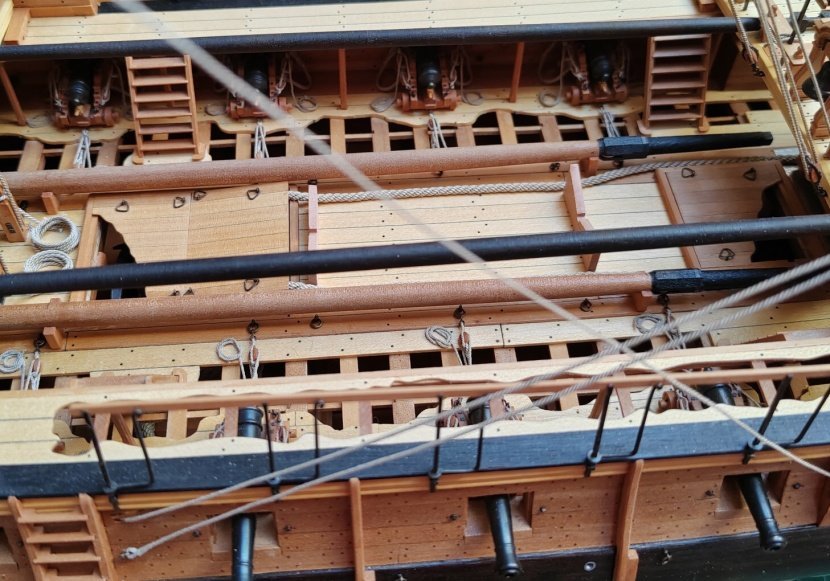
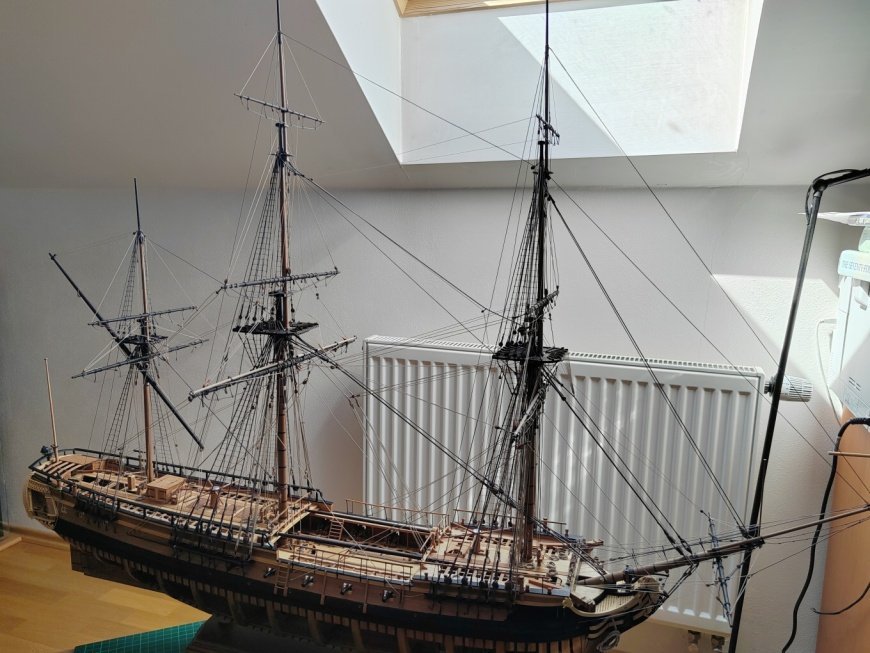
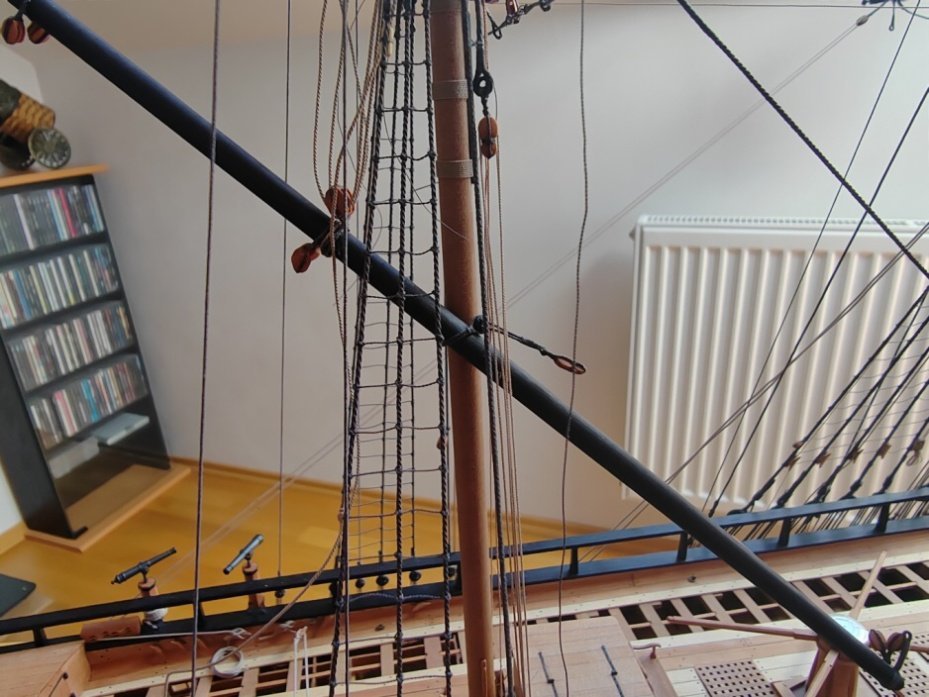
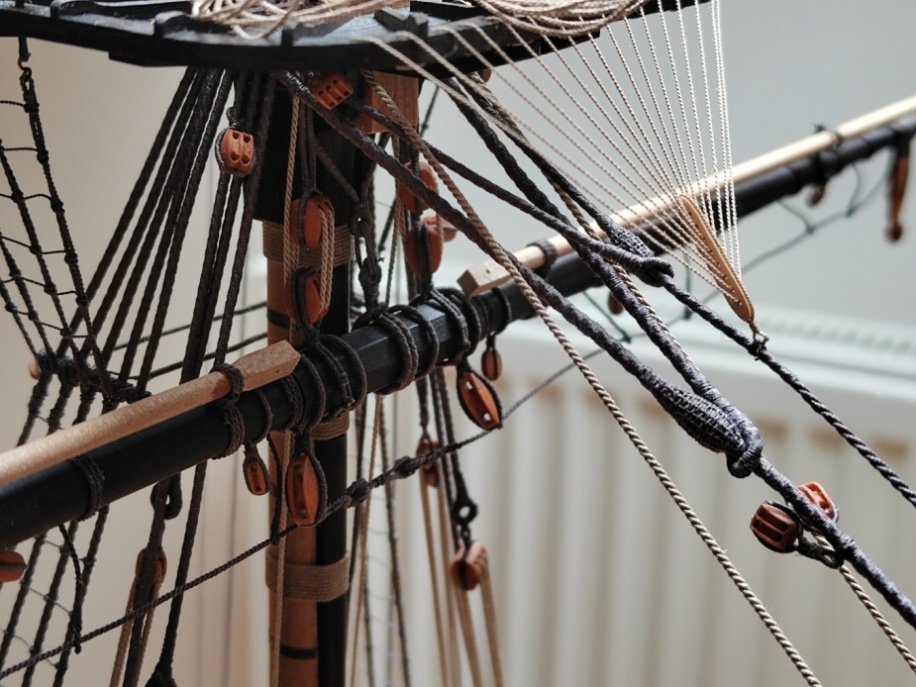
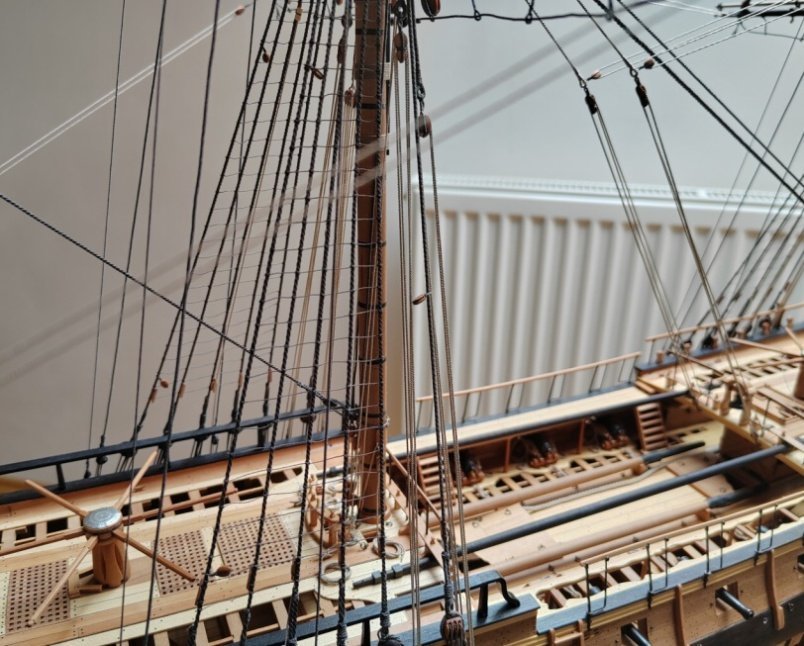
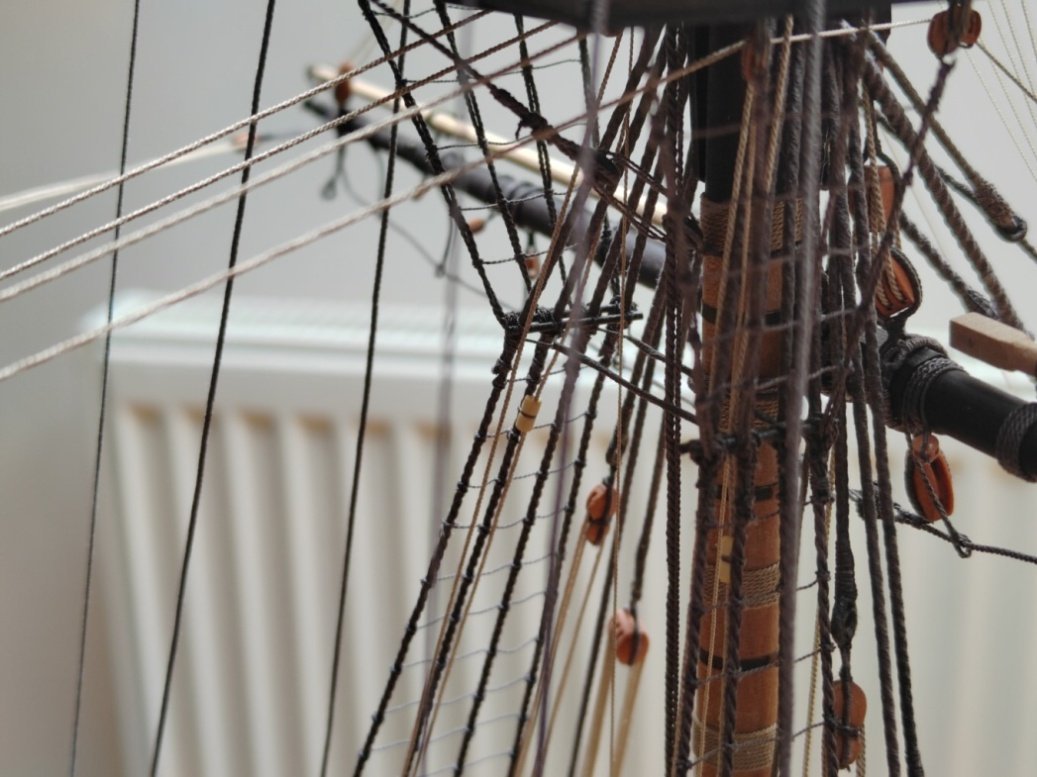
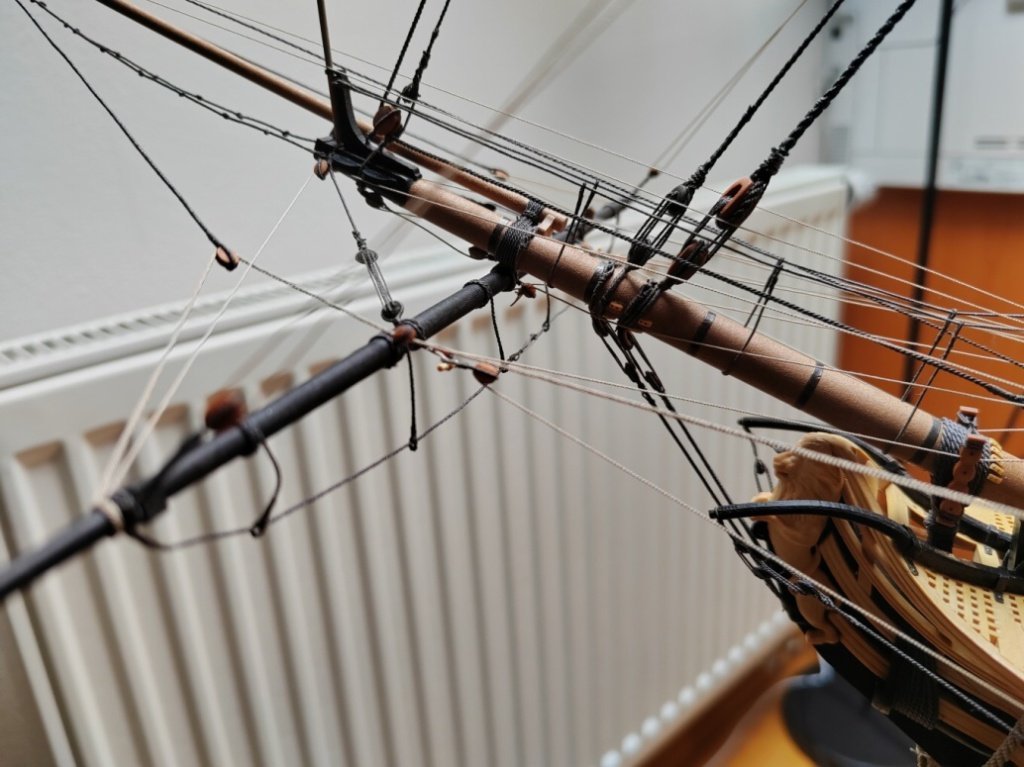
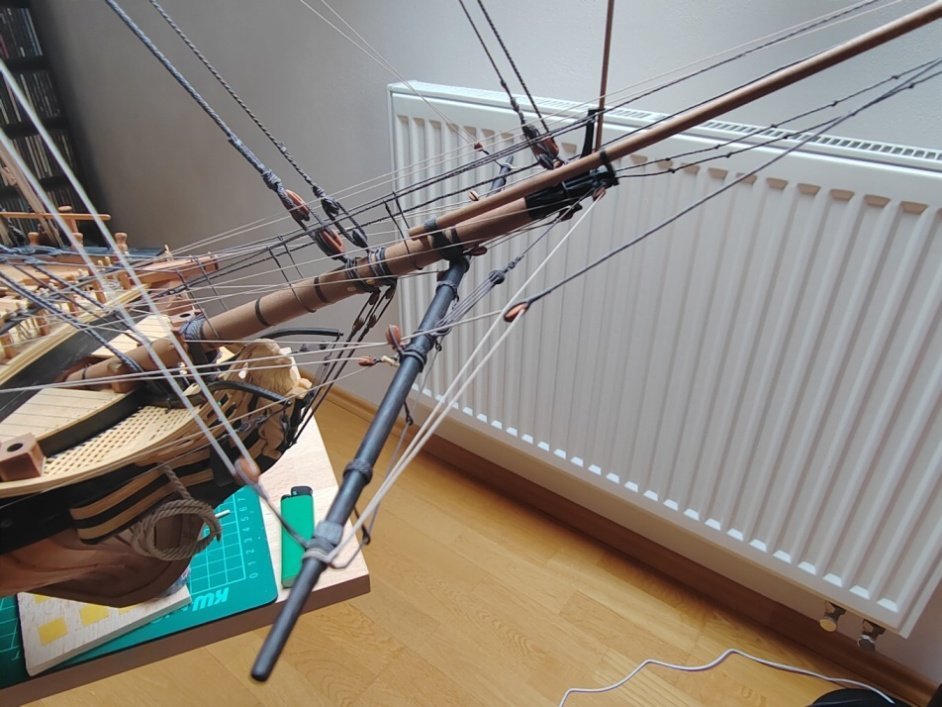
Before installing the yards on the mast, I added a few more details - mast and shroud cleats, spare masts and yards, rigging of the rudder.
- Tigersteve, robert952, scrubbyj427 and 36 others
-
34
-
1
-
 4
4
-
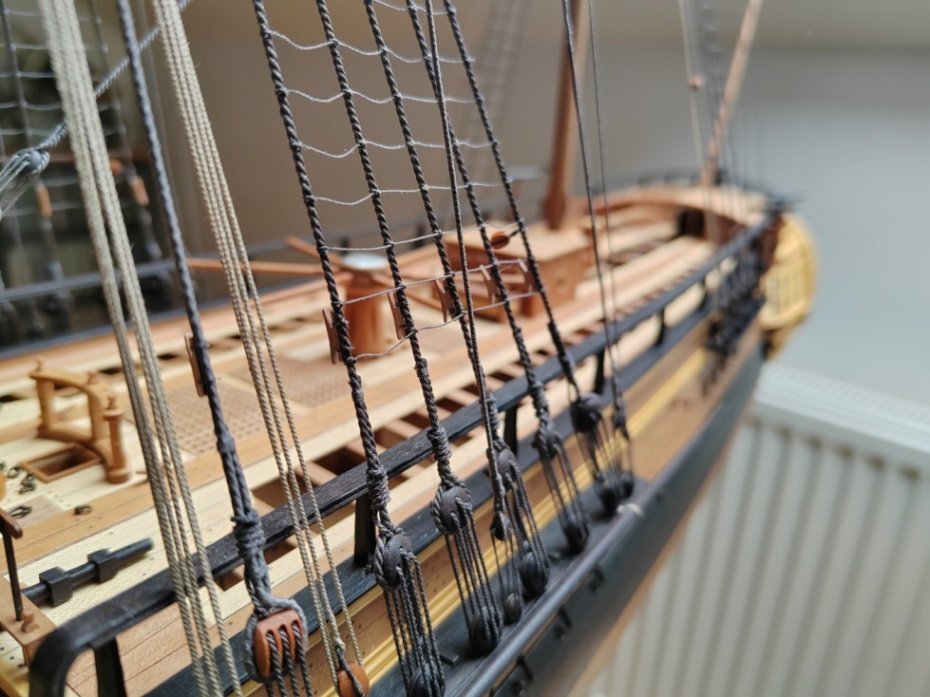
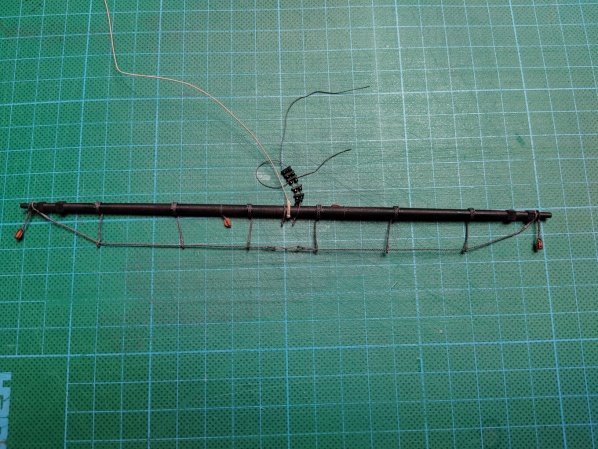
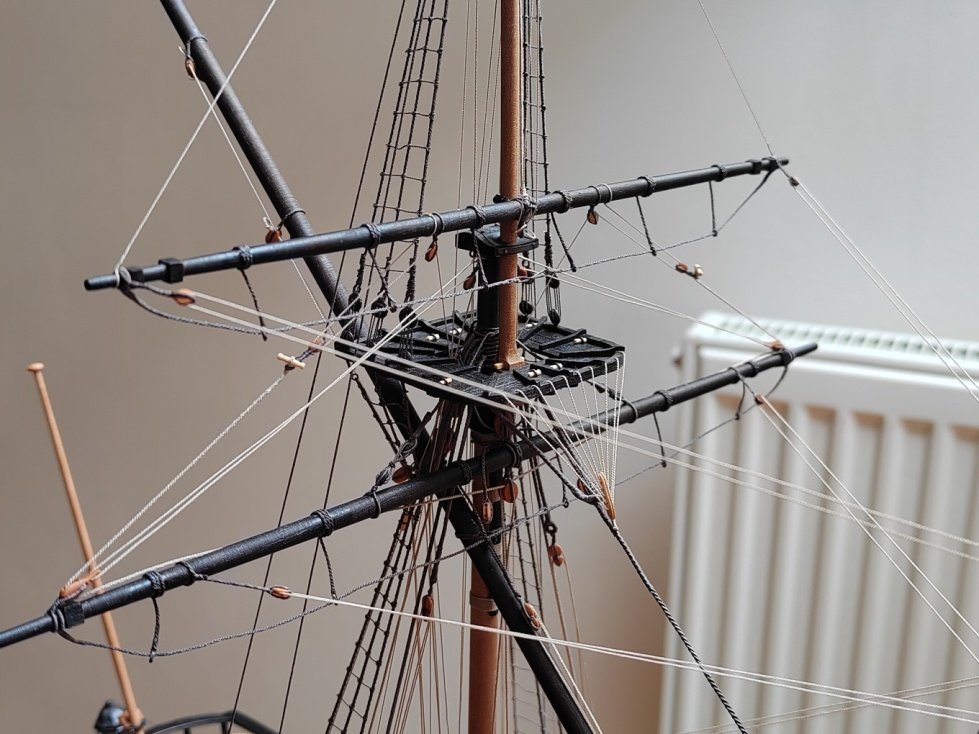
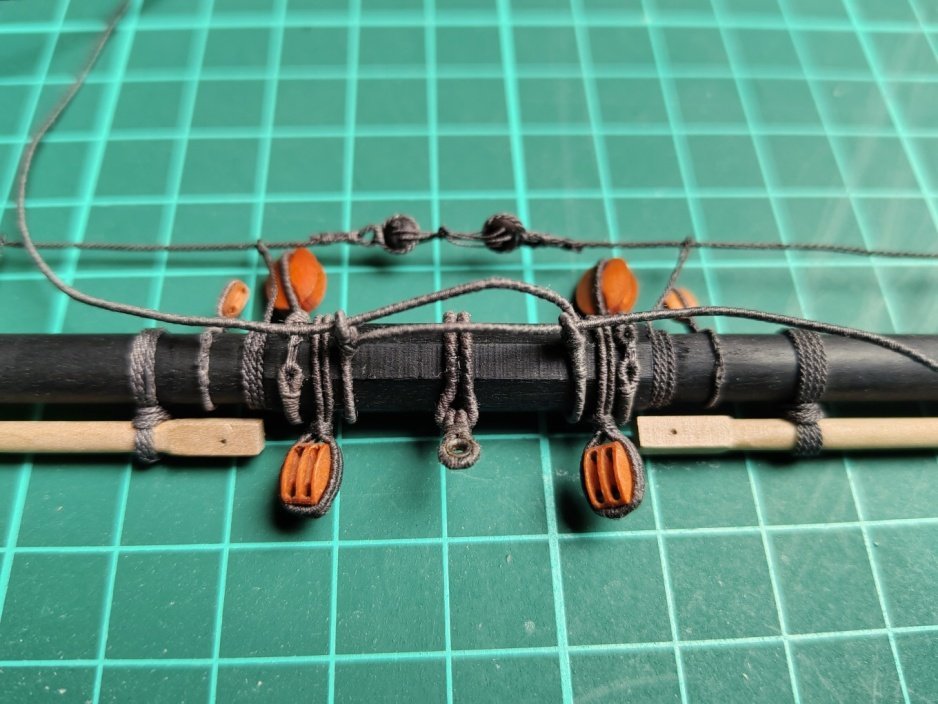
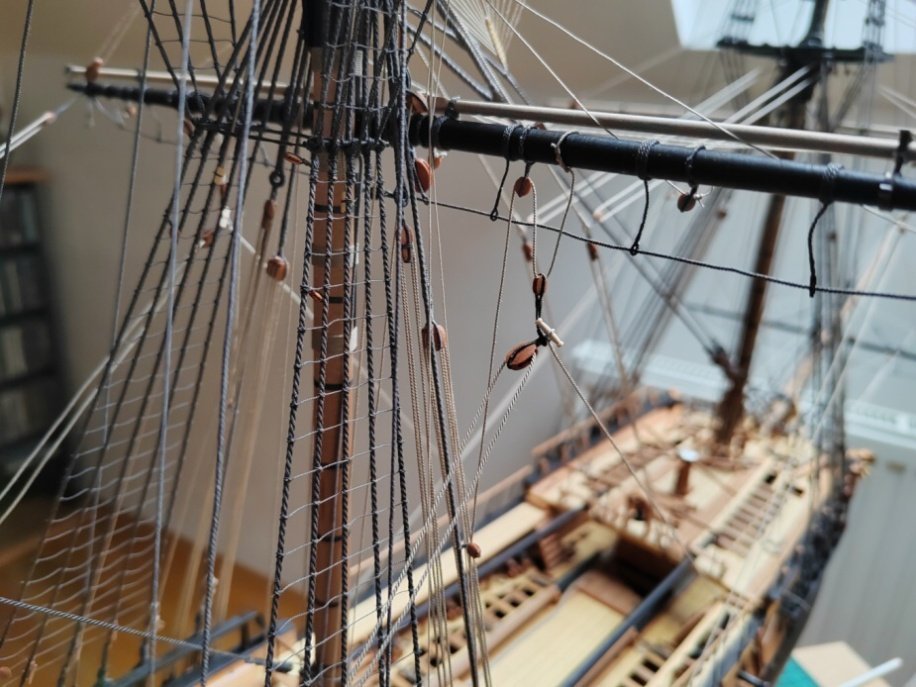
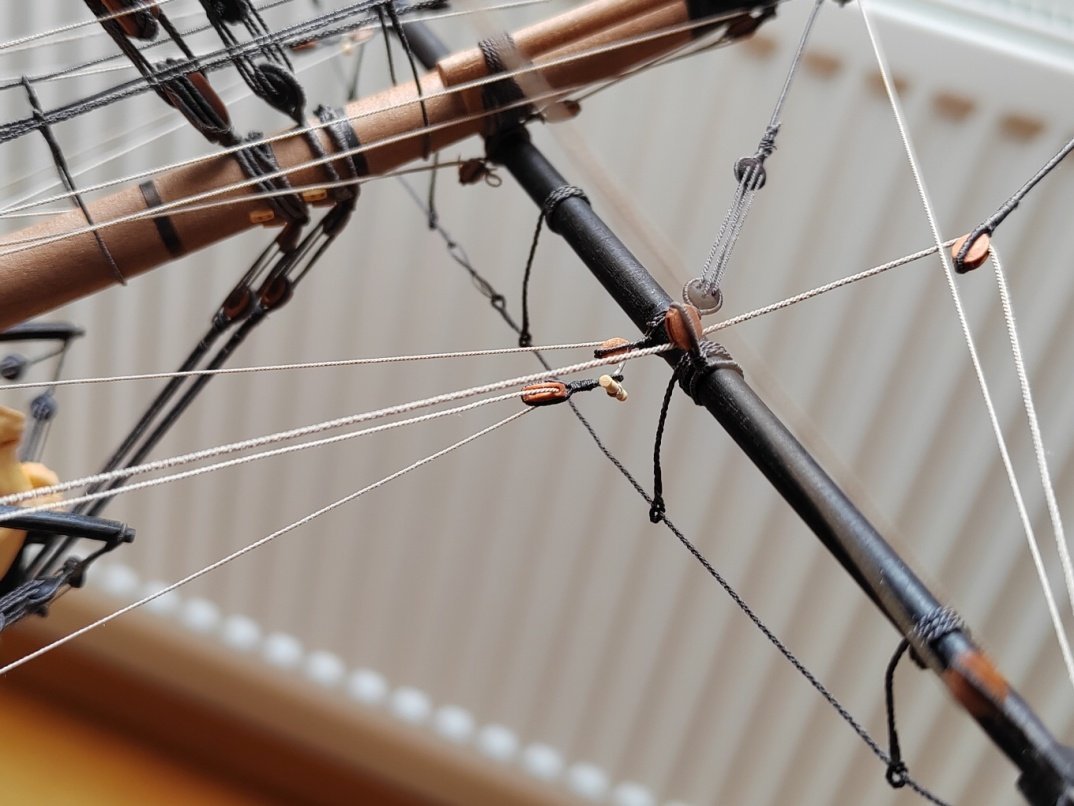
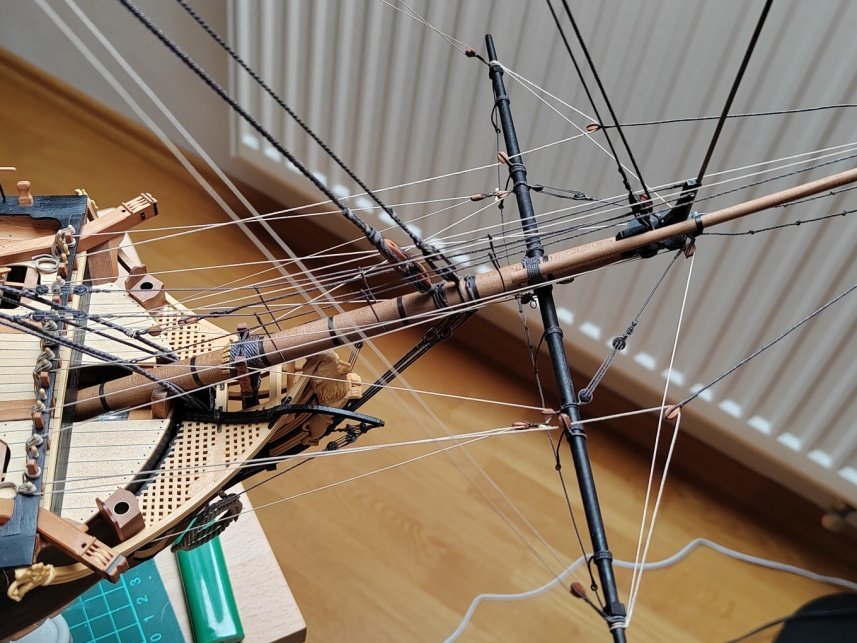
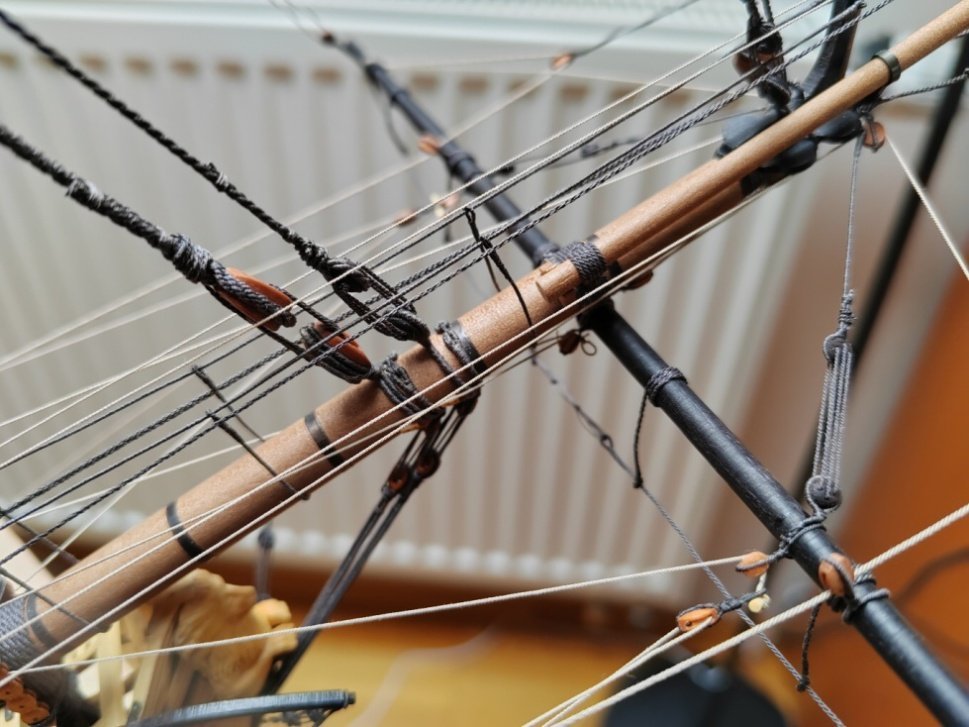
Thank you guys for all likes and comments. Today only answer to the question from dvm27. The footropes are fixed in position with CA glue. Unsightly excess glue is removed with a debonder if necessary.
- mtaylor, CiscoH and Hubac's Historian
-
3


LˇAmarante by marsalv - 1:36 - POF
in - Build logs for subjects built 1501 - 1750
Posted
Hello everyone.
Last year I successfully completed the construction of the Le Gros Ventre model according to Gerard Delacroix's monograph and I chose L'Amarante as the next model (also according to GD's monograph). I started the construction of the POF at the end of last year and will gradually publish photos from the construction process here.
First, I made a jig for installing the individual frames on the keel and started assembling the keel.