


marsalv
-
Posts
530 -
Joined
-
Last visited
Content Type
Profiles
Forums
Gallery
Events
Posts posted by marsalv
-
-
-
robert22564: thank you for your kind words
KeithW: sails without puckering is no magic, bottom and top thread tension must be equal and not too big. If the tension is too big you can see puckering.
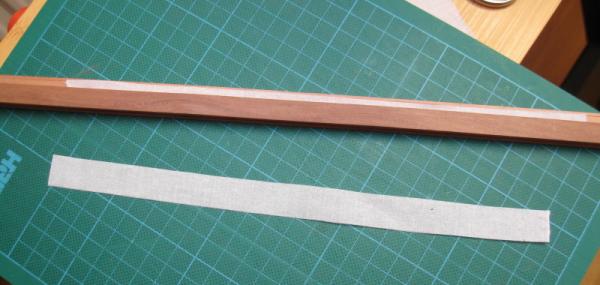
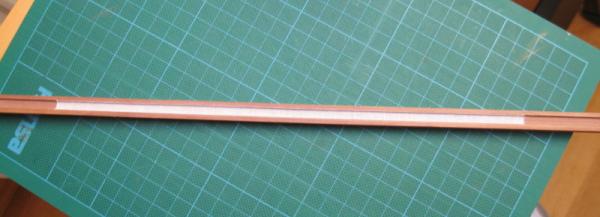
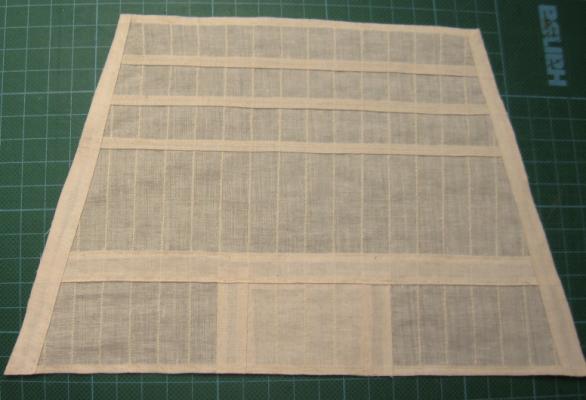
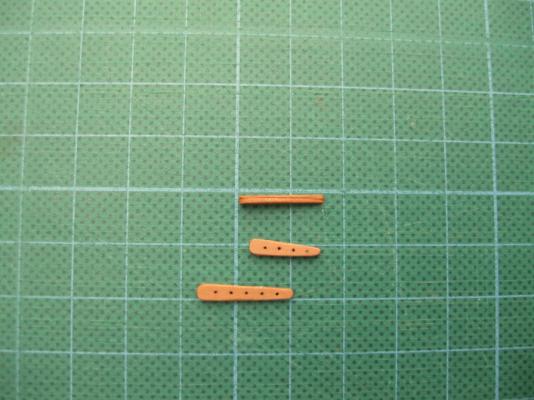
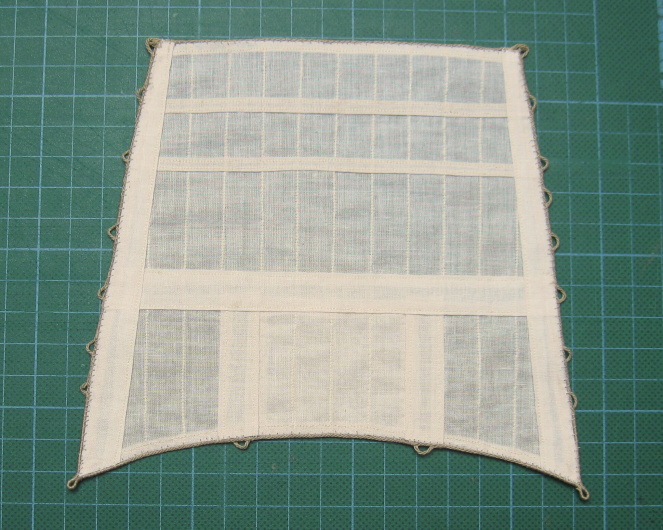
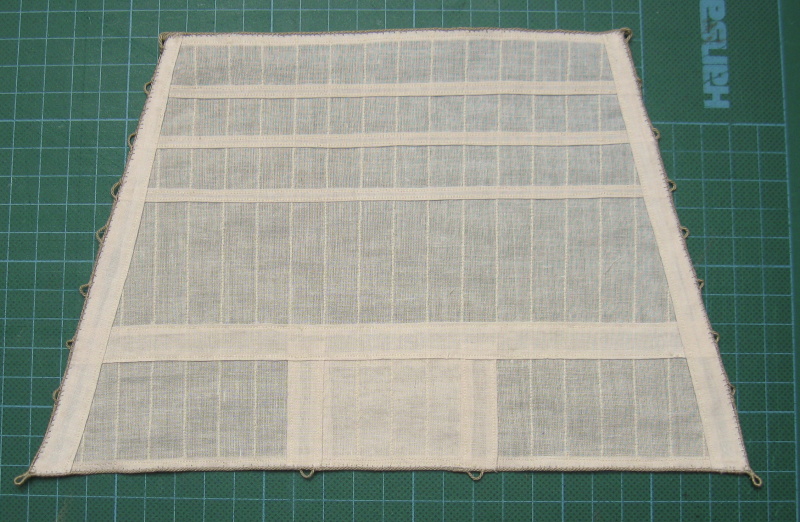
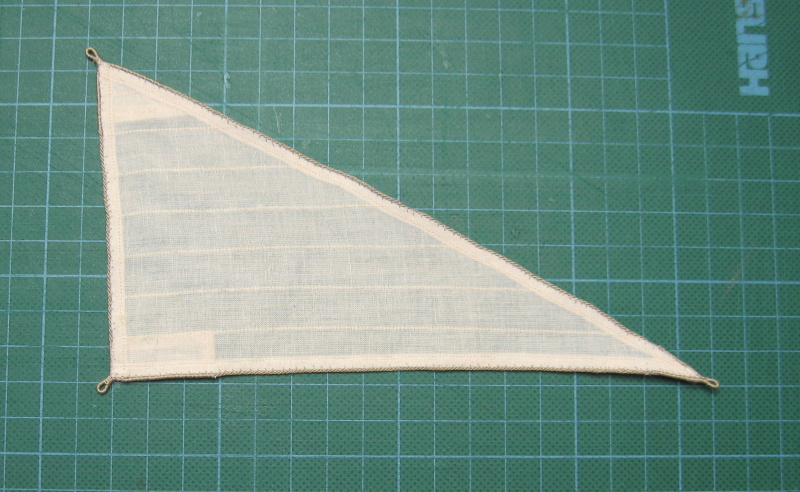
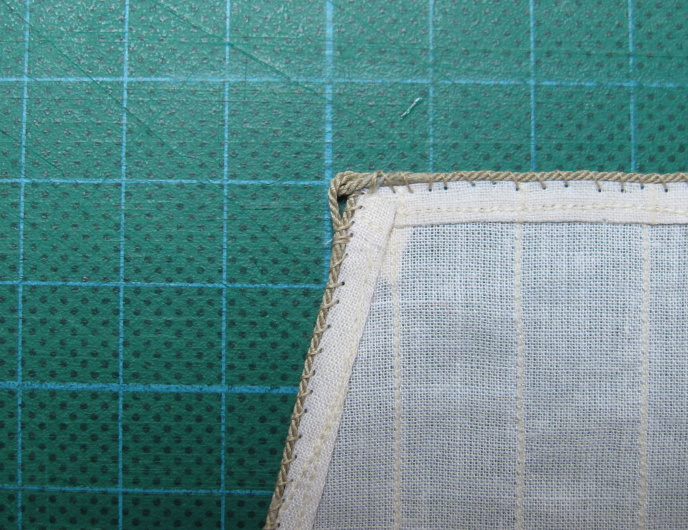
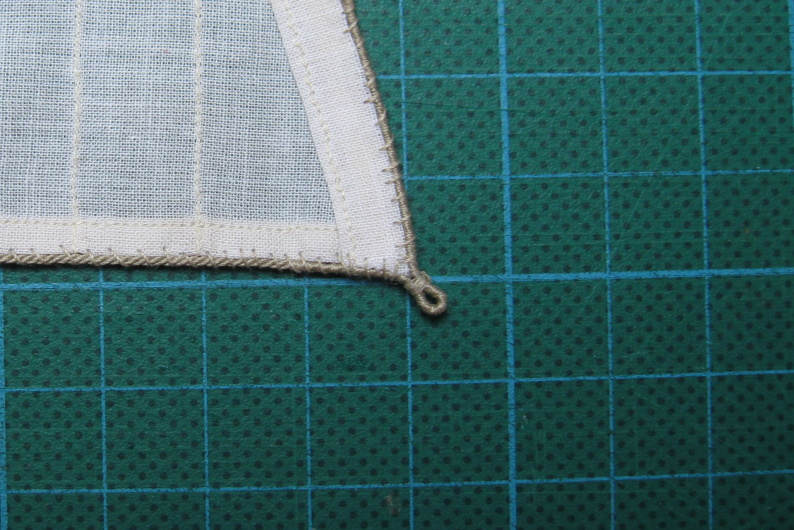
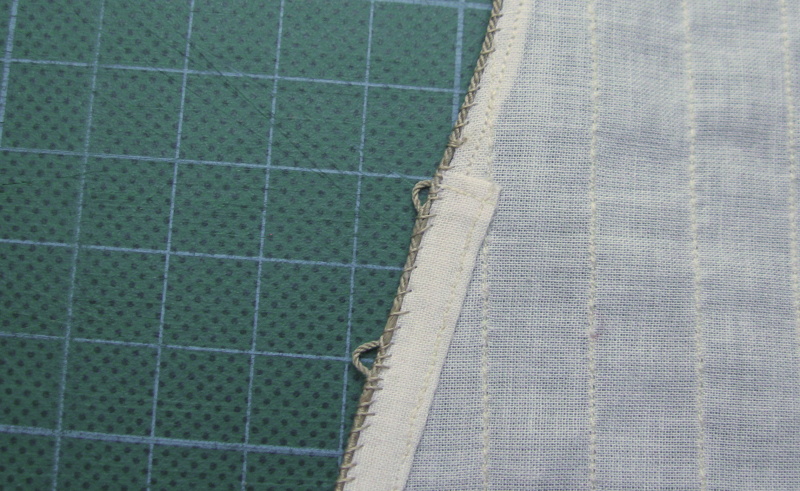
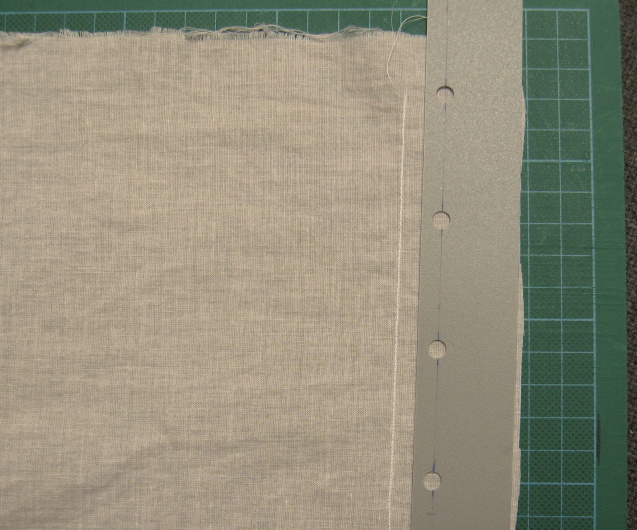
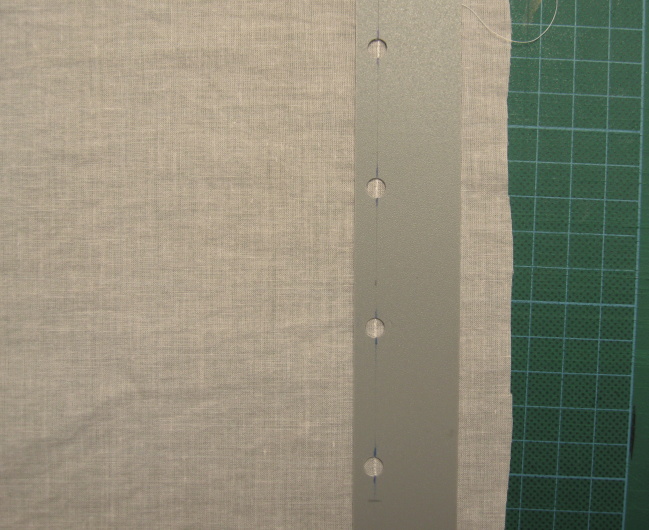
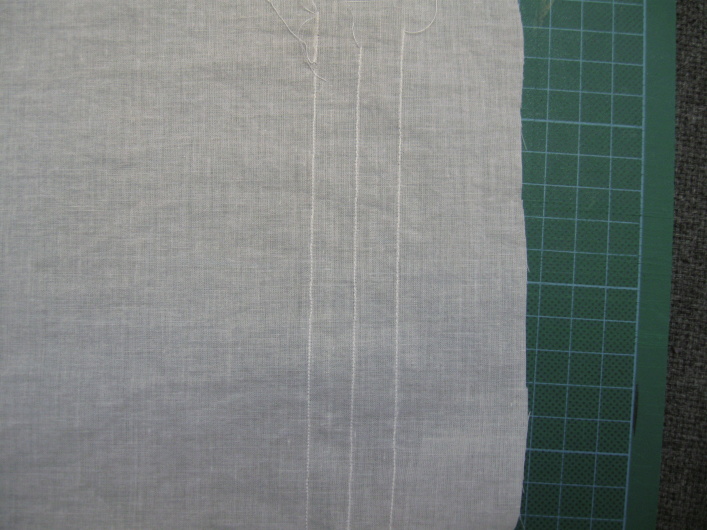
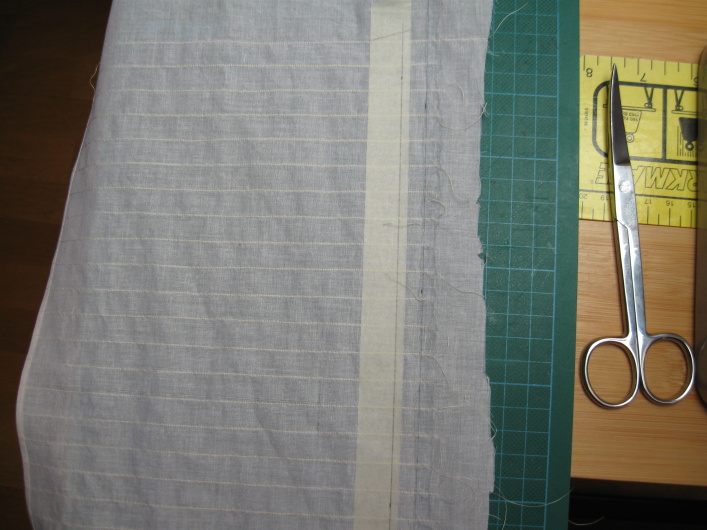
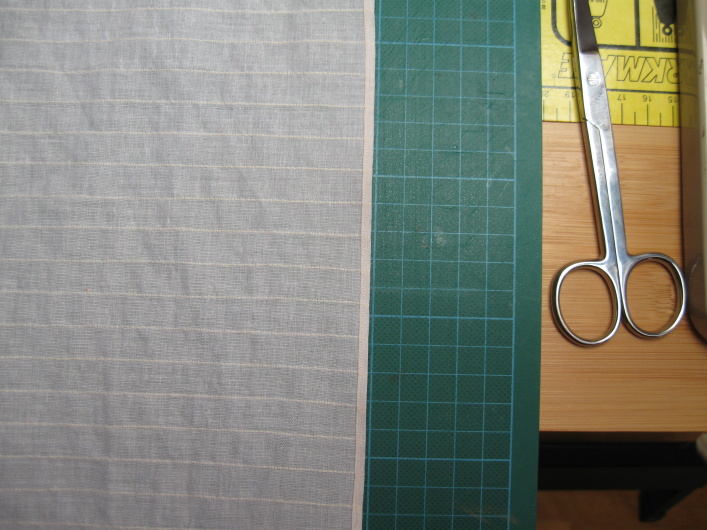
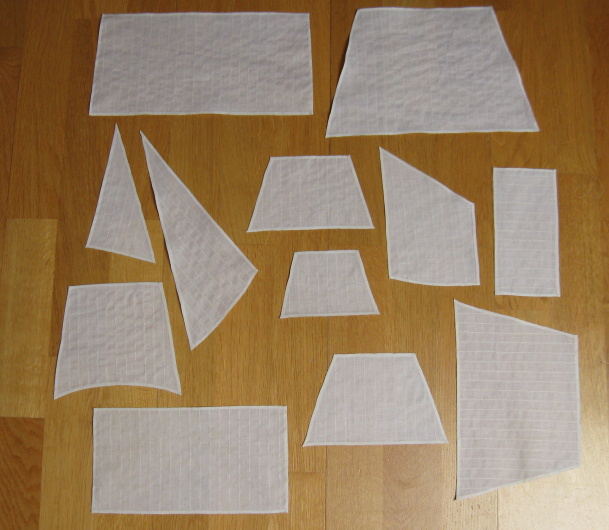
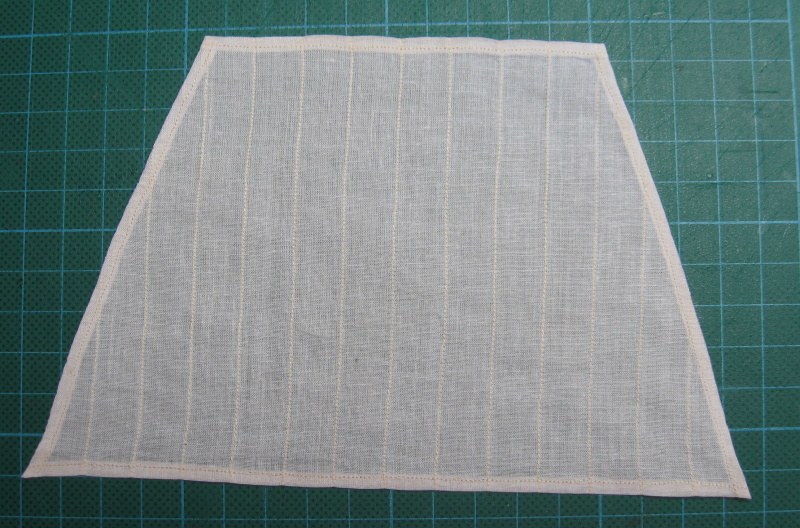
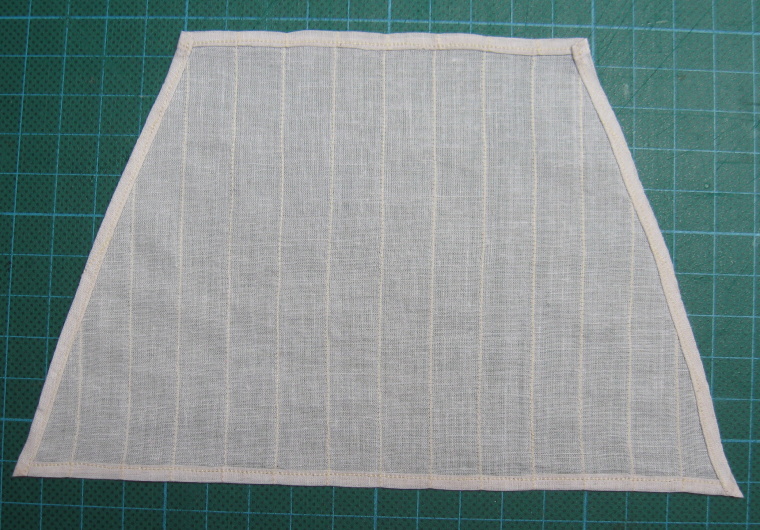
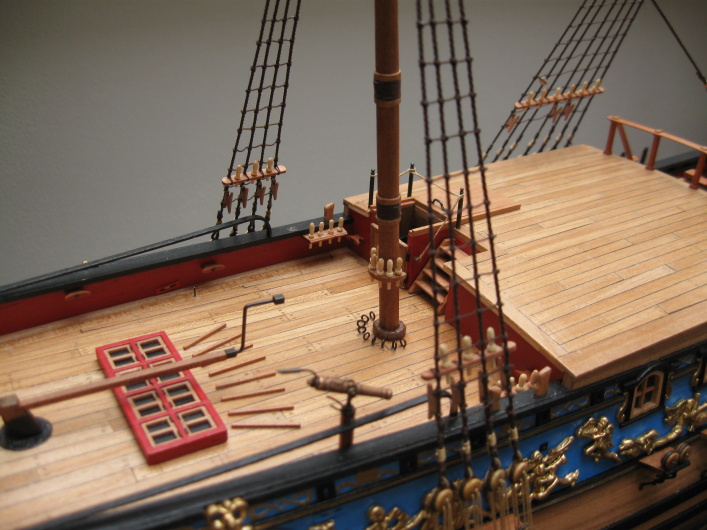
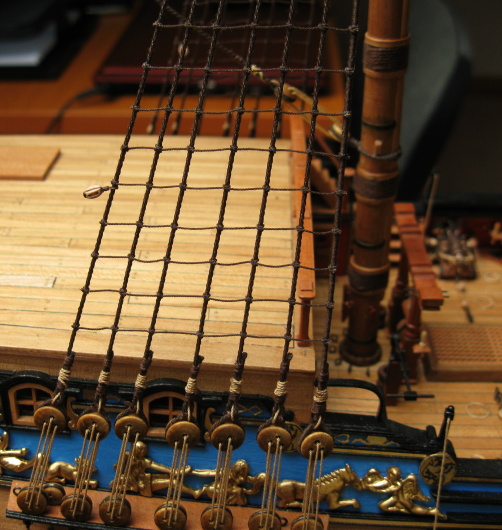
I completed all reef bands, buntline cloths, middle bands, leech linings and mast cloths. I hid the sewing machine again in a cabinet with the hope that at least two years I will not need it.

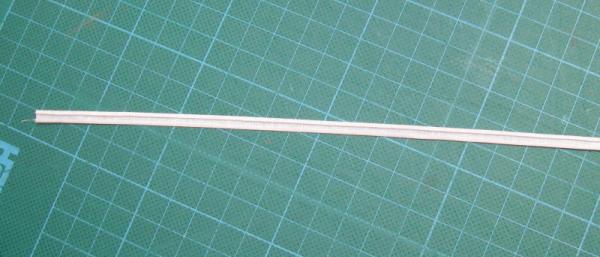
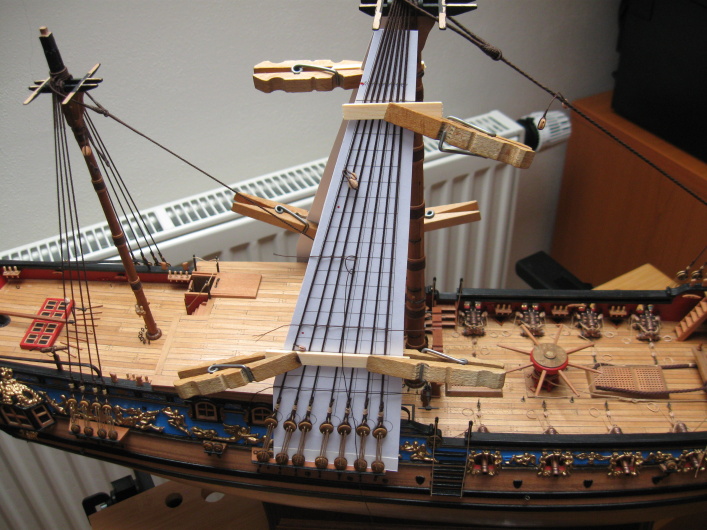
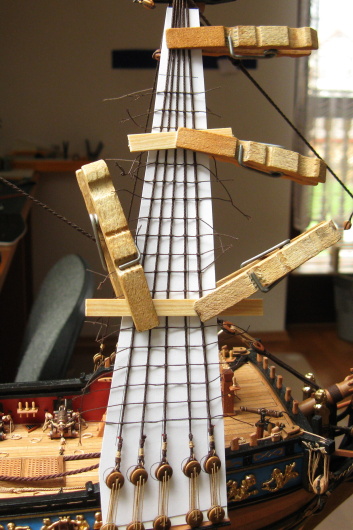
Next phase - bolt ropes.


-
-
-
-
-
-
-
Thank you Joe
 .
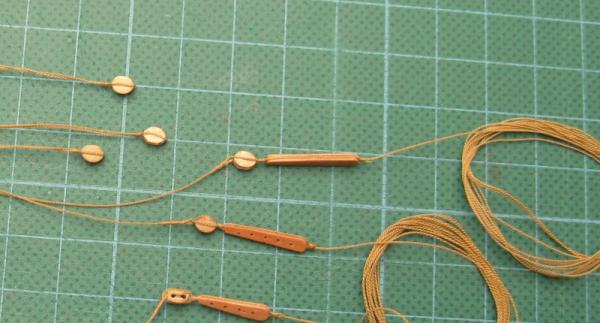
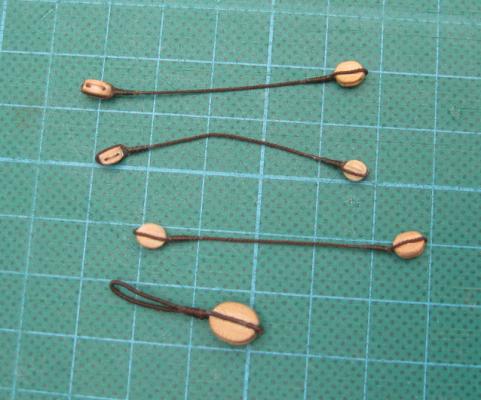
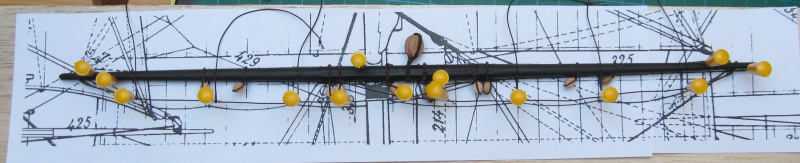
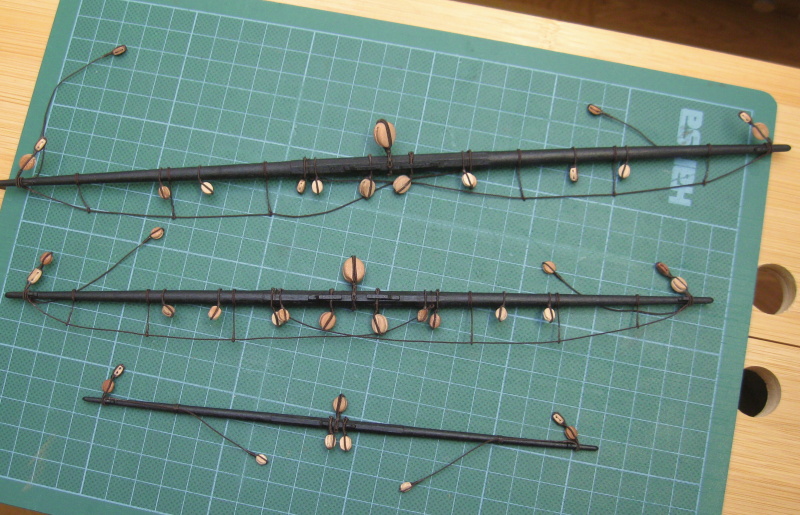
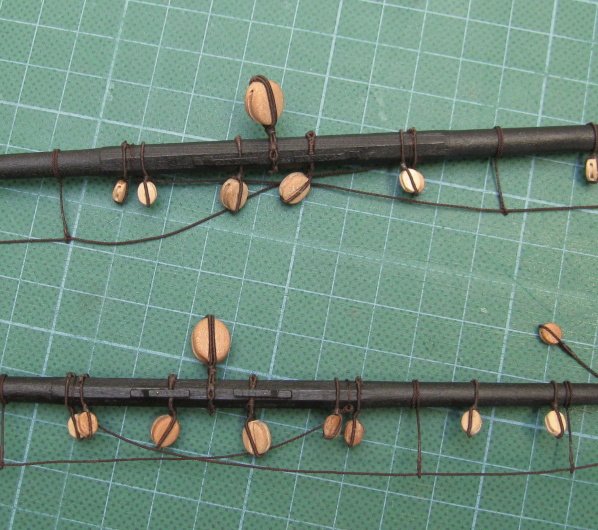
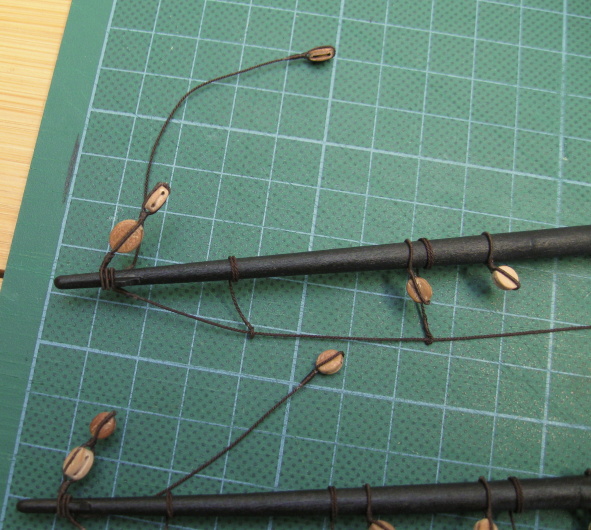
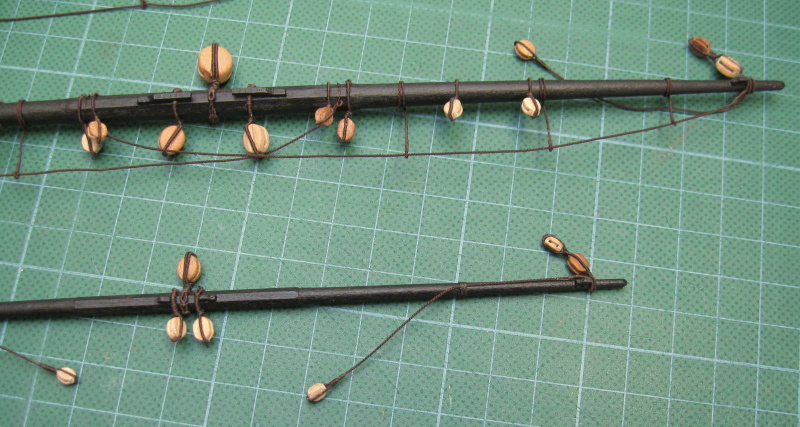
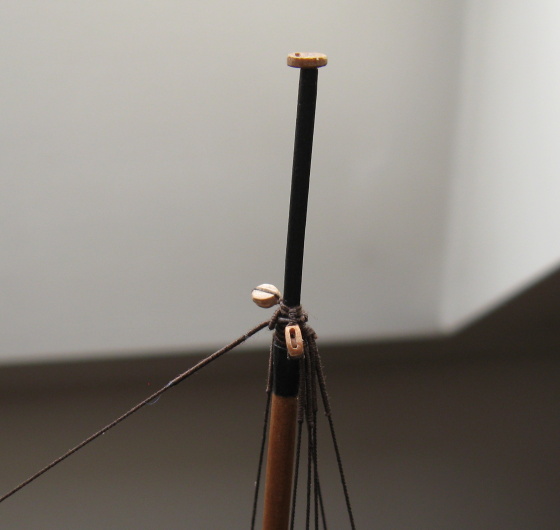
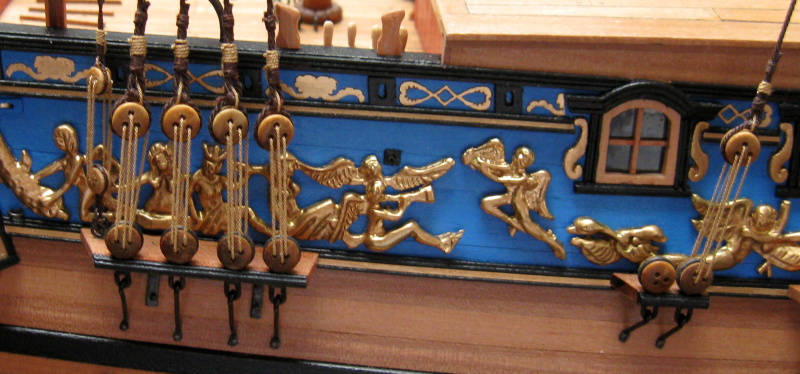
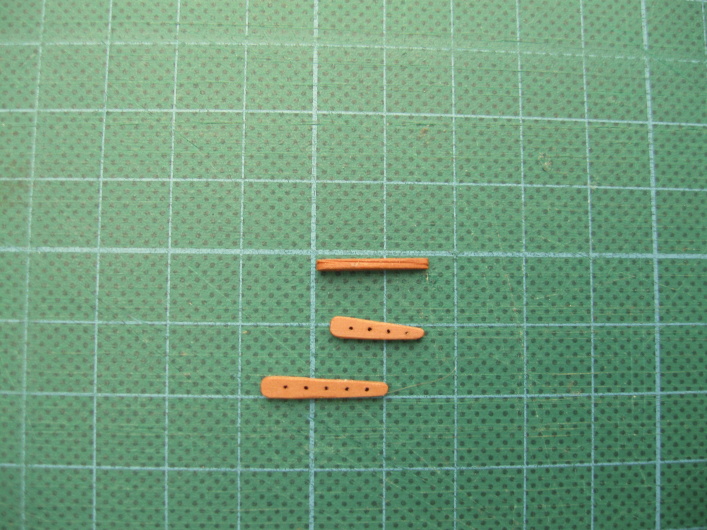
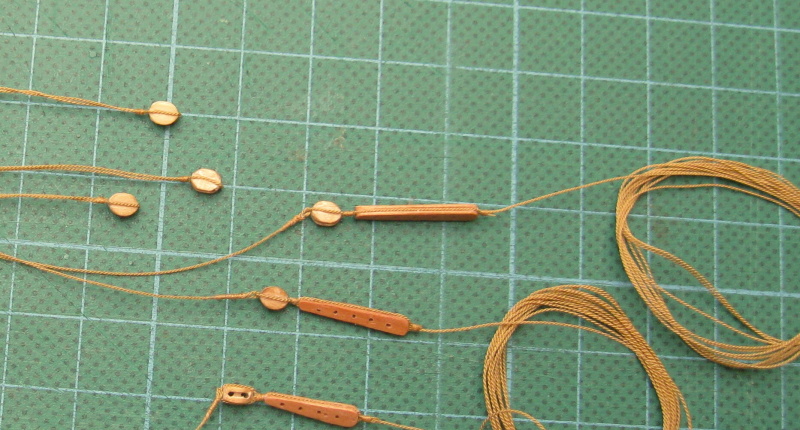
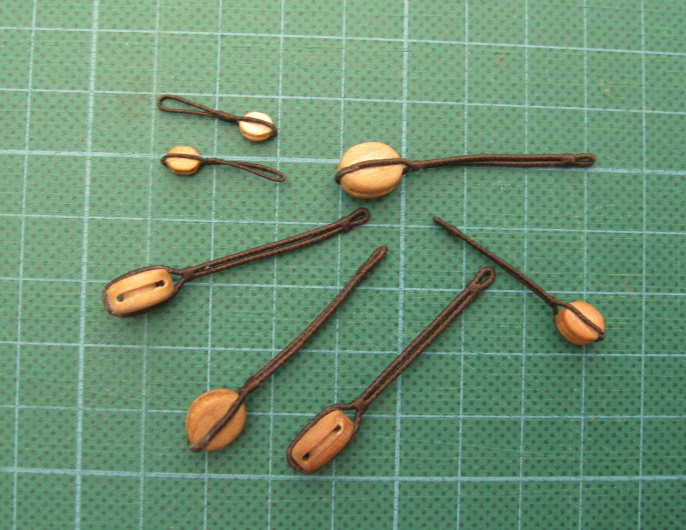
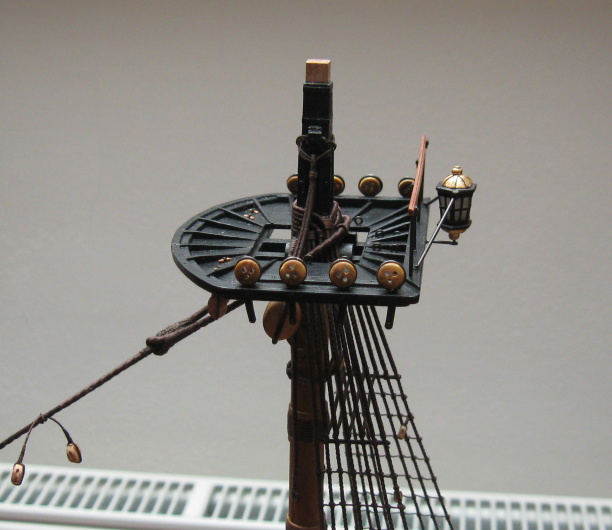
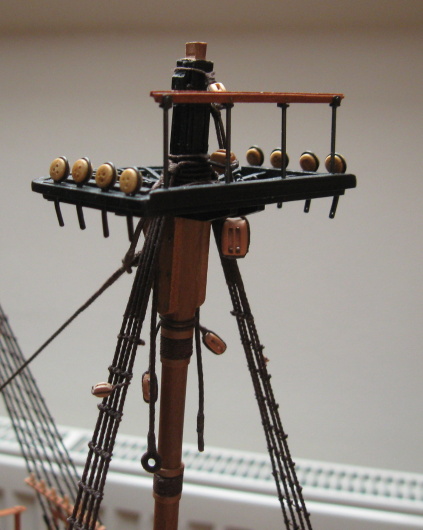
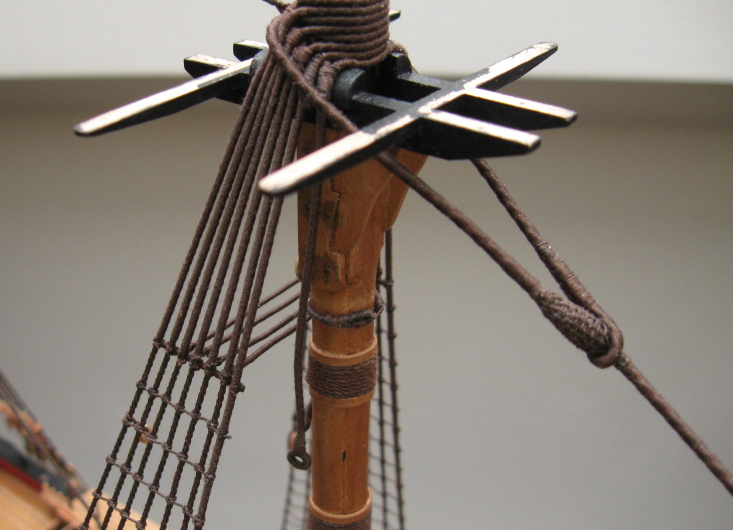
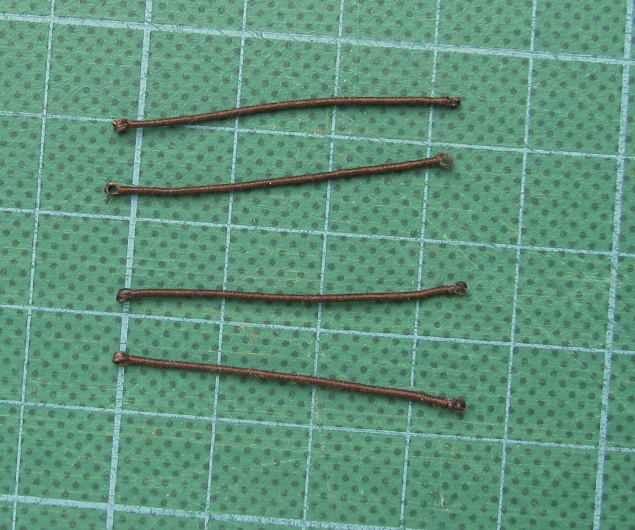
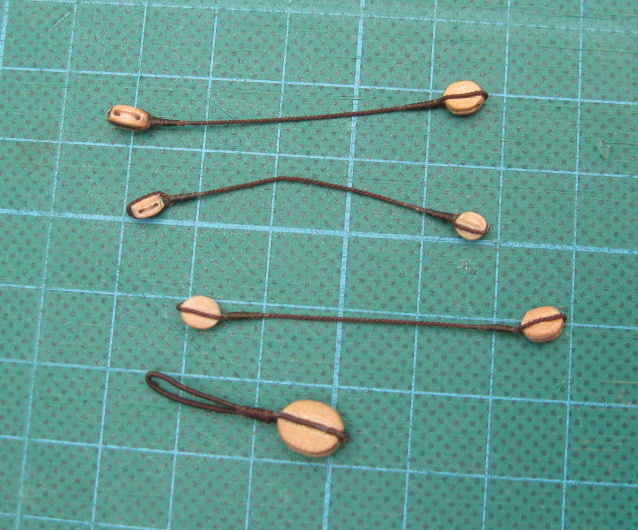
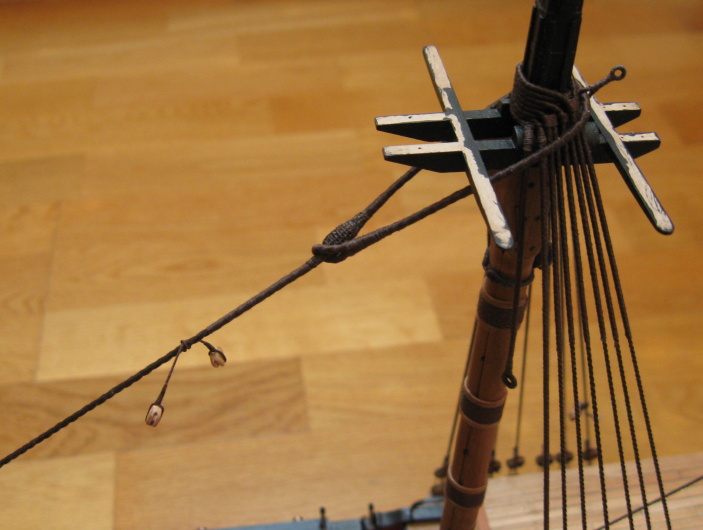
.You´re right. All futtock staves are made from brass wire (diameter 0,5 resp. 0,3 mm) and the served with thread.
-
-
-
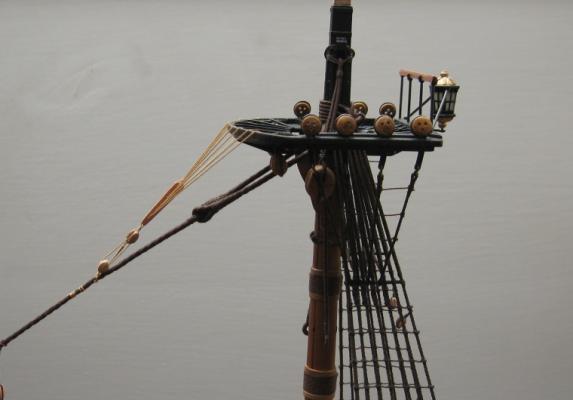
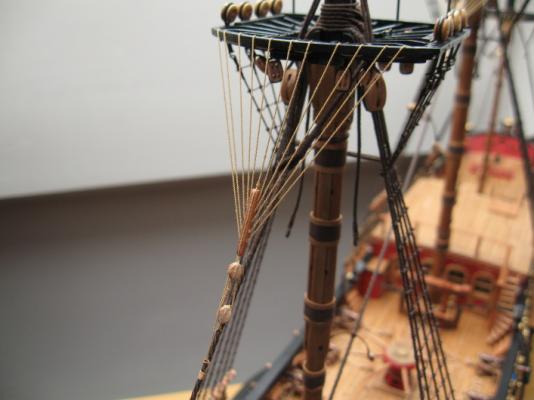
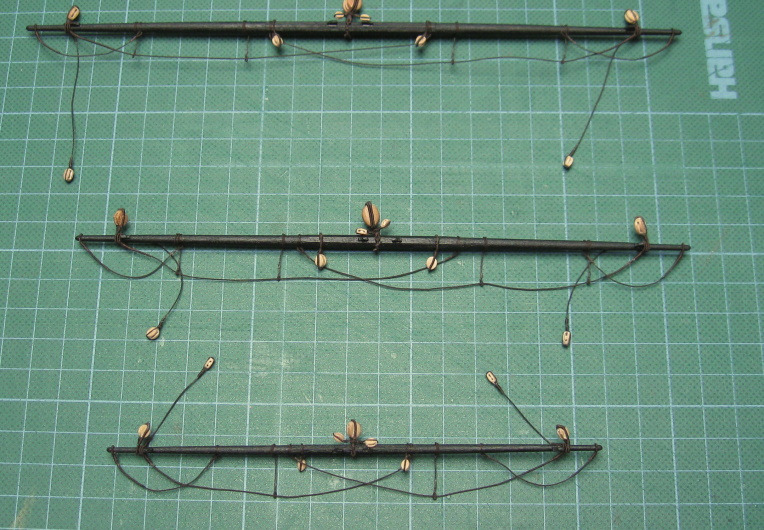
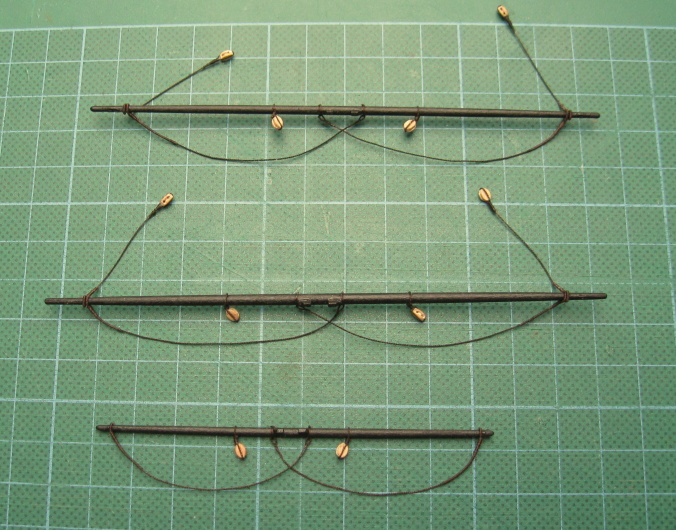
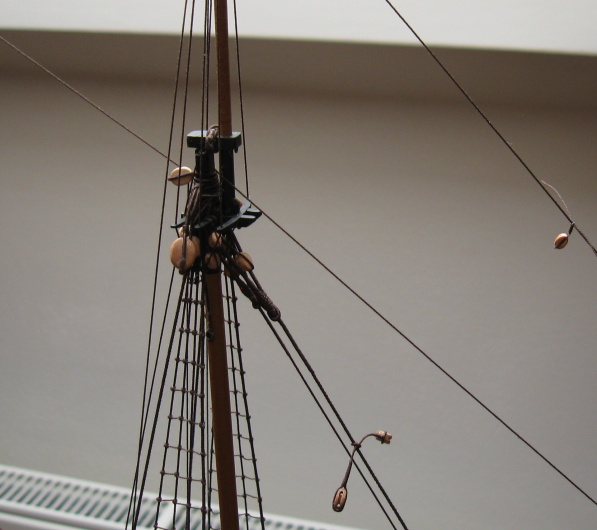
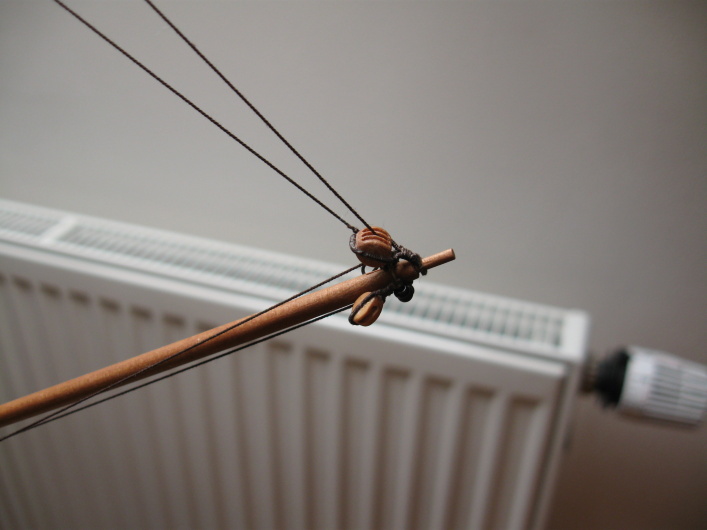
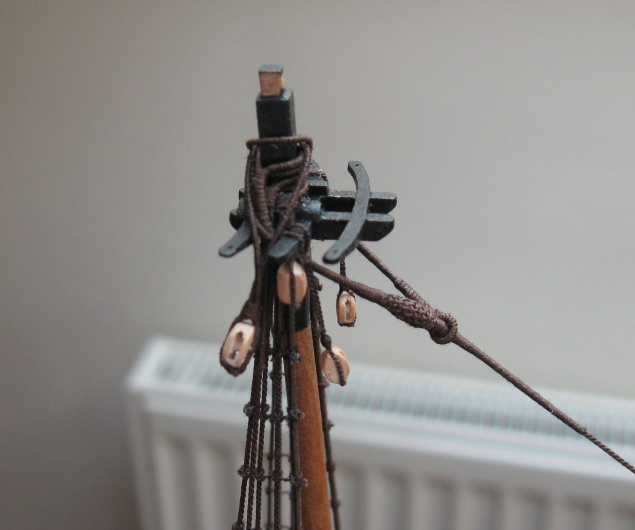
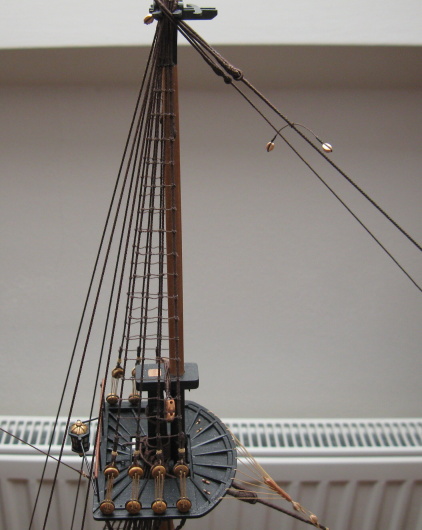
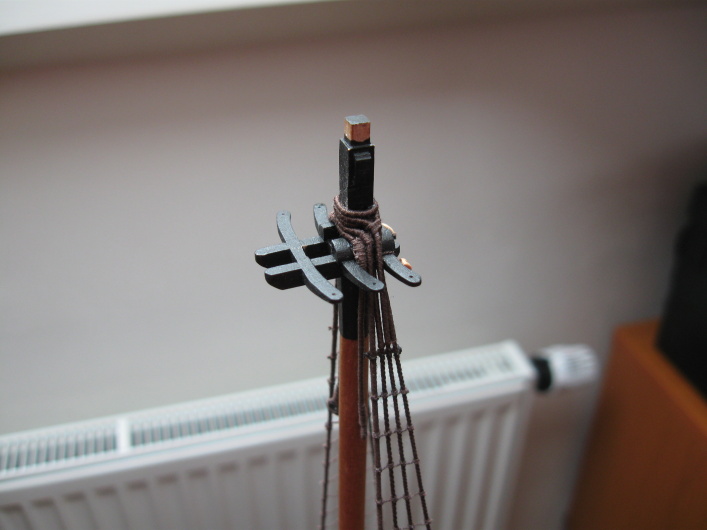
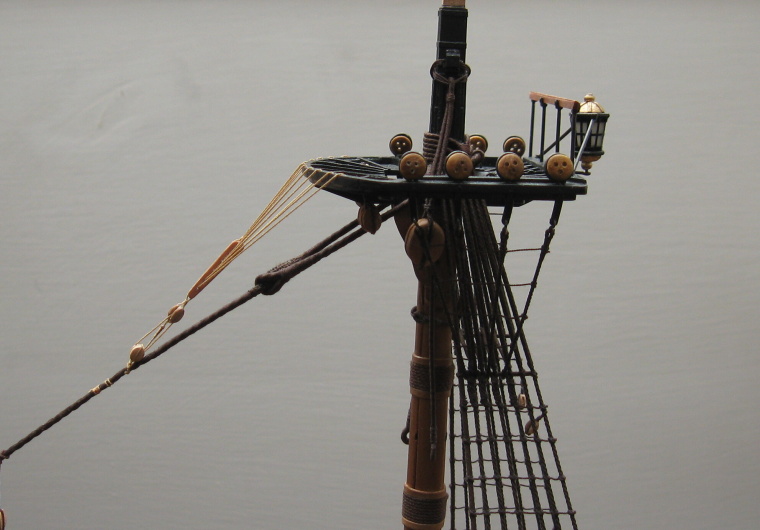
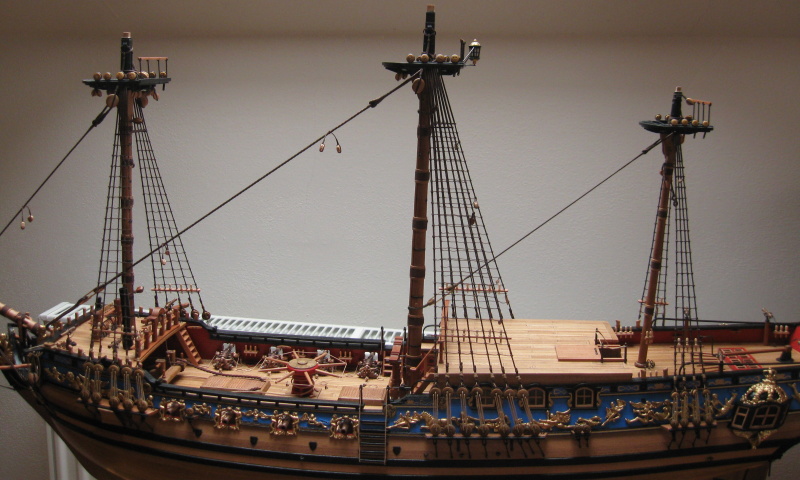
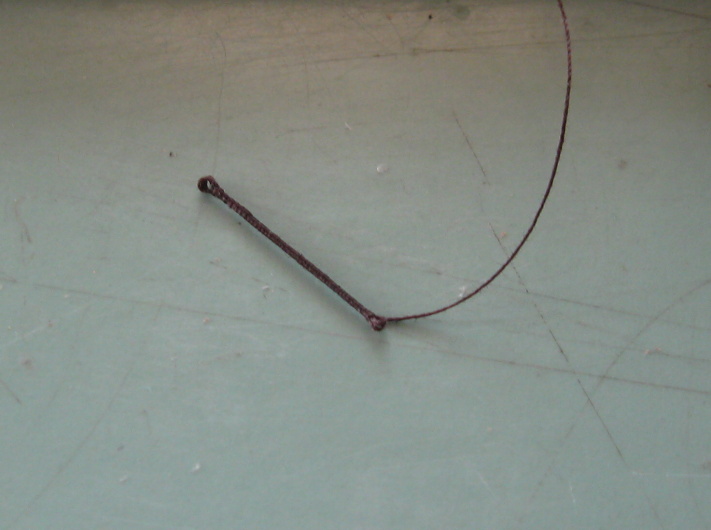
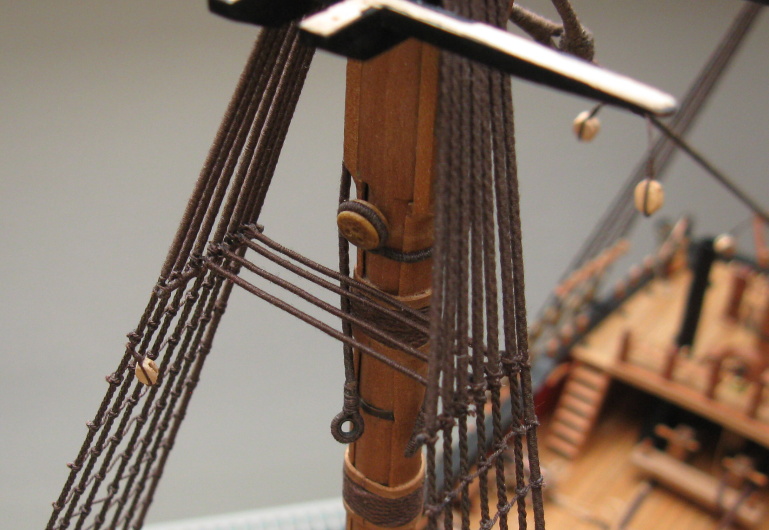
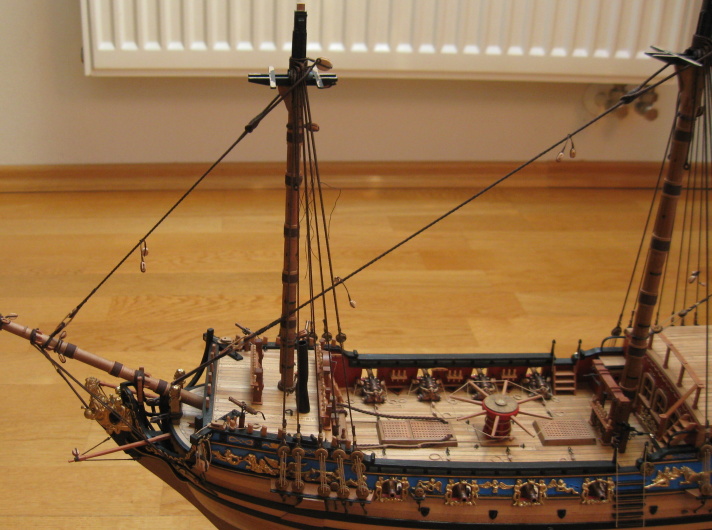
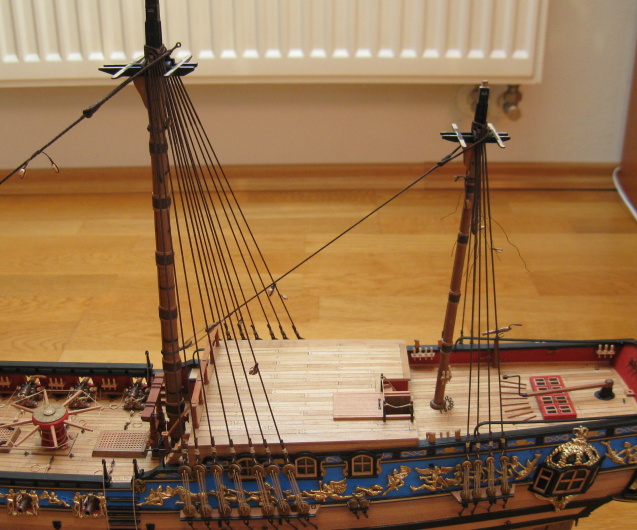
So I finished perhaps the worst part of standing rigging (at least for me) - crowsfeet. I had to redo it several times before I achieved at least partially satisfactory look - ie. crowsfeet rope stretched as far as possible without "lifting" the stay.

- Shipyard sid, Pete_P, petervisser and 8 others
-
 11
11
-
-
-
-
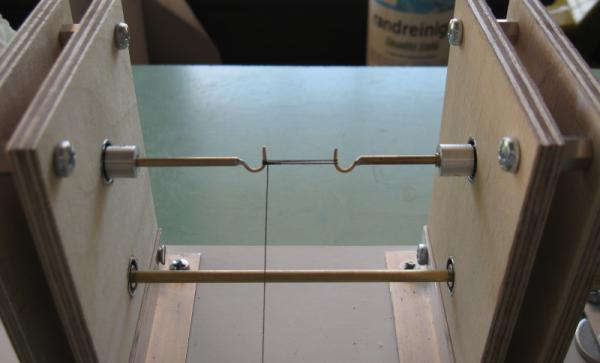
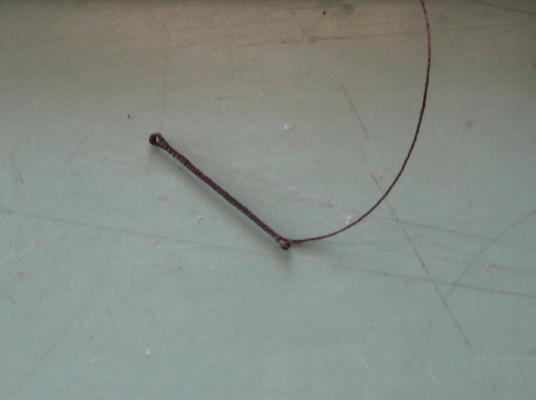
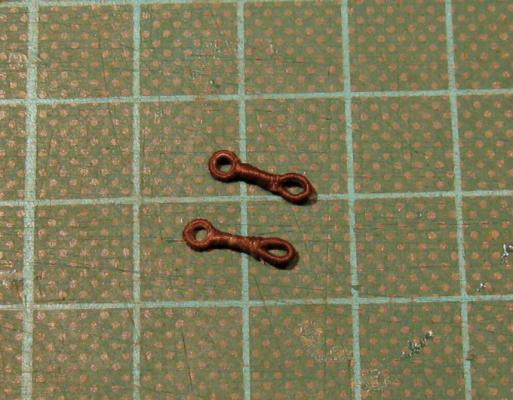
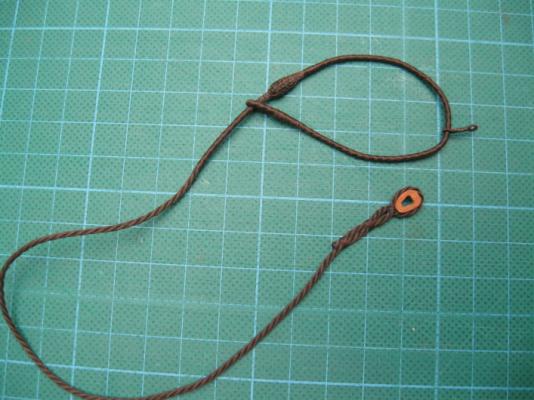
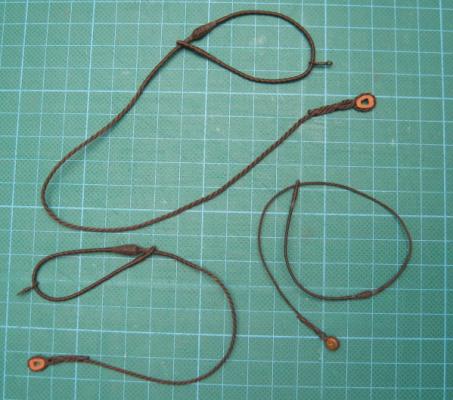
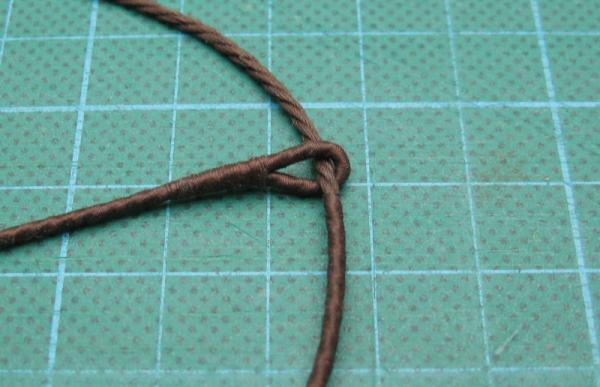
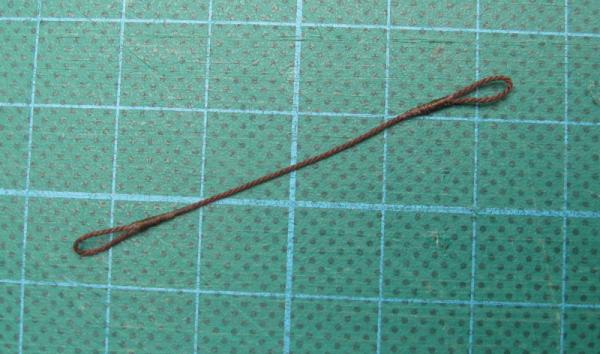
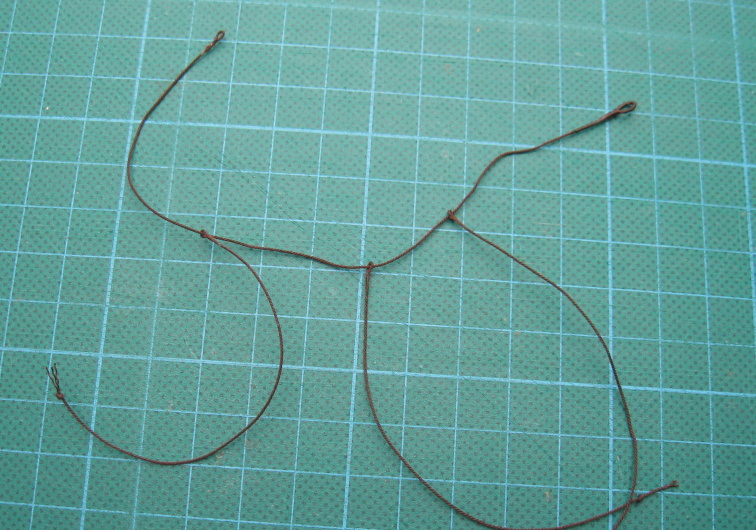
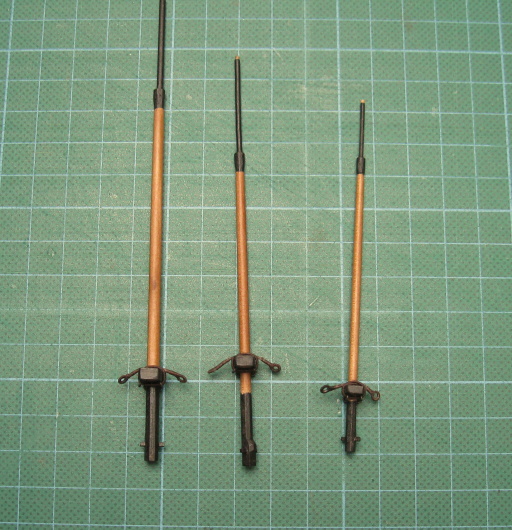
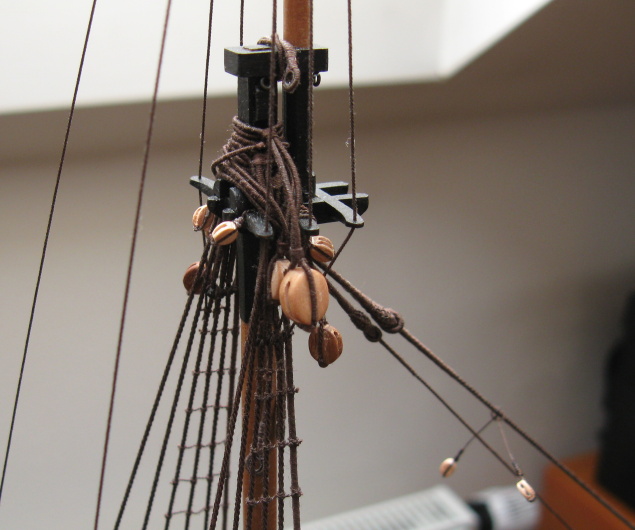
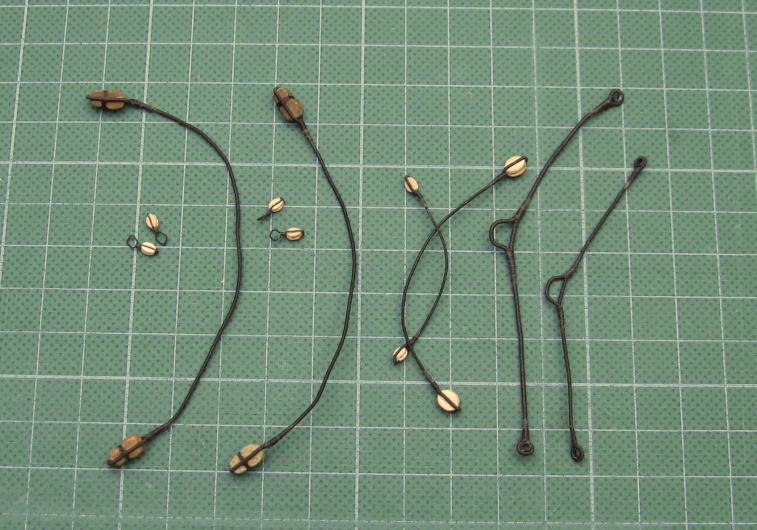
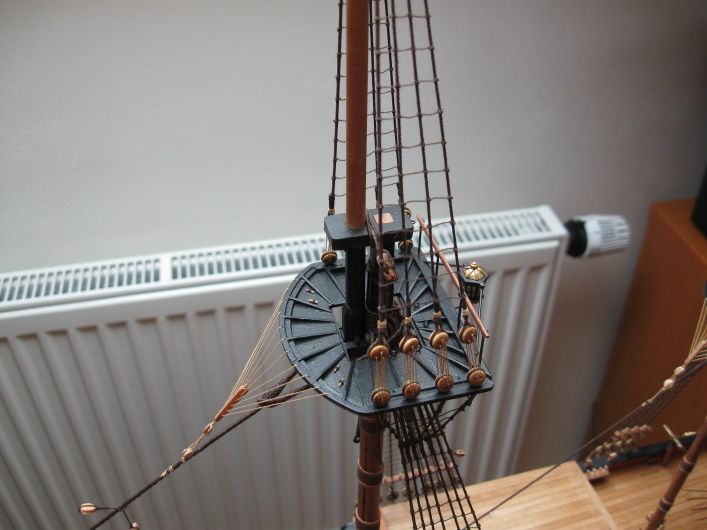
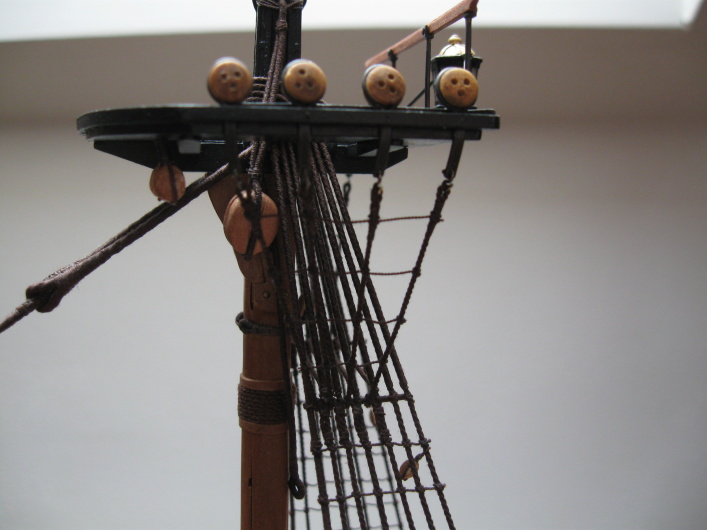
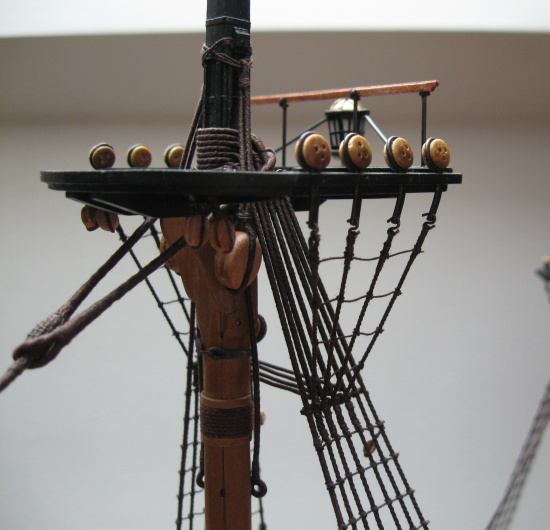
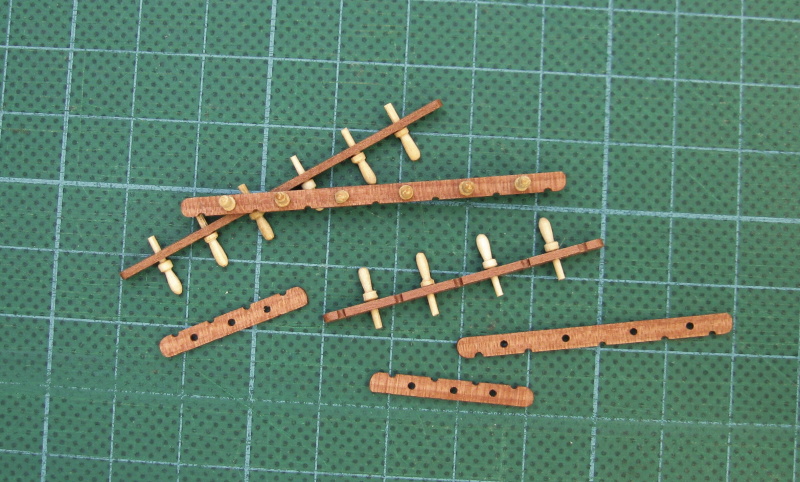
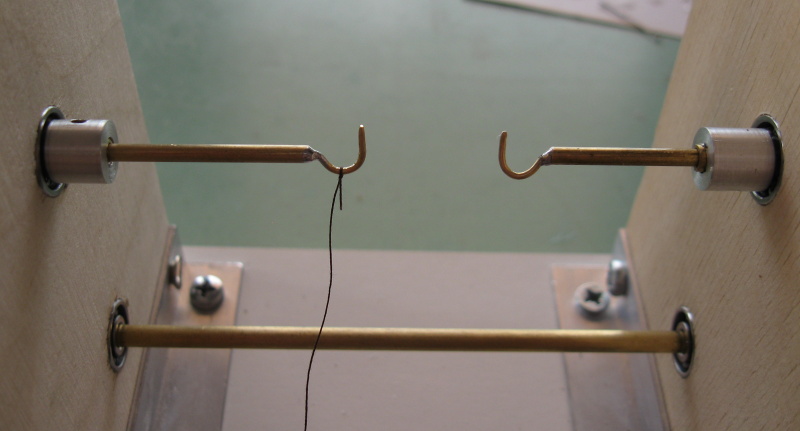
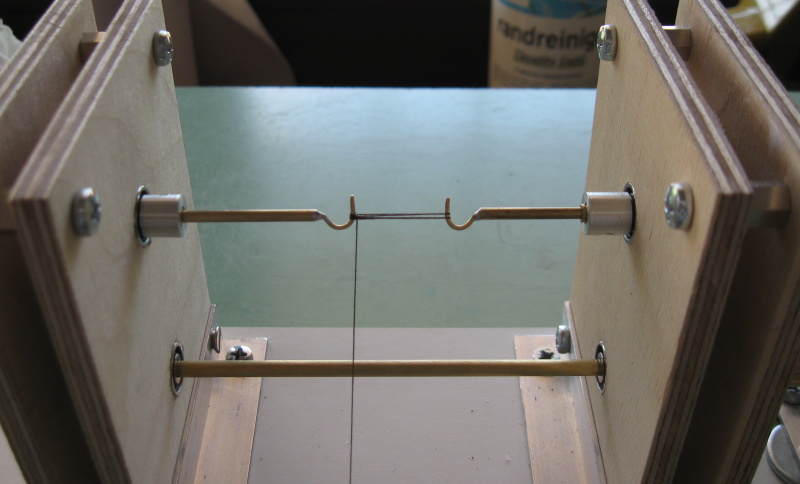
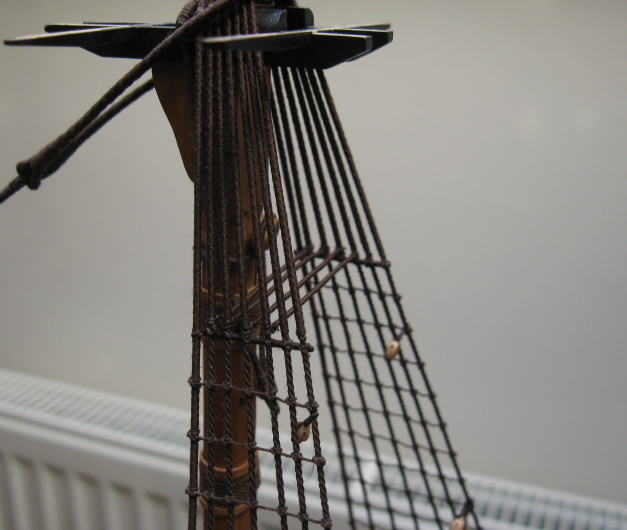
You're partially right. The first two pictures are the futtock staves and third are the catharpins. But the futtock staves don´t run through the end of catharpins. Catharpins are attached to the futtock staves with thread witch is going through loop in the catharpins and about futtock staves.
-
Thanks for nice comments to all
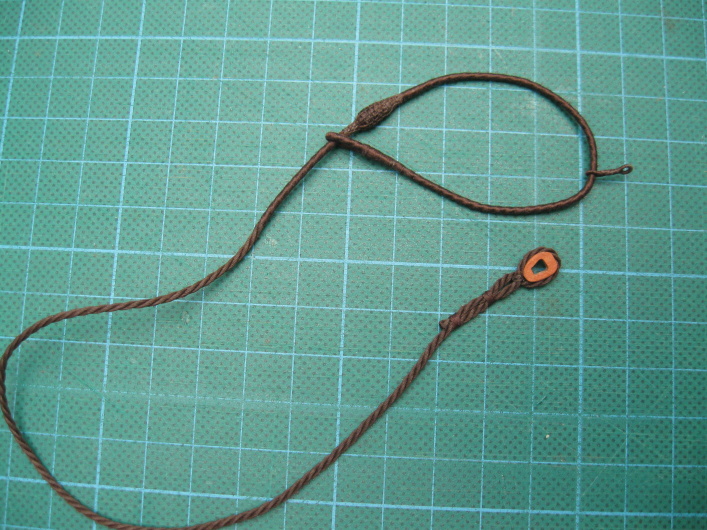
.To GuntherMT: The catharpins are made form one thread - see picture tutorial.

- Bedford, Salty Sea Dog, tarbrush and 2 others
-
5
-
-
-
Hi to all,
the most useful books for me are the following:
- Masting and Rigging of english ships of war - James Lees
- Rigging a sixth rate sloop of 1767-1780 - David Antscherl
Citation from the second one:
"In reality there was an eye spilce in each end of line that was then seized to the end shrouds, and the line clove hitched around each intermediate shroud. For model work, unless you are absolute purist, this can be simplified by omitting eye splices and seizing."
It is also my case, I used the clove hitch for all shrouds. The knot is finally fixed with small drop of diluted PVA glue.
-
-
Hi Alex,
beautiful work. Your log is great inspiration for me.
-
Hi GuntherMT,
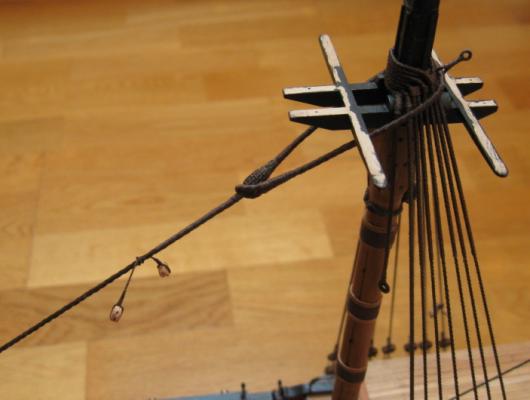
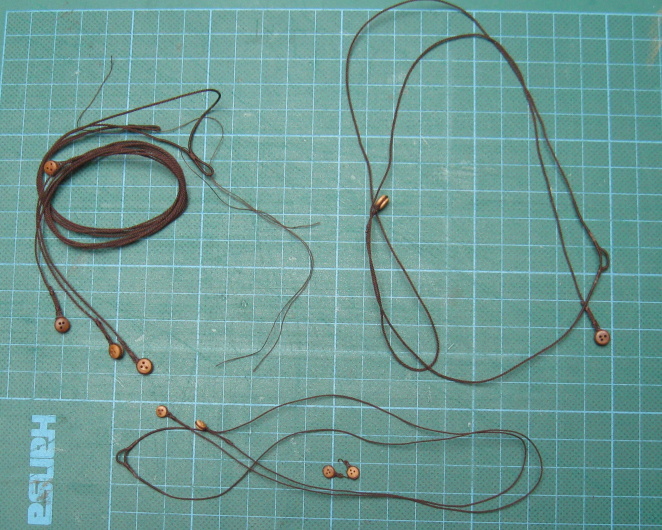
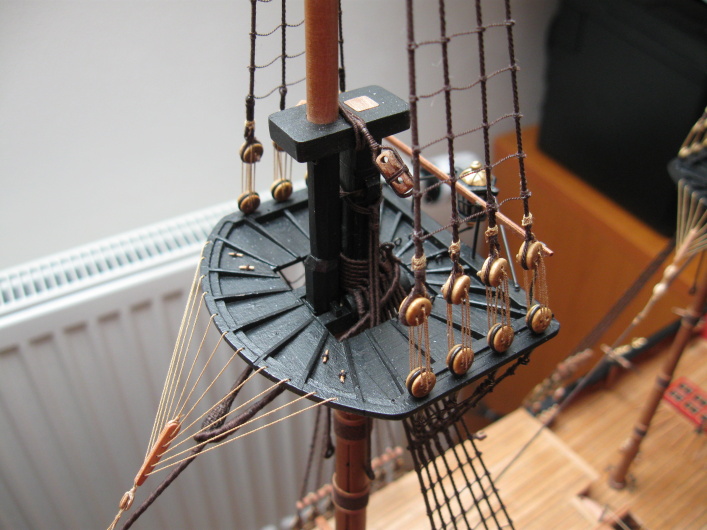
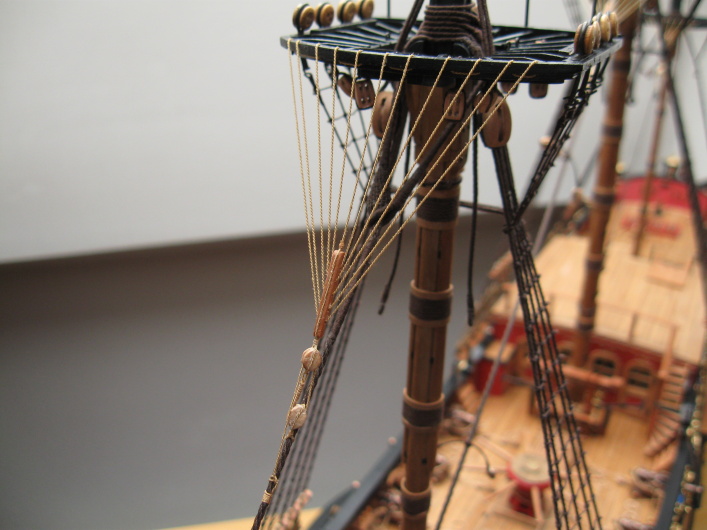
there is odd number of grooves on the wooden ring, each groove contains one thread. I used a single thread and weaved it around to make a spiral - this is reason why skeleton must contain odd number of thread. If you use even number of thread in skeleton, you can not use a single thread, but you must use a new thread for each row in mouse - this is not good idea.
-
That's a great technique for making that look on the mouse. Did you secure all the ends with CA or something before trimming them back, or do you have some other way of dealing with the ends and blending them into the rope at both ends of the mouse?
Can you explain in detail how you worked the threads around the mouse to get that final 'weaving' effect, did you actually weave another thread into all those?
All the ends are secured with diluted PVA glue to the stay. It is very important that the "skeleton" from thread must contain an odd number. Then just drag out another thread throughout the "skeleton", alternately one under, one above thread. It is little difficult and time-consuming work.
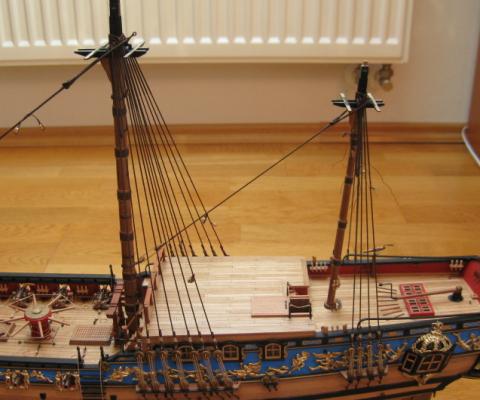
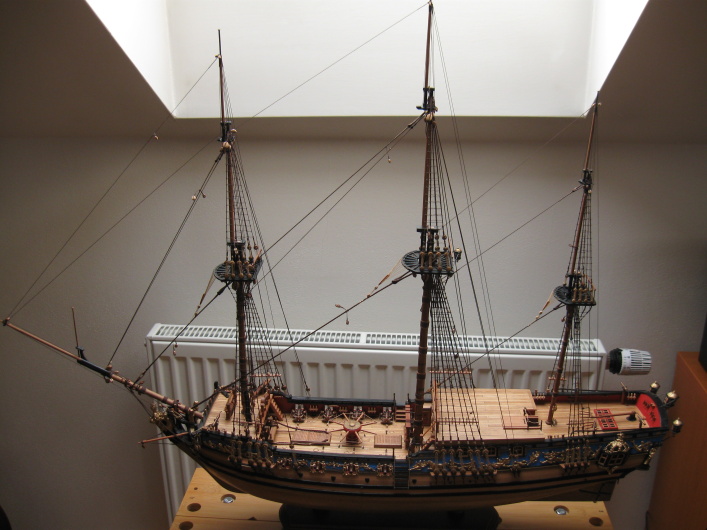
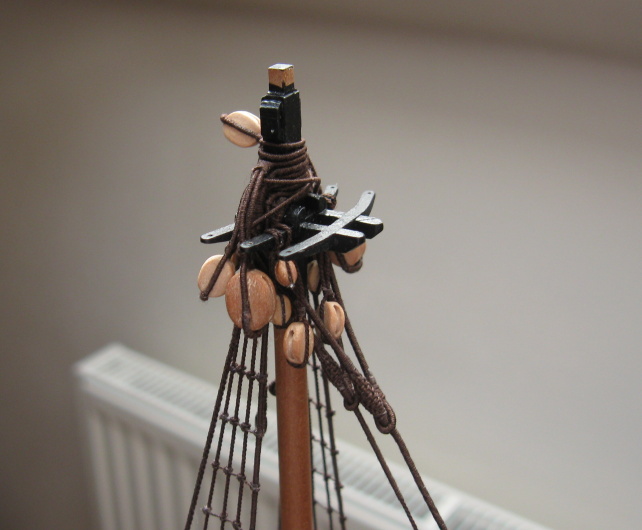
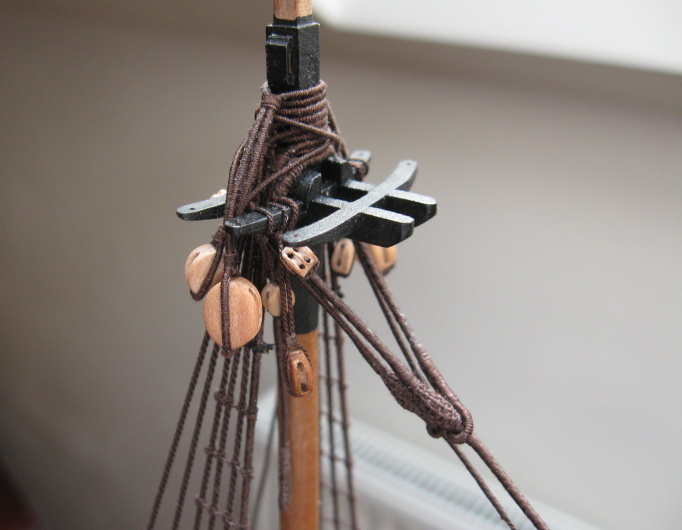
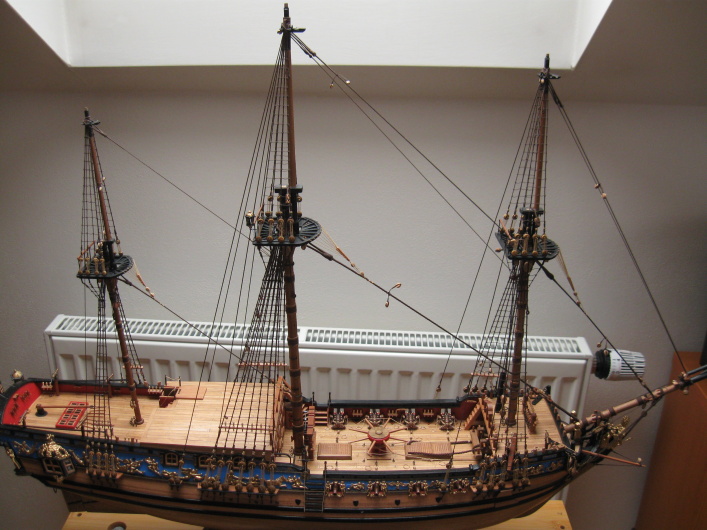
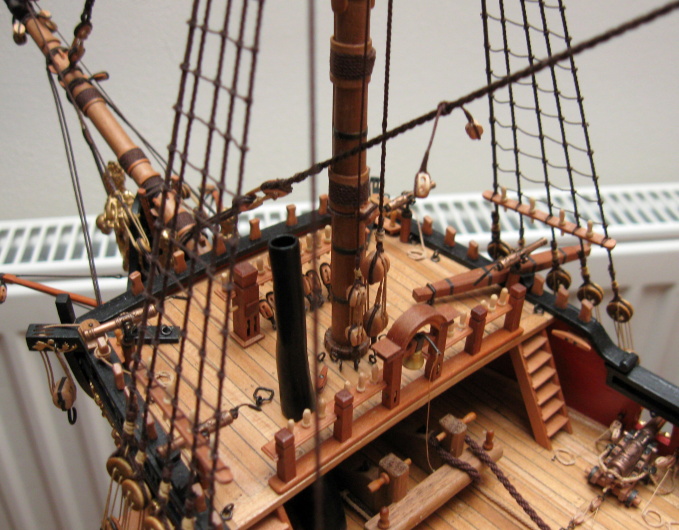
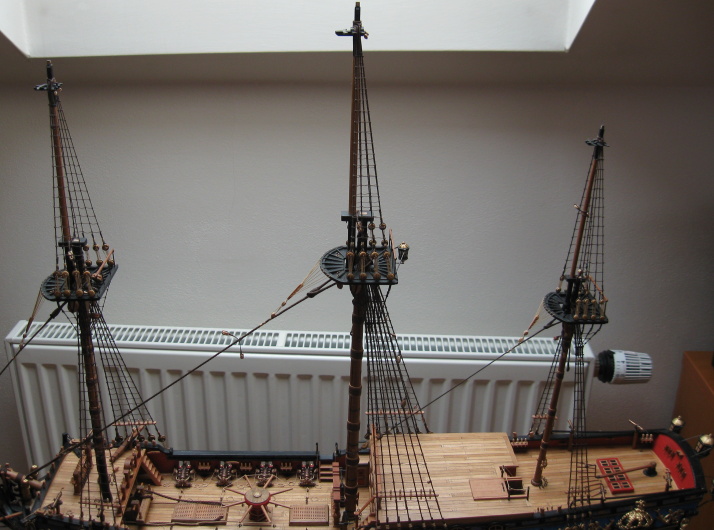
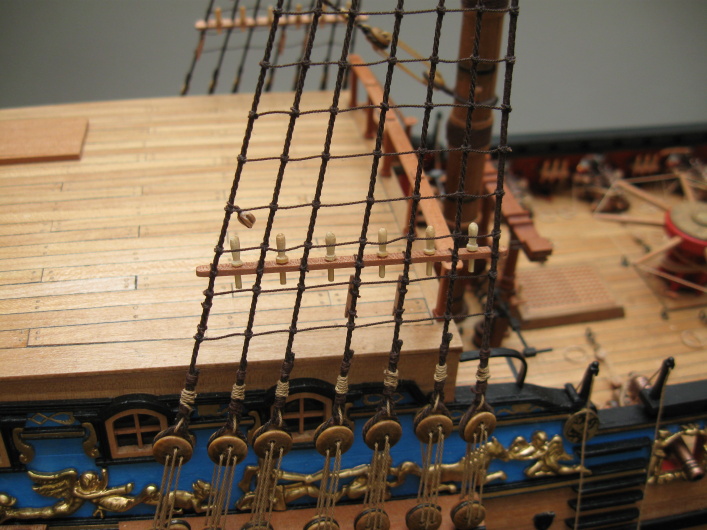
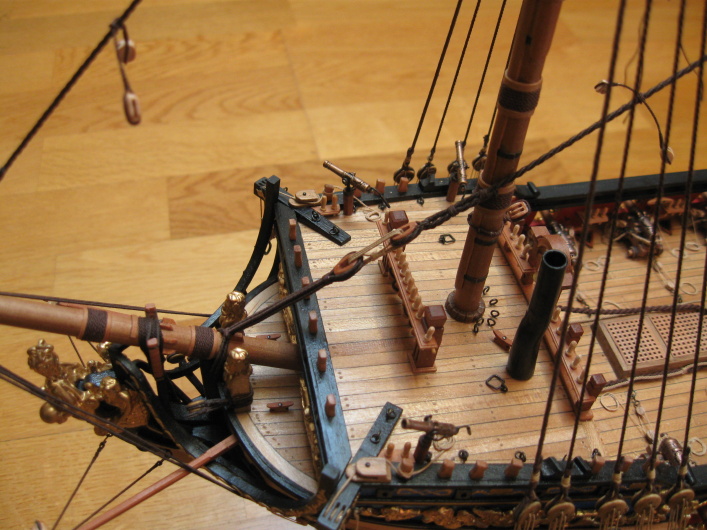
The stays (and their accessories) is ready and installed on the model.
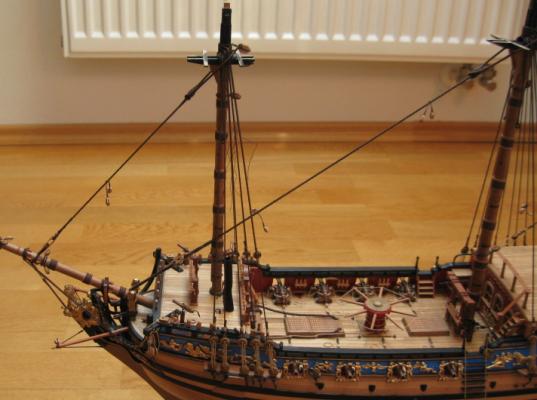

- sparrow, NMBROOK, Dimitris71 and 4 others
-
7


Royal Caroline by marsalv - FINISHED - Panart
in - Kit build logs for subjects built from 1501 - 1750
Posted
So finally the reef points was "only" 446 pieces . Sails are completed.