
Eugenio Treviño
-
Posts
123 -
Joined
-
Last visited
Content Type
Profiles
Forums
Gallery
Events
Everything posted by Eugenio Treviño
-
https://www.archyde.com/ancient-anchor-found-in-the-port-of-progreso-in-yucatan/ A recent discovery in Progreso port in Yucatan, Mexico. I hope you like it. Best regards to all !
-
This is the link for the news. Best regards to all.
- 1 reply
-
- 4
-

-

-
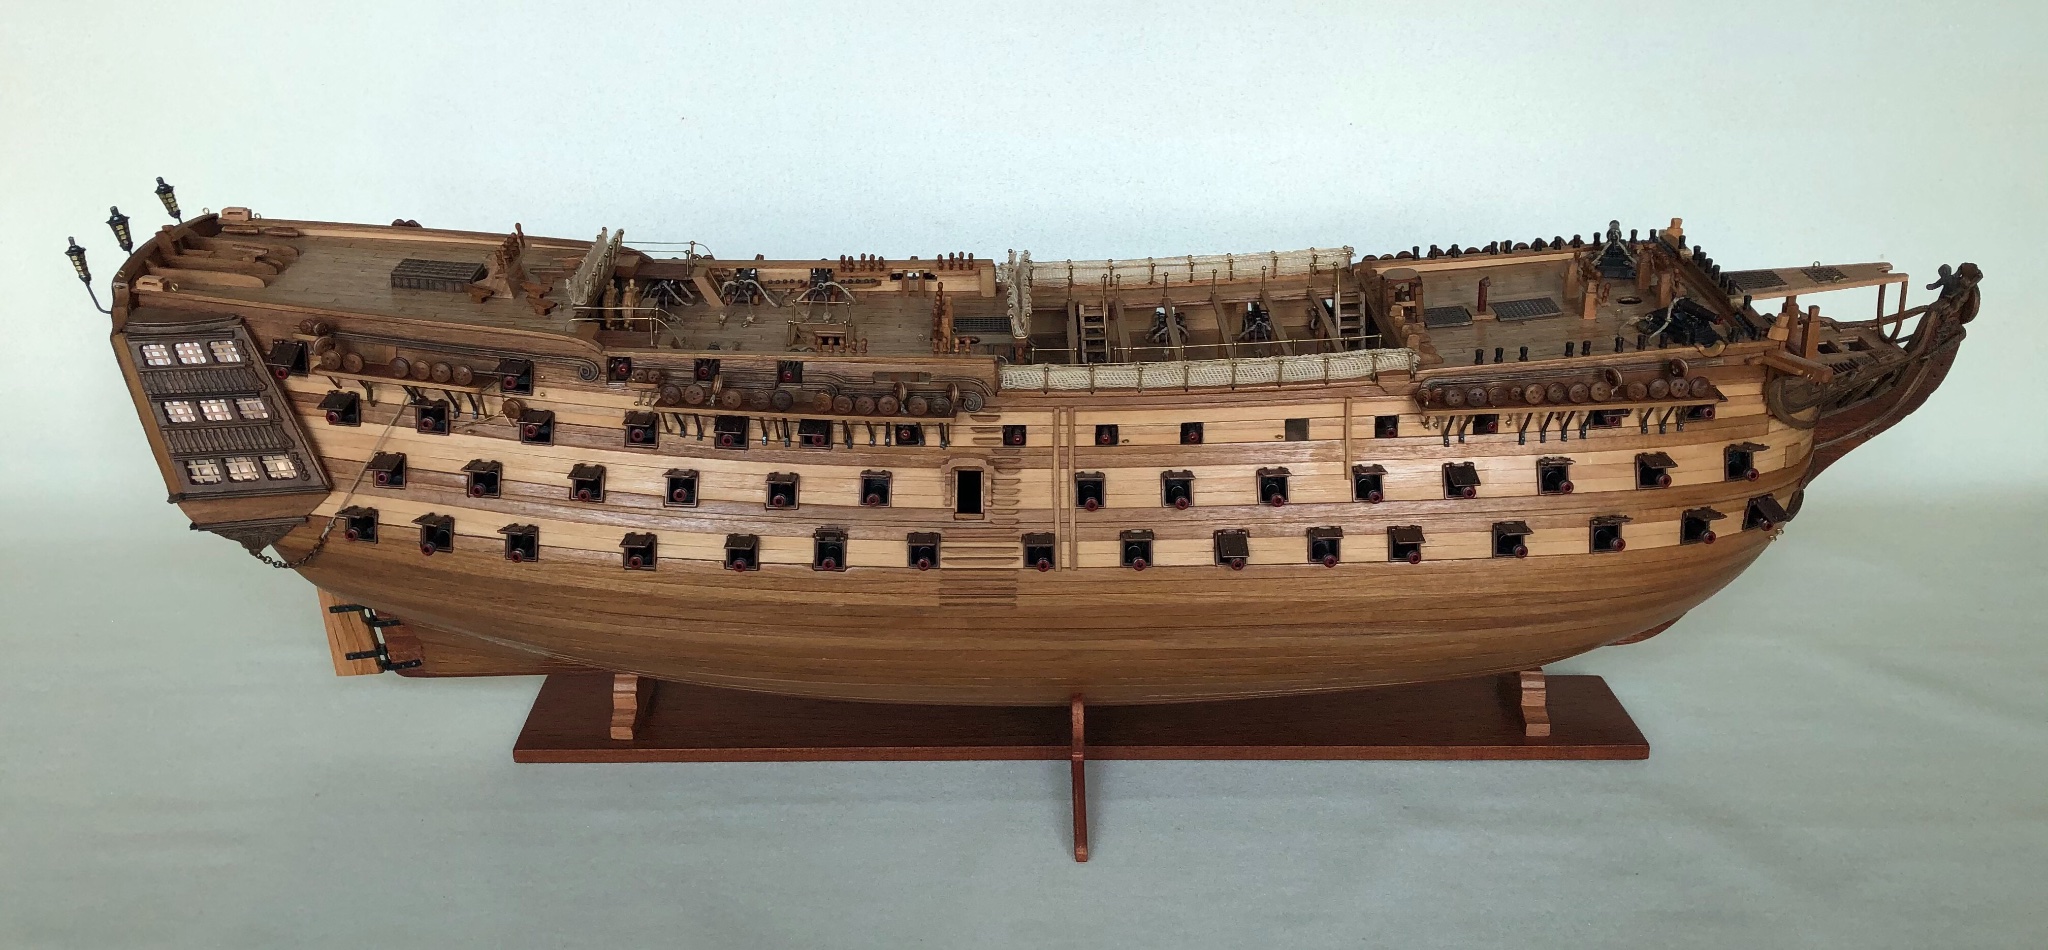
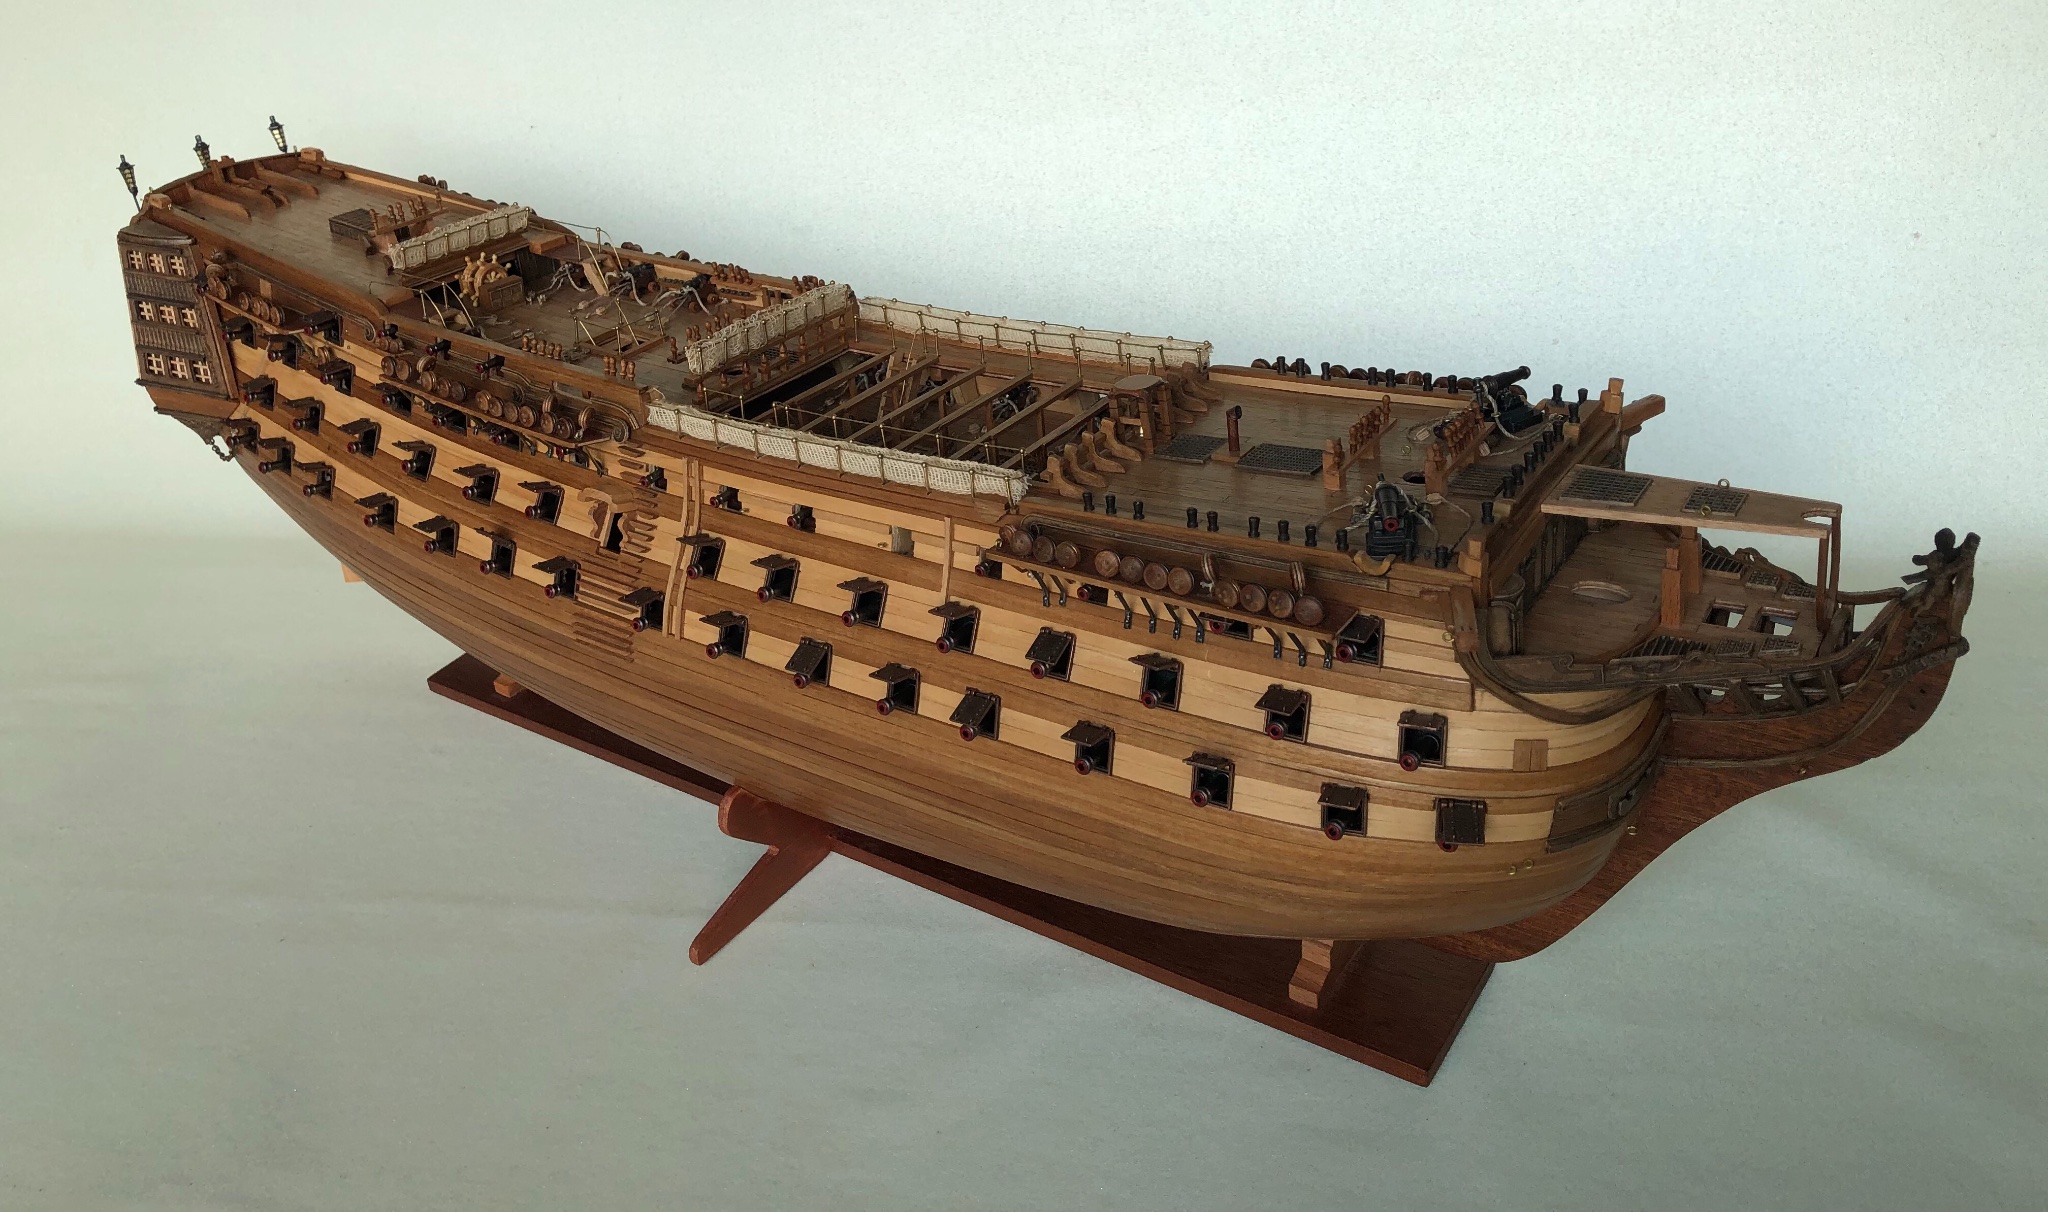
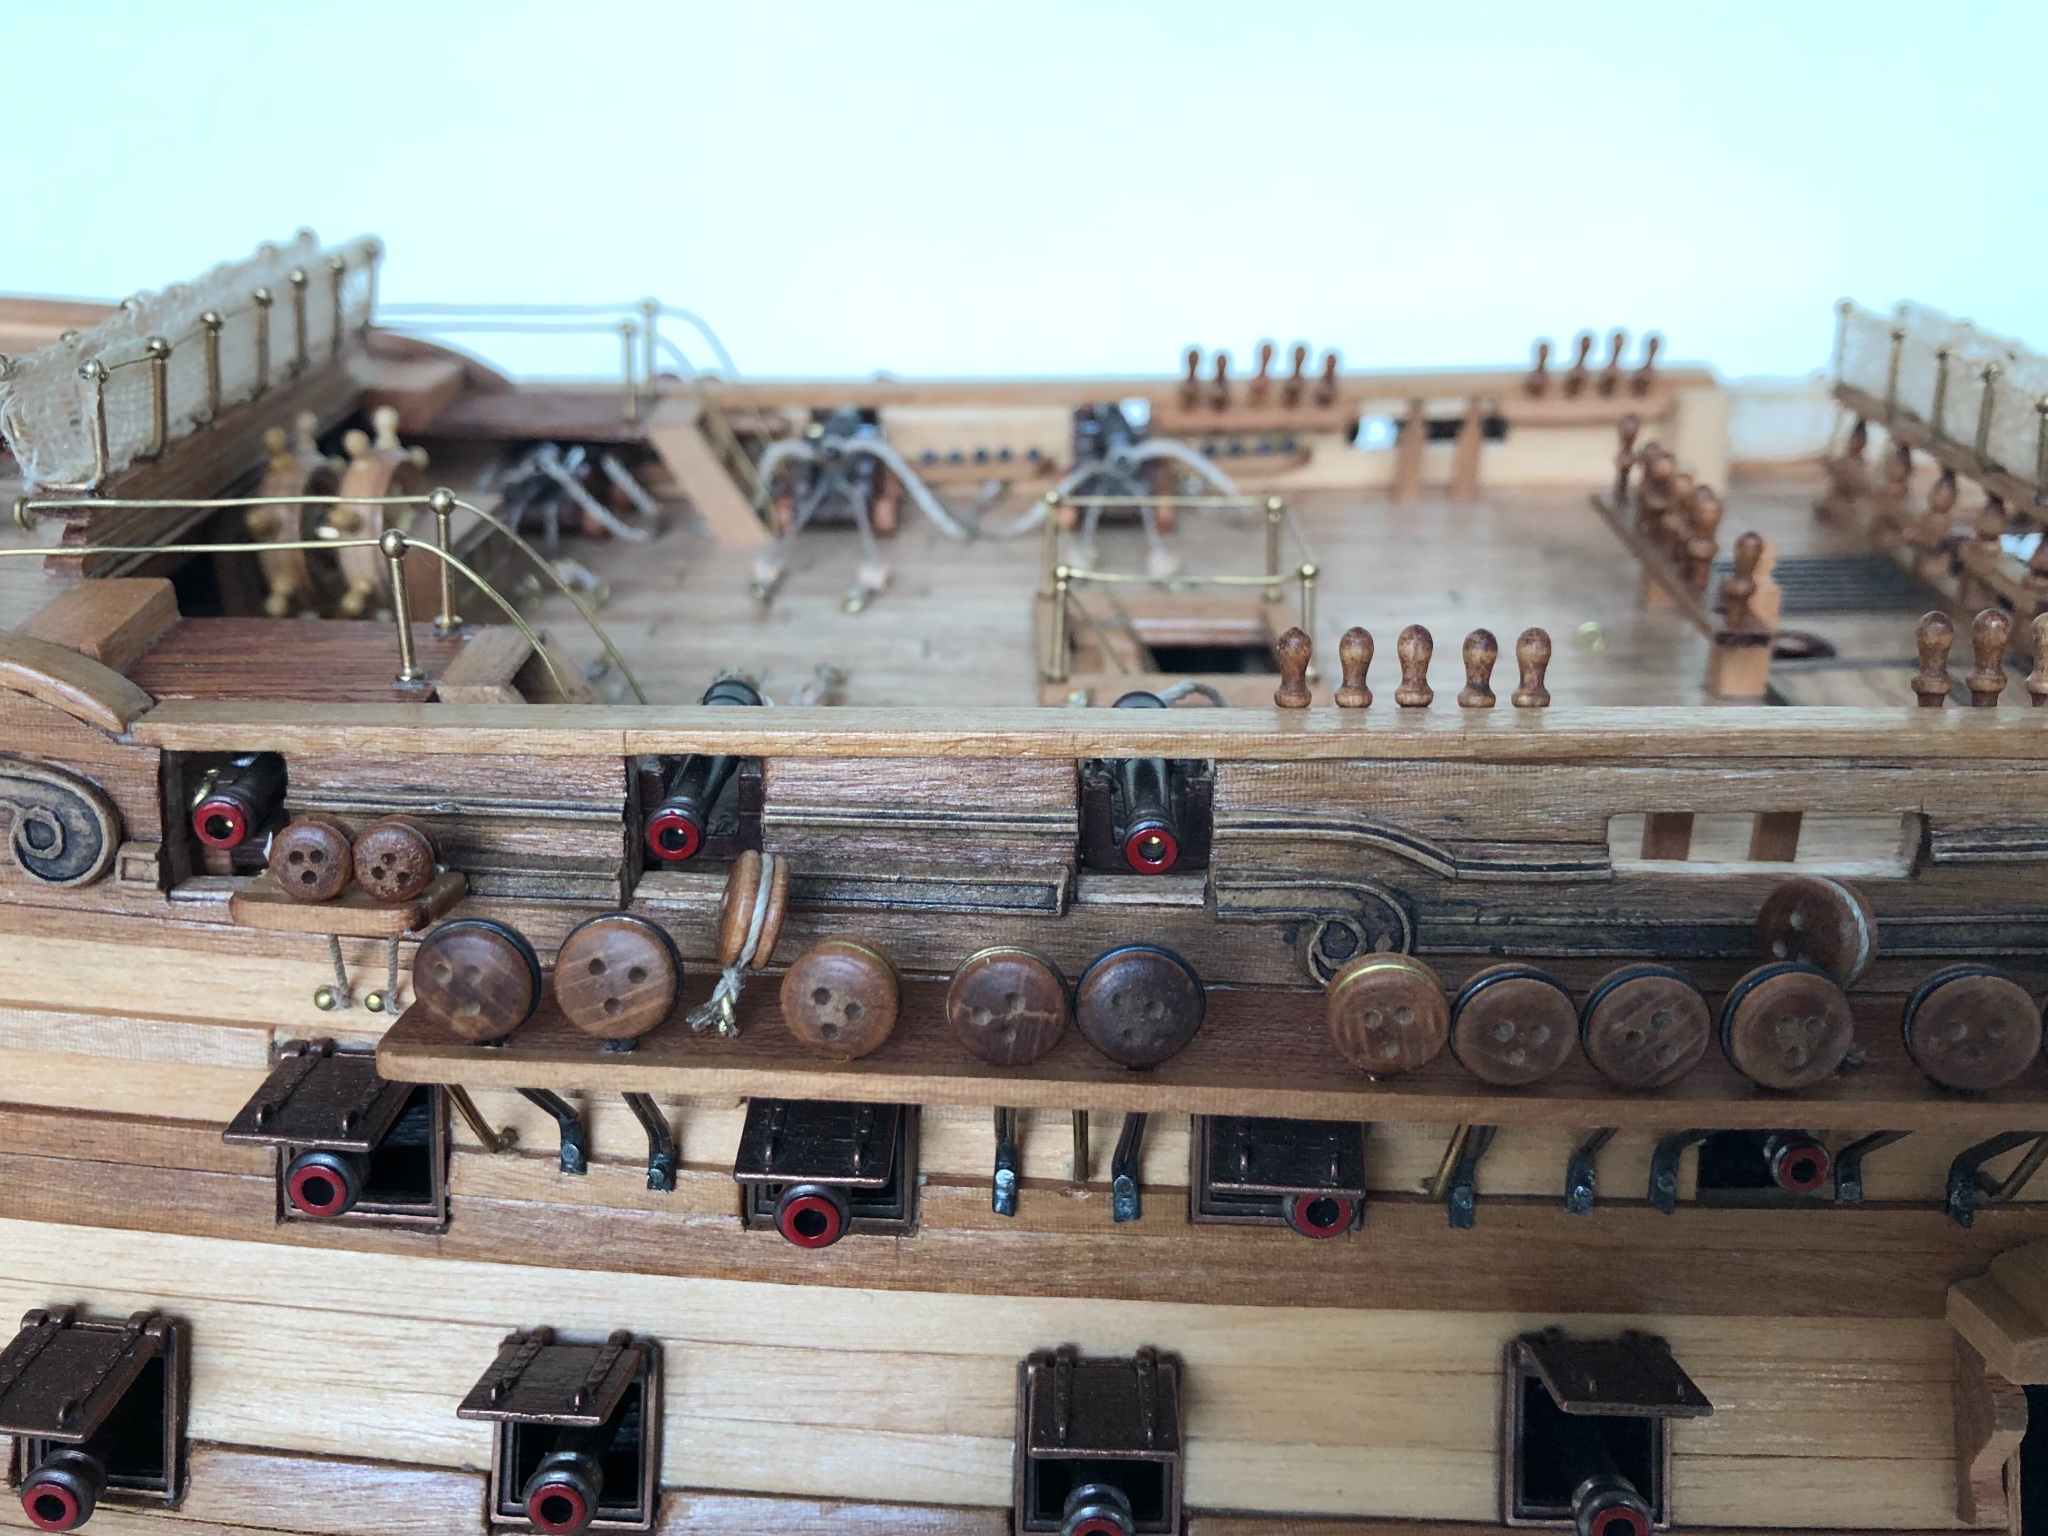
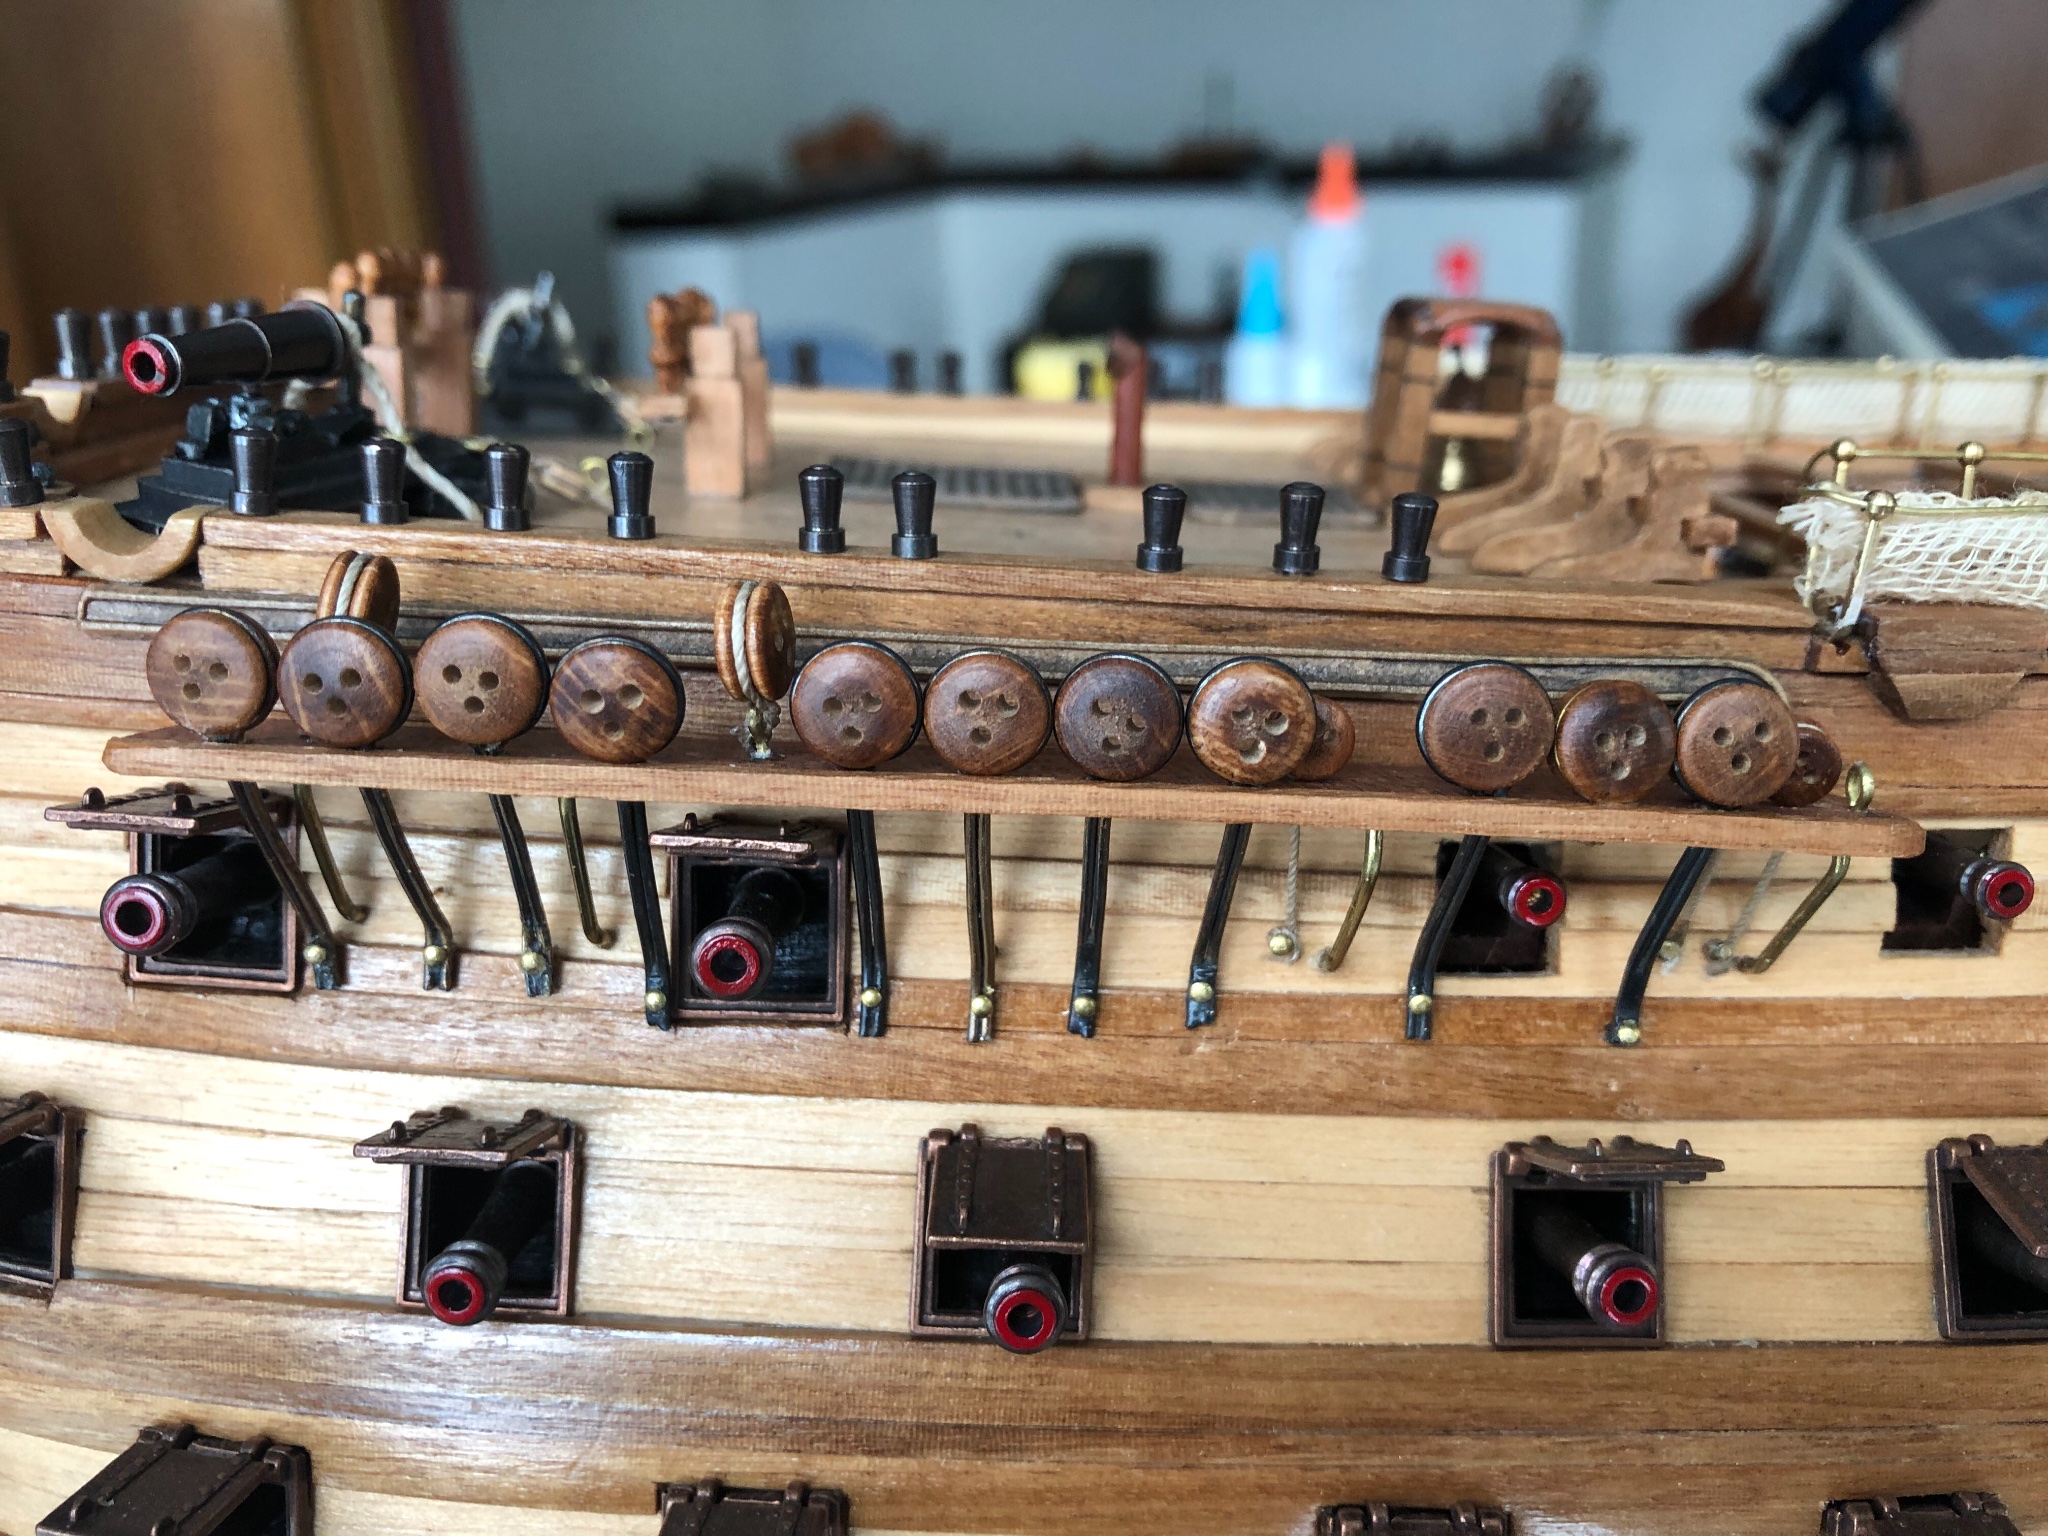
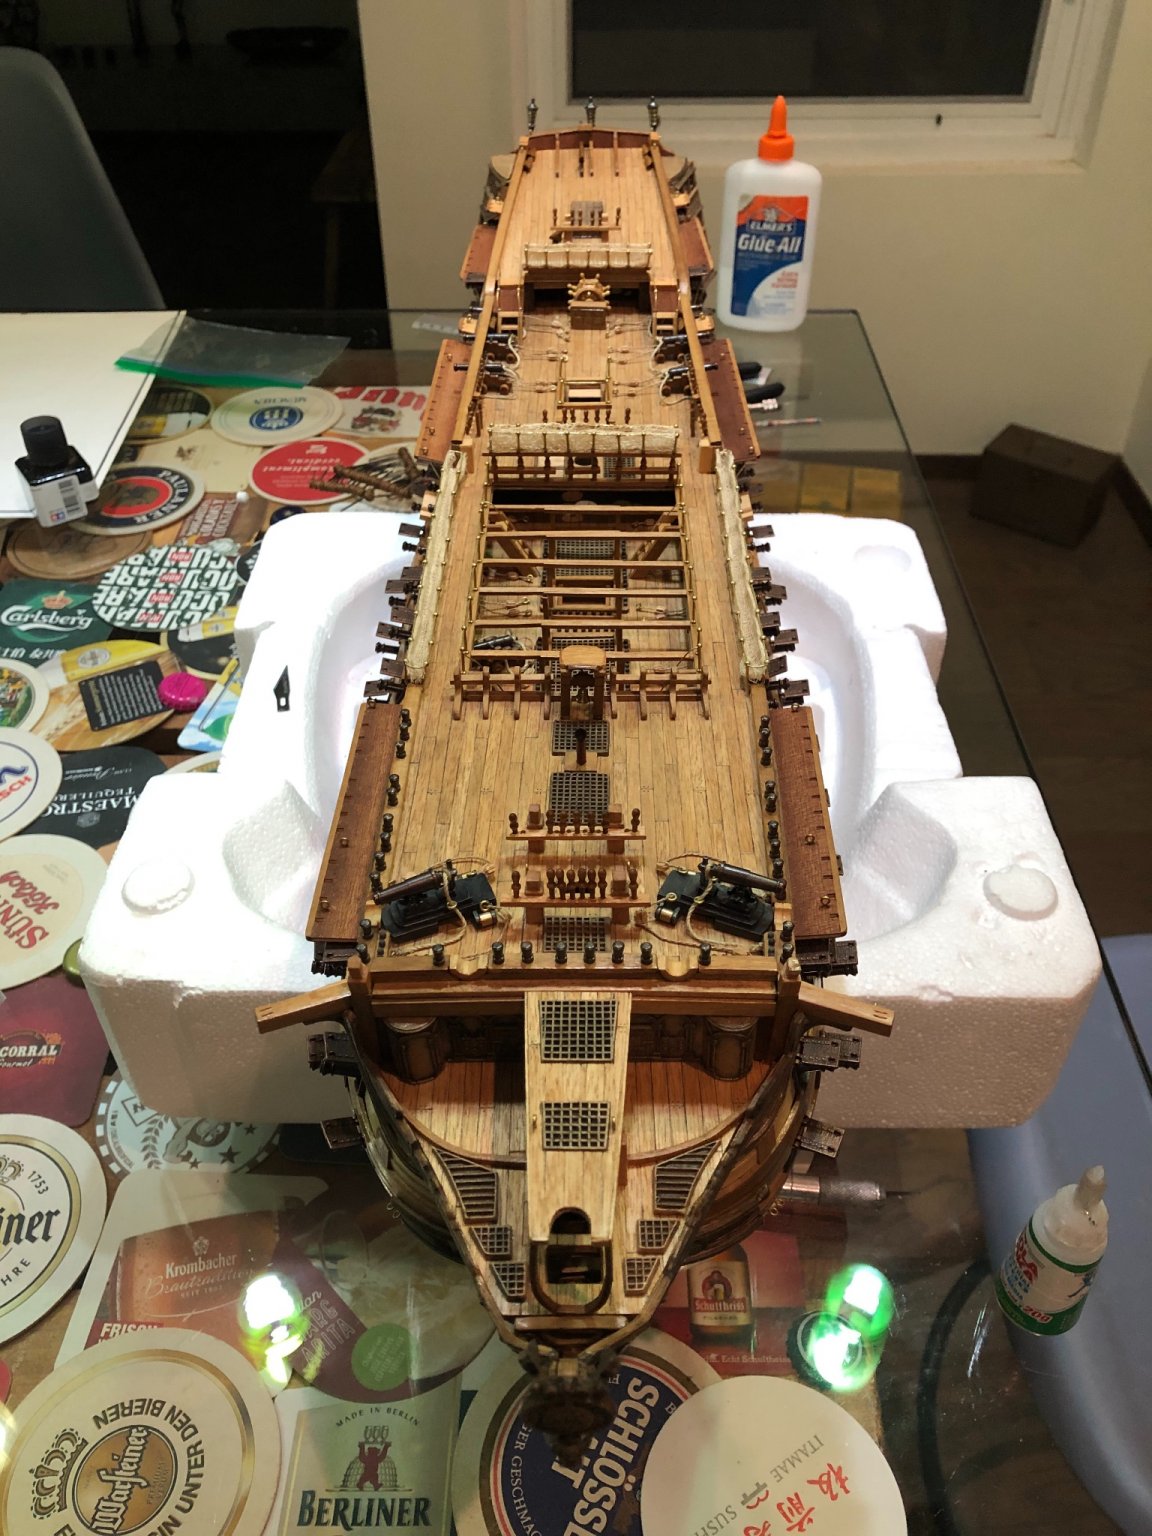
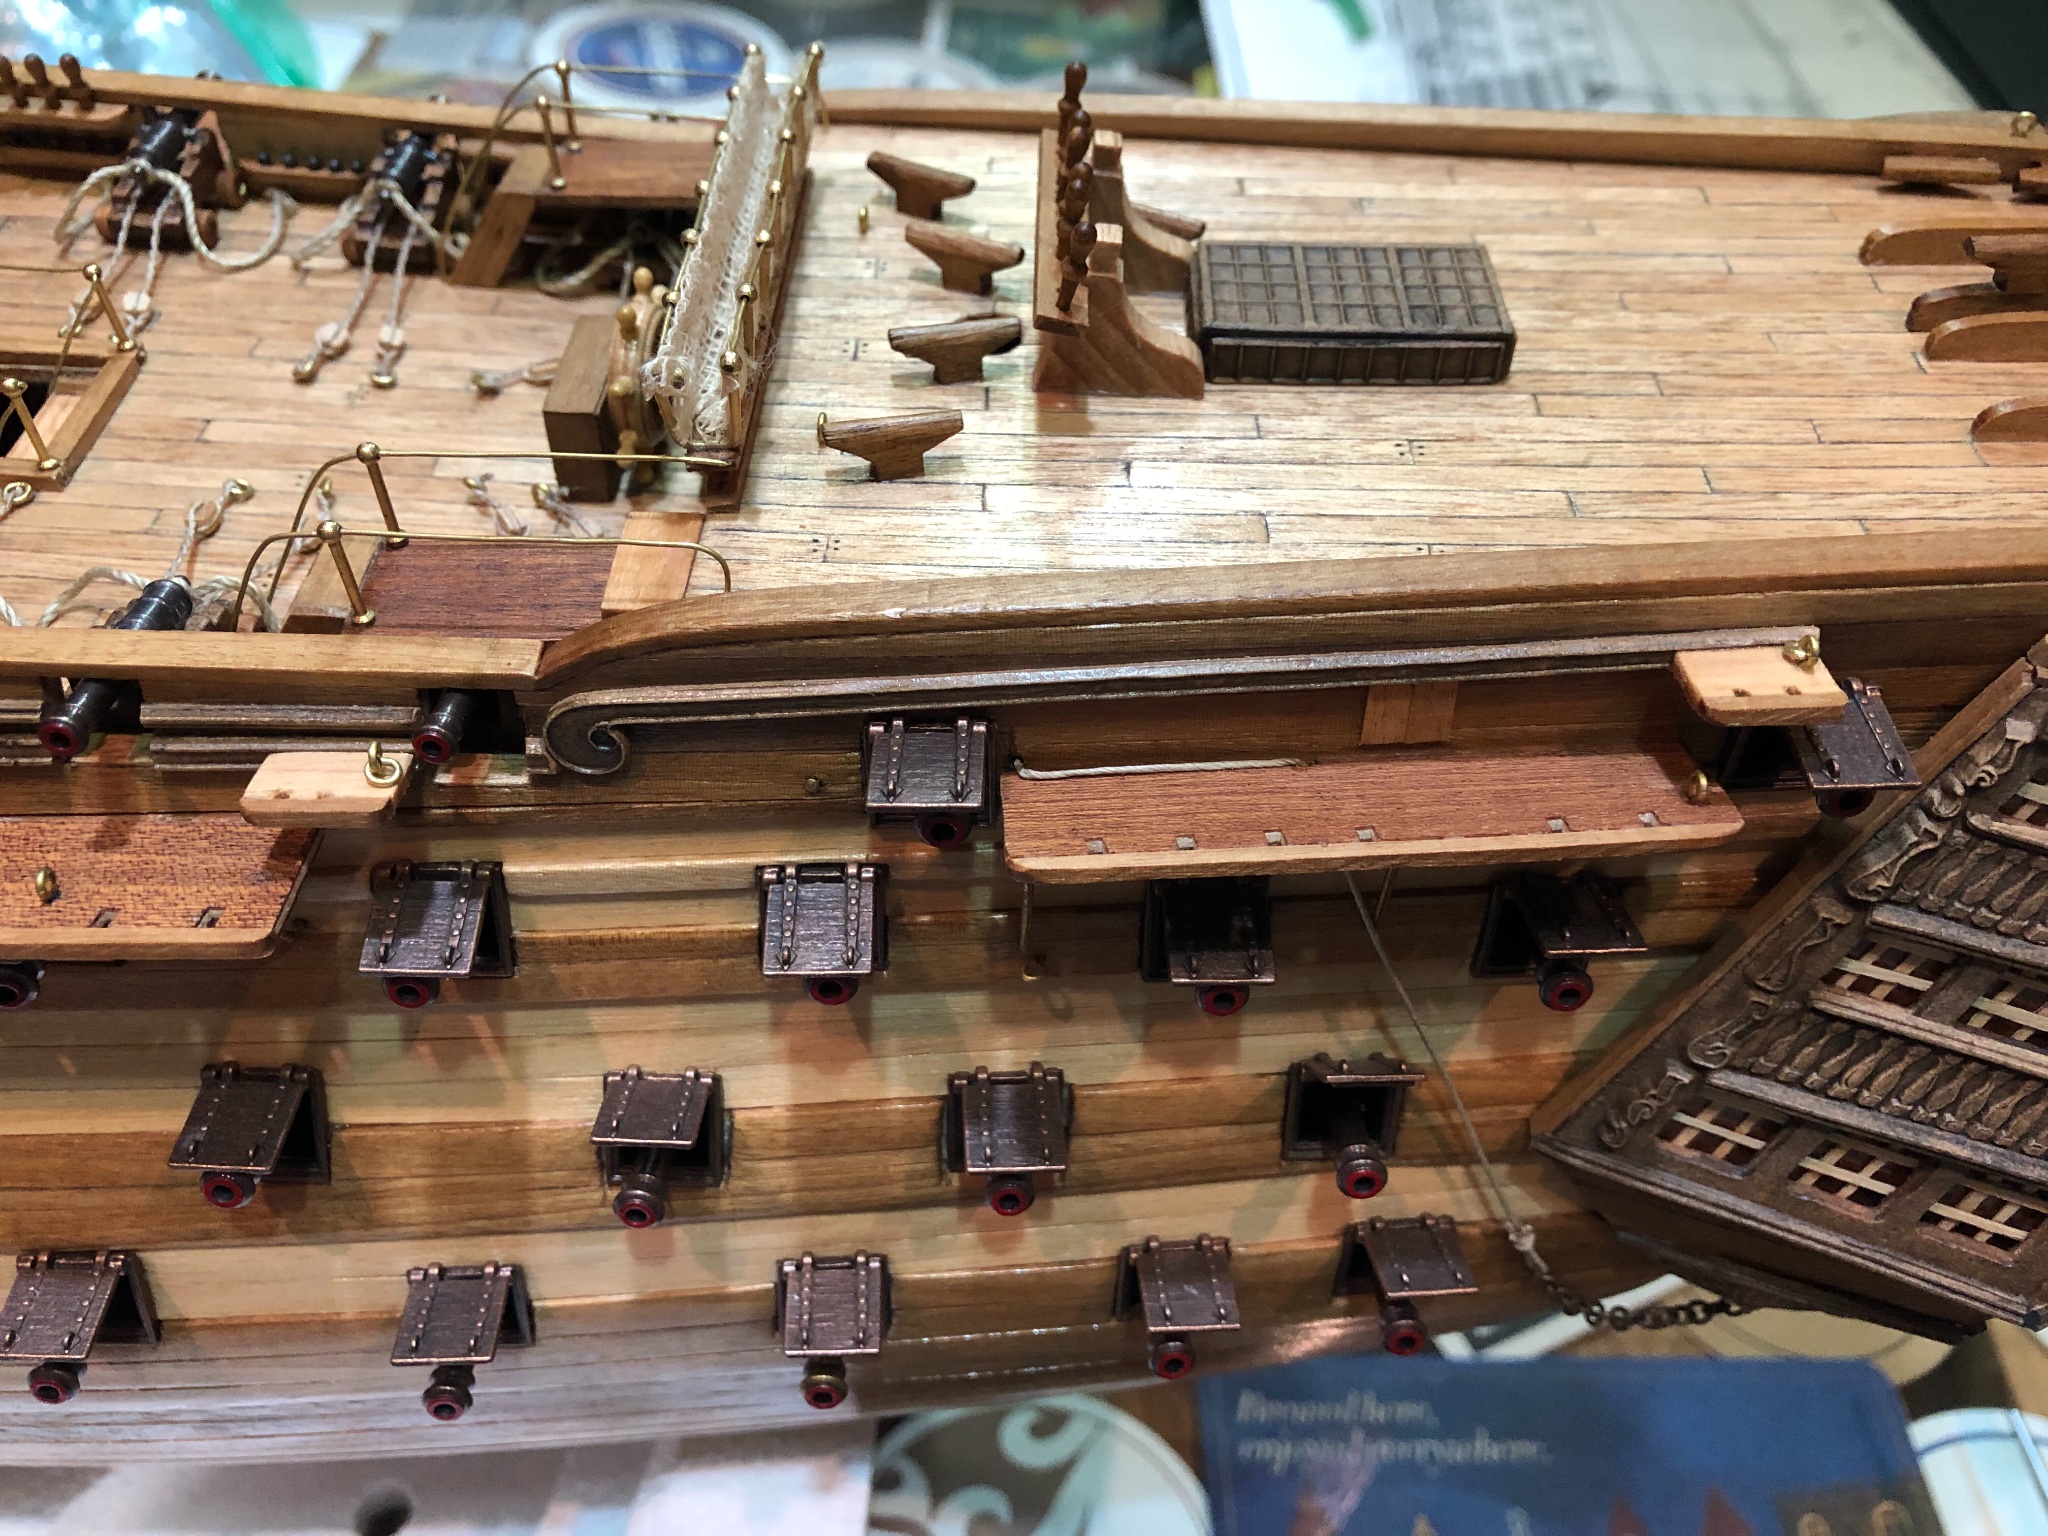
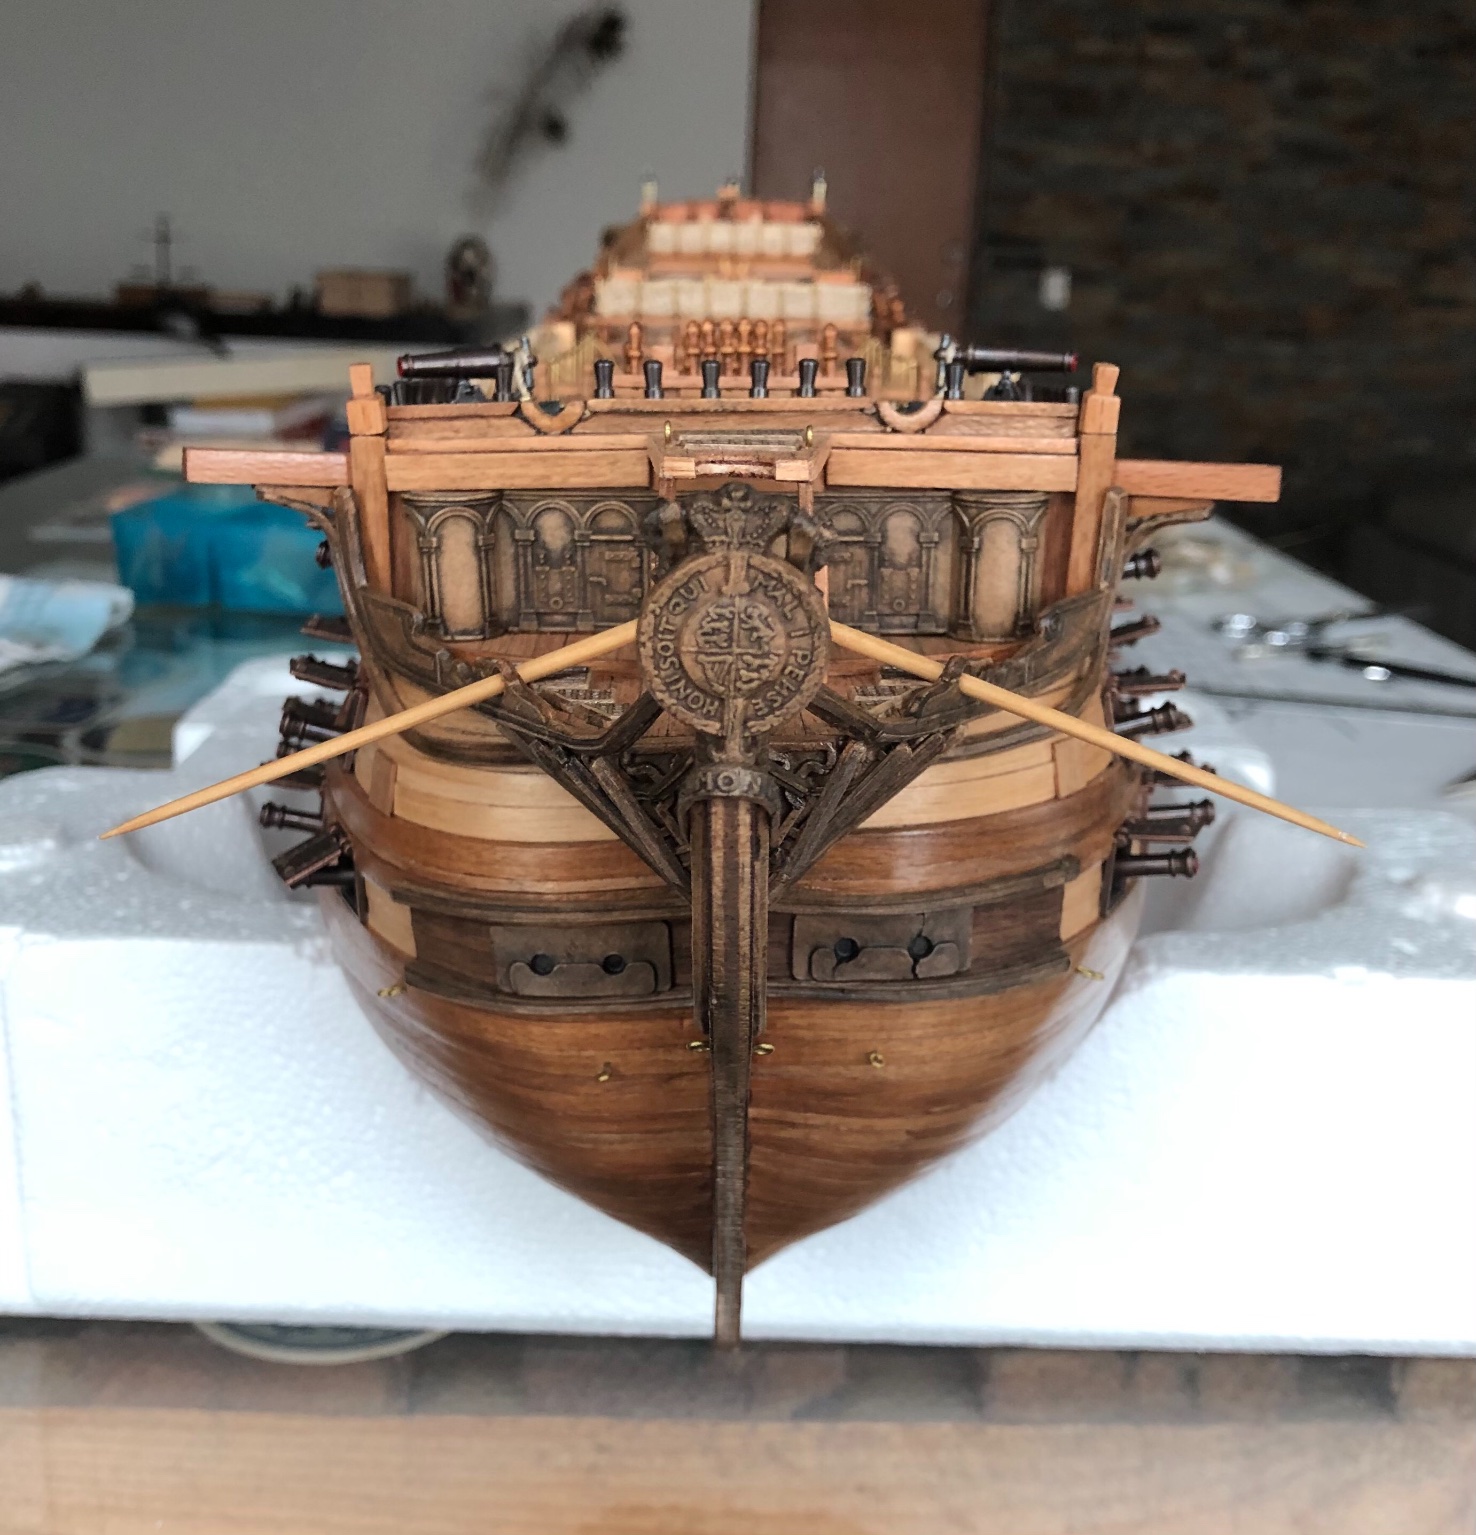
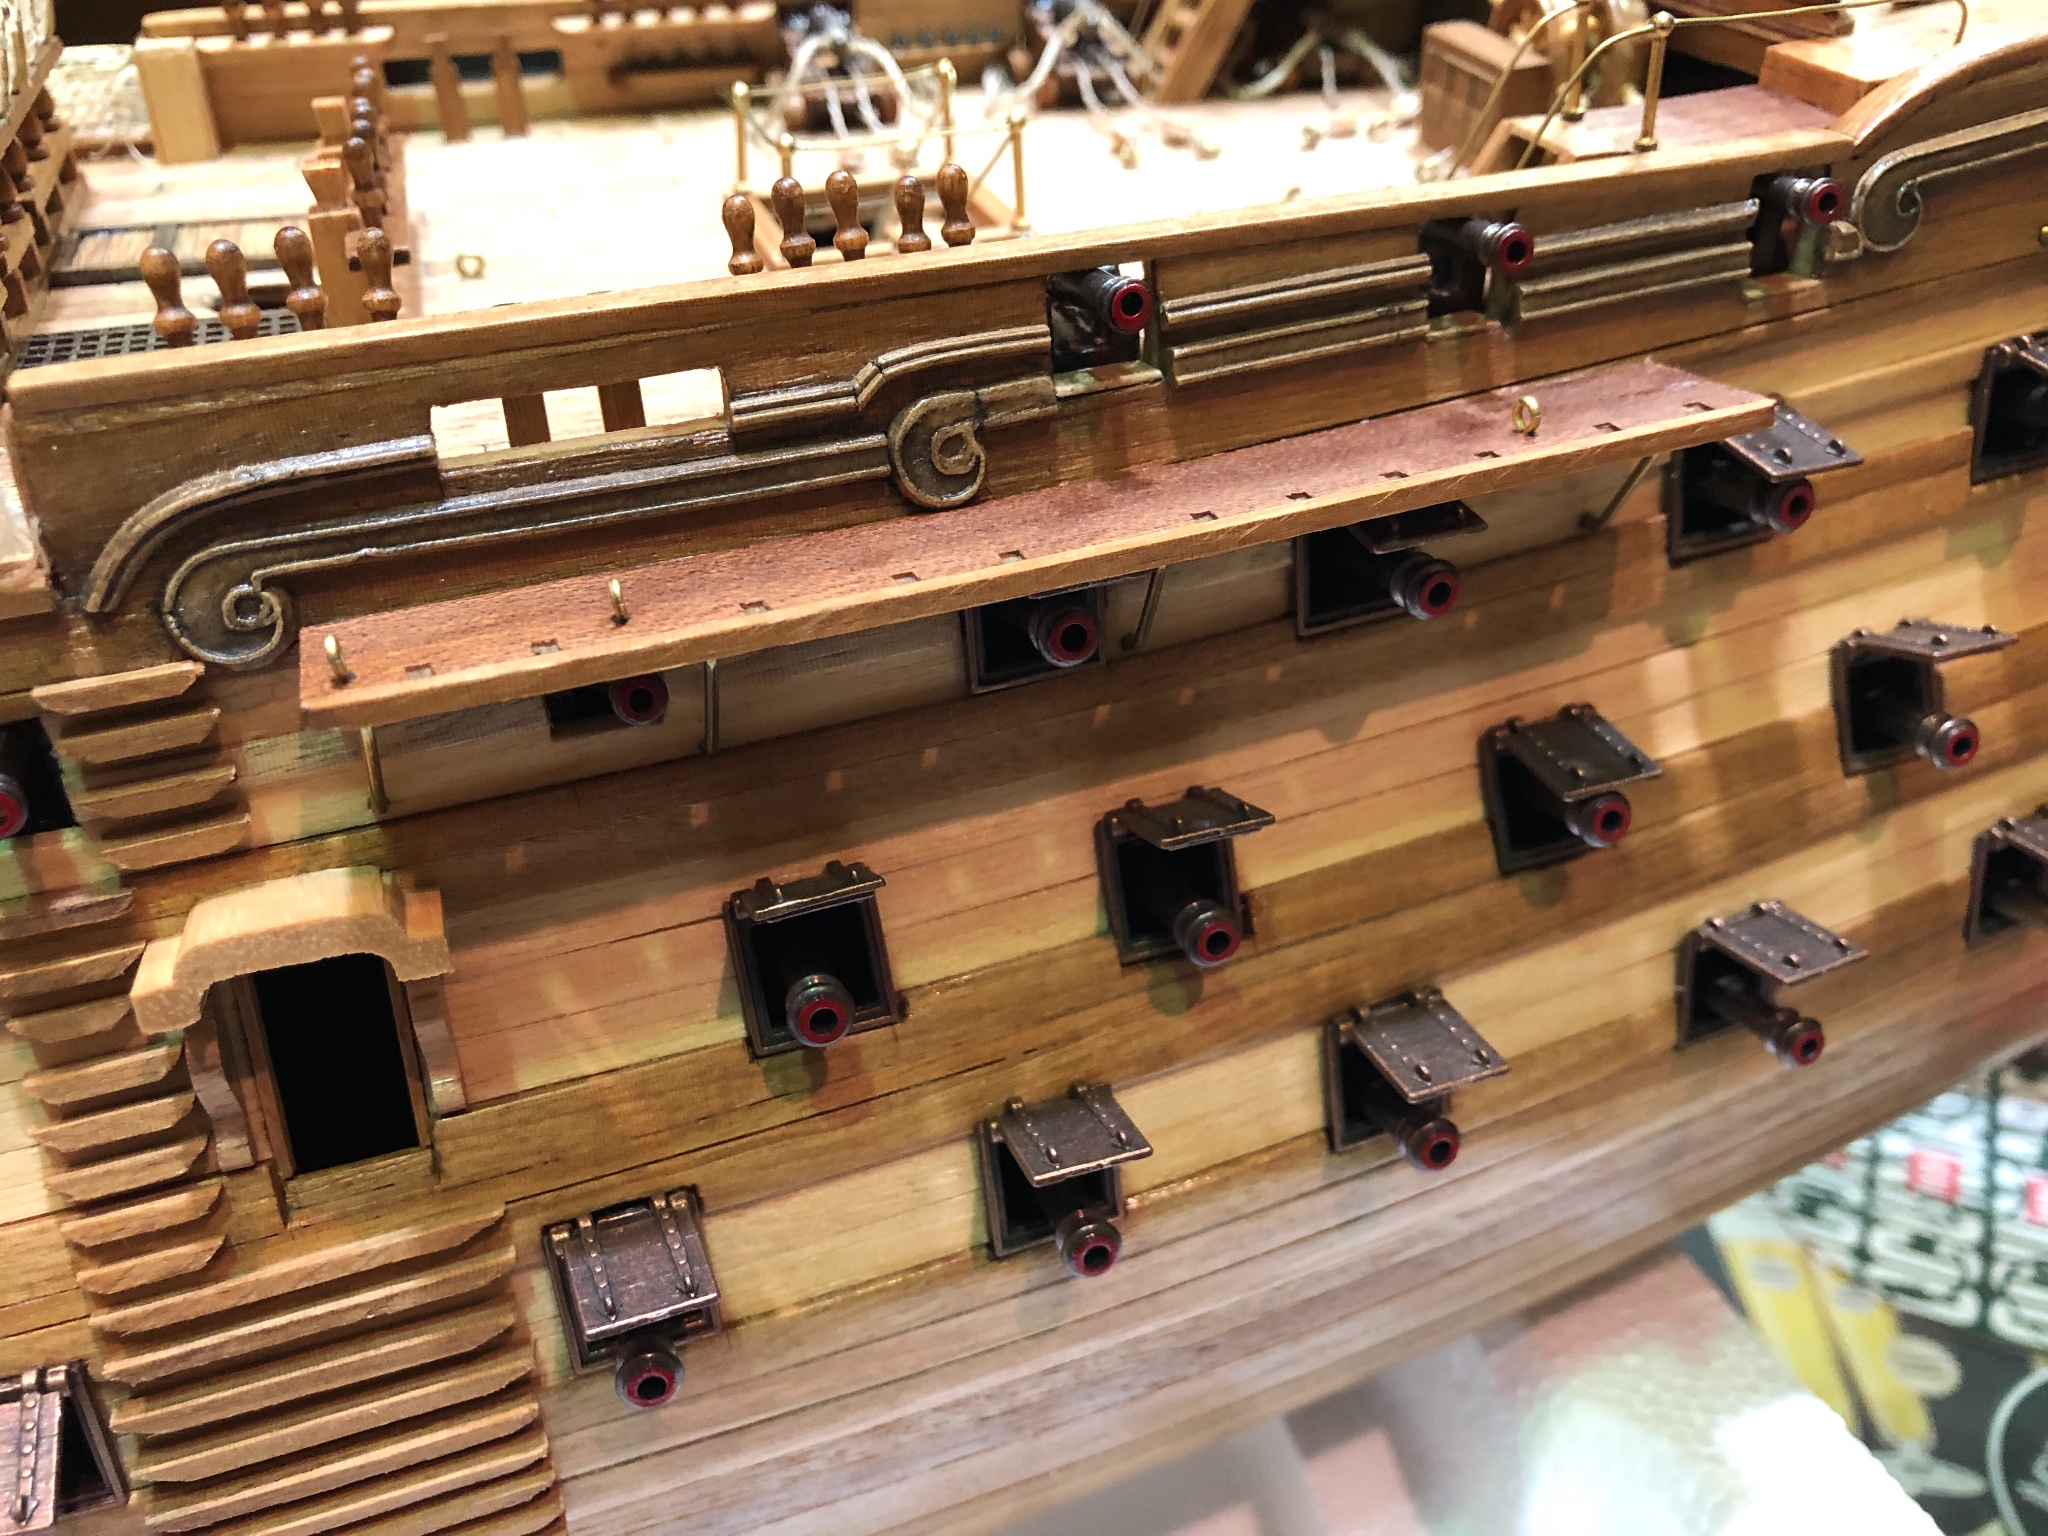
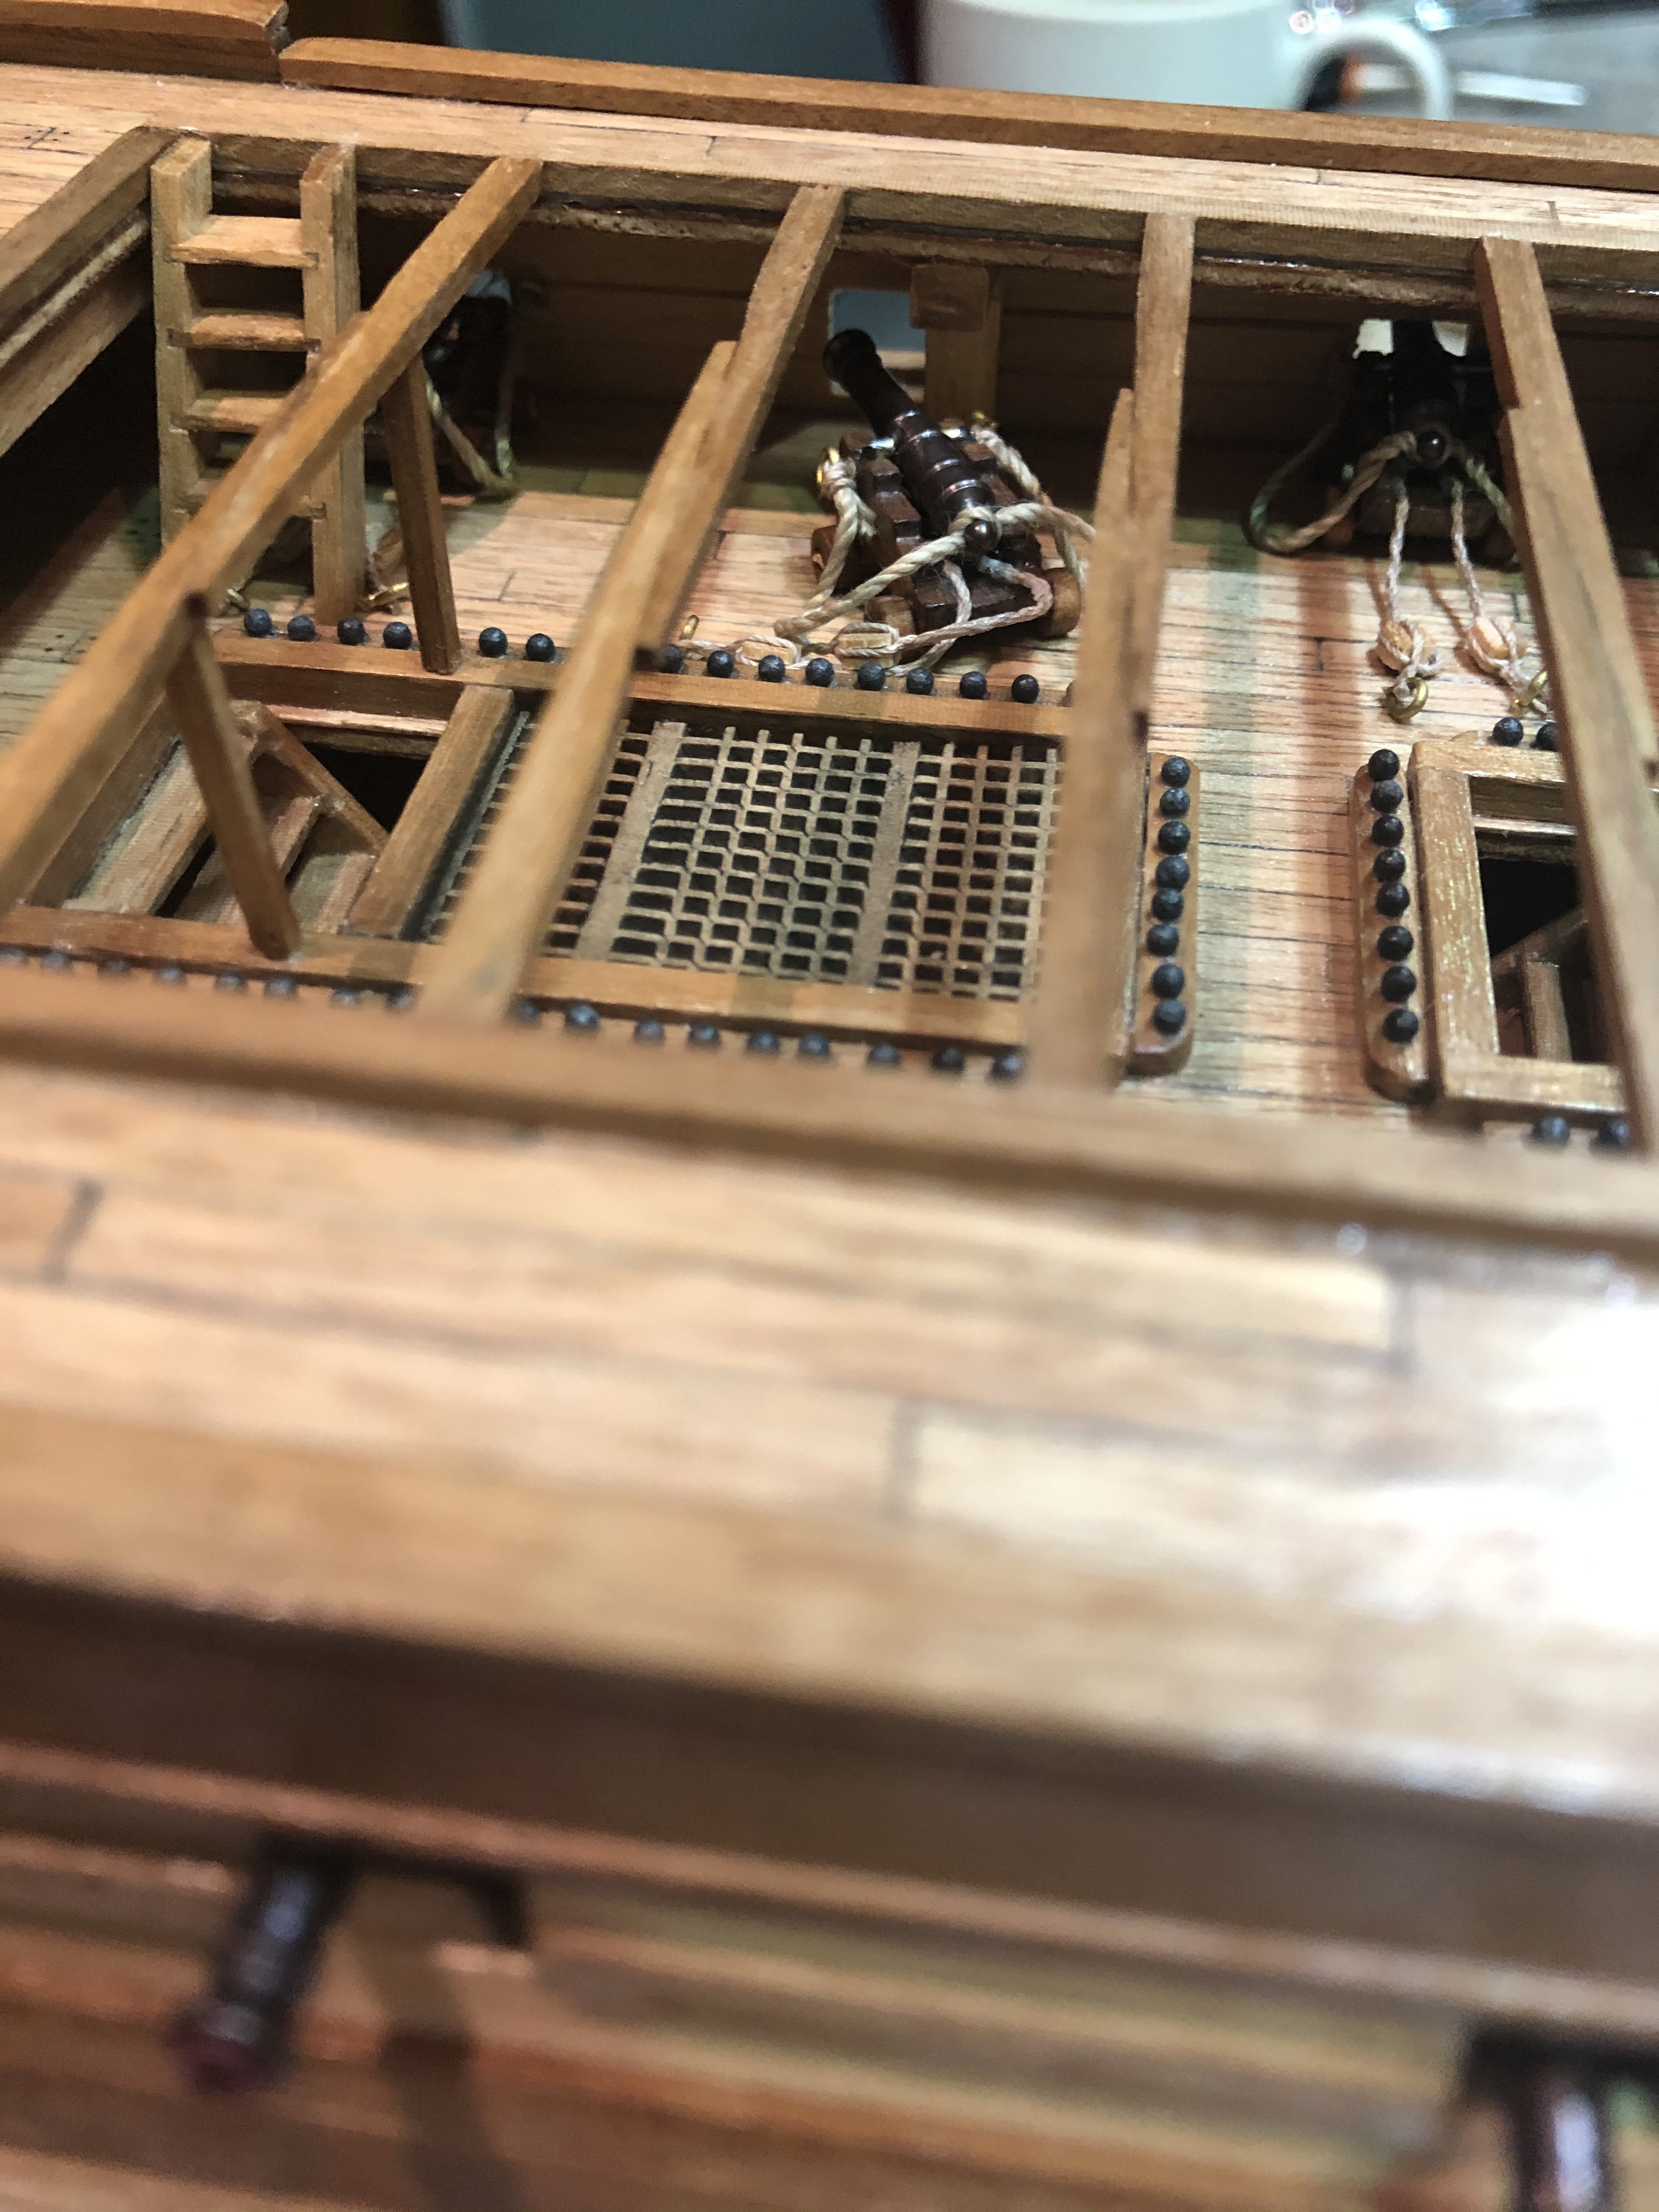
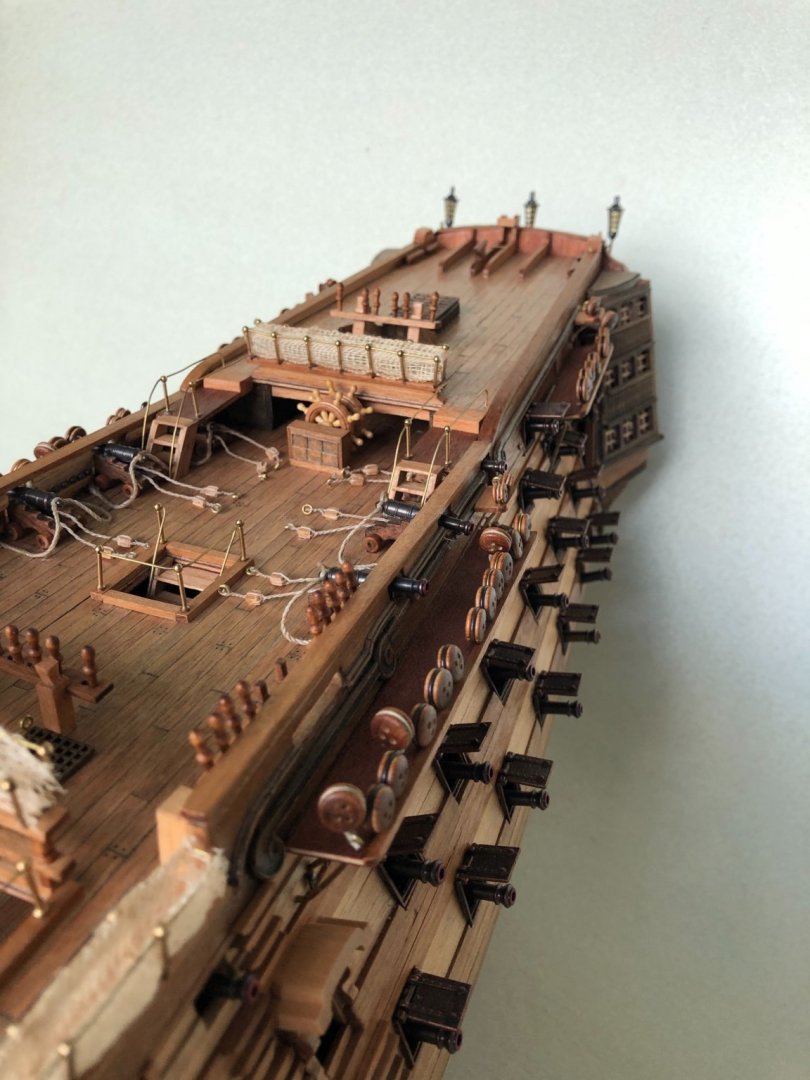
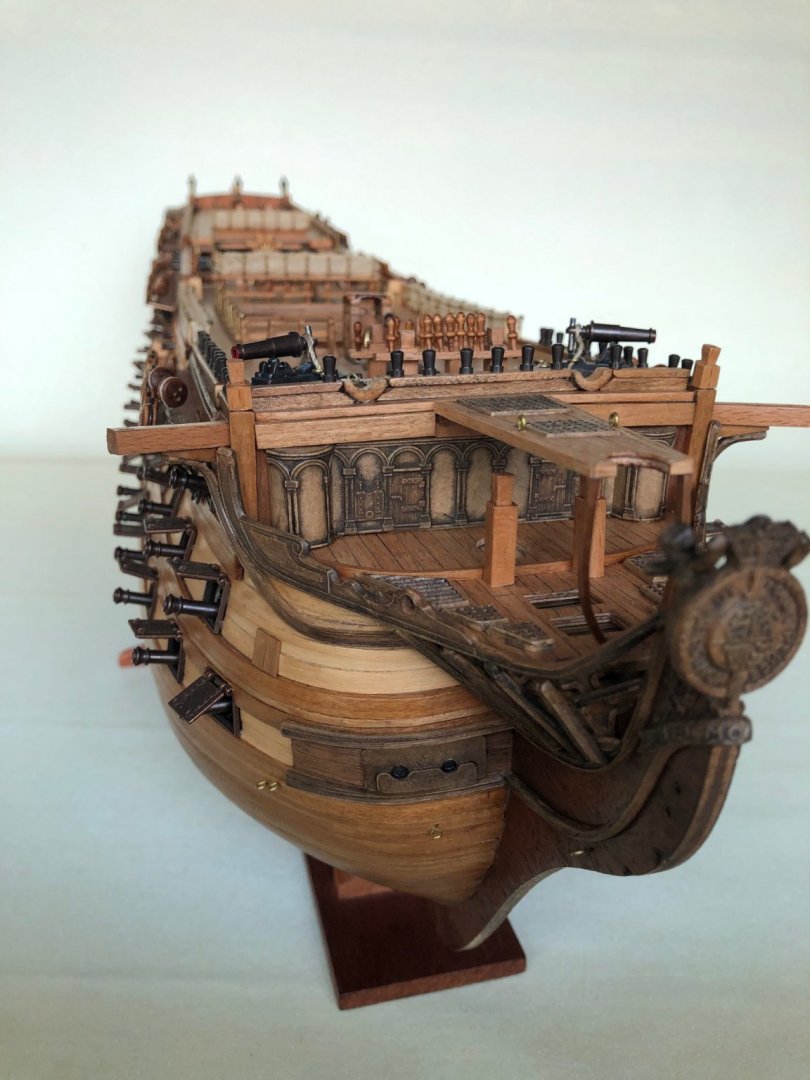
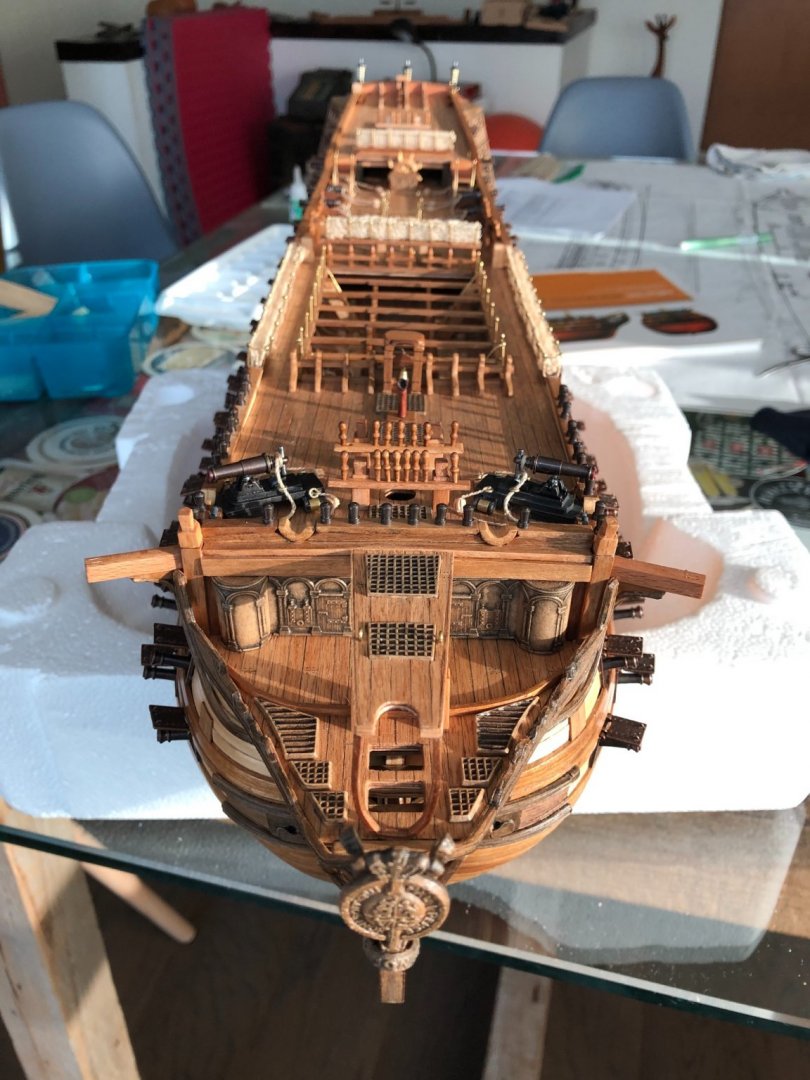
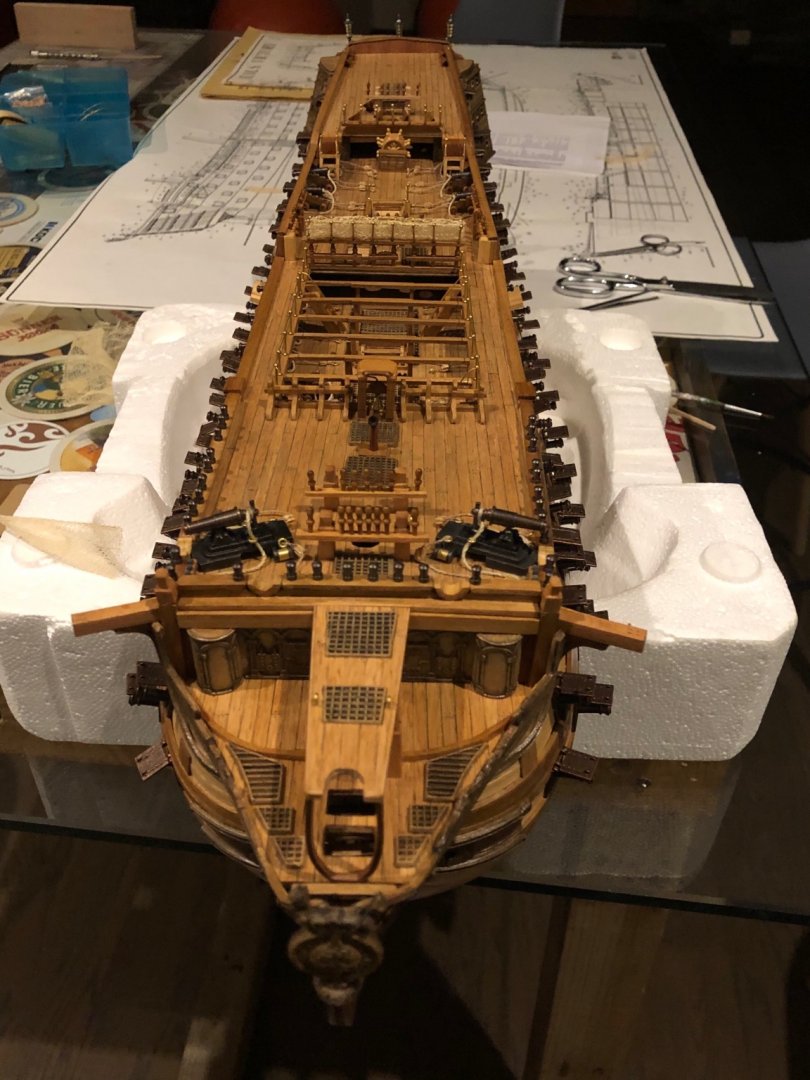
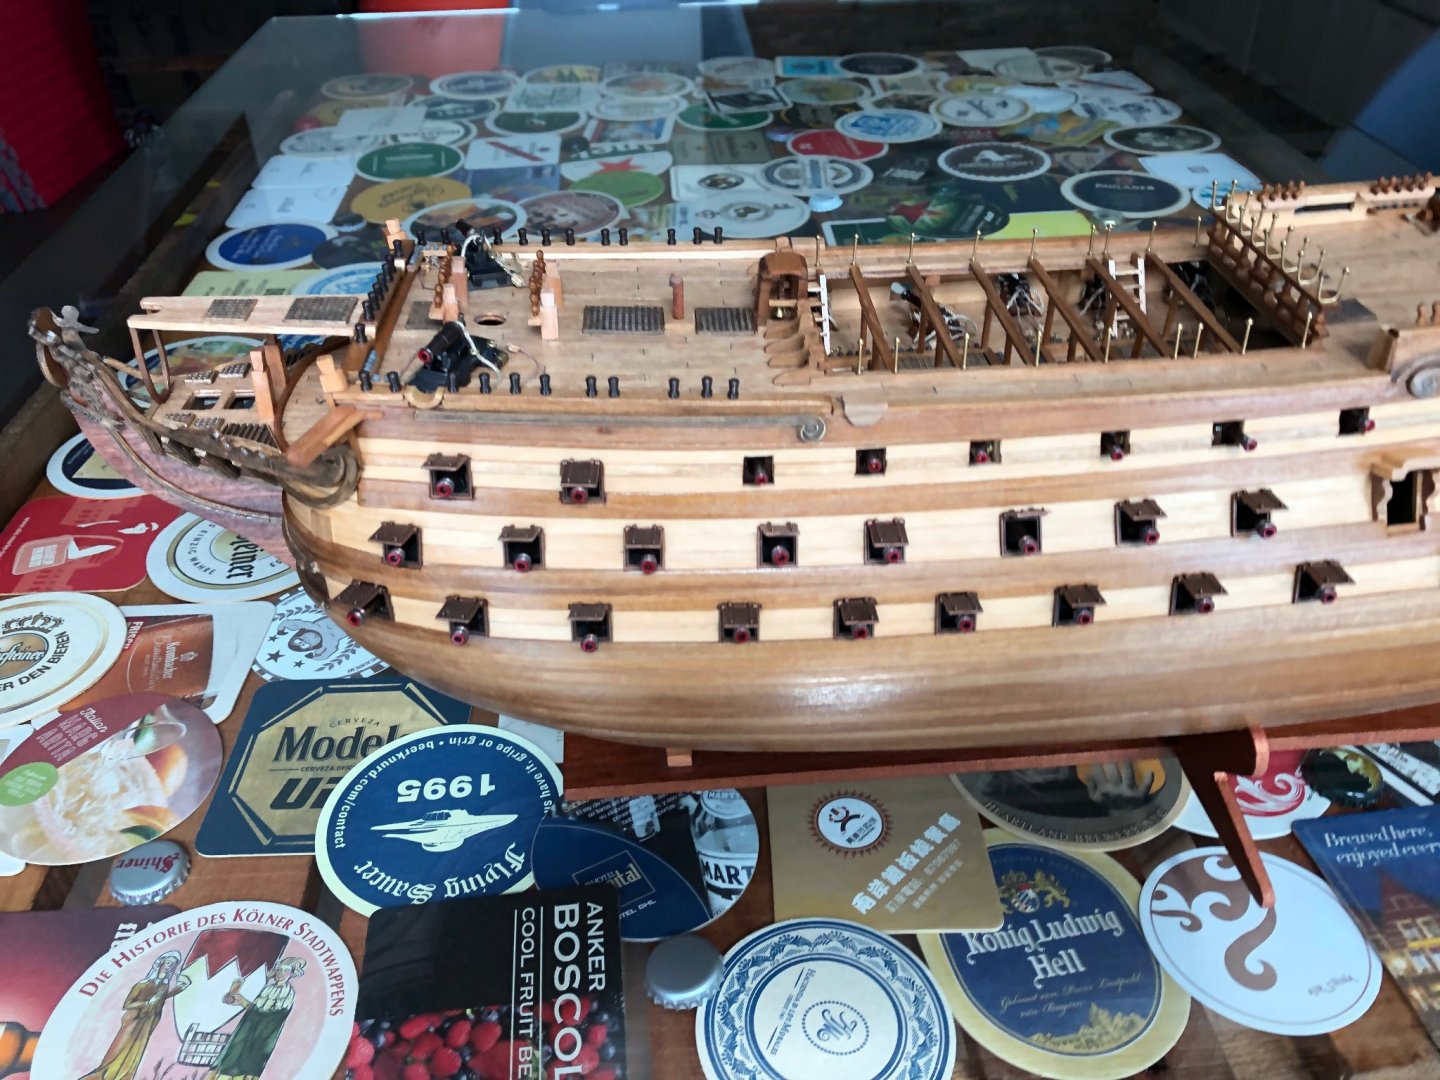
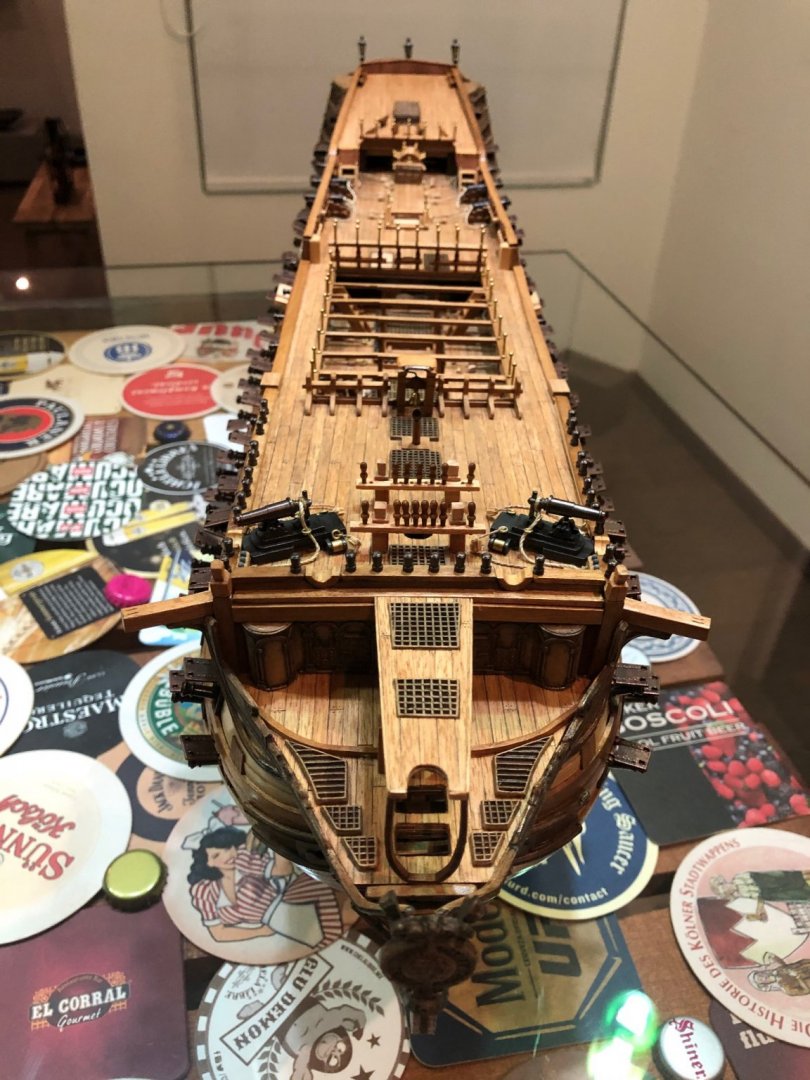
Today, after 9 months, I have reached what I consider my second milestone. Finishing the HMS Victory’s hull and all its structures. I am very happy with the result. Of course it is not the greatest Victory model, but one I am really proud of. I have learn a lot and overcome a lot of difficulties. Now the third and final stage will begin. Masting and rigging. I have no idea how I will do it, but I am decided to do my best to accomplish the task. Here are the picks!!!


-
Nicolas thank you very much for your kind words!!! Congratulations for your new home! Fortunately my professional activity has come back to a more normal situation, so my time for the build has been reduced significantly. Nevertheless today I reached my second milestone and I am very happy with the result. I will post the pics next. Best regards!
-
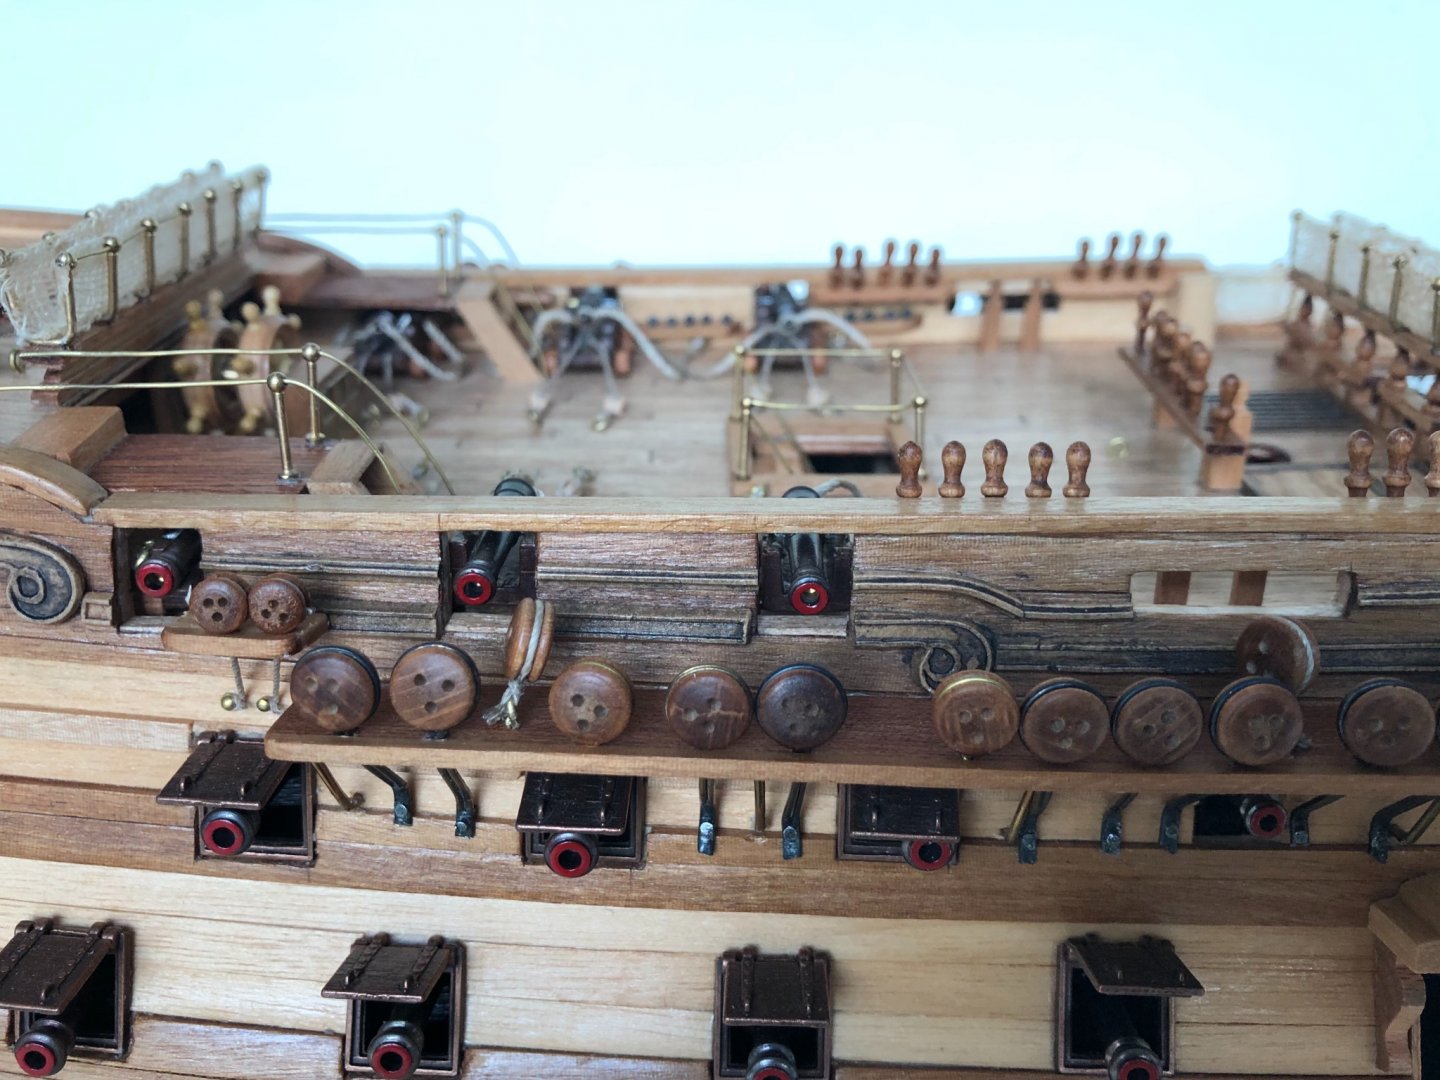
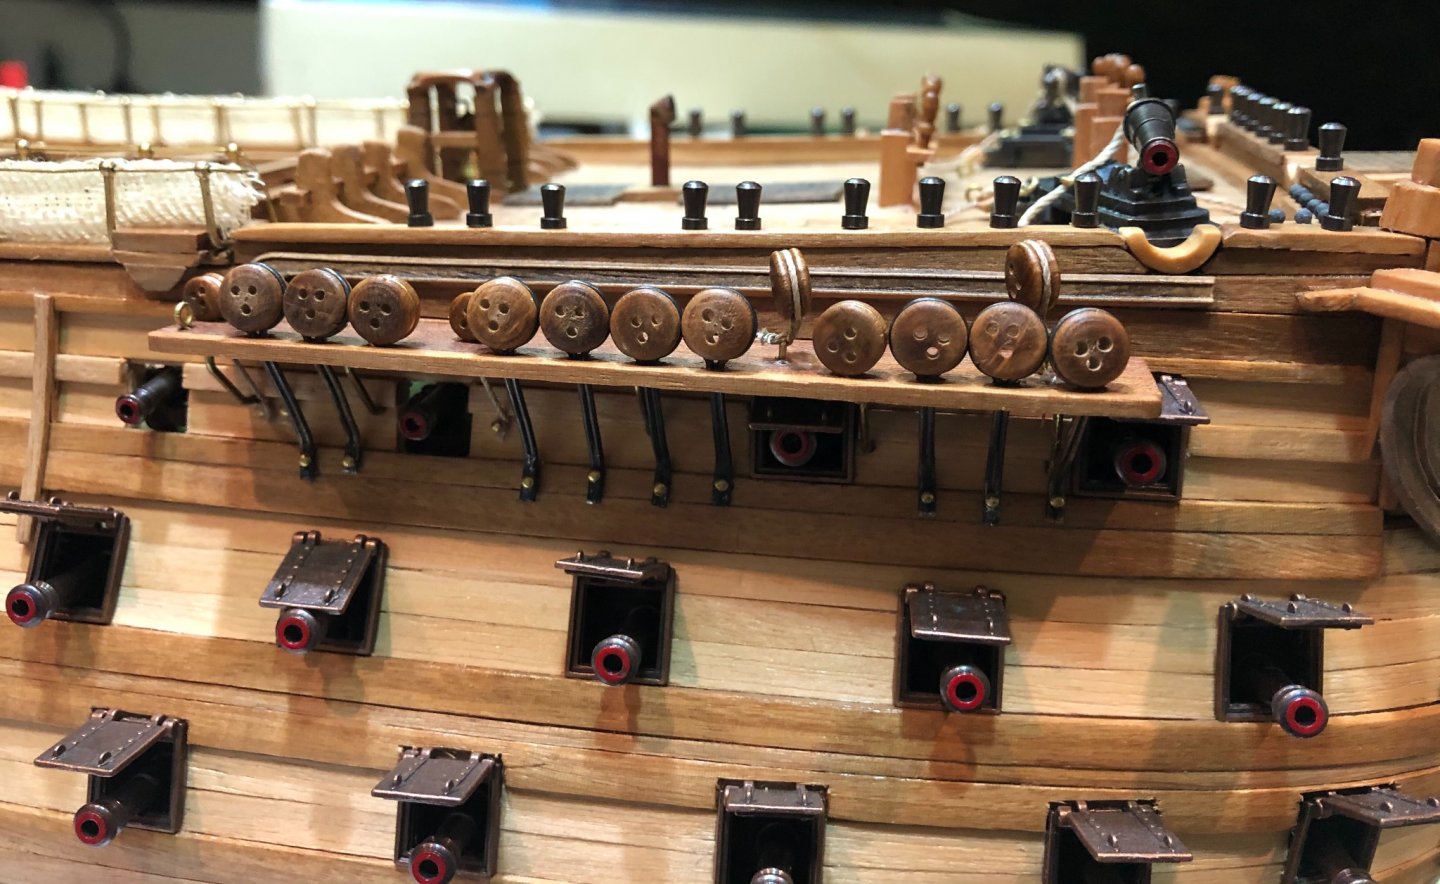
Hello friends. The fore channel’s deadeyes have been set. Not so satisfied with the port side, but after some practice the starboard side turned out much better. Here are the picks. Best regards.

-
Hi Robert: I hope you are doing great! I have been away from my build for some days, but hope to re take it next week. Have you worked in yours recently? Keep us posted! Best regards.
-
Sheerline: Your solution for the galleries’ windows is fantastic. I liked it very much! Keep up the great work! Best regards.
-
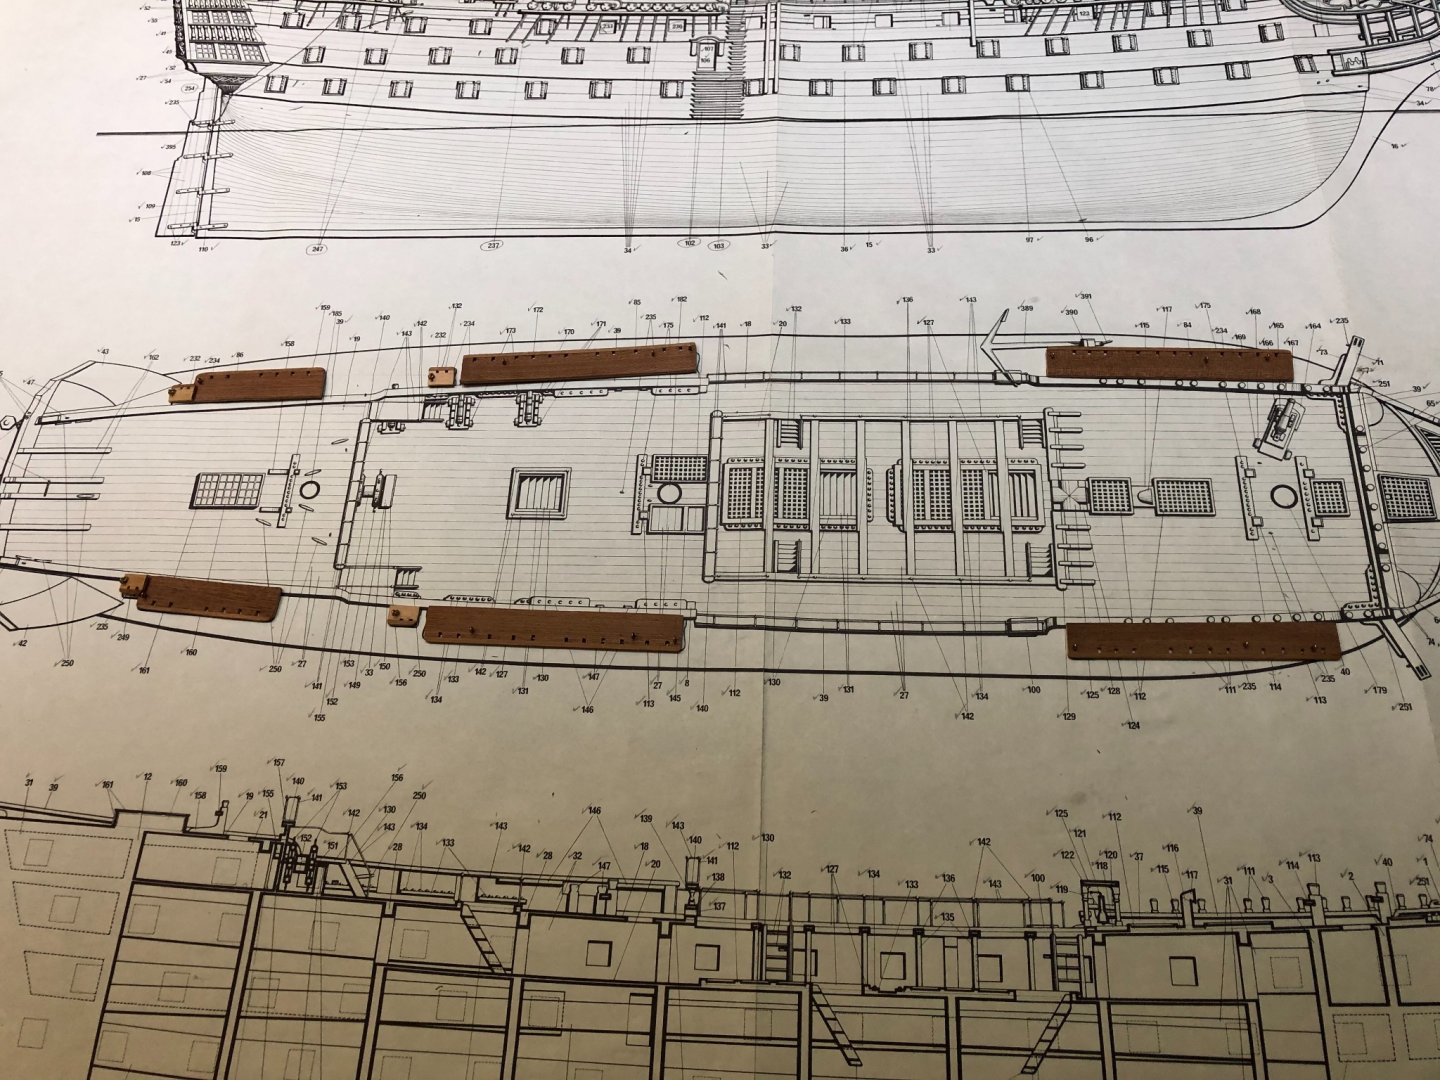
Hi everybody! All channels are in place now. The only structures I see on the plans are still missing before starting with the masts and rigging are the boats davits; but I think I will do them at the end of the build. Best regards!


-
Hi everybody! These past few days I have had less time for the build. So I could only do the main channels and de boomkins. I am surprised how solid the channels set. I hope I will not break them while rigging. Here are the picks! Best regards.


-
I have installed the starboard mizzen channel. A tricky job but, thanks to Pythagoras, I could installed the supports on the first try and it feels really solid in place. Now I can tell my oldest daughter that you do use math in real life! The vertical strakes were also set. Now I have several pieces ready for varnishing. Here are the picks! Best regards.

-
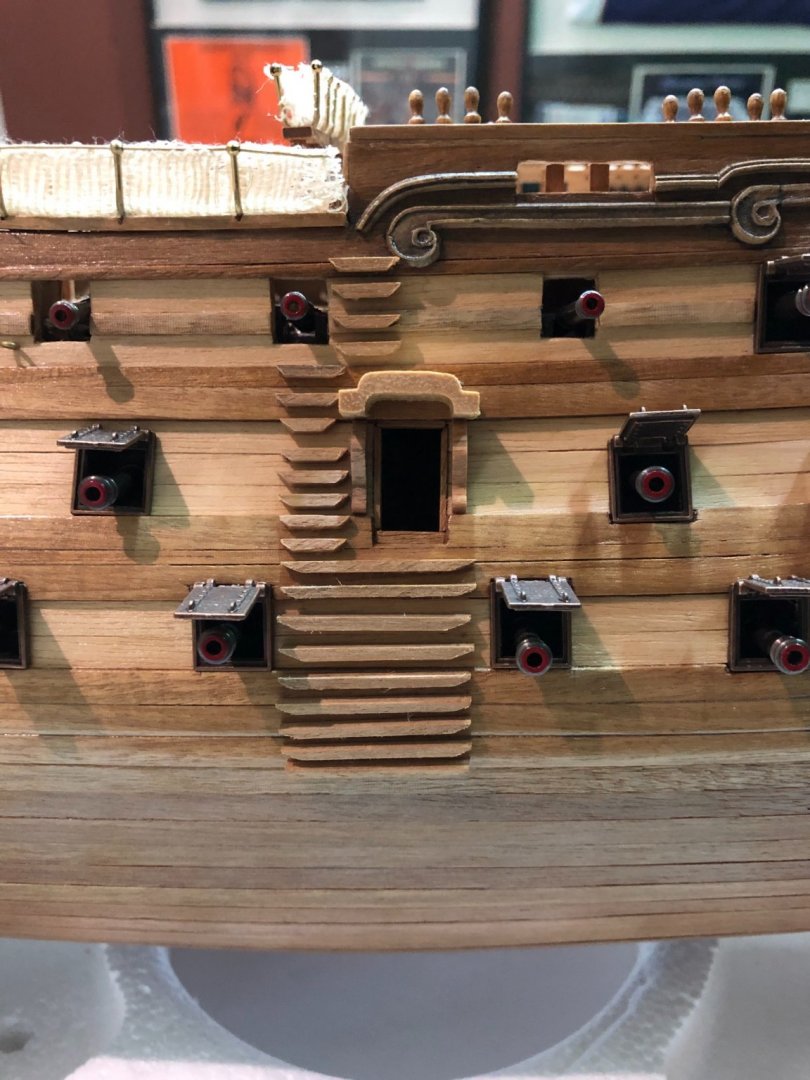
Hi my friends!!! Today I finished installing the side ladders. I just need to apply varnish. A few things more and I will be ready for installing the channels and start with the mast and rigging. Here is the pick! Best regards.
-
Nice job Robert! Have you glued them poop deck? If not, please do not forget to remove the deck beam there. It helps as support, but the height of that area (between the two decks) will be not correct if you keep it. Check the attached pick of my Victory. I didn’t remove it and it is not correct. Best regards.

-
Valeriy thank you very much for the information! Nice postcard with those Japanese post stamps of their 1913 definitive series. I collect post stamps (specially Mexican stamps), so two of my hobbies are represented here. Do you know if there are models of any of those ships, either wood or plastic? It would be nice to build one. My best regards to you in Ukraine!
-
It looks very nice Robert. A good smooth surface will help a lot with the second planking. Take your time. A pair of planks on each side per day is enough at the beginning. That will allow you to check a correct positioning, alignment, tapering and glueing. I am sure you feel much better today!!!
-
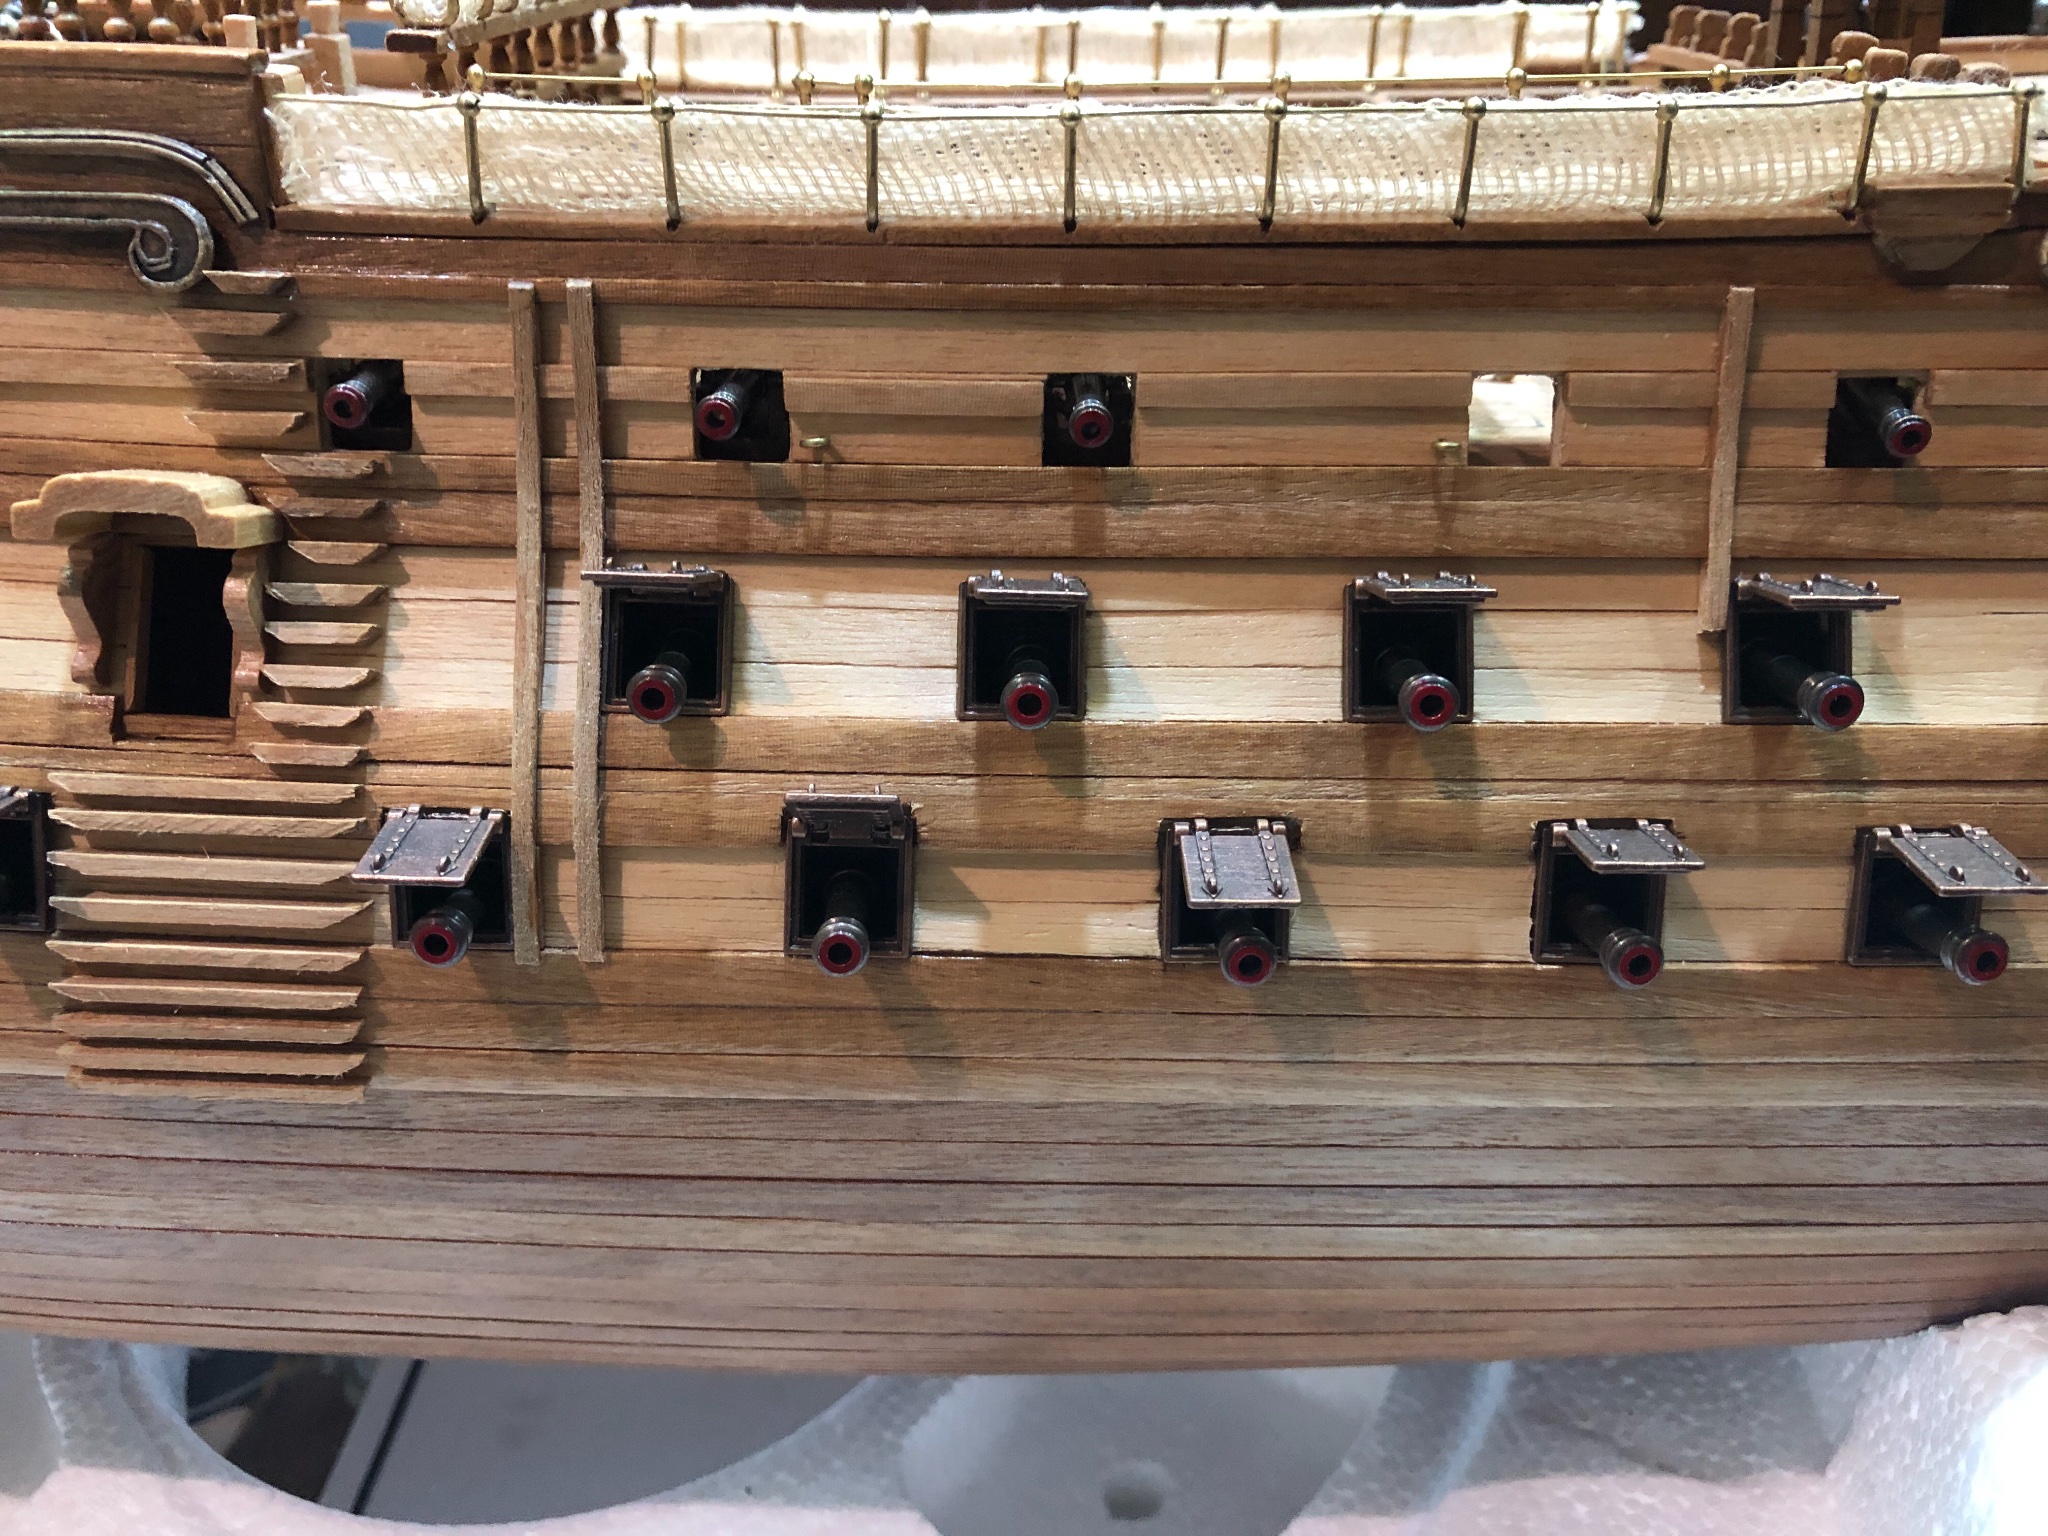
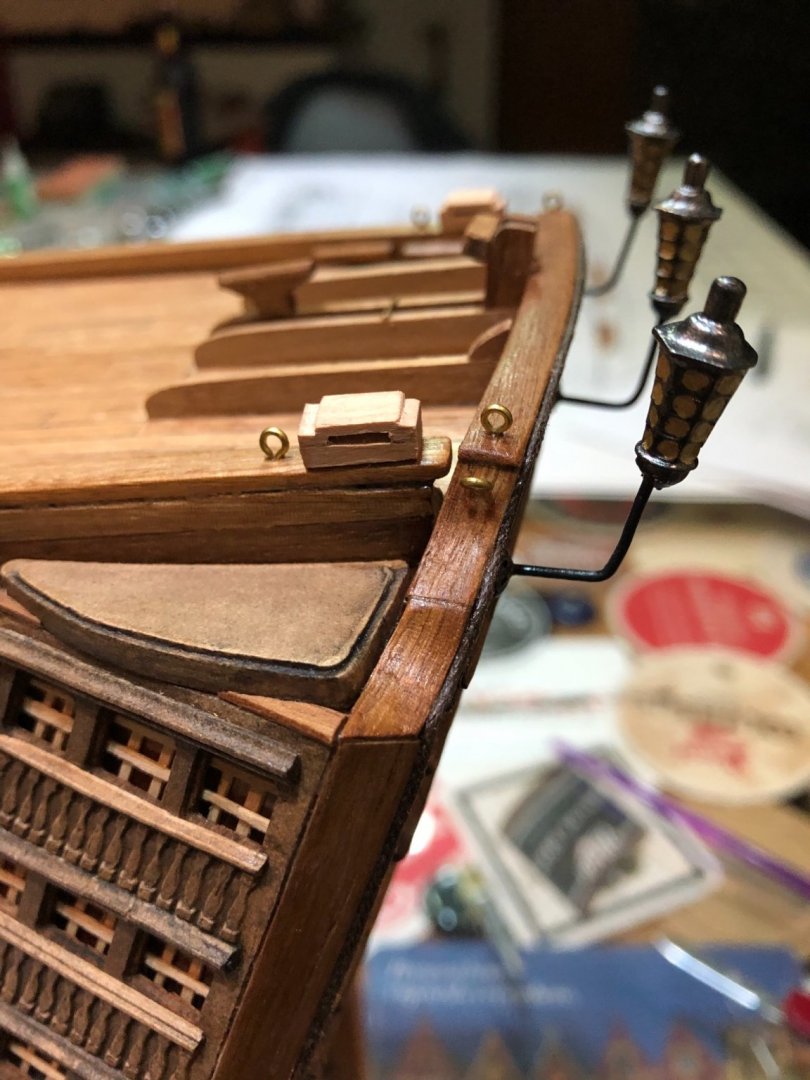
Hi everybody! Netting has been completed! I also worked on the poop kevels and the channels. Here are the picks. Best regards.
-
Great to see you ready again Robert!!! And nice little toy!
-
Hi Sheerline! You can contact them at this email: info@corel-srl.it I had an issue with my model’s instruction booklet and they helped me very fast. The pressed wood pieces on my model also had a lot of faults. I didn’t like them. They break easily and they are not easy to work. But I didn’t asked for a new set. Good luck and keep up the great work!
-
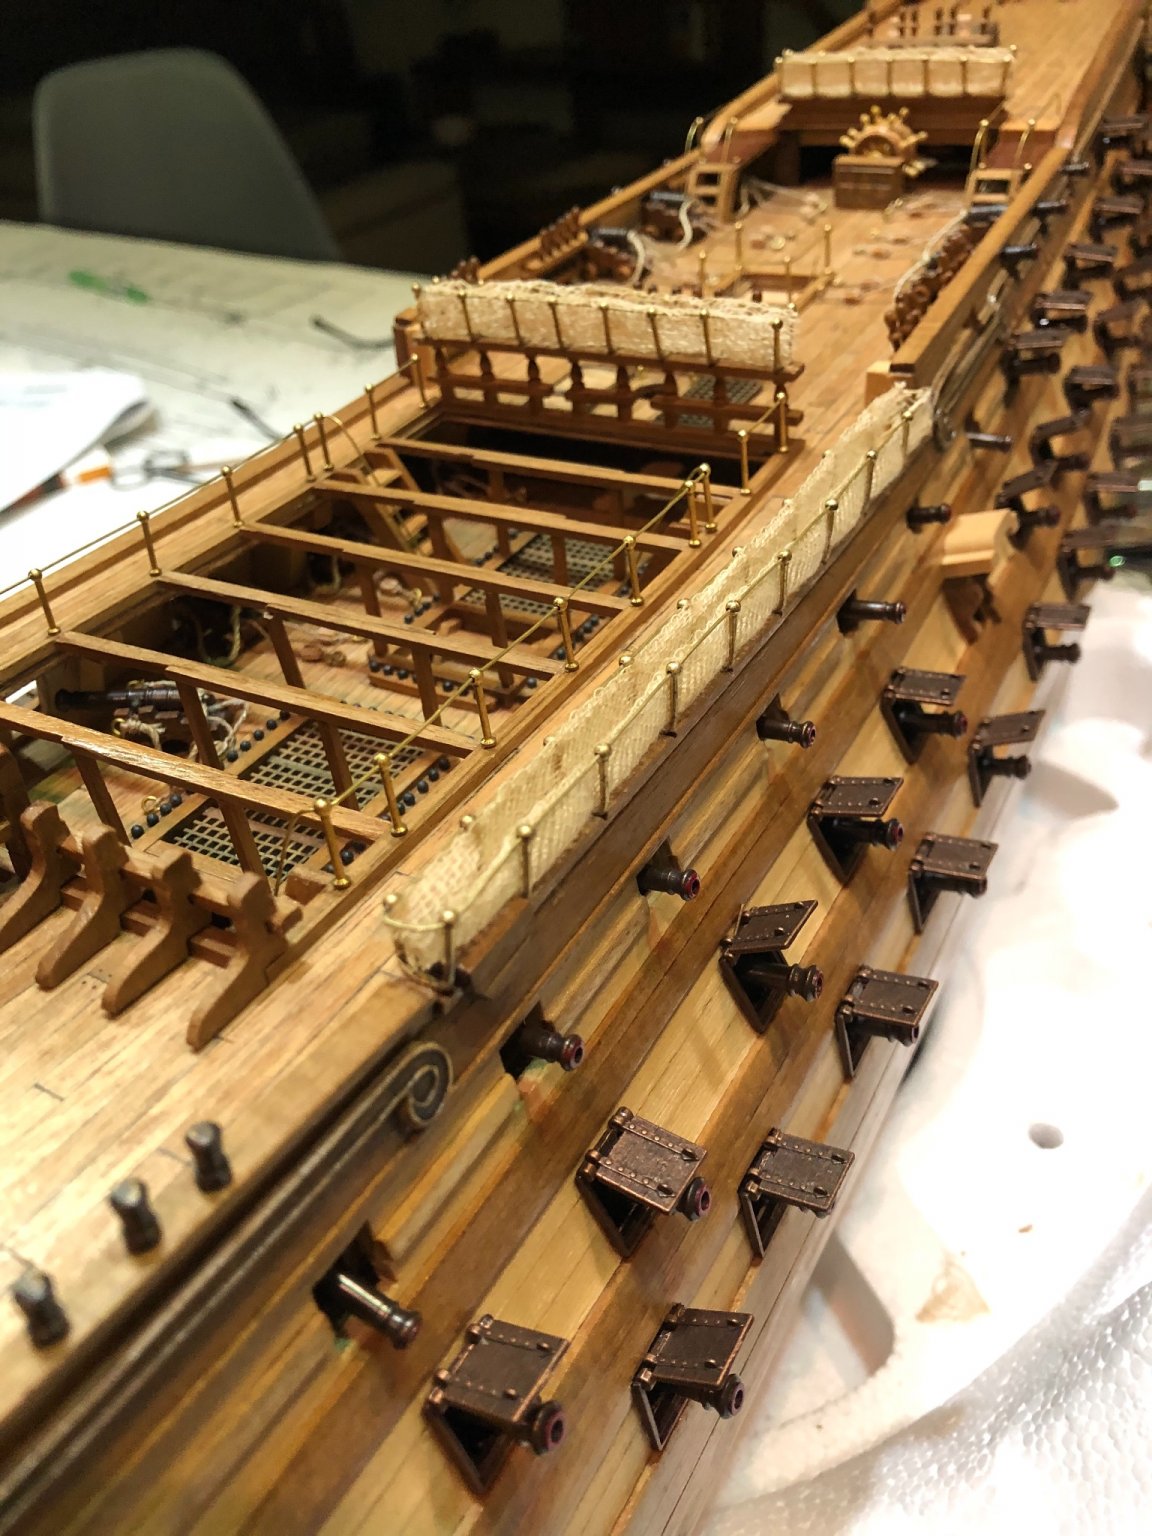
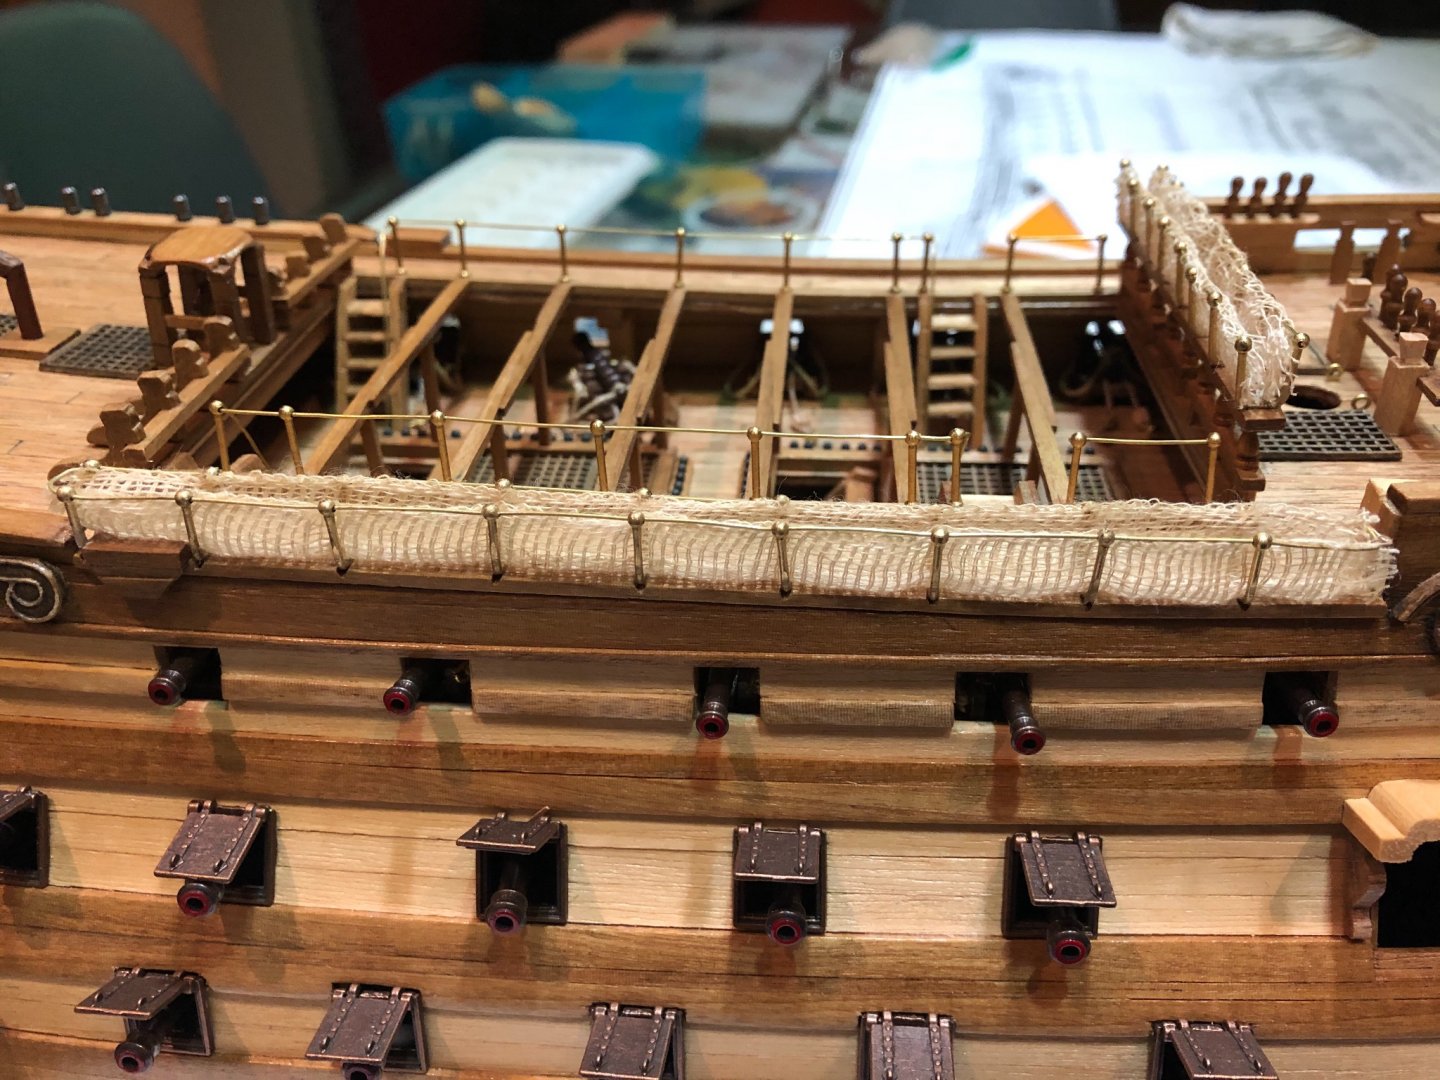
Port side hammock netting installed. Experience is paying dividends!!! I was able to set it very rapidly by first threading the “u”shaped supports with the brass wire and then gluing them into position. Here are the picks !!! Best regards.

-
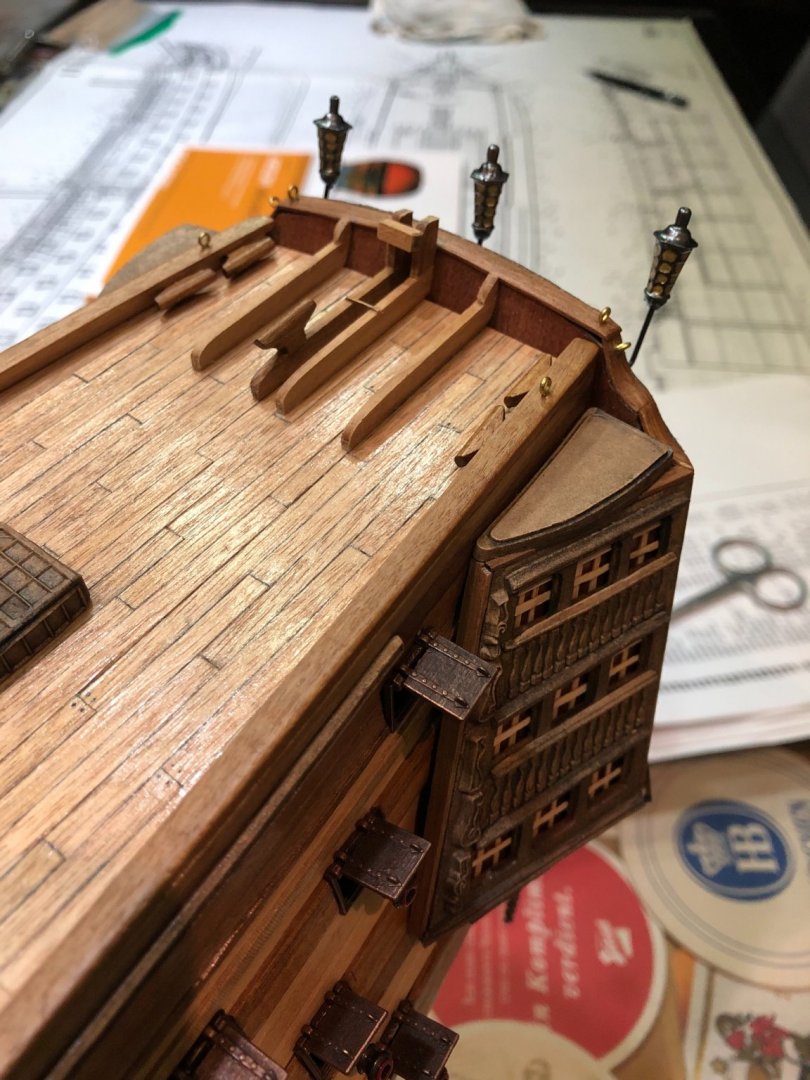
Hi friends: Not too much build work in the past few days, but I was able to finish another netting and the taffrail. Here are the picks. Best regards.

-
Robert: No problem. A nice filling and sanding will solve this. And you will cover everything. I am pretty sure you learned a lot, and that will help you with the second planking. After seeing the picks, I will insist you to take a break. Minimum 2 days. And then do not attempt to do more than 4 planks a day. 2 each side. Calculate, measure, cut, bend and glue; but the most important thing, be relaxed and enjoy. Get a gel CA glue, it helps a lot to dose the correct amount. Use just a small drop on the plank-bulkhead contact area. Use white glue for the rest. I think you tried to do too much too quick. But it is good it happened with this first layer and not with the second. And smile, because after this, you will enjoy much more your build when finished!!!
-
Robert !!!! What are you talking about my friend? You are doing a great job!!! Your craftmanship is superior; your Victory is going to be glorious !!! The bow area, approaching the keel, is the trickiest one. You have curvatures in two axes. Therefore, you need to take care of the plank’s correct tapering, the curvature to the center, and the curvature to the bottom. What I did was to taper the plank and then bend it to the center (the device you made looks perfect for that). After that I soaked the plank again and by hand made the second curvature towards the bottom (same as shown in Chuck’s videos, but rudimentary way). I used a combination of glues. CA to fix the plank to the bulkheads and white wood glue in the plank to plank areas. My recommendation is to take a couple of days off, do something else, and then go back to work and enjoy !!!
-
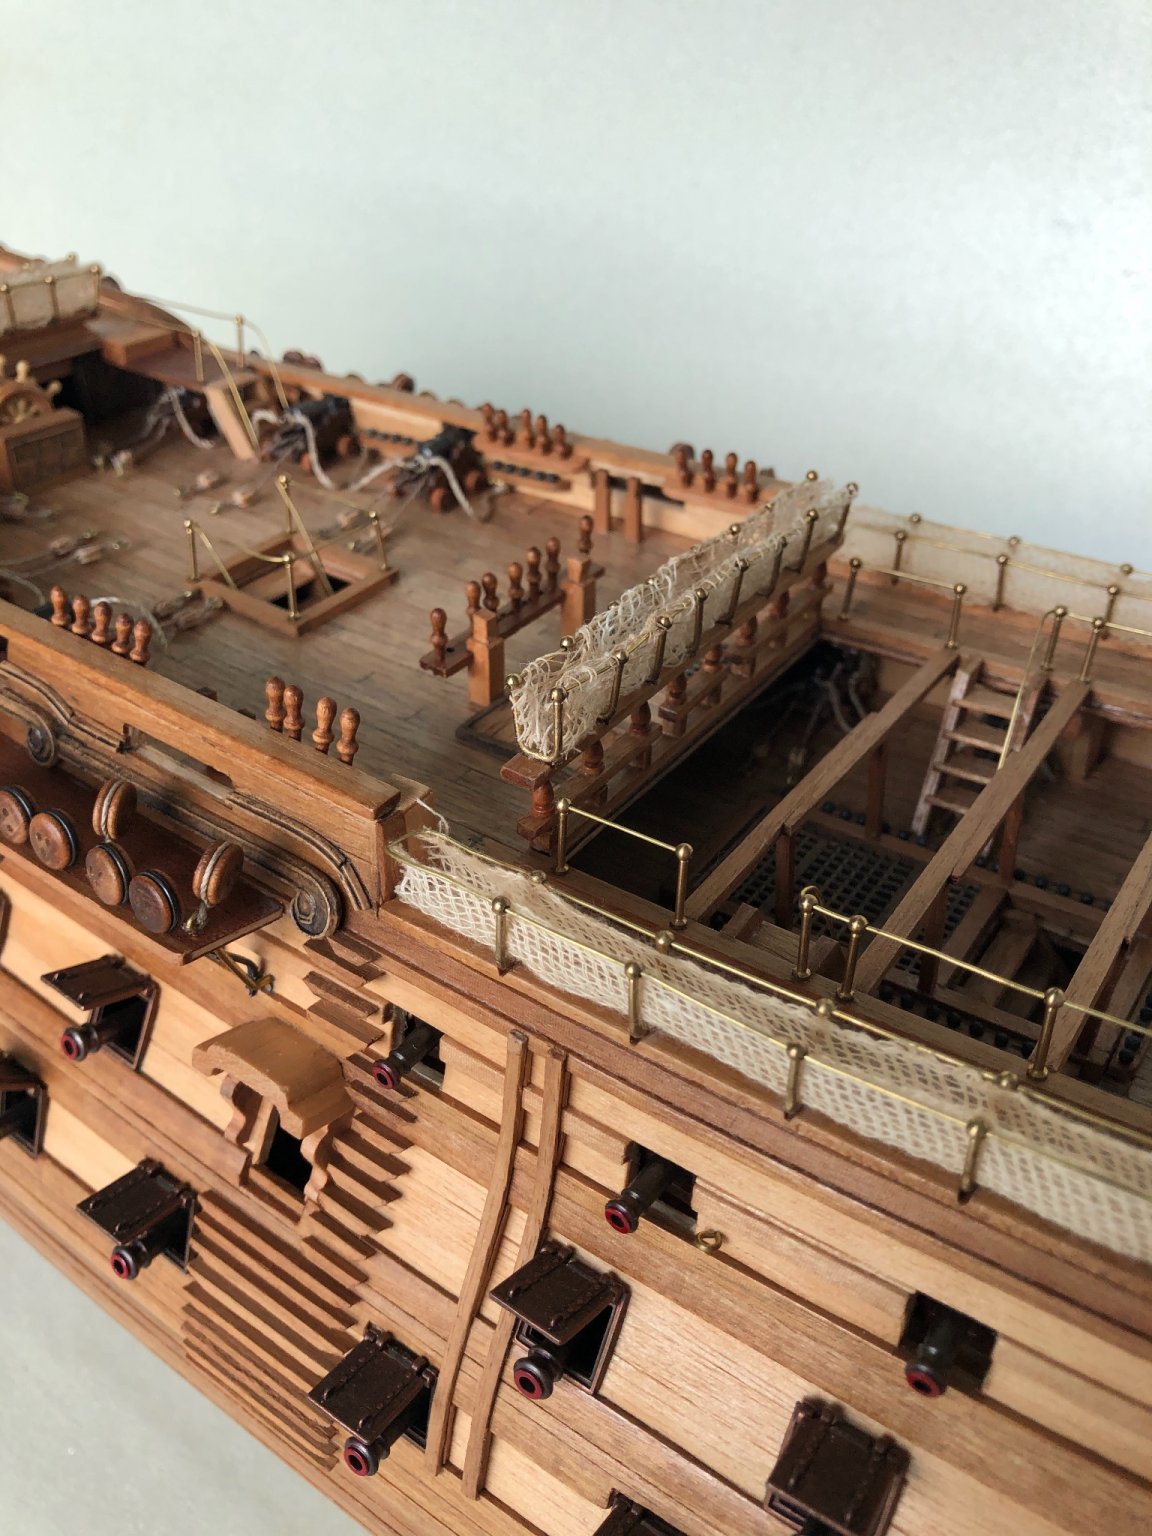
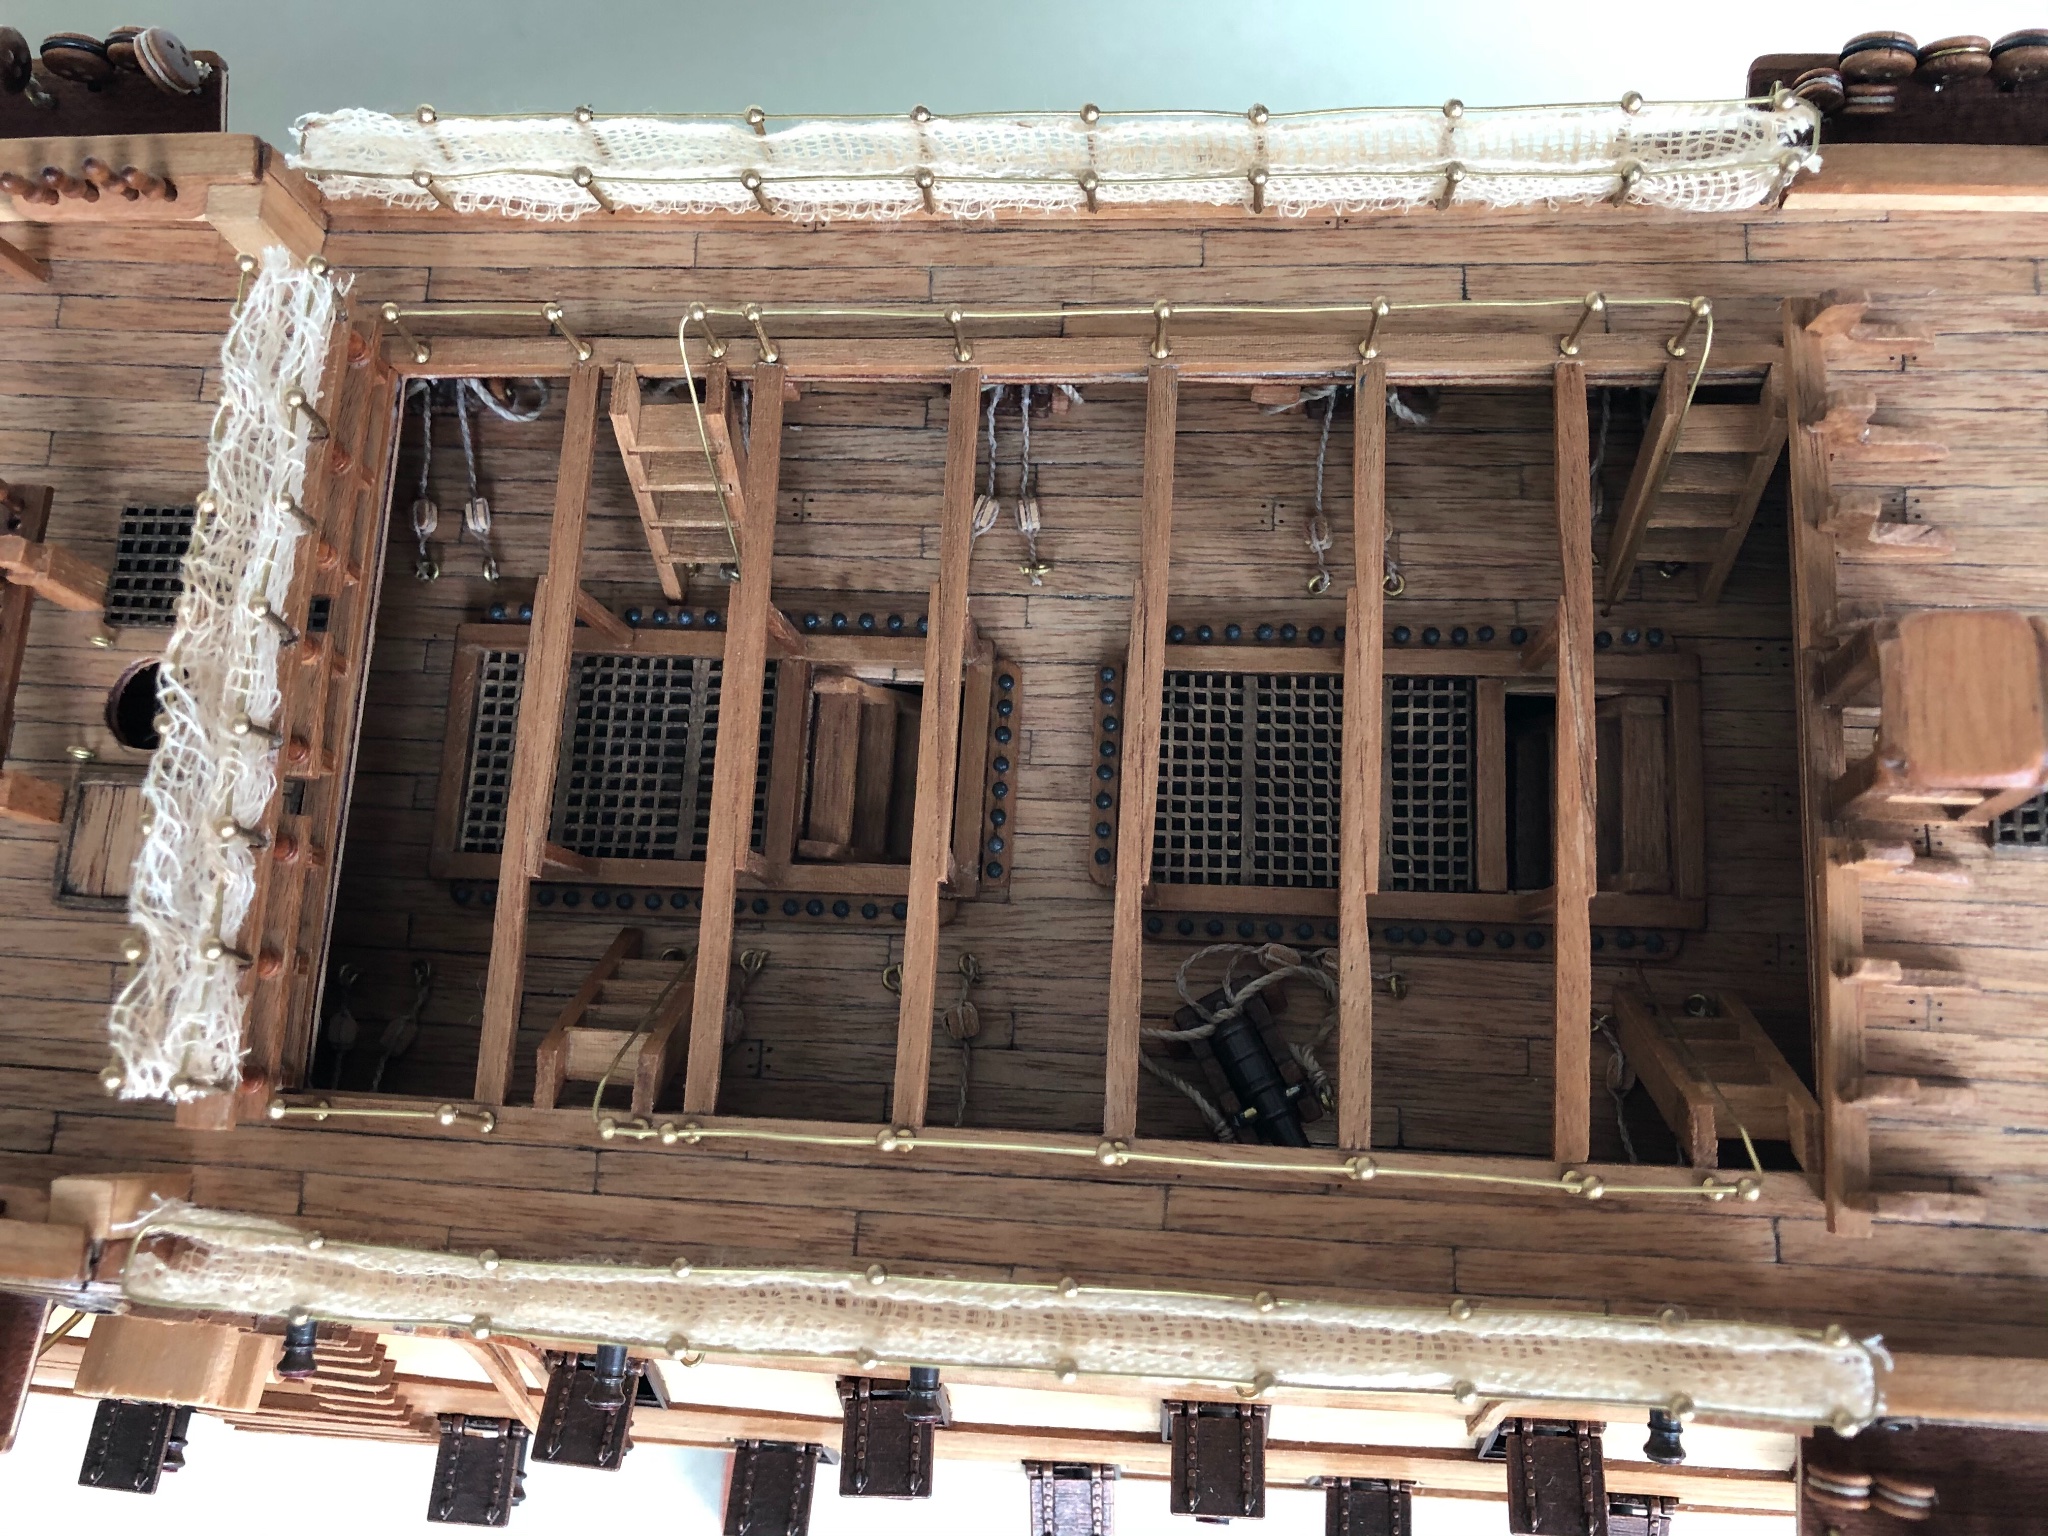
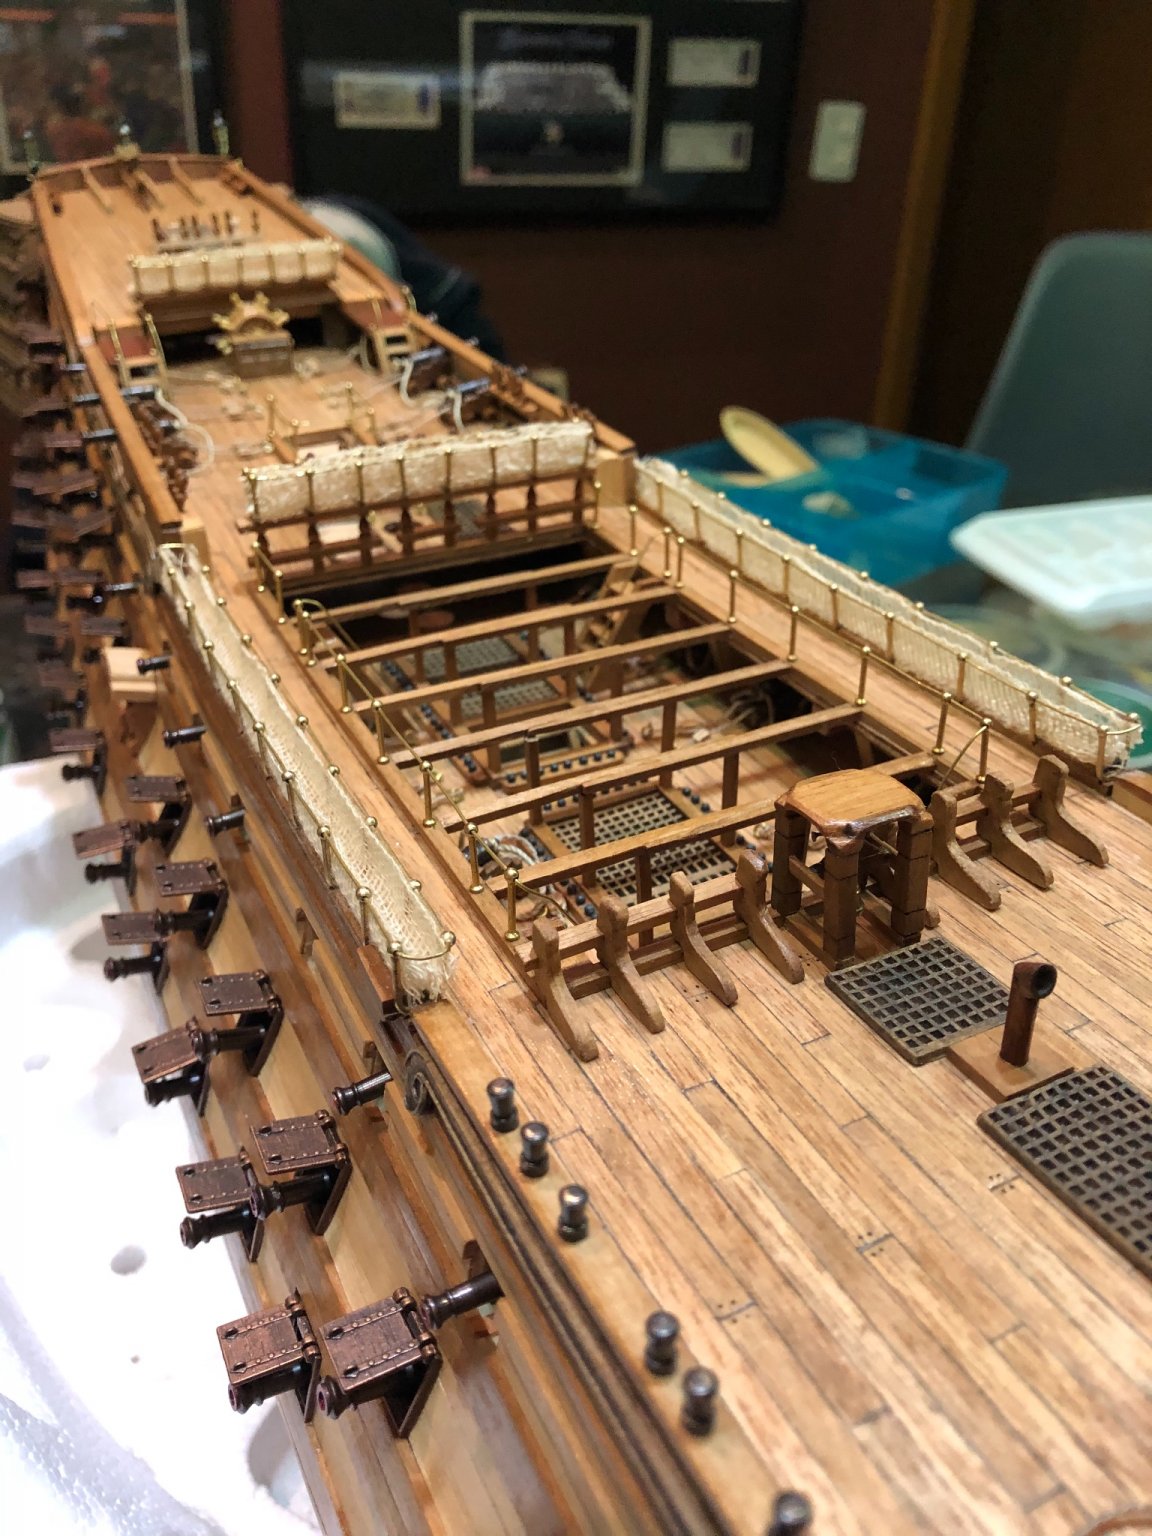
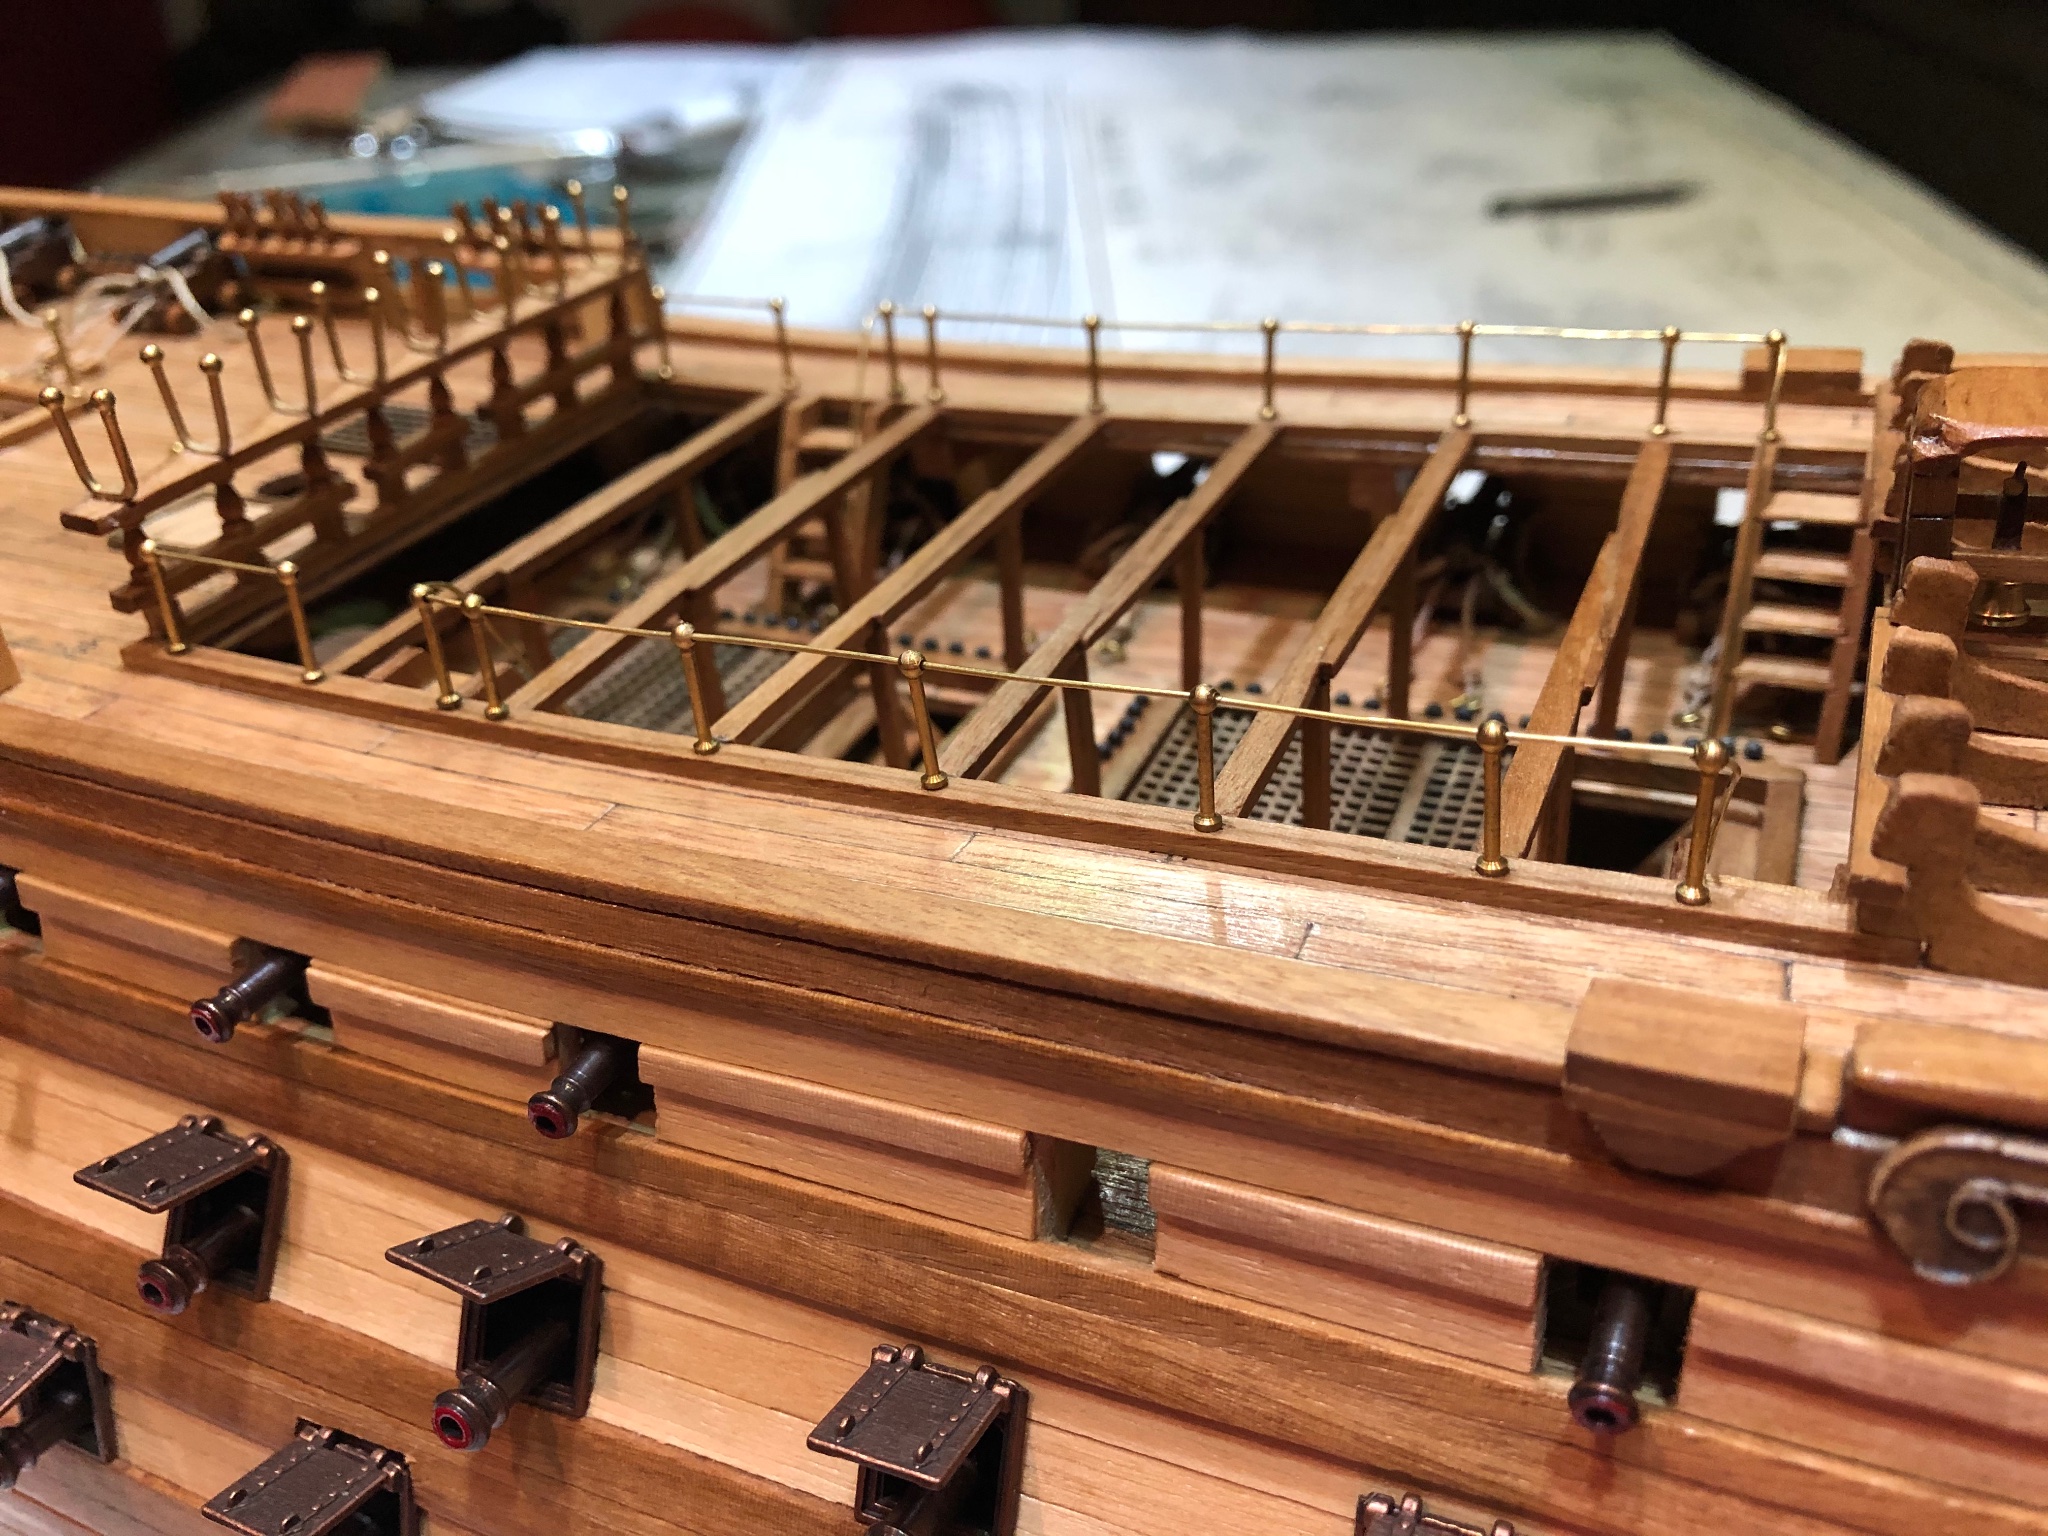
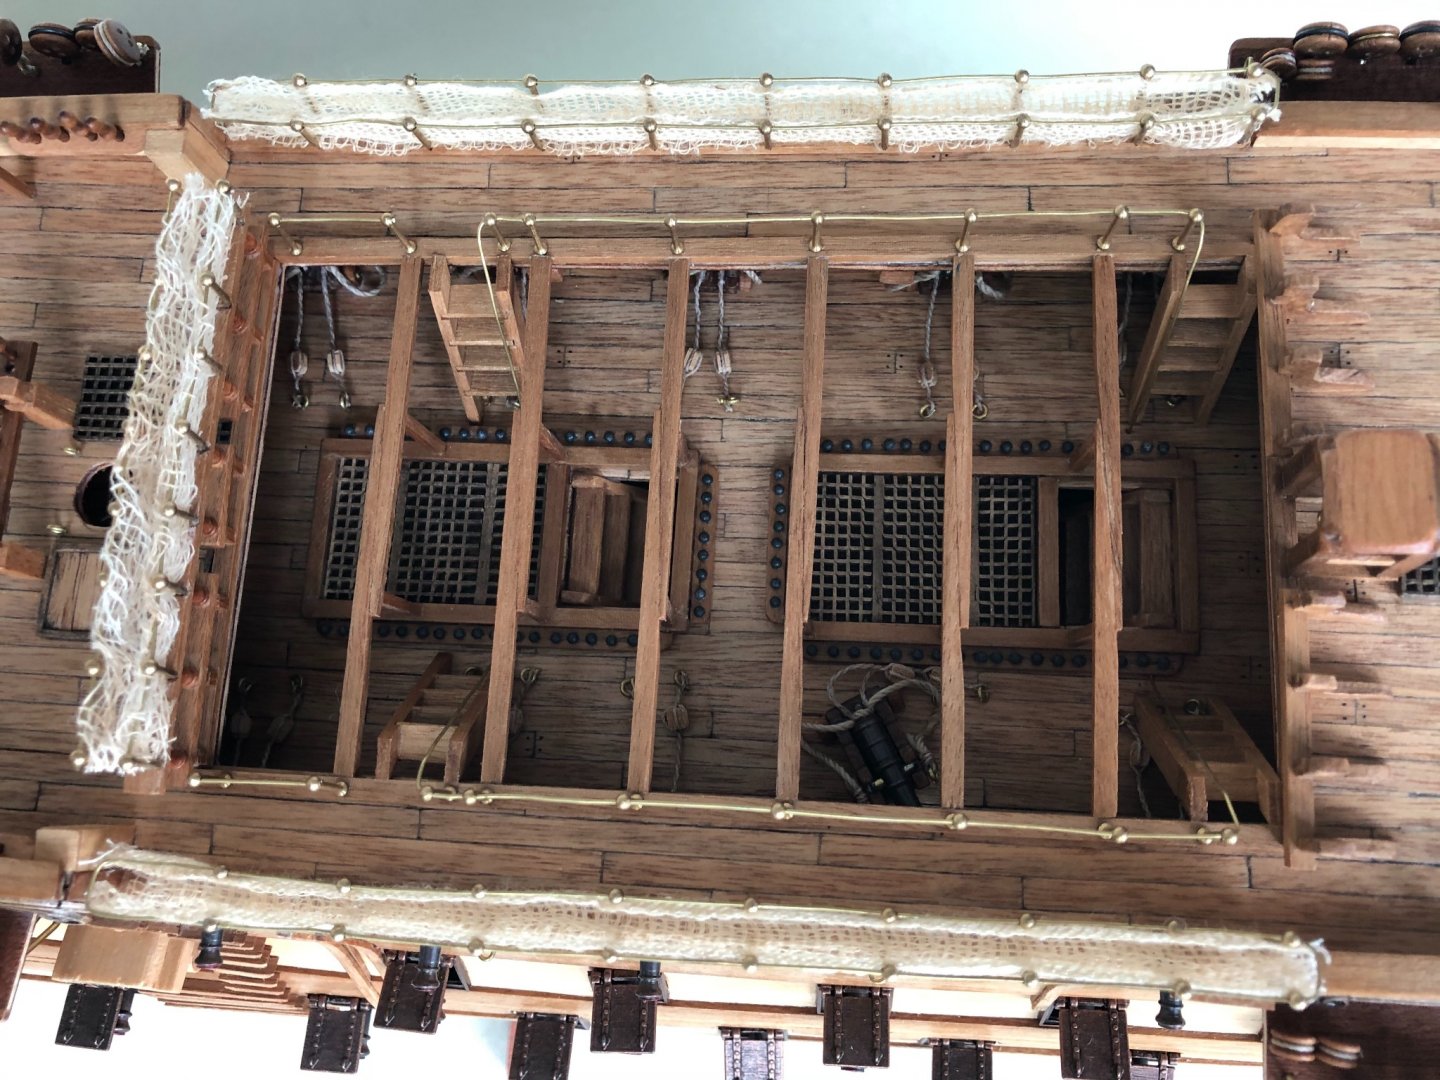
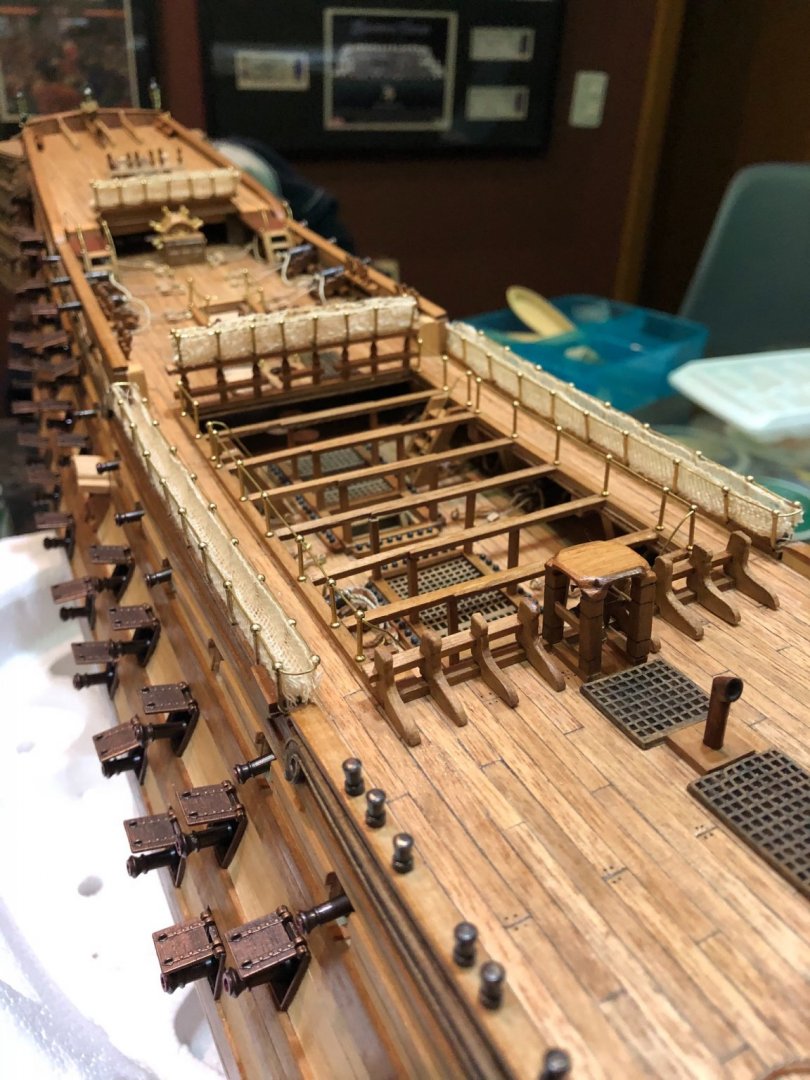
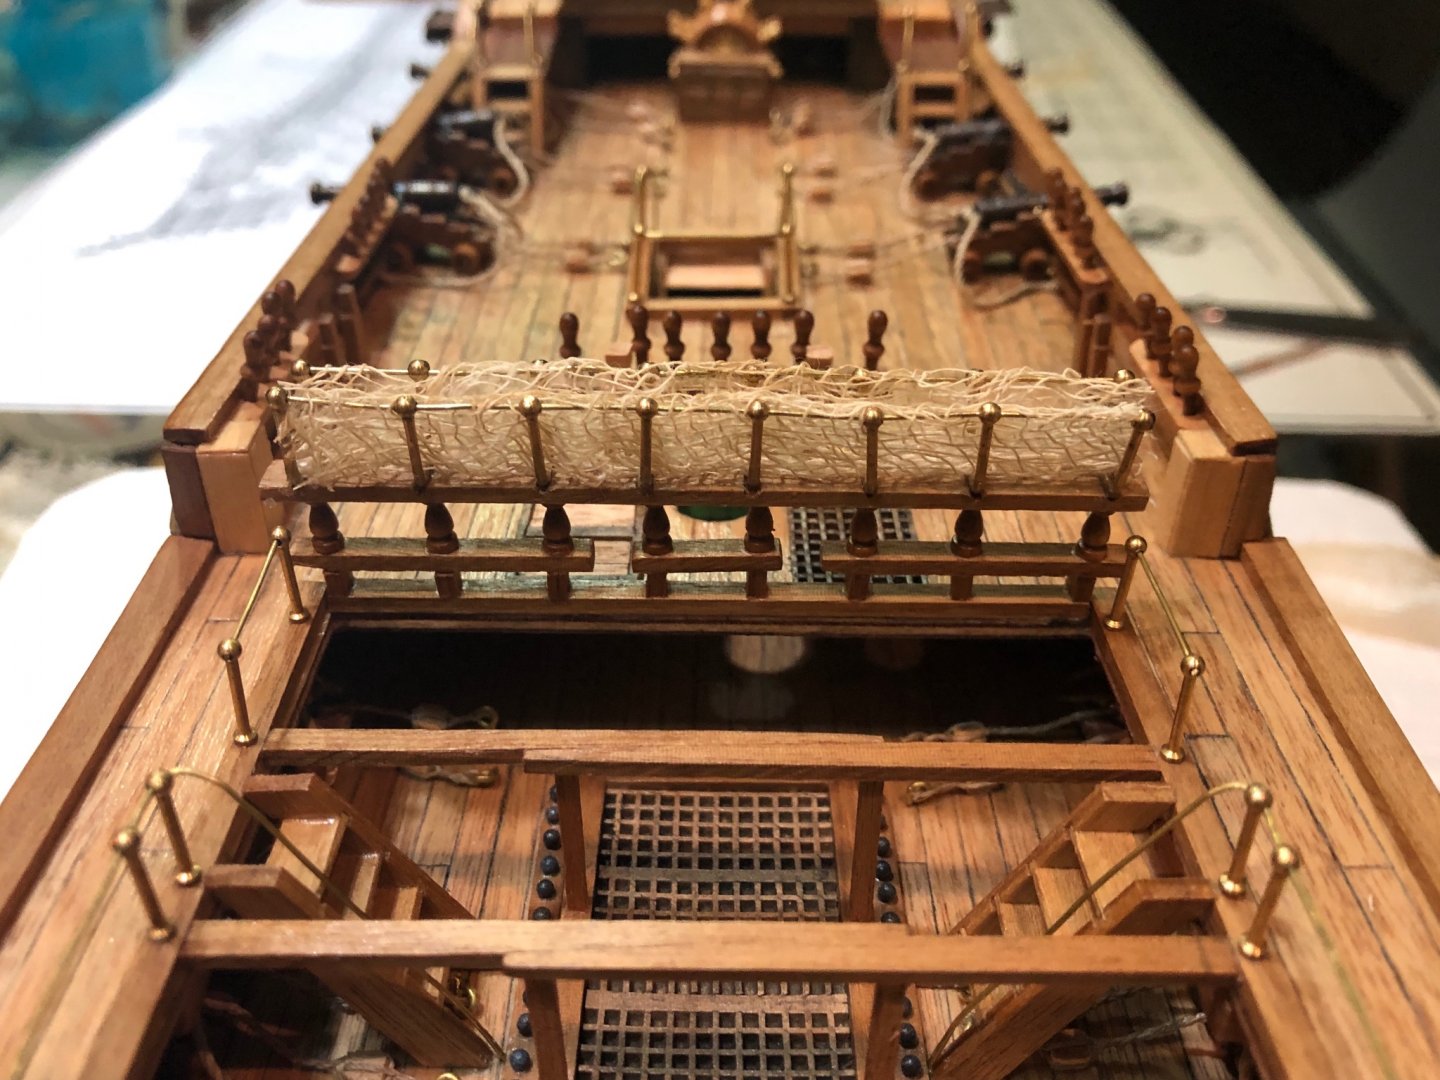
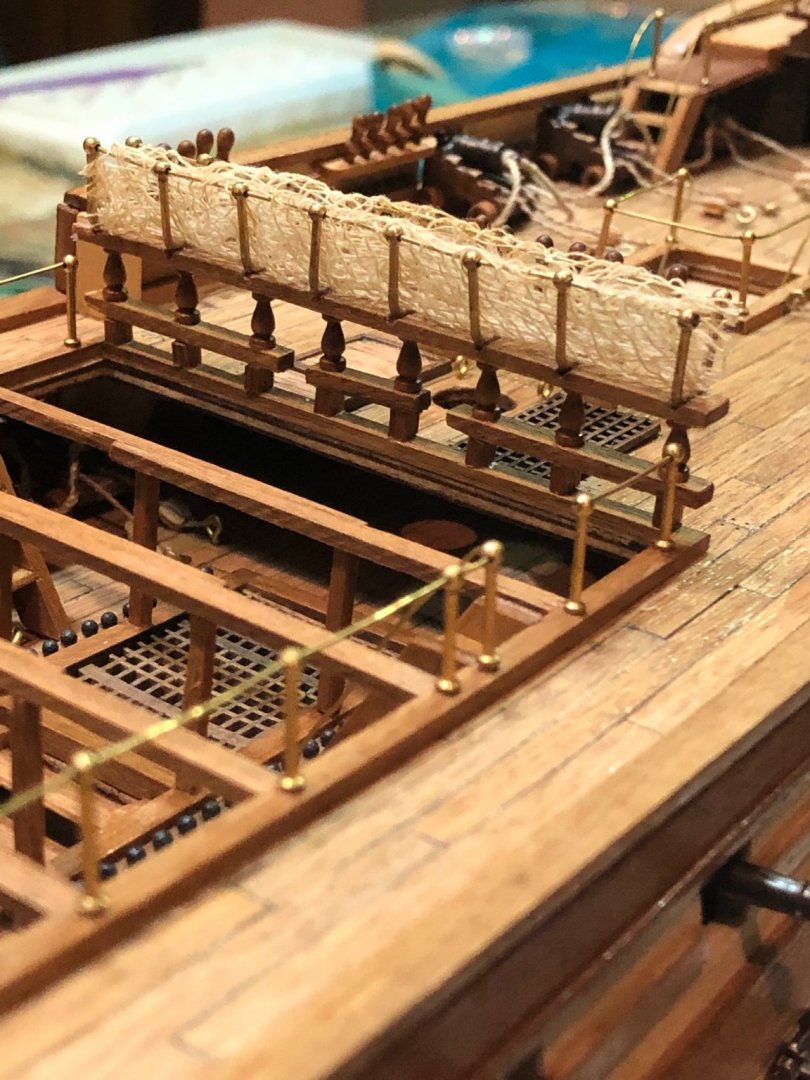
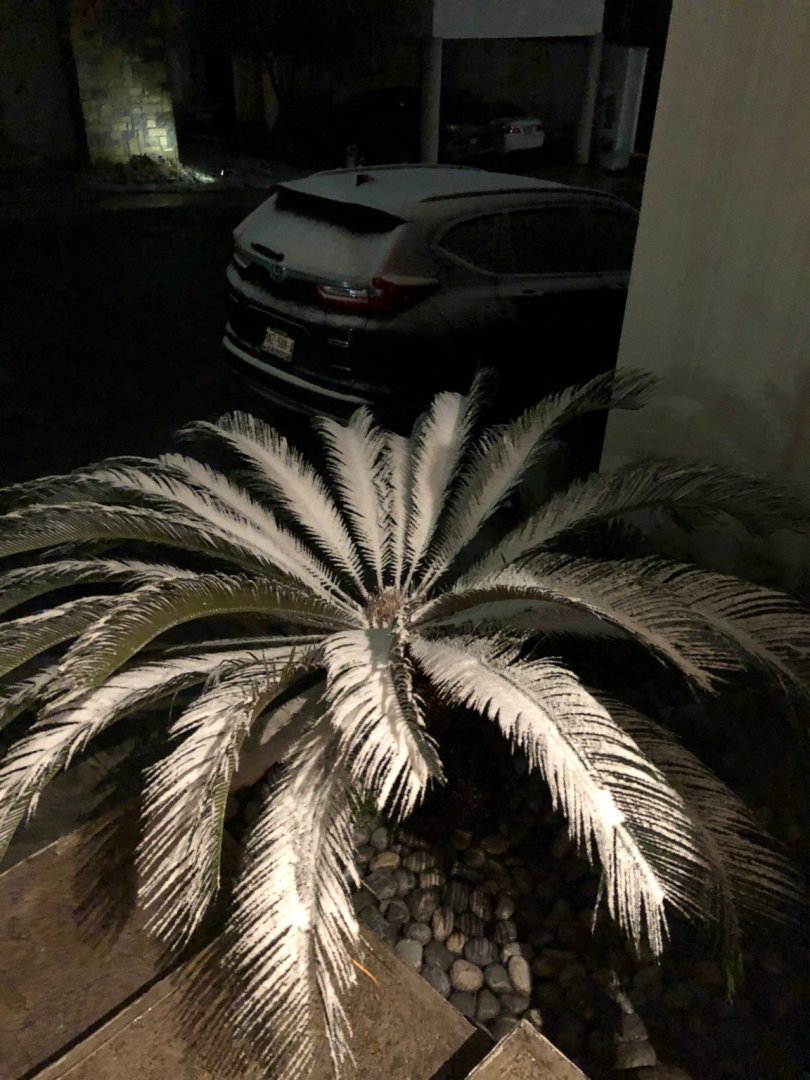
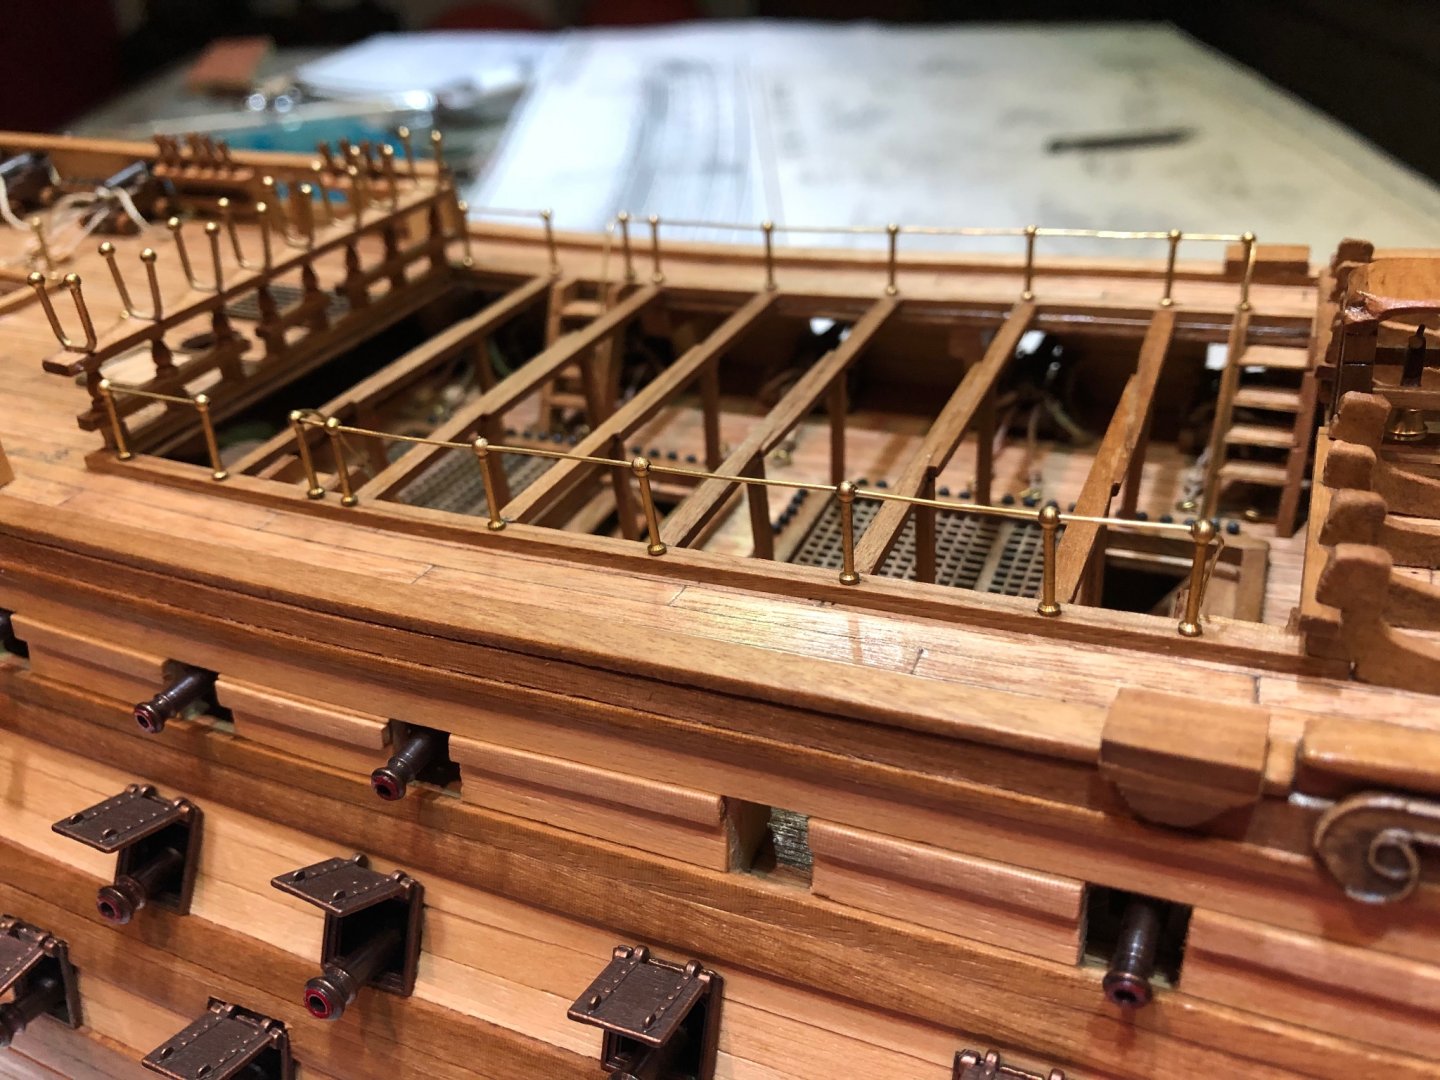
Richard, Robert, thank you so much for your kind words. Today I worked on the hammock’s netting. I used a surgical gauze, weathered it with instant coffee (I think the final color matches the wood tone nicely), cut it to shape and insert it in place using the brass wire for the rail as a big needle threading it all. I think the result is good enough. I also worked in some other deck pieces. I am getting closer to finish this second big stage, before the masts and rigging. We got some snow tonight. Rare for Monterrey! Here are the picks!!! Best regards.
-
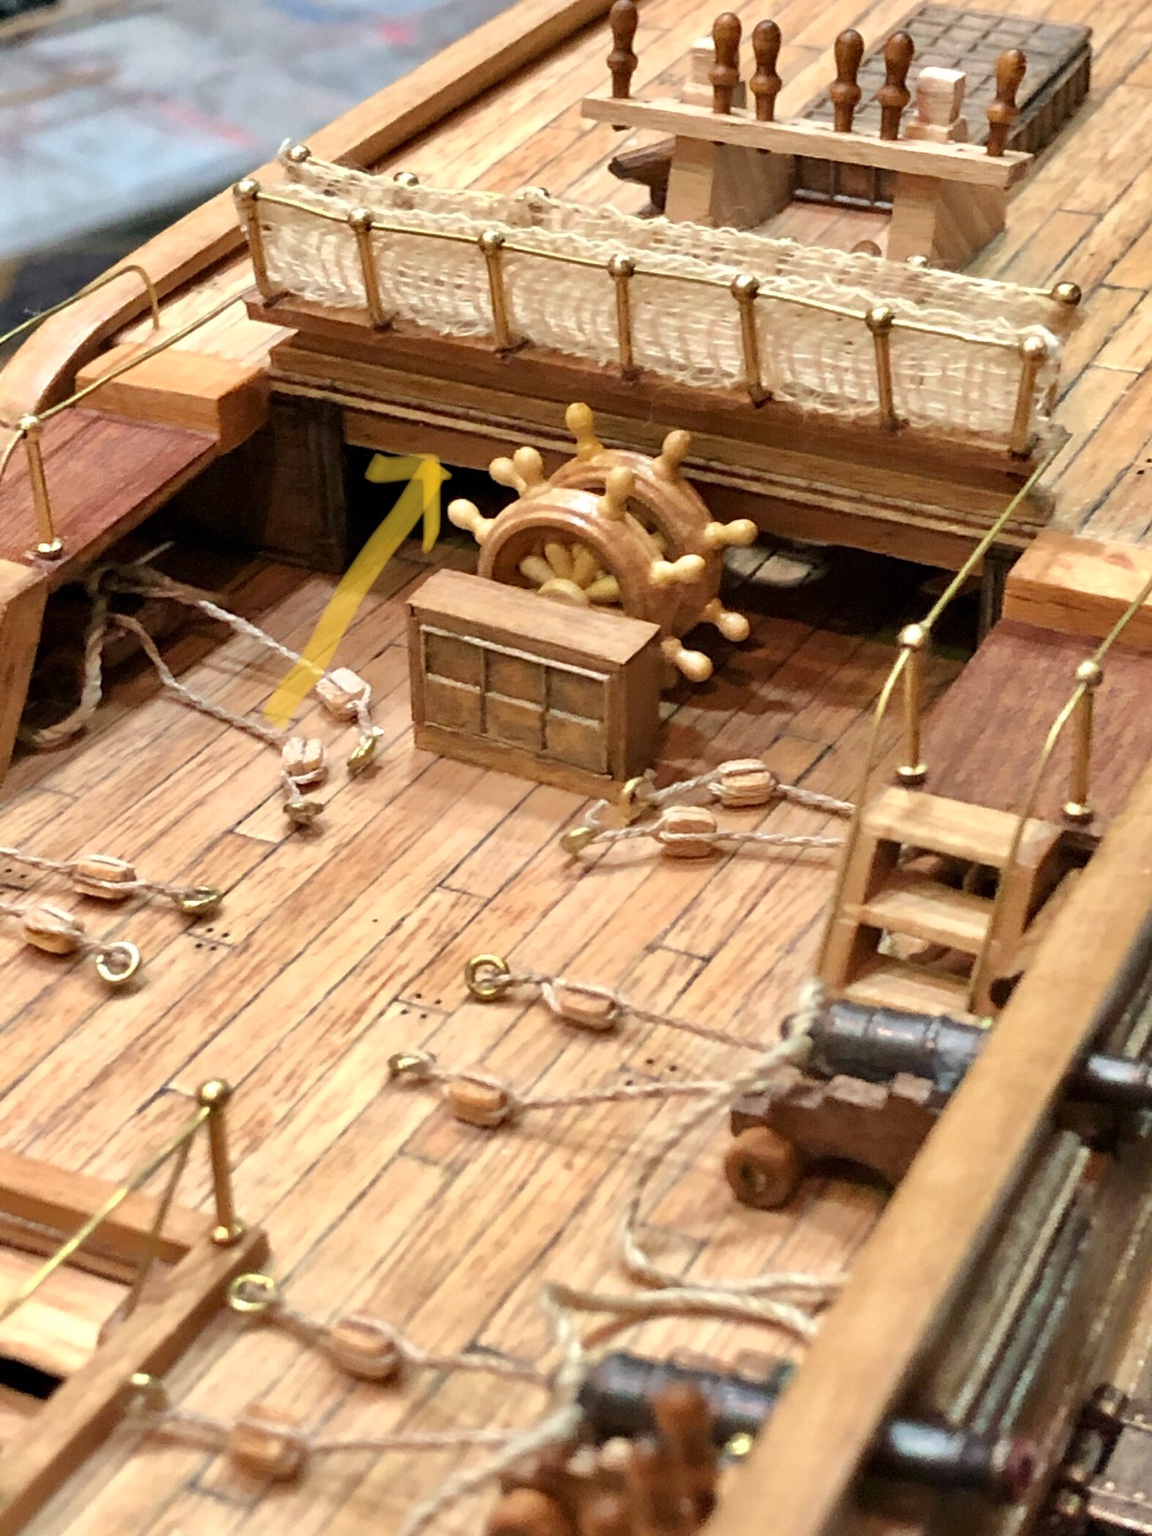
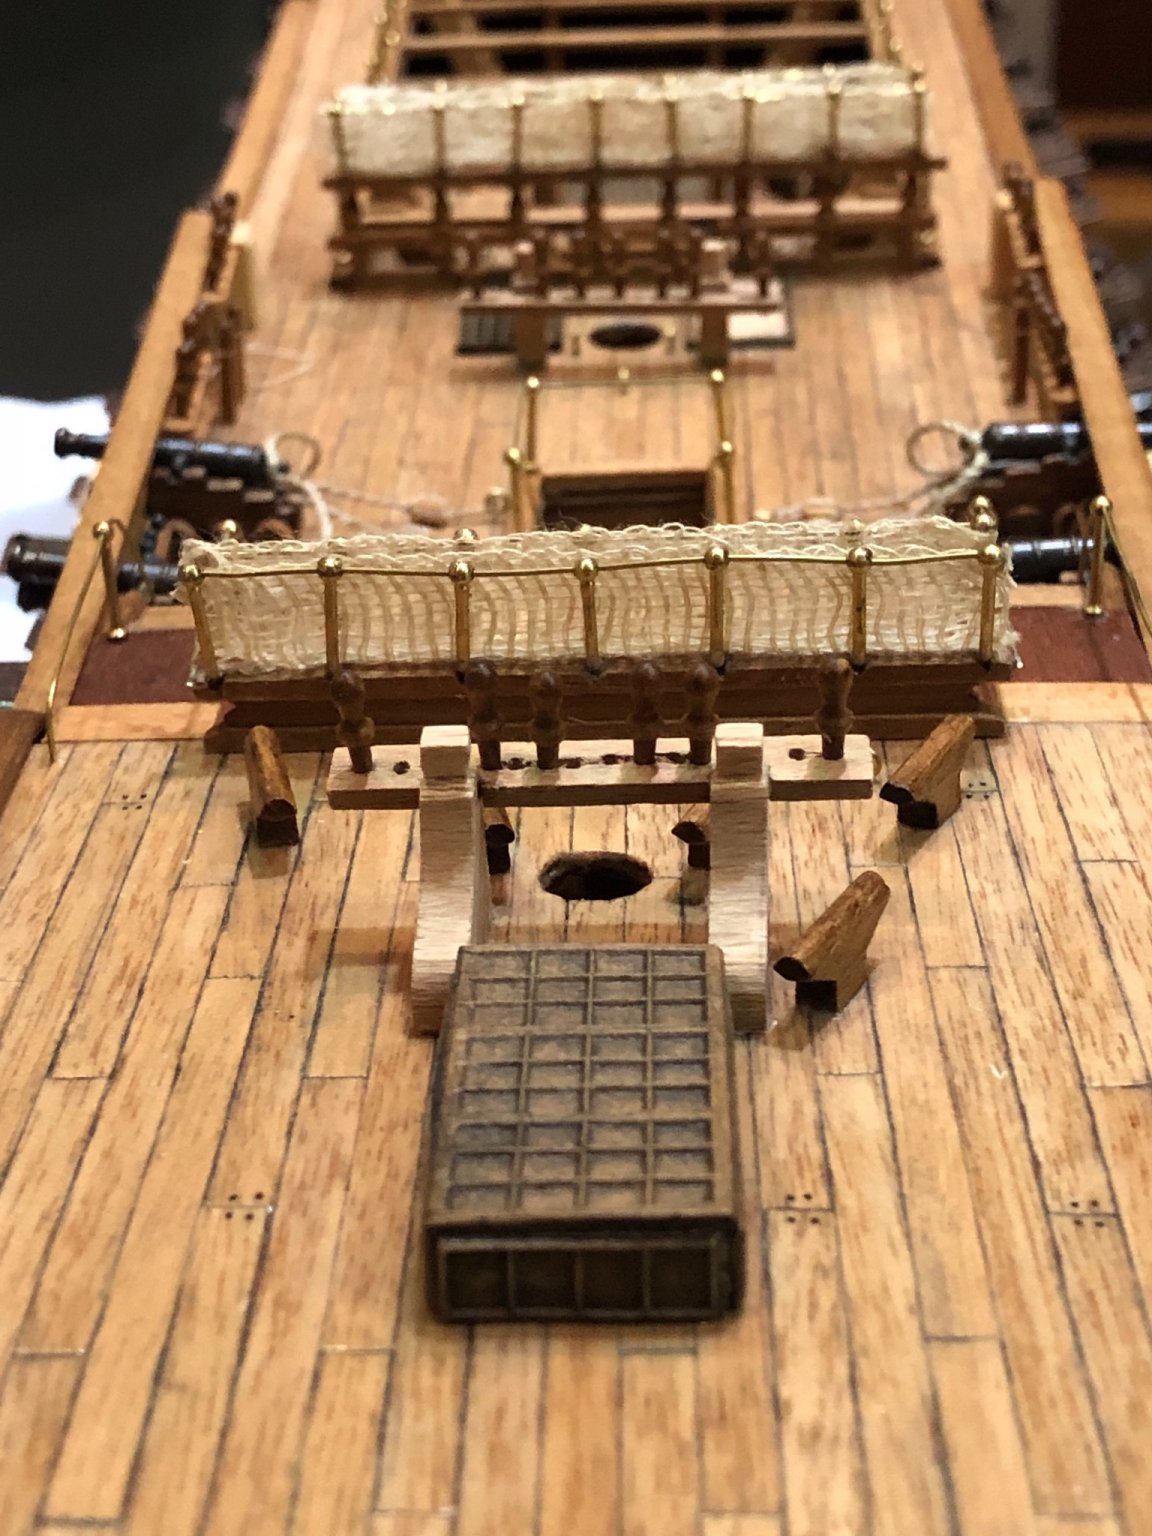
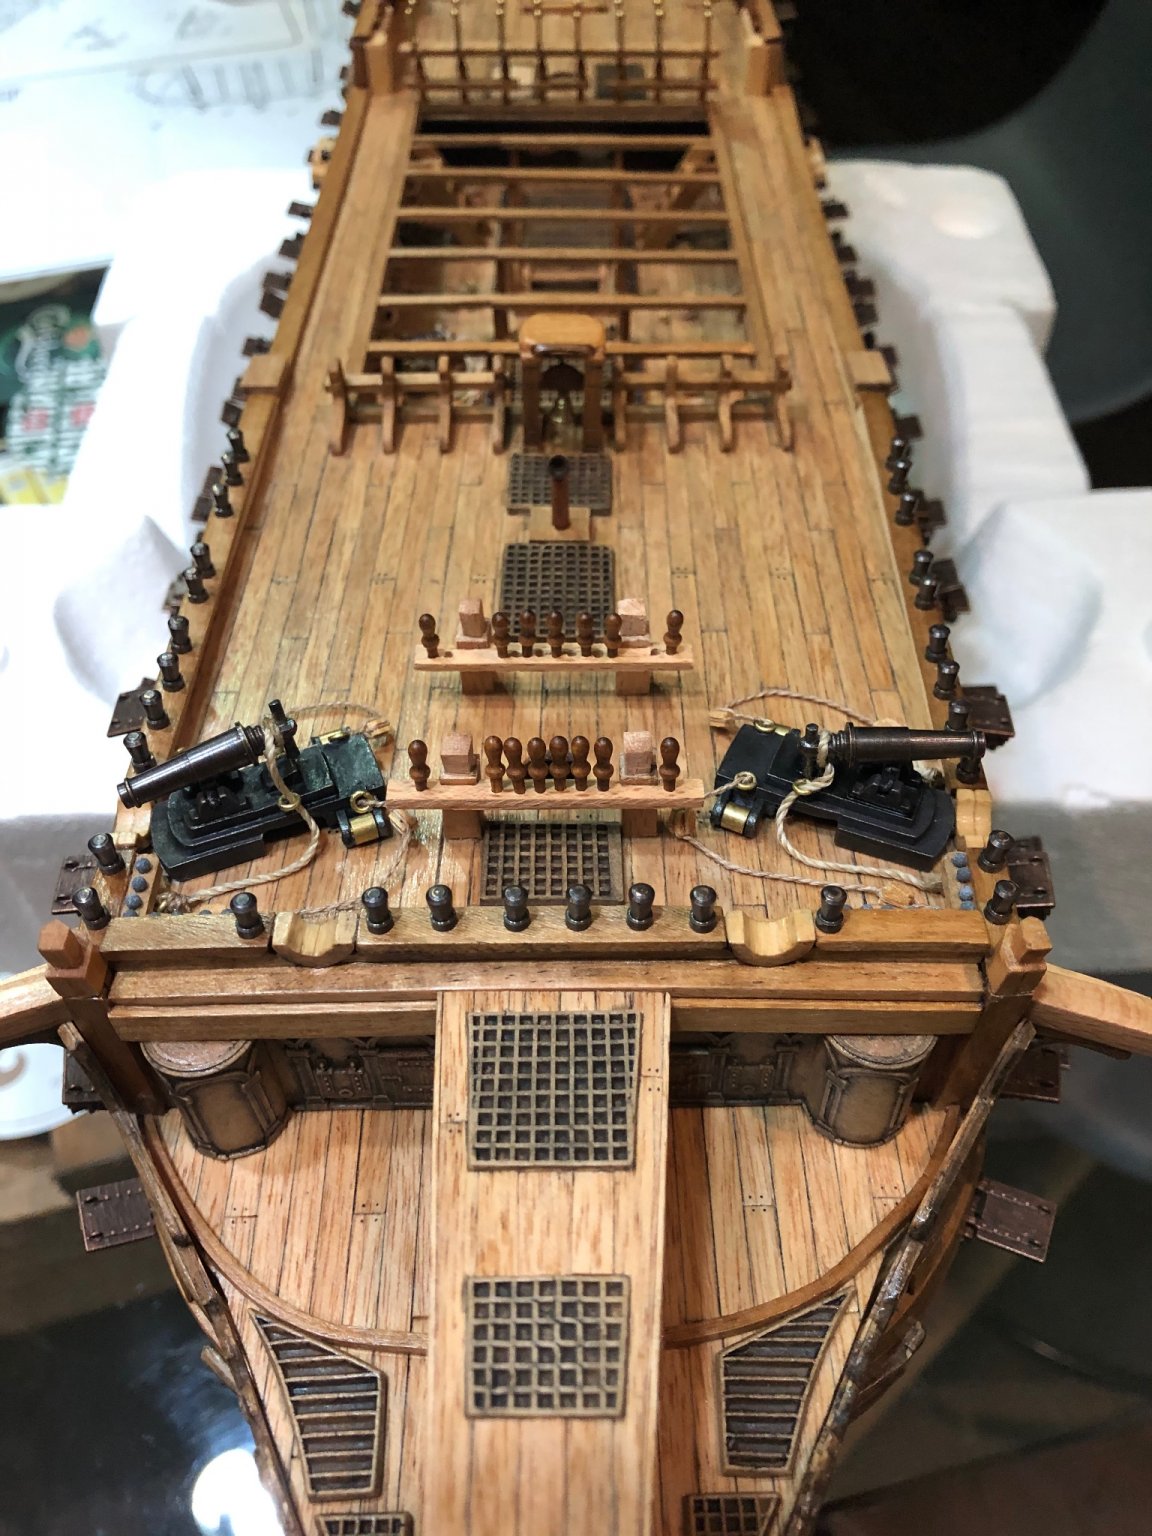
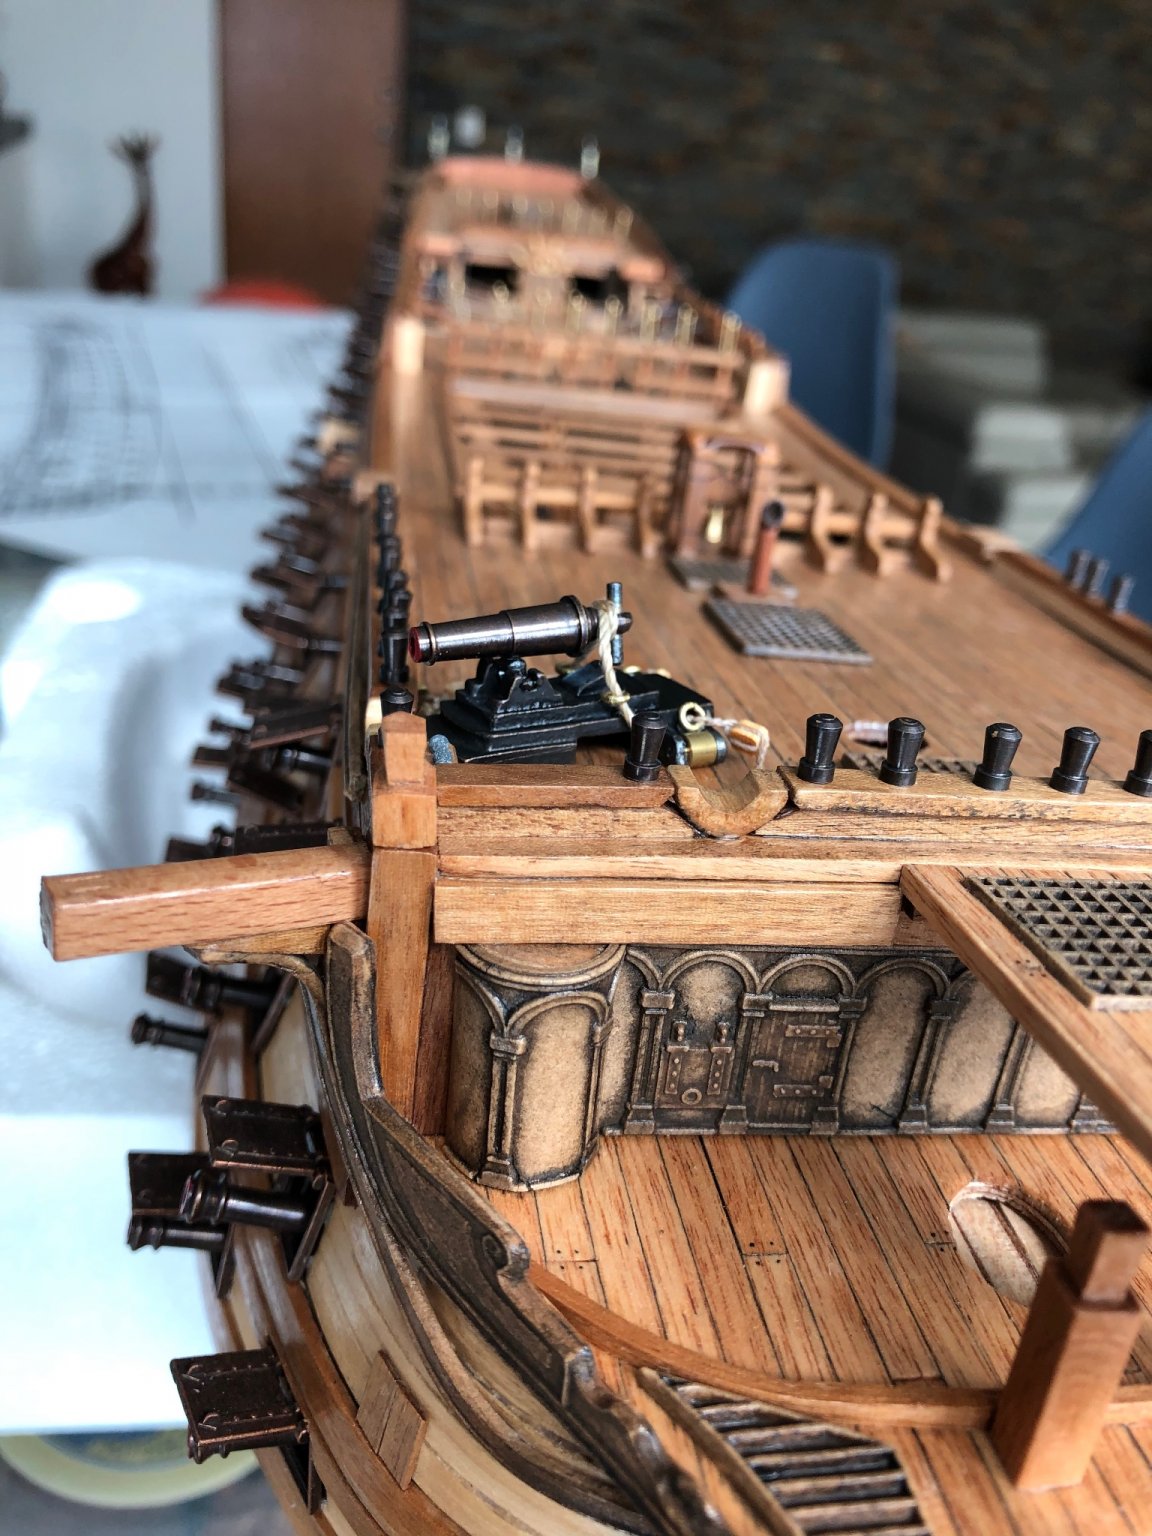
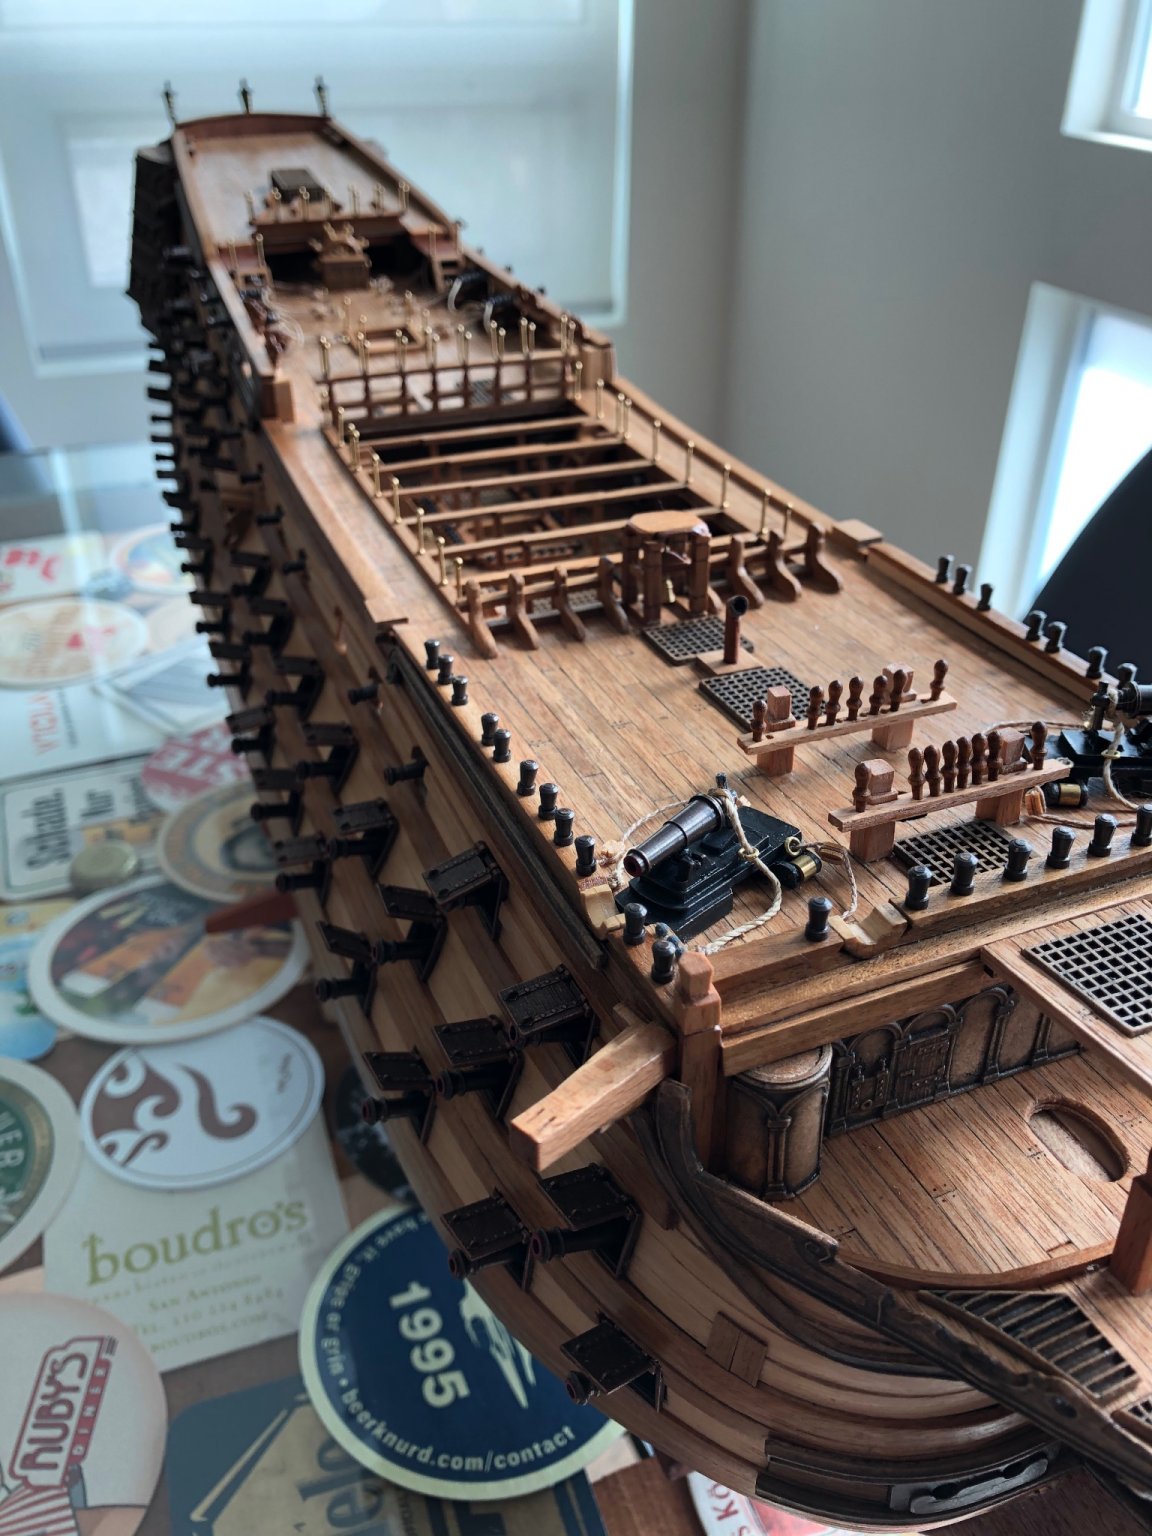
Hi everybody! Some more work done on the decks in the past few days. Here are the picks! Best regards.


-
Very nice planking Robert. And you are flying!!! Great.