Fentone
-
Posts
47 -
Joined
-
Last visited
-
 BobG reacted to a post in a topic:
Providence by Fentone - Artesania Latina - 1:25 - New England whaleboat
BobG reacted to a post in a topic:
Providence by Fentone - Artesania Latina - 1:25 - New England whaleboat
-
 Fentone reacted to a post in a topic:
Providence by Fentone - Artesania Latina - 1:25 - New England whaleboat
Fentone reacted to a post in a topic:
Providence by Fentone - Artesania Latina - 1:25 - New England whaleboat
-
G.L. reacted to a post in a topic:
Providence by Fentone - Artesania Latina - 1:25 - New England whaleboat
-
G.L. reacted to a post in a topic:
Providence by Fentone - Artesania Latina - 1:25 - New England whaleboat
-
G.L. reacted to a post in a topic:
Providence by Fentone - Artesania Latina - 1:25 - New England whaleboat
-
G.L. reacted to a post in a topic:
Providence by Fentone - Artesania Latina - 1:25 - New England whaleboat
-
Keithbrad80 reacted to a post in a topic:
Providence by Fentone - Artesania Latina - 1:25 - New England whaleboat
-
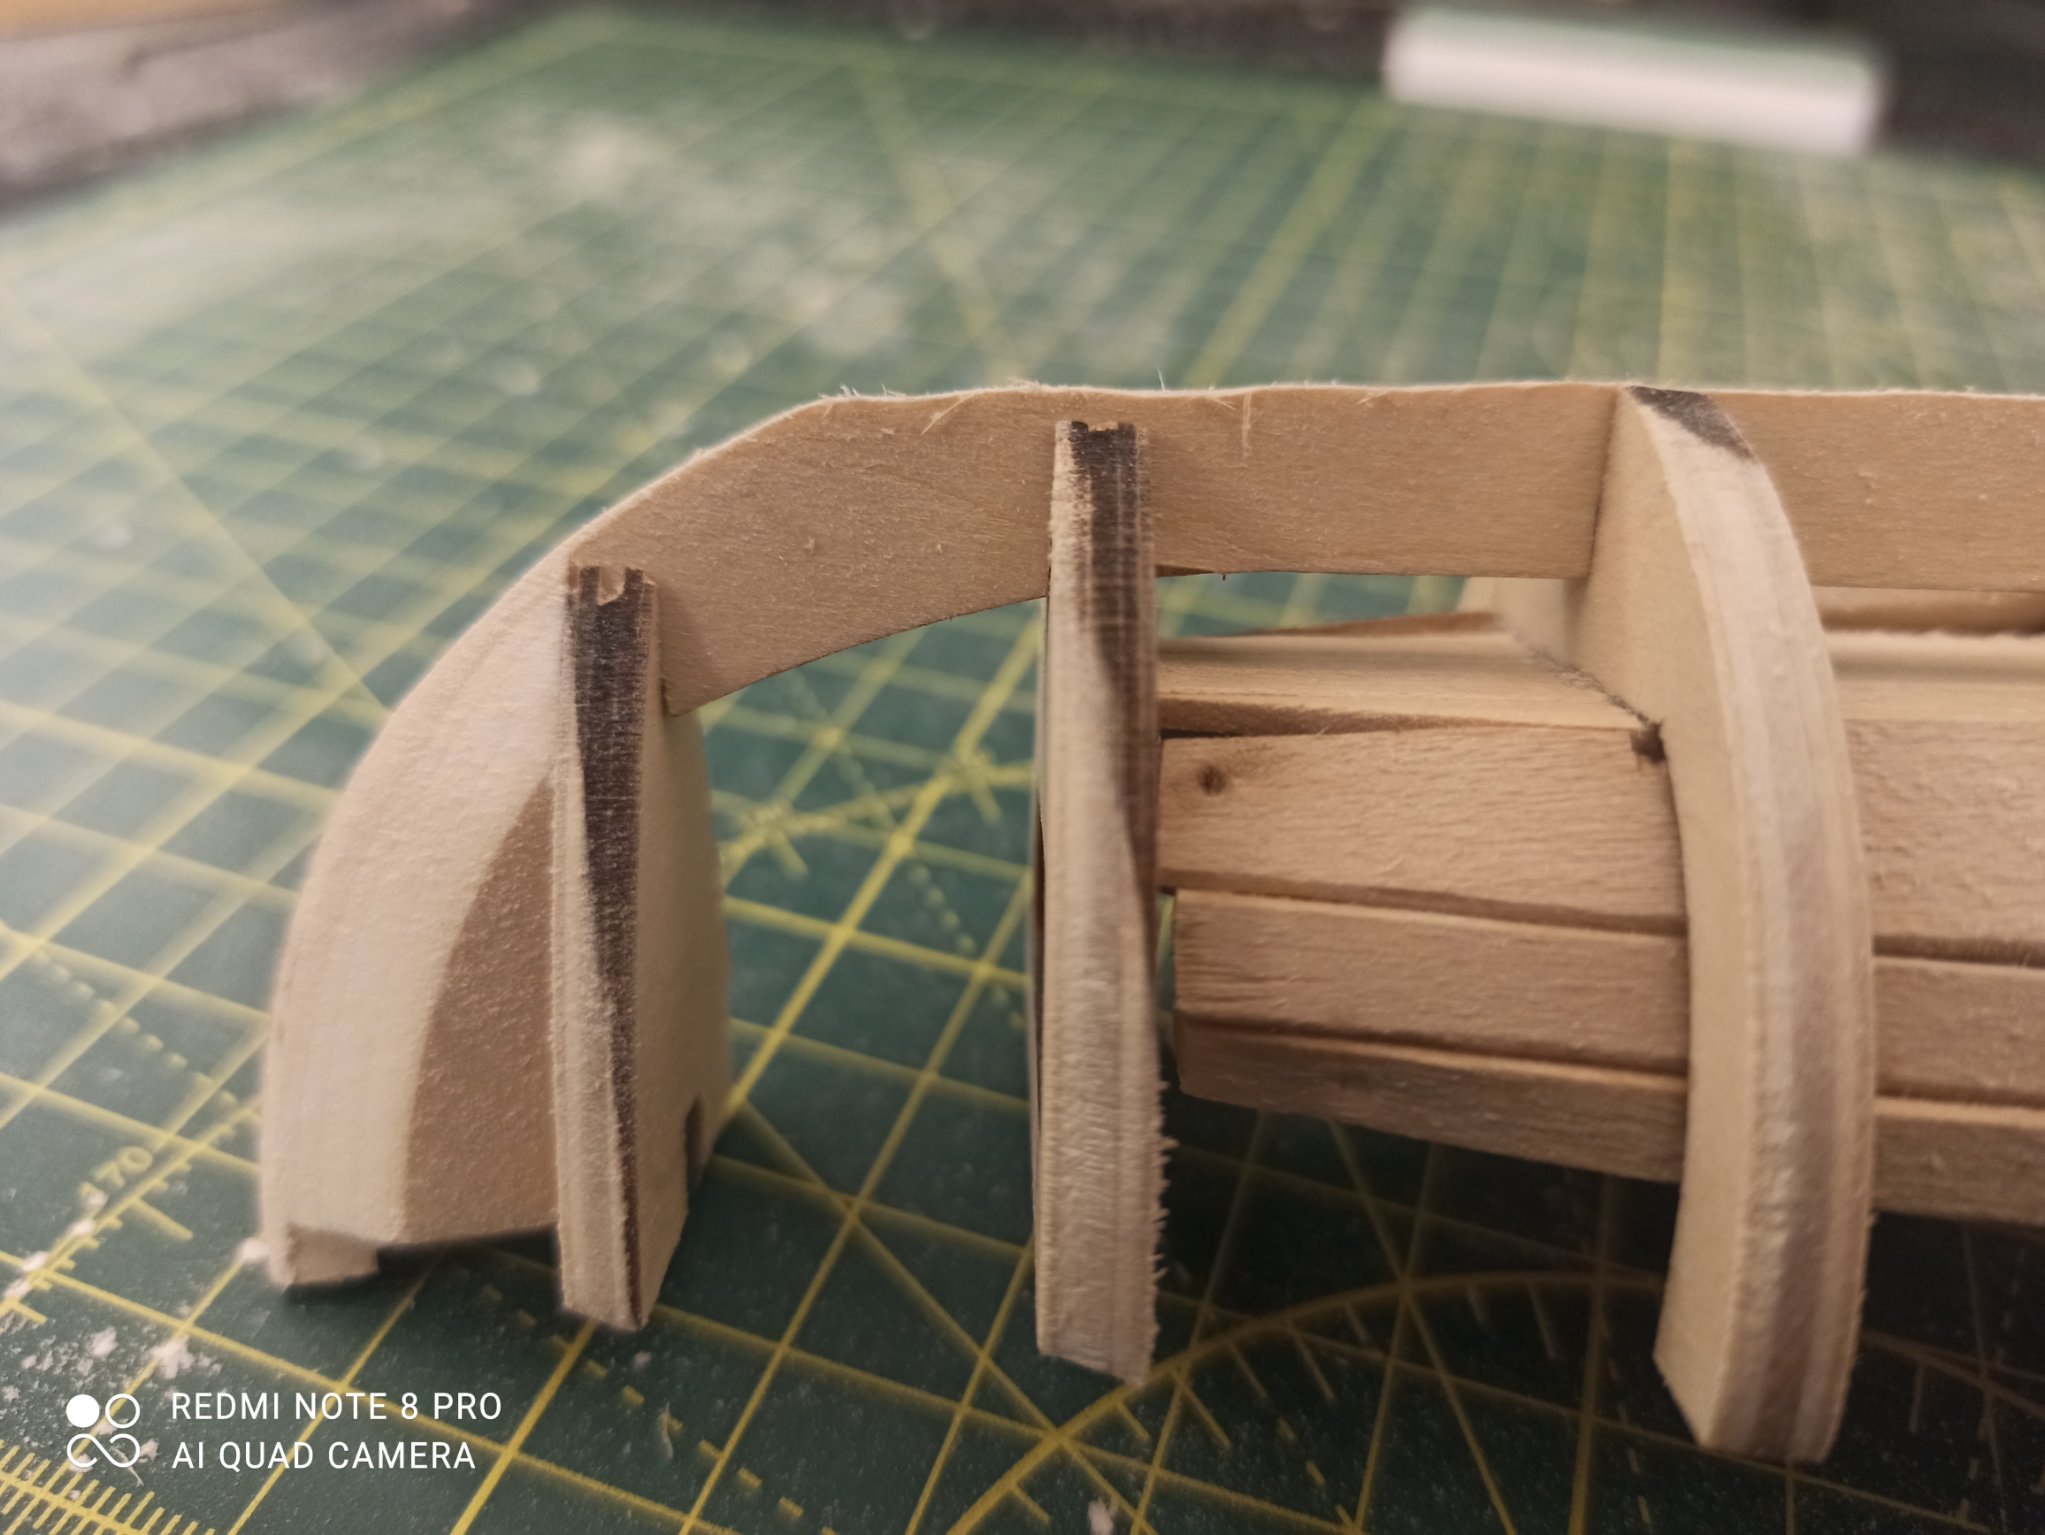
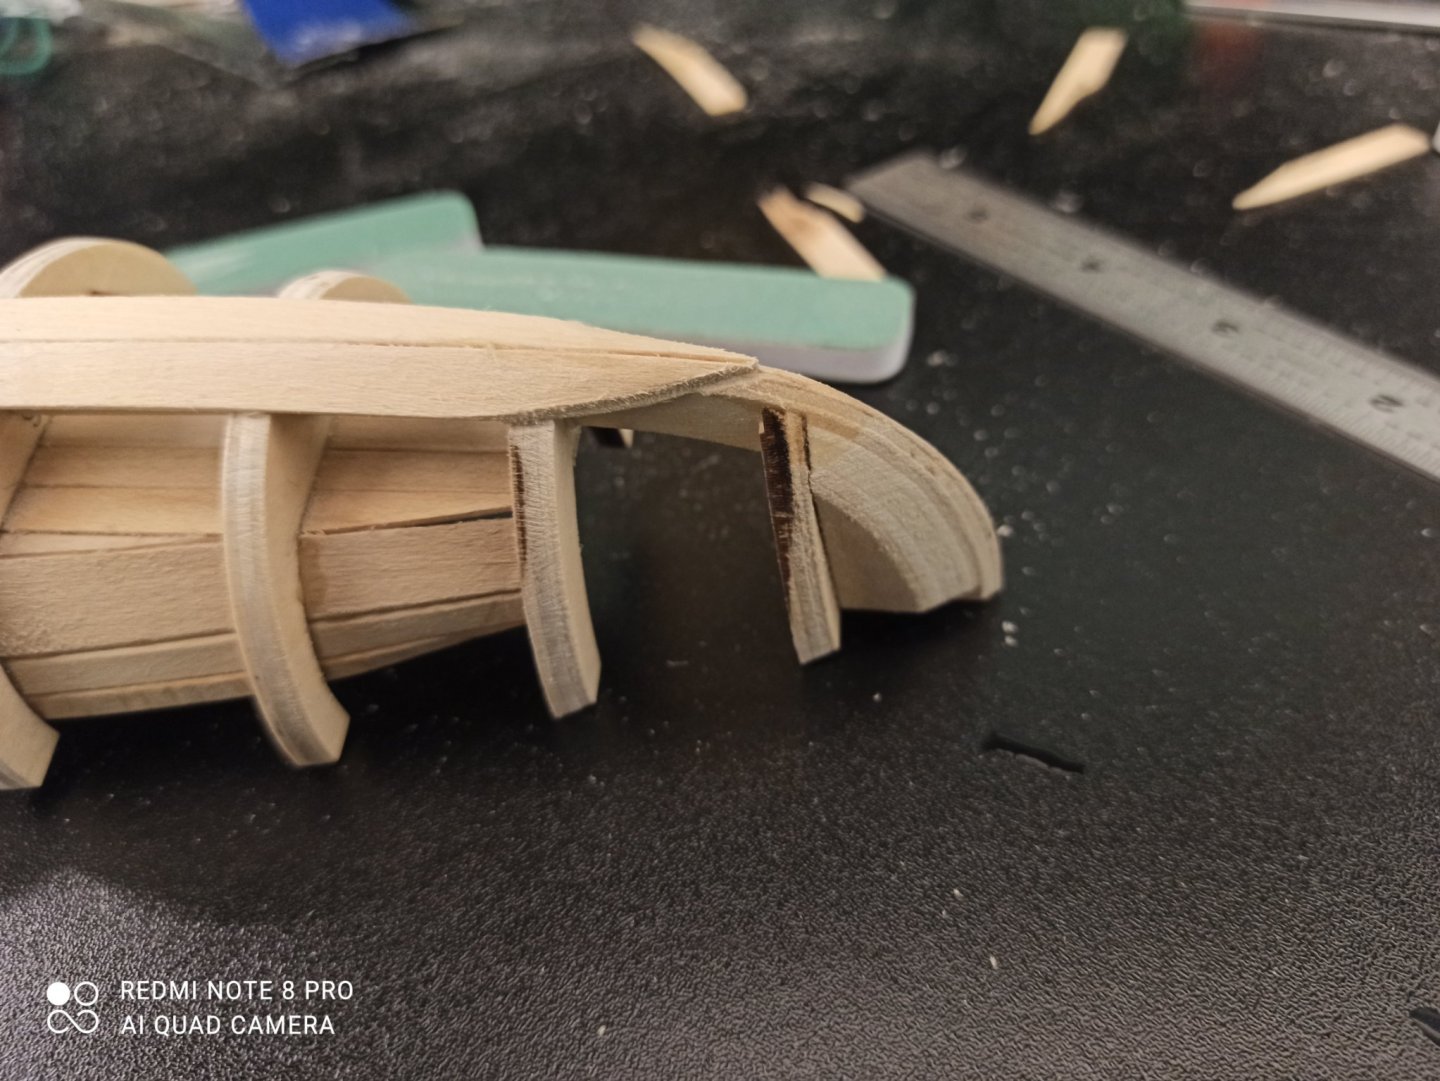
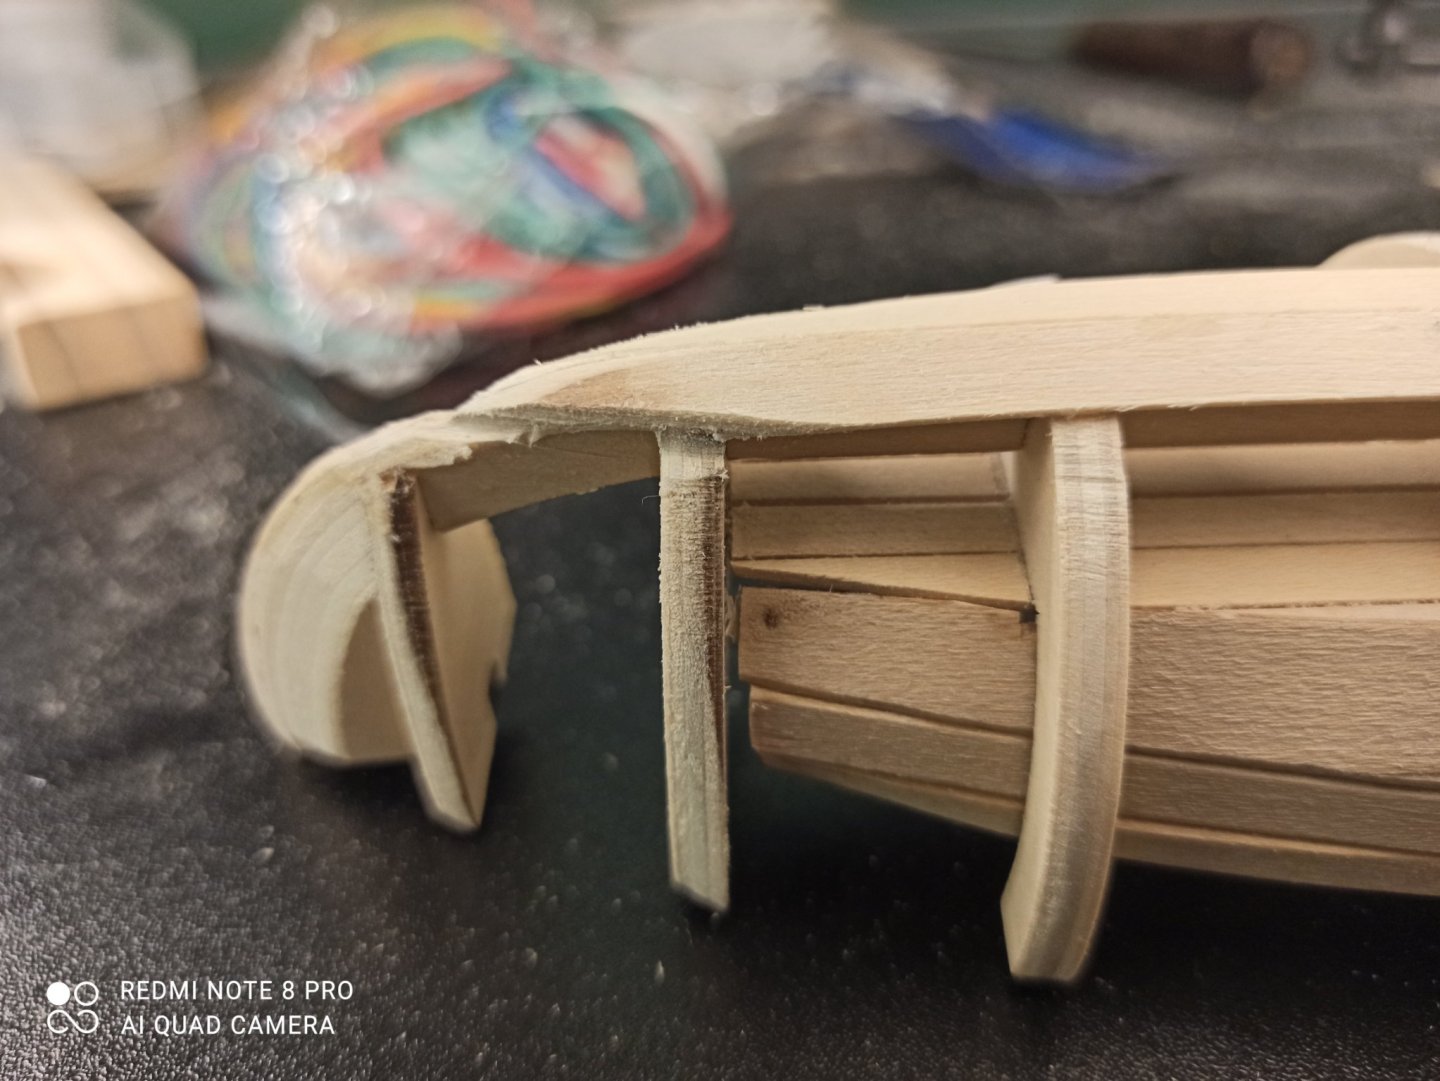
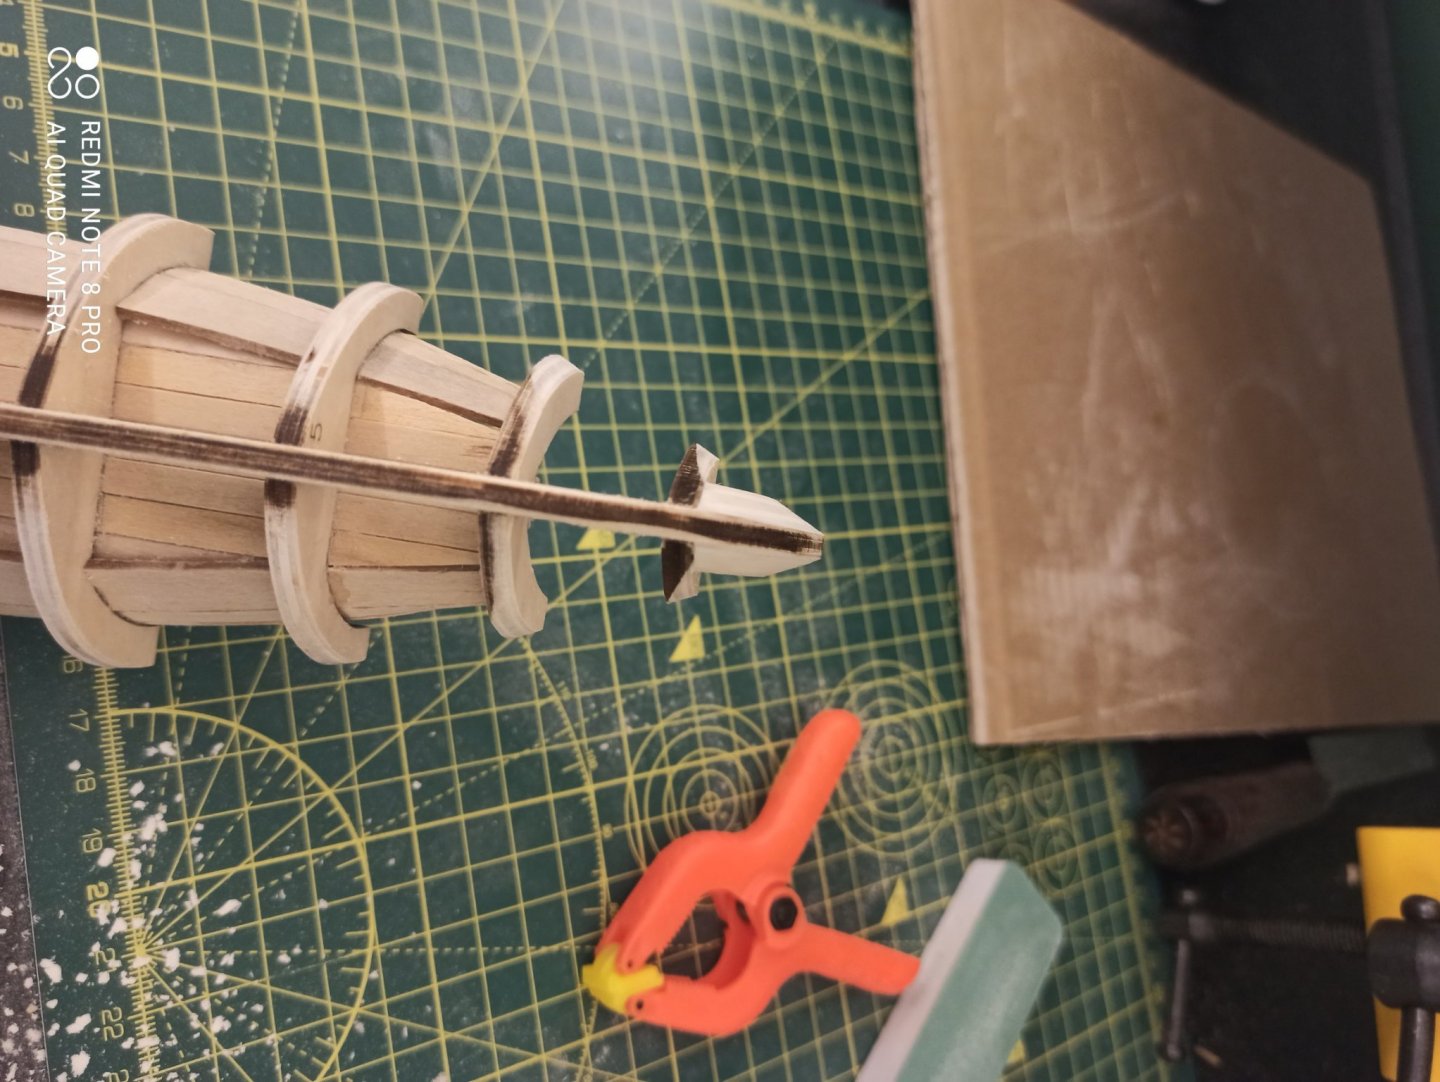
One end got a bit gnarlier than the other. Notice the slight difference in length. Could have gone a lot worse given the method.
- 66 replies
-
- 3
-
-
- Providence
- Artesania Latina
- (and 1 more)
-
Cutting with scalpel was easy, however sanding cleaned it up somewhat. Overall result not great, not terrible. Bow/stern taper end in slightly different places, however I'm reluctant to take any more off as I'm happy with the port/starboard symmetry, and I'm happy for the boat not to be perfectly symmetrical end to end.

- 66 replies
-
- 1
-
-
- Providence
- Artesania Latina
- (and 1 more)
-
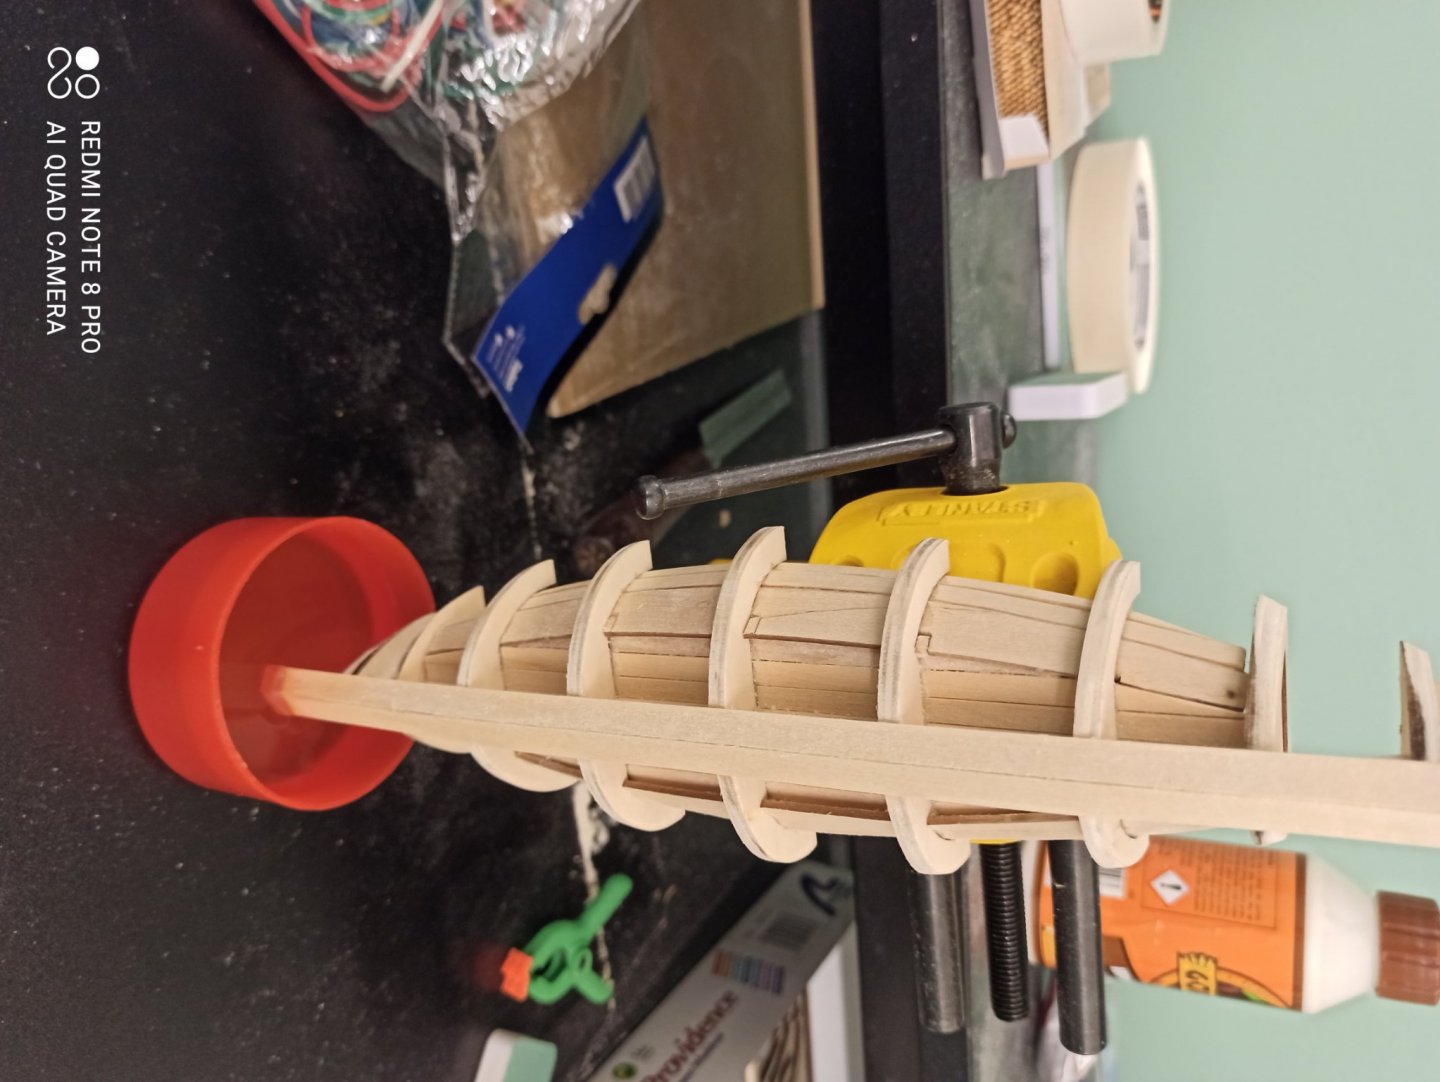
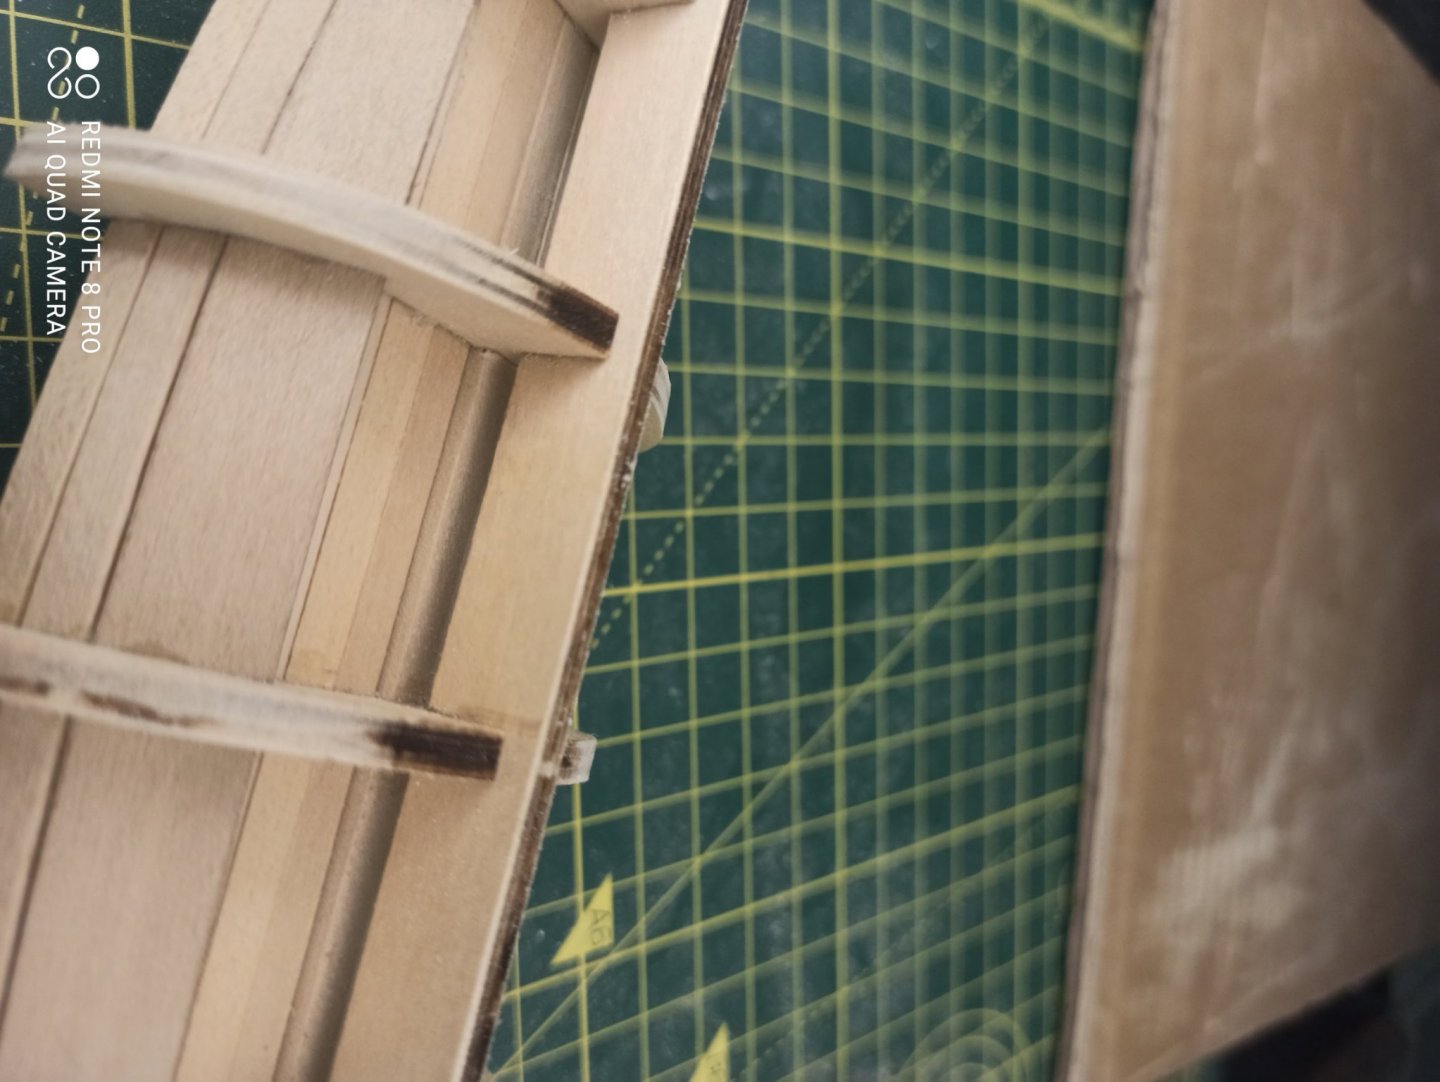
Soaking in situ. Worked for one end, the other less so, ended up charring the wood when bending on that side.
- 66 replies
-
- 1
-
-
- Providence
- Artesania Latina
- (and 1 more)
-
Keithbrad80 reacted to a post in a topic:
Providence by Fentone - Artesania Latina - 1:25 - New England whaleboat
-
G.L. reacted to a post in a topic:
Providence by Fentone - Artesania Latina - 1:25 - New England whaleboat
-
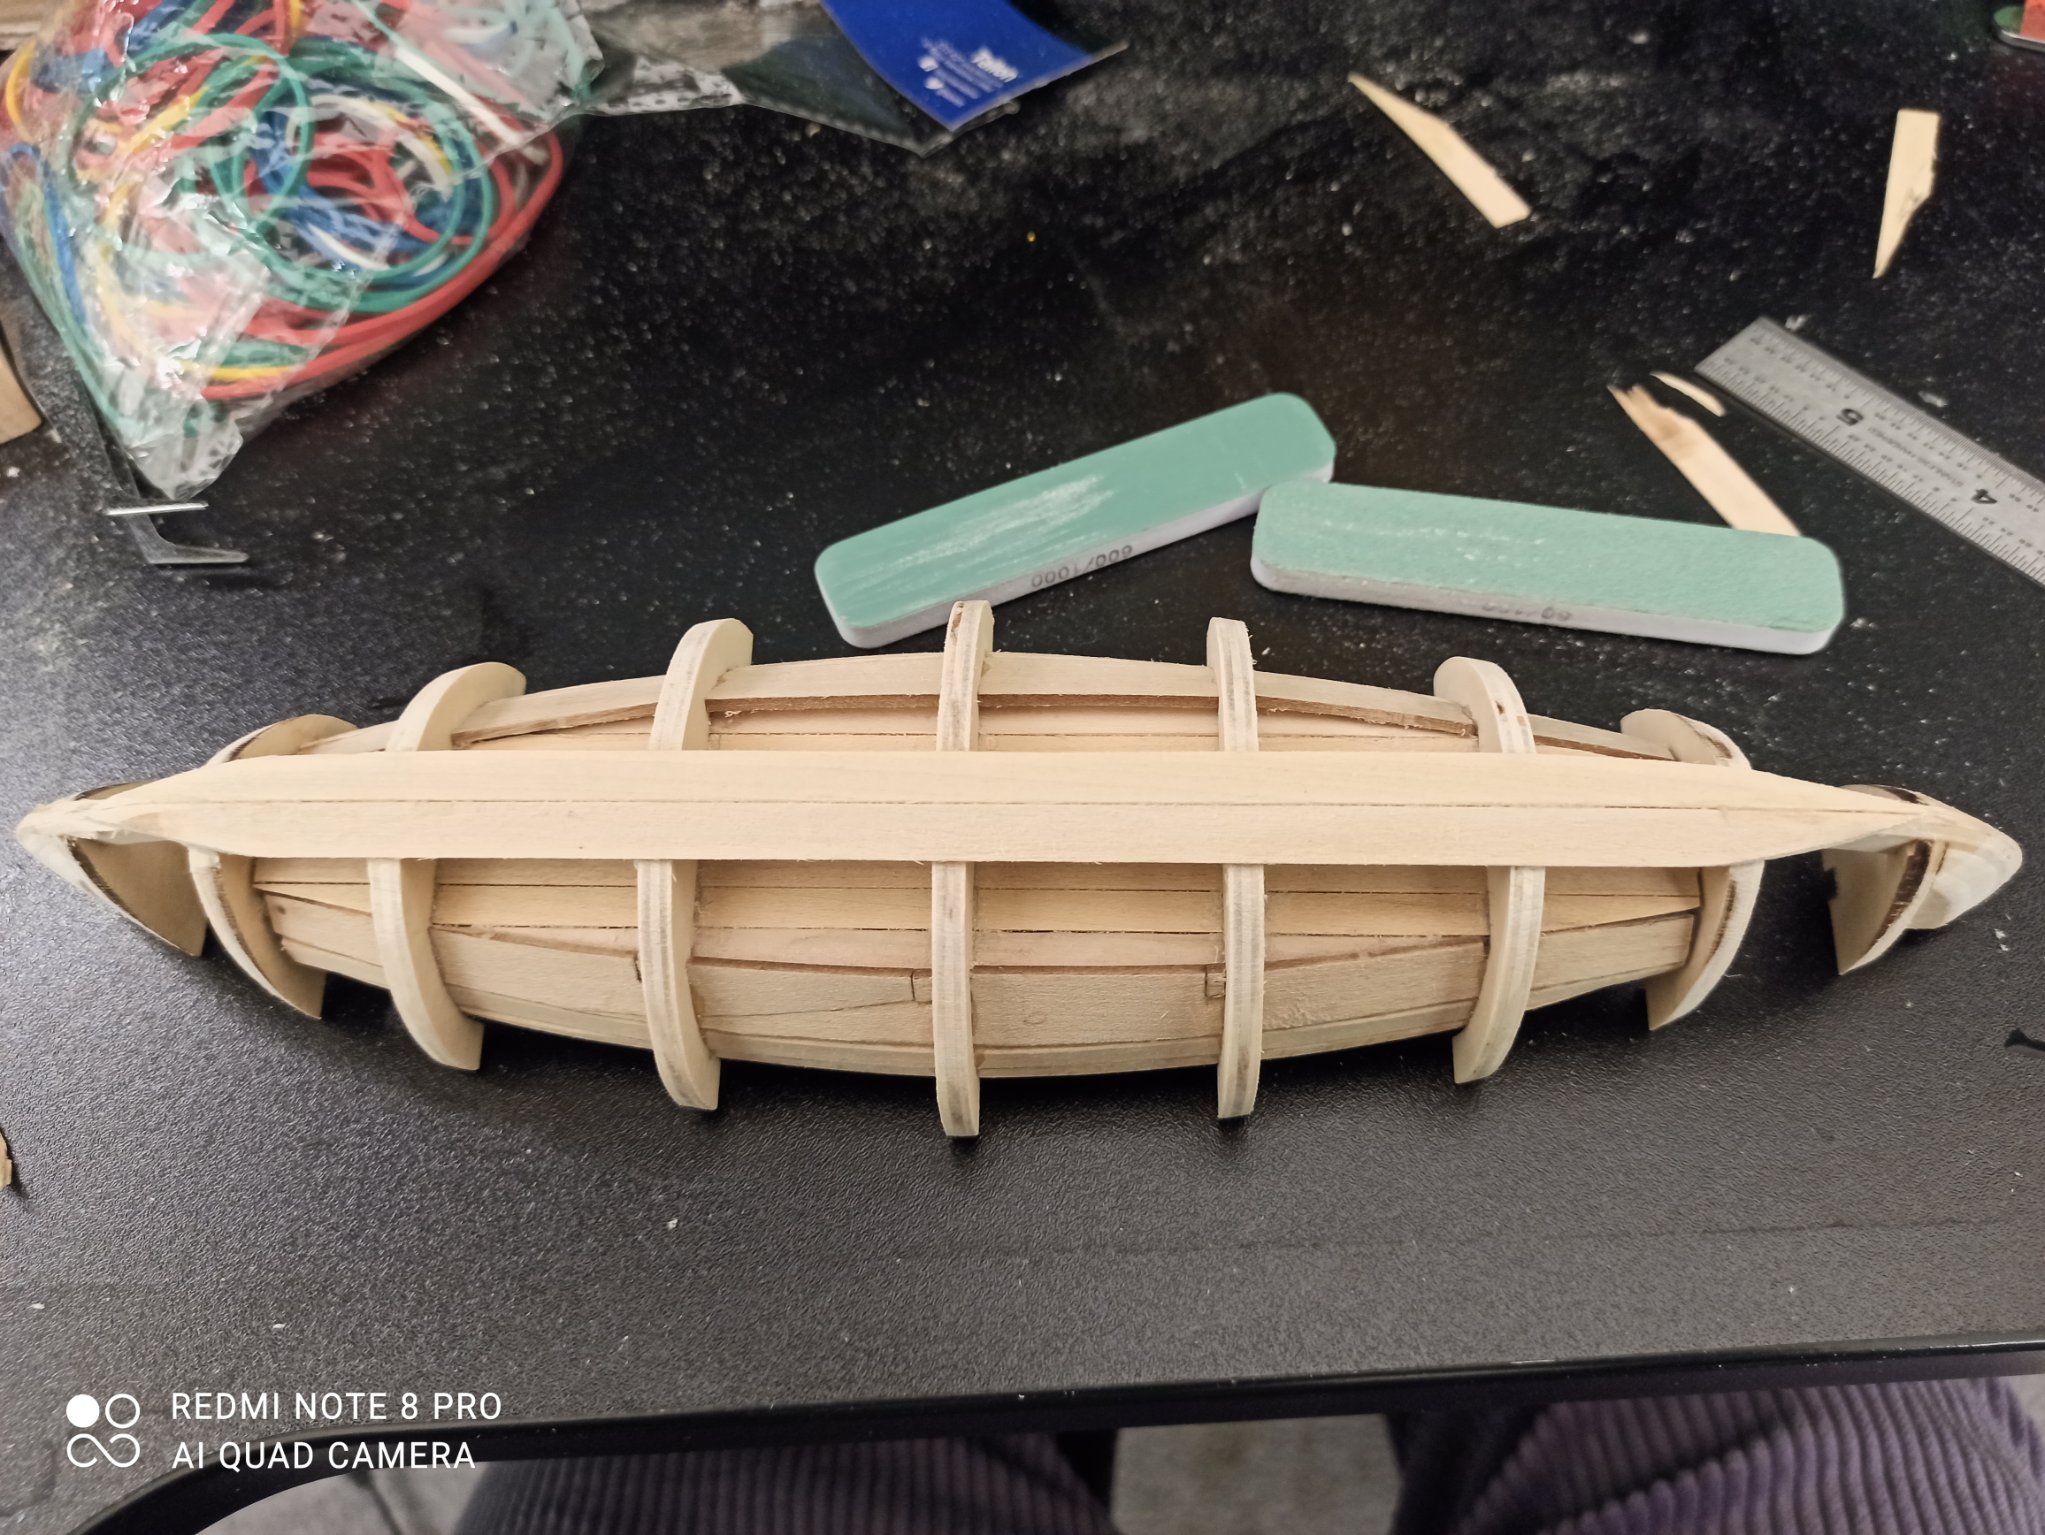
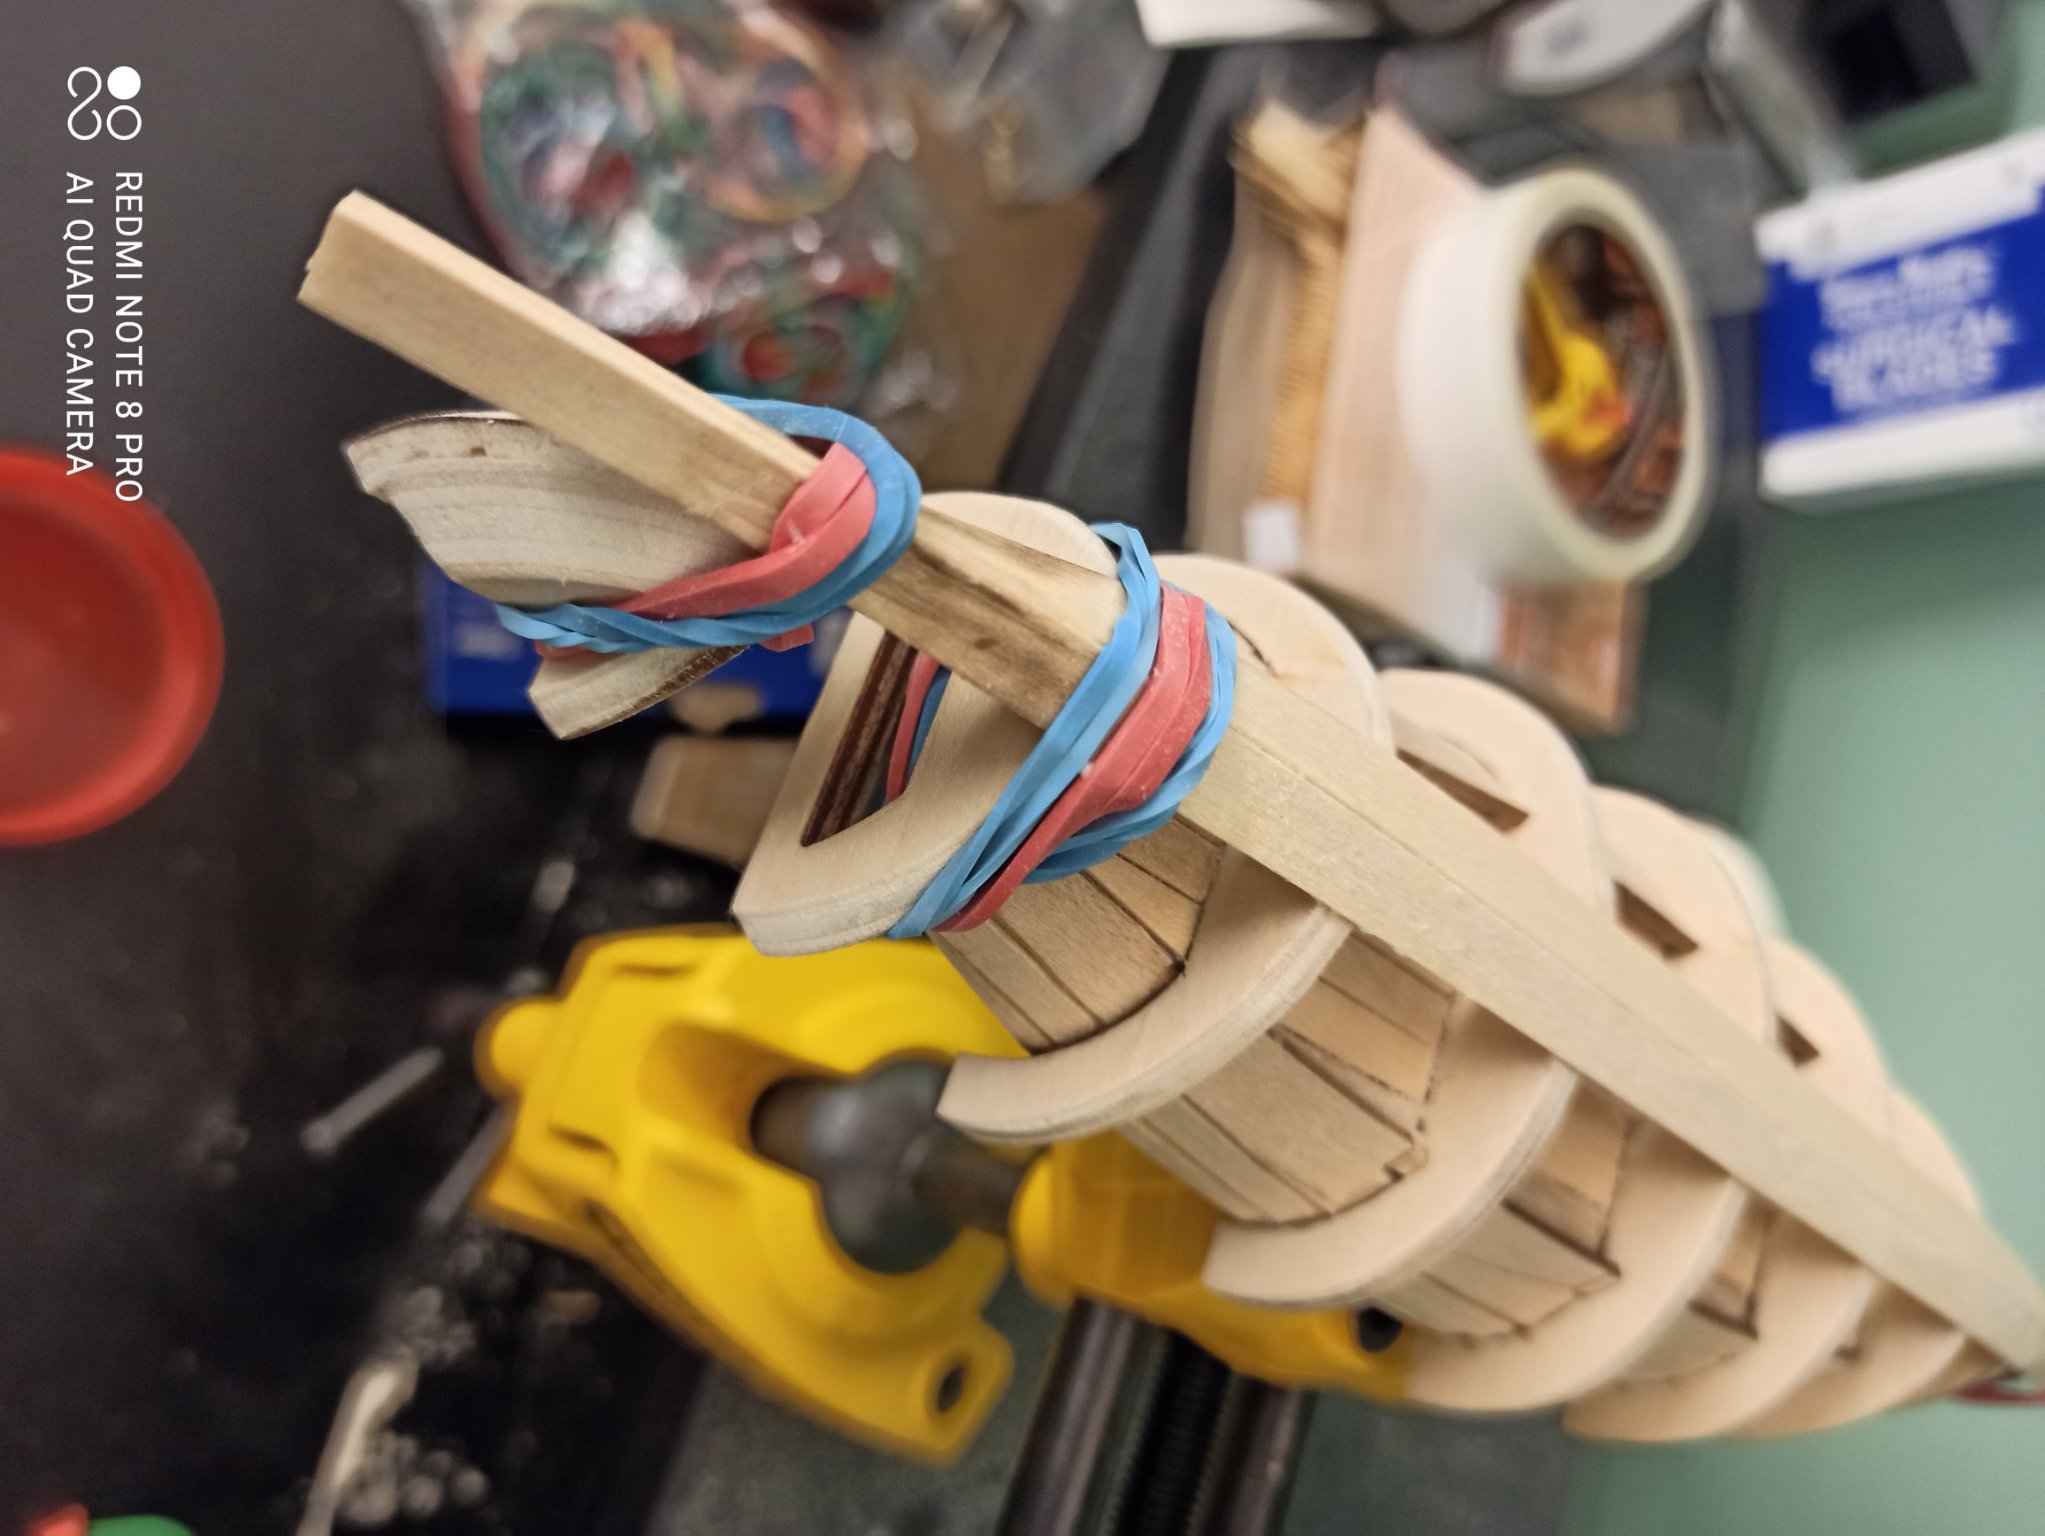
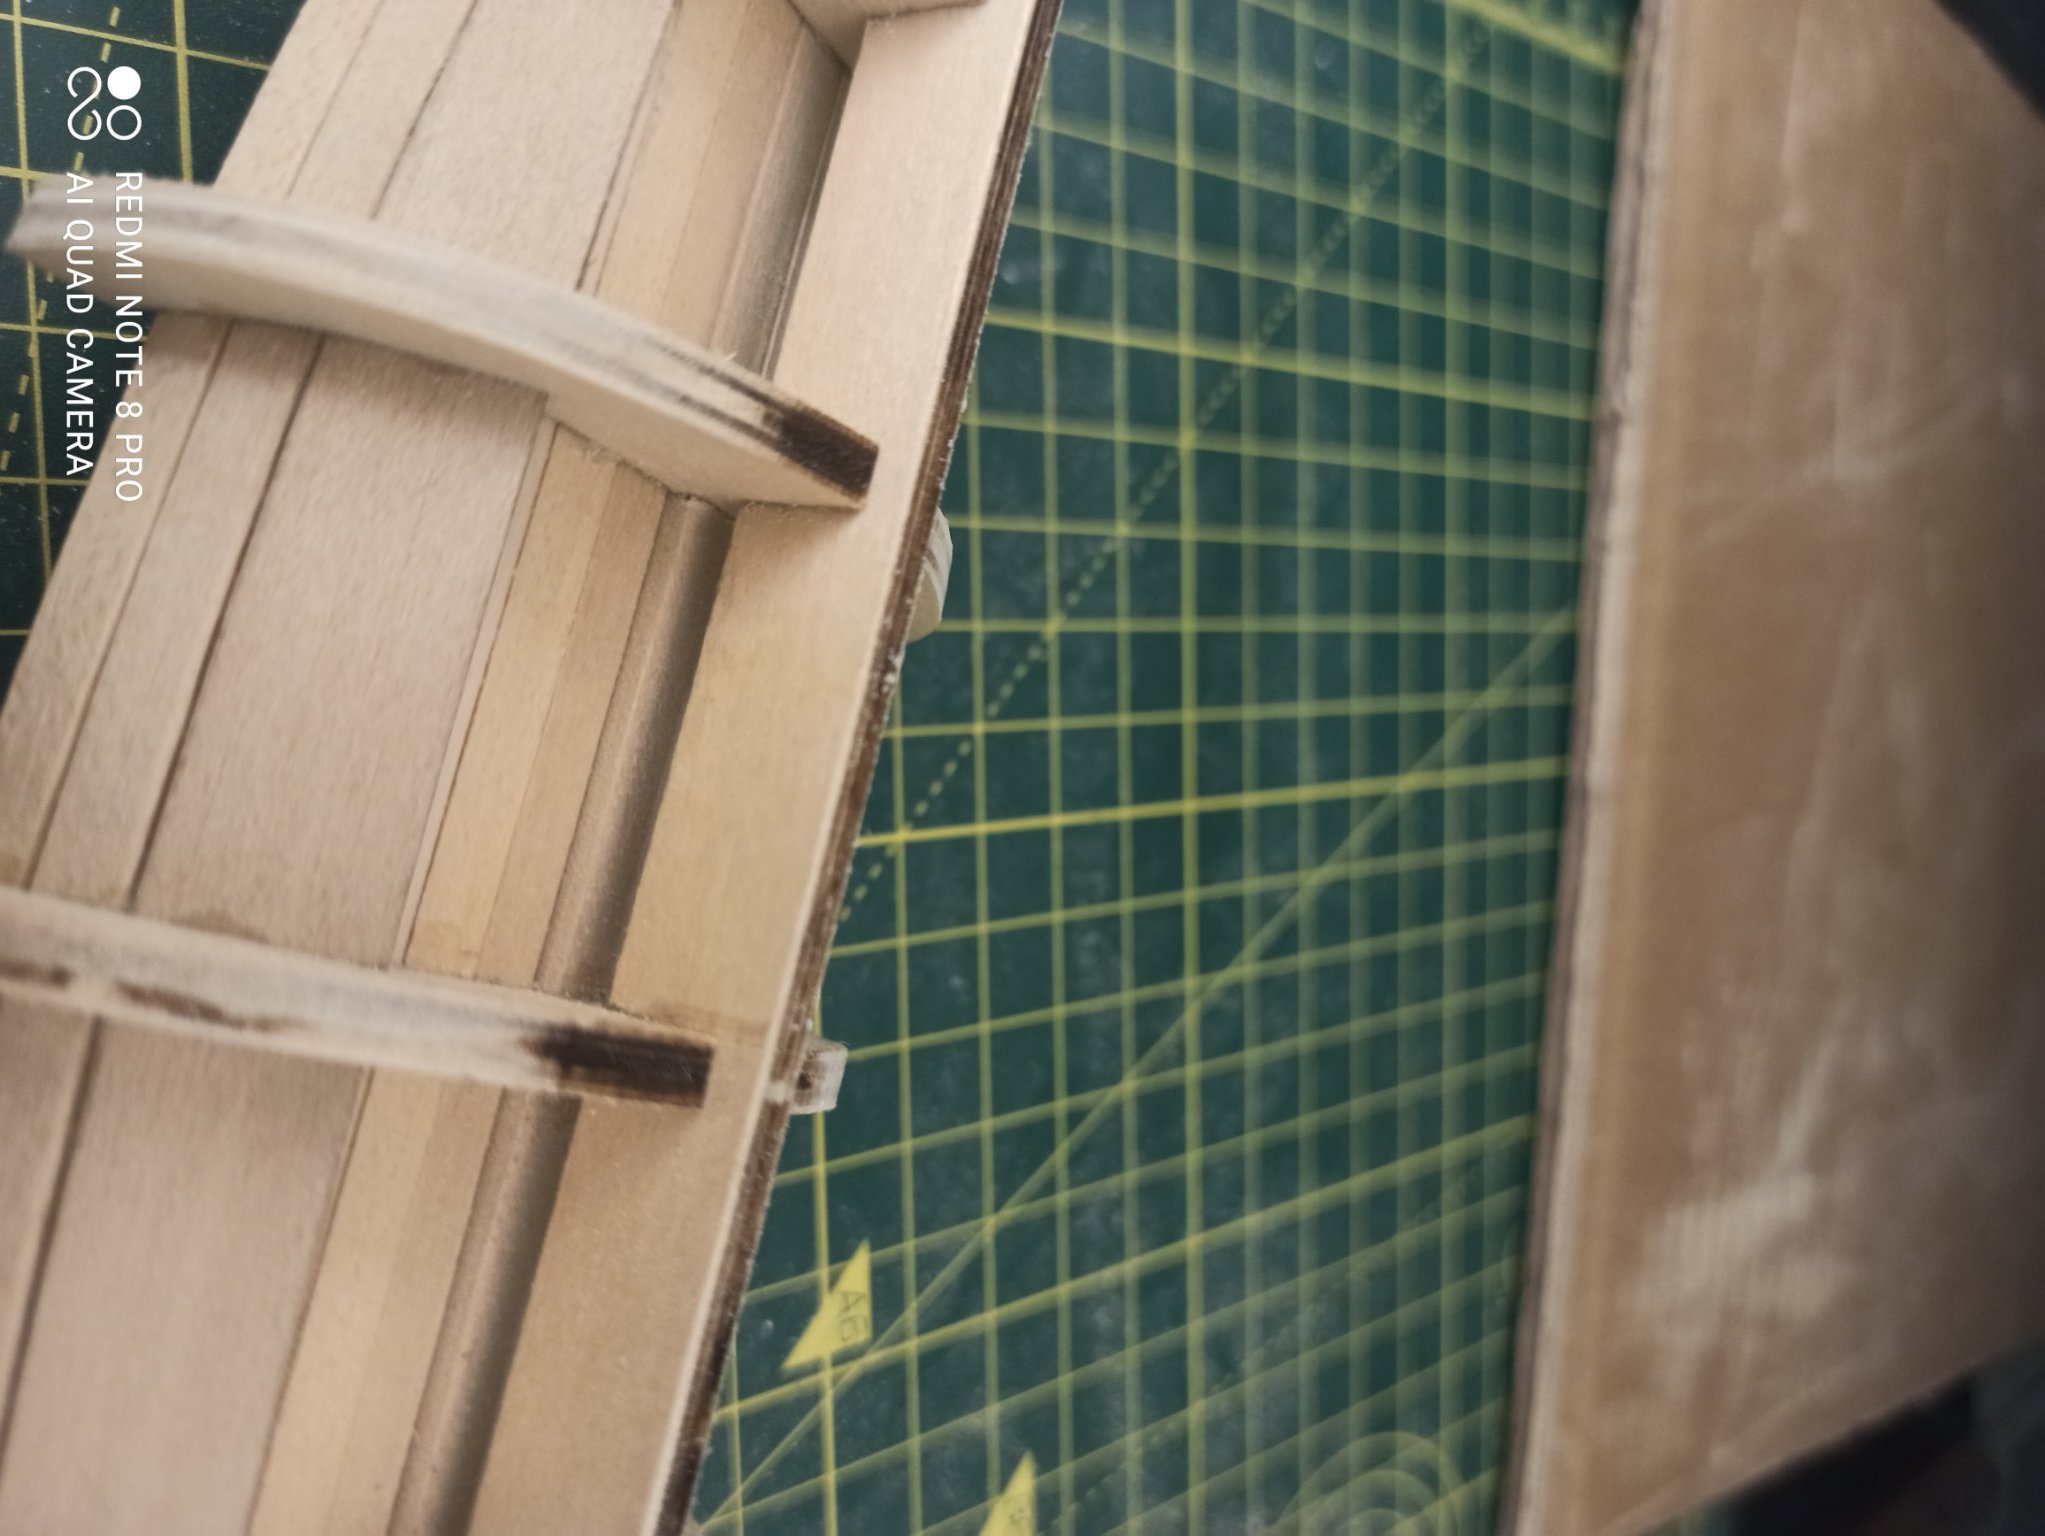
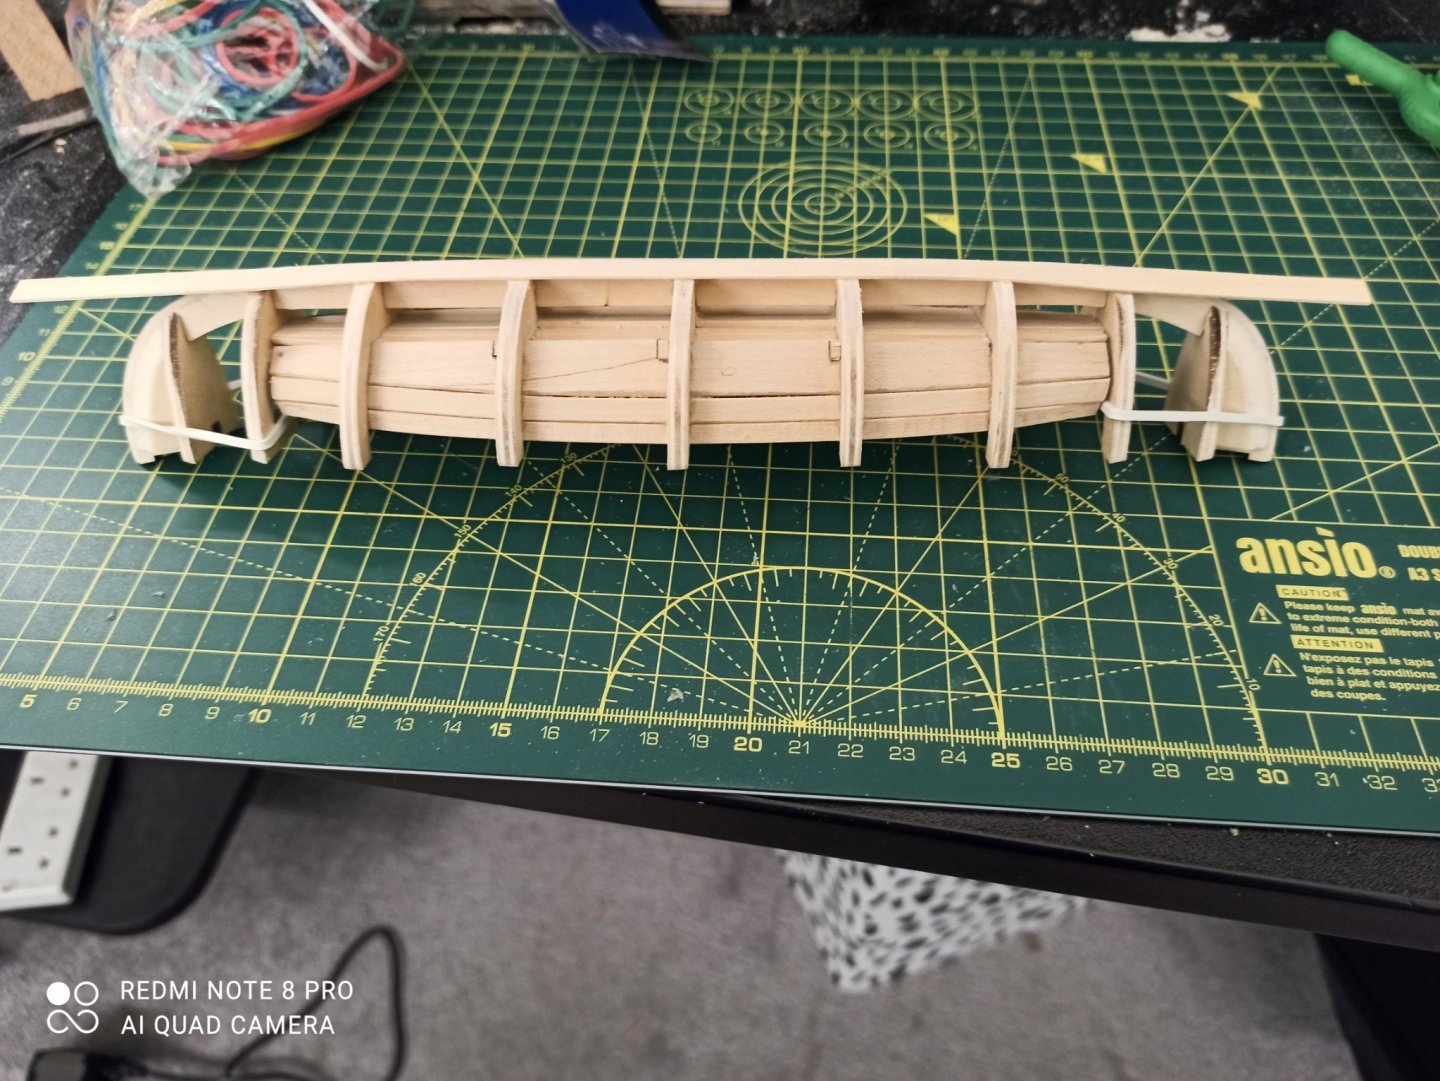
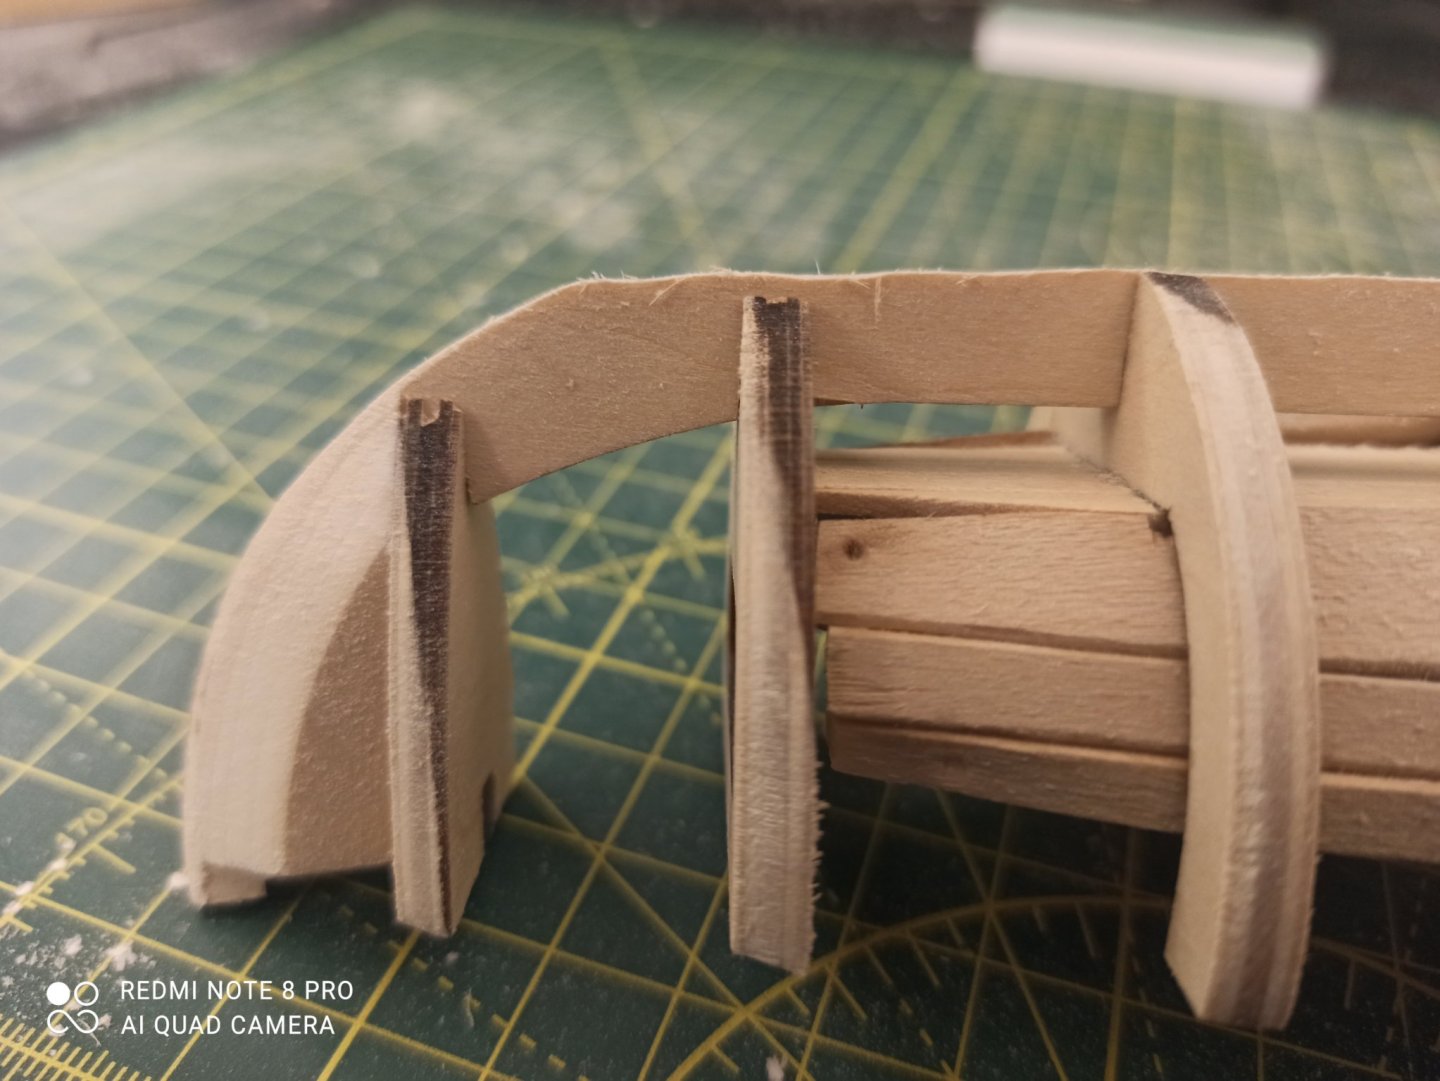
Thanks for the help Mike, I will read those resources before continuing. However I have run into a mistake - I should have bent and cut the ends of these two planks before gluing. Somehow I misinterpreted the photo in modeller_massa's build to think he was doing what I've just done. So I'm going to attempt bending these planks in situ, maybe after soaking the tips in water so they draw it up through capillary action. This may be a terrible idea. But I want to find out. I am less worried about cutting, as I think patience and a million cuts of the scalpel will do the job. However before this can happen I need to repair a couple of fractures I accidentally made to the keel at both ends in the previous step, hence the two rubber bands.
- 66 replies
-
- 2
-
-
- Providence
- Artesania Latina
- (and 1 more)
-
Fentone reacted to a post in a topic:
Providence by Fentone - Artesania Latina - 1:25 - New England whaleboat
-
G.L. reacted to a post in a topic:
Providence by Fentone - Artesania Latina - 1:25 - New England whaleboat
-
bruce d reacted to a post in a topic:
Providence by Fentone - Artesania Latina - 1:25 - New England whaleboat
-
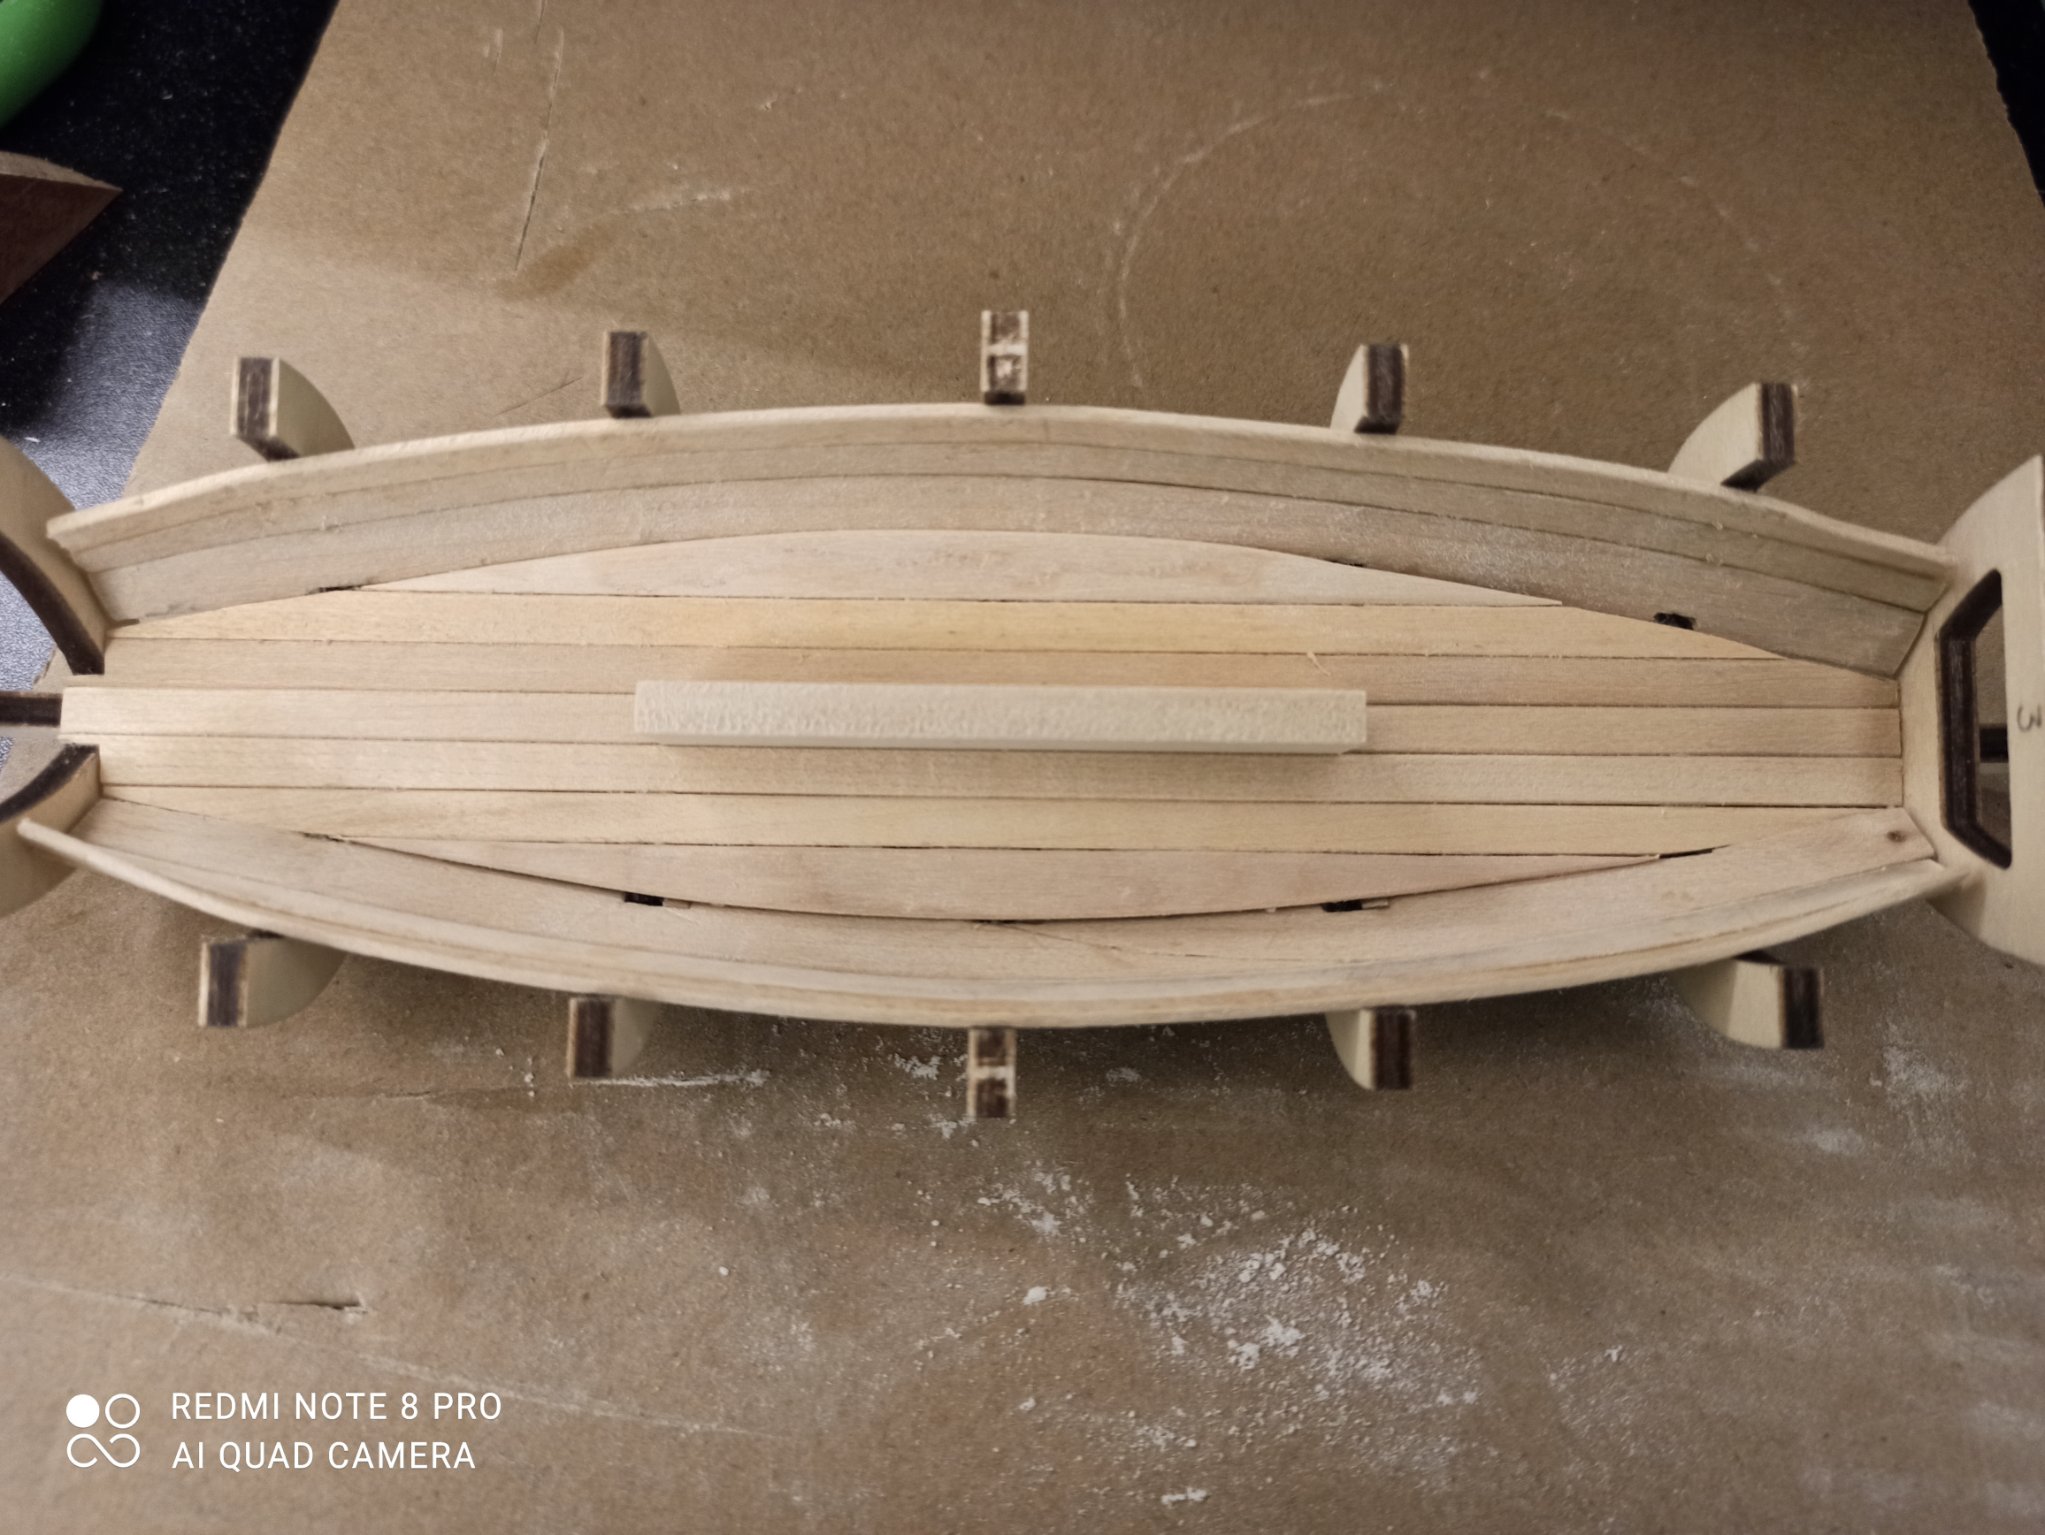
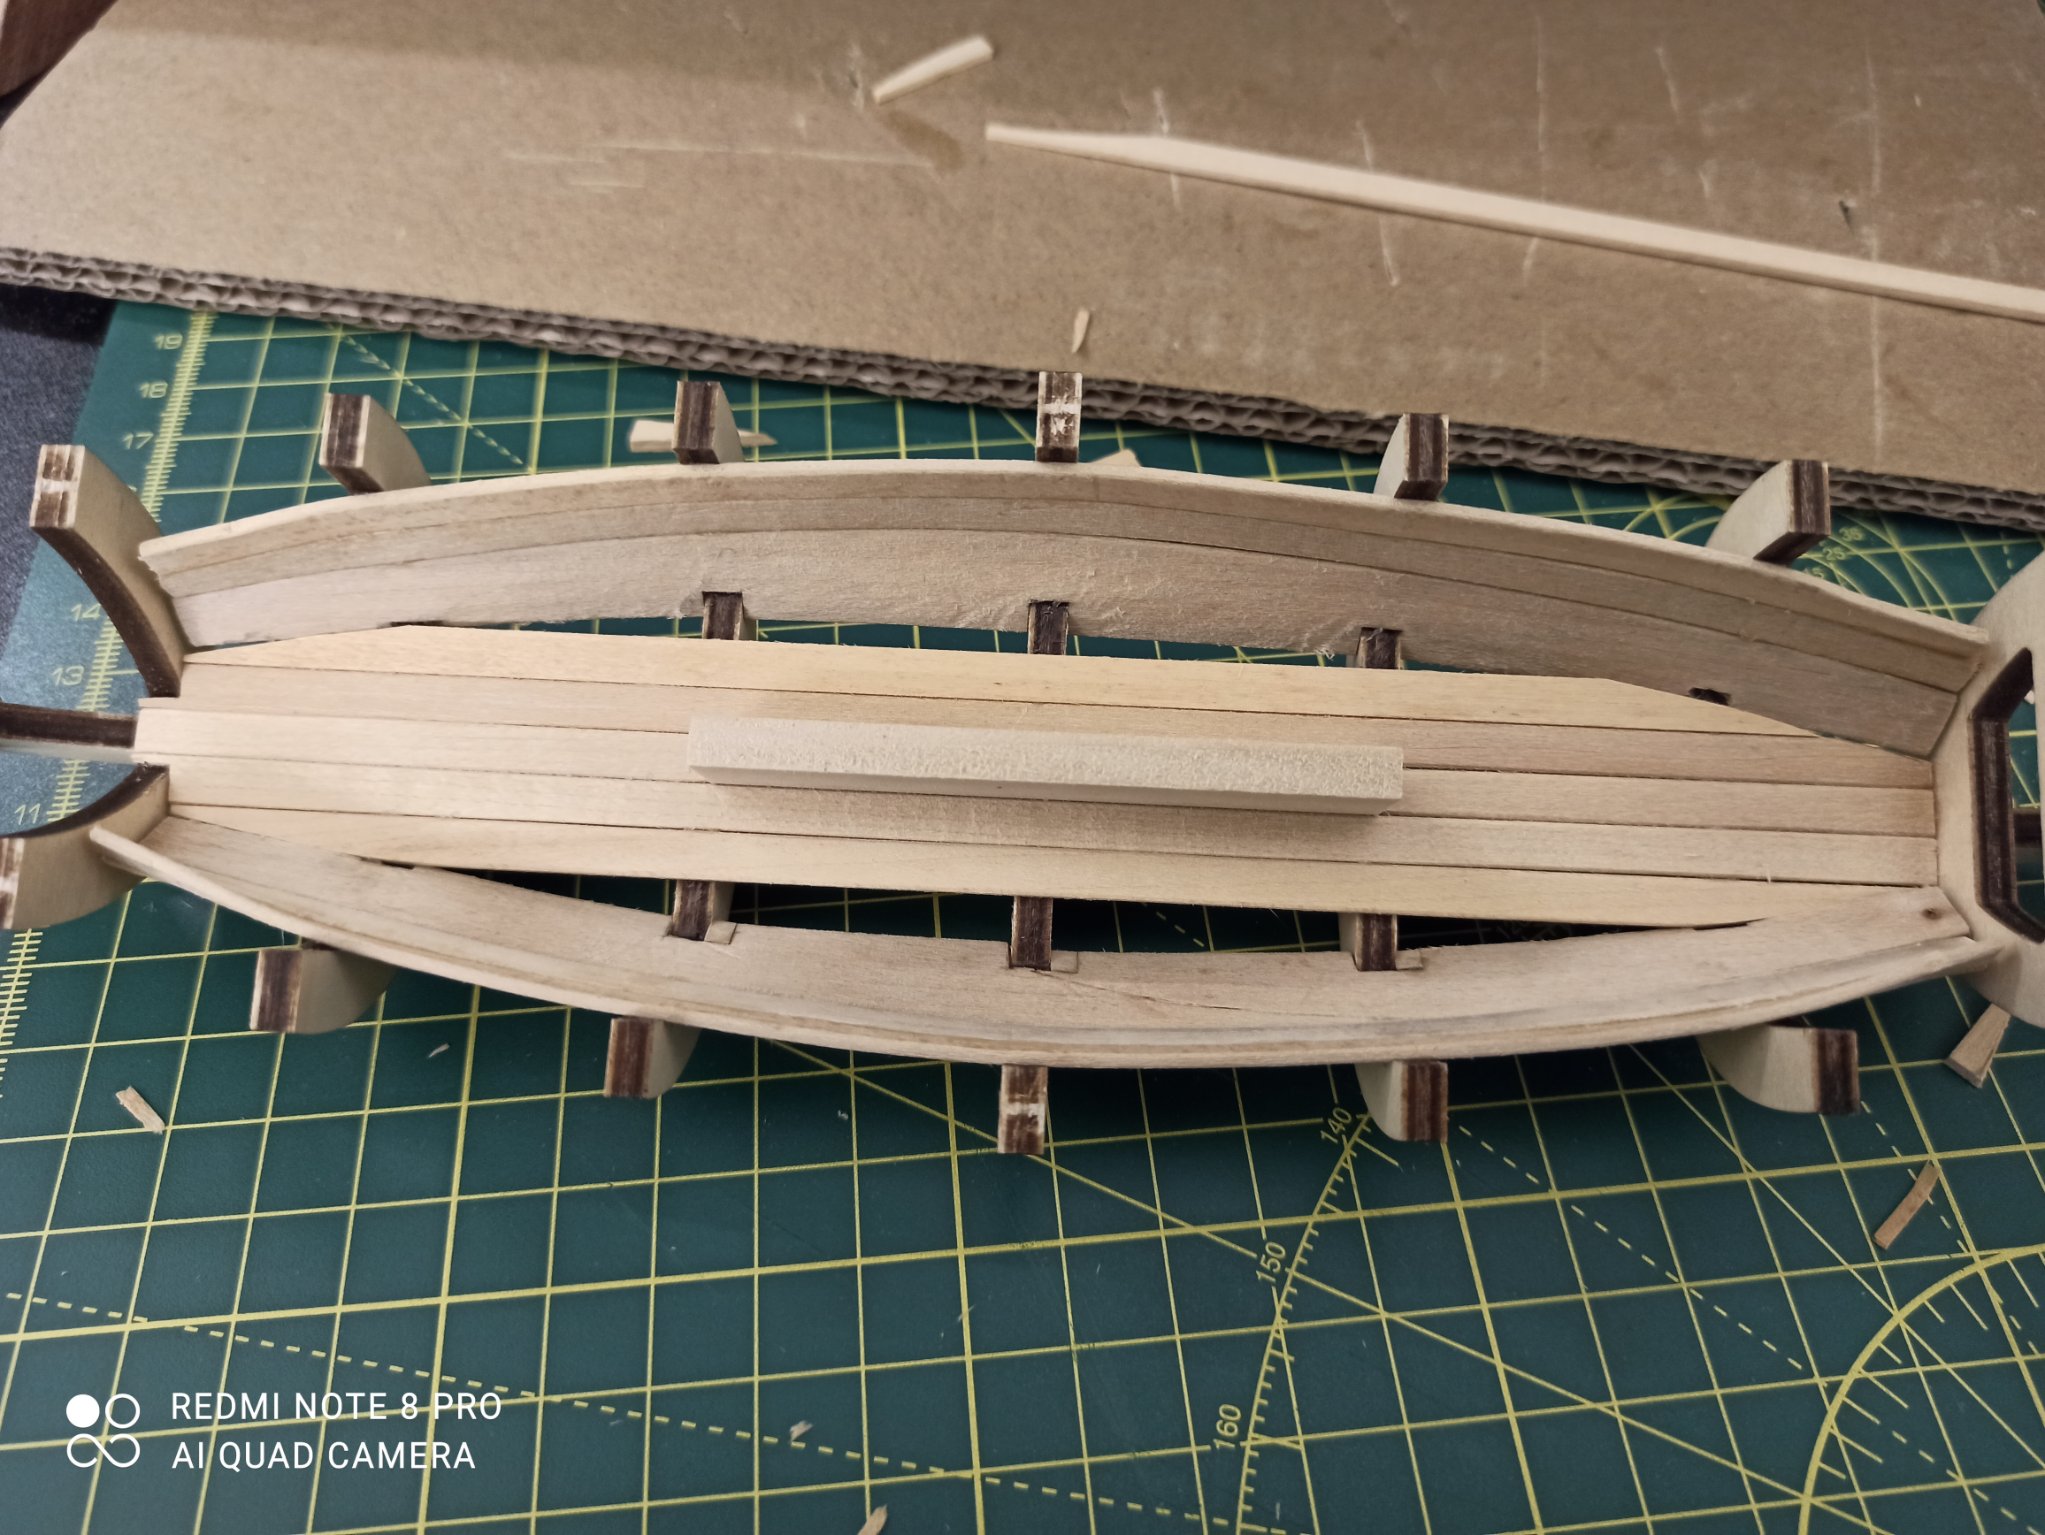
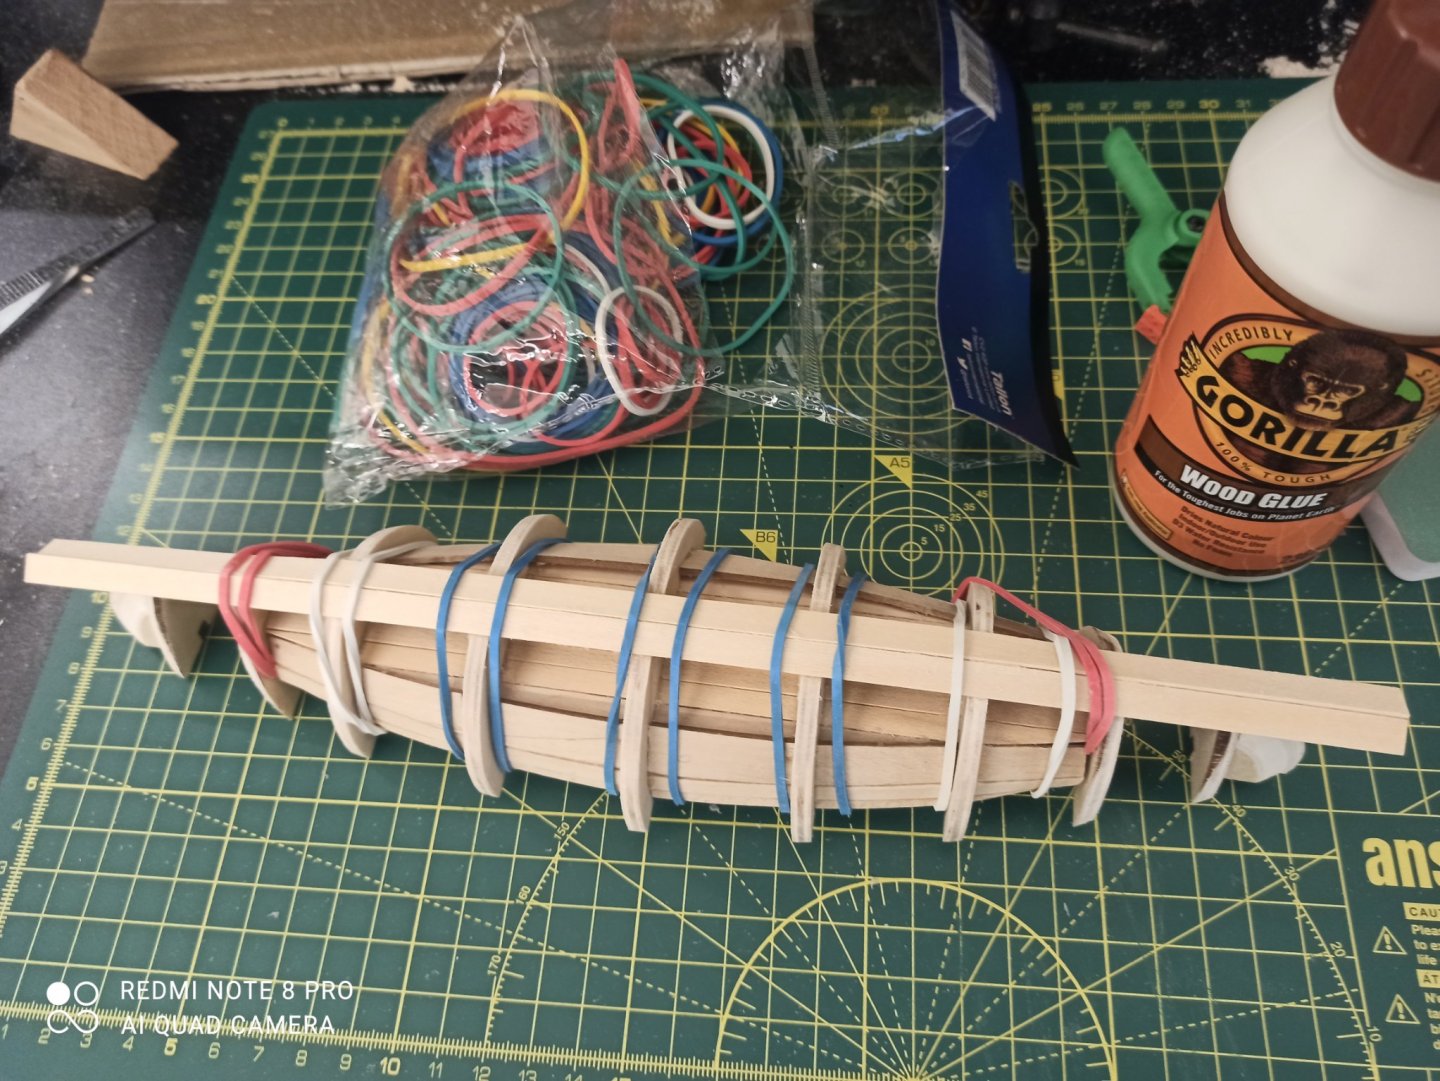
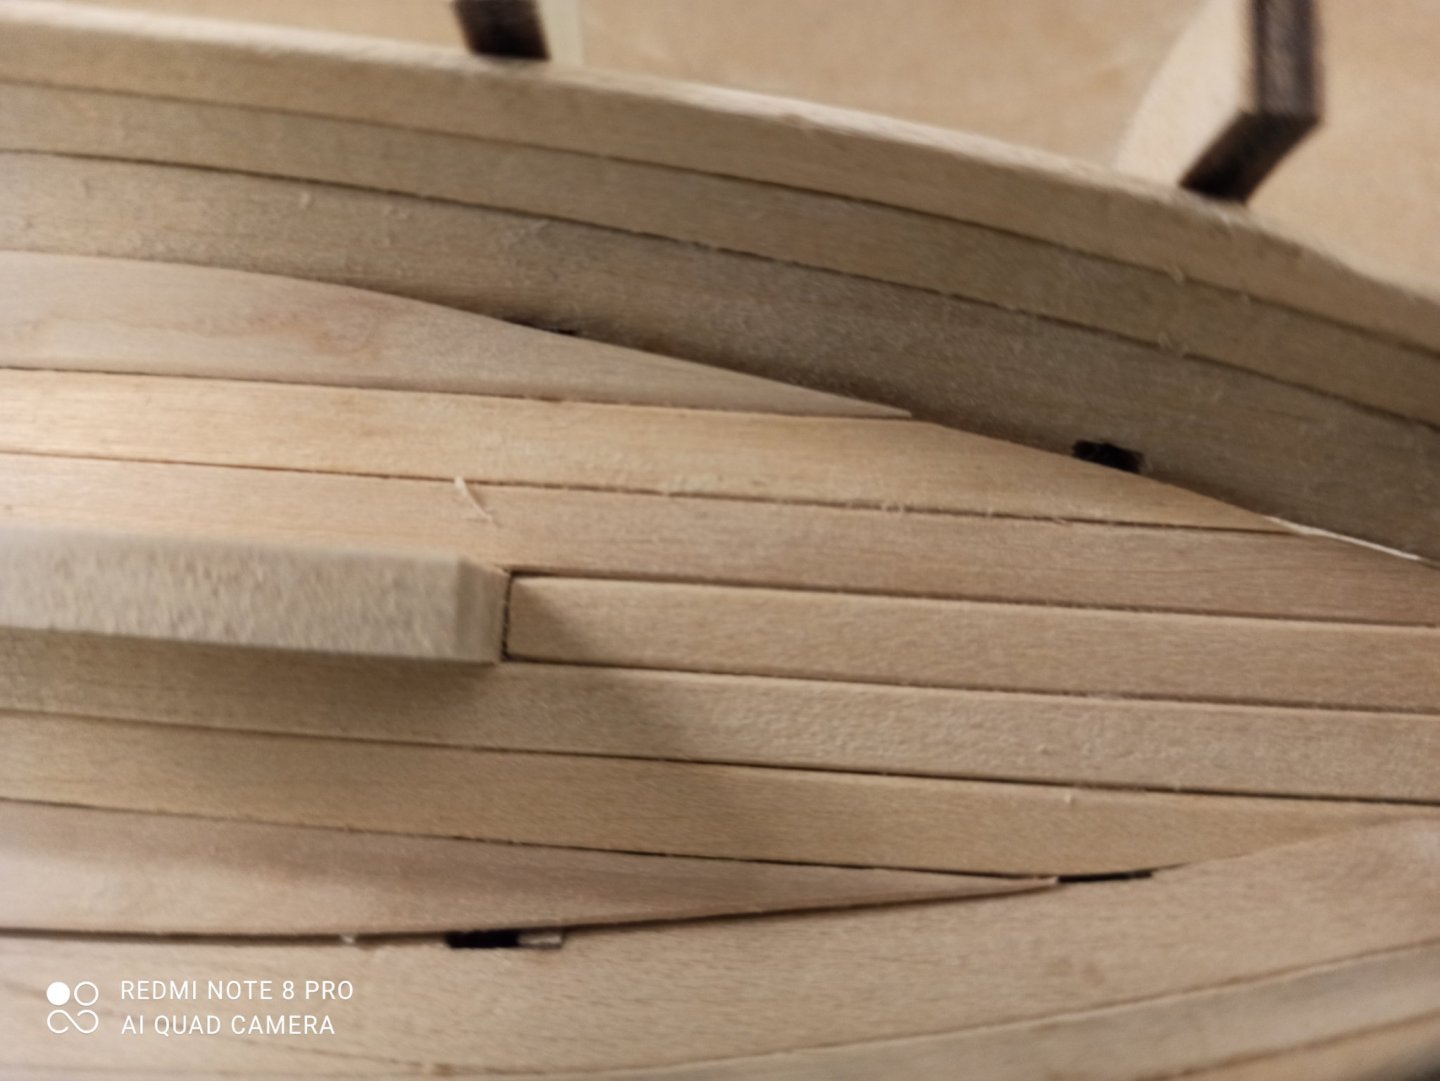
I had a setback. It was time to glue the first two external planks on. I couldn't find a clamp large enough for holding these two planks. They need to be clamped all the way through the depth of the entire boat, and sort of pushed together at the same time. So I decided to use contact adhesive for the quick drying properties and hold them with my fingers, not having enough hands I had to go through each bulkhead in turn and give it a squeeze. After 20 minutes of this I squeezed a little too tight and they fell right off, and I realised they had barely adhered at all. But now the glue had set into its feeble rubbery bond and needed reapplying. I went through the whole process again for the same thing to happen. So I had a look at modeller_massa's build log for inspiration. He used rubber bands for this step. I ordered a big bag from Amazon. The next day I sanded all the CA off both surfaces and tried again using my beloved Gorilla Wood Glue and the rubber bands. Great success! P.s. I wasn't sure whether these external planks needed bevelling. There is NO mention of doing so in the instructions, and as modeller_massa appeared not to, I didn't either.
- 66 replies
-
- 2
-
-
- Providence
- Artesania Latina
- (and 1 more)
-
Finally got the ends sharp, and the keel flat. I think I'm ready to start external plankage now.


- 66 replies
-
- 3
-
-
- Providence
- Artesania Latina
- (and 1 more)
-
And this is why not to use a rotary tool for this job.
- 66 replies
-
- 4
-
-
- Providence
- Artesania Latina
- (and 1 more)
-
So it seems from the other build log that the instructions fail to mention that you are supposed to remove the bottom of the keel. Also if I am following the other build, I should have gone even more to a point. So I have a lot more sanding to go. I will be back!
- 66 replies
-
- 2
-
-
- Providence
- Artesania Latina
- (and 1 more)
-
Not shelved at all! The next step was sanding the sort of overall curve shape to the bulkheads. It took ages! I would pick it up, do a little sanding, put it down again. There was a lot of material to take off. And that every slow unfocused approach took basically two weeks. I'm about to apply the first two outer planks, and a little confused by the instructions. Will seek out some other build logs and return.
-
Fentone reacted to a post in a topic:
Providence by Fentone - Artesania Latina - 1:25 - New England whaleboat
-
I have issues. Started the side planks too high so now have these ugly holes. The Admiral says "That's alright, those are holes to drain the water". I don't like them. But can live with them if necessary. Any solution ideas? Putty of some kind? P.s. note to self in the future: could have easily prevented this at floor planking stage by some strips on the bulkheads to raise the floor.
- 66 replies
-
- 1
-
-
- Providence
- Artesania Latina
- (and 1 more)
-
An staggering attention to detail, Mike. The 'nails' look terrific, and I really like the color scheme.
-
That hull looks delicious, Bradley.