Ken_2
NRG Member-
Posts
137 -
Joined
-
Last visited
About Ken_2

- Birthday 09/21/1949
Profile Information
-
Gender
Male
-
Interests
Sailing, Hiking, Photography, Family, Christianity, Chess, Go, Electronic design.
Recent Profile Visitors
-
 mugje reacted to a post in a topic:
Fifie by Ken_2 – FINISHED - Amati/Victory Models – 1:32 - Scottish Motor Fishing Vessel
-
 Dsmith20639 reacted to a post in a topic:
Fifie by Ken_2 – FINISHED - Amati/Victory Models – 1:32 - Scottish Motor Fishing Vessel
-
Thanks all for your encouragement. That is very kind. As Dsmith points out, I do have a YouTube channel with this very build, if you are interested.
-
 Ken_2 reacted to a post in a topic:
Fifie by Ken_2 – FINISHED - Amati/Victory Models – 1:32 - Scottish Motor Fishing Vessel
-
 Ken_2 reacted to a post in a topic:
Fifie by Ken_2 – FINISHED - Amati/Victory Models – 1:32 - Scottish Motor Fishing Vessel
-
 Ken_2 reacted to a post in a topic:
Fifie by Ken_2 – FINISHED - Amati/Victory Models – 1:32 - Scottish Motor Fishing Vessel
-
 Ken_2 reacted to a post in a topic:
Fifie by Ken_2 – FINISHED - Amati/Victory Models – 1:32 - Scottish Motor Fishing Vessel
-
 Ken_2 reacted to a post in a topic:
Fifie by Ken_2 – FINISHED - Amati/Victory Models – 1:32 - Scottish Motor Fishing Vessel
-
 Ken_2 reacted to a post in a topic:
Fifie by Ken_2 – FINISHED - Amati/Victory Models – 1:32 - Scottish Motor Fishing Vessel
-
 SiriusVoyager reacted to a post in a topic:
Fifie by Ken_2 – FINISHED - Amati/Victory Models – 1:32 - Scottish Motor Fishing Vessel
-
 Ryland Craze reacted to a post in a topic:
Fifie by Ken_2 – FINISHED - Amati/Victory Models – 1:32 - Scottish Motor Fishing Vessel
-
 Rik Thistle reacted to a post in a topic:
Fifie by Ken_2 – FINISHED - Amati/Victory Models – 1:32 - Scottish Motor Fishing Vessel
-
 Knocklouder reacted to a post in a topic:
Fifie by Ken_2 – FINISHED - Amati/Victory Models – 1:32 - Scottish Motor Fishing Vessel
-
 mugje reacted to a post in a topic:
Fifie by Ken_2 – FINISHED - Amati/Victory Models – 1:32 - Scottish Motor Fishing Vessel
-
 Macika reacted to a post in a topic:
Fifie by Ken_2 – FINISHED - Amati/Victory Models – 1:32 - Scottish Motor Fishing Vessel
-
 Macika reacted to a post in a topic:
Fifie by Ken_2 – FINISHED - Amati/Victory Models – 1:32 - Scottish Motor Fishing Vessel
-
 Macika reacted to a post in a topic:
Fifie by Ken_2 – FINISHED - Amati/Victory Models – 1:32 - Scottish Motor Fishing Vessel
-
 Ken_2 reacted to a post in a topic:
Fifie by Ken_2 – FINISHED - Amati/Victory Models – 1:32 - Scottish Motor Fishing Vessel
-
 Ken_2 reacted to a post in a topic:
Fifie by Ken_2 – FINISHED - Amati/Victory Models – 1:32 - Scottish Motor Fishing Vessel
-
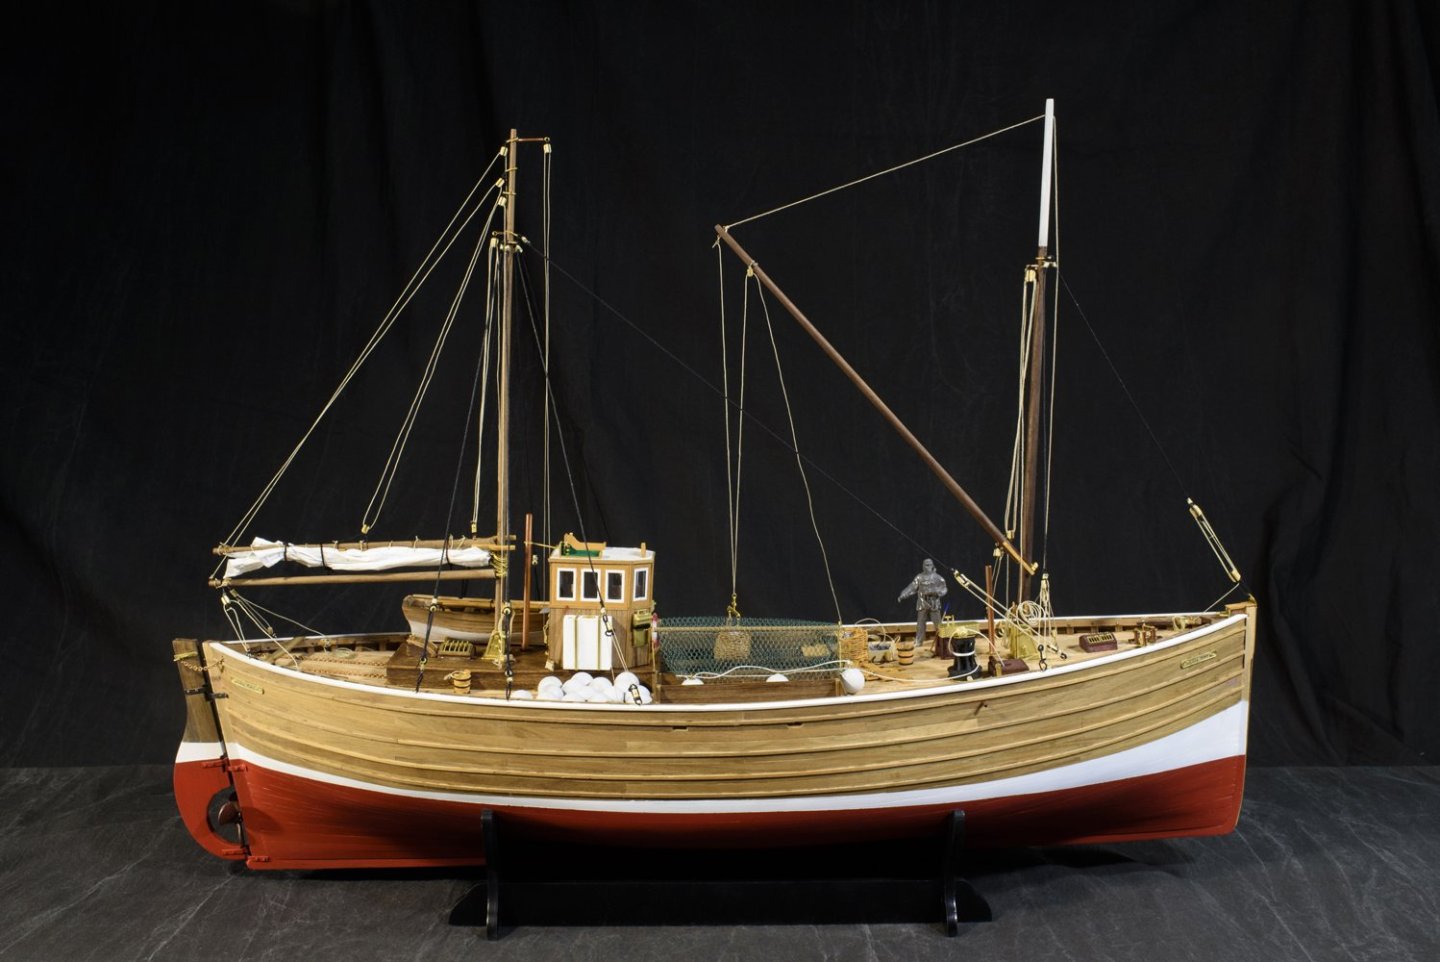
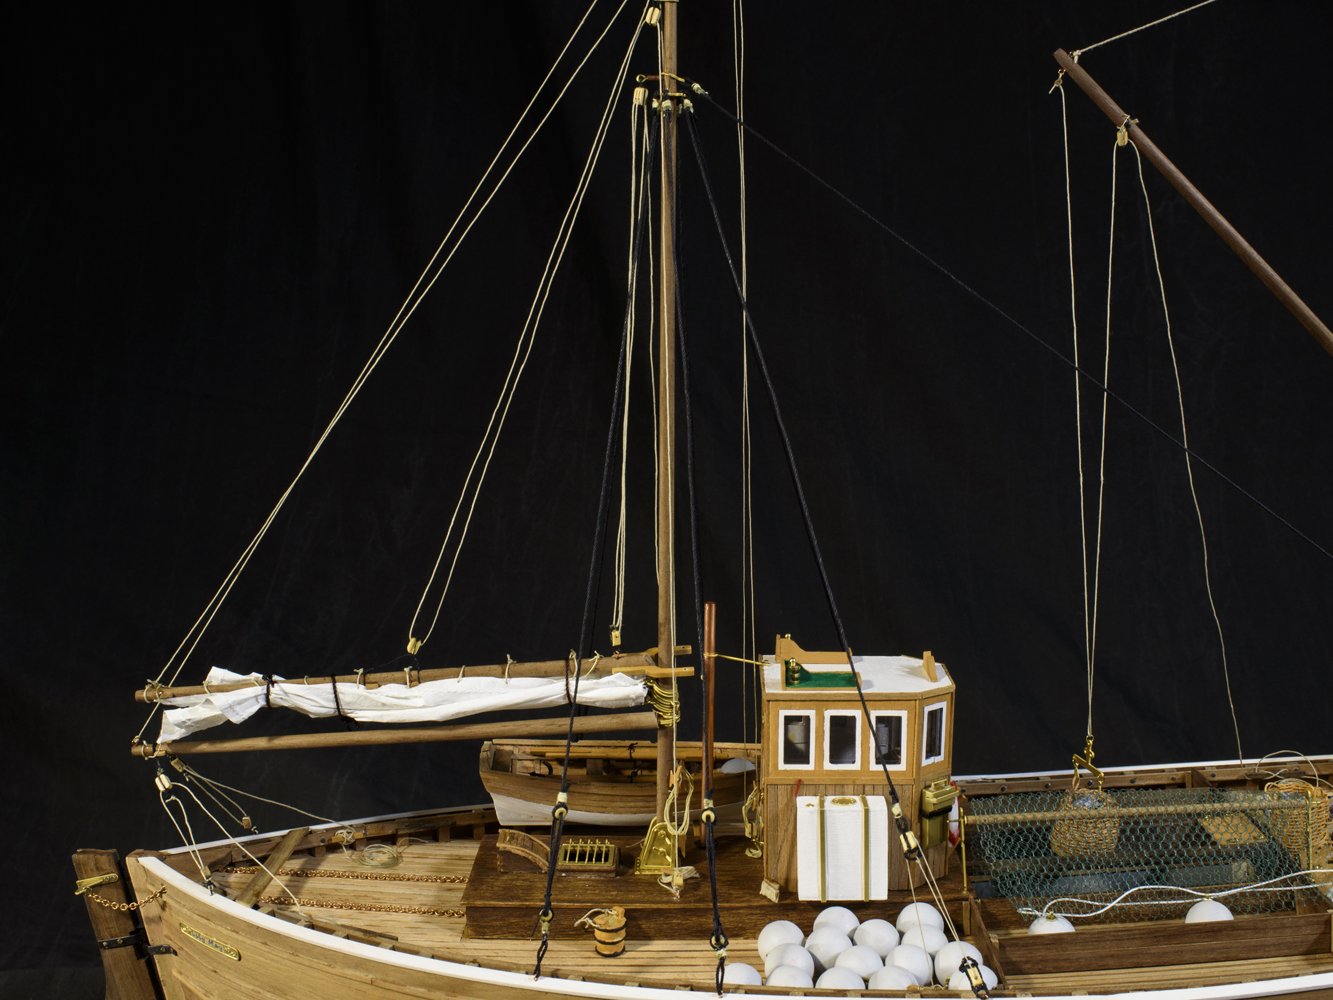
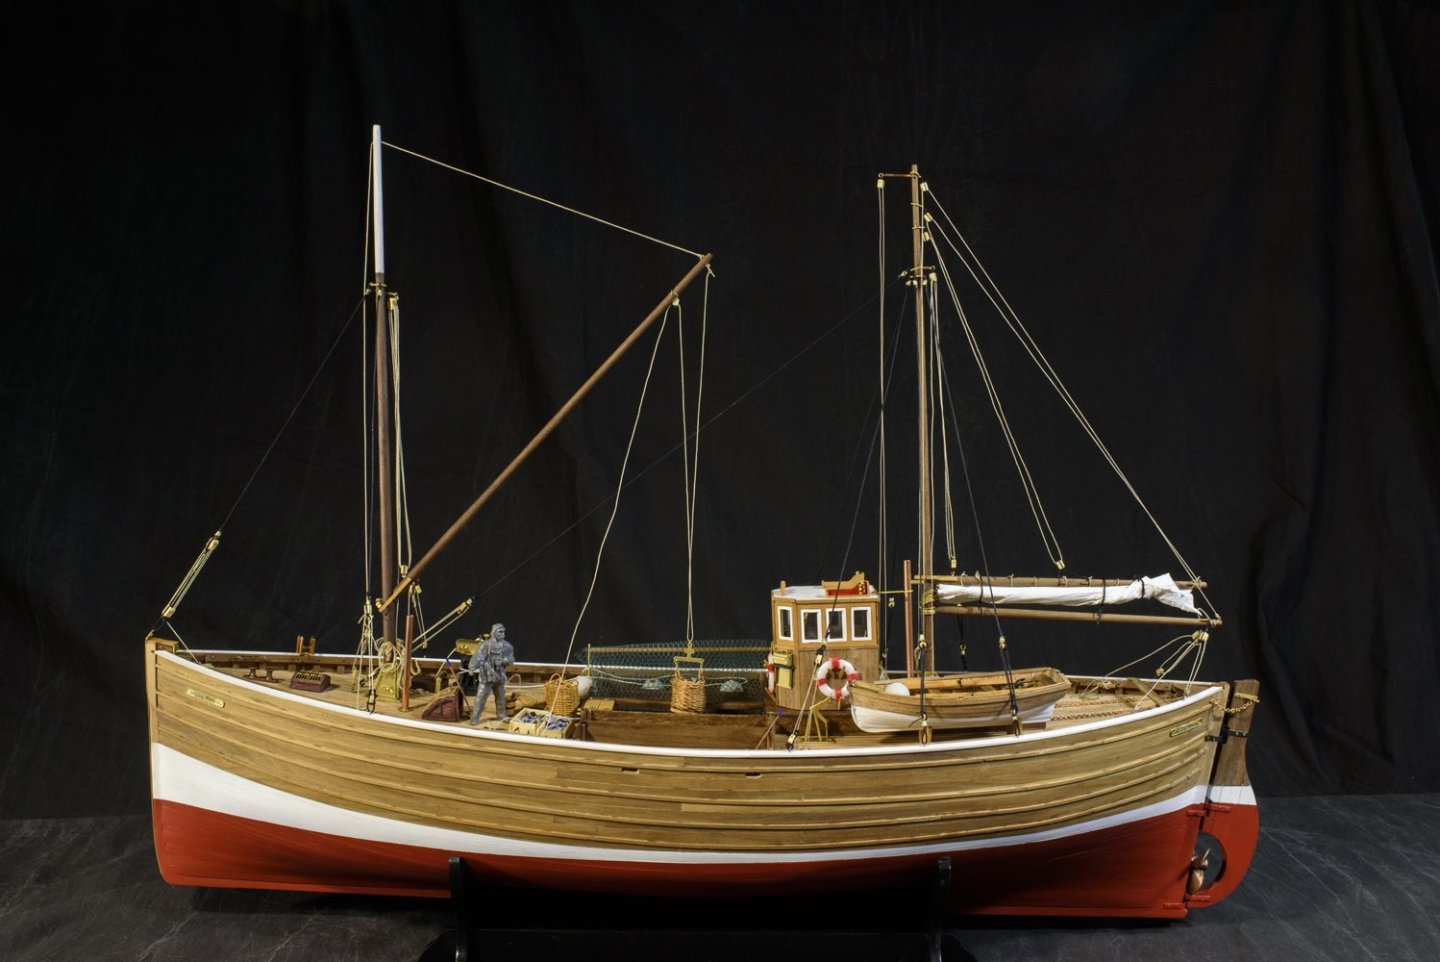
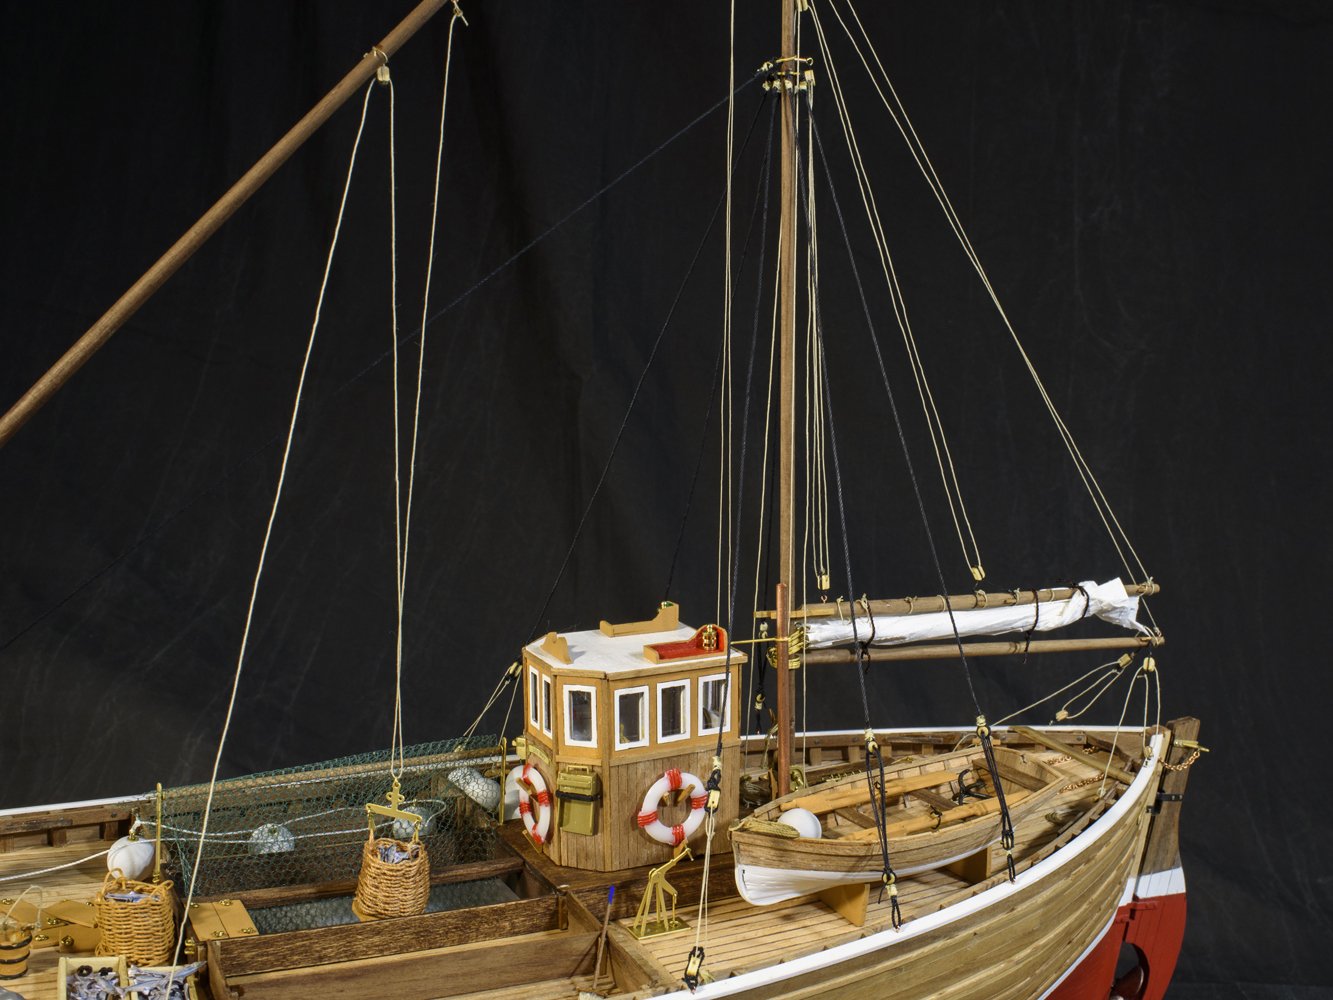
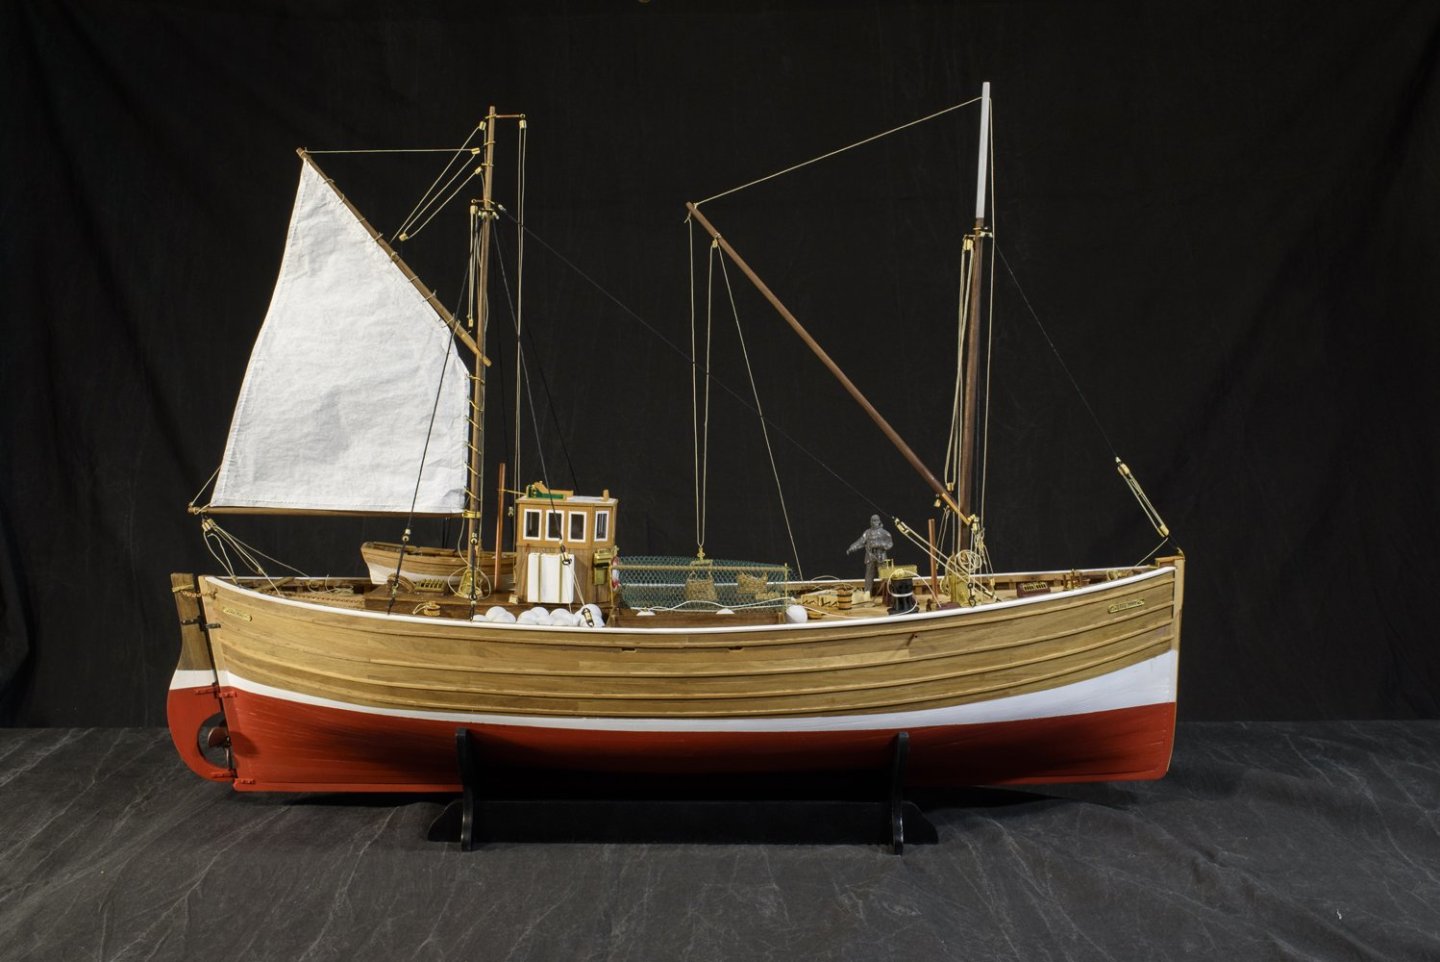
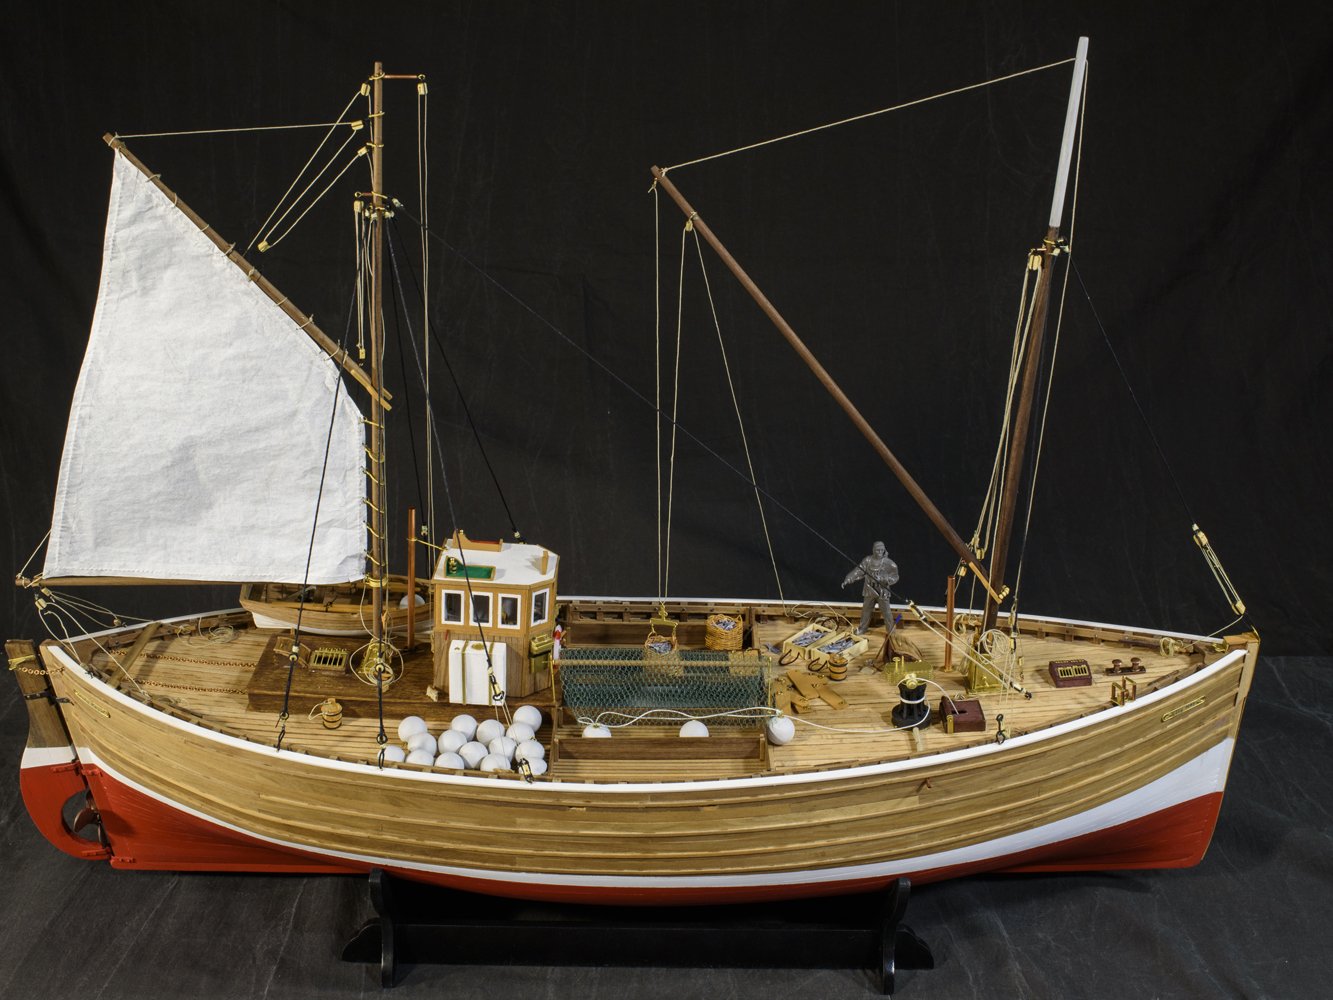
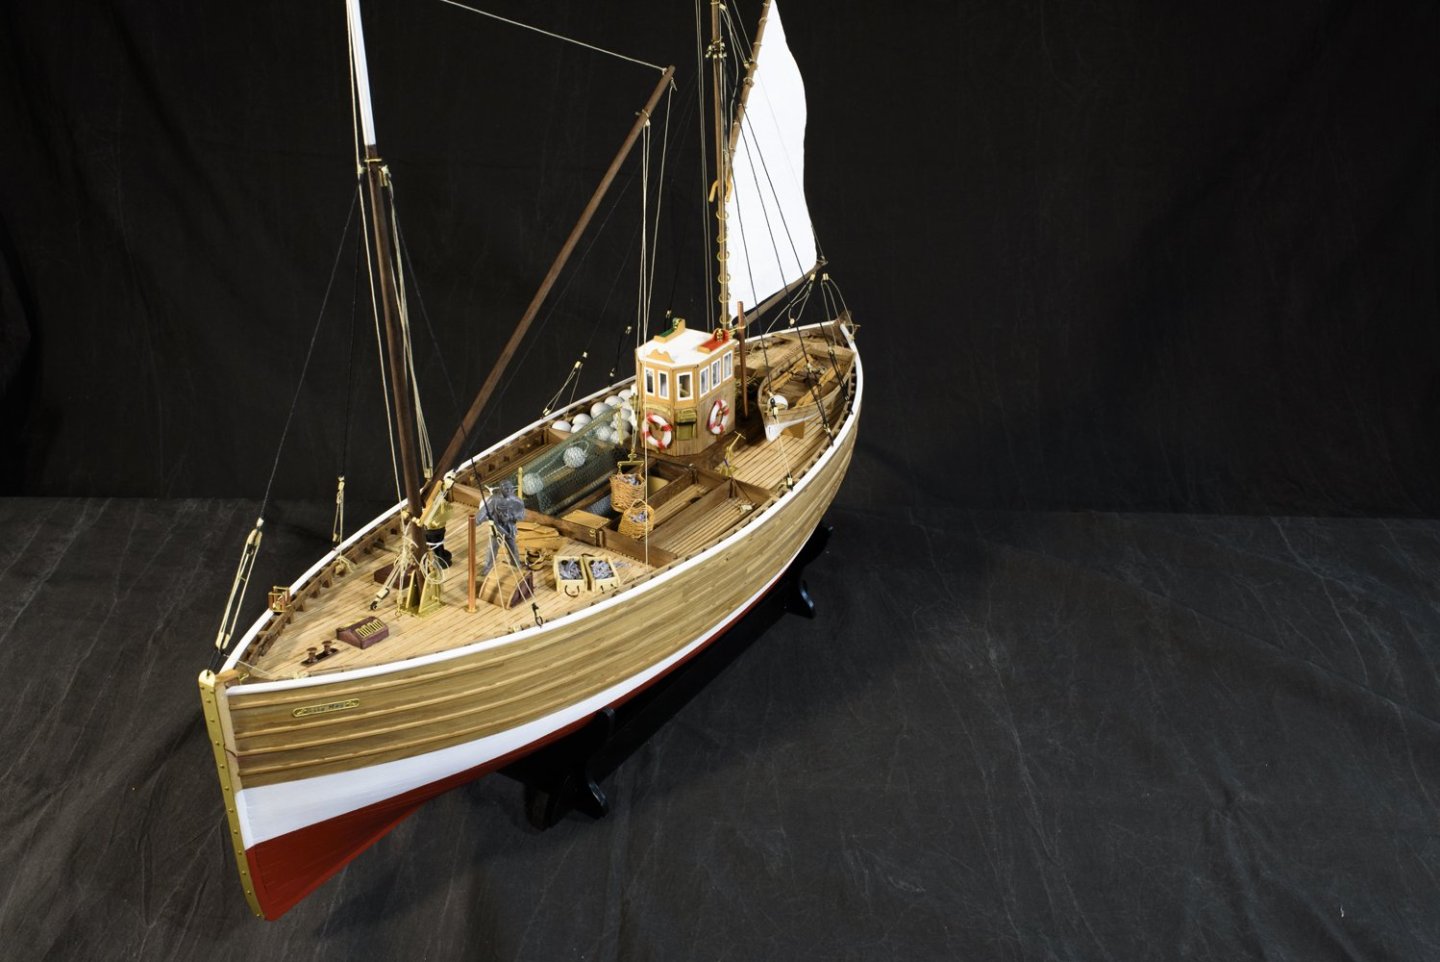
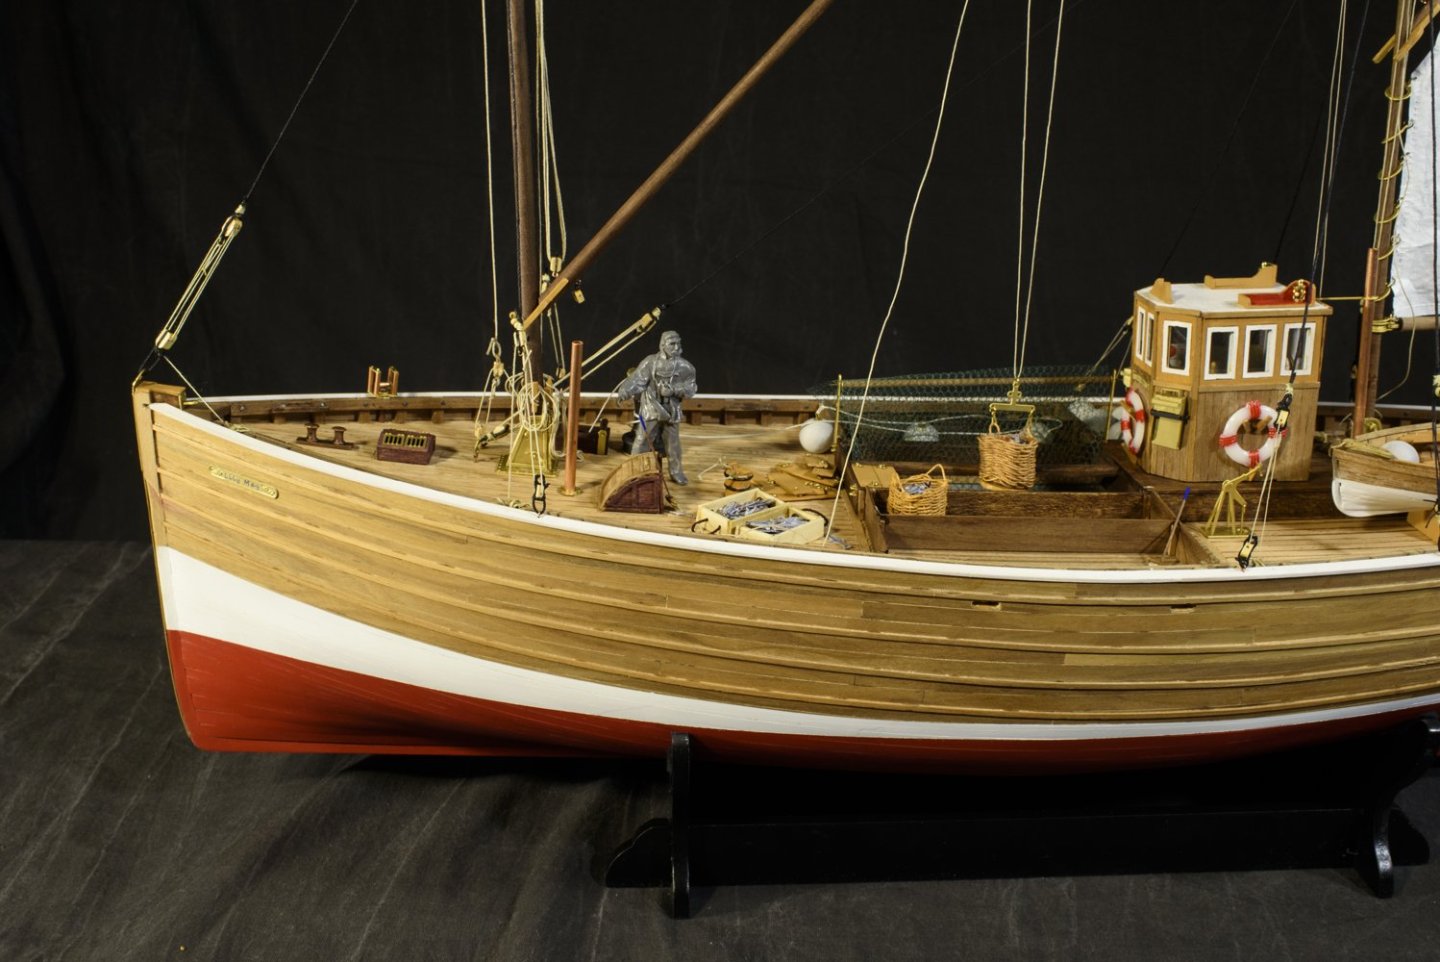
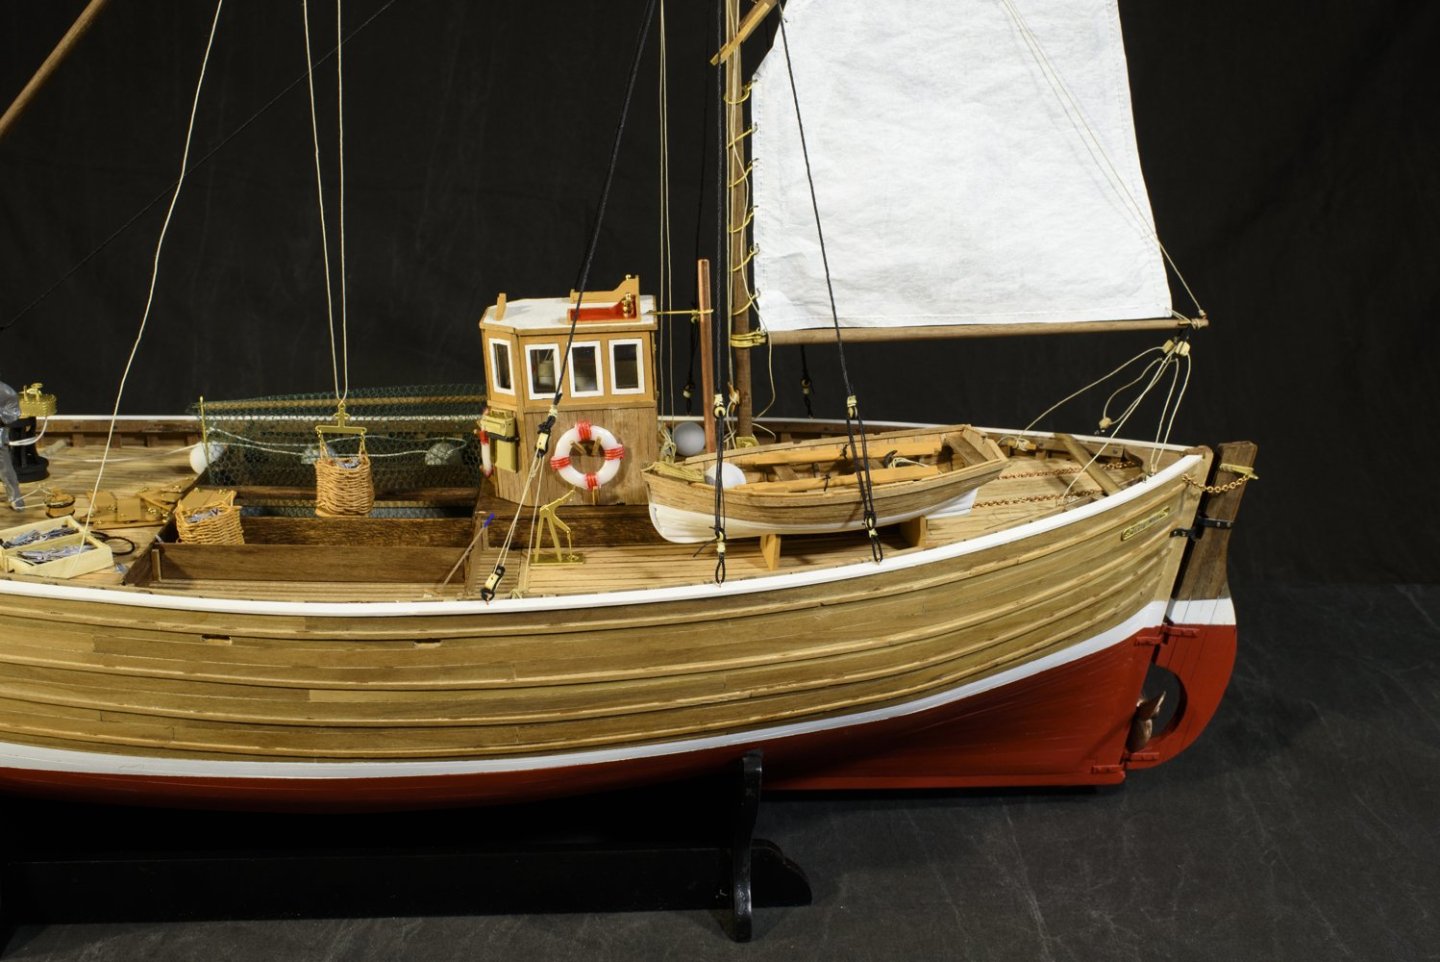
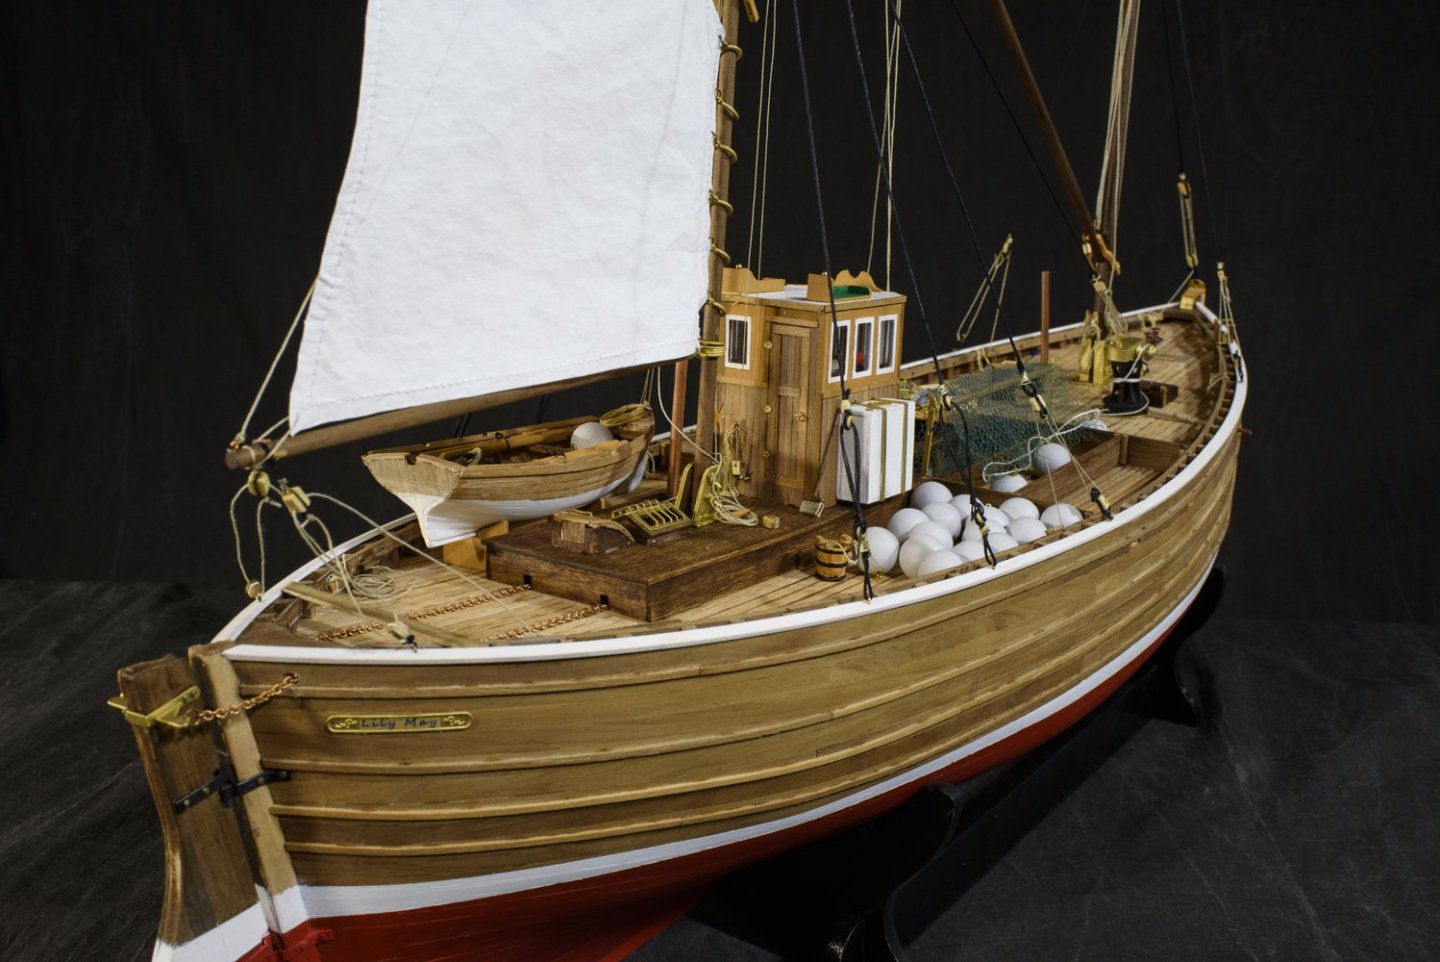
Thats it, I have completed the build, and I think the furled sail is the pose I will display this boat. I sure appreciate this forum for all the information it provides. And especially those people who built their Fifie's before me or are in work building theirs now. It is an inspiring community, and all are very talented. I get better with each kit I build - but looking at other builds I see even better skills. All the insight, tips and examples continue to inform me of how to be better. Also, thanks for all the comments as they are encouraging. God bless you all, and thanks again. - Ken
-
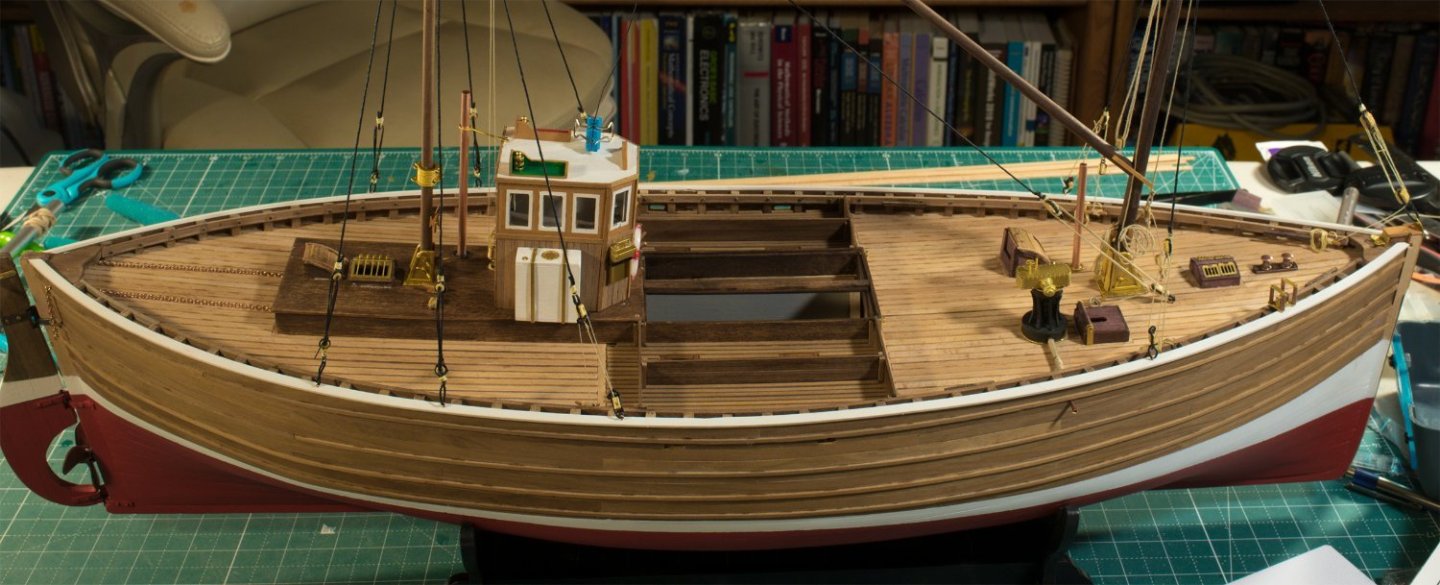
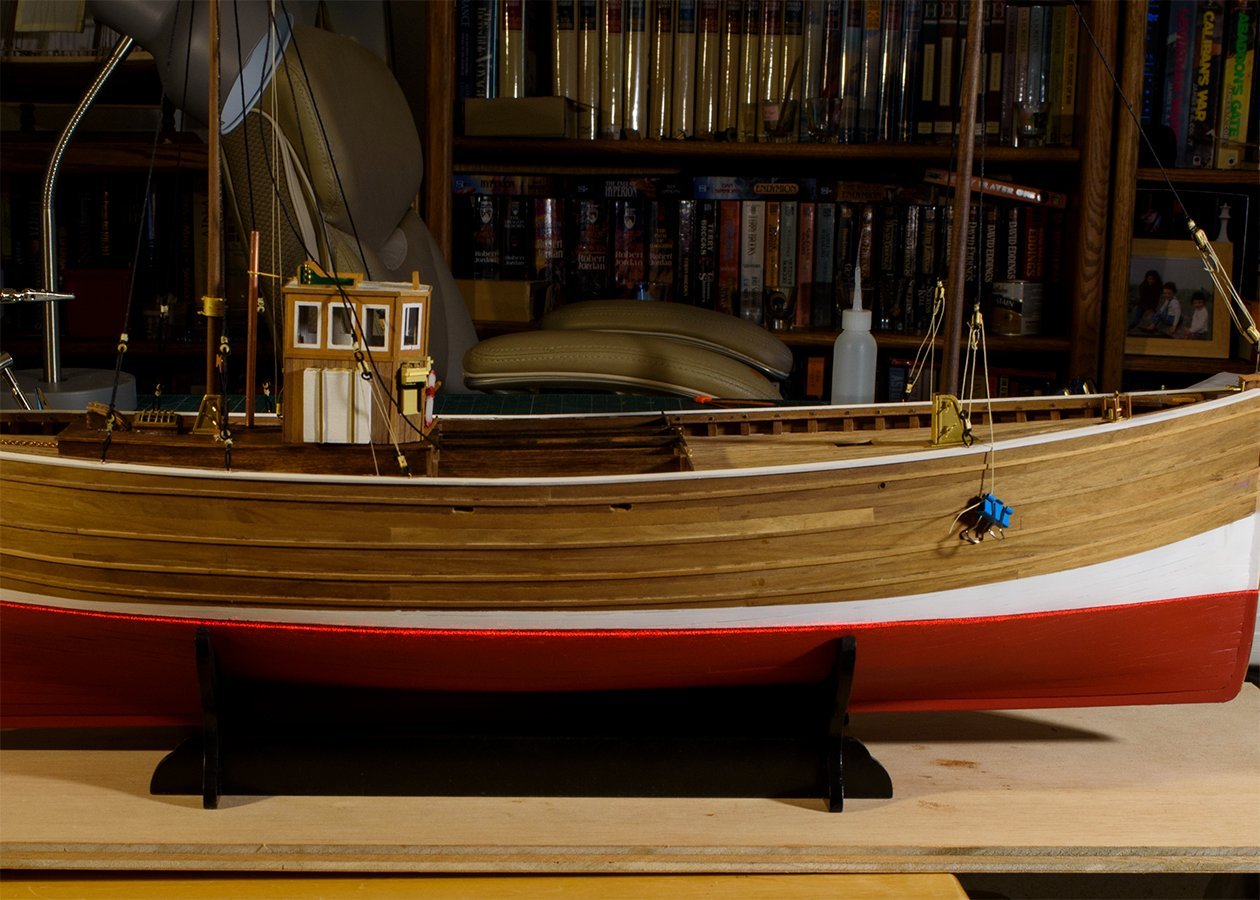
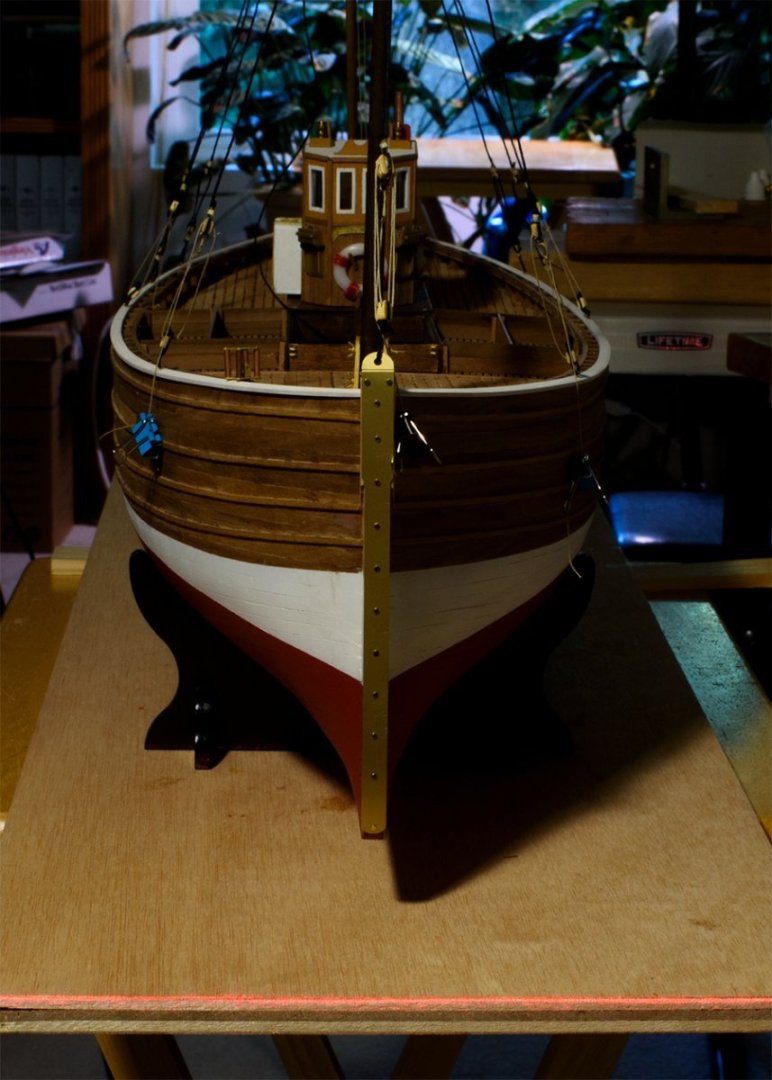
I have assembled the boat, as you can see in the following pictures. Next I will furl the sail and display it furled. Later this summer I will paint the captain and build a display case, neither of which I have done before. Thus the next post with furled a furled sail will conclude this build log. 🙂
-
 Ken_2 reacted to a post in a topic:
Fifie by Ken_2 – FINISHED - Amati/Victory Models – 1:32 - Scottish Motor Fishing Vessel
-
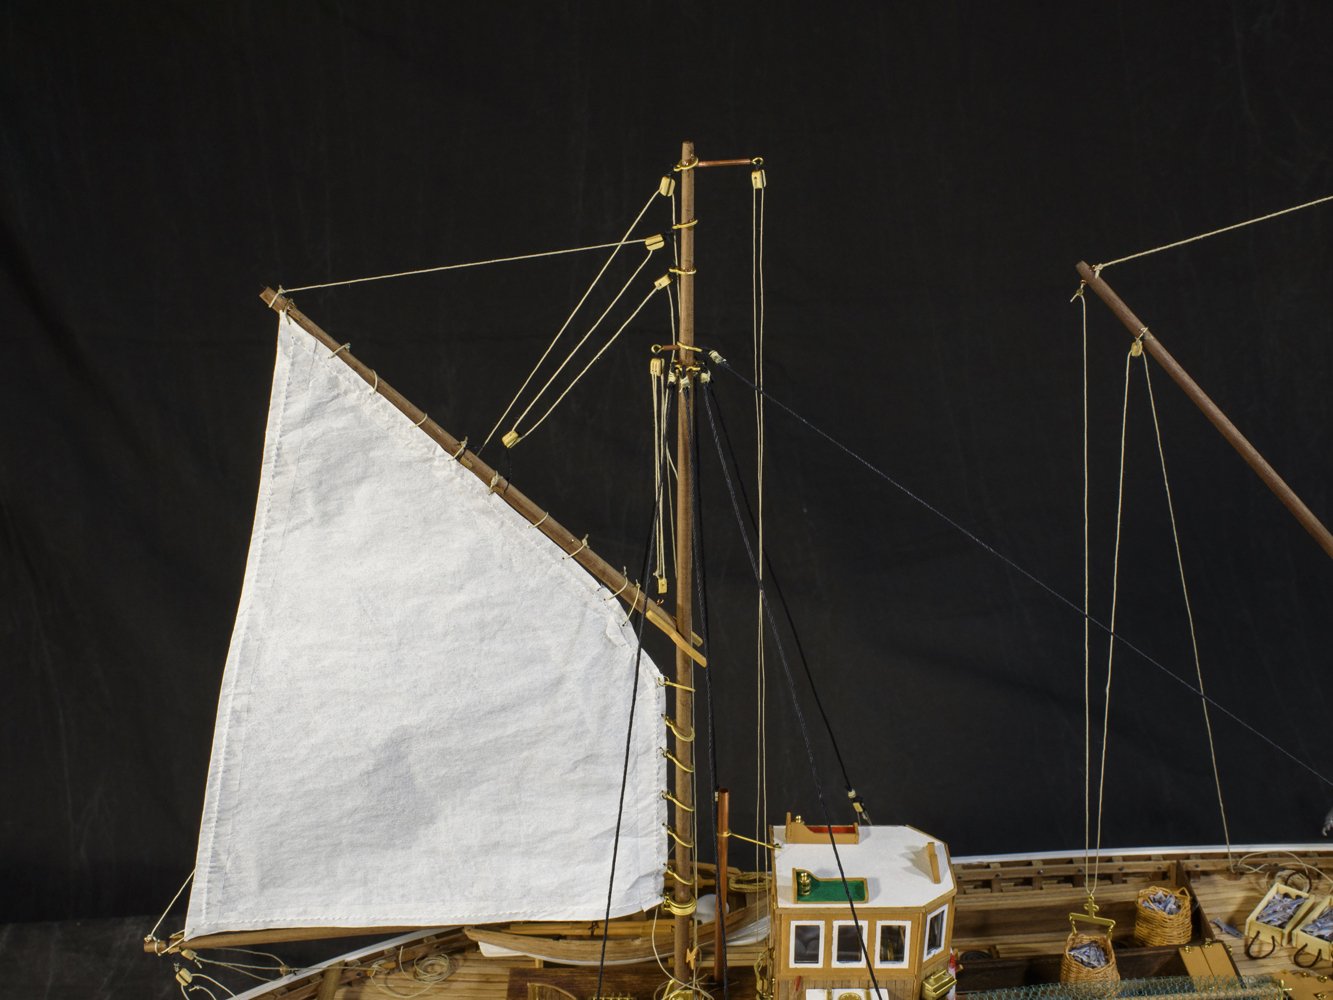
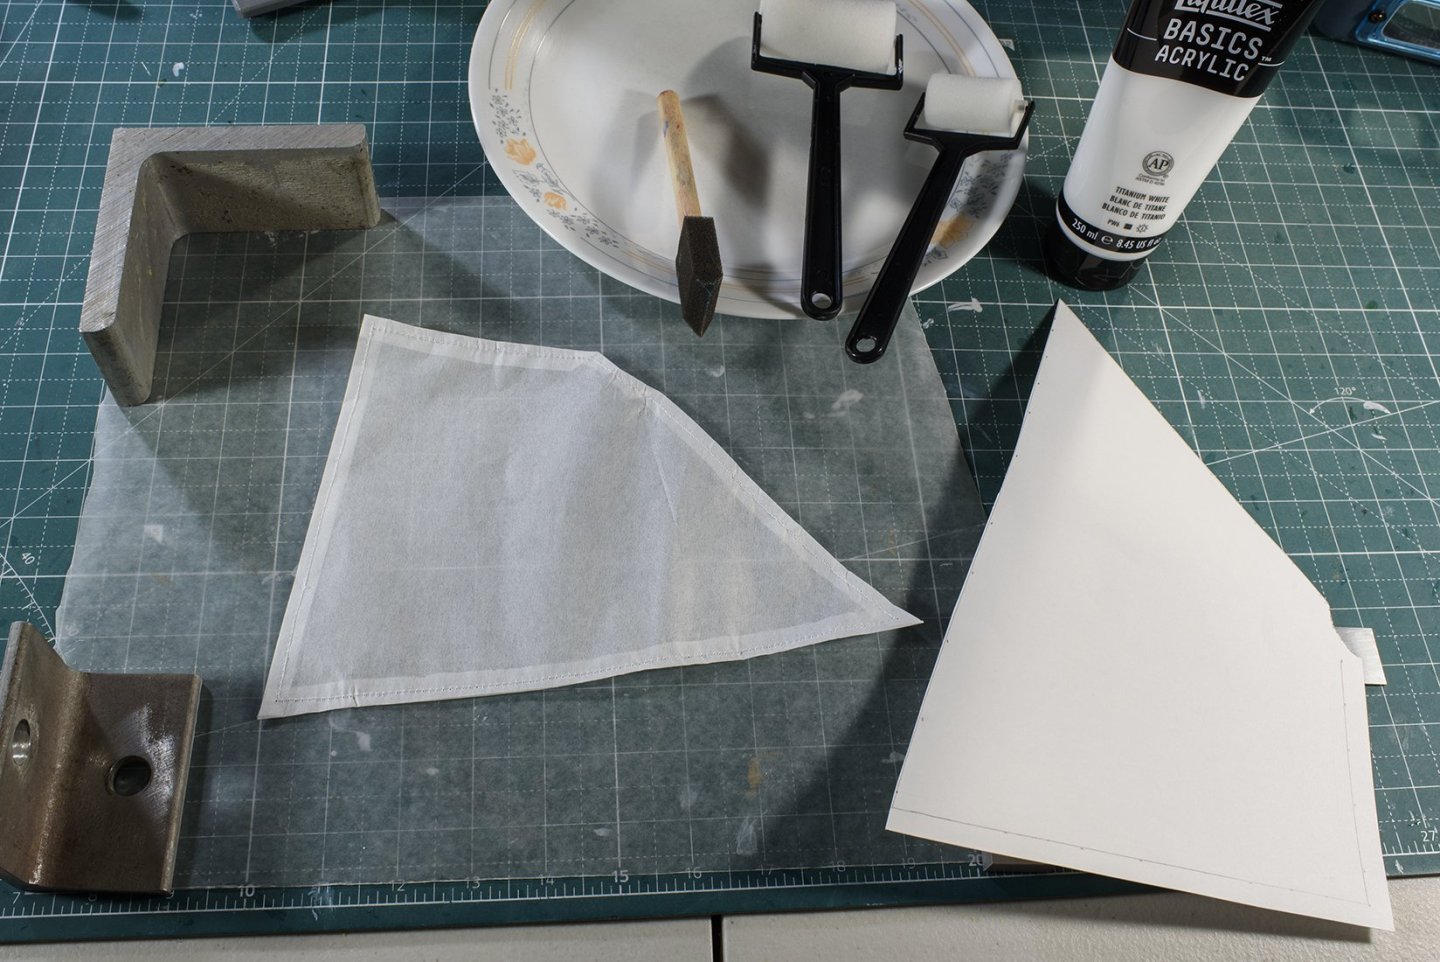
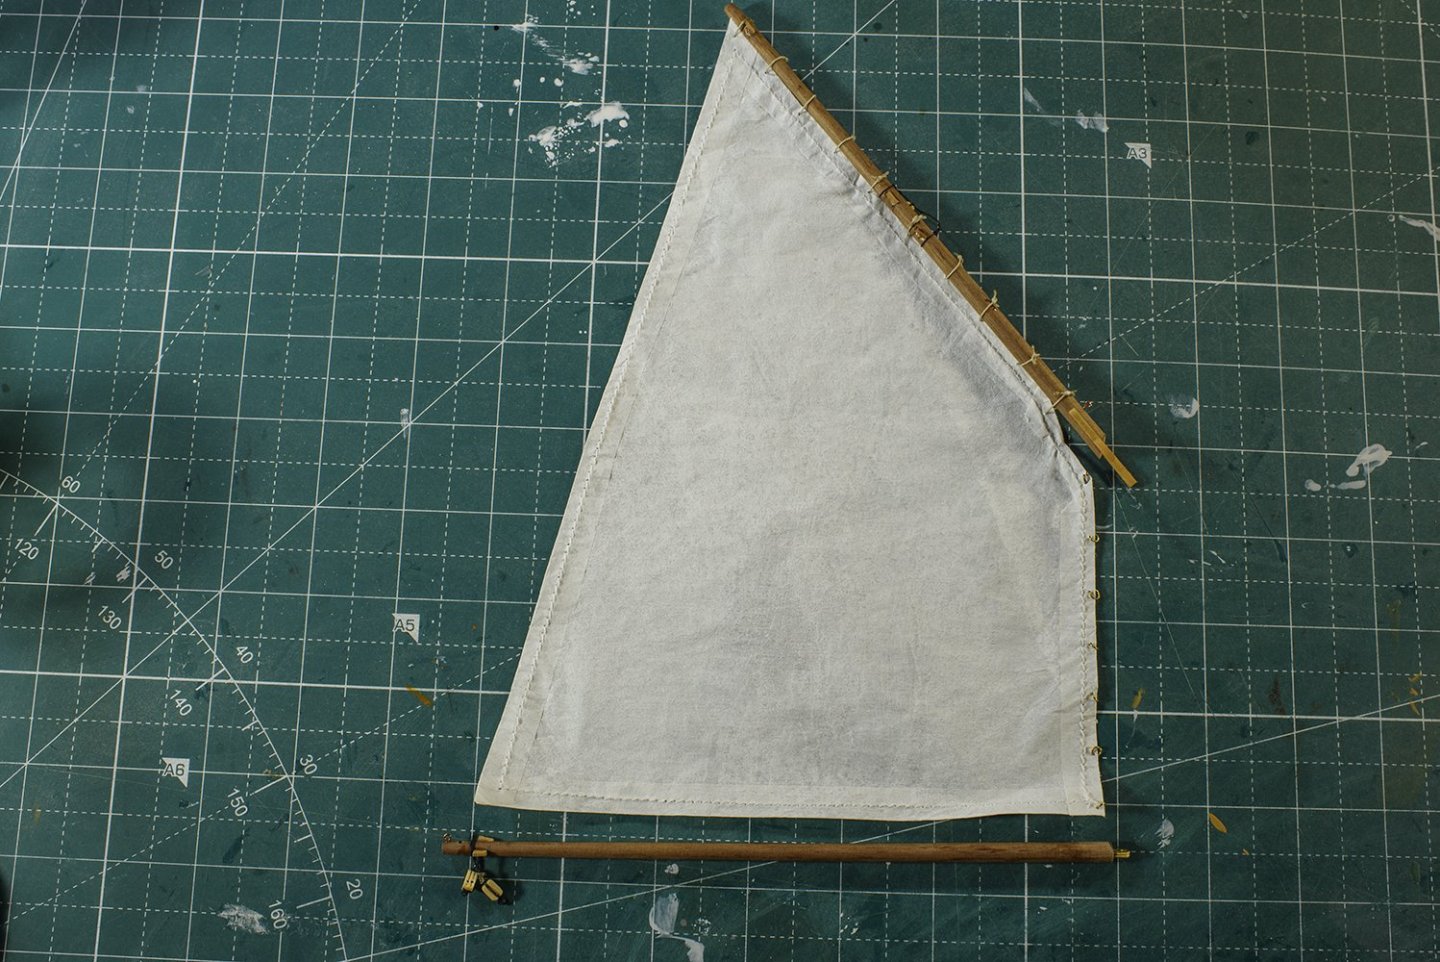
Next, I tackled the aft sail (as the fore mast will be rigged as a derrick). I liked what Tom Lauria said and showed on his YouTube channel, “Making Sails for Ship Models from Silkspan, Parts 1, 2”. I’ve been wanting to learn how to make more realistic sails. Since the cloth provided in our kit was a bit thick and coarse for me, I took the chance to learn more about sails. Tom stated that Silkspan is thinner than cloth and comes closest to real scale canvas and is equally suited for furled sails. All my model boats are display with all sails aloft. So, again, I am taking this opportunity to learn how to furl my model sails. Tom’s instructions are very clear, so I won’t repeat them here. I will say I have always had problems following instructions, and this is no exception. His video shows that he painted the silkspan before he cut the sail out. I cut the sail first, but the result turned out good anyway. He also showed using strips for the edge seams. But I had my wife sew the edges, as I am familiar with this “look” and it was easier for me (she did the work!) Below, on the right is a cardboard cutout derived from the drawings. To the left is my silkspan sail with the sides sewed. The upper part of the picture shows the Titanium acrylic and the foam application rollers he used in his video. Silkspan is a paper product which is sold under many names and was hard for me to find. But I found some on the internet from a model airplane kit manufacturer, Sig Manufacturing. I bought SILKSPAN TISSUE GM [MEDIUM] [Pk of 6 sheets]. Of course, after re-reading Tom’s YouTube description, I see he lists Bluejacket Shipcrafters as providing it as well. The next picture shows the painted sail with those miserable 3mm rings. Since the sail is paper, I am being very careful not to tear it. I am giving some thought on how to mate these smaller sail rings to the larger mast rings. This may be tricky! I plan to take some pictures with the sail hoisted, and then permanently furl the sail for display.
-
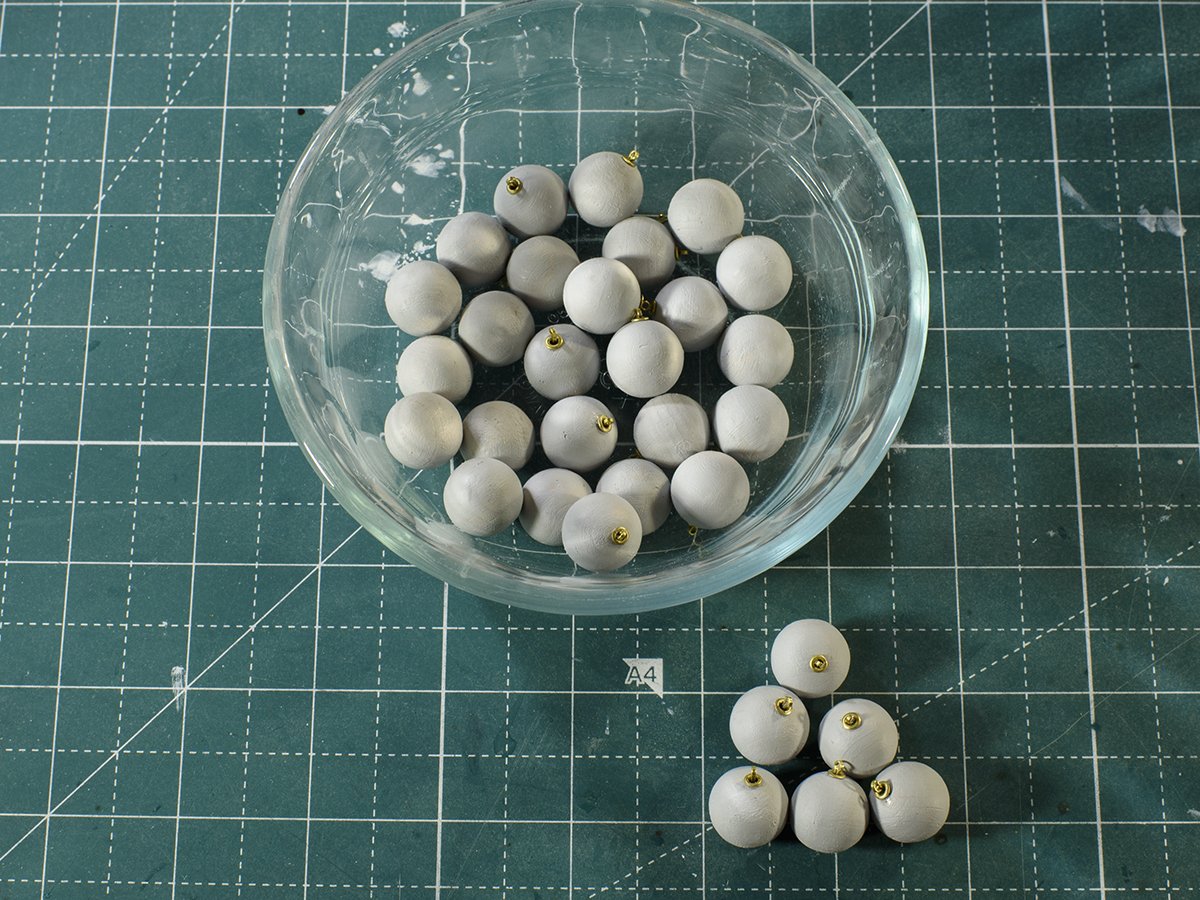
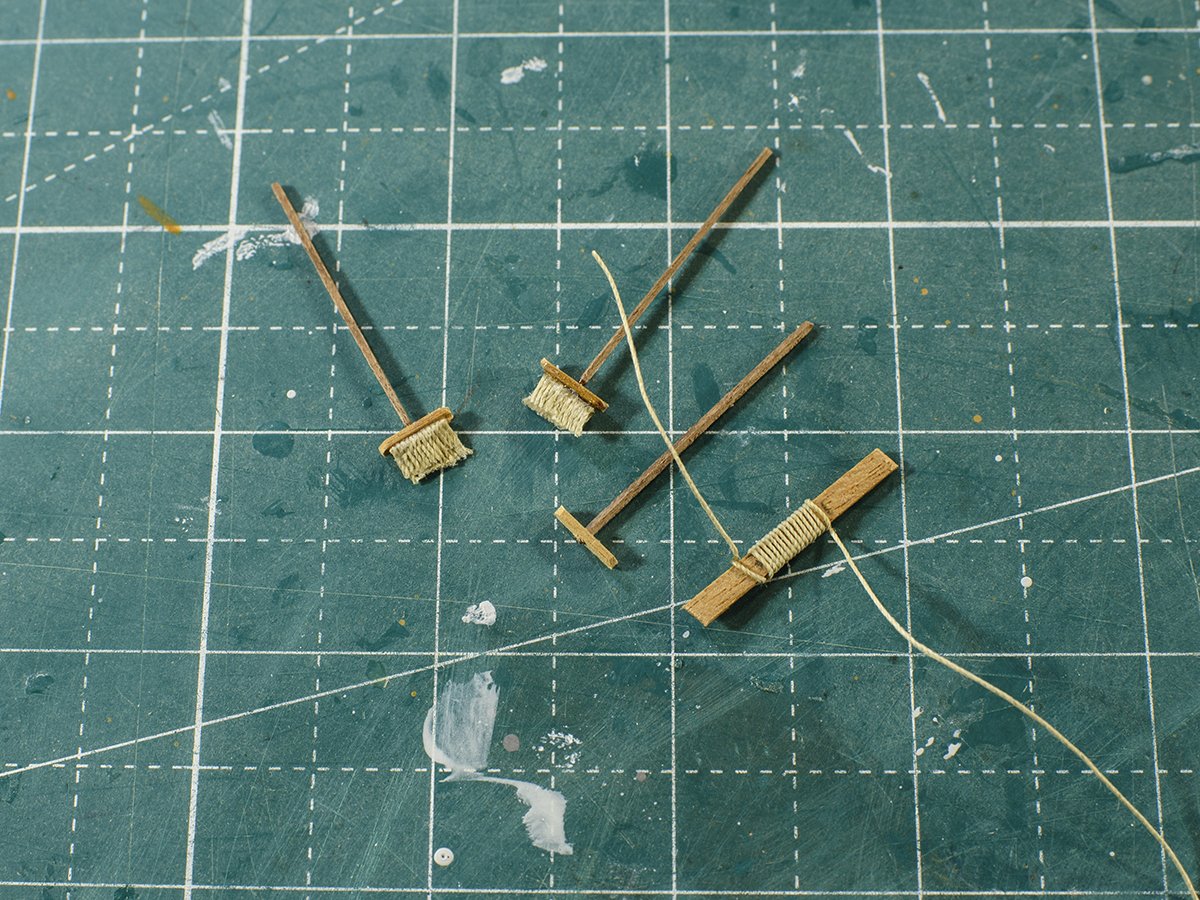
I am heading into the “home stretch”. I finished the 31 net floats, and I am working on the brooms. These were tricky, and it took me several tries to get some decent looking brooms. As you can see below, I have two brooms, and a third in work. But some of the broom bristles (thread) on the finished ones look funky. I will keep making more until I get 3 that are at least good on one side.
-
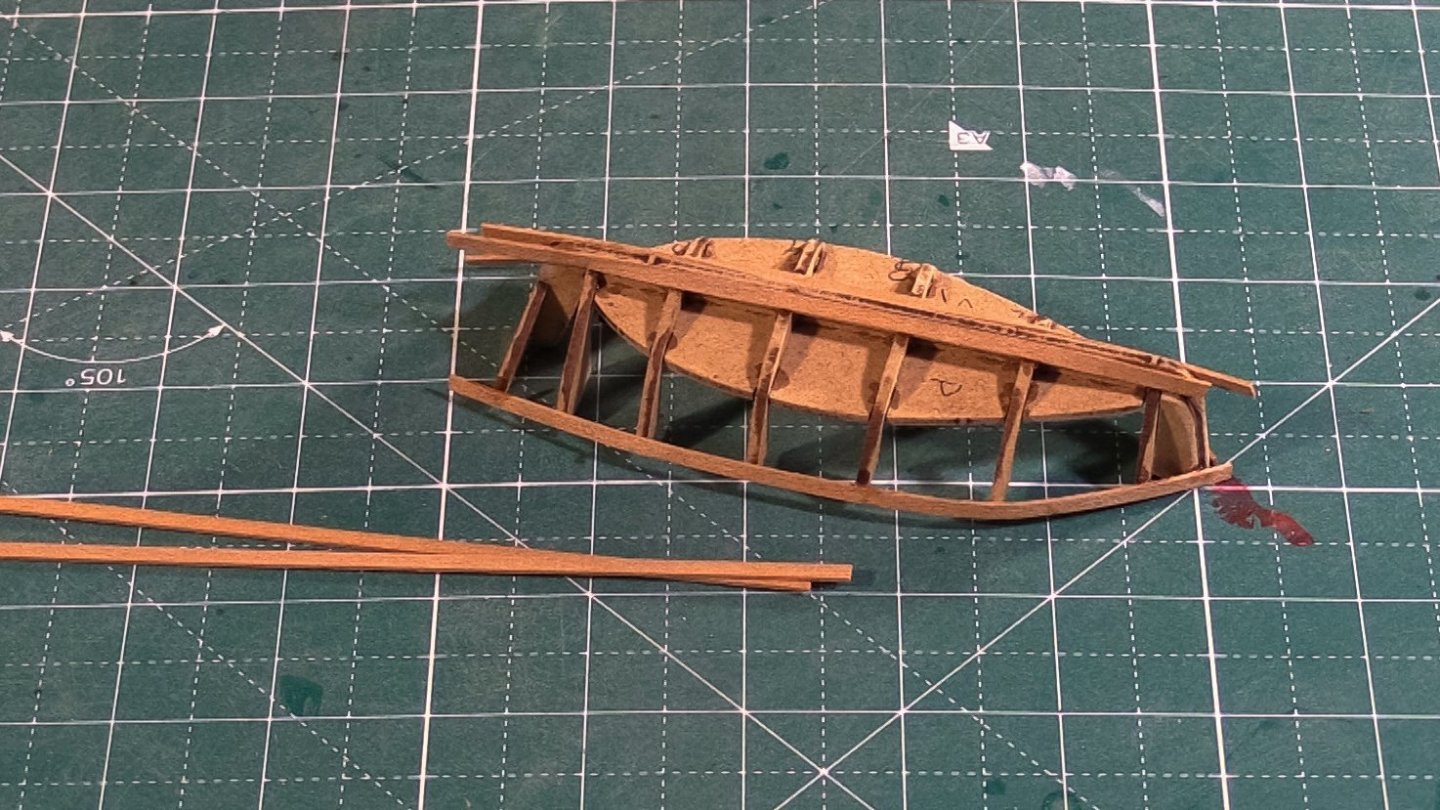
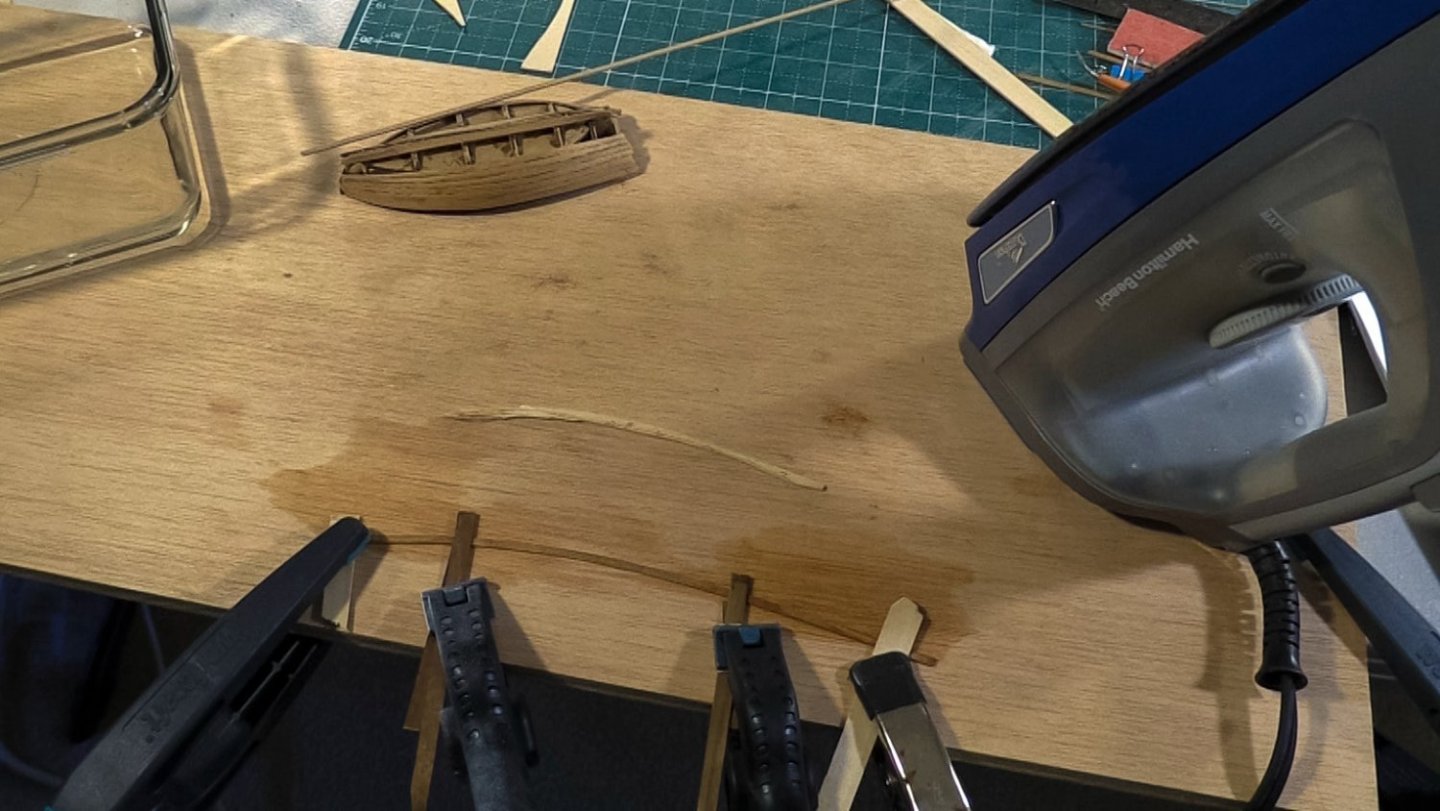
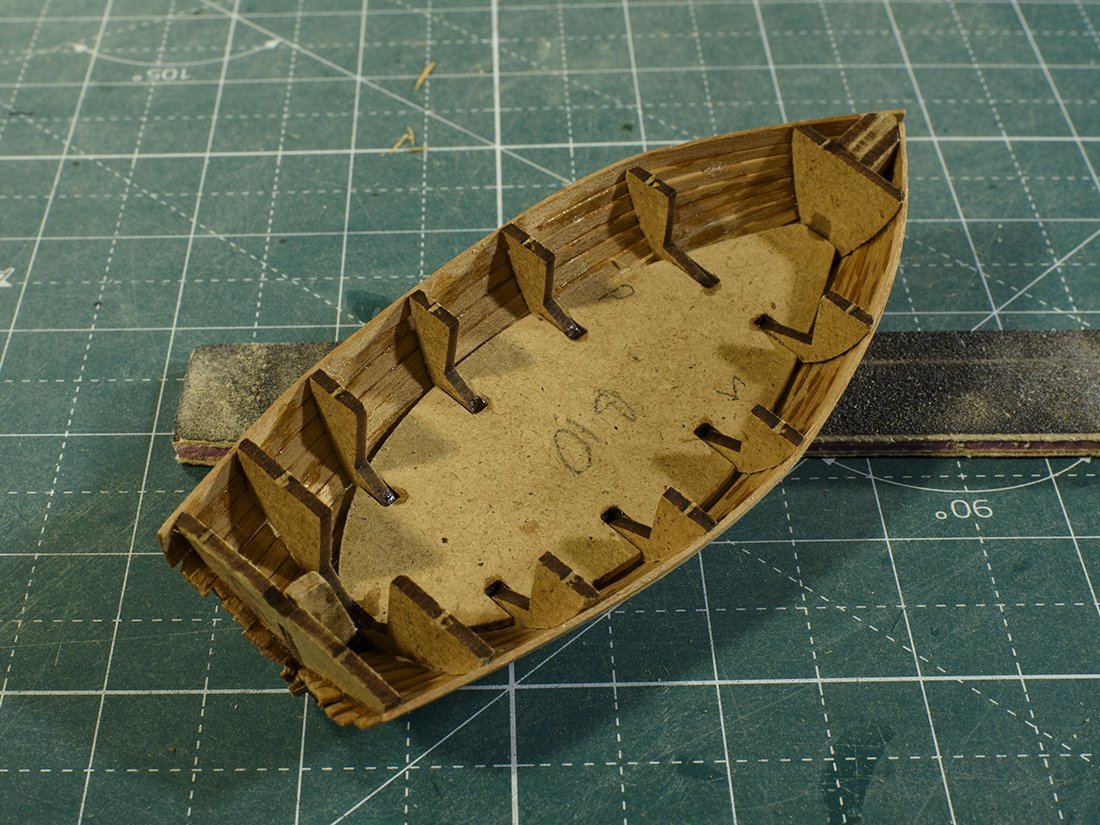
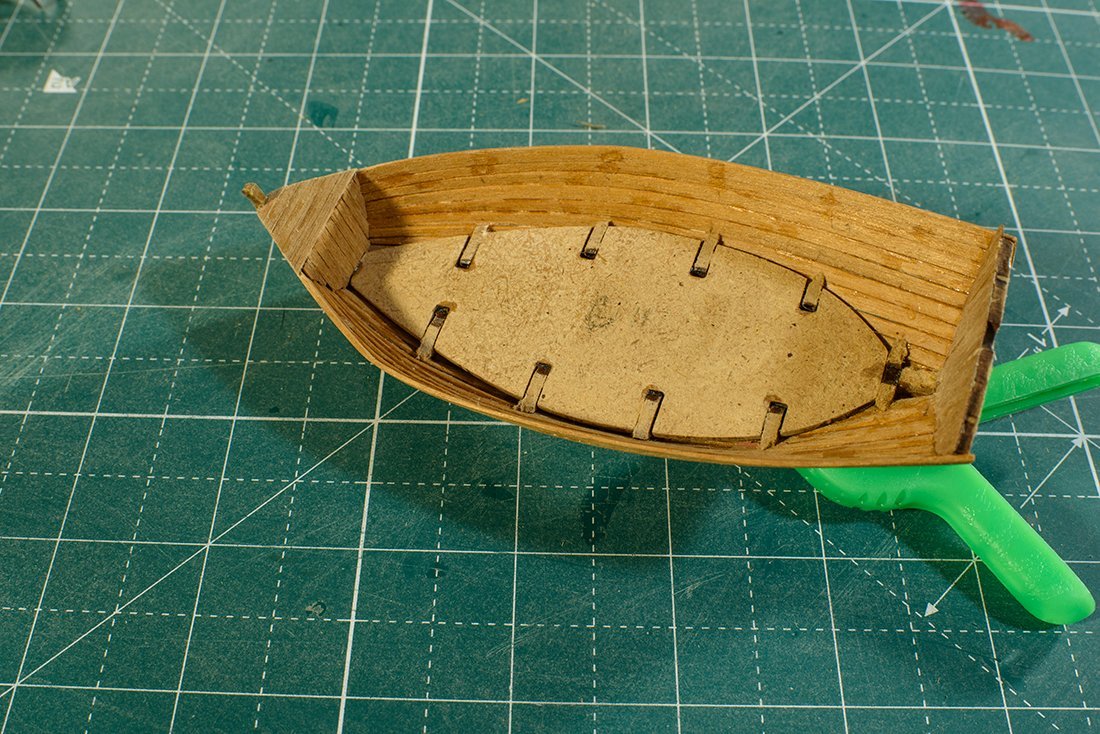
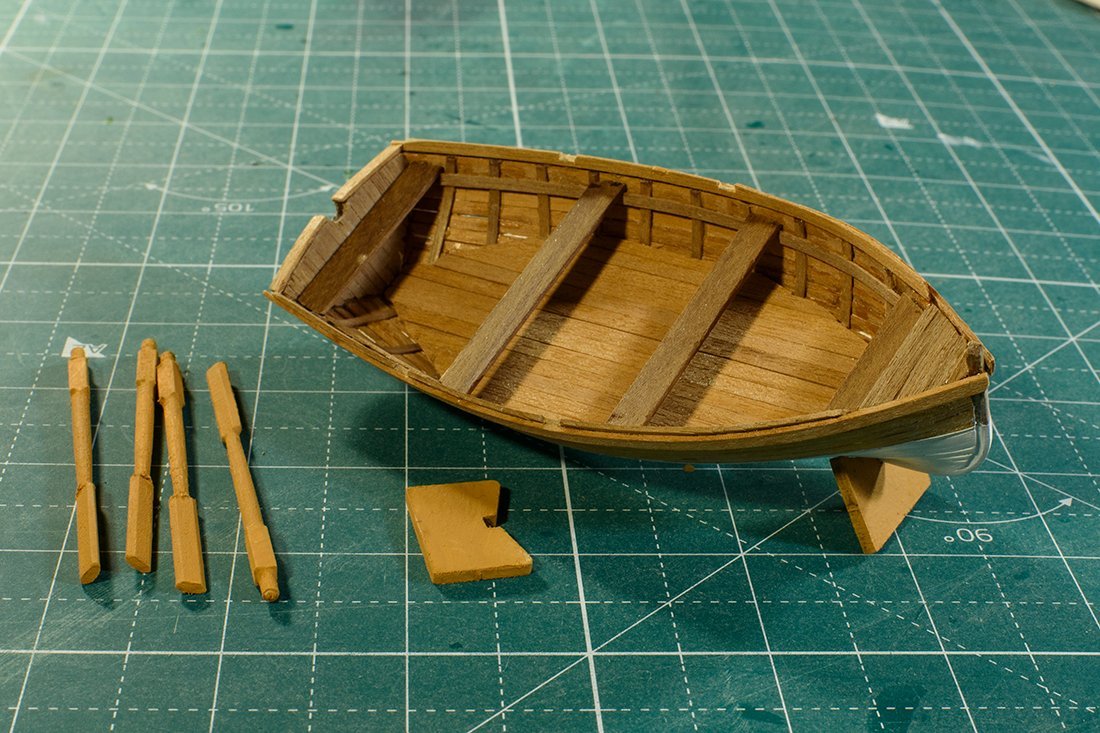
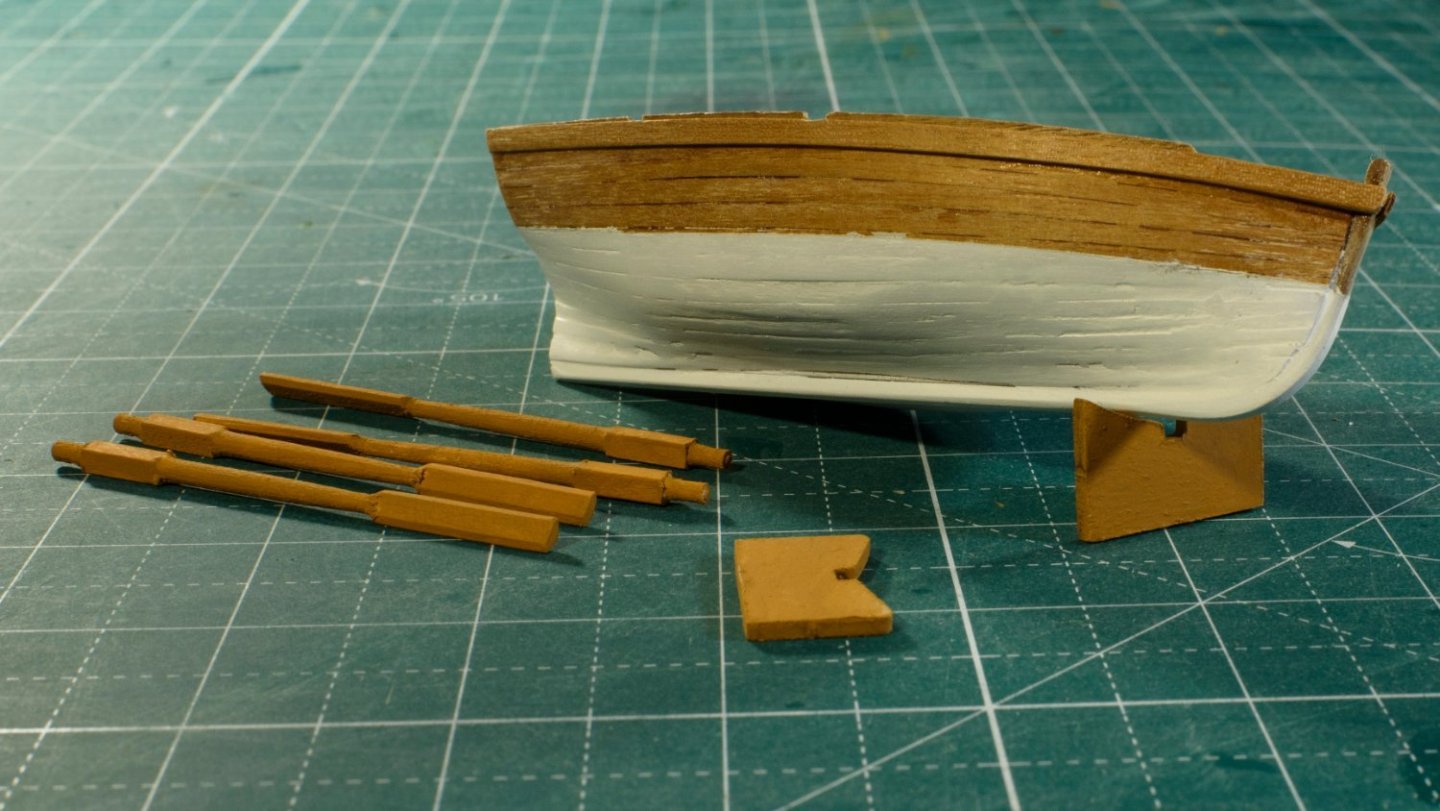
I turned my attention to the lifeboat. This took more time than the pilot house! – very time consuming. I assembled the frame, laid the garboard and wale planks, and proceeded to lay the planks in between. I narrowed the for and aft sections of these planks, but as I neared the bottom, the twist on the planks was significant, and required that I edge bend these. The lifeboat’s planking was not as smooth as I was hoping, even after sanding. Oh well.
-
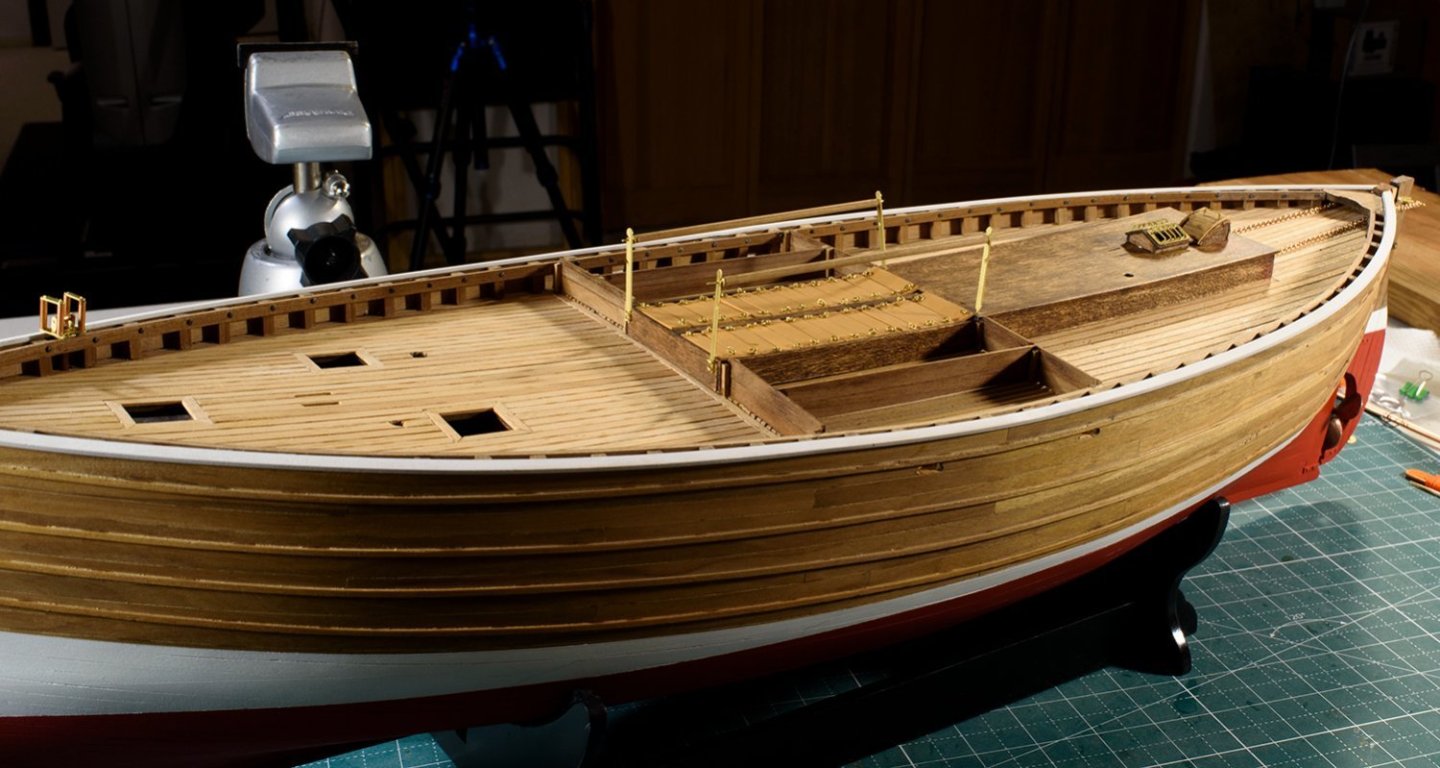
Next I installed most of the equipment on the deck, rigged most of the forward derrick mast and boom, along with most of the coiled lines.
-
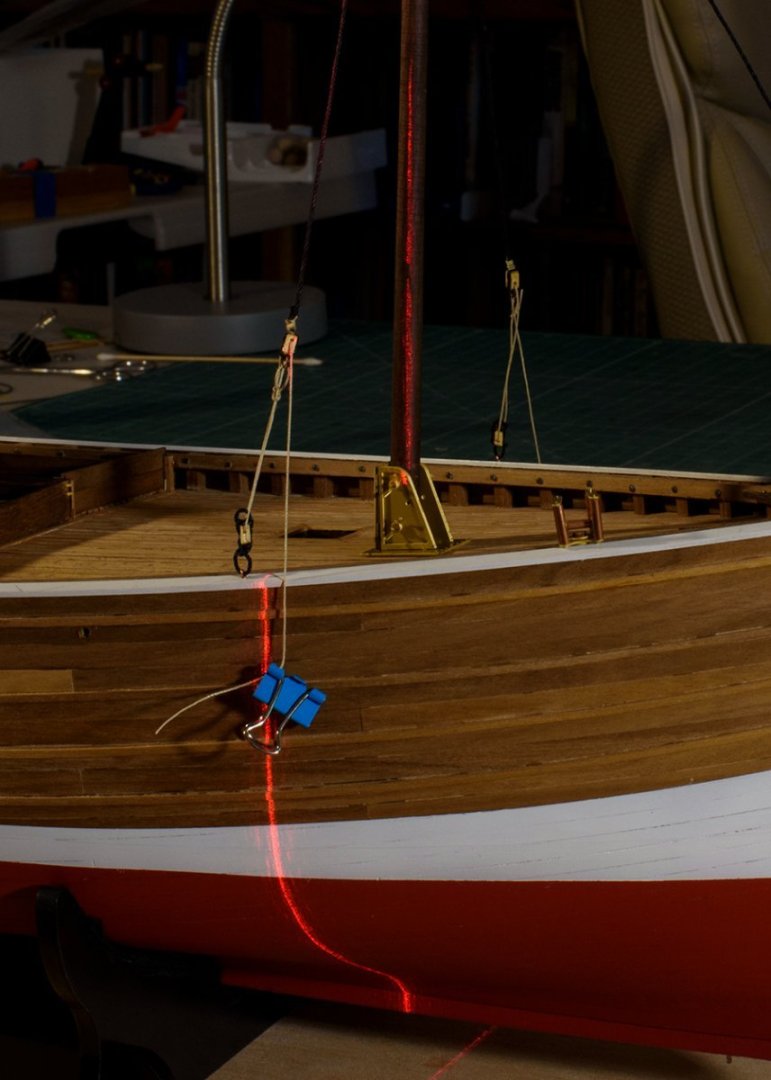
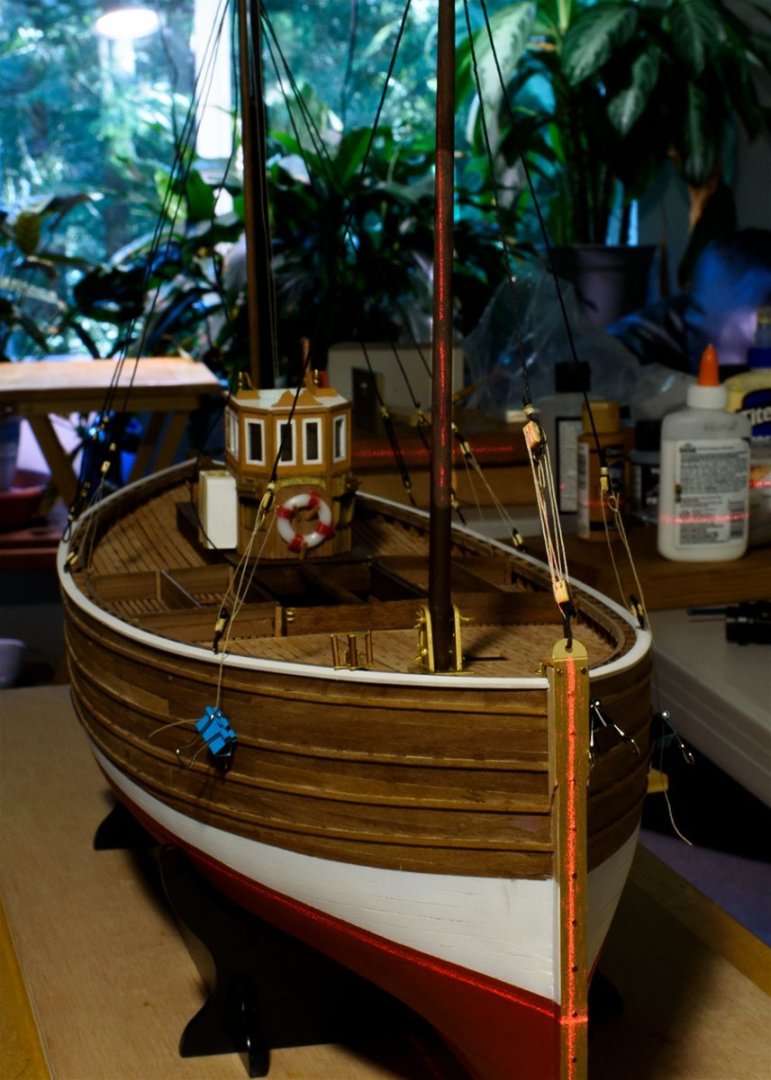
I used my Homedepot laser leveler to level a wooden platform, requiring two shims. Then, ensured that the cradle was level. I set the boat in the cradle with the stern 20 mm lower than the bow. The laser line confirmed the lower part of the boot-top to be level with the water line. I then used the pendicular laser feature of the laser level to set the masts straight fore and aft as well as “square” port and starboard. Once squared up, I glued the masts in place. They are slightly off from straight up, but close enough for me. A real boat would rely on the stays and shrouds to keep the masts straight and over time, the crew would adjust them as needed. However, since the thread used in the model will relax over time and will allow the masts to sag, I used glue to hold the masts in place, since there is no crew to make corrections! 🙂
-
 Ken_2 reacted to a post in a topic:
Fifie by Dsmith20639 - FINISHED - Amati - 1/32 scale
-
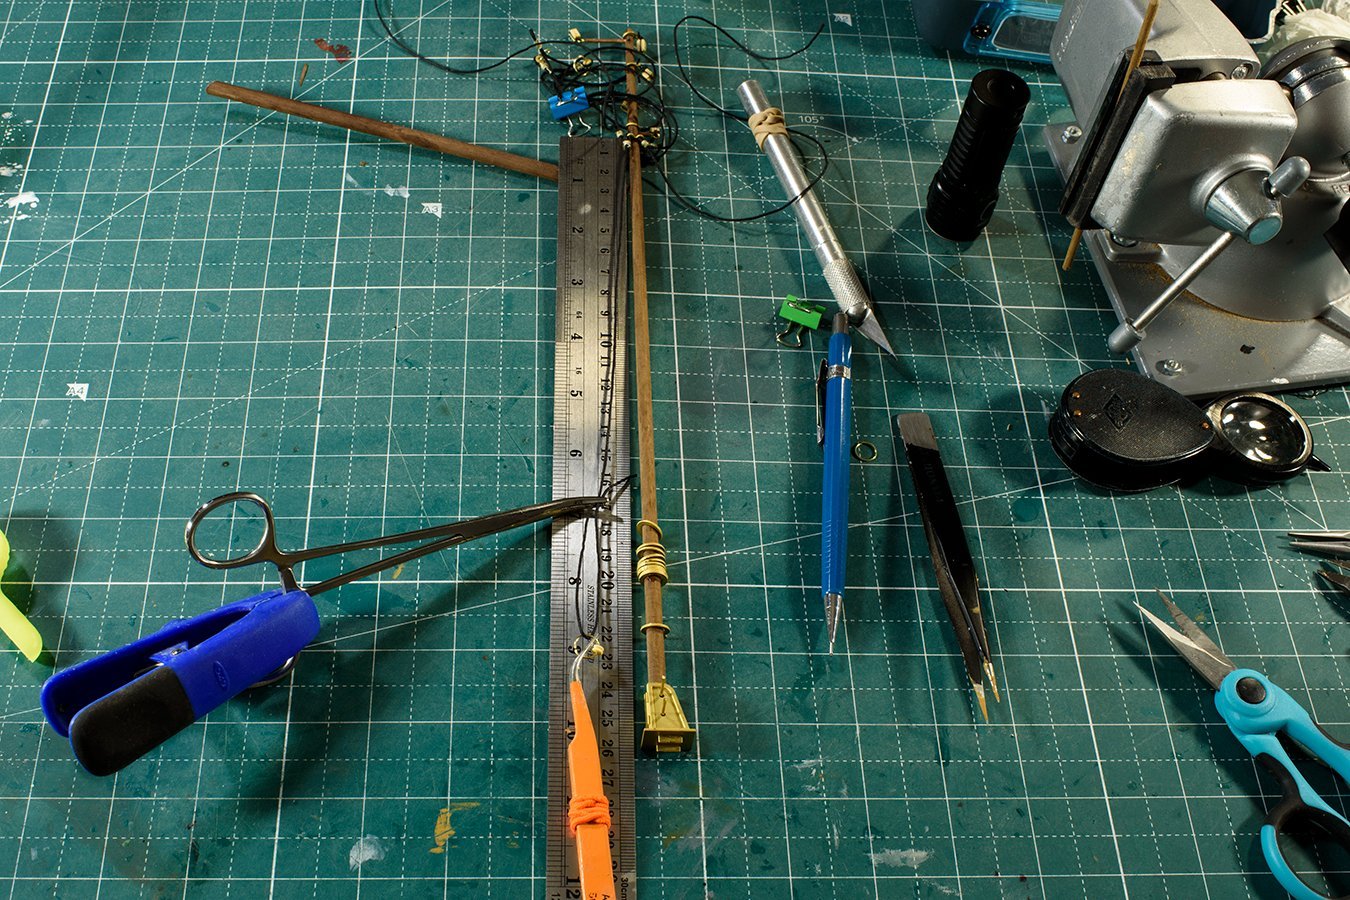
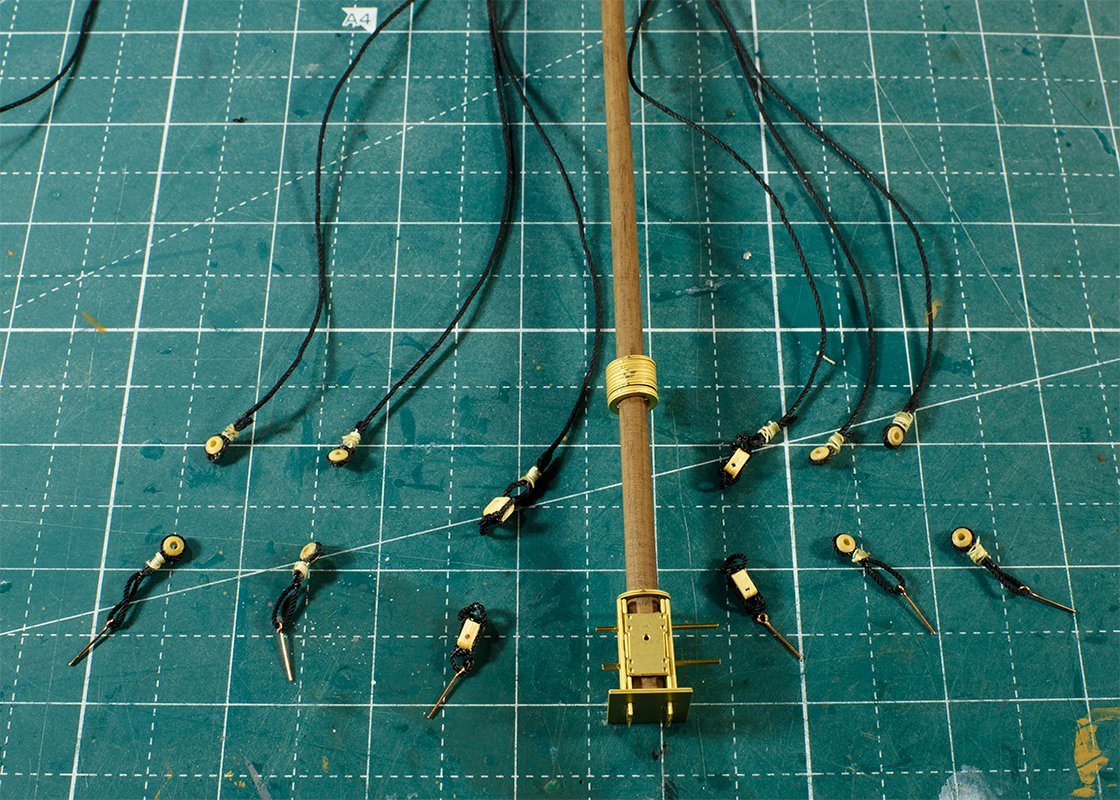
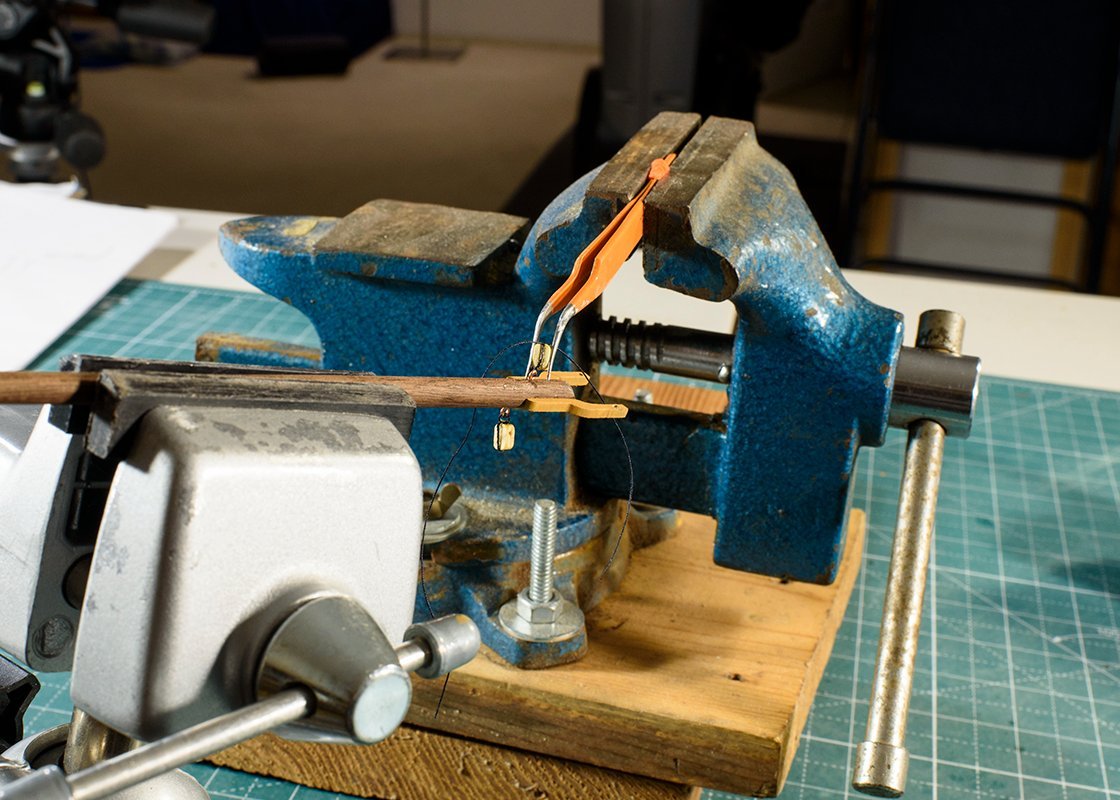
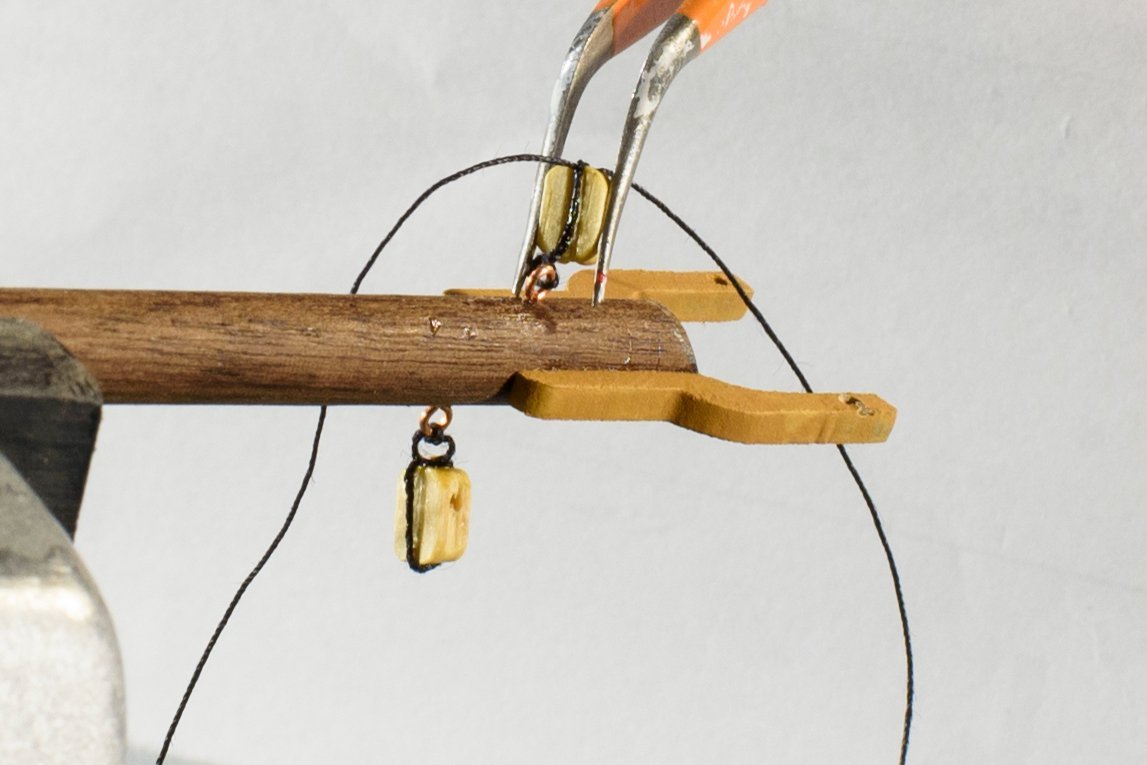
I used the kit drawings to determine each shroud length. I placed a ruler against the upper shroud ring, stretched the shroud, and made a loop where the thimble should be placed. Using forceps, my vice, and various clips, clamps, and coarse language, I installed the thimbles and blocks. I gave up on using wire to hold the thimbles in place, since the forceps and glue worked just fine. Once the shrouds were terminated with thimbles and blocks, I seized corresponding thimbles and blocks to eyelets. I used the drawings to locate where to drill and glue the eyelet assemblies. Then I wove the thimbles of the shrouds to the thimbles of the eyelets. Now that the mast and shrouds are installed, I started to place some of the aft deck equipment (the pilot house, various cleats, etc.). I noticed one of the shrouds was too long, so I undid the one lower shroud thimble, and shortened it and reseized it so that all of the thimbles would be of similar length. Now I see that the forward shroud blocks are connected with black line rather than the tan line. I guess black line represents standing rigging, whereas these blocks must be used to adjust the mast rake and are thus running rigging (tan). I’ll change the line to tan. I’ll install more of the aft running rigging and the smokestack, and turn my attention to the foremast. I plan to rig it to support a derrick boom. From there I will install some of the forward deck equipment. There is still a lot to do! I agree with David (above). I had hoped to be completed in 12 months. It is near the end of February (14 months), and I have not yet started on the small boat nor even decided on my display configuration. Now I am hoping to be completed by June! I did log my time during planking, and it took me 280 hours to finish the 2nd layer of planks. Clearly, I am slow, but clearly, Amati's estimate of 100-150 hours for total build was optimistic. Good insight David - Amati's estimate is off.
-
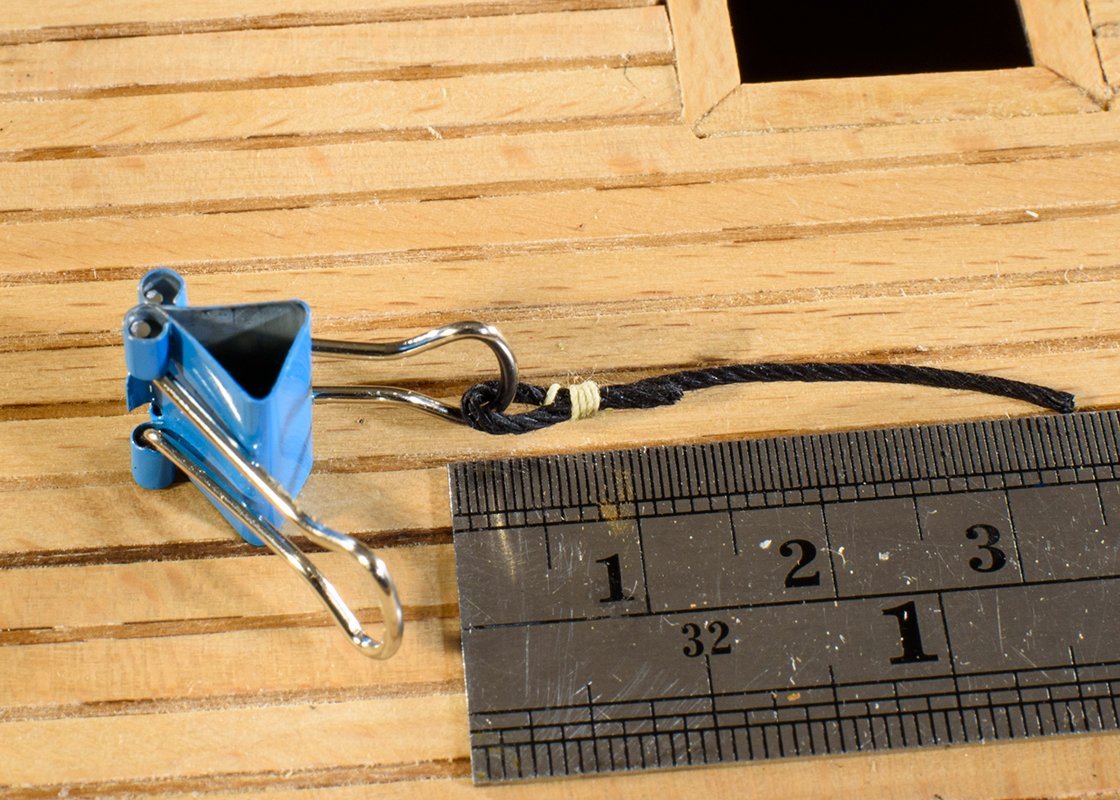
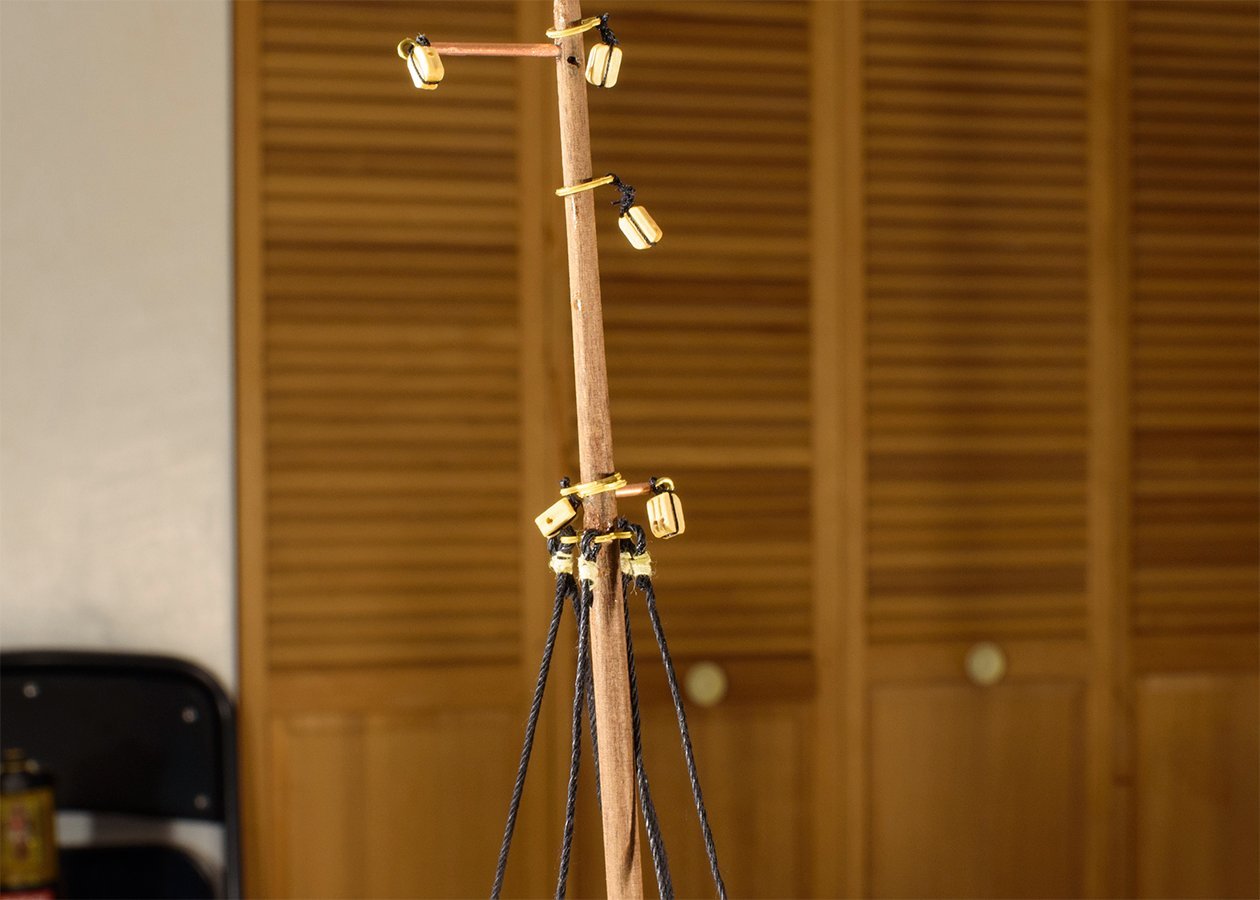
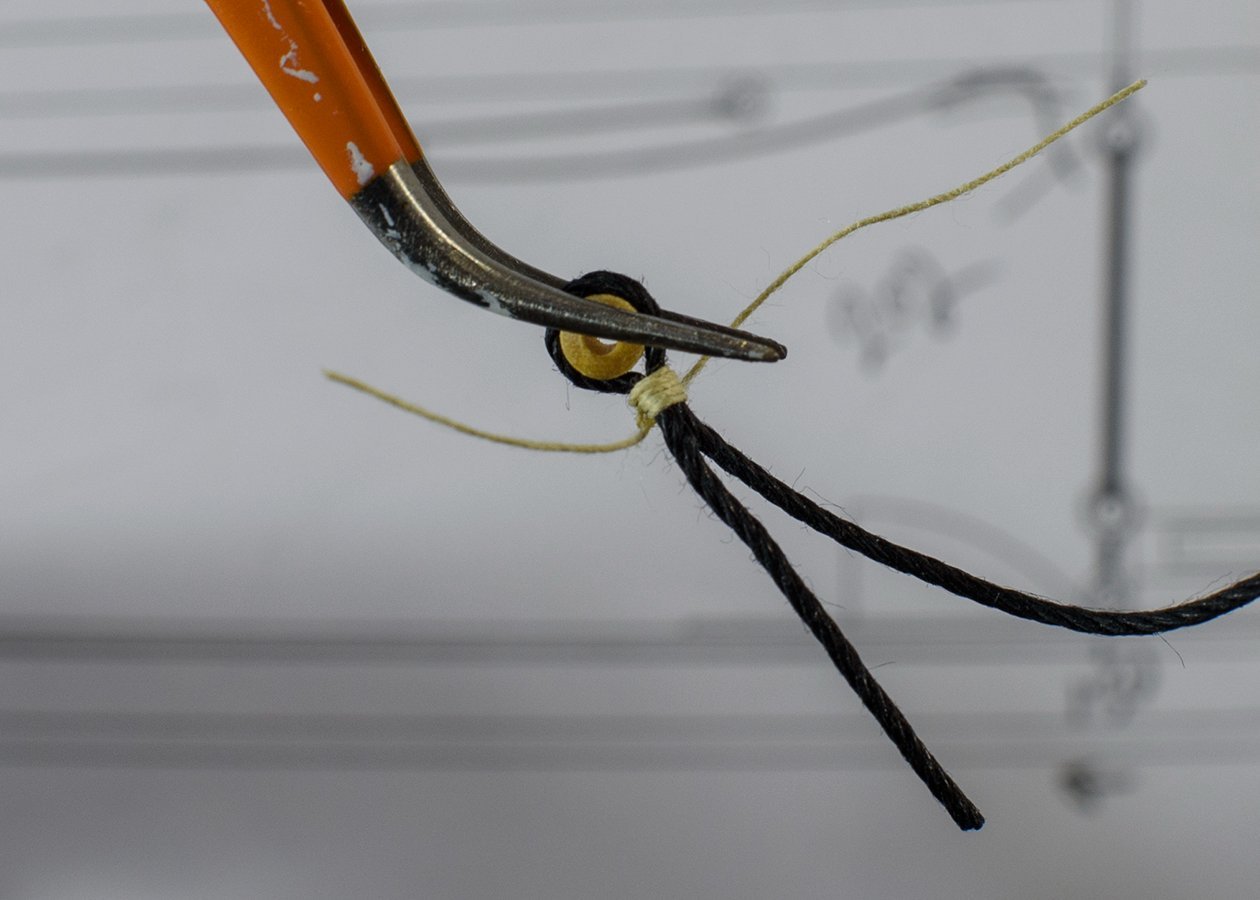
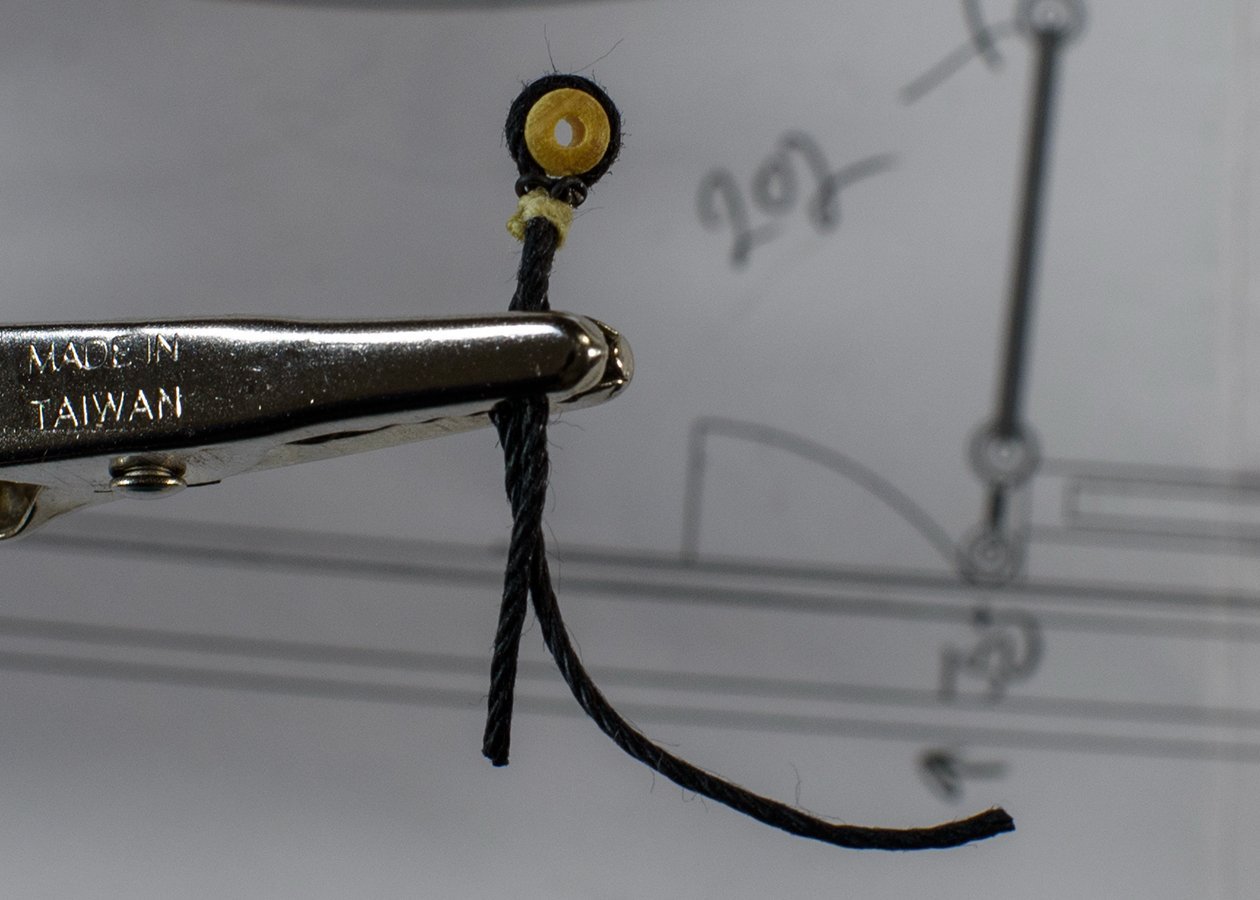
I decided to install the two masts onto the boat before I add other equipment. These masts seemed wobbly when seated in the deck and superstructure. It seemed to me that I need to add the shrouds and stays to get the mast angles correct and secure before I proceed. I had previously added the blocks and rings to all the spars. The next step was to add the 6 ends of the shrouds to the mizzen spreader band (157). The drawings showed the lines being seizing to these 6 loops, so I practiced my seizing (see below). Once I reviewed seizing, I chose some 0.3 mm thread from another boat and seized the 6 shroud ends to the mast. Next, I decided to use the dimensions from drawing 7 to locate where to seize the wooden thimbles (202) to the lower end of the shrouds. I hope the thimbles end up somewhat even with the deck and one another. I will do a dimension check before I permanently fasten the thimbles and cut and seize the shrouds. Again, I practiced seizing rings. First, I used just the seizing thread, but as hard as I could work, I could not get the thread to provide a solid grip around the thimble. It seemed like an awkward push would knock the thimble out. Also, after time, the line will relax, become looser, and again the ring could be knocked out and worse disappear, being so small. (There were no spare rings provided). I thought about gluing the line to the thimble, but I ended up adding 0.4 mm black wire. Next will be the stays, and this should create a firm and stable aft mast, mounted to the Super structure. After this (a week or more) will have to study what comes next. Any suggestion about better assembly methods or the future sequence of events will be appreciated. Comments or suggestions are appreciated, even if I have finished the task - I try to use lessons learned on future boats.
-
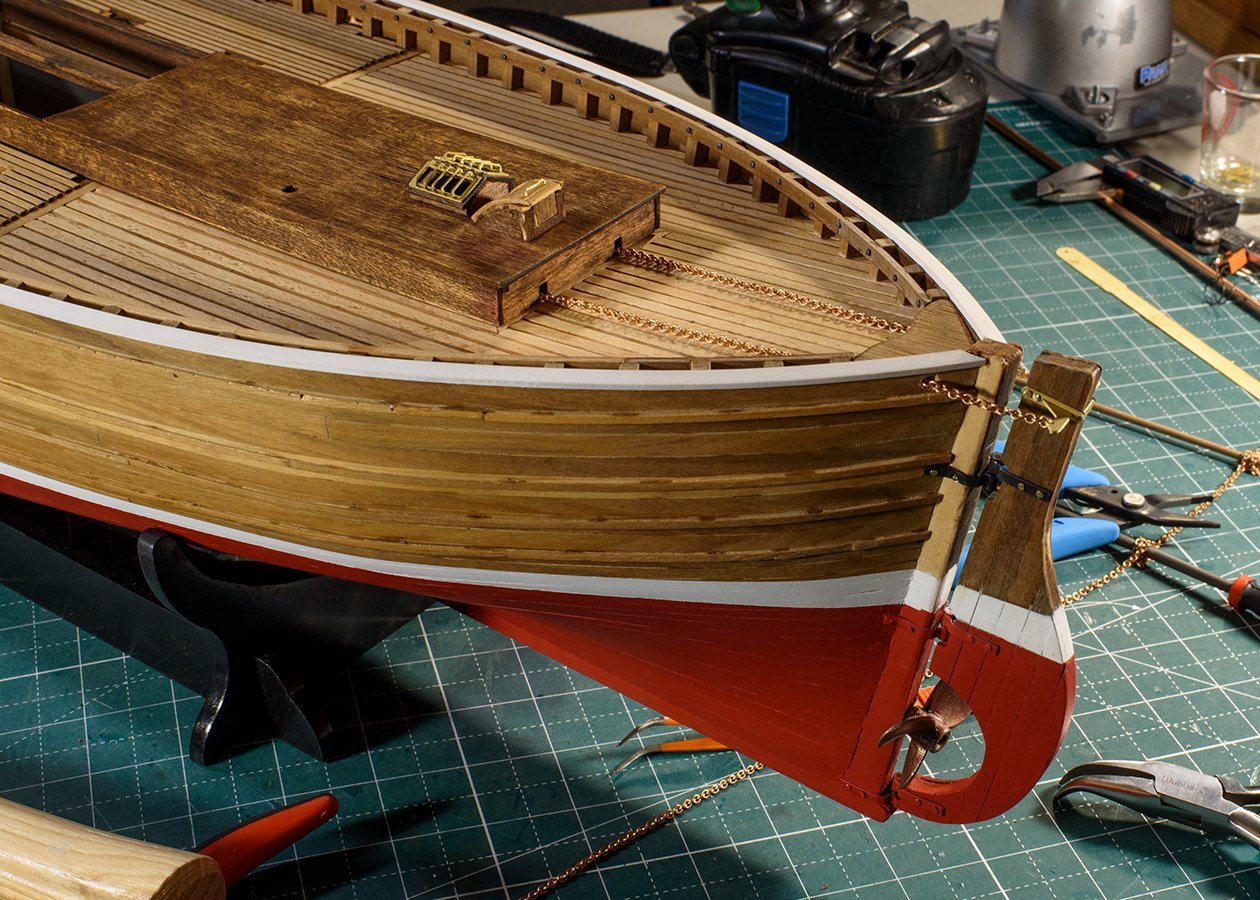
I’m not sure of the next steps of the assembly sequence, but I will focus on assembling the superstructure onto the boat. The rudder chains needed installation first. Then I added the “fish pen” and then the roller assembly for the nets. The roller assembly is fragile, so I will remove it from the boat until the boat is completed, where I will determine the display configuration, and likely put them in then.
-
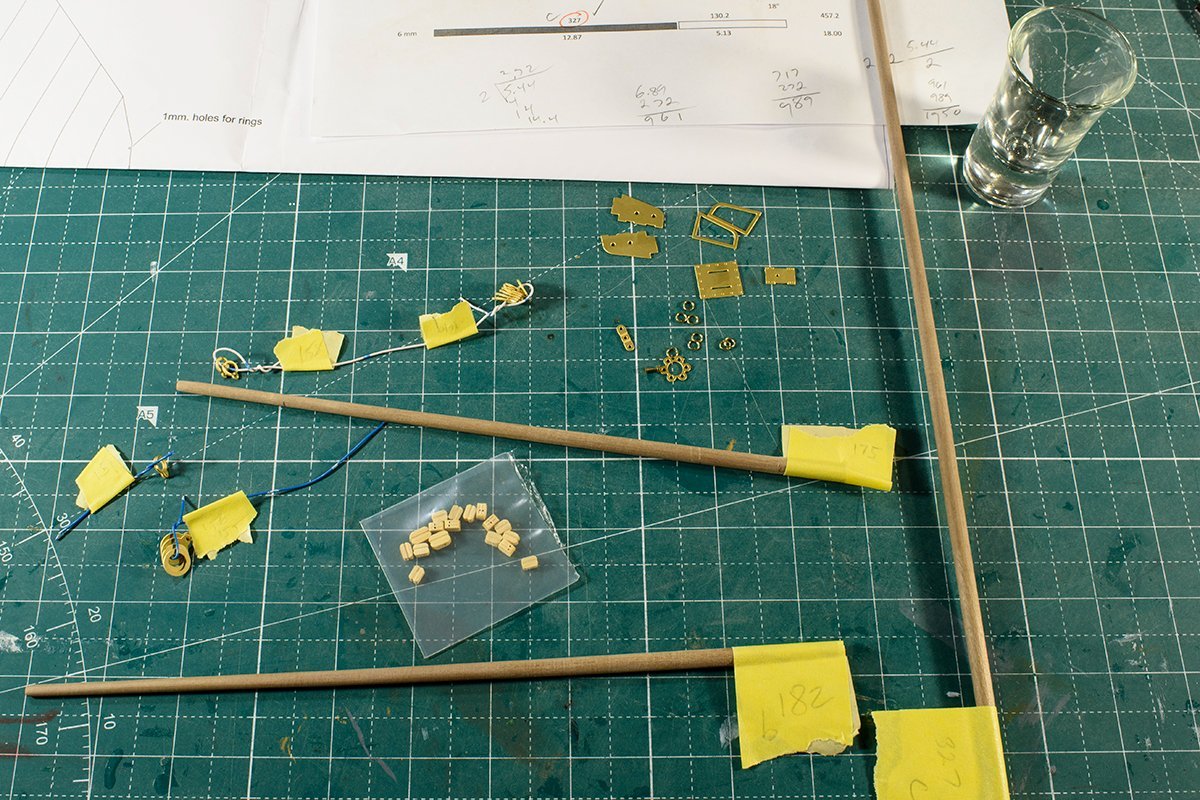
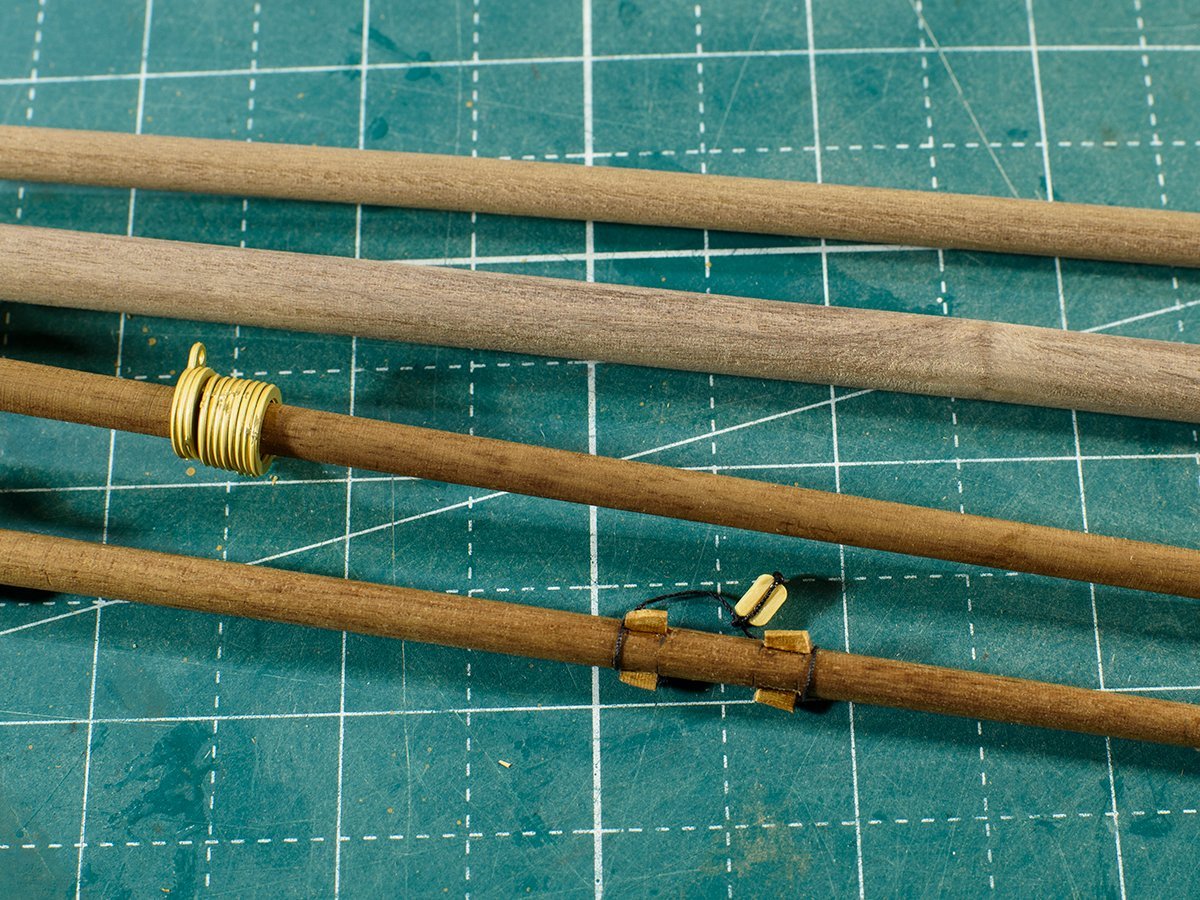
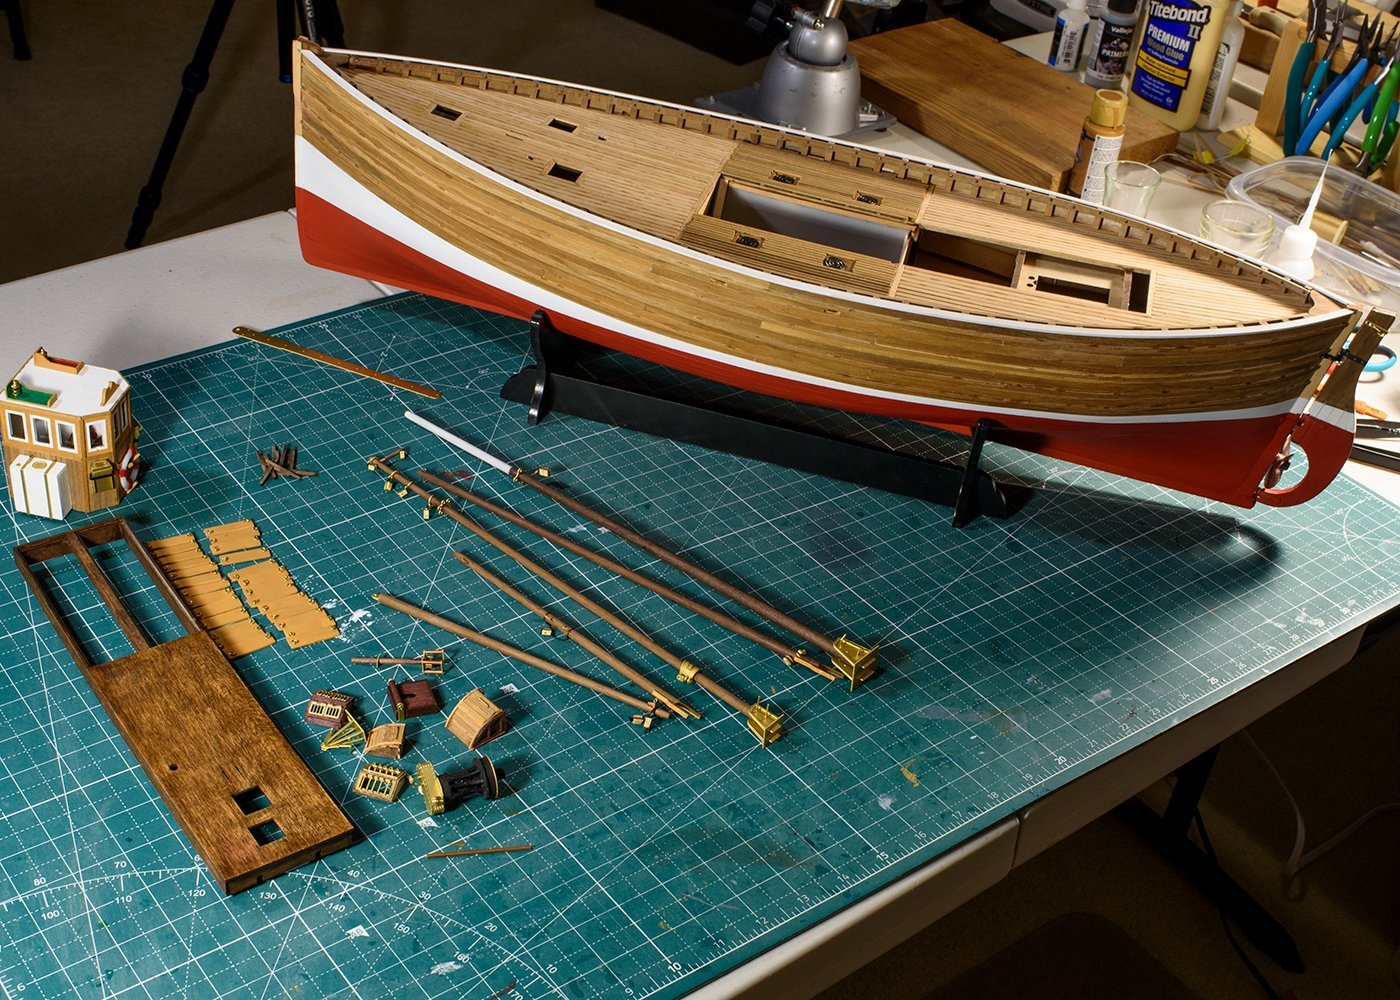
I tapered the aft mast and spars and collected all the hardware. There are many parts, but nothing seems to be complex except the skill to rig a block to a yard (there is nothing like practice). Also, the sequence of assembly is not defined. However, the instructions provide pictures that clearly define the result. I am thinking I will hoist the aft sail, but not the foresail. This assembly remined me that my skills for handling small blocks and thread need improvement. I spent time studying YouTube and several “writings” I have. But for me, practice is the main way I learn. My rigging, stropping, and seizing improved as I went along. But. I am sure this is a skill I still need to study and improve. I struggled to like the color of the tapered plain walnut dowels for spars. The various acrylic colors I painted onto the spars only made things look worse, so I tried a couple of stains. I ended up using a semi-transparent golden oak. I brushed it on, and then wiped it off quickly. This seemed to enhance the look.
-
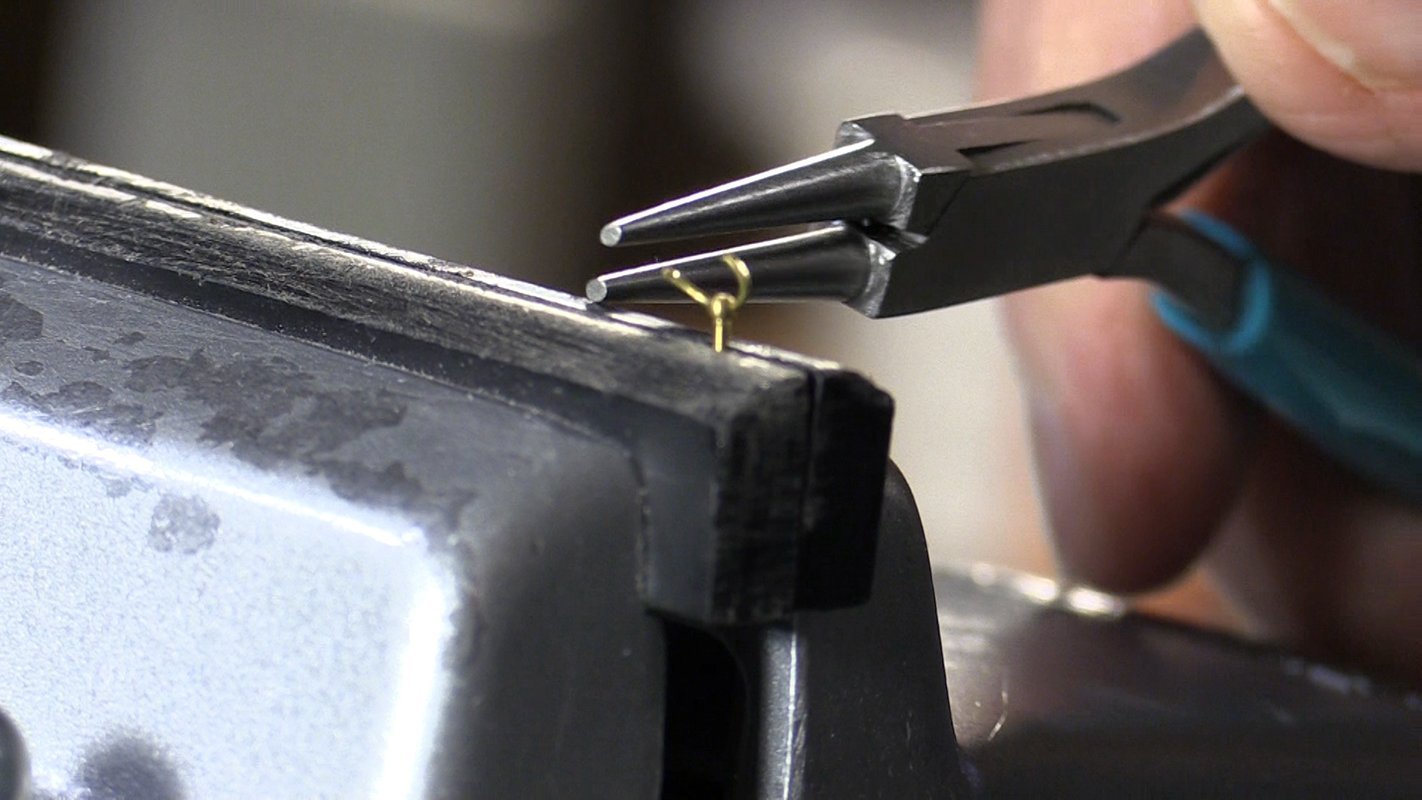
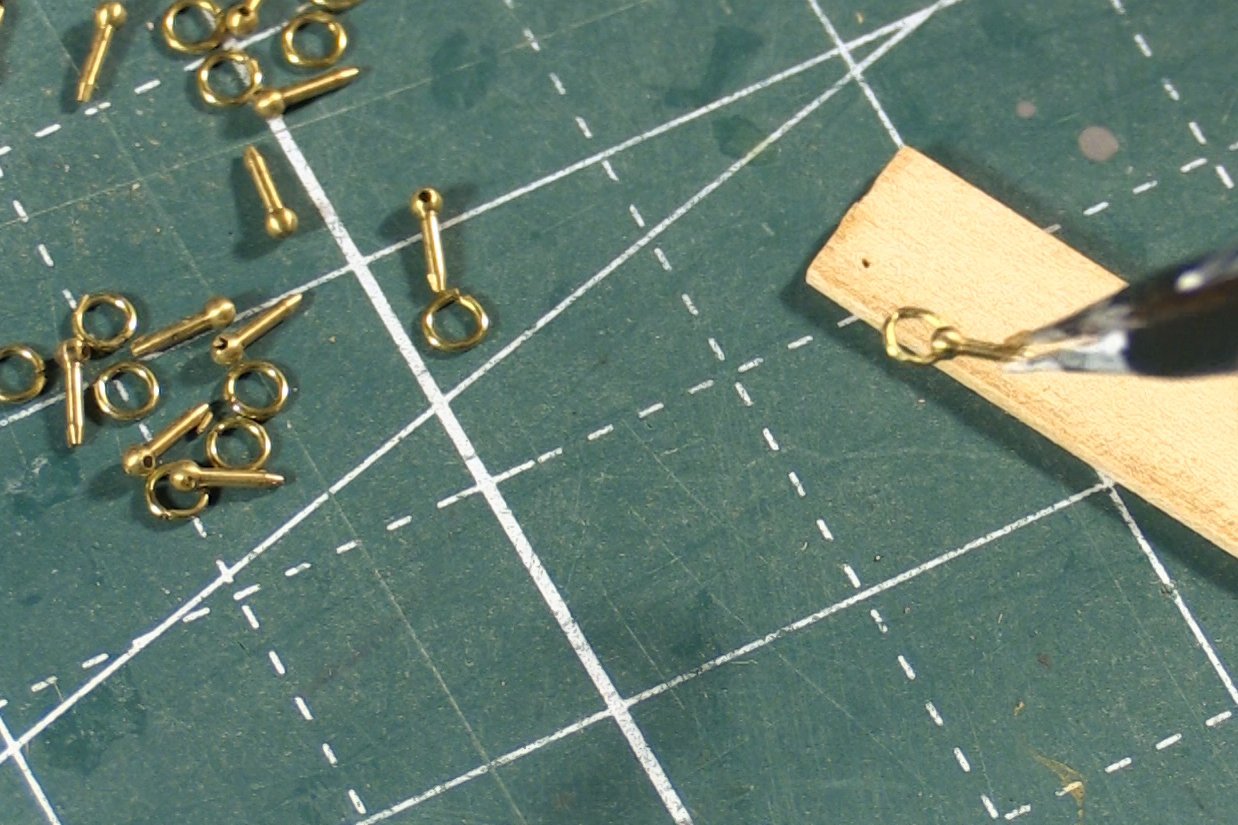
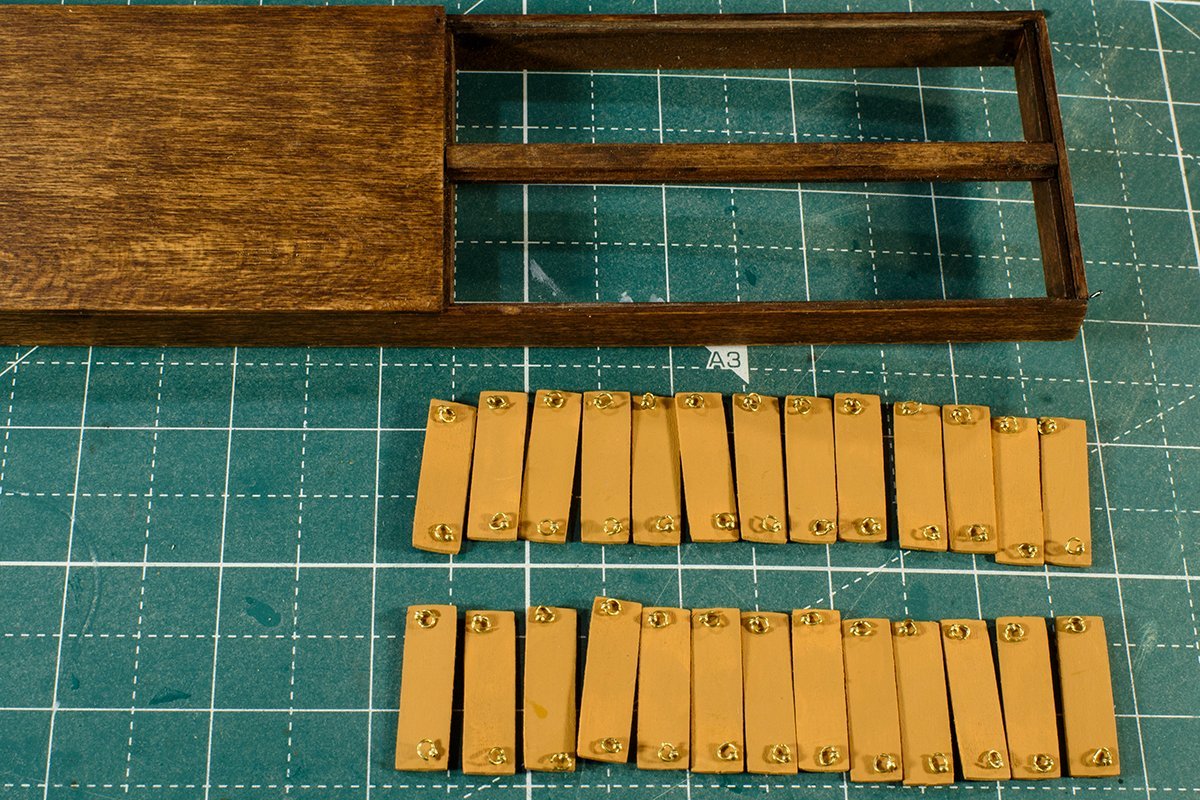
It took some time to finish the fish hatches. I had to narrow each hatch since they were a bit too long and wide. Then I enlarged the holes provided for the post with rings and painted all sides of the hatches. The real time was spent figuring out how to install the rings onto the posts – (the holes in the post are 0.5 mm). Once all 52 rings were on the posts, I added them to the hatches.
-
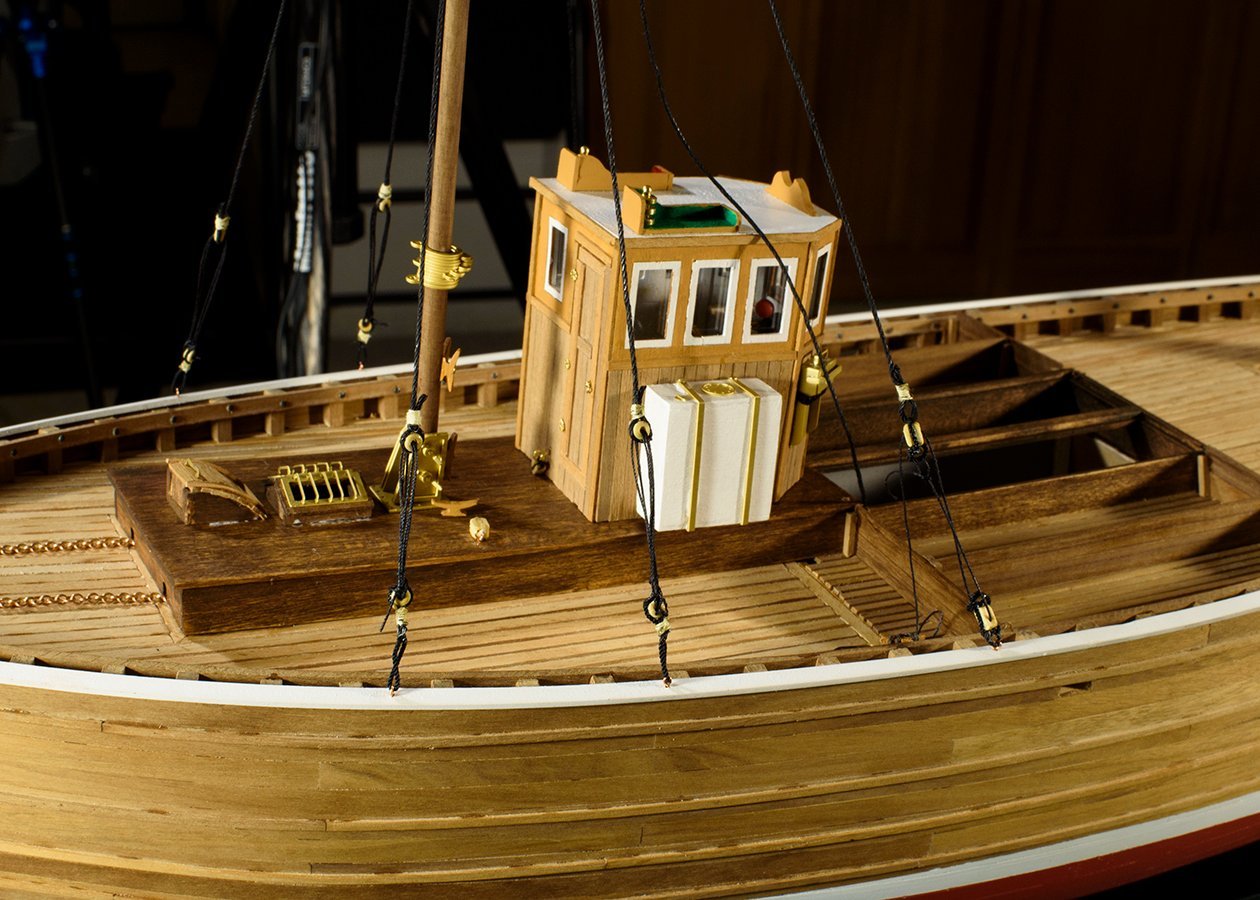
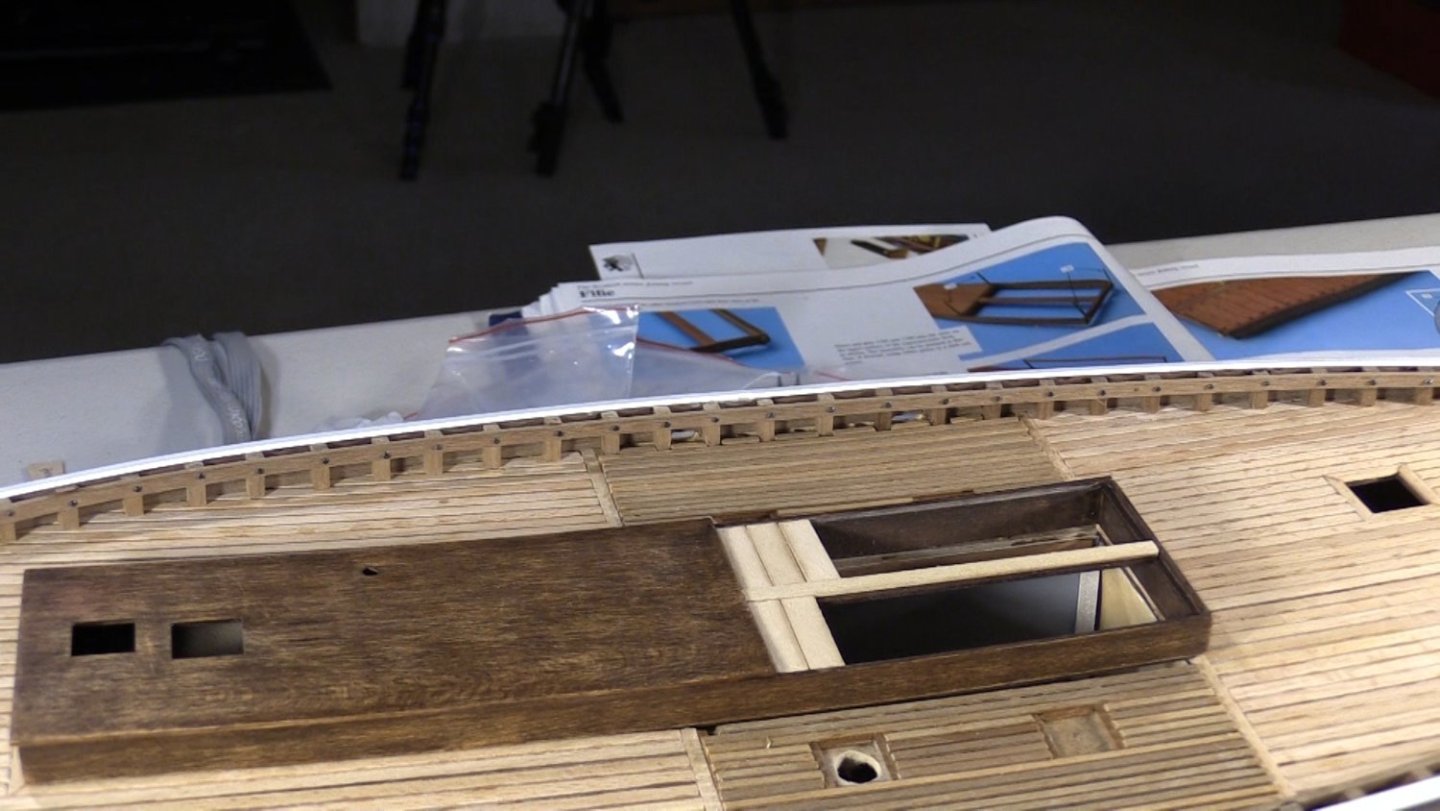
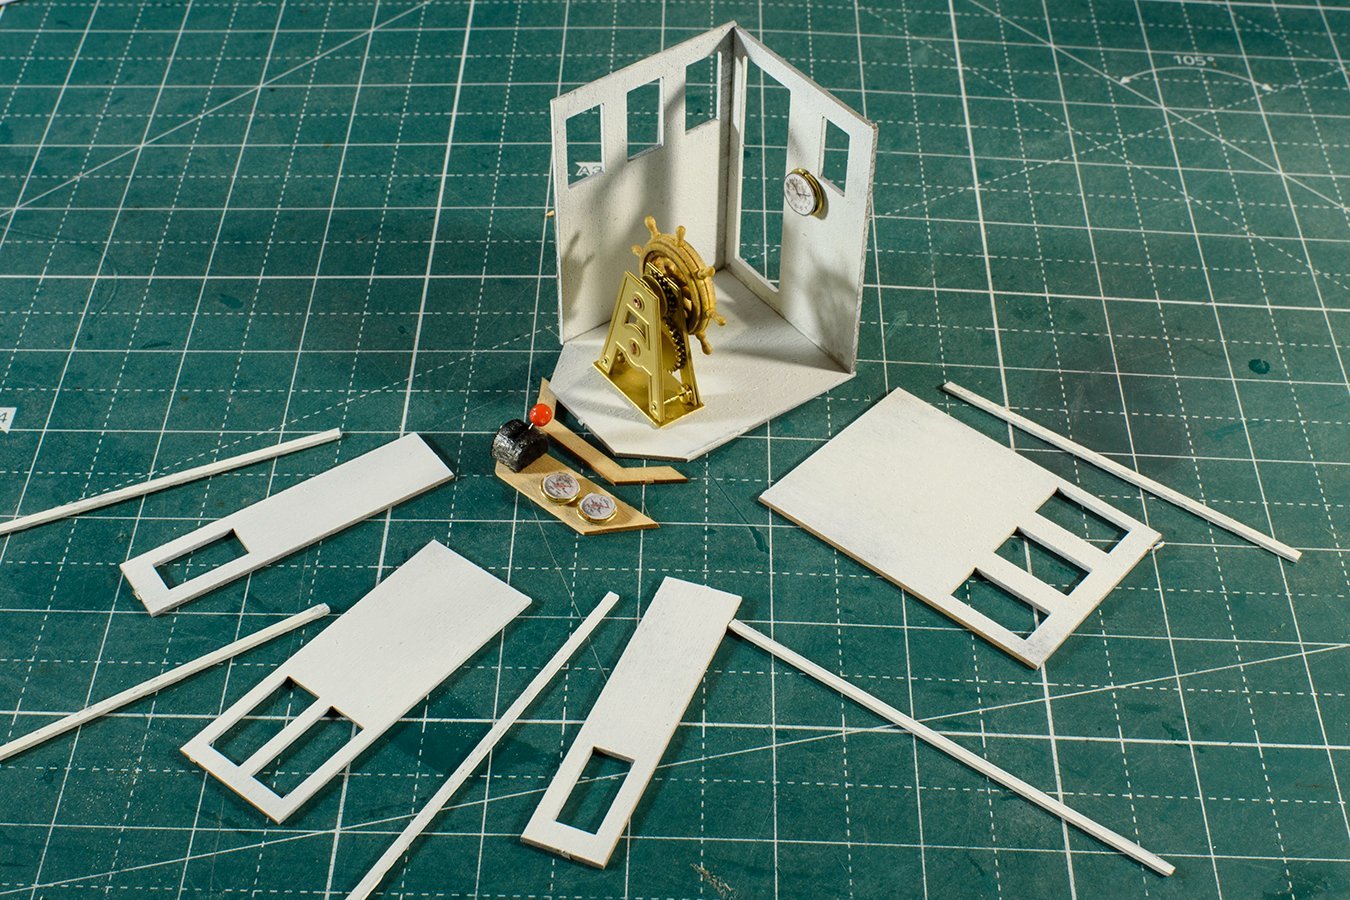
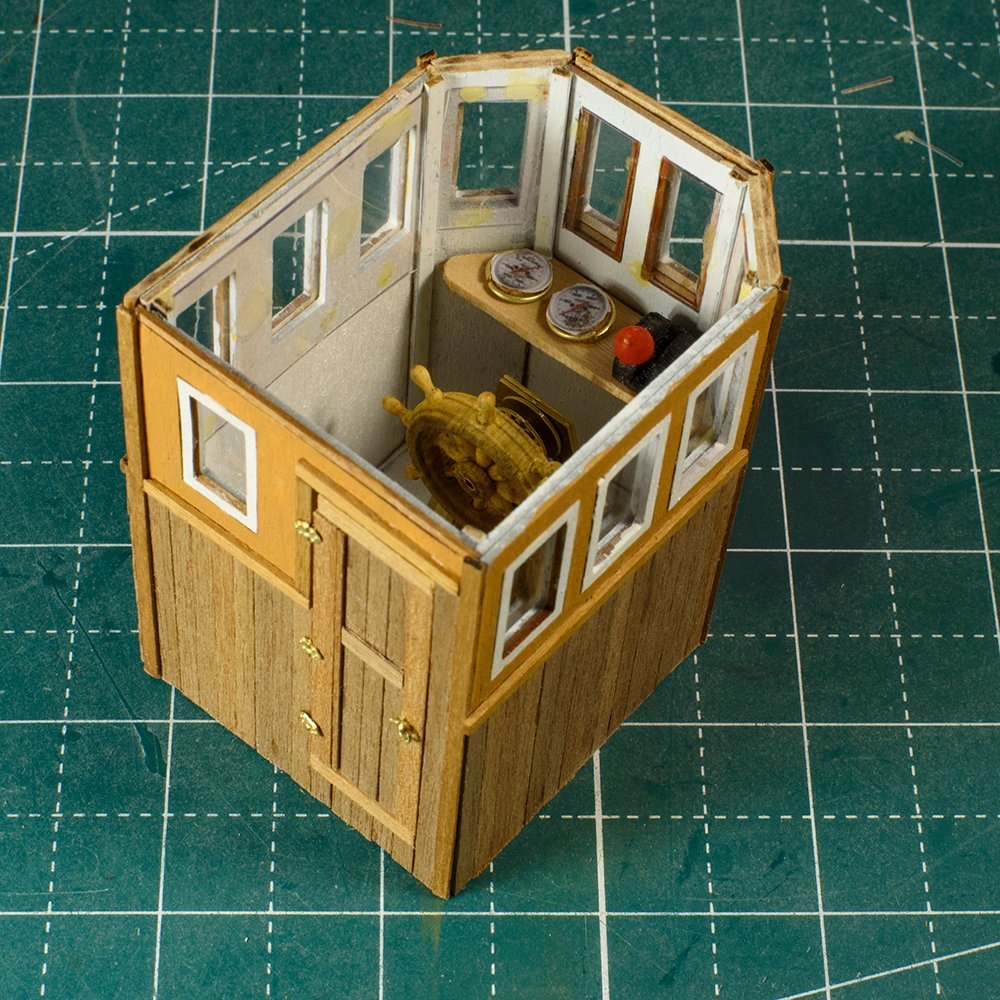
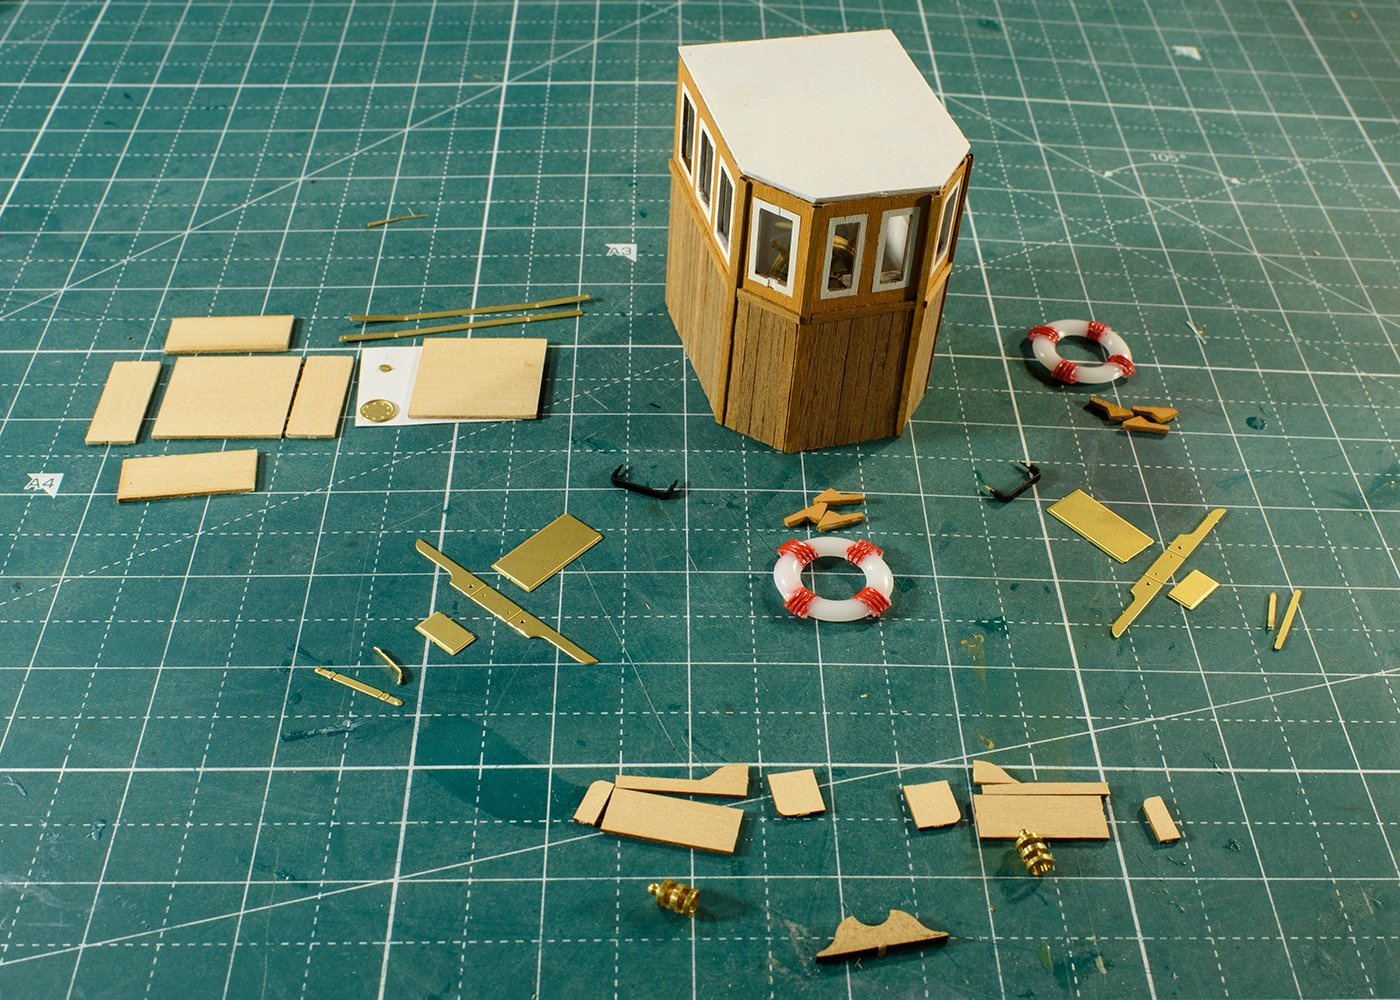
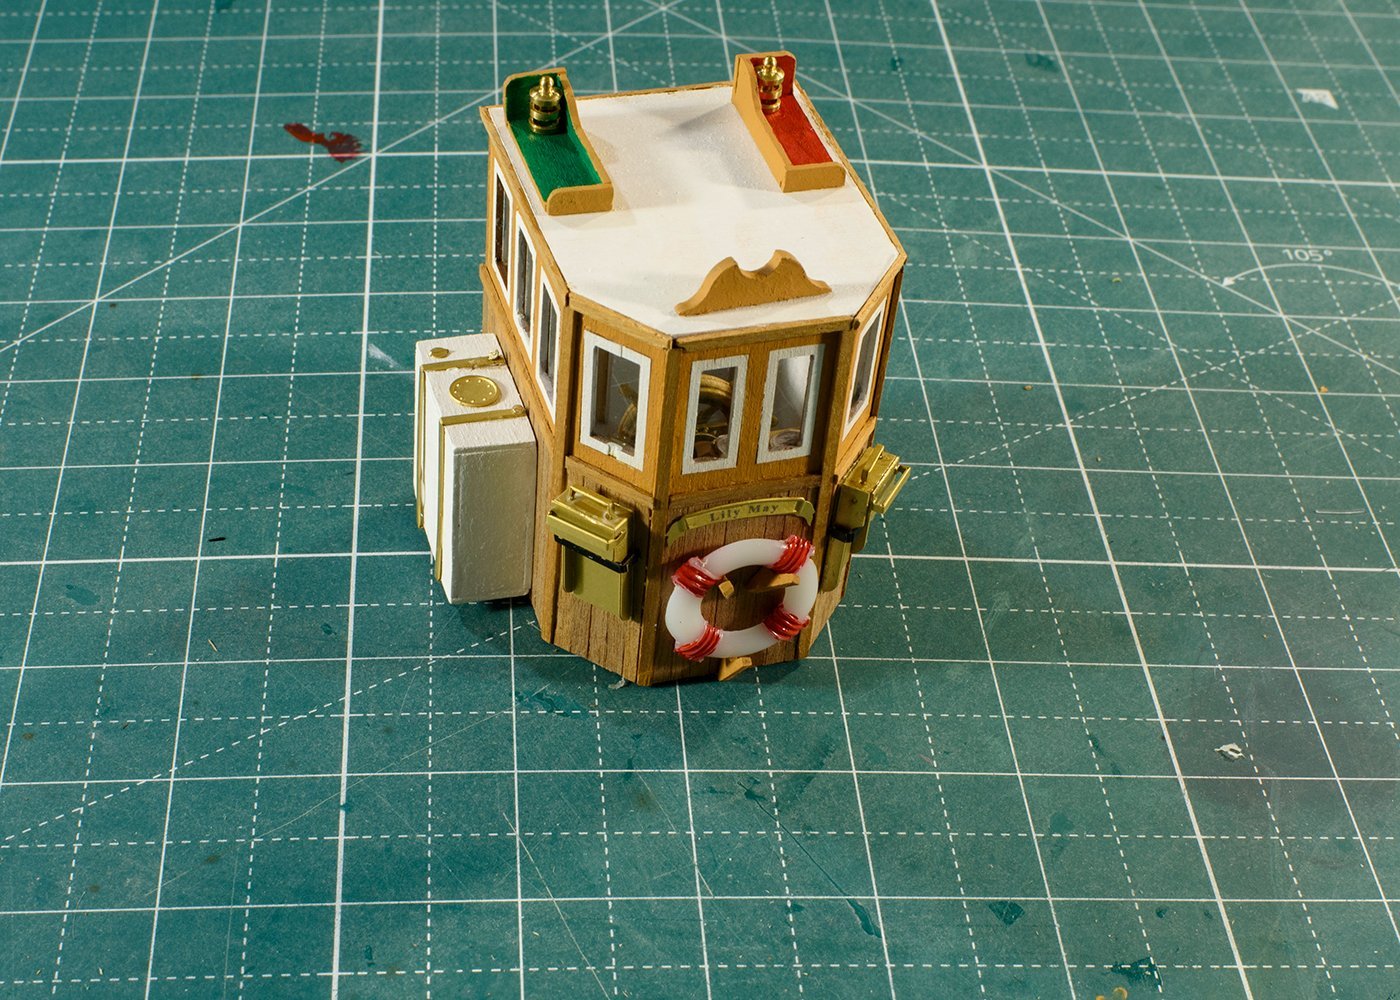
The pilot house or wheelhouse was more complicated than I expected and is an assembly by itself. This assembly took some time! I stole the idea of adding controls from Ras Ambrioso’s Fifie – Thanks Ras.
About us
Modelshipworld - Advancing Ship Modeling through Research
SSL Secured
Your security is important for us so this Website is SSL-Secured
NRG Mailing Address
Nautical Research Guild
237 South Lincoln Street
Westmont IL, 60559-1917
Model Ship World ® and the MSW logo are Registered Trademarks, and belong to the Nautical Research Guild (United States Patent and Trademark Office: No. 6,929,264 & No. 6,929,274, registered Dec. 20, 2022)
Helpful Links
About the NRG
If you enjoy building ship models that are historically accurate as well as beautiful, then The Nautical Research Guild (NRG) is just right for you.
The Guild is a non-profit educational organization whose mission is to “Advance Ship Modeling Through Research”. We provide support to our members in their efforts to raise the quality of their model ships.
The Nautical Research Guild has published our world-renowned quarterly magazine, The Nautical Research Journal, since 1955. The pages of the Journal are full of articles by accomplished ship modelers who show you how they create those exquisite details on their models, and by maritime historians who show you the correct details to build. The Journal is available in both print and digital editions. Go to the NRG web site (www.thenrg.org) to download a complimentary digital copy of the Journal. The NRG also publishes plan sets, books and compilations of back issues of the Journal and the former Ships in Scale and Model Ship Builder magazines.

