
Roberts Orca
-
Posts
121 -
Joined
-
Last visited
Content Type
Profiles
Forums
Gallery
Events
Everything posted by Roberts Orca
-
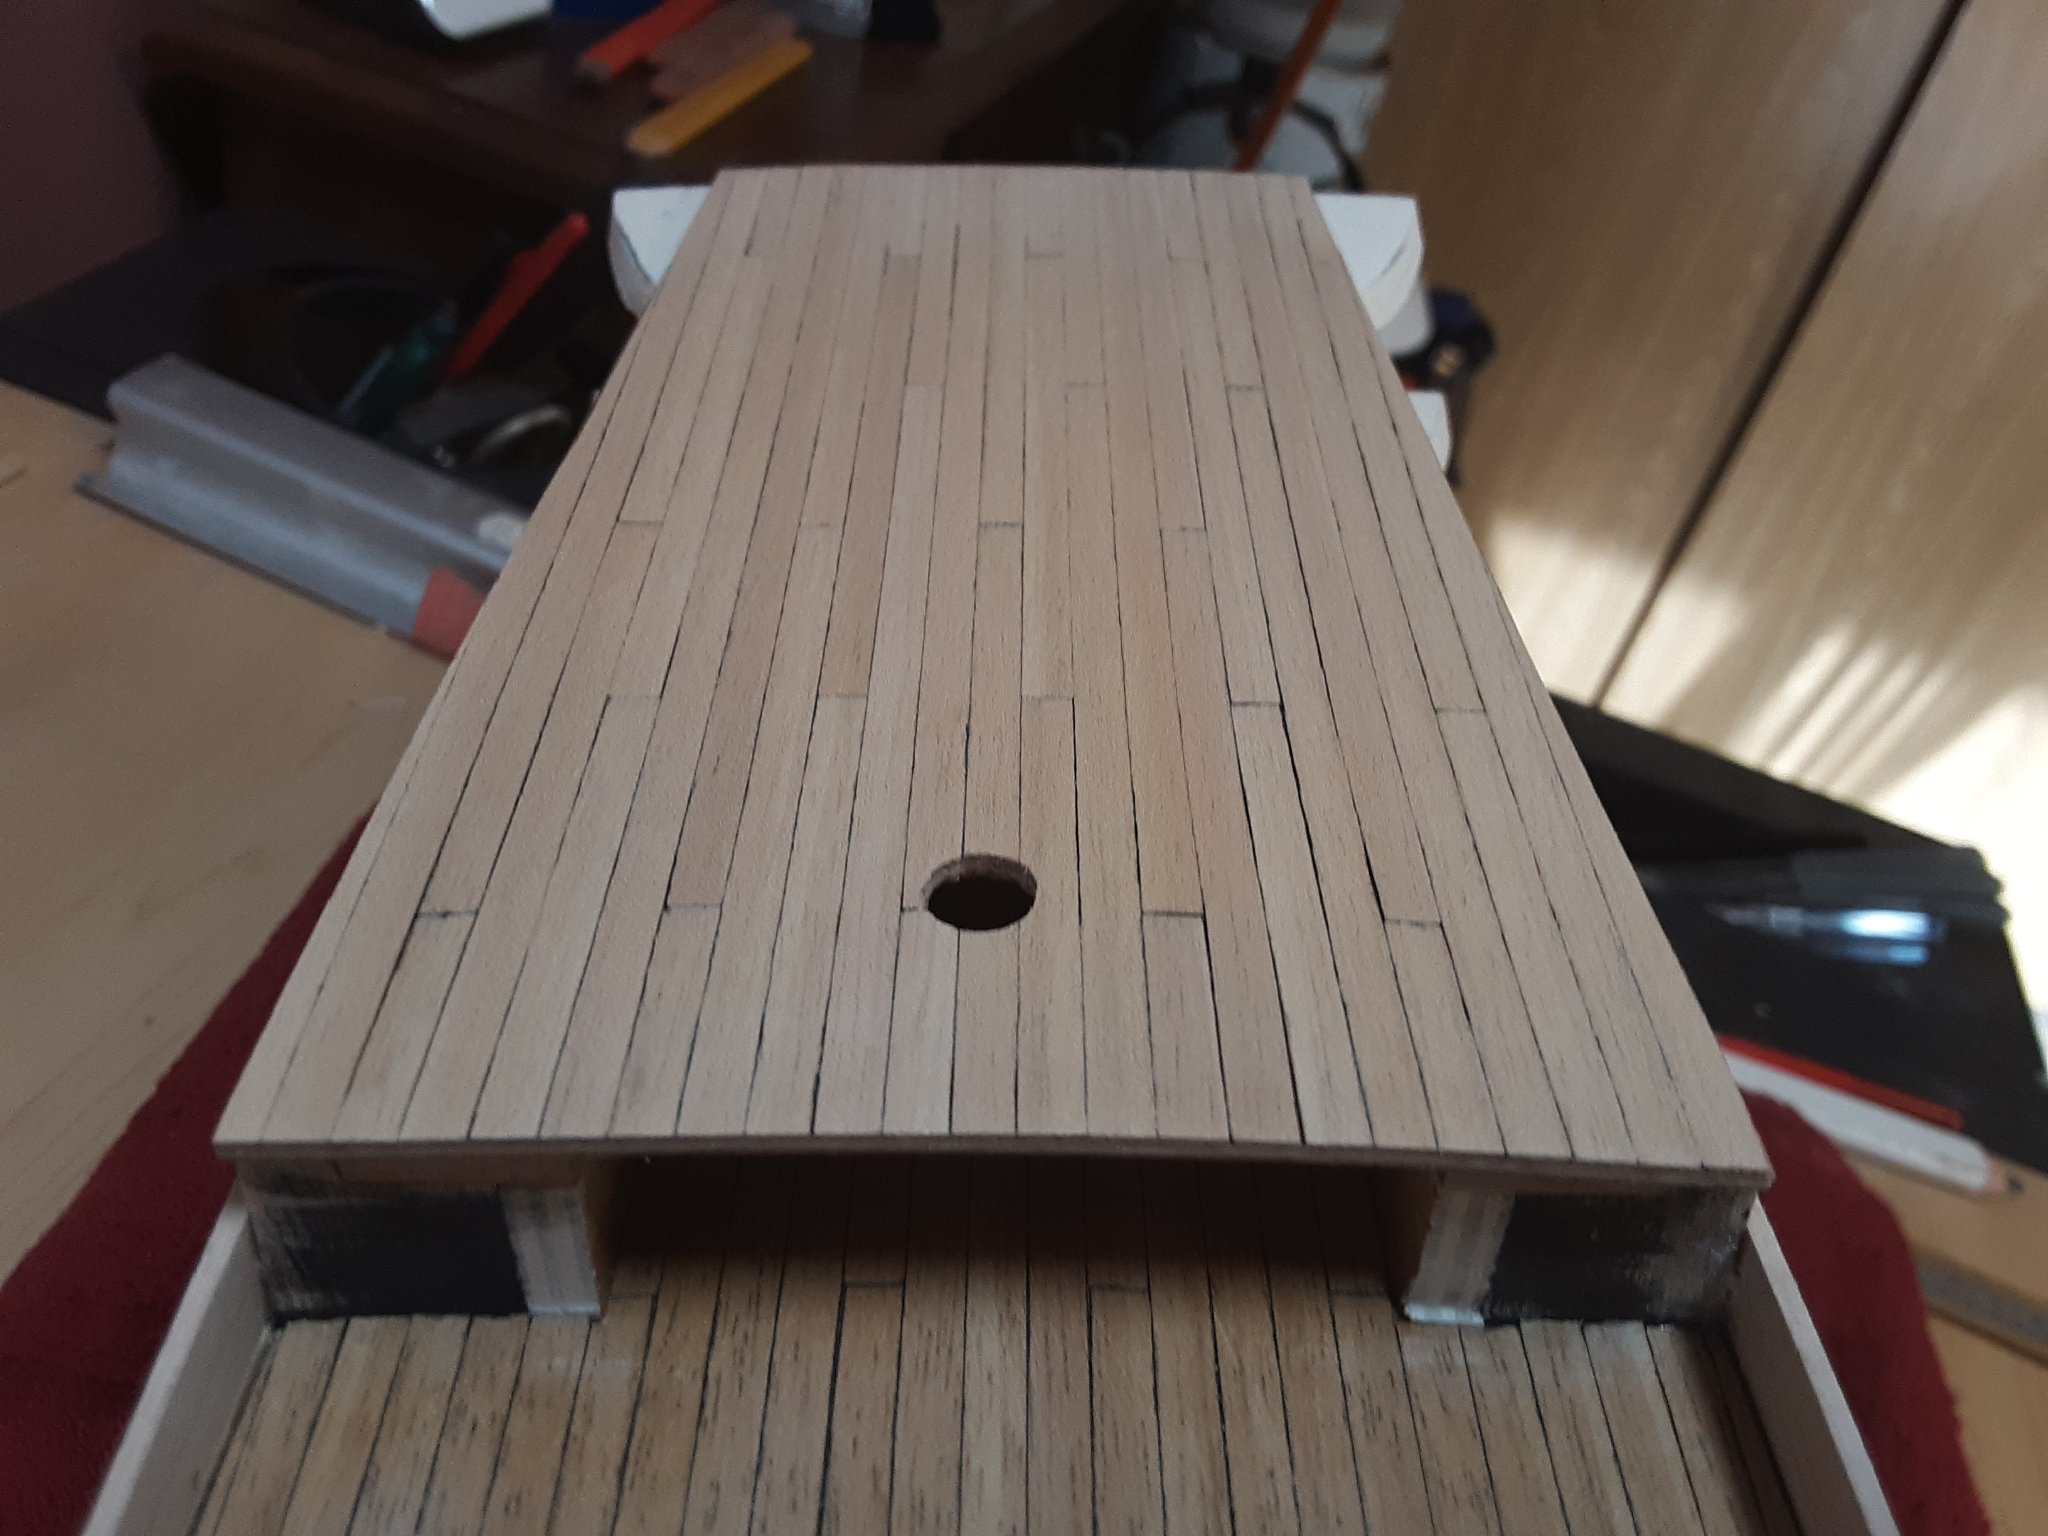
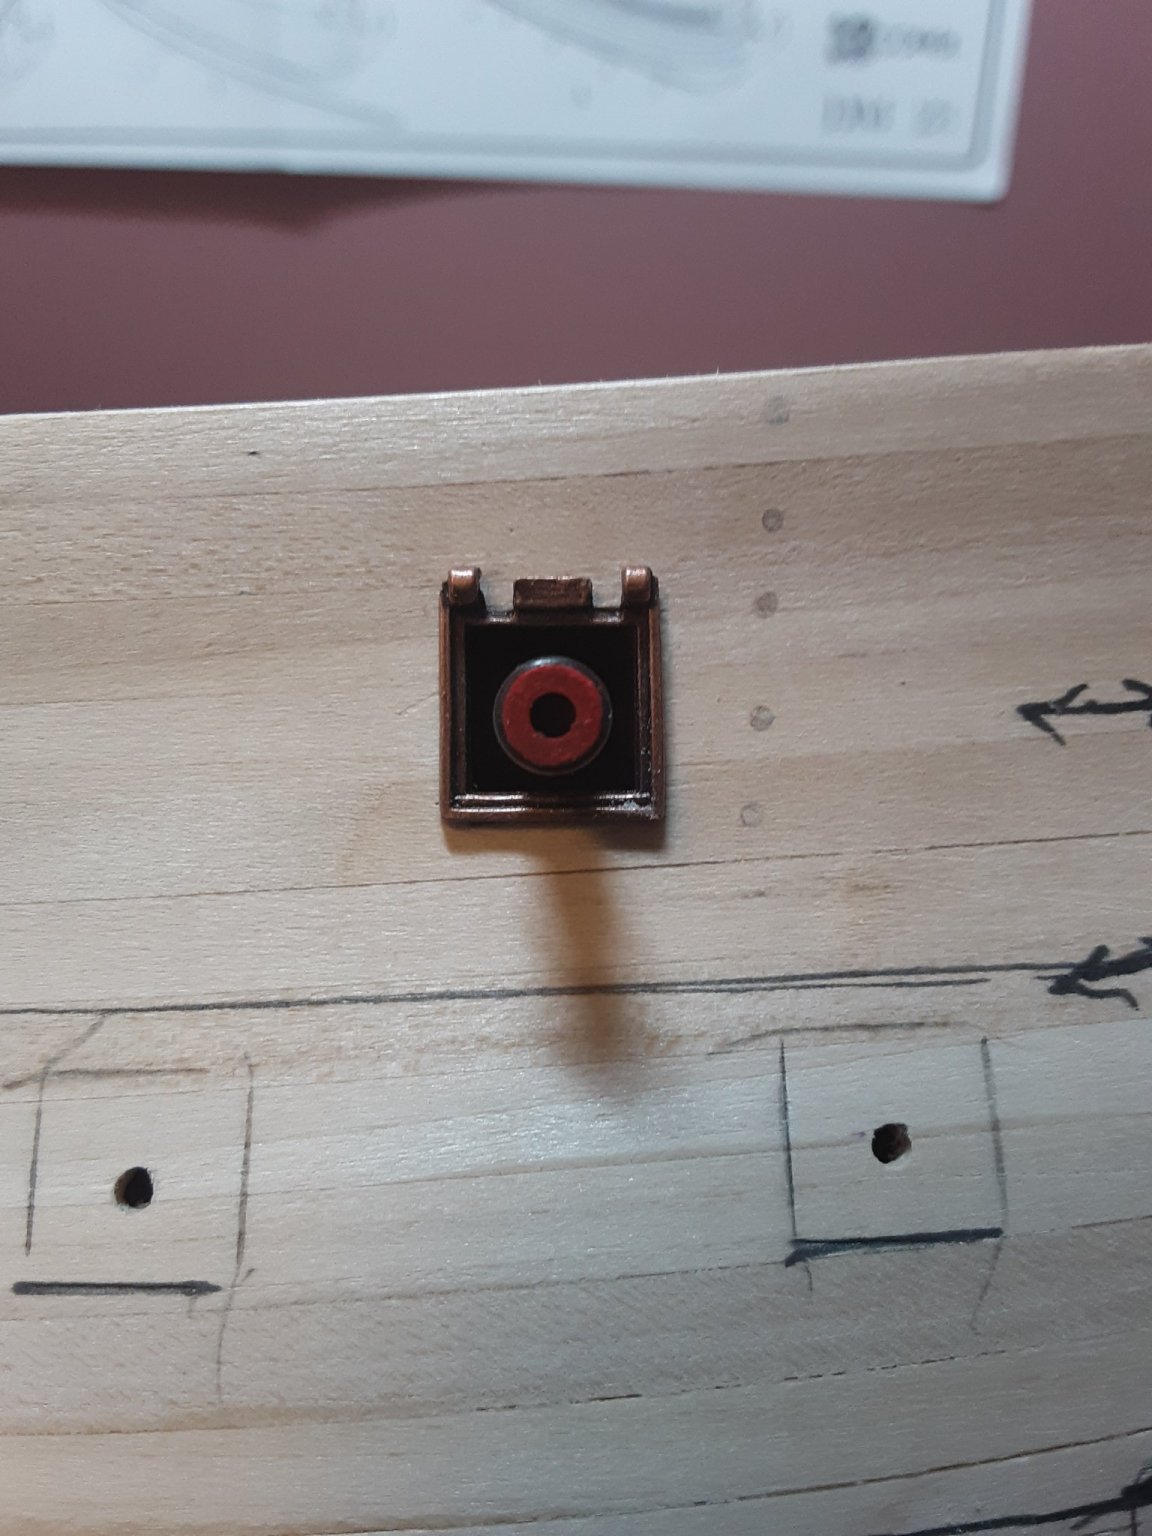
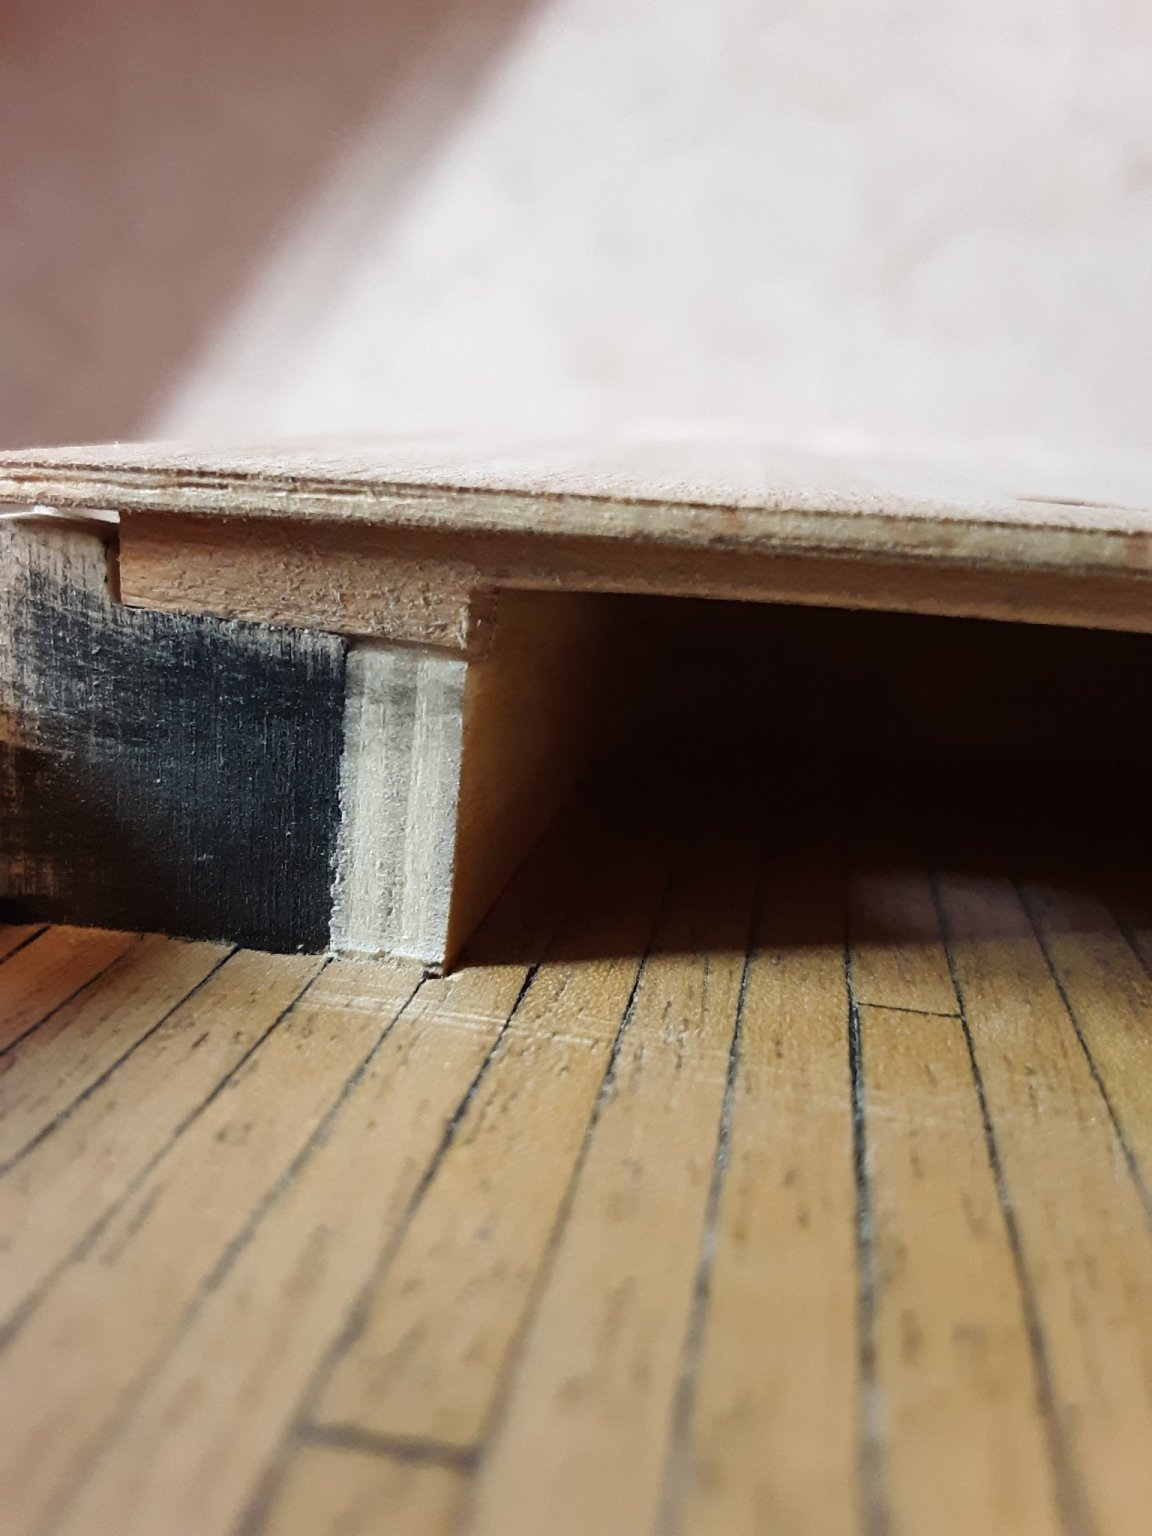
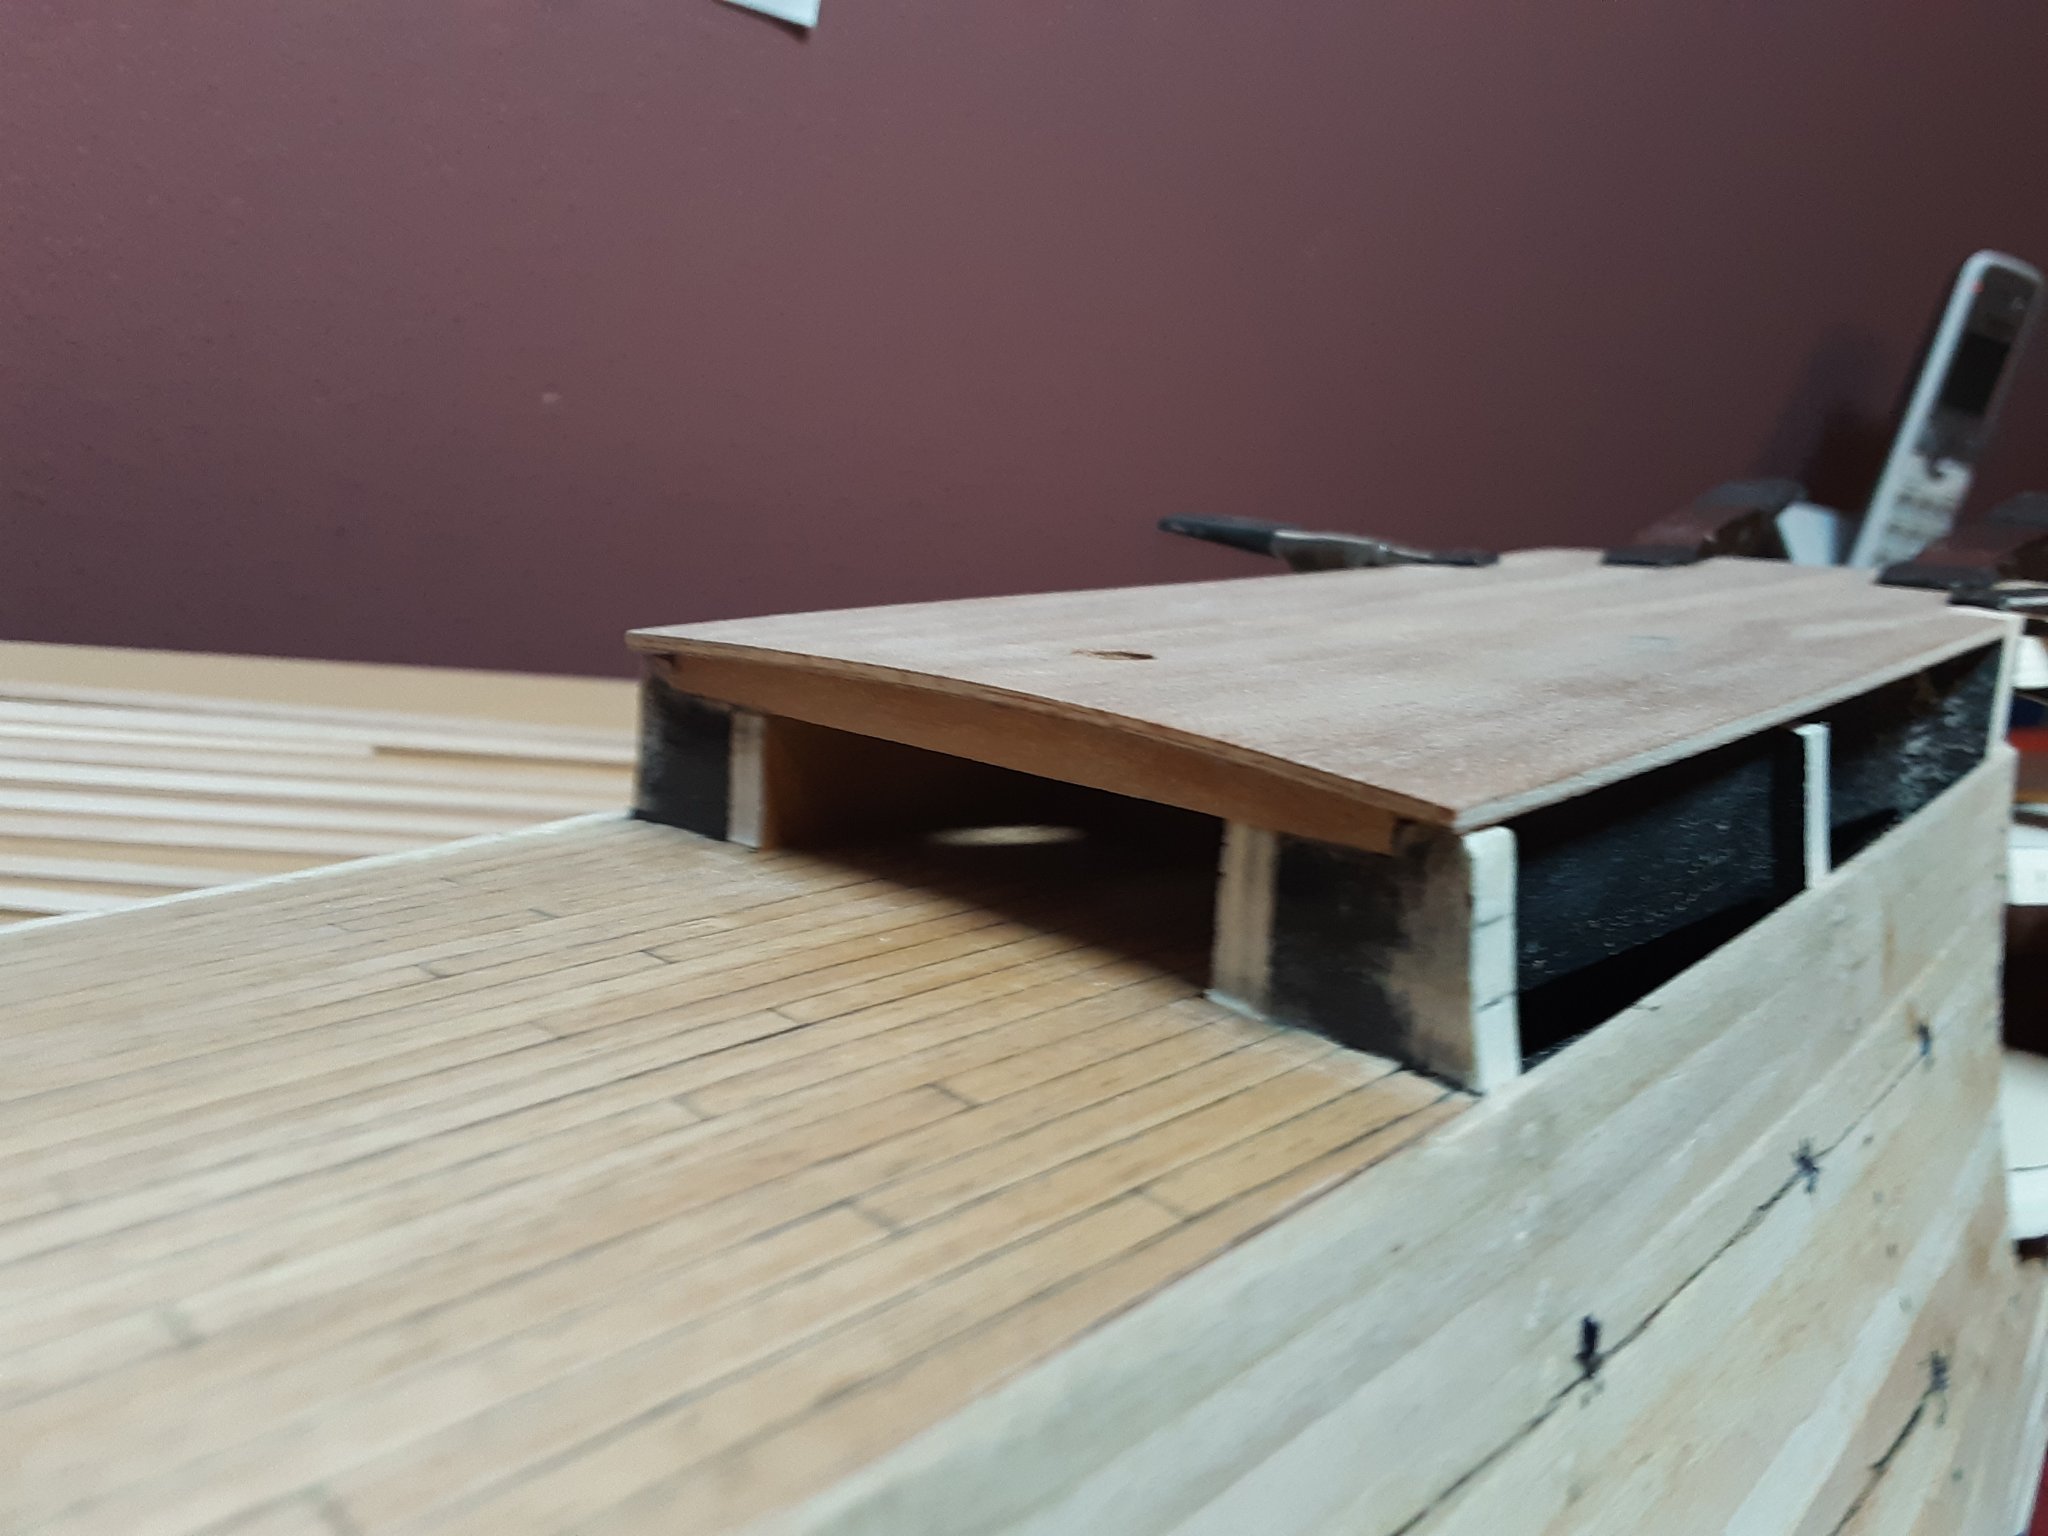
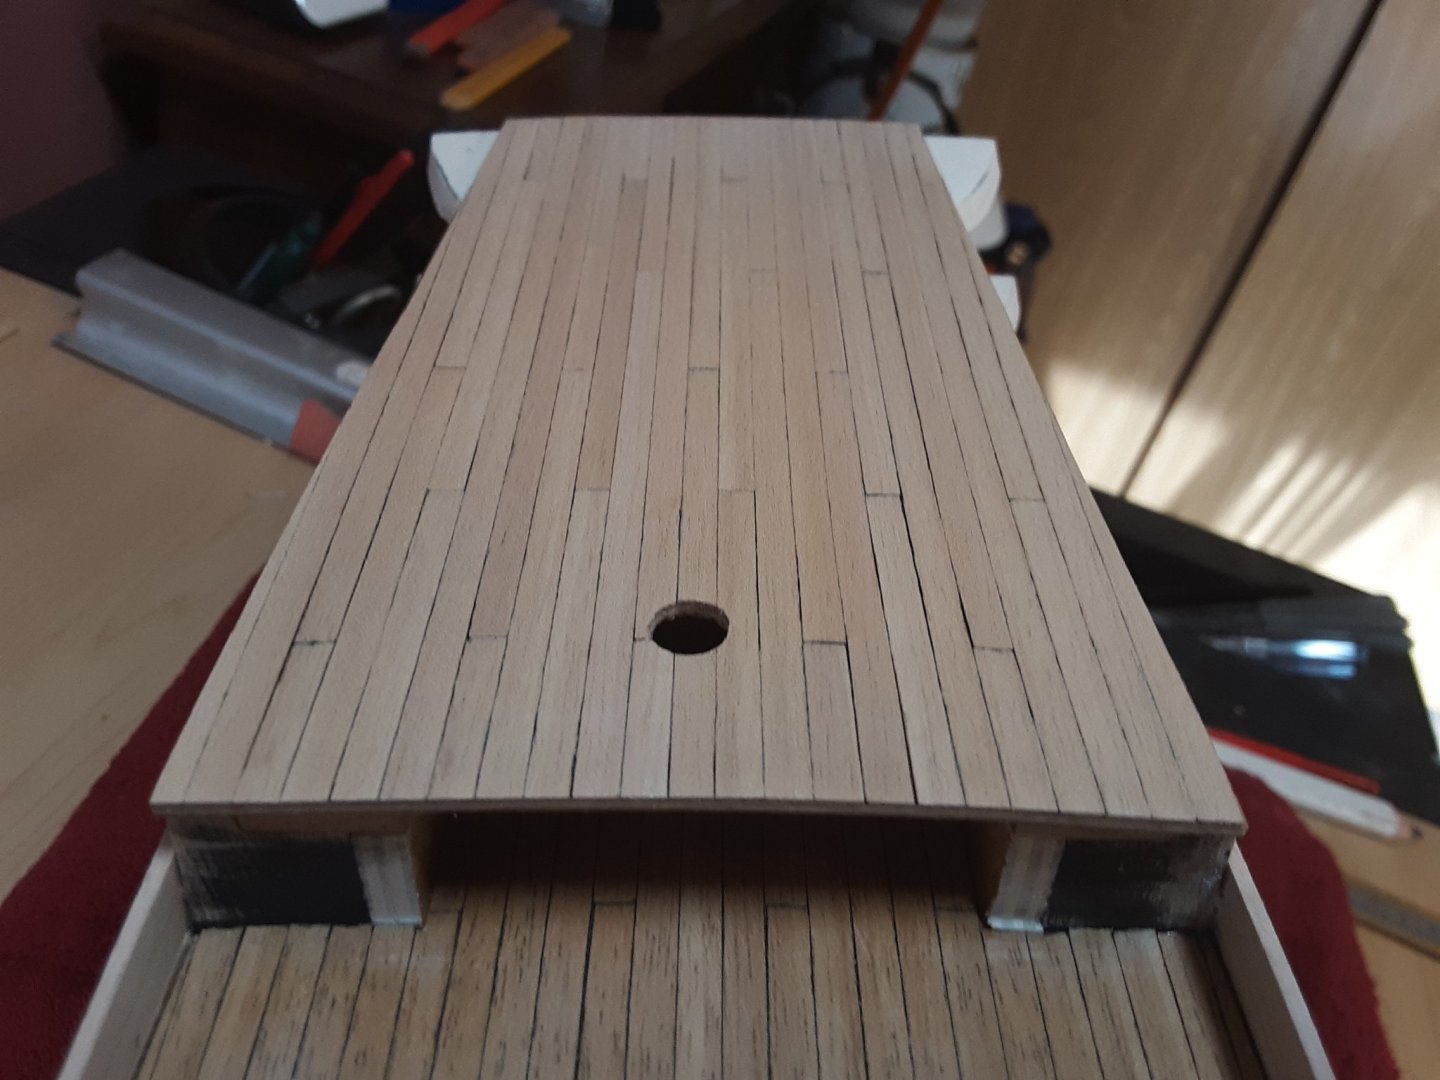
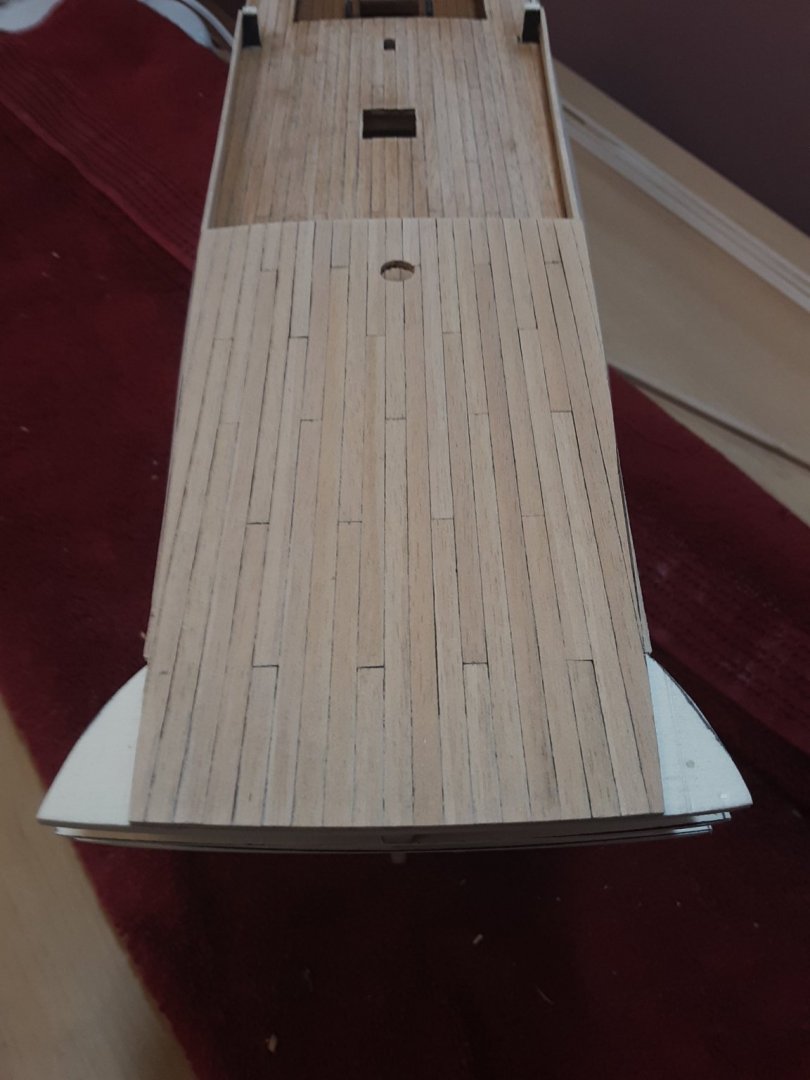
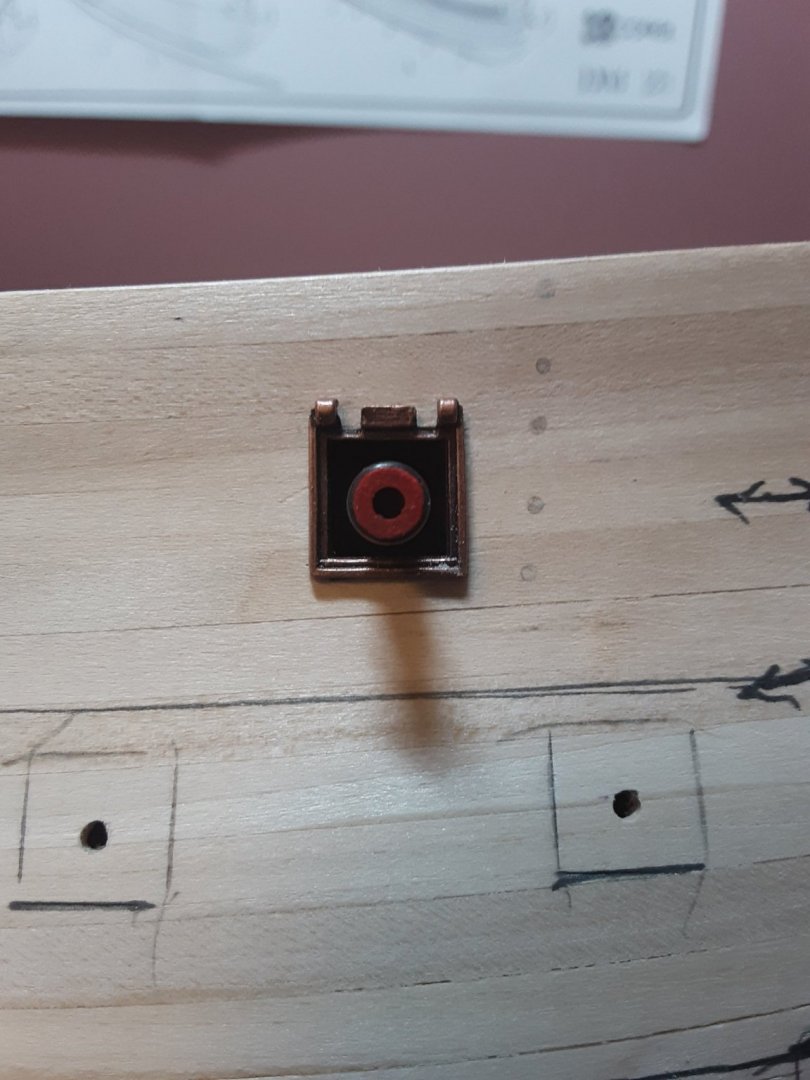
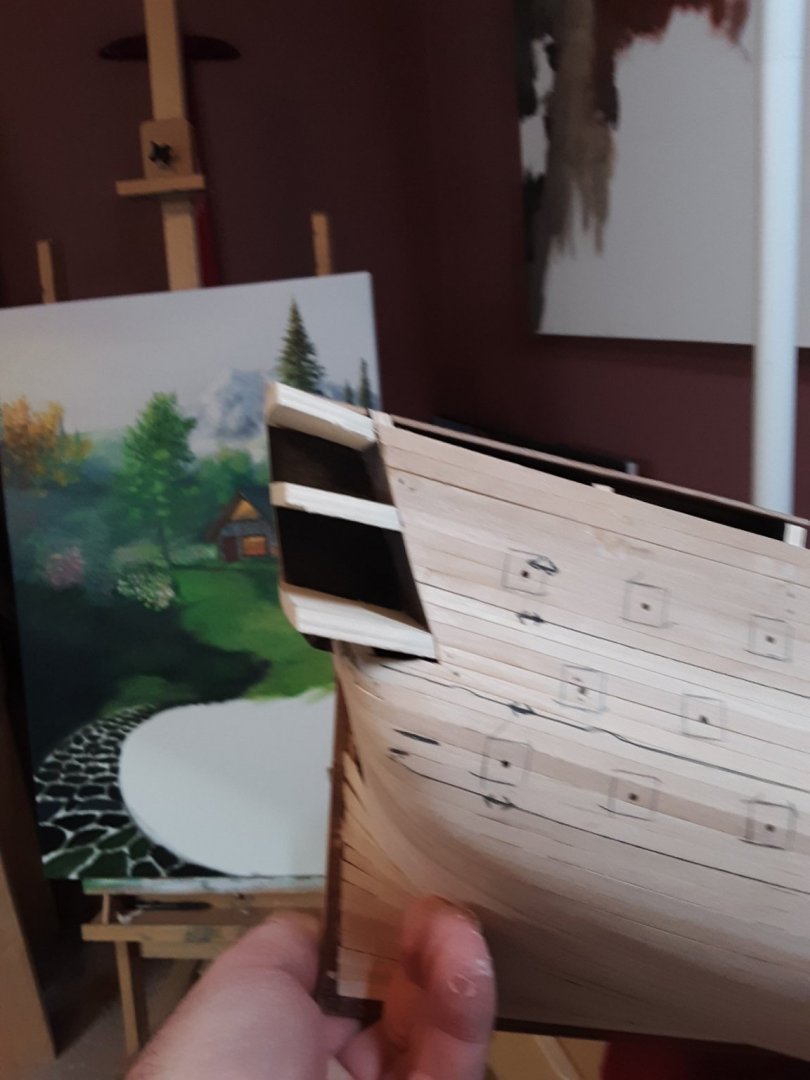
Put the planking on the poop deck. Sanded the port side of the hull smooth. I need to go back over it with some filler. Lots of cracks and mistakes. I cut a few more cannon ports. And I couldn't resist. I set one of the cannon barrels in place for a look. 🙂 Here's some photos. Best regards, Robert


-
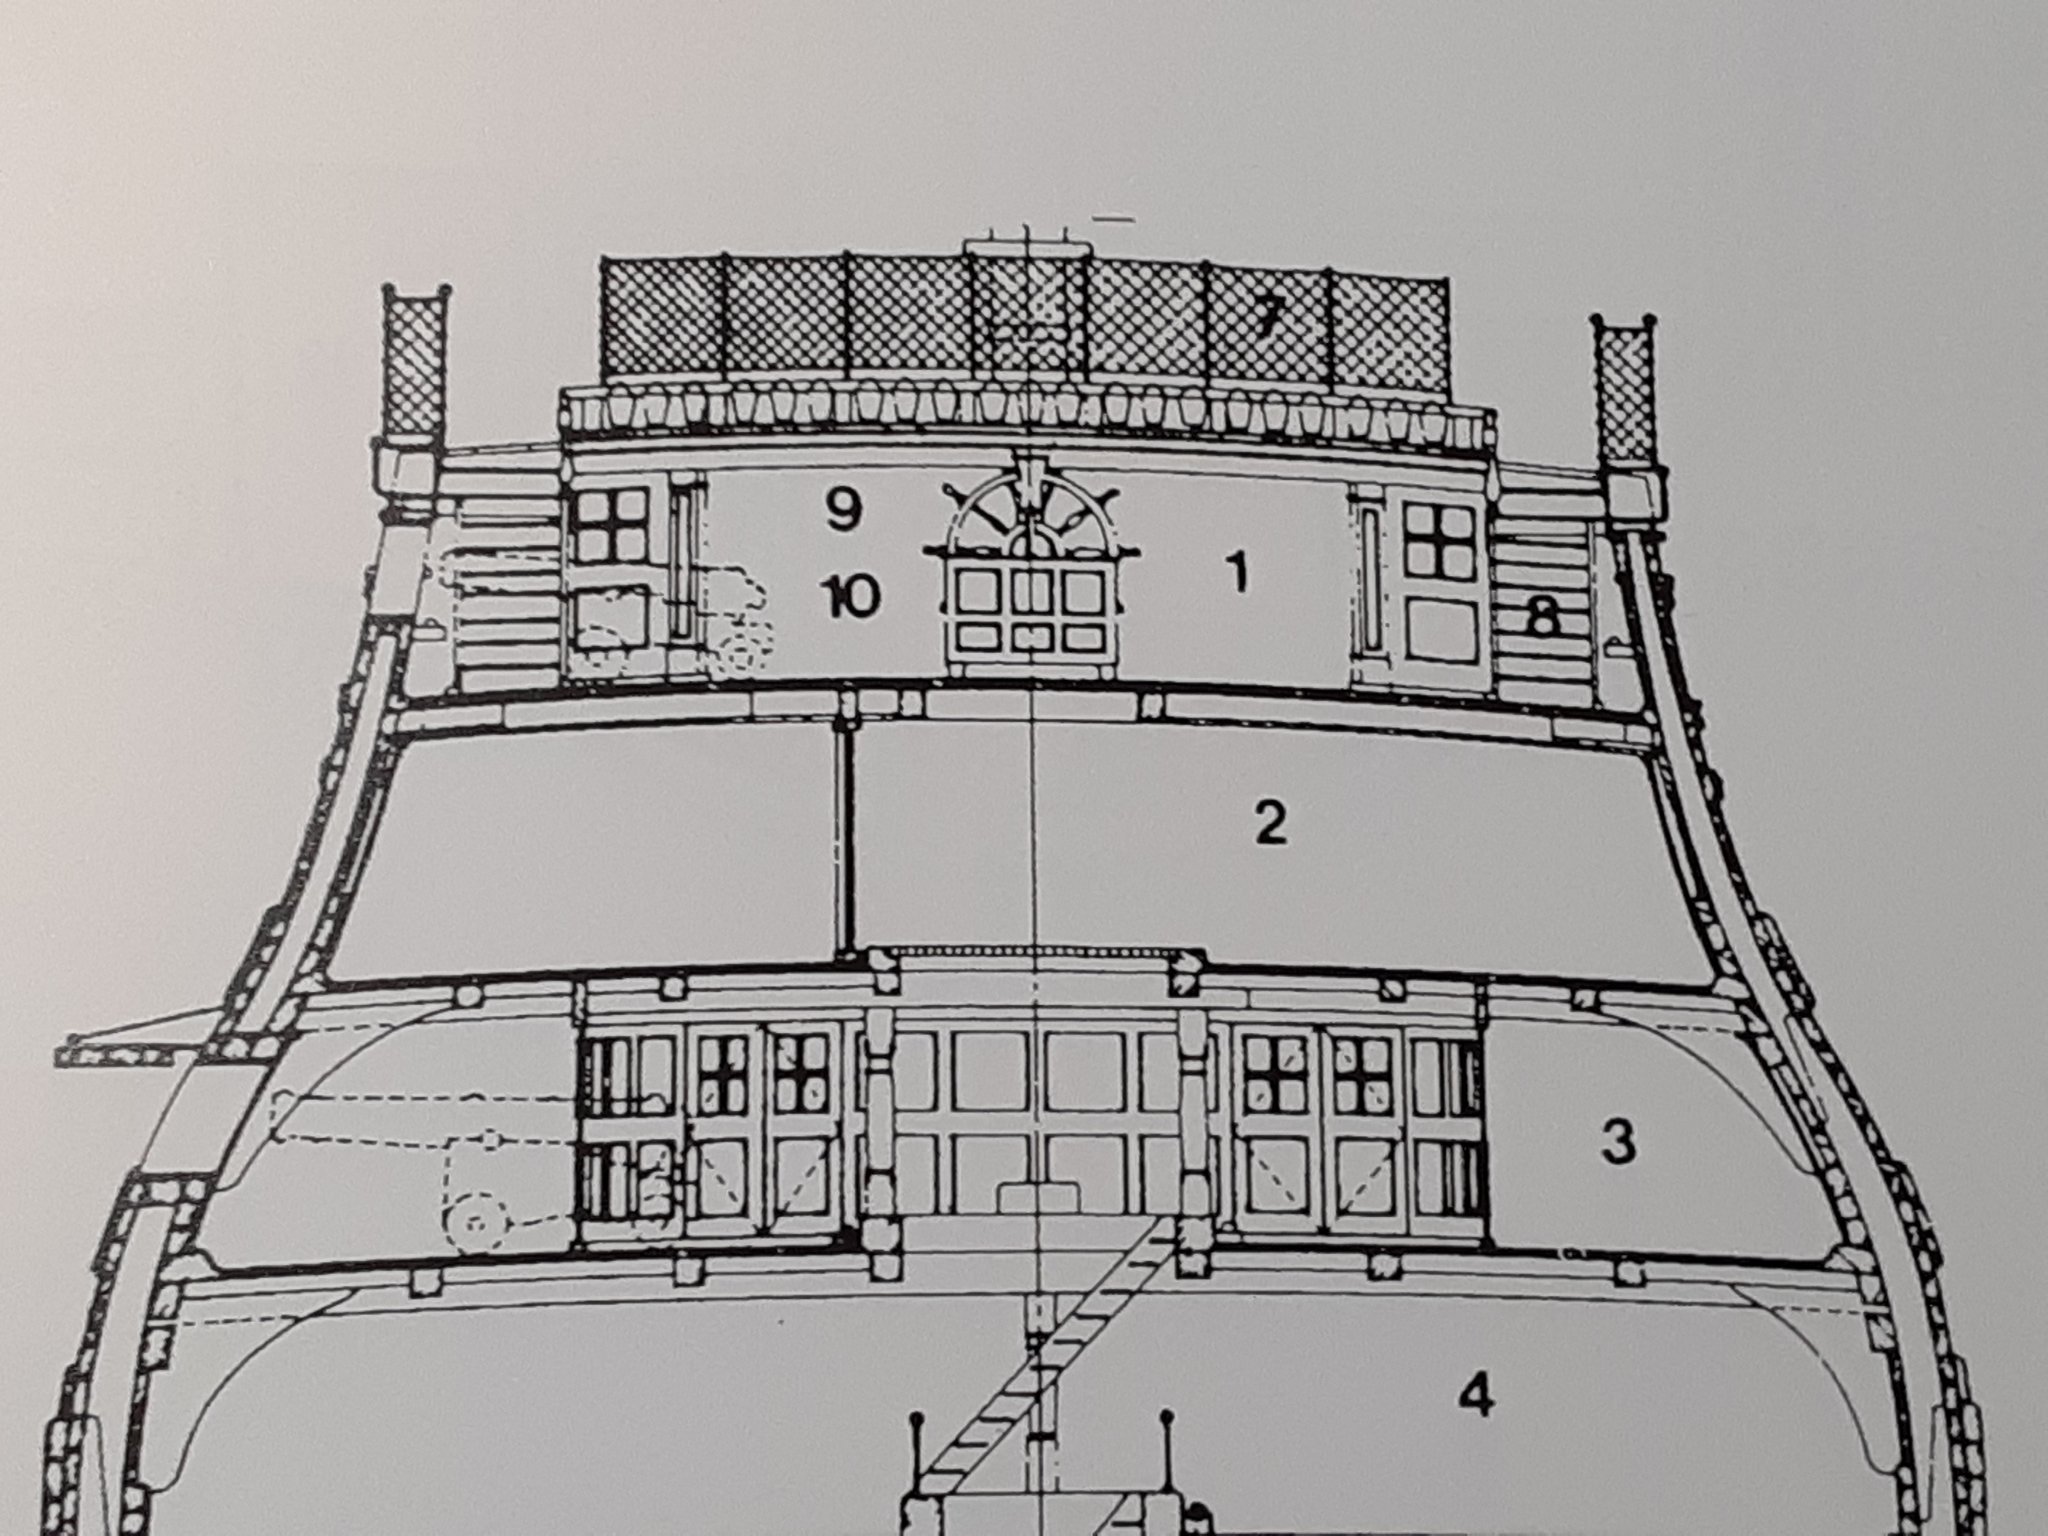
Thank you Eugenio for pointing that out to me. I completely missed that. Yes, I already glued everything in. But, thank God for dremel tools.😁 With a steady hand, and some filing, I believe I have it where it needs to be. The diagram is from "Anatomy of the Ship" by John McKay. Have a great day, Robert


-
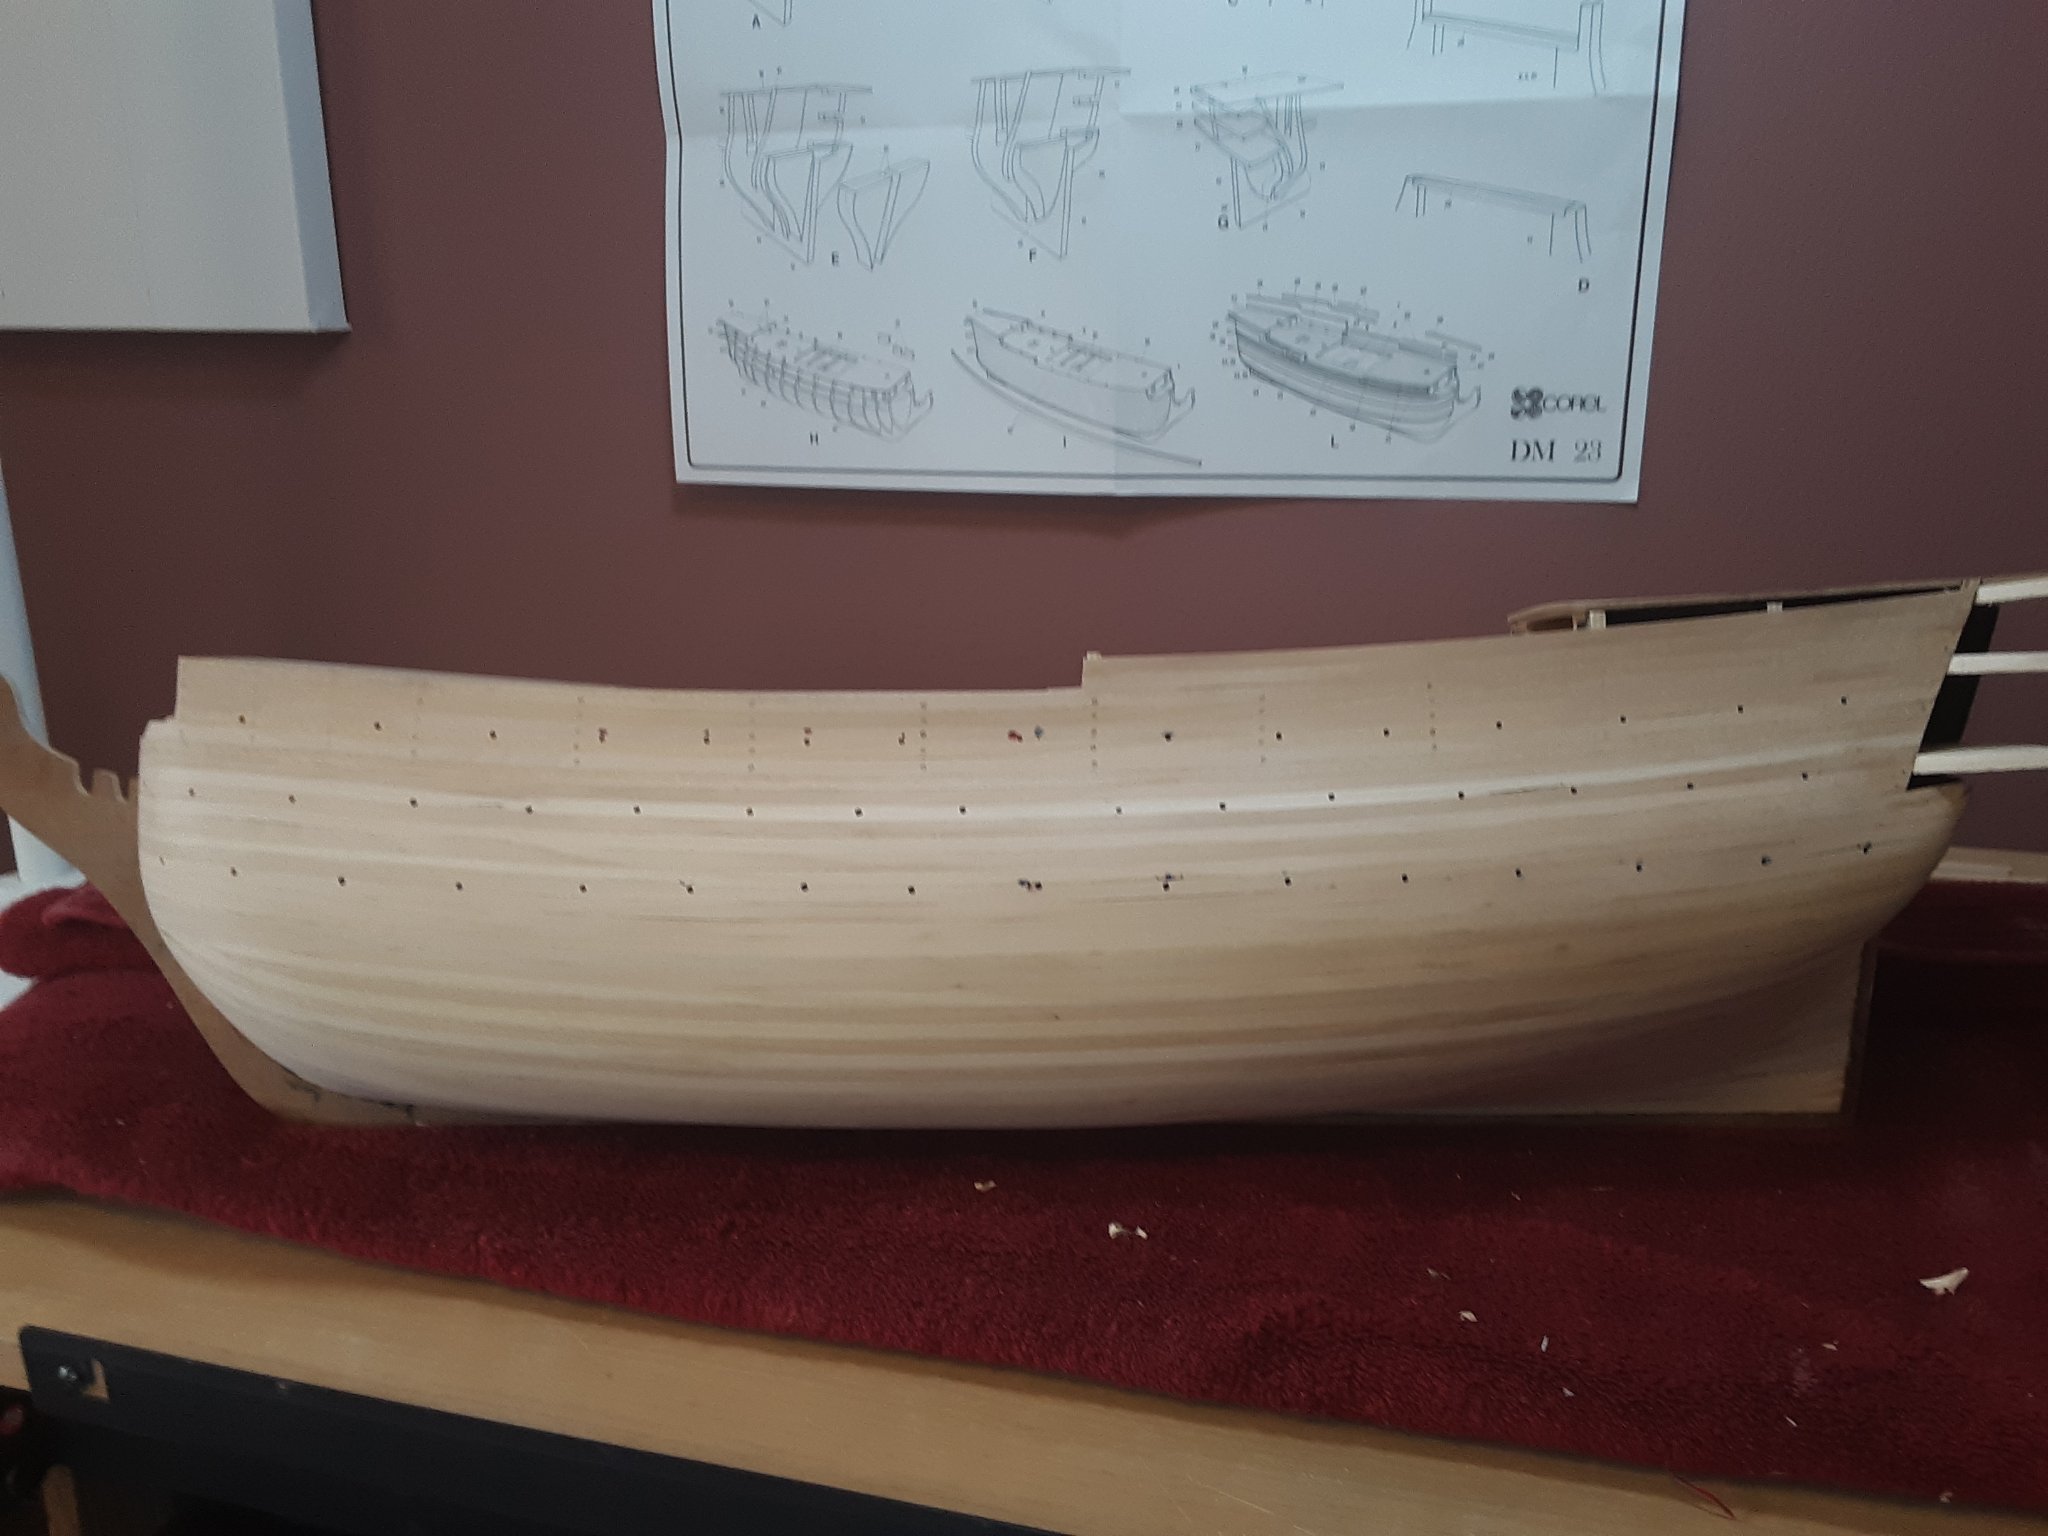
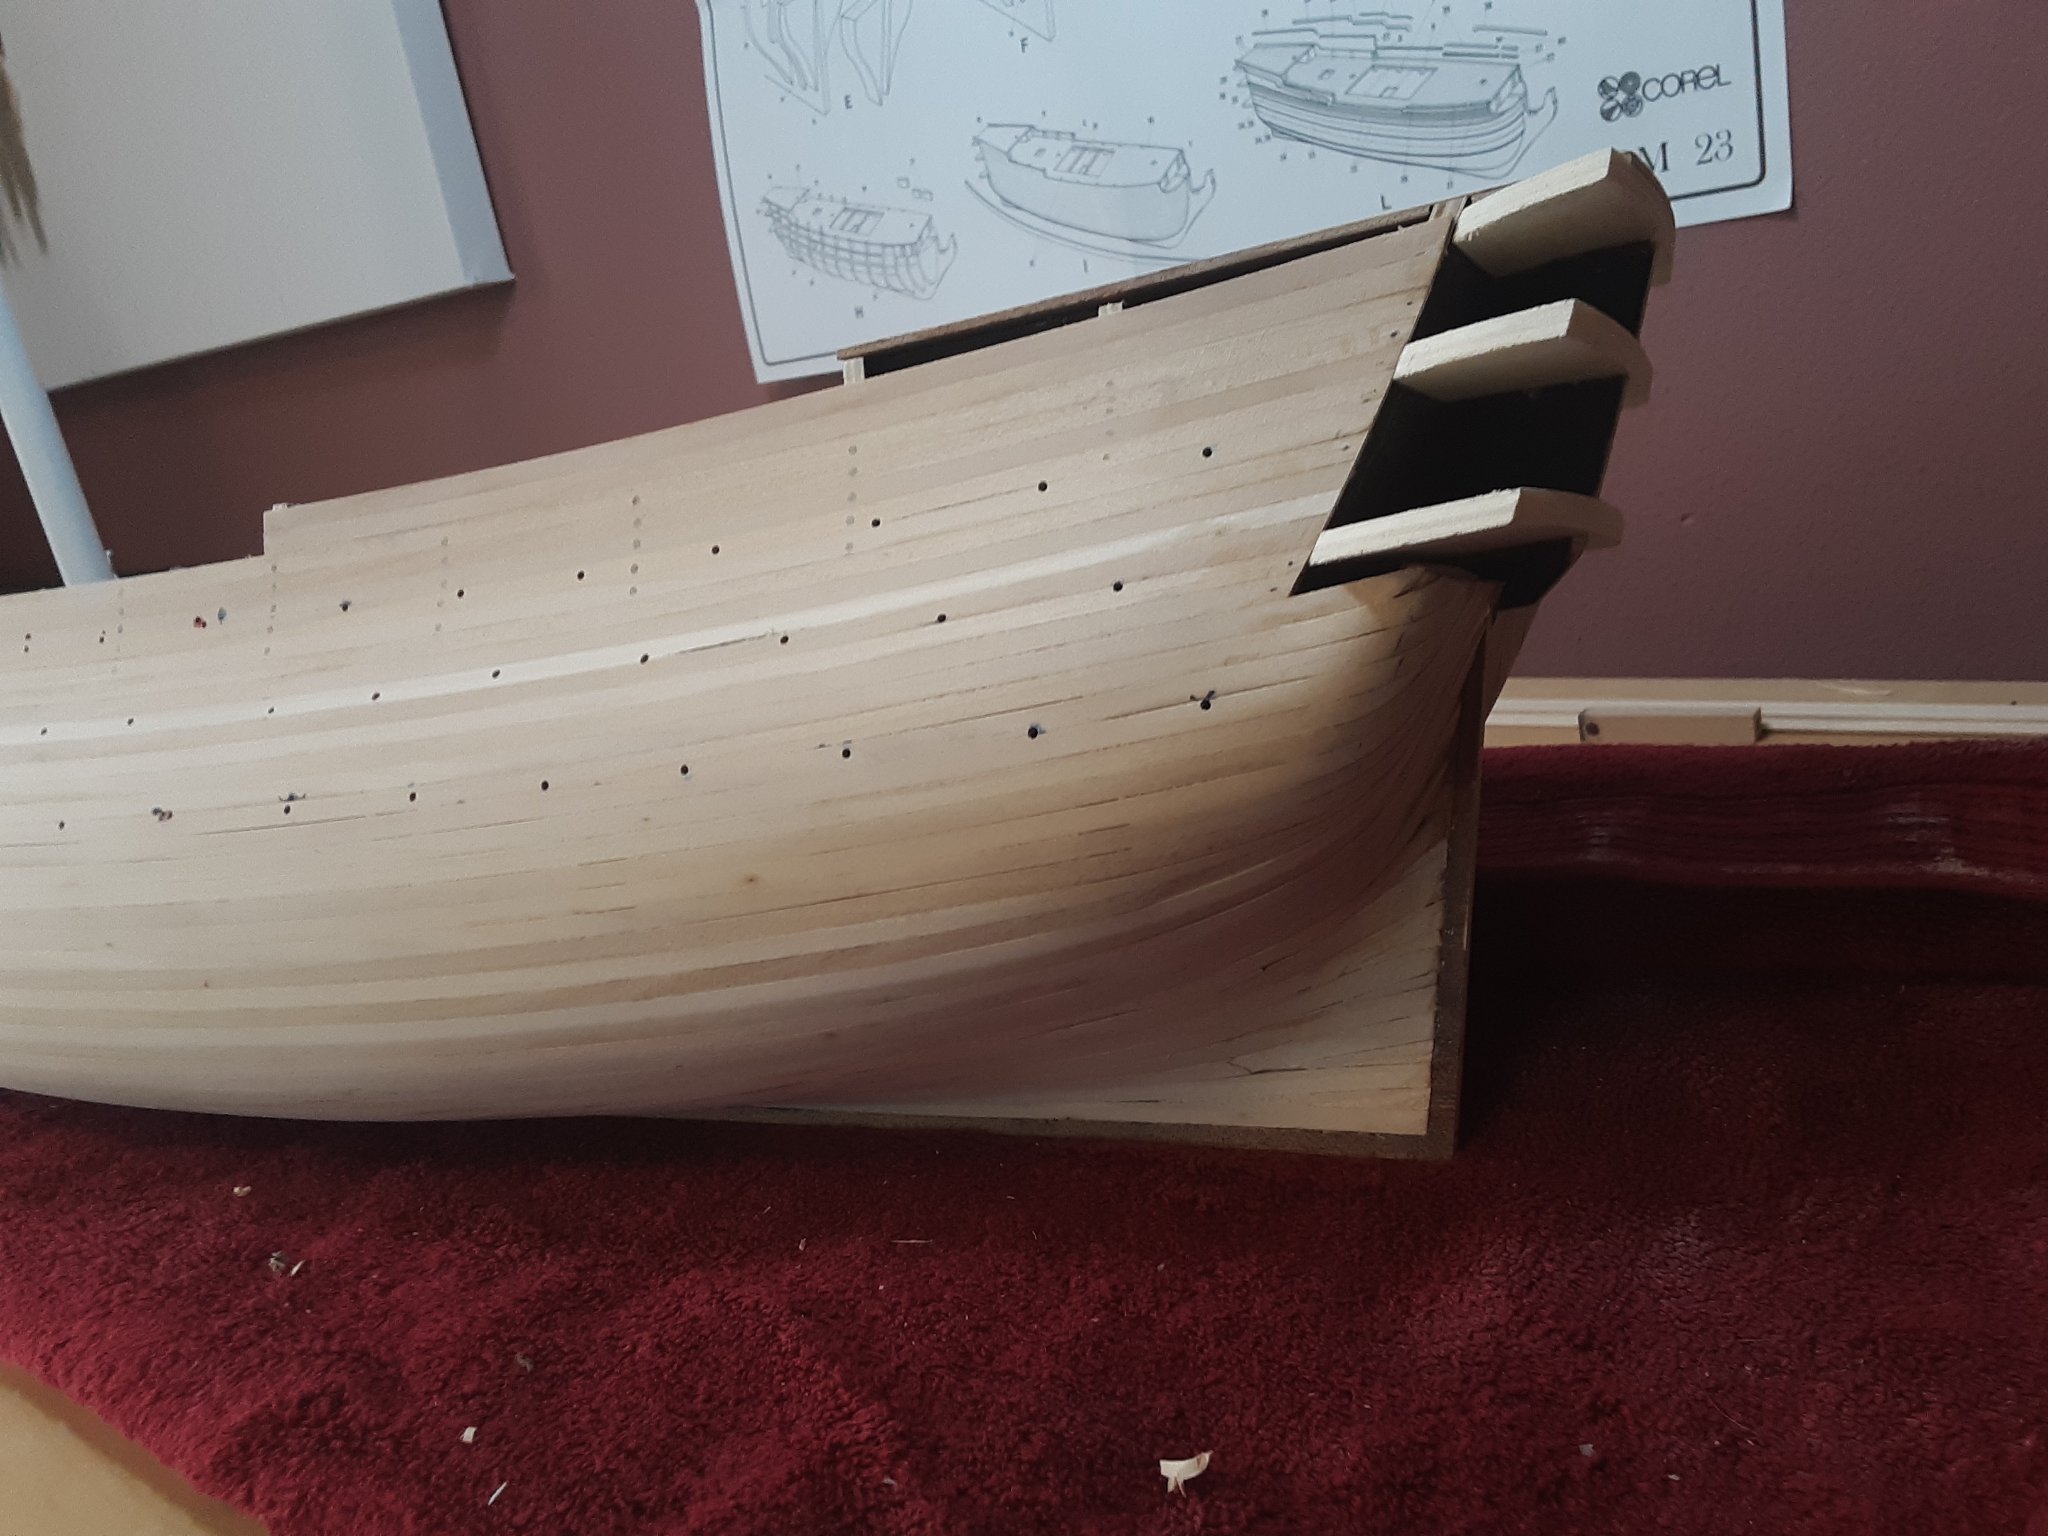
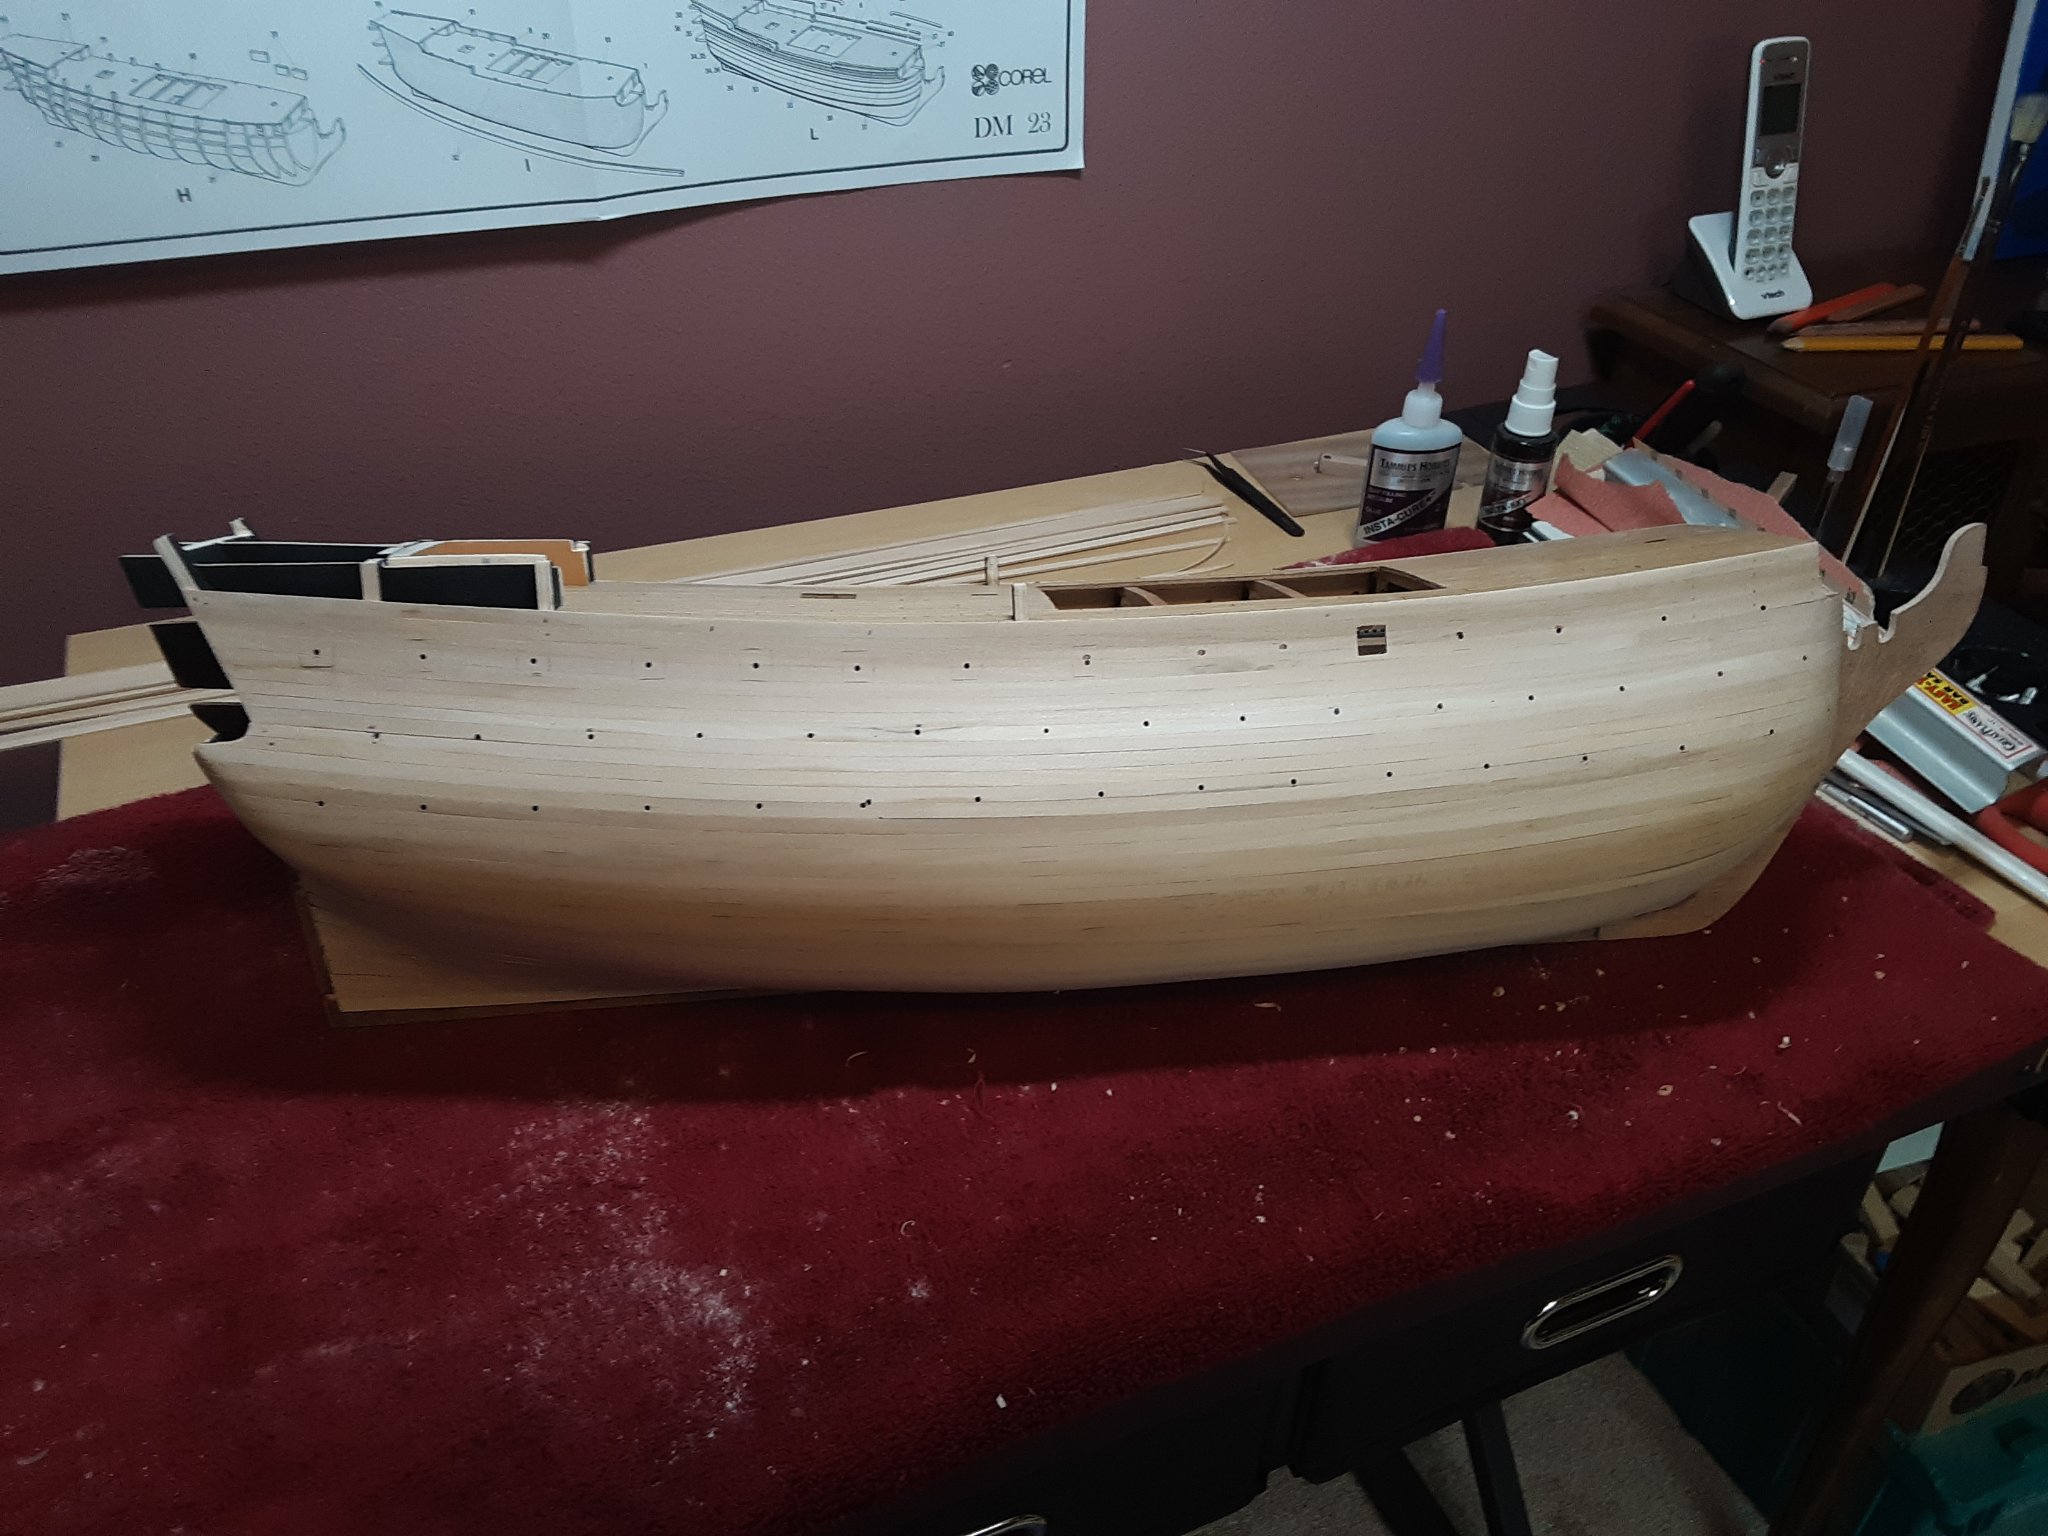
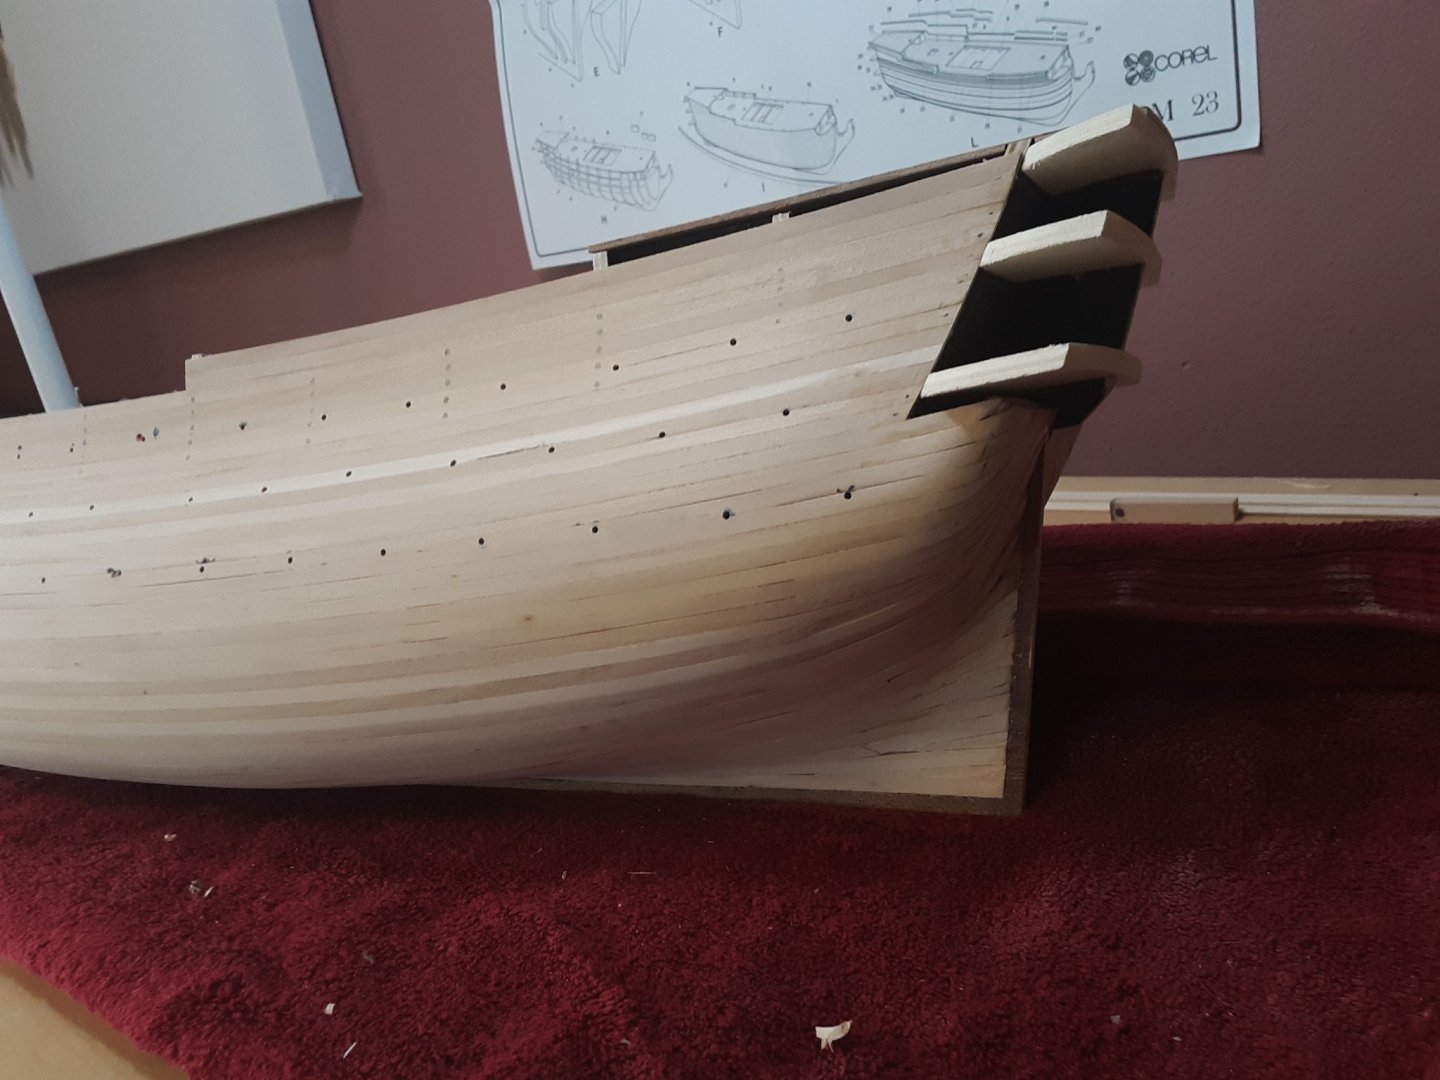
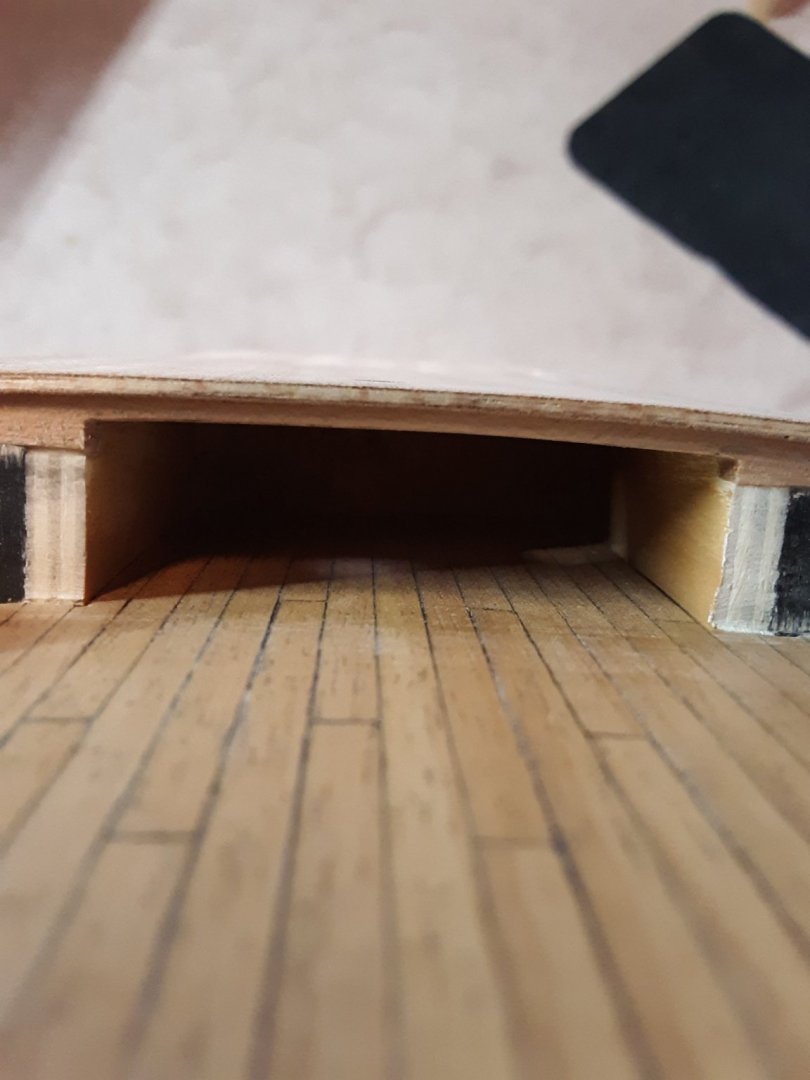
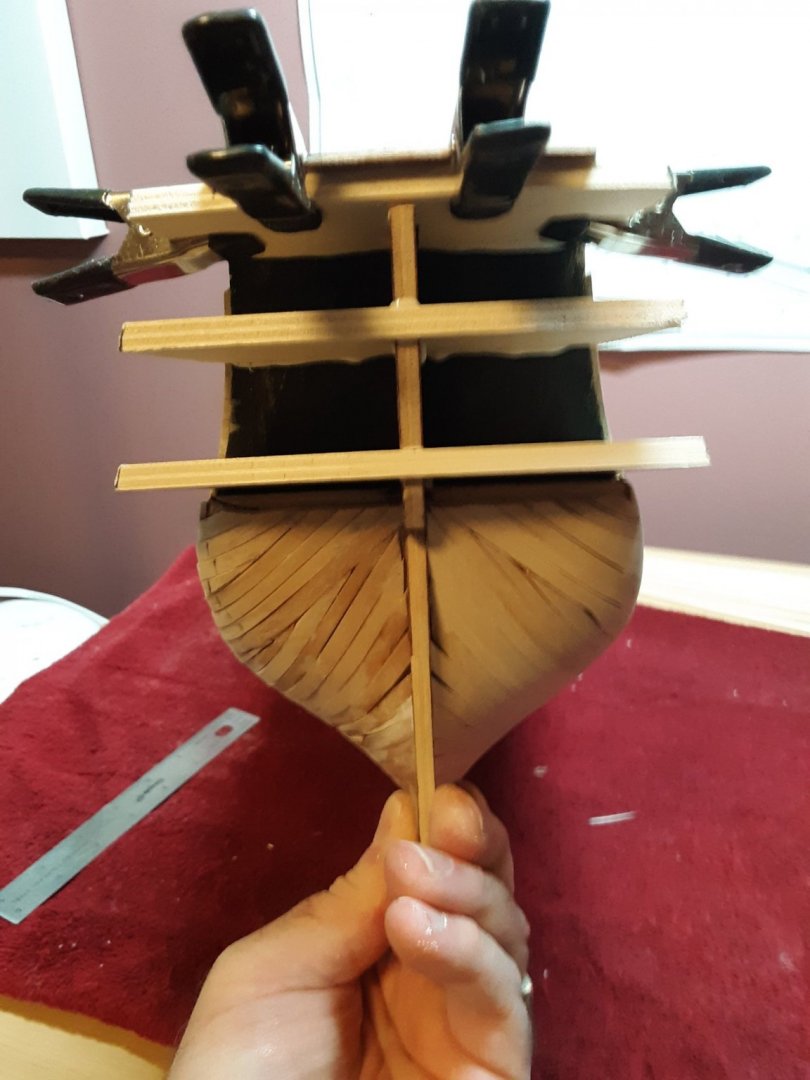
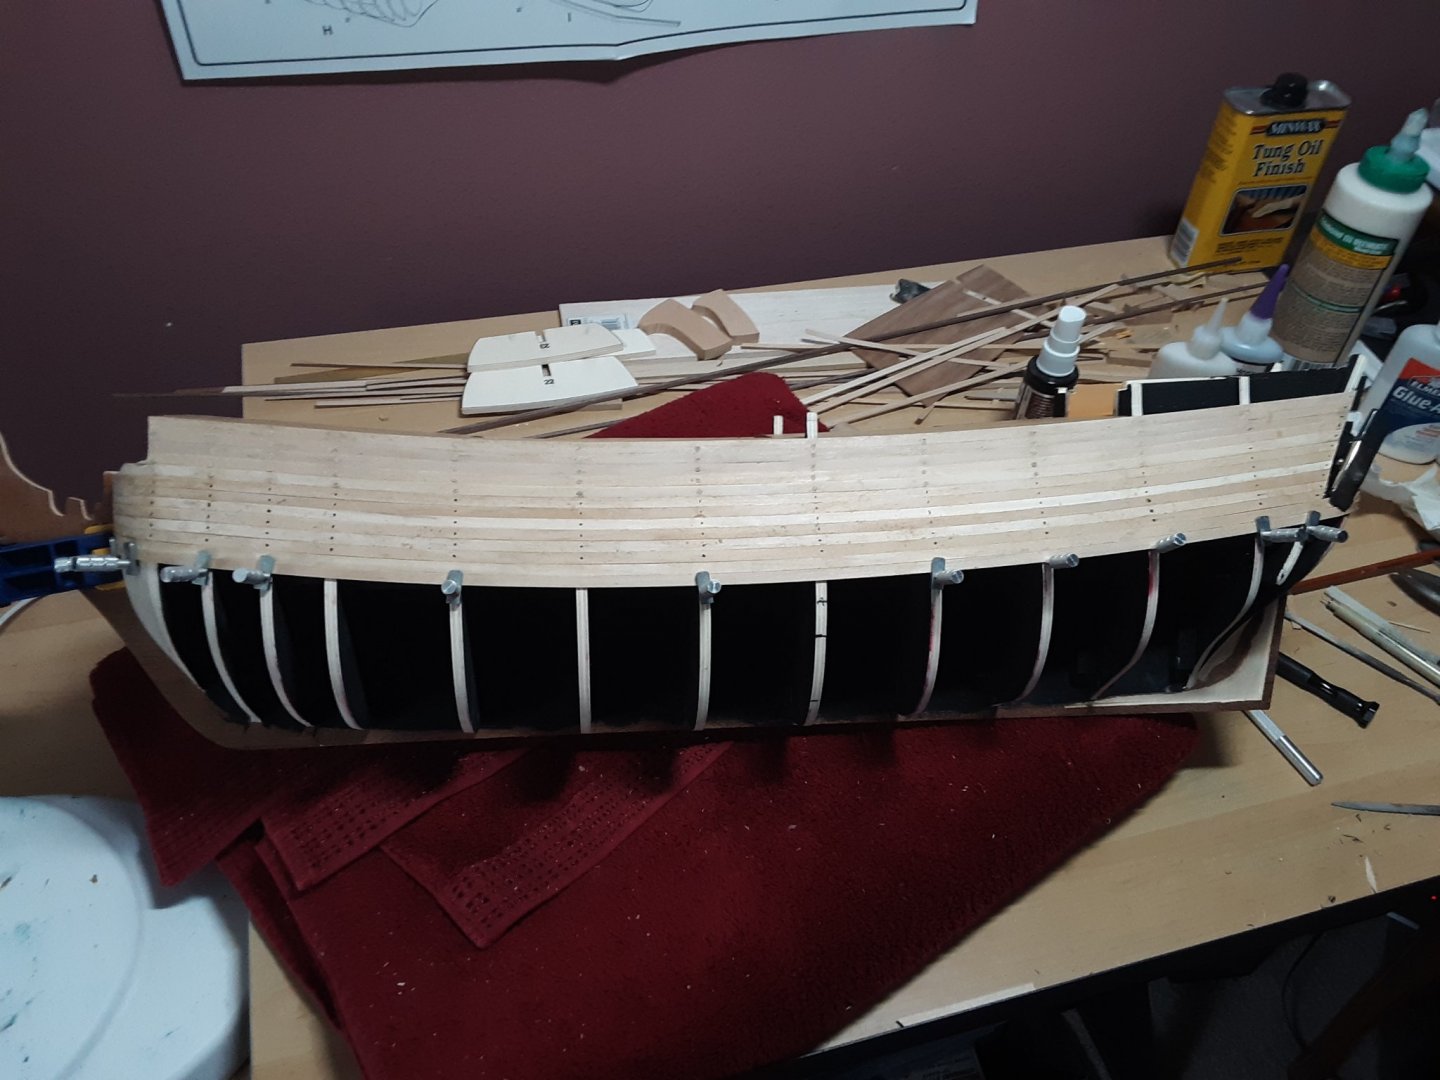
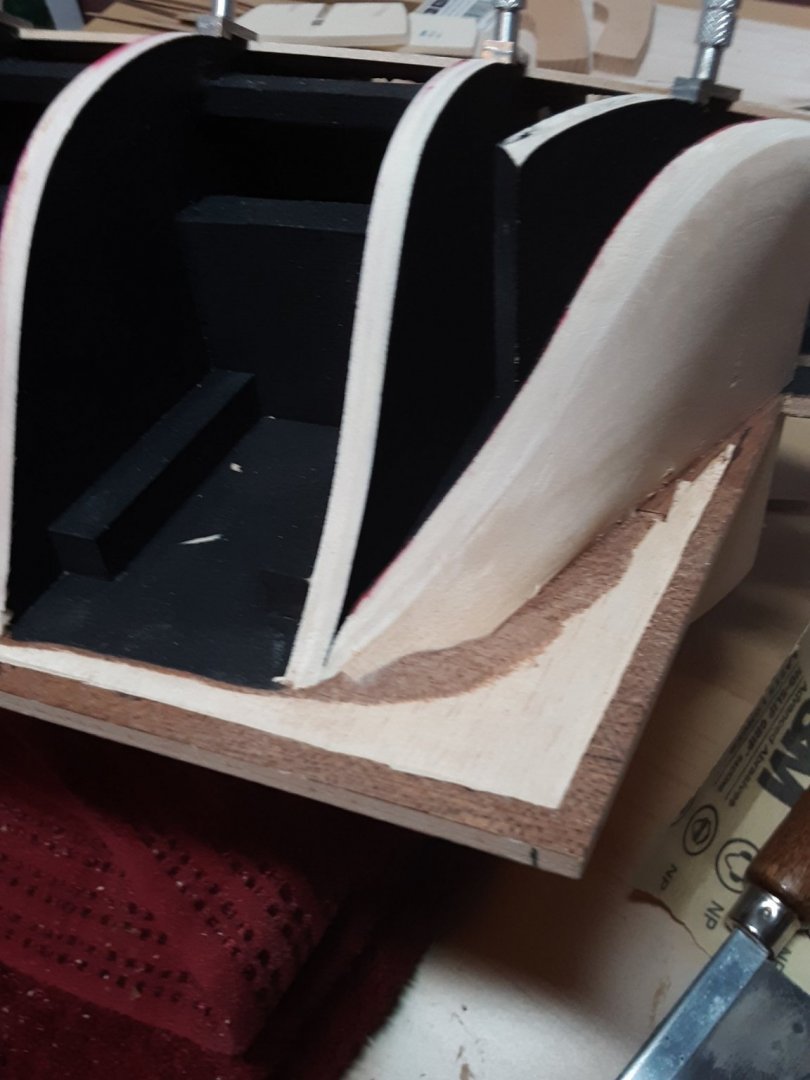
My hull is completely covered in planks. Not the prettiest but it's a good start. Still have a few planks to put in around the poop deck. I'm probably going to cover the poop deck with deck boards before I close it up with the hull planking. I installed the stern gallery frames and faired them in. I redrew my port openings on the starboard side and drew in some reference lines for position of the walnut planking and wales. Here's some updated photos. Have a great day, Robert


-
I can't believe how much I've learned. This is a very challenging ship. Thanks for the encouragement Eugenio. Robert
-
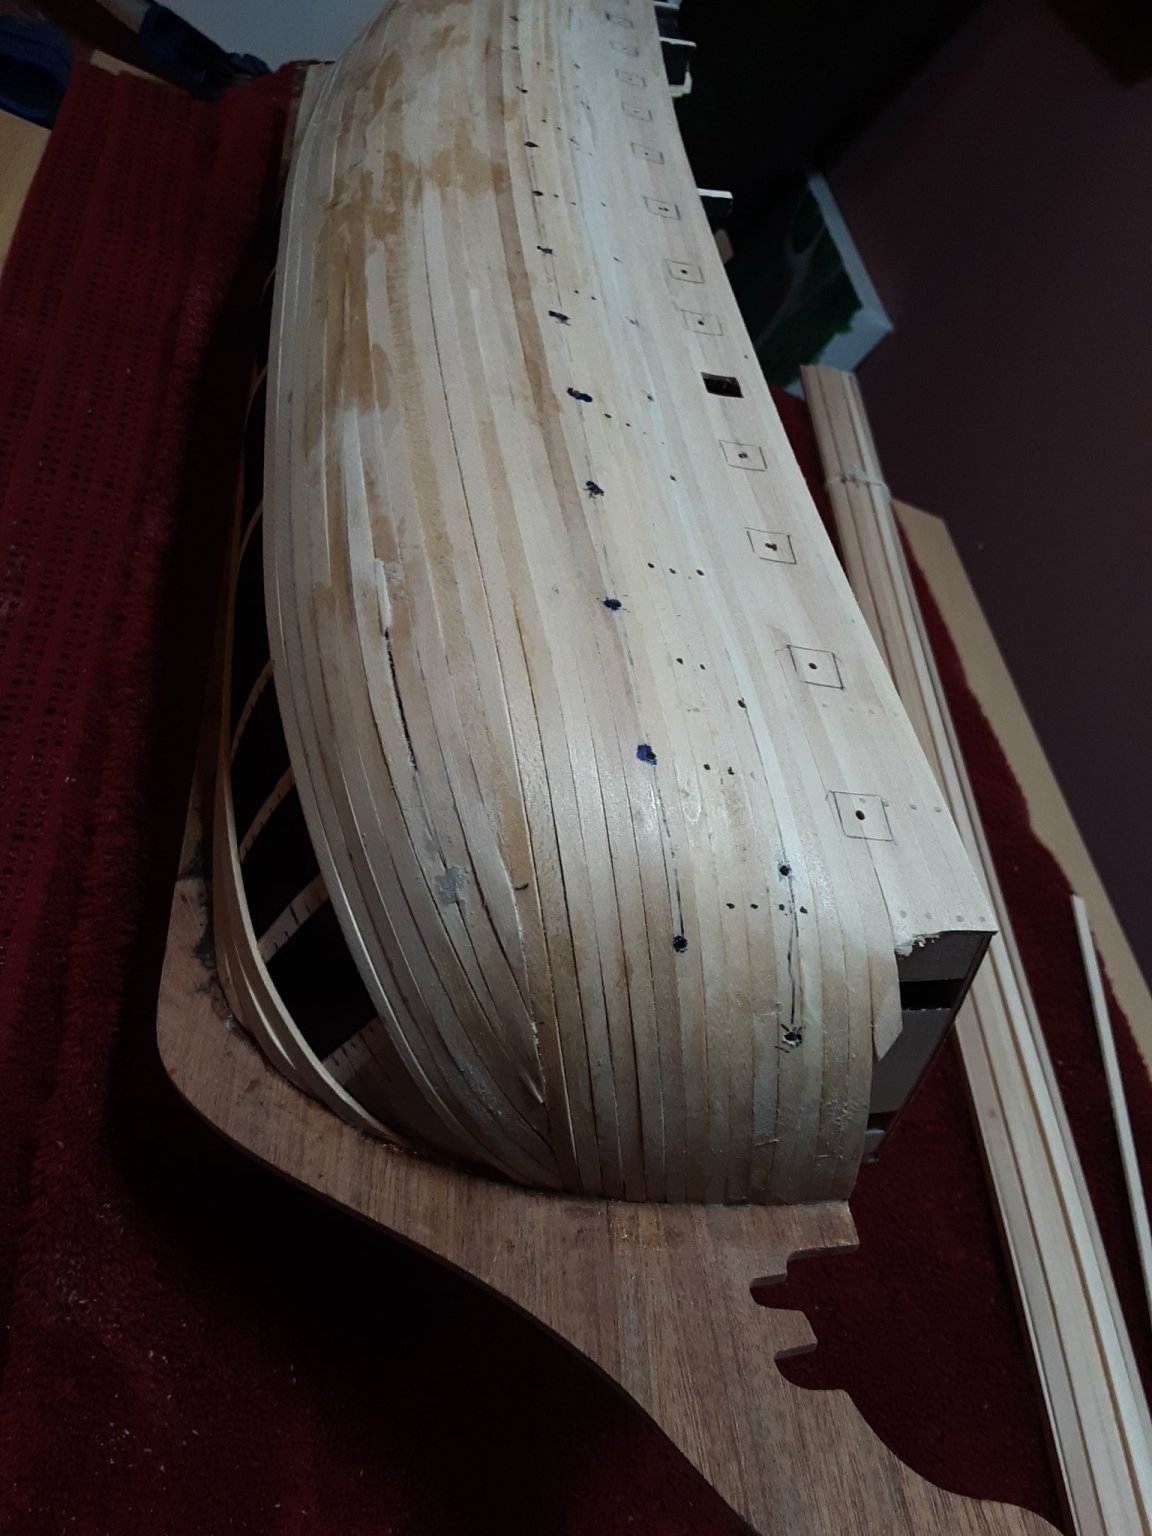
I now have the starboard side completely planked. Gave it a thorough sanding. Many areas that need filling. I still have a ways to go on the port side. I'm going to take my time and use this as practice. Then I'll take the time to lay out my walnut planks properly. Here's a few photos. Have a great day. Robert


-
Very nice looking ship my friend. Keep up the great work.
-
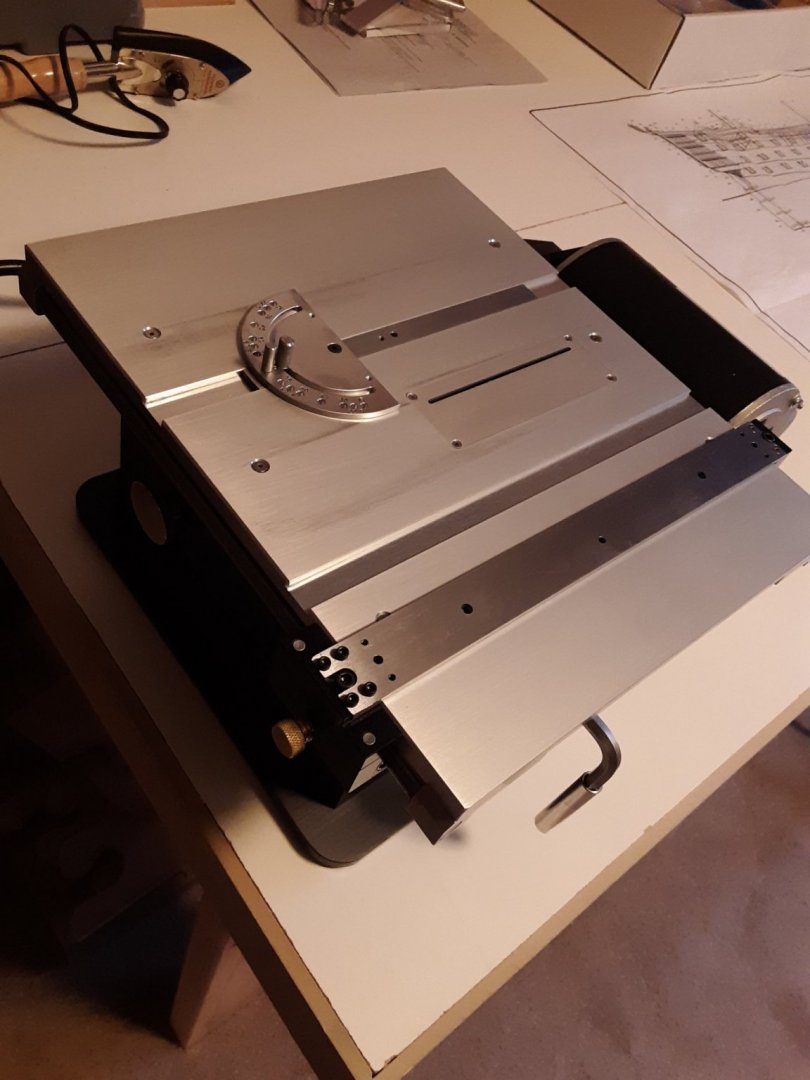
I've resumed planking the hull. Many mistakes, but many lessons learned. I'm looking forward to getting the first layer of planking finished so I can concentrate on applying everything I've learned on the walnut outer layer. I know I need to slow way down. In the meantime I have added a new friend to my hobby room. Say hello to Mr. Byrnes 😊
-
Thank you Helli. I know it will work out with a lot of sanding and filling. I'm going to rethink the whole process and make sure that I have the planking widths and tapers figured out before I even start. I appreciate your support and encouragement. Best regards, Robert
-
Eugenio you are a good friend. Thanks for your encouragement. You're right, I've learned a lot very quickly. I'm going to take a few days off from my build to soak in what I've learned. And when I'm ready to resume I'll be sure to think through each step. I'm not a big fan of the CA glues. I've used them a lot in building model aircraft, but this is so different. I might go back to using Elmer's. I don't know. Need to think about it. Thanks again for your advice and support, it means a lot. Best regards, Robert.
-
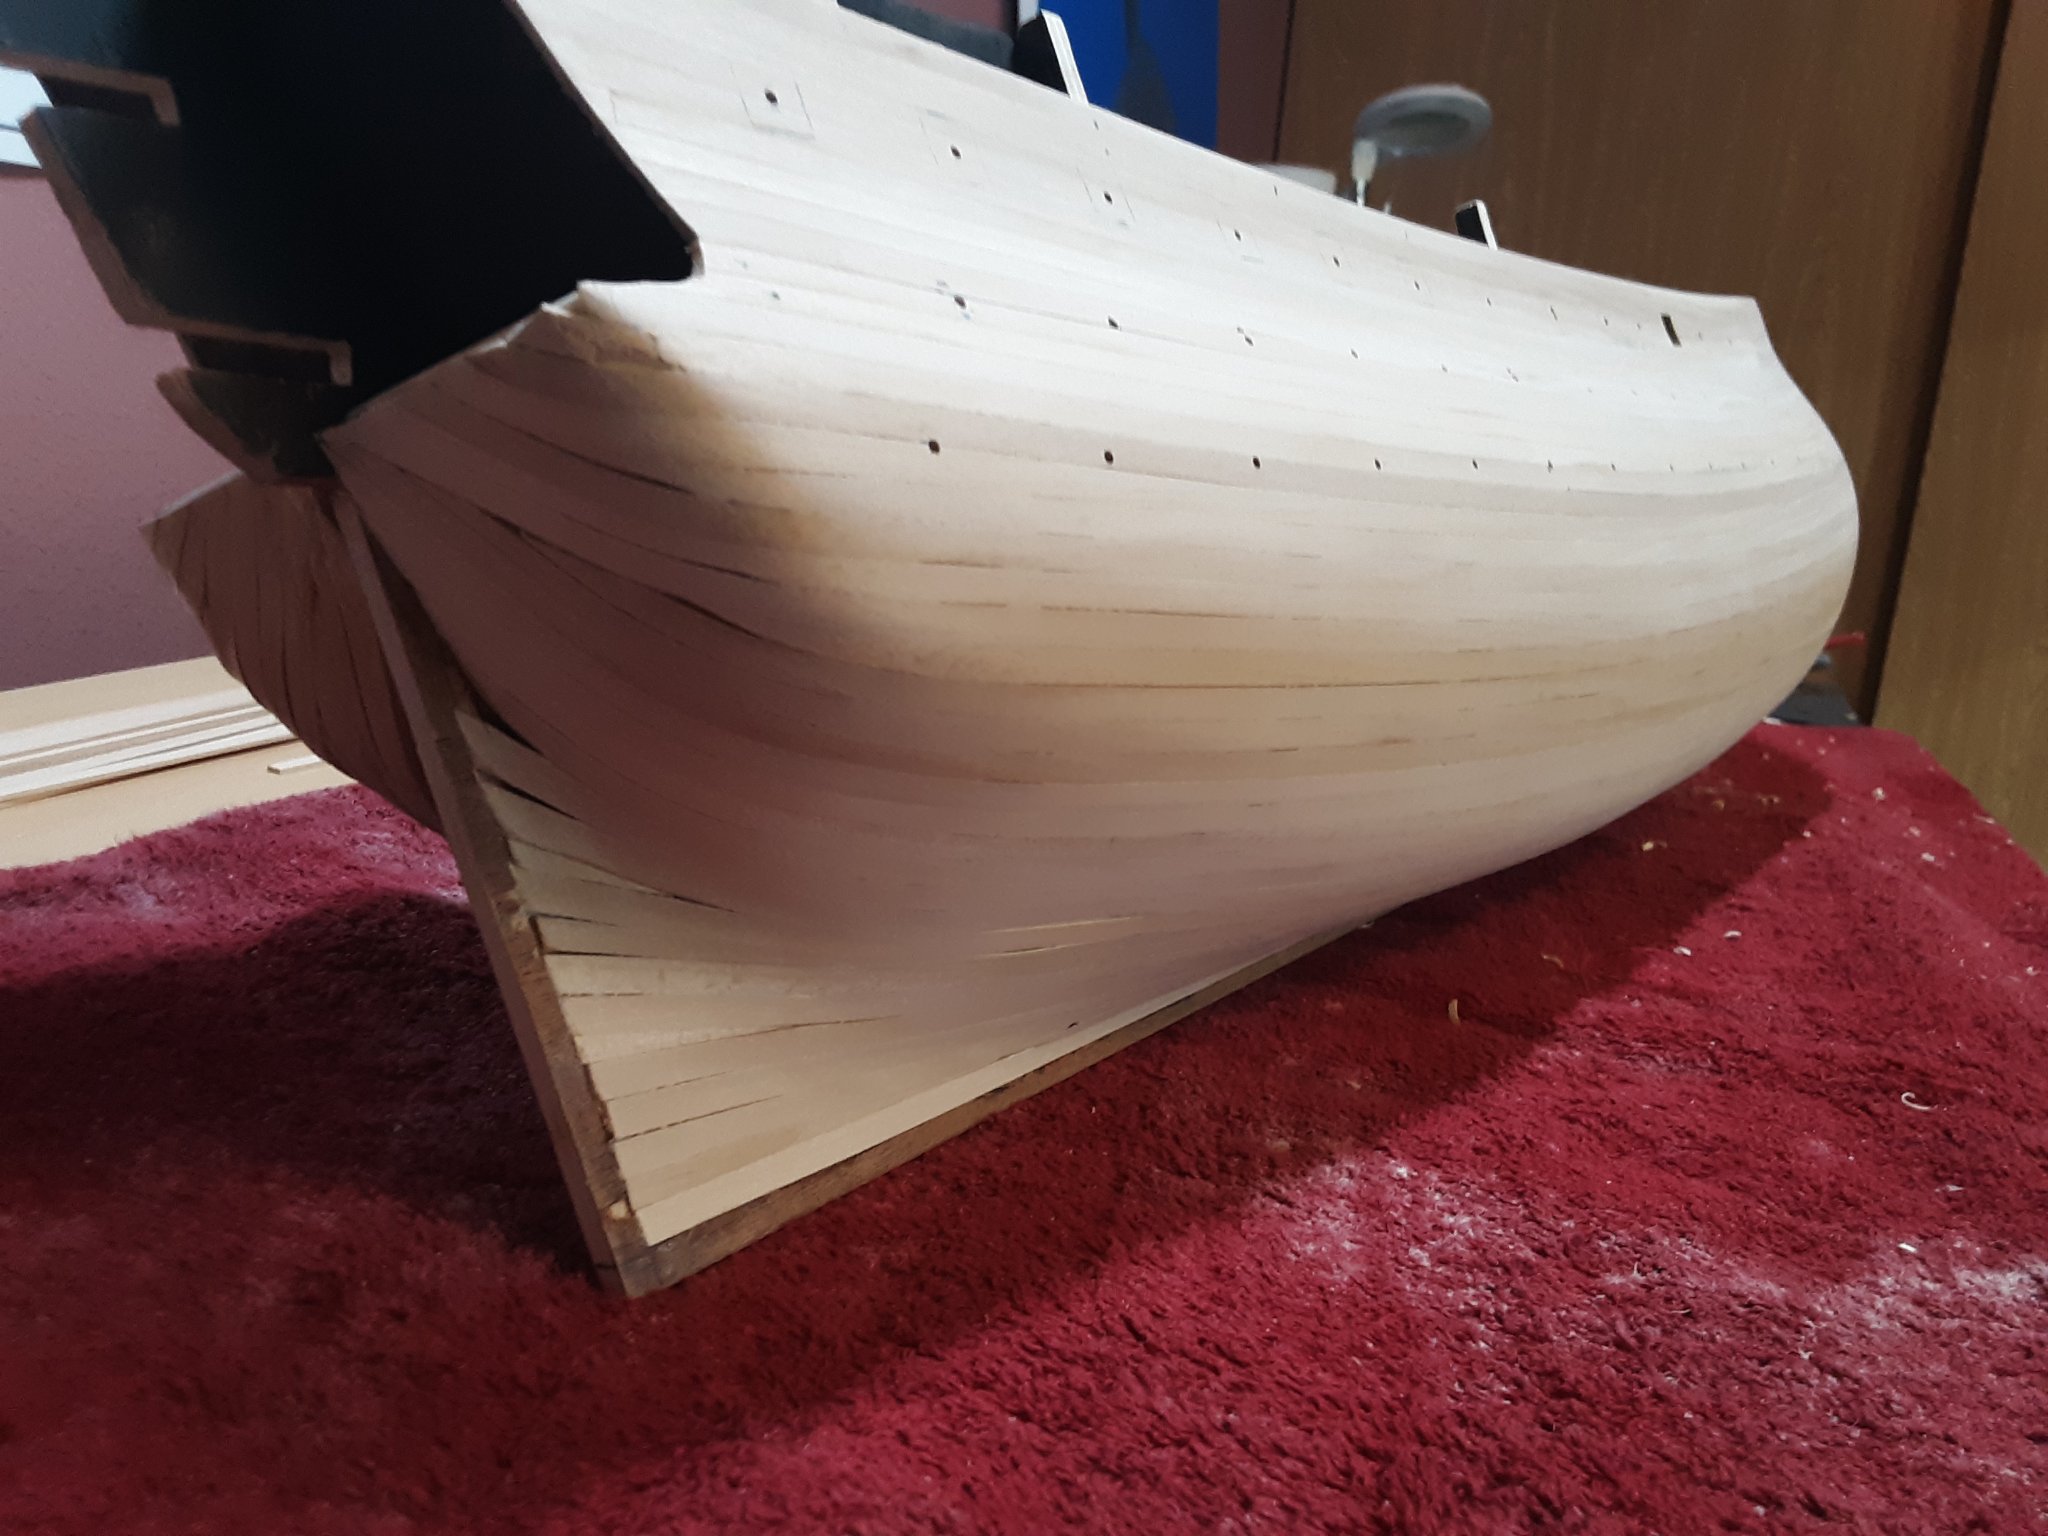
Here's my attempt at planking the hull. I think half of the skin on my fingers is on the wood. My last 3 strips went on pretty good. I'm ambarrased to show the photos, but this is how I'm going to learn. Best regards, Robert


-
I learned how to make a cedar strip kayak. But that's a bigger curve. This is working with tiny pieces of wood and bending them at times quite sharply. I'm not afraid to learn, but I have gotten discouraged. Thanks to your encouragement and tutoring I will keep trying. I'm pretty hard on myself. I'll try to ease up a bit. Thanks, Robert
-
Gregory you have been so helpful. Thank you so much for taking some time for me. I've watched the videos from Chuck. Great instructions. I think I'm starting to understand more of what I need to do. I can't undo what I've done. So I'll need to be creative in filling in my hull. I had no idea that planking the hull was going to be this involved. So I'm needing to pace myself differently. So if all I do is get 1 plank on per day, so be it. I would rather do it right than make a mess as I have done. Thank you again for your kindness in lending a hand. Robert
-
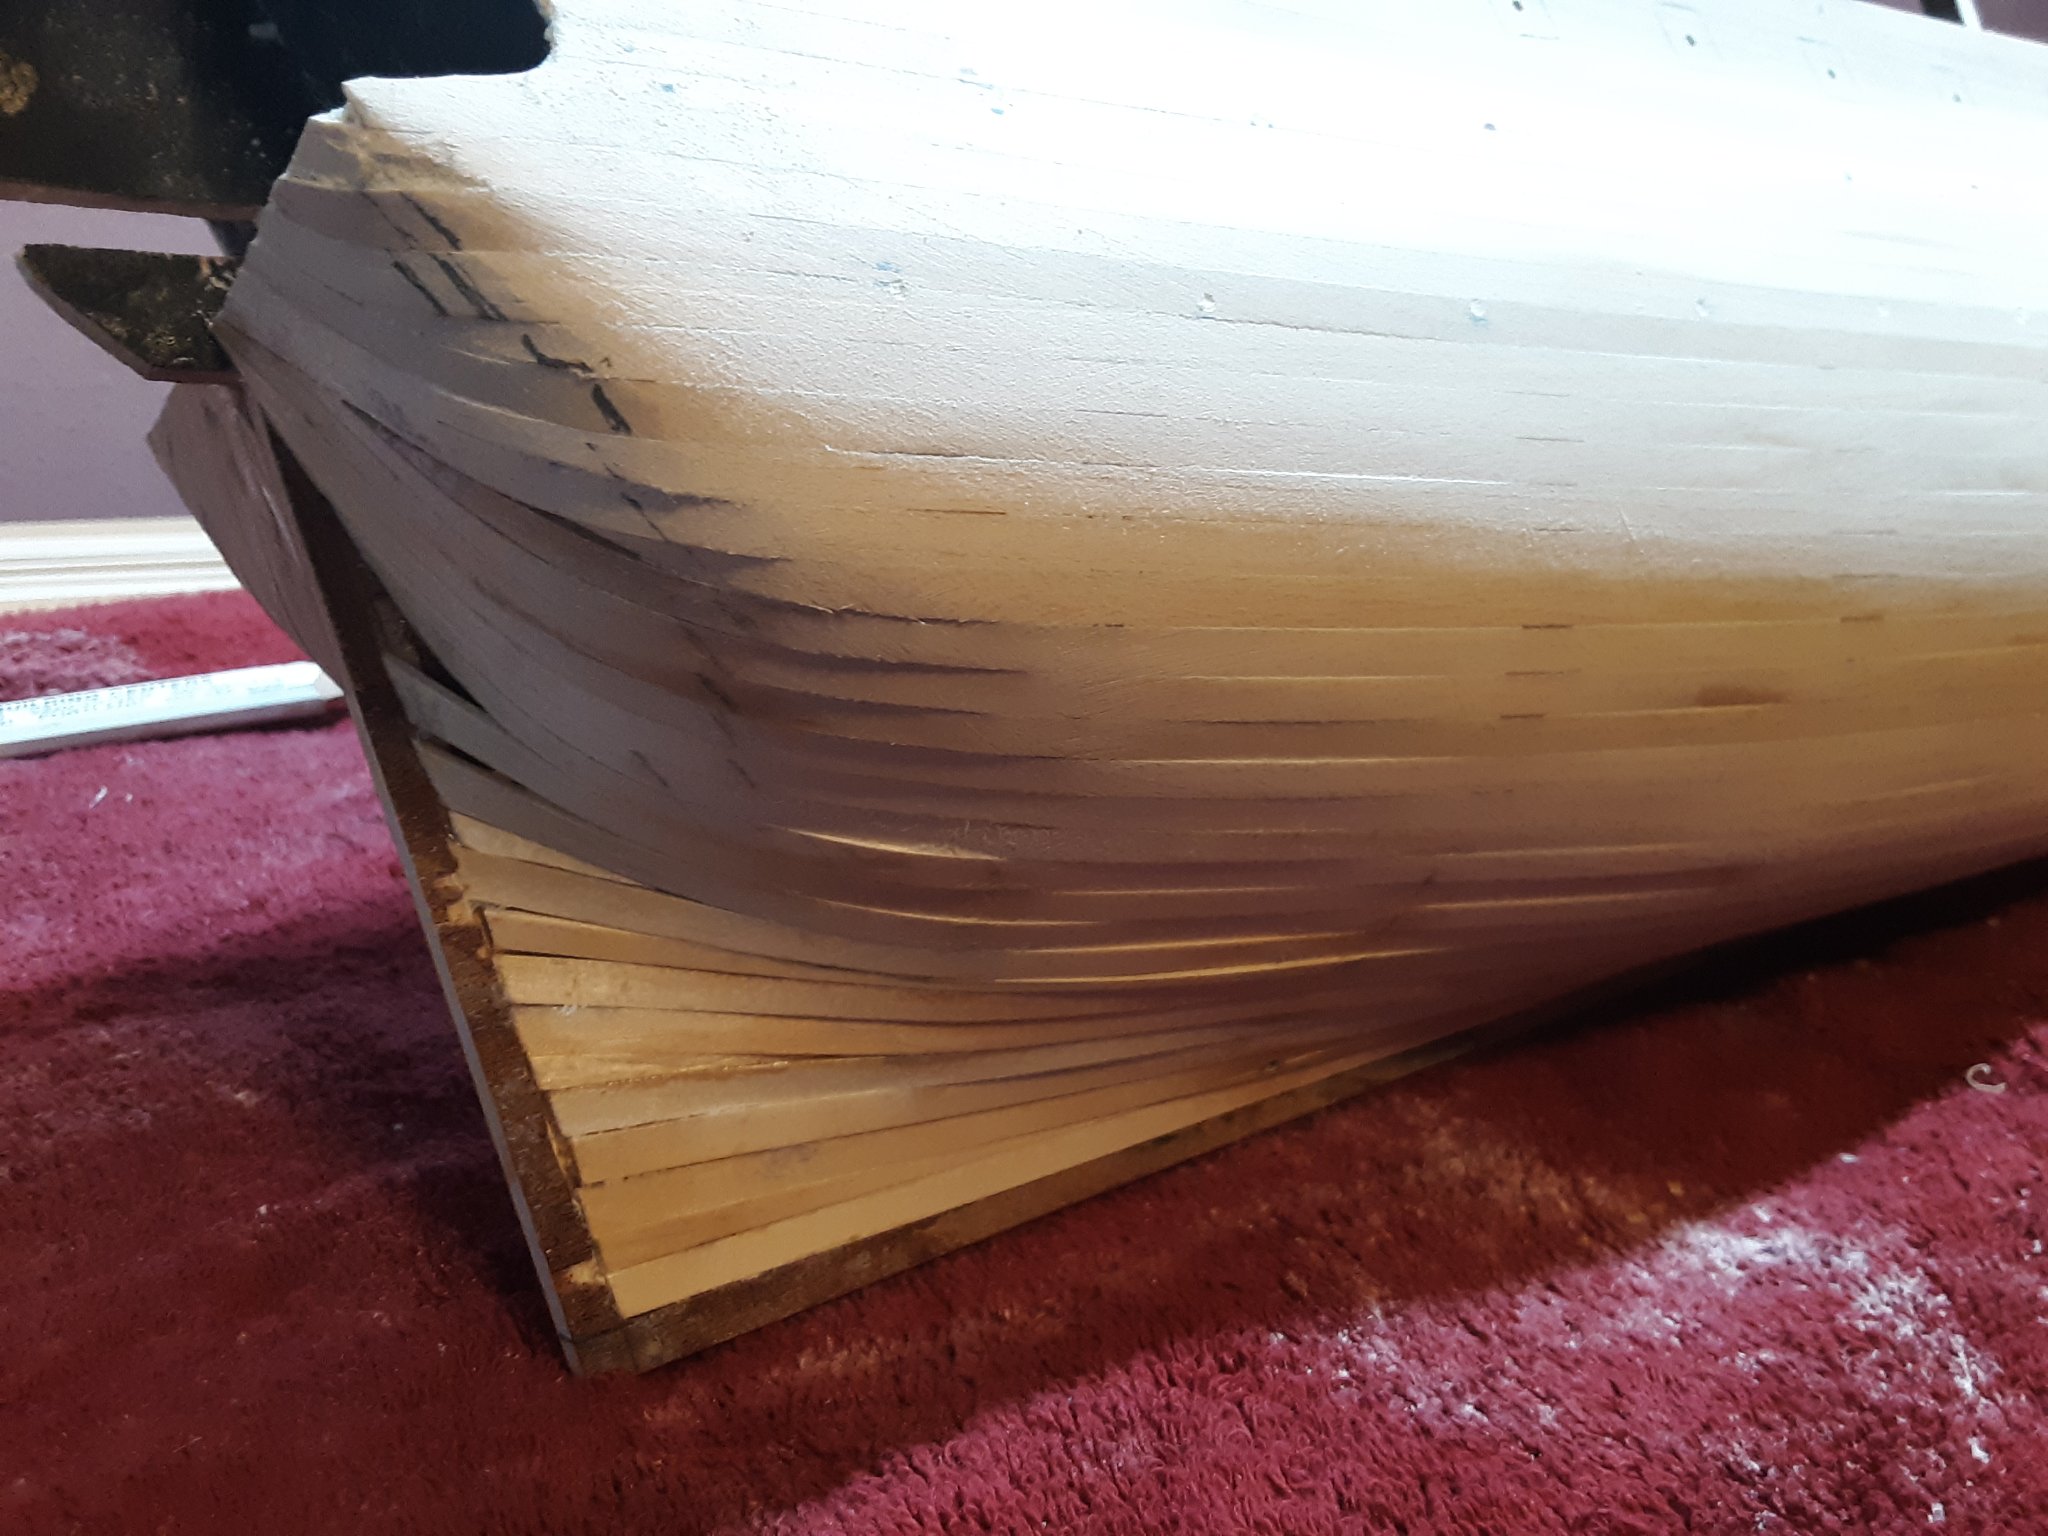
So now I'm discovering the complexities of planking a hull. And why so many people have said that the HMS VICTORY was taking a big bite for my first build. I am trying to get the bottom third of the hull planked, but I'm having trouble. I need to rethink this process. My relief is that I get to cover up all my mistakes with a layer of walnut. But my concern is whether or not I'll be able to get the walnut to look good. This is nothing like building a cedar strip kayak. Much more difficult. I don't want to throw in the towel, but I have to admit I have been very frustrated with my build. I would greatly appreciate any suggestions or thoughts to help me. Thank you, best regards, Robert
-
If you really want to bring out the beauty of your walnut, I love using tung oil. I sand the surface down to 400. You can use a paper towel to wipe on a coat. It's going to sink deep into the wood. Let it dry overnight. Then with some #400 wet paper, apply a second coat with the paper going in the direction of the grain. Wipe excess off with soft cloth. If you want you can apply additional coats using the 400 paper. The oil will harden in all the pores and leave a mirror finish on the surface. If it's buffed completely out, you end up with a satin finish. If you leave a little oil on the surface, it will dry with more sheen. Or you can use a fine natural brush and apply multiple finish coats for a high gloss.
-
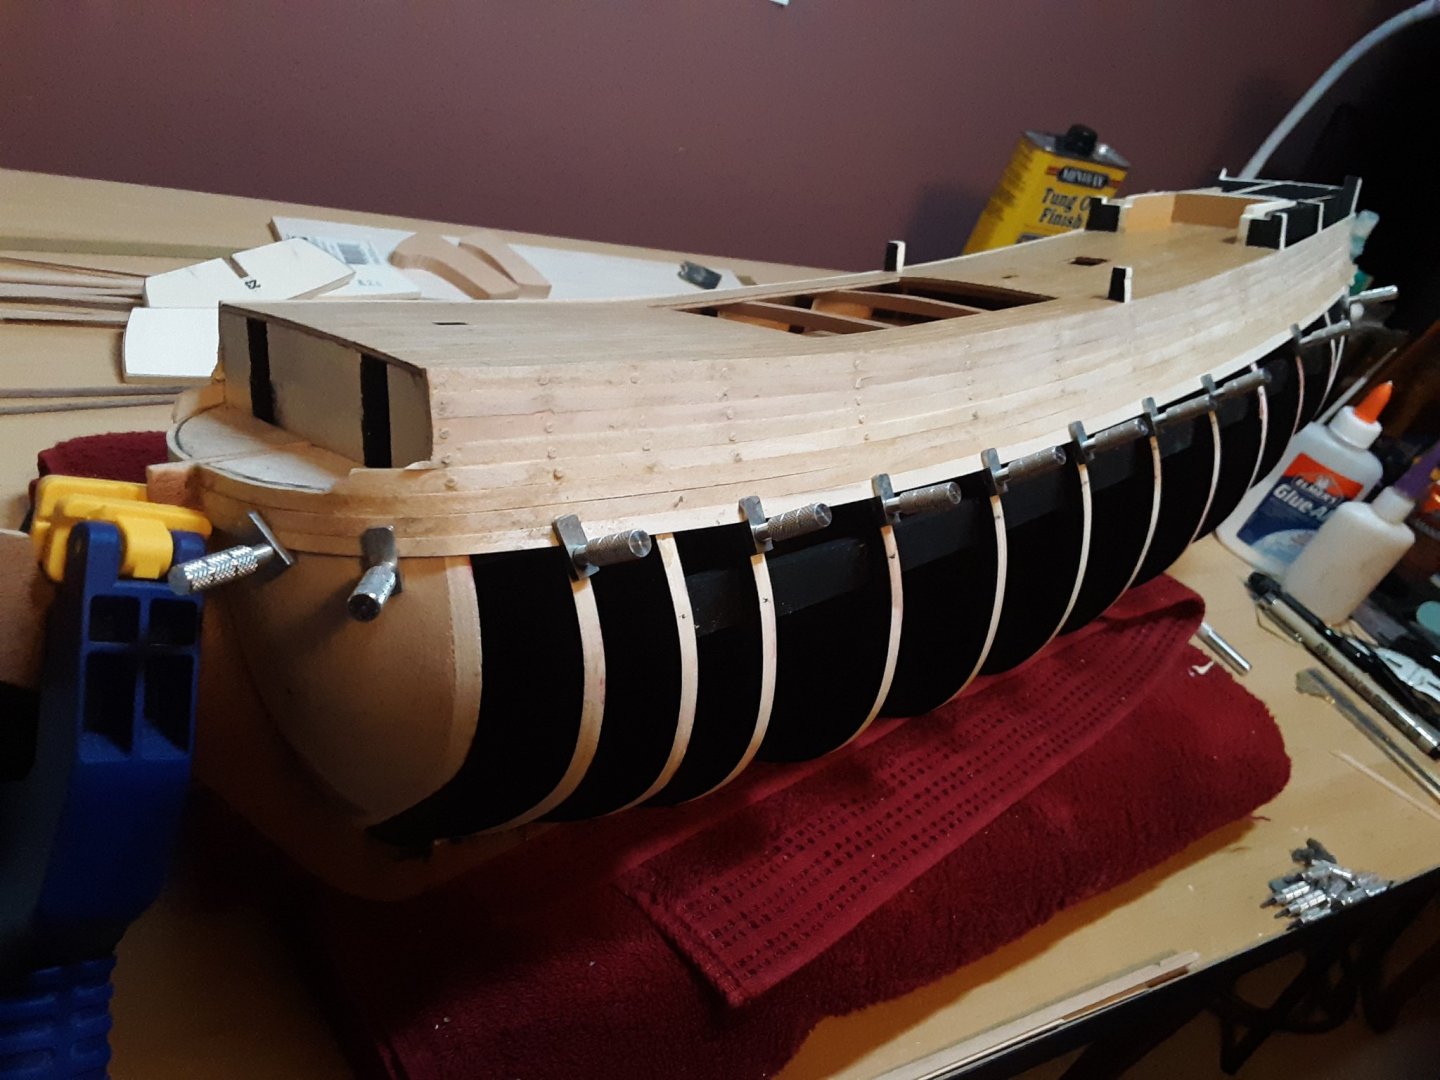
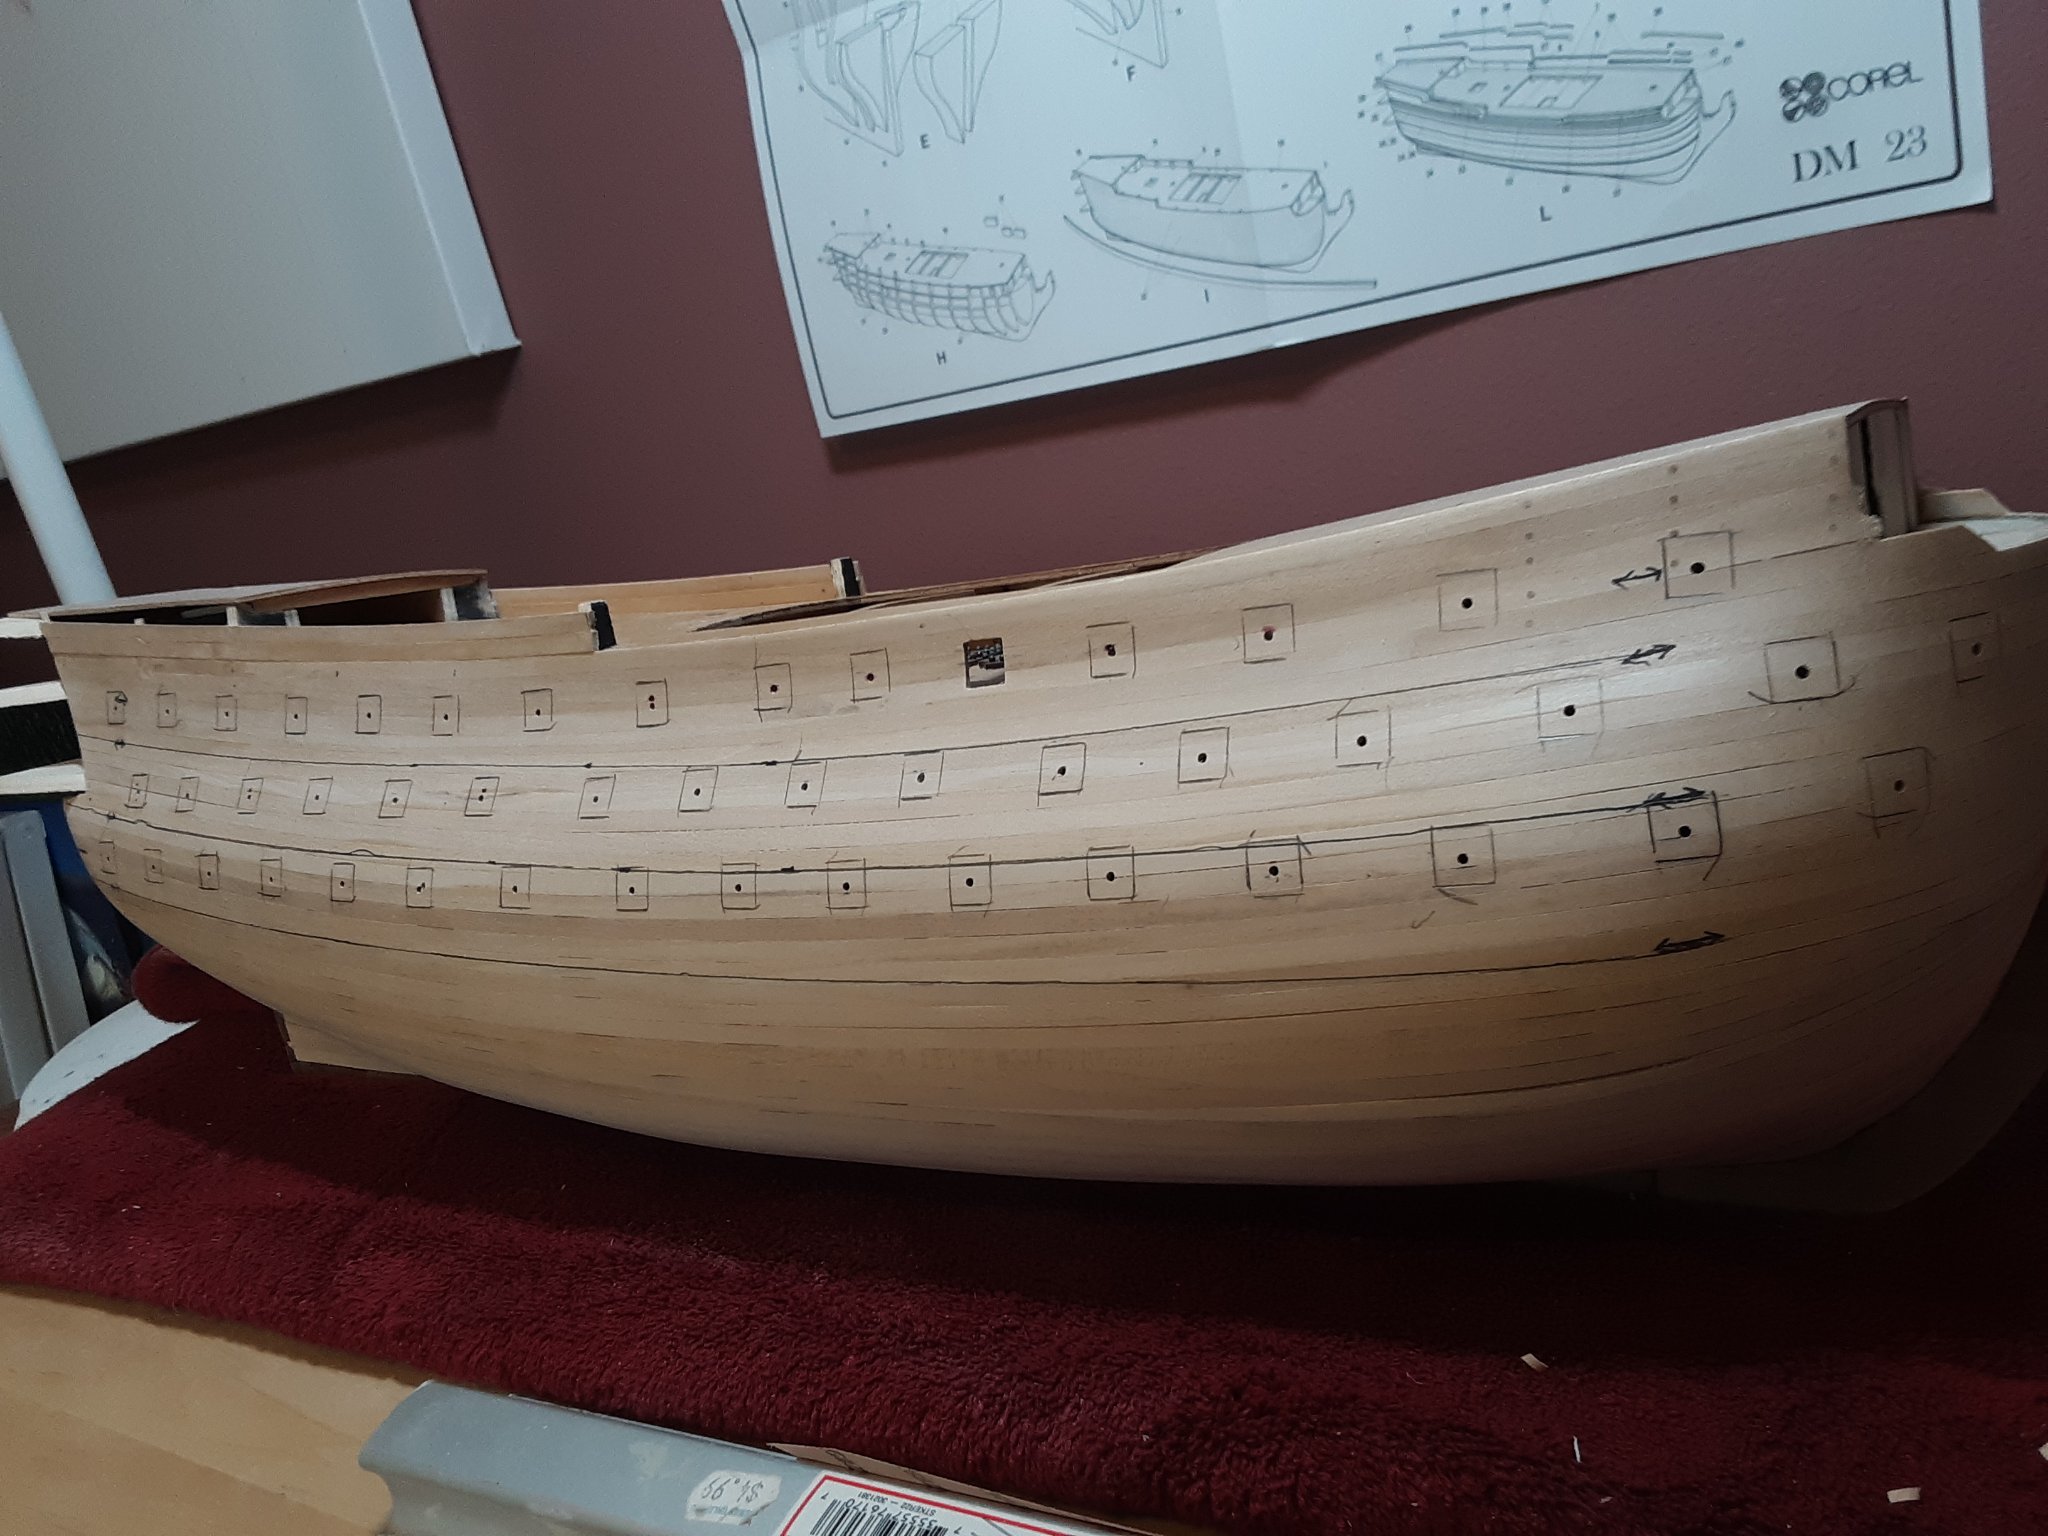
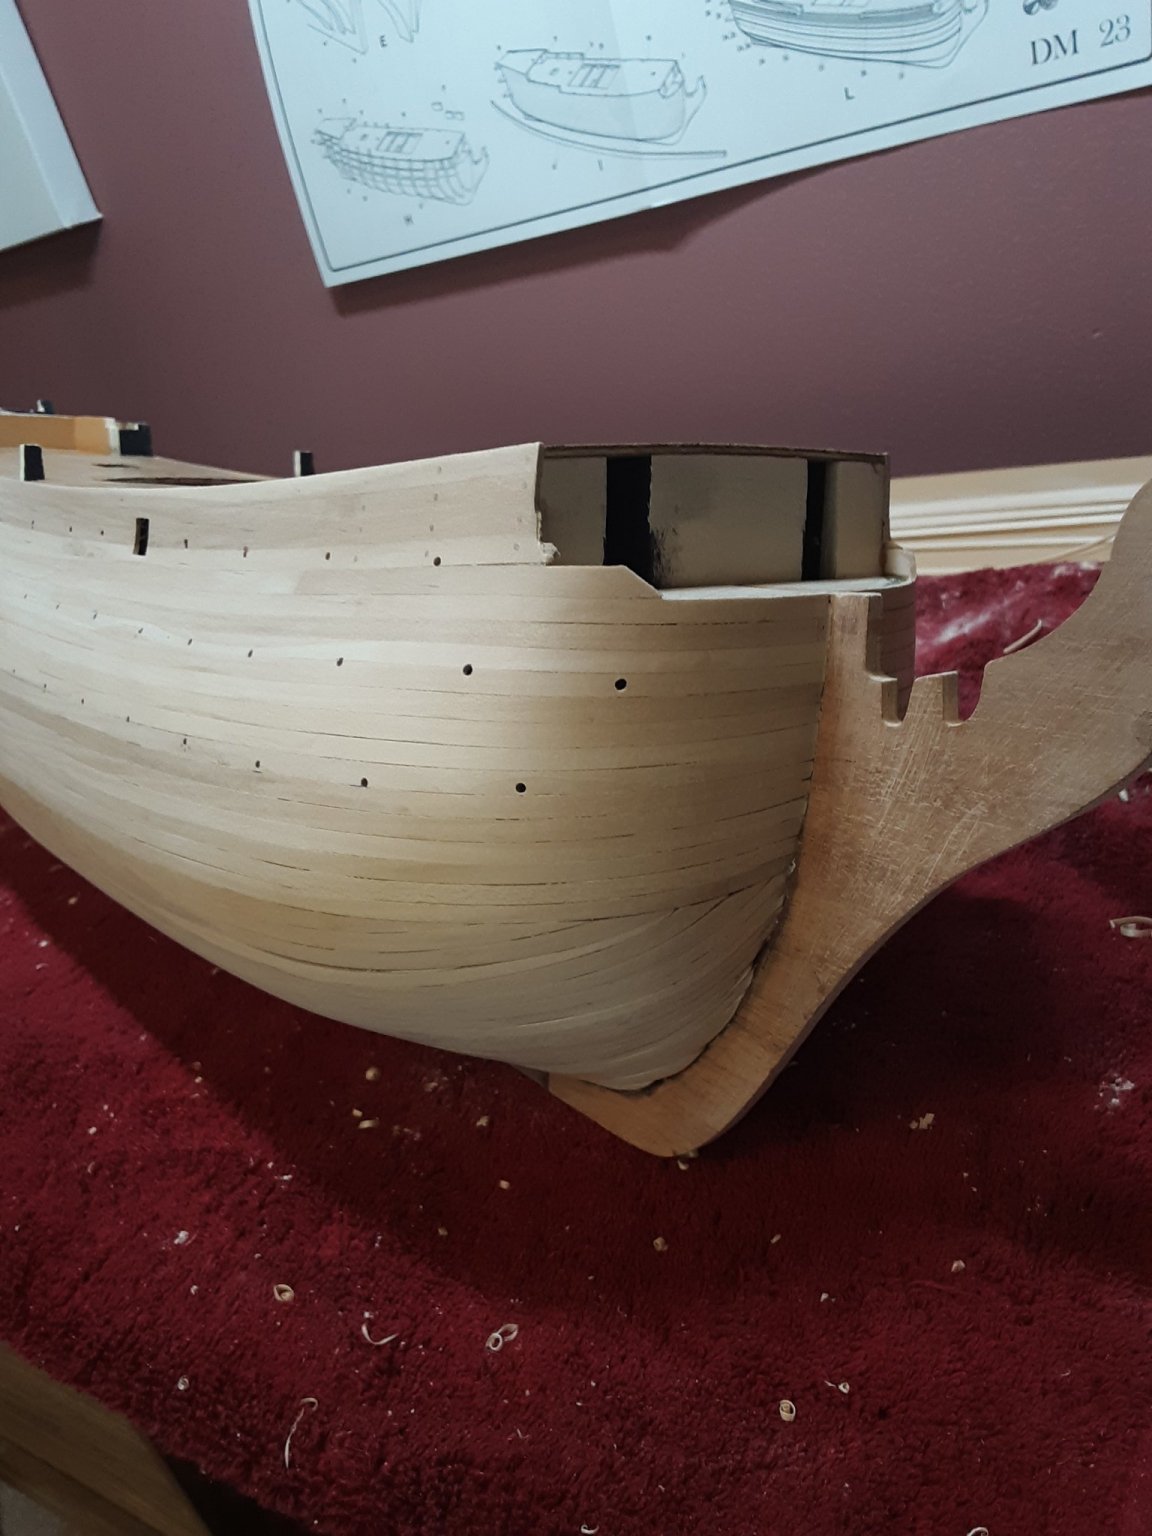
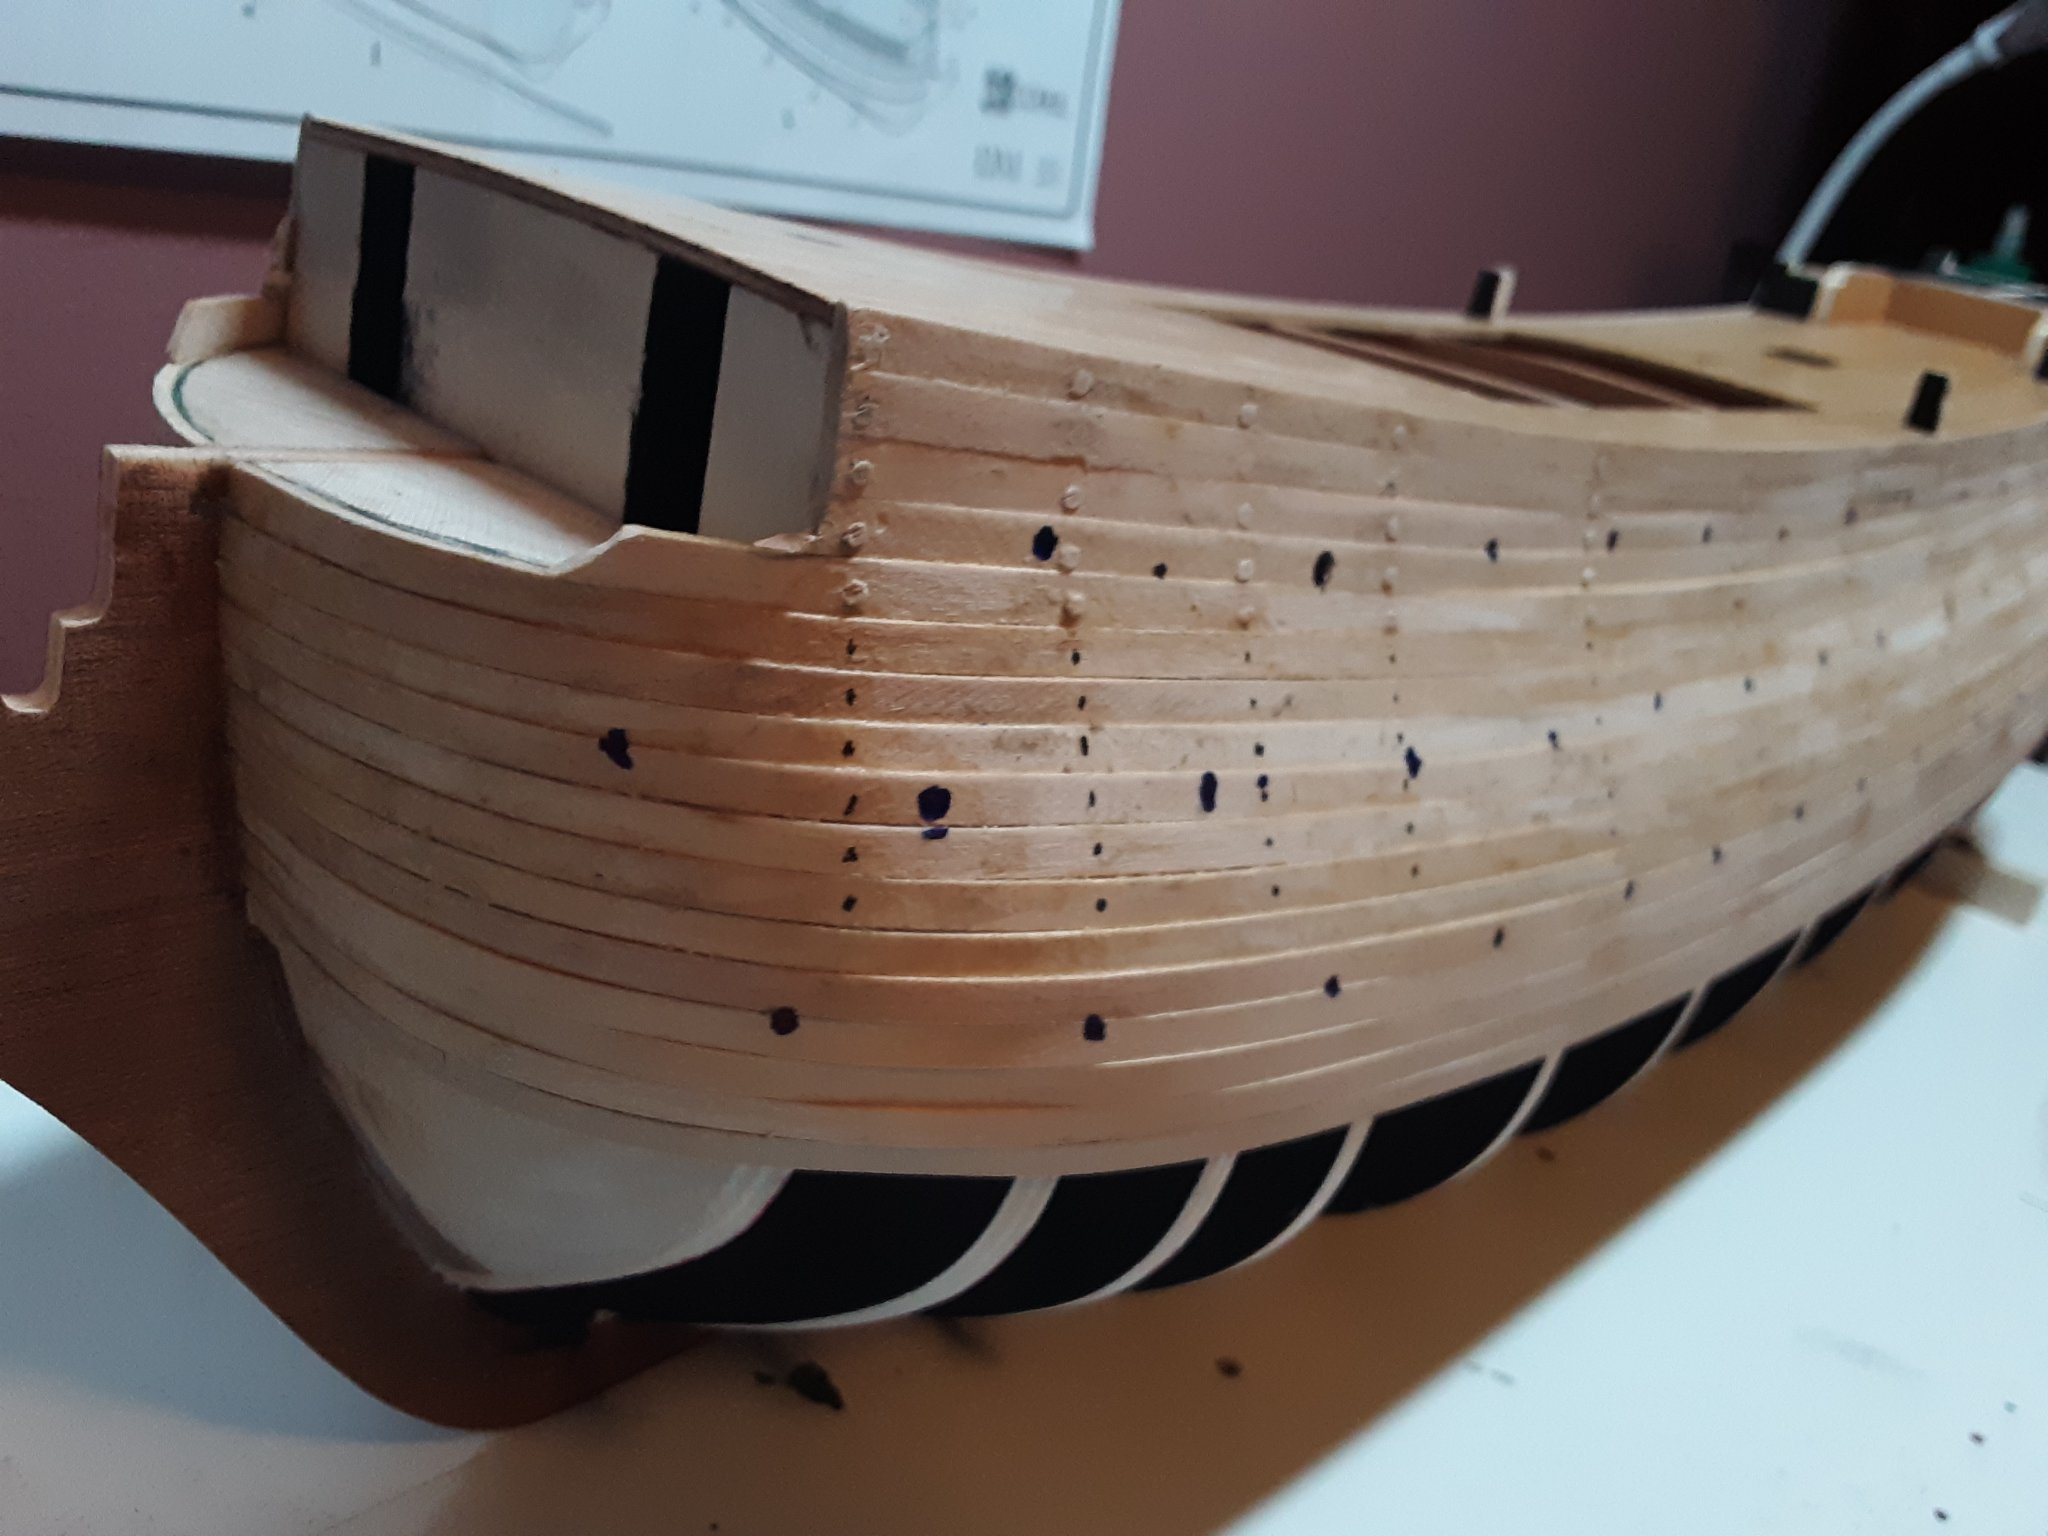
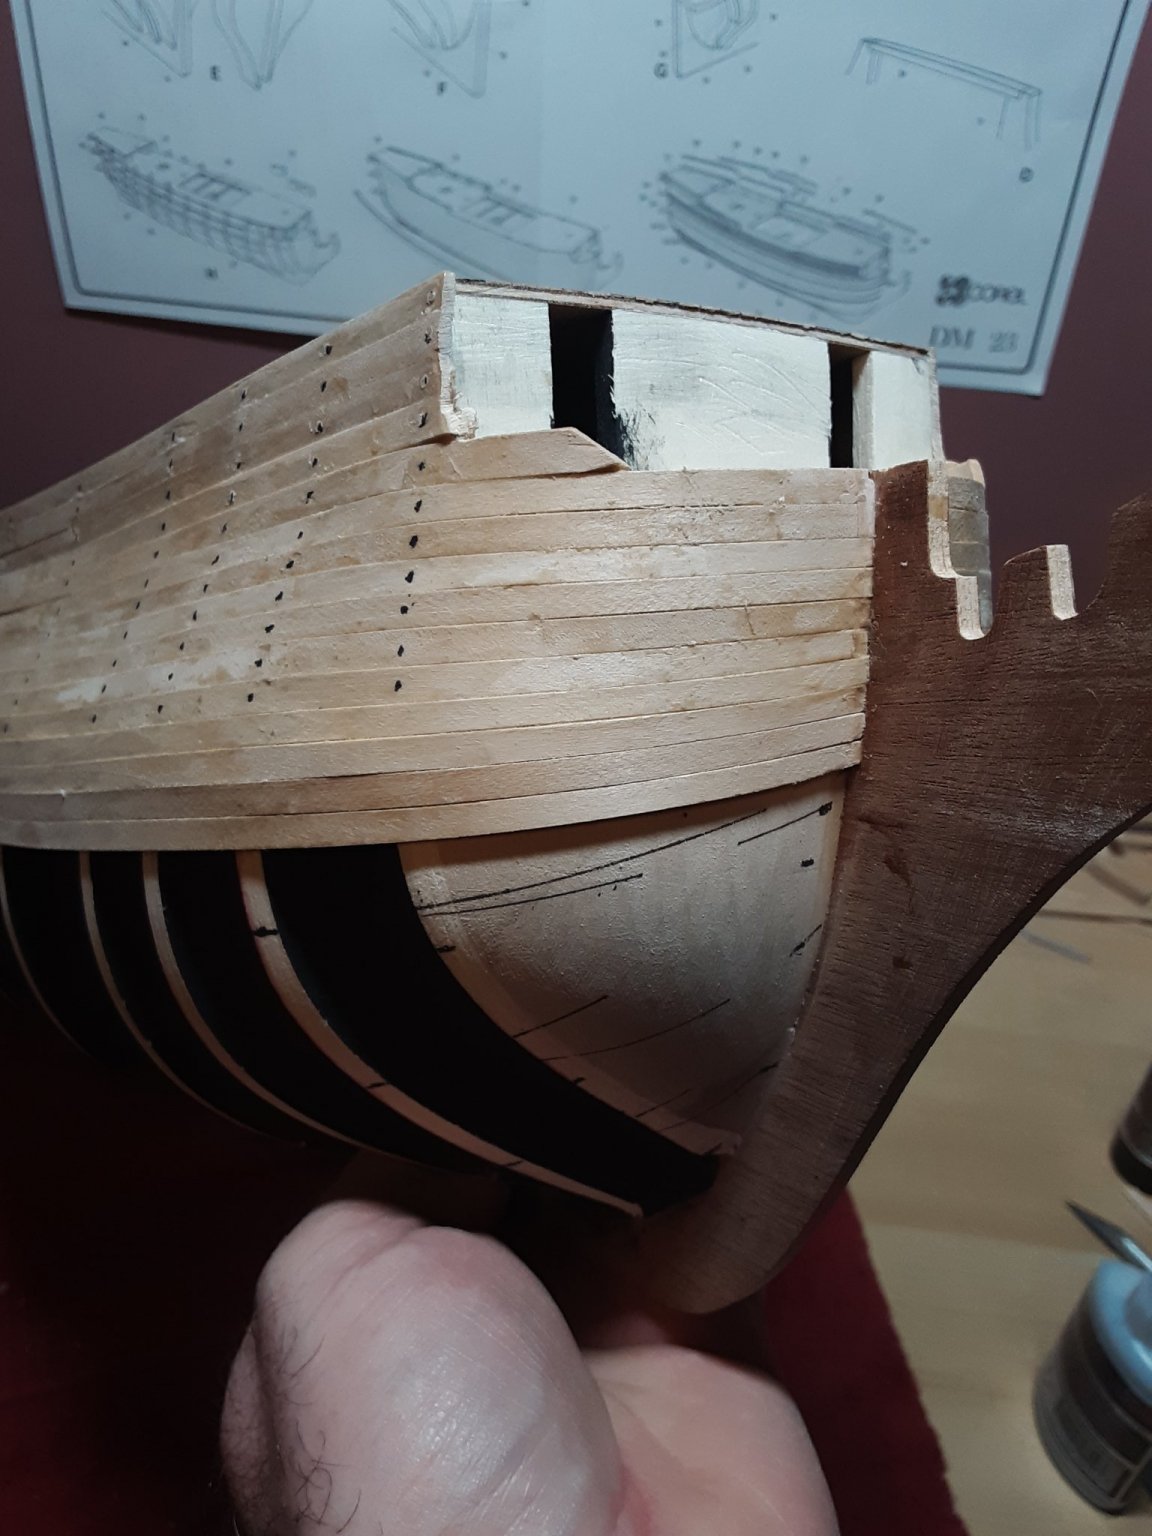
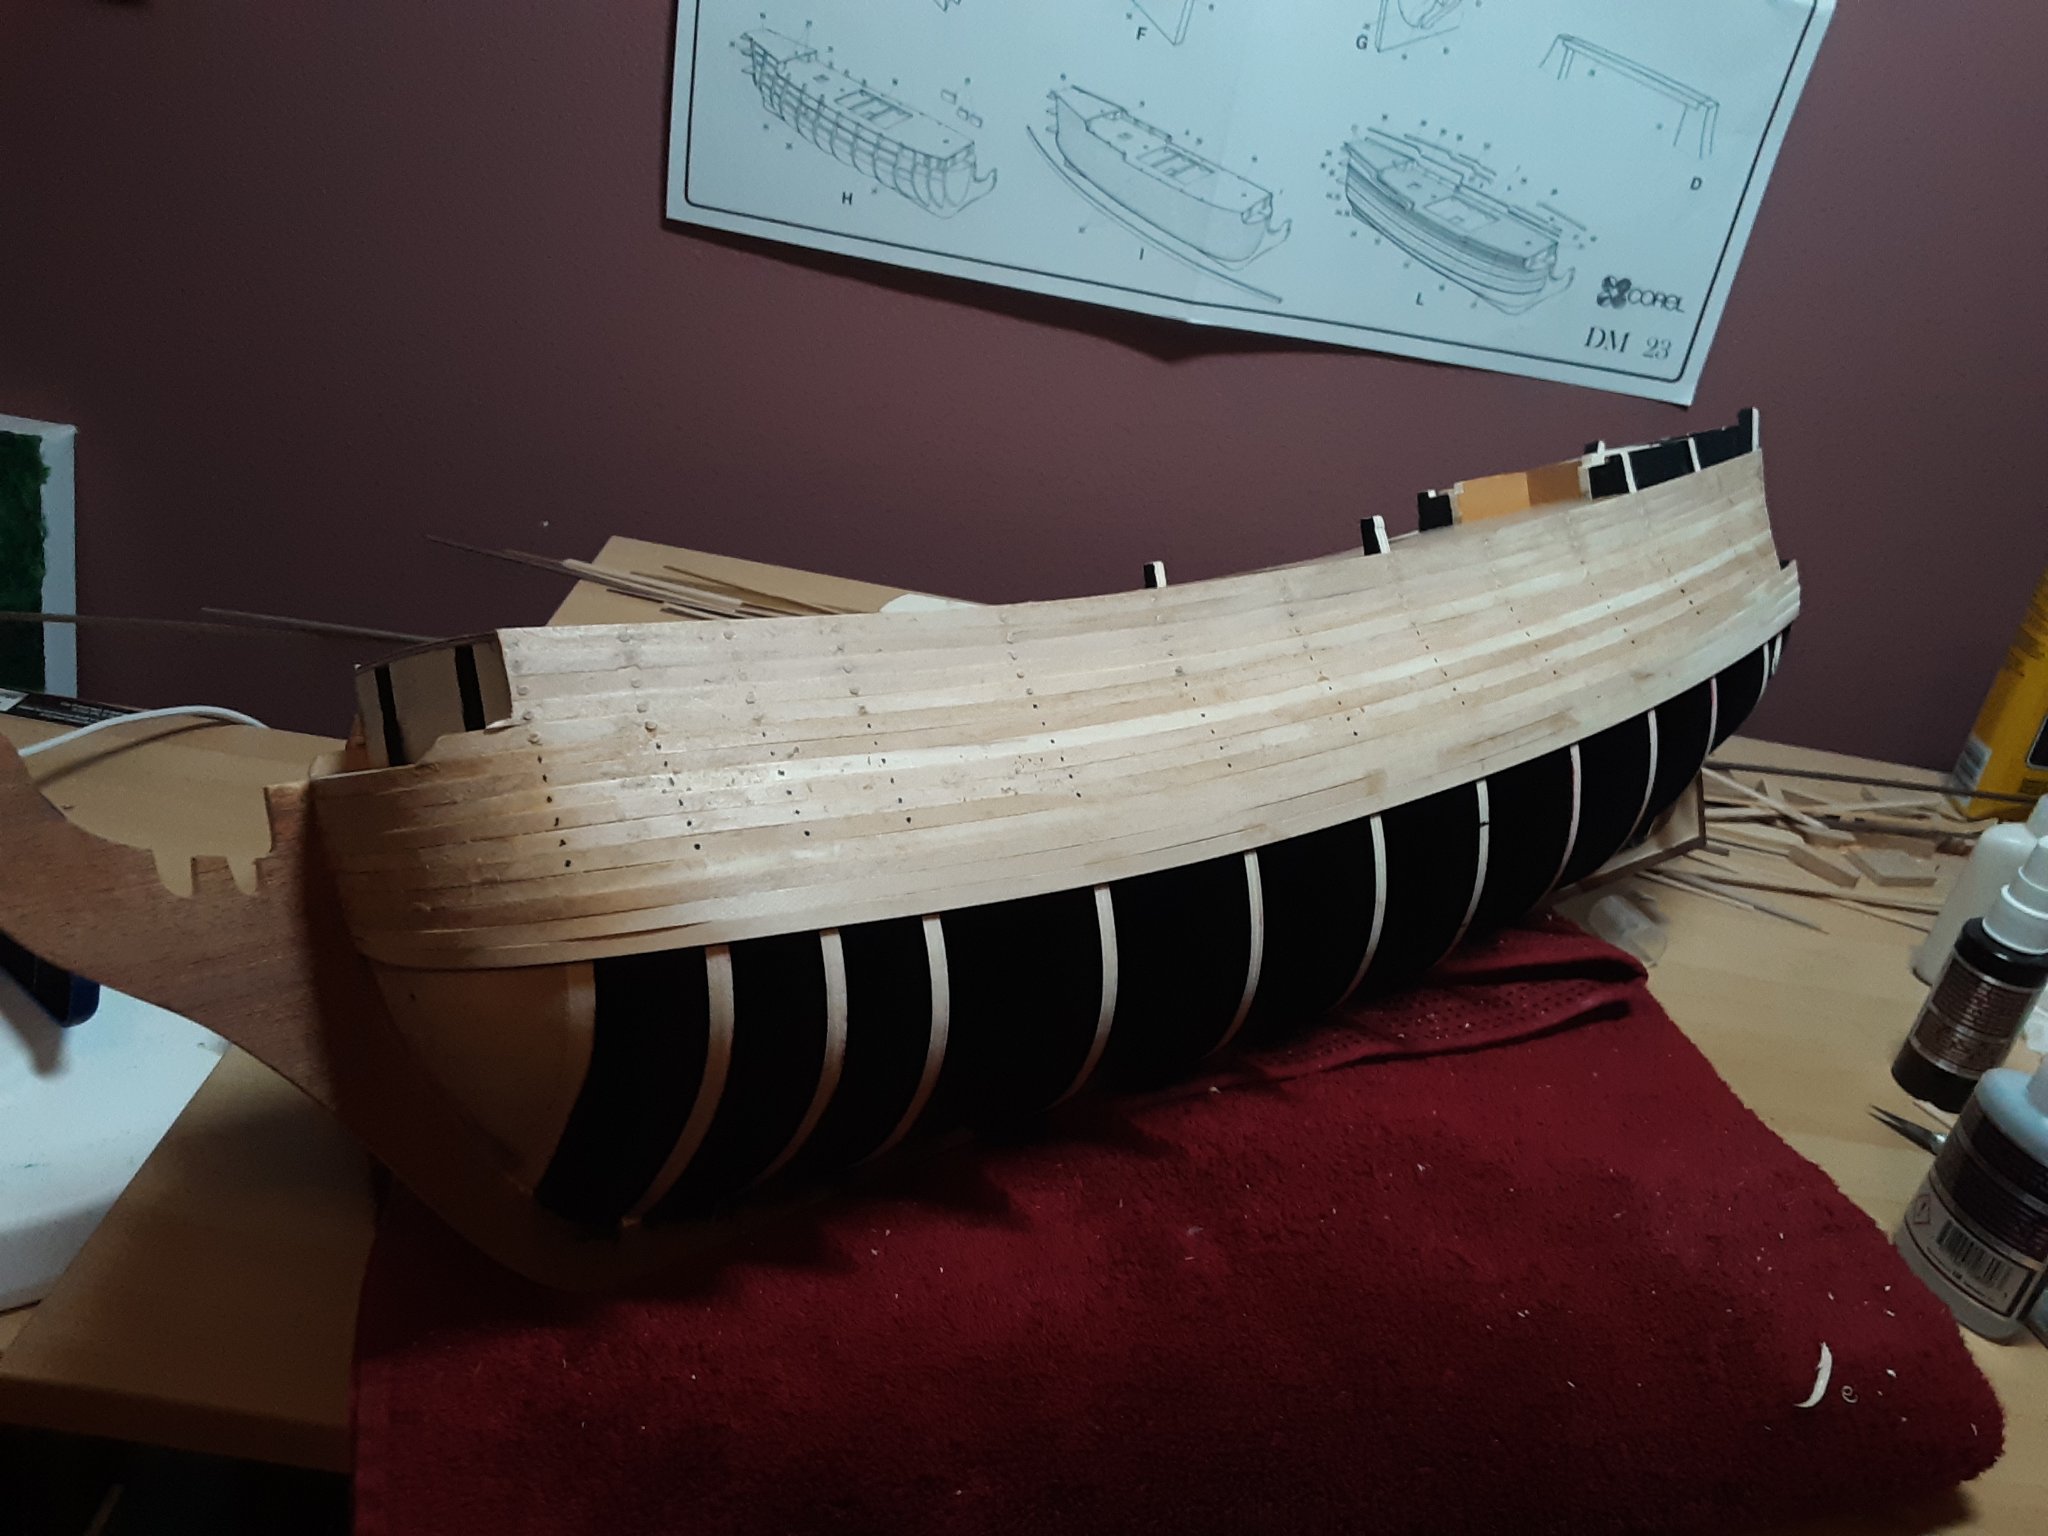
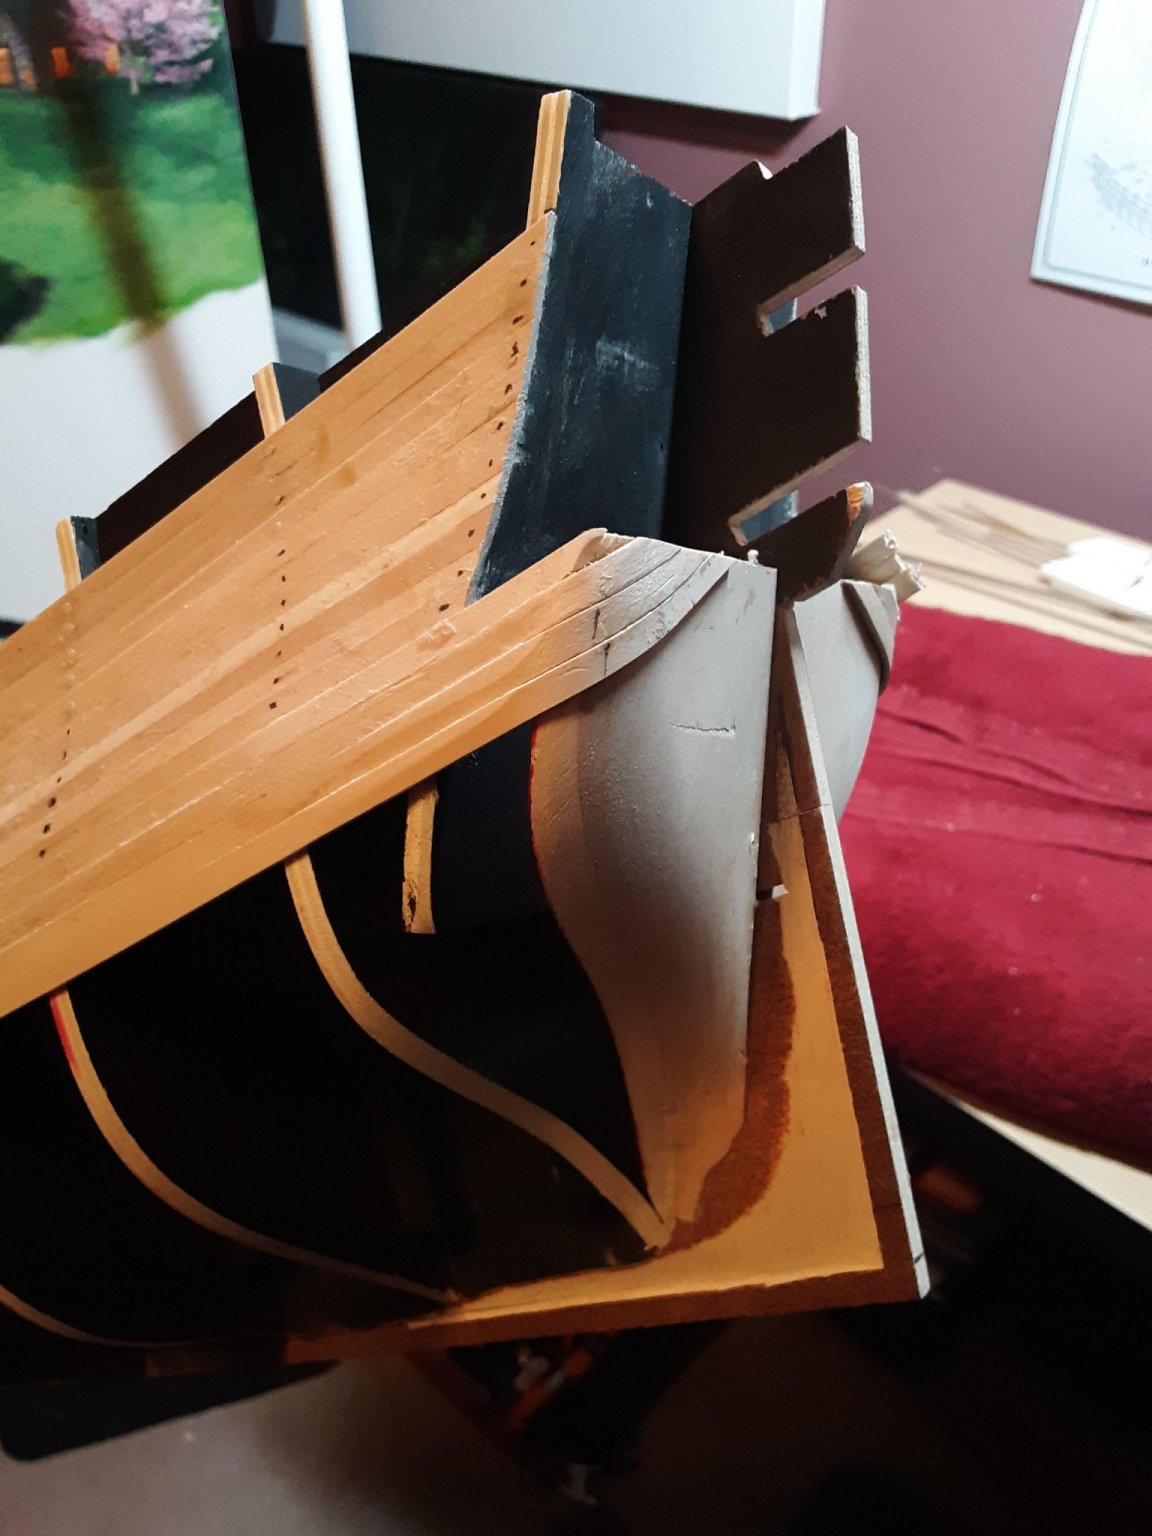
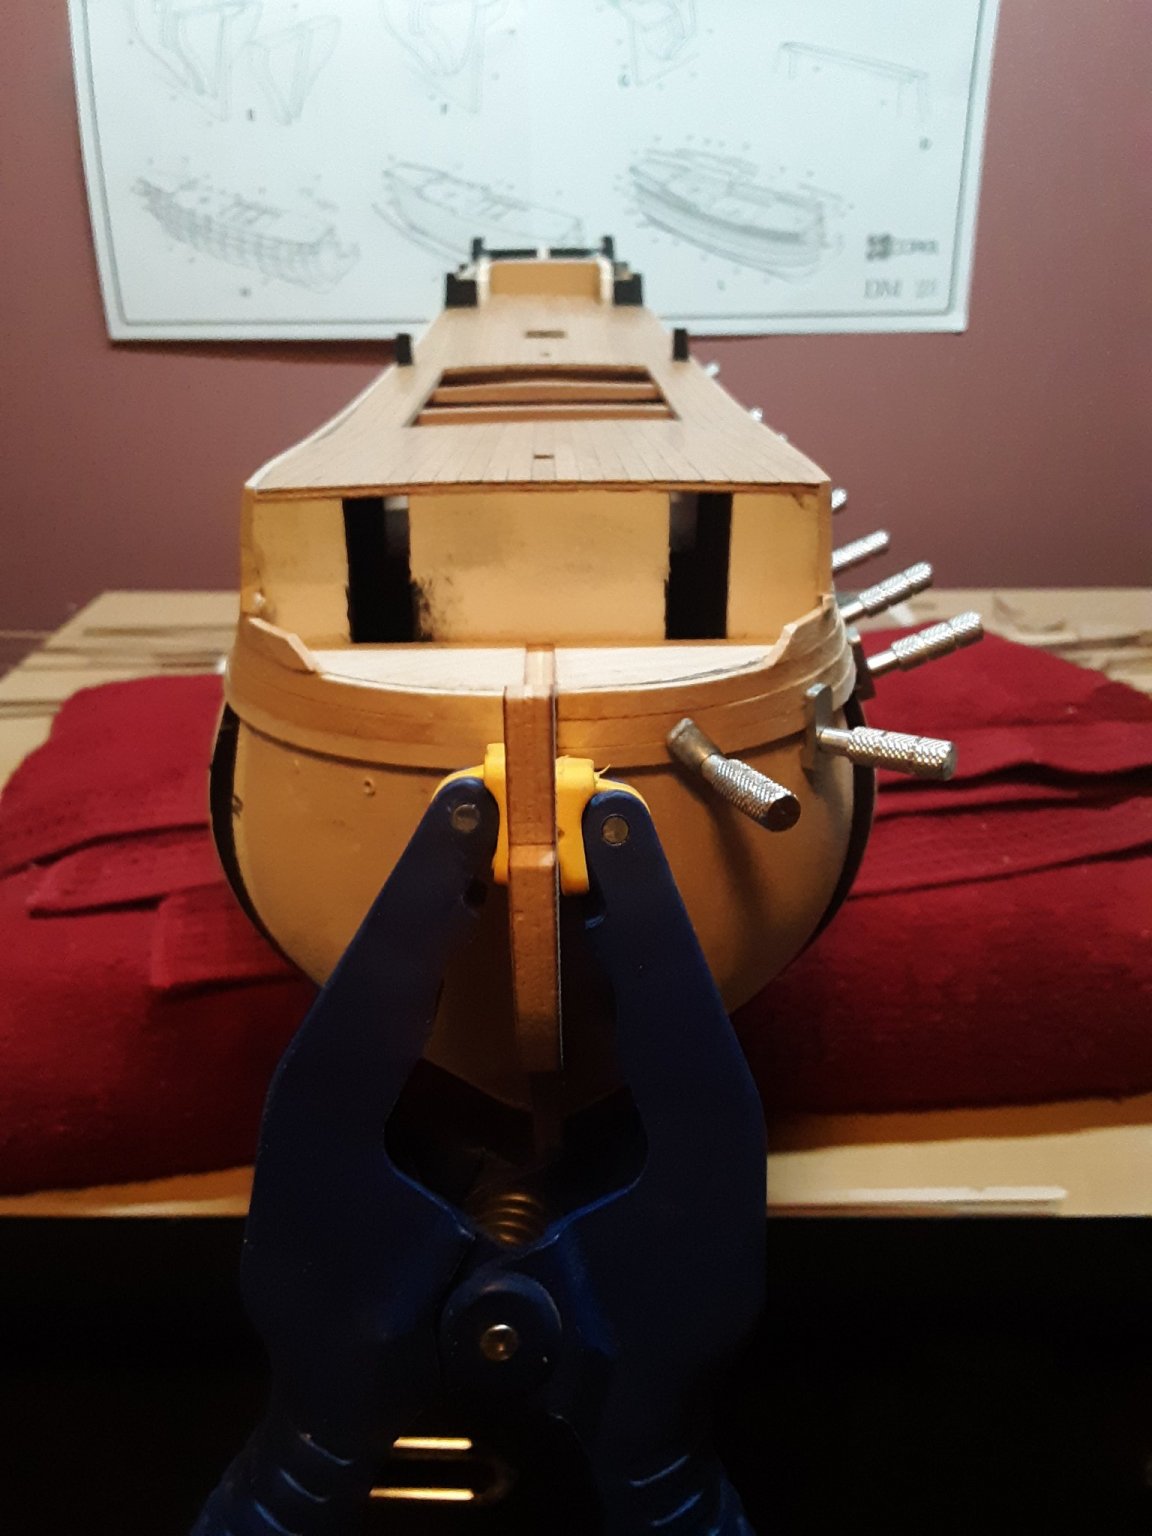
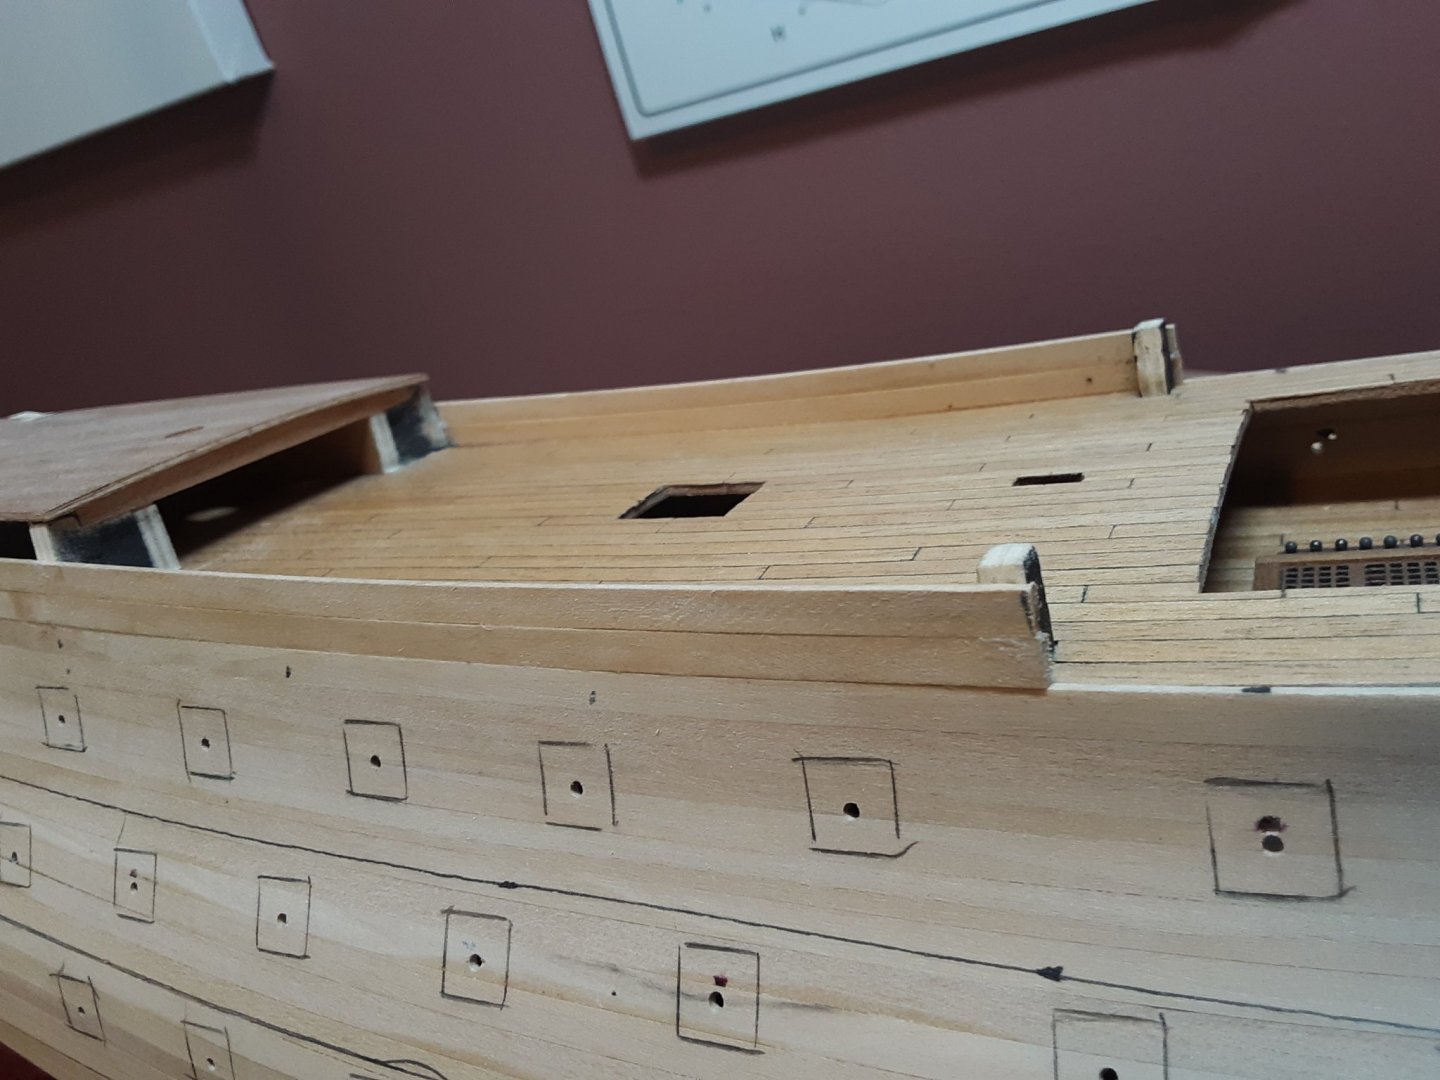
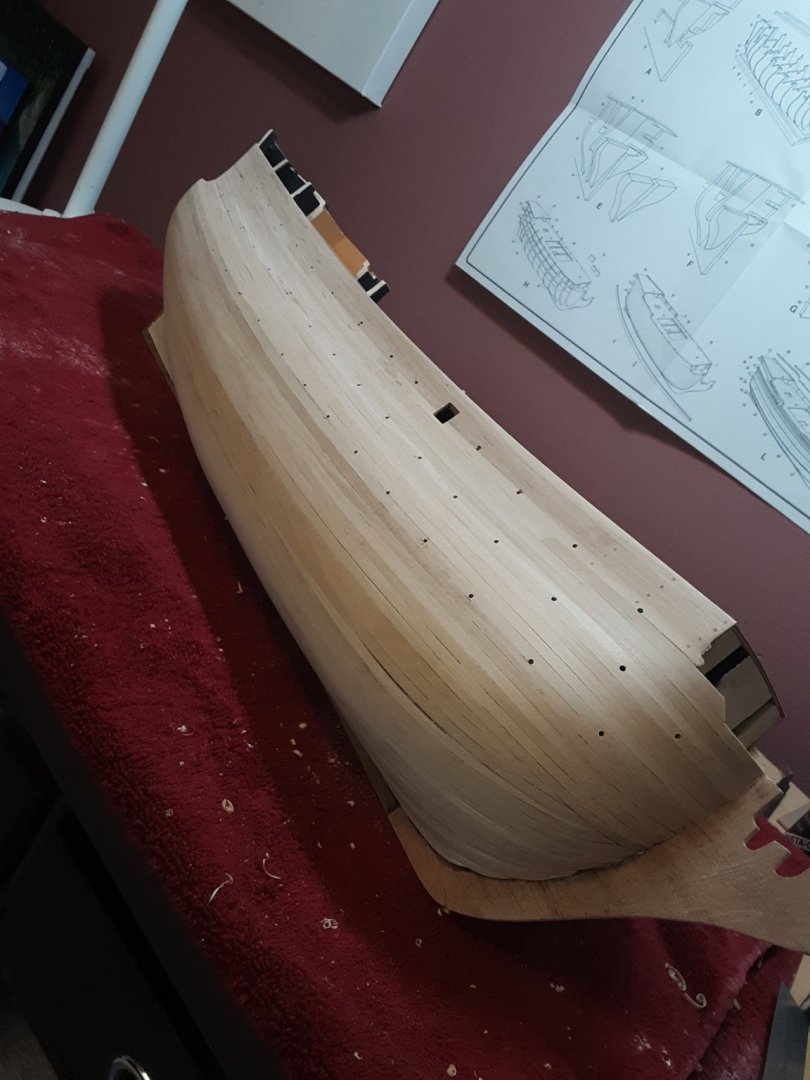
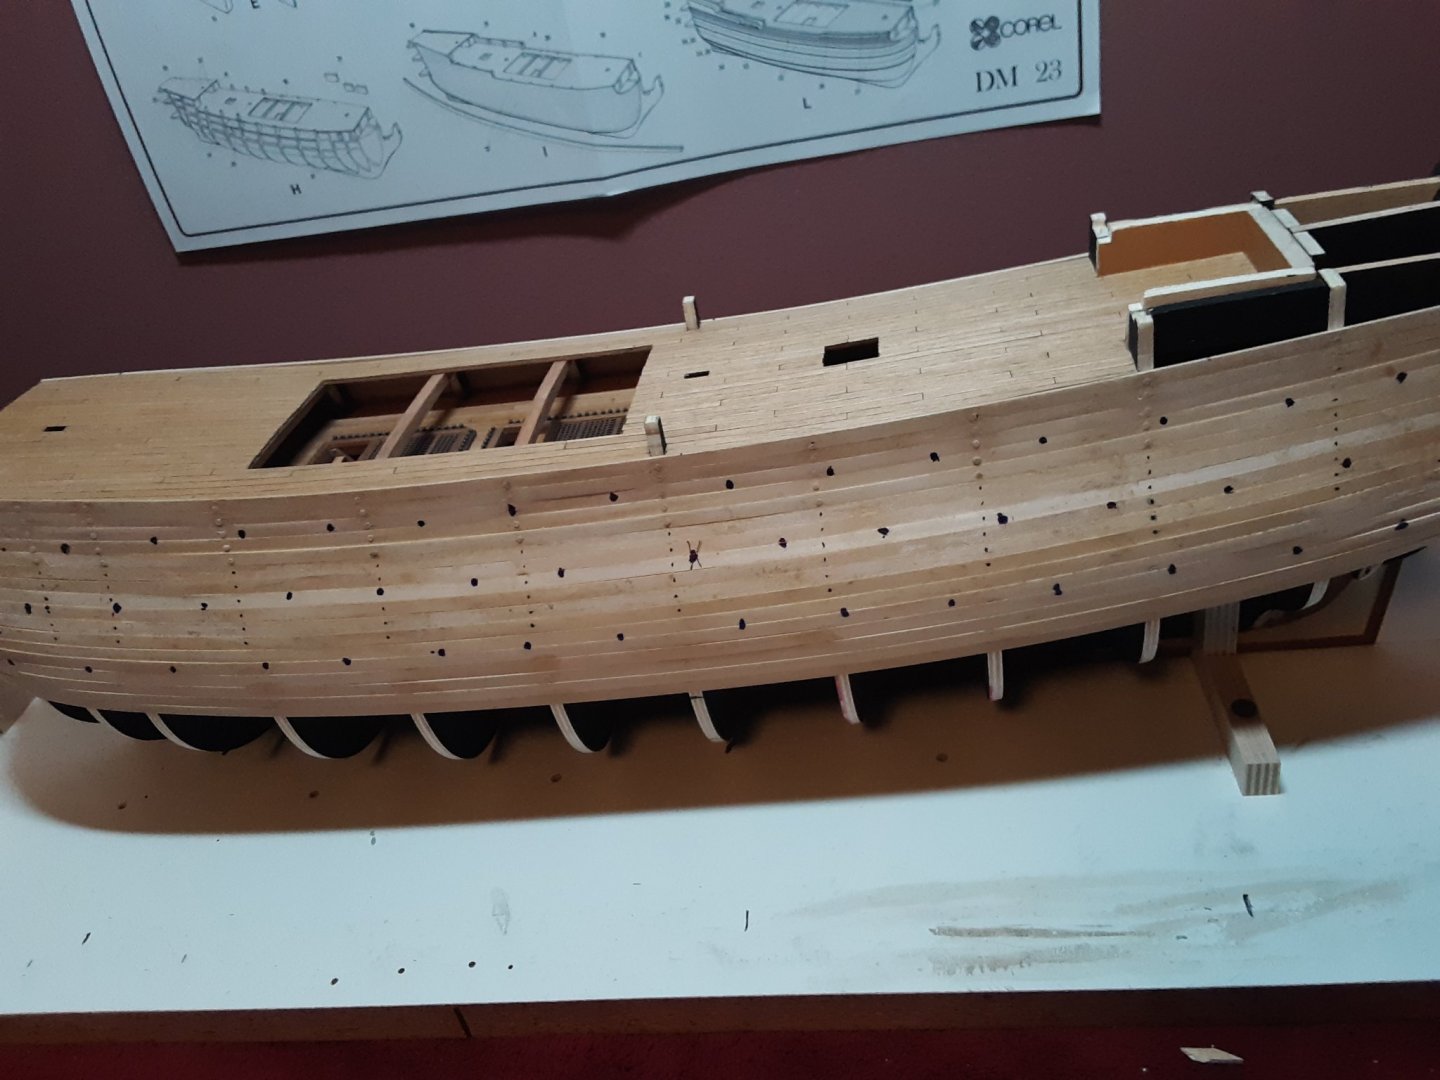
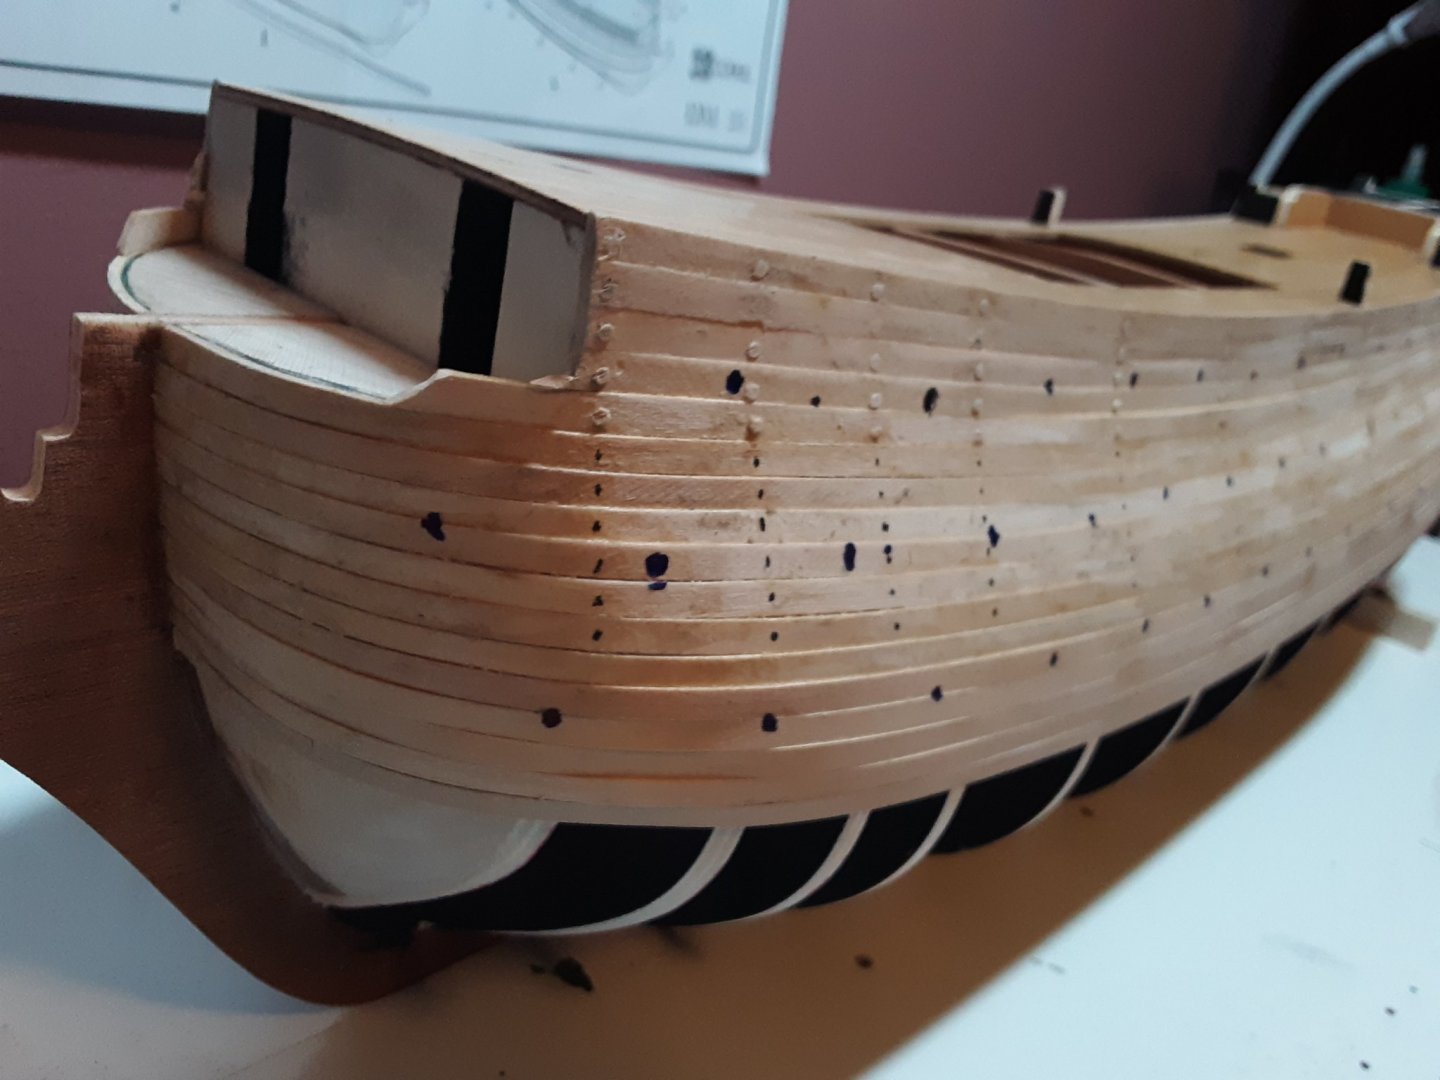
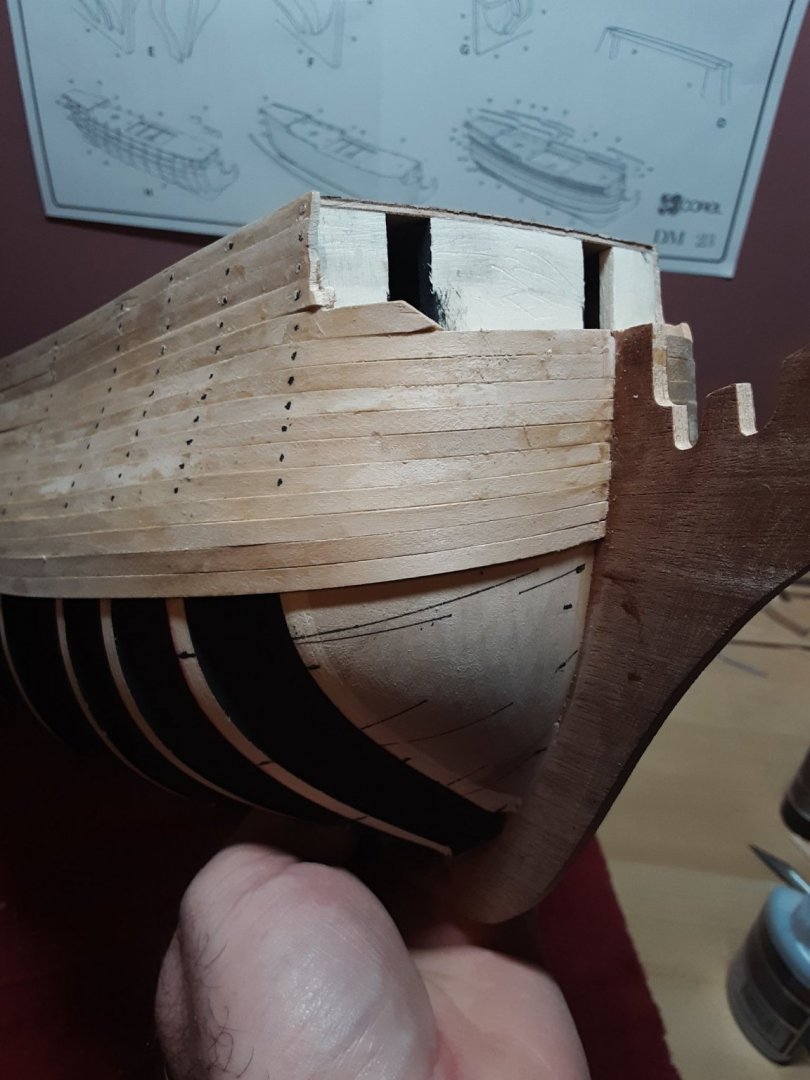
Discovered that the plank run at the stern was a little off. I cut a new path for the next strips. This is all a huge learning experience. Hopefully I can get the walnut on better. While I can still put the ship in it's holder, I measured out the location of the gun ports. Marked centers with a sharpie. Once I know they are where they are supposed to be, I'll drill a hole in the center to match up with a jig for cutting out the ports. I've learned so much from following many victory builders. My hat is off to you for allowing me into your world. Here's some photos.

-
You are an inspiration for me. Love following your work. A true masterpiece. 😍
- 521 replies
-
- 2
-

-
- caldercraft
- victory
- (and 1 more)
-
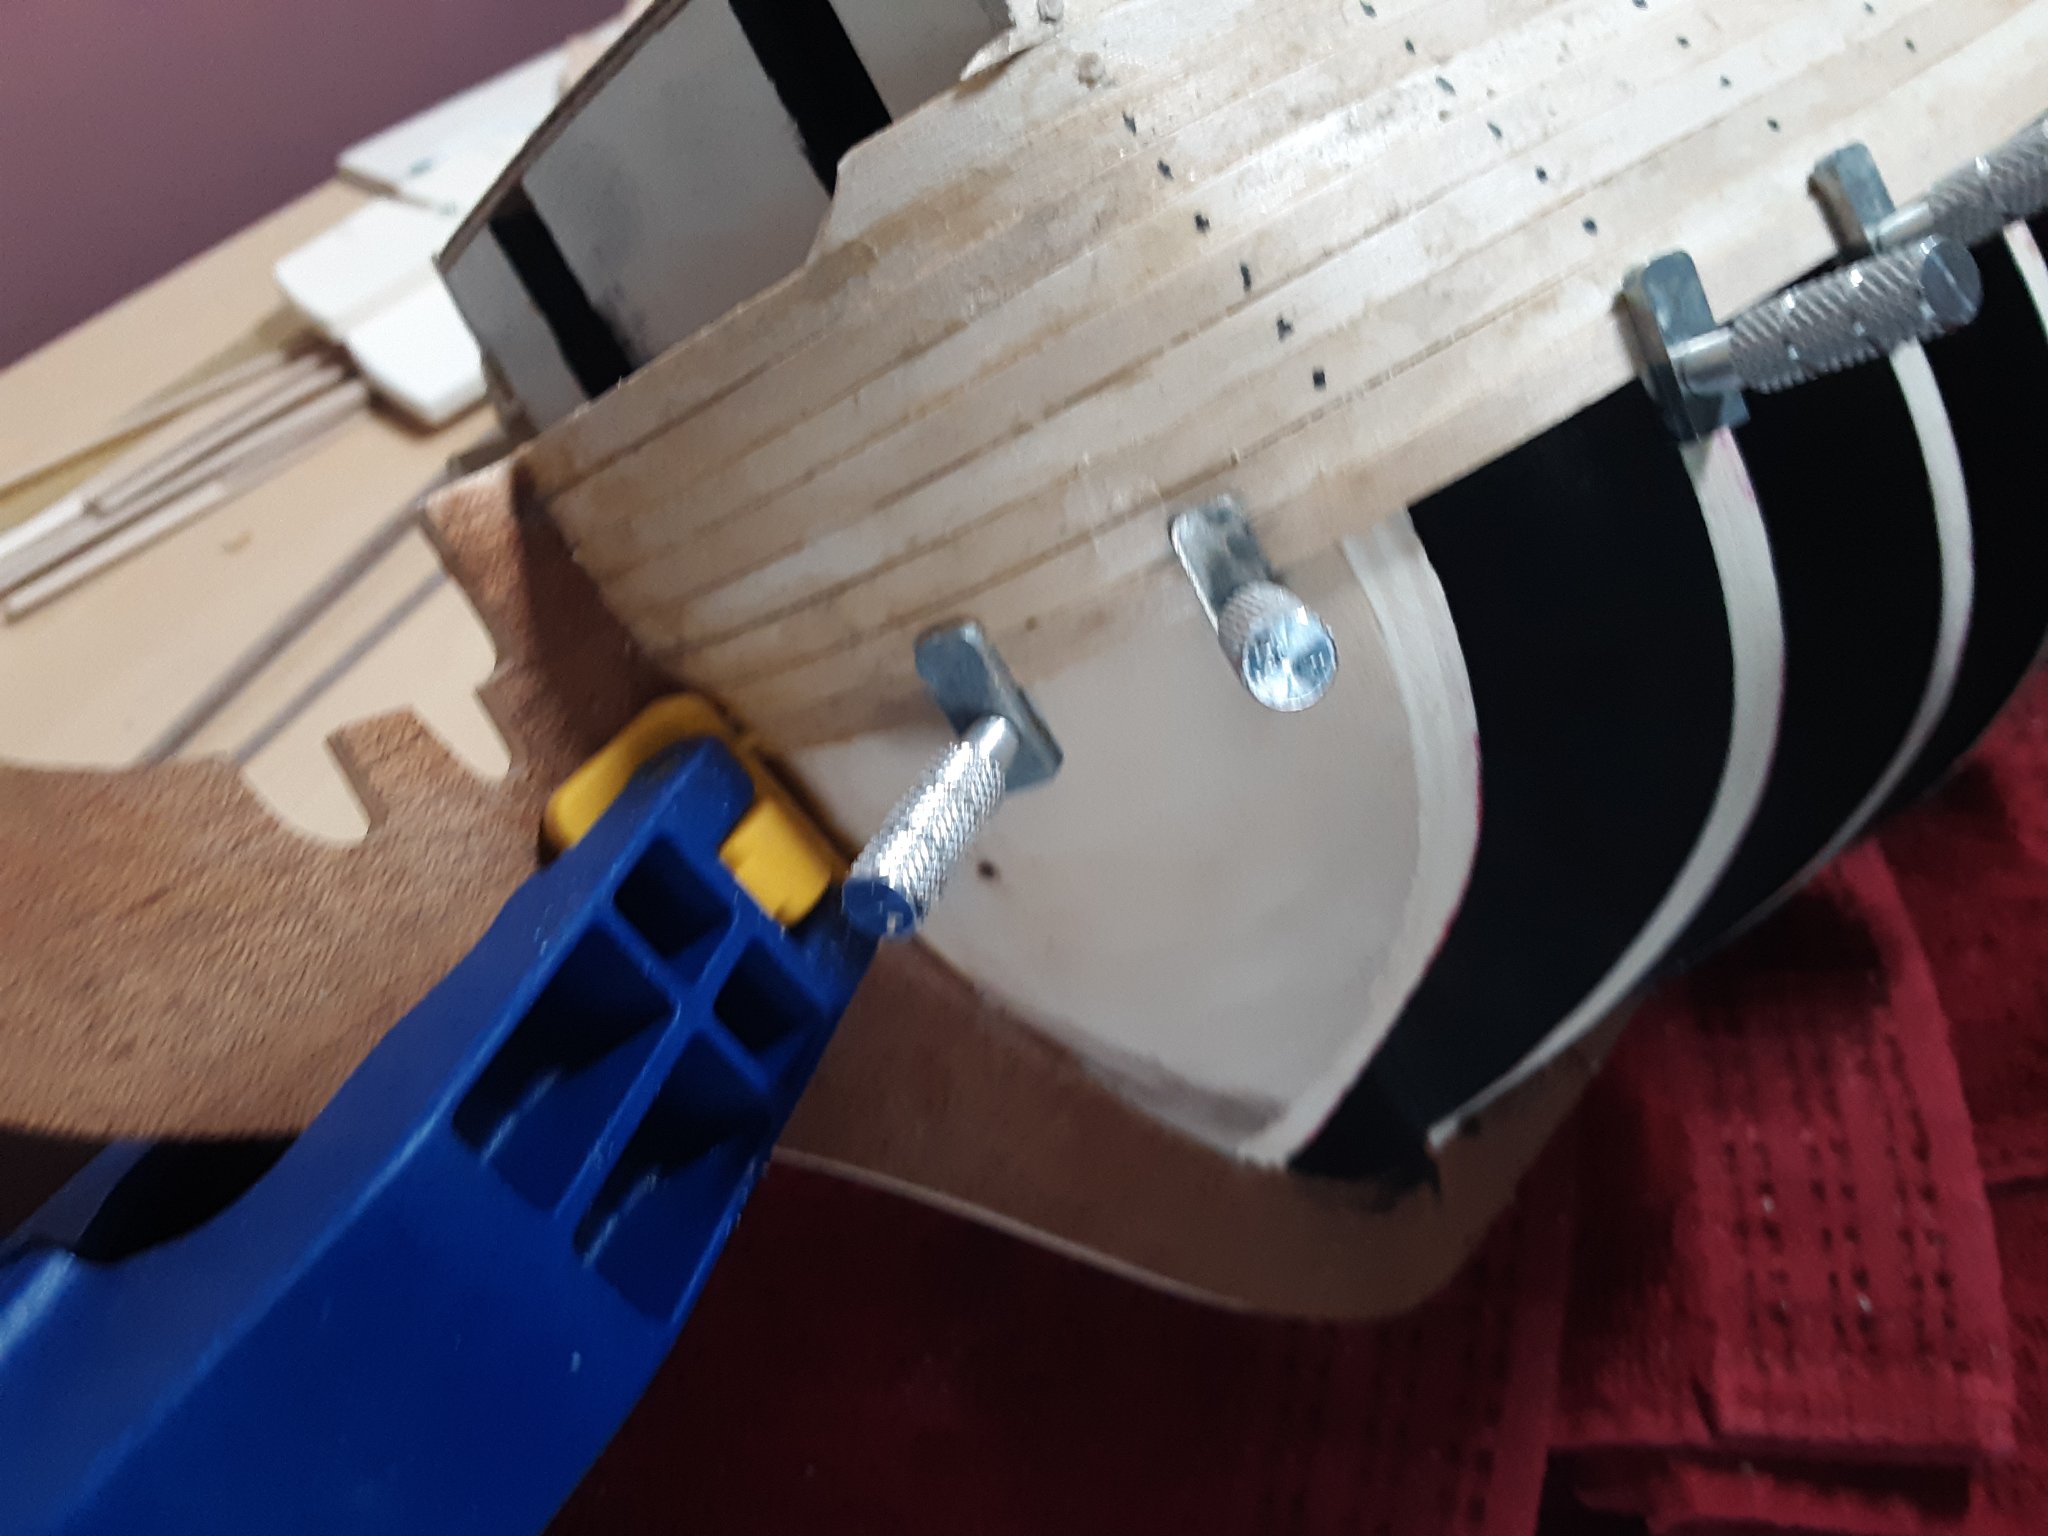
Today was a successful day in that I learned how to apply my hull planking strips in a new way. I can be stubborn and not want to learn new things. But when the experts are saying "do it this way" I need to pay attention. I successfully applied another 4 strips, and I didn't break them.😁 And I switched from titebond glue to medium CA. I don't like it when I glue myself to the ship.🥺 Any and all advise is welcome. Thanks for taking the time to look in. Best regards, Robert


-
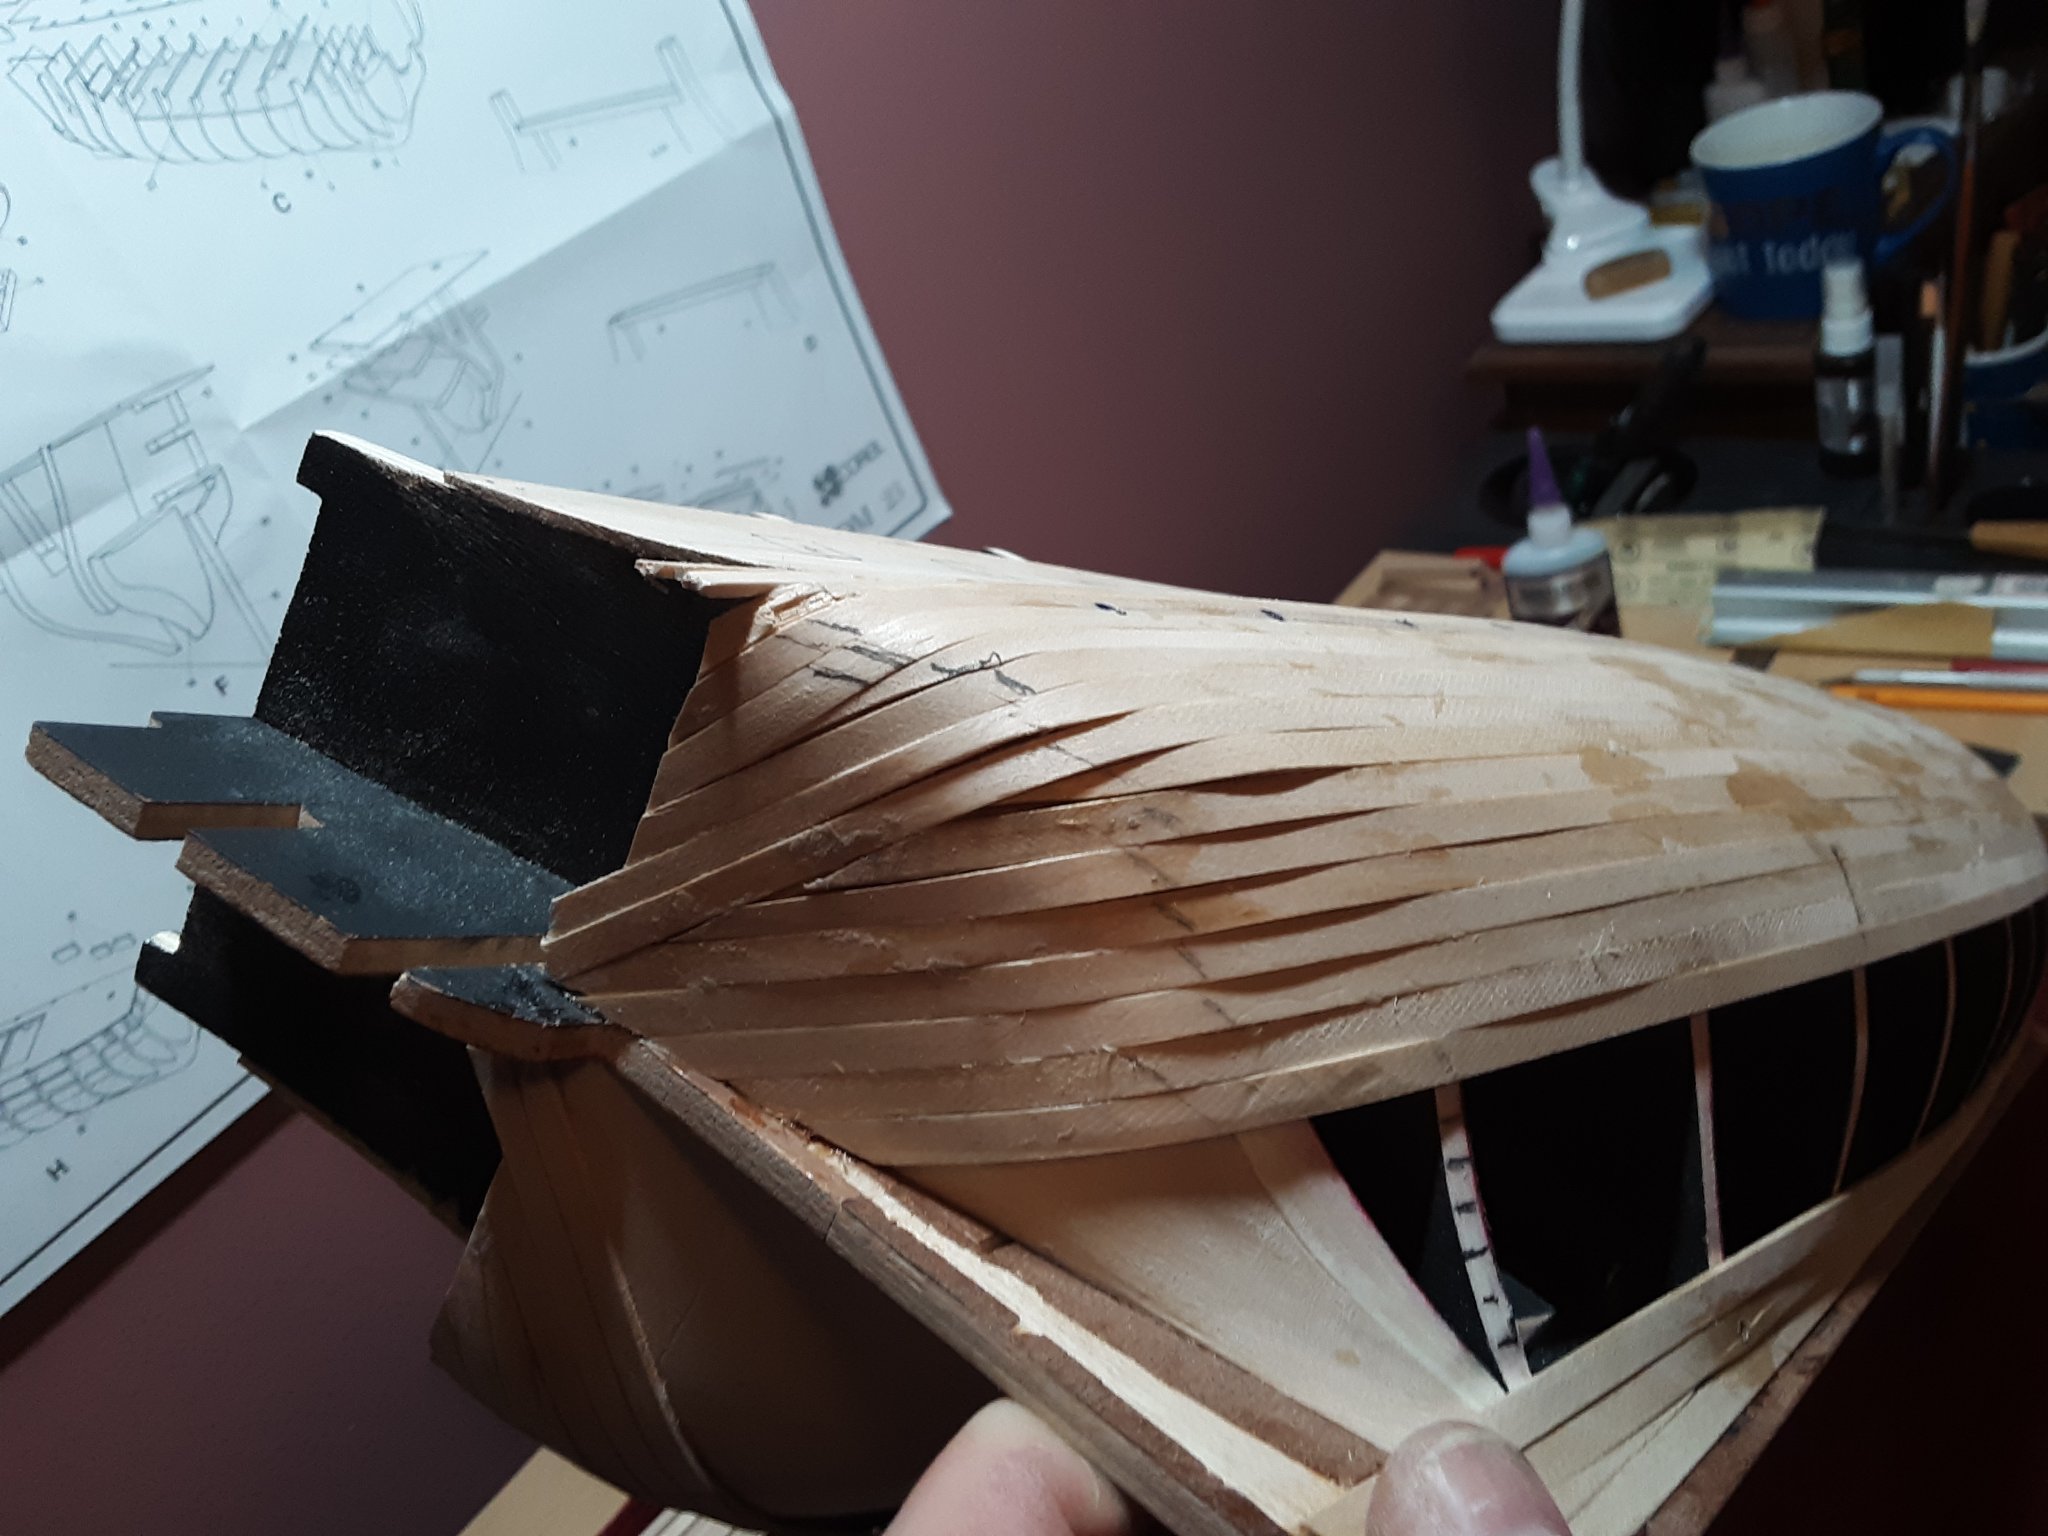
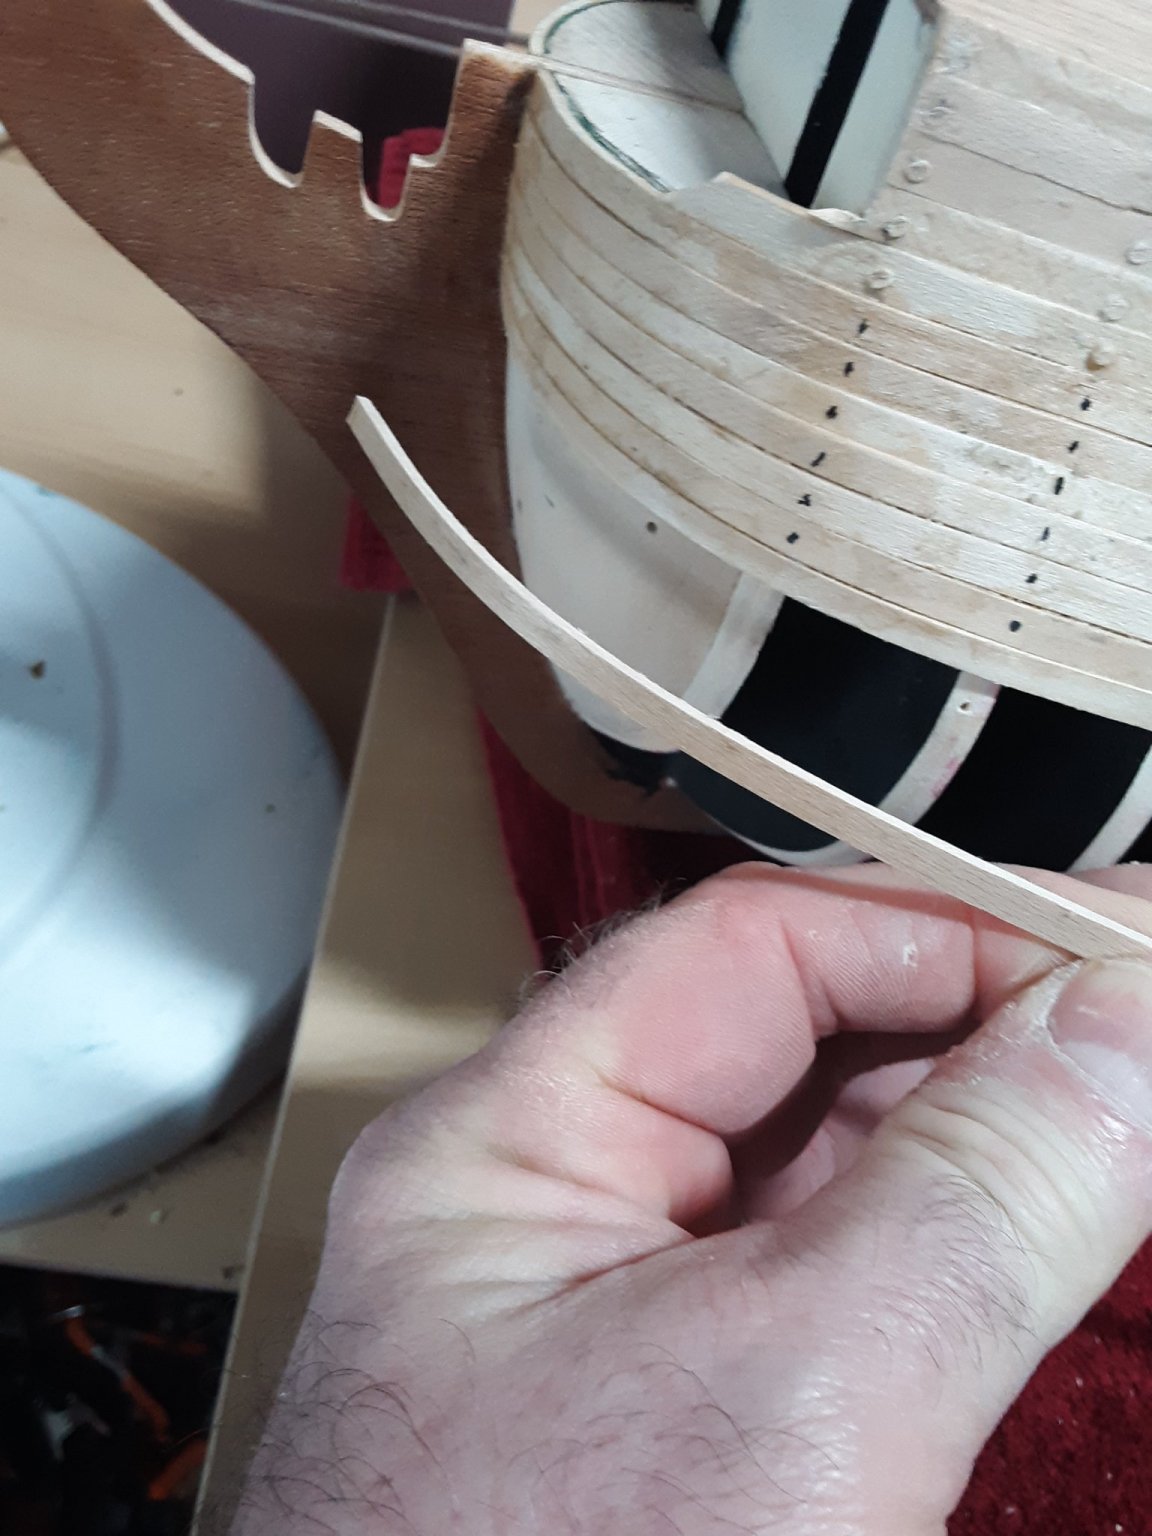
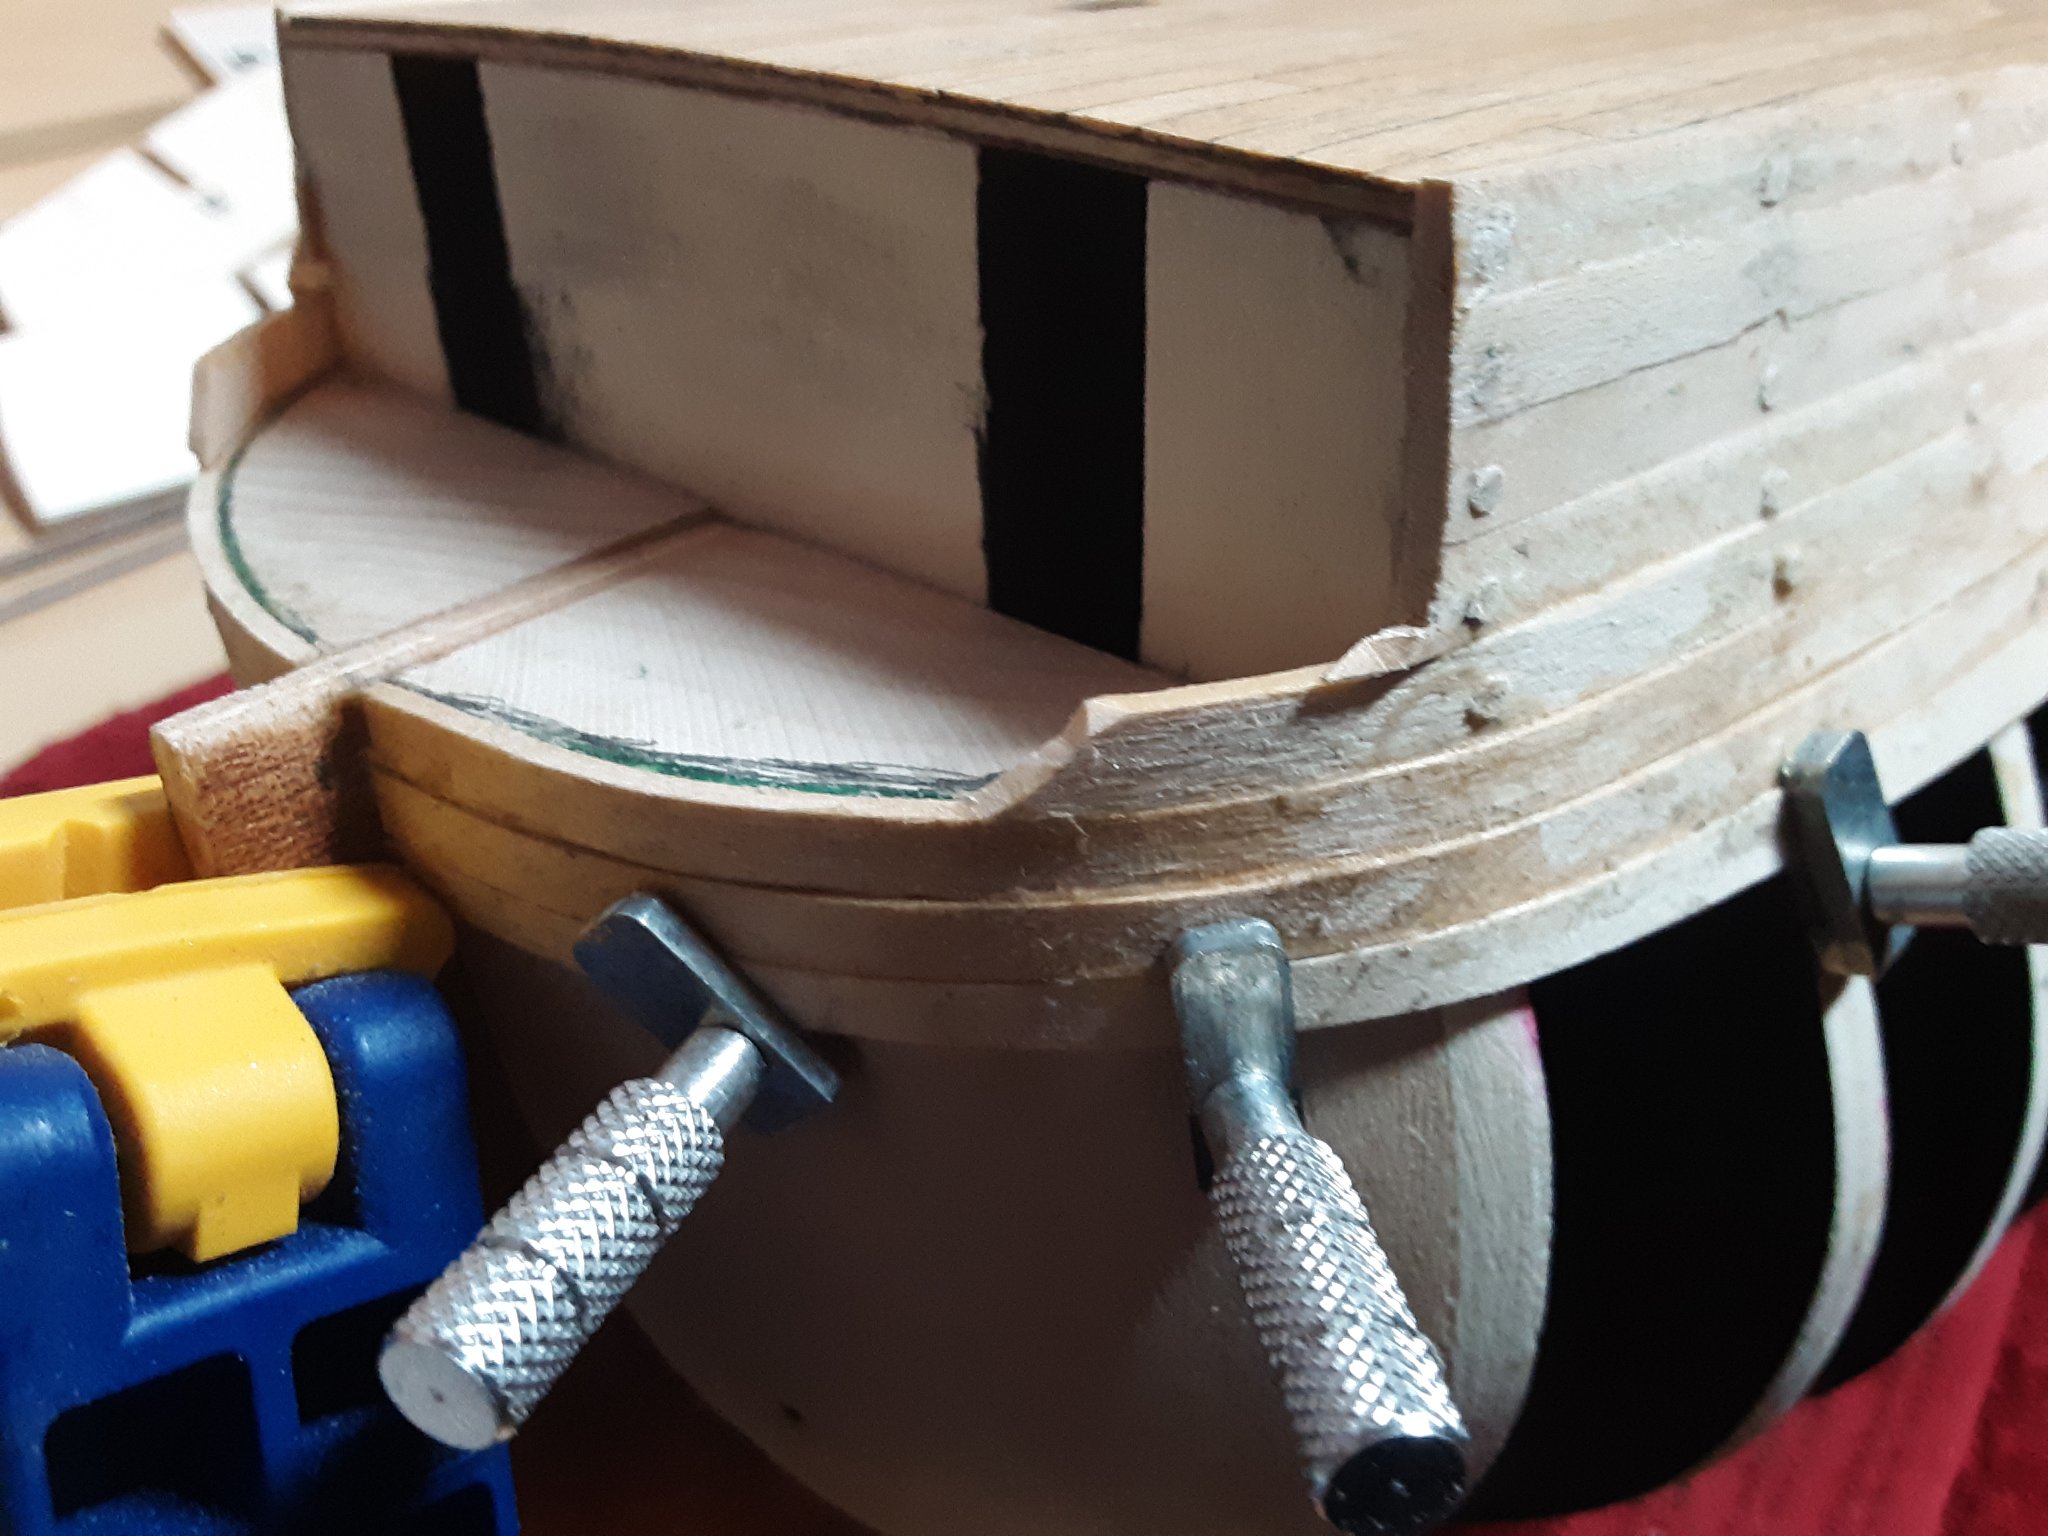
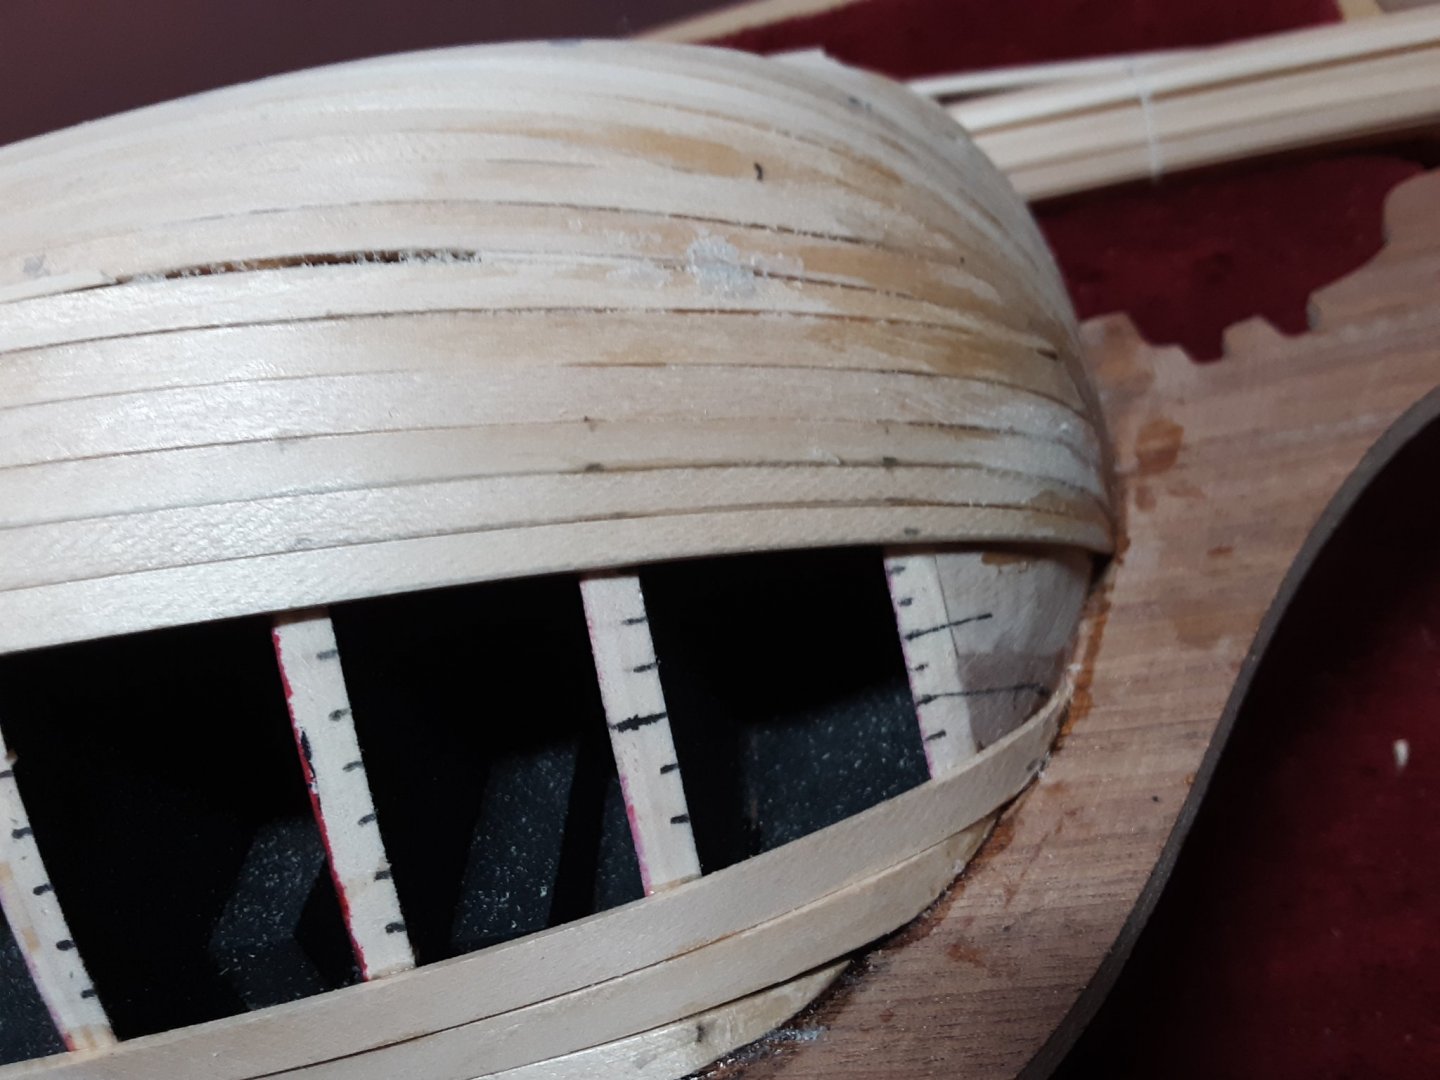
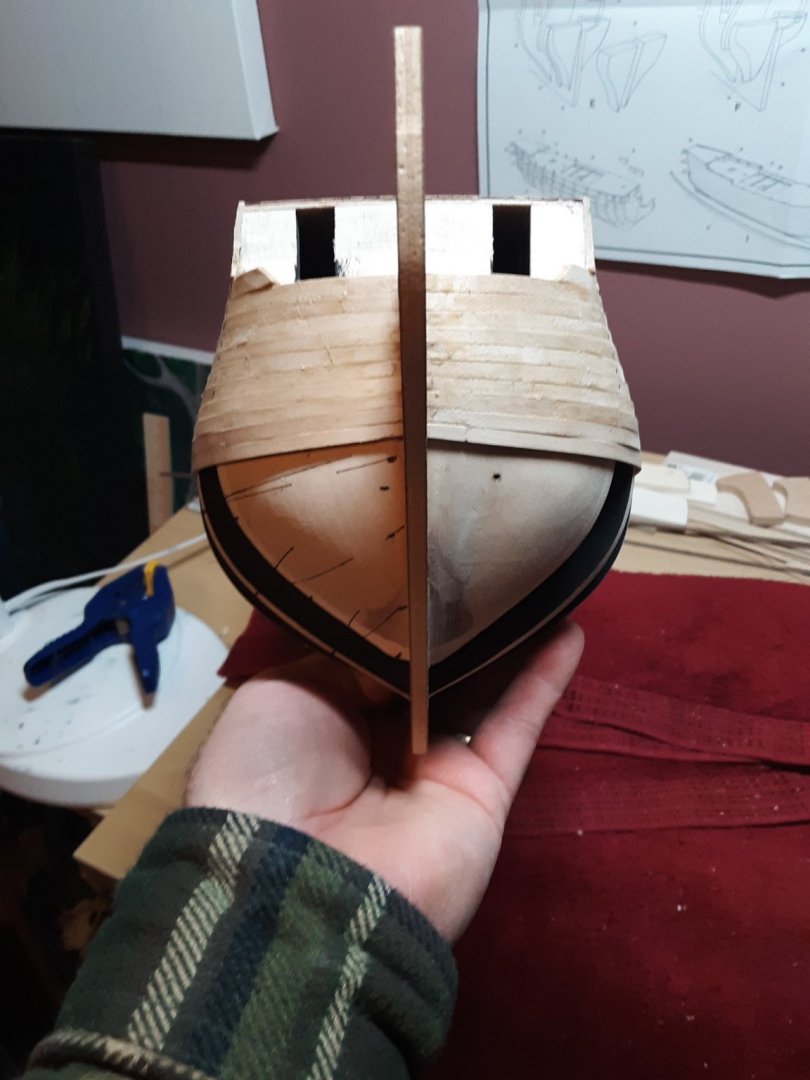
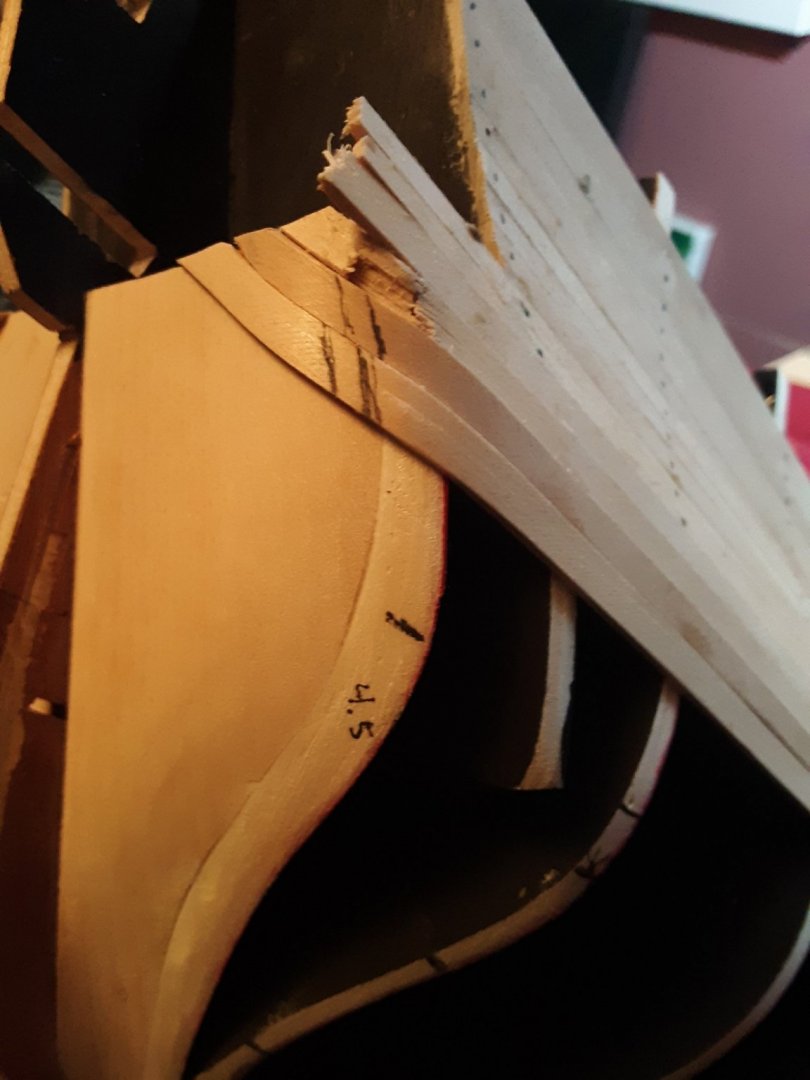
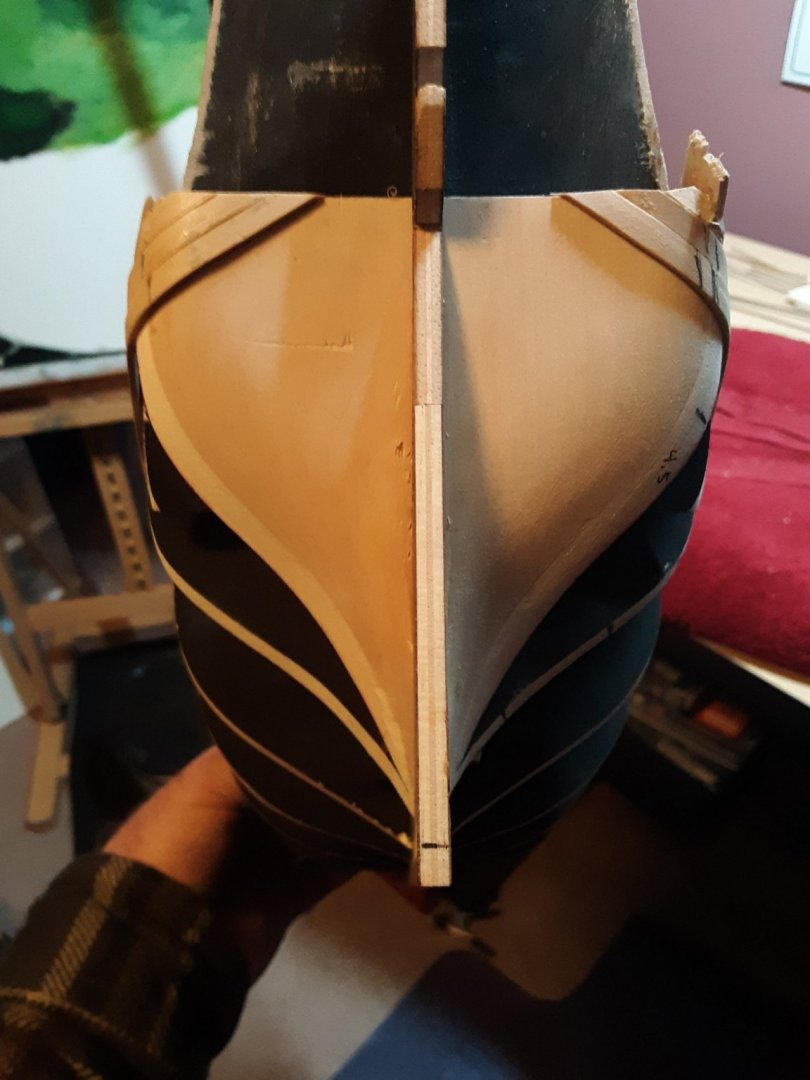
I put some more patience on and attempted the port side strip. First I tapered the strip according to my measurements. Then I laterally bent the strip in my jig using a flat iron. Then I pre bent the bow end, again using my jig. Then I positioned the strip on the hull bow end tight against the keel, and carefully marked where the stern area needed to be bent. I'm using my wife's old curling iron to heat up the strip and slowly bend in the shape. I have to admit, my patience is thin, I need to appreciate the process more. I'm not use to going through so many steps for 1 piece of wood. I'm also trying to give myself some slack. This is my first ship model, I'm going to make mistakes. 😖. Following are my messy strip photos. Have a great day. ROBERT


-
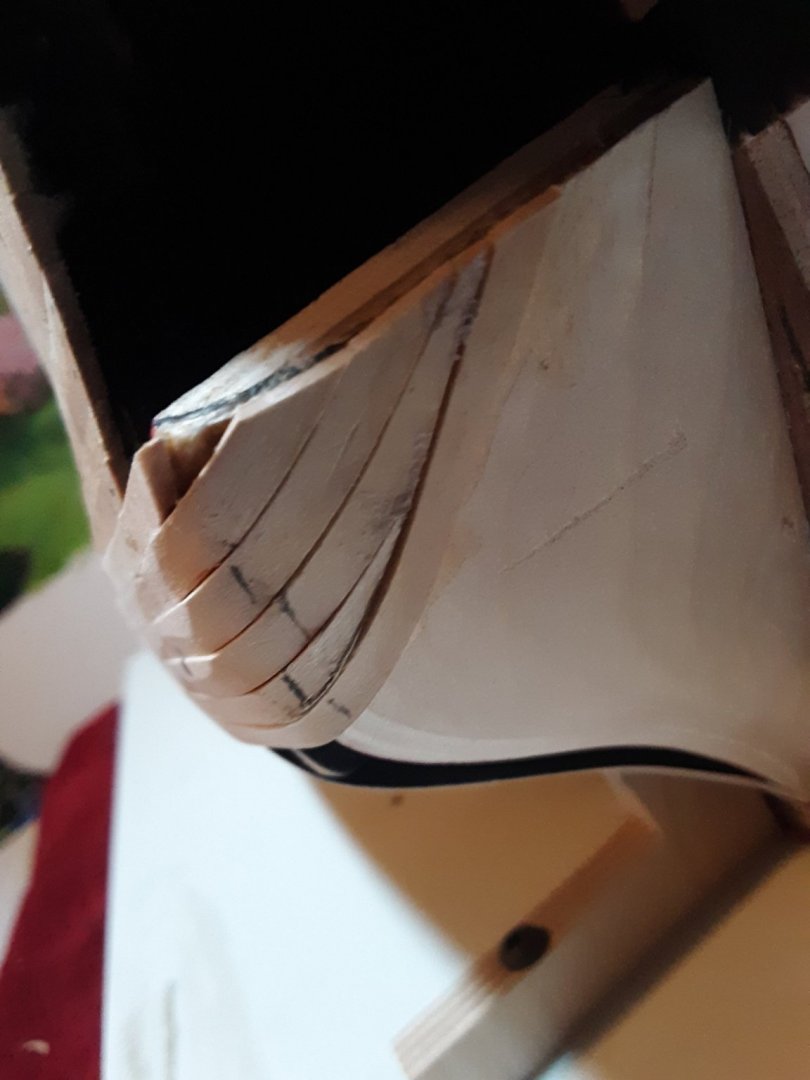
Thanks Helli for your kind words. I have to admit, I'm frustrated with the way my planking is going. Especially now at the stern. My first plank to take the sharp corner broke.☹. I'm probably going to have to wet those down and pre bend them. Learning curve is taking me a while. I'm wishing these lime wood strips were a little thinner, but then there wouldn't be much left for sanding. Time to put it down for a bit. Best regards, Robert
-
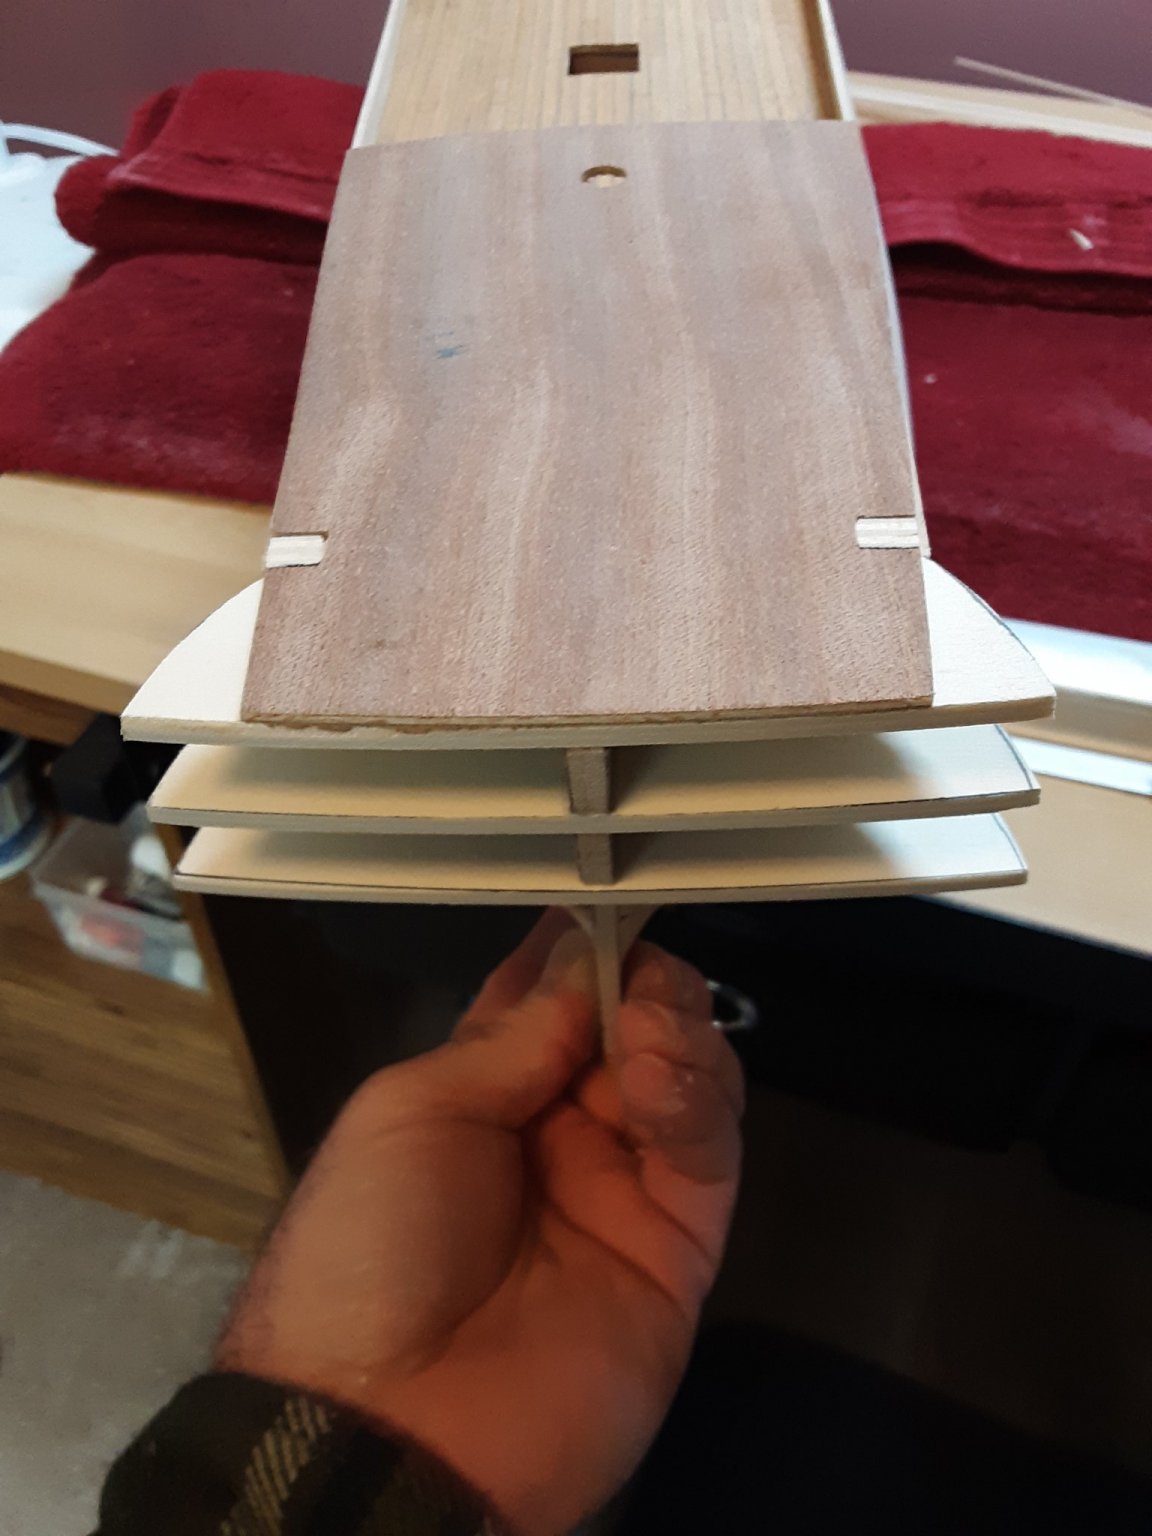
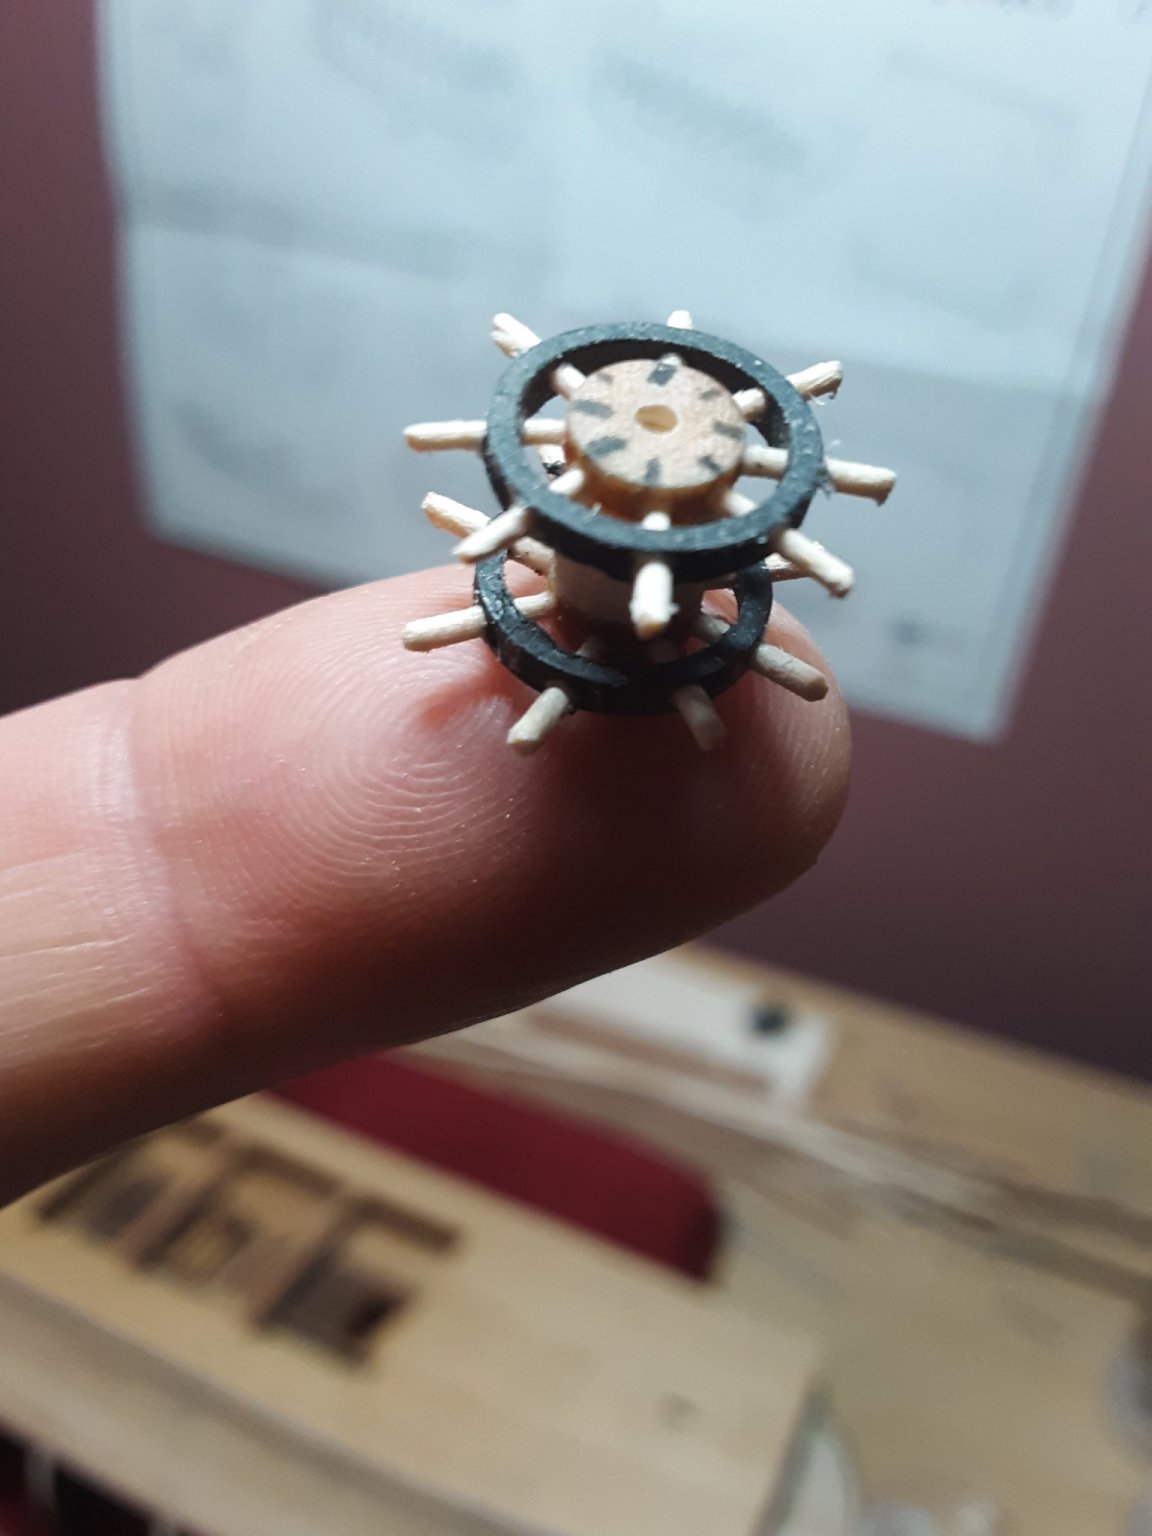
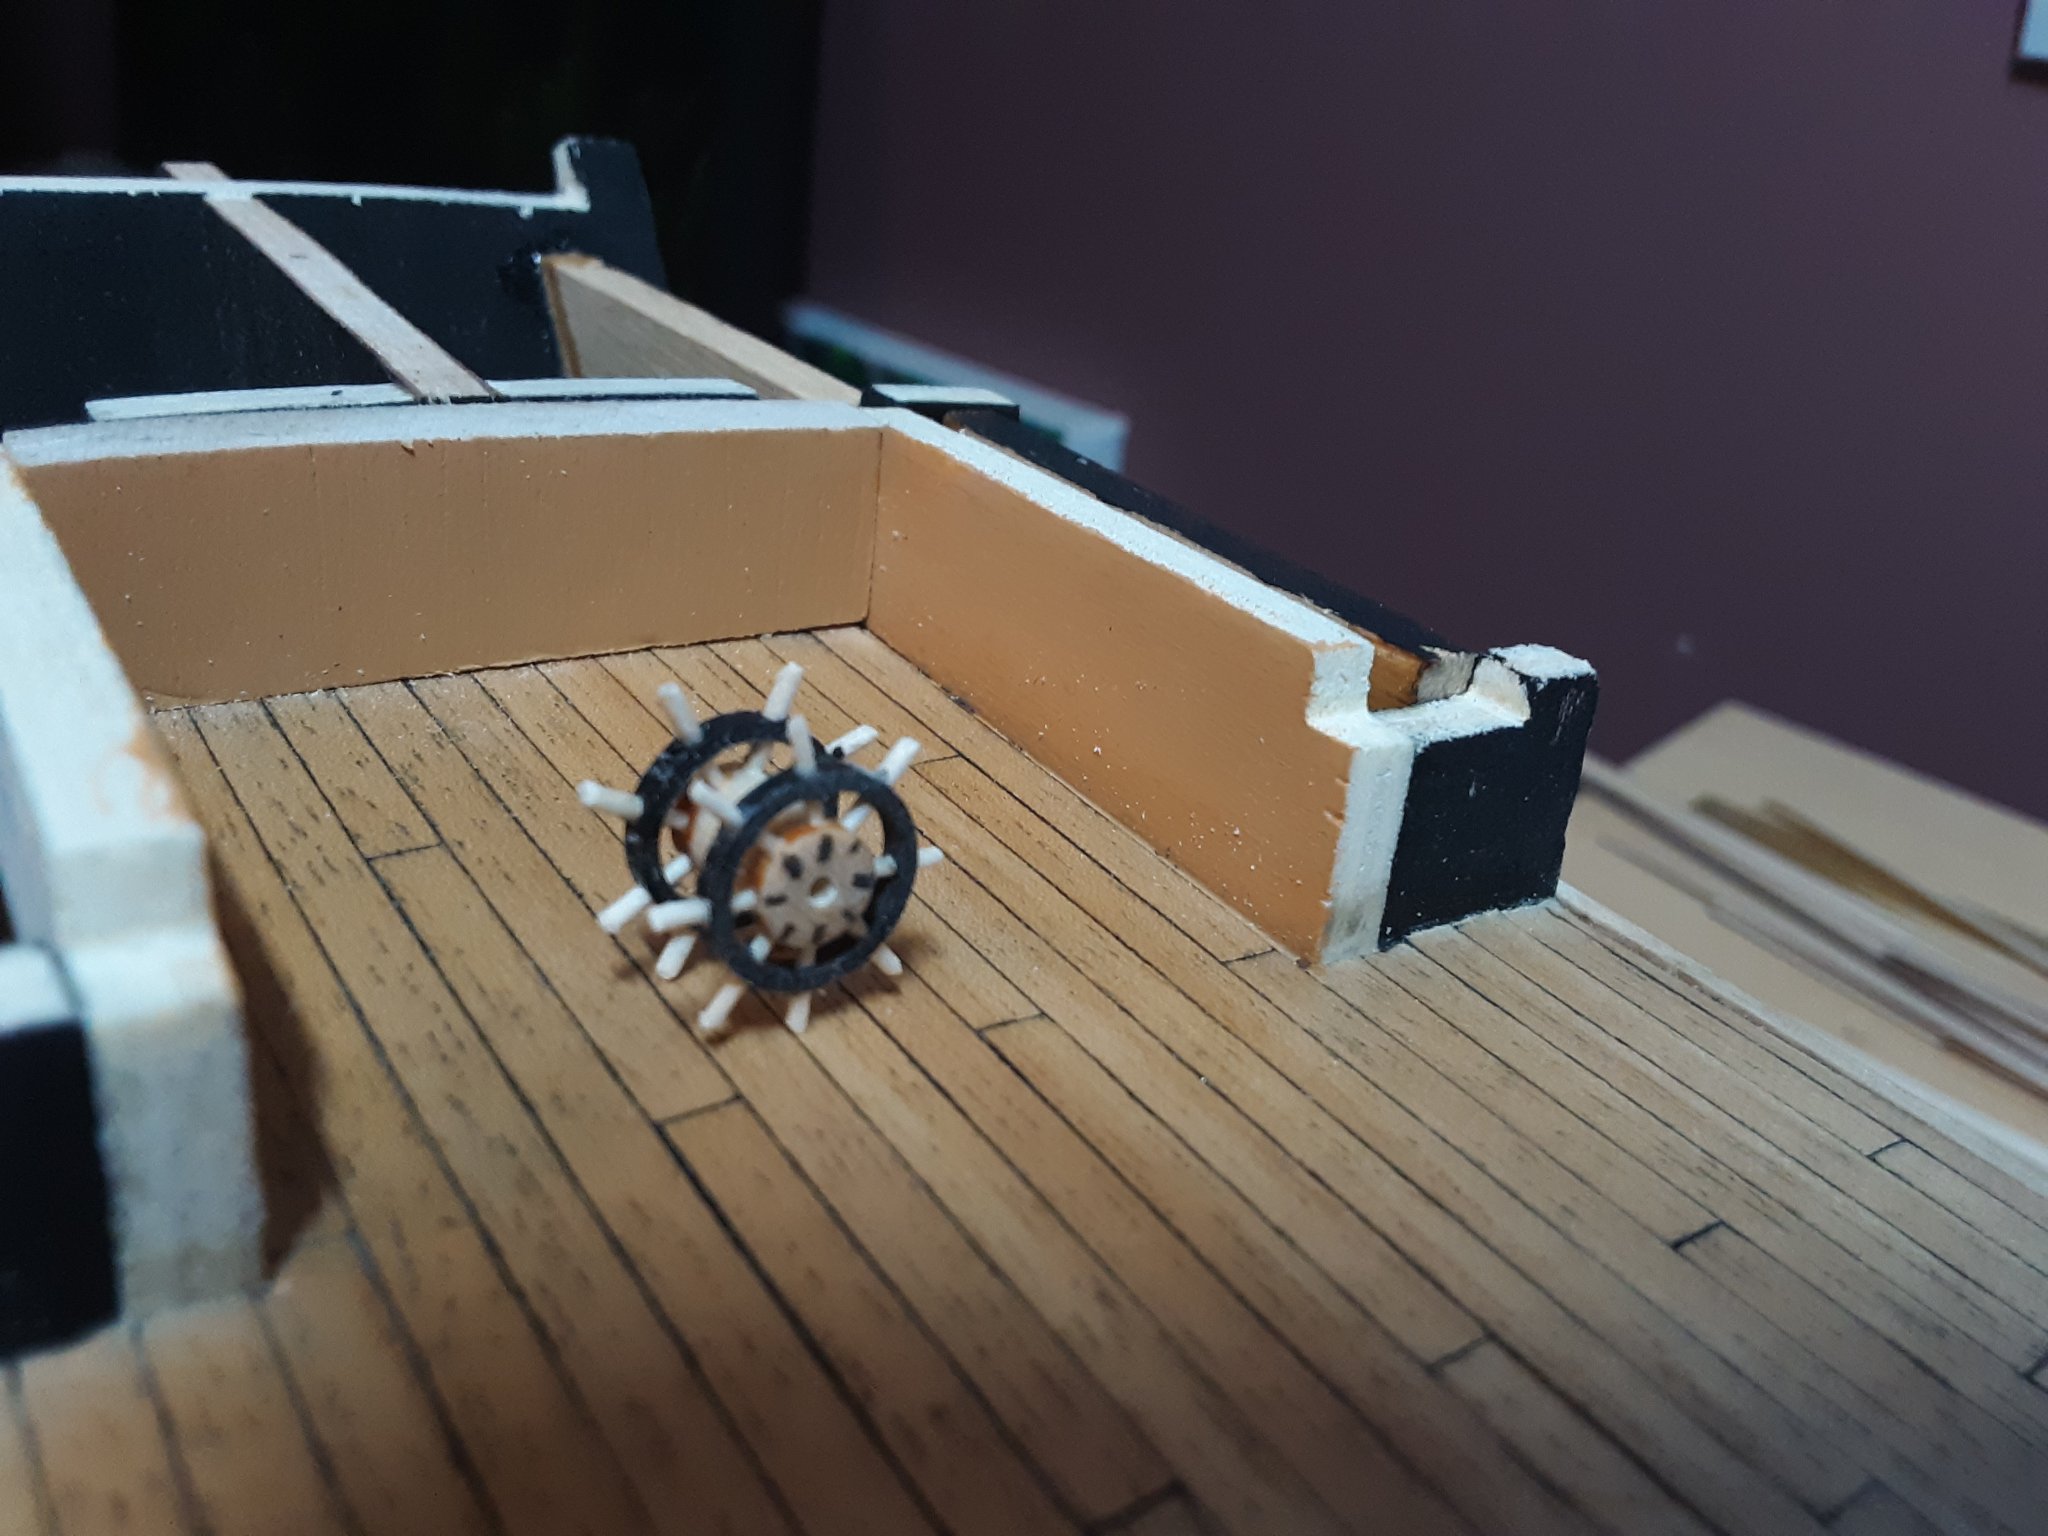
While waiting for a plank strip to dry, I decided to try and make my own steering wheel. The one in the kit won't fit between the 2 decks. Corel shows the steering wheel out in front of the poop deck edge. Where as the actual location is under the poop deck next to the mizzen mast. I took an old artist paint brush handle and cut a small piece for the barrel. Then I drilled 8 tiny holes around each end. I know that victory had 10 spokes, but seriously, it was hard enough getting 8 in there.🤪 Then I found an old ink pen cap. Plastic. It looked to be the right diameter. I cut 2 small donuts of of the end. Then drilled 8 tiny holes around each donut. Next I took tooth picks and chucked them in my cordless drill. And with 120 grit sandpaper between thumb and forefinger I sanded down 16 tiny spokes. Put a dab of Elmer's white glue on the spokes and pushed them through the donut into the barrel. And here ya go. Not as pretty as the one in the kit, but with some paint I think it's going to work. Best regards, Robert


-
Hello Sheerline. My name is Robert. I hope you don't mind a newbie following your build. It just so happens that we're building the same ship. I like what you have done. Great idea in centering the cannons. I'm a little ways behind where you are. Keep up the great work. Best regards, Robert
-
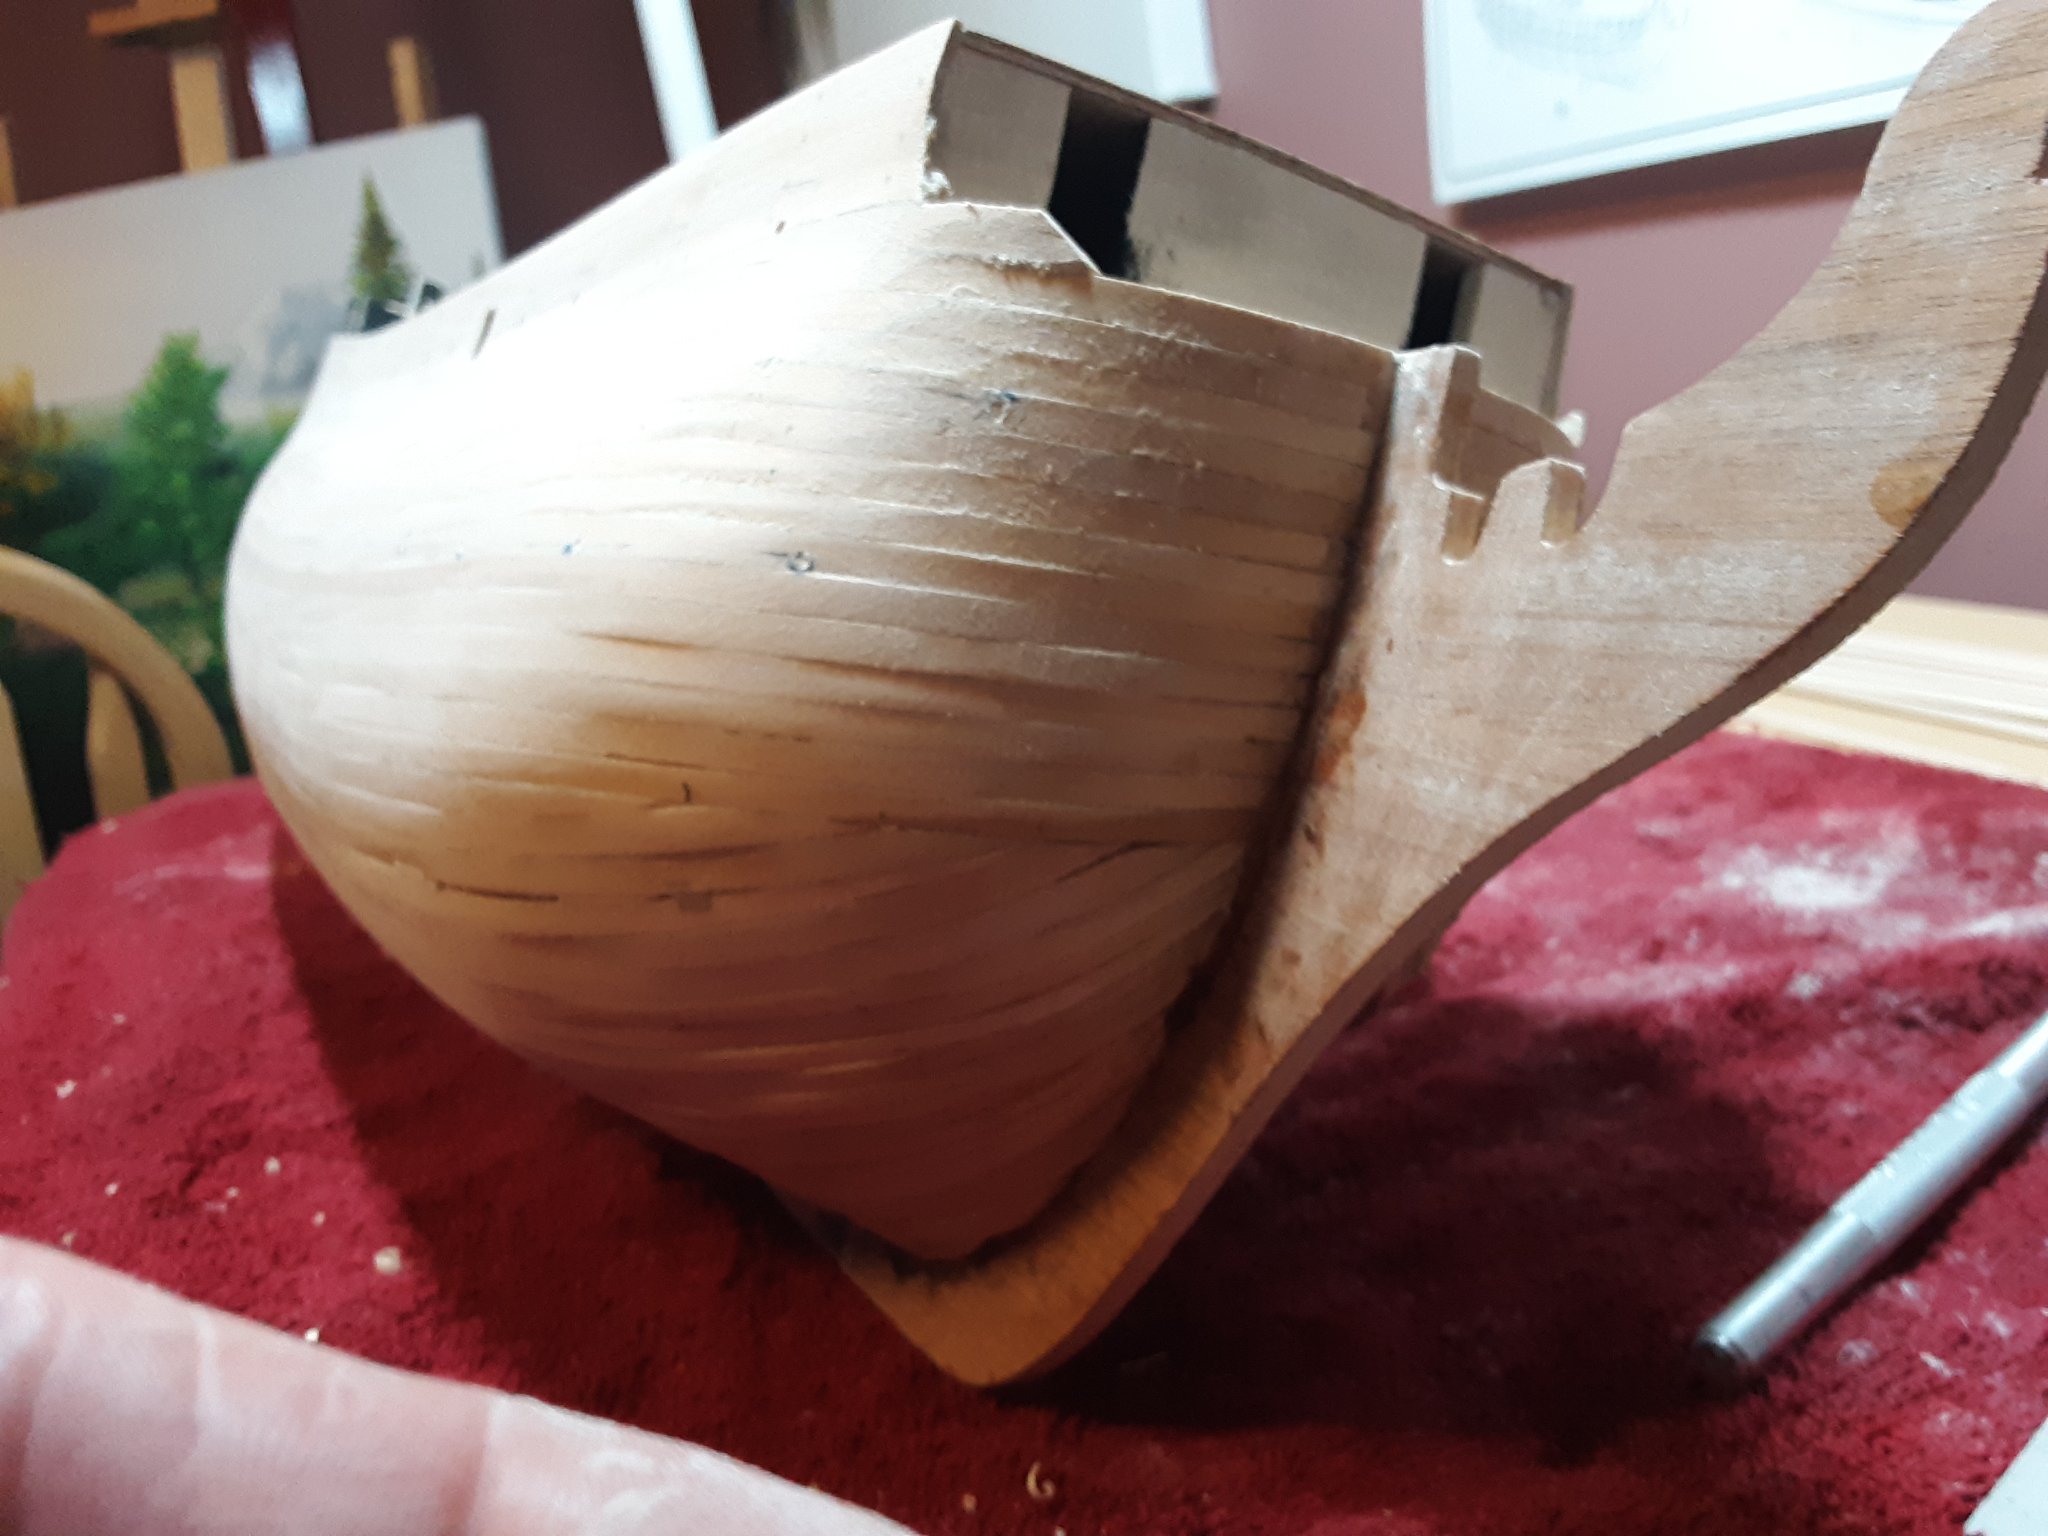
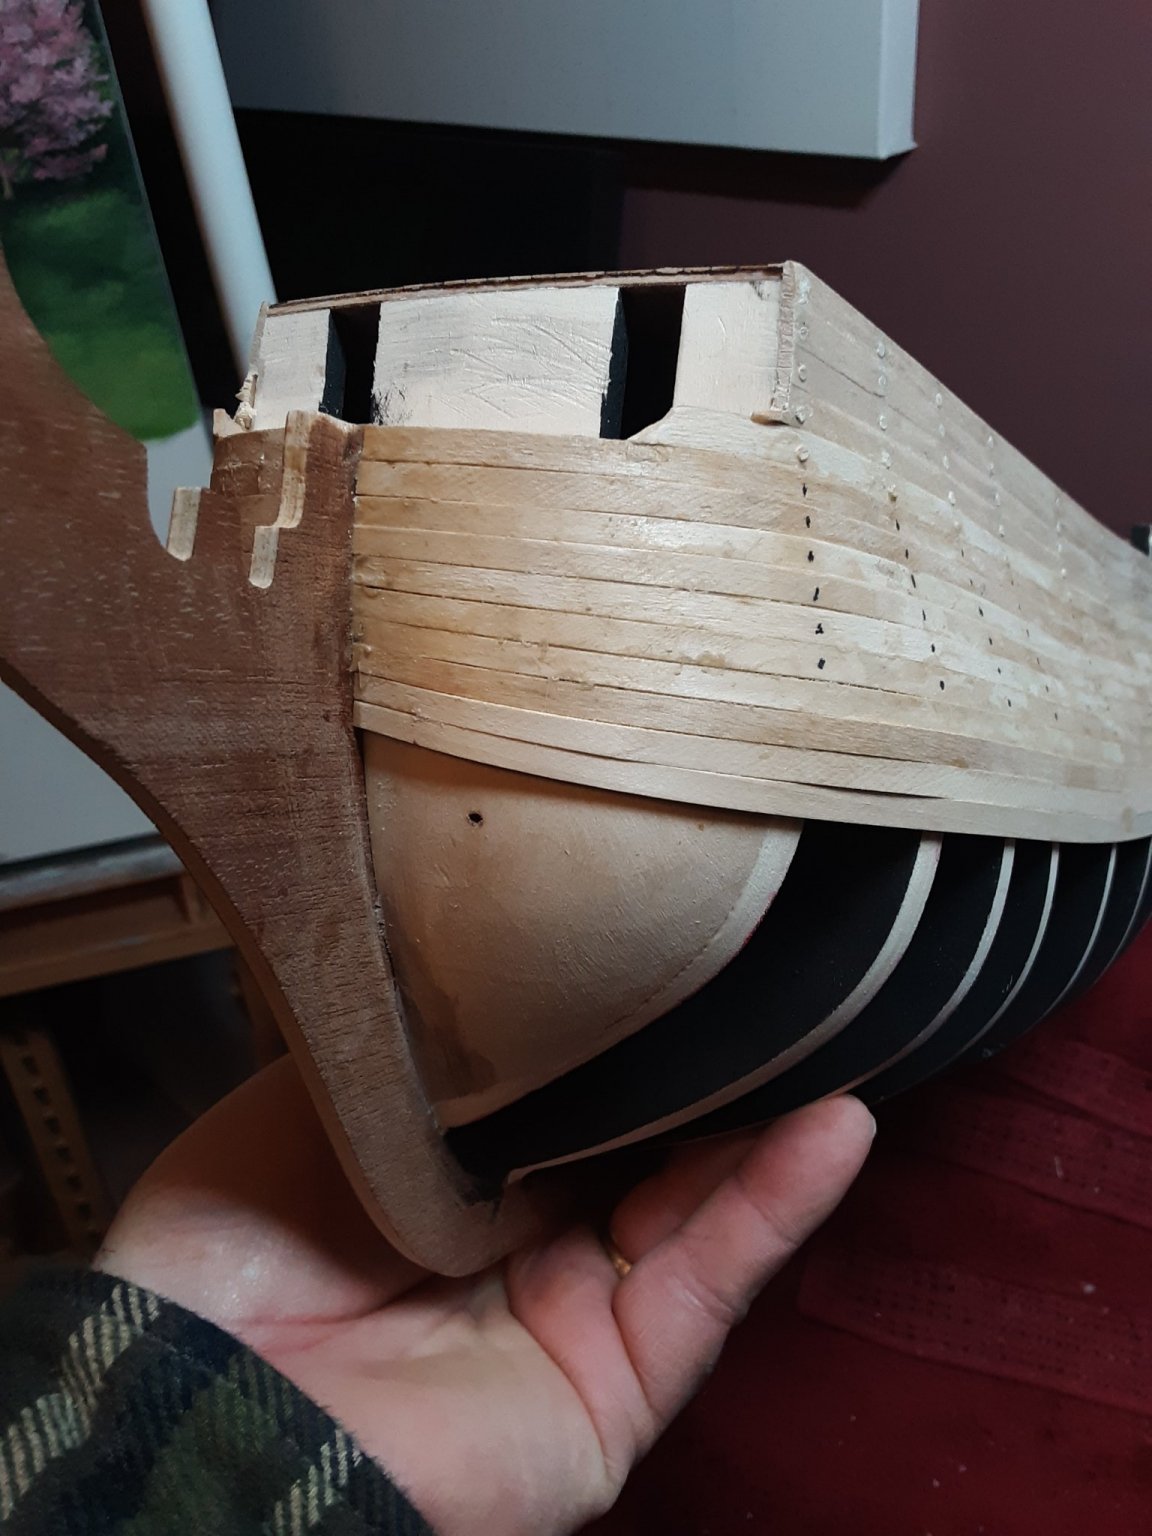
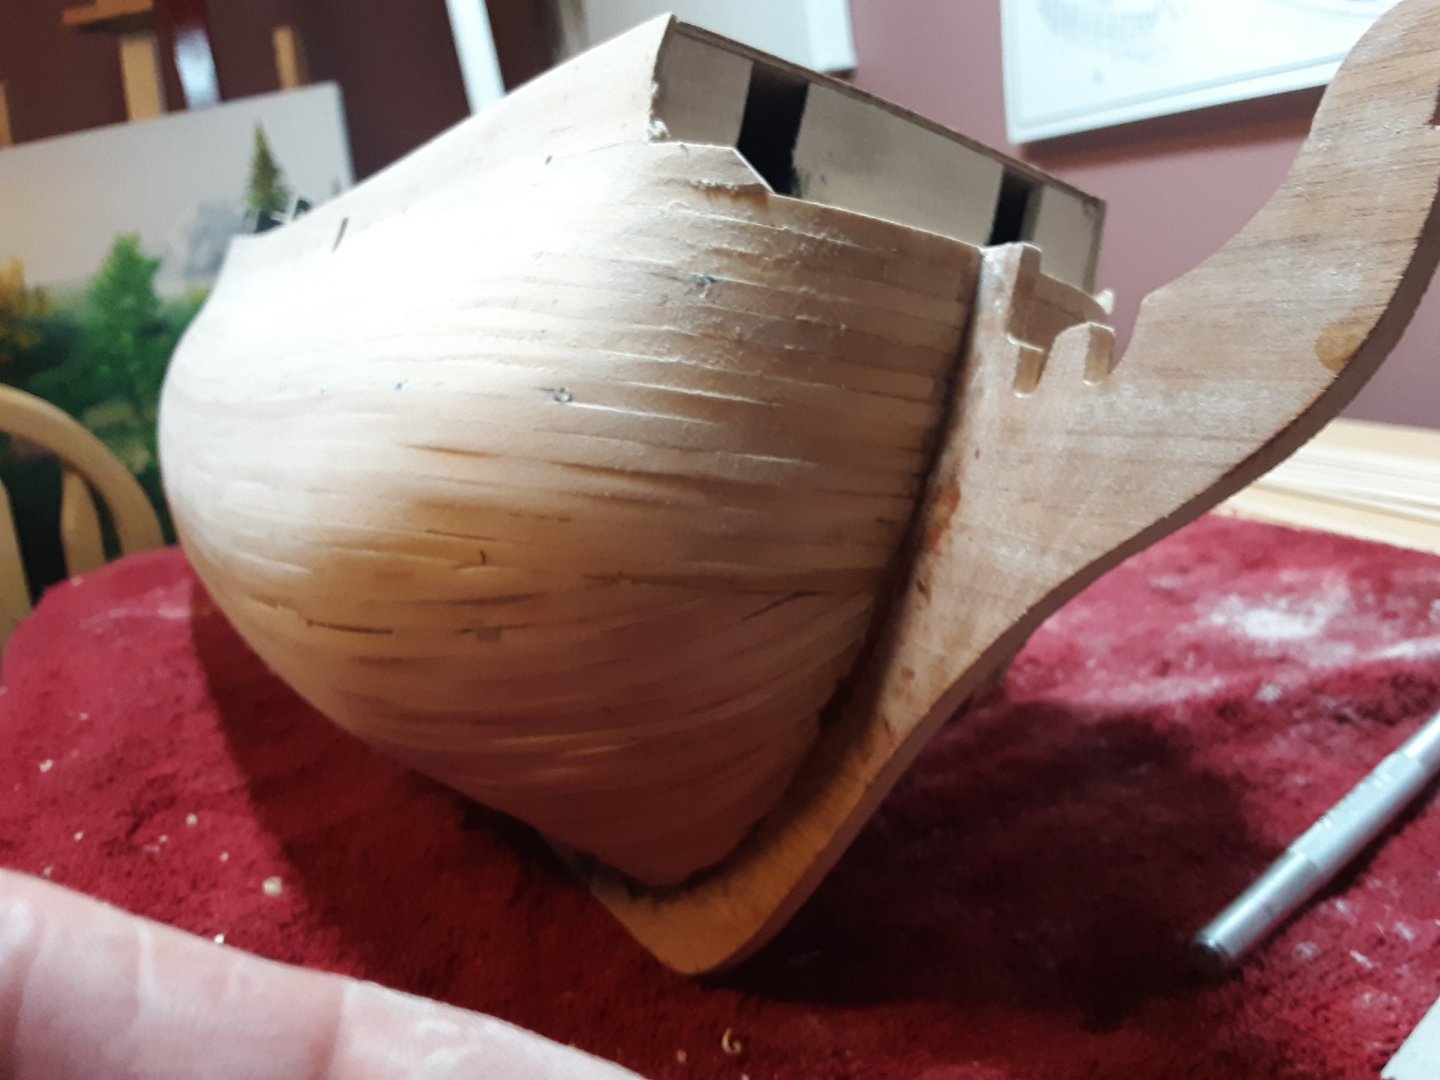
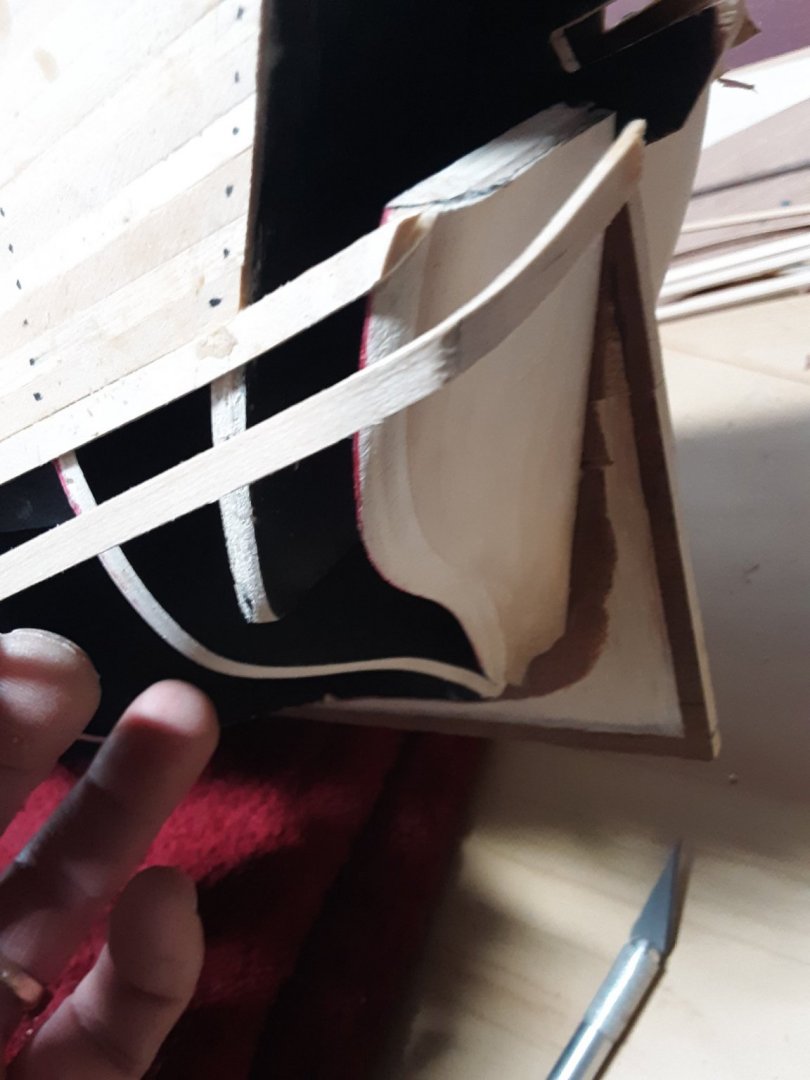
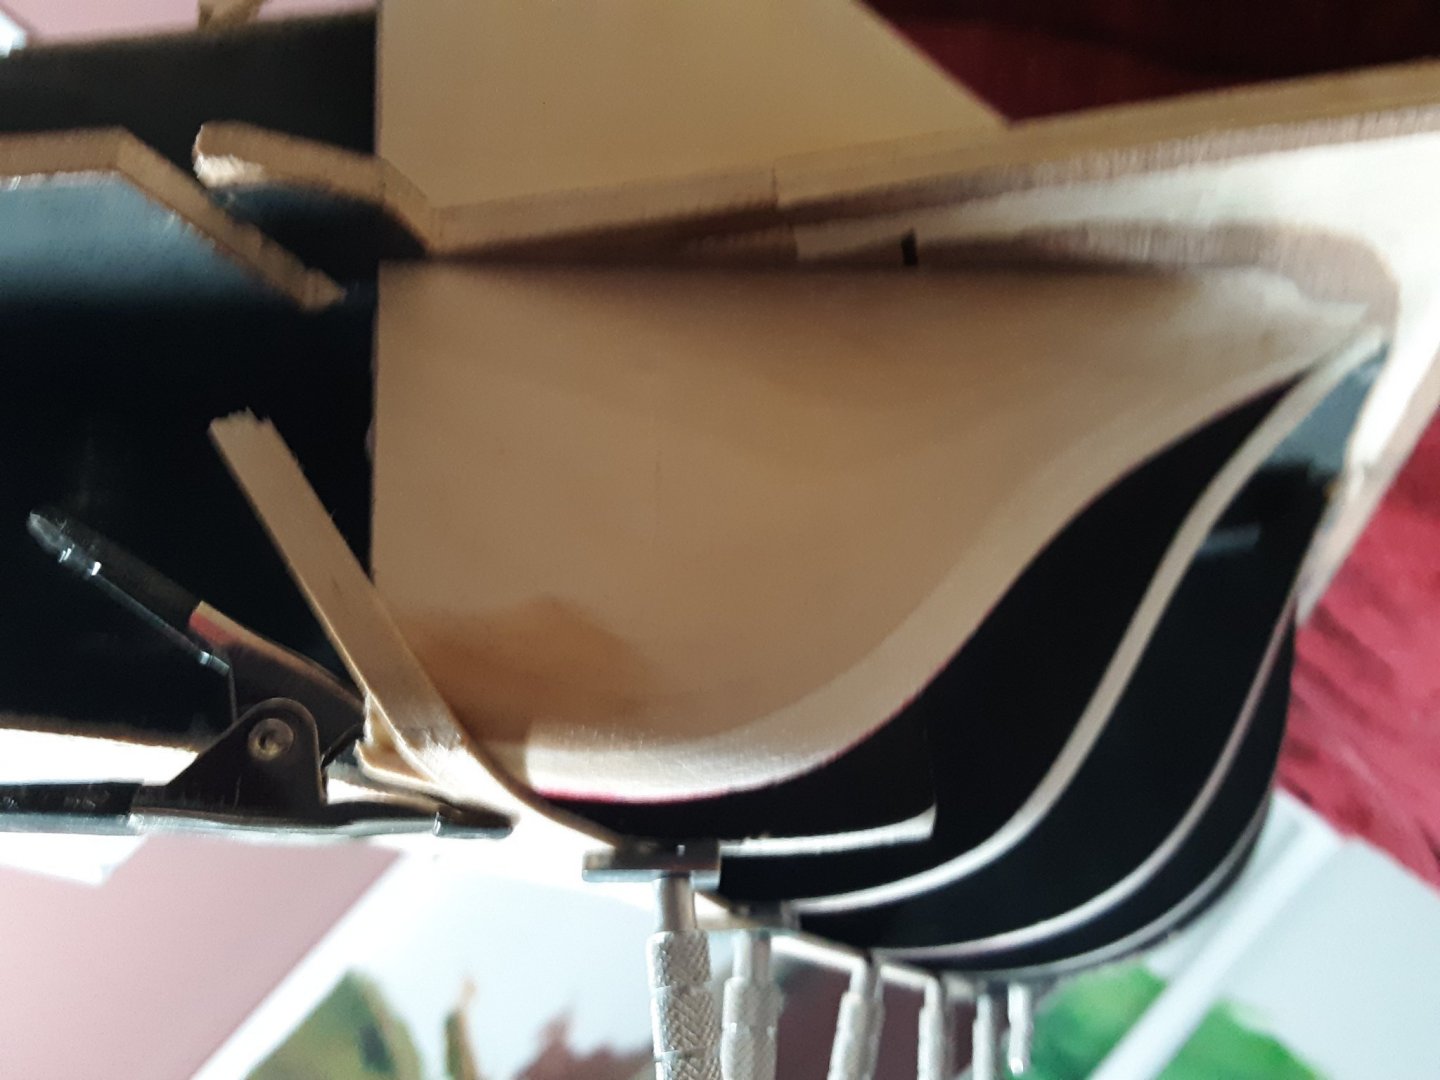
Looking ahead I was thinking about the stern area at the rudder location. After measuring the thickness of the rudder, then realizing that after the 2 layers of hull planking go on, the joining area between the hull and rudder will be way too thick. Corel didn't give any instructions to reduce this area. I went ahead and did a rabbet the thickness of my first plank. The walnut is thinner and I think it will work out. It's snowing pretty heavy now. I guess I'll keep planking. Beats shoveling snow.😁
-
I think your choosing to let the natural beauty of the wood show through is beautiful. It's a fine piece of craftsmanship. Congratulations my friend. Job well done. 😍🙂
-
Hello. I have throughly enjoyed taking a walk through your build. Keep up the great work and congratulations on your endeavor. Best regards, Robert As you can see, I'm way behind where you are.