Tactical Foredeck
-
Posts
4 -
Joined
-
Last visited
-
 ccoyle reacted to a post in a topic:
J/24 by Tactical Foredeck - BlueJacket Shipcrafters - 5/8":1'
ccoyle reacted to a post in a topic:
J/24 by Tactical Foredeck - BlueJacket Shipcrafters - 5/8":1'
-
wemattson reacted to a post in a topic:
J/24 by Tactical Foredeck - BlueJacket Shipcrafters - 5/8":1'
-
Tom E reacted to a post in a topic:
J/24 by Tactical Foredeck - BlueJacket Shipcrafters - 5/8":1'
-
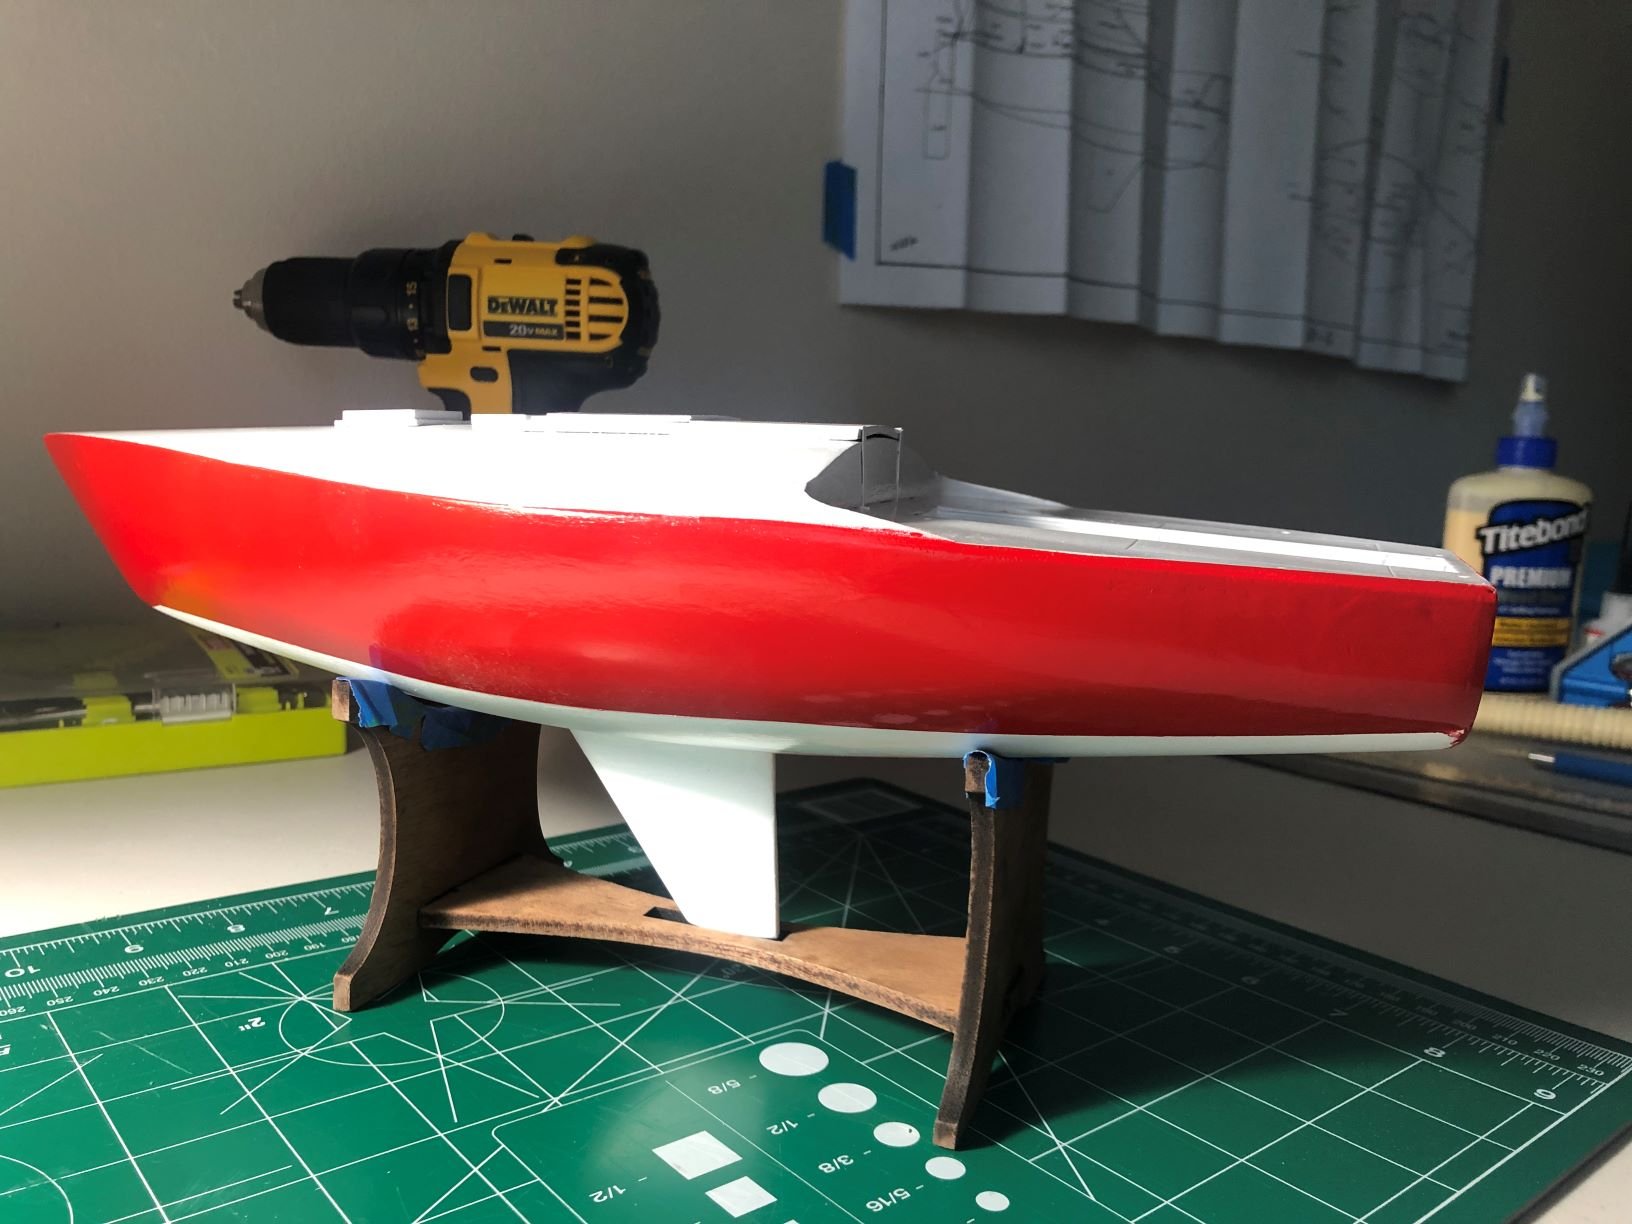
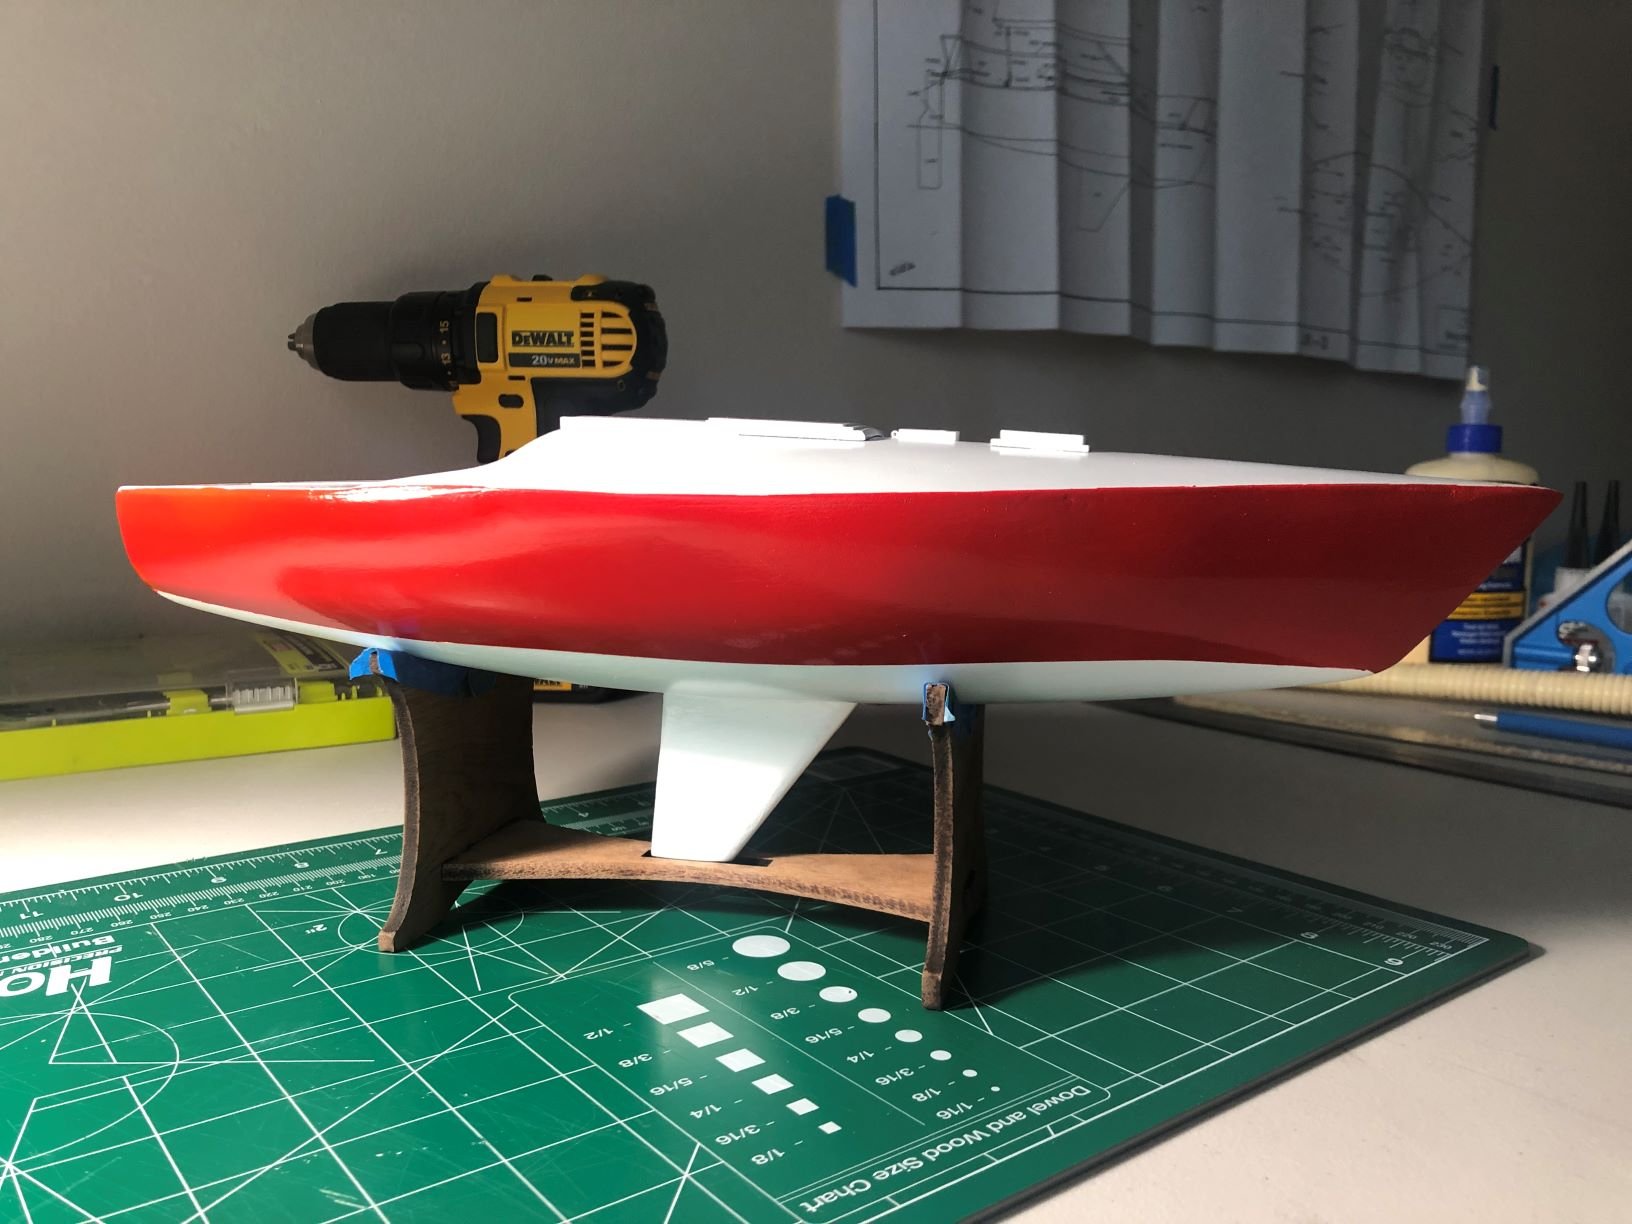
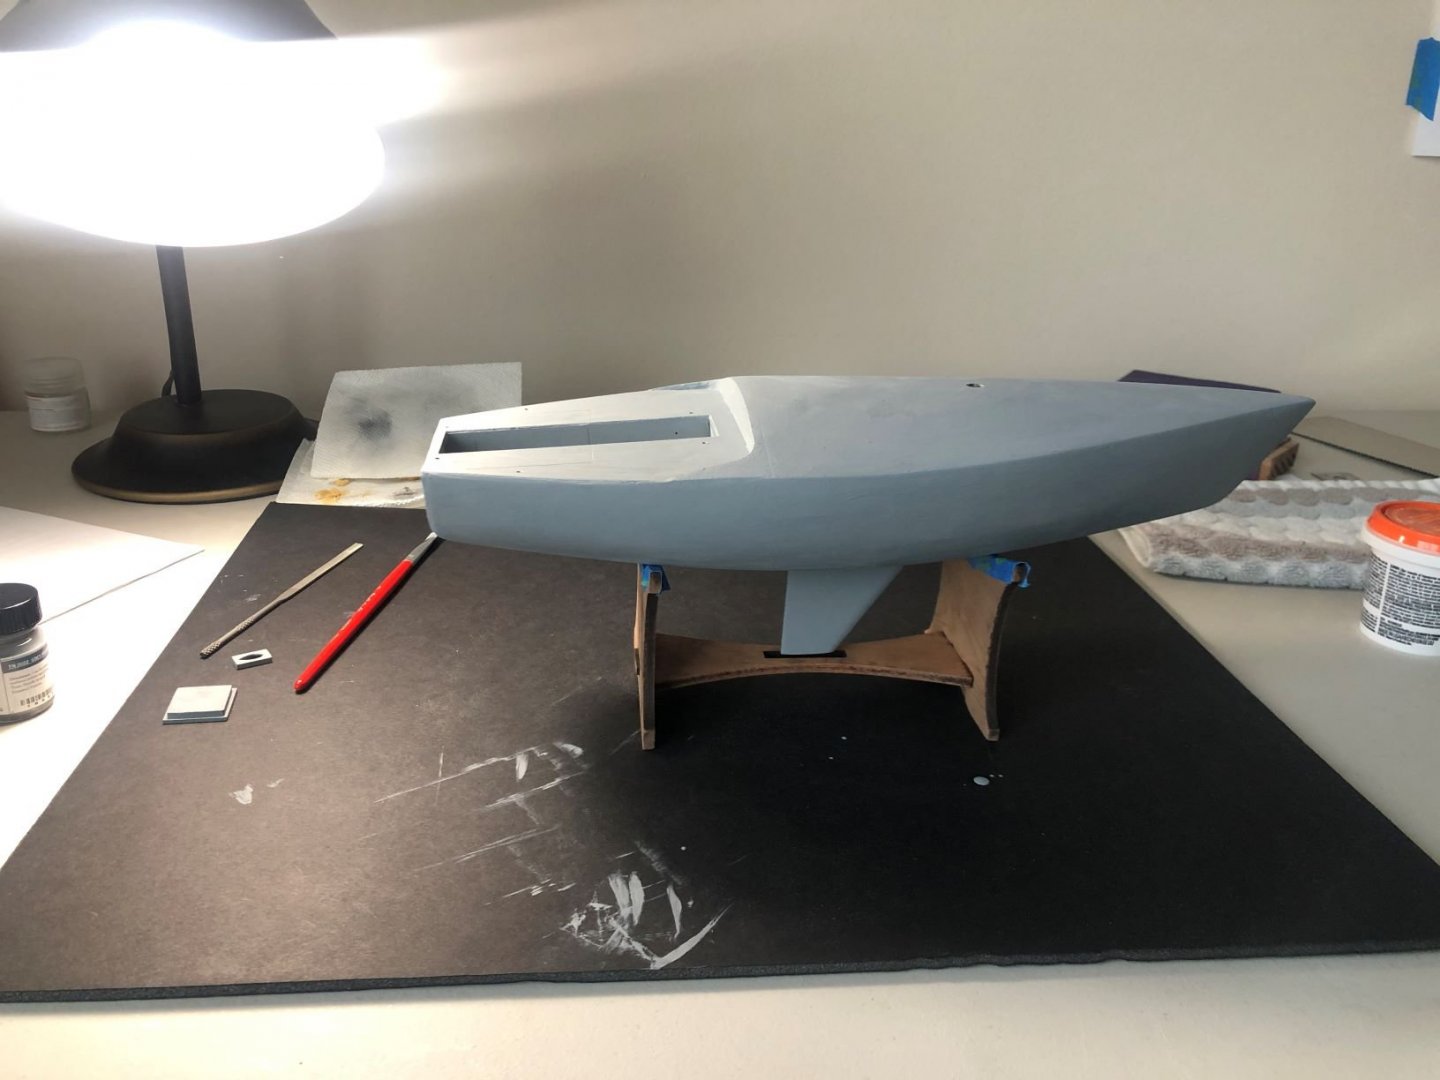
She's painted and looking pretty nice. Was a little worried about how this would turn out as I don't have a lot of painting experience and while the results are far from perfect they are good enough for who it's for :D. After getting the whole hull covered in primer the I sanded the primer smooth working all the way up to 1500 grit for that glossy fiberglass type feeling. I had originally planned to do two coats of primer but after sanding the first coat things were feeling smooth so the only place I did a second coat was in the cockpit and keel as these two were different pieces of wood and the grain will still showing through. Before painting there were a few more touches to the hull that had to be made, mainly adding the mast base and companion way top. The hull comes pre-drilled with a spot for the mast but I discovered that the airfoil shaped mast wouldn't fit in the round hole. Luckily there is a mast base that covers part of the hole, I did some modifications to enlarge the hole so that the mast fit before gluing the mast base on to hide my work. My other issue I ran into was fitting the companion way as this was a flat part and the deck is very rounded. I was able to make things work by sanding a slight hollow in the bottom of the piece and then bending it a little for the final fit. After a hastily constructed paint booth was made for my shower painting began and went fairly smooth. I think I sanded the primer a little too smooth as the first layer of white didn't want to stick very well but the second coat covered pretty nicely. I had a little struggle with taping off the waterline for the red portion of the hull and just ended up going off of how it looked more than any measurement so it's not perfect under close inspection but looks pretty nice otherwise. I also had a few spots where the tape peeled away between the first and second coats which caused a little bleeding so I might have to get a bottle of white paint to touch up those areas. At this point the paint is still a little soft, I'm hoping if I let it rest a little longer it will firm up a bit. The kit also came with a gloss coat that I'm assuming I should paint on there over top but right now the finish is already nice and shiny so I don't know how necessary this is. Any suggestions here would be helpful.


-
yvesvidal reacted to a post in a topic:
J/24 by Tactical Foredeck - BlueJacket Shipcrafters - 5/8":1'
-
gsdpic reacted to a post in a topic:
J/24 by Tactical Foredeck - BlueJacket Shipcrafters - 5/8":1'
-
Rach10199 reacted to a post in a topic:
J/24 by Tactical Foredeck - BlueJacket Shipcrafters - 5/8":1'
-
Rach10199 reacted to a post in a topic:
J/24 by Tactical Foredeck - BlueJacket Shipcrafters - 5/8":1'
-
As for actual sailing - My club has a bunch of one design fleets which the j/22s and j/24s race in (we could also join the PHRF fleet if we really wanted but why do that when there's one design). Last year was a little different due to covid but during our weeknight races all the fleets are raced at the same time with ~3min between each start so you might only be racing the 15-20 boats in your fleet but there are 100+ boats out on the water. It's a ton of fun. Like I said I'm usually racing a j/22 (or Laser on Dinghy night) but try to jump around to different boats just to get some variety into my sailing.
-
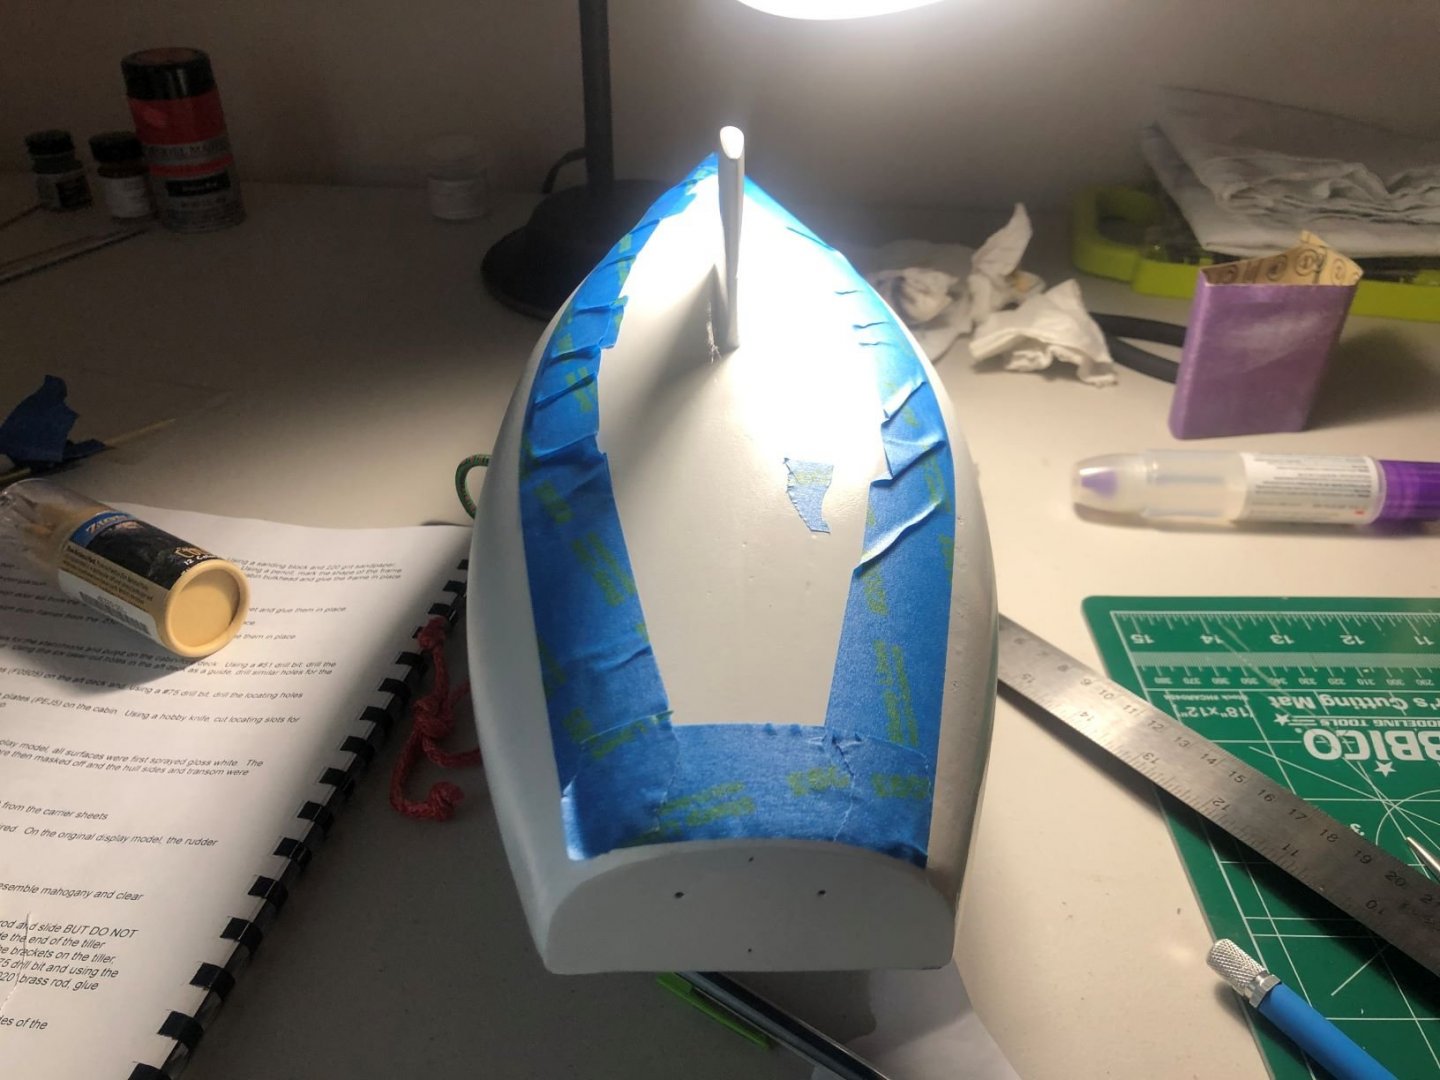
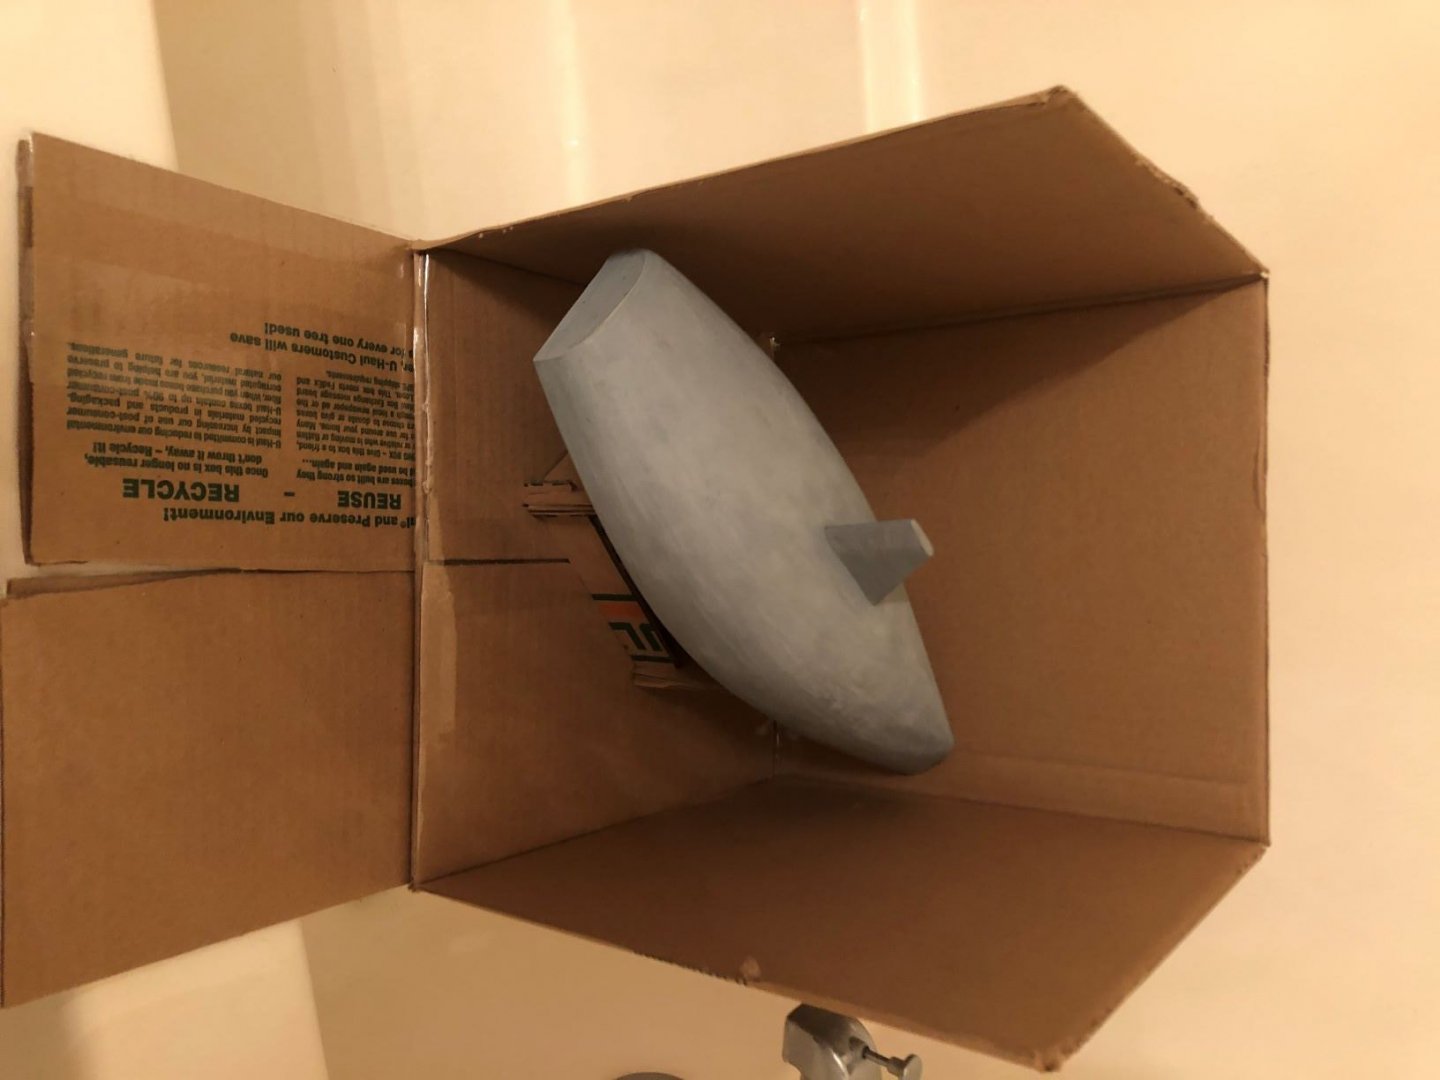
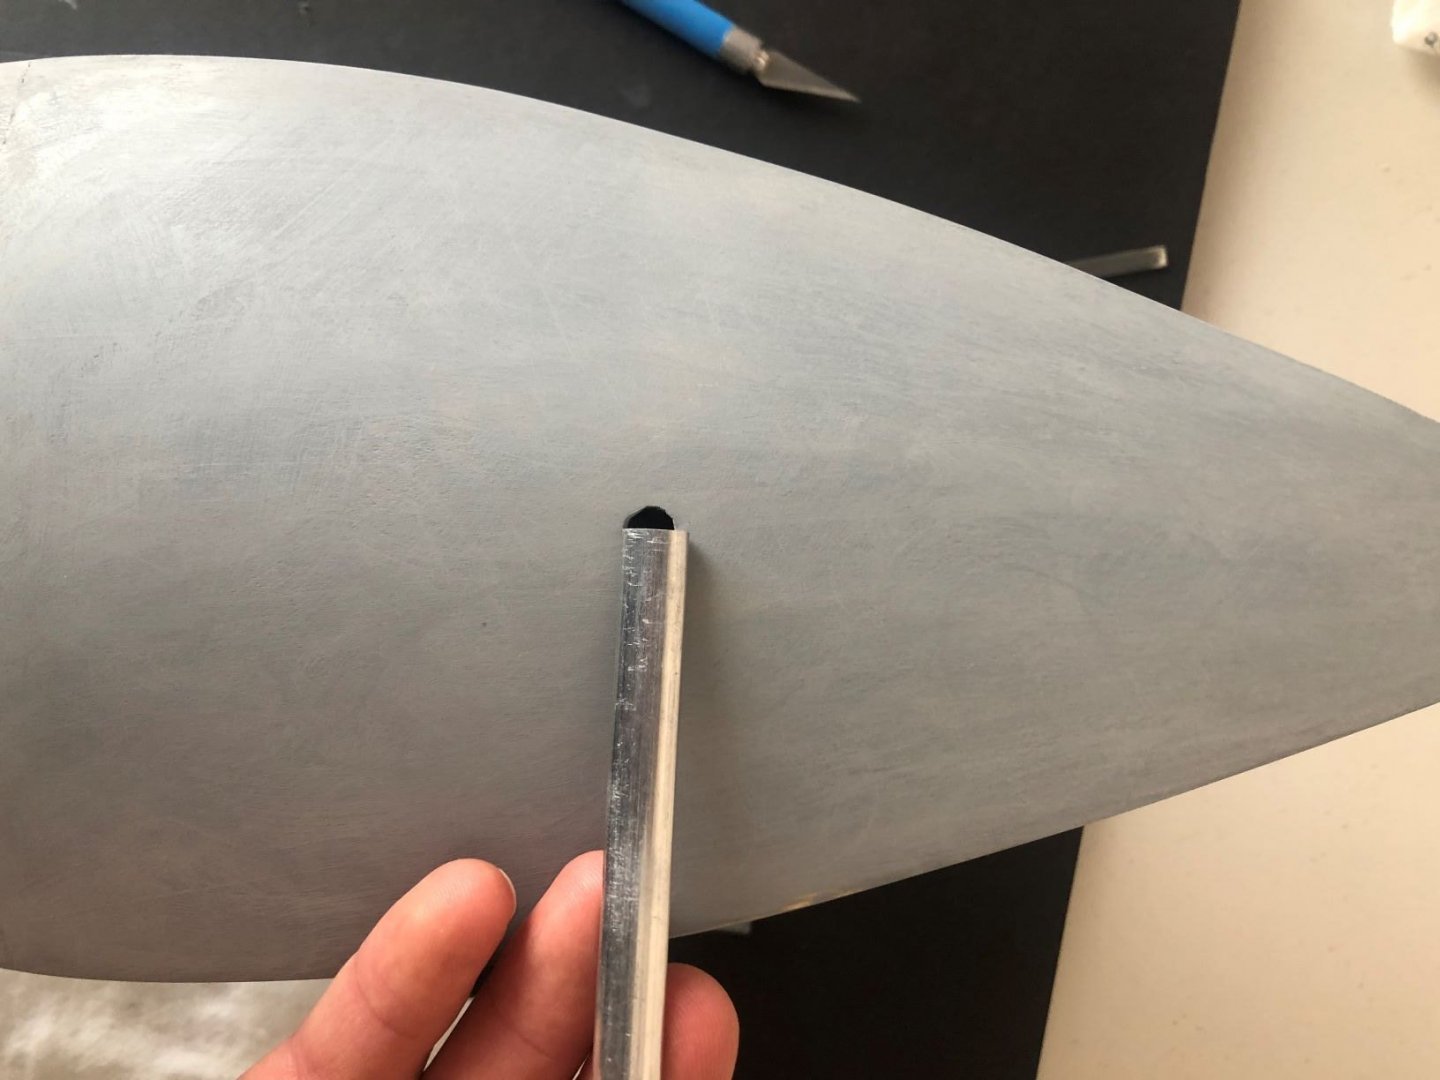
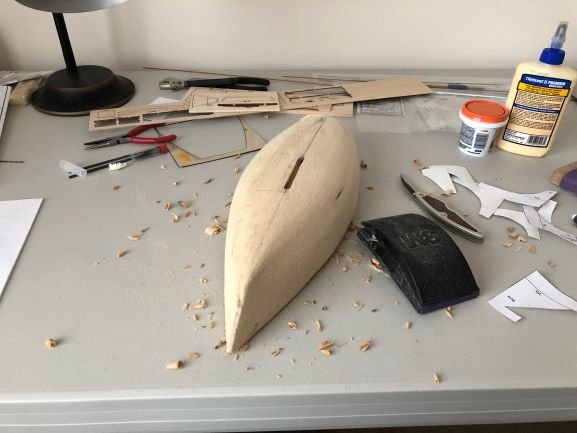
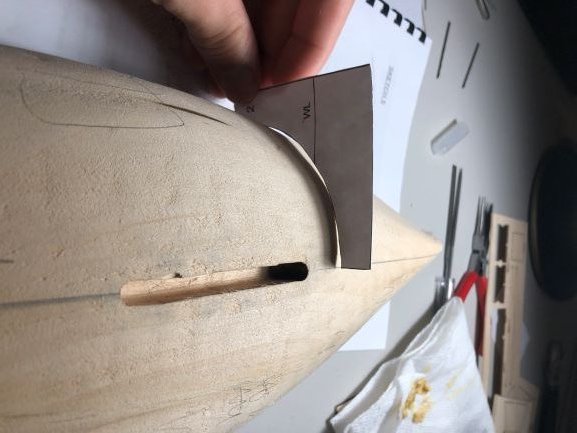
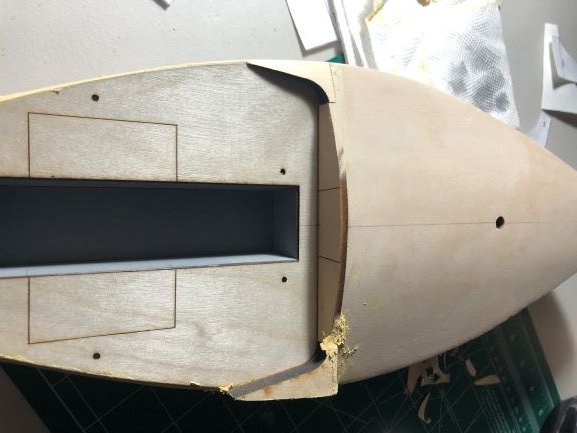
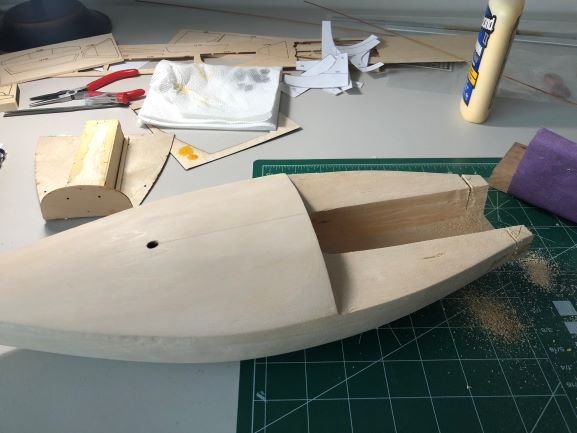
Weekend update: Slowly been working on the model this week which mostly involved me trying to figure out how to do things and not much actually progressing. Basically this week I finished shaping the hull and got a coat of primer over the whole thing. I ran into lots of little problems and questions over the week which in retrospect seem pretty easy but having never built a model like this before I had no idea where to start. Just little things like the best way to use the hull templates for getting it into the proper shape or how to mark the center line of the hull or what kind of paint thinner will actually clean my brush seem super easy now but caused some serious delay getting into it. The hull blank that comes with this kit is pretty close to the final shape but requires some trimming and shaping to get into paint ready condition. Starting out I was trying to get the hull to exactly fit the templates provided which was taking a lot of time (and effort as I didn't really know how to do it) and I eventually gave up a little as I realized having a 100% to scale hull shape was probably not going to be the most important thing in the end. My only big mistake during this process was I trimmed the transom a little too short and had to figure out how to shim/wood putty it back into the right length, pretty happy with the results as it's pretty hard to tell I made a mistake. I'm also finding out the lack of a dedicated workshop for this is a little bit of an issue as I have sanding dust everywhere right now even with my frequent vacuuming, just a price I have to pay I guess. I've got one more run into the hobby store for some kind of saw for cutting the thin aluminum tubes this kit uses because I found out using little wire cutters pinches the tube closed and kind of ruins the effect.

-
gsdpic reacted to a post in a topic:
J/24 by Tactical Foredeck - BlueJacket Shipcrafters - 5/8":1'
-
bhermann reacted to a post in a topic:
J/24 by Tactical Foredeck - BlueJacket Shipcrafters - 5/8":1'
-
yvesvidal reacted to a post in a topic:
J/24 by Tactical Foredeck - BlueJacket Shipcrafters - 5/8":1'
-
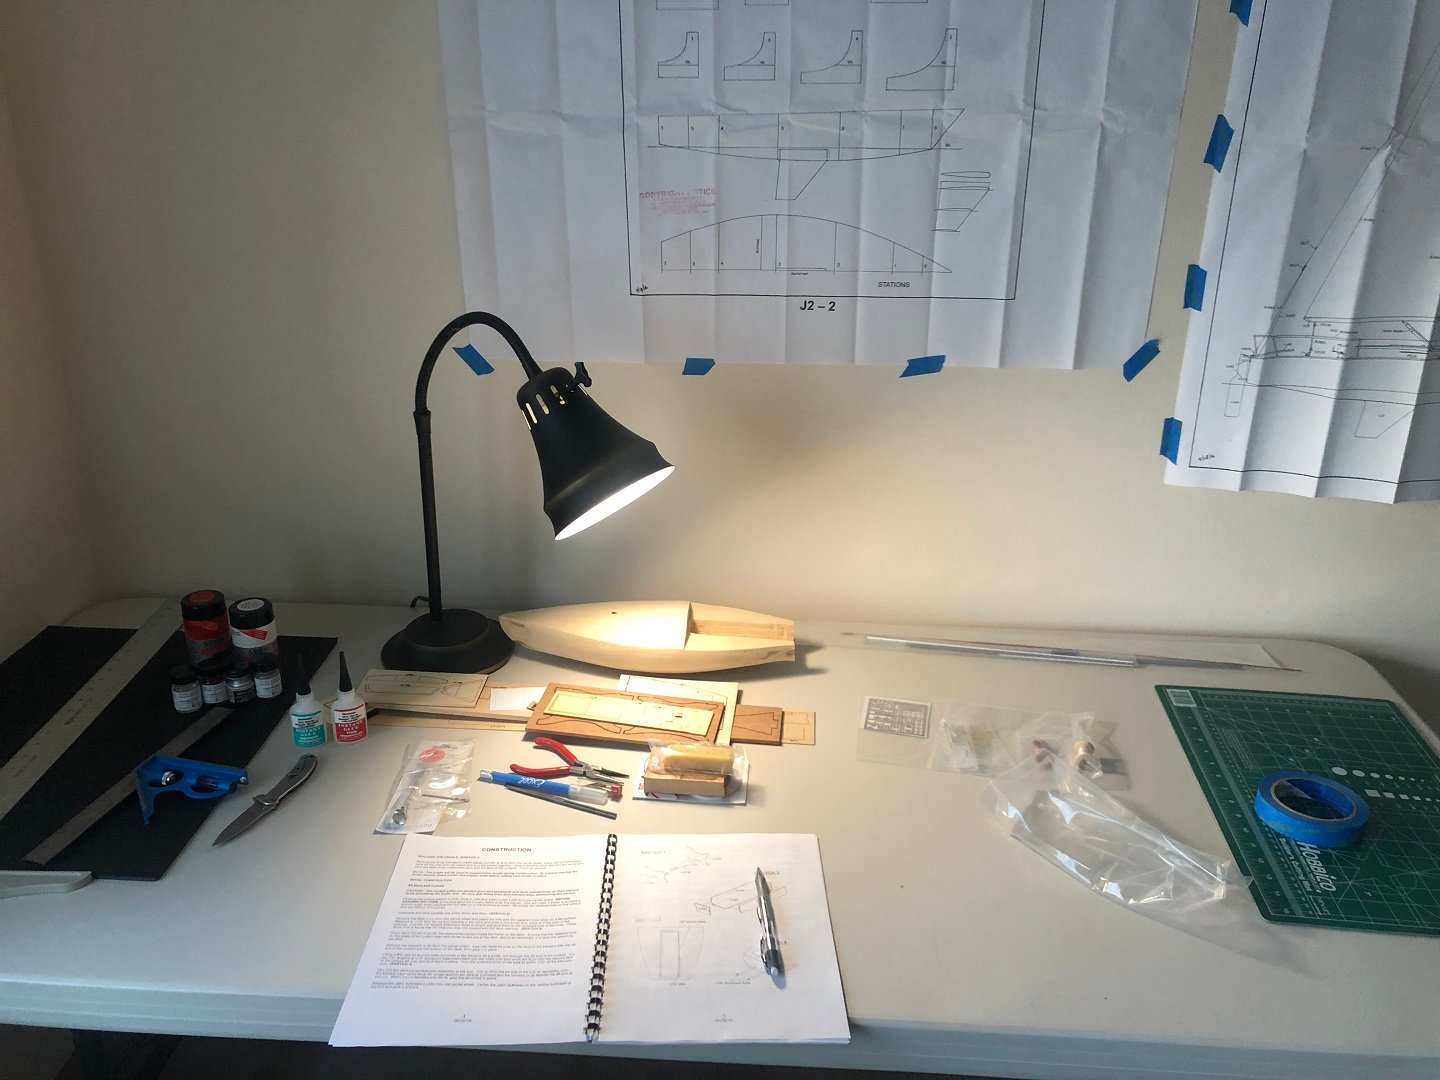
First time model builder here. Technically I've built some gundam models in the past but I don't really count those in the same category as what I'm beginning on here. I'm an avid sailboat racer and for my birthday I was gifted a J/24 made by BlueJacket. I sail on J/22s much more often but think the J/24 is still a fine looking boat and will be excited to have this on my self once it's complete. Opening the box was a little intimidating but after reading through the instructions most of it seems to be shaping the wood which doesn't worry me then rigging it like an actual sailboat which I have a lot of experience with. The one part that I'm a little worried about is the painting but figured I could put that off till the end (turns out I was wrong about this). After getting things organized on my table I started in with getting the included stand set up by sanding off the laser cut burnt edges which was much messier than I thought it would be (probably need to go back and stain this to give it a nice finished look). The next step was working on getting the cockpit area fleshed out, I didn't make it far as the parts need to be primed before assembly since they would be hard to access after the fact. Here was where I had to stop for the day as I don't have any paint brushes and don't fully understand how to use all the paints provided with the kit. Guess I'm going to be researching how to paint and running to the hobby store tomorrow before anything else gets done. Overall an enthusiastic but not super productive start to the model.