-
Posts
136 -
Joined
-
Last visited
About Capella
- Birthday 09/07/1967
Profile Information
-
Gender
Male
-
Location
Villard, Minnesota
-
Interests
Amateur Astronomy, camping, canoeing, and wood model ships, of course!
Recent Profile Visitors
-
 Capella reacted to a post in a topic:
HMS Beagle by Patrick - OcCre - 1/60
-
 Capella reacted to a post in a topic:
HMS Beagle by Capella - OcCre - 2nd build
-
 Capella reacted to a post in a topic:
HMS Beagle by Capella - OcCre - 2nd build
-
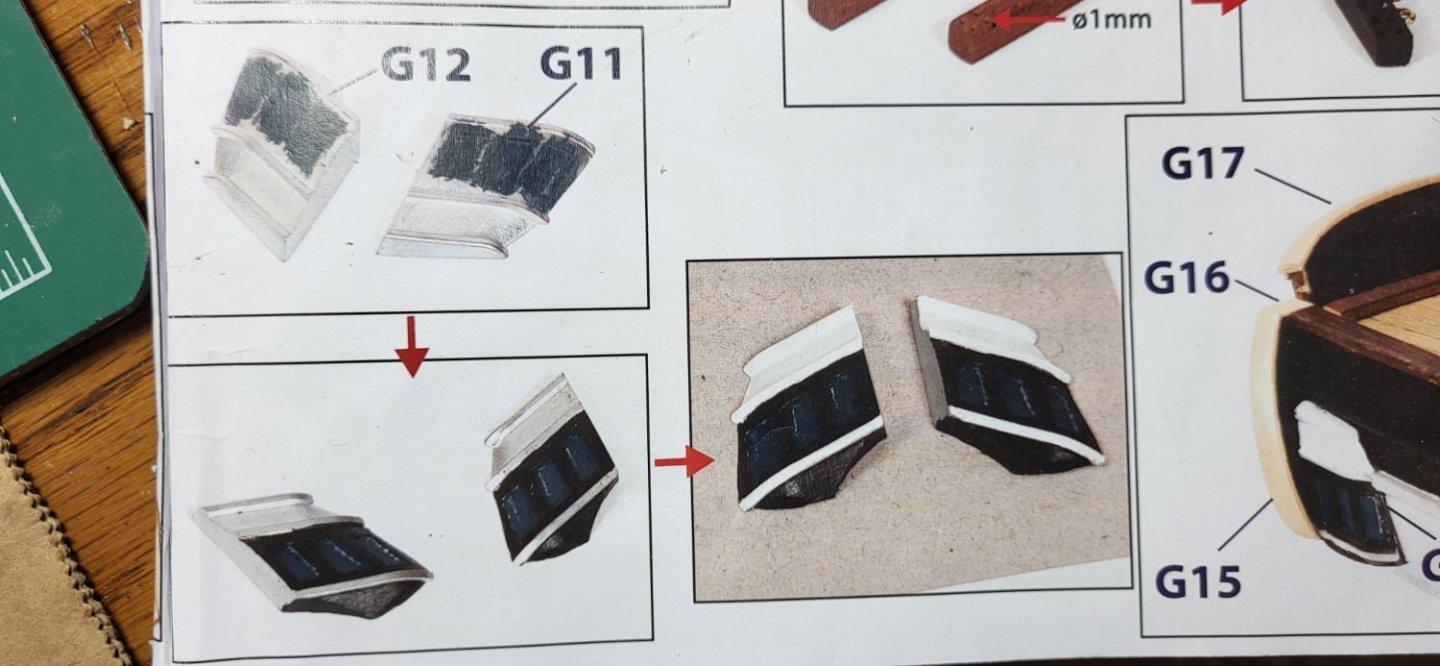
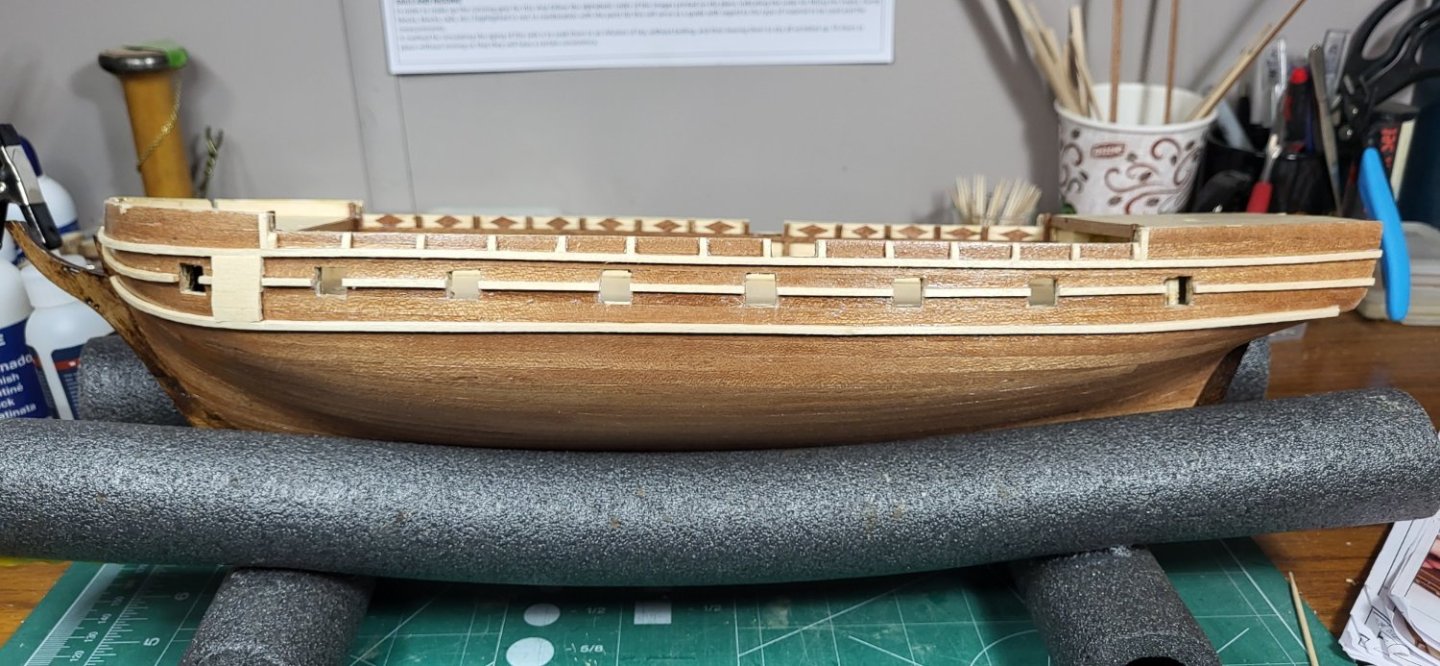
Hi, All No update to post yet. I've made more progress so far this weekend, but I'll post a progress update tomorrow. One thing I wanted to point out to anyone who hasn't done this build yet: the spacing for the vertical posts (chafing boards, I believe??). I wanted to ensure that the spacing was even along the length of the hull, so I ended up plotting it out on graph paper. Sorry for my crappy writing, but as you can see both forward and aft of the gap in the hull, the two end spaces are 1mm each wider than the spacing for the middle spaces - except for the port, forward section, which turned out to be 2mm longer than the corresponding section on the starboard side. Don't know how that happened, but I just compensated for that by adding 1mm to the two spacings towards the middle from the fore and aft ends on that side. Hope that helps someone. _________________________________________________________________________________________________________________________ Also, a question to those who have done page "G" in the plans. Specifically, the two pre-formed metal pieces that go on the aft of the ship and have windows on them. Looking very closely at the pics in the guide, the windows themselves look slightly "bluer" than the black surrounding them. I went through a lot of the Beagle build logs here, trying to find others' pics of those - or even any comments about doing those, but I wasn't too successful. I got the Occre paint set for the Beagle and don't seem to have any color that might make the windows slightly lighter, other than just painting them black. Suggestions on that, anyone? I mean, I wouldn't be terribly disappointed if I just ended up painting the windows black and moving on, but I thought I'd check first. Thanks! Capella
-
 Patrick B reacted to a post in a topic:
HMS Beagle by Capella - OcCre - 2nd build
-
 RobTBay reacted to a post in a topic:
HMS Beagle by Capella - OcCre - 2nd build
-
 usedtosail reacted to a post in a topic:
HMS Beagle by Capella - OcCre - 2nd build
-
 The Gimps Chimp reacted to a post in a topic:
HMS Beagle by Capella - OcCre - 2nd build
-
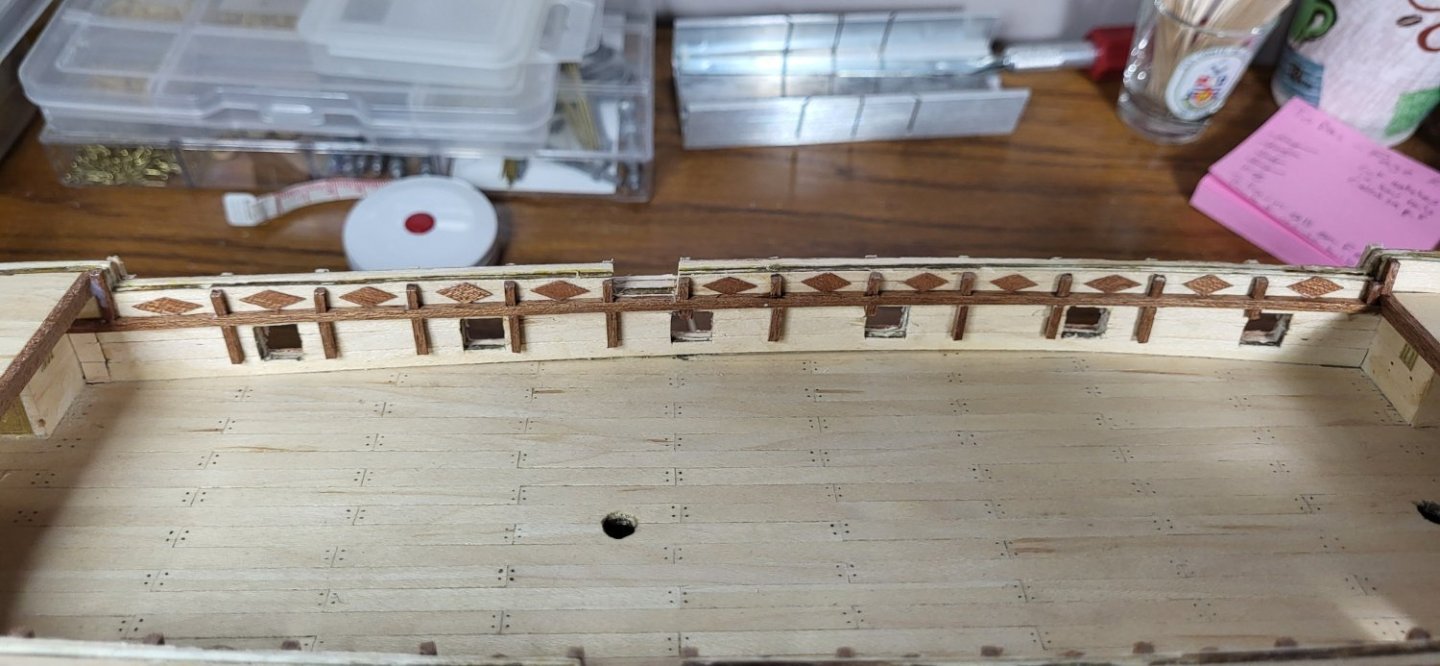
Well, as I knew, once I got past the hull, progress would pick up. I finished the hull and started on the strakes and inside "pretties": I gotta tell you, cutting those diamond-shaped pieces to all match was a challenge - for me, at least. But, I know they'll be covered up and hidden by a lot of other stuff going on as things get added to the deck and rails. Currently, I'm painting the hull and rails. I'll probably post updates on that this weekend. Until then... Capella
-
 Capella reacted to a post in a topic:
HMS Beagle by Capella - OcCre - 2nd build
-
 Patrick B reacted to a post in a topic:
HMS Beagle by Capella - OcCre - 2nd build
-
 RossR reacted to a post in a topic:
HMS Beagle by Capella - OcCre - 2nd build
-
 The Gimps Chimp reacted to a post in a topic:
HMS Beagle by Capella - OcCre - 2nd build
-
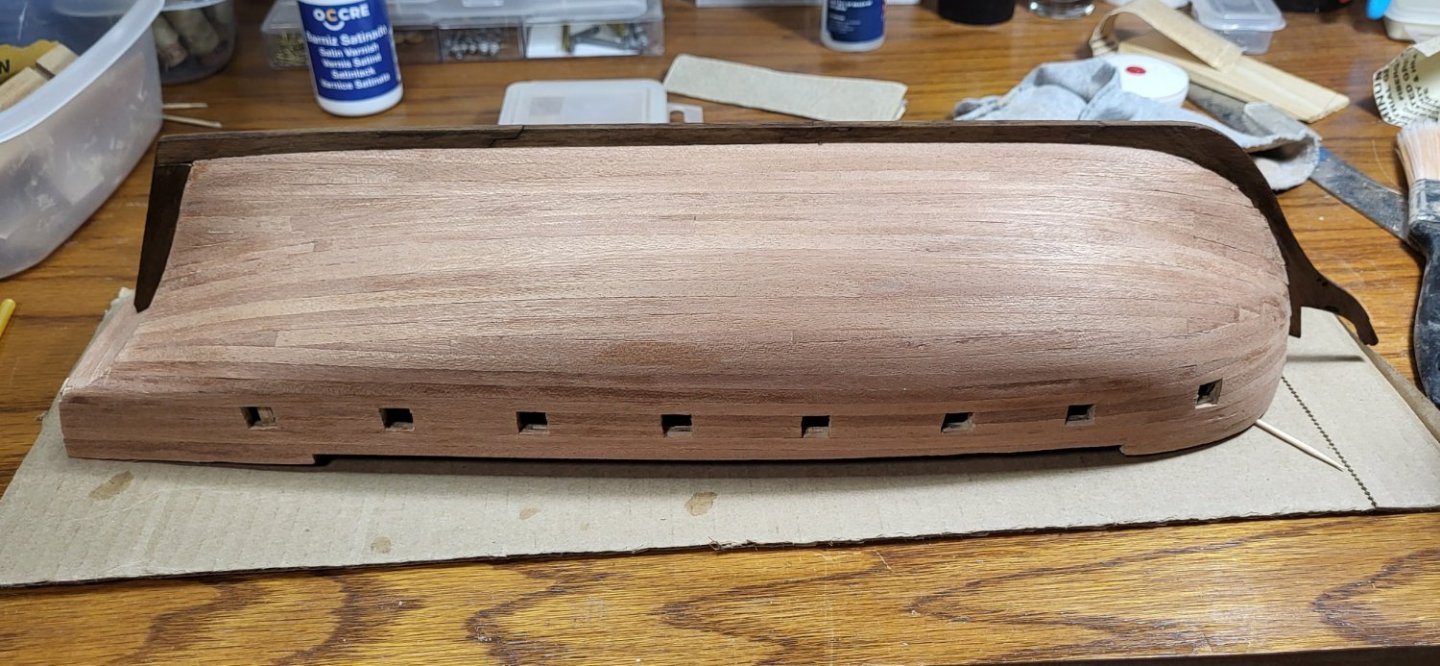
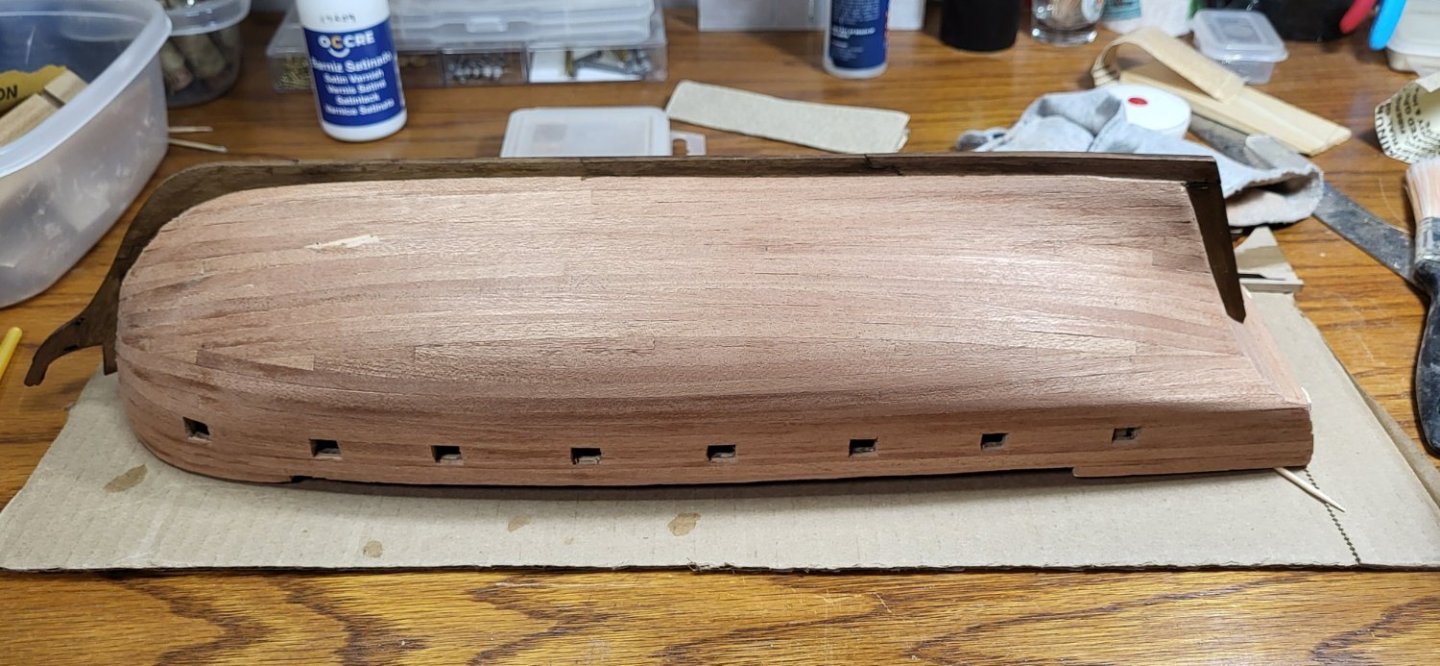
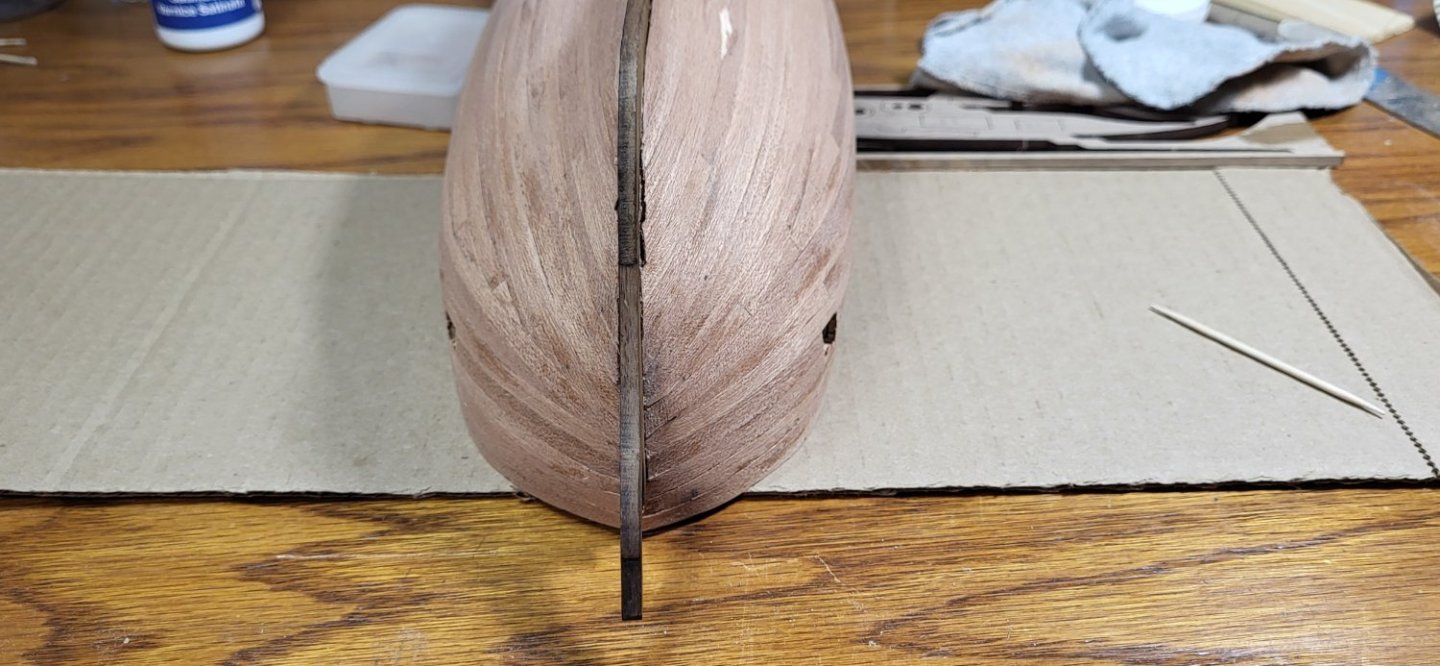
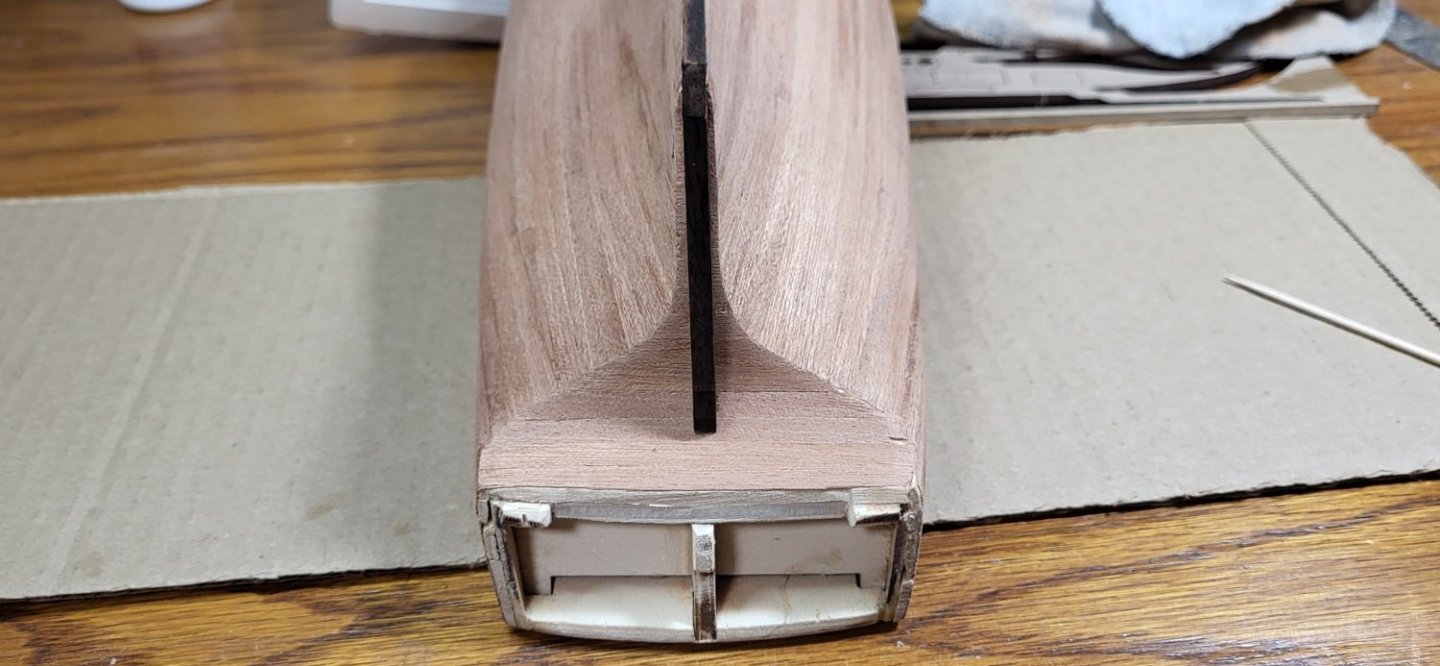
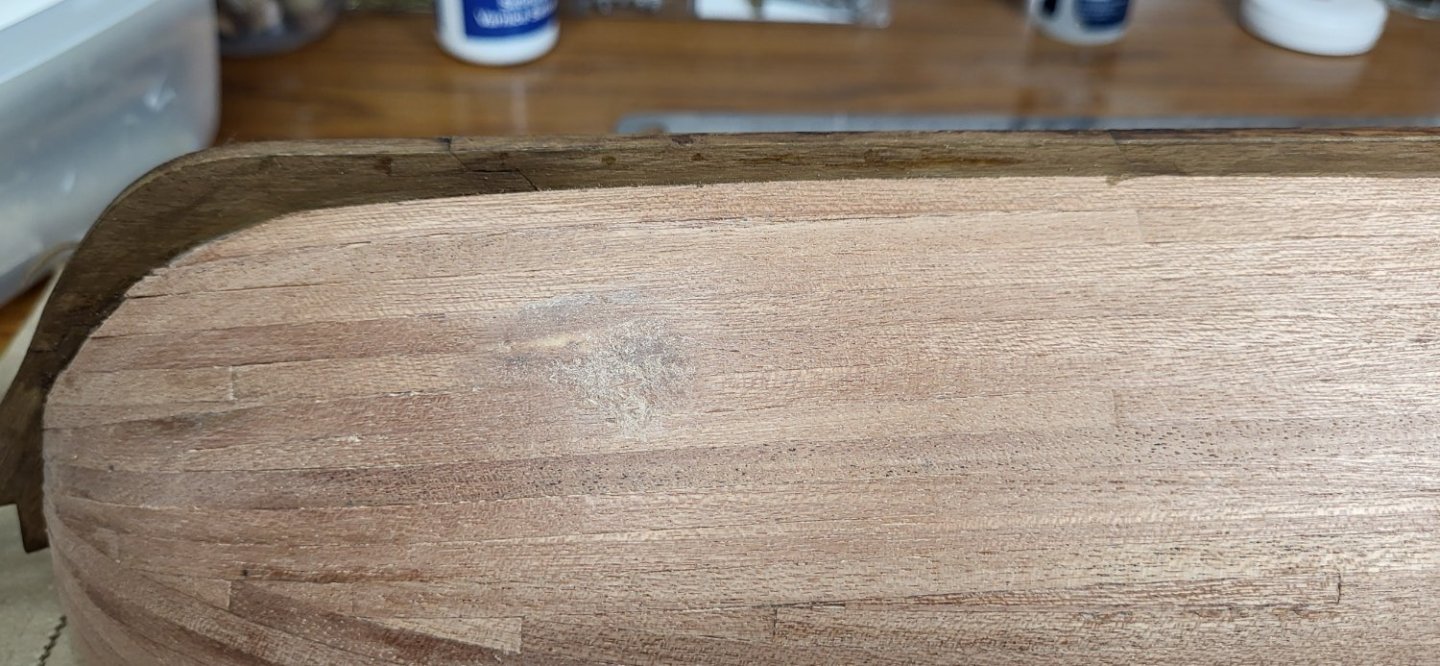
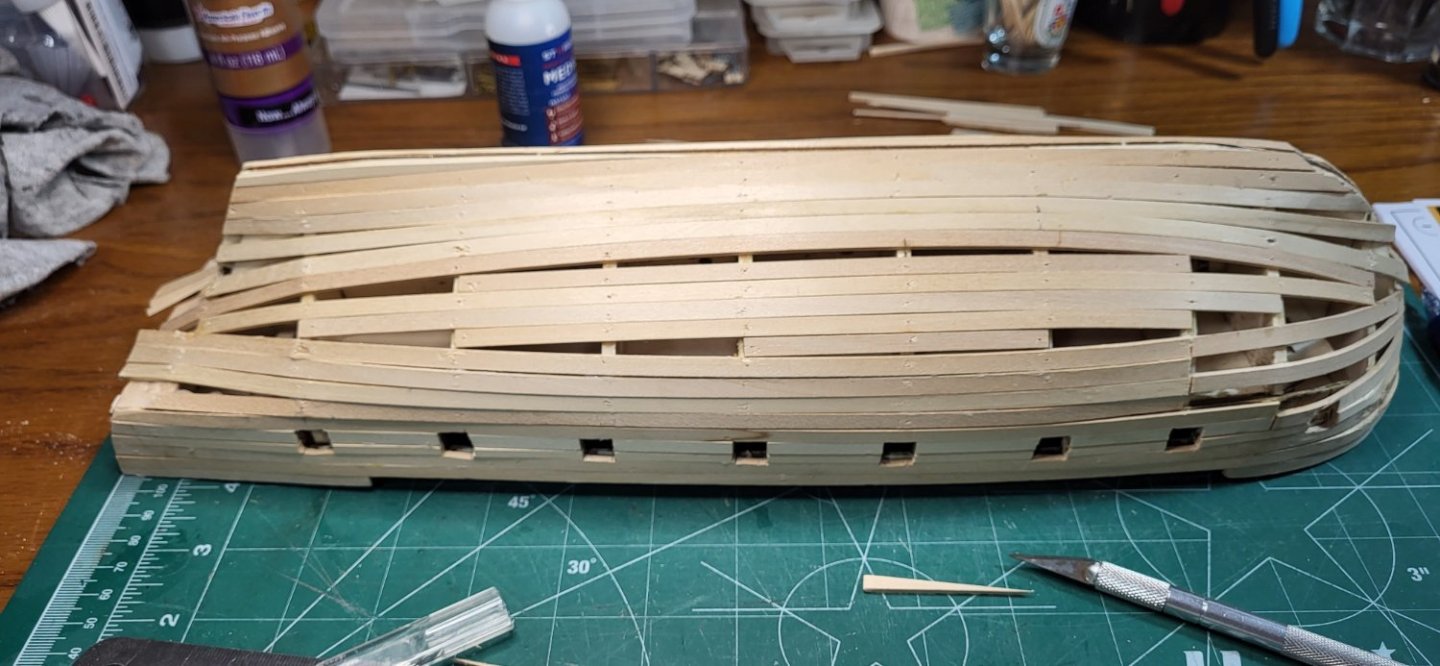
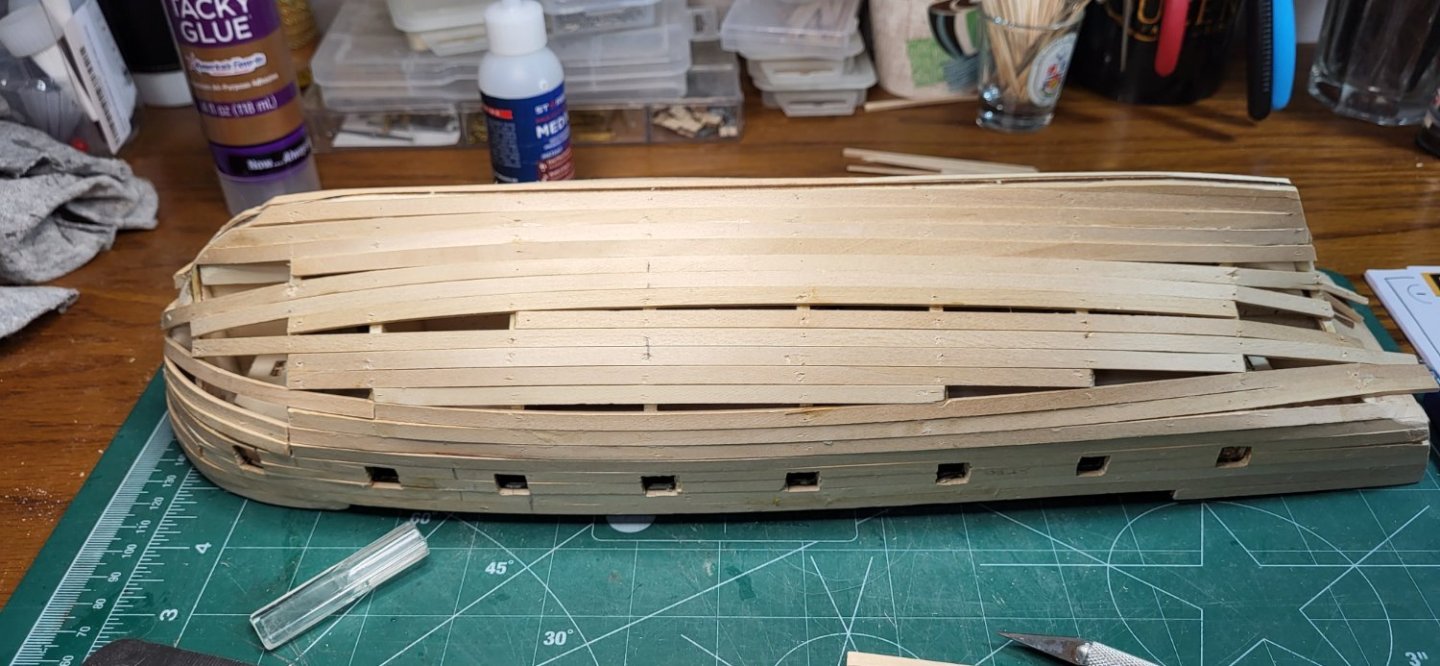
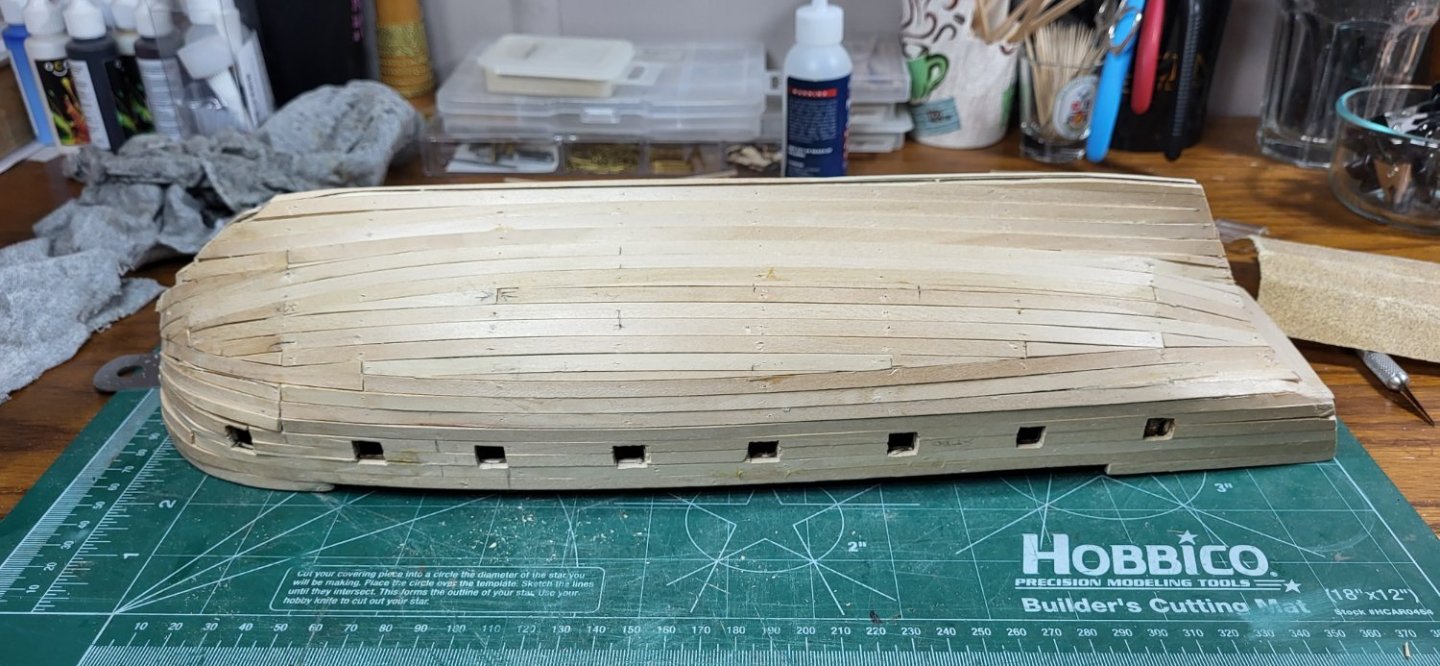
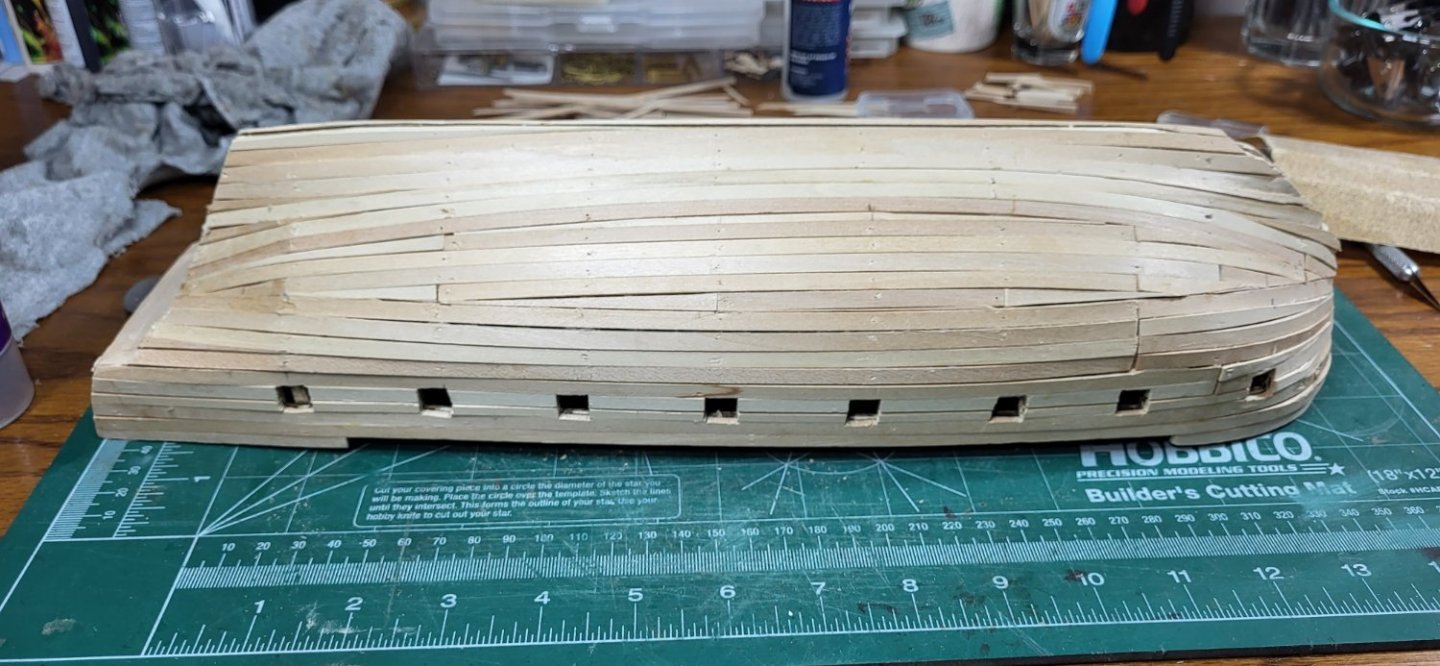
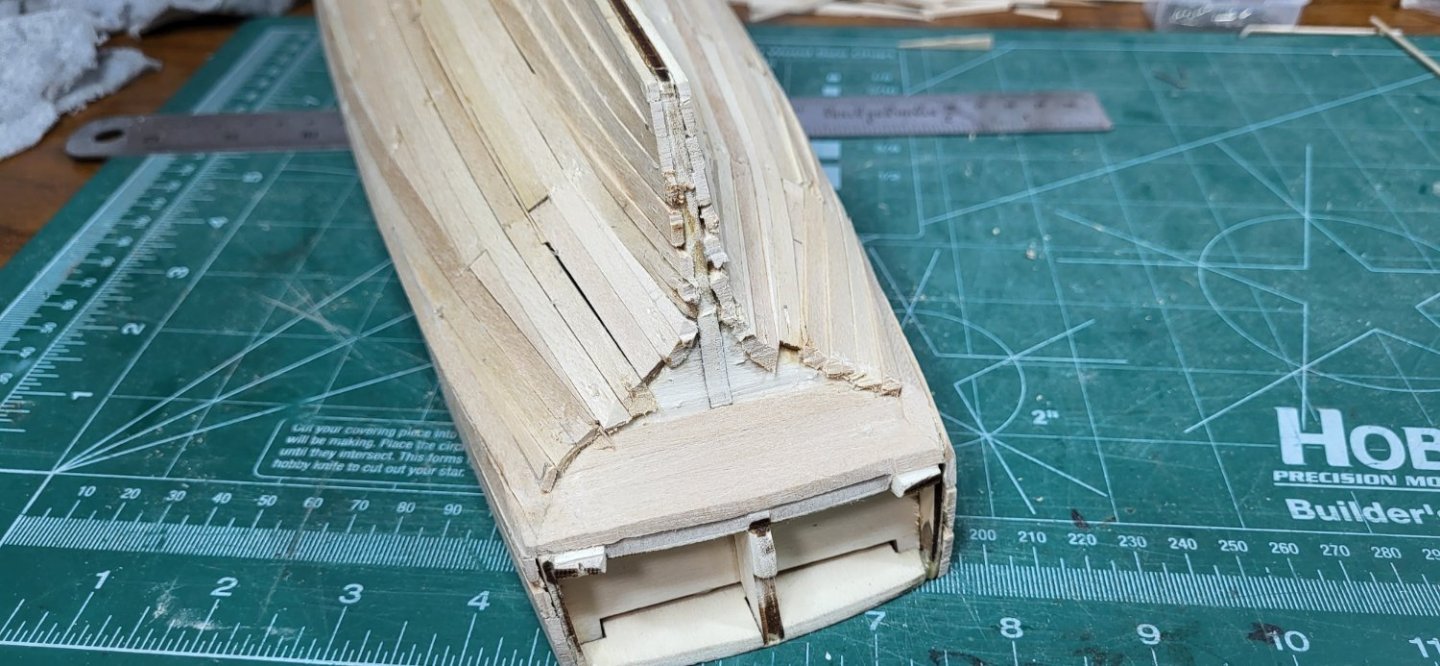
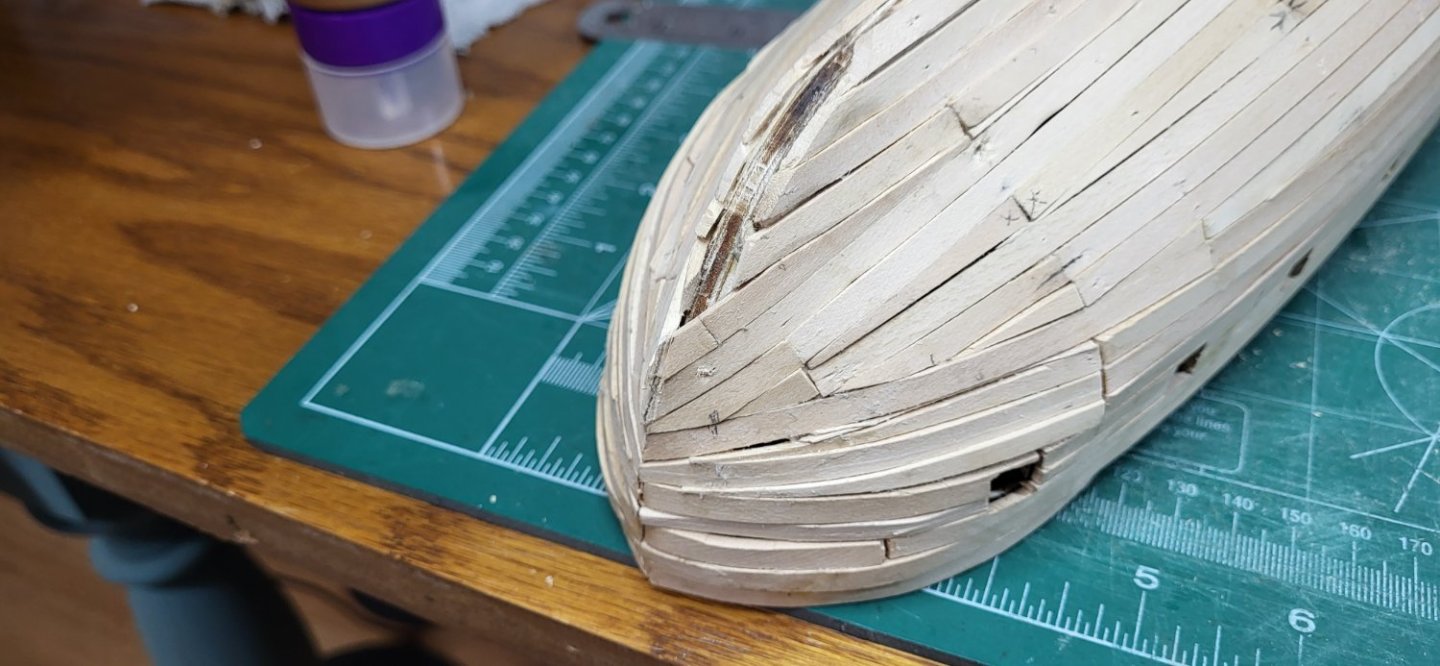
It's been a while since I last posted an update, but as you'll see, I have not been idle on my ship! In my last post I had finished laying the first layer planks and smeared the hull with wood filler. Well, I've made quite a bit of progress since then: These pictures were taken after I had finished final sanding of the 2nd layer. You may have noticed in the 1st and 4th pictures the "blemish" near the forward keel of the port1` hull. The light part is planking from the 1st layer showing. I don't remember how exactly that happened, but it was exposed during my 2nd pass on sanding. Unfortunately, I don't recall in which thread I saw it, but I remembered coming across a post here at the MSW forums in which someone explained having a similar situation and he mostly fixed it by mixing sawdust with a bit of glue. Thinking about that, while sanding the hull I kept all of the sawdust. I then mixed a few of drops of PVA glue with a good amount of sawdust. It got pretty pasty, but I thought (hoped, really) it was workable. The mix was kinda gunky while spreading it on the spot, but I made sure to have enough on there to cover it and then some. I gave it a good few hours to dry. After re-sanding that area, here's what it looks like now: Not great, but better. If anyone asks, I'll just tell them the ship hit some rocks and they had to repair the hull! 😉 Anywho. That's it for now. Next step is to put a satin finish on the hull and move on. 'Till next time...
-
 Patrick B reacted to a post in a topic:
HMS Beagle by Capella - OcCre - 2nd build
-
 The Gimps Chimp reacted to a post in a topic:
HMS Beagle by Capella - OcCre - 2nd build
-
 RossR reacted to a post in a topic:
HMS Beagle by Capella - OcCre - 2nd build
-
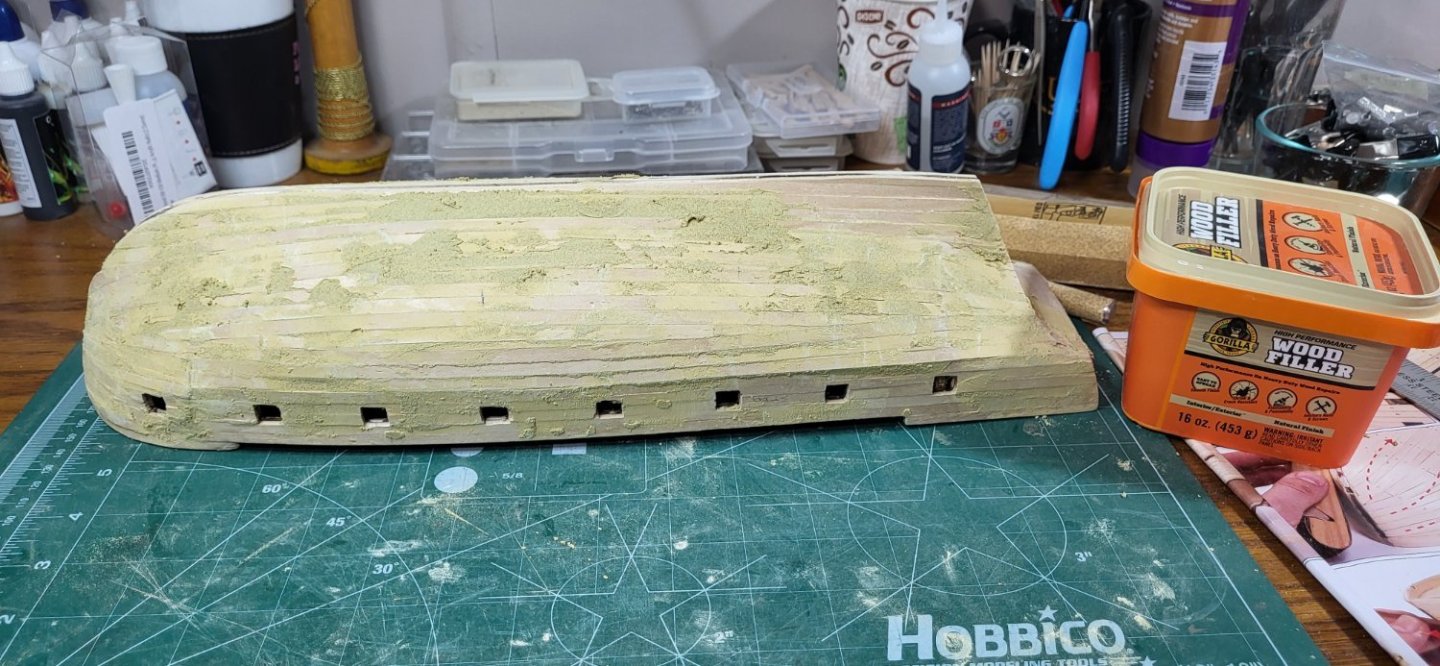
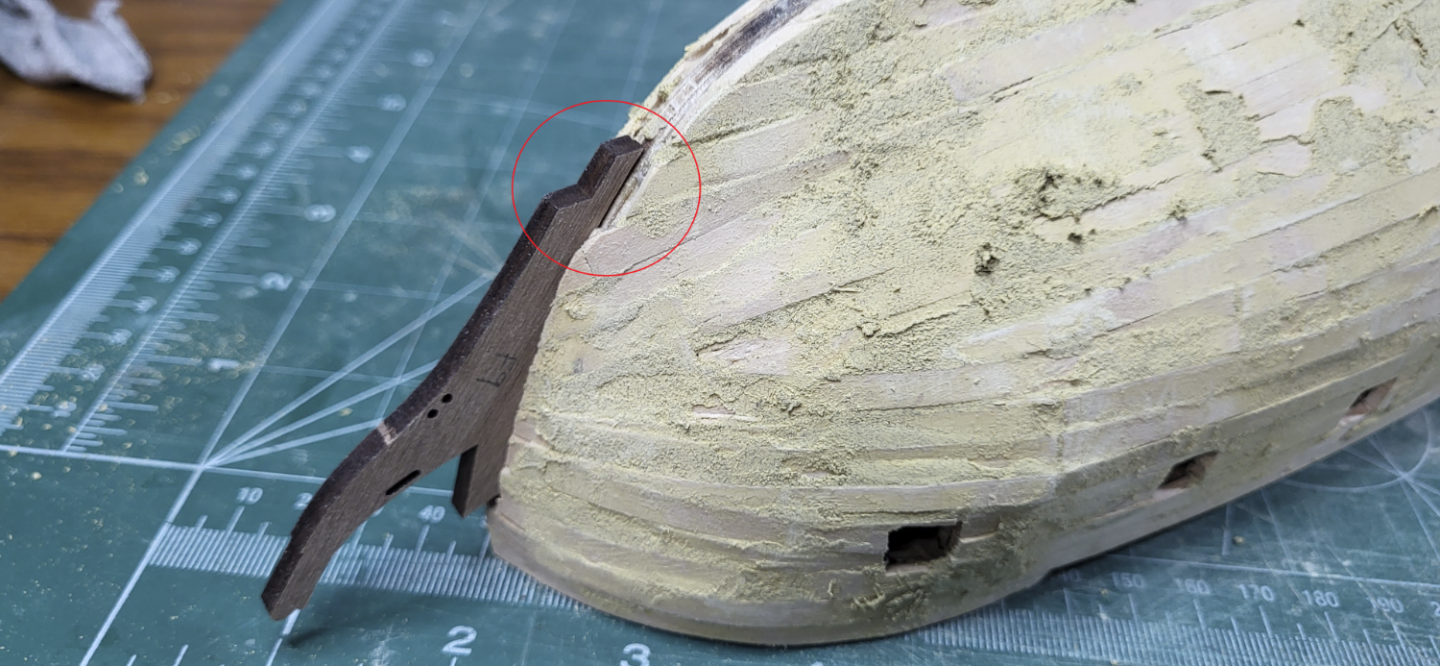
Okay - wood filler is done (I think). I included the wood filler I used in the picture, as I know I'm always curious what materials and tools people use. Next, obviously, is sanding. I just finished the filler, so I'm going to let that sit for a few hours. One thing I'm not clear on is how the planks are supposed to meet the keel at the bow. In the below picture you can see that I placed the bow piece temporarily to illustrate how I planked the hull, such that the planks meet up with the sides of the piece. Hopefully the circled area in my picture clearly illustrates what I did and what I mean. That is how it seems to me to be in the instructions pictures, but looking at a few pictures of that area in various build logs, how people did that area seems to vary slightly from one build to another. My question is, should I sand down the 1st layer planks at the bow to meet with the keel itself - thereby exposing the "base" of that bow piece, then plank the second layer to meet with the sides of that bow piece, or should I leave it as is? Or is that even not really a critical detail? Till next time! Capella
-
 Capella reacted to a post in a topic:
HMS Beagle by Capella - OcCre - 2nd build
-
 Capella reacted to a post in a topic:
HMS Beagle by Capella - OcCre - 2nd build
-
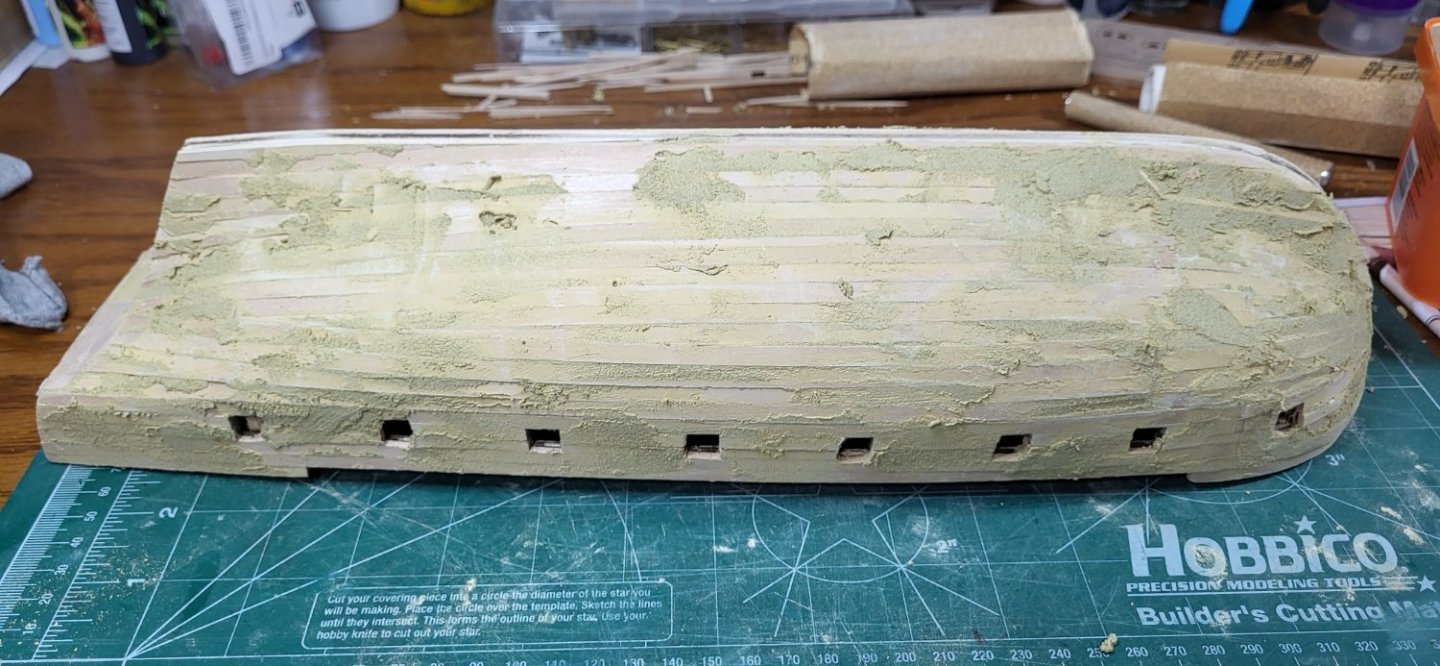
Okay - I'm back! In my last post (#80), I had torn off the mess that I made of the bow hull. Here's what the hull looked like yesterday after redoing that and planking the rest of the hull: I spent yesterday and this morning filling in all of the gaps in prep for filling (wood filler) and sanding. Here's where I'm at now: So, my next step is to properly shape the planks to meet with the keel on the bottom, the transom, and each other on the bow. As you can see, I'm not adverse to using copious amounts of wood filler to get a nice smooth surface for the second planking! As always, any tips and/or suggestions will be greatly appreciated! That's all for now. Till my next update... Capella
-
 Capella reacted to a post in a topic:
HMS Beagle by Patrick - OcCre - 1/60
-
 Capella reacted to a post in a topic:
HMS Beagle by The Gimps Chimp - FINISHED - OcCre - 1:60
-
Looking great, @The Gimps Chimp! I took a few liberties with the small boats, myself. Seems to be common practice. The weather is starting to turn towards Fall here in Minnesota, so I'll be getting back to my Beagle soon, myself. Keep up the great work!
-
 Capella reacted to a post in a topic:
HMS Beagle by The Gimps Chimp - FINISHED - OcCre - 1:60
-
 Capella reacted to a post in a topic:
HMS Beagle by The Gimps Chimp - FINISHED - OcCre - 1:60
-
Hey, @Patrick Bt (I'm posting this on my phone, so, sorry if the "@patrick b" looks weird. It came out weird for me.) Thanks so much for checking in! That's very kind of you. We Minnesotans have a short summer, so we tackle the time with gusto. As such, the "shipyard" gets shut down for the season, and I'm out going to the cabin, going on canoe outings, doing yard work, etc. I'll probably be picking up the project again in another month or so. I did make some progress from my last post back in March, so when I sit down again to work on it, I'll give a full update on my progress and how I plan to tackle my re-do of the mess on the bow. Until then, thanks again!
-
Looks GREAT, @Patrick B Mine will definitely need plenty of filling and sanding when I'm done with the first layer. I saw the benefits of a pin/nail pusher early on, so I ordered one from Micro-Mark, but it's been on backorder for nearly two months now 😕 Your first layer experience is definitely what I (and many others) strive for!
-
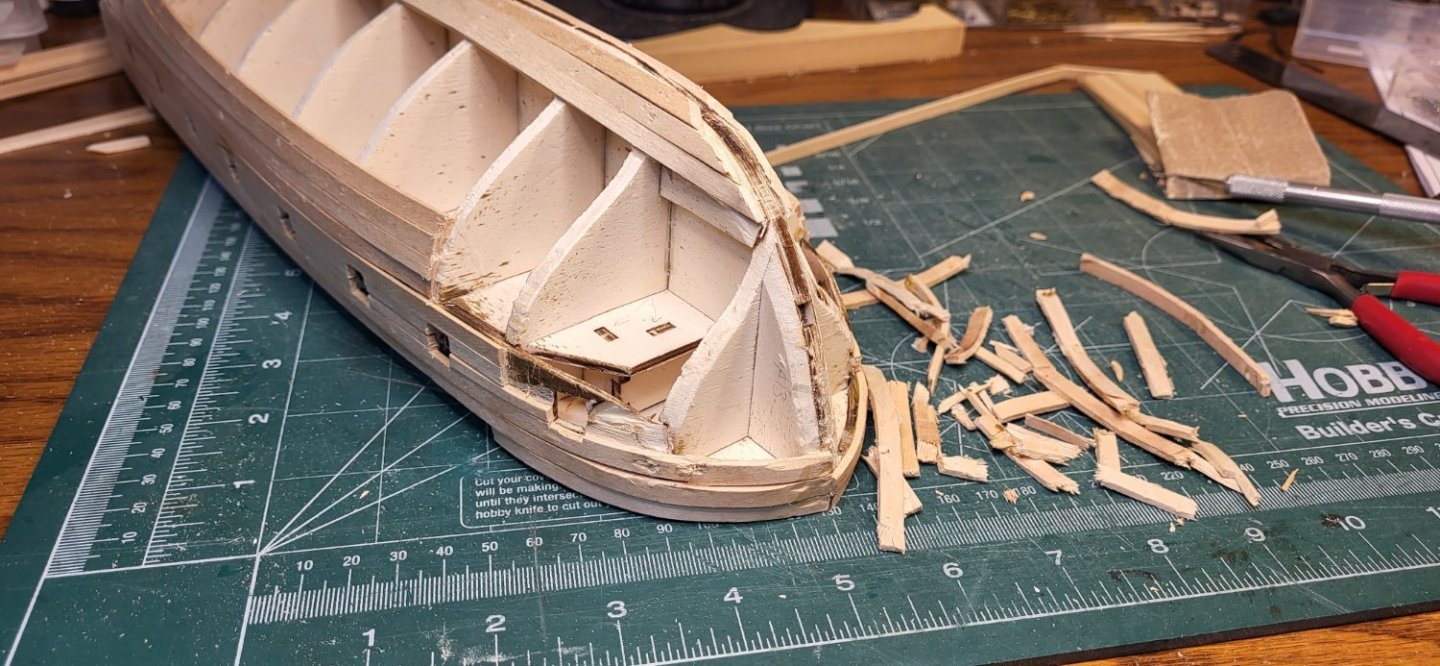
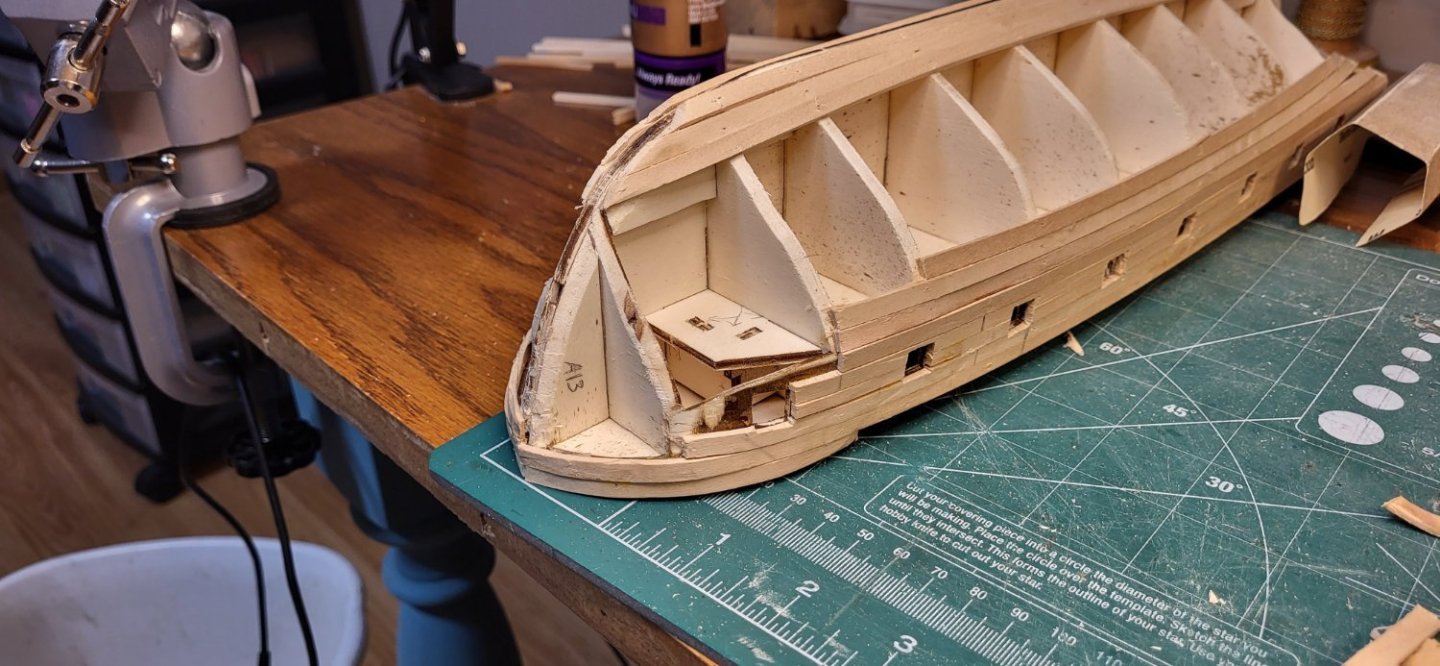
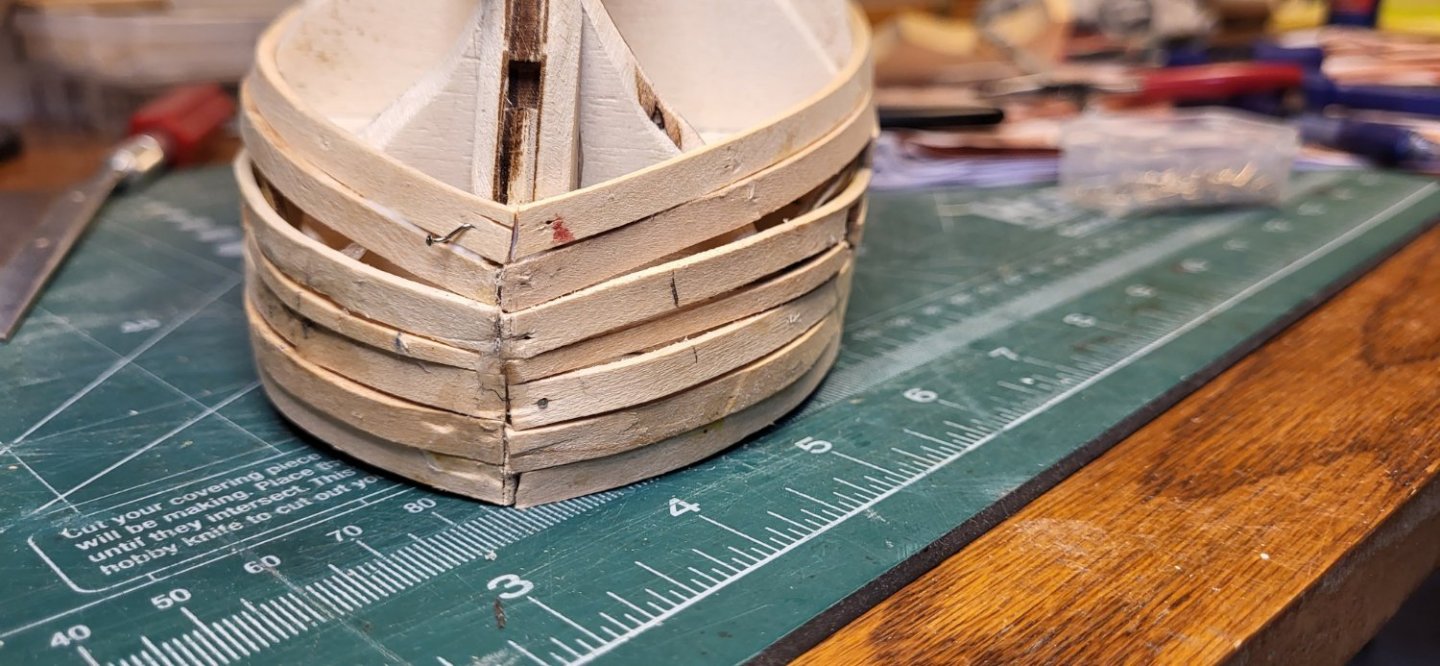
It's been a few weeks since my last post. Partially due to life getting in the way but also largely because the thought of having to re-do a bunch of work was kind of a bummer so I have been putting it off. But it's Saturday and there's a blizzard out here in Central Minnesota. A great day to fix my mess of a hull. First, you guys have been great with your encouragements and suggestions. Thanks so much to everyone! So, in my last post (#73) I posted some images of the bow and asked for suggestions. I decided that I would pull/cut off the offending parts of the bow and re-do them. Here's an image from that post: And here are a couple of pics of the aftermath of that process: I made sure I left good surfaces to lay the planks and paid attention to how the curvature of the bulkheads will affect how I need to lay the planks. Wish me luck! P.S. I've been keeping up with my contemporary Beagle builders, @Patrick B @Penfold and others. Very fun to see what I have to look forward to!
-
While waiting for some glue to dry (I'm on my first planking on my Beagle) I was looking ahead in the instructions and noticed that too. I don't get why they have to spend the effort on shaping them and then painting over them. But, as you said, it's in the instructions, so I guess that's how I'll do it!
About us
Modelshipworld - Advancing Ship Modeling through Research
SSL Secured
Your security is important for us so this Website is SSL-Secured
NRG Mailing Address
Nautical Research Guild
237 South Lincoln Street
Westmont IL, 60559-1917
Model Ship World ® and the MSW logo are Registered Trademarks, and belong to the Nautical Research Guild (United States Patent and Trademark Office: No. 6,929,264 & No. 6,929,274, registered Dec. 20, 2022)
Helpful Links
About the NRG
If you enjoy building ship models that are historically accurate as well as beautiful, then The Nautical Research Guild (NRG) is just right for you.
The Guild is a non-profit educational organization whose mission is to “Advance Ship Modeling Through Research”. We provide support to our members in their efforts to raise the quality of their model ships.
The Nautical Research Guild has published our world-renowned quarterly magazine, The Nautical Research Journal, since 1955. The pages of the Journal are full of articles by accomplished ship modelers who show you how they create those exquisite details on their models, and by maritime historians who show you the correct details to build. The Journal is available in both print and digital editions. Go to the NRG web site (www.thenrg.org) to download a complimentary digital copy of the Journal. The NRG also publishes plan sets, books and compilations of back issues of the Journal and the former Ships in Scale and Model Ship Builder magazines.


