Avi
Members-
Posts
262 -
Joined
-
Last visited
Content Type
Profiles
Forums
Gallery
Events
Everything posted by Avi
-
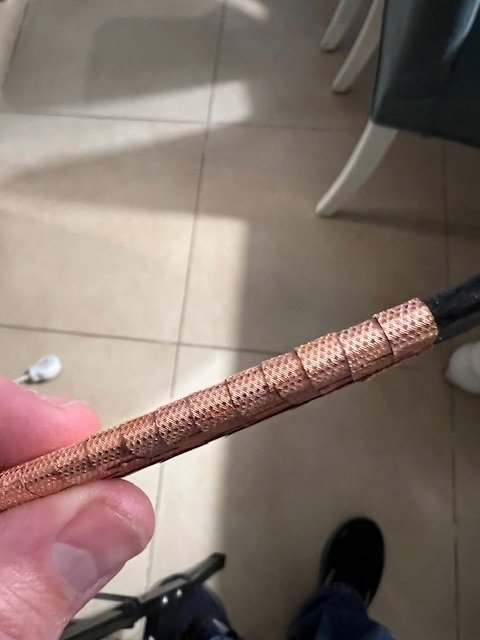
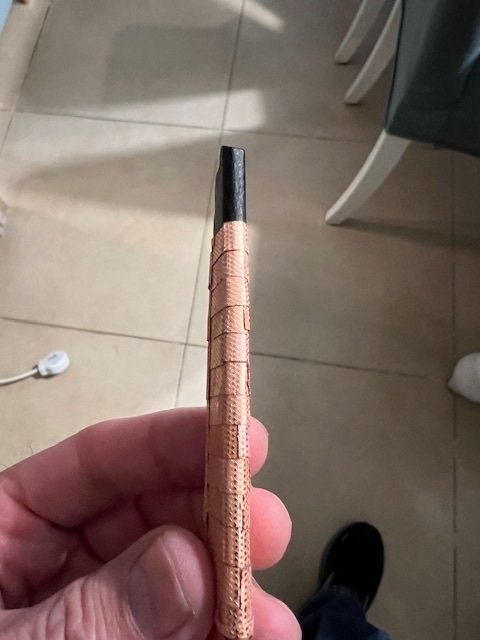
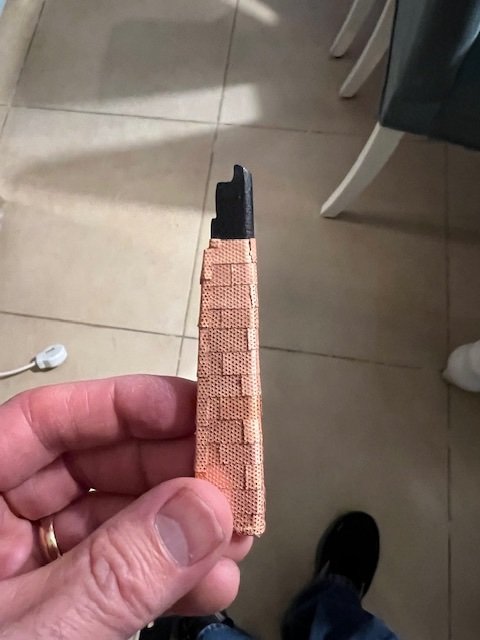
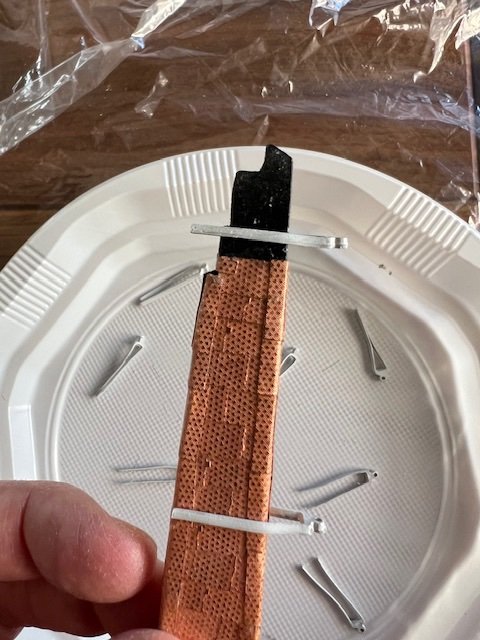
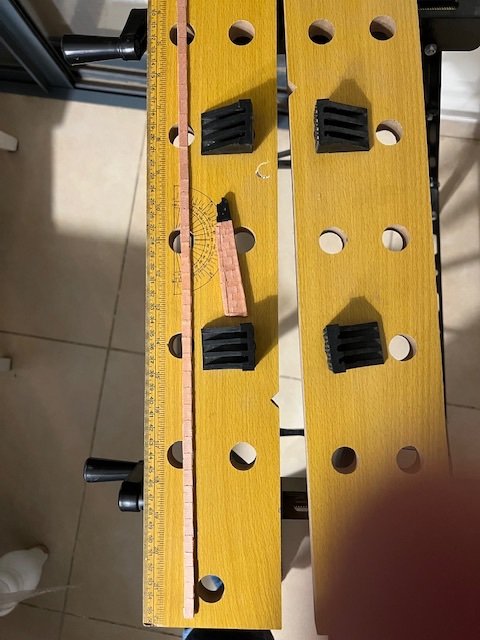
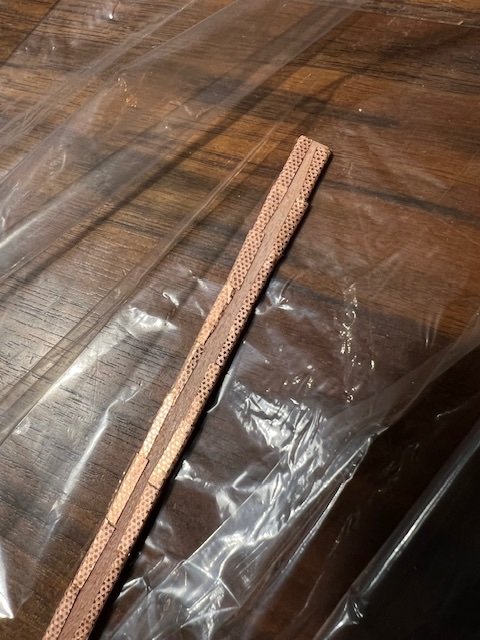
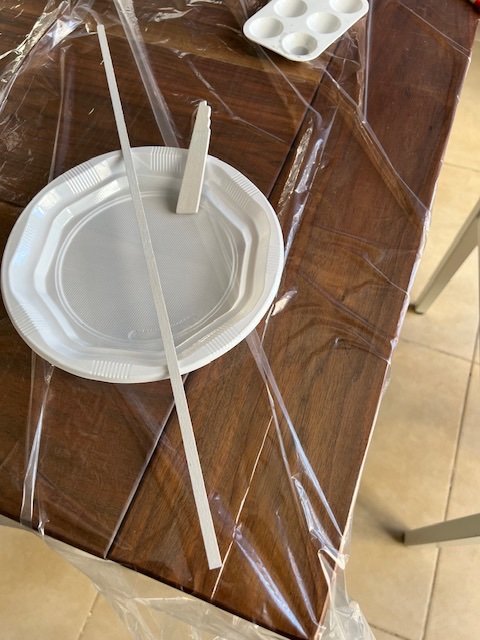
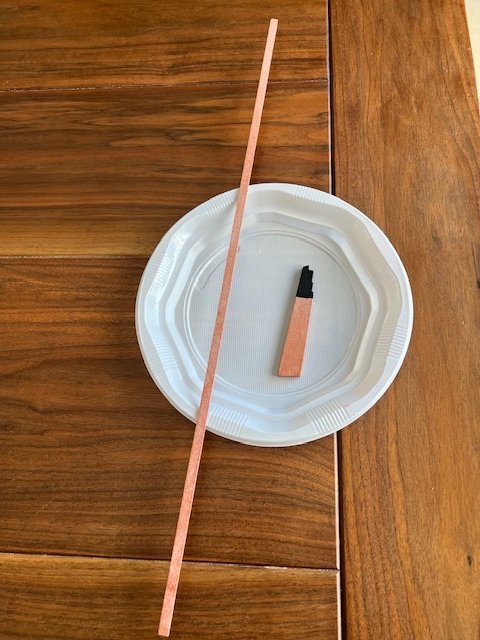
Redid the rudder. Used an iron to heat up the copper, removed all the plates, cut my finger (optional), sanded it down, then sanded a curve, primed, painted, and applied new copper. Giving it a day, then will wax and varnish. Bluejacket is sending me replacement gudgeons and pintles of the correct width, but they will not arrive for a few weeks.
-
That’s a fair point, unless there were a large enough gap between rudder and sternpost, which would not be great for the fluid mechanics. The picture from the museum shows it. Even rounding it won’t help much, without some serious tapering. Those gudgeons and pintles are ⅛”, the wood stock for the rudder is 5/32”, add the copper and it’s up to 7/32”. I’m somewhat perturbed that the guide didn’t say anything about rounding. It’s obvious once someone smart like @Gregory says it, but not before that 🤦♂️ I would like to get that rounding in anyways. But even if I do, I need gudgeons and pintles with wider spacing in the gap. I’ll have to get from bluejacket. As for the rounding, I could remove the leading edge copper plates, and then either add material or sand it down. Anyone remember how to remove contact cement? 😁
-
I probably read that at some point or another, as I read every build log that might help. I must have forgotten. I’ll just have to get those. Thanks @JSGerson if anyone comes across this in the future, here’s the link https://www.bluejacketinc.com/shop/fittings/under-water/gudgeons-and-pintles/f0852-1-4-to-fit-rudder-thickness/ item F0852
-
Ok I primed them and will paint soon. Never a boring moment. Despite the promises of the book, the gudgeons are too narrow to fit over the coppered sternpost and hull, and same for the pintles over the coppered rudder. Oops. I’m not quite sure what to do here. The metal is soft, so I try to shape it, but I’m more concerned I’ll snap the pieces off.
-
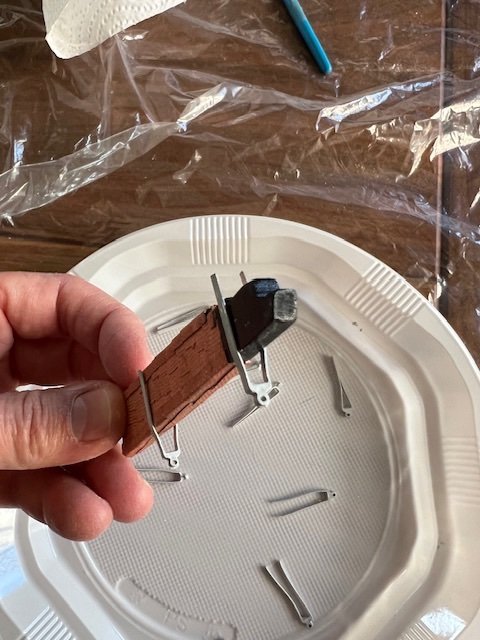
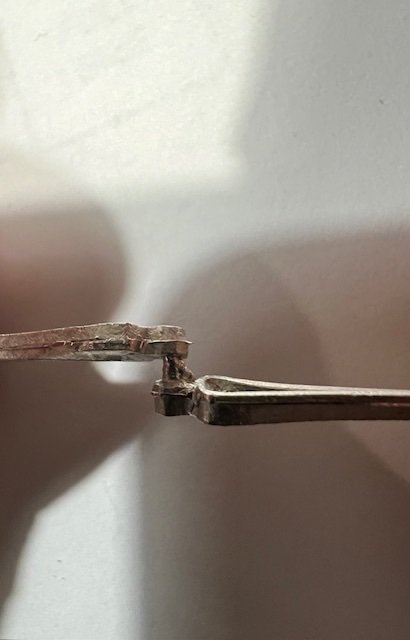
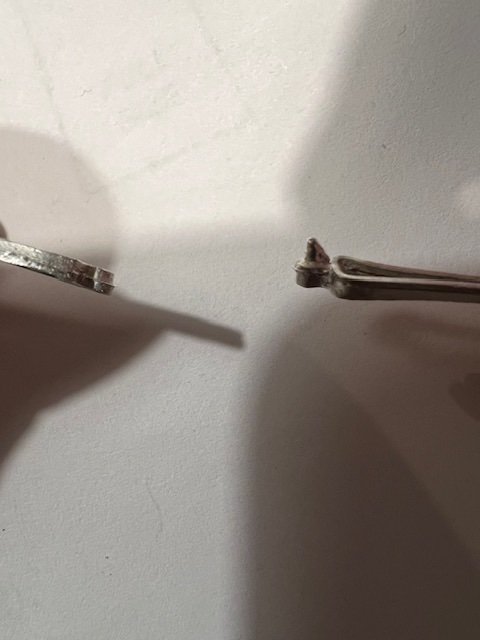
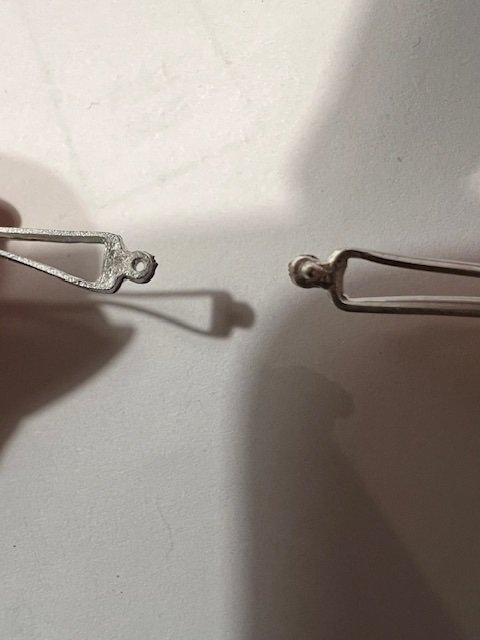
Hard to believe it has been two months since I posted. Life has been a wee bit busy here. Before I start on the gundeck, I’m going to place the gudgeons and pintles (my phone keeps trying to auto correct those 😂) The book recommends not shipping the rudder permanently yet, but to wait until some of the harder work on decks and masts is done, since the rudder is fragile, which makes sense. I ran I into two issues. First, the gudgeons and pintles are of that metal. Should they be finished or painted in some way? Second, I don’t understand how you attach the rudder to the sternpost, or more correctly, the pintles to the gudgeons. There are holes in the pintles, which the guide suggest running a stiff wire through for alignment. But the gudgeons have more a triangle than a post on them. It isn’t something you can set the holes from the pintles onto. I could put the gudgeons in with them facing down, and then just glue the pintles to the gudgeons, but then it would have no motion. I guess I also could carefully trim down the triangles to a post with a file? Not sure. Pictures attached.
-
Ok I am a bit frustrated. With the planks, I was able to smooth them down, especially at the edges, with sanding. I did it lightly, to keep some texture, but it worked. Obviously I cannot “sand” copper plates. They also are thinner and are metal, so there are sharper “edges and corners” that can get caught on something over time. No matter how good a job I may (or may not) have done in applying them with cement, there’s some edge or corner on many that won’t be 100% flush. While the wax did a good job sealing and protecting each copper plate itself, my hope was that the varnish would create something like a sheath over it. A few coats, a few hours drying in between, and I would end up with that protected smoother surface (“sheath”). That didn’t happen. I didn’t skimp on the varnish, but I didn’t get what I was hoping for. I can continue building, but I’m concerned about the fragility of the plates and their ability to get caught and yanked off. Open to suggestions.
-
Two coats of wax on all of the copper - about 10 plates needed to be reinforced or remove and recemented - but waxing is done. Next is varnish. I’m sure the wax provides more than enough protection, but the sheer “pointiness” and “edginess” of the plates means something is going to get stuck on an edge or corner and yank a plate off, or bend it, no matter how long it’s been there. A few coats of varnish will provide a thin layer of sealant, like a tight raincoat or wetsuit, on the whole thing.
-
And coppering is complete! Picture of the rudder and false keel. The fully coppered side you see of the false keel is the bottom side. I didn’t fully copper the side facing the keel, as that will be attached anyways. Next steps, I plan to go through the ship and strengthen any plates that need it. Then I’ll wax (2-3 coats), varnish (2-3 coats), and attach false keel and plank. Finally, I’ll drill the holes for the stand. Get those in before I turn the ship back over and work on the decks.
-
Placed the piece of wood for the false keel on the keel, measured it so that it extends from exactly where the stem curve starts to the end of the ship (technically, flush with the sternpost). Sawed it down to length and then sanded it. Then added a small angle so that it really is flush in line with the sternpost, which is angled to the keel, not 90°. Took the rudder, measured against the ship. Similar to the false keel, the bottom of the rudder is closer to 90°, which makes it stick down on an angle. Sanded it down until it’s aligned with and extends the keel. Used a long metal ruler to check it. Put on two coats of primer on each all over, paint is next. I’m painting the false keel copper, and the rudder copper until the waterline and then black above, which matches what I did on the hull. If I did it correctly, I will have one strake of copper over black paint, the rest over copper, just like the hull. It actually was interesting. I don’t think I’ve yet painted anything that the entire piece needed to be painted. I held the rudder from the top, primed the whole thing except for the handhold, waited for it to dry, did another coat. Only after that dried could I hold the now-primed part to paint my former handhold. Same thing for the false keel, except there I held it right in the middle.
-
Interestingly, I cannot get consistent info on the false keel (aka keel boot). I have a memory of seeing somewhere that it should be coppered independently and attached to the bottom of the keel, such that it doesn’t run smoothly into the stem (like the real keel does), ending just below it. But I’m not sure.
-
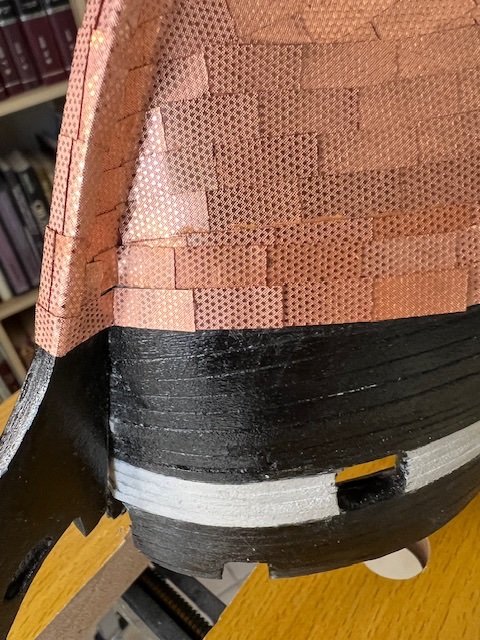
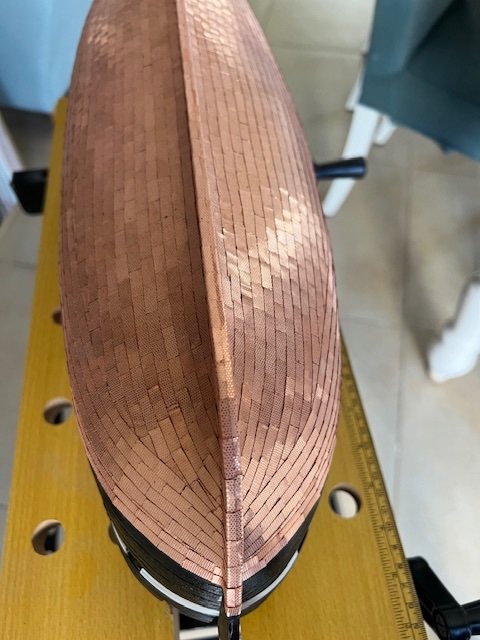
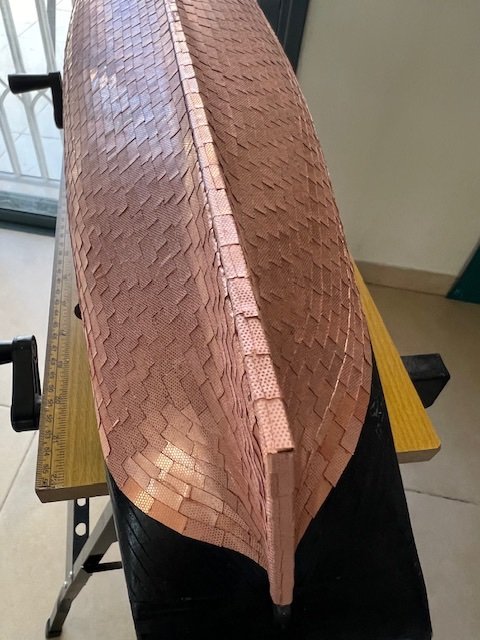
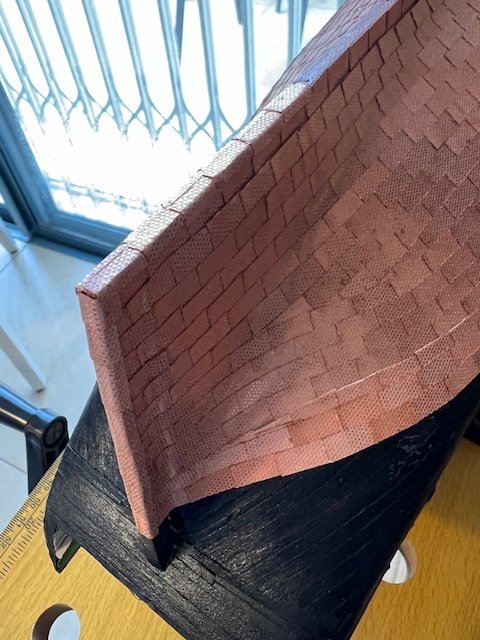
And finished coppering the hull! pics below. Per the directions, I put one plate on each side, slightly offset of the centerline, so one overlaps the other. Going down the keel was easy. I measured out the length of 10 plates and marked it with a pencil on the keel. Then I put a single plate in place, bent it to shape over the edge of the keel, marked the edge on the keel with a pencil, and shaped 19 more. Lay down contact cement on the keel until the length pencil mark, a little bit on the sides (over the edge of the existing plates), then put cement on my 20 plates. Wait a few minutes, and put the starboard side in place, then the port side. I usually put another layer of cement down after the starboard side, so that the edge of the plates got some. Since the port side plates overlap the starboard side, extra cement helps bind it. I had not taken pictures of this process; didn’t think about it until now. When I got to the stem, where it curves, I did each pair at a time. I laid down the first coat of cement on the stem up to the end of the copper line (and a bit on each side on existing plate edges). Wait for it to dry. Then I took one plate for starboard, placed it, then bent it down its centerline over the edge of the stem onto the starboard side of the ship. While holding it in place, I also pressed down to give it curve to match the curve of the stem. Repeat for the port side. Put cement on each of the two plates, wait for it to dry, press in place. Unlike the rest, because the stem has a curve (and a varying one at that), each plate is shaped a little differently. Hence, I did one pair at a time, tracking which plate is port and which starboard, and then moved on to the next. A bit slow, but it works. At the very end, I put one plate widthwise, across it, rather than the pairs. This gave it a nice closure, and avoided needing to cut really small pieces and attach them. I also trimmed it to match the edges of the plates on each side of the ship. On to coppering the false keel and the rudder!
-
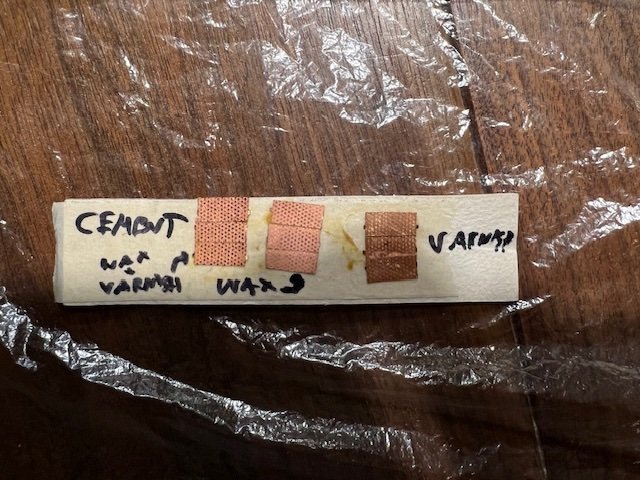
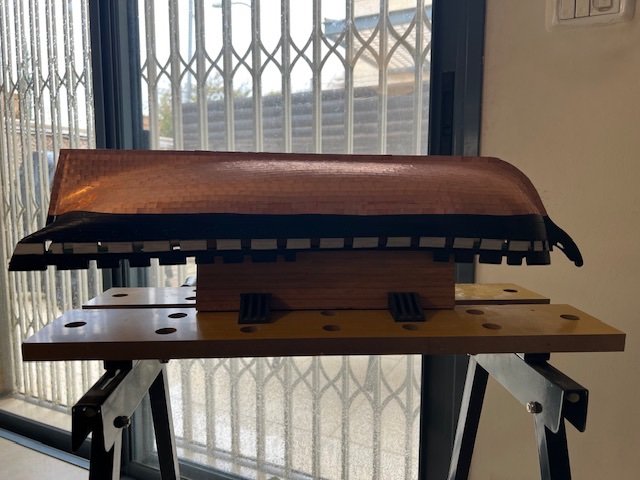
Starboard dressing belt is done. Interestingly (and somewhat unhappily), the gap between gunports and top of the dressing belt is smaller on the starboard side than port side. They are the same at stem and stern, but not amidships. I must have made an error when measuring the waterline curve, on top of which I put the border between black paint and copper paint. The difference is about 6-8mm. I considered removing the top strake, quick sand and paint, but decided to leave it. You really only notice it when actively comparing port and starboard, not each on its own. Since none of us had eyes like someone from the Mos Eisley Cantina, I’d rather it the way it is. Lighting is wrong for a picture now, so I’ll try over the next day or two. Update: here’s a pic. Not the greatest angle but will do for now. Next step is the long row of side by side plates, running from stern to stem, covering stern, keel and stem. On a different note, I took another look at the varnish-vs-wax question. I do like what wax does, but the complete hard layer of the varnish, especially given the ability to lay down 2 or 3 coats, will provide better physical protection to the copper. Given how easily they come off, that’s important to me. So I took my testing cardboard, attached 3 more plates with contact cement, put on wax, and then two coats of varnish on top of that. Let’s see how it turns out. Initial view is attached.
About us
Modelshipworld - Advancing Ship Modeling through Research
SSL Secured
Your security is important for us so this Website is SSL-Secured
NRG Mailing Address
Nautical Research Guild
237 South Lincoln Street
Westmont IL, 60559-1917
Model Ship World ® and the MSW logo are Registered Trademarks, and belong to the Nautical Research Guild (United States Patent and Trademark Office: No. 6,929,264 & No. 6,929,274, registered Dec. 20, 2022)
Helpful Links
About the NRG
If you enjoy building ship models that are historically accurate as well as beautiful, then The Nautical Research Guild (NRG) is just right for you.
The Guild is a non-profit educational organization whose mission is to “Advance Ship Modeling Through Research”. We provide support to our members in their efforts to raise the quality of their model ships.
The Nautical Research Guild has published our world-renowned quarterly magazine, The Nautical Research Journal, since 1955. The pages of the Journal are full of articles by accomplished ship modelers who show you how they create those exquisite details on their models, and by maritime historians who show you the correct details to build. The Journal is available in both print and digital editions. Go to the NRG web site (www.thenrg.org) to download a complimentary digital copy of the Journal. The NRG also publishes plan sets, books and compilations of back issues of the Journal and the former Ships in Scale and Model Ship Builder magazines.

