
fltguy
-
Posts
22 -
Joined
-
Last visited
Content Type
Profiles
Forums
Gallery
Events
Everything posted by fltguy
-
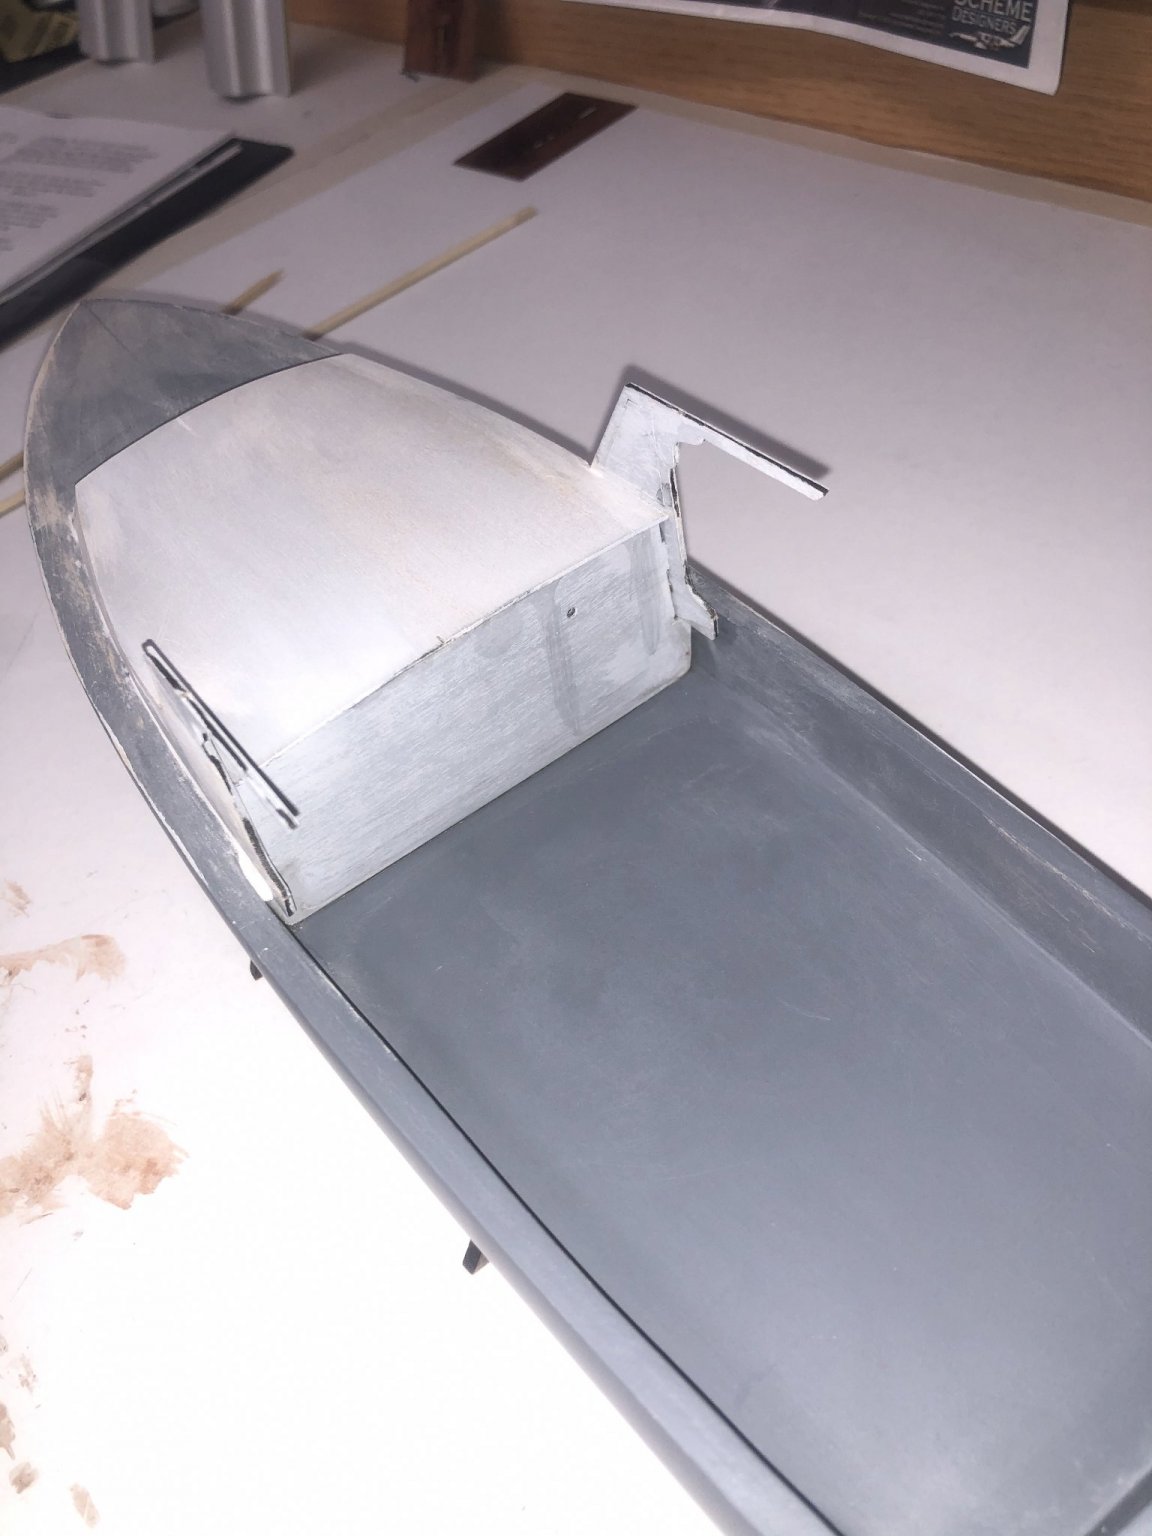
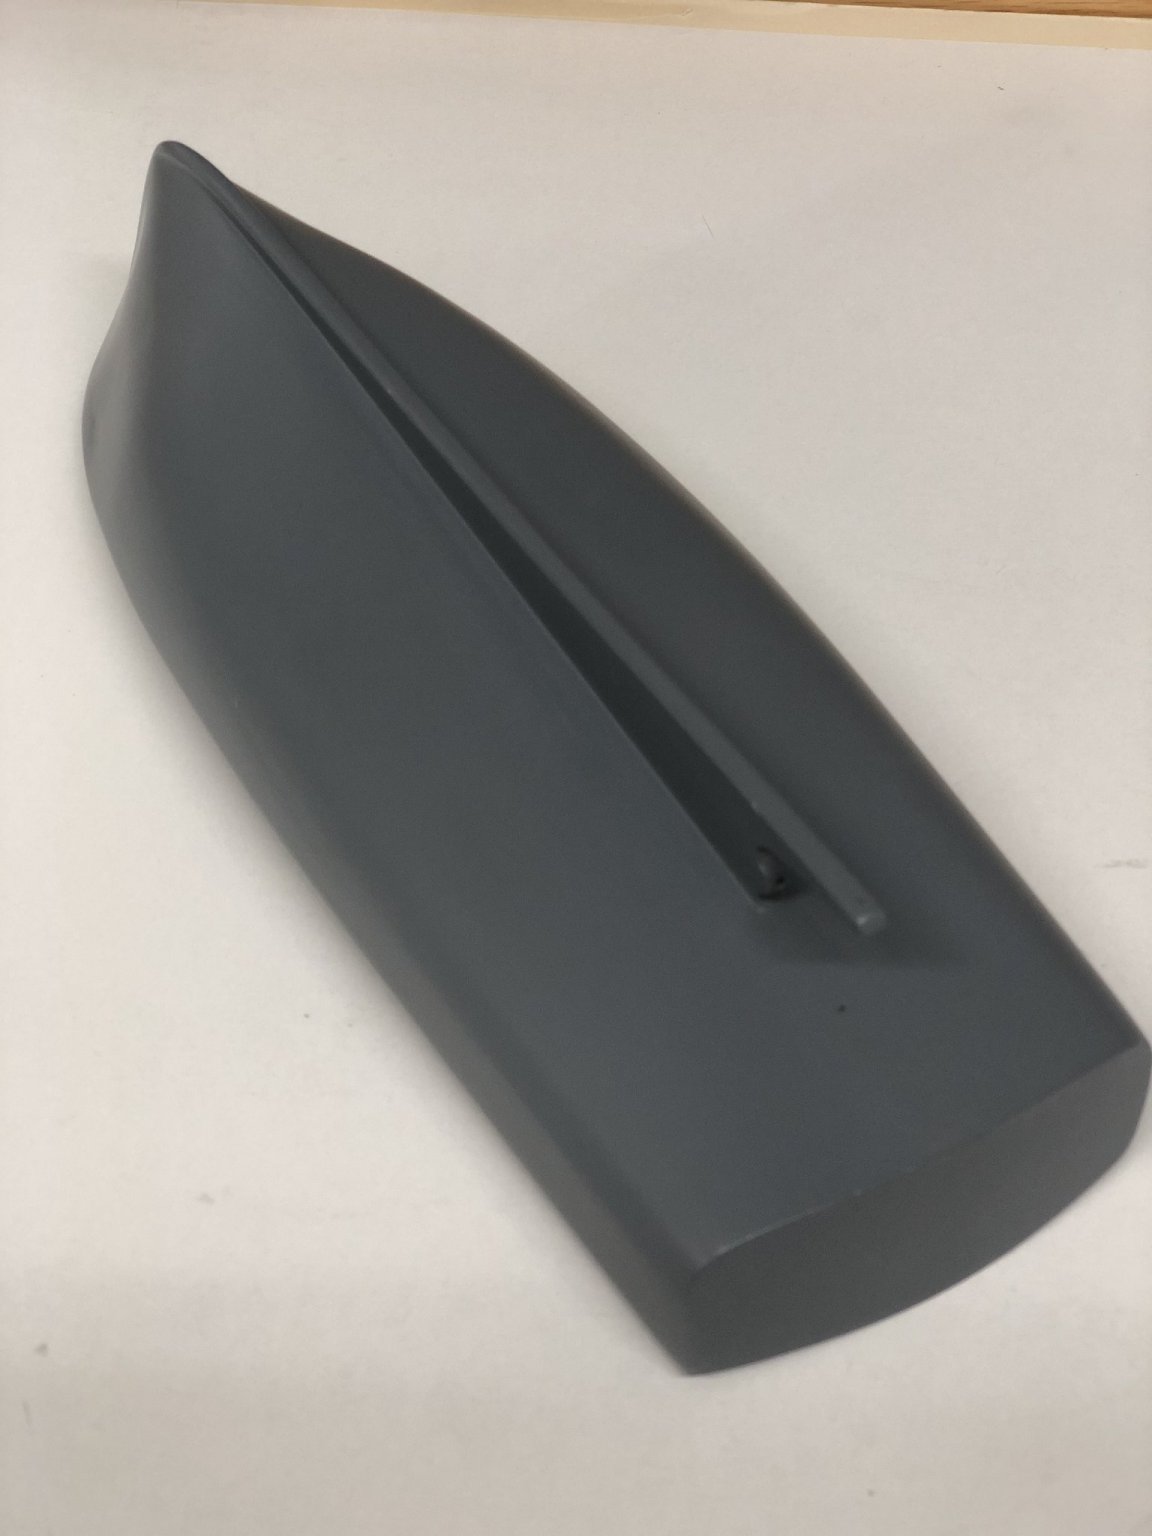
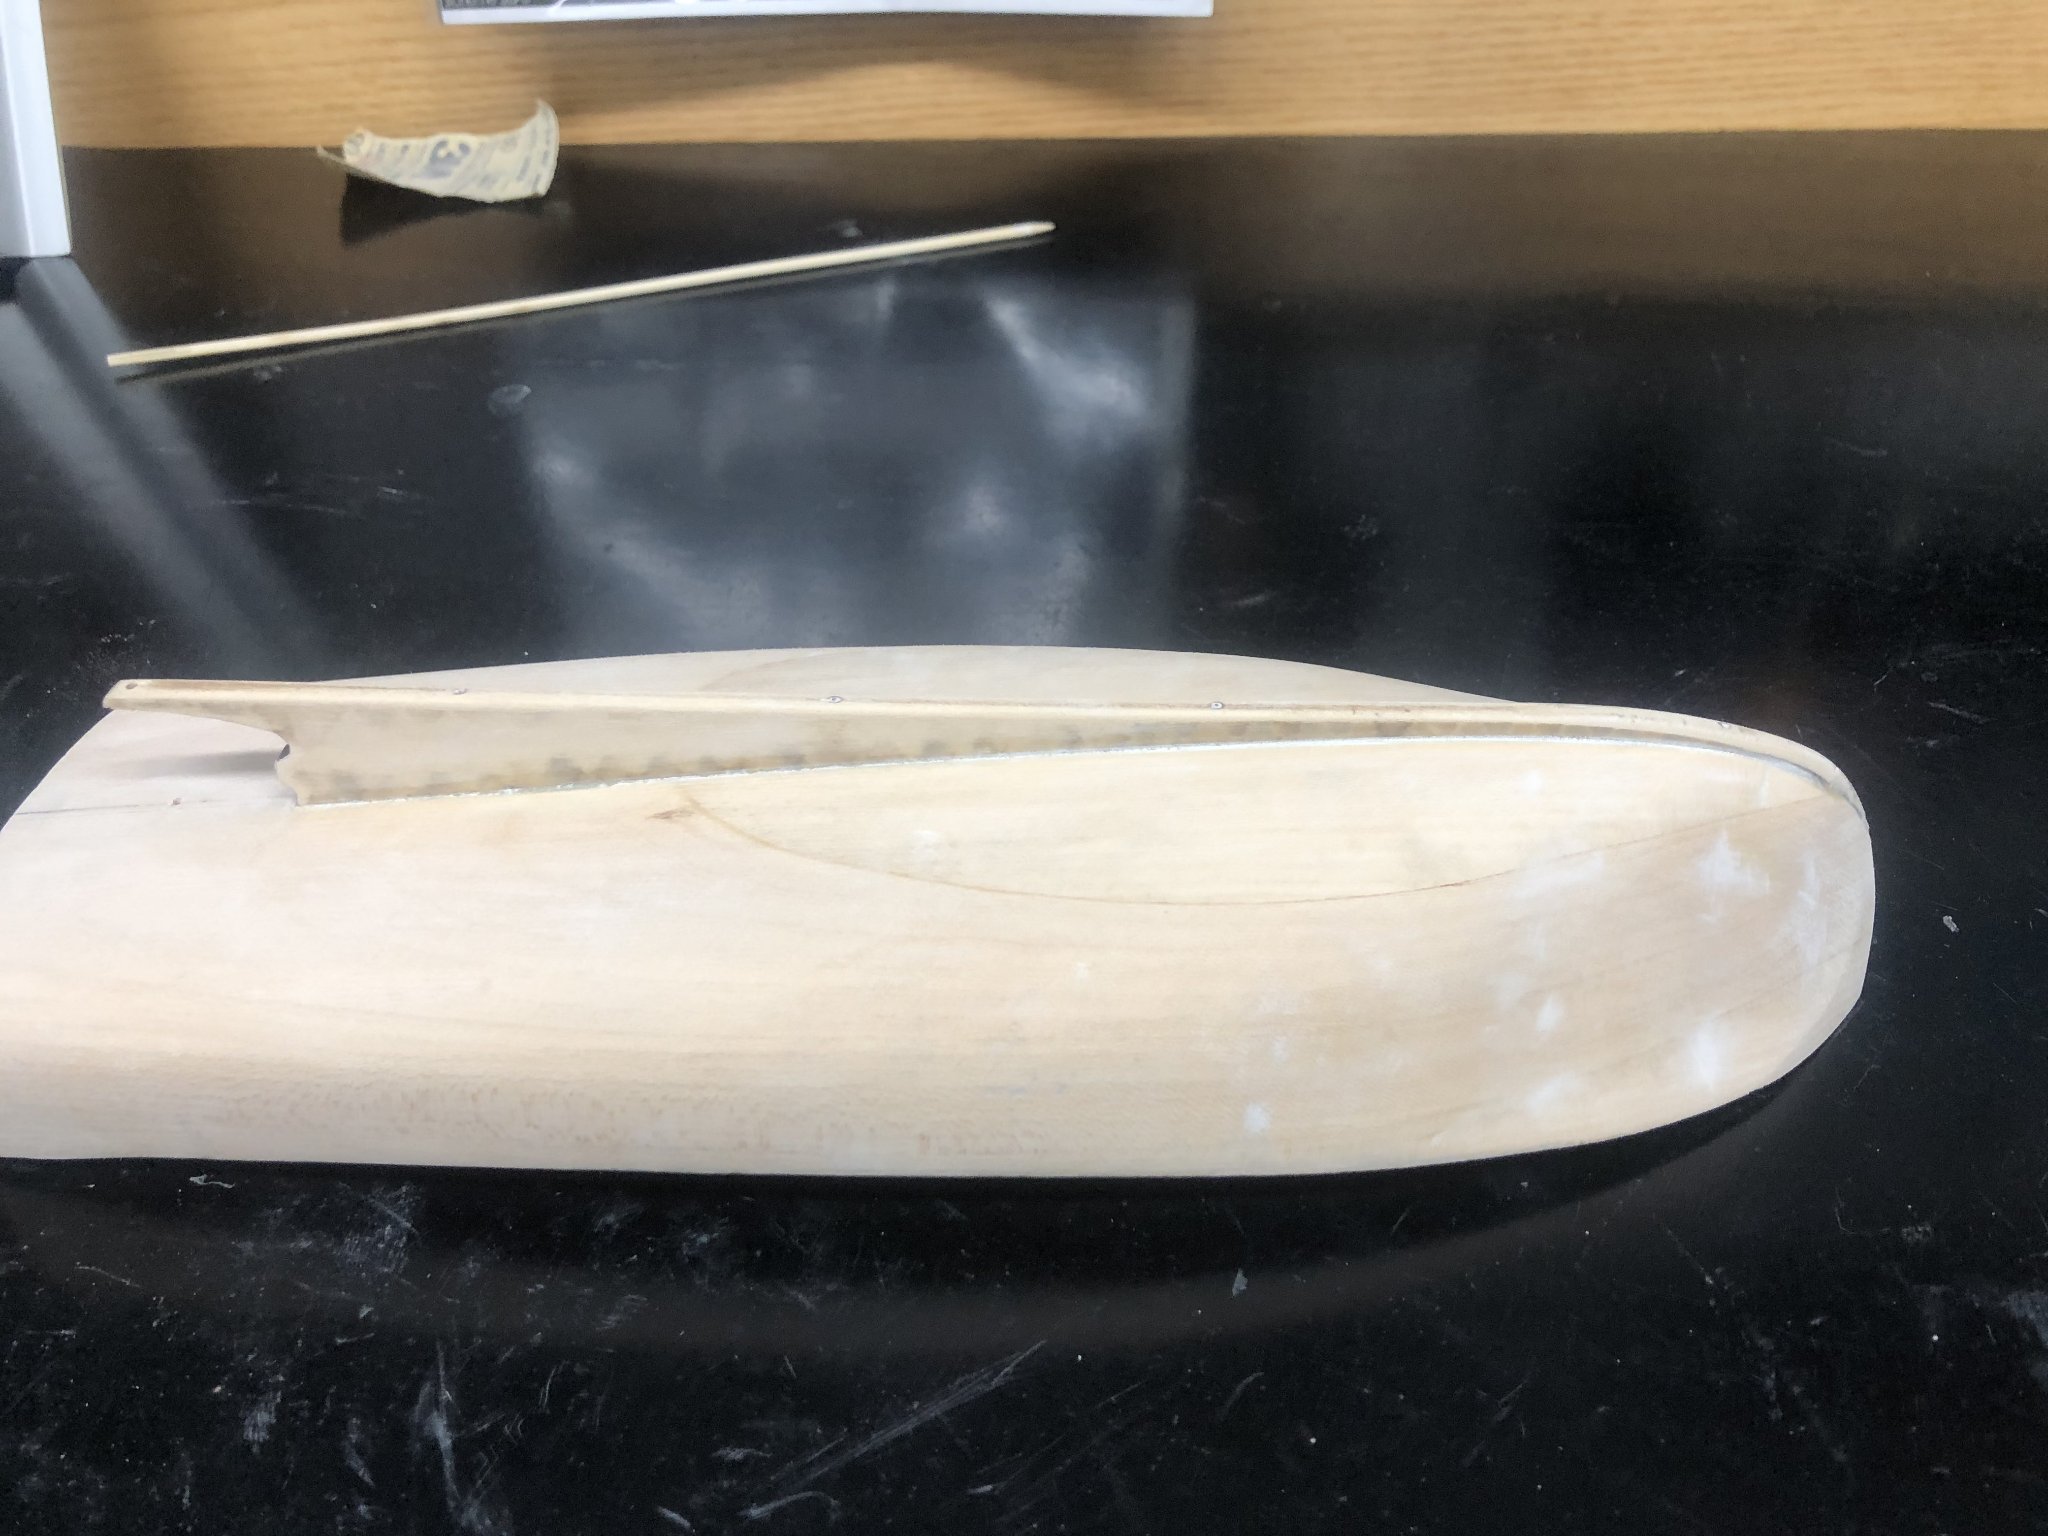
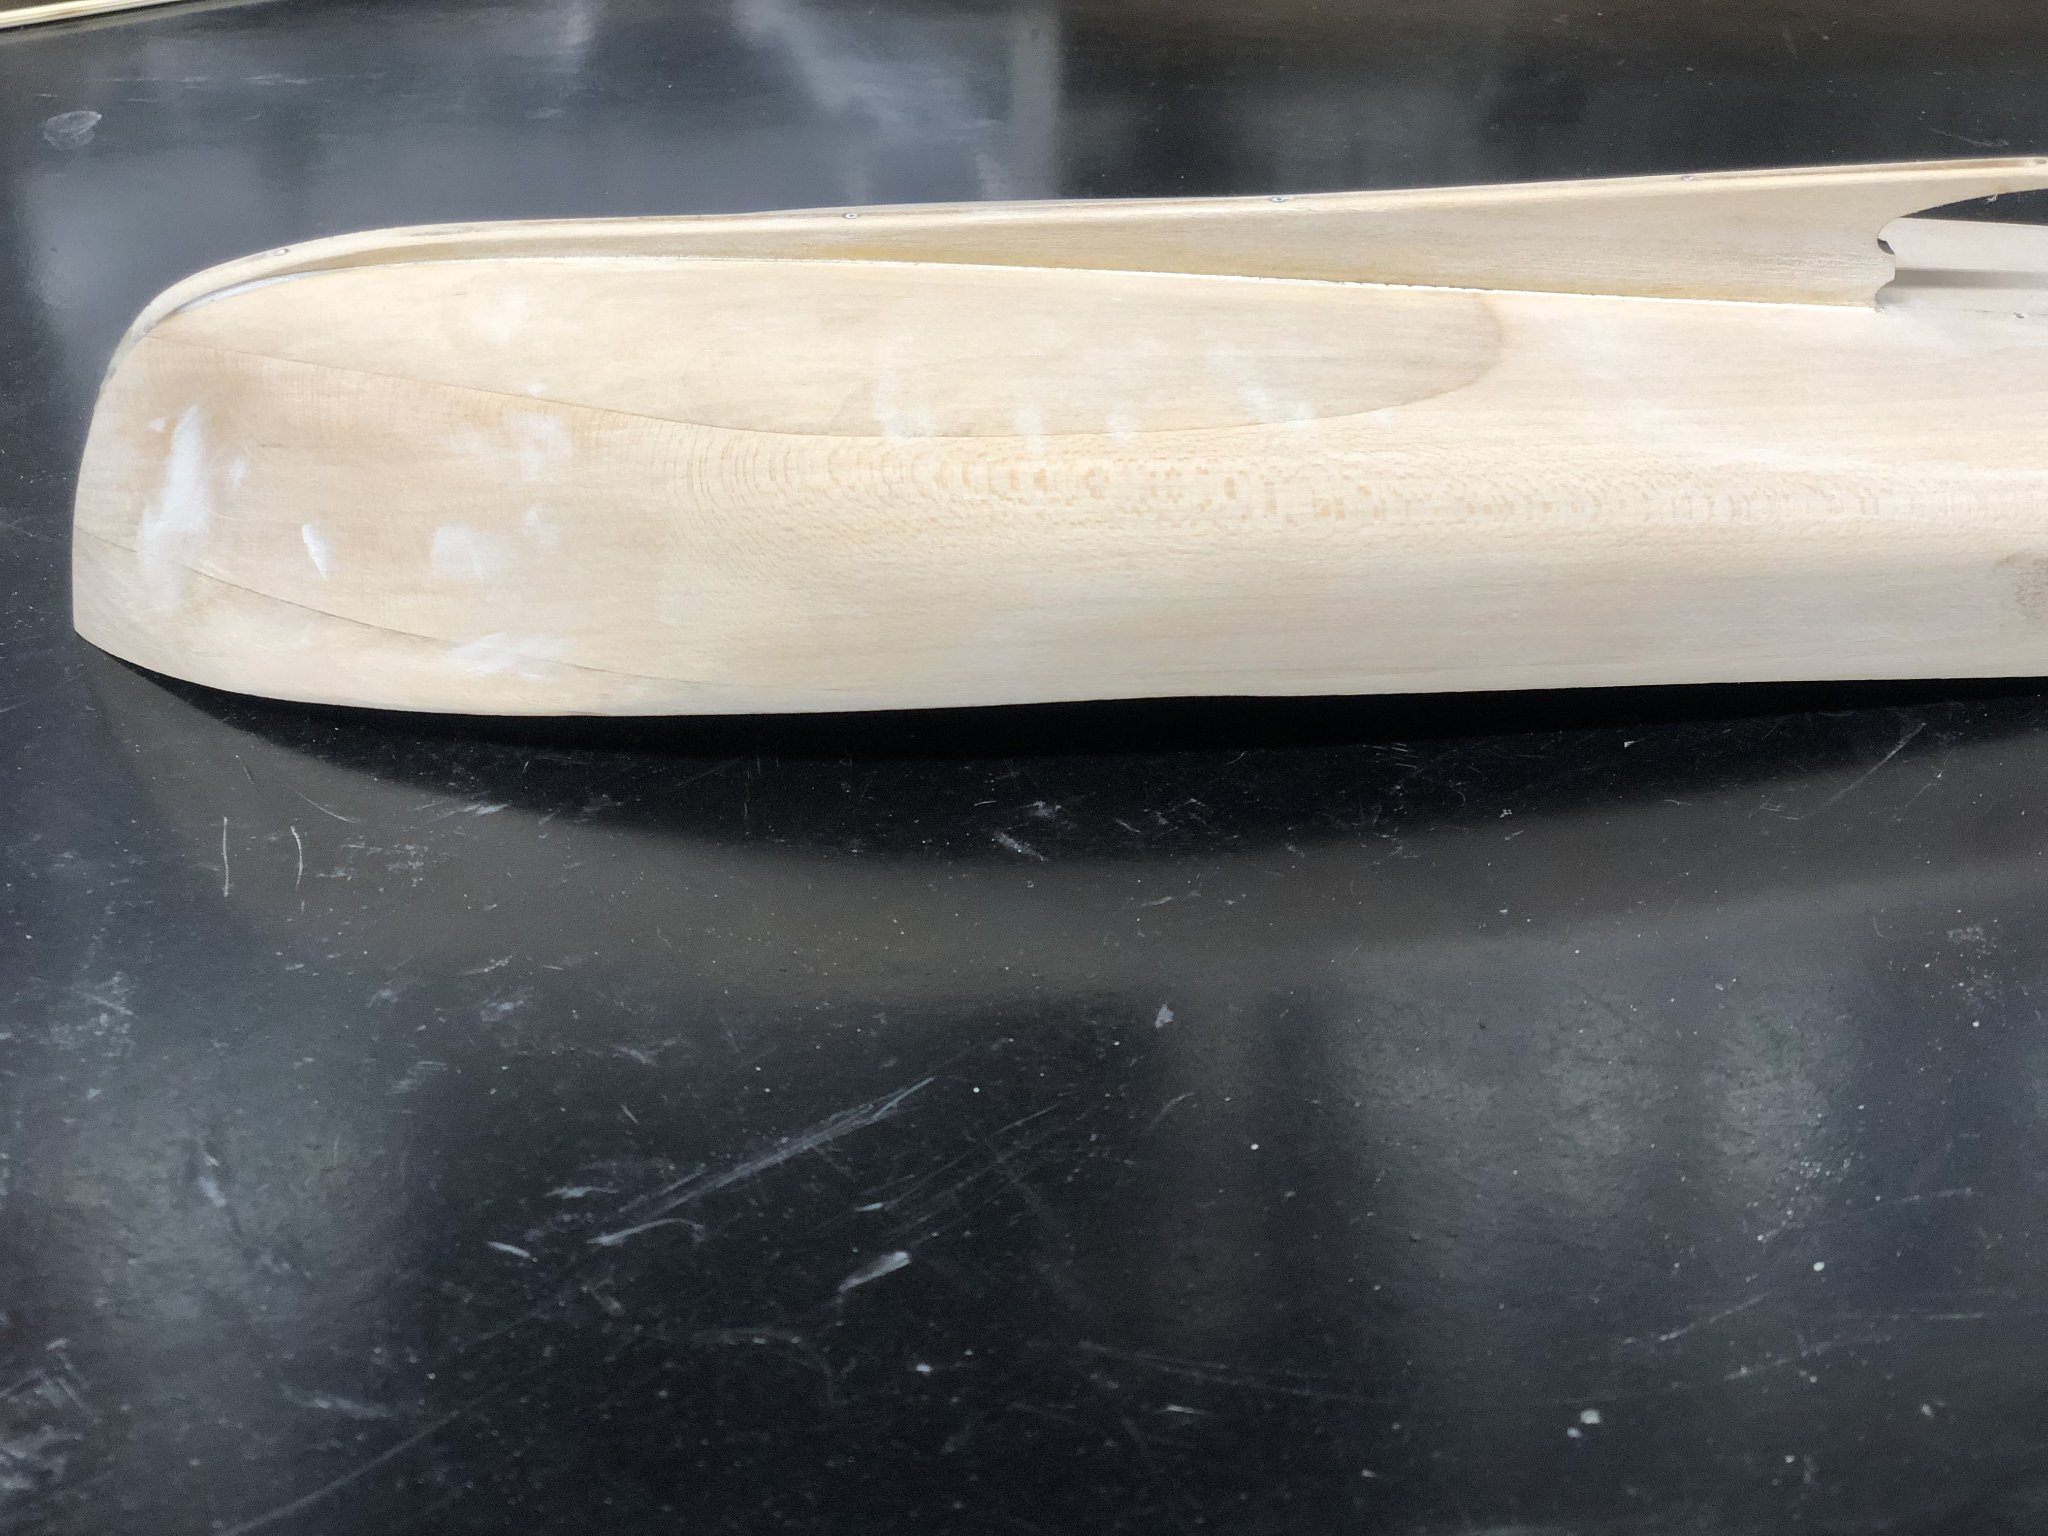
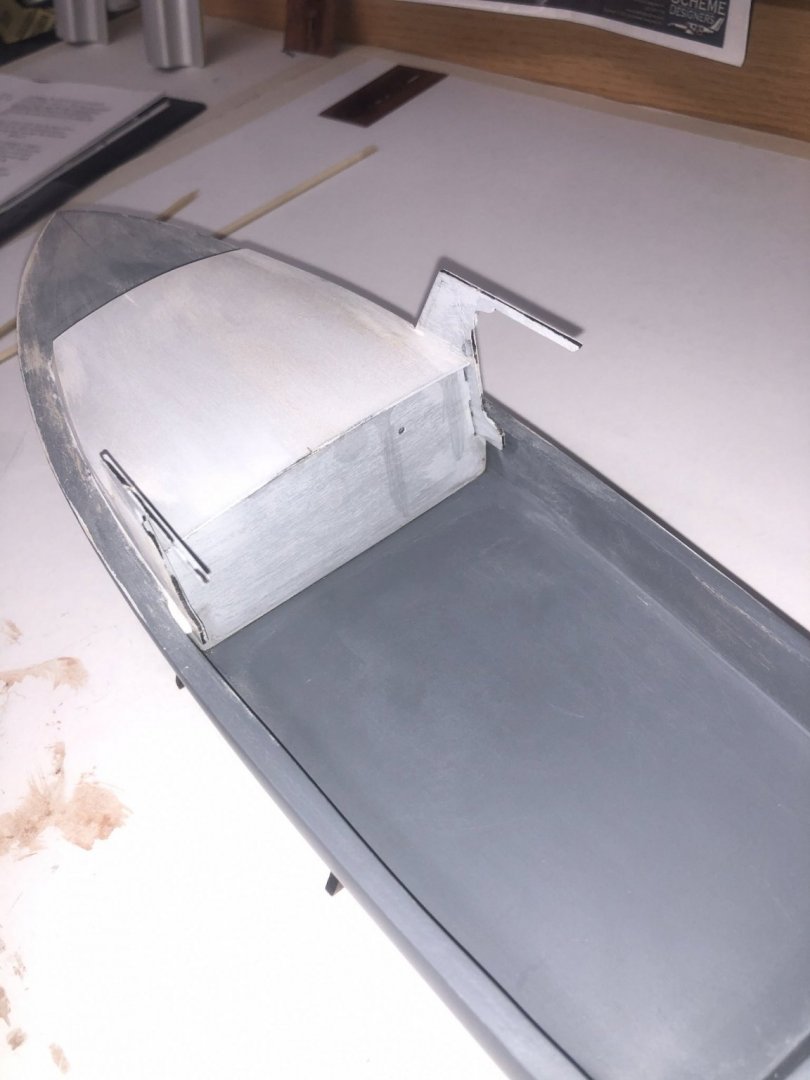
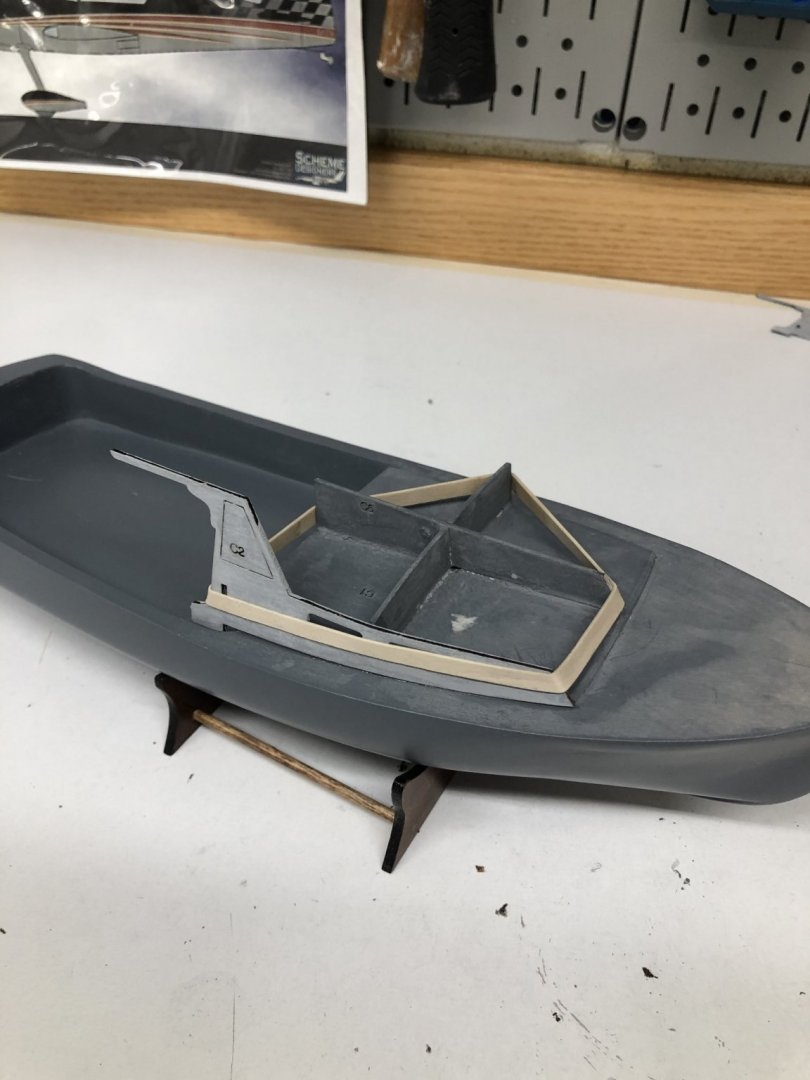
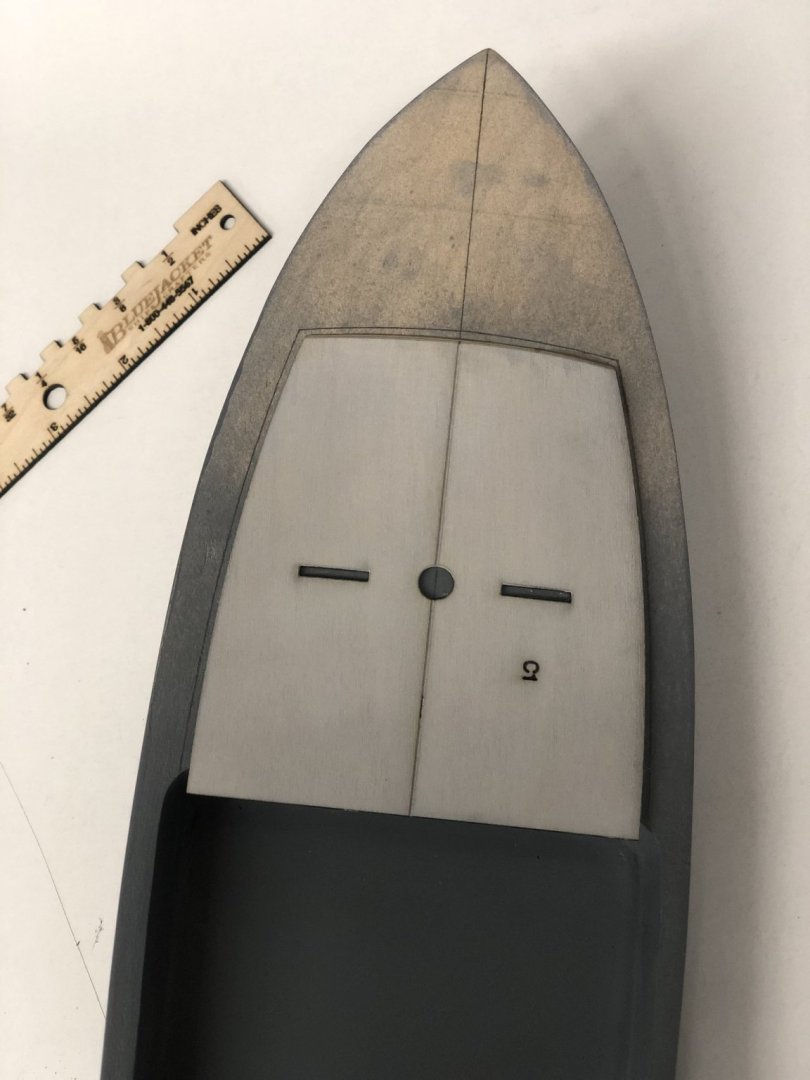
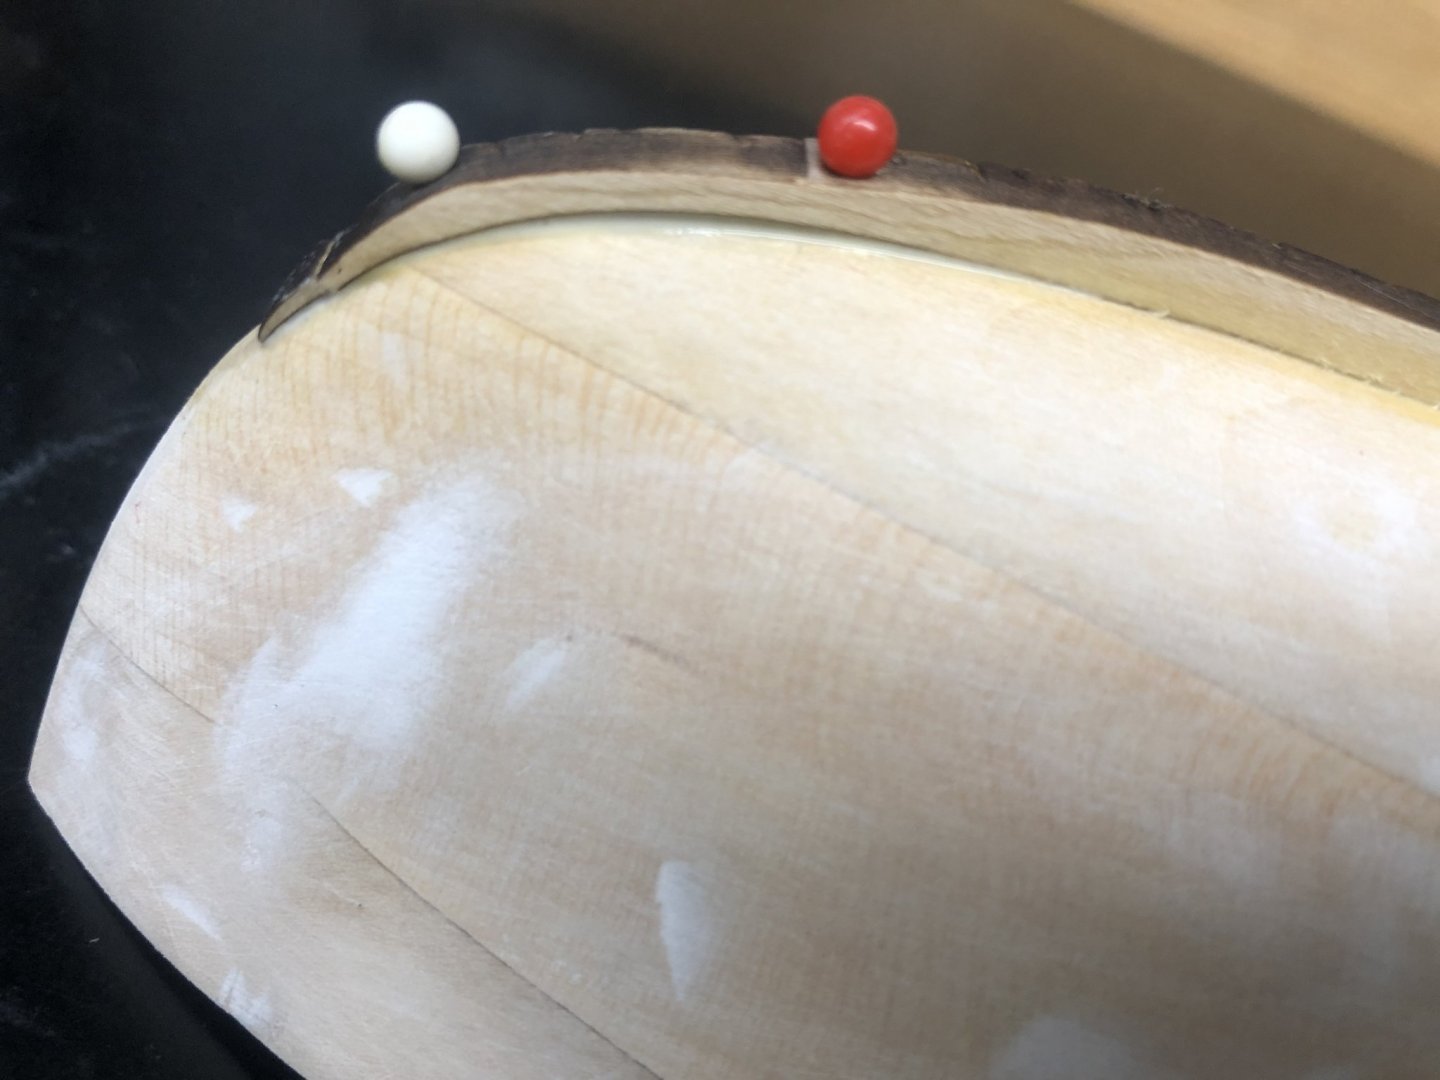
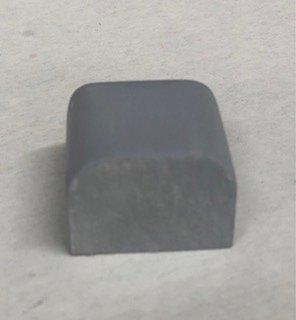
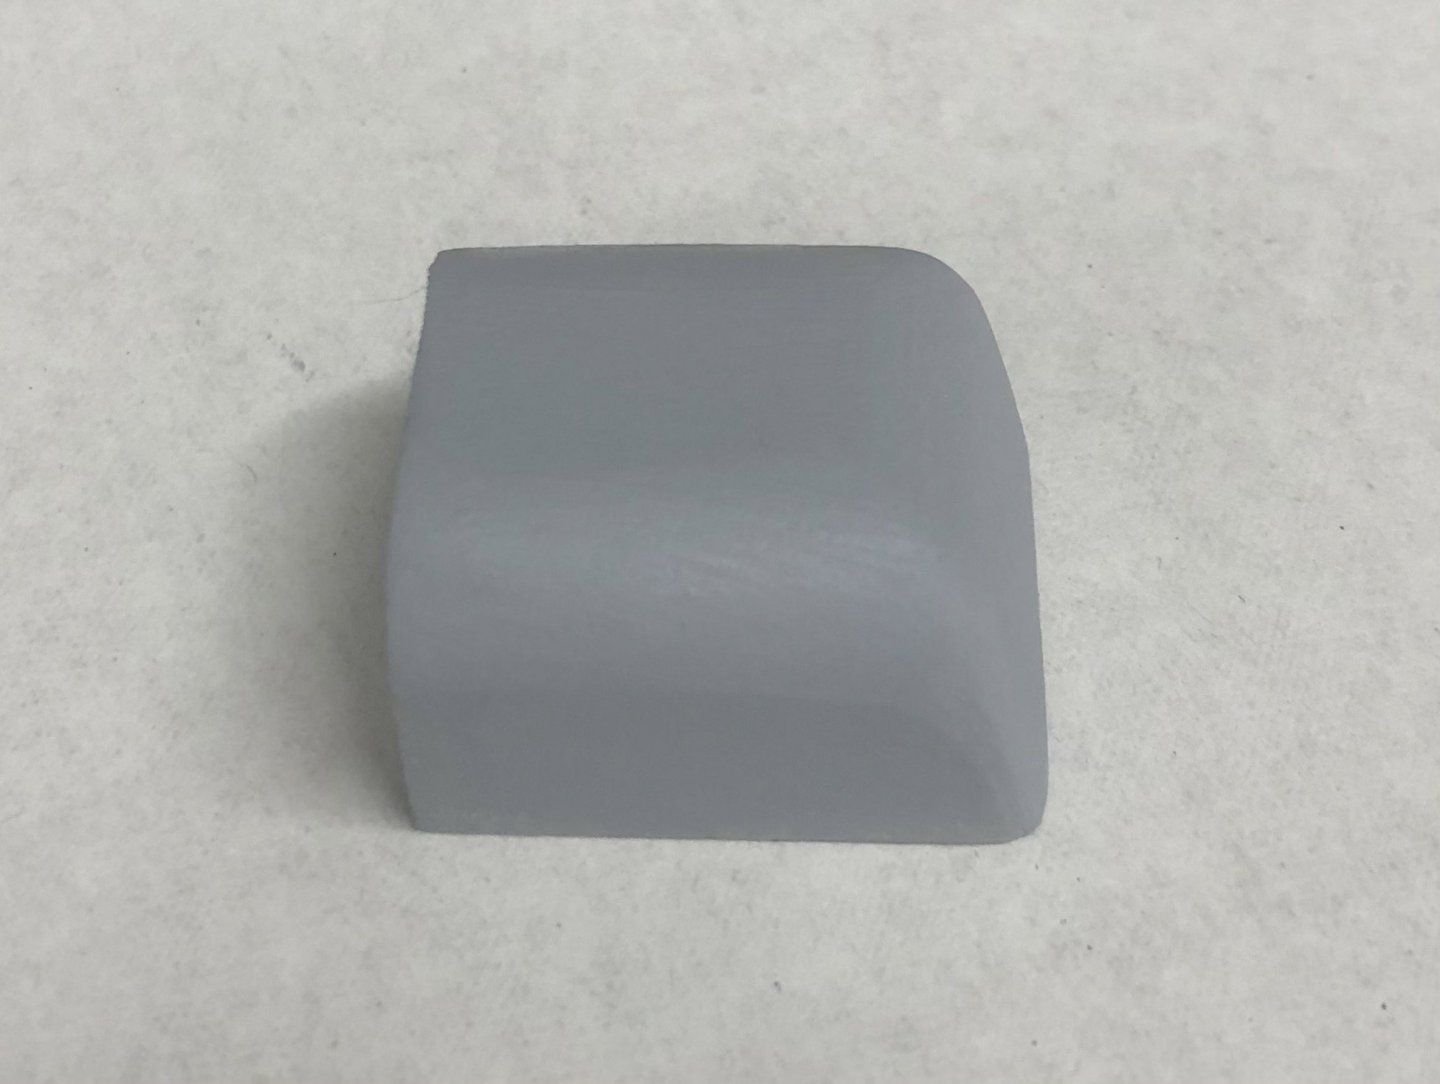
 Glued the windshield former to the roof. Once I was happy with the location of the former, I drew a fine pencil line along the forward edge. I needed help positioning this piece when gluing in place with CA. I got it pretty close. You can see where I marked the spots for drilling #51 holes for engine controls and the compass.
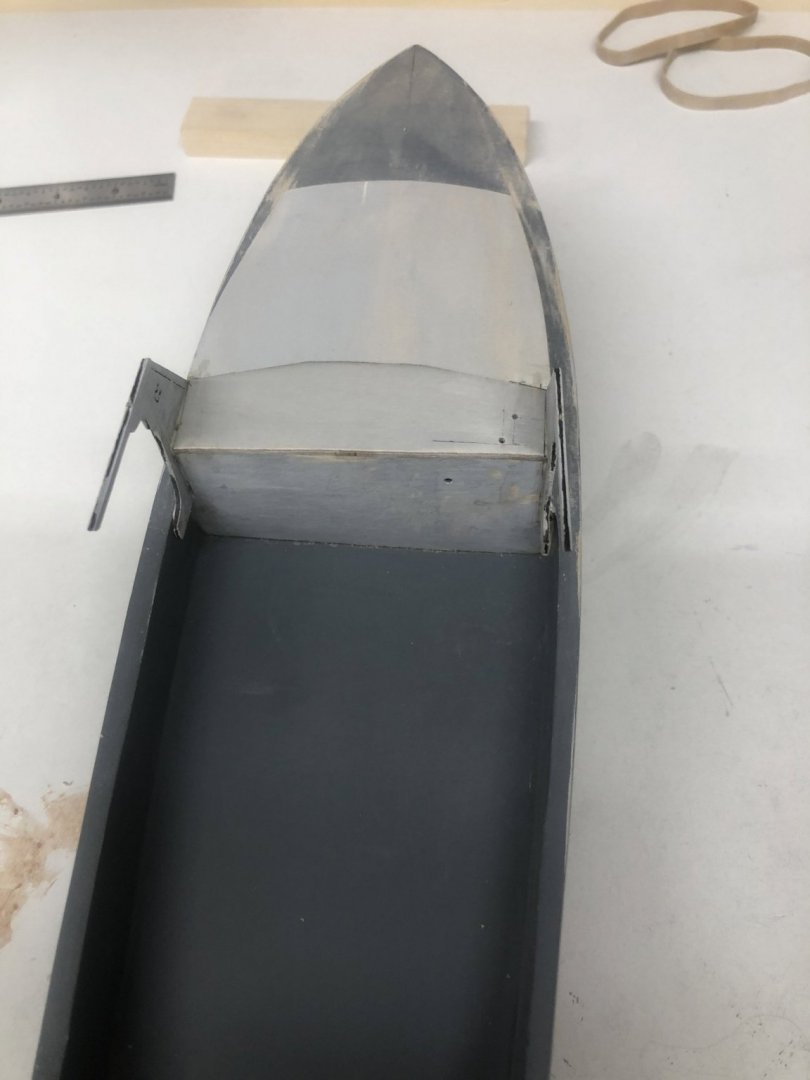
- 30 replies
-
- 1
-

-
- Red Baron
- Bluejacket Shipcrafters
- (and 1 more)
-
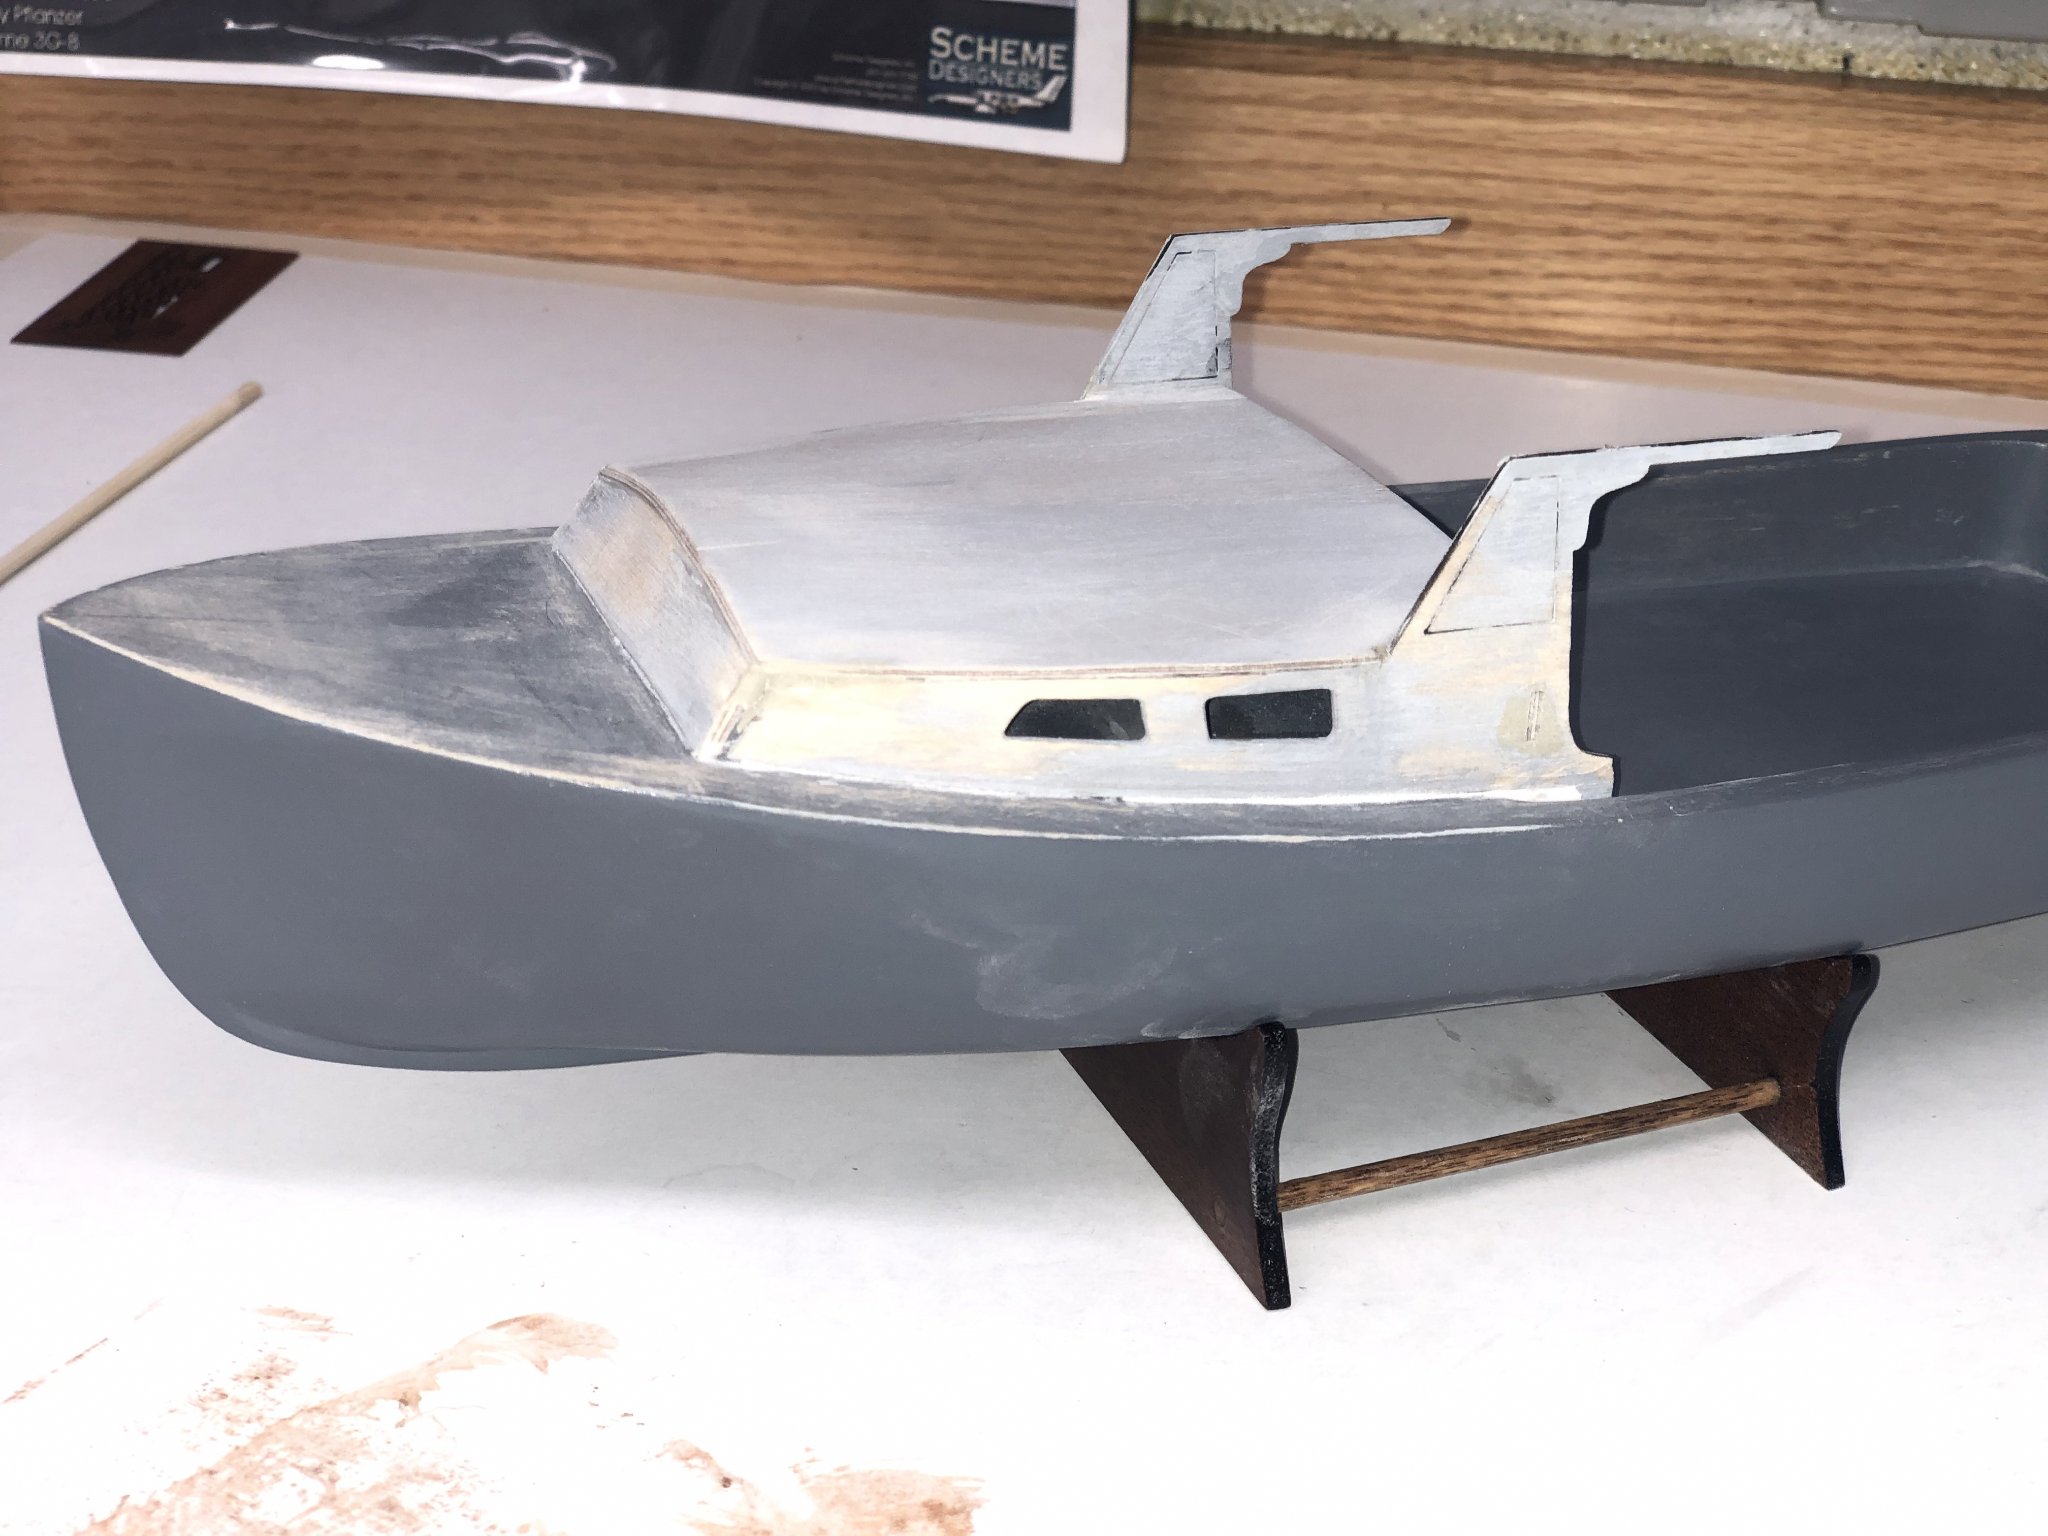
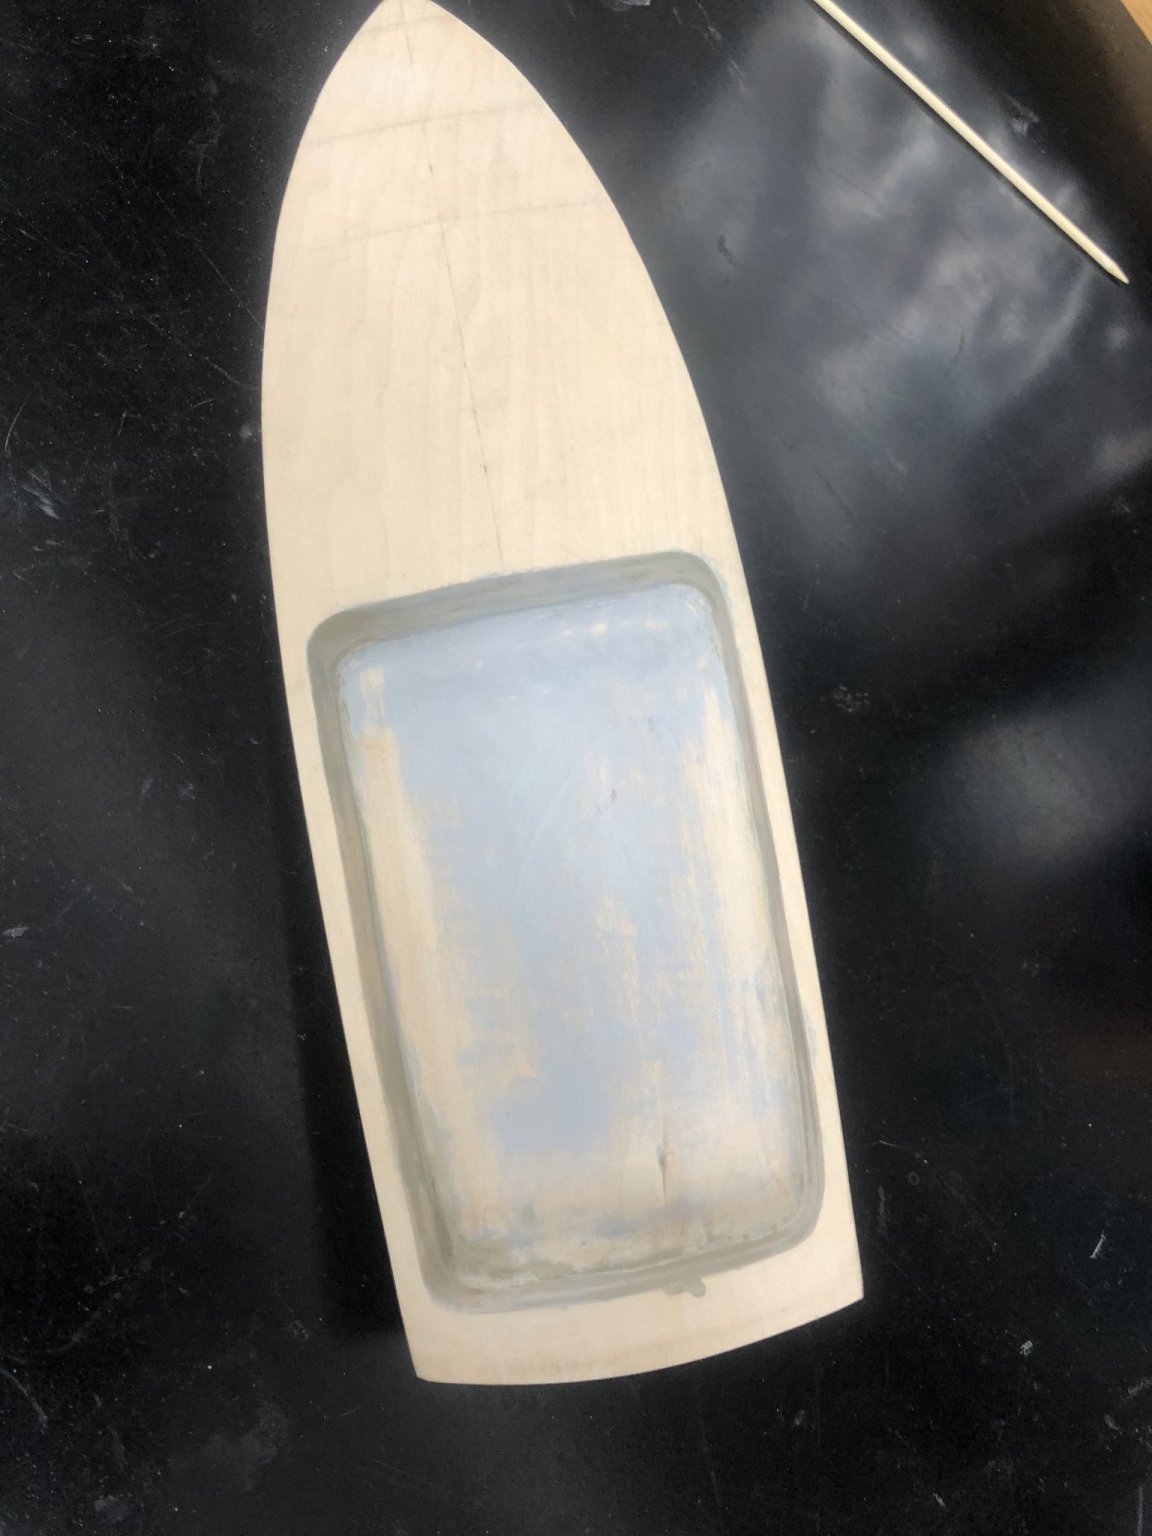
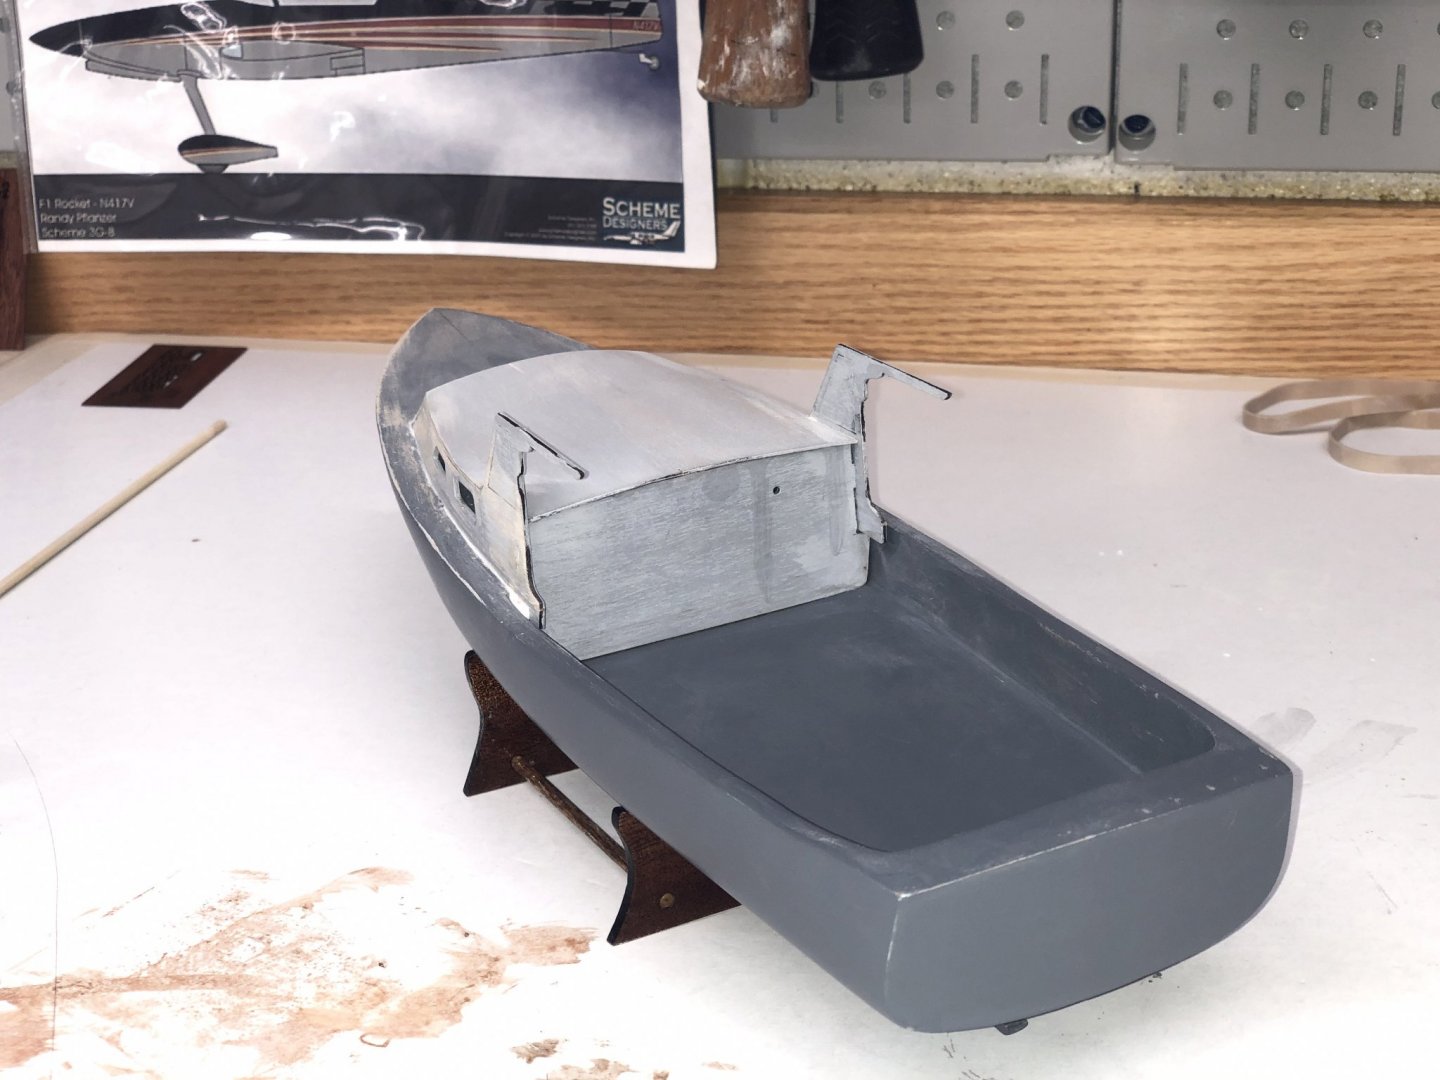
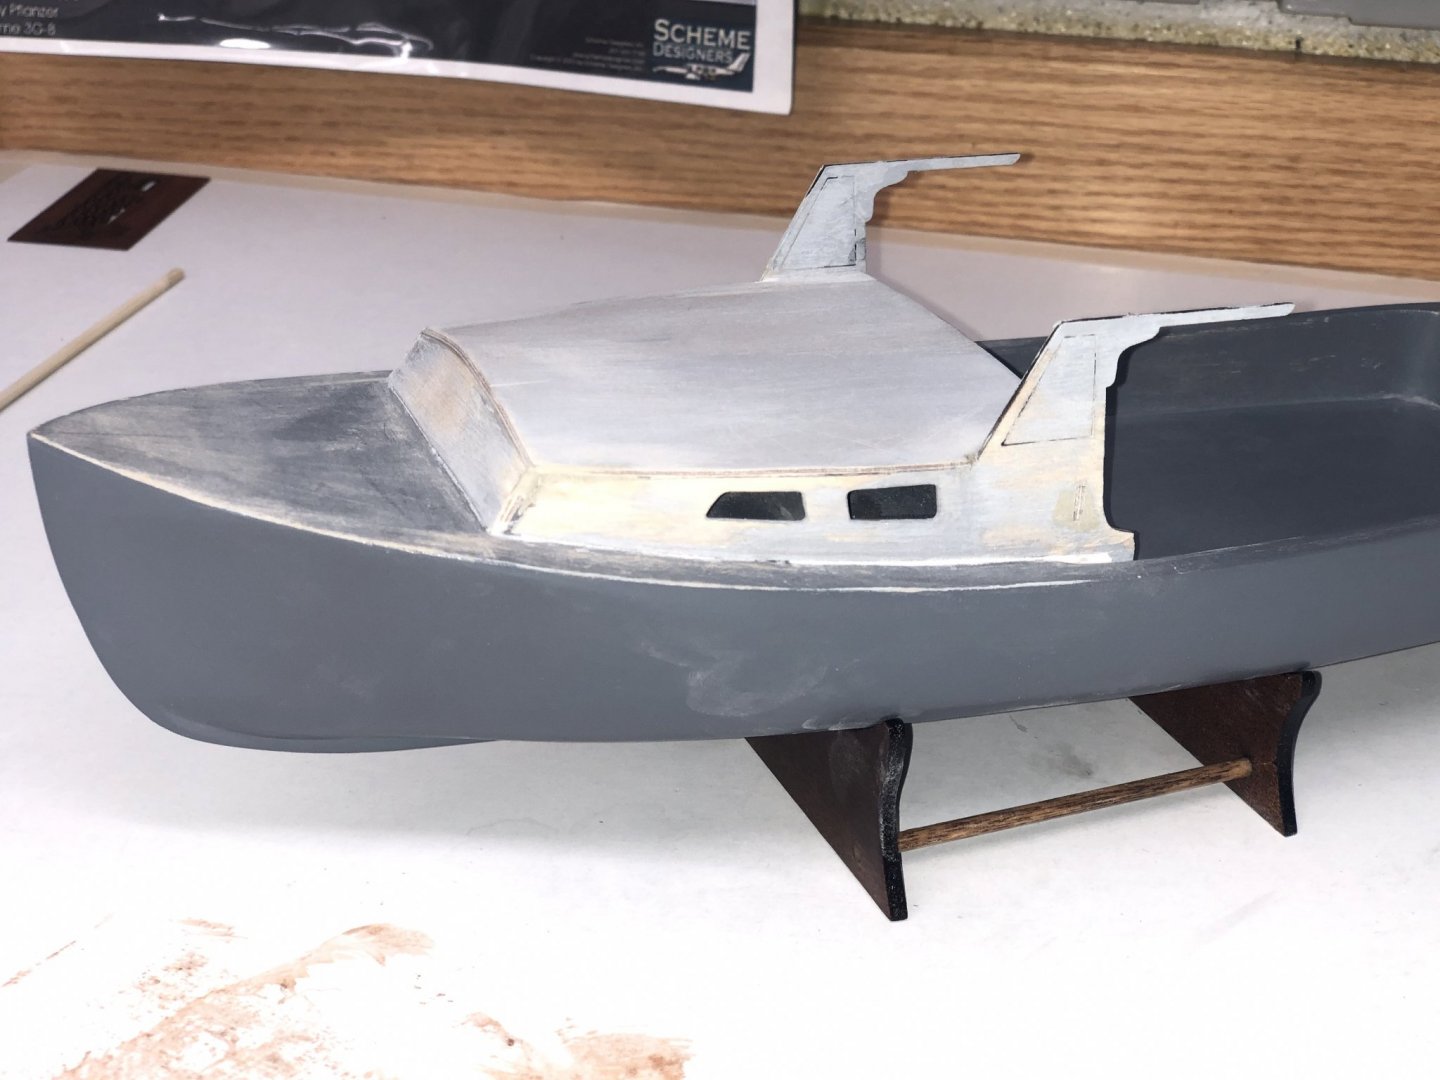
Interesting how daily events can get in the way of one's hobby. Dry fit the forward cabin bulkhead, I cannot emphasize that enough. Installing the cabin roof was easy enough. More sanding too. The next post, shows a picture of my completed roof, after sanding it smooth with the bulkhead. I spent too much time adding unnecessary filler around the cabin.
- 30 replies
-
- 1
-
-
- Red Baron
- Bluejacket Shipcrafters
- (and 1 more)
-
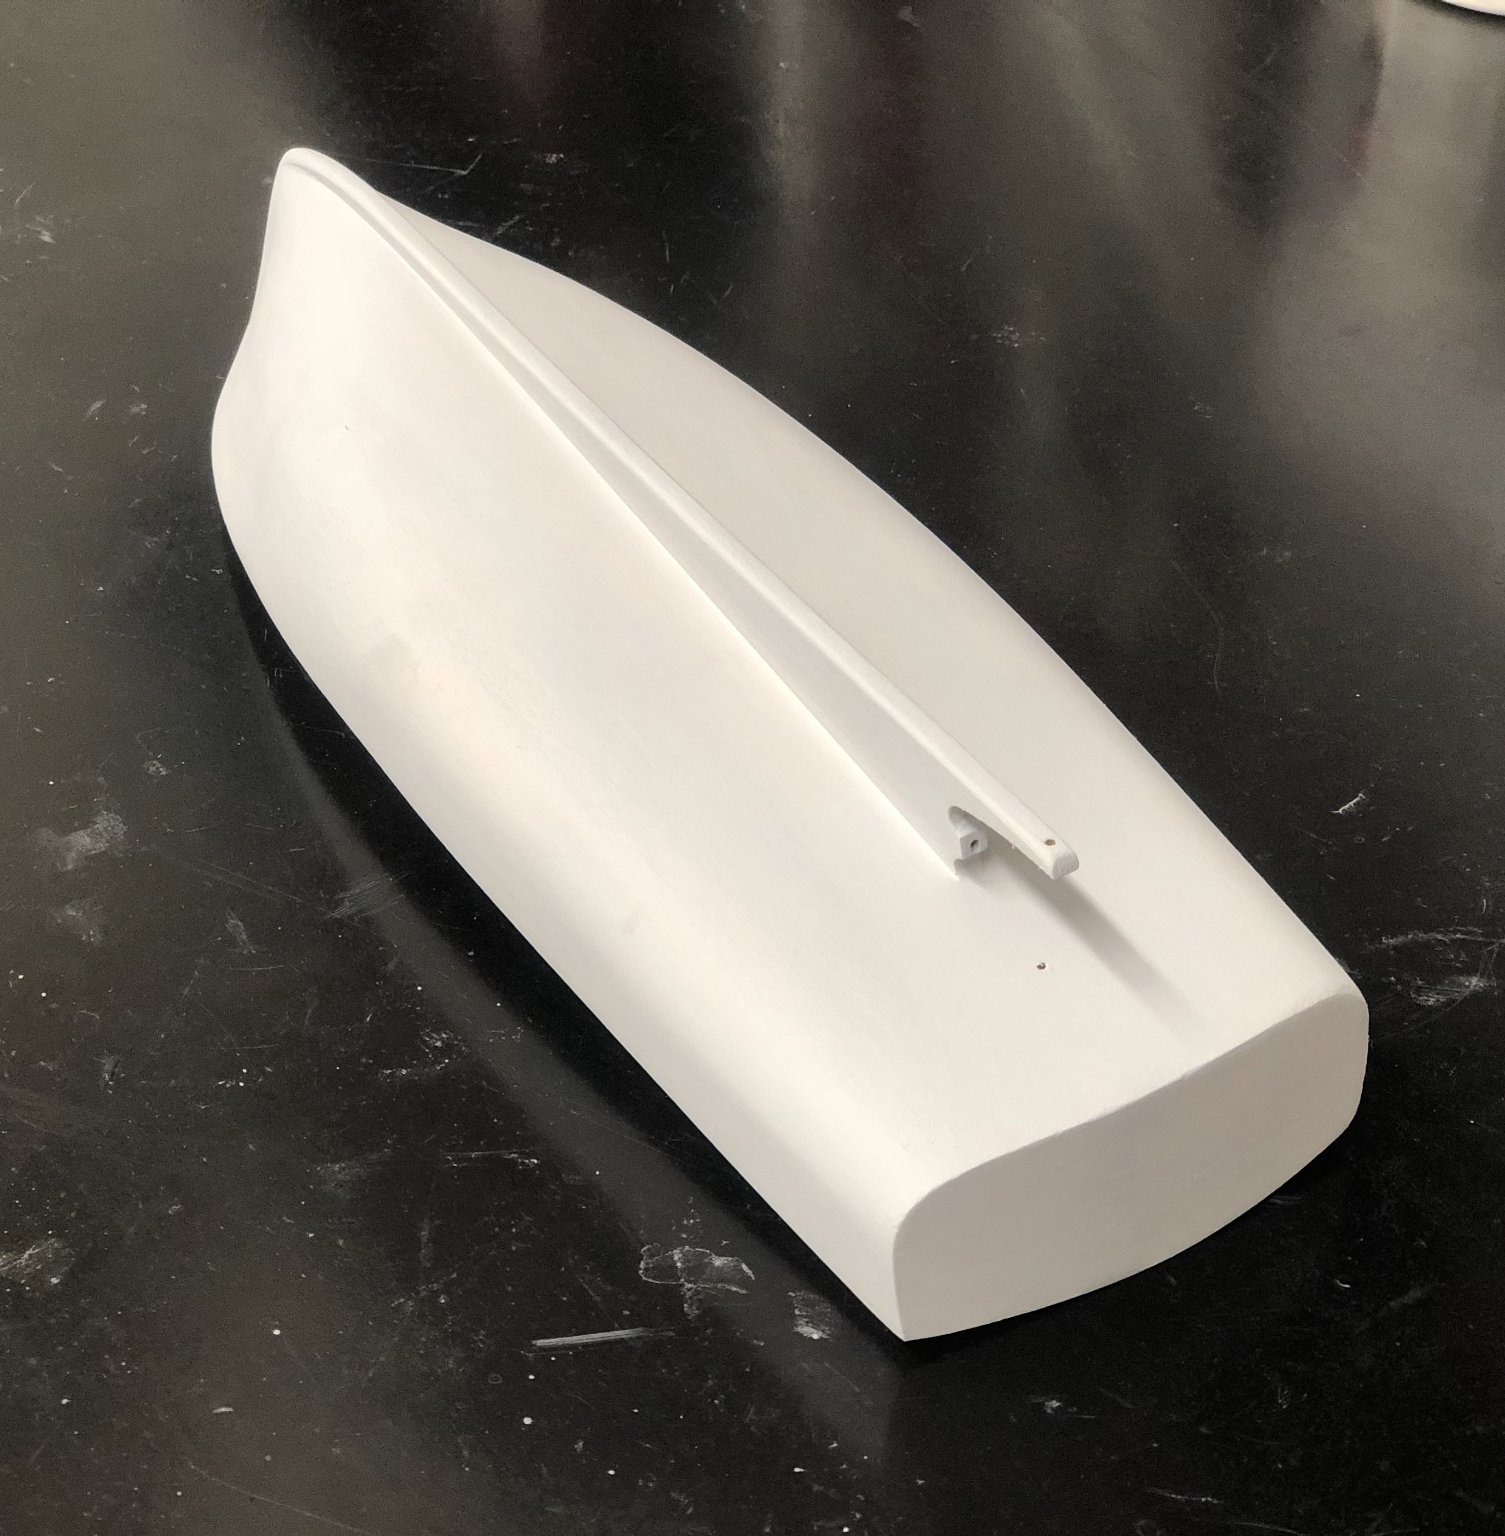
Back at it after three days away. Careful and judicious use of CA made for uneventful install of cabin formers. I did spray primer on the formers and the inside of the cabin in an attempt to darken the cabin for the future. More importantly, it covered the glue mess made in my previous assembly attempt. 'Recovering', an important lesson. Success breads success, I formed both cabin sides with the help of hot water and rubber bands. I let the the cabin sides sit in some non-boiling, hot water in small pot over a low flame for approximately 15 to 20 minutes. These parts were very flexible. I have only included one picture. I did the exact same procedure for the other cabin side and it work out well.

- 30 replies
-
- 6
-
-
- Red Baron
- Bluejacket Shipcrafters
- (and 1 more)
-
Gluing up the cabin formers was a new adventure in first time model building and CA misadventures. Dry fitting these pieces looked good. Adding CA and placement of these two pieces should have been straight forward. I was unhappy with the installation. Great! My first real test with CA and I have to use the debonder. Drama and disappointment ensued. My fingers were a mess and debonder easily removes primer. I need to clean up and walk away this evening, thus no pictures of my debacle. Acetone removed the CA mess from my fingers. Tonight, was merely learning experience.
- 30 replies
-
- 1
-
-
- Red Baron
- Bluejacket Shipcrafters
- (and 1 more)
-
Cabin former glued in place. Easy glue up with all my marks.

- 30 replies
-
- 2
-
-
- Red Baron
- Bluejacket Shipcrafters
- (and 1 more)
-
Time to open the CA and glue. Spent some time playing, adjusting and fussing with the cabin former. Procrastination.
-
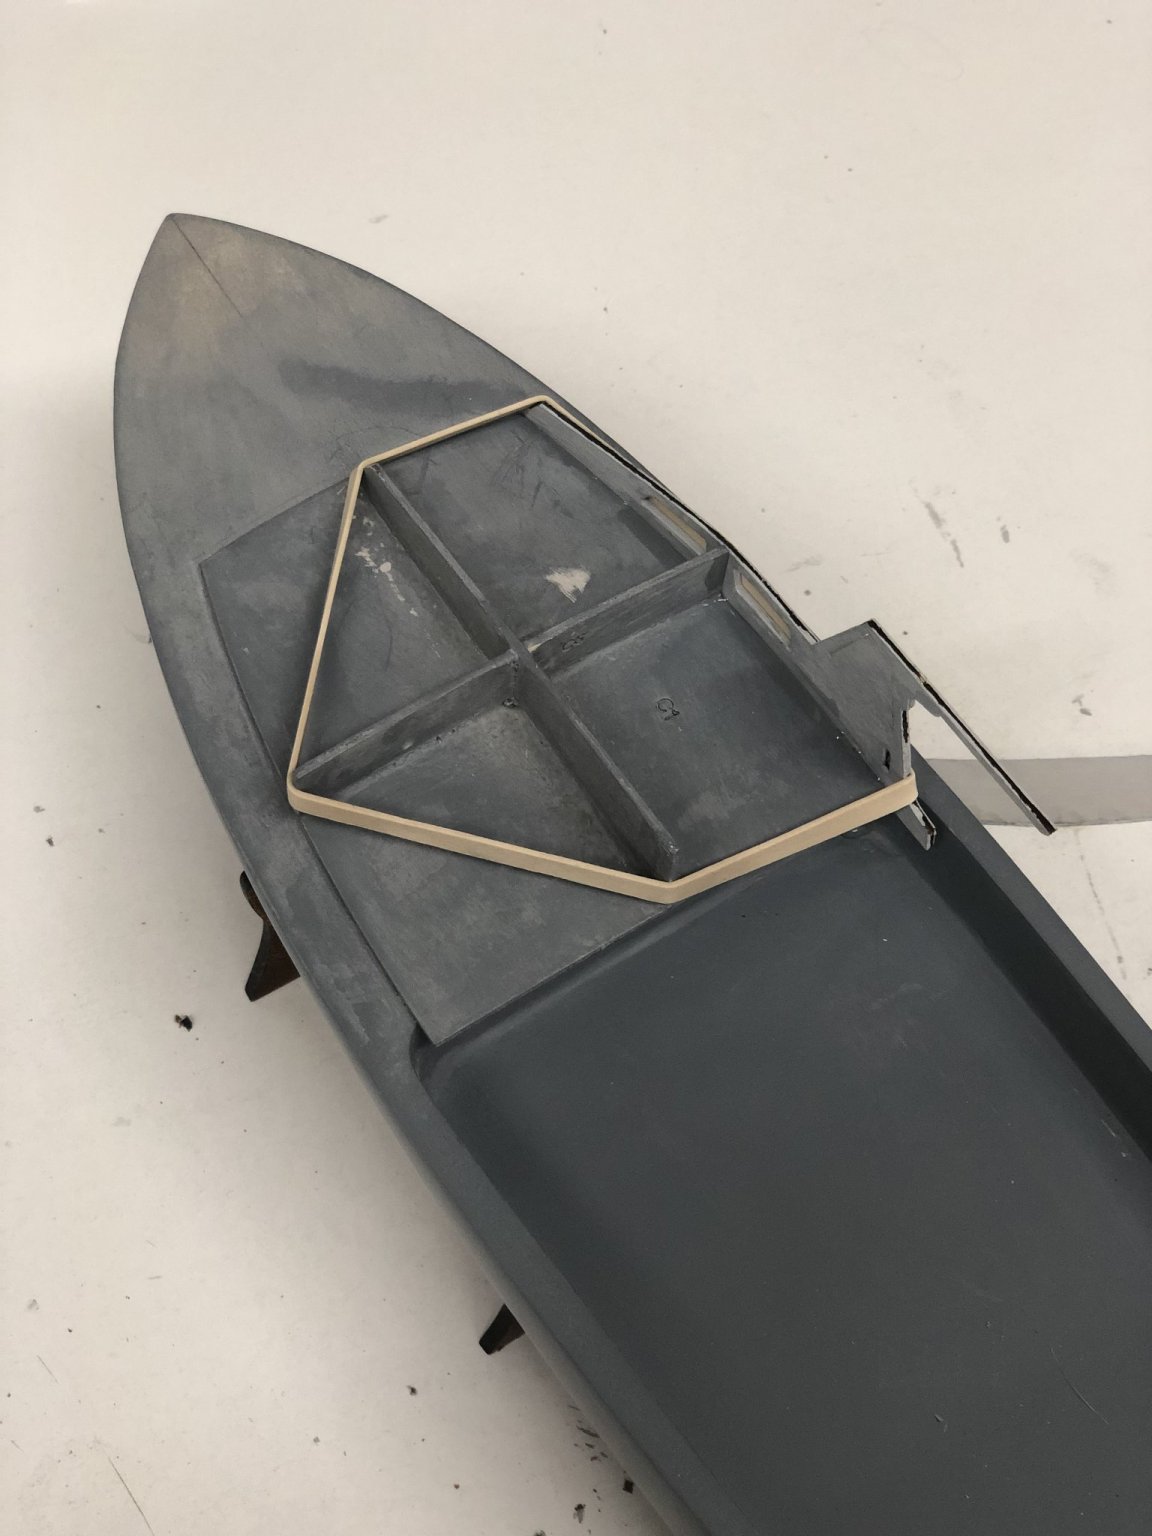
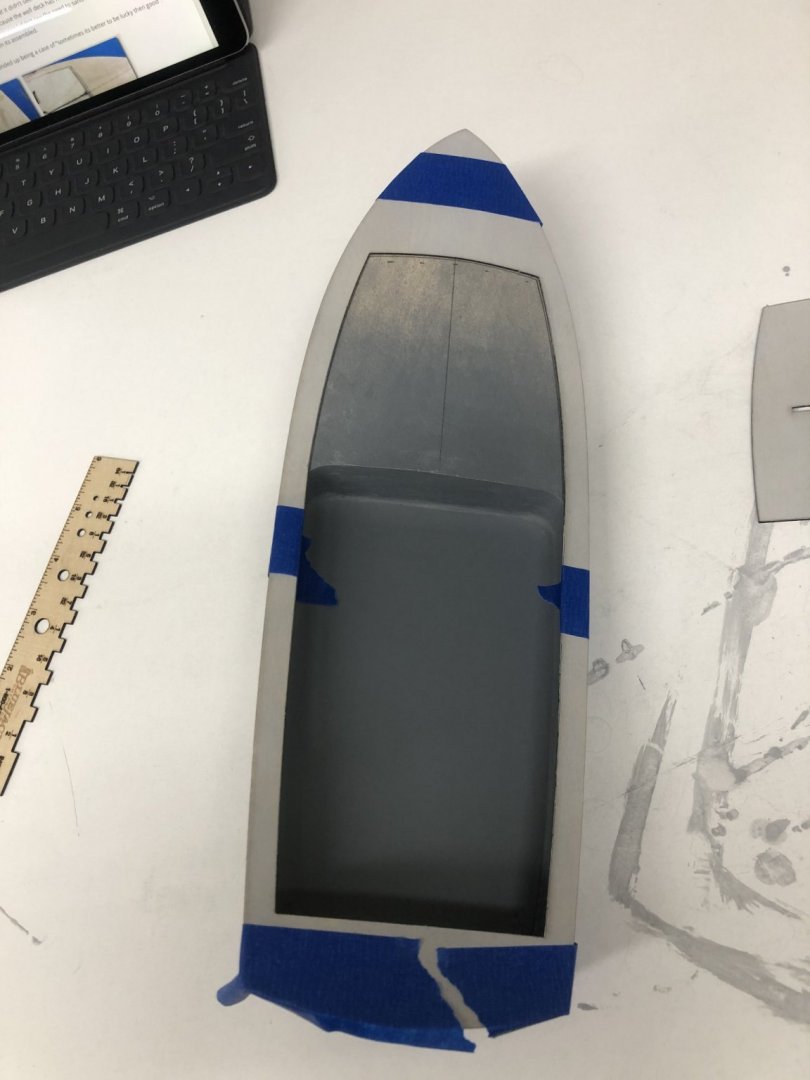
Went to the big box store and bought a spray can of Krylon high solids primer for use on hull at $4. Good results with filling and dries quickly. Sanded with wet sand paper, 600 and 1000 grit, then wiped gently with terry cloth rag towel. This simple step resulted in a primed hull that is fiberglass smooth. Not shown here, I did spray the deck well too.


- 30 replies
-
- 2
-
-
- Red Baron
- Bluejacket Shipcrafters
- (and 1 more)
-
Thank you. I could just leave it alone too. Over-thinking this.
-
Sanding the deck well has been problematic. Small space makes sanding with my fingers difficult at best. I read in previous posts that foam helps with sanding in tight quarters. I have it pretty smooth right now, not realistic for an operational lobster boat. Contemplating flooring grit for the floor of well deck. That maybe over the top. I'm not sure how I can make that happen, glue sand paper to the deck?

- 30 replies
-
- 1
-
-
- Red Baron
- Bluejacket Shipcrafters
- (and 1 more)
-
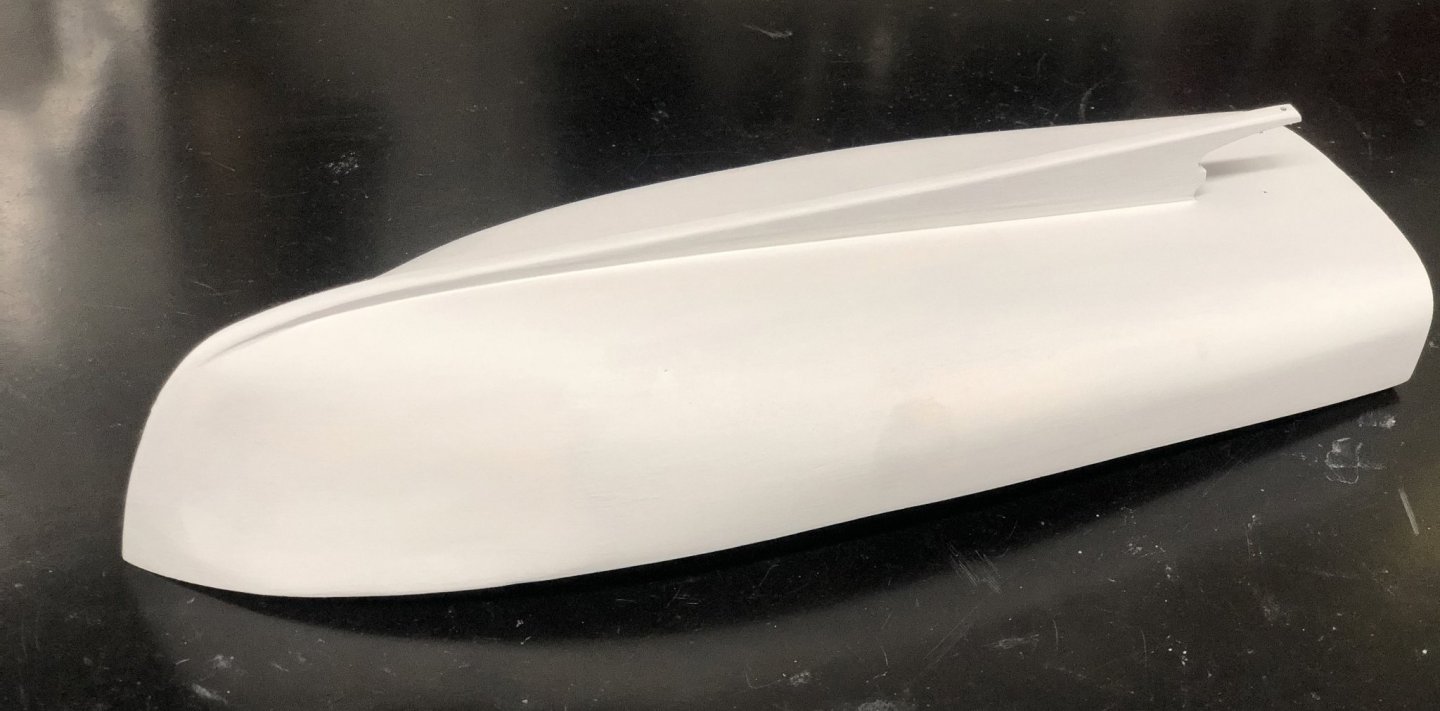
At some point prior to today's activity I drilled the holes in the keel and hull for the rudder and prop installations. Sanded and primed the hull. Mixed primer with mineral spirits in a ratio of 3:1. This mix gave me a better flow with the brush. The goal was to minimizing brush strokes and making subsequent sanding easier. I'm pleased with the day's results. More sanding and primer tomorrow.
- 30 replies
-
- 3
-
-
- Red Baron
- Bluejacket Shipcrafters
- (and 1 more)
-
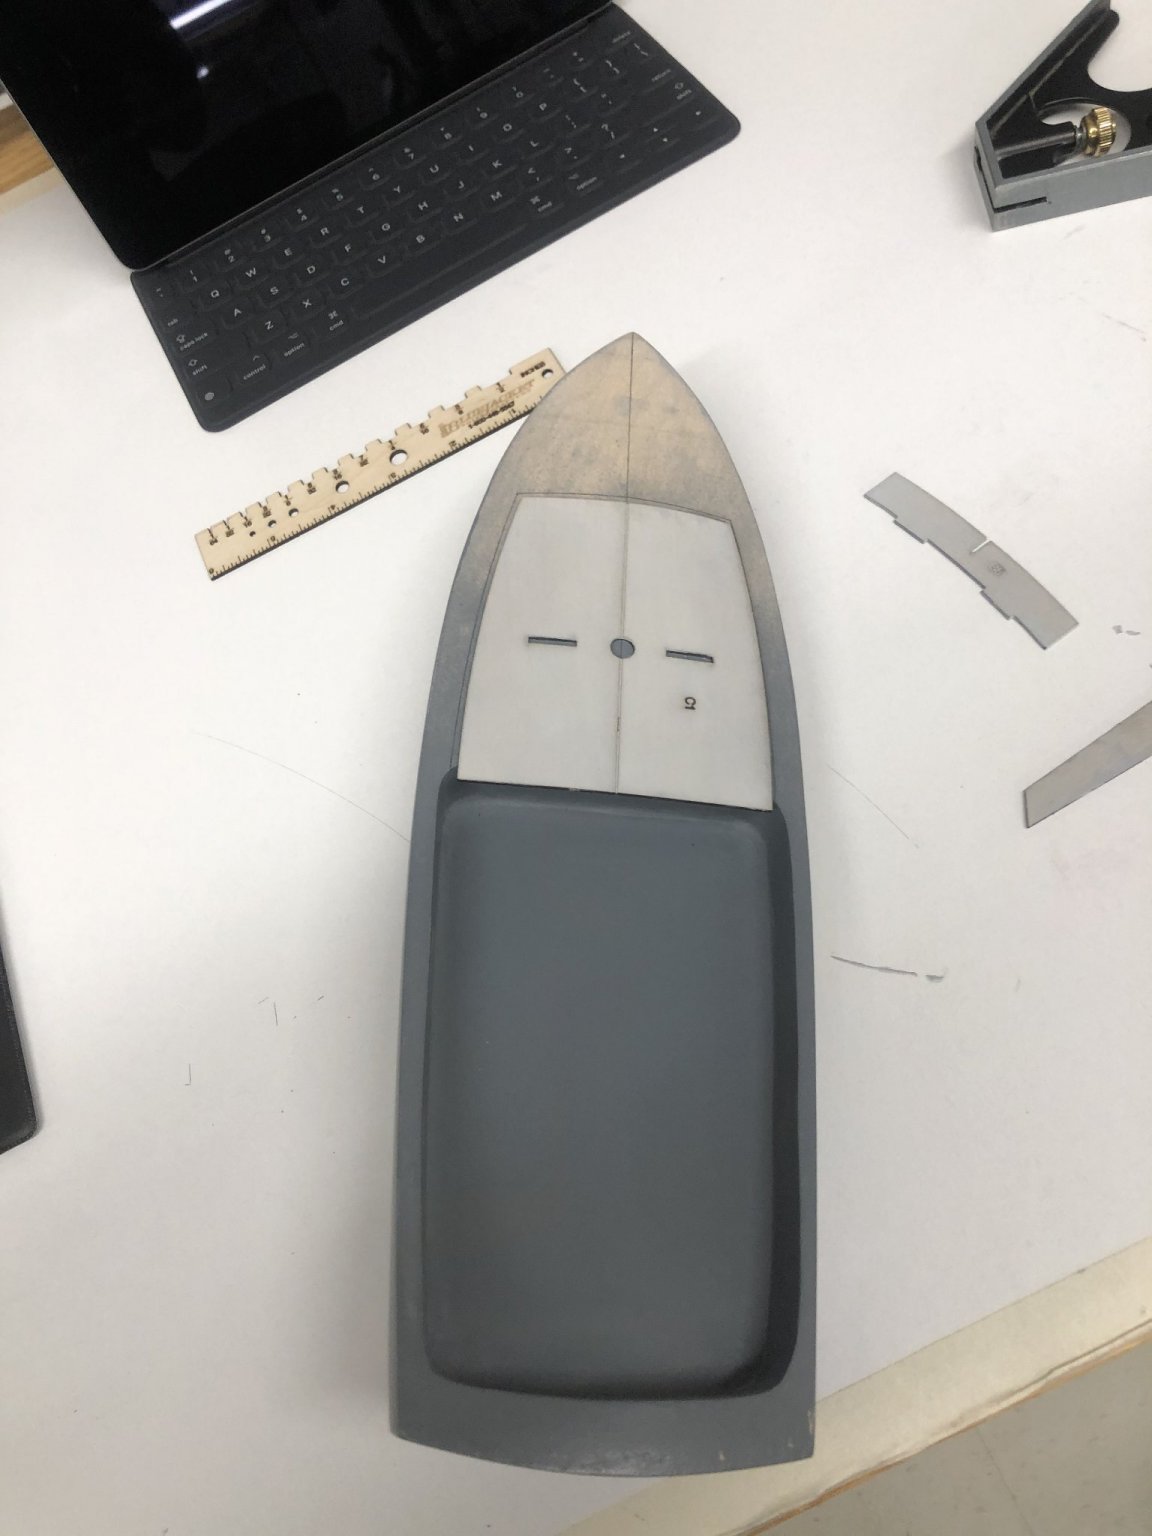
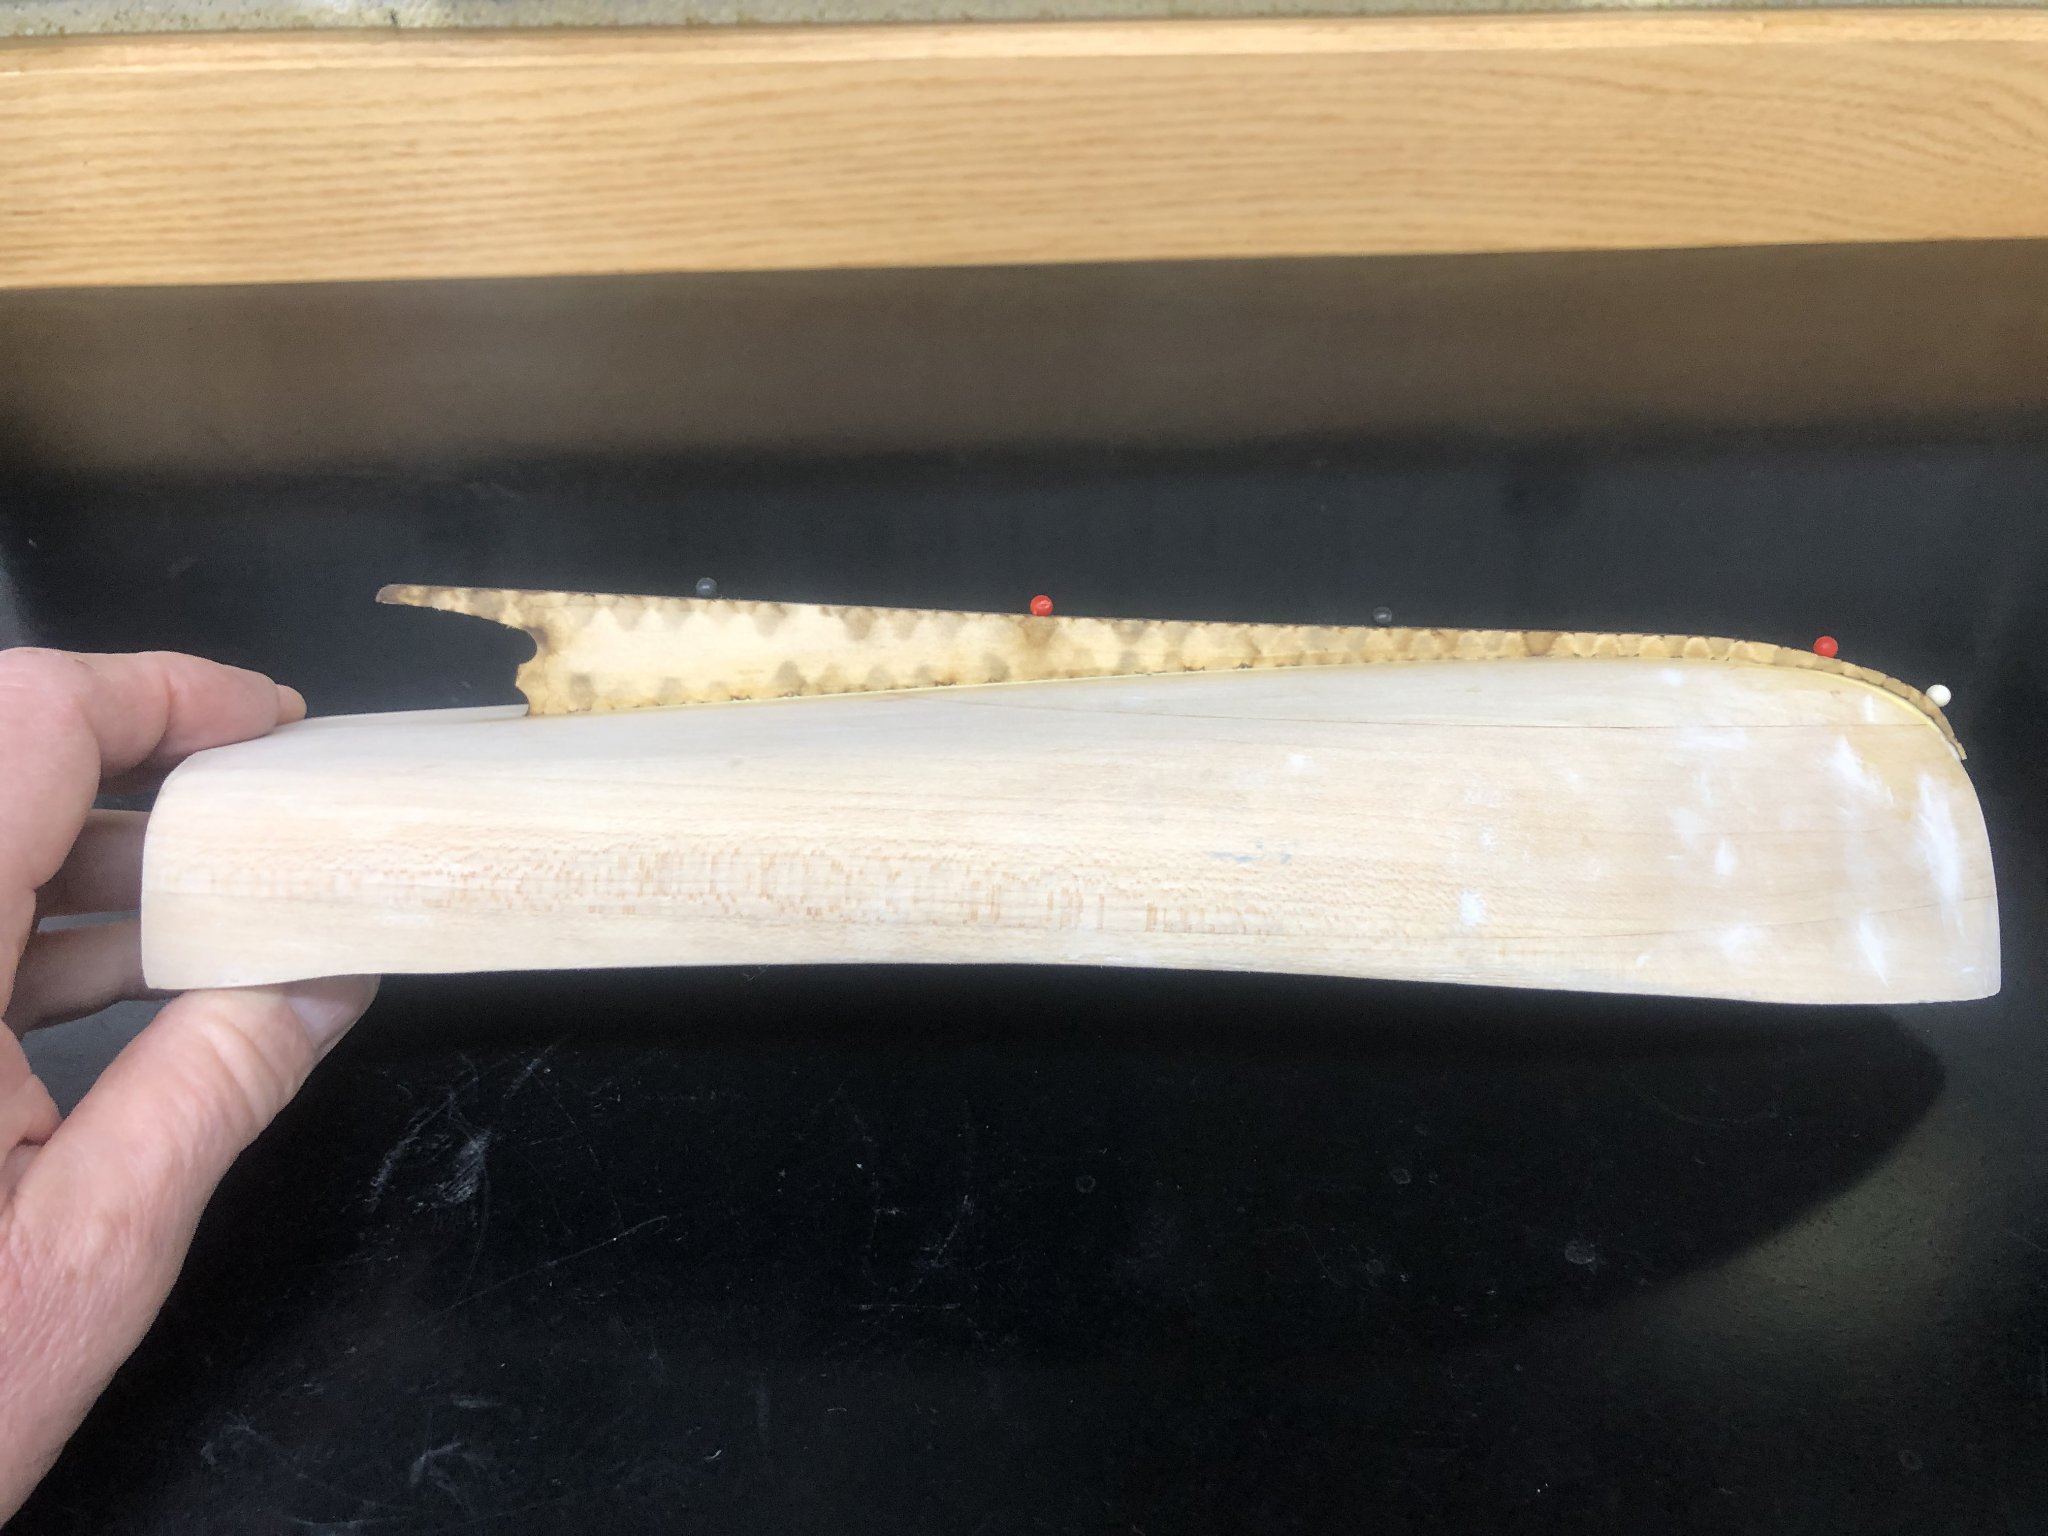
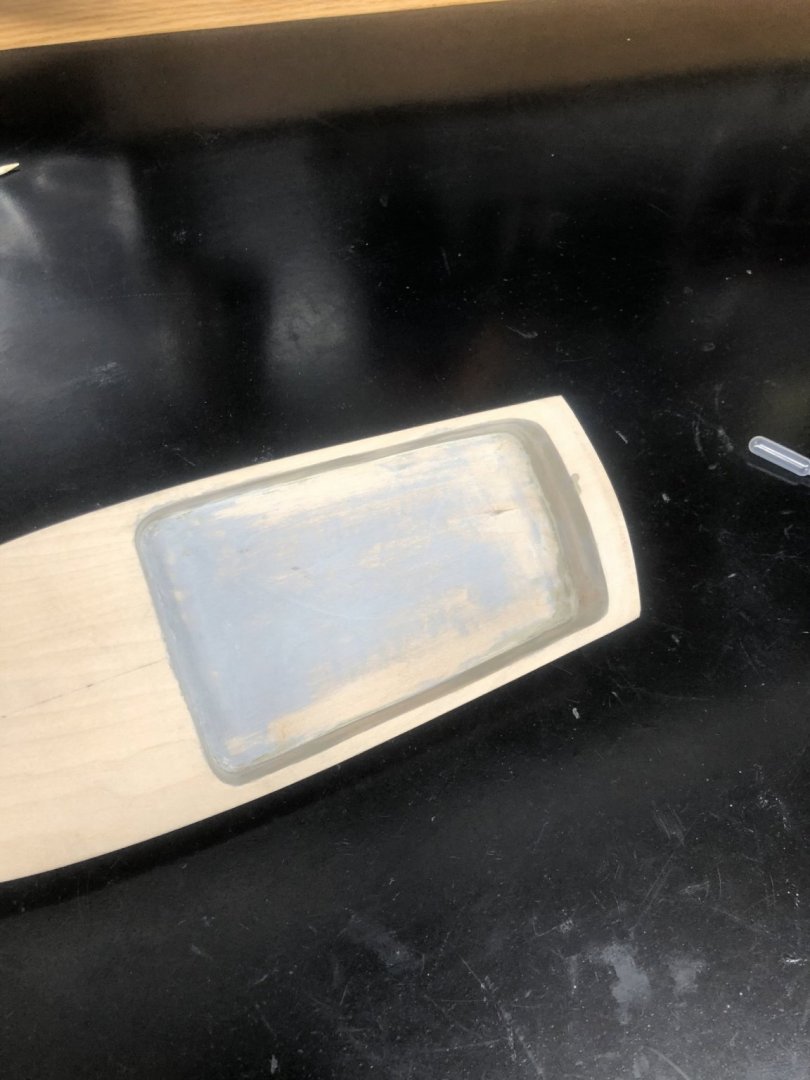
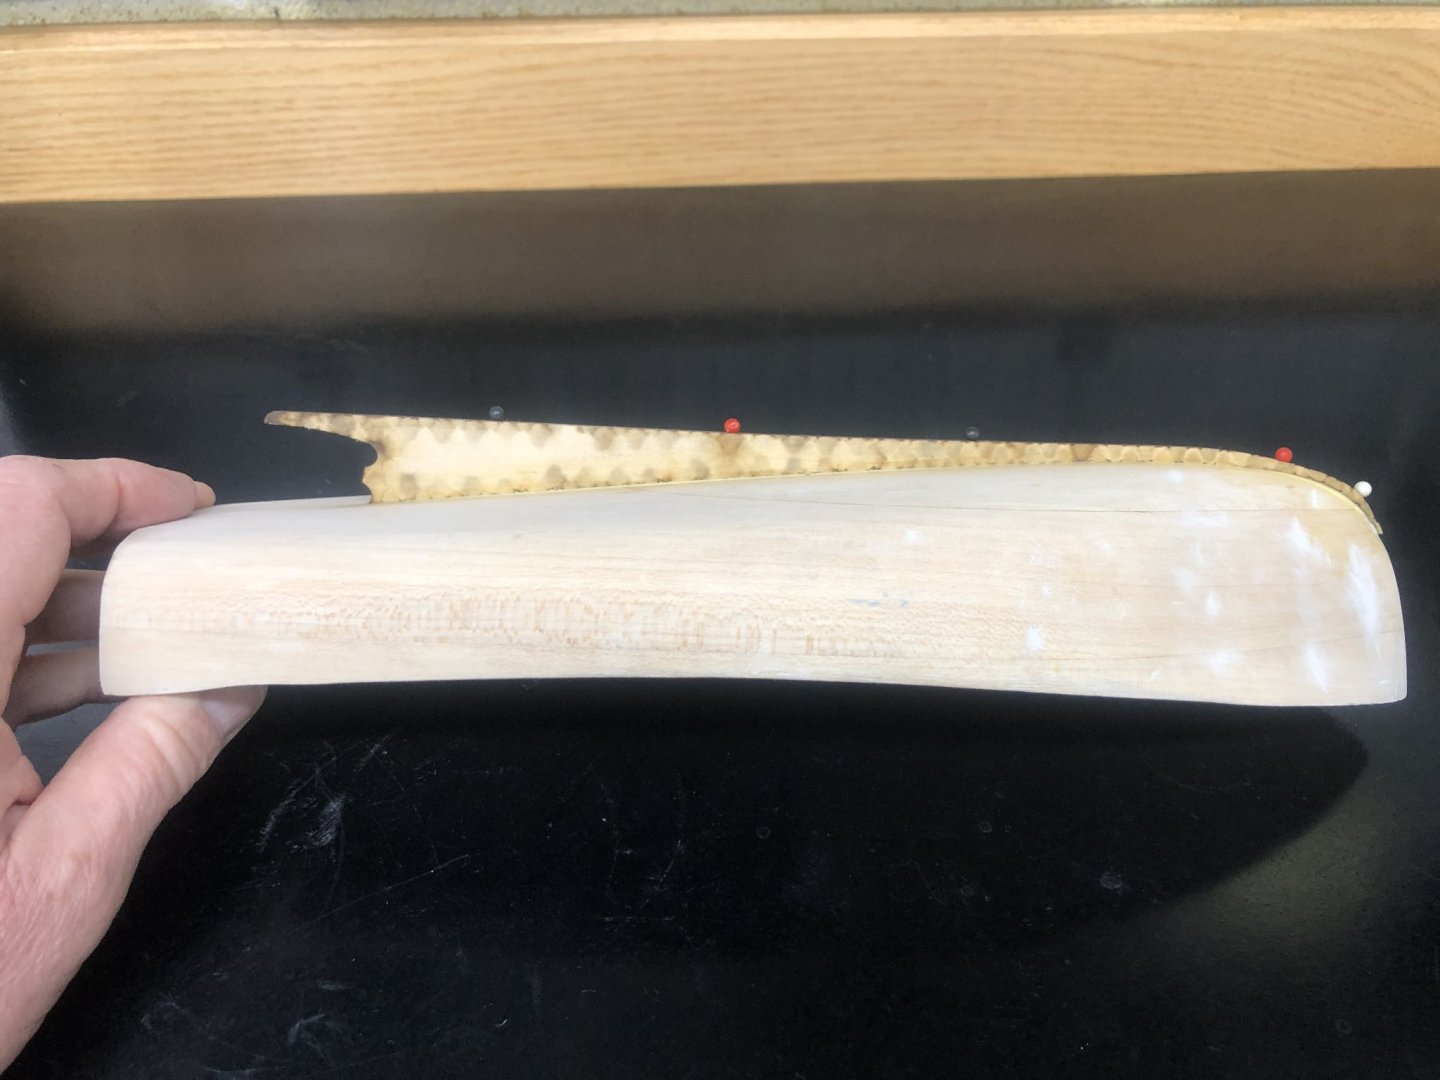
Saturday afternoon and some time for the Red Baron. Removing the pin heads and fairing the keel to the hull. The results with the wood glue and straight pins were very favorable. I applied a very thin coat of white model filler to the keel area. A short drying time with this filler allowed me to finish sanding where the keel and hull meet. I did sand those areas of the hull that I filled with fine grit paper, more so than was really necessary. At this point, I am very happy with the smoothness of the hull. Priming the basswood hull will raise the grain and expose those areas that need improvement with sanding and patching. Great!...more sanding.


- 30 replies
-
- 4
-
-
- Red Baron
- Bluejacket Shipcrafters
- (and 1 more)
-
Three days later and I was back at the work bench ready to attach the keel. I read in other posts that some builders had used tiny brass pins to affix the keel to the hull. That idea appealed to me for strength and rigidity. (Is it really necessary?) Instead of brass pins, I used 1" common straight pins. I used the kit provided #75 drill bit (the really tiny one) for five holes along the keel. The drill holes are eyeballed evenly along the keel only. I did not pre-drill into the hull. My thought process, push the pins into the hull when the keel is positioned. When the glue dries, I'll use needle nose pliers to pull the heads off the pins and sand what is left of the pin. Additionally, I used generic wood glue versus CA glue. Wood glue has a setup time measured in minutes, CA glue is nearly instantaneous. I wanted the ability to move or align the keel. Additionally, the tiny gaps between the hull and the keel, wood glue would fill these voids. I did break the forward portion of the keel. I was being careful too. Stuff happens. A very light coat of glue on the keel is all that is required. Setting the pins was harder that I thought it would be. I used a hammer to set the pins. The round pinheads helped set the keel. The gap between the hull and keel is negligible, but I've got filler for that. Overall, I am happy with today's results.

- 30 replies
-
- 2
-
-
- Red Baron
- Bluejacket Shipcrafters
- (and 1 more)
-
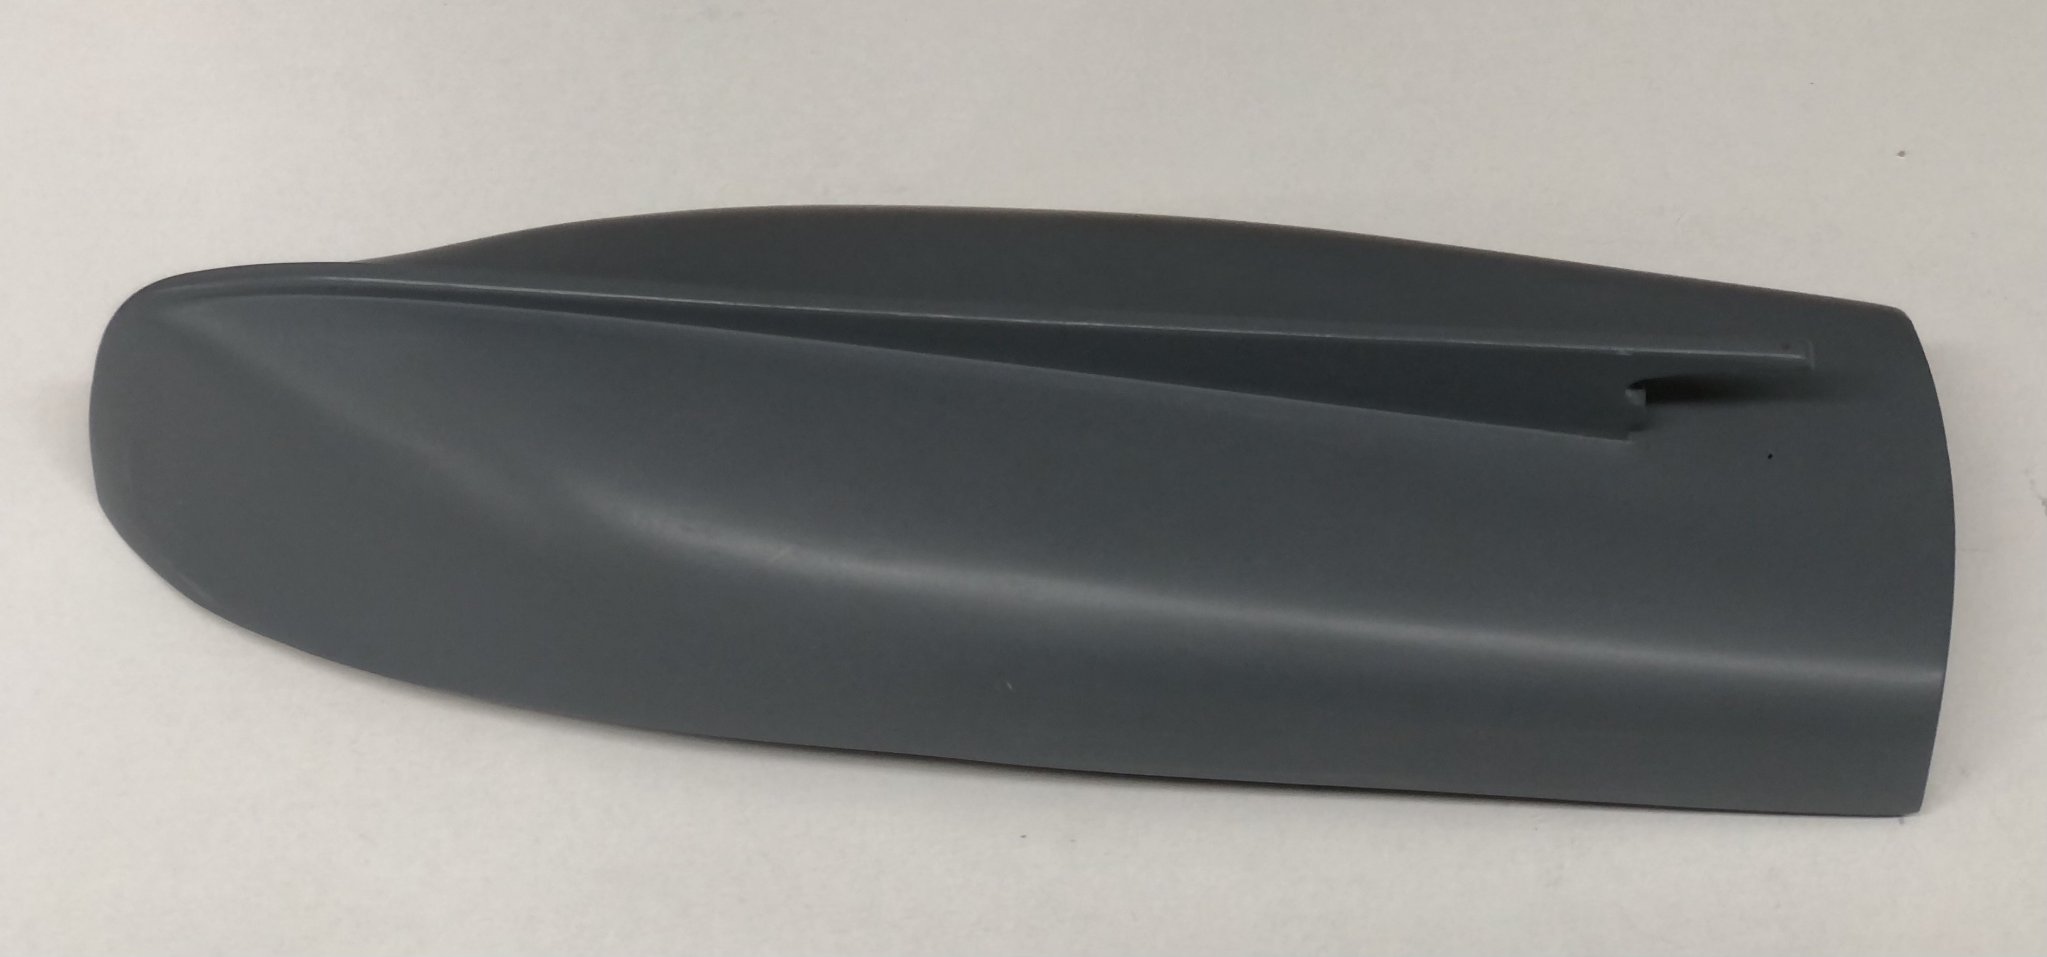
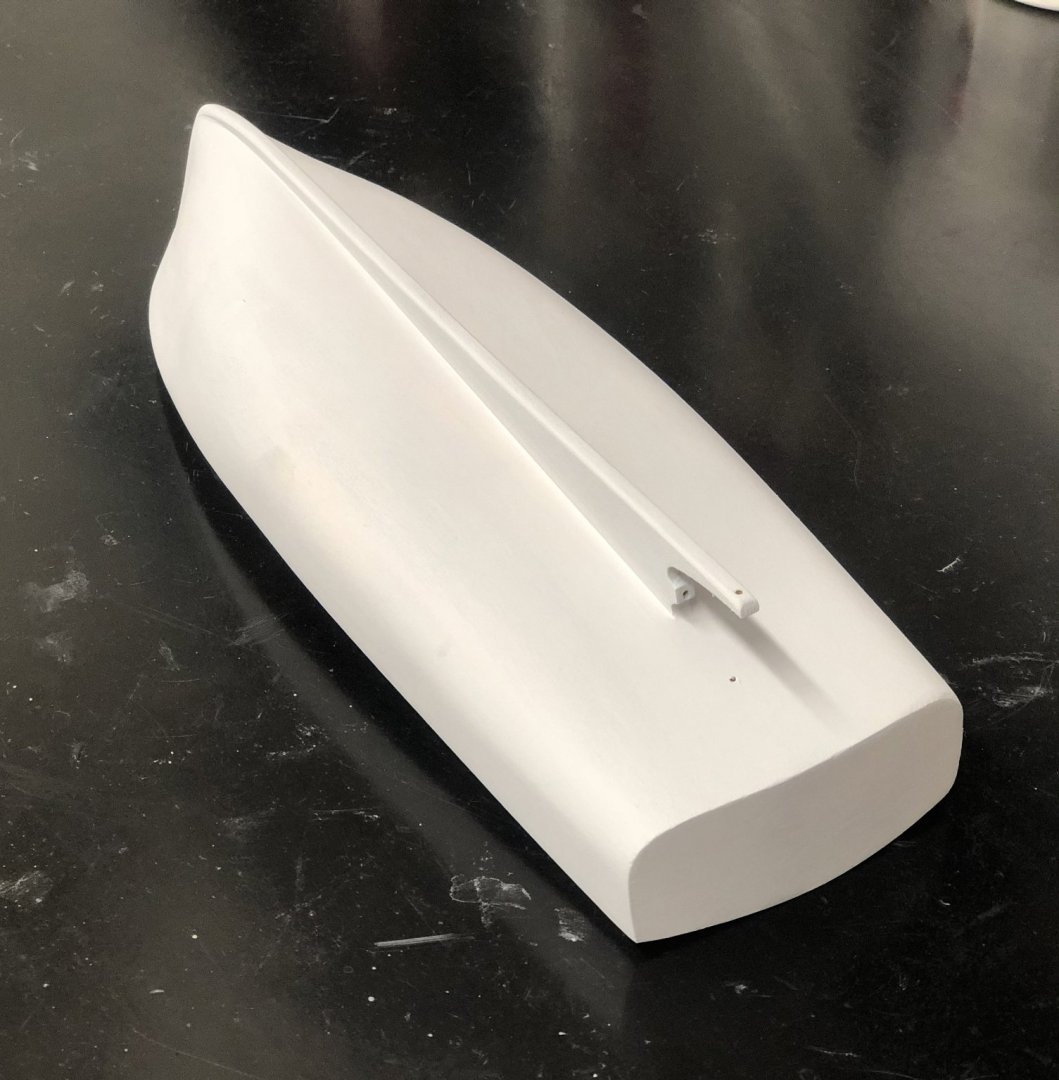
I spent the better part of the day shaving, sanding and sculpting the bow area of the boat. Patience and music made the job tolerable. Carefully shaving very shallow strokes, makes it a straight forward job. I used aggressive sand paper to get the bow close to the template shapes. A lot of sanding with the medium grit helped with the finesse work. Nearly three hours spent on this step. A note of caution, the hobby knife blades provided in the kit are extremely sharp. It's very easy to nick a finger. It did it twice and that brought the whole adventure to a stop for the day. I will need to heal. Unfortunately, no pictures.
- 30 replies
-
- 1
-
-
- Red Baron
- Bluejacket Shipcrafters
- (and 1 more)
-
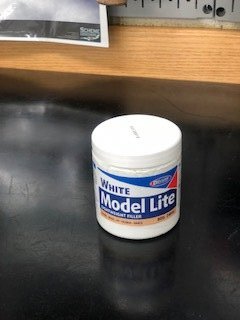
Model Lite was suggested to me by an airplane RC guy. He swears by it so I purchased it on Amazon along with some non specific brand of spot putty. This jar arrived this evening. I will provide a full report.
- 30 replies
-
- 2
-
-
- Red Baron
- Bluejacket Shipcrafters
- (and 1 more)
-
Today, a departure from the order of steps suggested by the instructions. Actually, I'm just procrastinating on sanding the hull. The hull and sanding seems like a daunting task. I worked on the motor box. I rounded the edges as I thought about sharp corners on a rocking boat while attempting to work in the cabin area. Careful sanding with 150 grit took awhile, but, in the end I got the look I was after. I brushed on the primer with the kit provided brush. Randomly, I dipped the brush in the paint thinner and it help spread the primer evenly. Tomorrow, the hull.
- 30 replies
-
- 4
-
-
- Red Baron
- Bluejacket Shipcrafters
- (and 1 more)
-
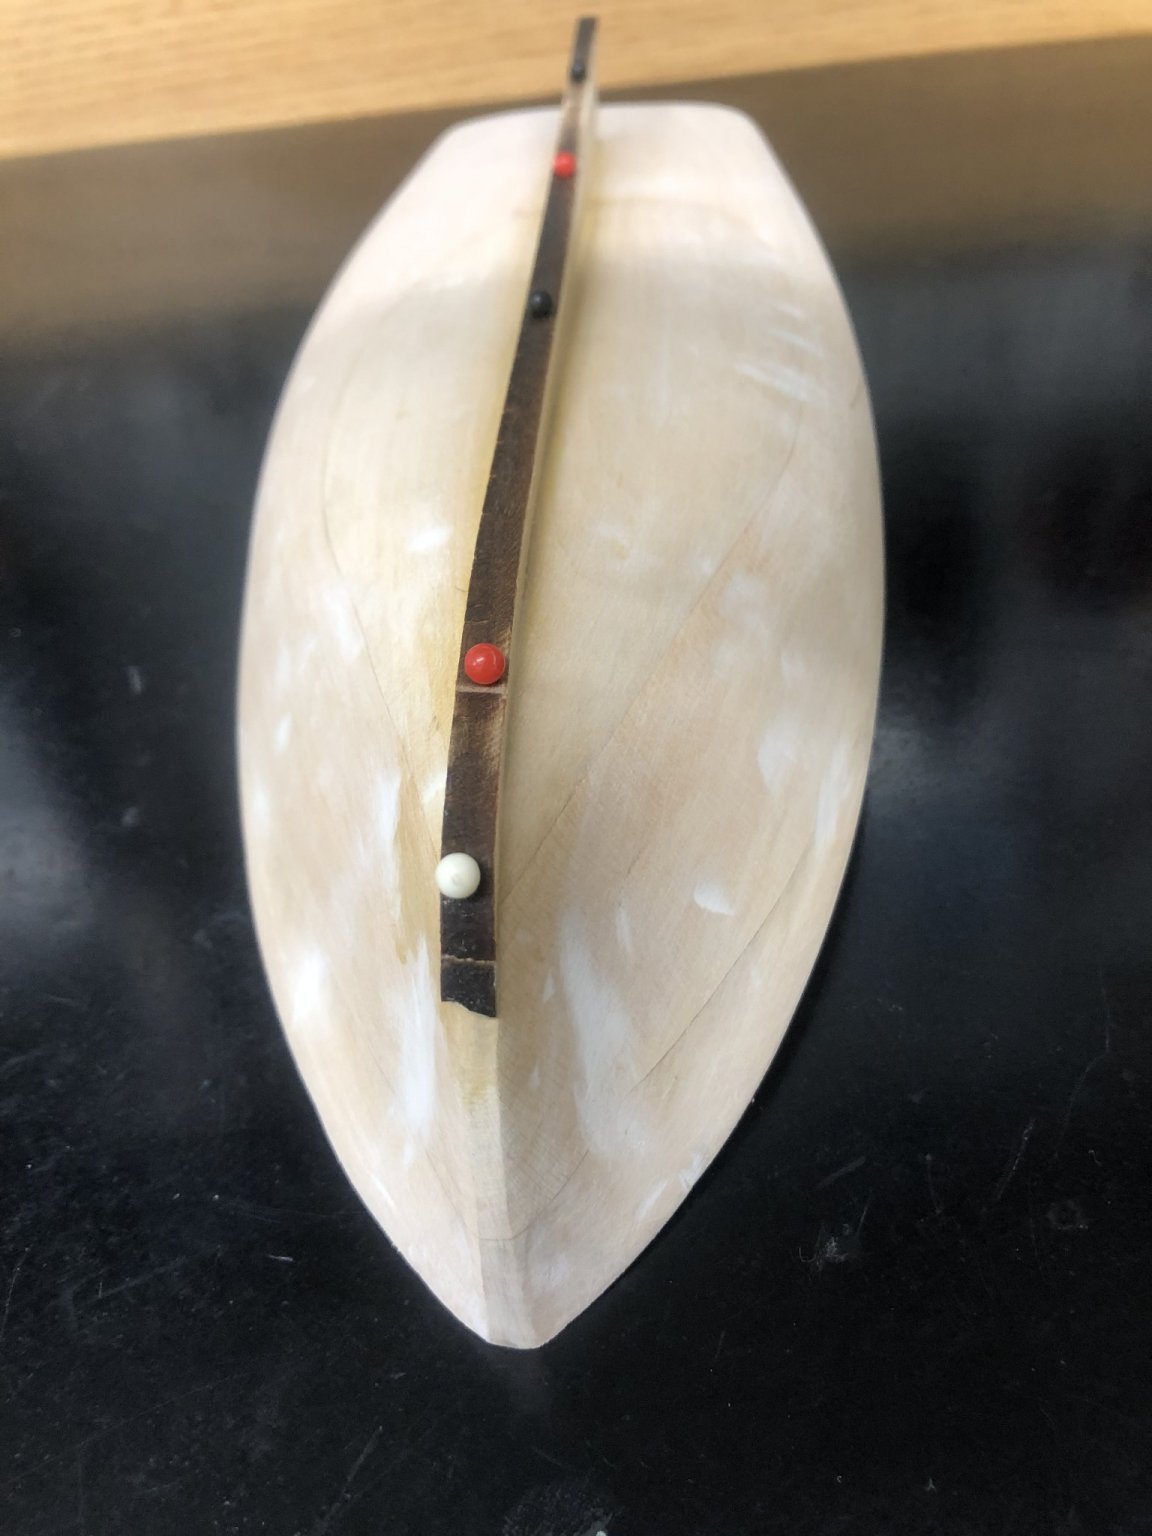
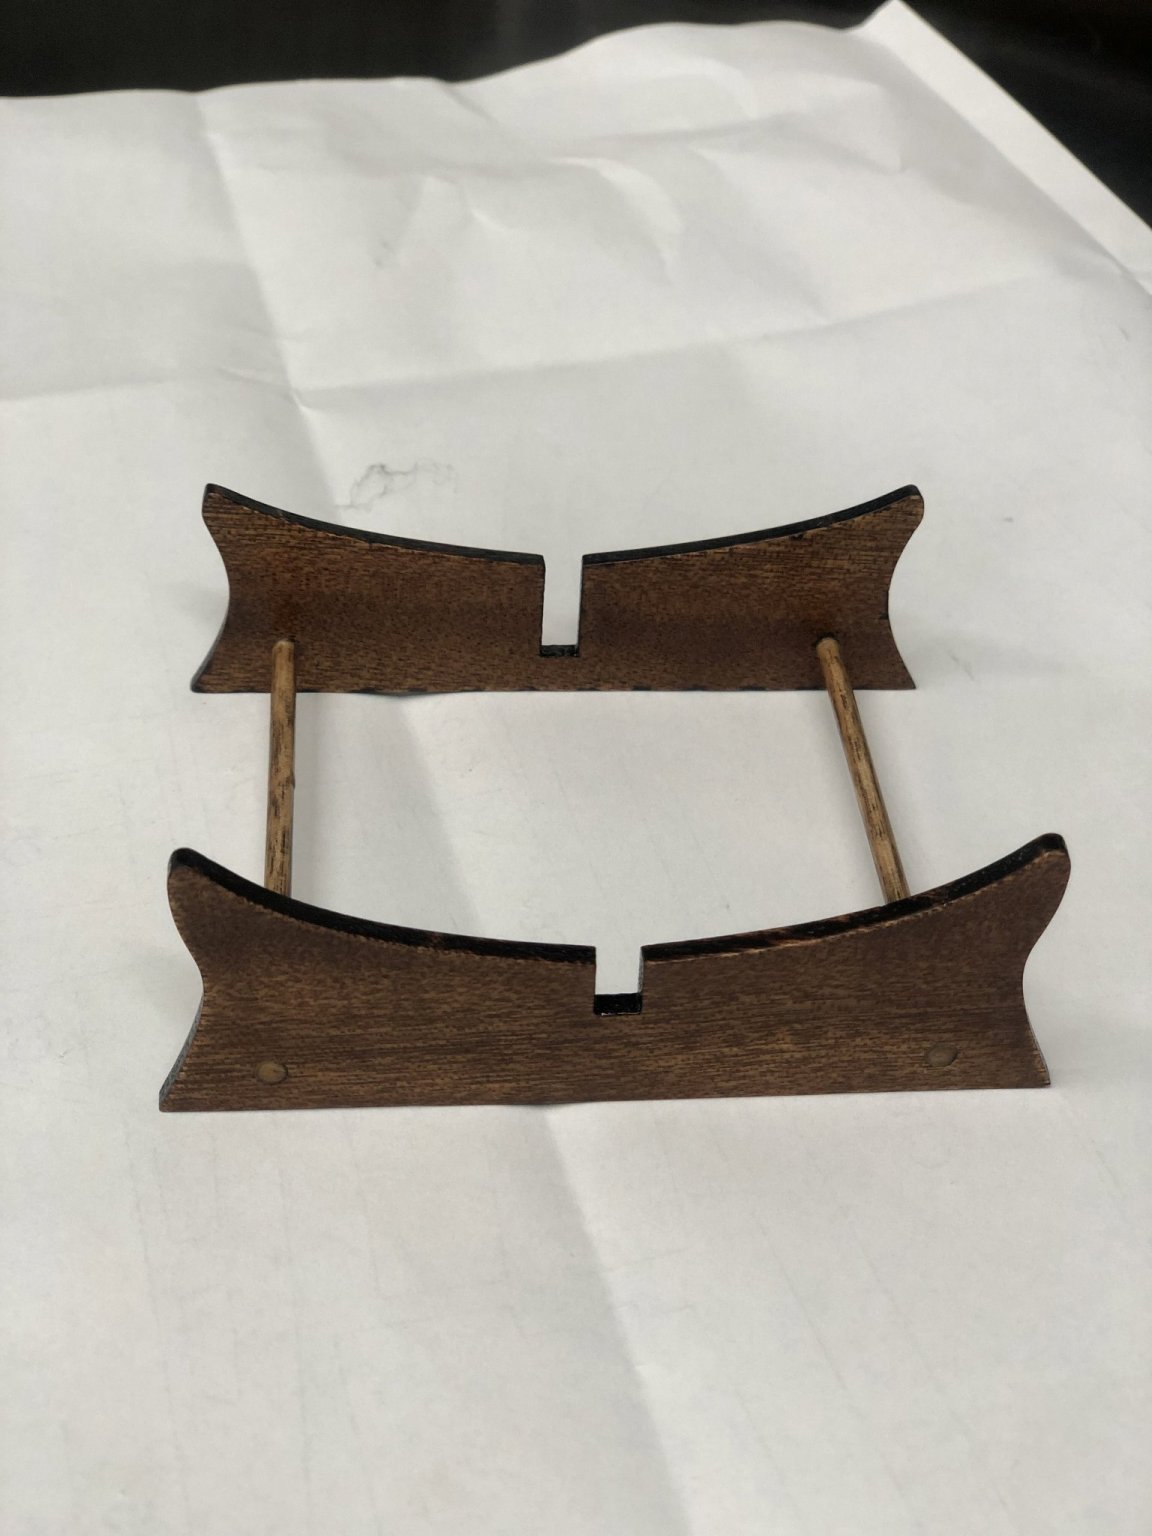
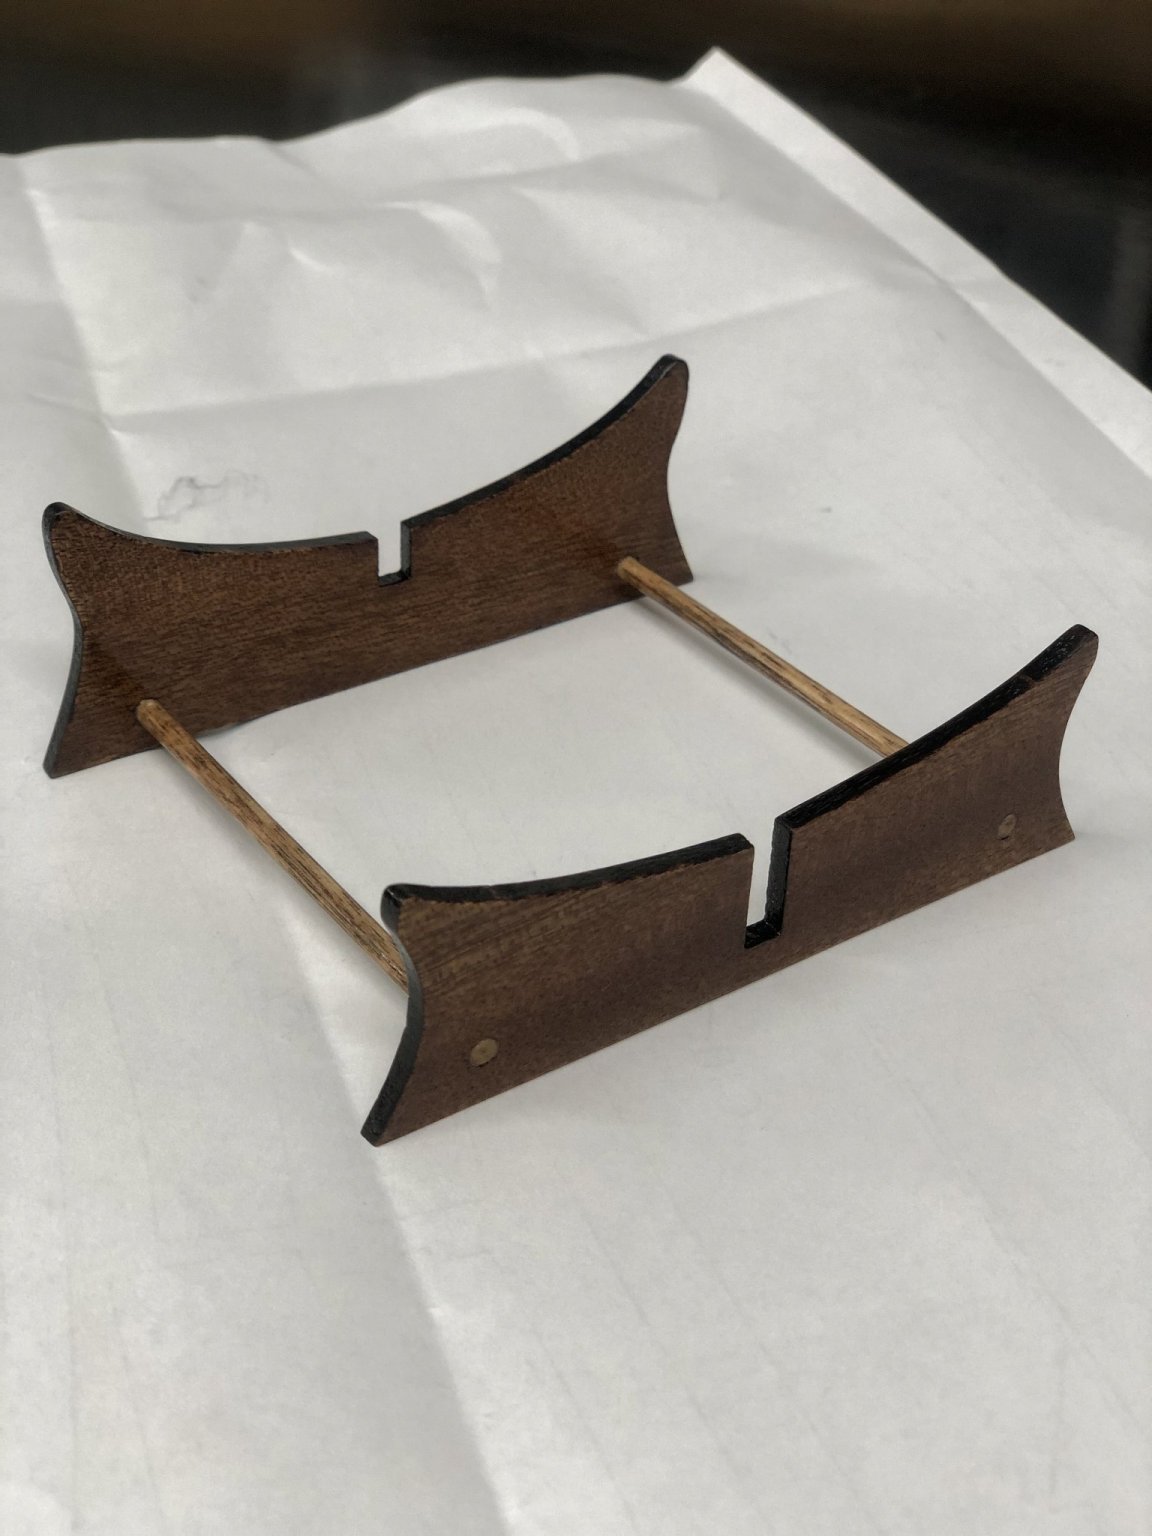
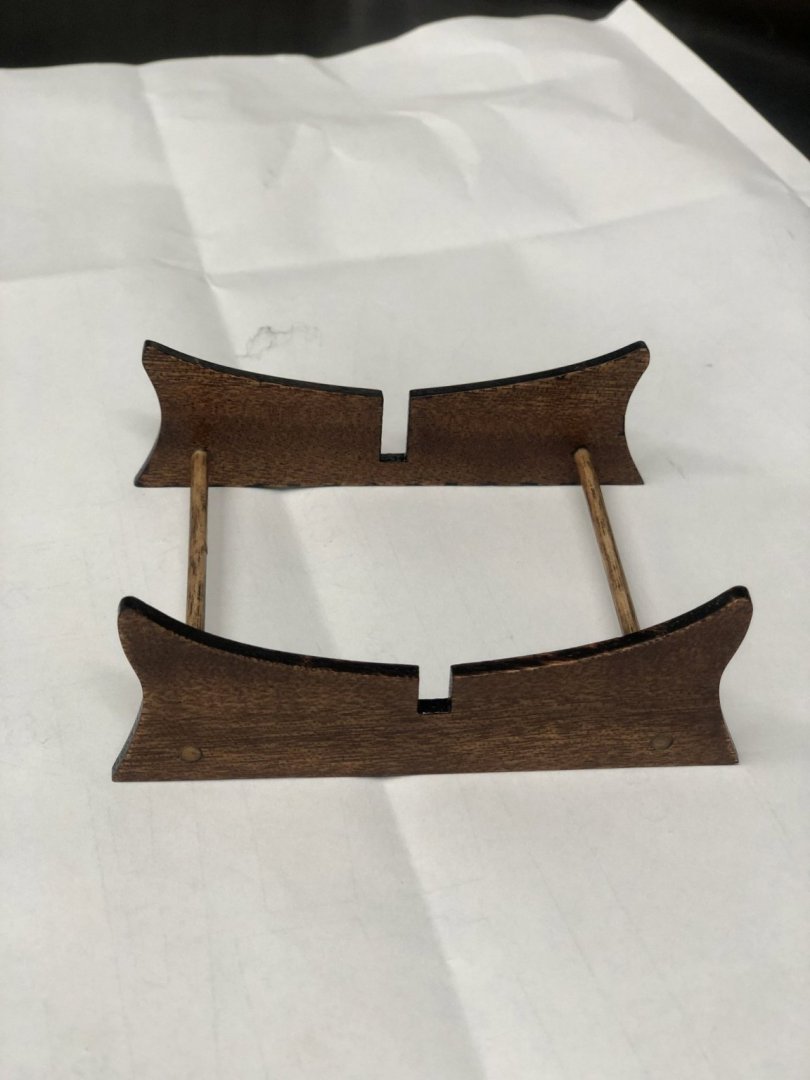
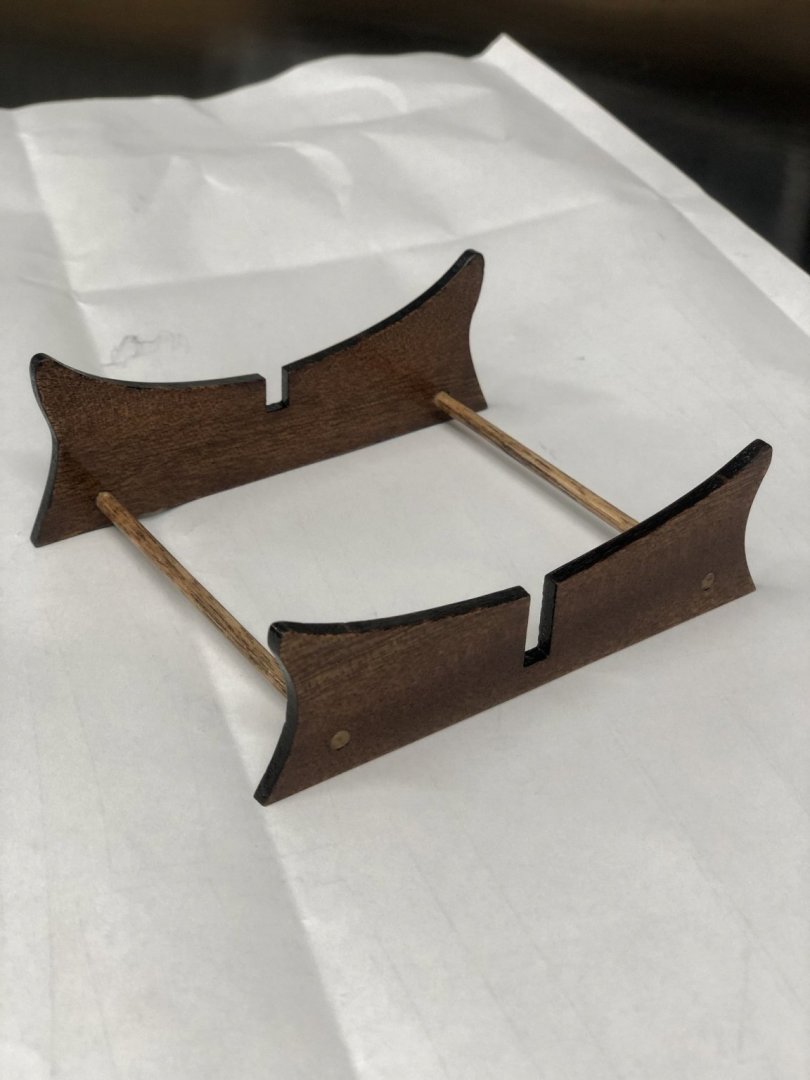
Finished up the cradle this weekend. Stained all four pieces with a dark oak stain followed by three coats of glaze. I did sand in between glaze applications. It turned out fine. I spent a lot of time on it as I started with an easy assembly.
- 30 replies
-
- 3
-
-
- Red Baron
- Bluejacket Shipcrafters
- (and 1 more)
-
Back at it this morning with some sanding and priming. Pretty straight forward stuff. I chose to paint both sides of the cabin structure. Plans suggest painting one side, however, I had a brush and primer so I practiced on both sides. I'll let the primer dry and then sand and prime again tomorrow. Mahogany parts await, sanding, staining and some clear coat with glaze.

- 30 replies
-
- 3
-
-
- Red Baron
- Bluejacket Shipcrafters
- (and 1 more)
-
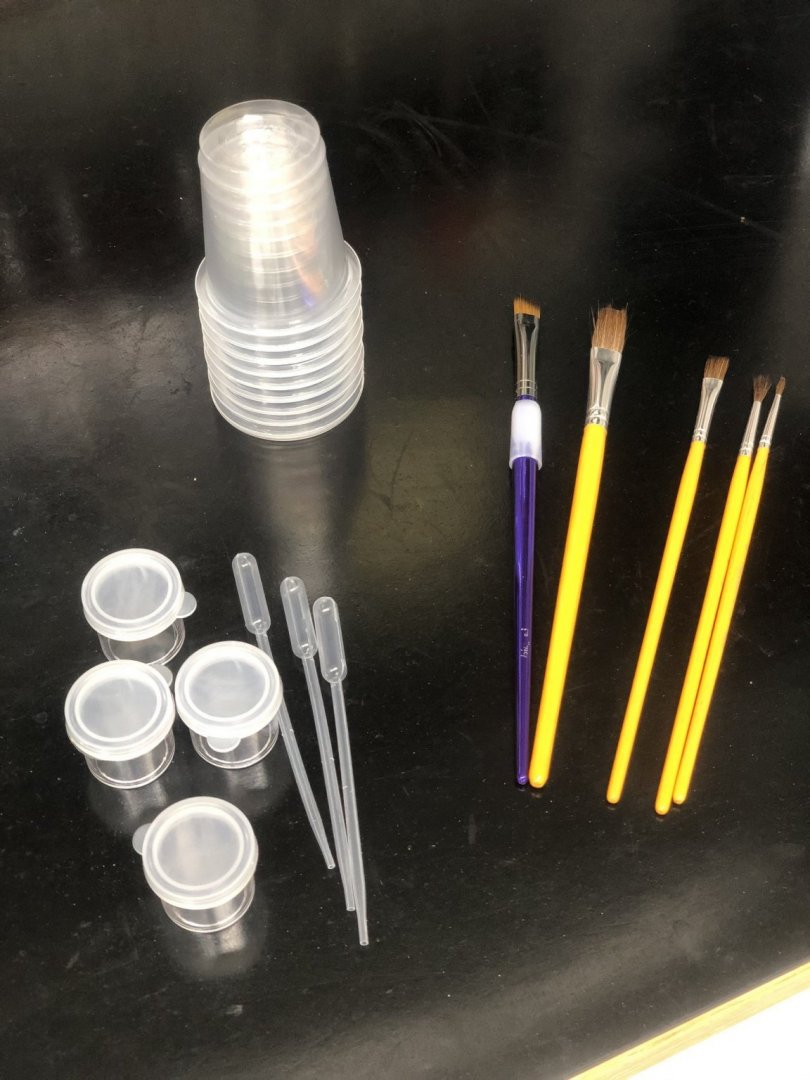
Yesterday, I stopped by Hobby Lobby and low and behold, a 50% off on their paint supplies. Clearly I had to have some new stuff for my boat build. Good brushes, pipettes for mixing, plastic cups for mineral spirits and sealed containers for something. My wife purchased a few sewing items too. All in all, a good visit.
- 30 replies
-
- 1
-
-
- Red Baron
- Bluejacket Shipcrafters
- (and 1 more)
-
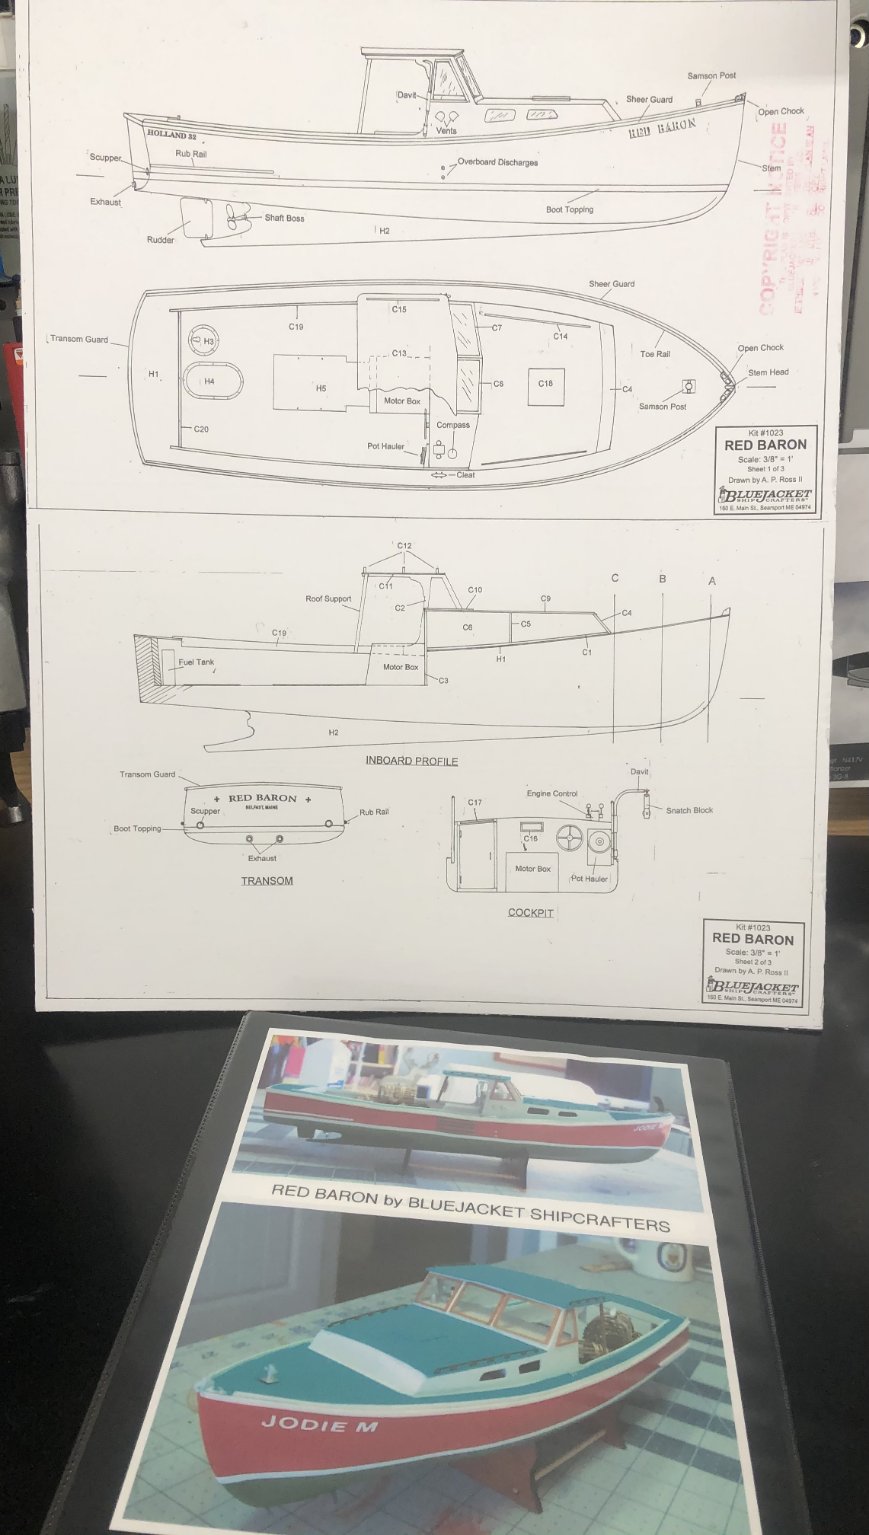
Glued the plans to a stiff piece of cardboard to hang right in front of workbench. Corrected title on my boat build binder too, subtle, but important to me.

- 30 replies
-
- 2
-
-
- Red Baron
- Bluejacket Shipcrafters
- (and 1 more)
-
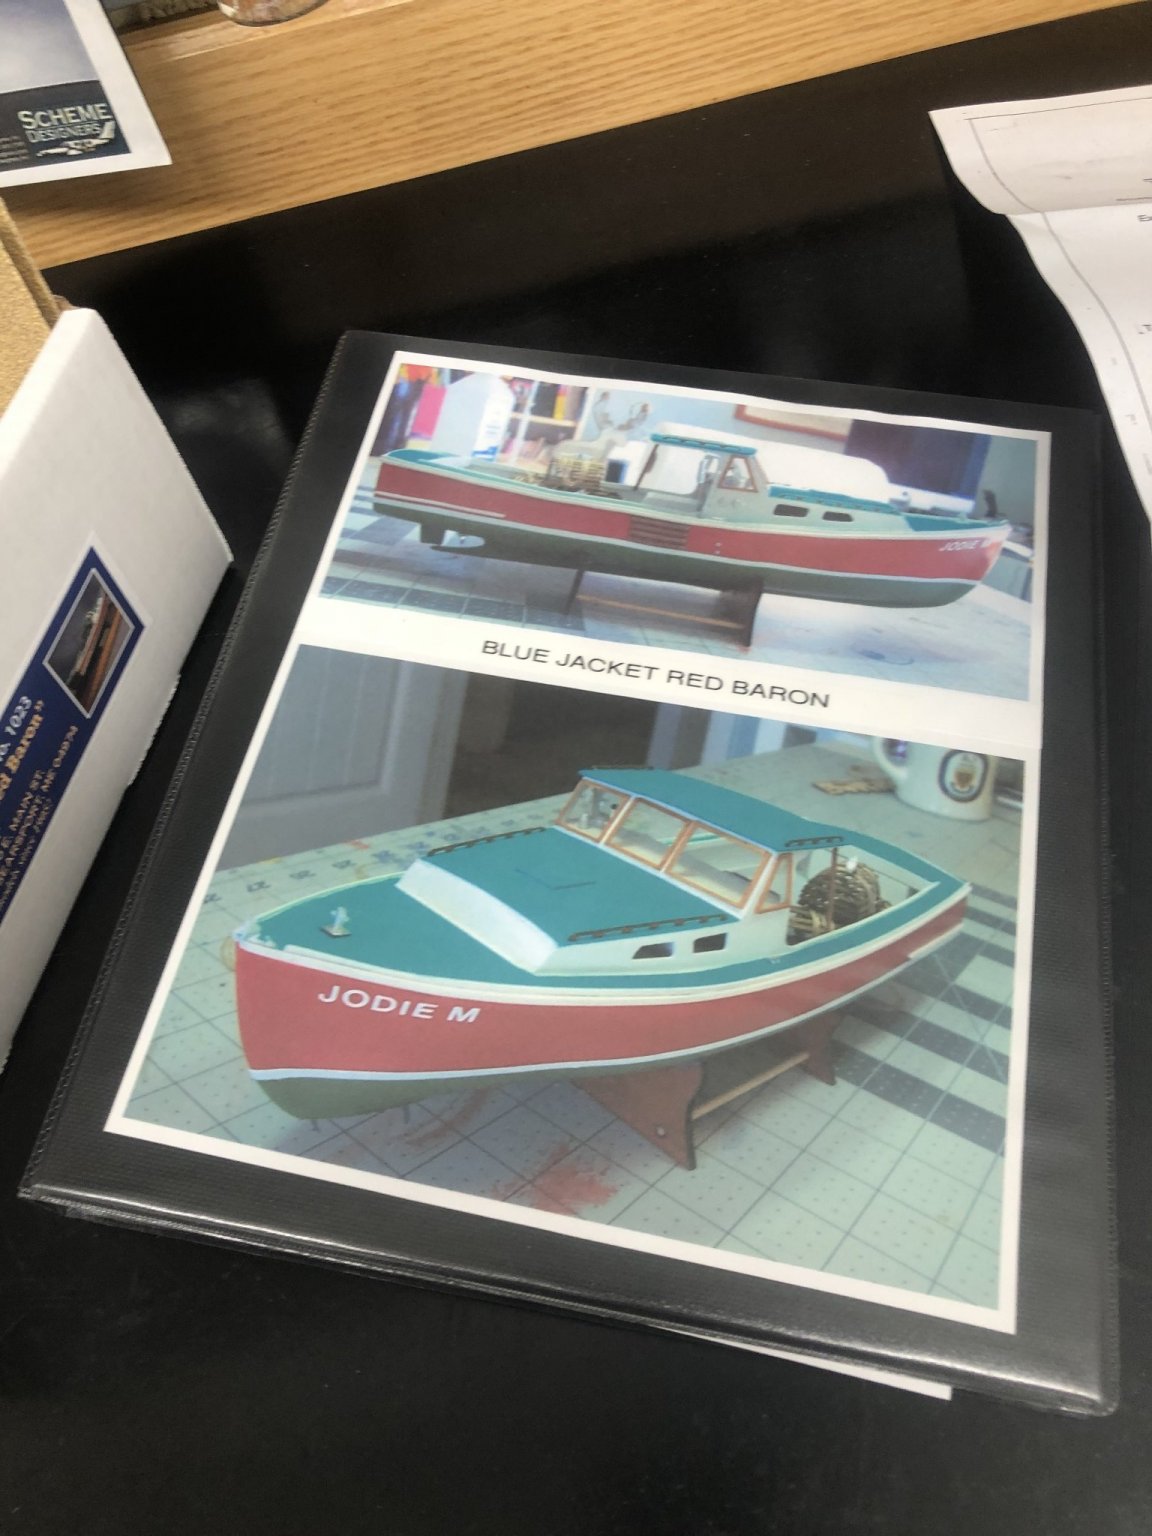
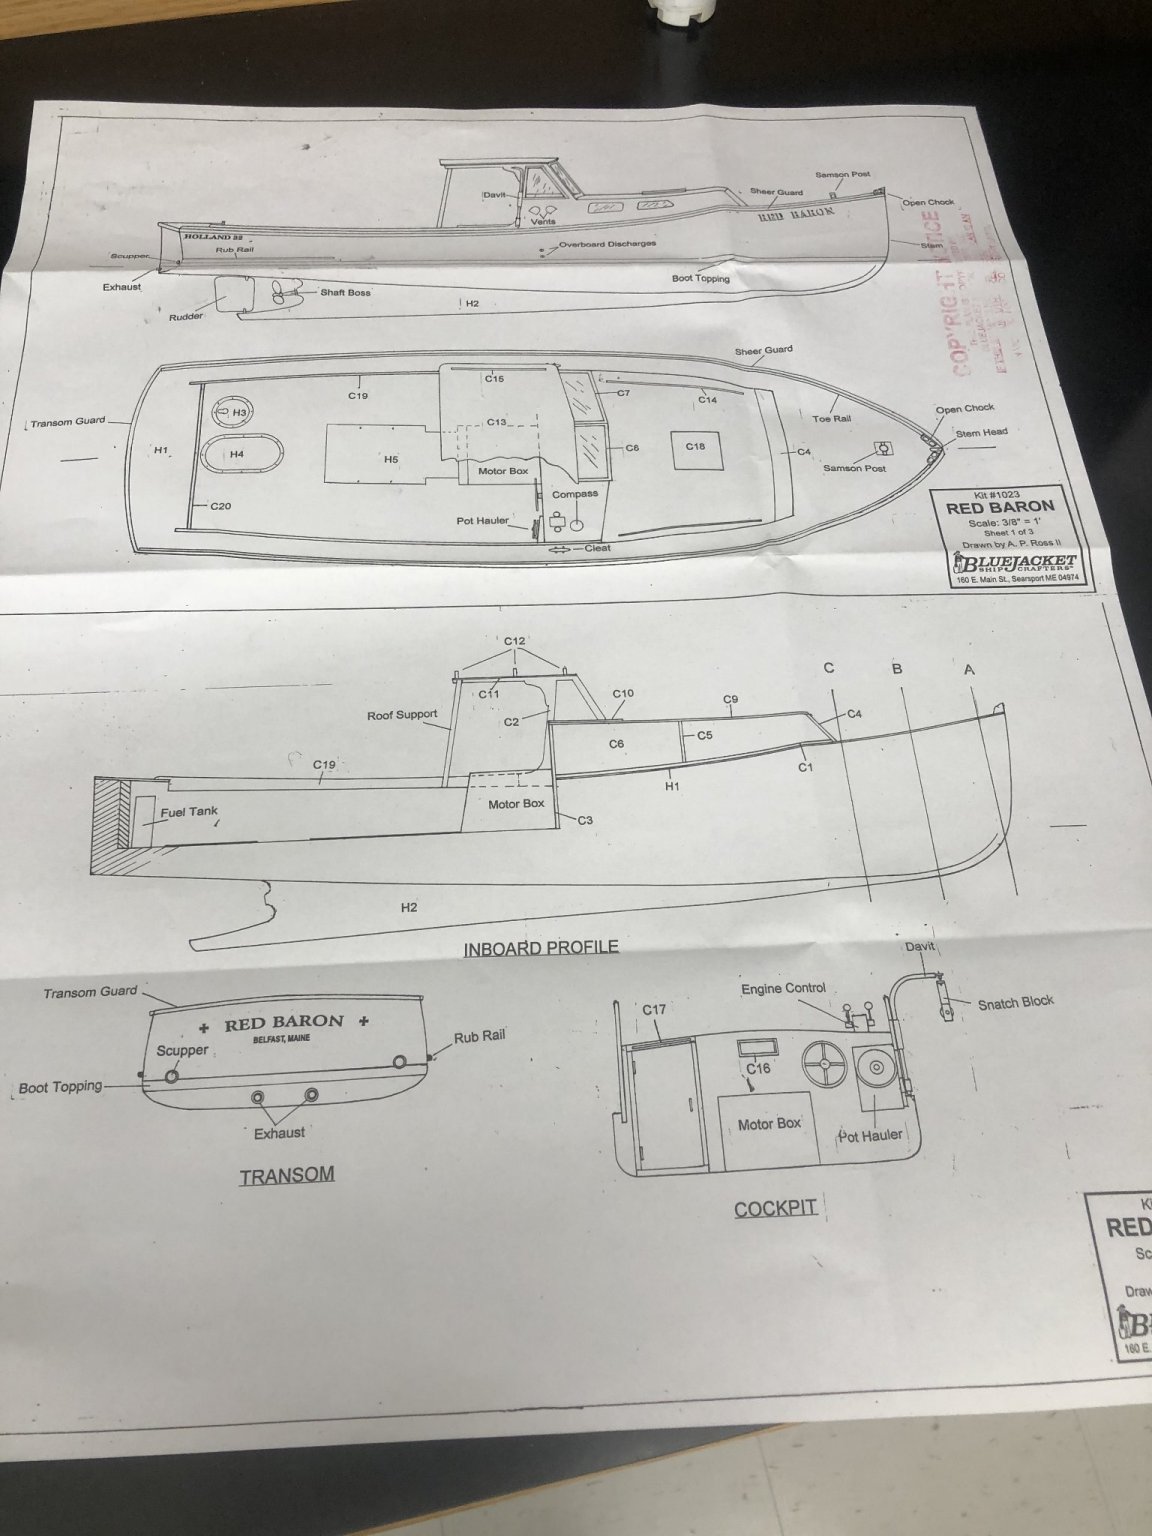
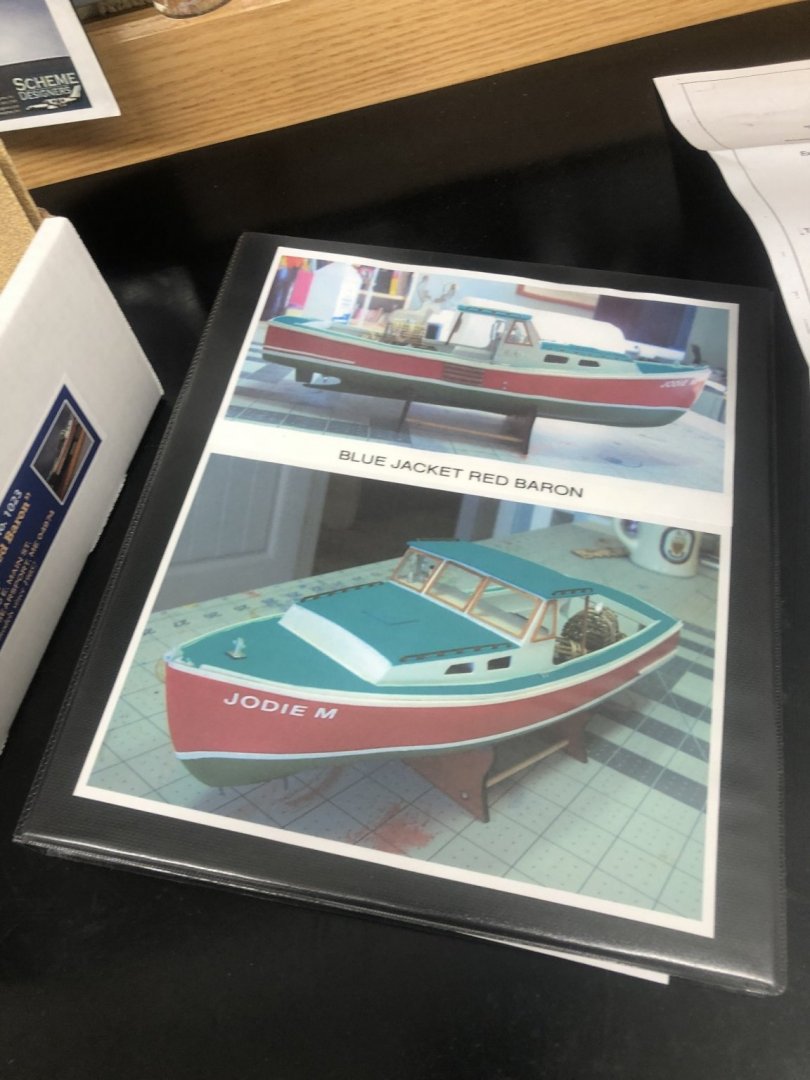
Clearly, gaining inspiration from schooner, pwog and CTYankee build logs. Using a photo from schooner on my build binder. Thank you to these individuals for posting detailed photos and comments.
- 30 replies
-
- 3
-
-
- Red Baron
- Bluejacket Shipcrafters
- (and 1 more)
-
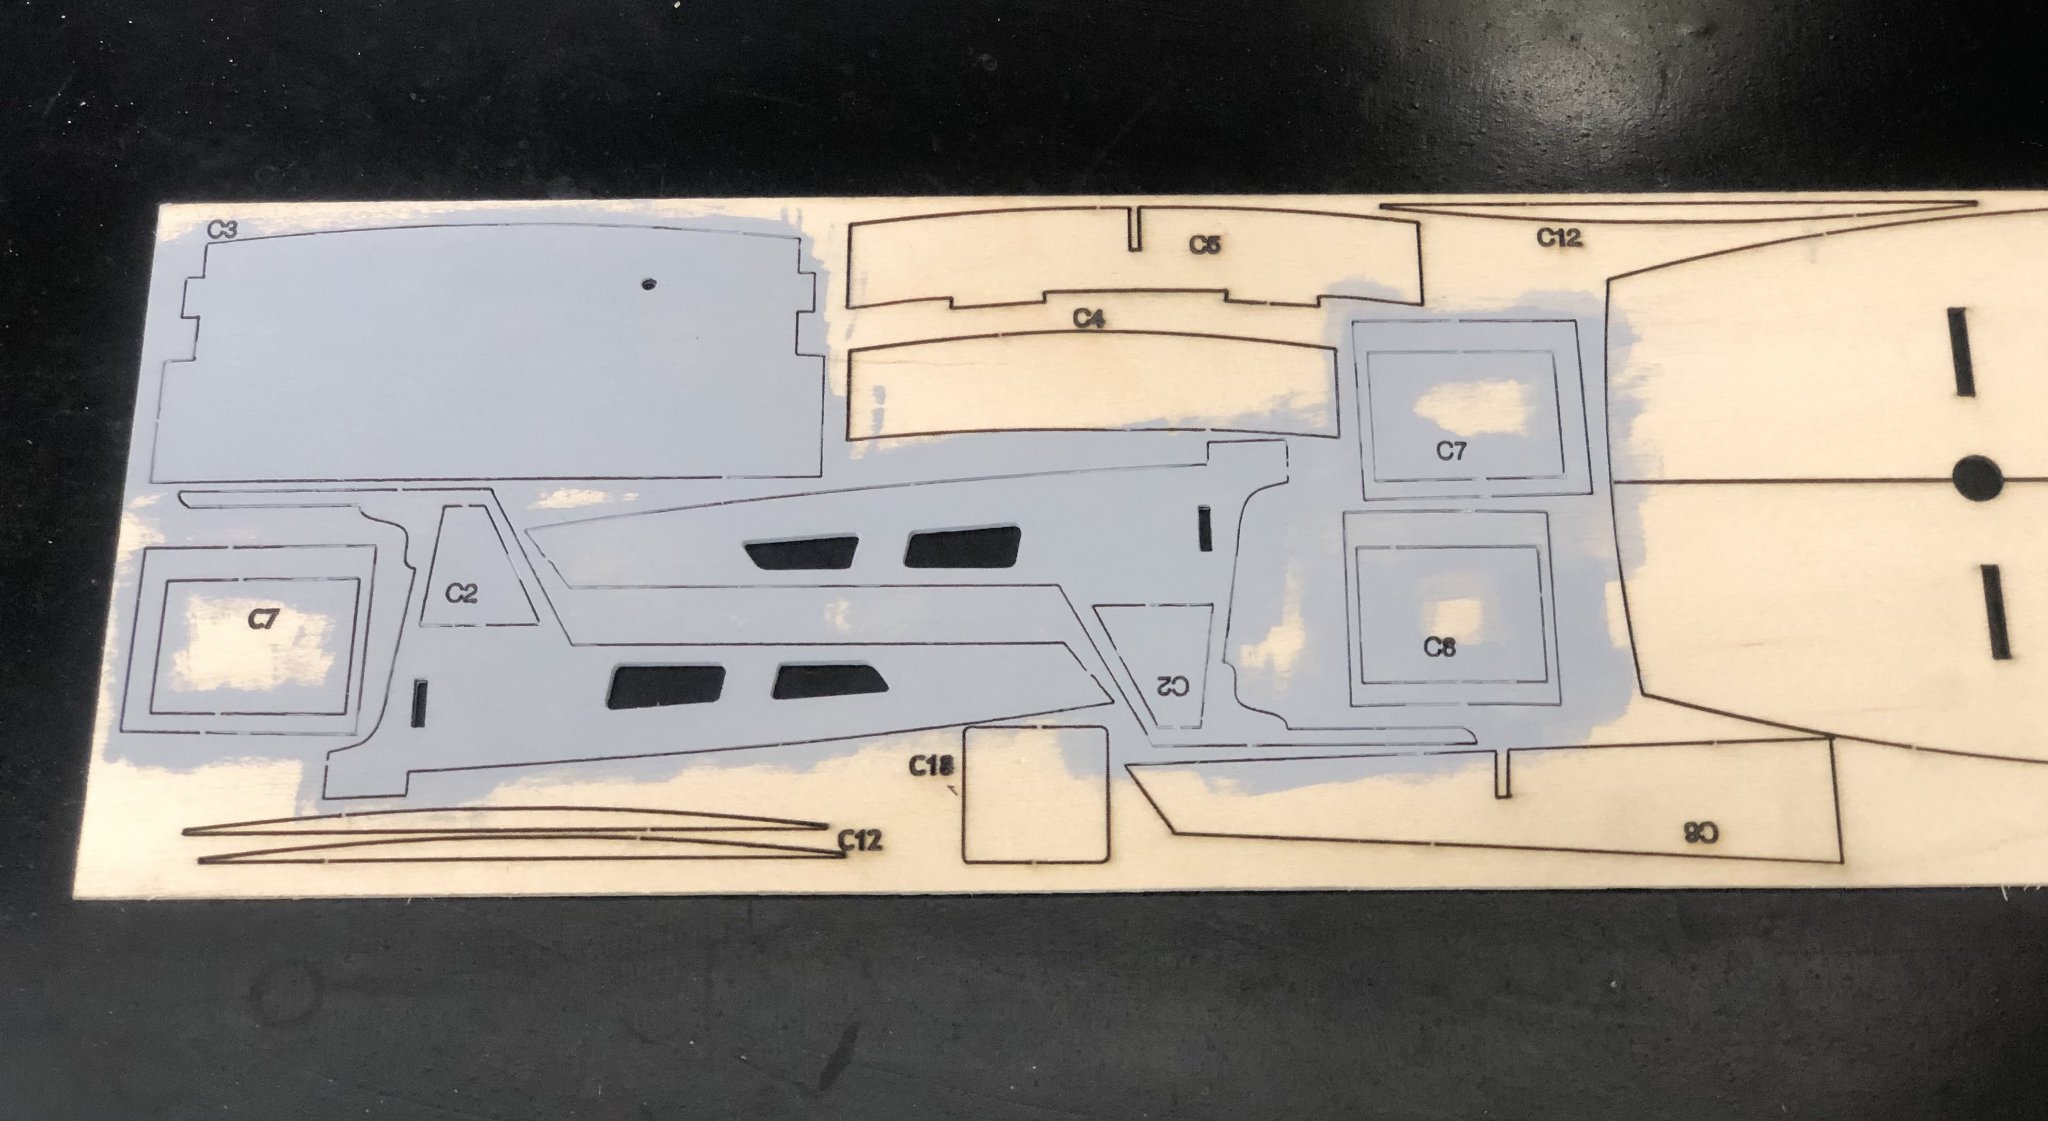
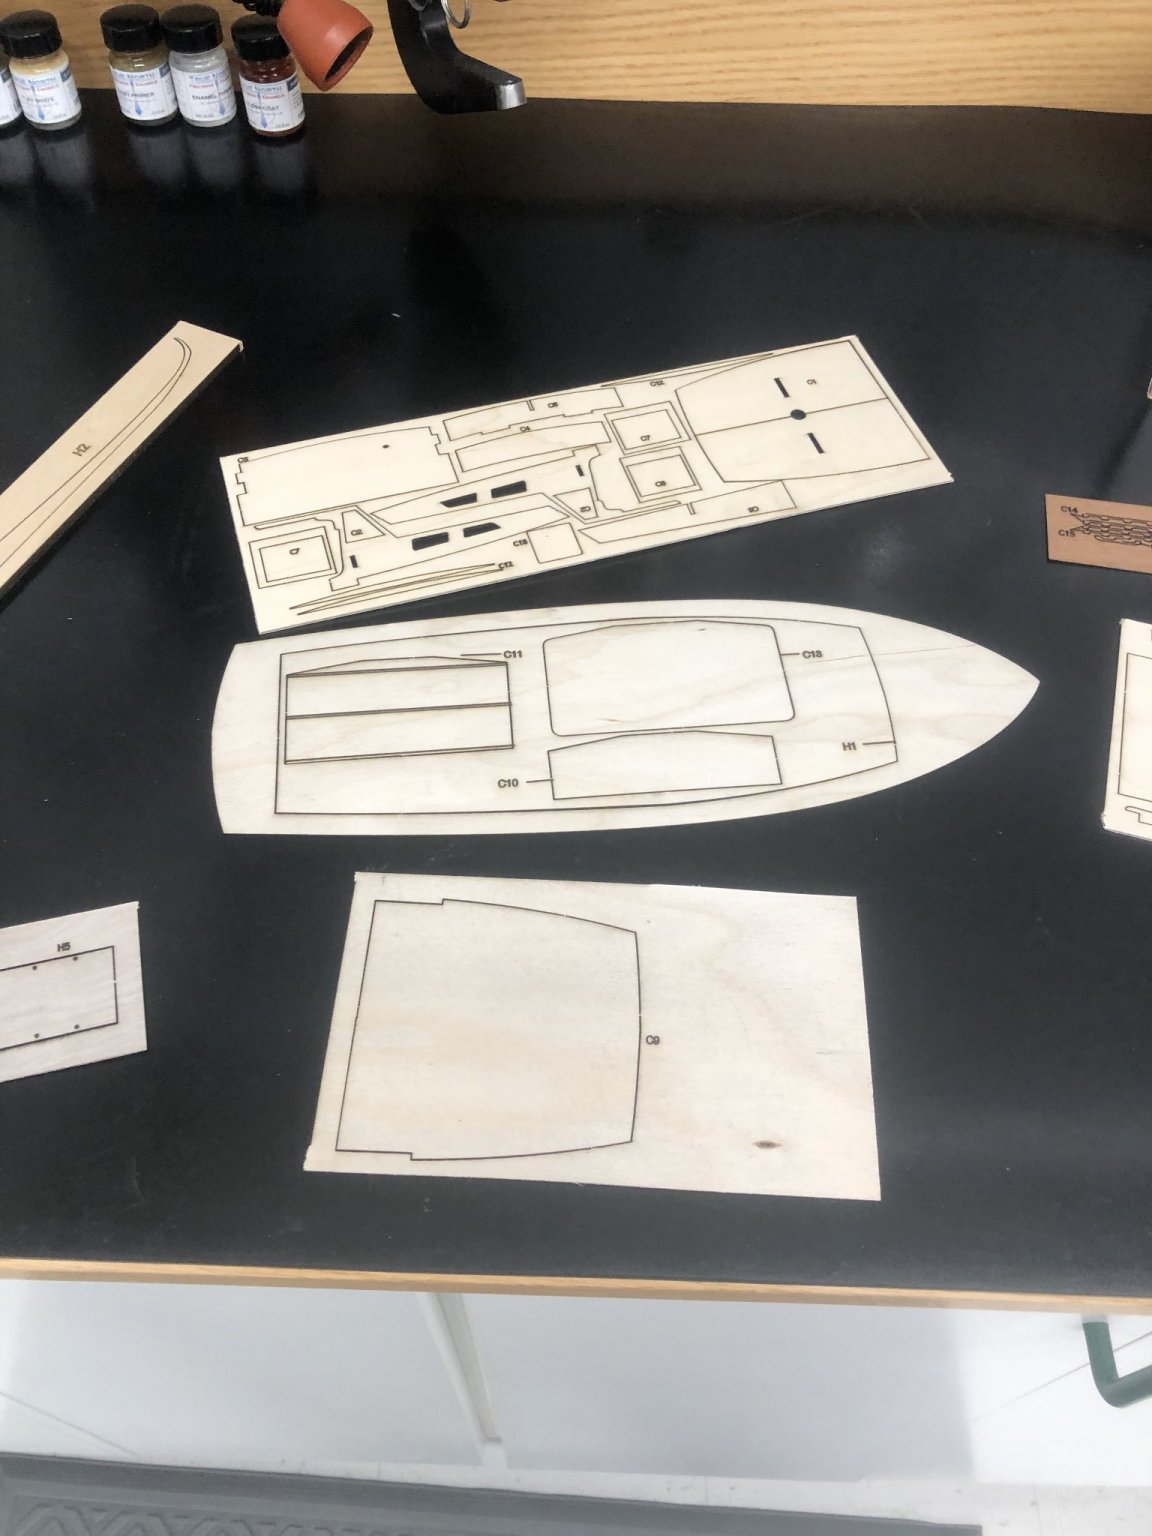
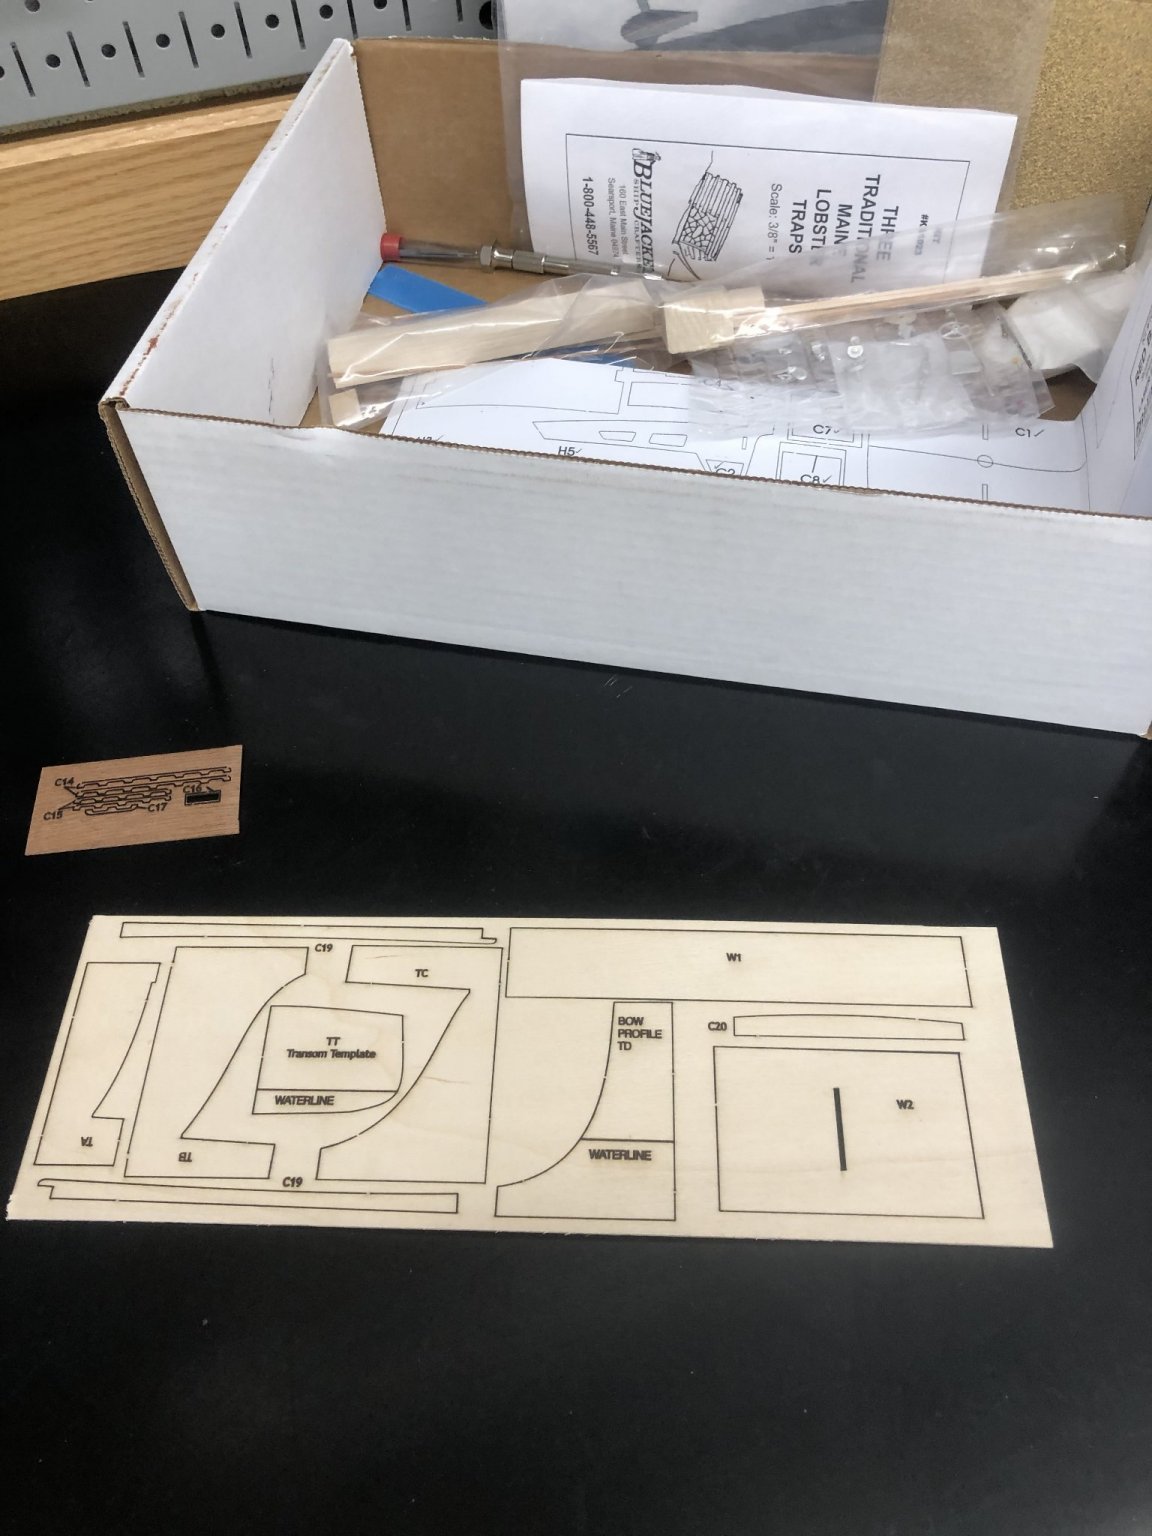
Received my model from BlueJacket this past weekend. This model comes to me as the newbie builder and an aficionado of Maine and lobsters. I purchased the complete builder kit as I can always use the guidance and new tools. Inventoried the box and I will dry mount my plans on a cardboard piece today and place it in the workspace for daily motivation. I am a detail oriented guy, I look forward to making a display quality boat worthy of this forum and my study.


- 30 replies
-
- 6
-
-
- Red Baron
- Bluejacket Shipcrafters
- (and 1 more)
-
Just ordered my BlueJacket Maine Lobster Boat, Red Baron. As an avid Isle au Haut, Maine vacationer, I finally have the opportunity to work on a lobster boat. Enjoying the opportunity to learn from those craftsman that have built models and meticulously displayed their build progress.