SteveL
-
Posts
36 -
Joined
-
Last visited
Recent Profile Visitors
272 profile views


-
 Saburo reacted to a post in a topic:
HMS Winchelsea 1764 by glbarlow - 1:48
Saburo reacted to a post in a topic:
HMS Winchelsea 1764 by glbarlow - 1:48
-
FrankWouts reacted to a post in a topic:
HMS Winchelsea 1764 by glbarlow - 1:48
-
FrankWouts reacted to a post in a topic:
HMS Winchelsea 1764 by glbarlow - 1:48
-
FrankWouts reacted to a post in a topic:
HMS Winchelsea 1764 by glbarlow - 1:48
-
Dave_E reacted to a post in a topic:
HMS Winchelsea 1764 by glbarlow - 1:48
-
I’m taking much more of your time than intended and I apologize but please let me clarify.
-
Dave_E reacted to a post in a topic:
HMS Winchelsea 1764 by glbarlow - 1:48
-
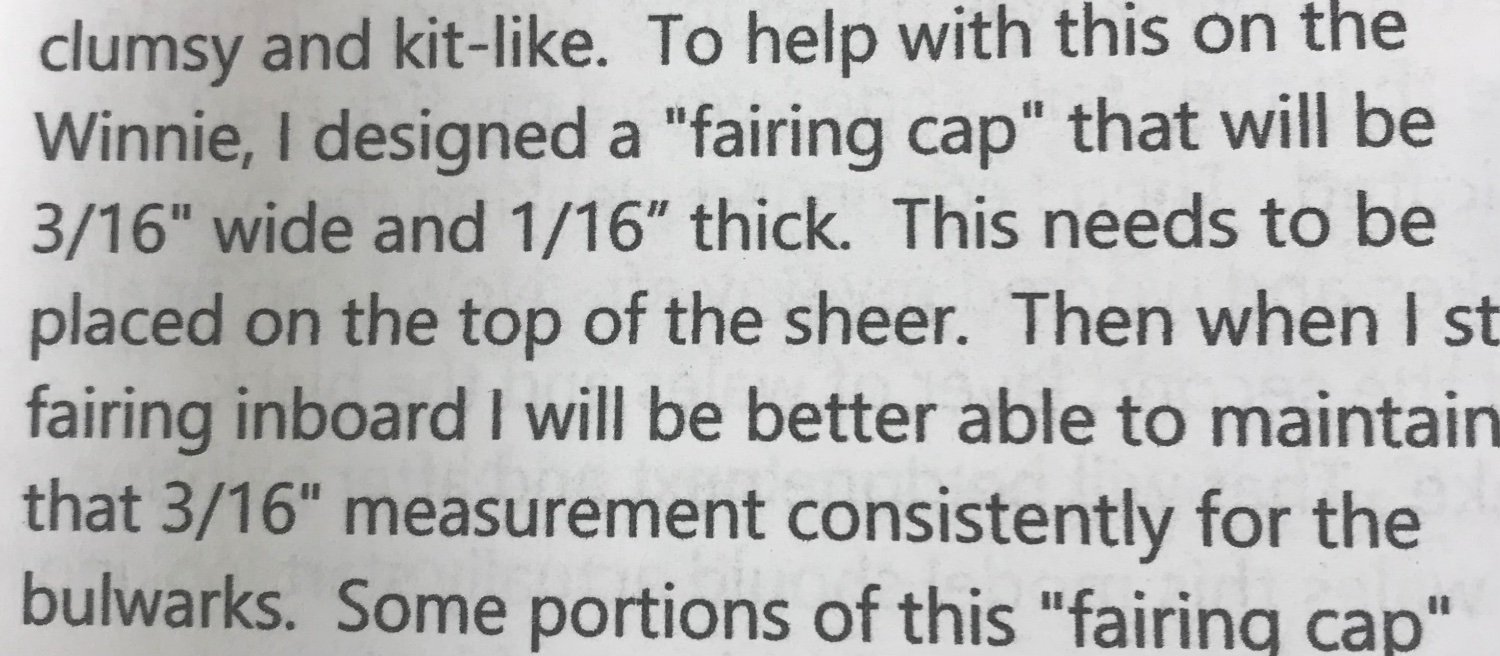
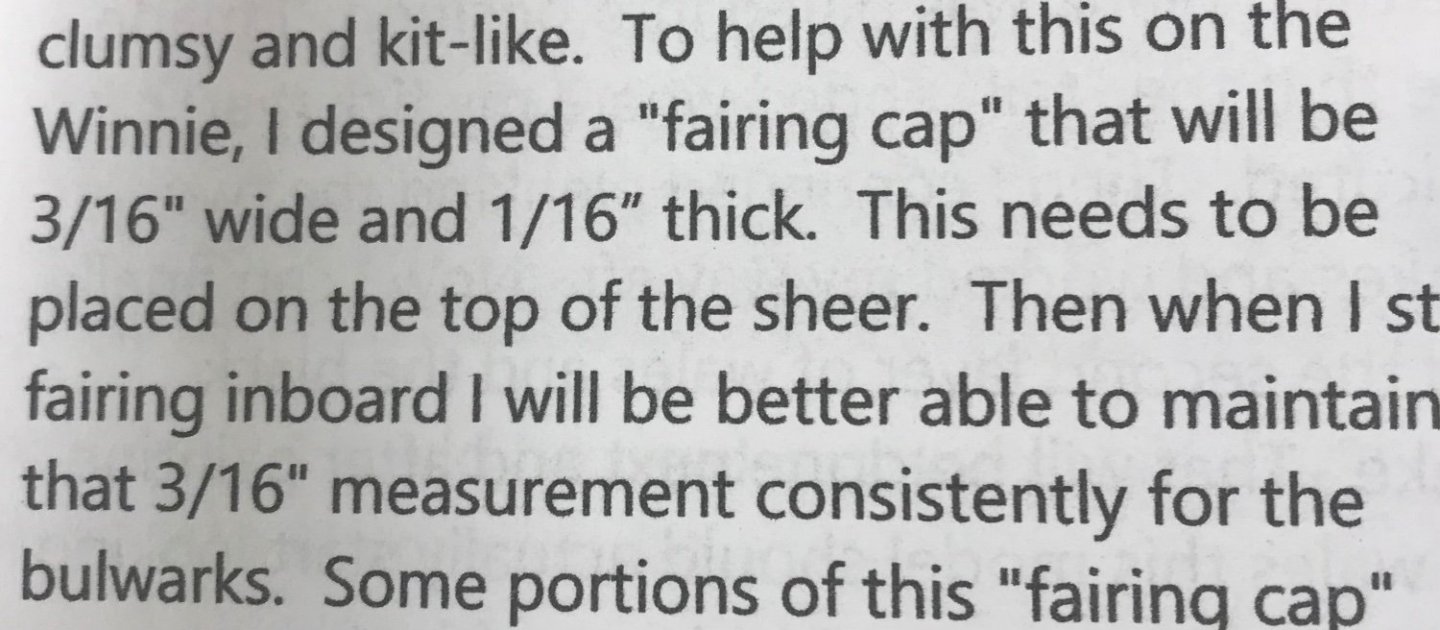
When preparing to do inboard fairing (down to 3/16), you use 1/16 x 3/16 strips at the quarter deck and waist. The bow, of course has a significant curve and it would be difficult to bend the 1/16 x 3/16 strips. I could fabricate these pieces but I thought maybe I had overlooked laser cut pieces. I guess I’m just surprised, considering all the excellent parts Chuck has provided.
-
Glenn Backing up a bit, I don’t see laser cut pieces for the bow fairing caps. Just wanted to make sure I am not overlooking something. Thanks Steve
-
scrubbyj427 reacted to a post in a topic:
HMS Winchelsea 1764 by SteveL
-
FrankWouts reacted to a post in a topic:
HMS Winchelsea 1764 by glbarlow - 1:48
-
FrankWouts reacted to a post in a topic:
HMS Winchelsea - FINISHED - 1764 - by Chuck (1/4" scale)
-
FrankWouts reacted to a post in a topic:
HMS Winchelsea - FINISHED - 1764 - by Chuck (1/4" scale)
-
Hey Glenn You are doing some fine work on the Winnie. In your post #75 you mention “ The little port jigs came in handy to determine the 1/32 rabbet.“ what are those? Thanks Steve
-
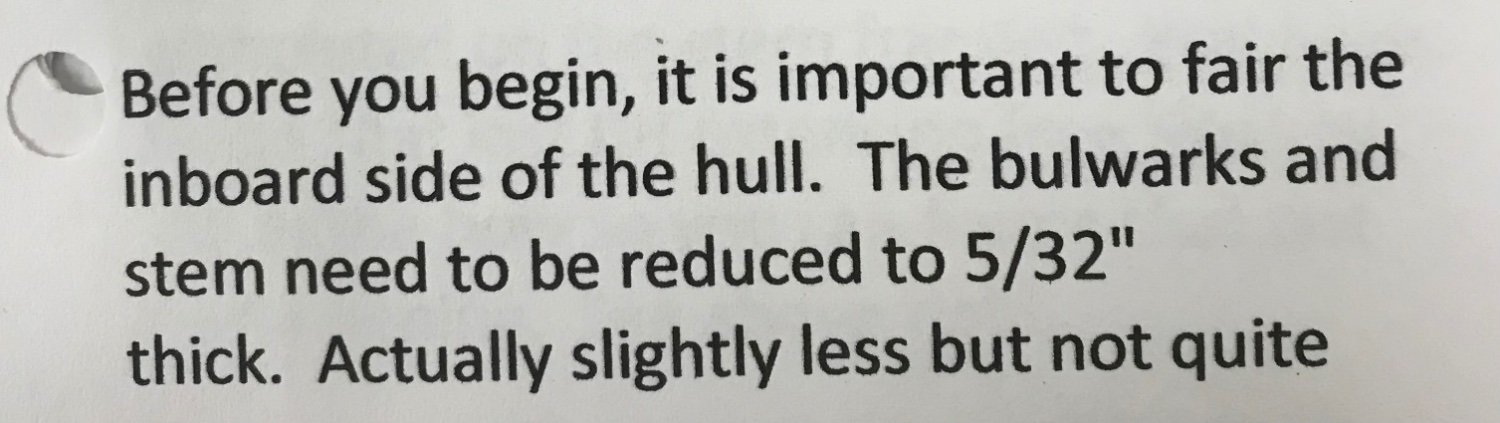
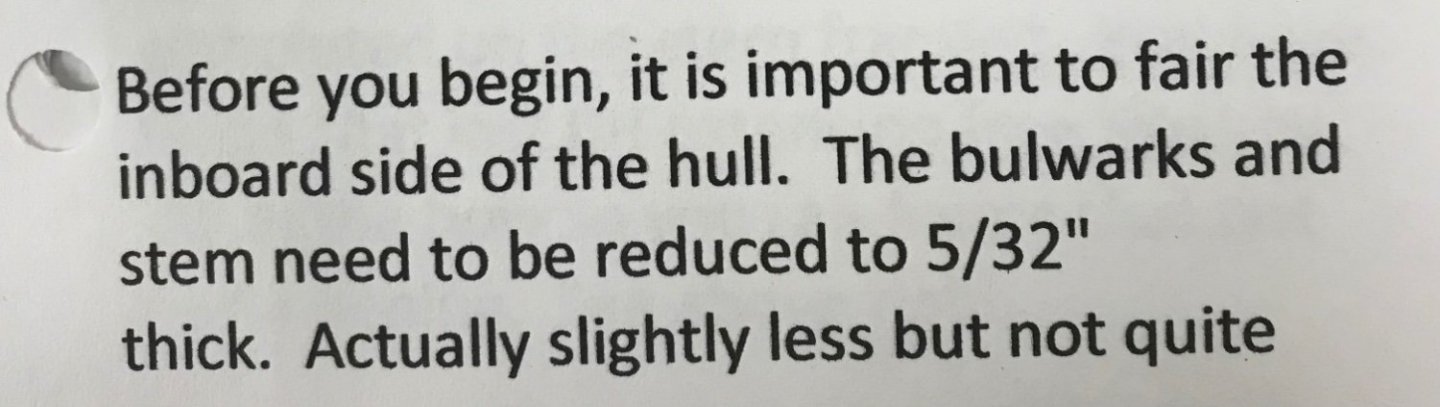
Chuck Thanks for all the good info. The instructions recommend fairing inboard to 5/32 in the bow area when fitting the bollard timbers. I somehow ended up with 3/32 in my head which made things extremely delicate. During this process I started checking on eventual bulkhead thickness in other areas and somehow not considering outer planking thickness. Major stupid attack 🤪. Your patience is appreciated. Steve
- 1,784 replies
-
- 1
-
-
- syren ship model
- winchelsea
- (and 1 more)
-
I understand, thank you for taking the time to explain.
- 1,784 replies
-
- 1
-
-
- syren ship model
- winchelsea
- (and 1 more)
-
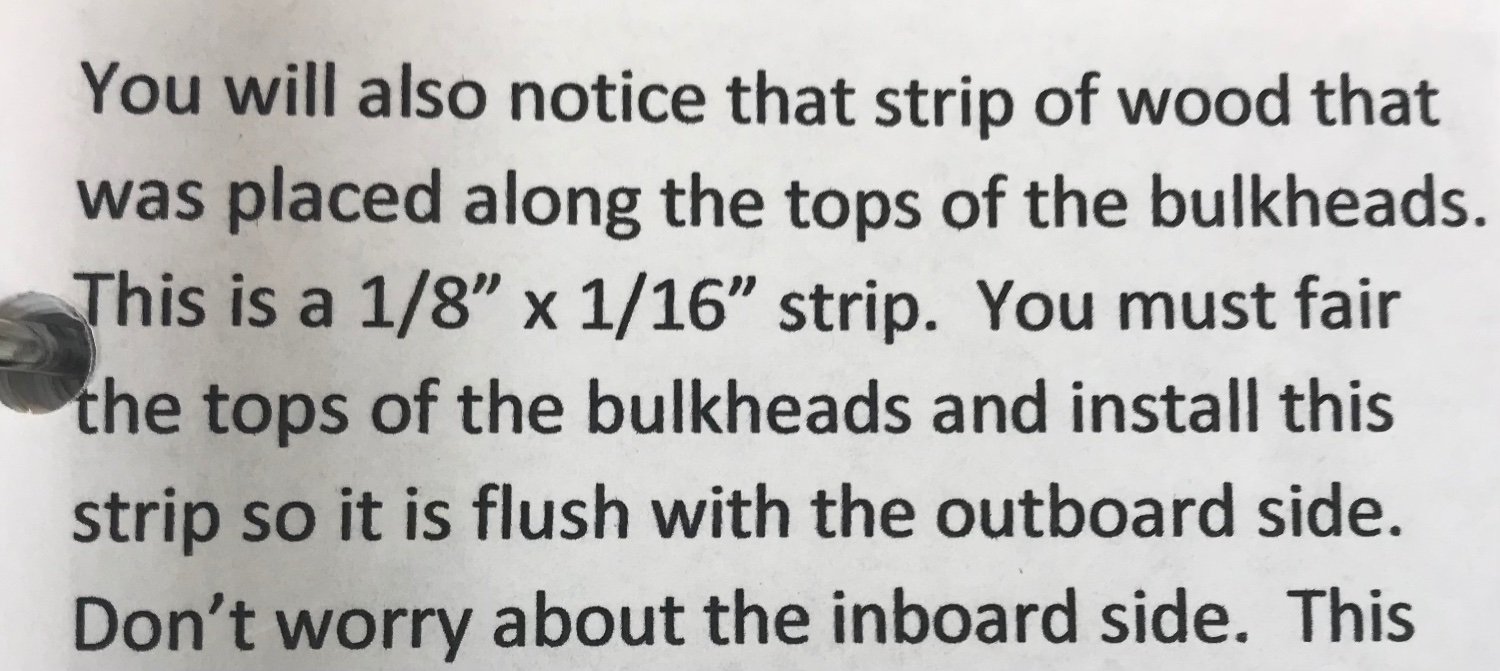
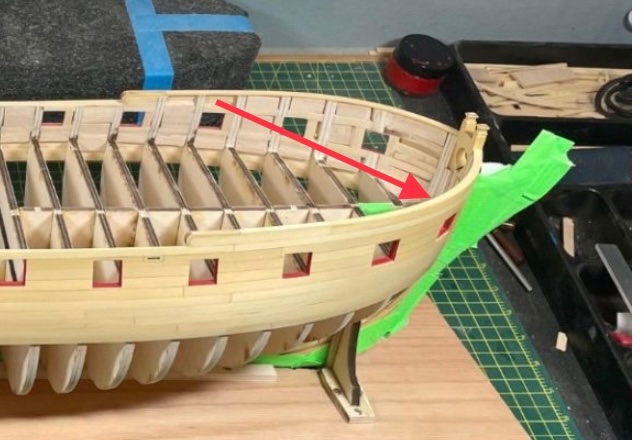
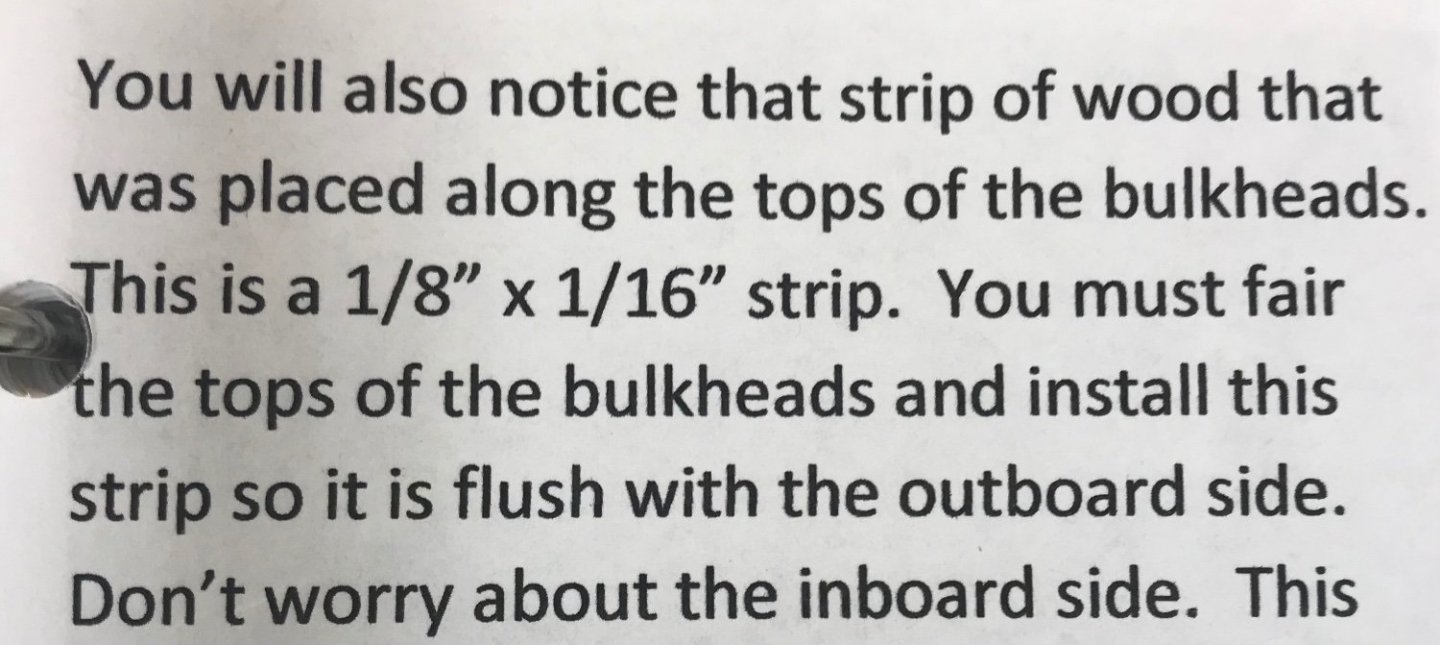
There is an 1/8” wide strip atop the quarterdeck bulkheads, 5/32” bulkhead thickness at the bow and eventually 3/16” wide strips to guide fairing on all three sections. Clearly, the waist bulkheads are faired to the 3/16 wide guide strip, but is a 3/16 wide guide strip placed atop the 1/8 wide strip on the quarterdeck and is the bow section 5/32 only where it intersects the bollard? Your instructions are excellent but for some reason the sections dealing with final bulkhead thickness in the three areas is confusing my tiny brain.
- 1,784 replies
-
- 2
-
-
- syren ship model
- winchelsea
- (and 1 more)
-
Chuck I’m a bit confused concerning bulkhead fairing in three areas. These 3 statements are in the instructions:
- 1,784 replies
-
- 2
-
-
- syren ship model
- winchelsea
- (and 1 more)
-
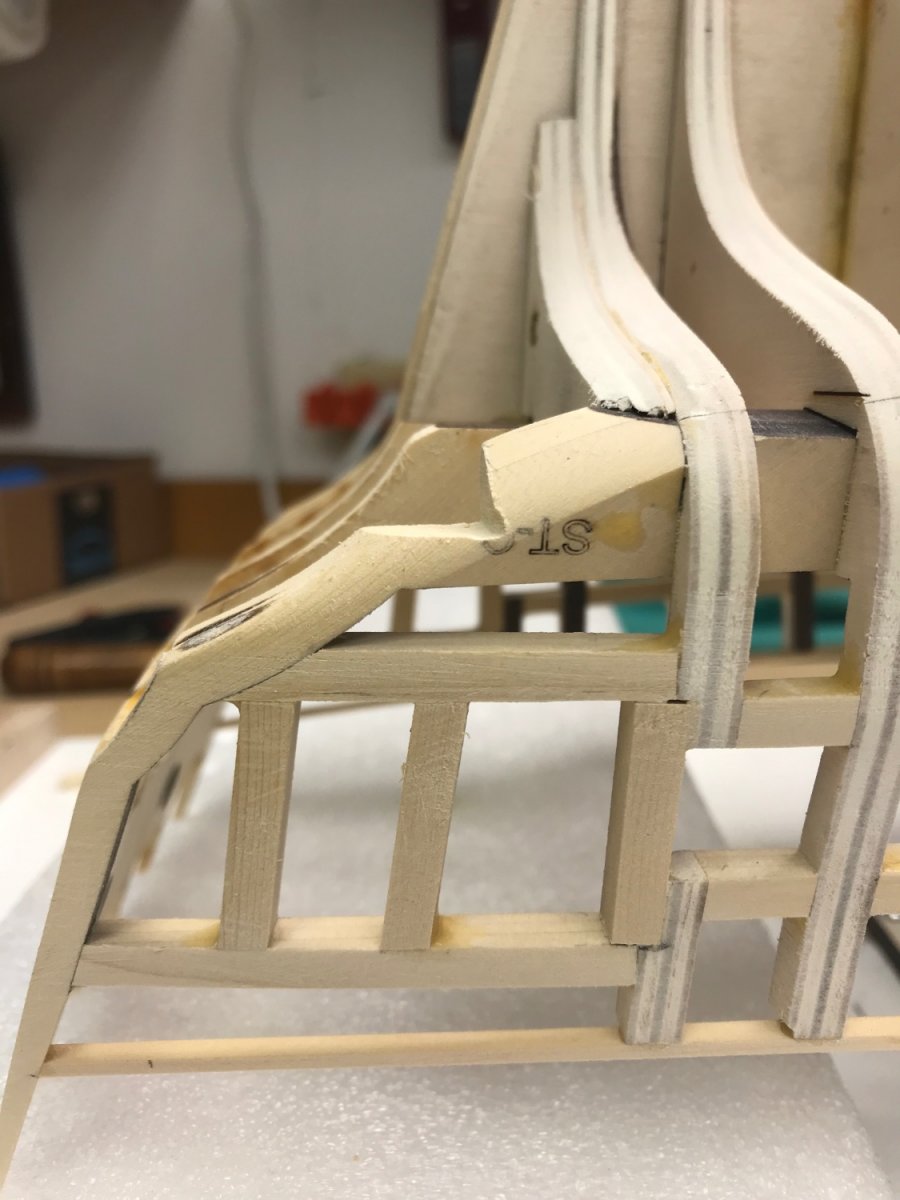
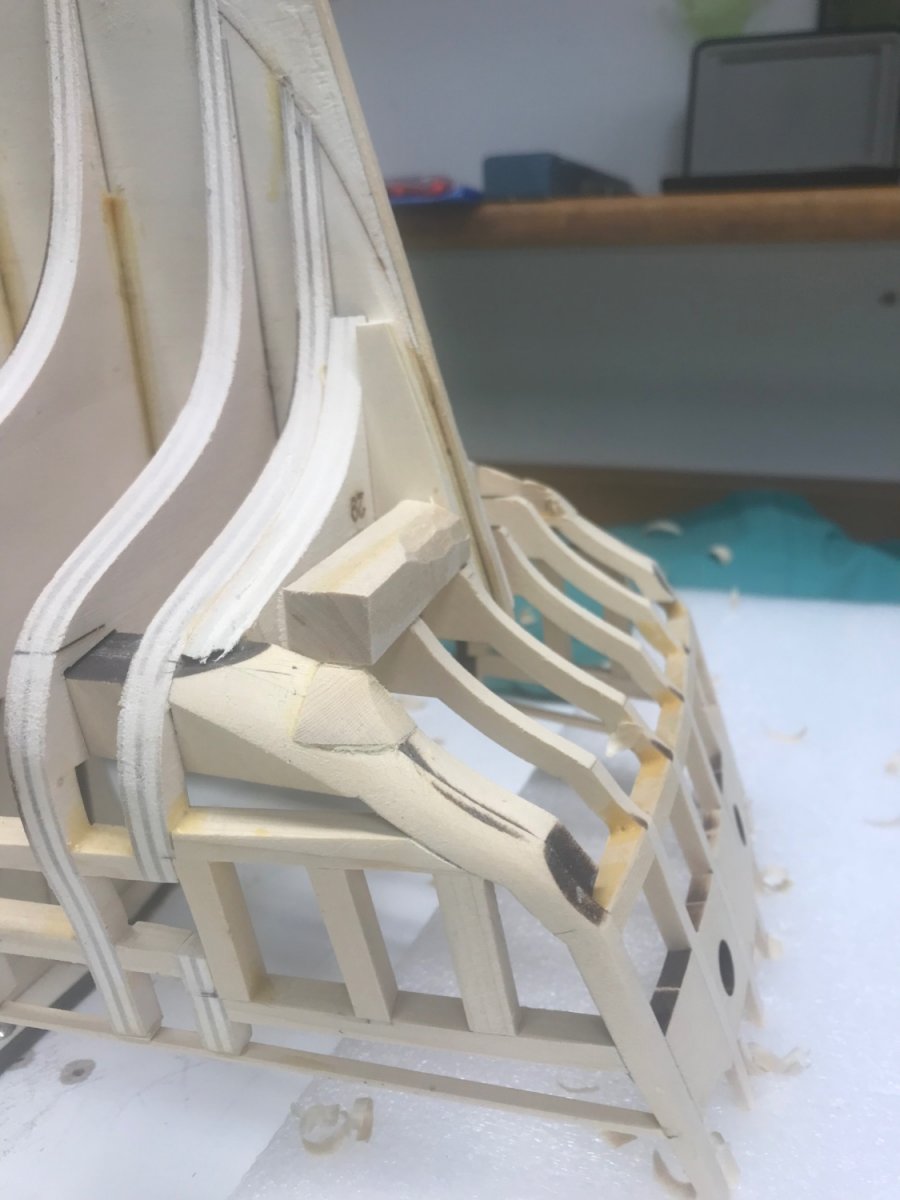
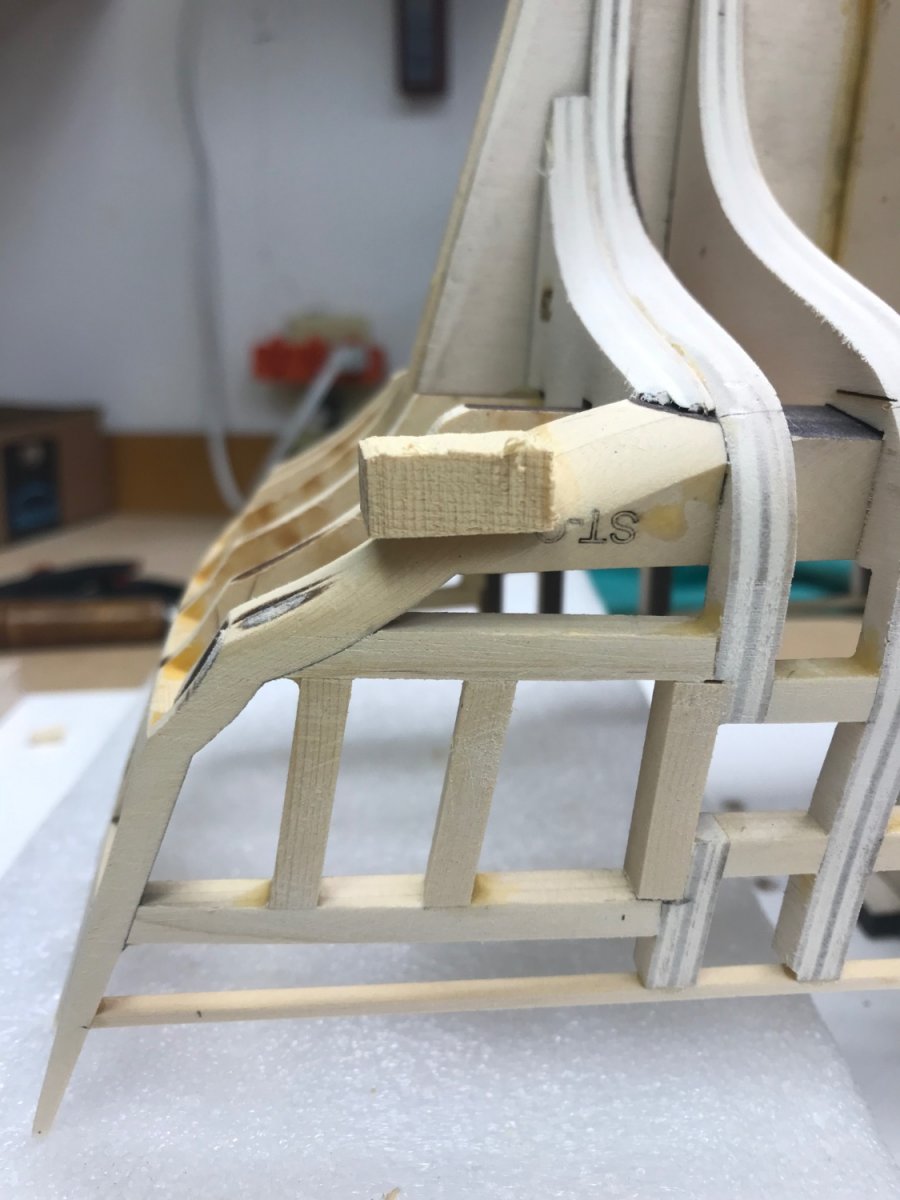
Well, the adventure continues. After re-reading the instructions I realized that bulwarks are faired to 5/32” and not 3/32” 🙄. Fortunately I faired a small section of the bow only and am now building the thickness back with 1/16 ply. I have no idea how all this will turn out.
- 34 replies
-
- 7
-
-
- winchelsea
- hms winchelsea
- (and 1 more)
-
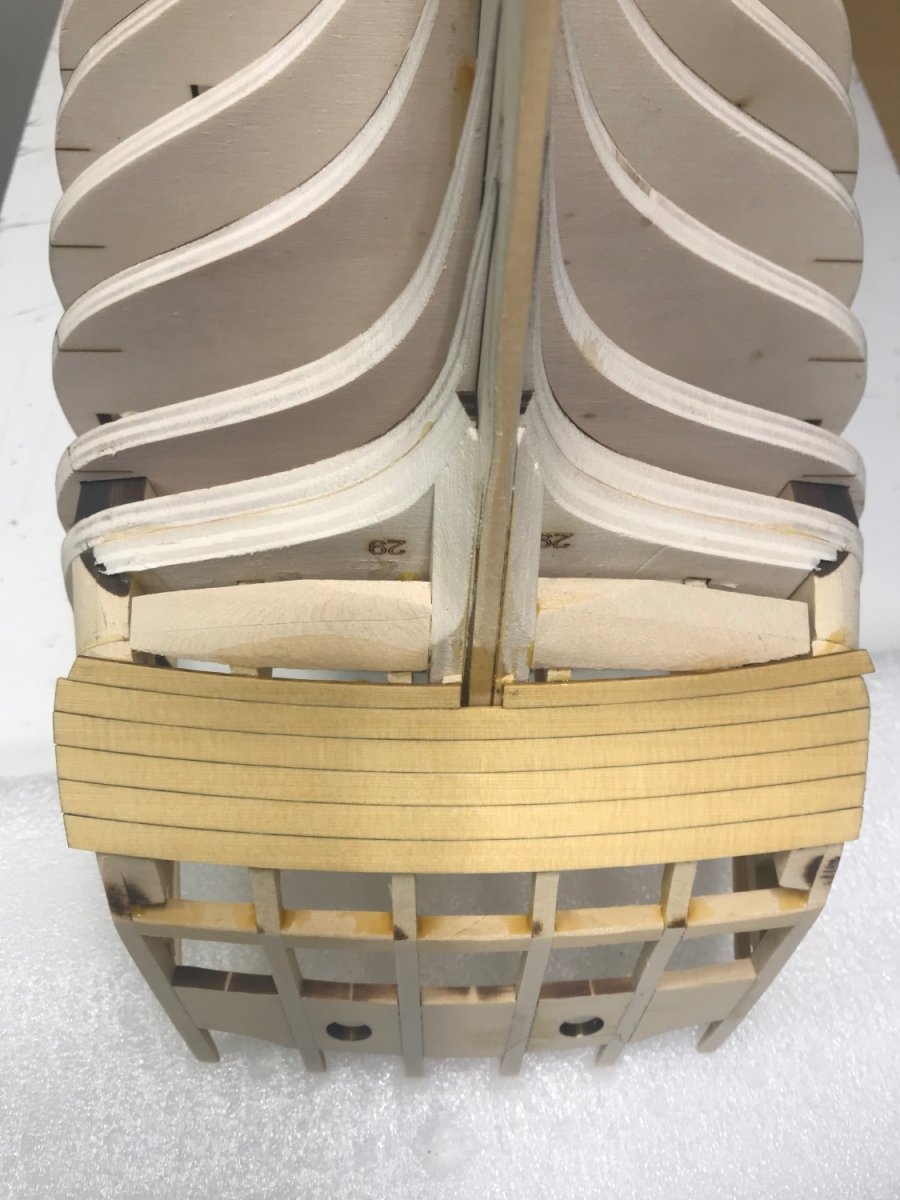
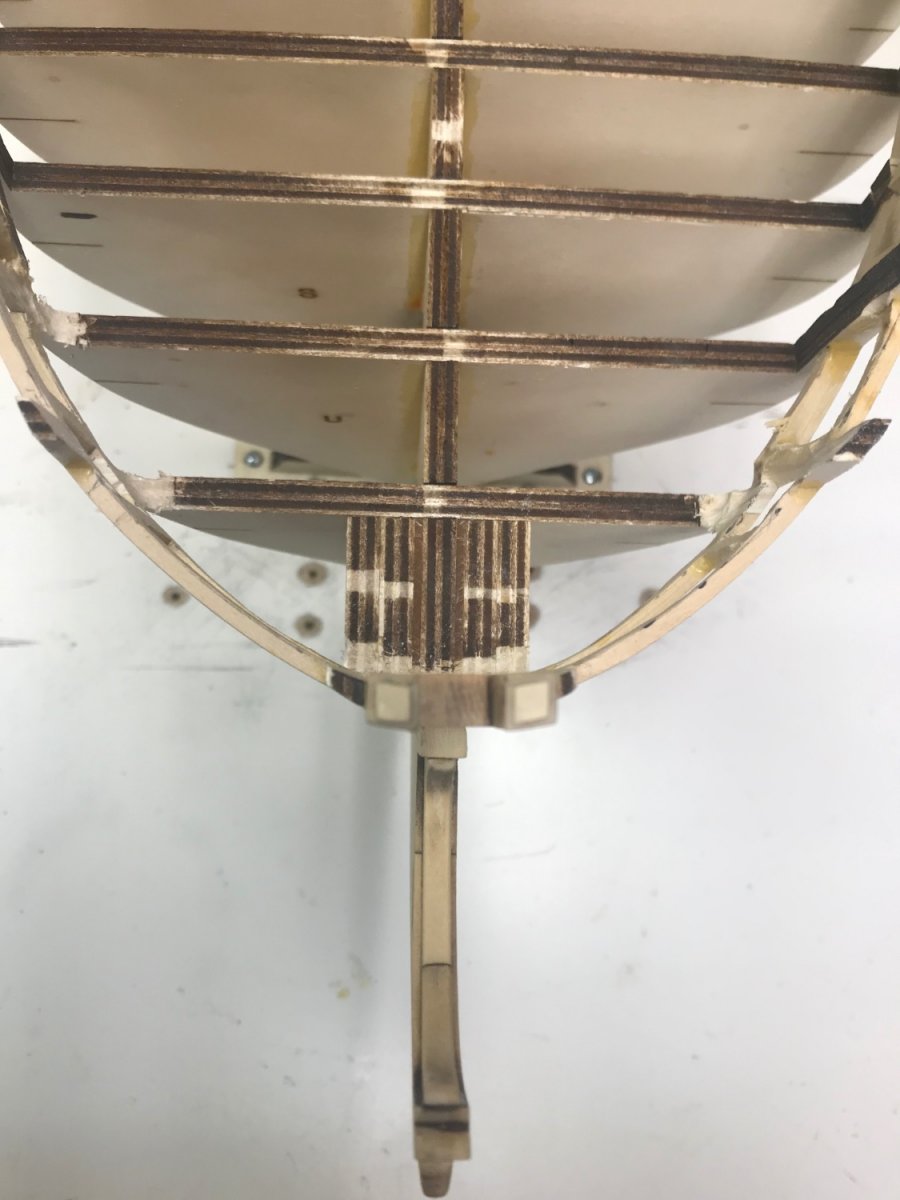
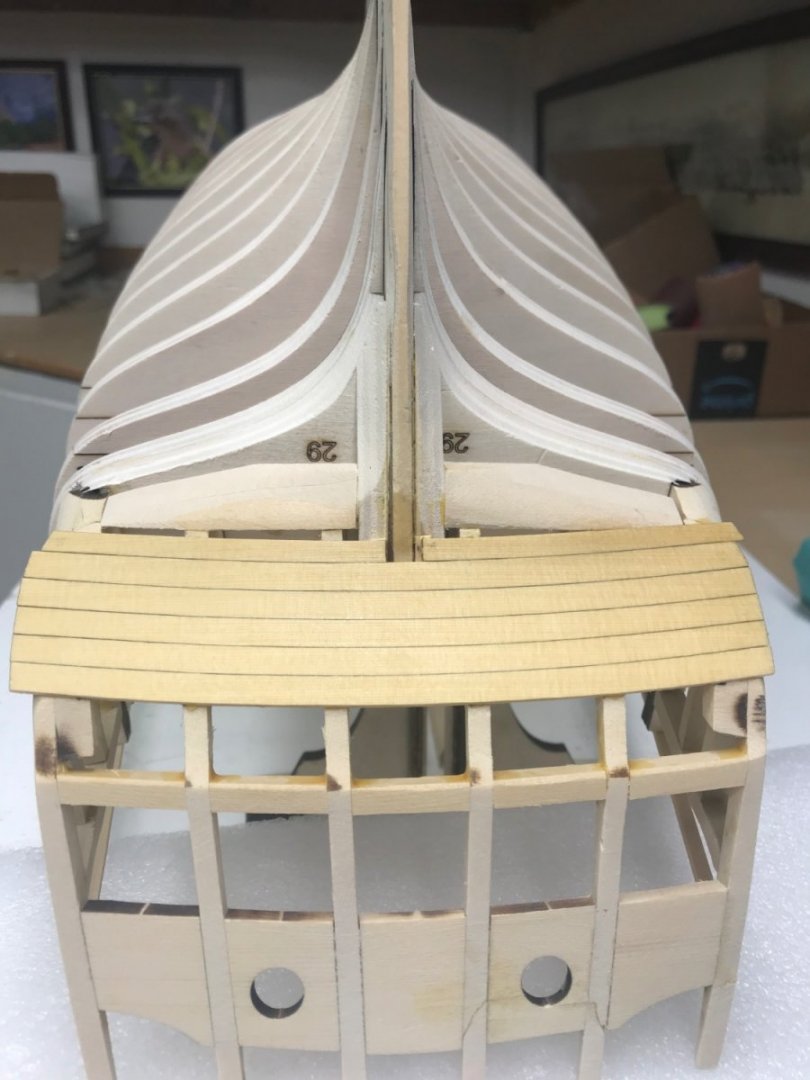
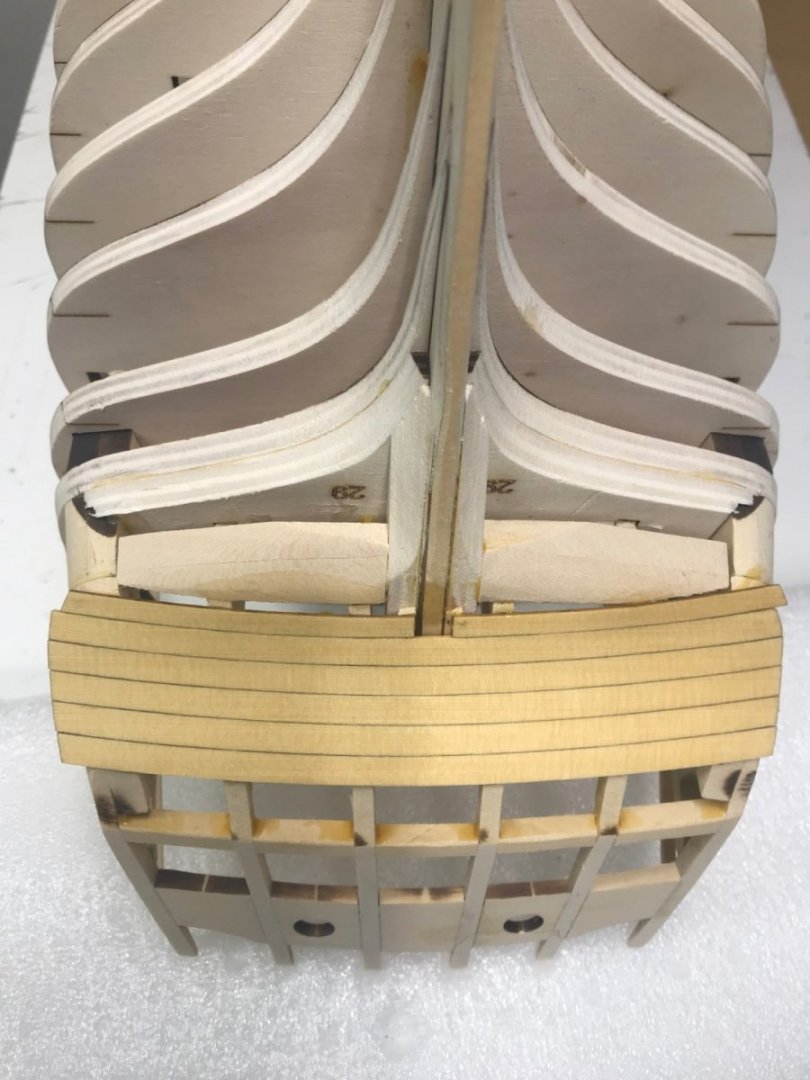
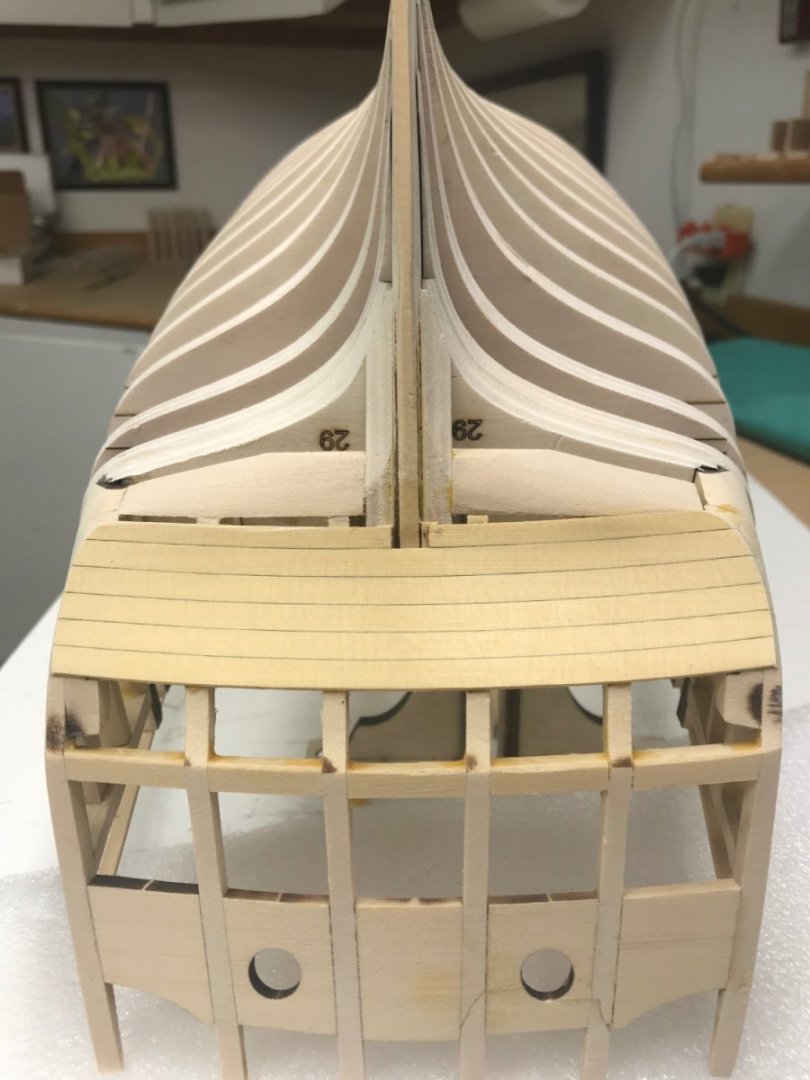
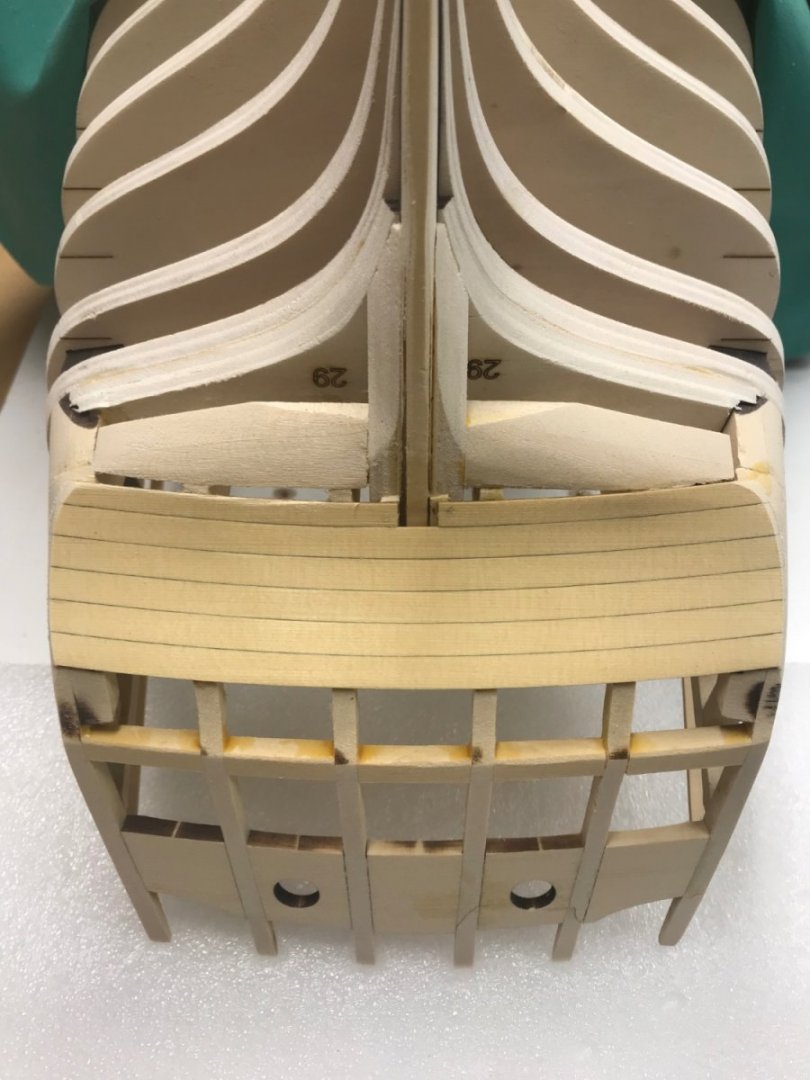
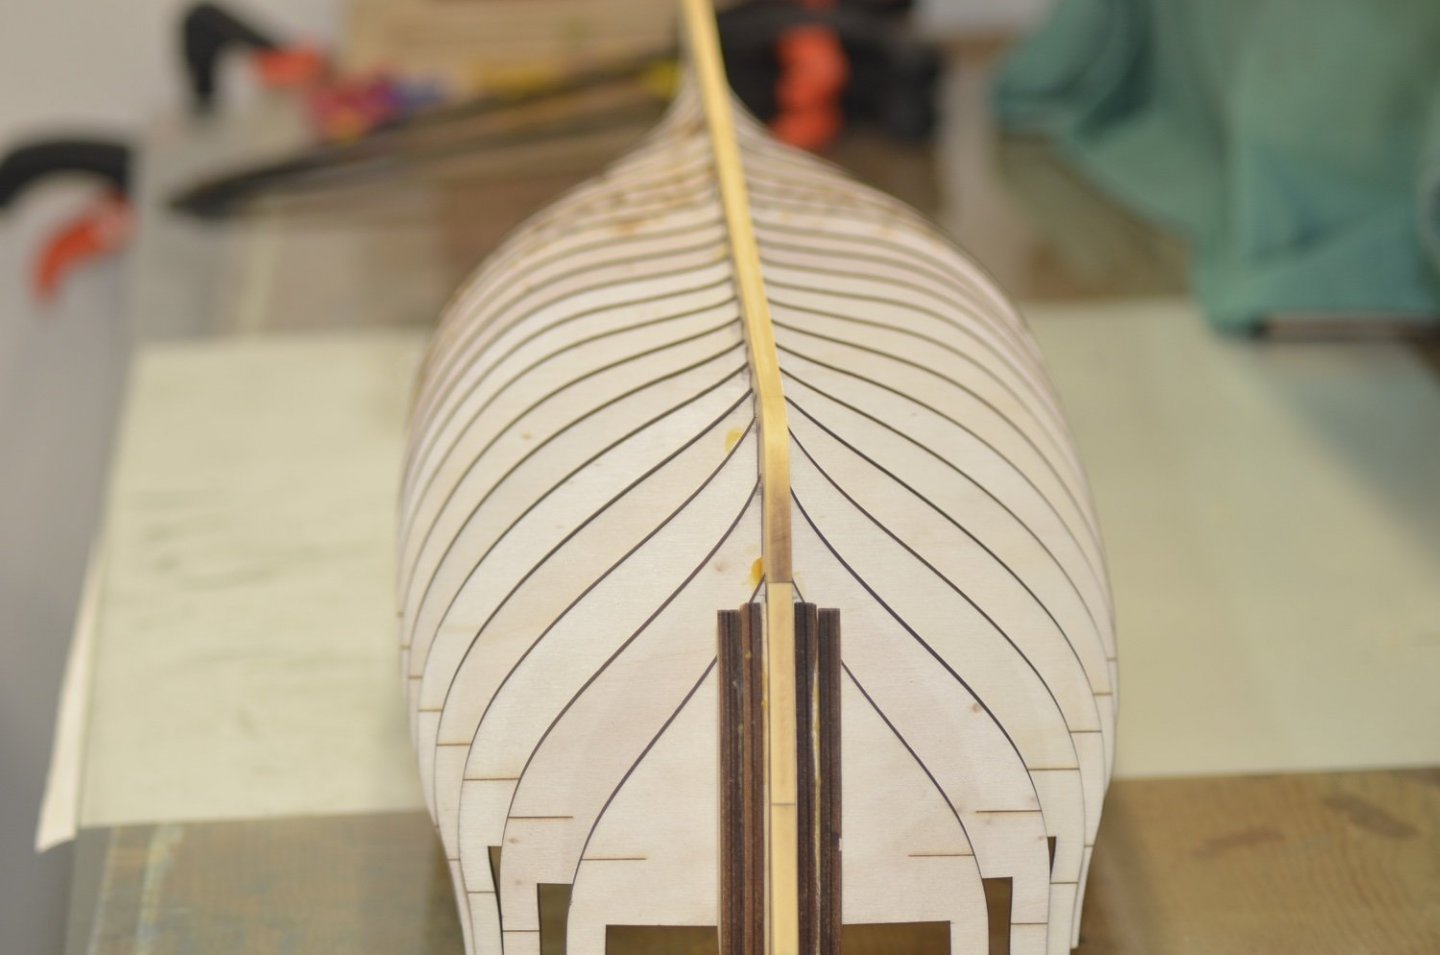
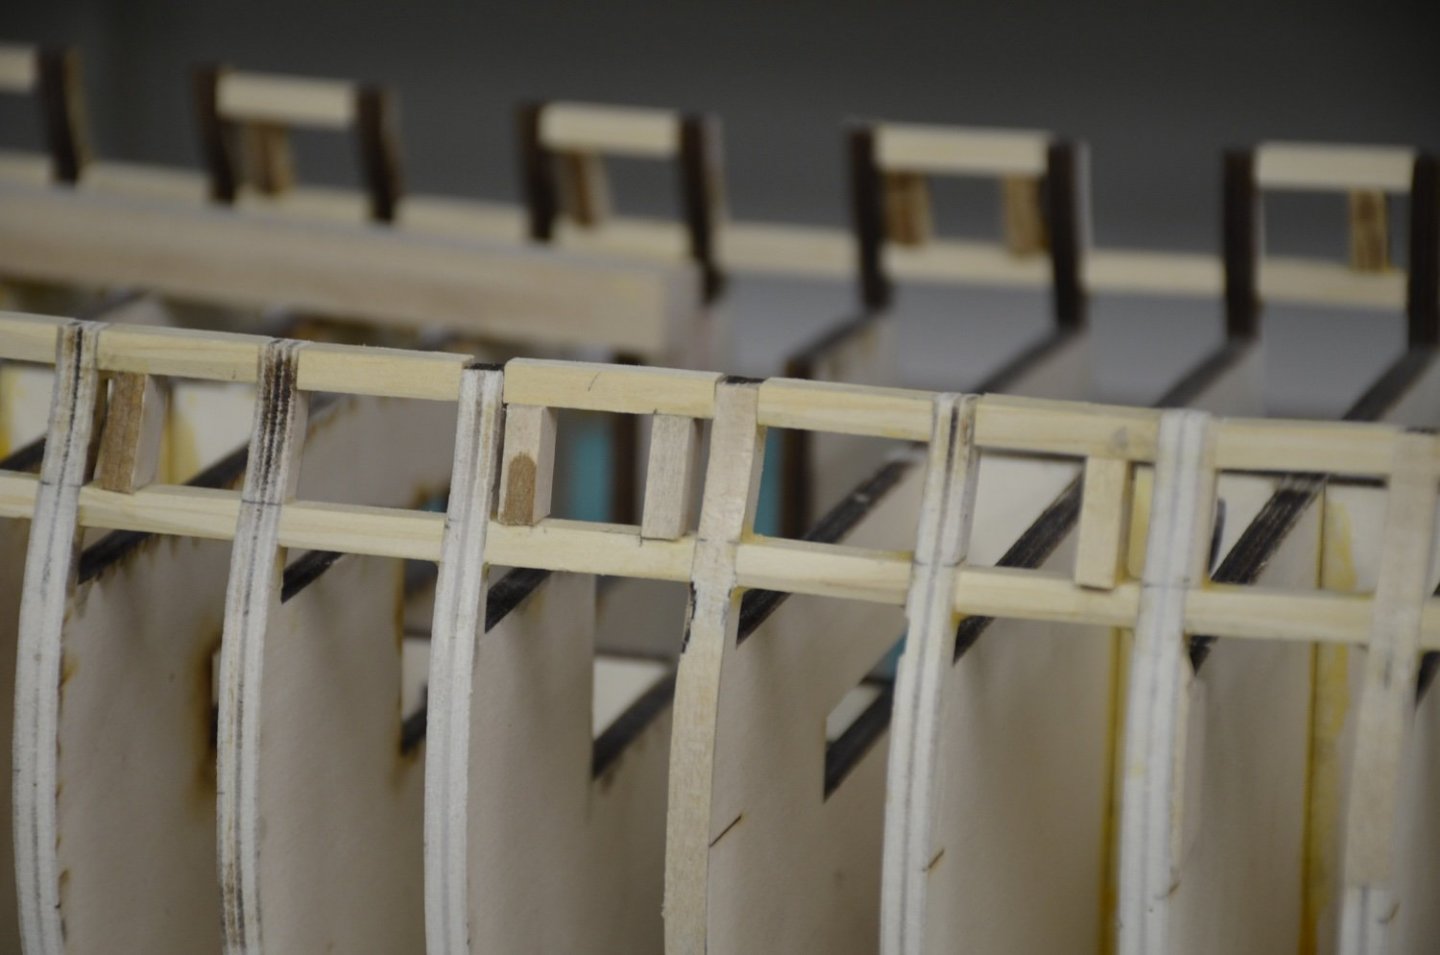
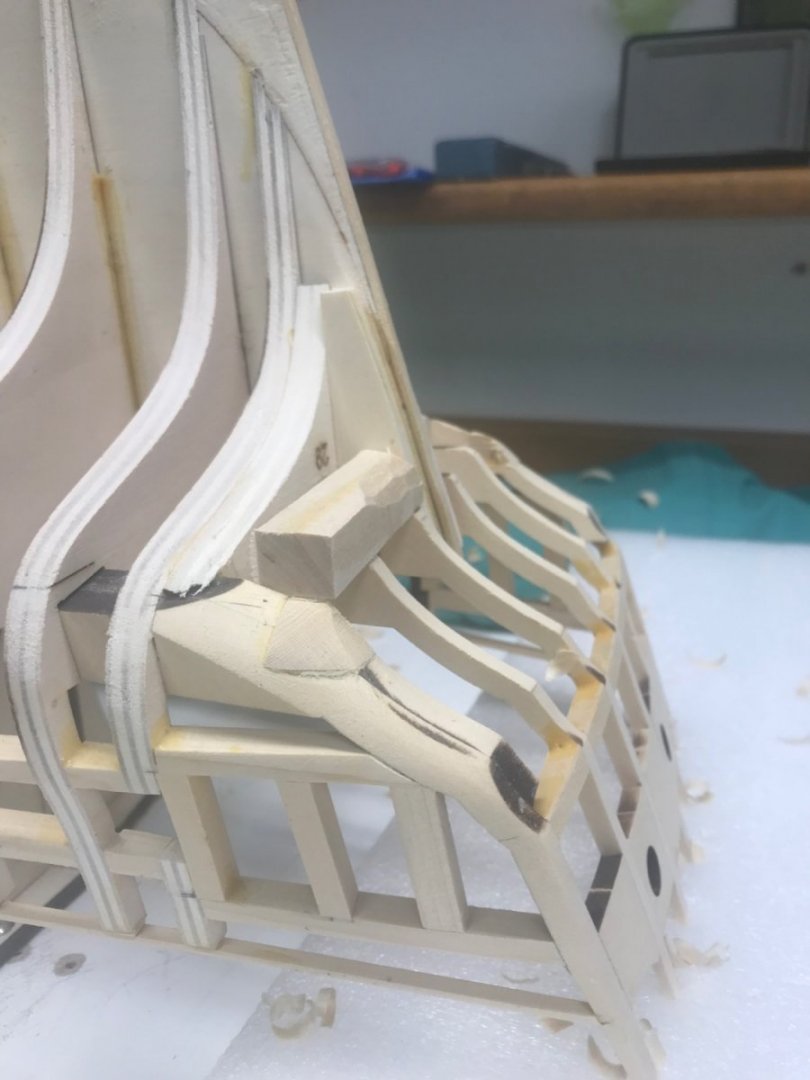
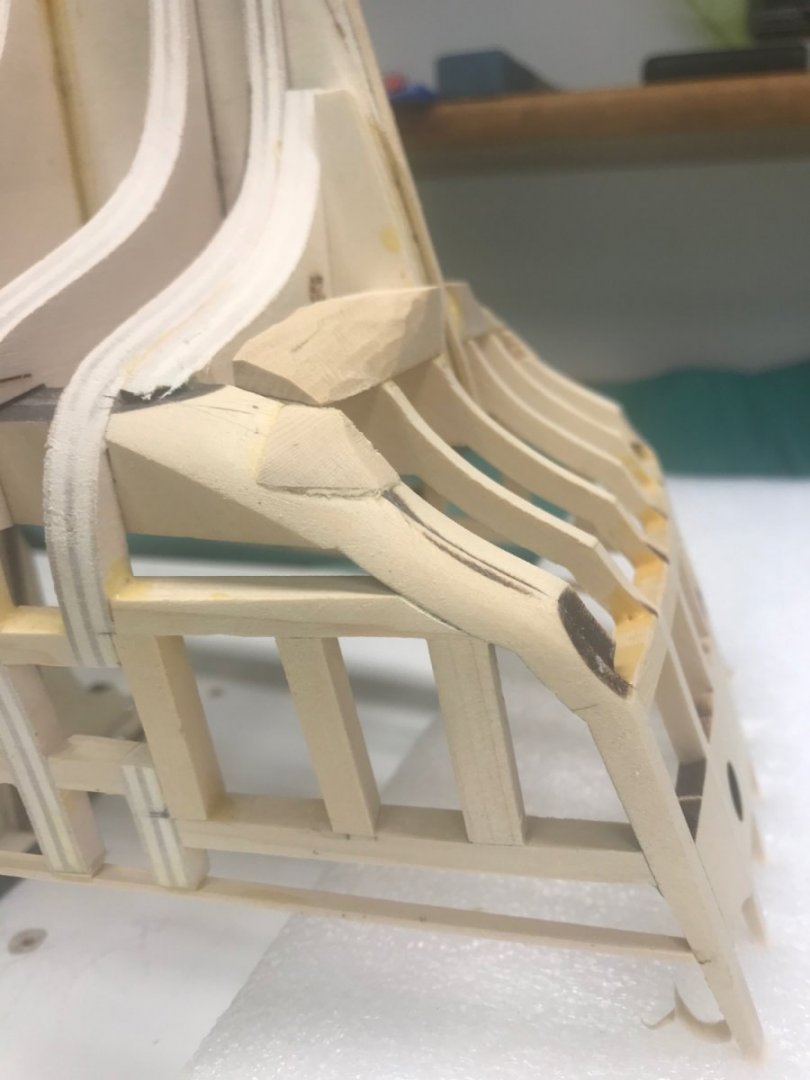
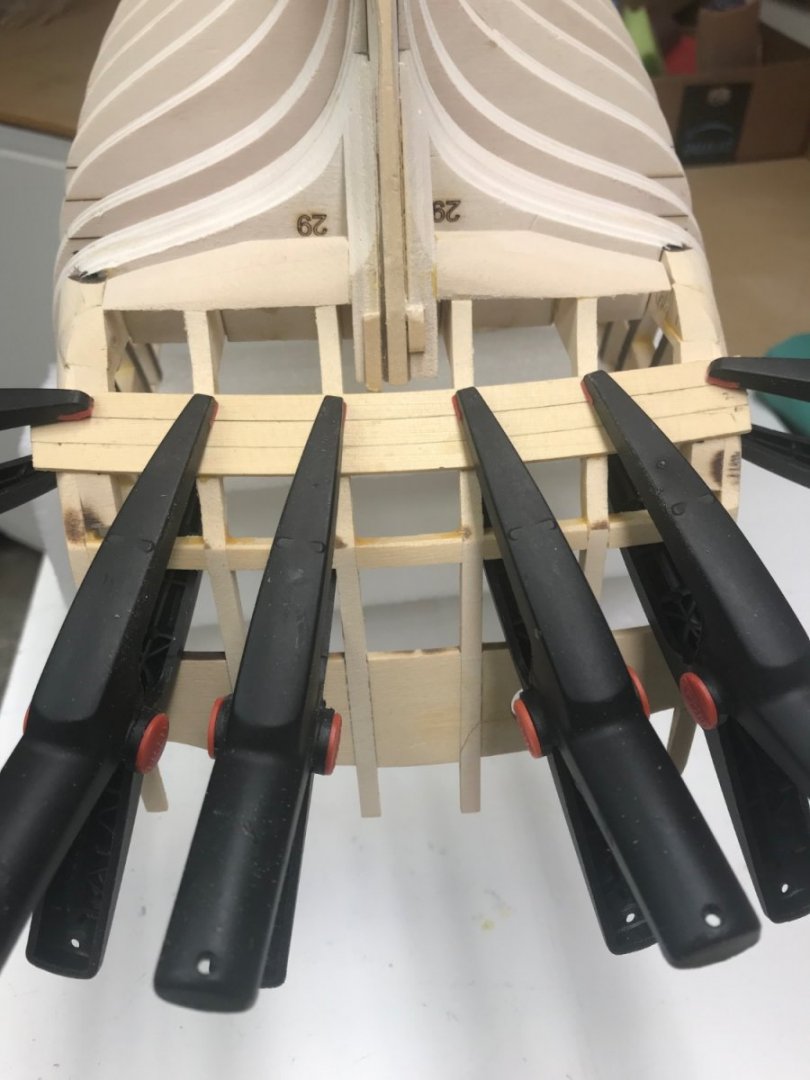
Finishing the counter planking. Using it to test the tarring method between planks since my method on Winnie 1 was too dark. This time I once again just darkened one side of a joint but with a much lighter pressure on the no.2 pencil. I believe this did the trick. After applying some WOP After sanding to shape. Hopefully this is about right. The bow section after fairing inside to 3/32. Looks really thin, I can see now why some people provide extra wood in this area for stability.


- 34 replies
-
- 6
-
-
- winchelsea
- hms winchelsea
- (and 1 more)
-
Frank I believe it is ok per the template but I will certainly double check that area. Thanks so much for your attention. Steve

- 34 replies
-
- 2
-
-
- winchelsea
- hms winchelsea
- (and 1 more)
-
Glenn I am really trying to be meticulous and moving slowly. You have given me a reminder to pay attention to the pace of my work. Thanks for looking in! Steve
- 34 replies
-
- 1
-
-
- winchelsea
- hms winchelsea
- (and 1 more)
-
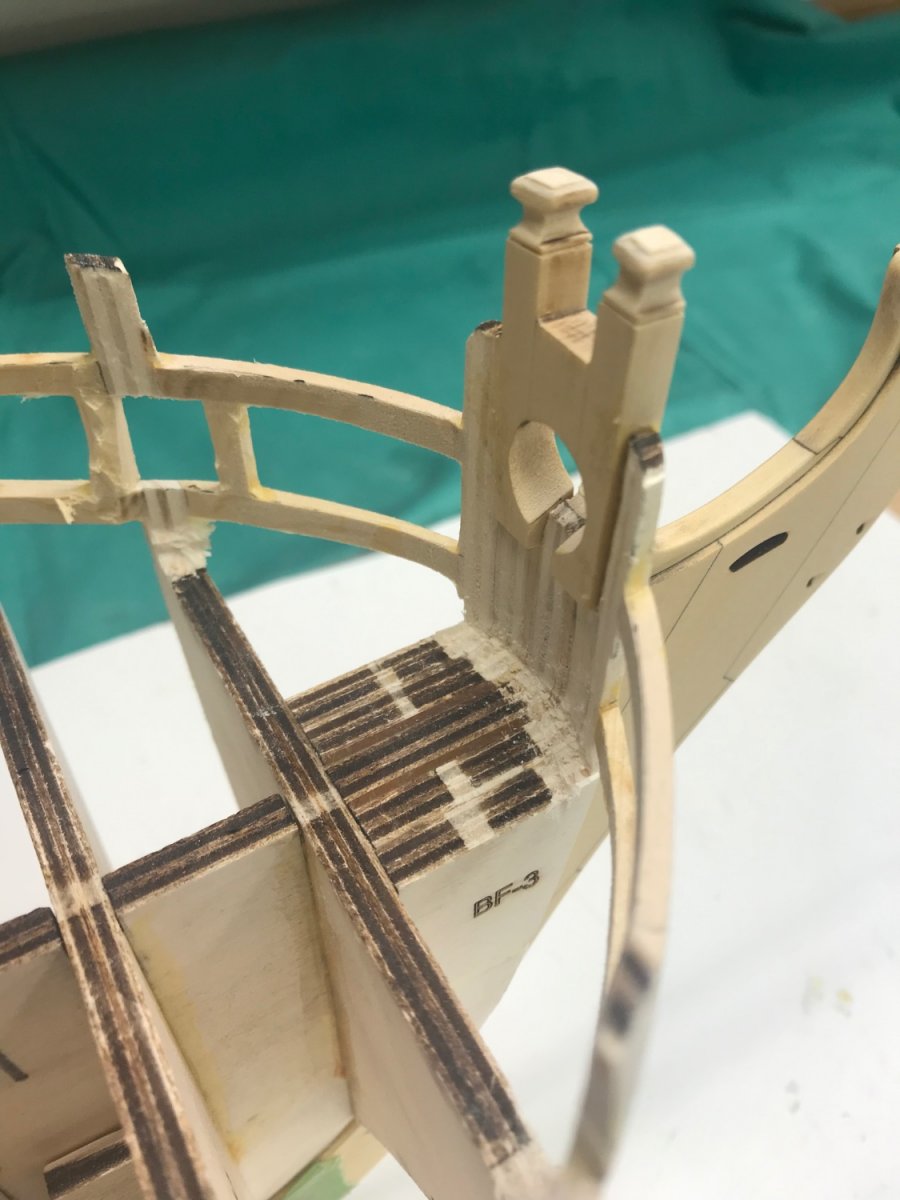
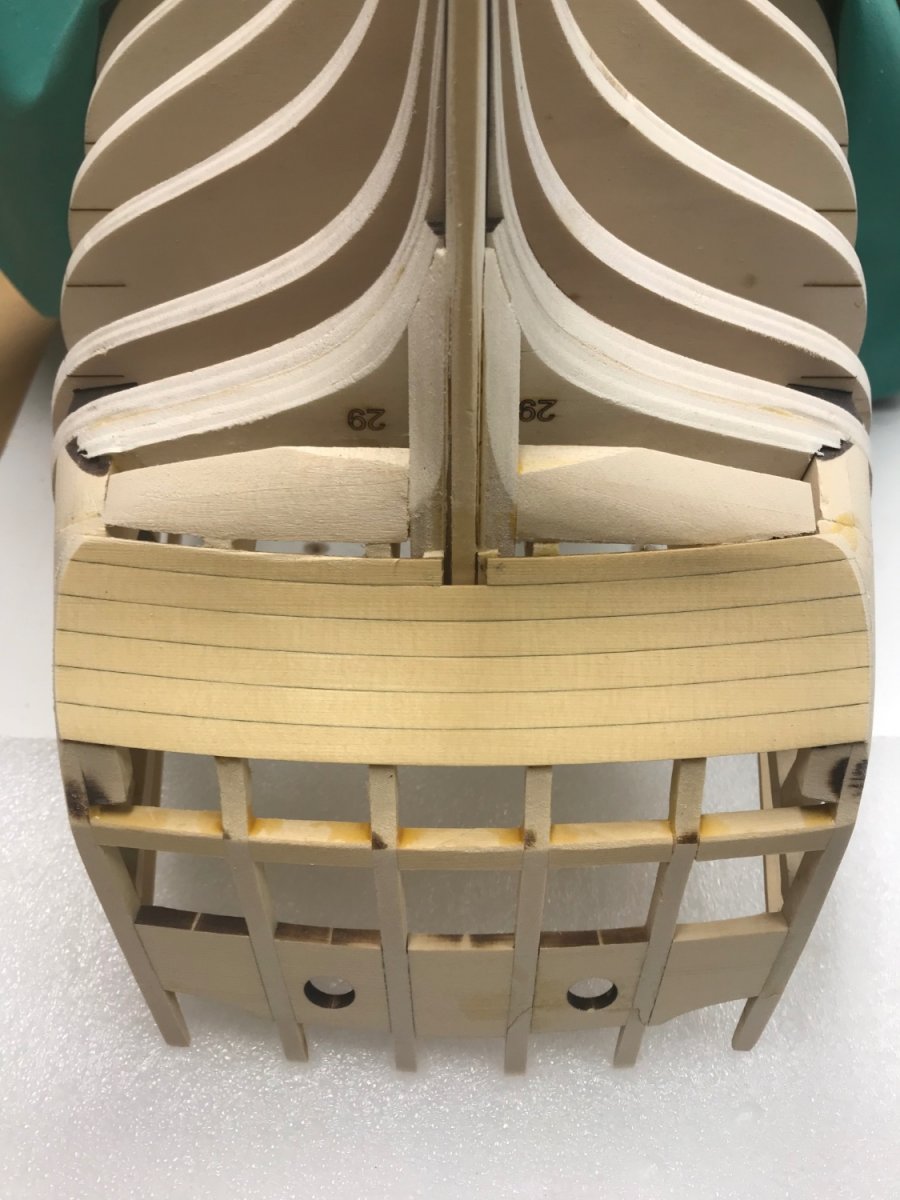
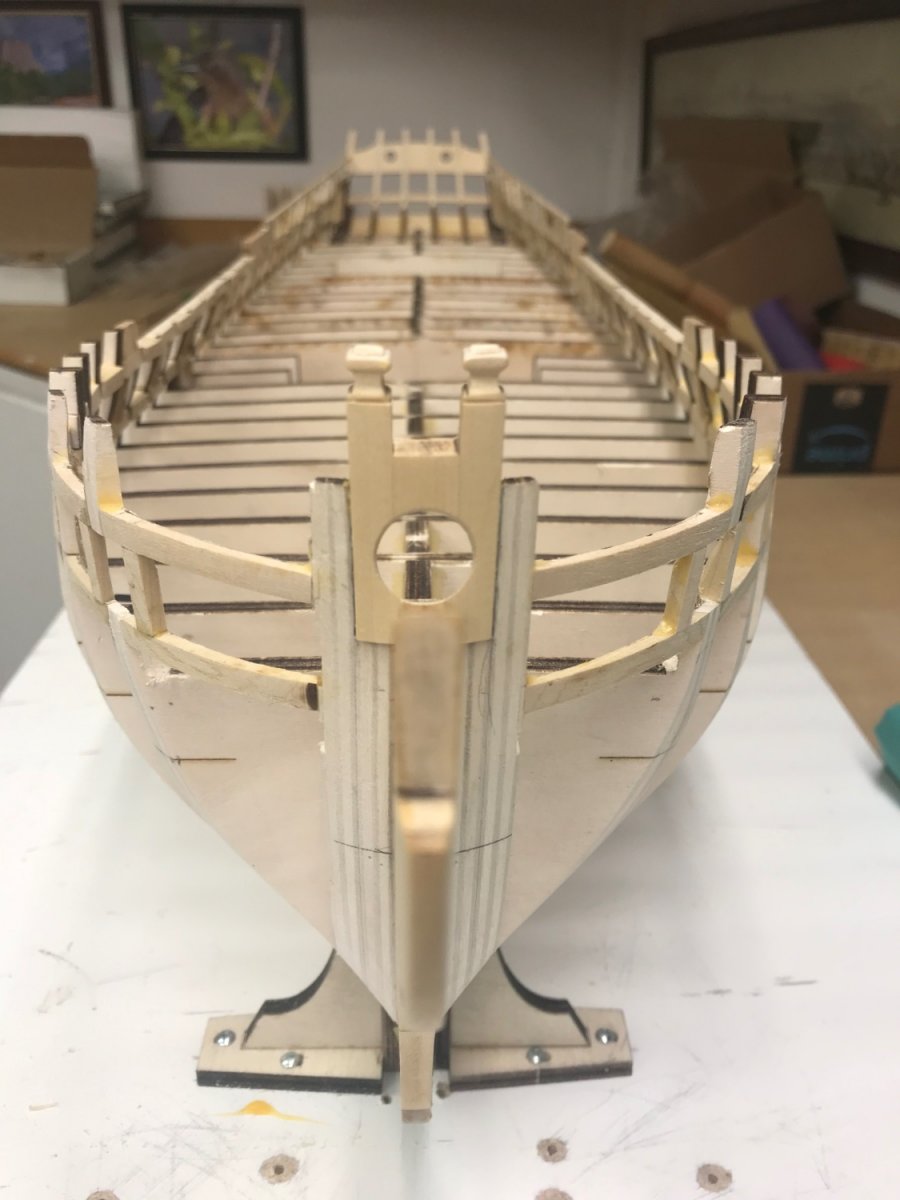
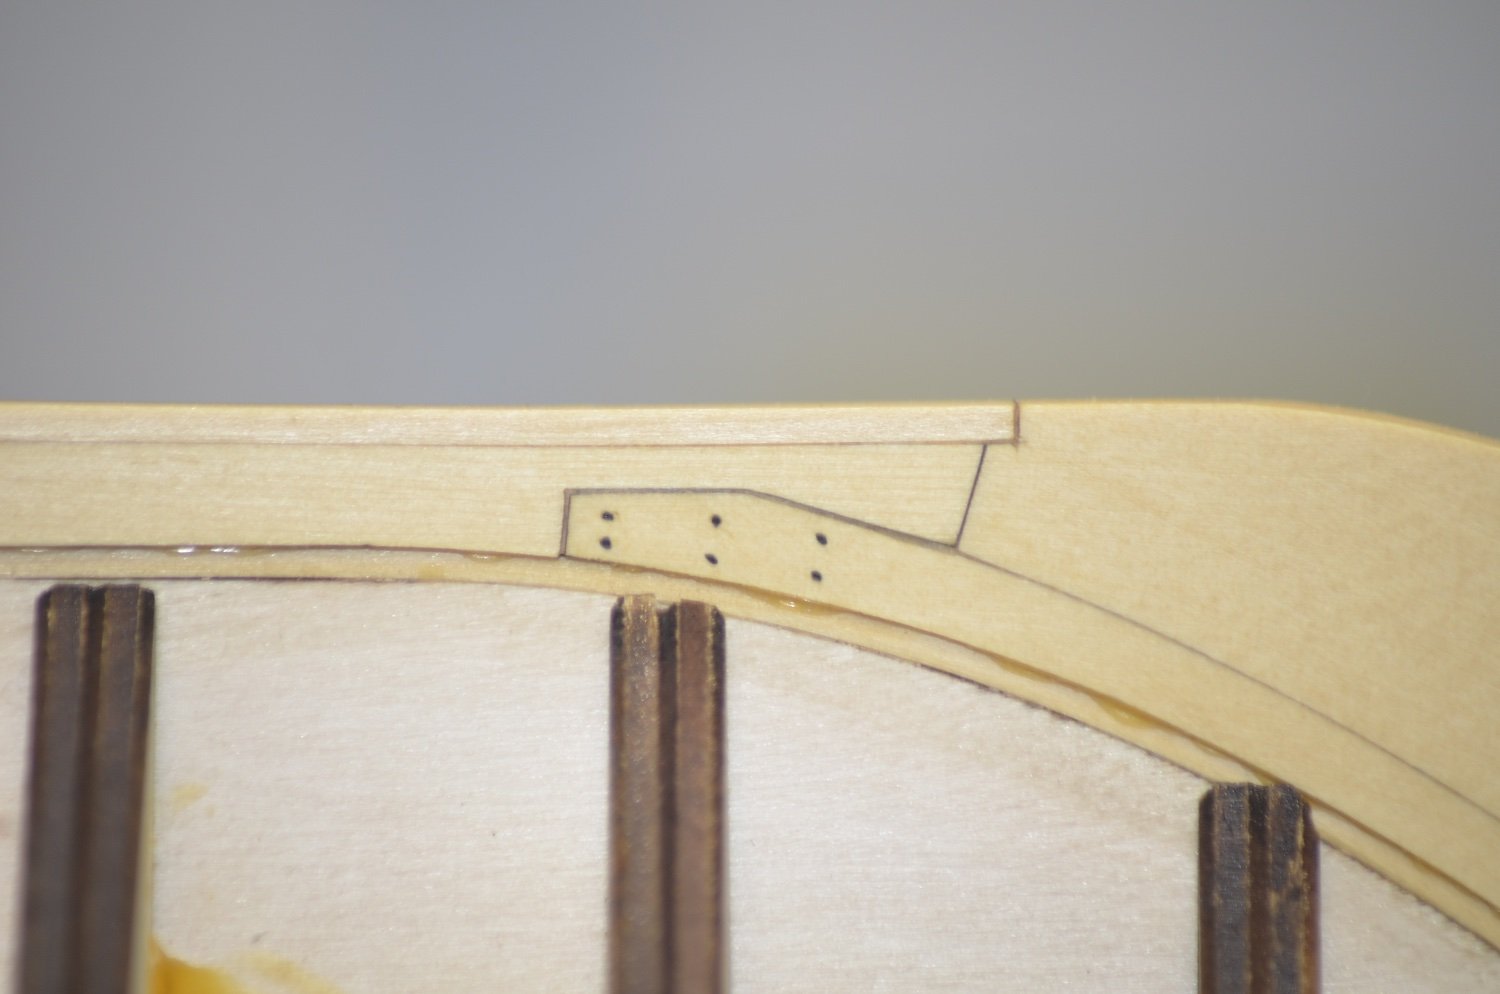
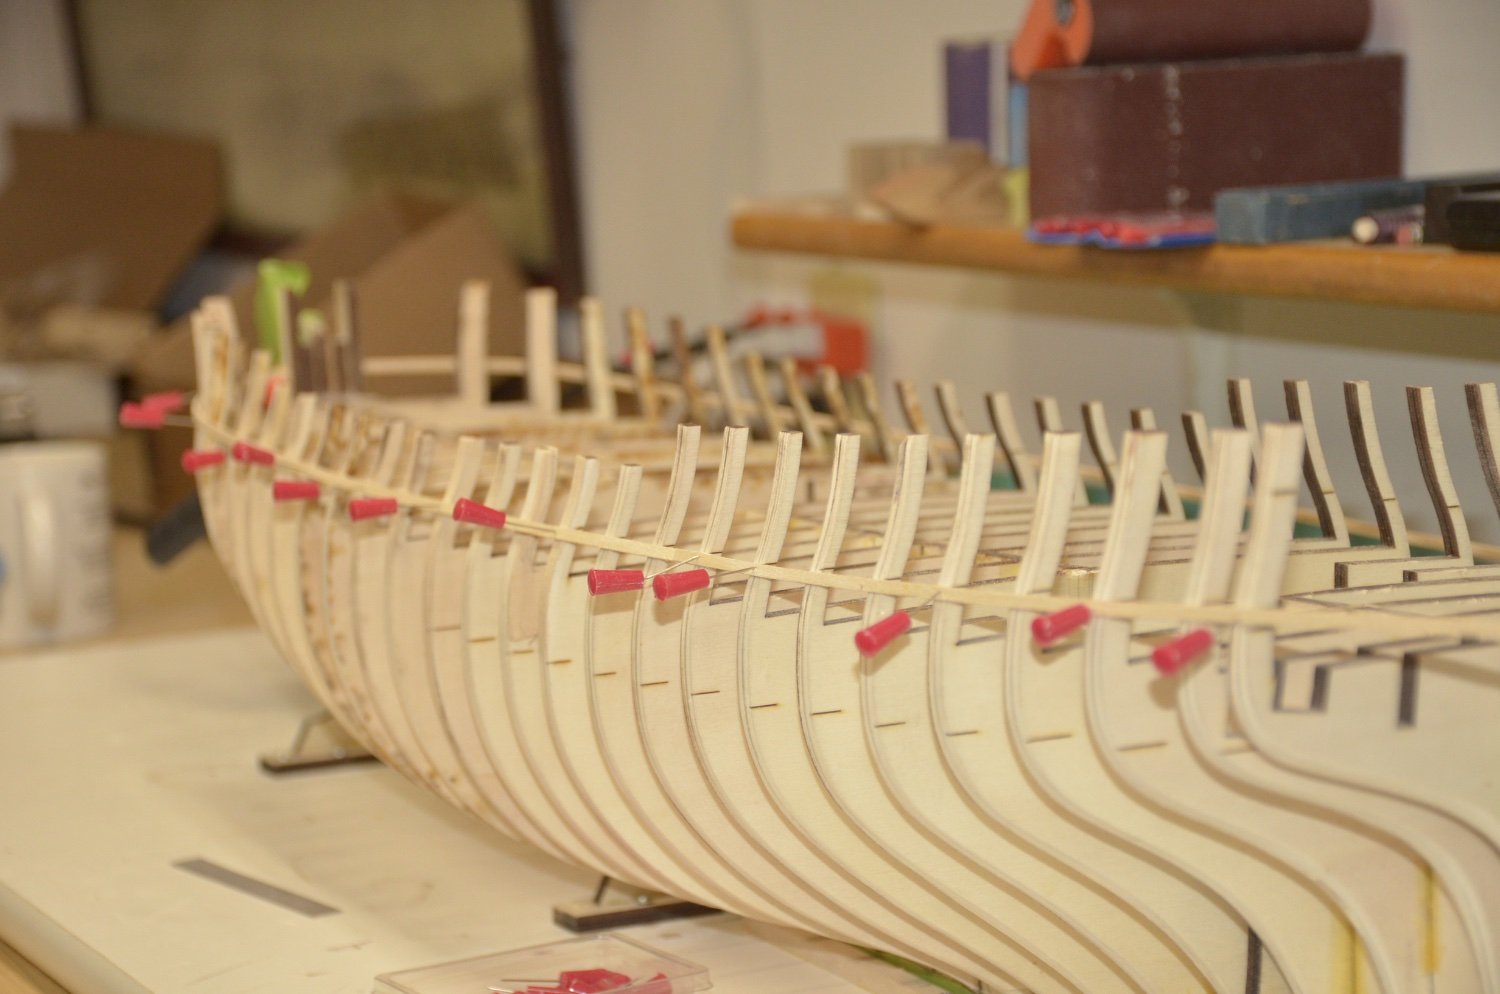
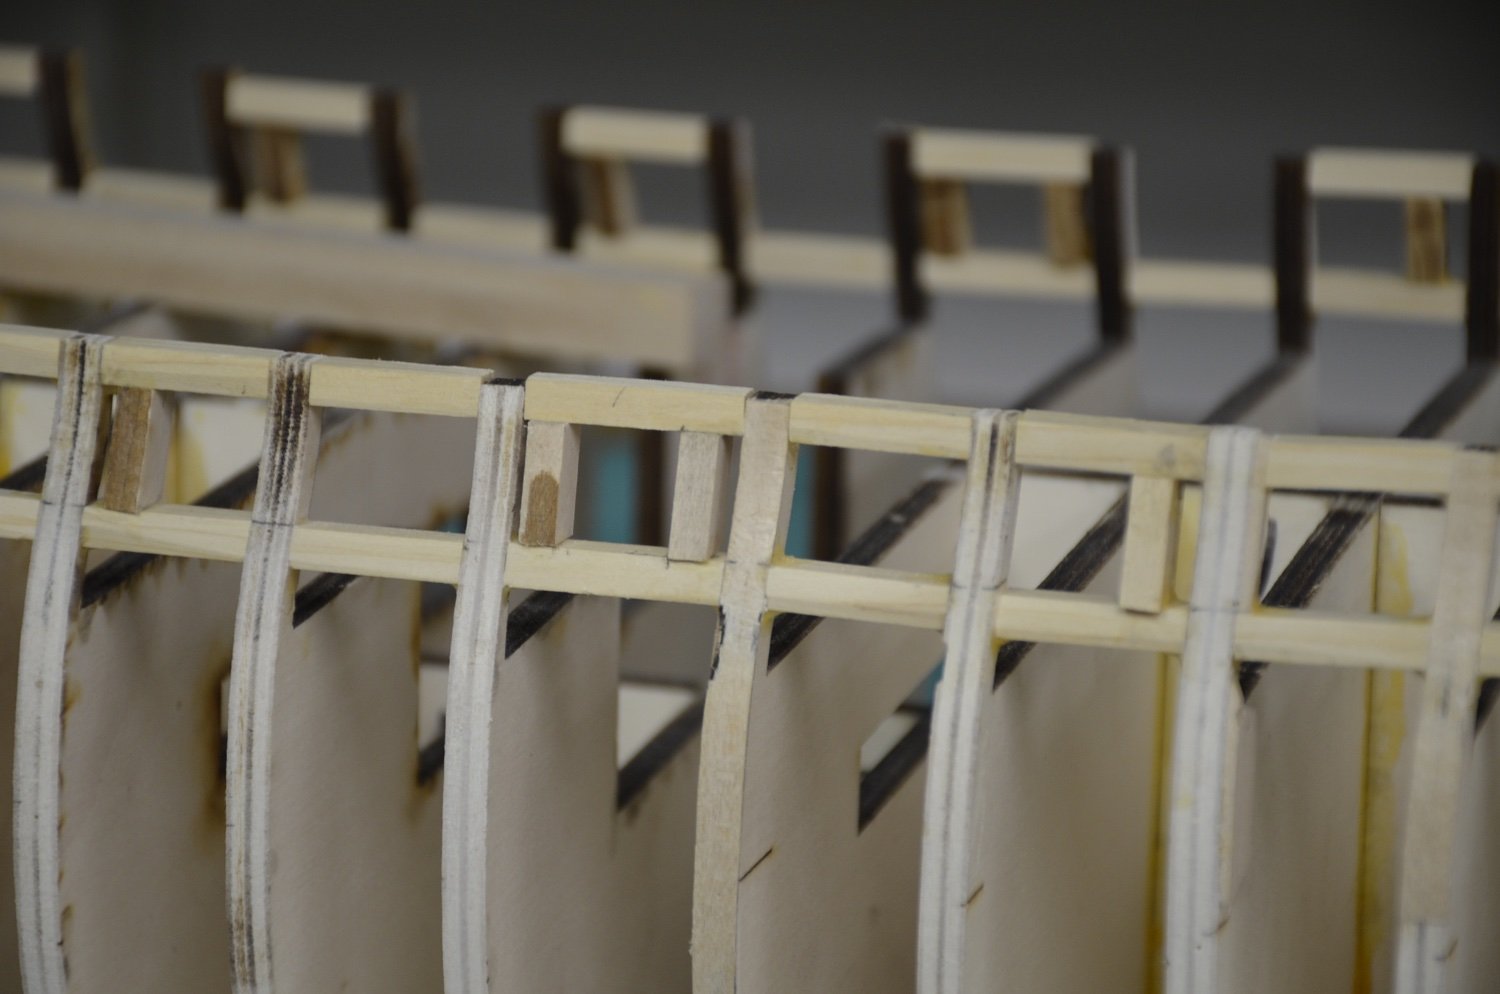
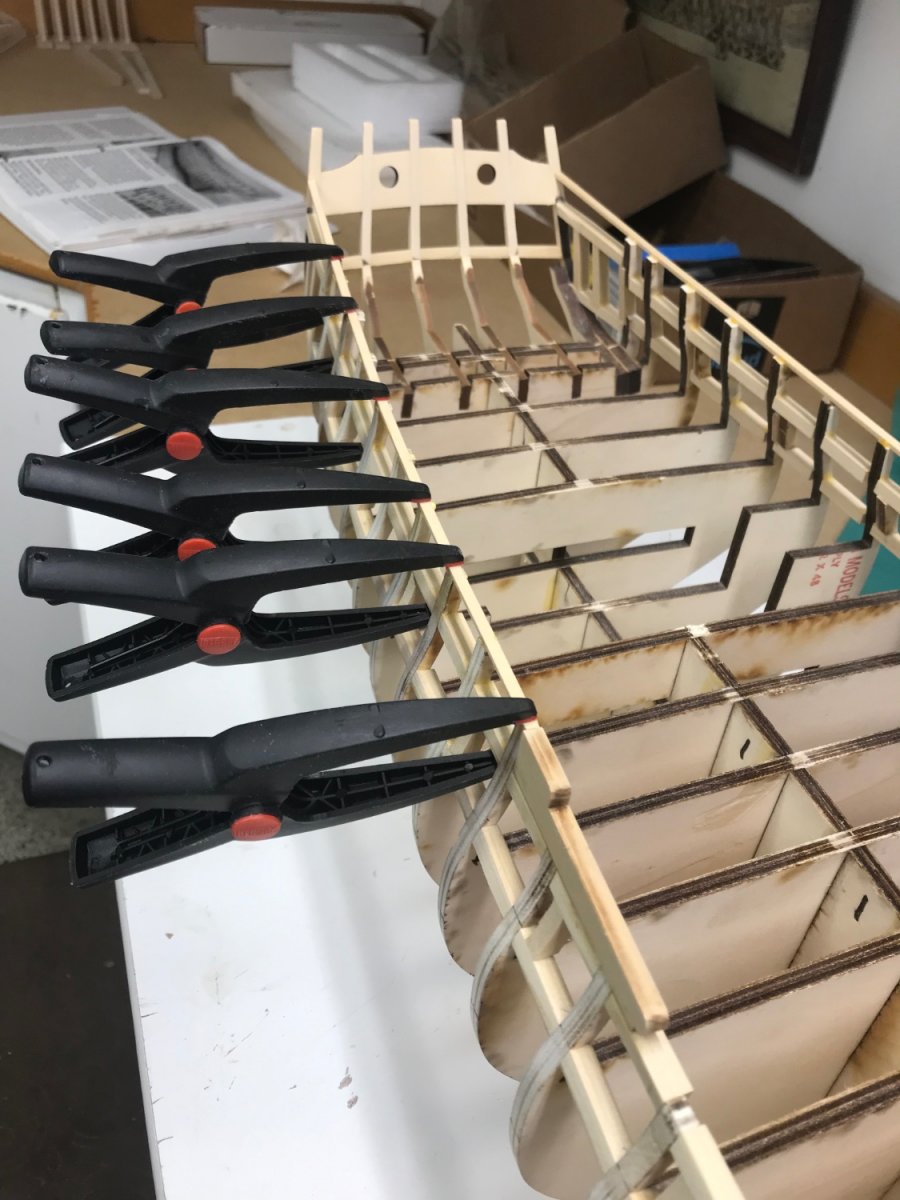
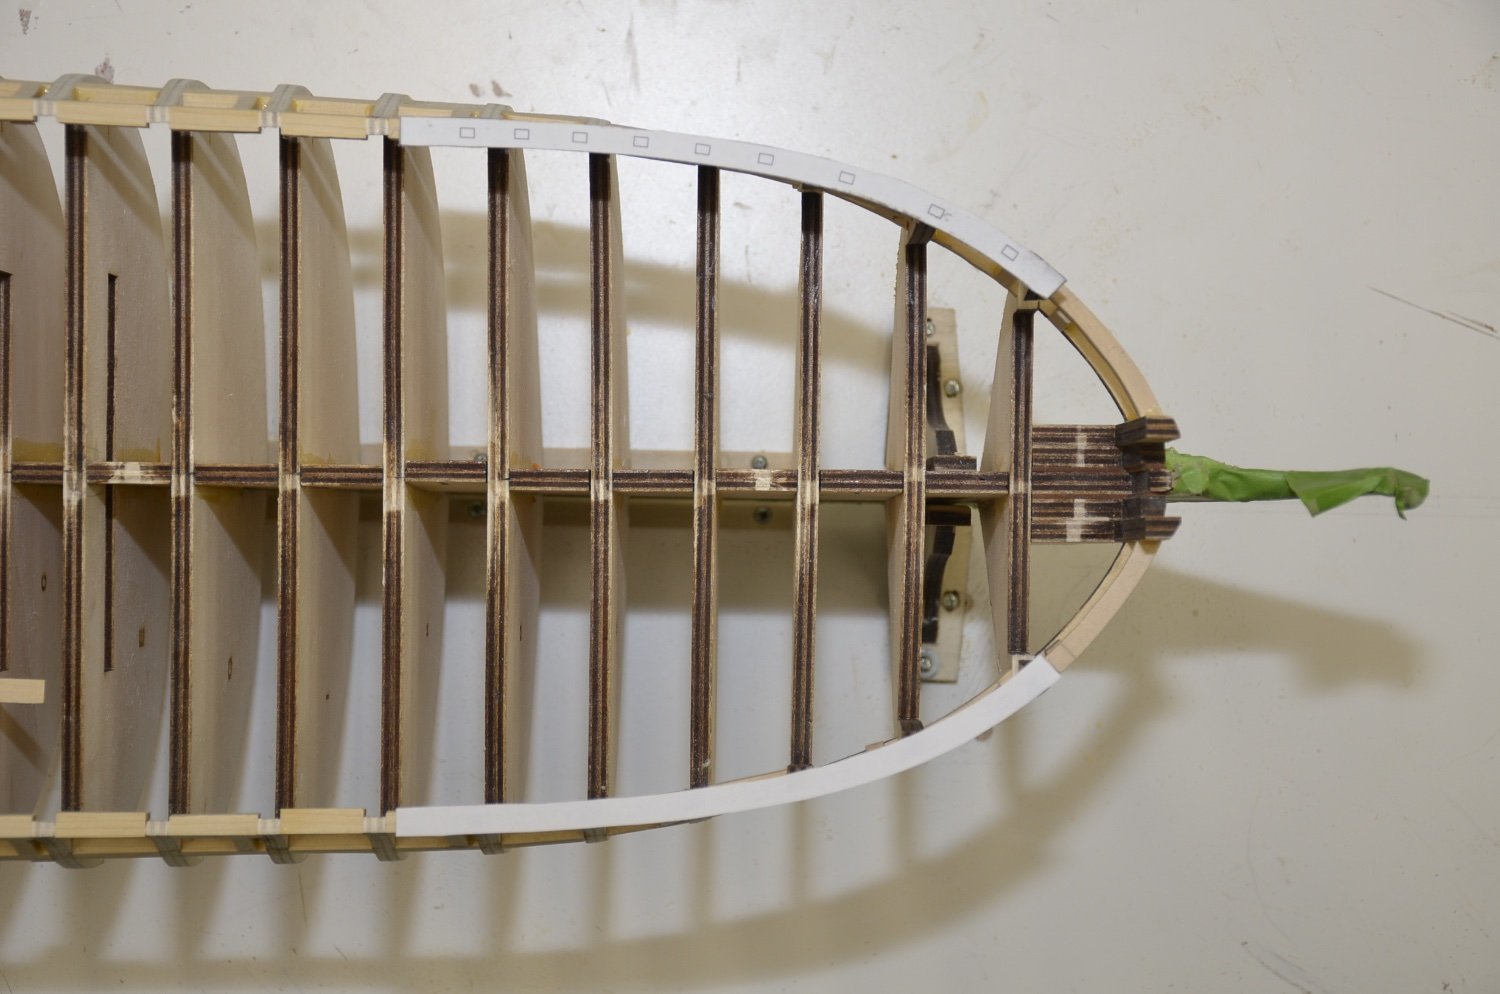
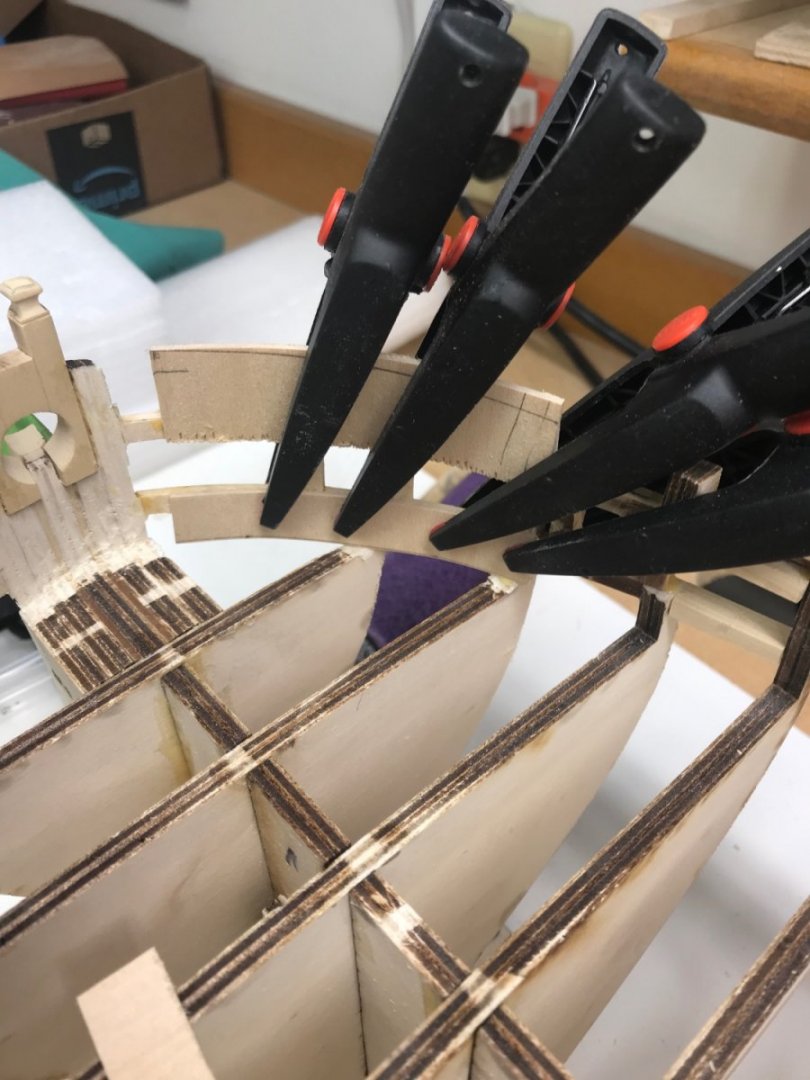
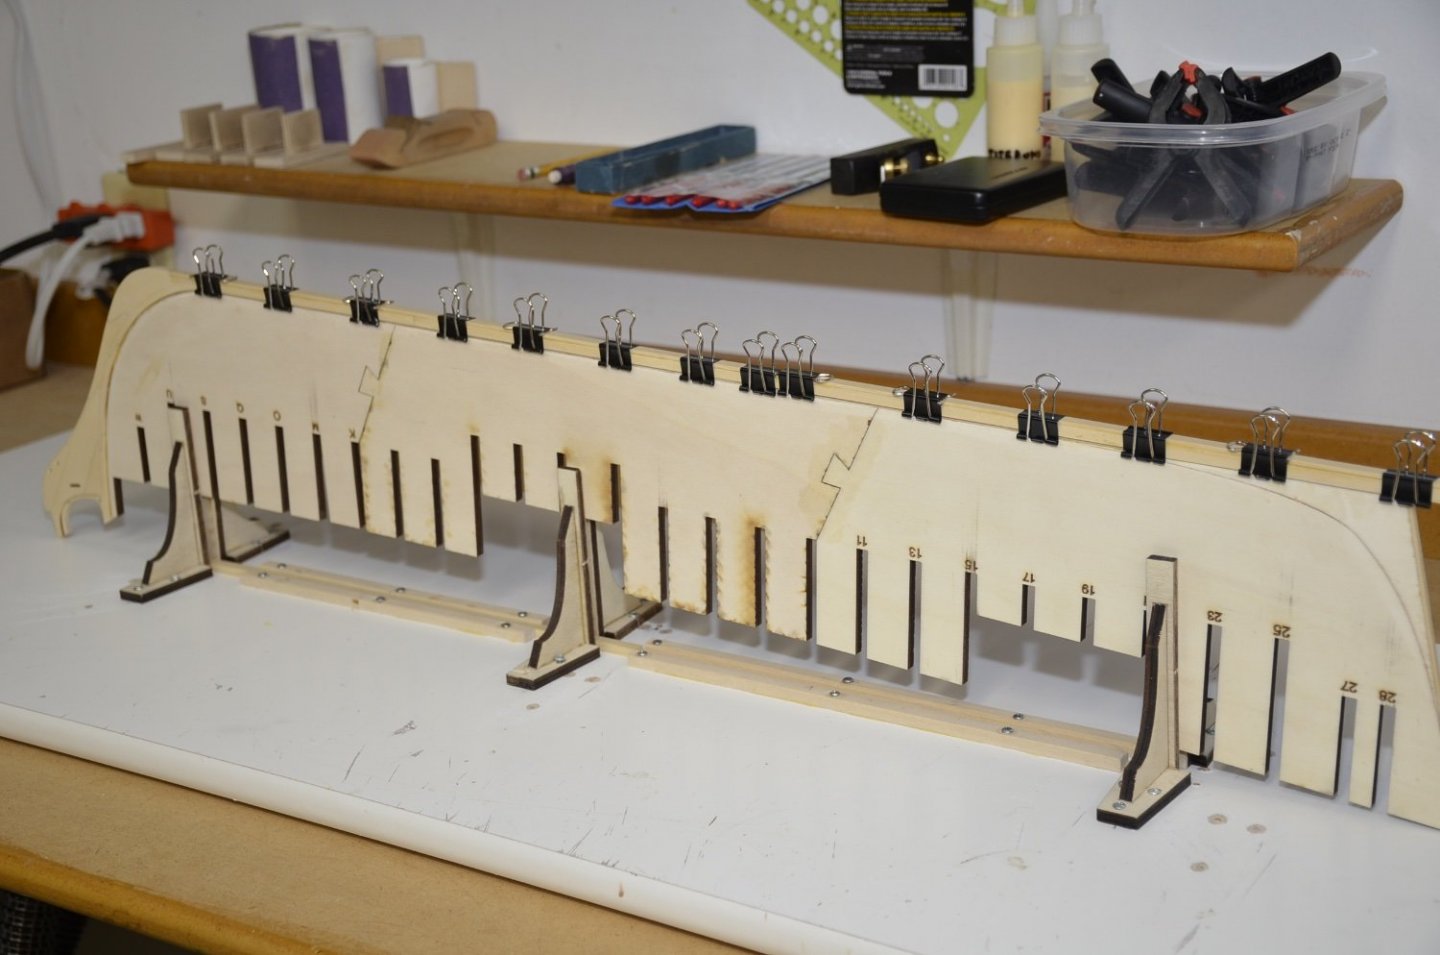
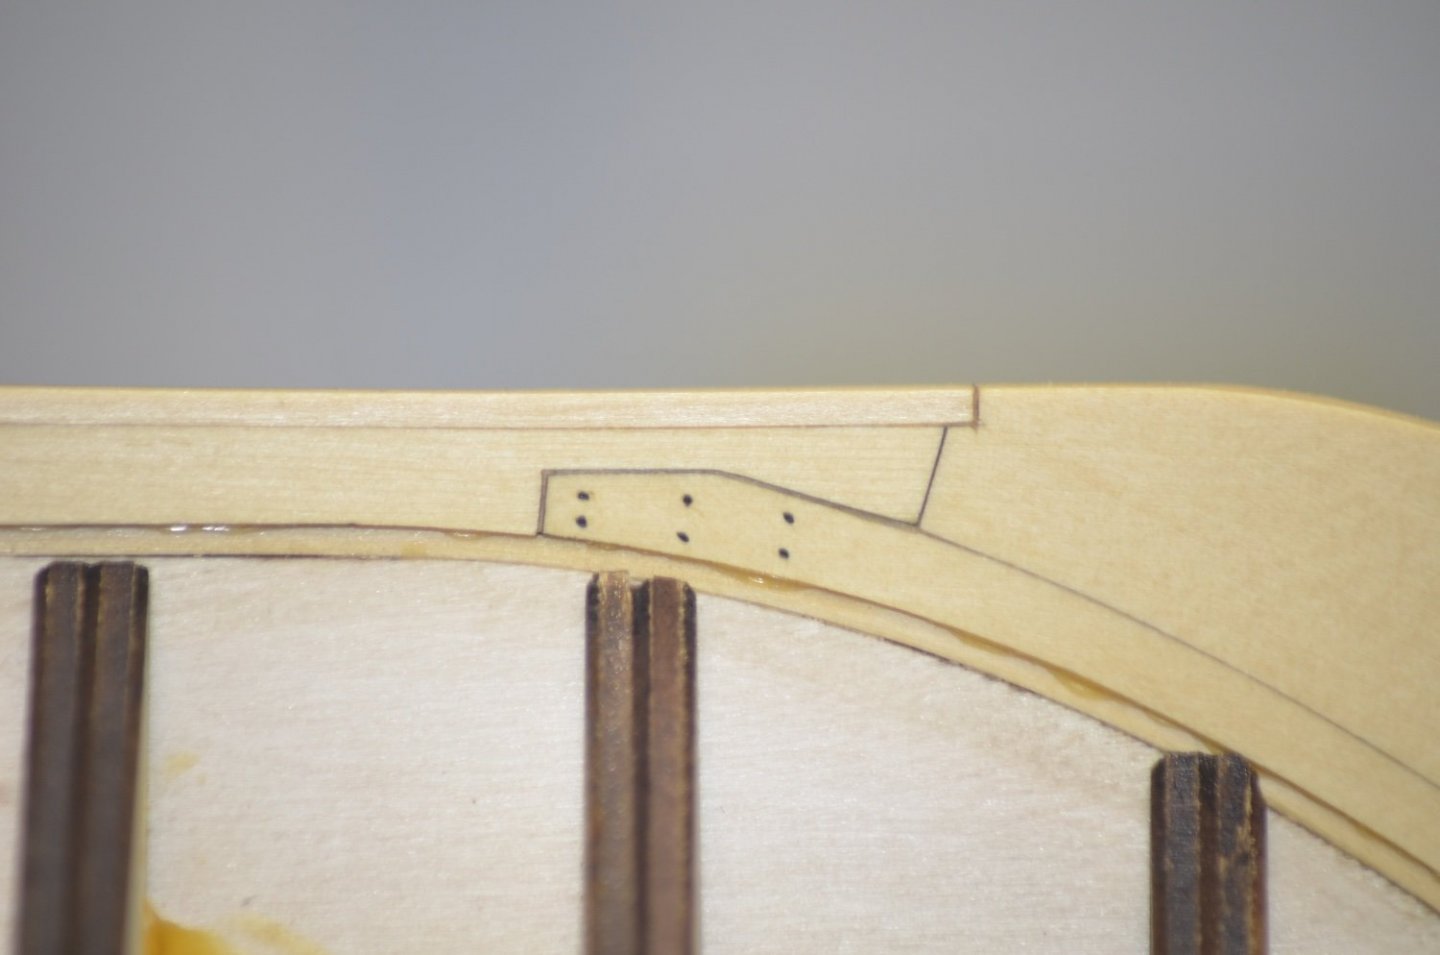
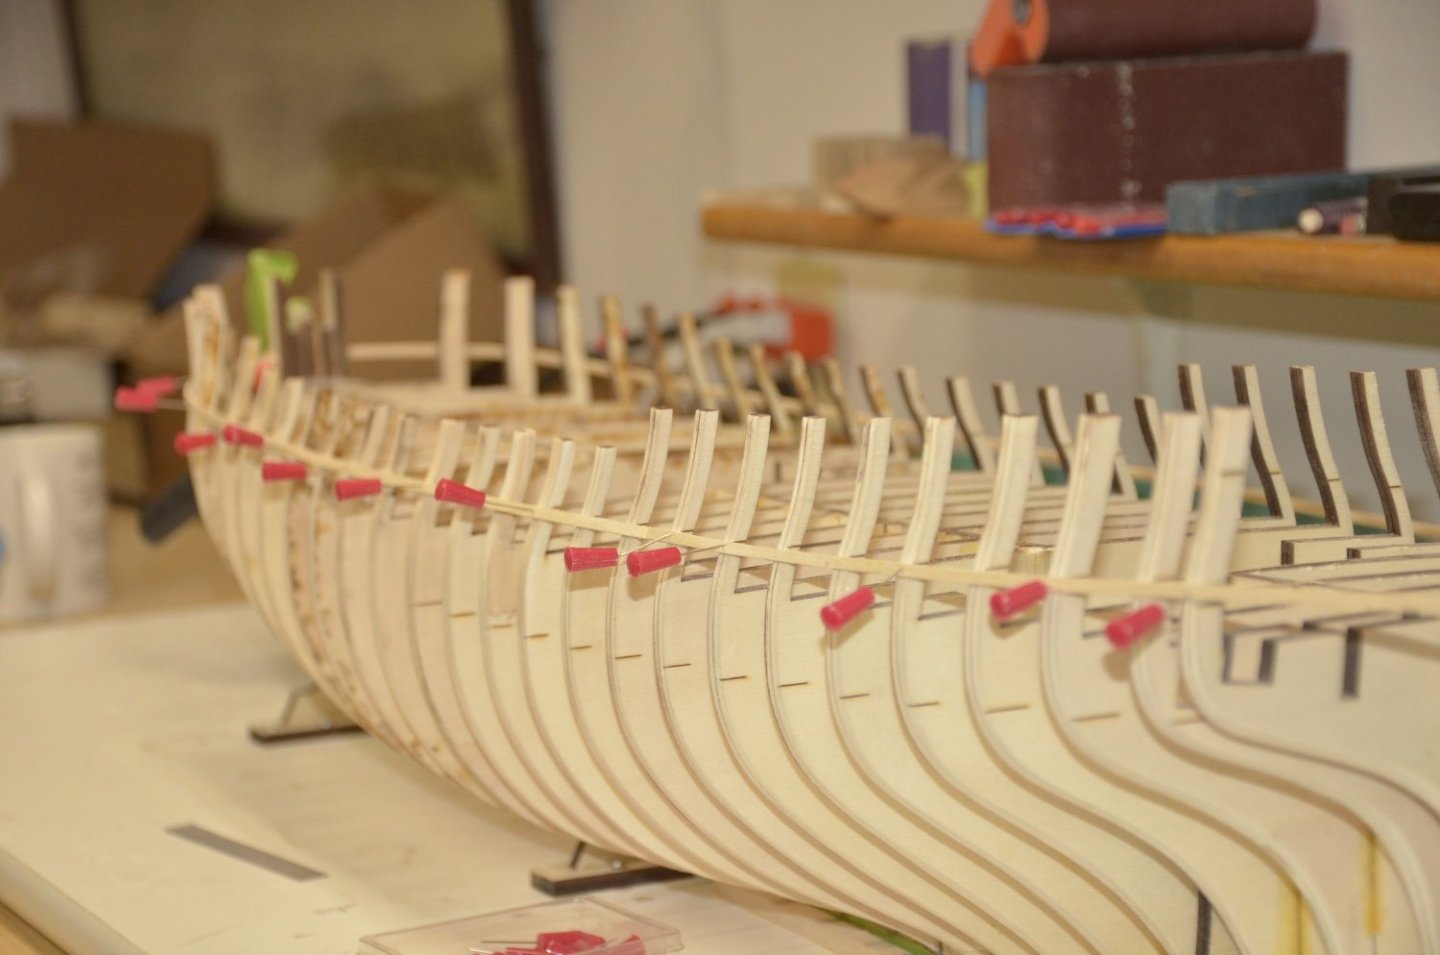
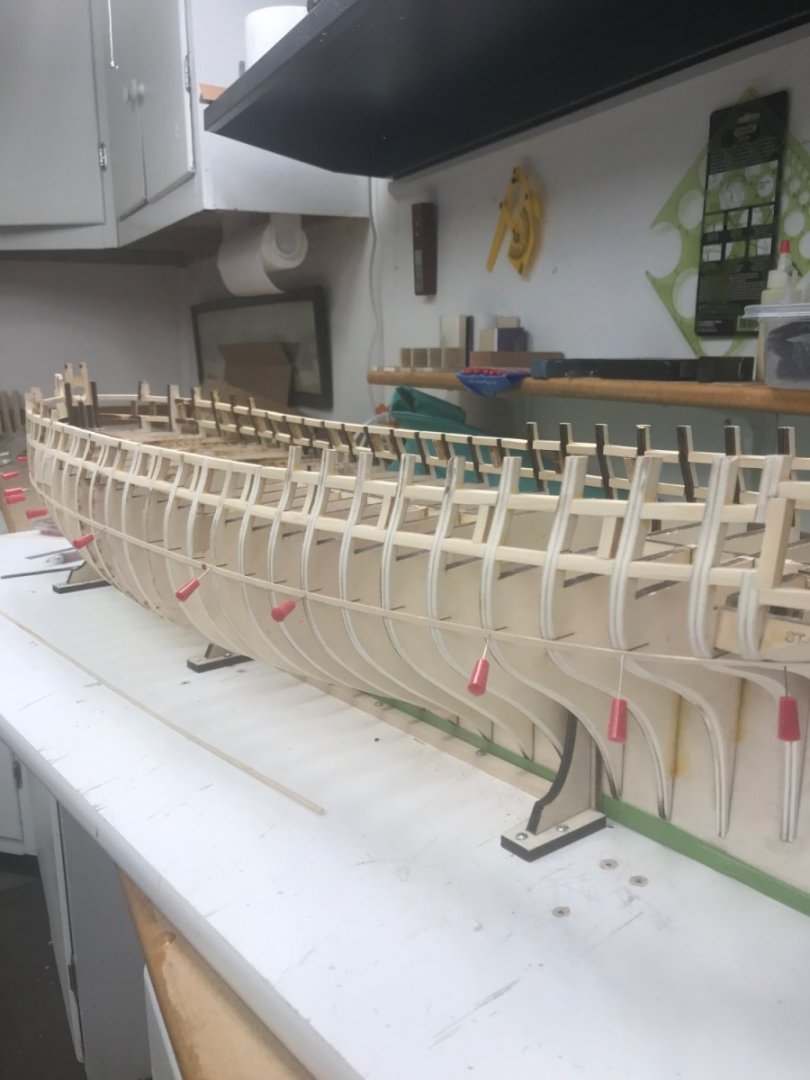
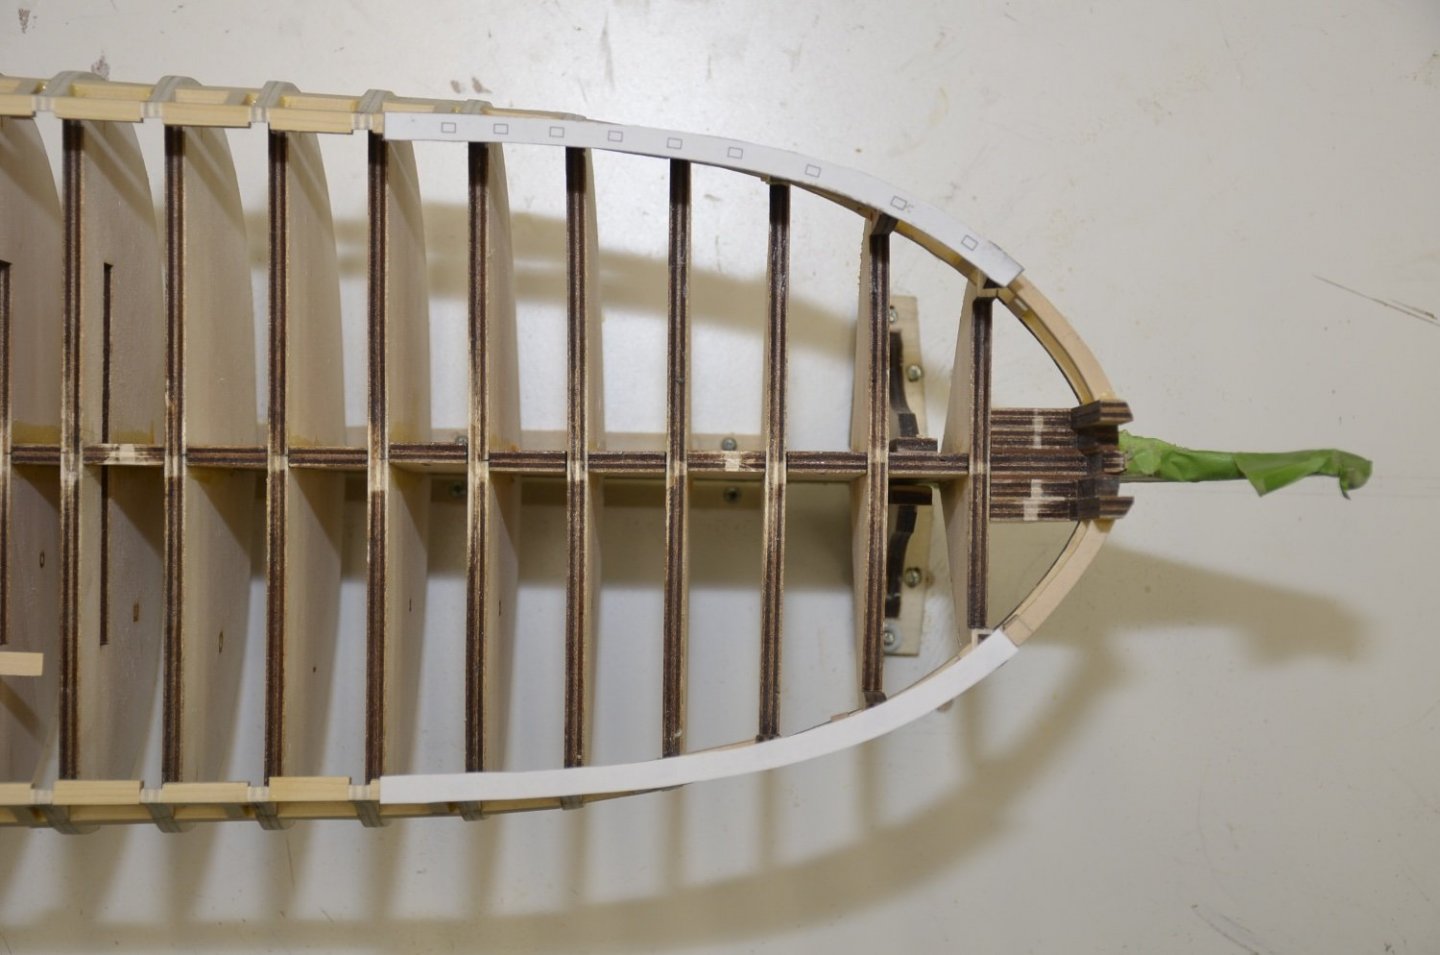
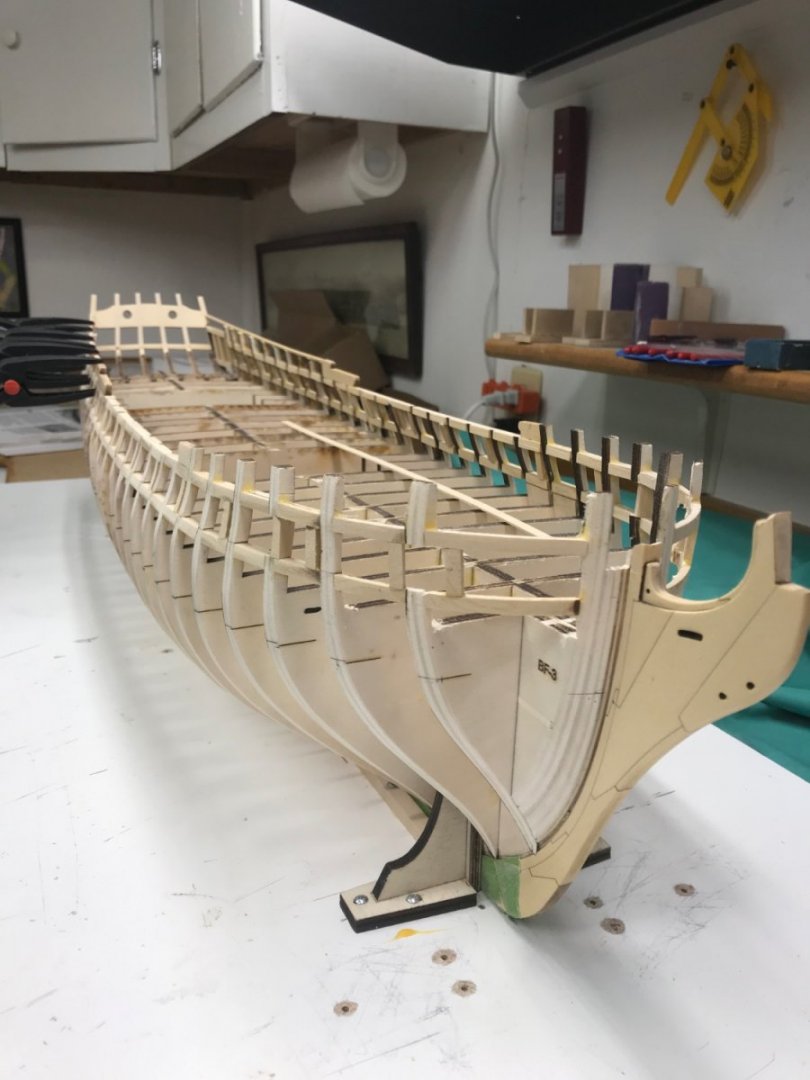
Work has started on Winnie 2. Never get tired of looking at the lines on these beautiful ships! Laying out lines for the gun port framing gun port framing completed Hopefully I am close enough on the curve of the bow railing The stern framing went well but following the dotted lines on the stern framing guide, I obviously over sanded so had to add wood and re-shape. I should have checked out some of the guys stern pics before sanding. Hopefully I have shaped it correctly and am proceeding with counter planking


- 34 replies
-
- 7
-
-
- winchelsea
- hms winchelsea
- (and 1 more)
-
Frank I used basswood on the first layer of wales and of course it is somewhat white as compared with the yellow cedar Steve
- 34 replies
-
- 1
-
-
- winchelsea
- hms winchelsea
- (and 1 more)
-
Beautiful work Frank! Steve