

Techtonic
-
Posts
145 -
Joined
-
Last visited
Content Type
Profiles
Forums
Gallery
Events
Album Comments posted by Techtonic
-
-
Great model! Can I ask how you made the acrylic (I presume) display case? I'd like to make or purchase something similar when I complete my current build.
-
2 hours ago, tedrobinson2000 said:
Hi Techtonic. Thanks for asking about the sails. That isn't a paneling EFFECT, they are actually paneled like real sails were (are). I developed a method of making fairly realistic model sails using a thin cotton material called "lawn" cloth. It's very thin, almost translucent, and as supplied doesn't handle very well because it is very limp. What I did, over months of experimentation, is to coat the basic cloth with diluted Elmer's glue to slightly stiffen it, and then after it had dried cut it into scale 24" strips (in my case, about 3/8" wide). Then the strips are re-assembled by carefully overlapping them by a millimeter or so on a lined template placed on a light box, to make a panel slightly larger than the sail to be made. Then the sail is cut out of the panel, and the reef bands and midbands are added, followed by gluing small diameter stiffening wires along the leeches and feet. Then the leech, foot and head linings are added, along with any reinforcing panels. Then, each sail has a custom bolt rope attached around the periphery. Before installing the bolt ropes, the cringles at each corner of the sail are first served for a scale 2' or so each side, the cringle is seized to make the cringle loop, and then the completed bolt rope is glued along the sail's edge and all cringles are marled. Finally, the reef points and other smaller cringles are added (for bowlines, reef tackles, etc.). You can see this effect better in pictures 43 and 45 above.
I actually started to compose a tutorial to show others how I did it, but the forum showed little interest, so I gave it up - besides which the process continua;;y evolved as I found easier or better ways to do things, so I never completed it.
Wow, that's quite a process, thanks for the details. The result is certainly impressive!
If you ever get around to finishing your tutorial I'm sure there are many on here that would be interested.
-
43 minutes ago, tedrobinson2000 said:
Thanks to all who have viewed the gallery, especially jlefever and techtonic for your kind words. It was a labor of love - over 5400 hrs and an 11-1/2 year span. Now I'm on to Chuck Passaro's HMS Winchelsea; I'm already salivating over starting her!
The time invested certainly shows!
Can I ask how you achieved the paneling effect on the sails? I scanned through your build log but didn't see mention of it. I'm just starting building Amati HMS Vanguard and looking ahead for ideas on doing the sails.
-
Beautifully crafted model. Congratulations on an excellent job!
-
17 hours ago, DonSangria said:
Hi Techtonic
Wounderful work! I especially like your sails. How did you make them? Do you have a guide or a reference?
Thanks for the kind words Don.
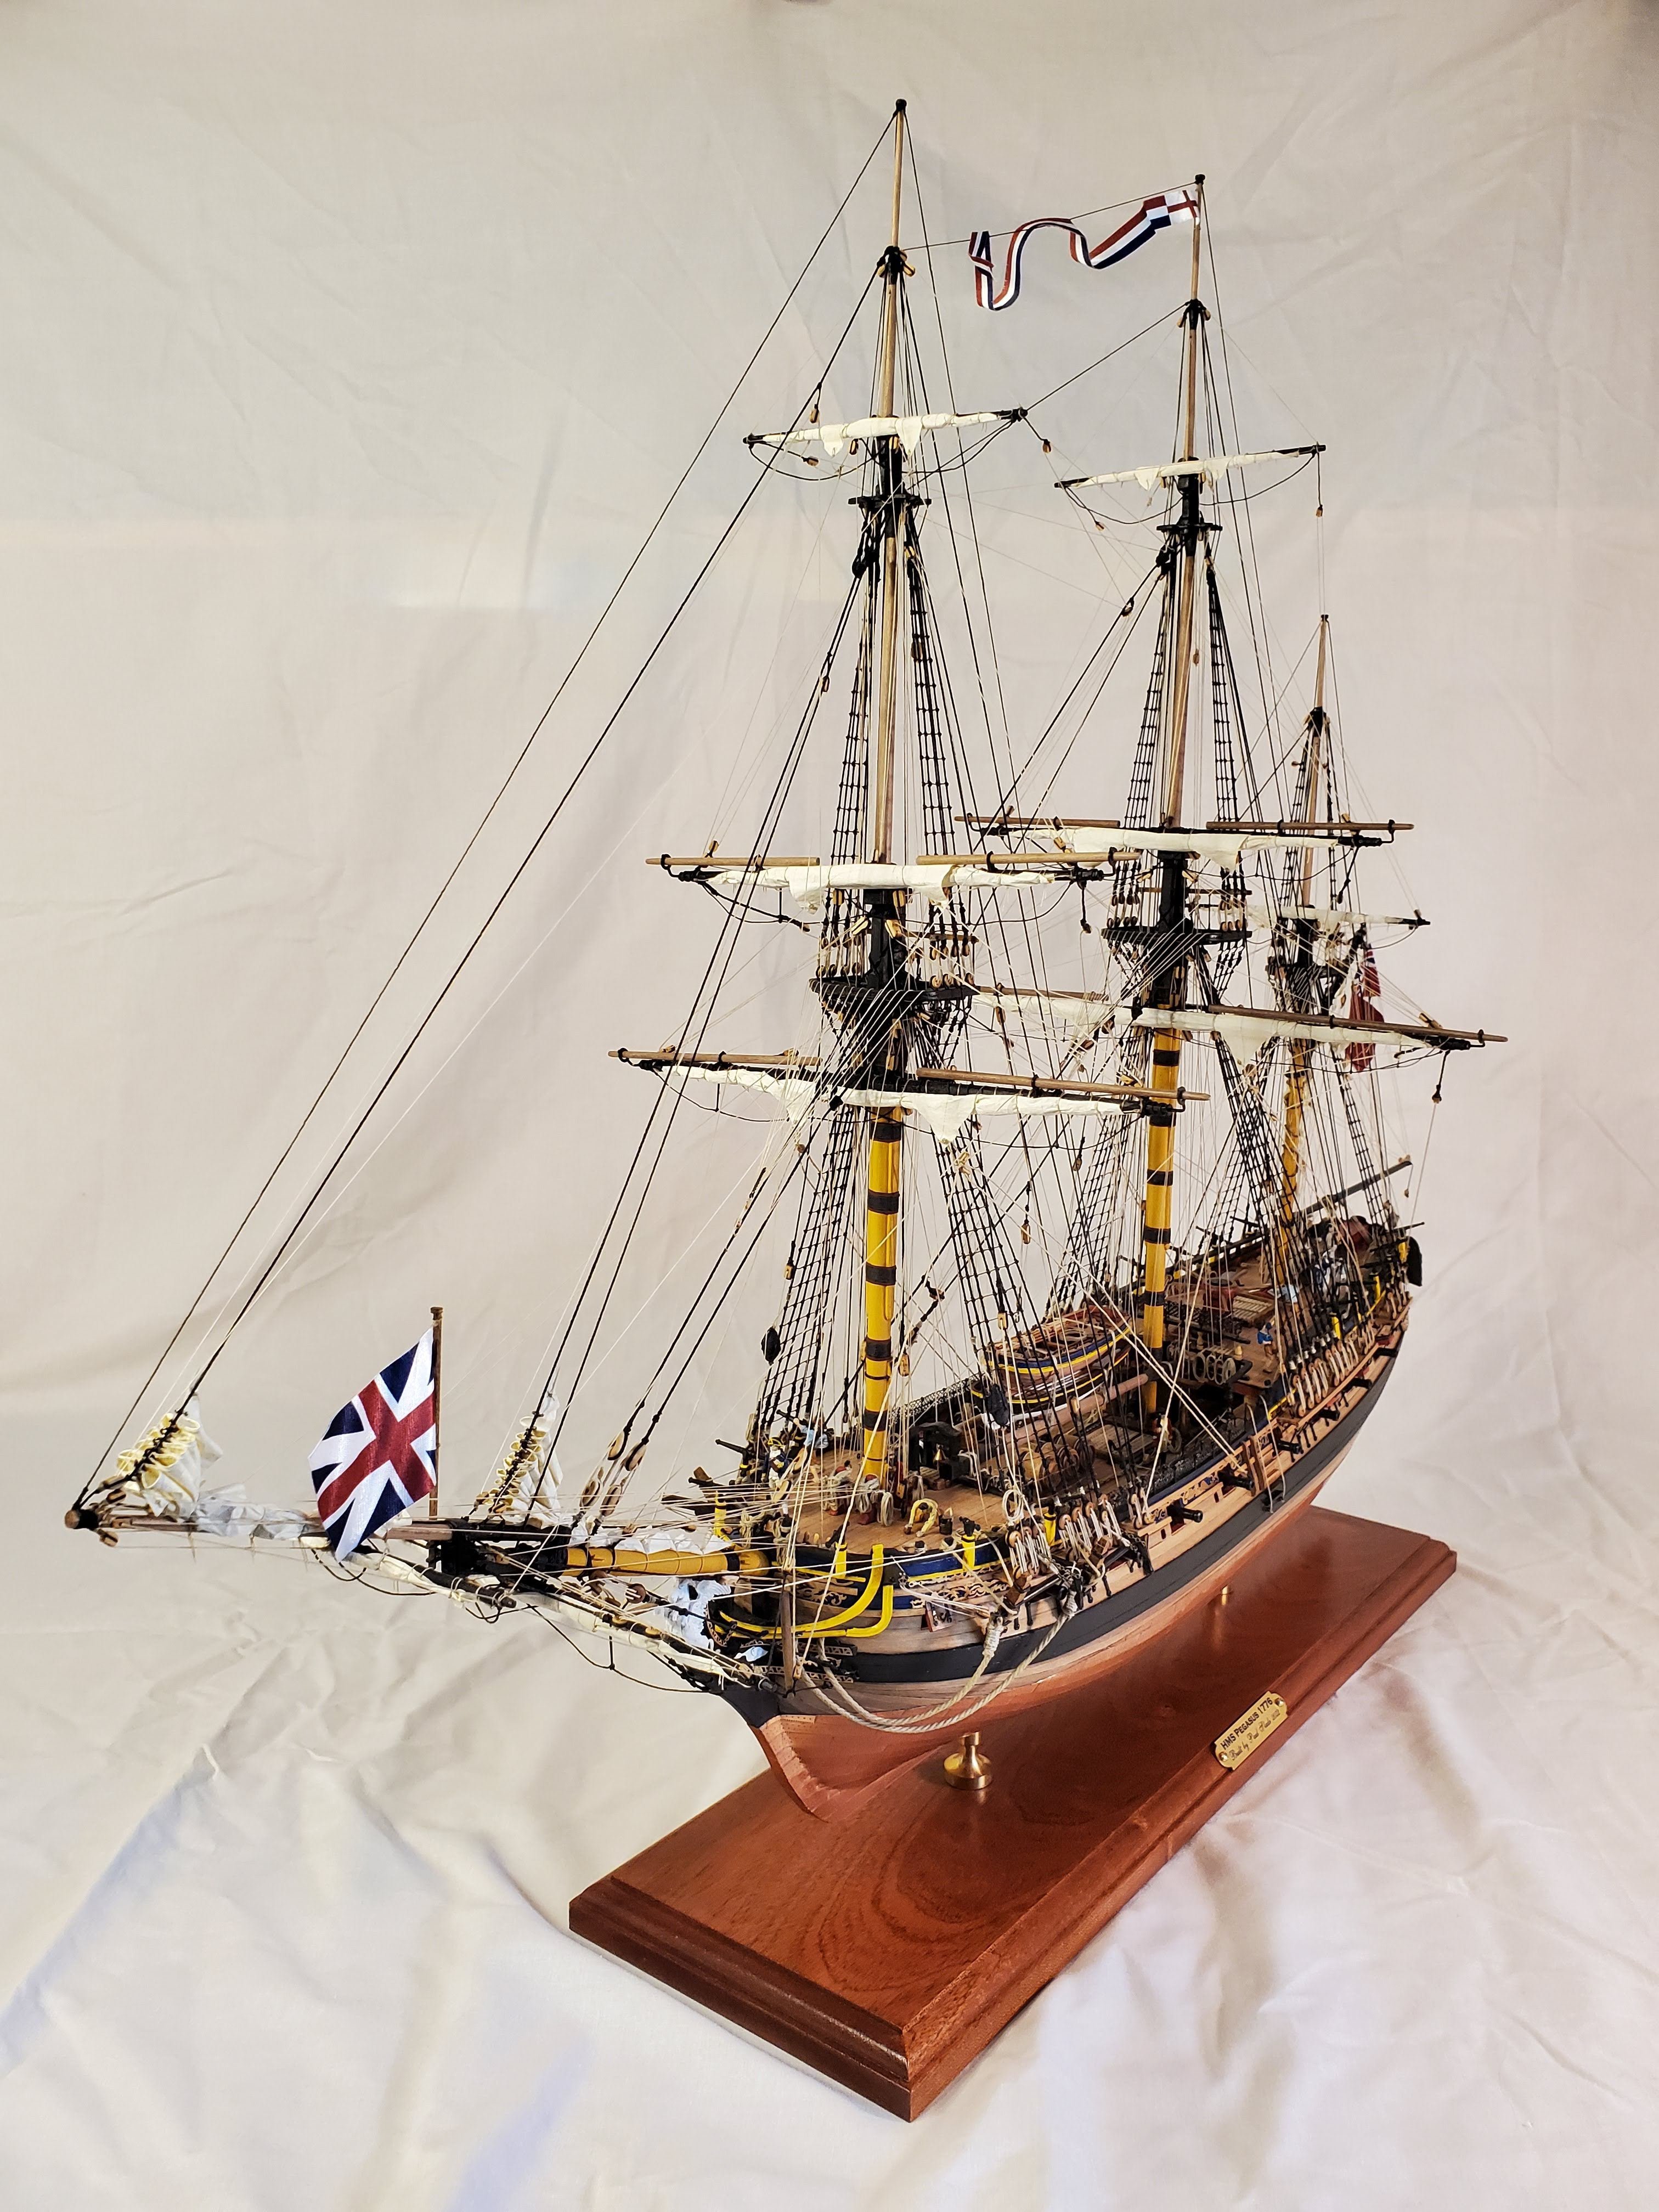
The sails were made from silkspan. I used Tom Lauria's youtube videos as a general guide for using the material https://www.youtube.com/watch?v=g_m_VWzk4w8.
The square sails were made pretty much the full length of the sail but tapered in at the the lower end, then folded and rolled in a similar way to what Landlubber Mike does here https://modelshipworld.com/topic/3944-landlubber-mikes-technique-for-furled-sails/. The clews were re-enforced with a second layer of silkspan glued to the first layer to strengthen it where the rope attaches. I didn't add bolt ropes but may do that in my next build for extra realism. The top edge of the sails was reinforced by folding over and gluing around 0.2" strip along the top.
The jib sails were made fill size and shape and reinforced by folding about 0.2" of the leading edge around some thread and gluing. Then metal rings were pierced through this reinforced edge at half inch intervals and used to attach to the forestay. Once all are attached just concertina the sail down while wet and with a little persuasion it will naturally fold in a realistic looking manner. I also had to add extra running rigging for these sails as they are not included in the Pegasus plans. I added some extra belaying pins on the focsle just aft of the bowsprit to take this extra running rigging.
- MCo and DonSangria
-
 1
1
-
 1
1
-
2 hours ago, mark.bukovich said:
Beautiful! I love the figurines; it helps to bring the ship to life
(Also nice Lego Star Wars collection 😄 )
Thanks Mark. Yeah the figurines do bring it to life. I also like them as they immediately make it obvious the scale of the ship.
(Also, that's only about half my Lego Star Wars collection! I was running out of room to display them which is what got me started on wooden ship building - a hobby that takes much longer to build each model!)
in Gallery of COMPLETED Kit-Built Ship Models
Posted
Thanks for the info - I'll have to see if I can find somewhere local that offers a similar service. What thickness acrylic did you need? I'm building the Amati HMS Vanguard which is just slightly bigger than yours so I imagine would require the same thickness acrylic.