RN77
Members-
Posts
24 -
Joined
-
Last visited
Profile Information
-
Location
Glenrothes Scotland
Recent Profile Visitors
The recent visitors block is disabled and is not being shown to other users.
-
 etubino reacted to a post in a topic:
Borodino by RN77 - Dom Bumagi - 1/100 - CARD
-
 etubino reacted to a post in a topic:
Borodino by RN77 - Dom Bumagi - 1/100 - CARD
-
 RN77 reacted to a post in a topic:
SMS Karlsruhe by Wreck1919 - 1/100
-
 GrandpaPhil reacted to a post in a topic:
Borodino by RN77 - Dom Bumagi - 1/100 - CARD
-
 GrandpaPhil reacted to a post in a topic:
Borodino by RN77 - Dom Bumagi - 1/100 - CARD
-
 GrandpaPhil reacted to a post in a topic:
Borodino by RN77 - Dom Bumagi - 1/100 - CARD
-
 GrandpaPhil reacted to a post in a topic:
SD 14 by RN77 - Marcle Models - CARD
-
 RN77 reacted to a post in a topic:
Cyclone-Class Destroyer 1902 by Valeriy V - scale 1:45 - Russian Imperial Navy
-
 Canute reacted to a post in a topic:
SD 14 by RN77 - Marcle Models - CARD
-
 yvesvidal reacted to a post in a topic:
SD 14 by RN77 - Marcle Models - CARD
-
 KeithAug reacted to a post in a topic:
SD 14 by RN77 - Marcle Models - CARD
-
 mtaylor reacted to a post in a topic:
SD 14 by RN77 - Marcle Models - CARD
-
SD 14 by RN77 - Marcle Models - CARD
RN77 replied to RN77's topic in - Build logs for subjects built 1901 - Present Day
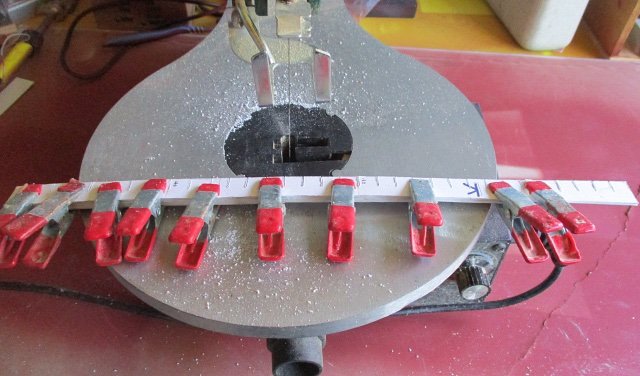
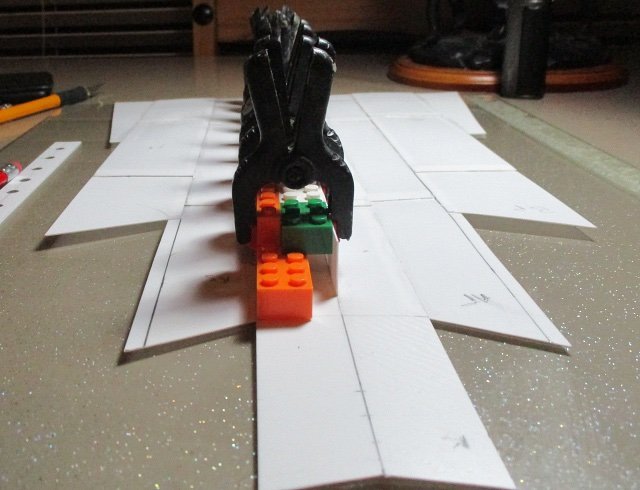
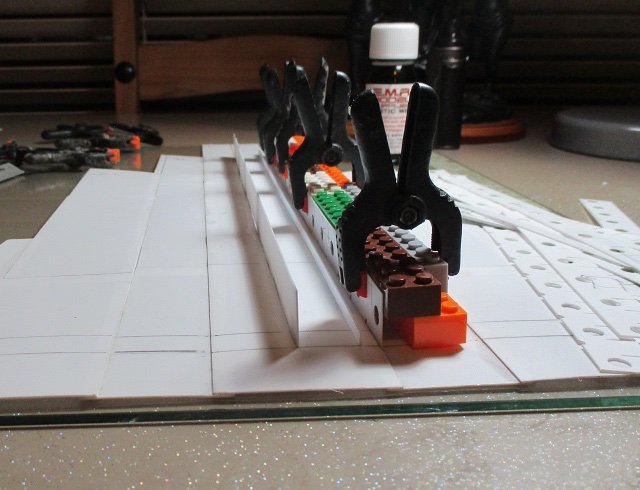
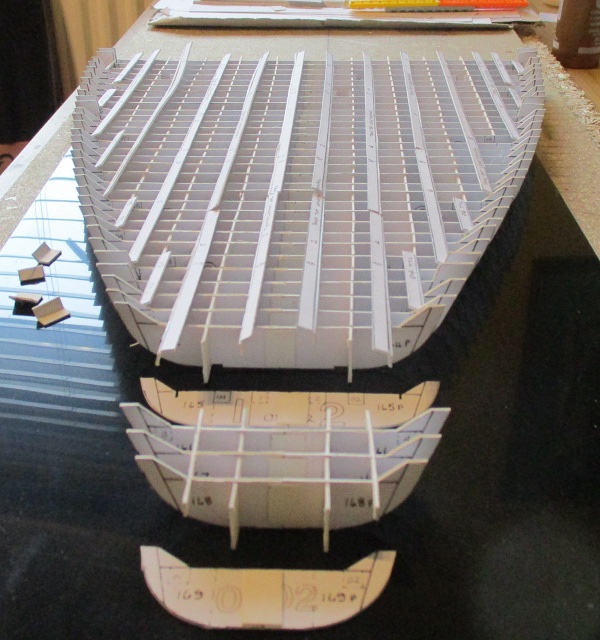
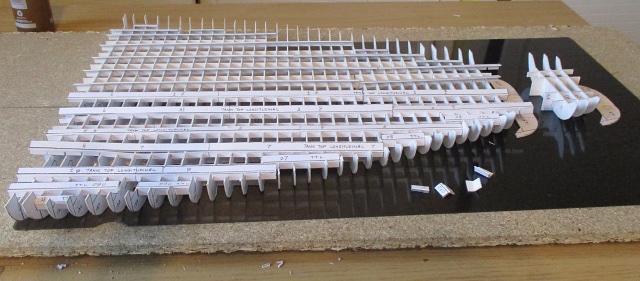
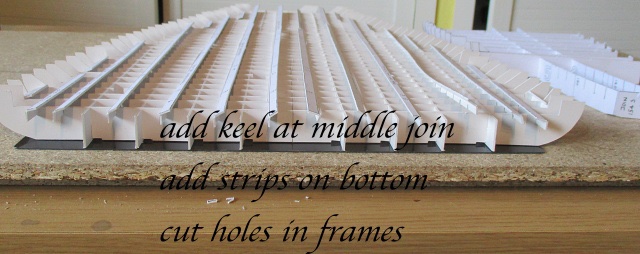
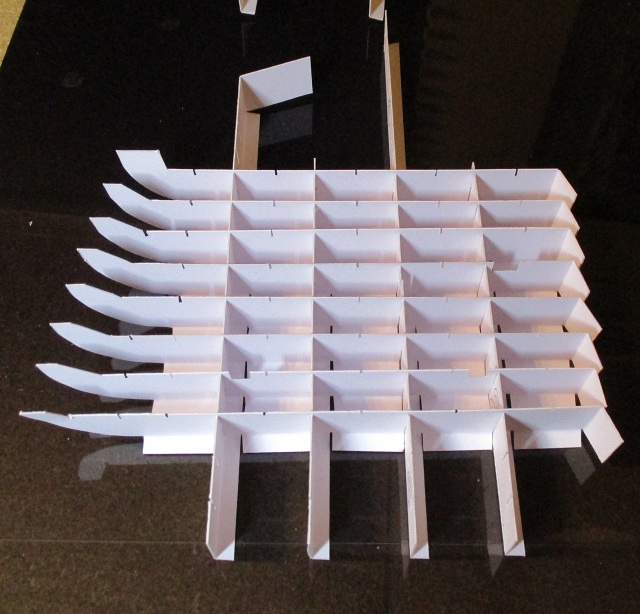
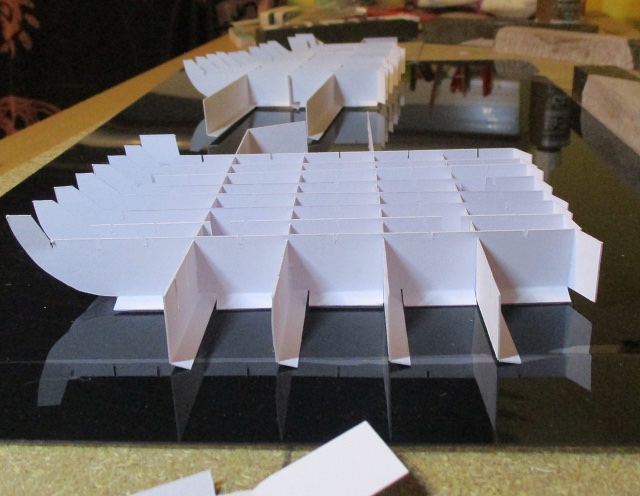
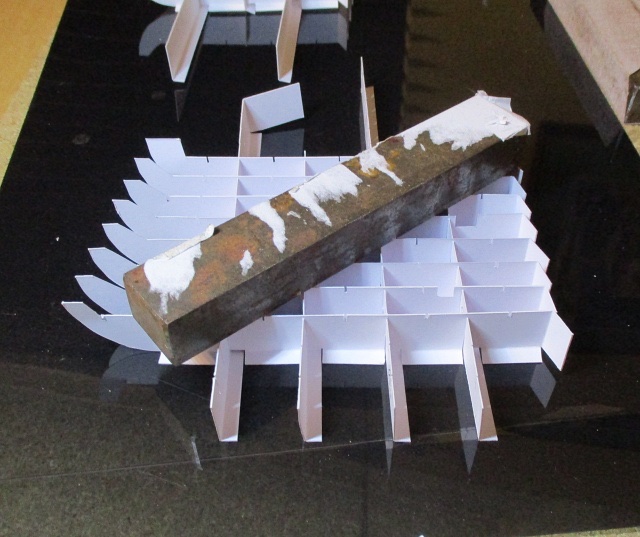
Good Evening Folks Coming across a diagram I saw that I had my bottom longitudes lying horizontal as per card model instead of verticle I thought I should correct this while just at the start of the build The slots on the other longitudes did not line up with each other very well either I presume this is due to the glue drying out causing the card template to shrink I clamped all these longitudes together and cut the slots out using one of the templates as a guide on the scroll saw The middle longitude replaces the fold at the end of the frames for the card model -
SD 14 by RN77 - Marcle Models - CARD
RN77 replied to RN77's topic in - Build logs for subjects built 1901 - Present Day
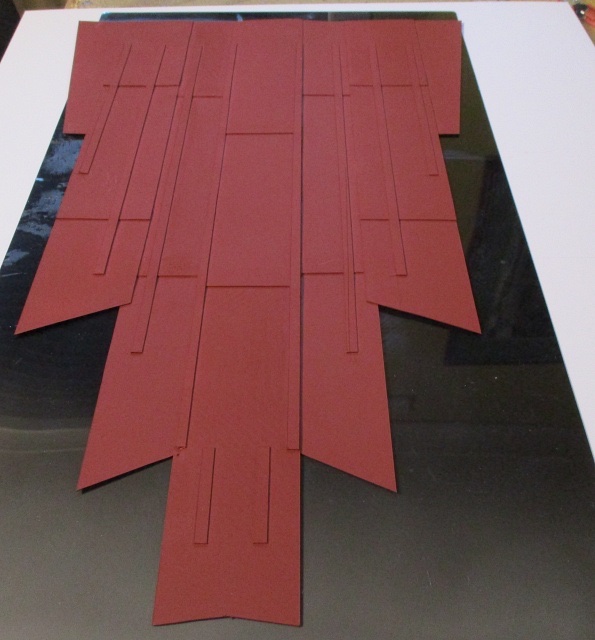
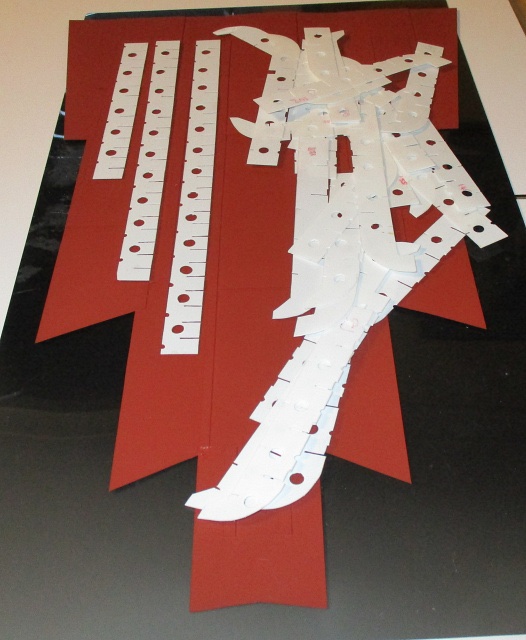
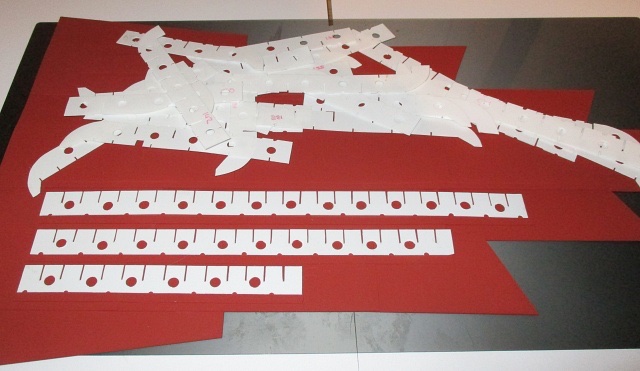
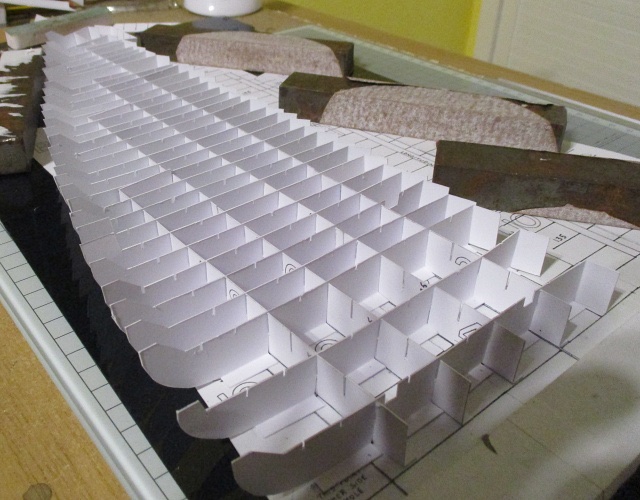
Good evening Folks Been a while since my last post as I started again TWICE just wasn't happy with results I was achieving using card and paint. I have decided to try using styrene sheet. The shell plates were drawn and cut out and the longitudes were glued down using Tamiya extra thin. I do have bottles of plastic weld but it can burn a hole in this thin and perhaps because it is a cheaper version of styrene than evergreen Again I copied the templates and glued them to 0.5mm styrene Once cut out they were soaked to remove the card but a lot of scraping with my finger nails was required to remove the tacky pva glue. Only done the stb frames so far to see how I get on I have used a 6mm hole punch for lightening holes and a smaller punch for drainage (mouse holes).Perhaps not the correct size or shape or position but just to represent that it wasn't a complete strip of metal I have used Halfords red primer from a spray can Off now to start on the port frames -
SD 14 by RN77 - Marcle Models - CARD
RN77 replied to RN77's topic in - Build logs for subjects built 1901 - Present Day
Hi Kevin Thanks for taking the time to look and comment This is all your fault 😝 Came across your build diary and I fancied giving it a go The amount of monotonous cutting of location marks is broken down by watching commercial tv Watching commercial tv or even a prerecorded programme instead of fast forwarding the adverts I jump up to the table and cut out a few slots I an now into the 3rd series of Cracker and the 2nd series of Sharpe 😜 -
SD 14 by RN77 - Marcle Models - CARD
RN77 replied to RN77's topic in - Build logs for subjects built 1901 - Present Day
Hi Folks Been humming and hawing whether to continue with the media I am using as I find it a bit fiddly and flexes too much when handling due to my heavy hands and impatience 🤪 Copied again and glued to card Quite happy plodding along thinking that as thicker I do not need the folds so i cut them off After watching a video on the construction off an SD14 i noticed metal bars running the length of the hull plate before anything else https://www.yfanefa.com/record/24352 I thought that fold on the longitudes was just support for the card I have cut out the slots on the bottom of the frames and will shove a strip of card there to represent this Using the thicker media, the folds will be too wide when joining the port and starboard frames together, so I have joined them together with a tab and I will add a piece of card on the last frame to represent that keel Shouldn't matter about the rest as will be covered with deck plates On the model only frames 133 and 134 have marks for cutting out On the real thing all the frames had cut outs to reduce the weight of the hull (get more /heavier cargo on board??) and for flooding to adjust ballast Toying whether to cut them all out, only the 2 or none as more than likely won't see this if hull is plated The tank top longitudes --will only glue the verticle parts for spacing between frames, the tops will be replaced with card to reduce the thickness of the card and template All parts dry fitted only will tidy it up when I start gluing -
SD 14 by RN77 - Marcle Models - CARD
RN77 replied to RN77's topic in - Build logs for subjects built 1901 - Present Day
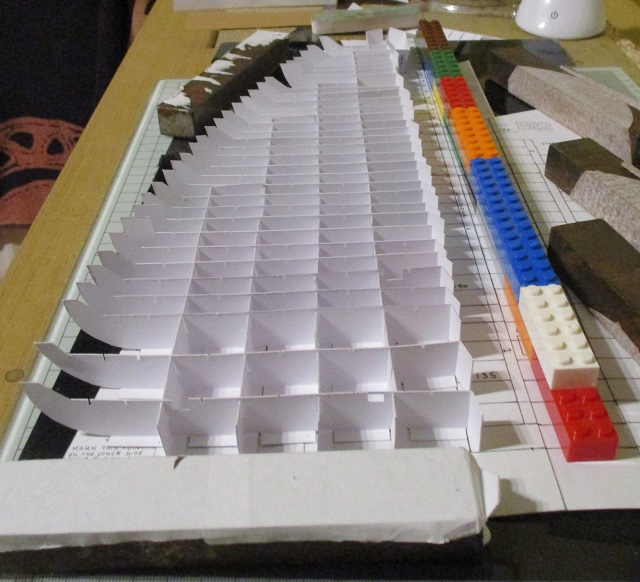
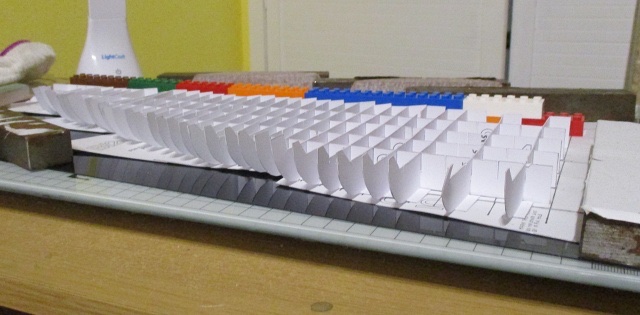
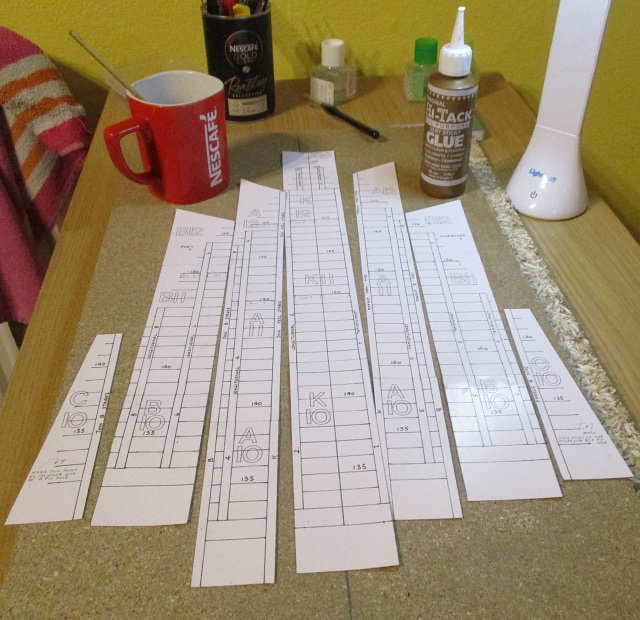
Thanks for comments and thumbs chaps appreciated I have redone the shell plates once again but still having a problem getting them to line up perfectly Decided to carry on and have glued the longitudals in place Dry fitted the frames on port side....there is a couple missing as I cut thru the fold line 🤪 one of the reasons I am not using the originals😃 Thinking about restarting with a new approach.....I like the skeleton of a ship and as this was built as a training aid being able to see inside then covering the hull would defeat the purpose This would mean that i can do away with the over lapping hull plates and work on a flat surface. food for thought Not too happy with my results so far as we all think we could have done that a bit better but the main thing is I am happy plodding along and enjoying it -
SD 14 by RN77 - Marcle Models - CARD
RN77 replied to RN77's topic in - Build logs for subjects built 1901 - Present Day
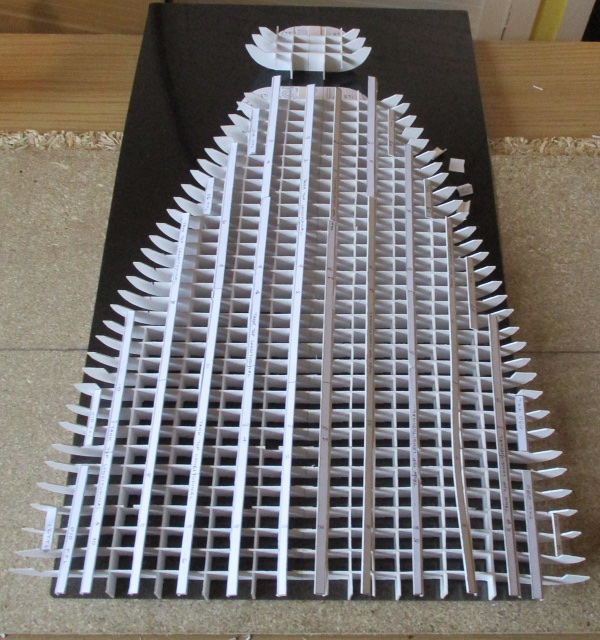
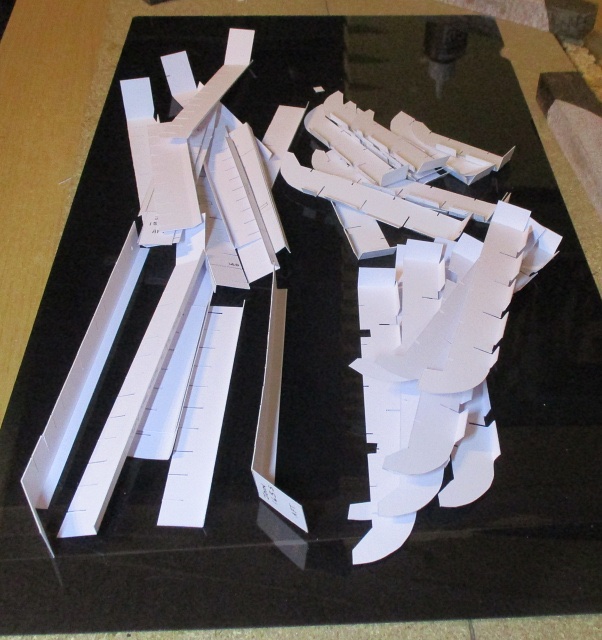
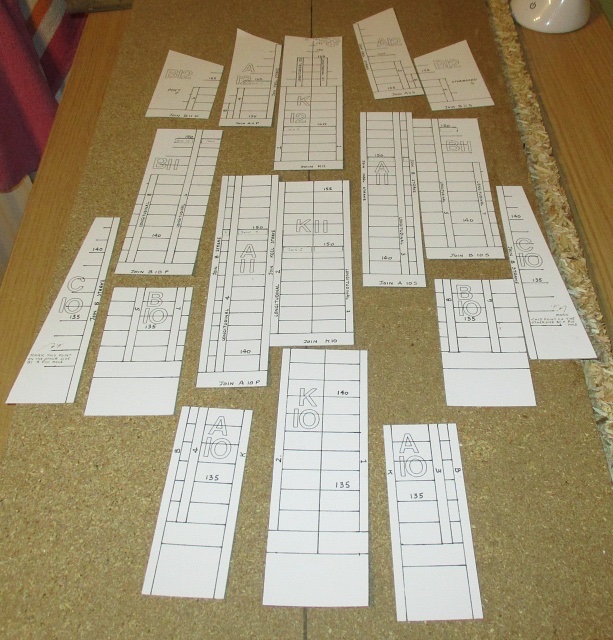
Good Evening Folks Thought I was being smart using glossy paper but when I tried to remove a spot of glue with a wet finger the gloss rubbed away exposing rough fibres.😄 Thought best to change media to ordinary 300gsm paper. Never dawned on me to make copies onto manilla paper like the originals🤪 I have redone the bottom shell plates but may have to try again as a couple of lines are not perfectly straight😝 I have cut out the longitudes and most of the port side double bottom frames. These have been dry fitted just to see how they will look and to see if any tweaks are required before gluing -
SD 14 by RN77 - Marcle Models - CARD
RN77 replied to RN77's topic in - Build logs for subjects built 1901 - Present Day
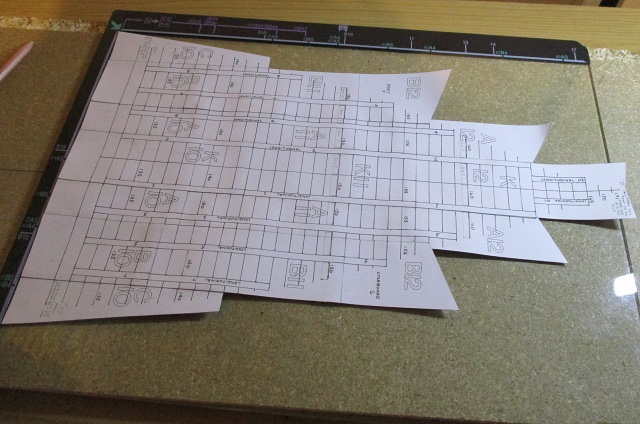
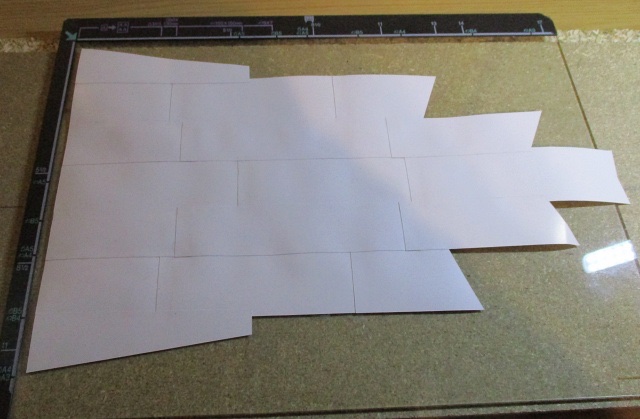
Good evening Folks I think I should have posted this in the kits section Can the powers that be decide and shift as required..... apologies for any hassle The fwd strakes are glued together Looks a bit wavy as not lying flat due to the joins over lapping...expect thats so when viewed from the outside there is a bit of hull plating effect Sitting on a A3 size platen glass from a photocopier to give an idea of the size I will weight it down overnight till the glue dries -
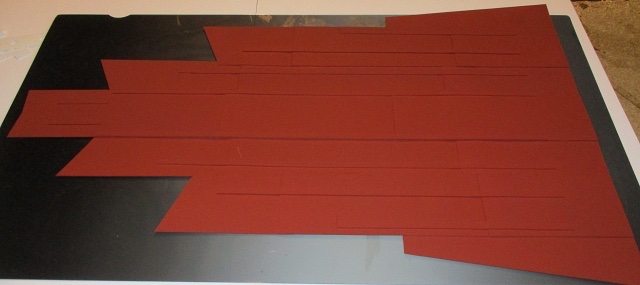
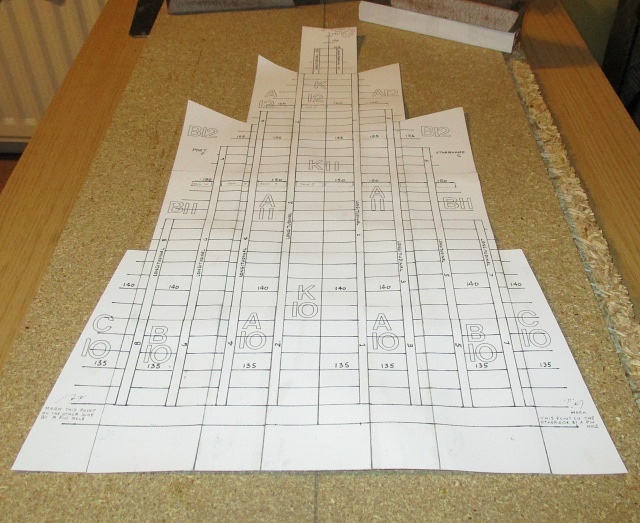
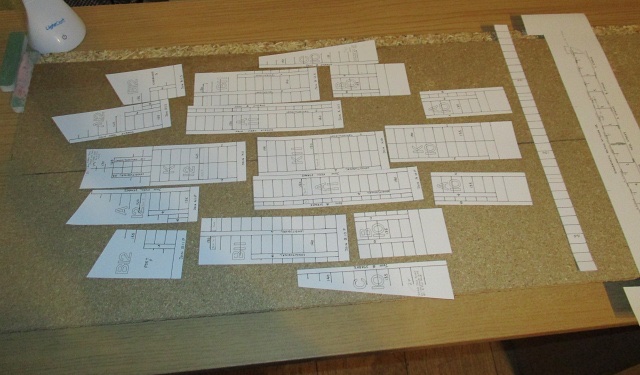
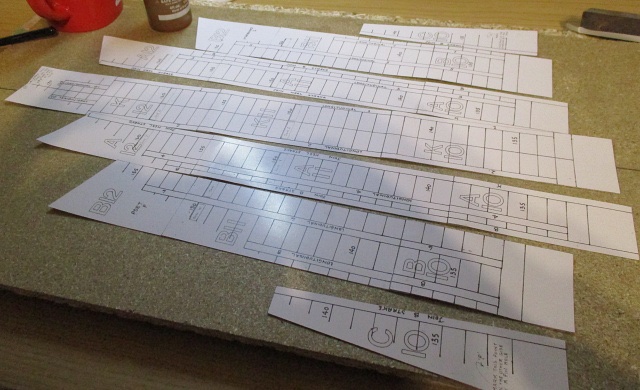
Good Evening After attempting the Borodino and getting a bit fed up trying to get the hull "skin" right I thought I would put it aside for a wee while to take a break from it and return in a few days hopefully remotivated. Well that was 8 months ago, I still pass by it in my shed but my mind has shifted elsewhere I came across Kevin's SD14 build log, and as I enjoyed building the "skeleton" of the Borodino, seeing how she came together I thought this would be a good topic I could enjoy and would be interesting enough to look at even if I decide not to plate the hull I purchased the full kit (a lot of 225gsm manilla A3 sheets) fwd mid and aft sections First thing to do was to copy them onto glossy double sided 250gsm paper Thought it would be a good idea as I may get too heavy handed with the scoring and end up cutting the original templates As the paper is gloss coated I don't think I need to worry about putting wet stuff on to seal the paper for painting Have made a start with the fwd section plates
-
 RN77 reacted to a post in a topic:
USS ENGLAND (DE-635) by ccoyle - FINISHED - HMV - 1/250 - CARD
-
 RN77 reacted to a post in a topic:
USS ENGLAND (DE-635) by ccoyle - FINISHED - HMV - 1/250 - CARD
-
 RN77 reacted to a post in a topic:
Fifie by Ras Ambrioso - FINISHED - Amati - 1/32 scale
-
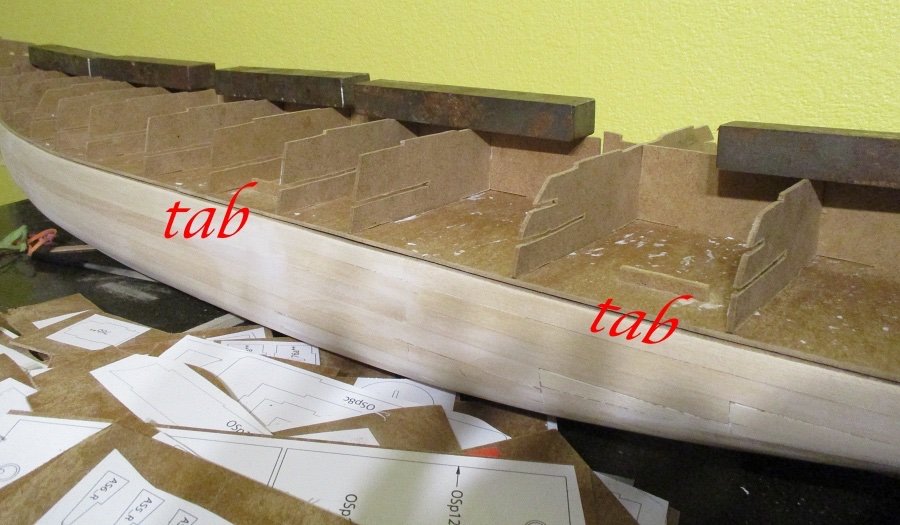
Good Evening Folk Using Captain Slogs diary for inspiration, I was a bit concerned about lining up the decks one on top of the other as they are not the same width or length, as pointed out by the Captain There is no instructions for this step The templates I am using have 10 cutouts on each deck so I am assuming I have to line these up with the use of a tab Wondering if the Captain could not use this method as he was using the laser cut parts and there was no cutouts on the decks? Nothing glued as yet on the upper hull, but I have noticed that my port n stbd sides are not quite symmetrical in certain areas Hopefully I can improve on this once the upper deck is planked...may have to double plank once the lower and upper hull is joined together permanently Hopefully make some progress over the weekend
- 31 replies
-
- Borodino
- Dom Bumagi
-
(and 1 more)
Tagged with:
-
 RN77 reacted to a post in a topic:
French Ironclad Solferino 1861 by GrandpaPhil - FINISHED - Orel - 1/200 - CARD
-
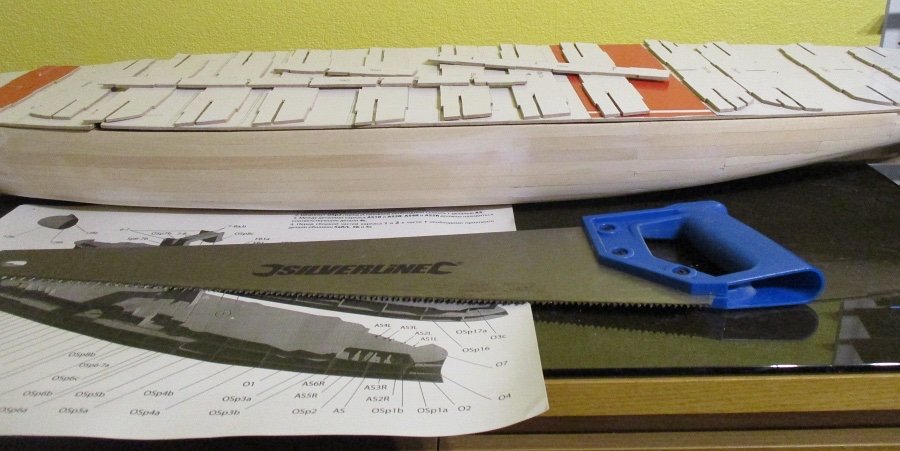
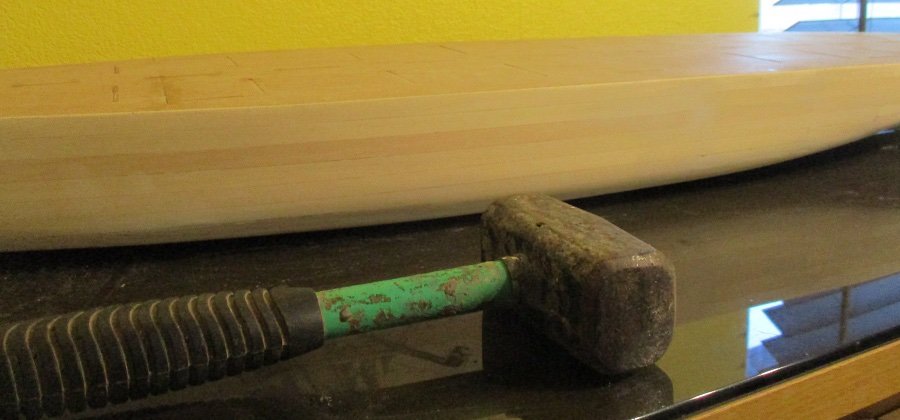
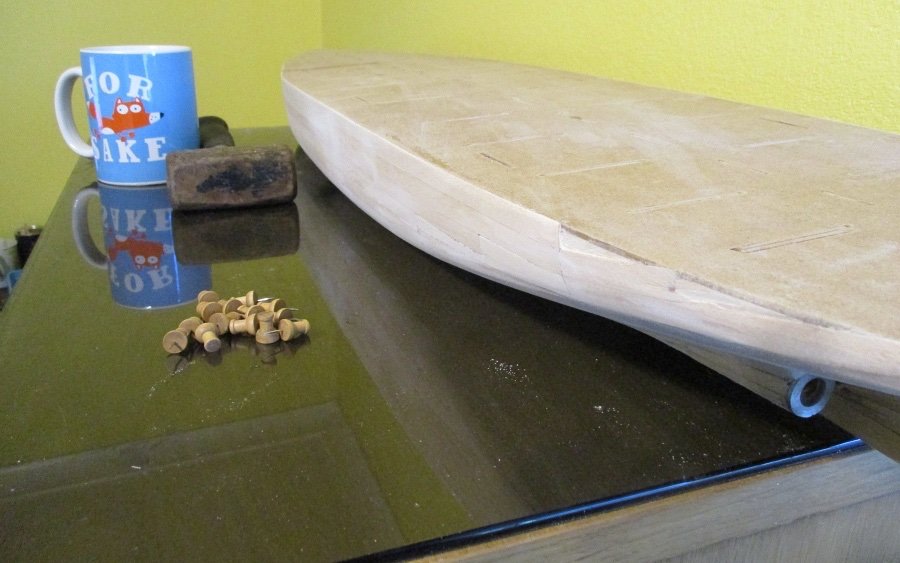
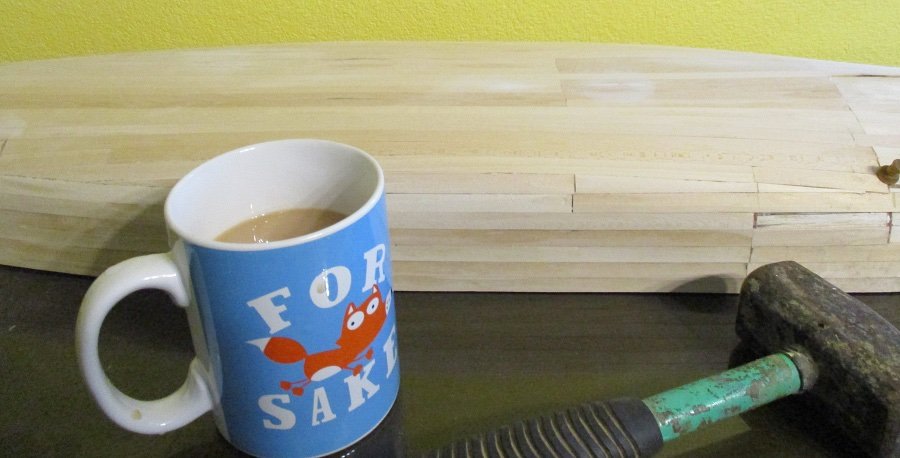
Hi Mark thanks for looking Couldn't find my big hammer which is just as well as I can be a bit heavy handed at times Taking a break from the lower hull I spent a pleasant afternoon cutting out the frames for the upper hull
- 31 replies
-
- Borodino
- Dom Bumagi
-
(and 1 more)
Tagged with:
-
 RN77 reacted to a post in a topic:
USS ENGLAND (DE-635) by ccoyle - FINISHED - HMV - 1/250 - CARD
-
Good Afternoon Folks thought I would post my progress after 4 weeks since my last post and still not completed the outer planking but getting there ever so slowly In order to stop me sanding flat spots on the circumference of the prop shaft I added a metal washer. Stop sanding when you hear that 'horrible screech of sandpaper on metal🤮 The original model templates show no depth of detail for the lower hull but I have come across RGL's model at 1/350 scale with some nice hull plate detail etc Thinking about having a go at mimicking the detail Or maybe less is best incase I get carried away Have sanded some of the hull and I think I can get away with adding more depth to it Thanks for lookin'
- 31 replies
-
- Borodino
- Dom Bumagi
-
(and 1 more)
Tagged with:
-
 RN77 reacted to a post in a topic:
USS ENGLAND (DE-635) by ccoyle - FINISHED - HMV - 1/250 - CARD
-
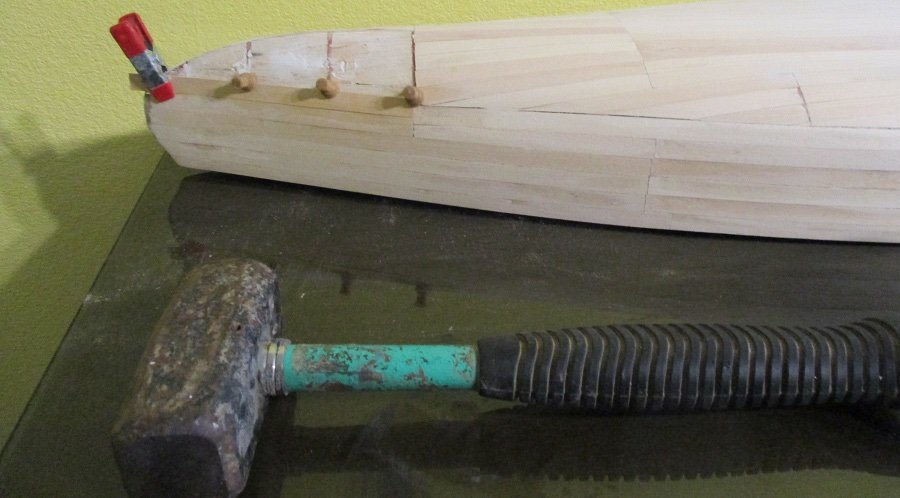
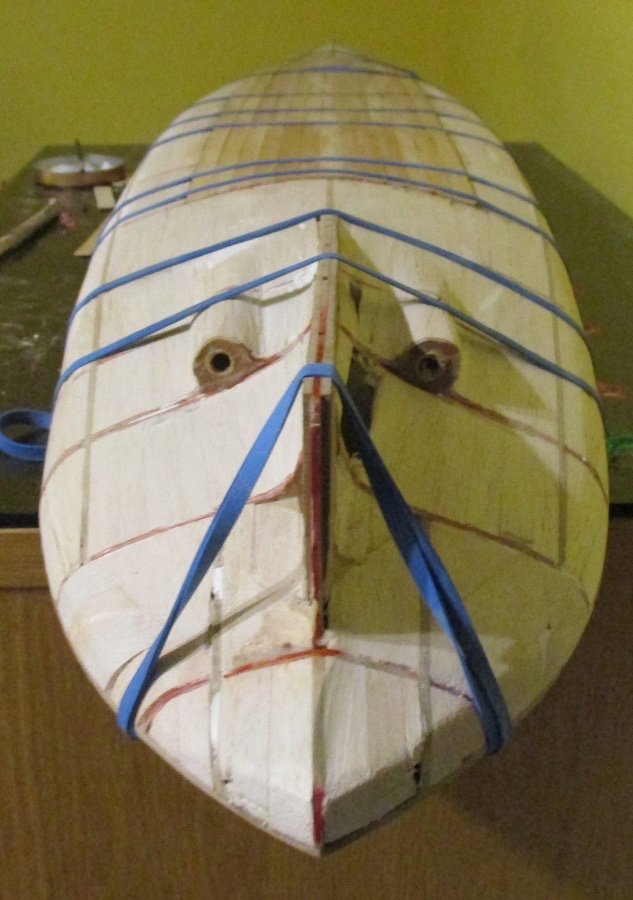
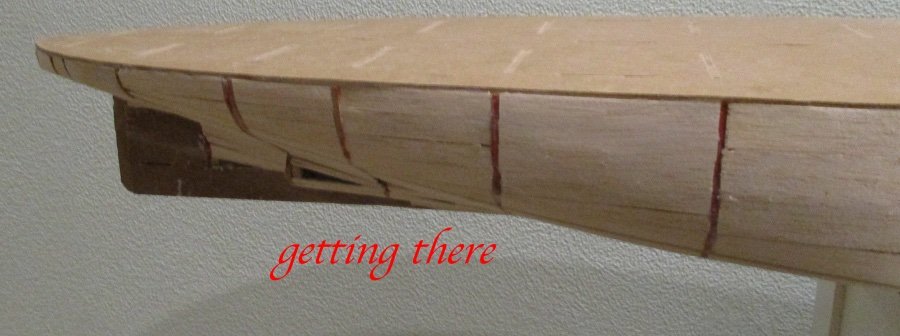
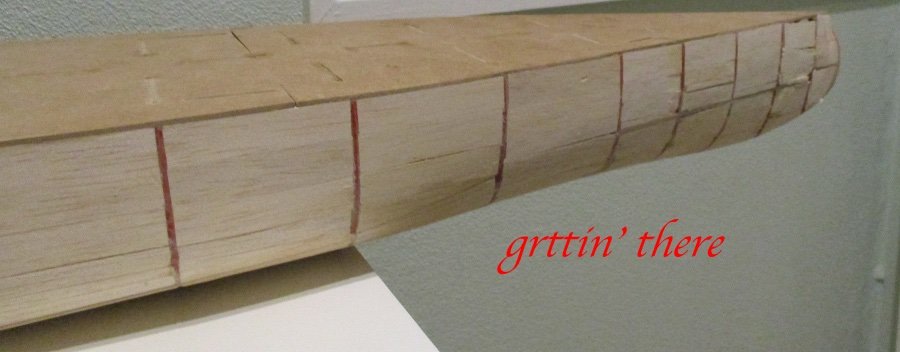
Evening Folks Thanks for comments and thumbs up I have been making slow progress with shaping round the prop shaft area ...don't think I will get that finished till sometime next year🙄 Made some thin sanding sticks to make it easier sanding round this area...nearly there Decided to start planking the outside of hull before I put my fingers thru the thin balsa again😝 I am using 1mm thick strip wood and when this is sanded should not make the hull too "fat" Definitely feels a lot more sturdy in the areas that have been done Best wishes for the New Year
- 31 replies
-
- Borodino
- Dom Bumagi
-
(and 1 more)
Tagged with:
-
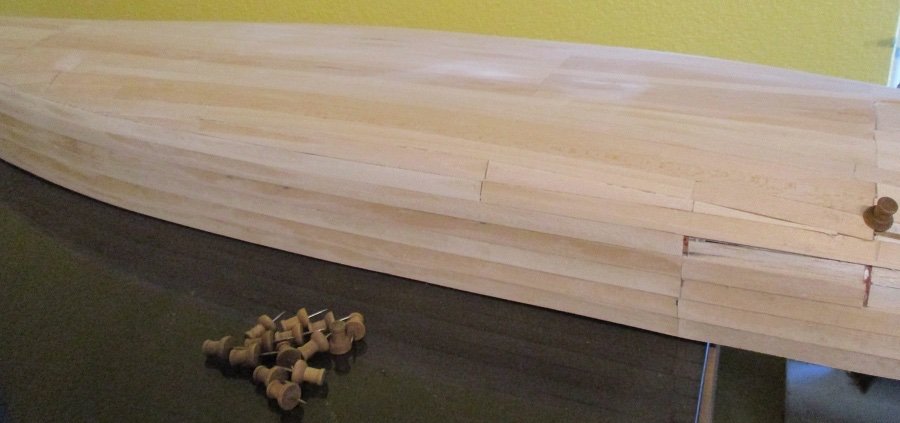
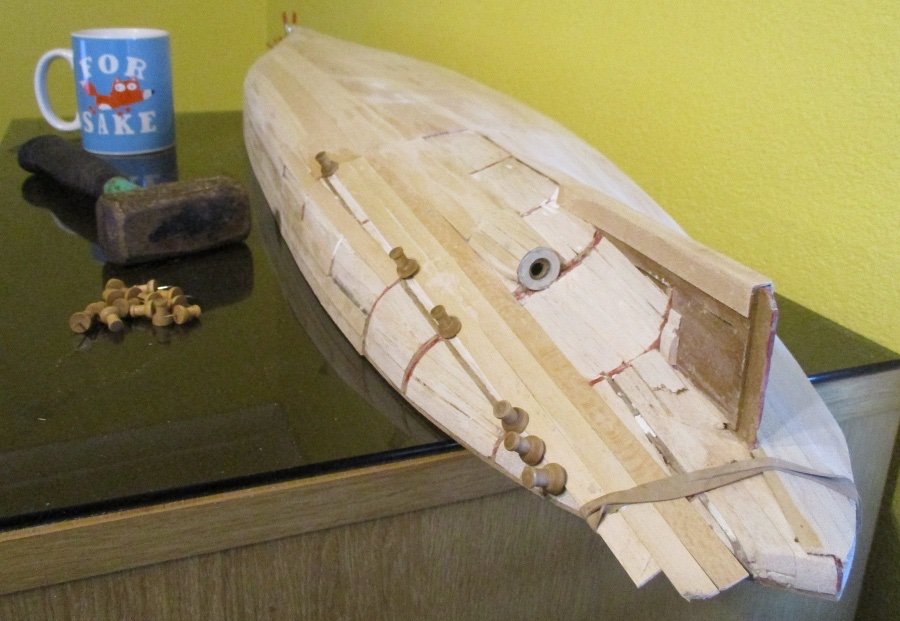
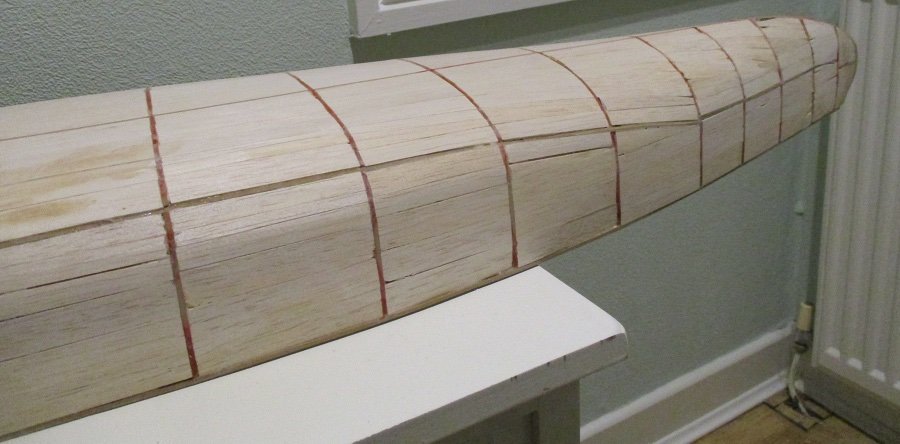
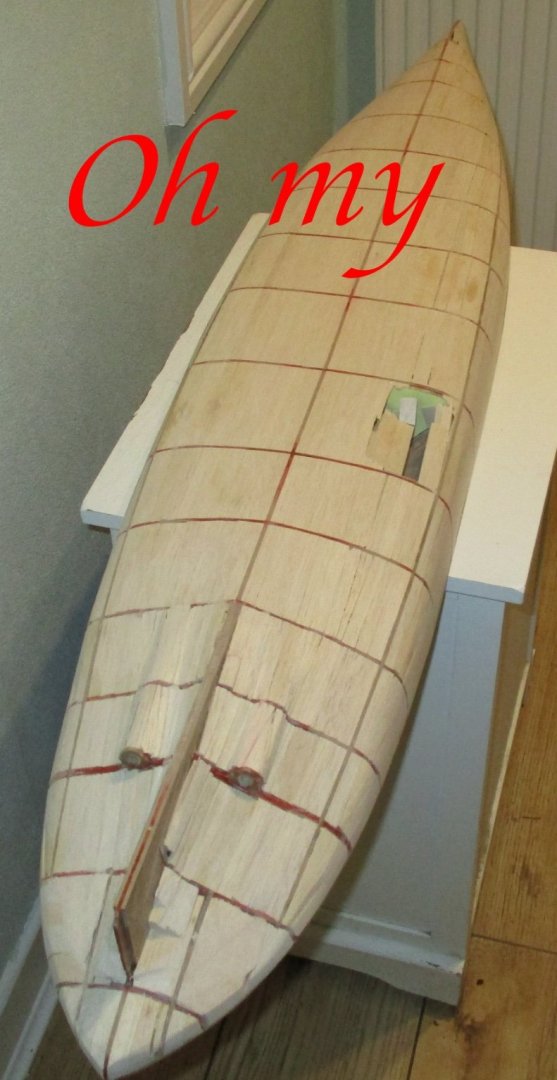
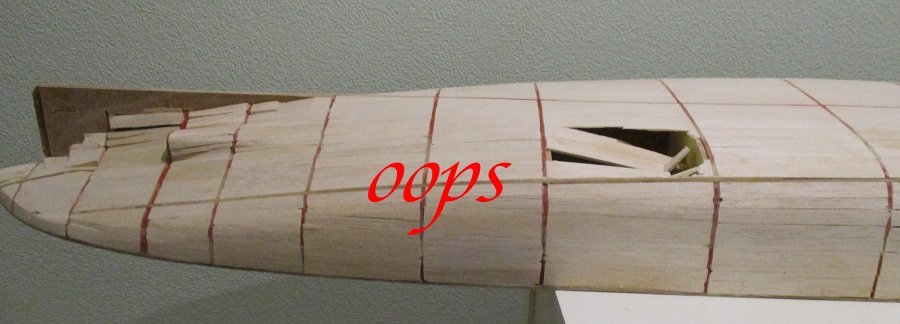
Good Evening Folks Found this stage to be a bit of a slog (sorry Captain)filling in between the frames. Nearly there but thought I would post my progress so far and had a slight mishap when lifting into position for photo shoot. Nothing that can't be fixed tho 🤔 The planking is very thin after sanding in some areas I could have avoided this by 1. making the frames smaller and thicker to allow for planking on the outside 2.being more careful in the first place when fitting the edges to each side of the frames to make sure planks would not be too proud of the frames Thinking about covering the hull in thin paper once planking is complete to offer support to any area that is thinly planked. Pretty sure I read that idea somewhere Still have to spend a lot of time slowly going round the aft area by the prop shafts Thanks for looking' and if I don't speak to you soon have a Merry Xmas and see you's in the New Year
- 31 replies
-
- Borodino
- Dom Bumagi
-
(and 1 more)
Tagged with:
-
 RN77 reacted to a post in a topic:
Borodino by Captain Slog - Dom Bumagi - 1:200 - CARD
-
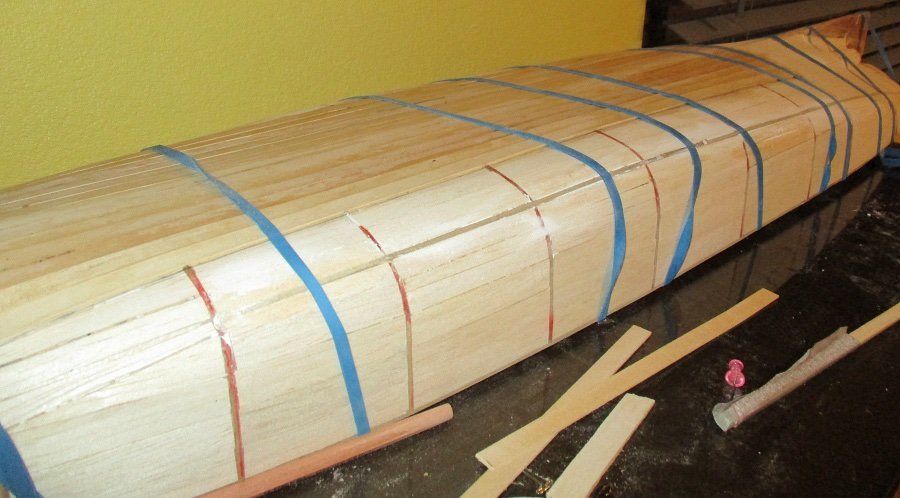
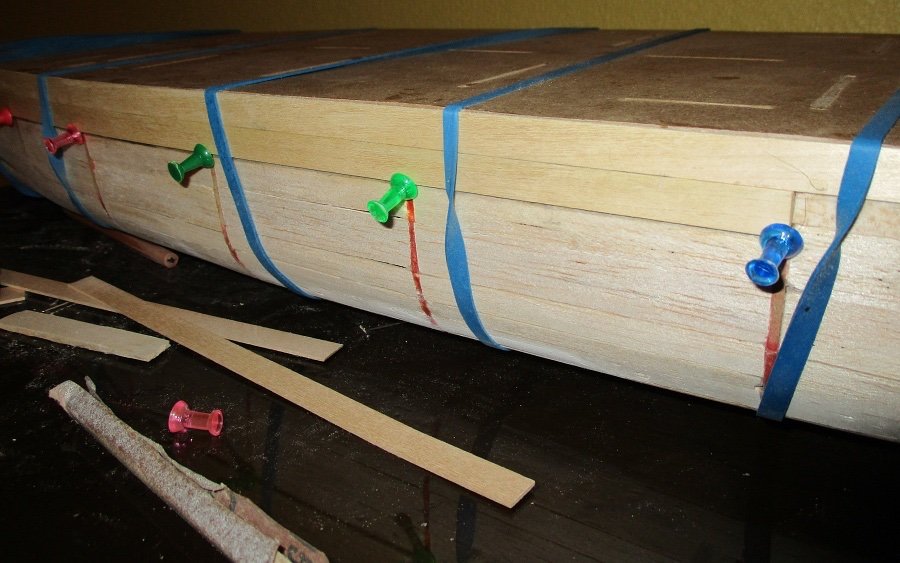
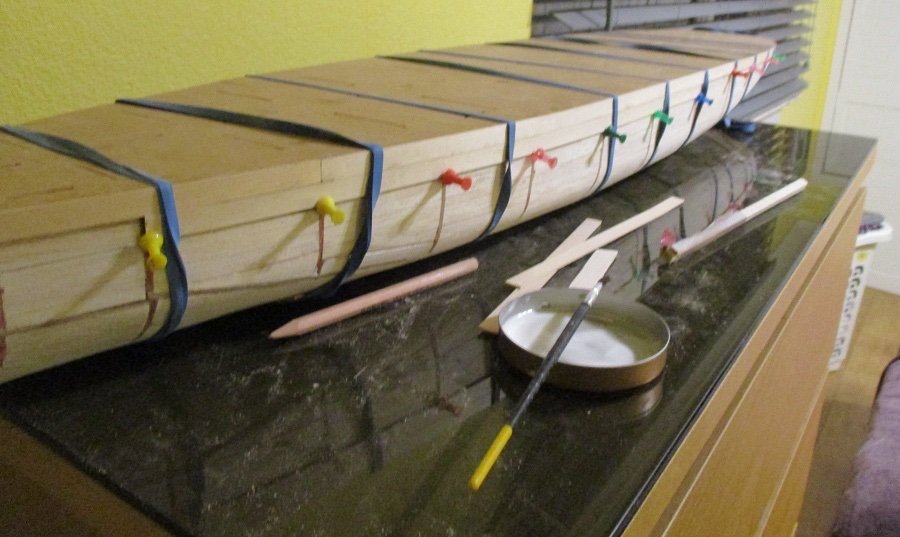
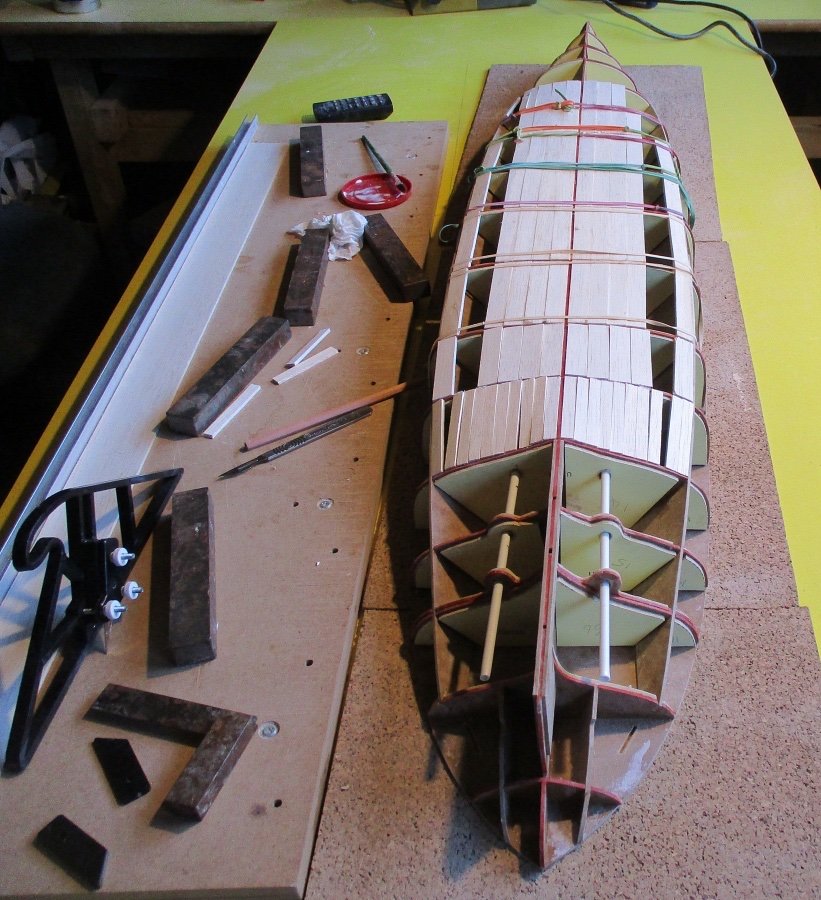
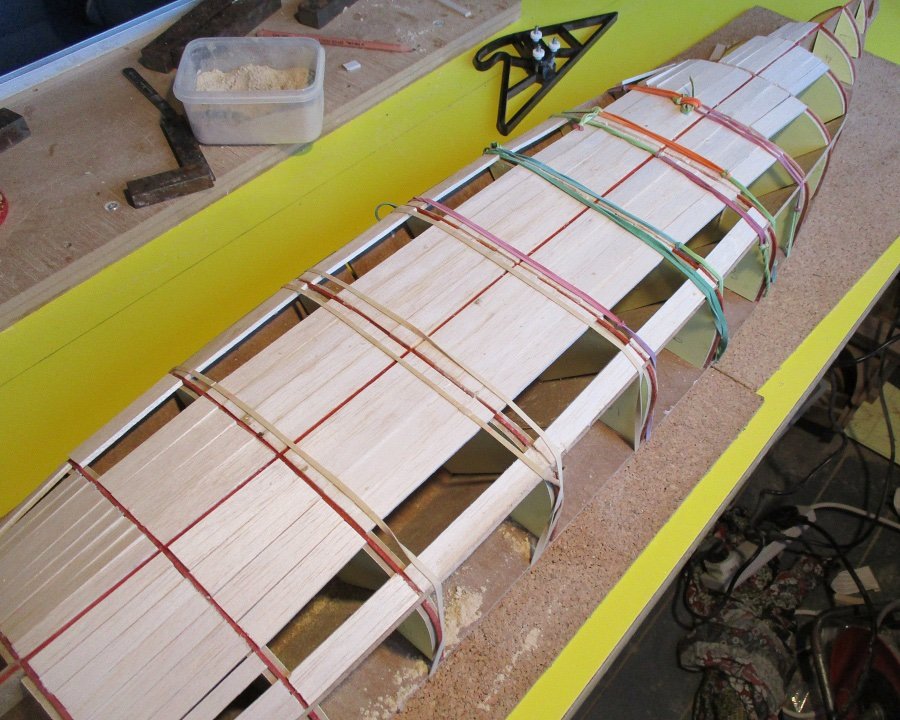
Mine too Have made a start with filling in between the frames. Now beginning to realise that she is pretty big. Who's idea woz this to double the size🙄 This stage will take longer than anticipated. The planks are glued down only where the elastic bands are Thanks for lookin'
- 31 replies
-
- Borodino
- Dom Bumagi
-
(and 1 more)
Tagged with:
-
Thanks for your concerns mikegr Another one of my reasons for scaling up to 1/100 is the wooden decking. If I lay the deck template flush with the top of the frames rather than sitting on top this should allow me to use 2 mm planks without gaining any height. I am not too concerned about gaining or losing a mm here or there on the hull as I am doing this for enjoyment to see how I get on—and a learning curve😋plus I won’t tell anyone 😂 Using a thin veneer,if any sanding is required then I think I would lose the caulking effect between the planks and the deck would become one piece. I can get confused with the debates I have read —some say that at such and such a scale you would not be able to see the separate planks.If that is the case then why can I see rivets etc. Or in this model the card shows small details on the upper hull but the lower is plain. Thinking about it too much makes me dizzy. More than happy just to go along with the designers interpretation perhaps using a bit of modellers license if I get brave enough
- 31 replies
-
- Borodino
- Dom Bumagi
-
(and 1 more)
Tagged with:
About us
Modelshipworld - Advancing Ship Modeling through Research
SSL Secured
Your security is important for us so this Website is SSL-Secured
NRG Mailing Address
Nautical Research Guild
237 South Lincoln Street
Westmont IL, 60559-1917
Model Ship World ® and the MSW logo are Registered Trademarks, and belong to the Nautical Research Guild (United States Patent and Trademark Office: No. 6,929,264 & No. 6,929,274, registered Dec. 20, 2022)
Helpful Links
About the NRG
If you enjoy building ship models that are historically accurate as well as beautiful, then The Nautical Research Guild (NRG) is just right for you.
The Guild is a non-profit educational organization whose mission is to “Advance Ship Modeling Through Research”. We provide support to our members in their efforts to raise the quality of their model ships.
The Nautical Research Guild has published our world-renowned quarterly magazine, The Nautical Research Journal, since 1955. The pages of the Journal are full of articles by accomplished ship modelers who show you how they create those exquisite details on their models, and by maritime historians who show you the correct details to build. The Journal is available in both print and digital editions. Go to the NRG web site (www.thenrg.org) to download a complimentary digital copy of the Journal. The NRG also publishes plan sets, books and compilations of back issues of the Journal and the former Ships in Scale and Model Ship Builder magazines.

