Dan Vadas
-
Posts
3,261 -
Joined
-
Last visited
Content Type
Profiles
Forums
Gallery
Events
Everything posted by Dan Vadas
-
Thanks Pat. I'm at a loss to understand why they would put a Scale (1/350) on it - real chains come in all different sizes depending on the size and type of ship.
-
Or even cut from Card - it takes a bit of practise though . I found THIS site for various sizes of brass stud-link chain. Also THIS one - not sure what it's laser-cut from.
-
1/48 Seafire Mk. III (Late)
Dan Vadas replied to Old Collingwood's topic in Non-ship/categorised builds
There are plenty of differences between plastic and wood, card, metal etc building. I'm talking Kit building here - Scratchbuilding does indeed share a lot of similarities. For instance there is a lot more painting involved in plastic compared to the others. Also different prep work (cutting, filling, cleaning for paint, gluing, etc). Plastic modelling usually doesn't involve a lot of modification to parts unless you are modifying an existing Kit (I suppose the same could be said of the others). There are also differences in the type of tools required for the different media. For instance a lathe or milling machine wouldn't get much use if you work strictly in card or plastic, but would be essential for metal and (to a lesser extent) wood building. Of course there are also plenty of cross-overs between those required for the various media (scalpels, measuring equipment, tweezers, etc). -
1/48 Seafire Mk. III (Late)
Dan Vadas replied to Old Collingwood's topic in Non-ship/categorised builds
With the amount of Spitfires built/being built on this Site we may have to change our name to Model Ship and Spitfire World . -
That's not set in stone yet David. If and when he does start modelling he'll certainly be signing into MSW, probably with the Username of "Khye something". I bought this Laptop I'm now using for that express purpose - I've loaded all my modelling files, pics etc onto it so he can go back and reference my past work easily. If (when) he starts modelling I'll donate this computer to him as one of my "tools". Danny
- 29 replies
-
- 12
-

-
- hmw
- Hamburg Harbor
- (and 2 more)
-
No, it's just that they both take different skills. I'd regard them equally difficult. Personally I hate painting, and Plastic is full of that.
- 29 replies
-
- 8
-
-
- hmw
- Hamburg Harbor
- (and 2 more)
-
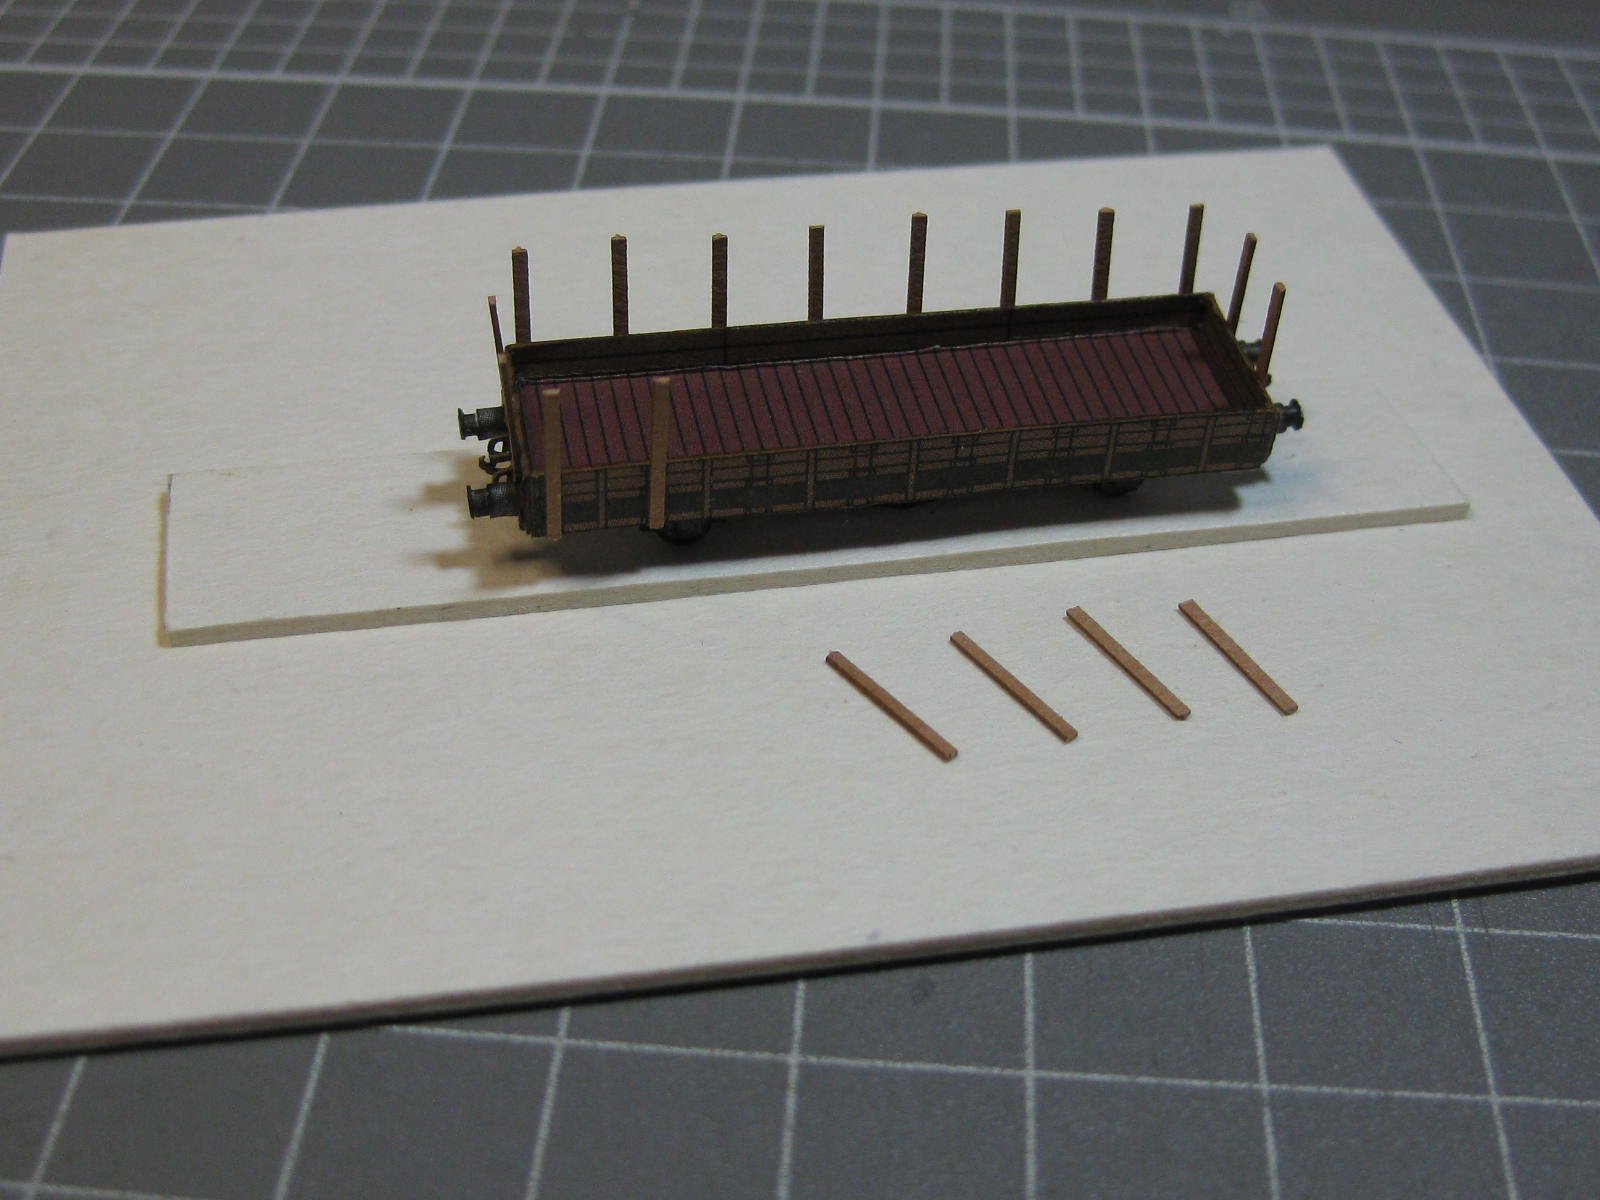
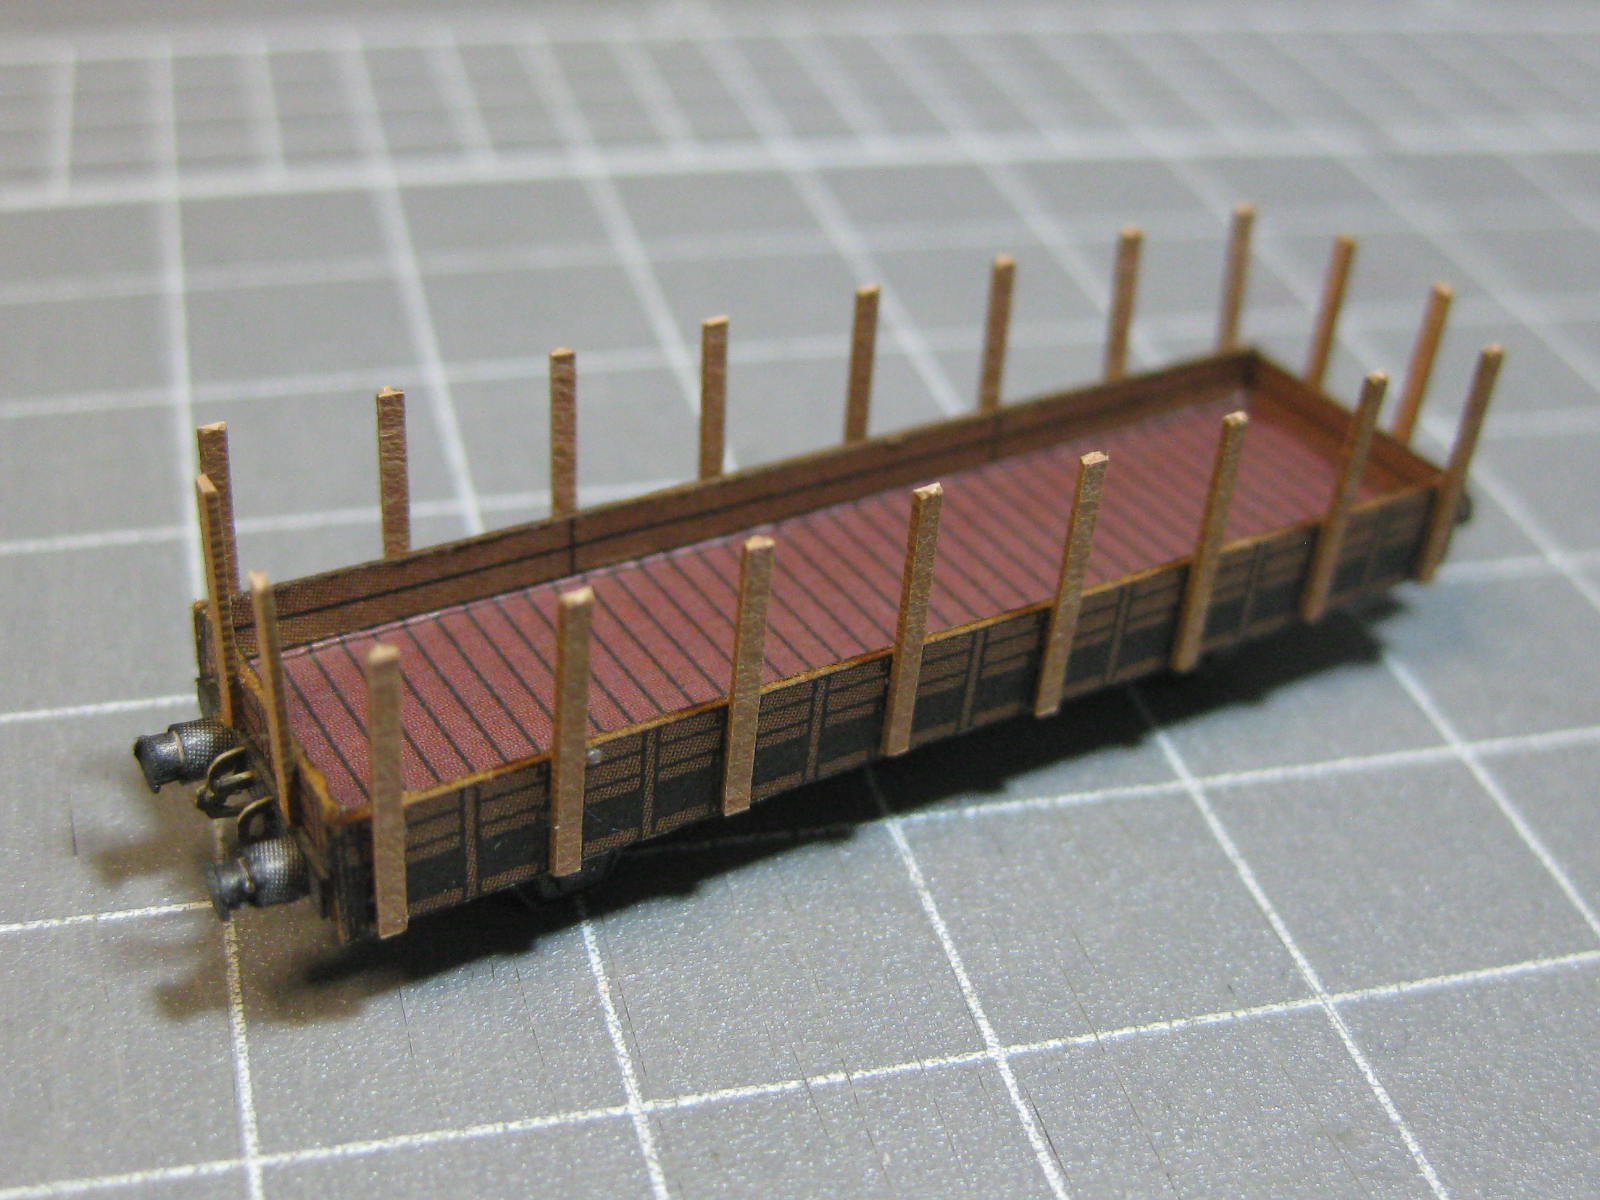
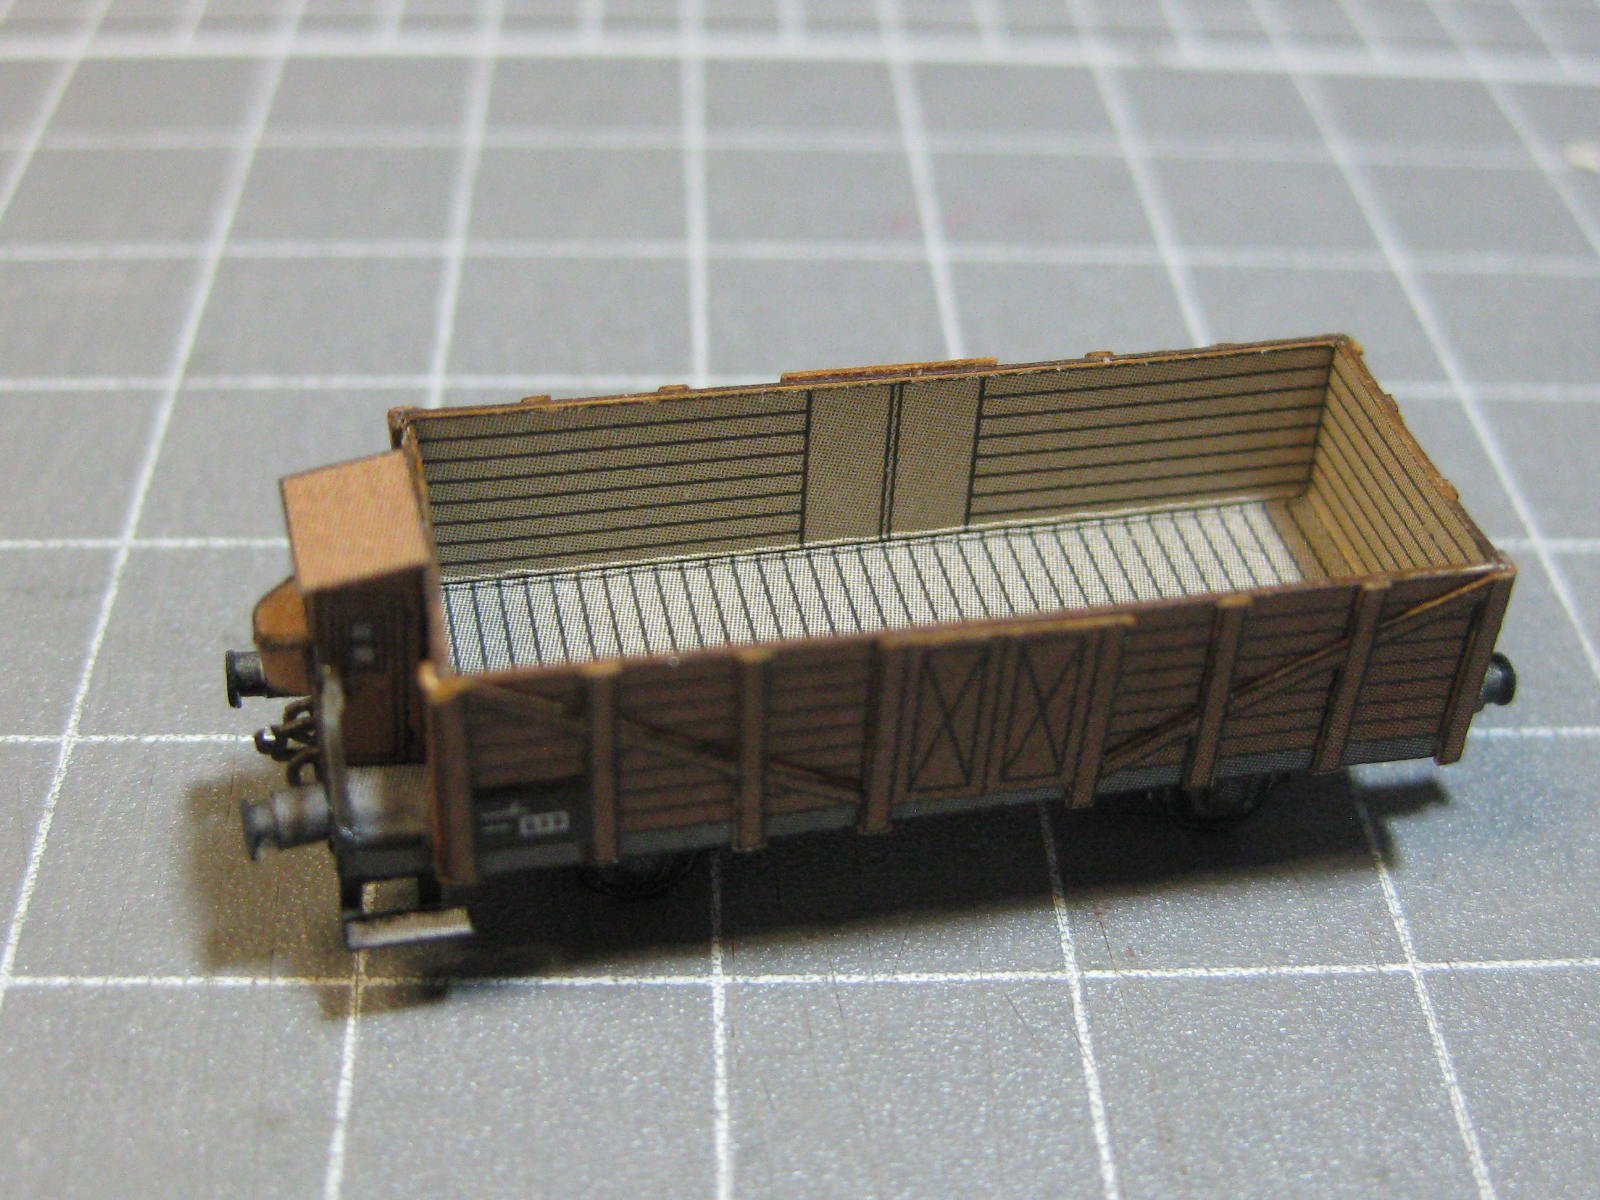
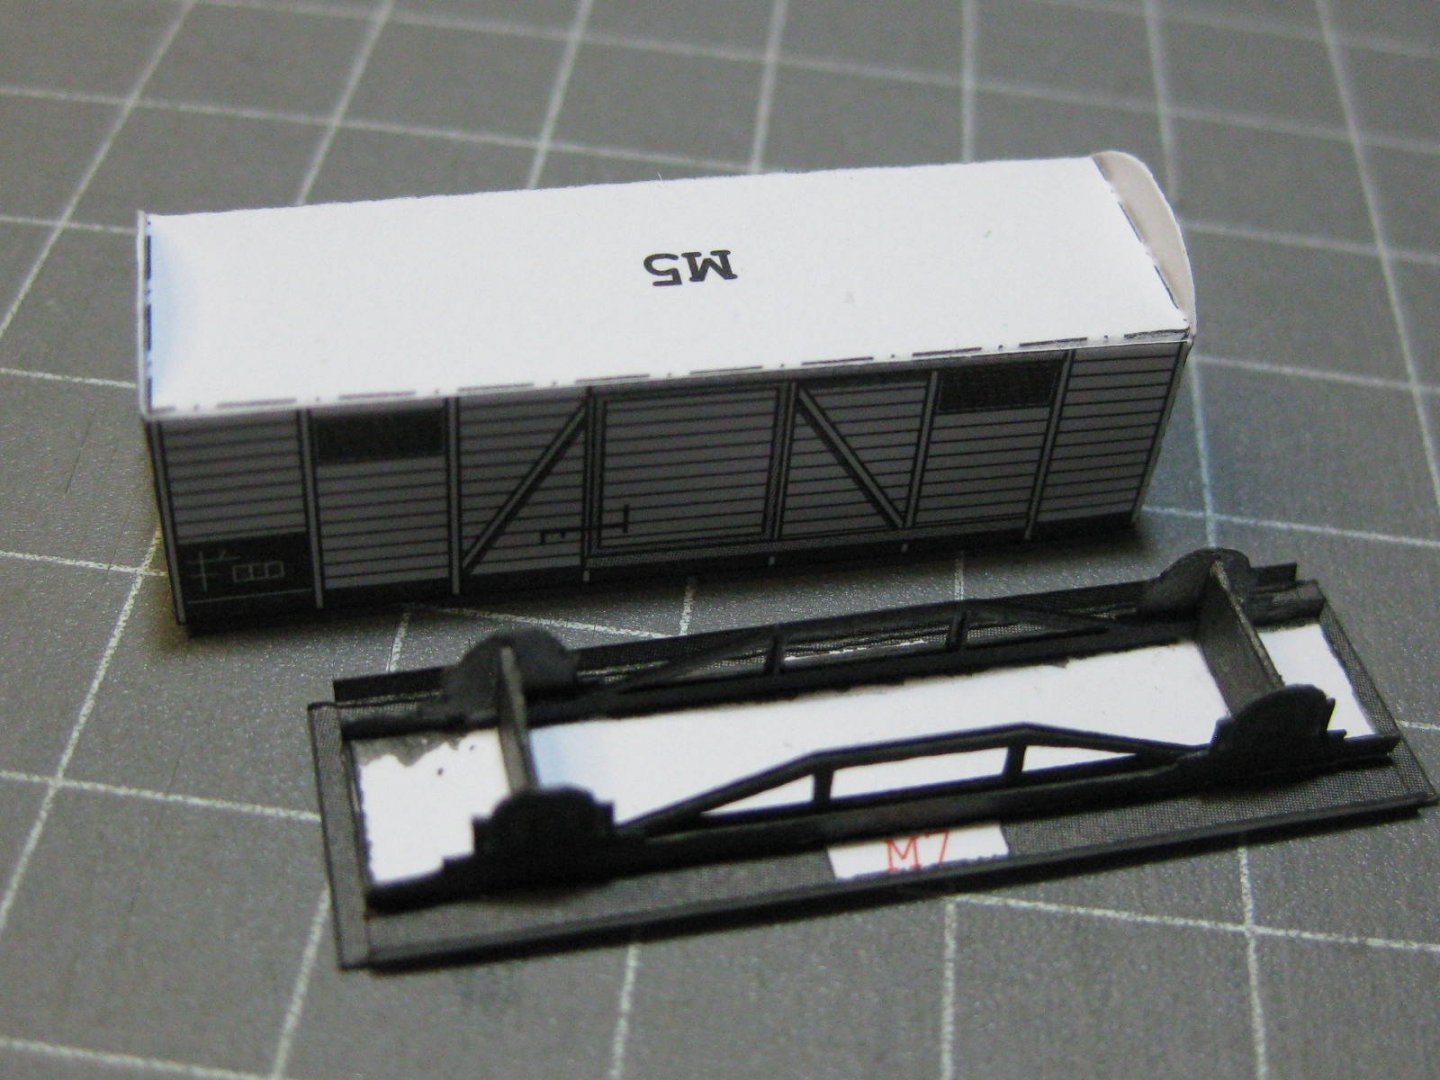
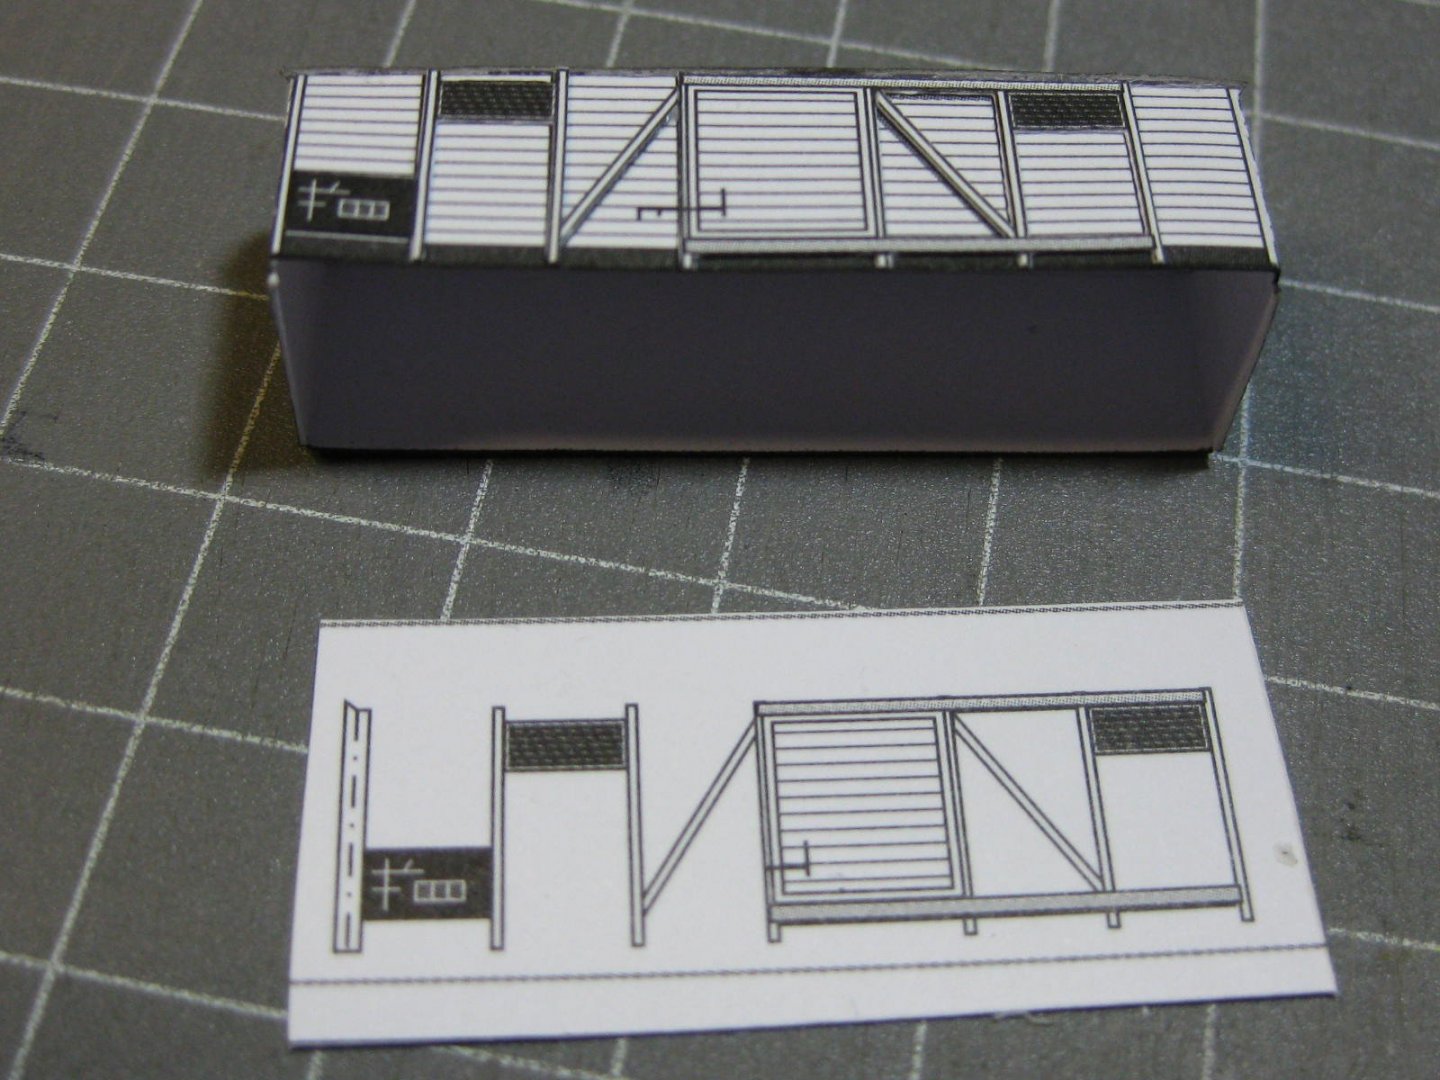
And finally (for now) three wagons to go behind the loco : I have also built a small truck to go on the dock, but no pics of it yet. Basically all that needs doing is about 100 boxes and drums, the barges and a few more vehicles, and fitting all assemblies to the base. This might be grandson Khye's first project. Danny


- 29 replies
-
- 25
-
-
- hmw
- Hamburg Harbor
- (and 2 more)
-
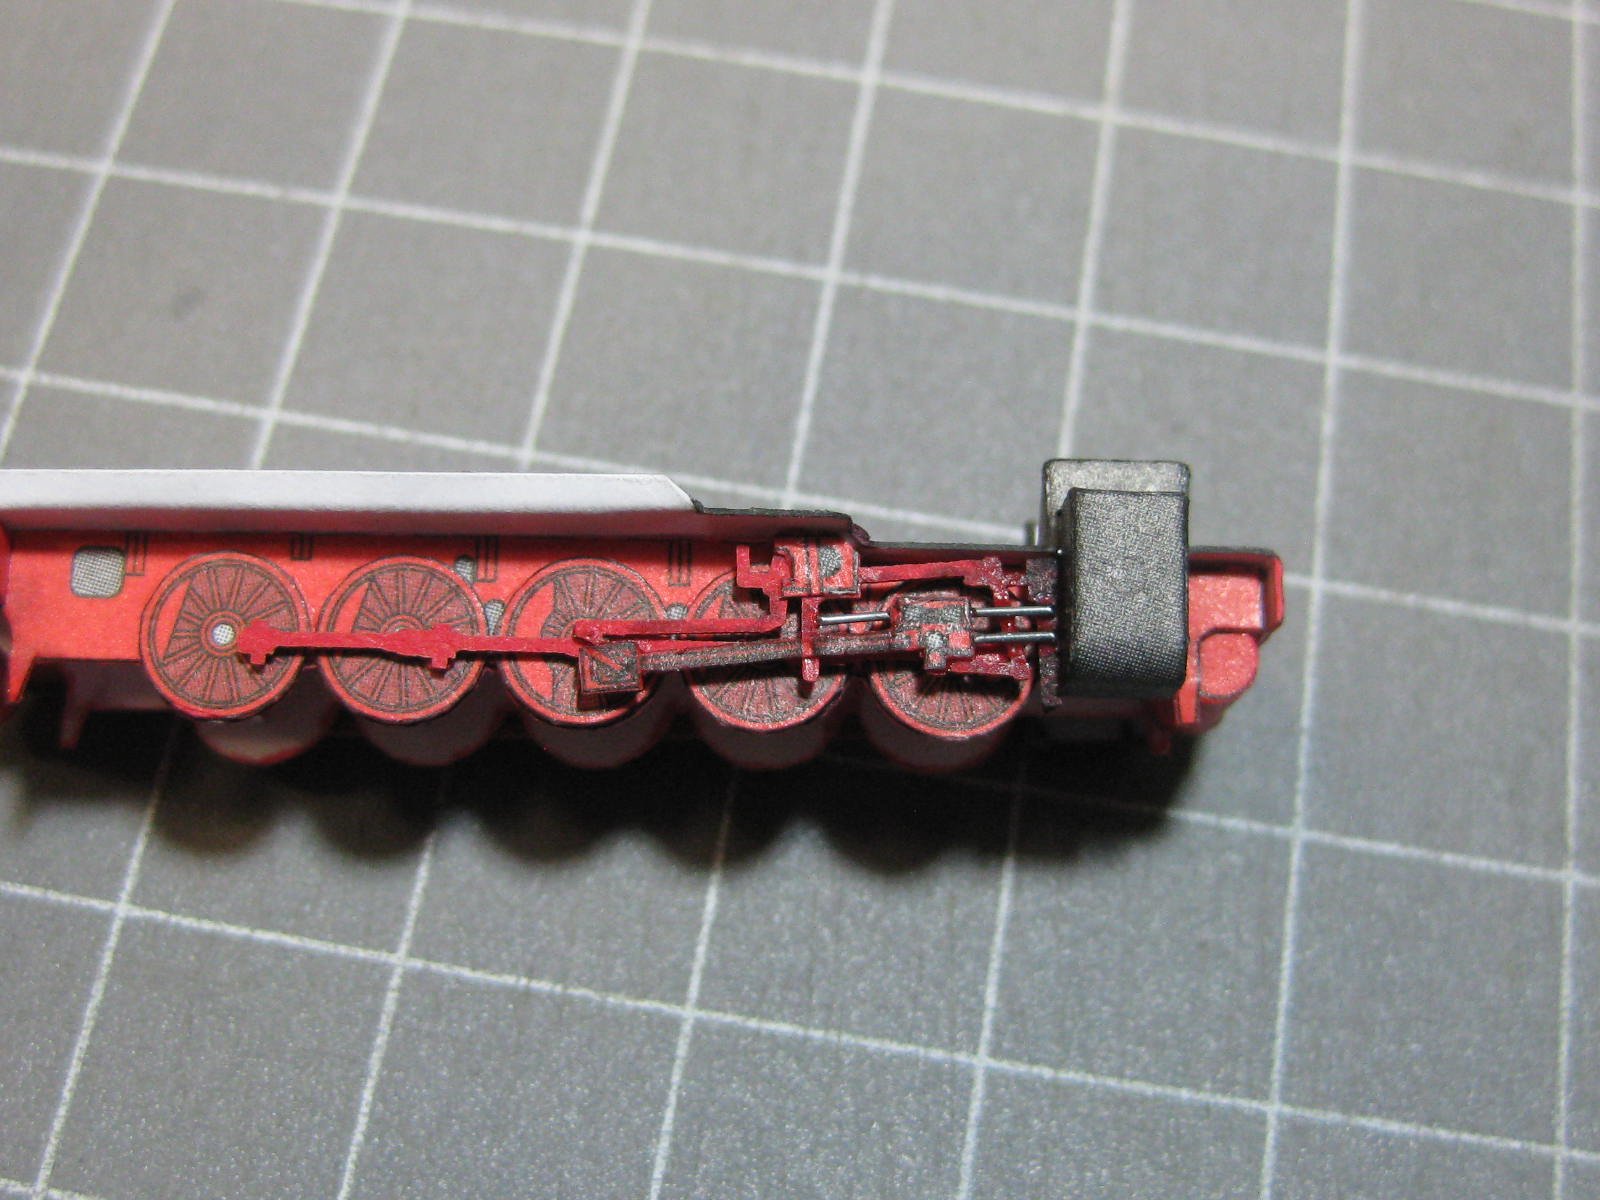
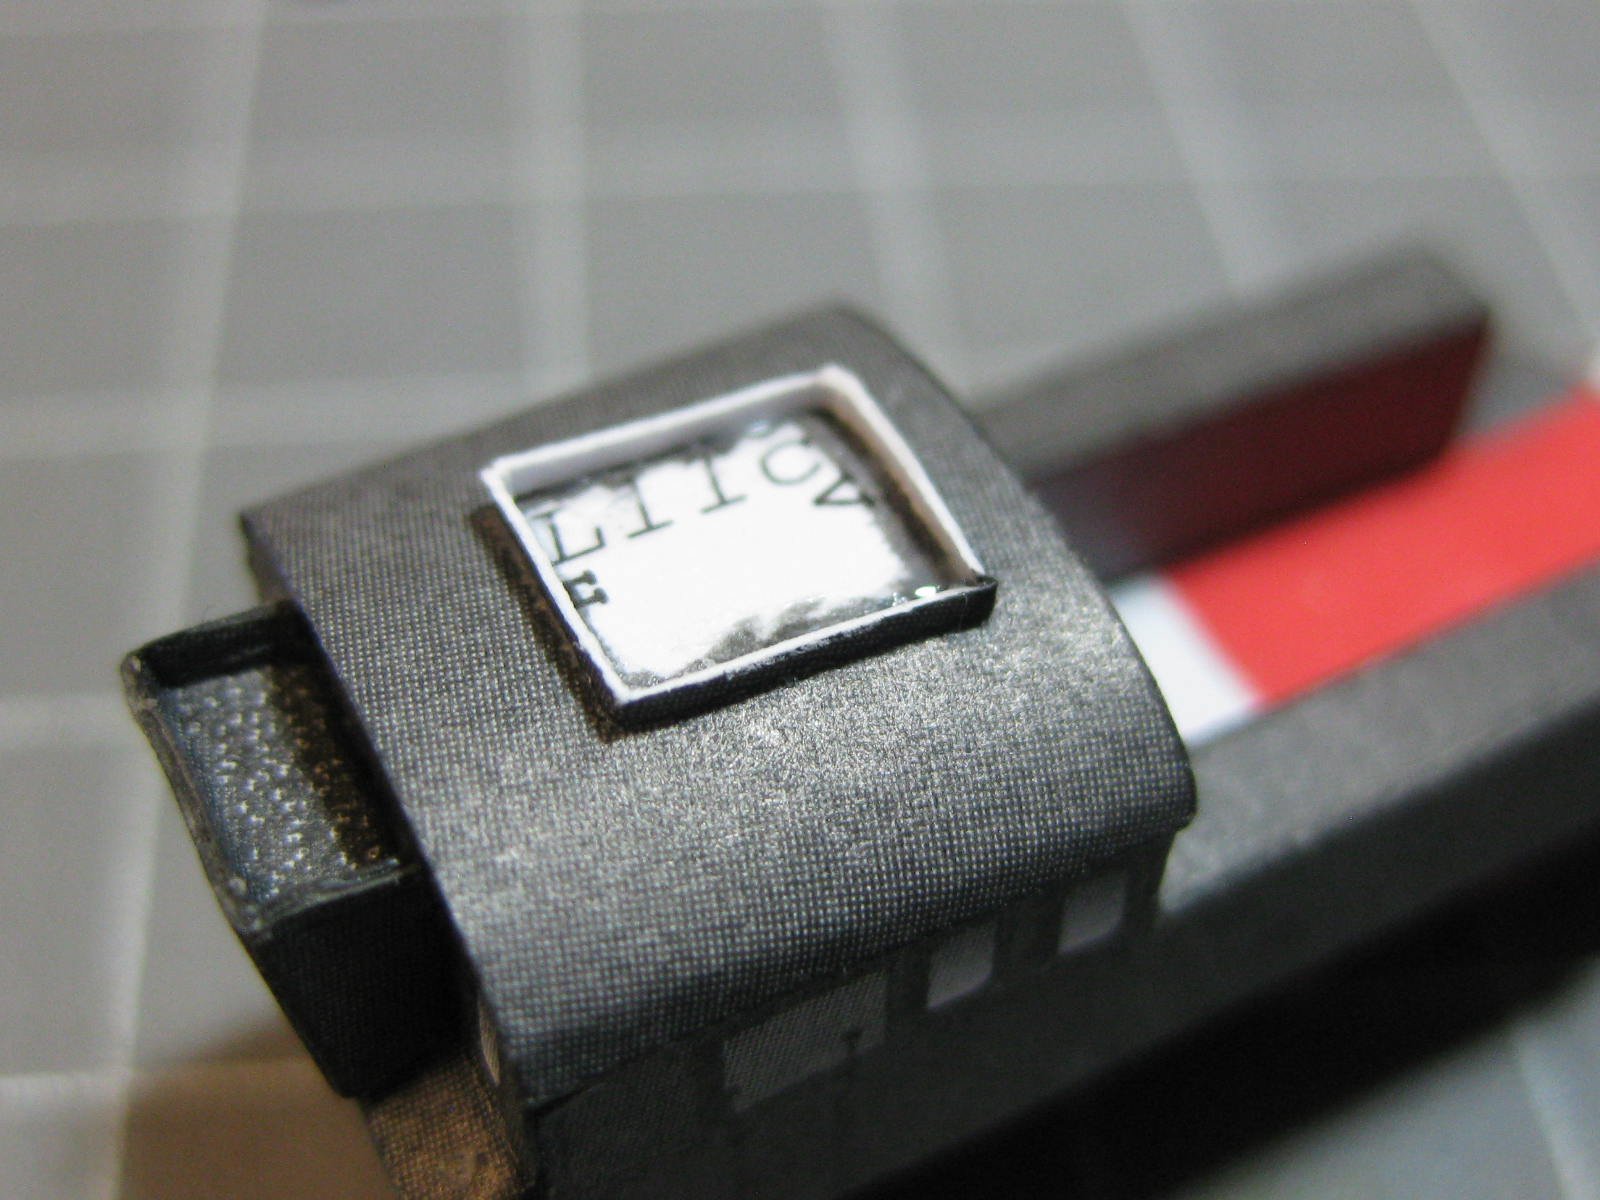
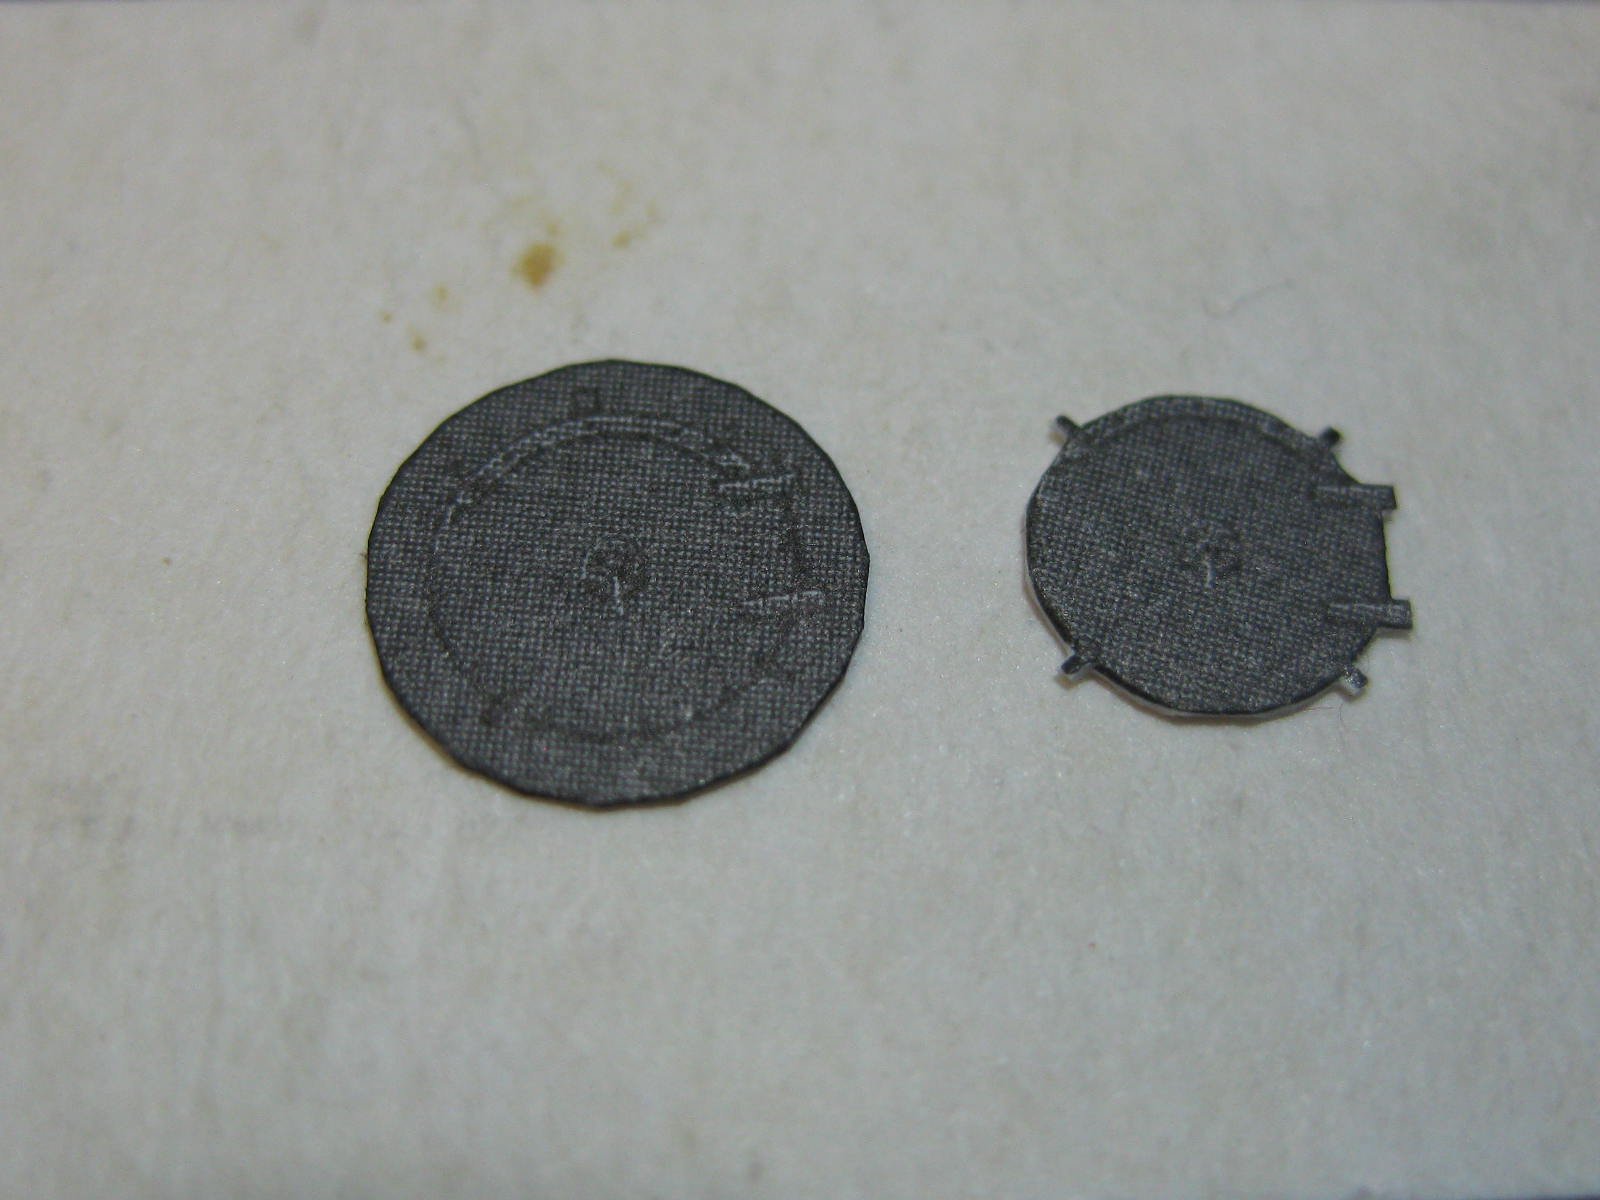
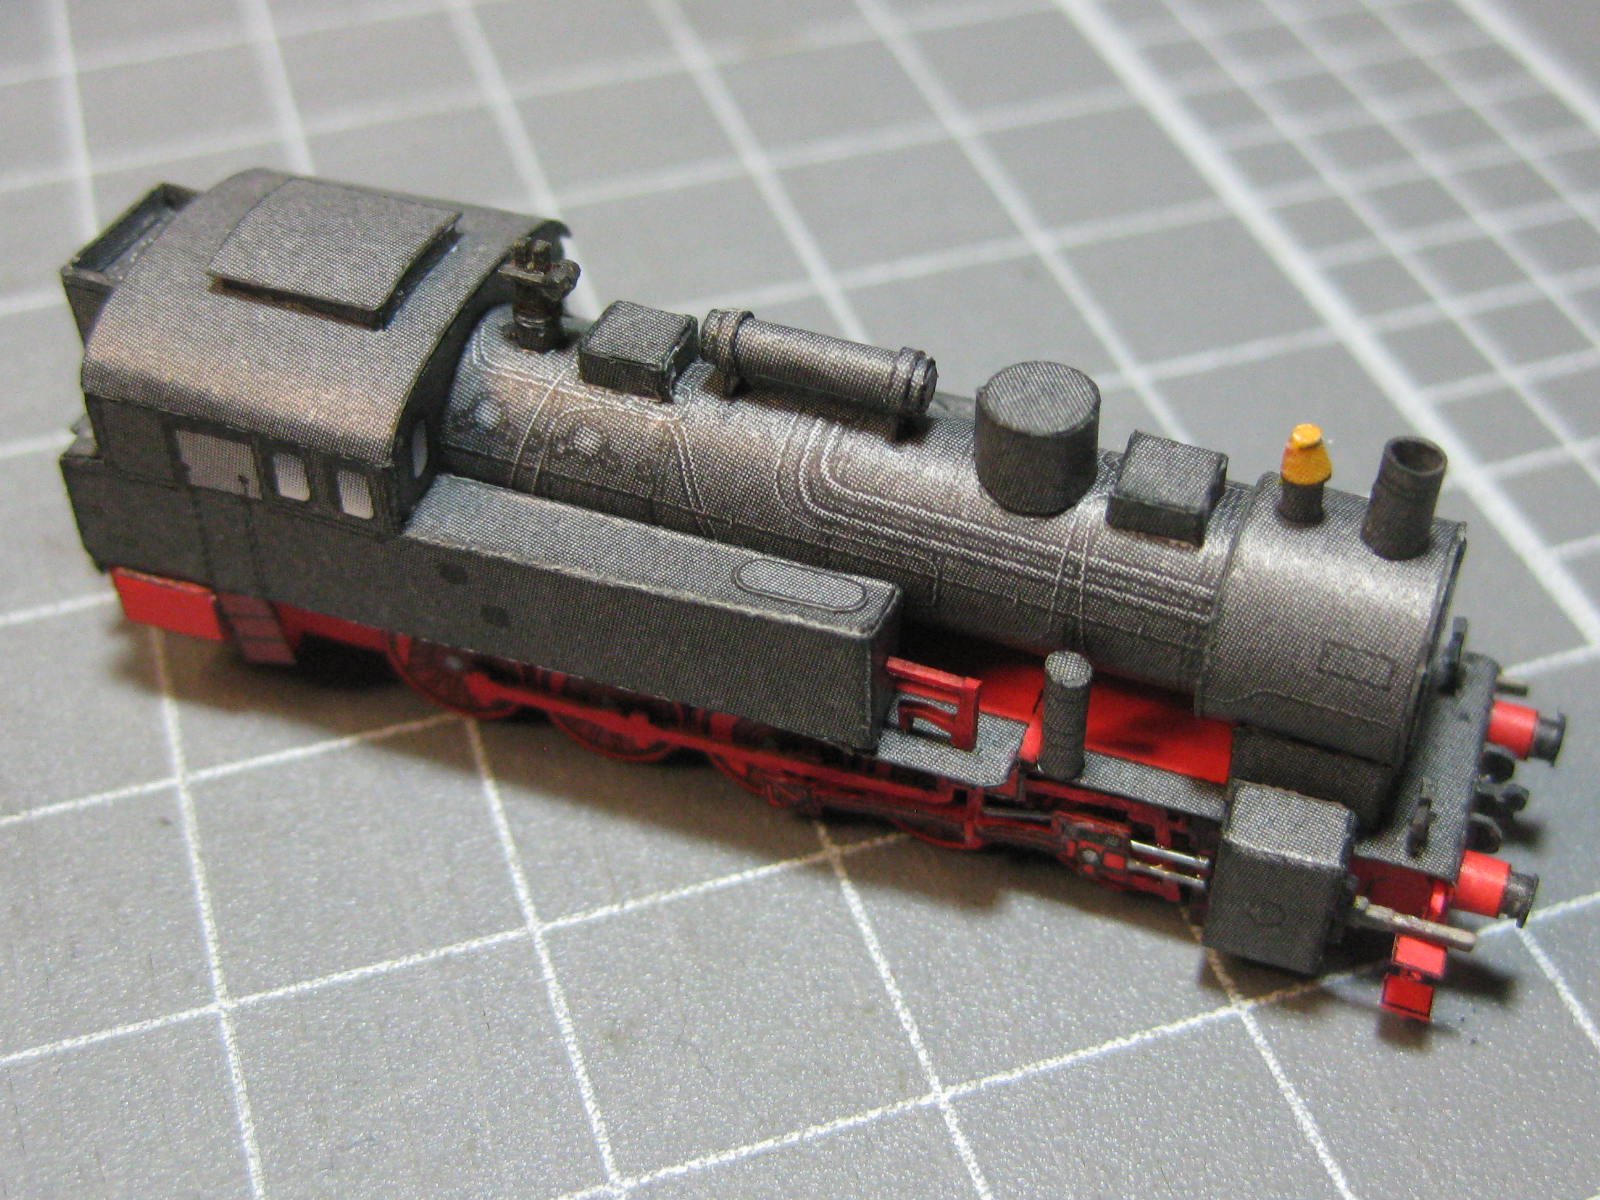
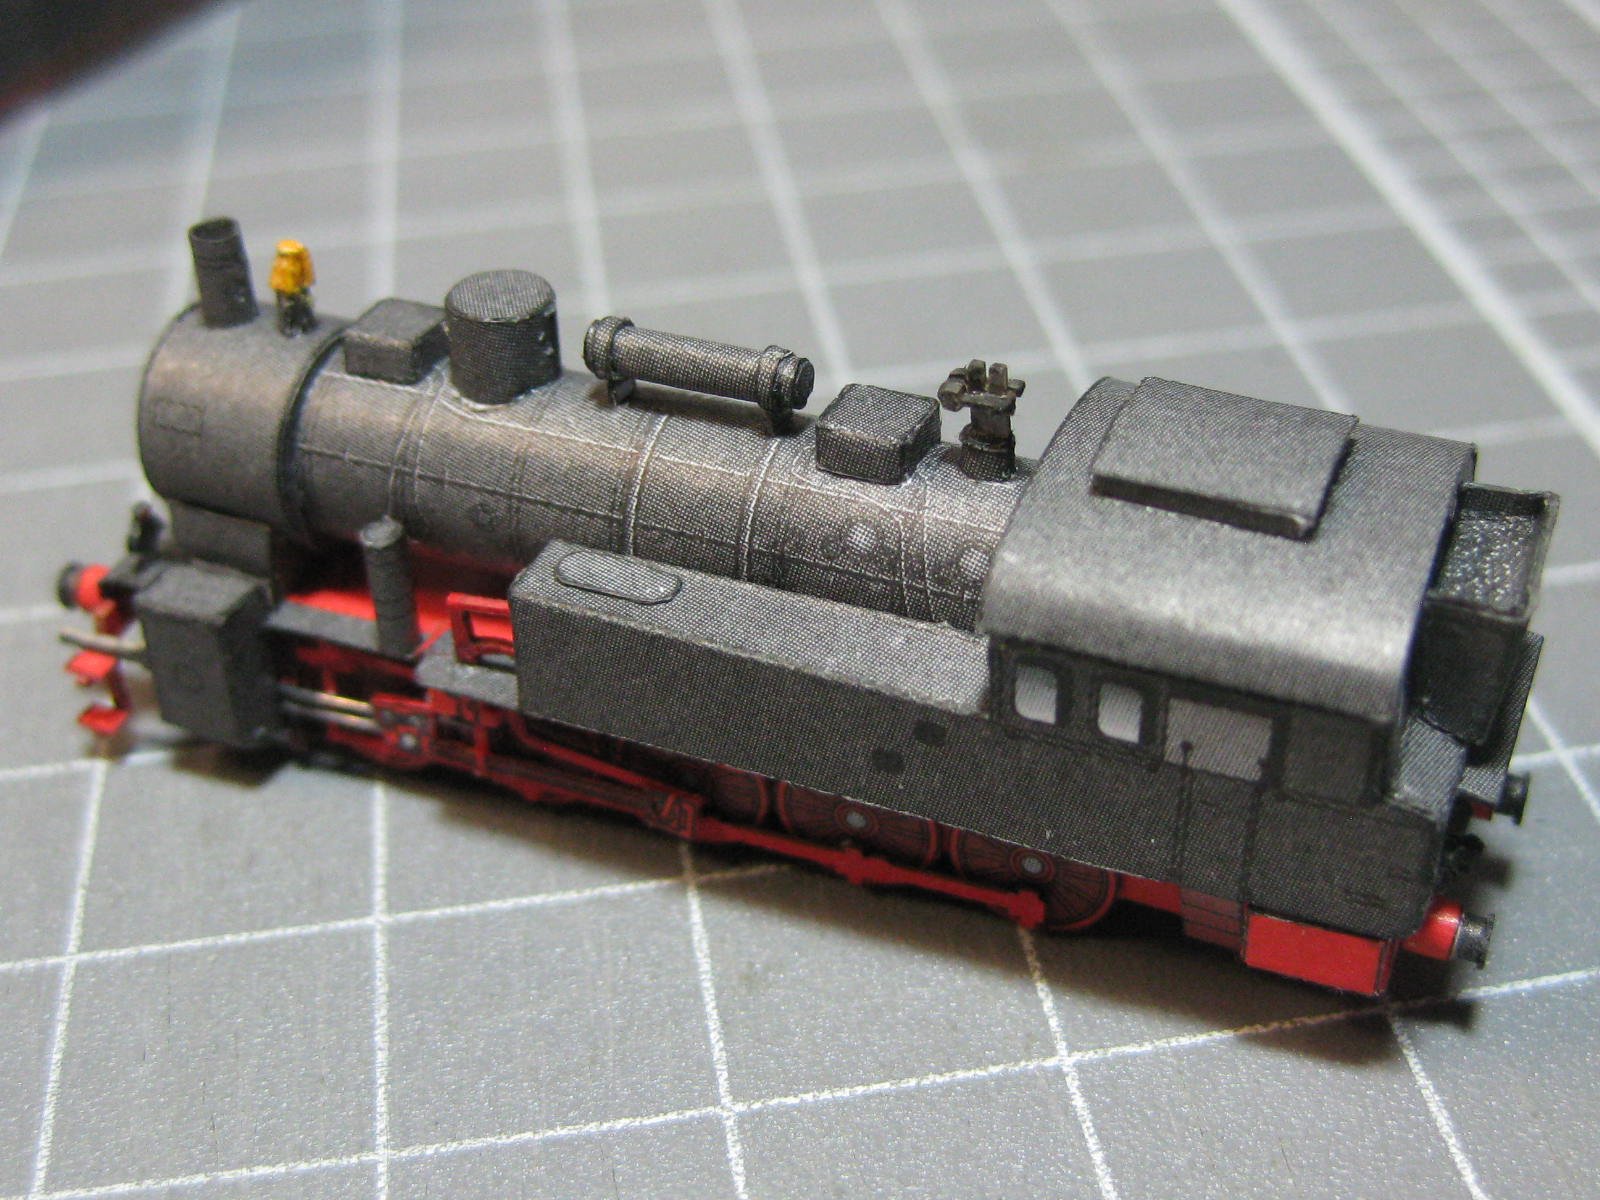
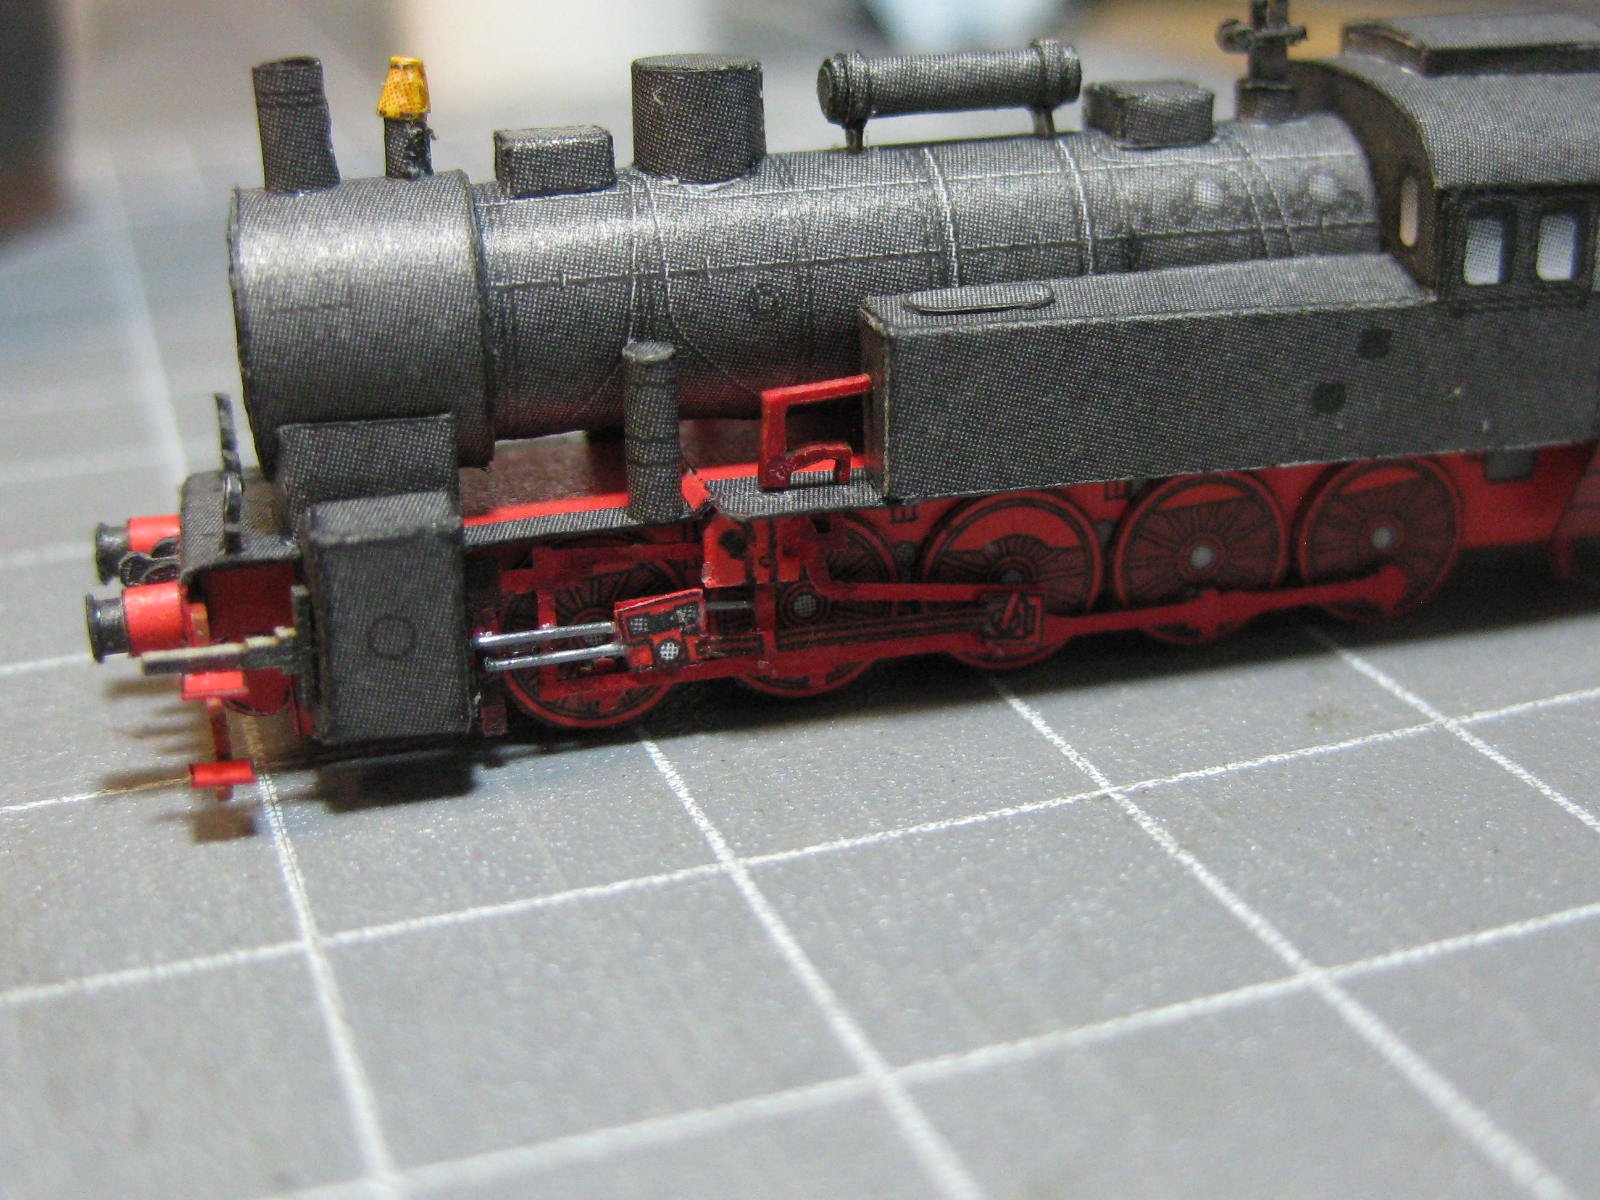
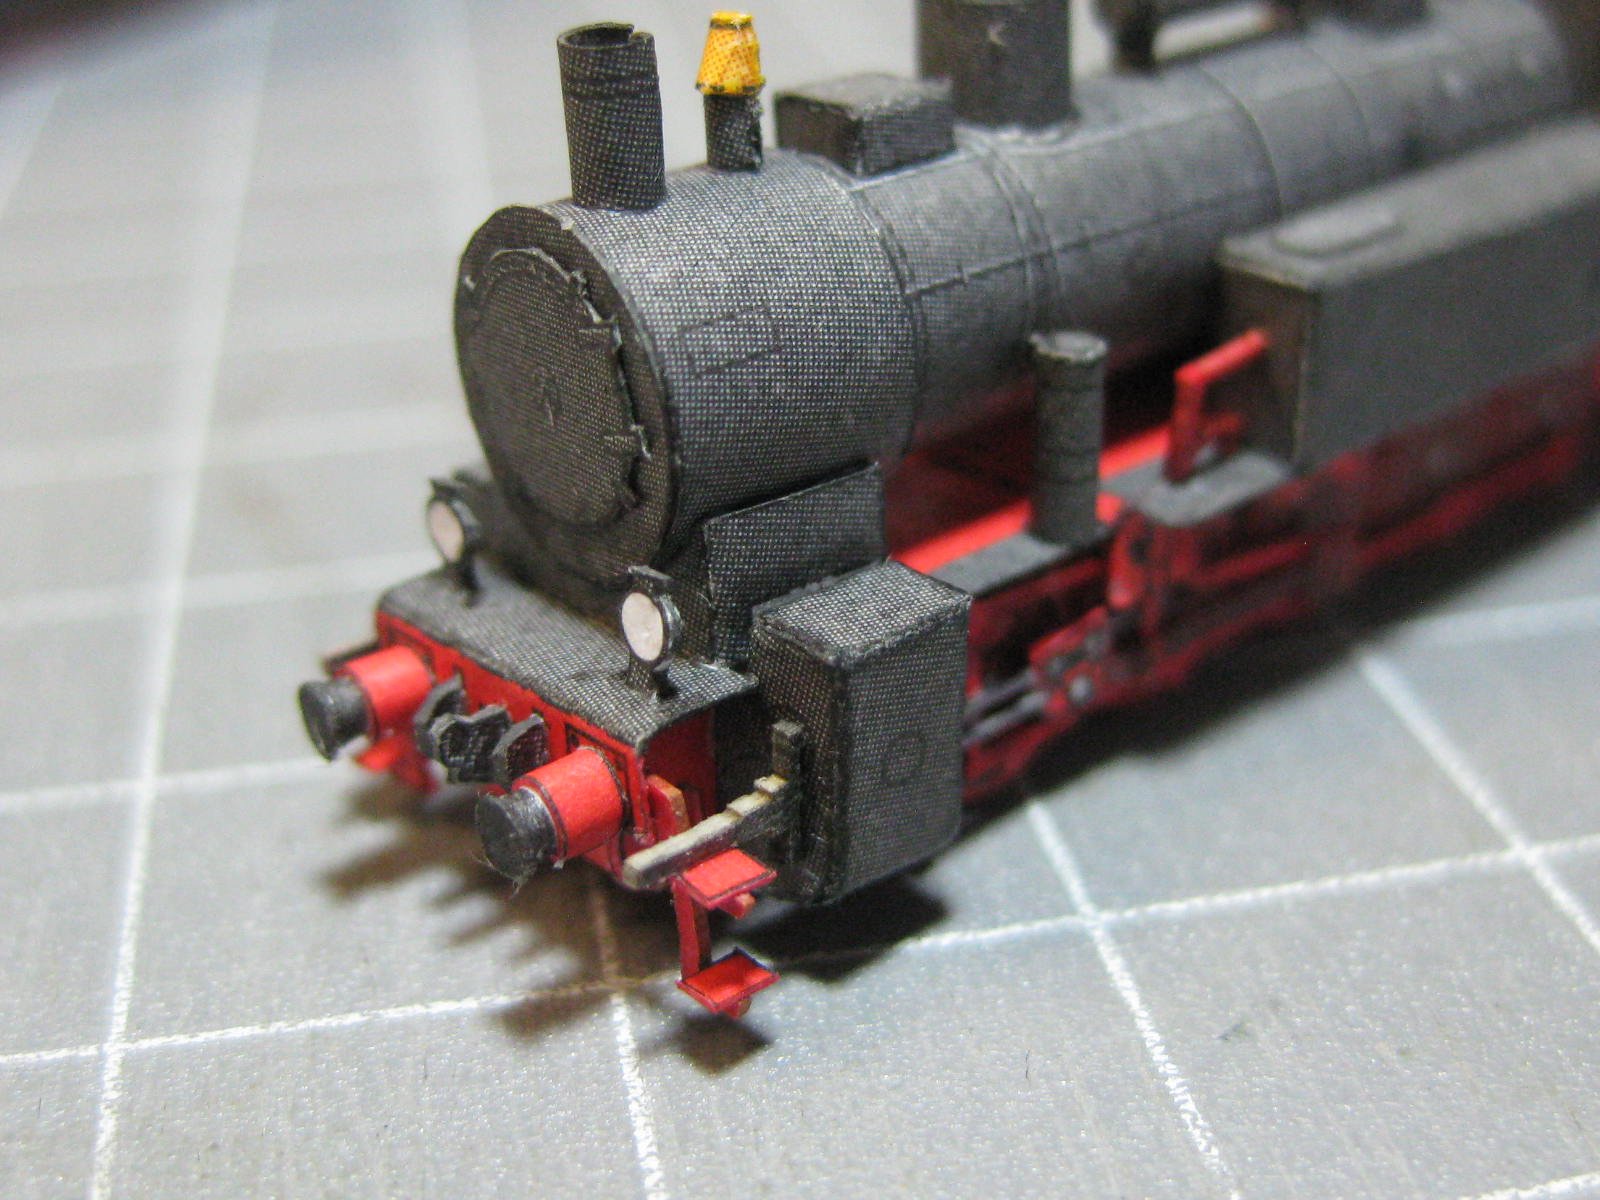
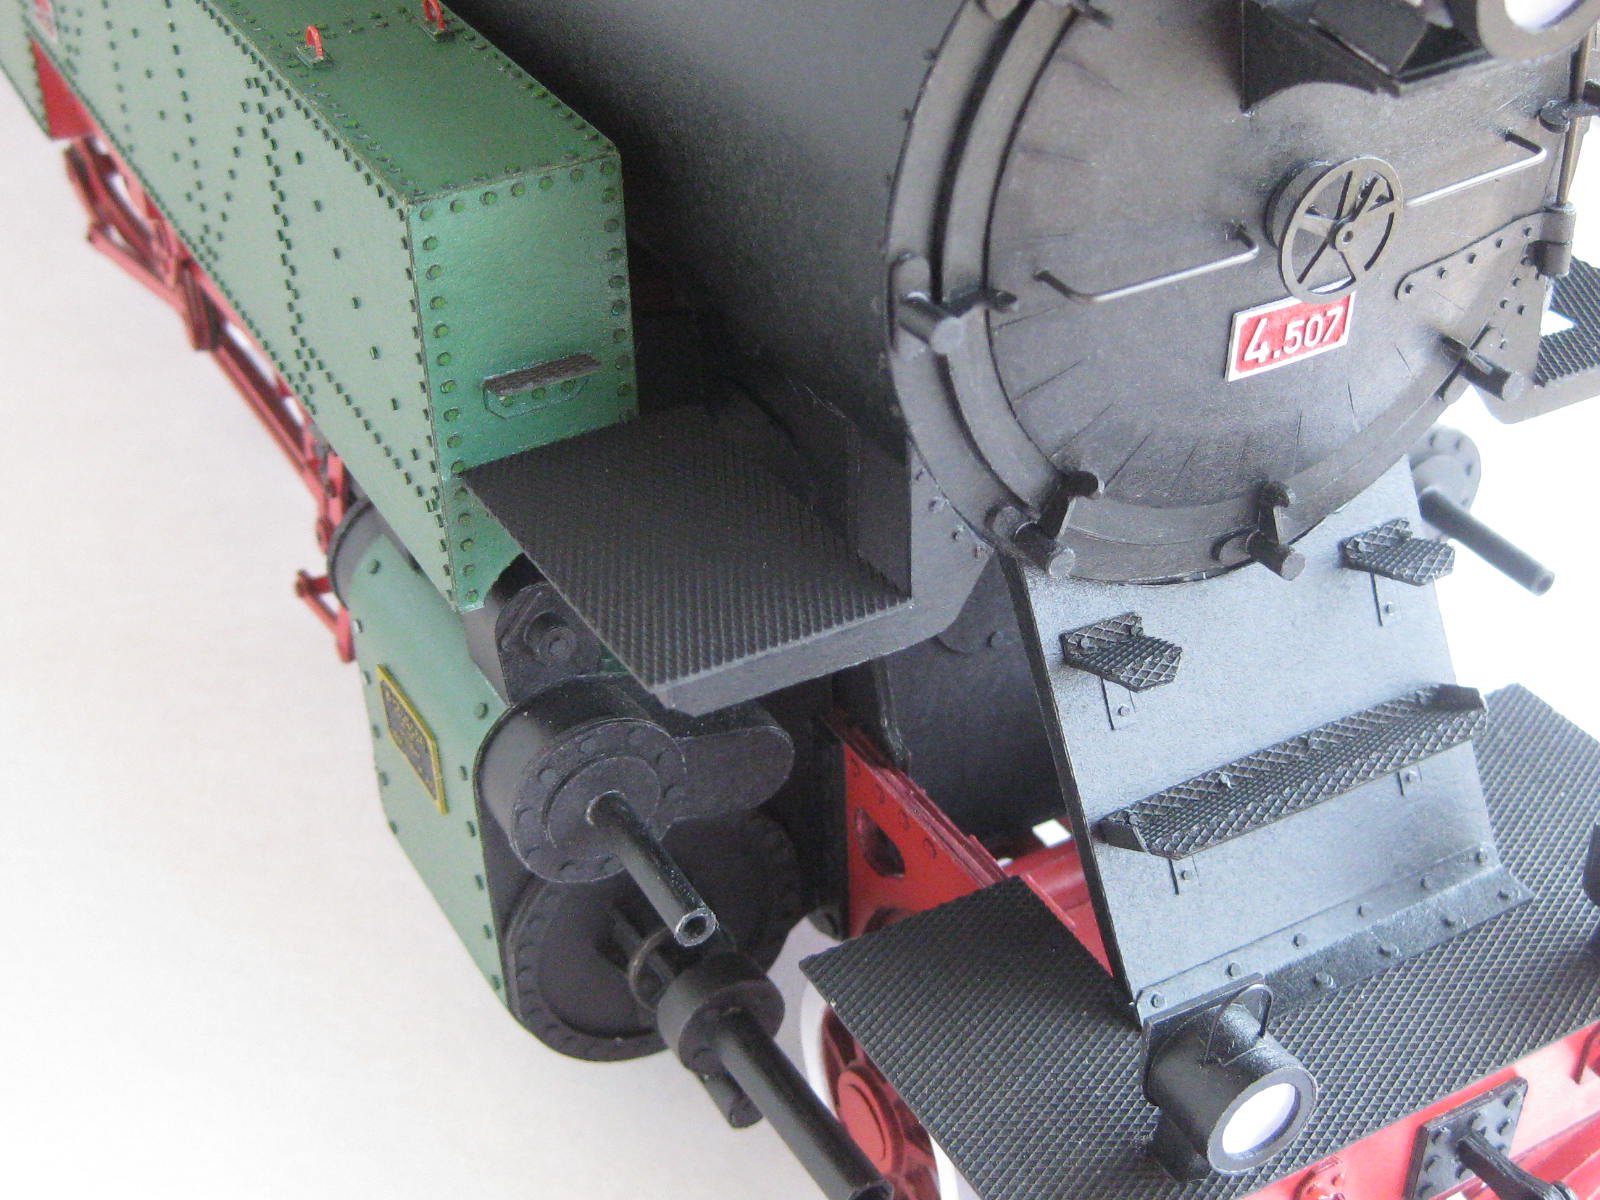
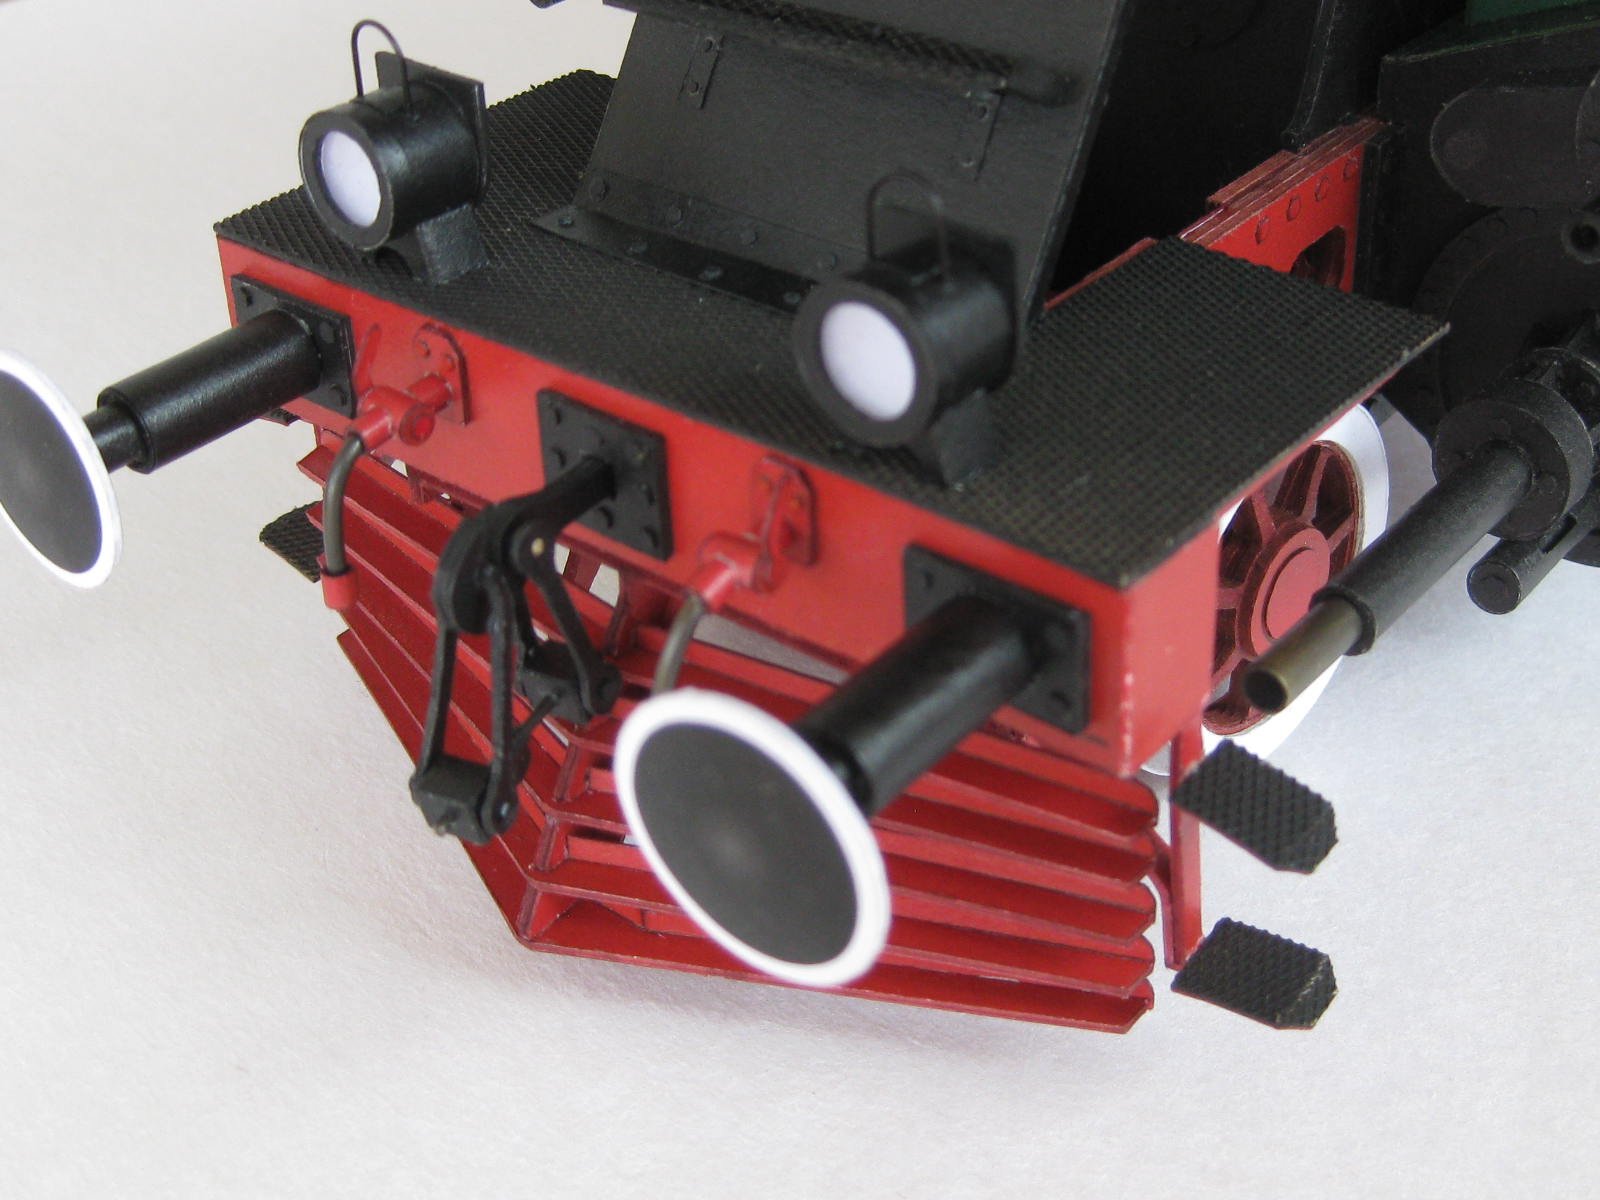
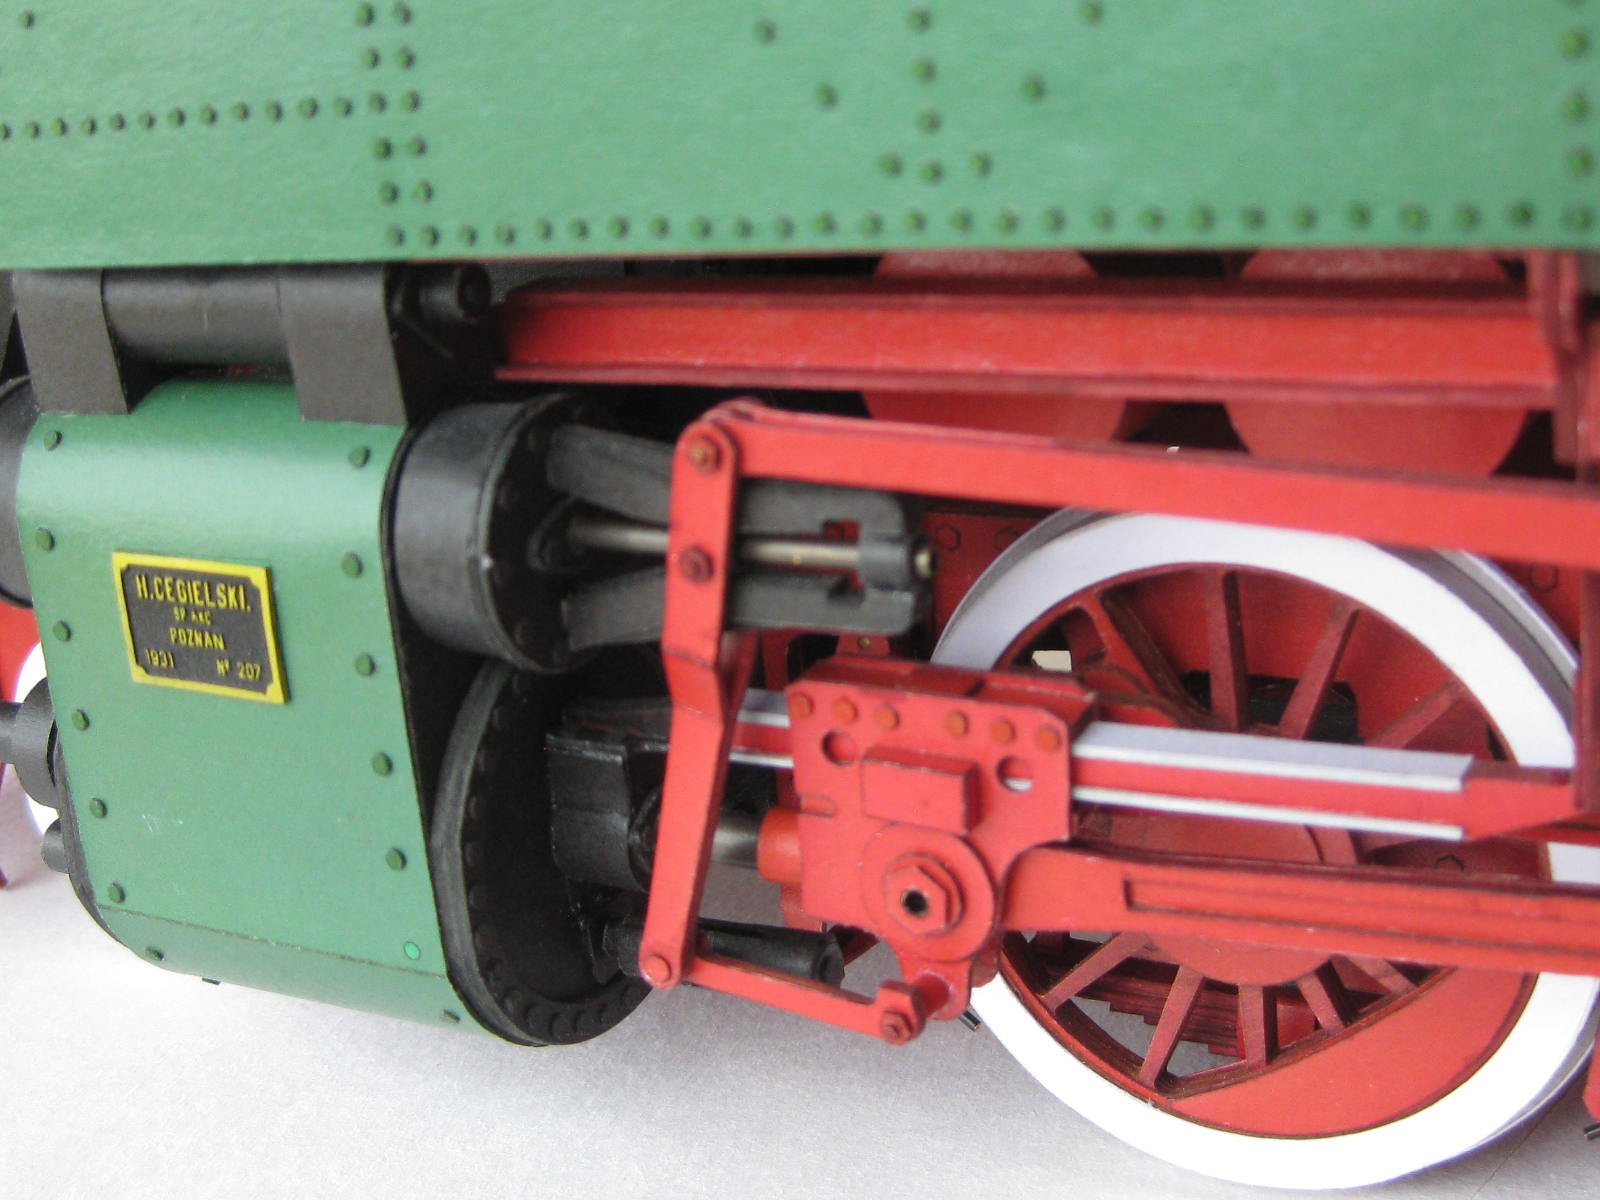
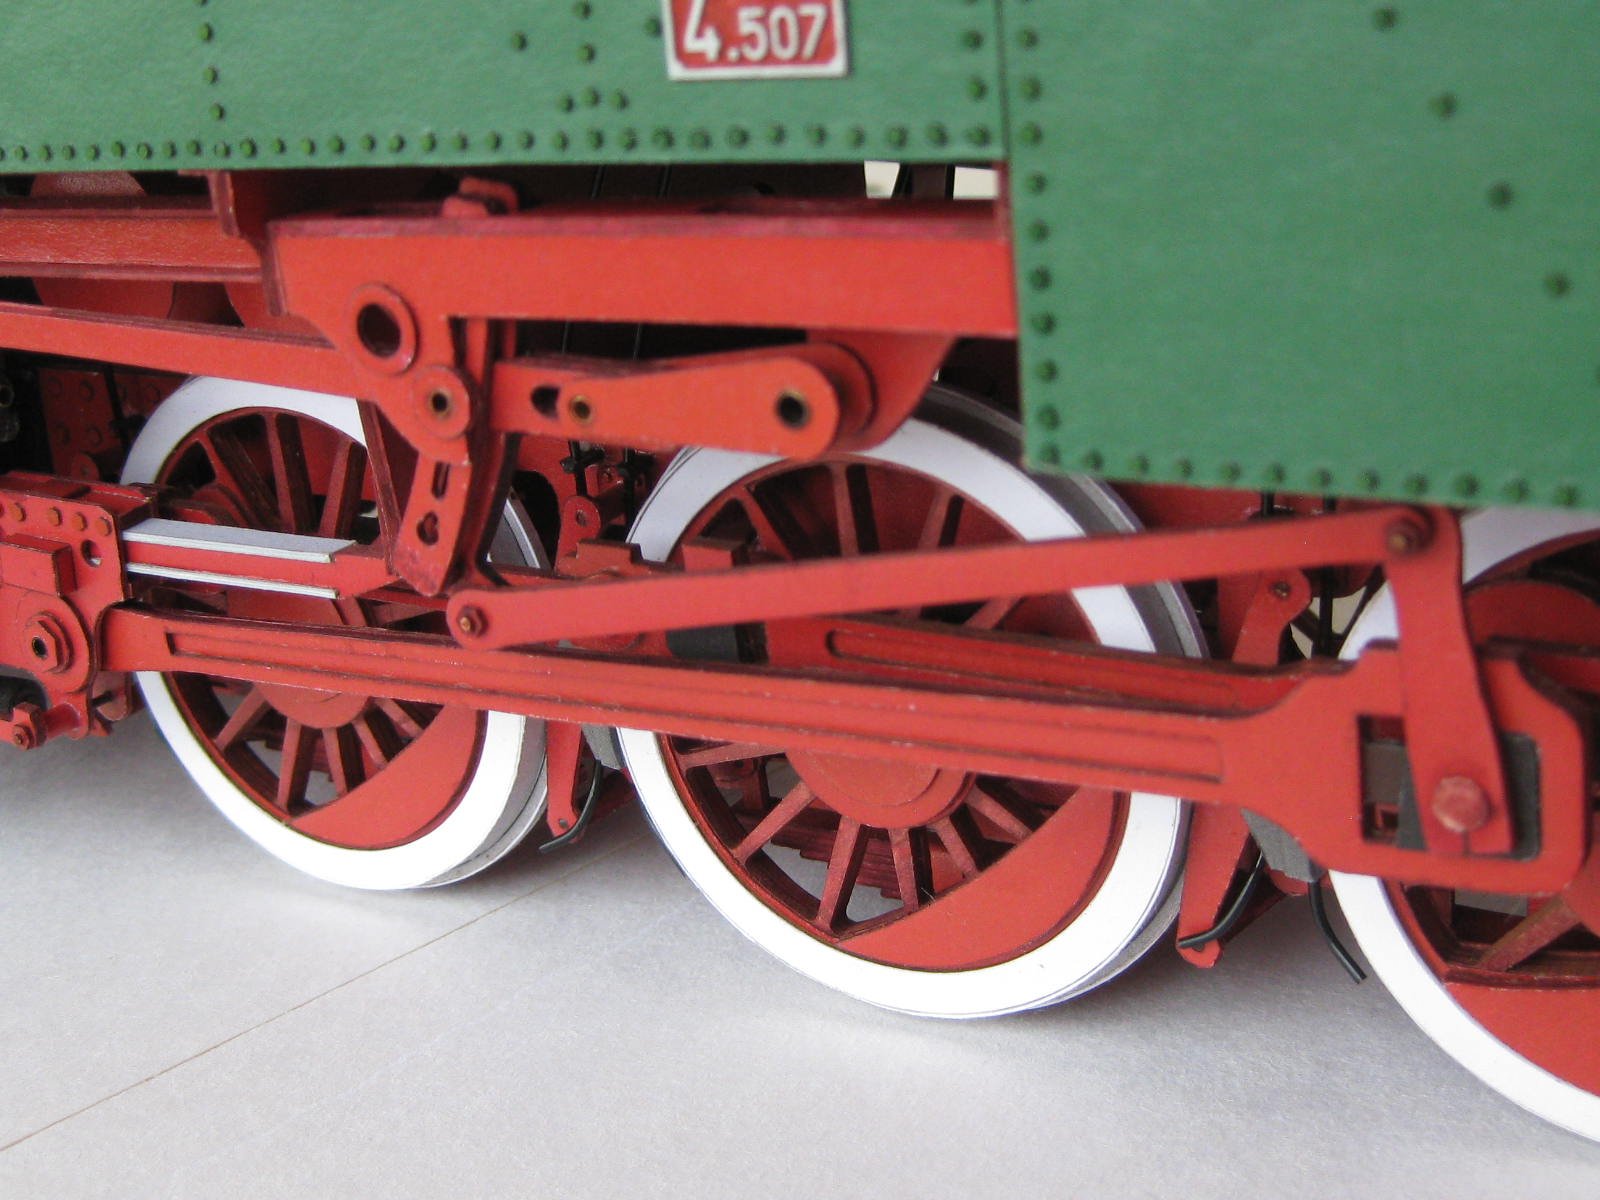
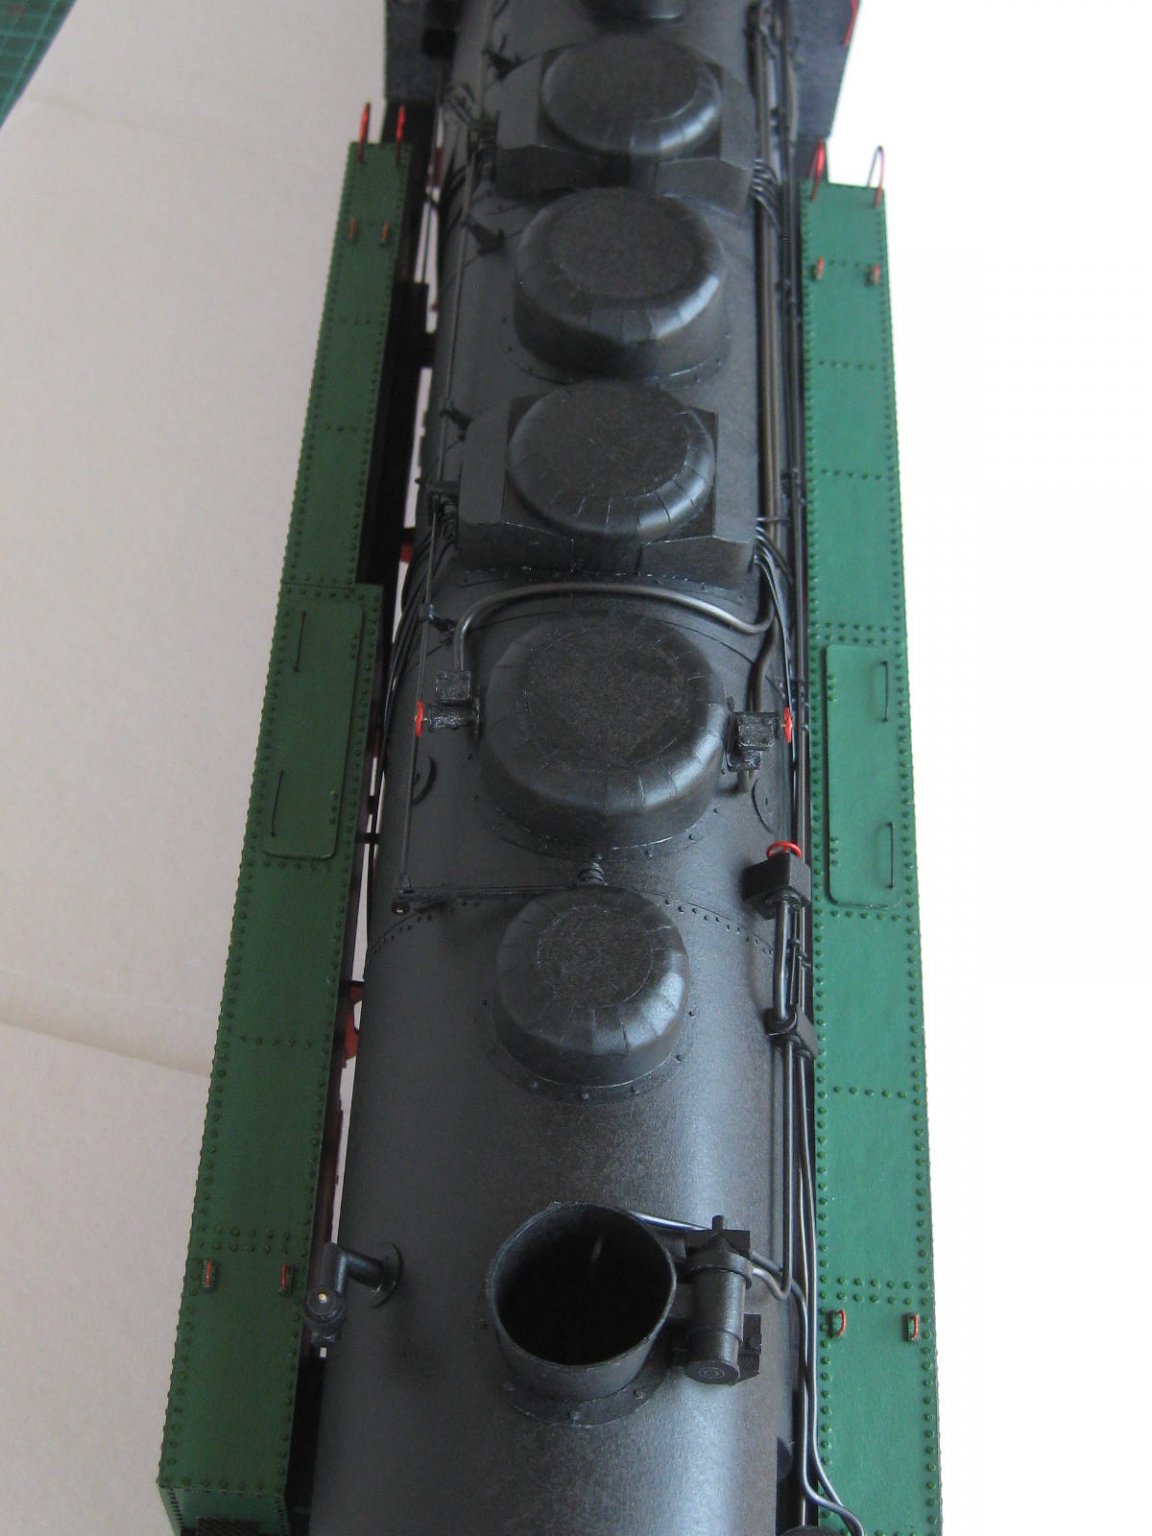
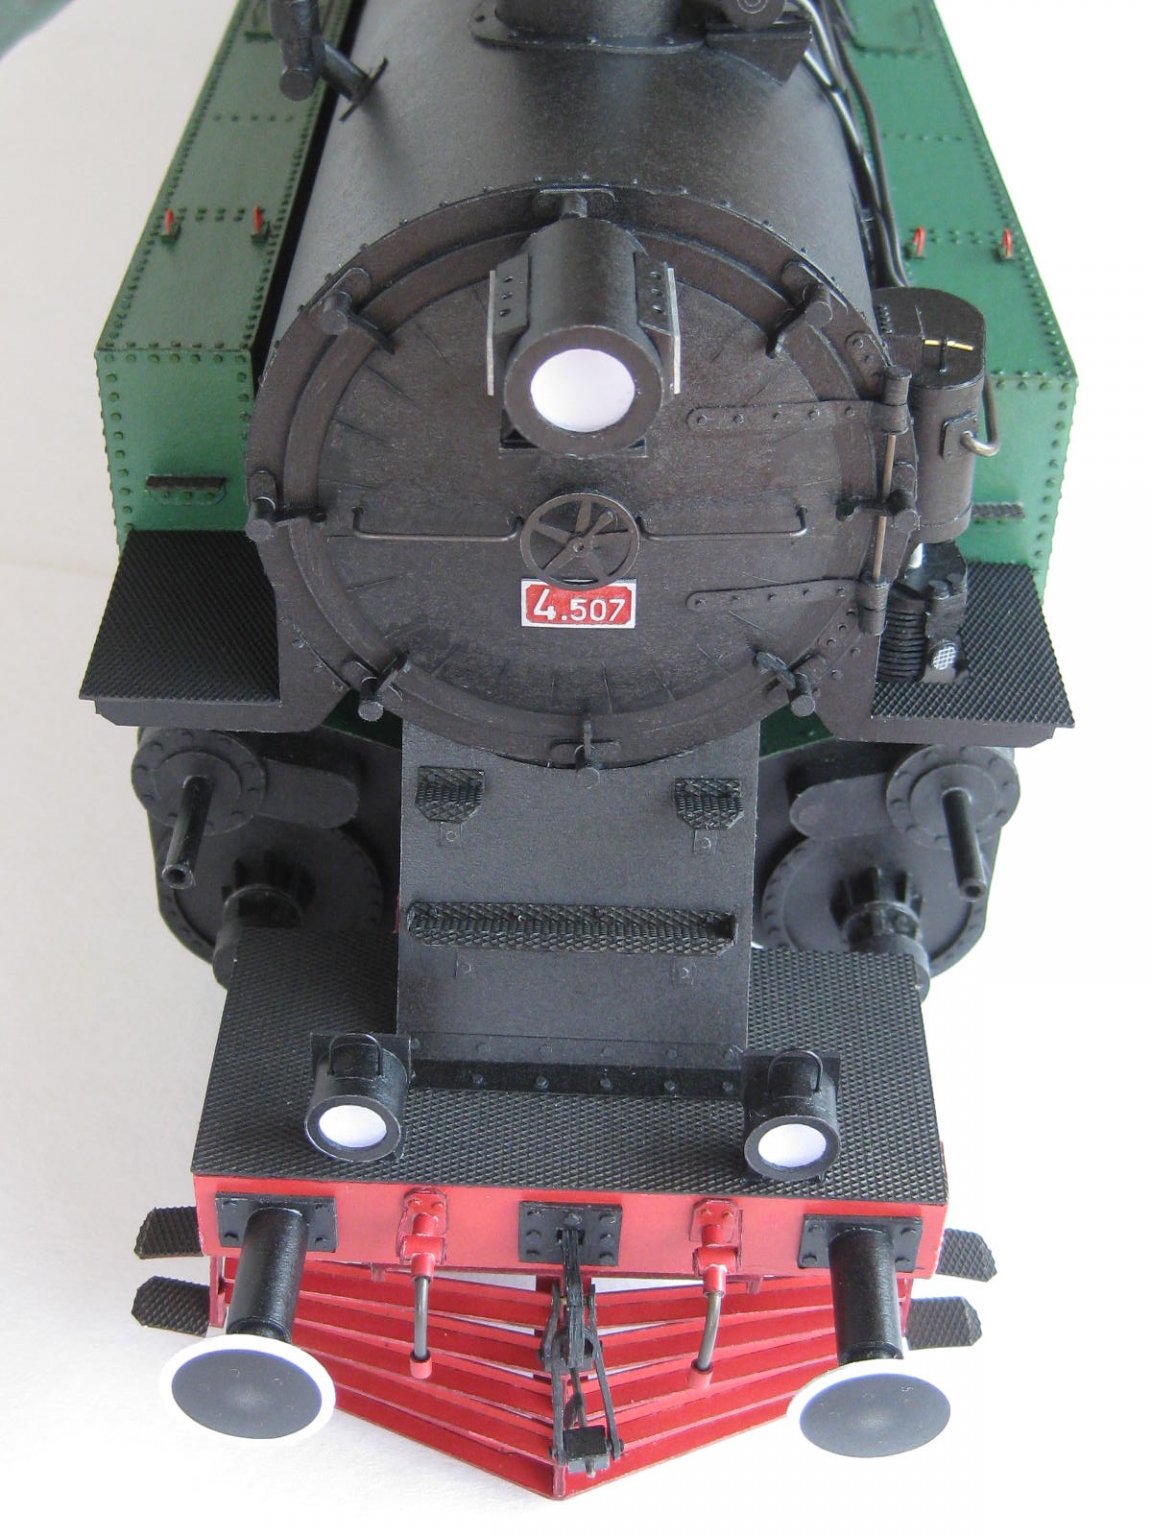
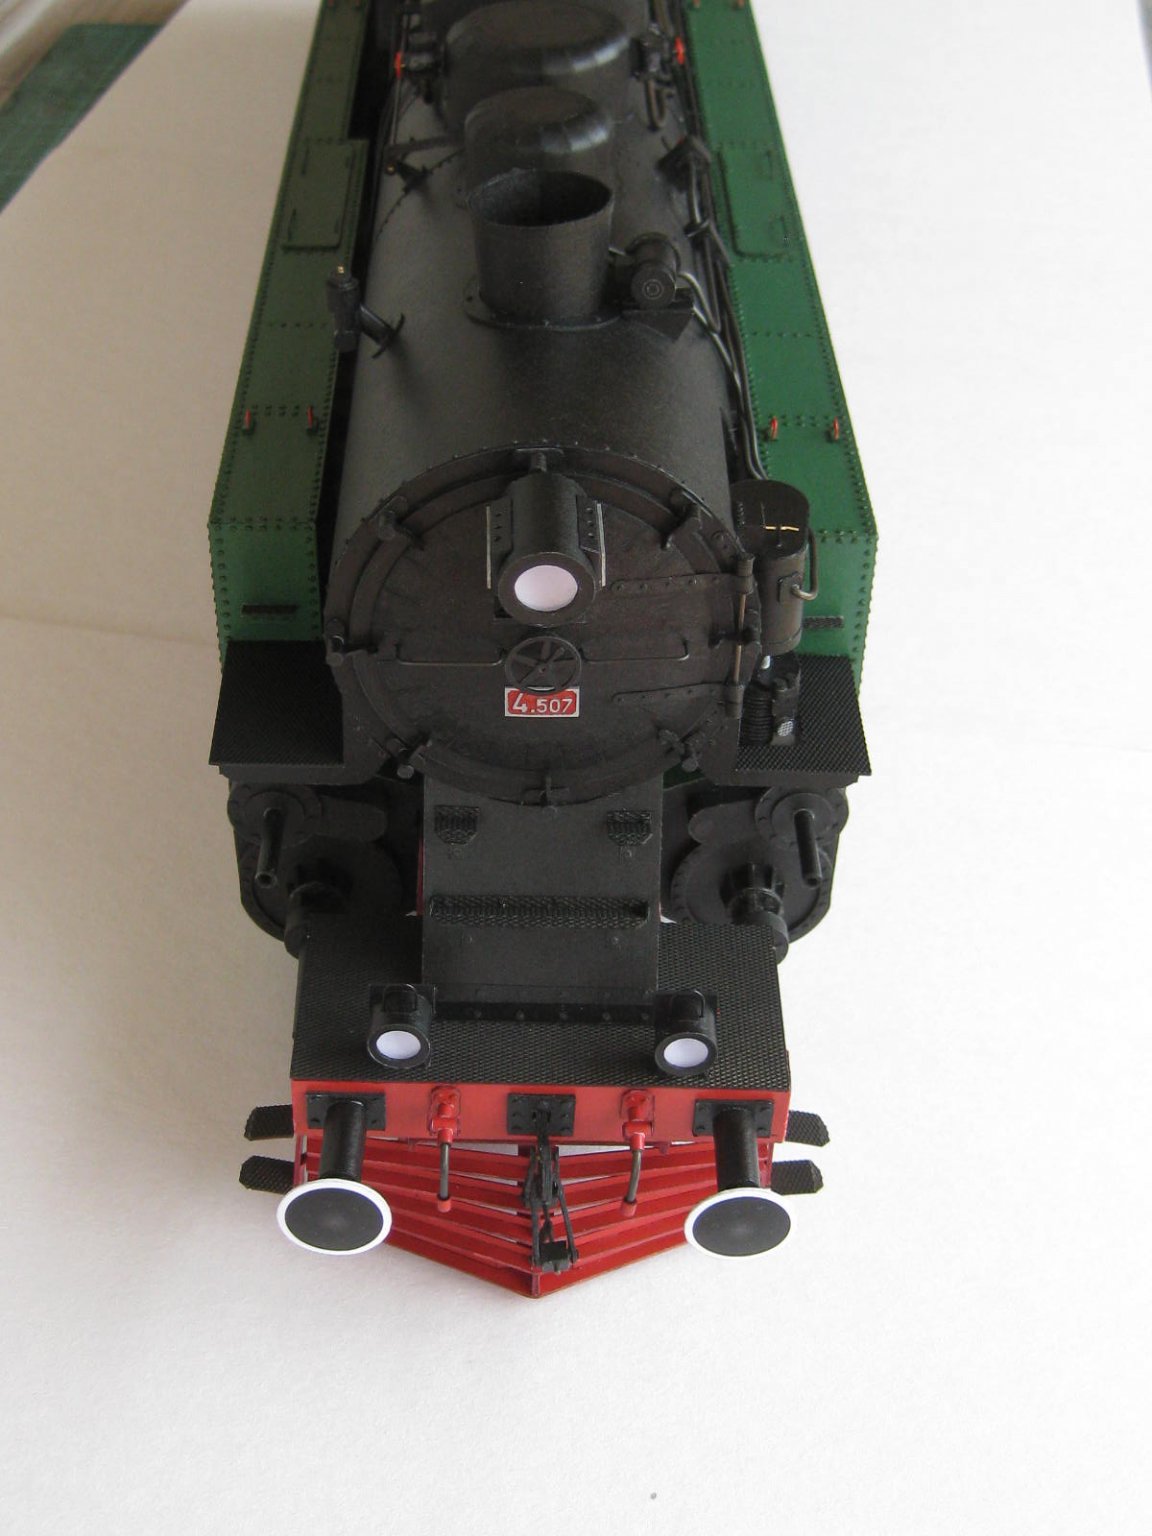
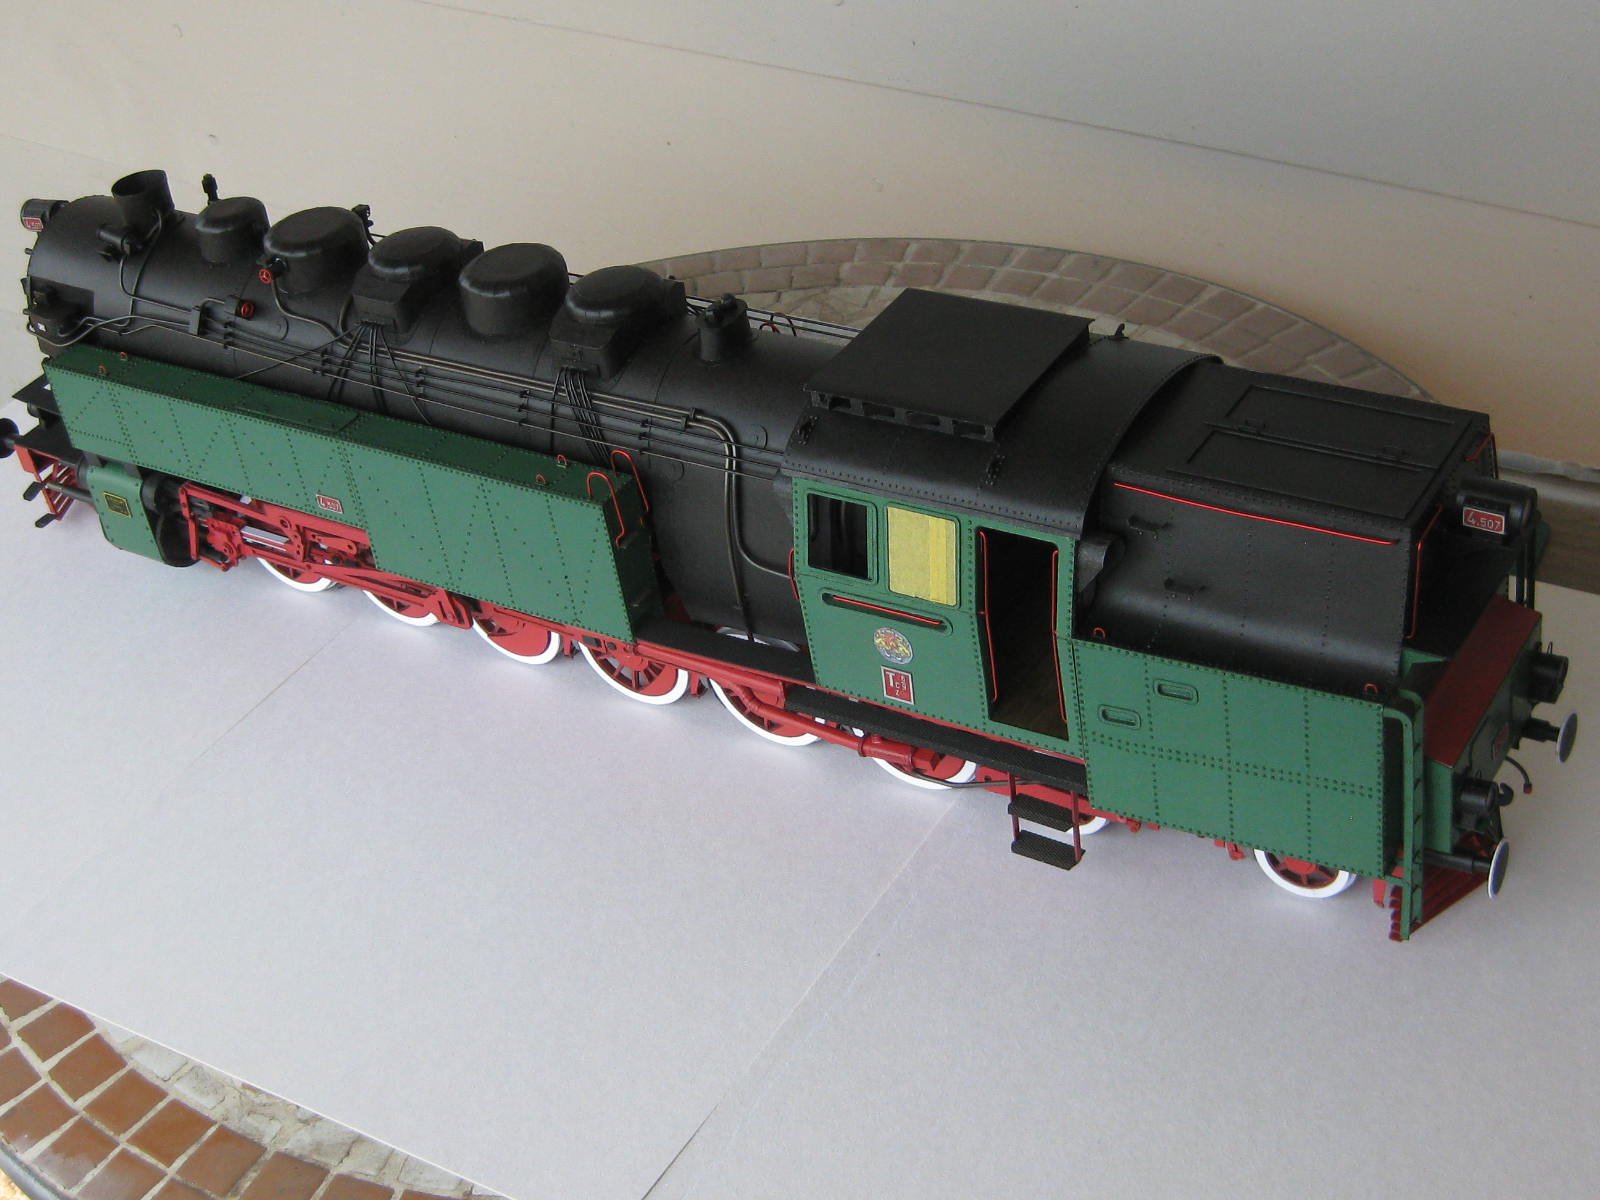
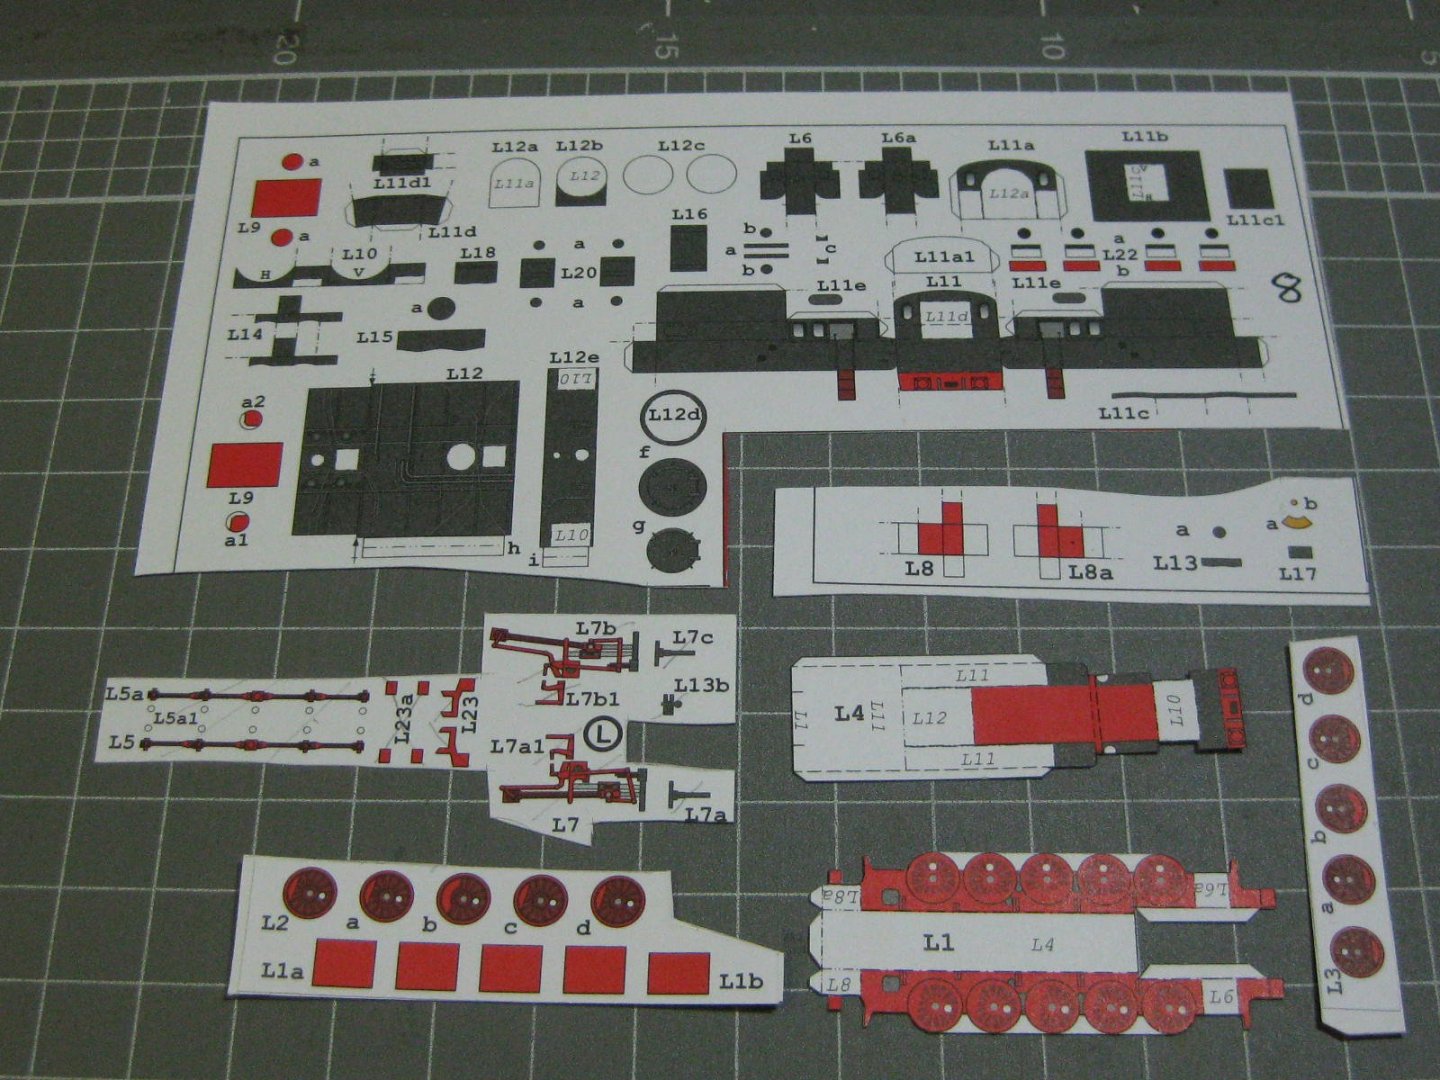
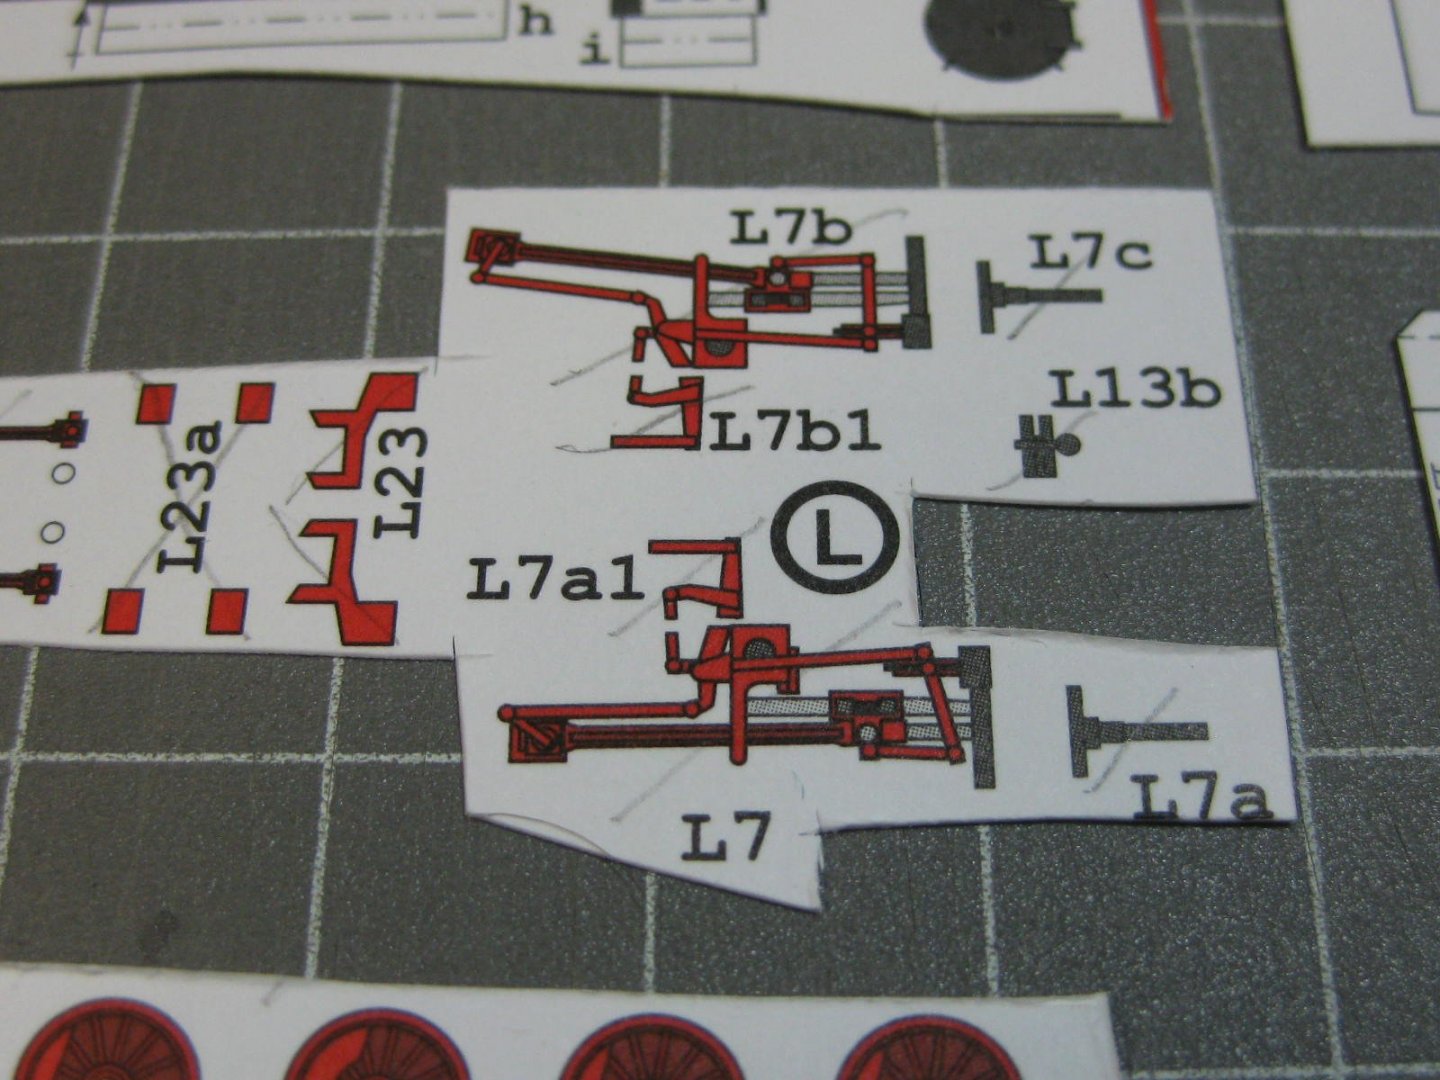
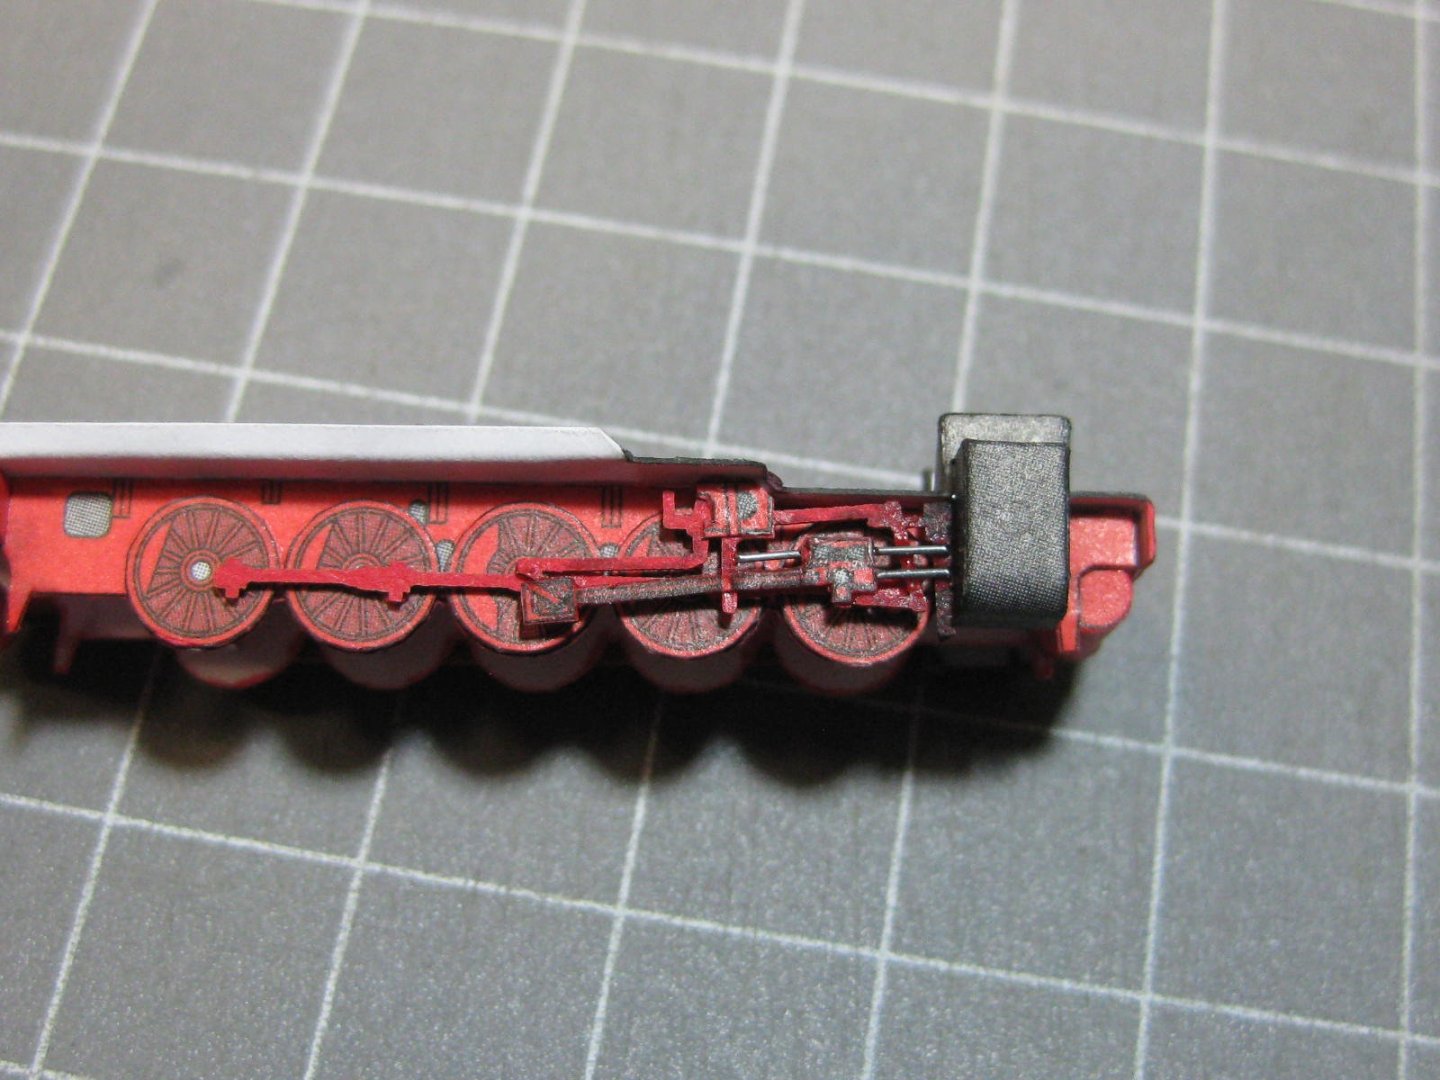
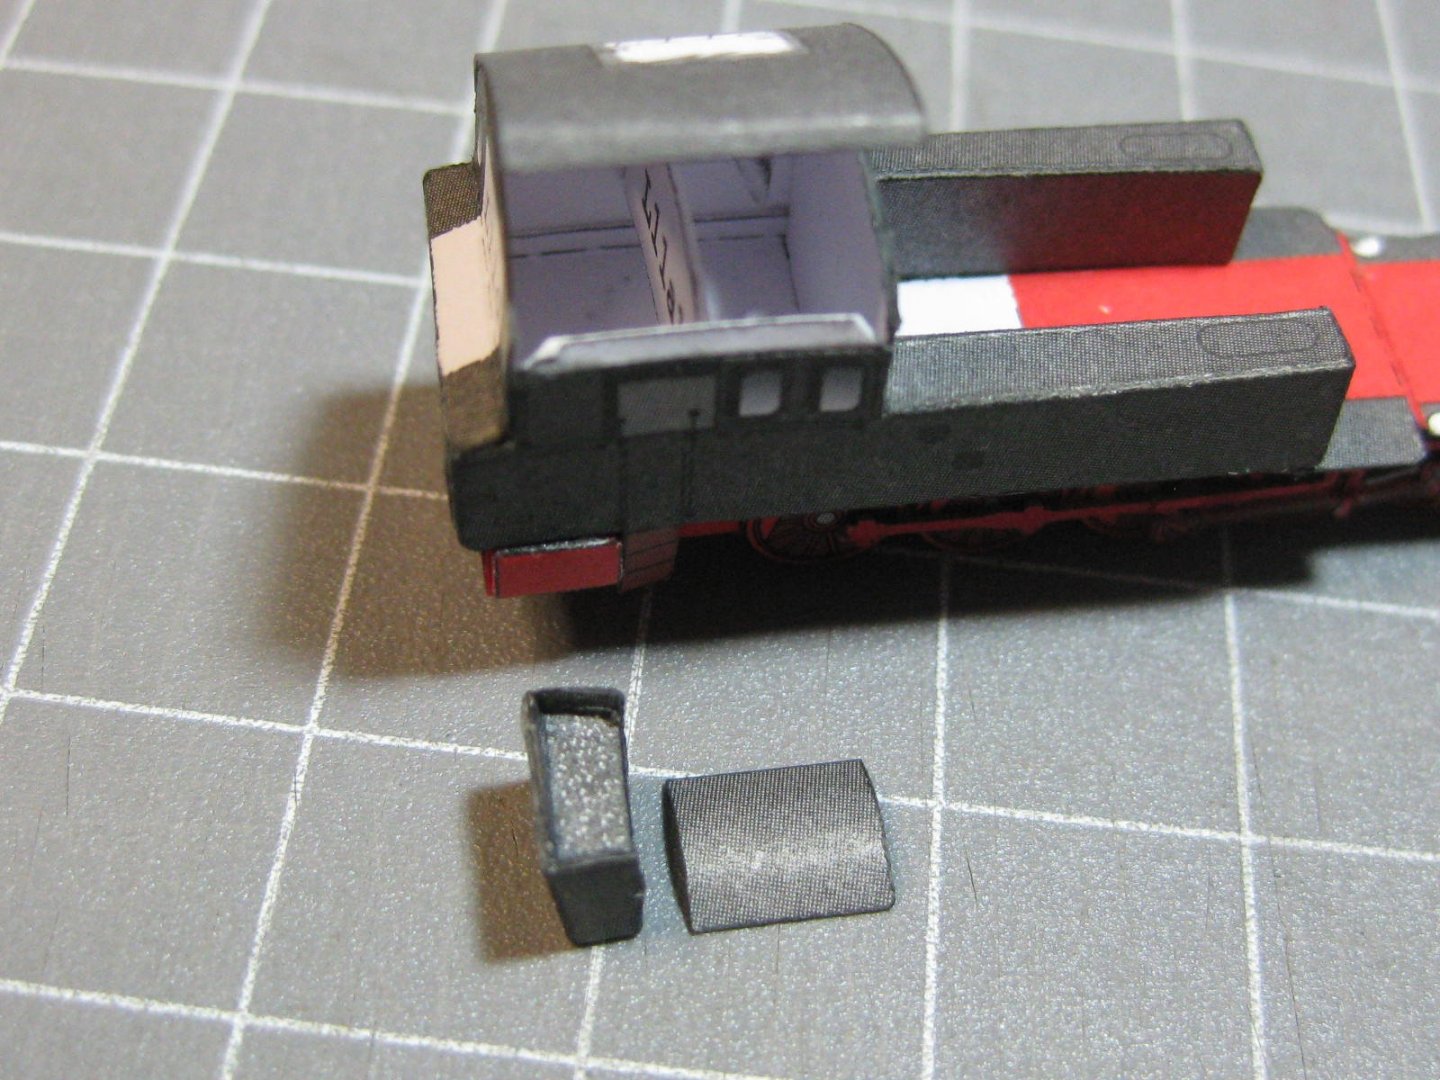
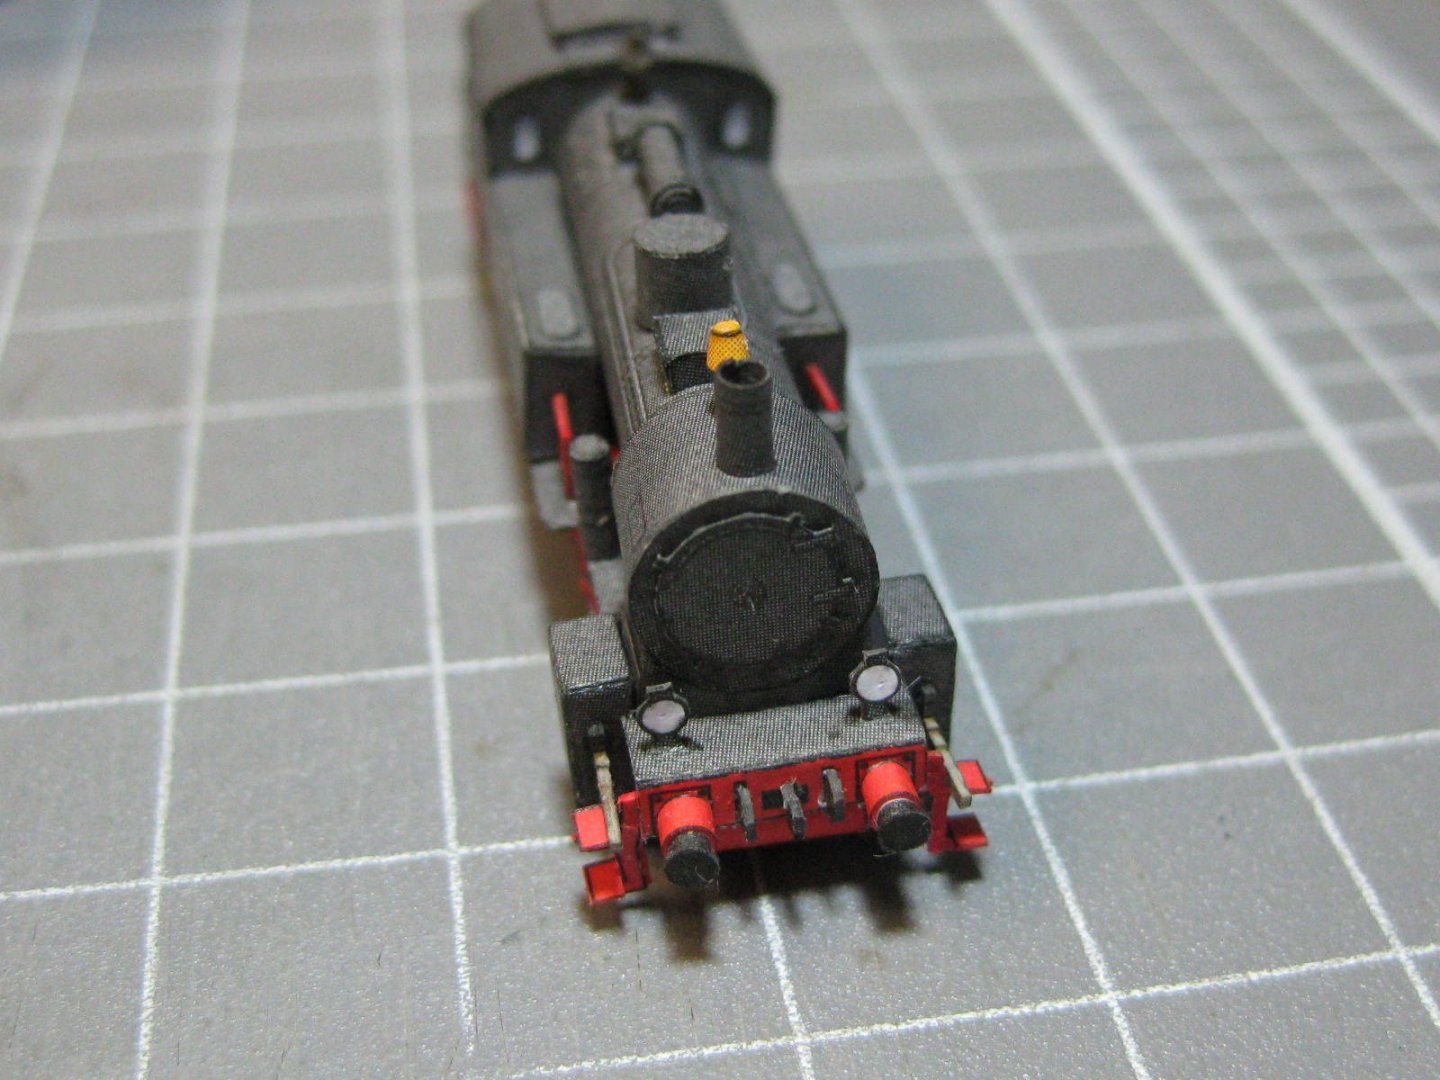
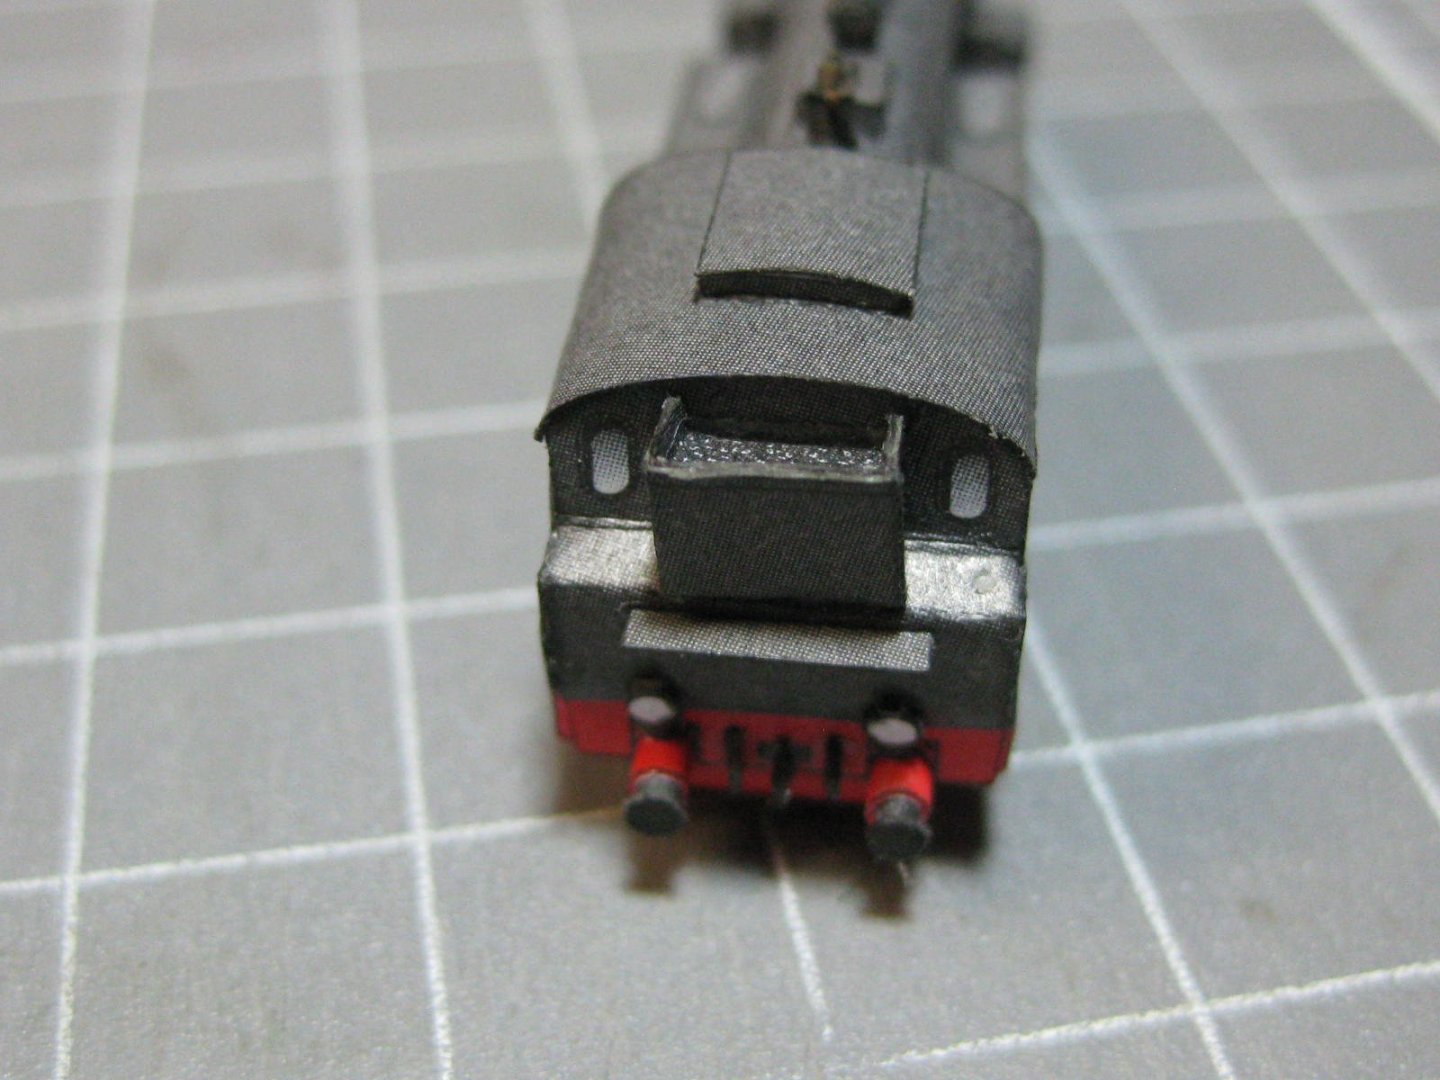
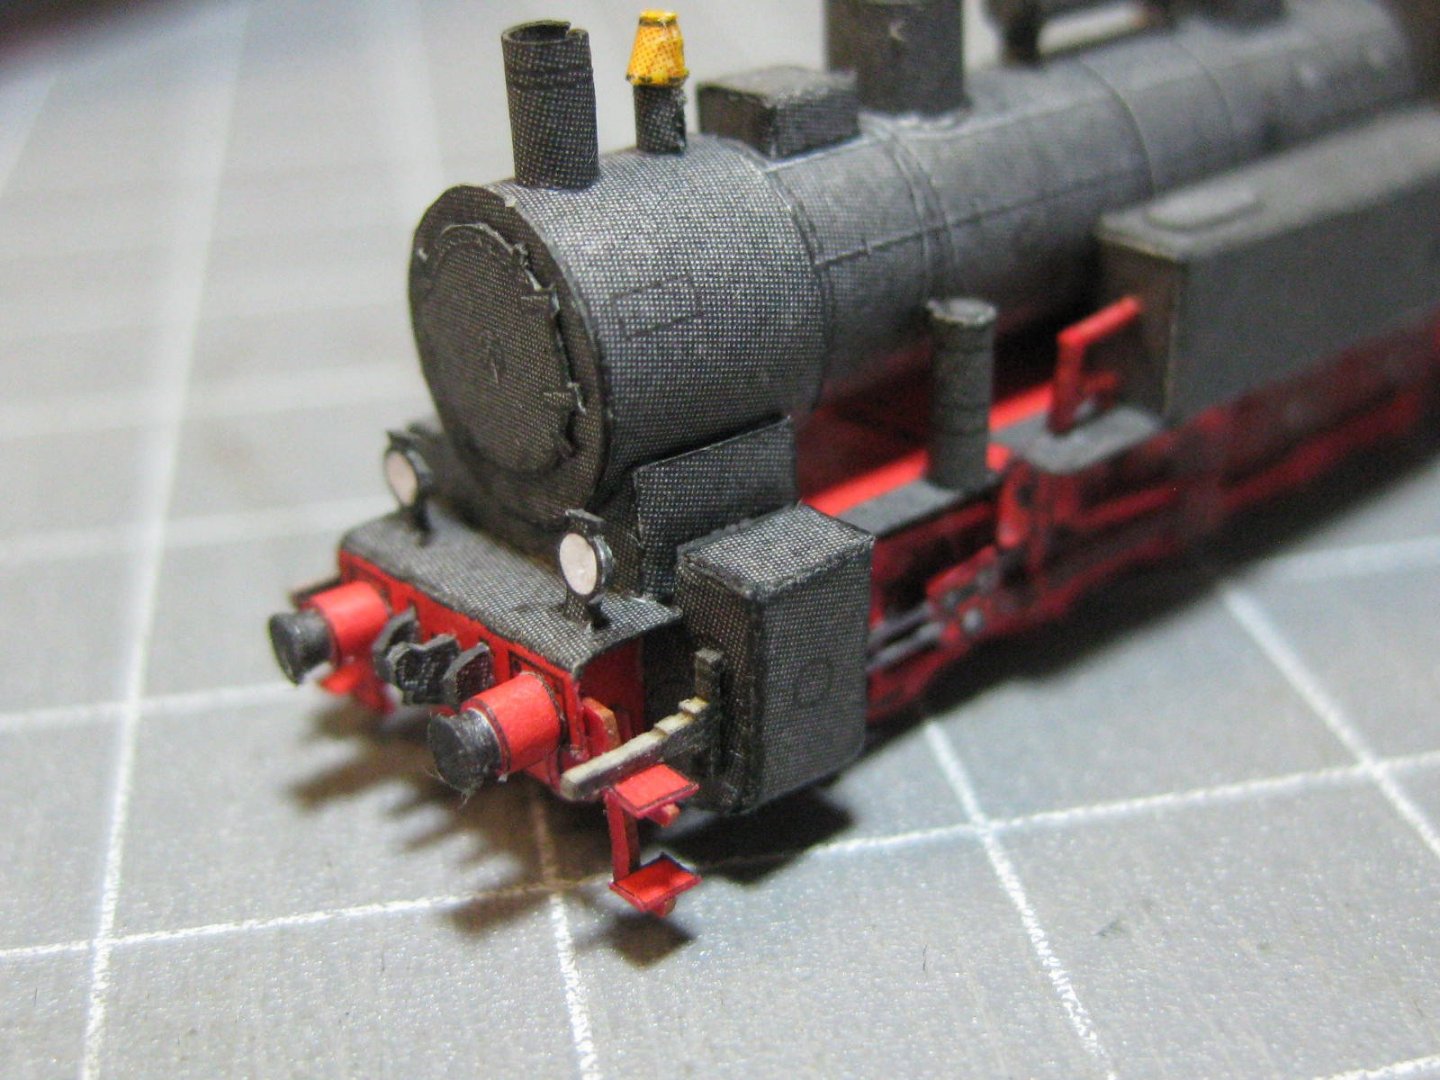
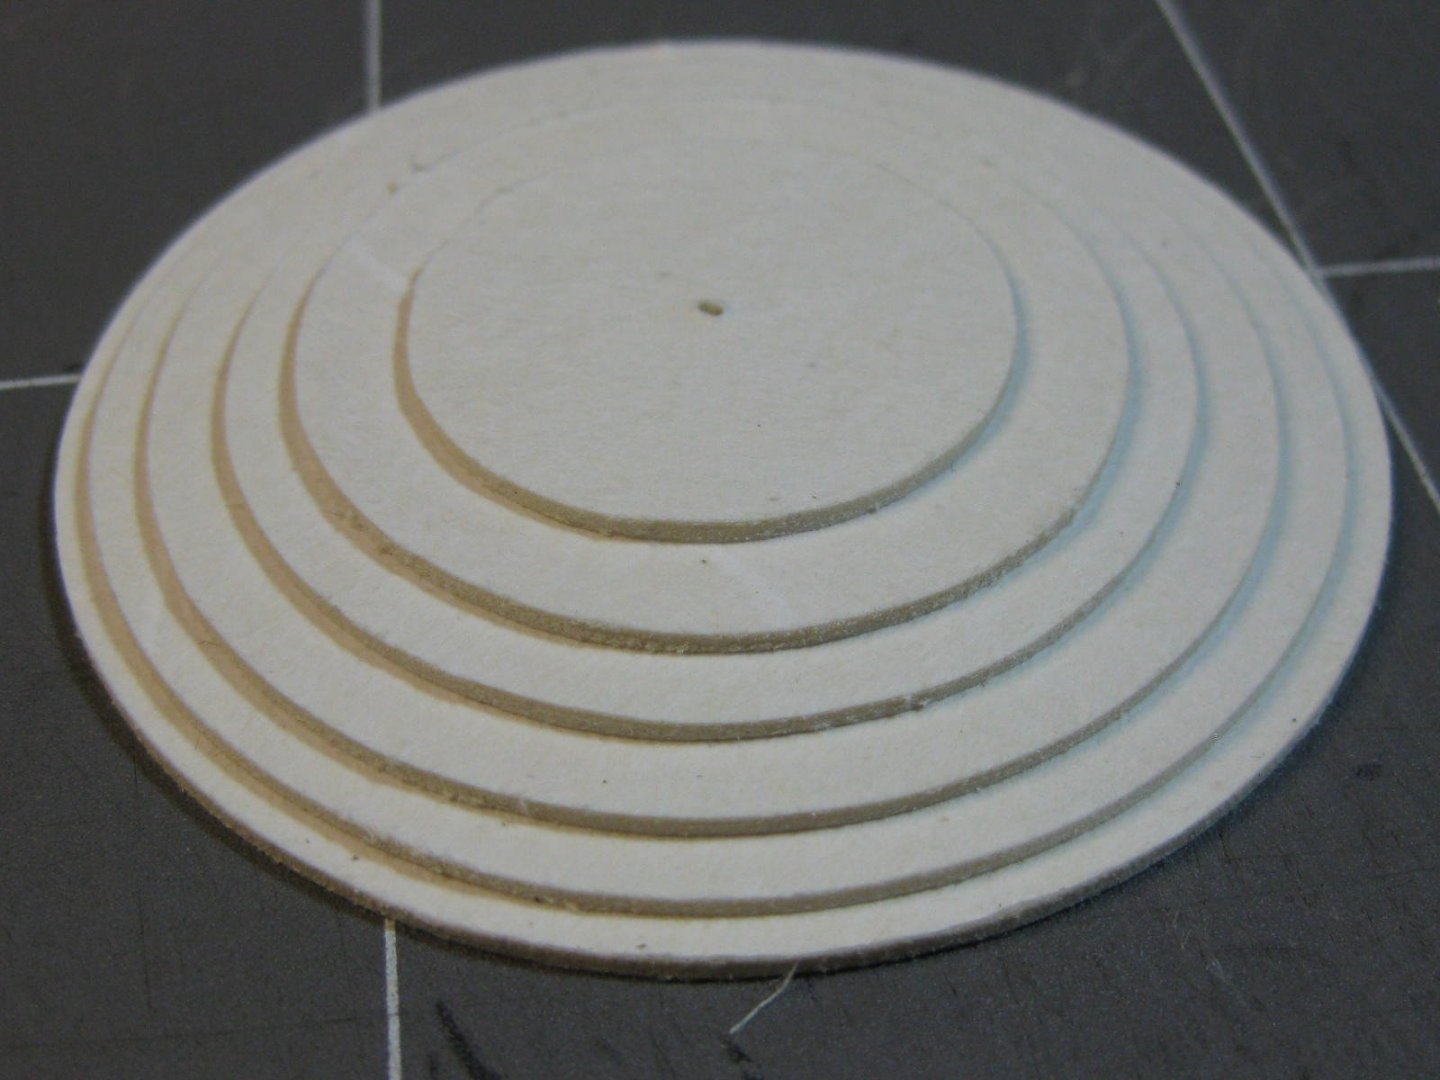
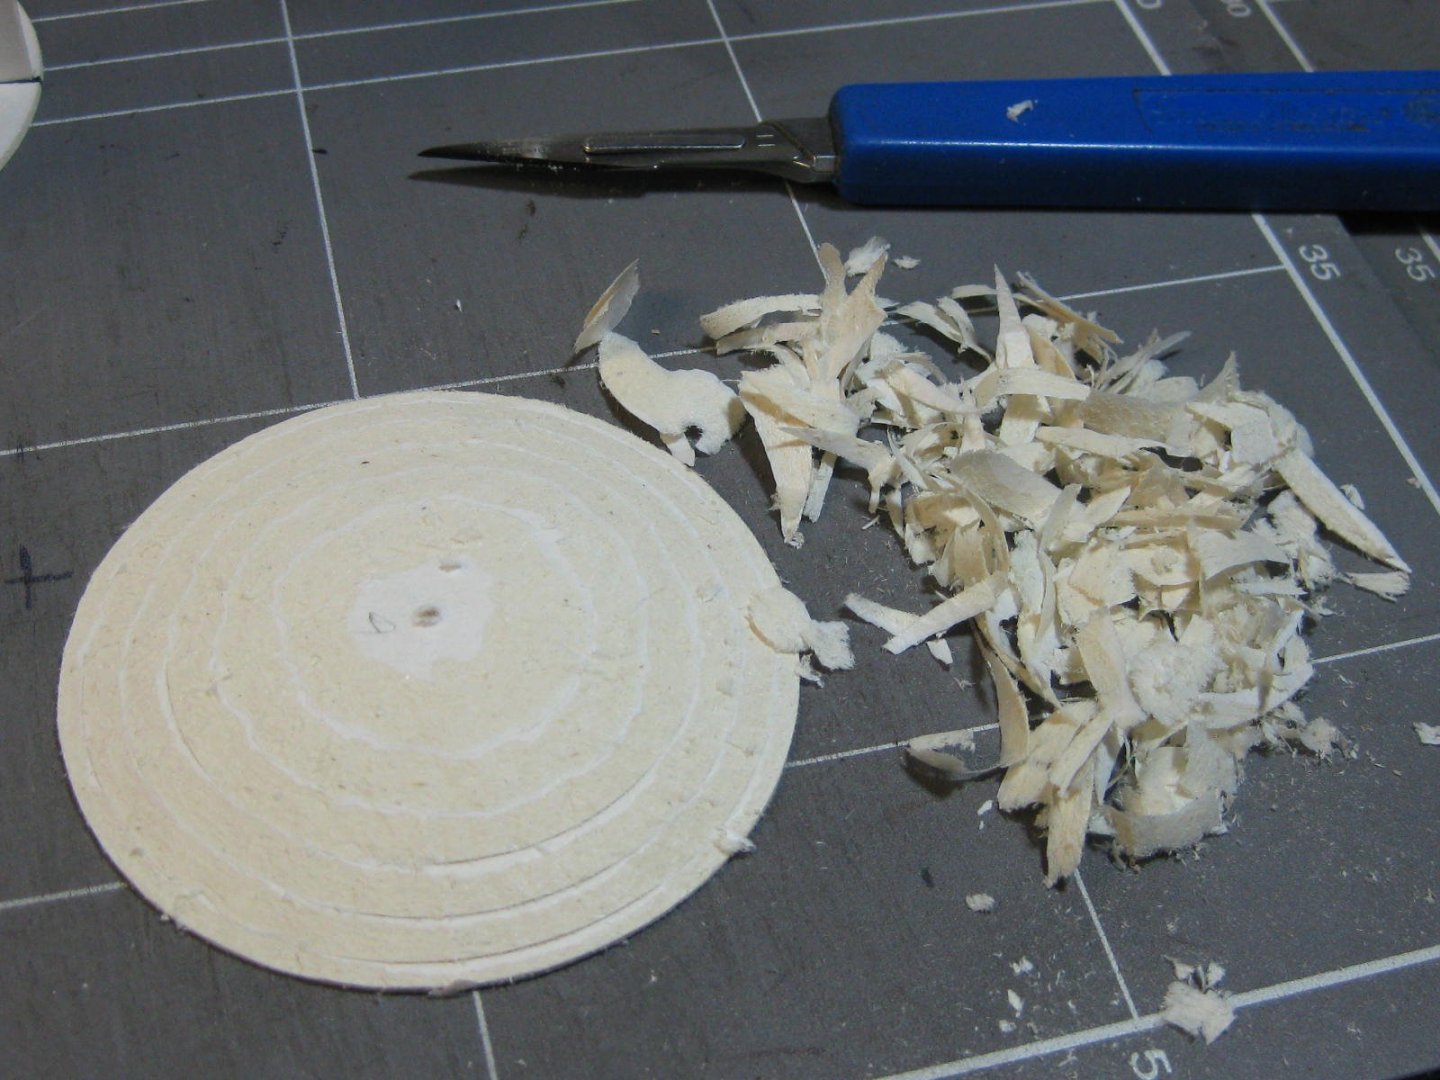
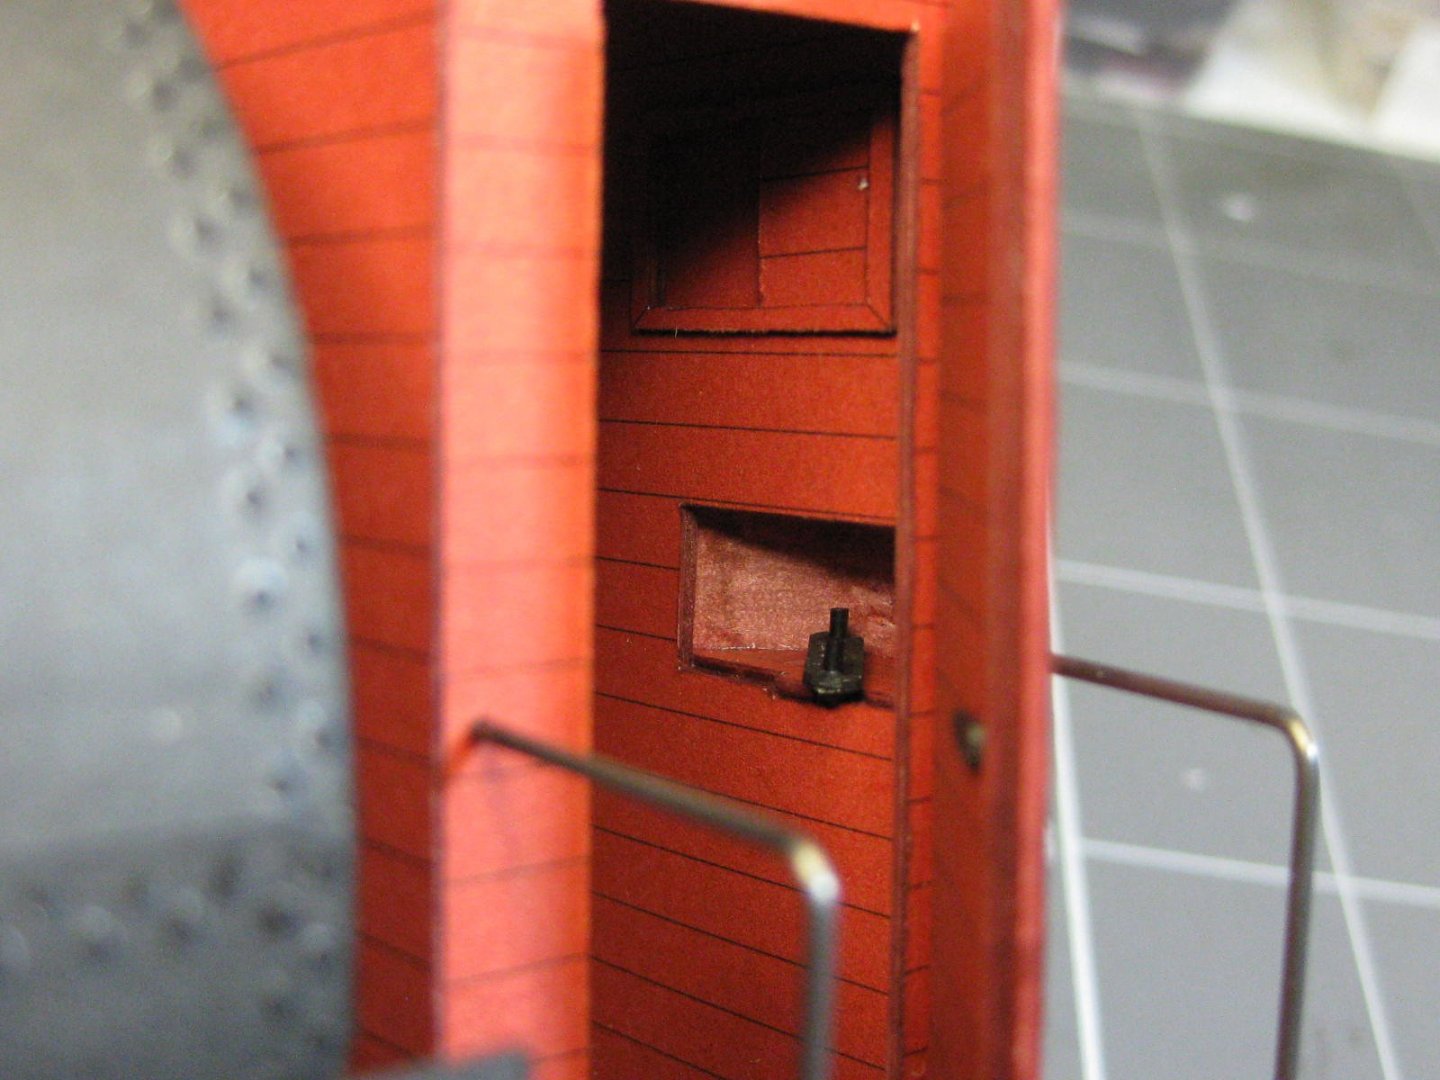
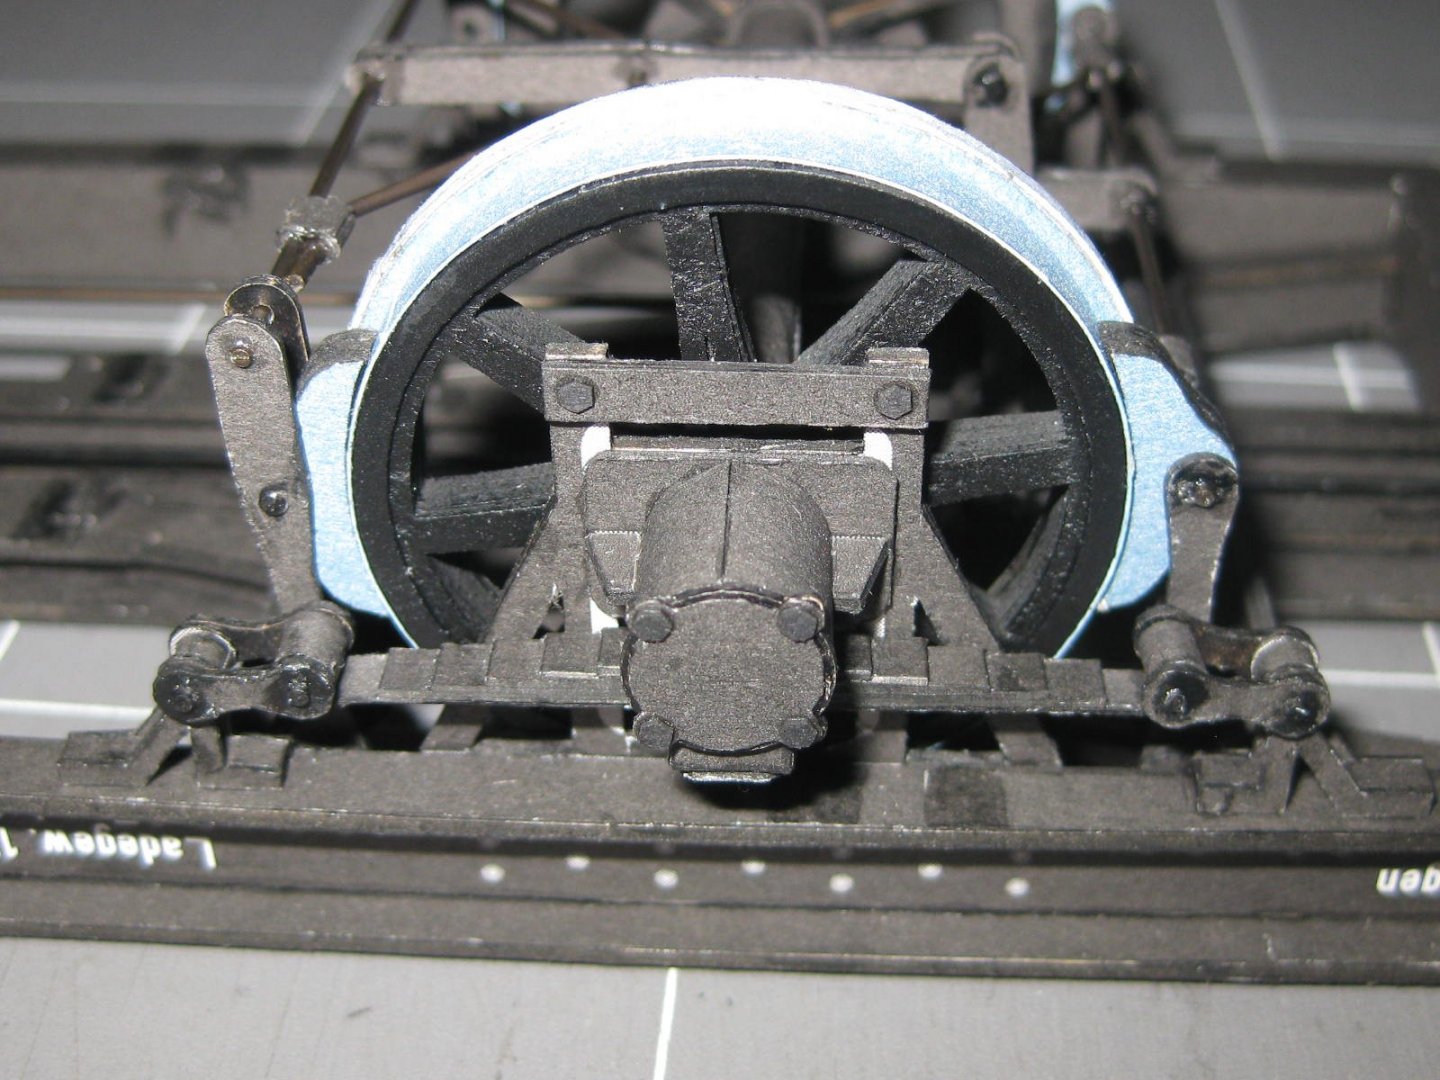
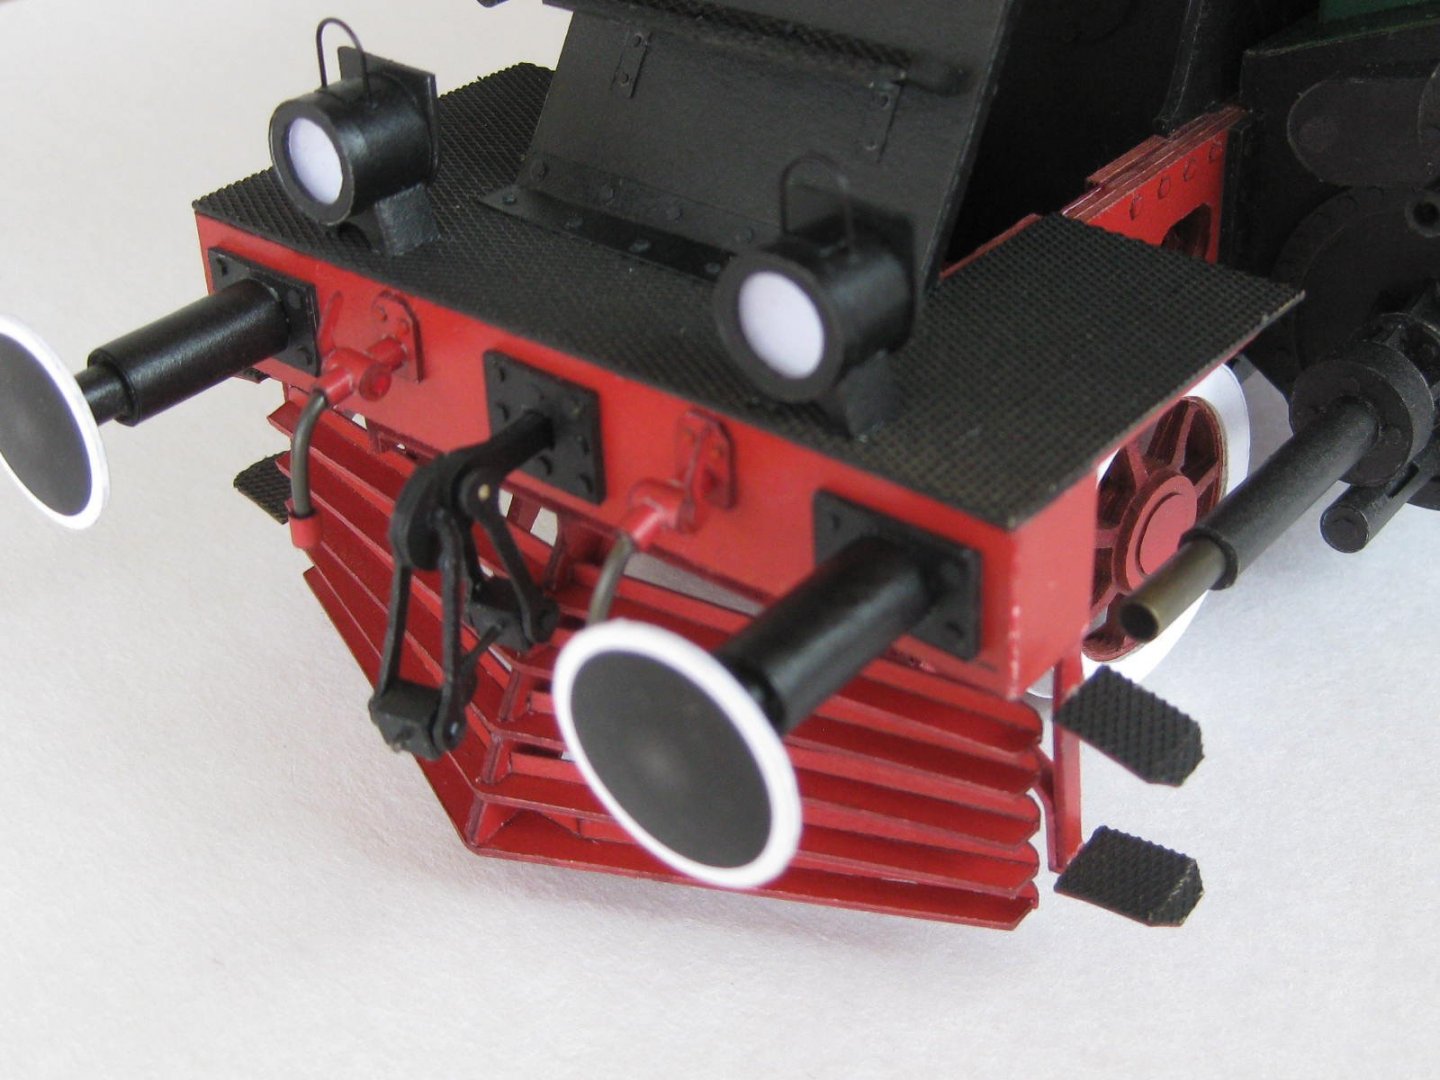
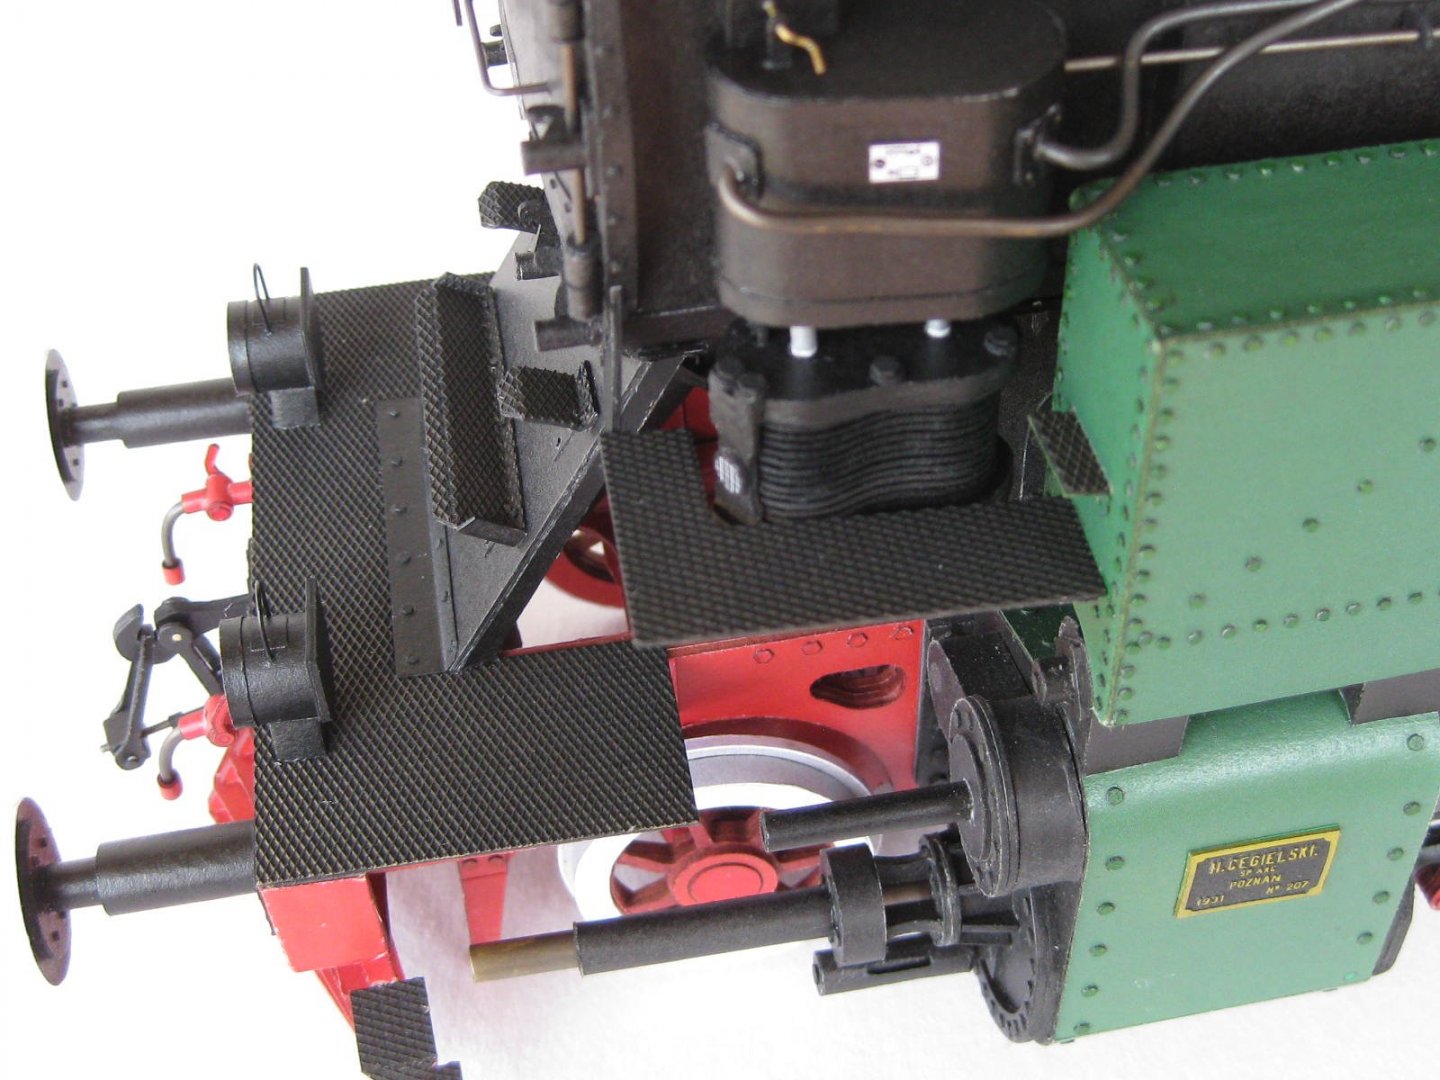
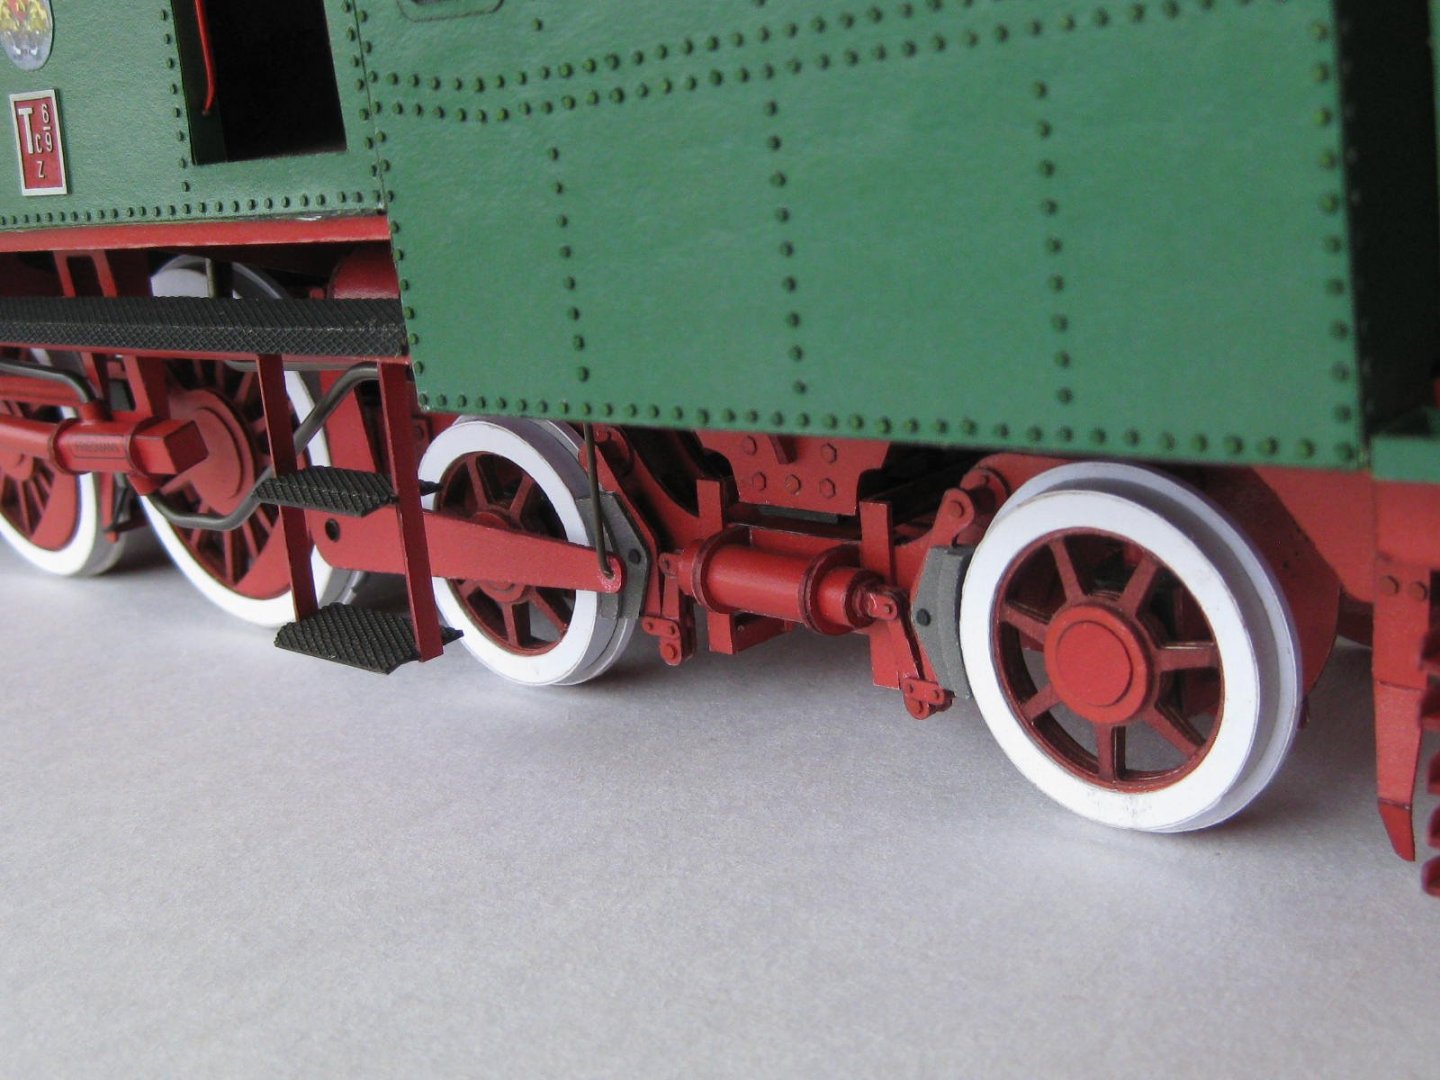
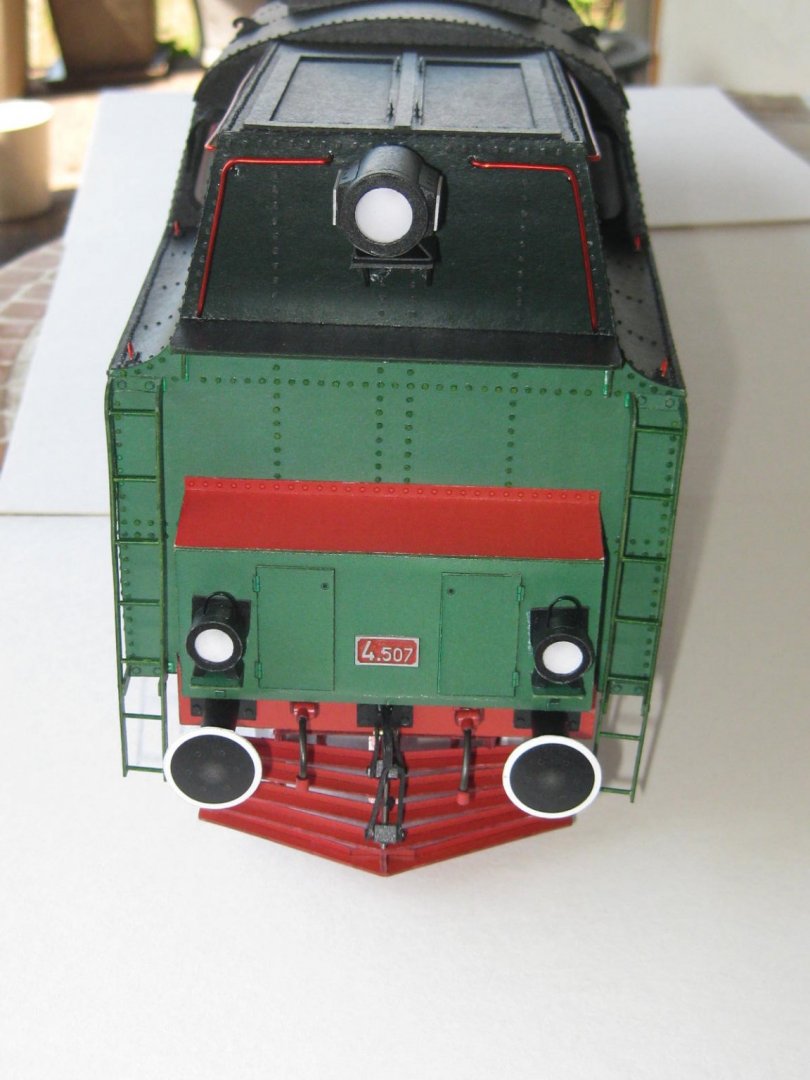
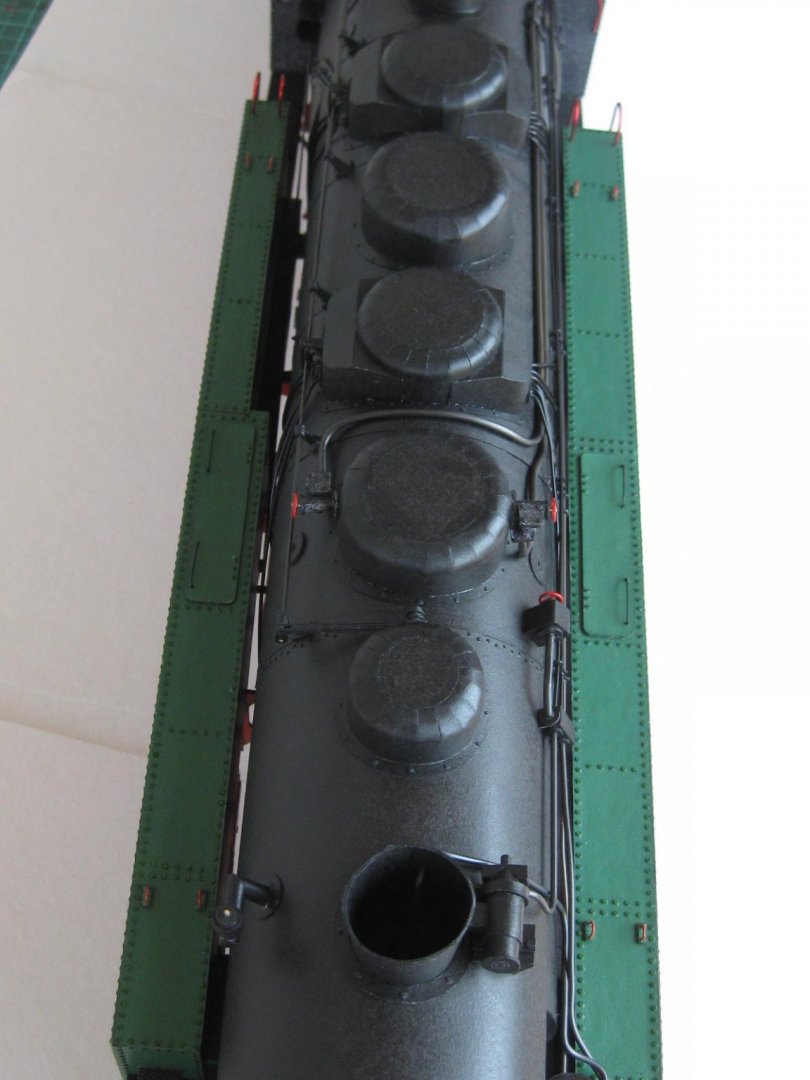
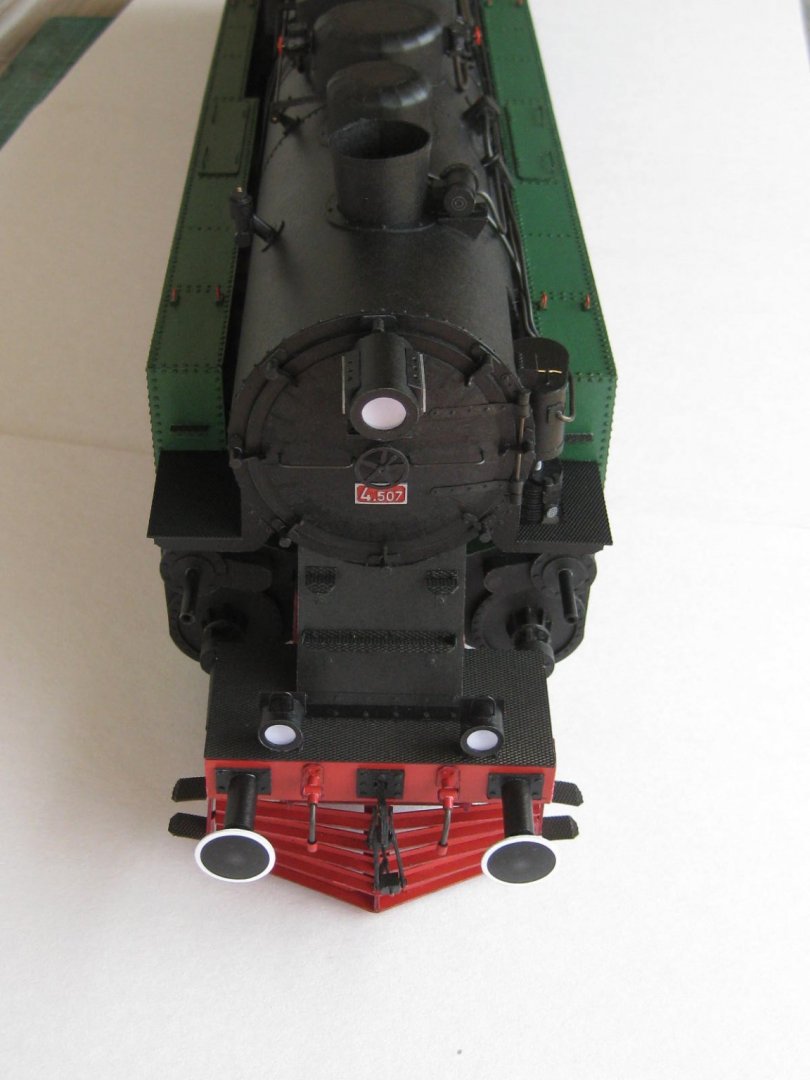
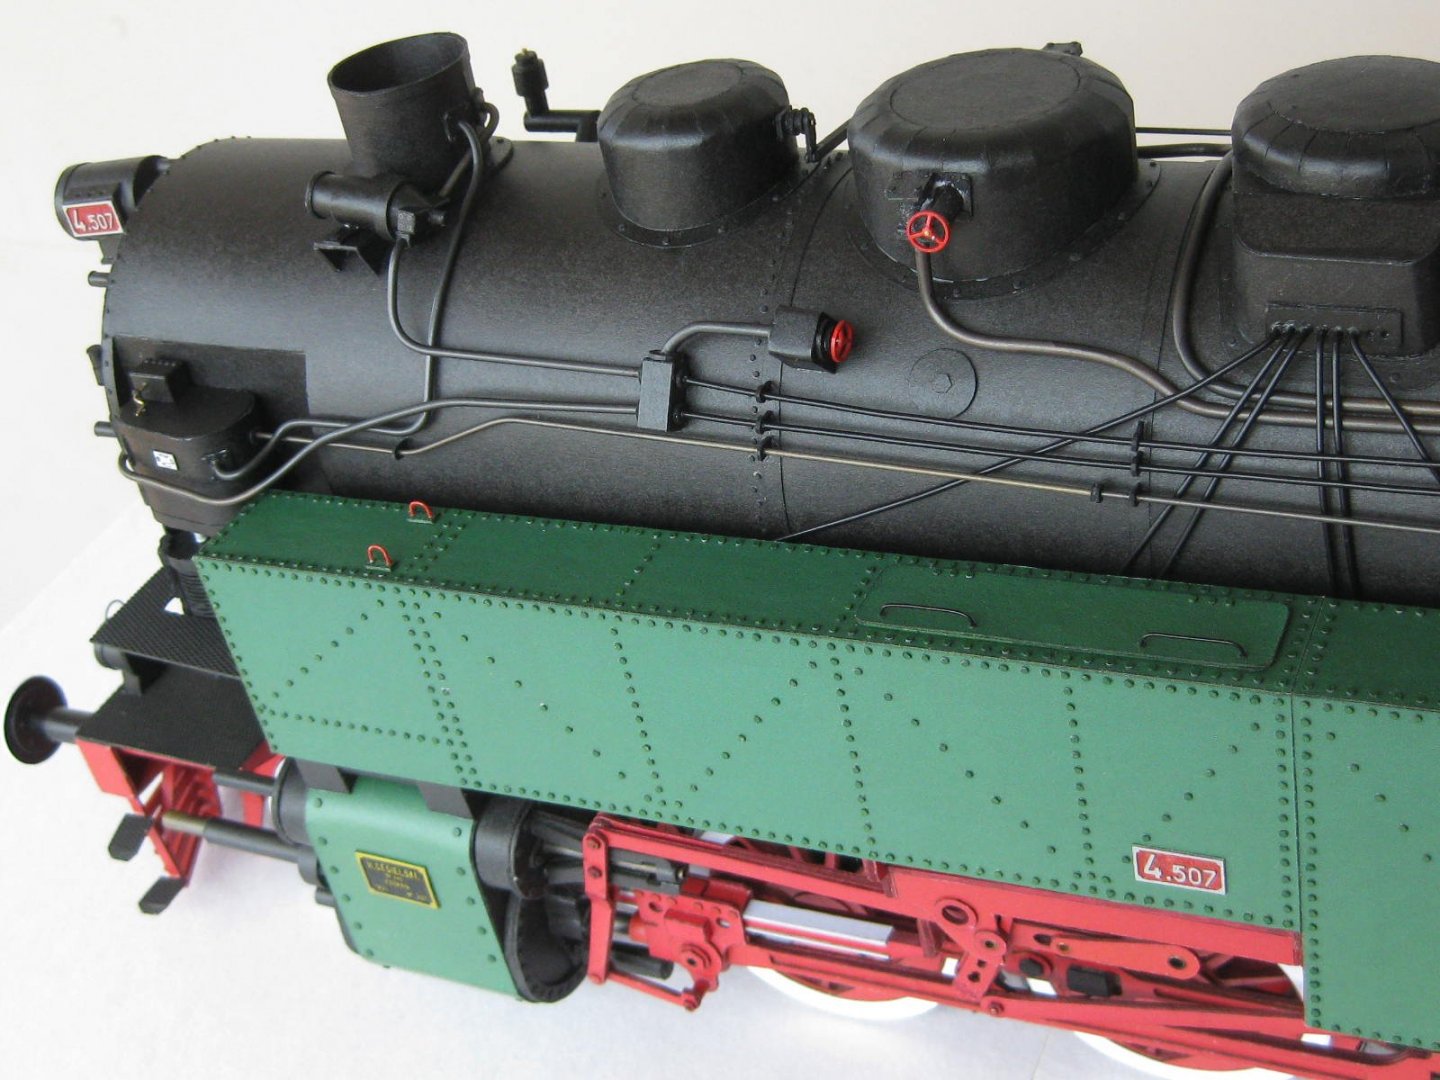
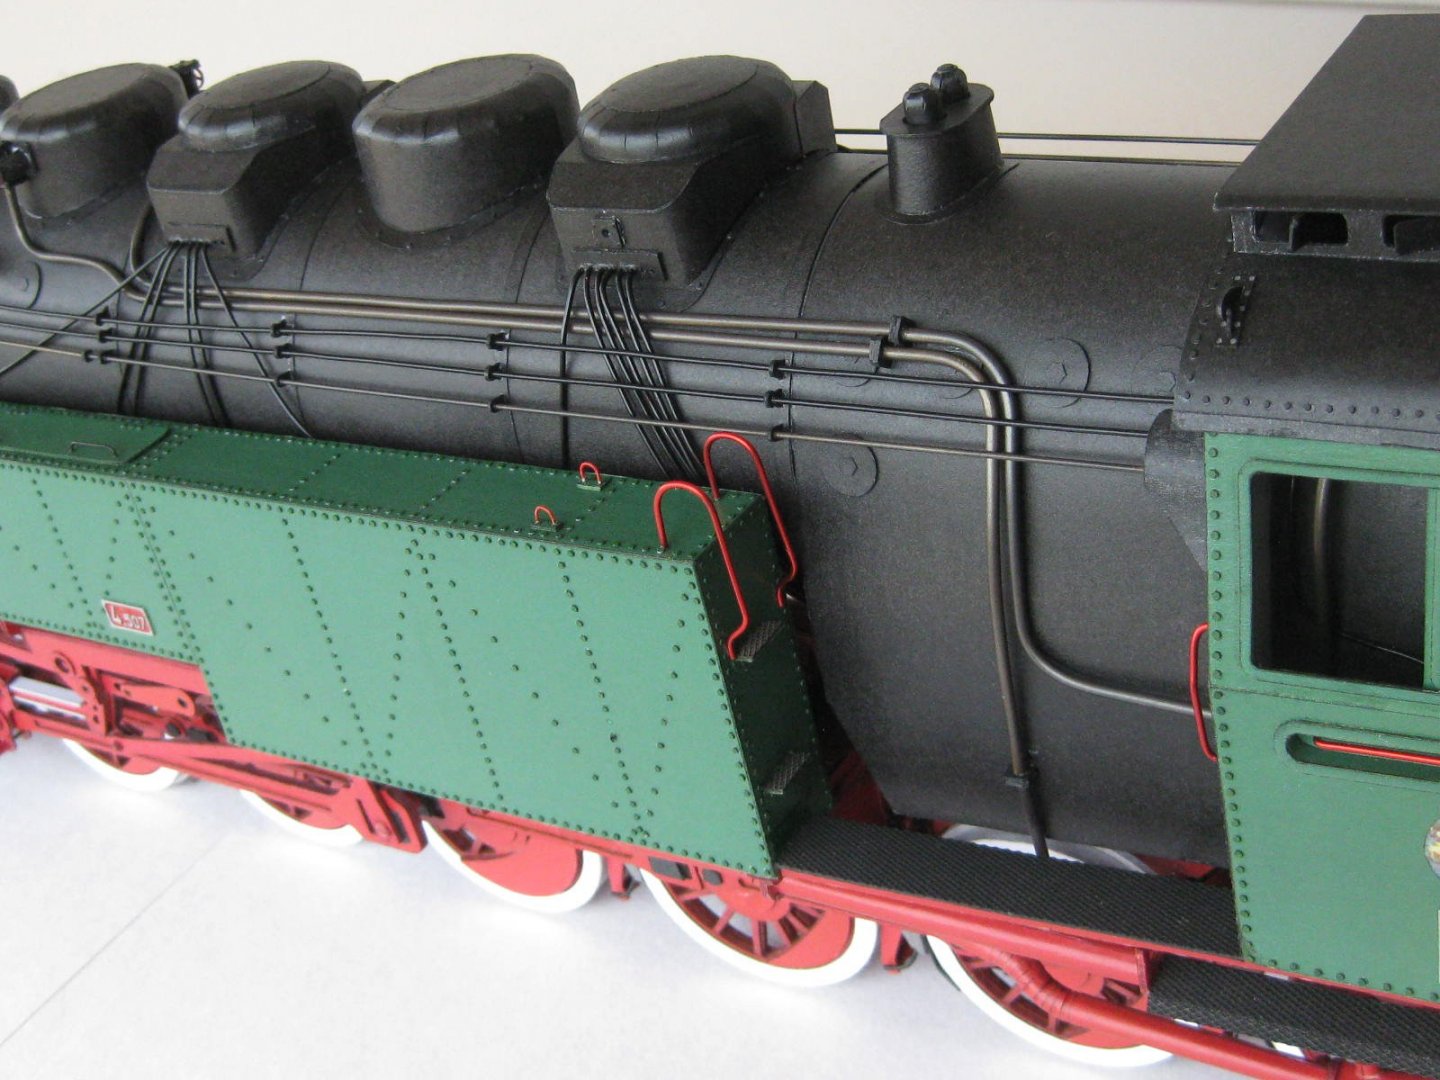
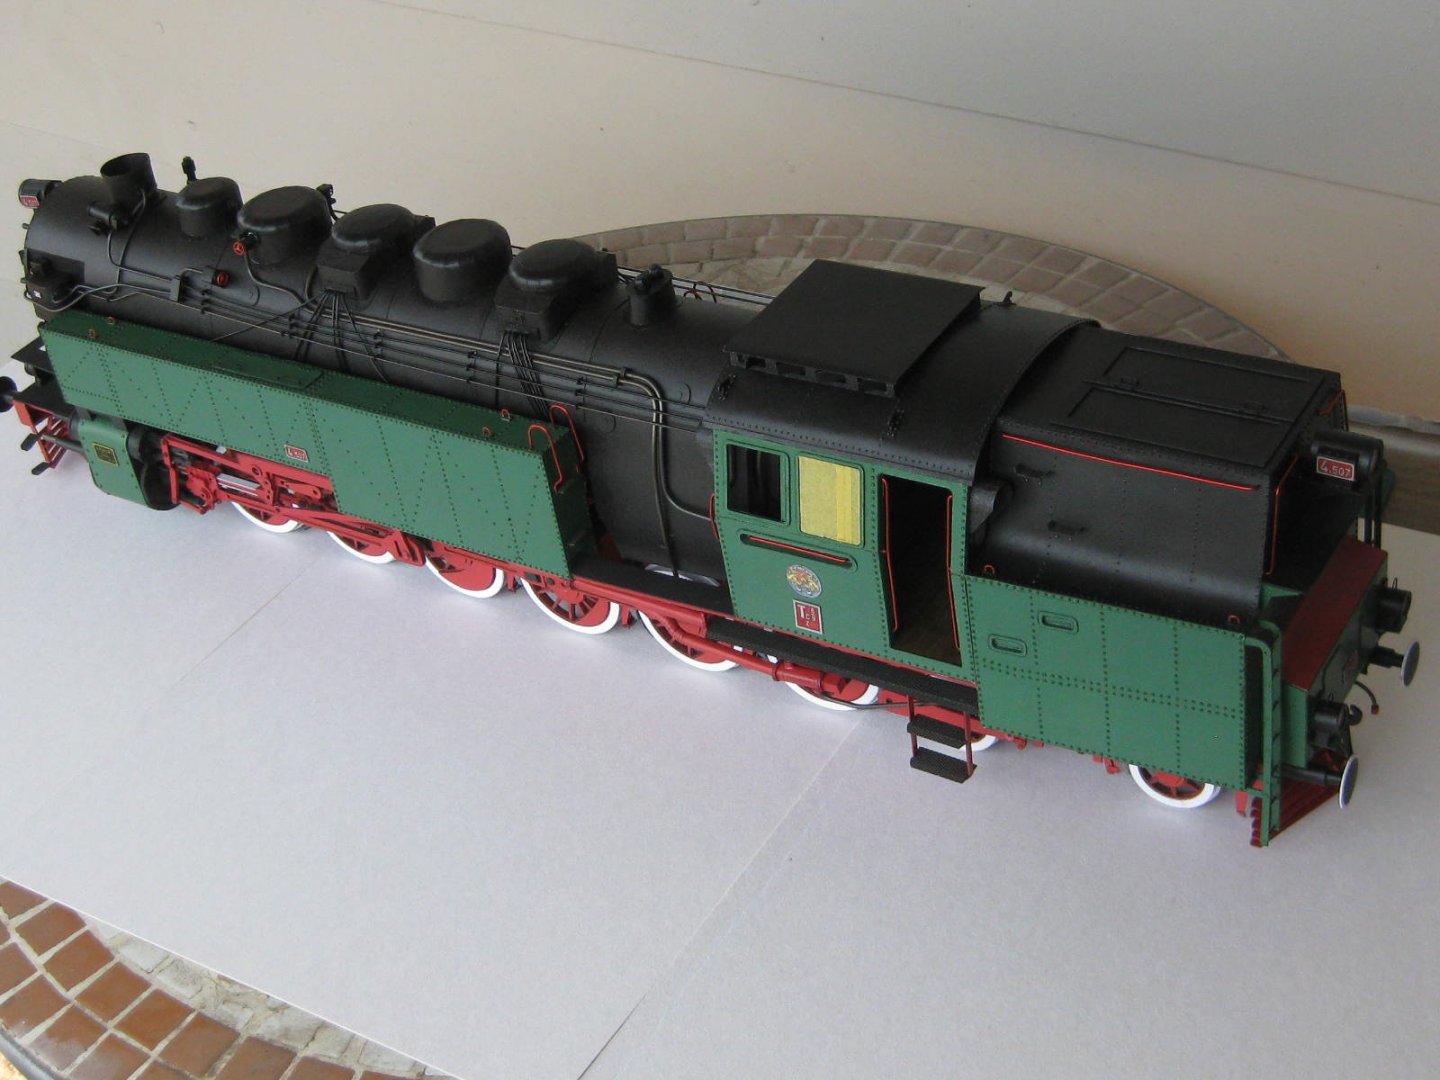
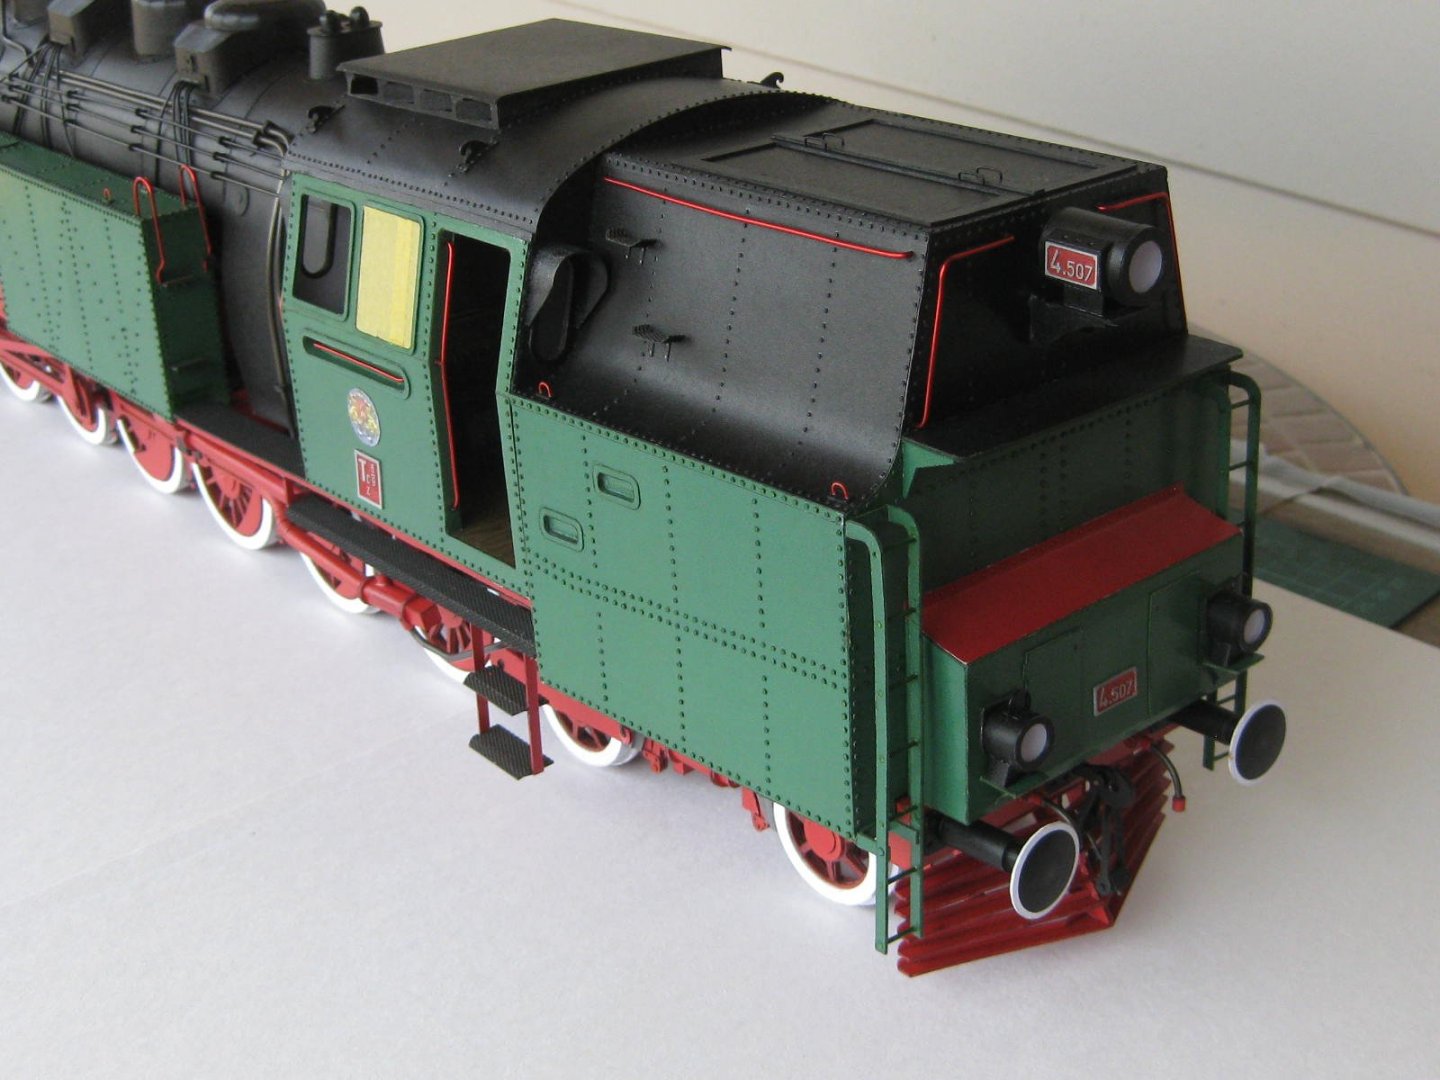
The locomotive. Not quite as detailed as the Bulgar I built earlier, but after all it IS 1/10 of the size : TBC .......... Danny


- 29 replies
-
- 23
-
-
- hmw
- Hamburg Harbor
- (and 2 more)
-
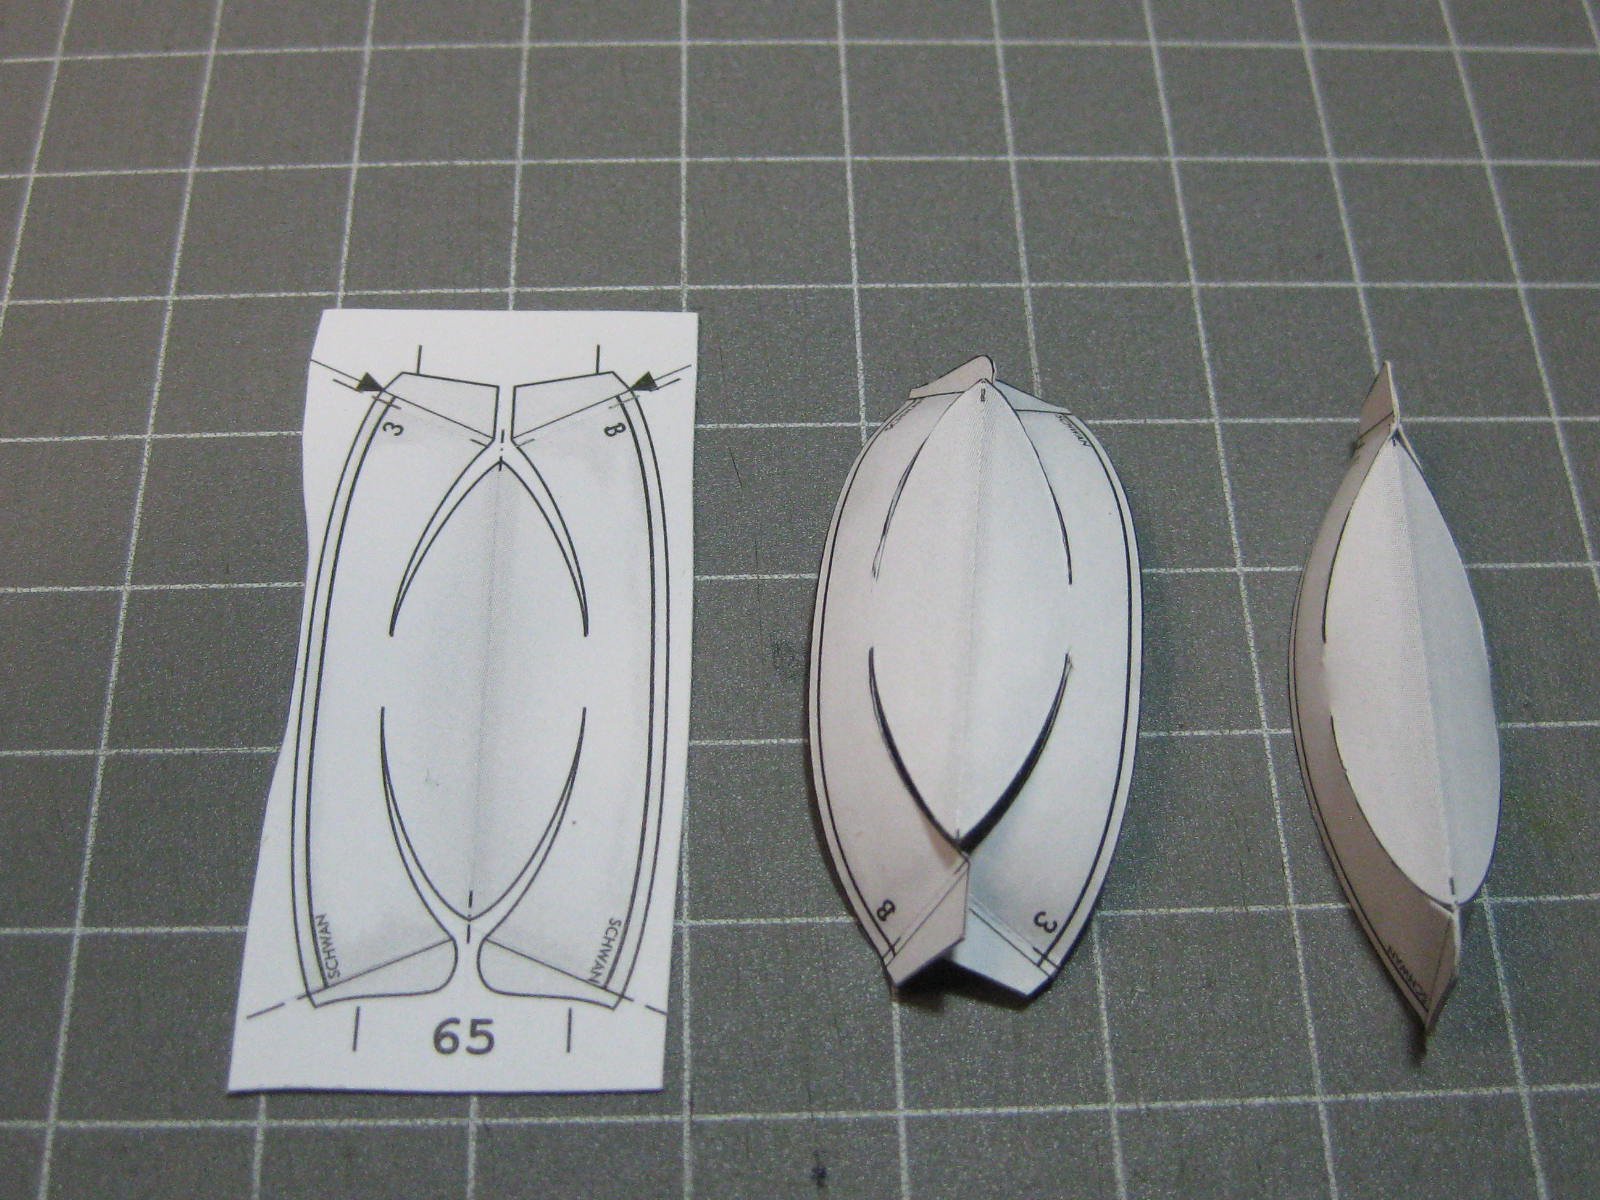
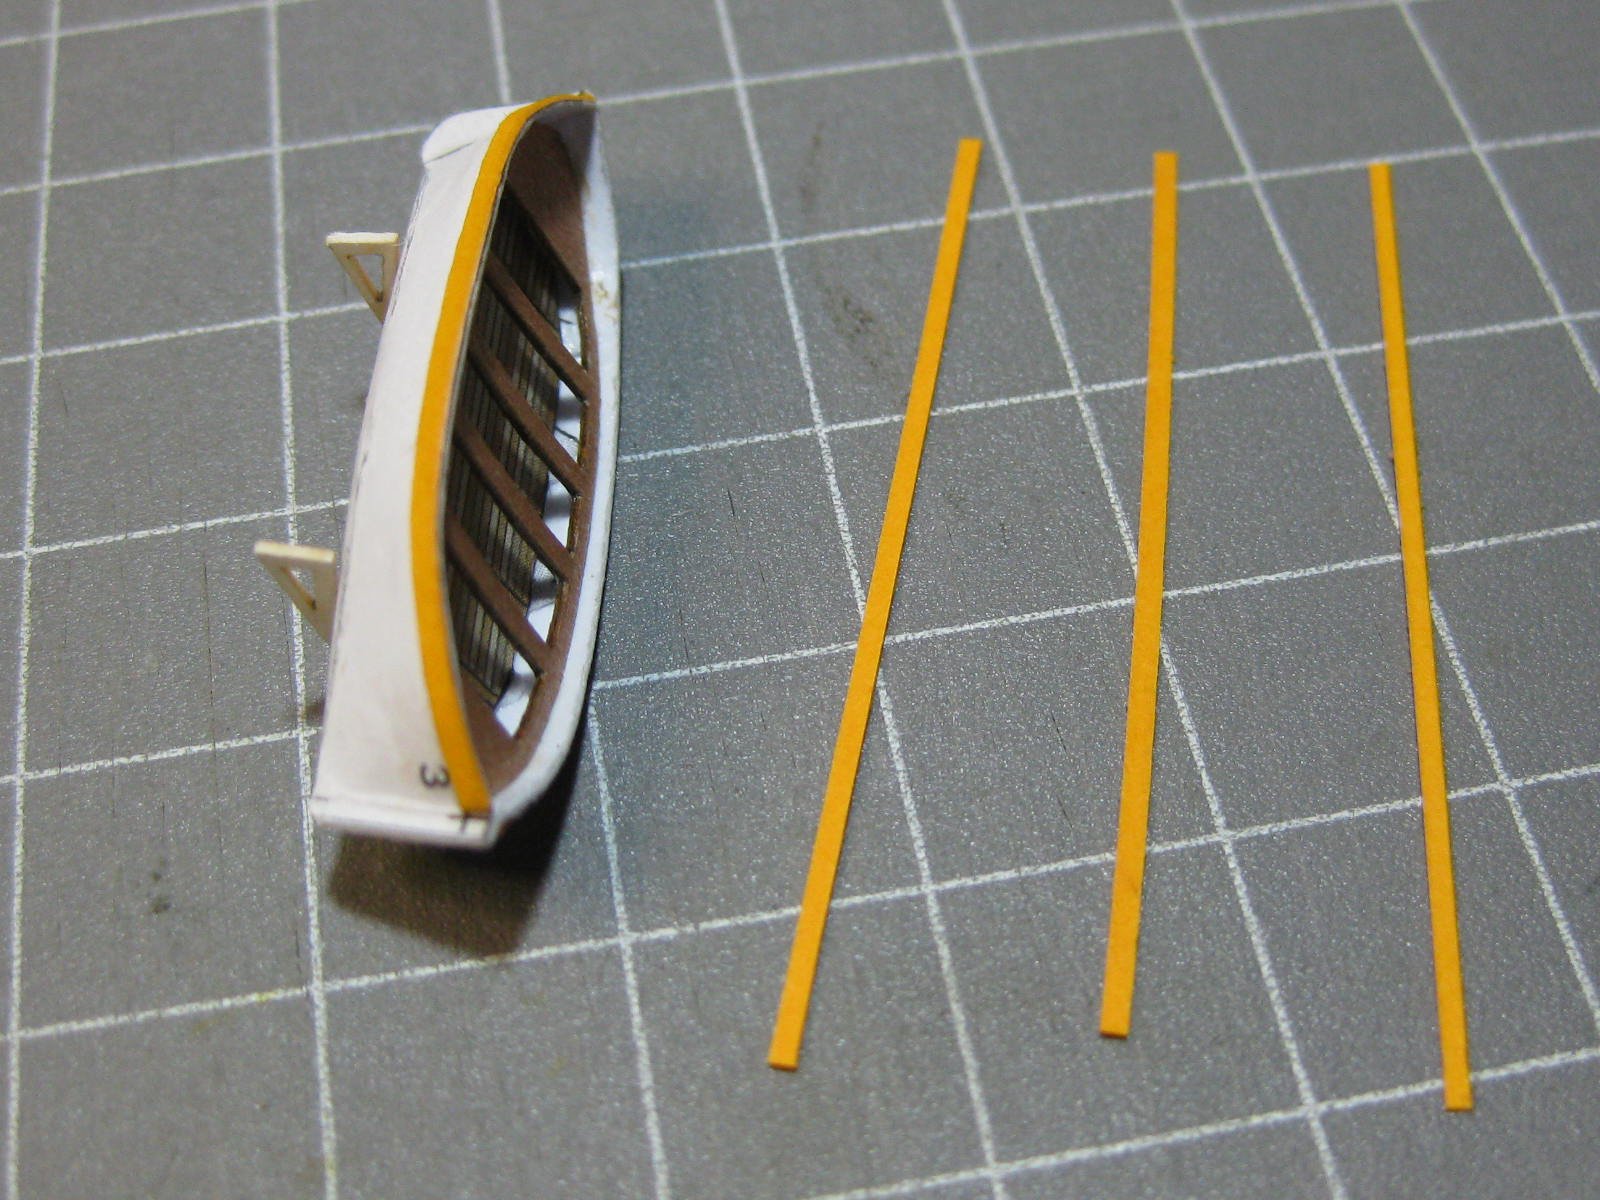
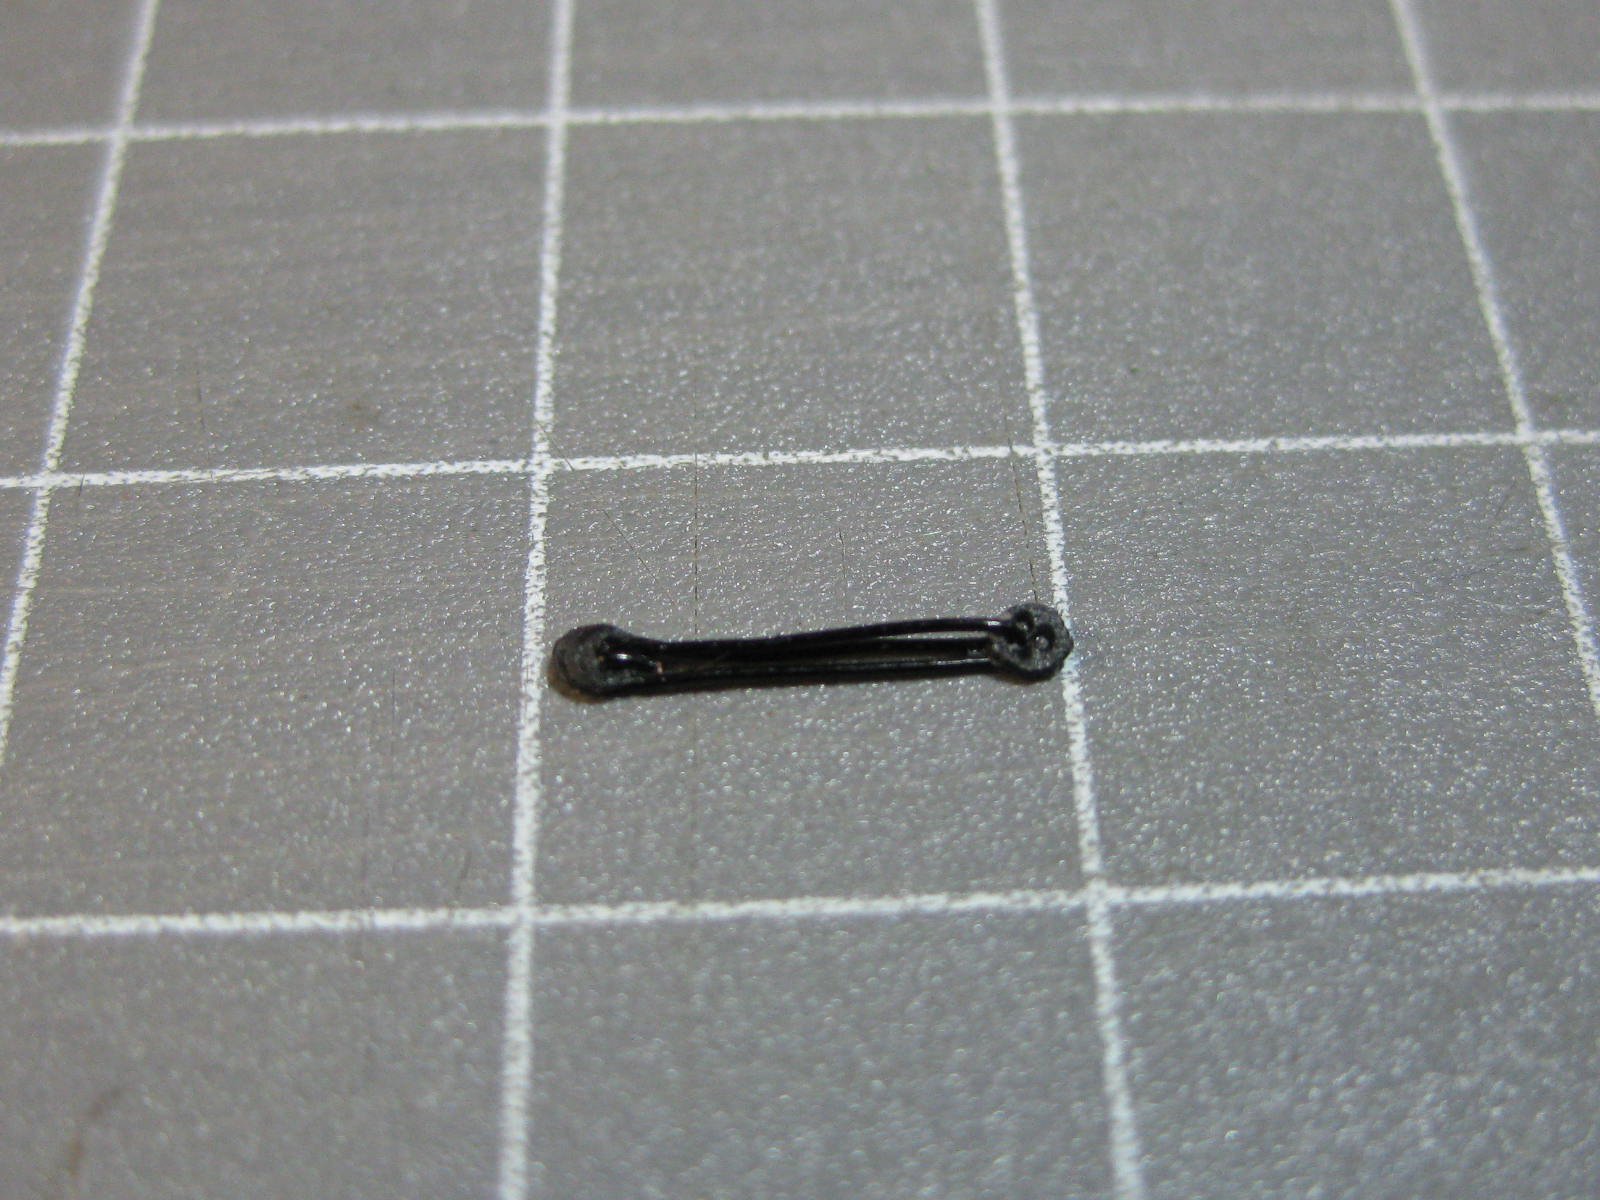
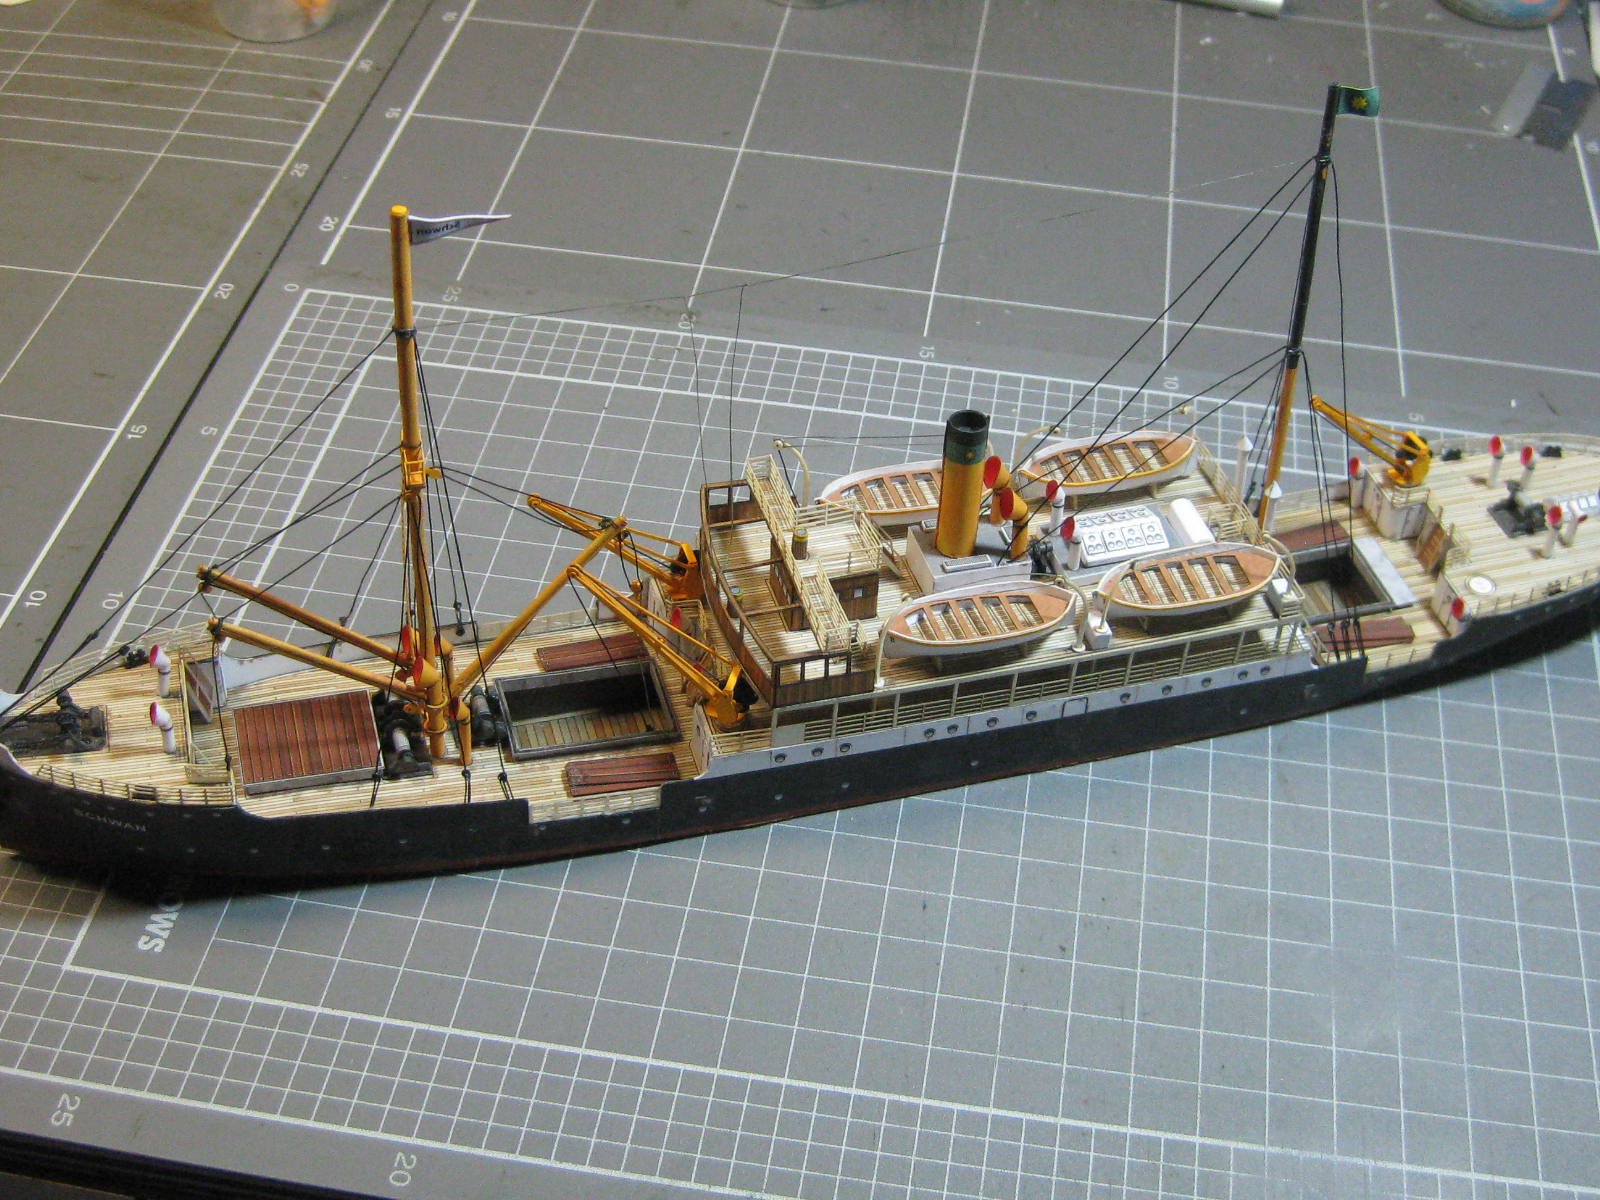
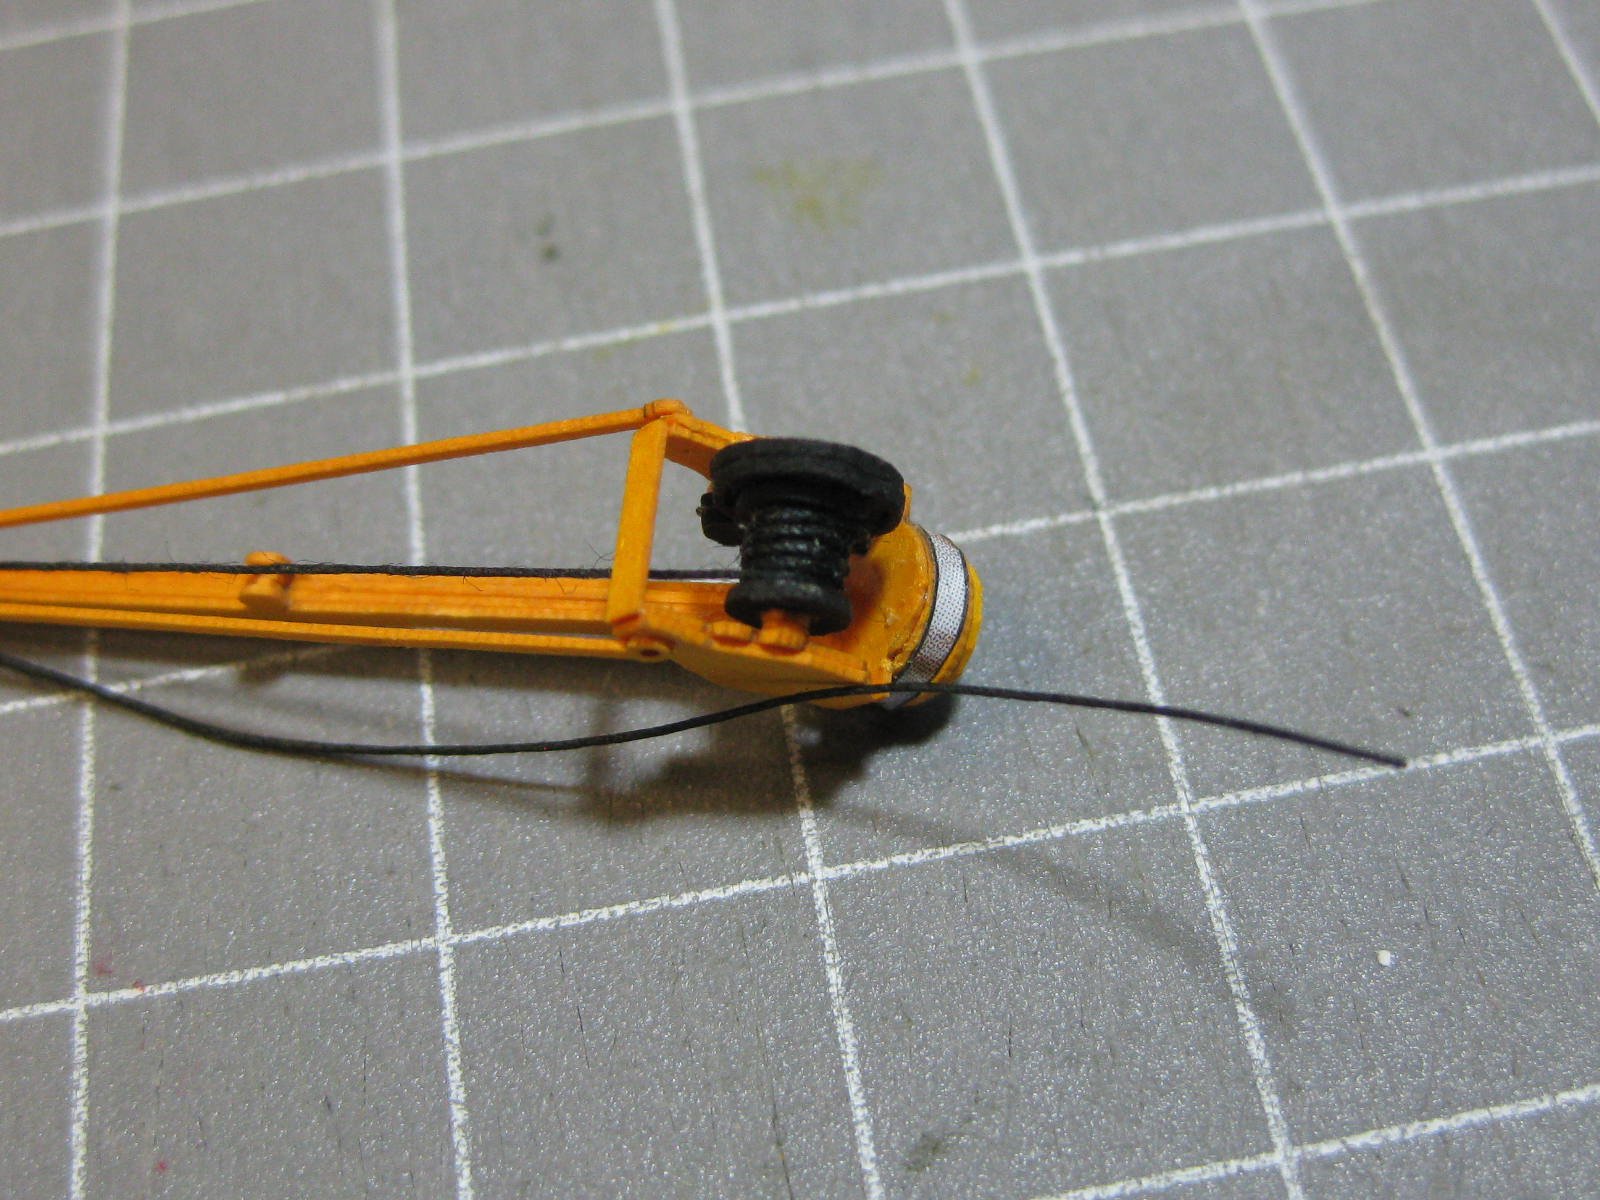
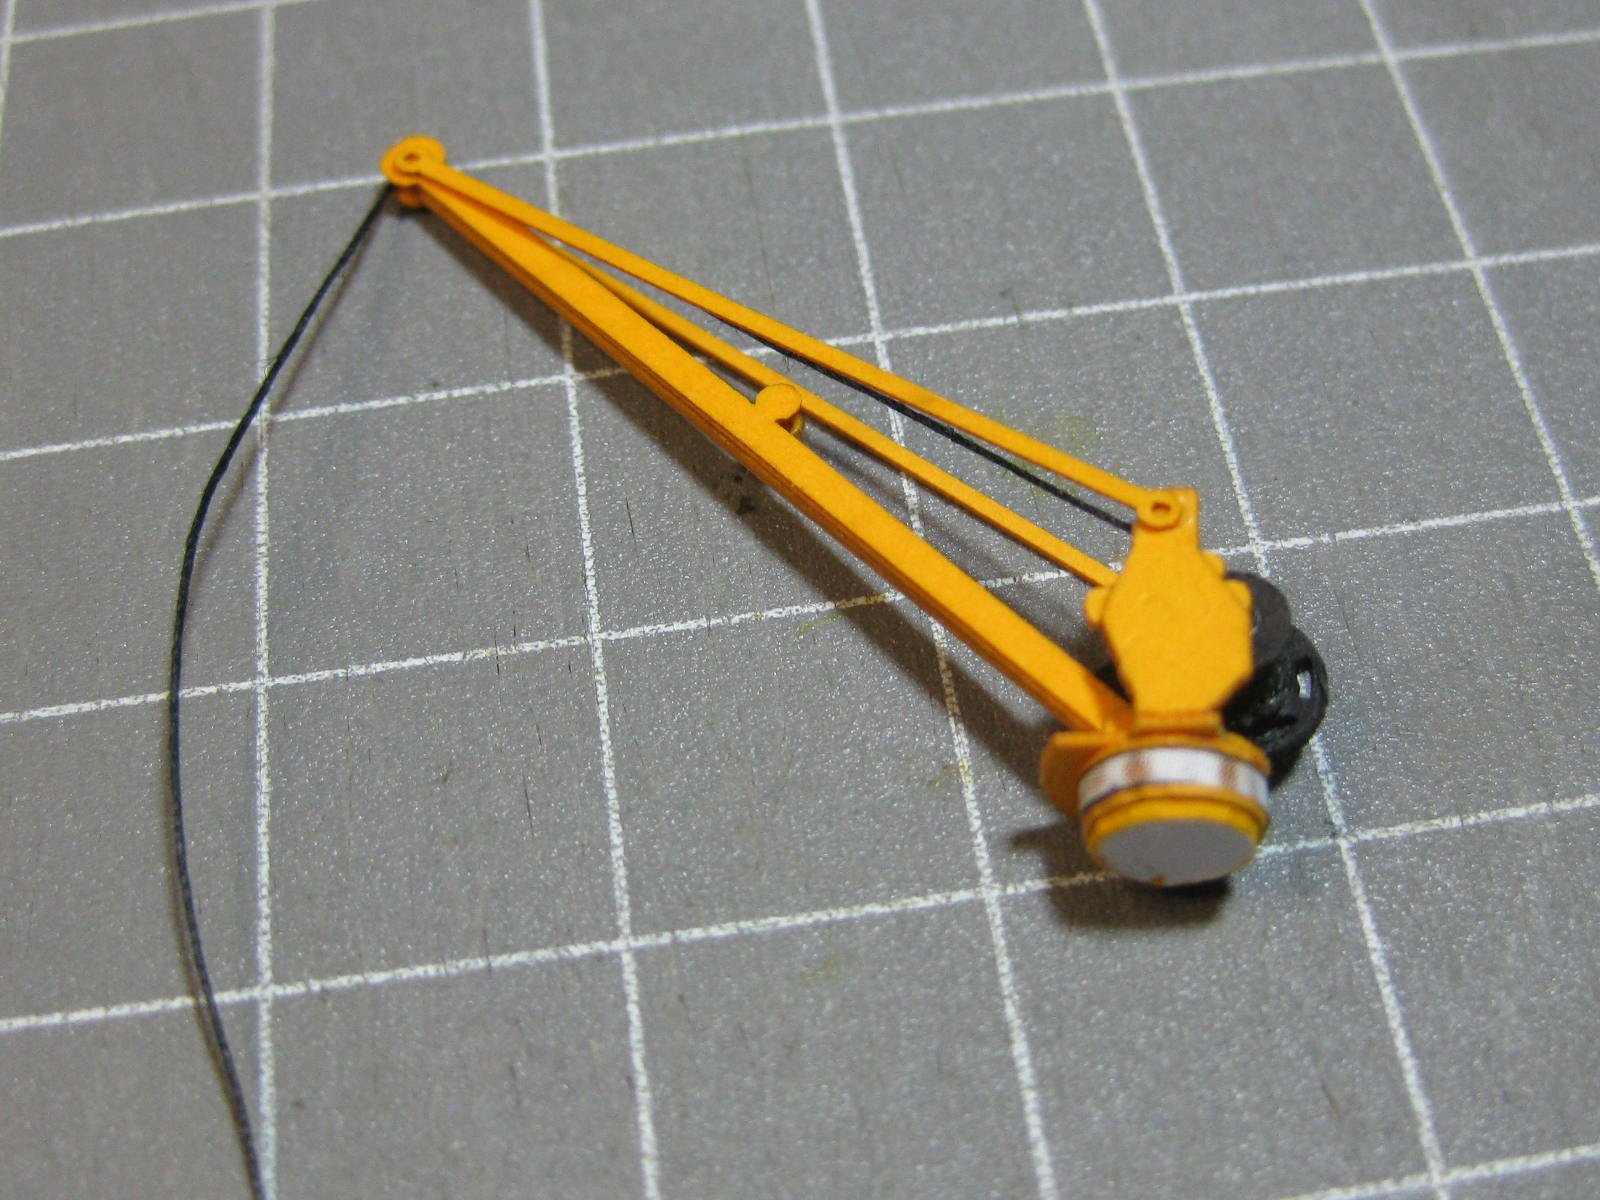
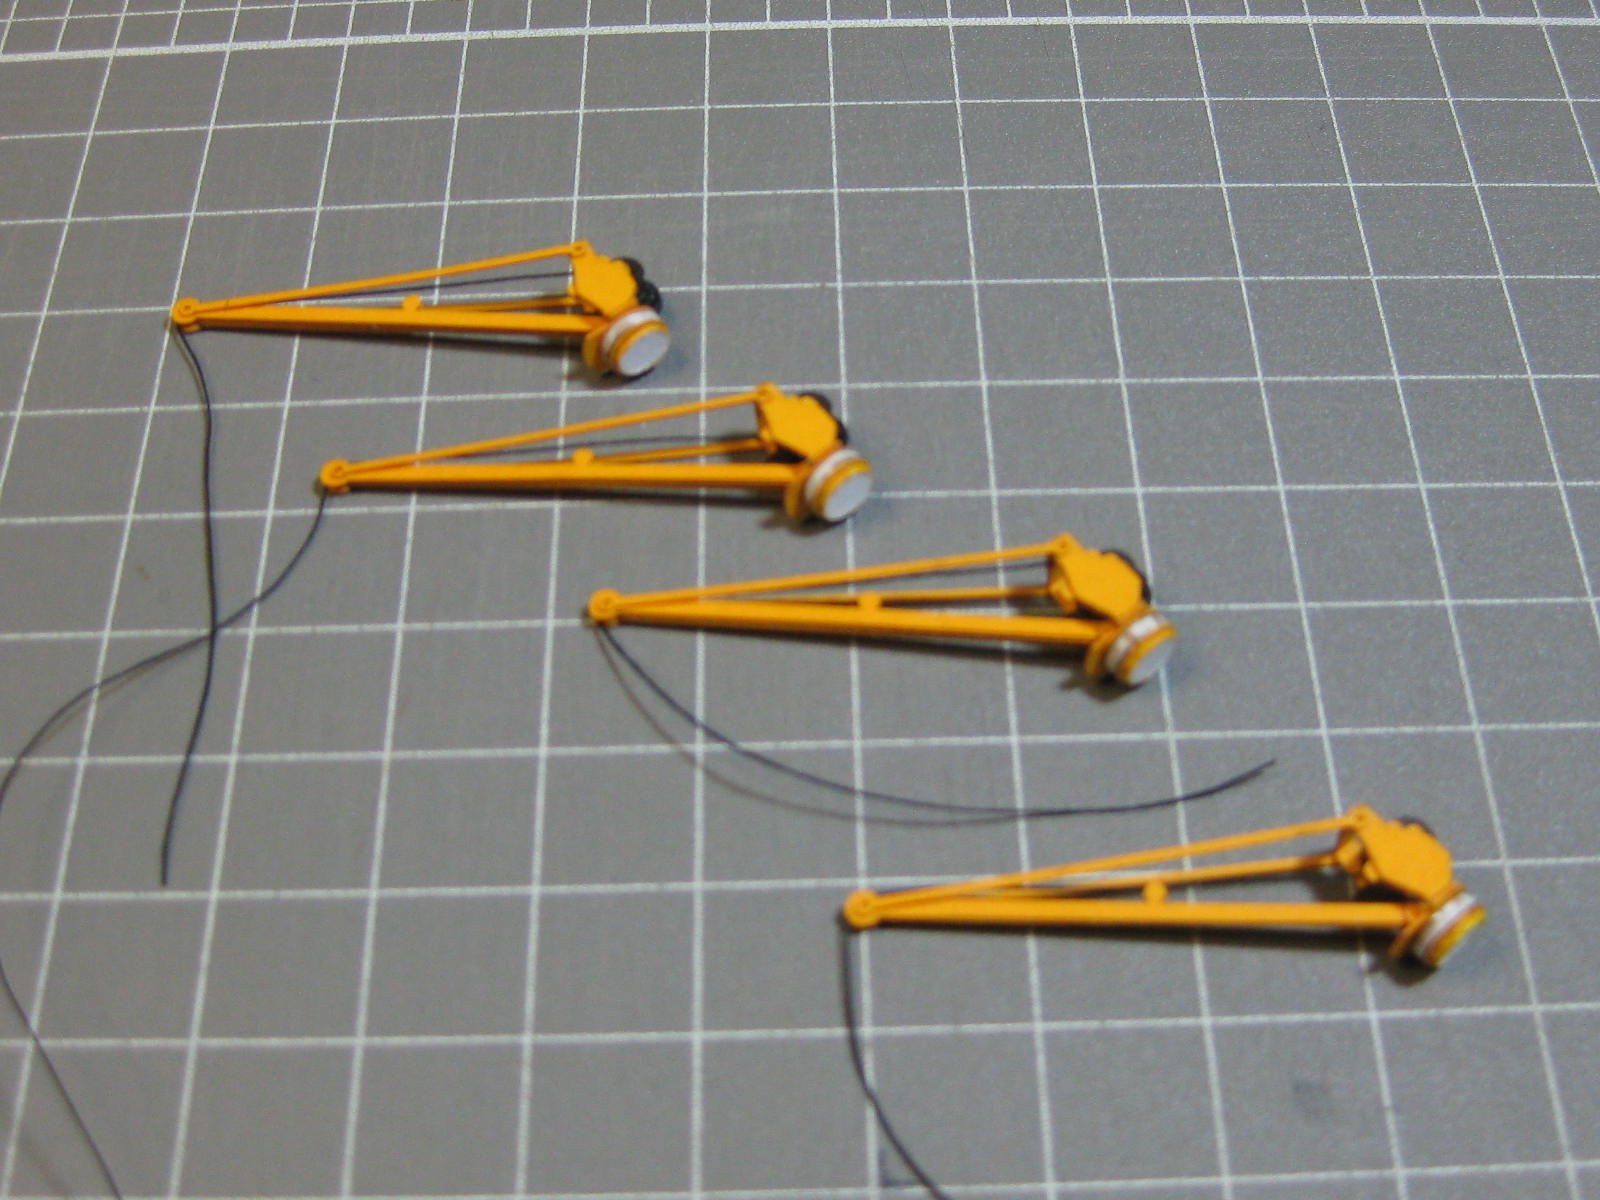
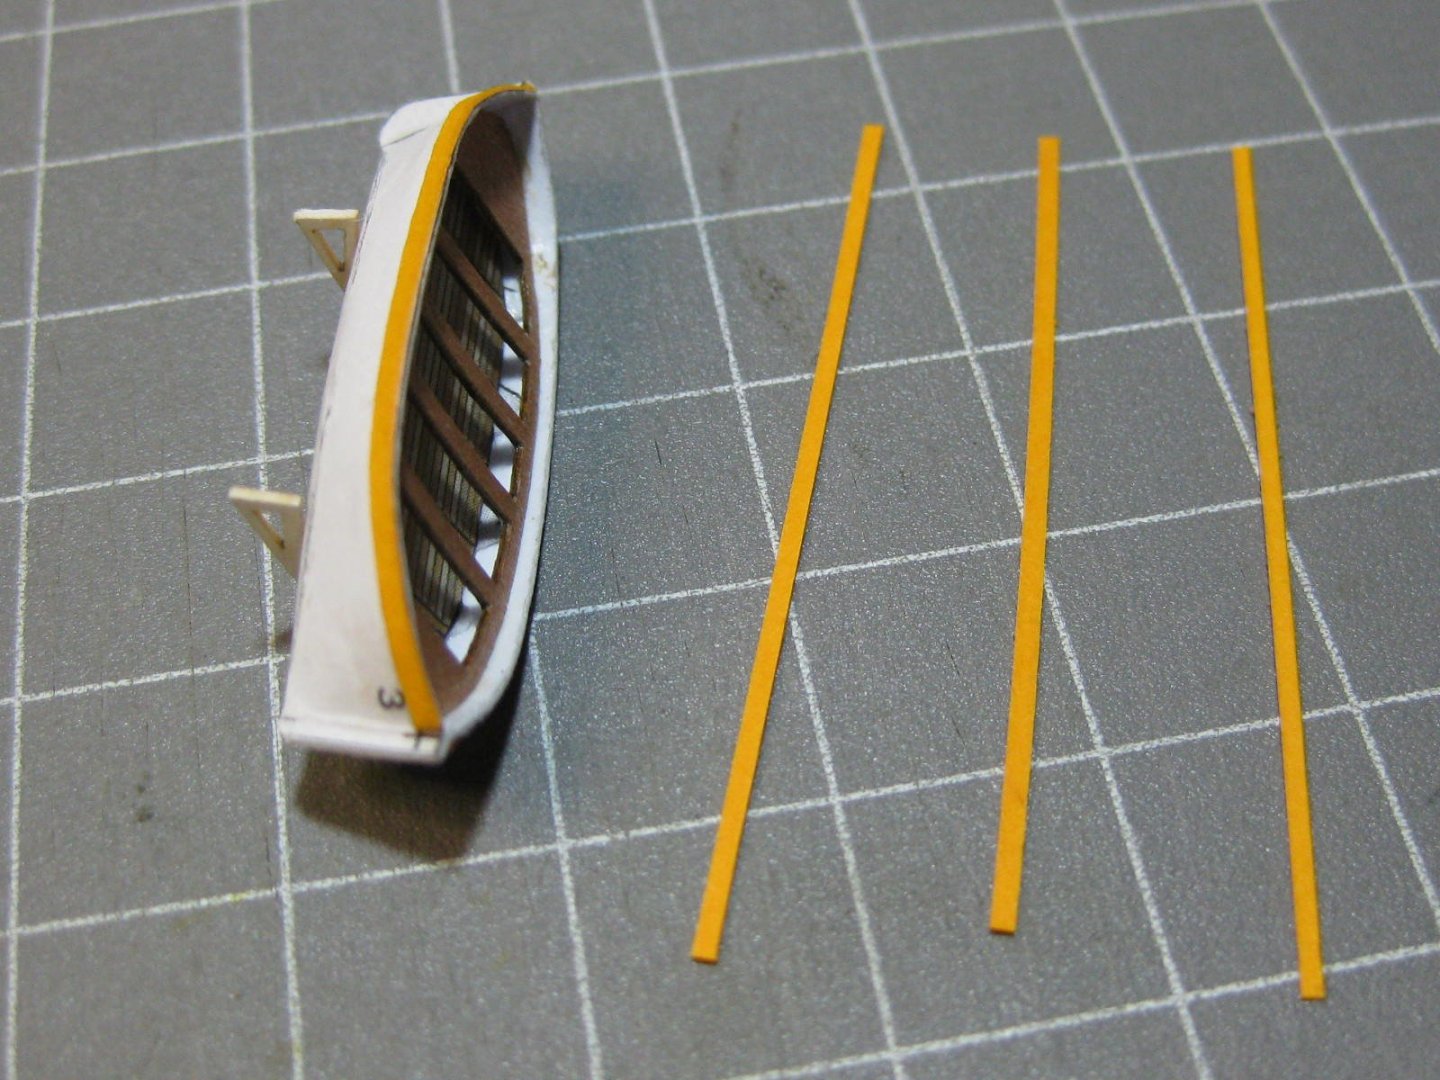
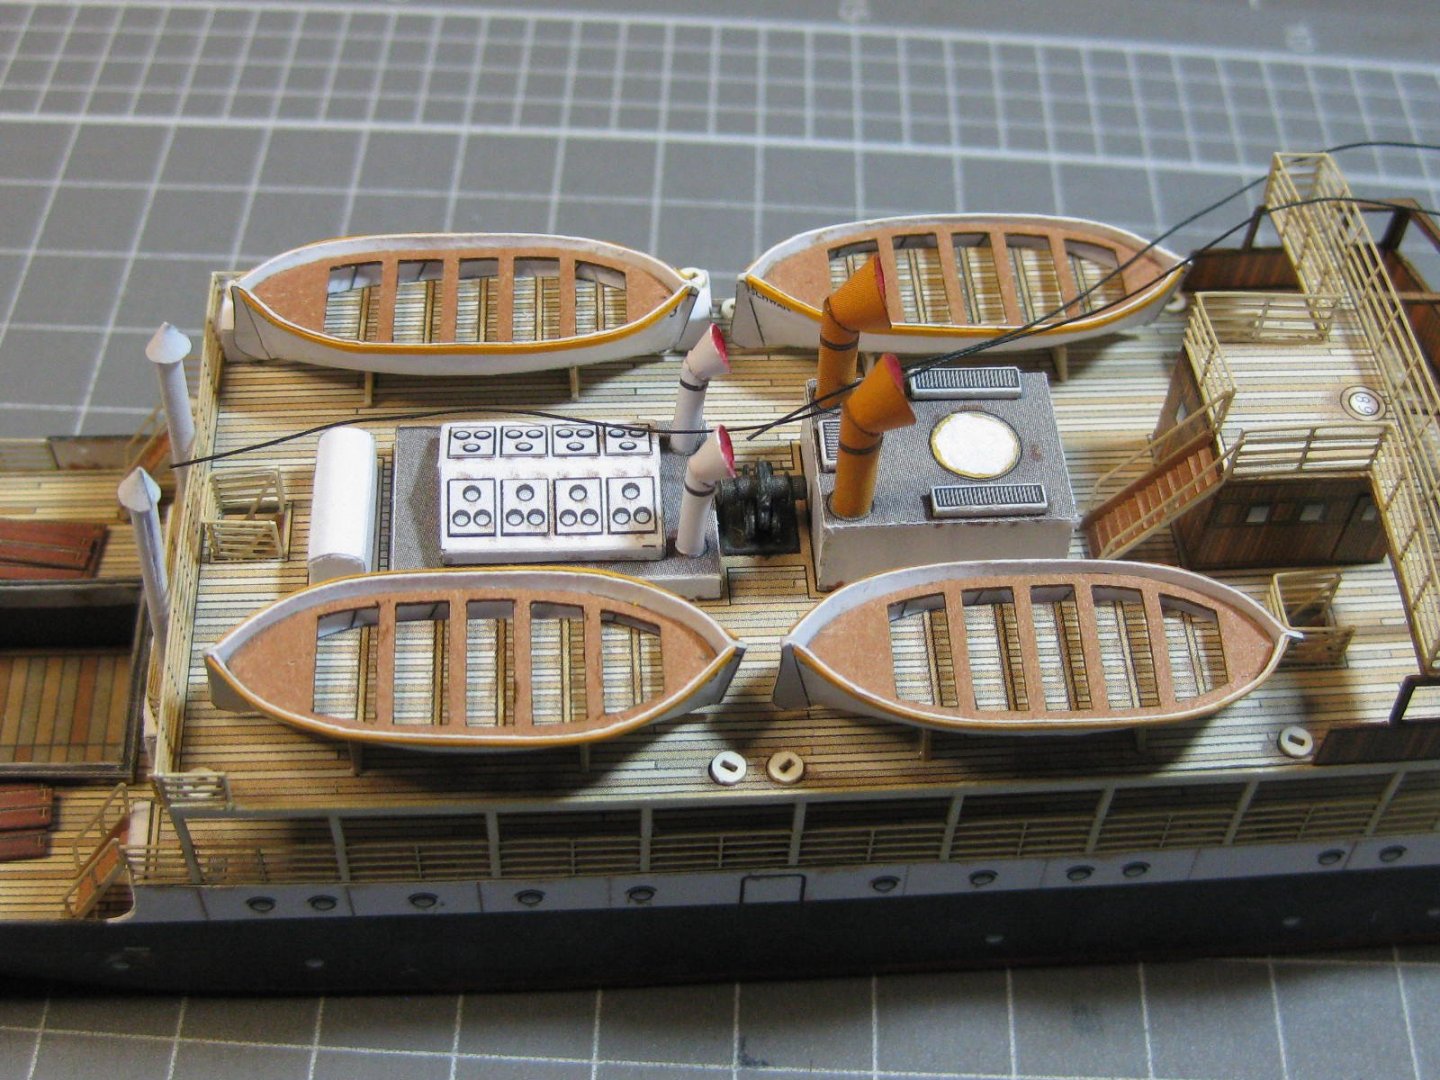
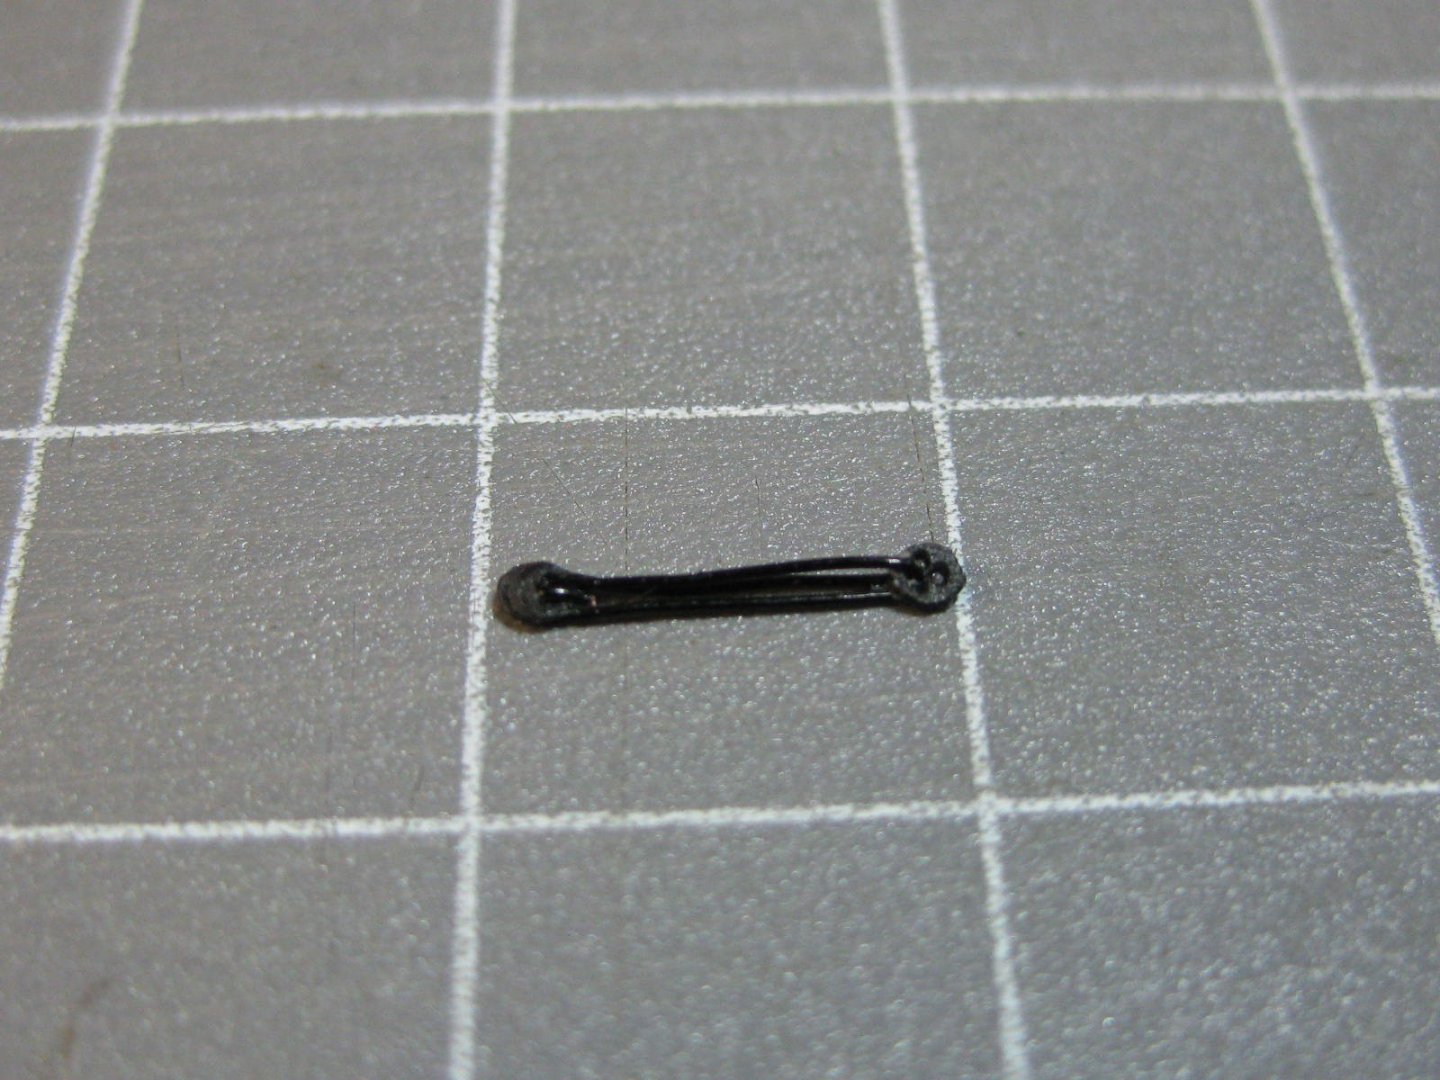
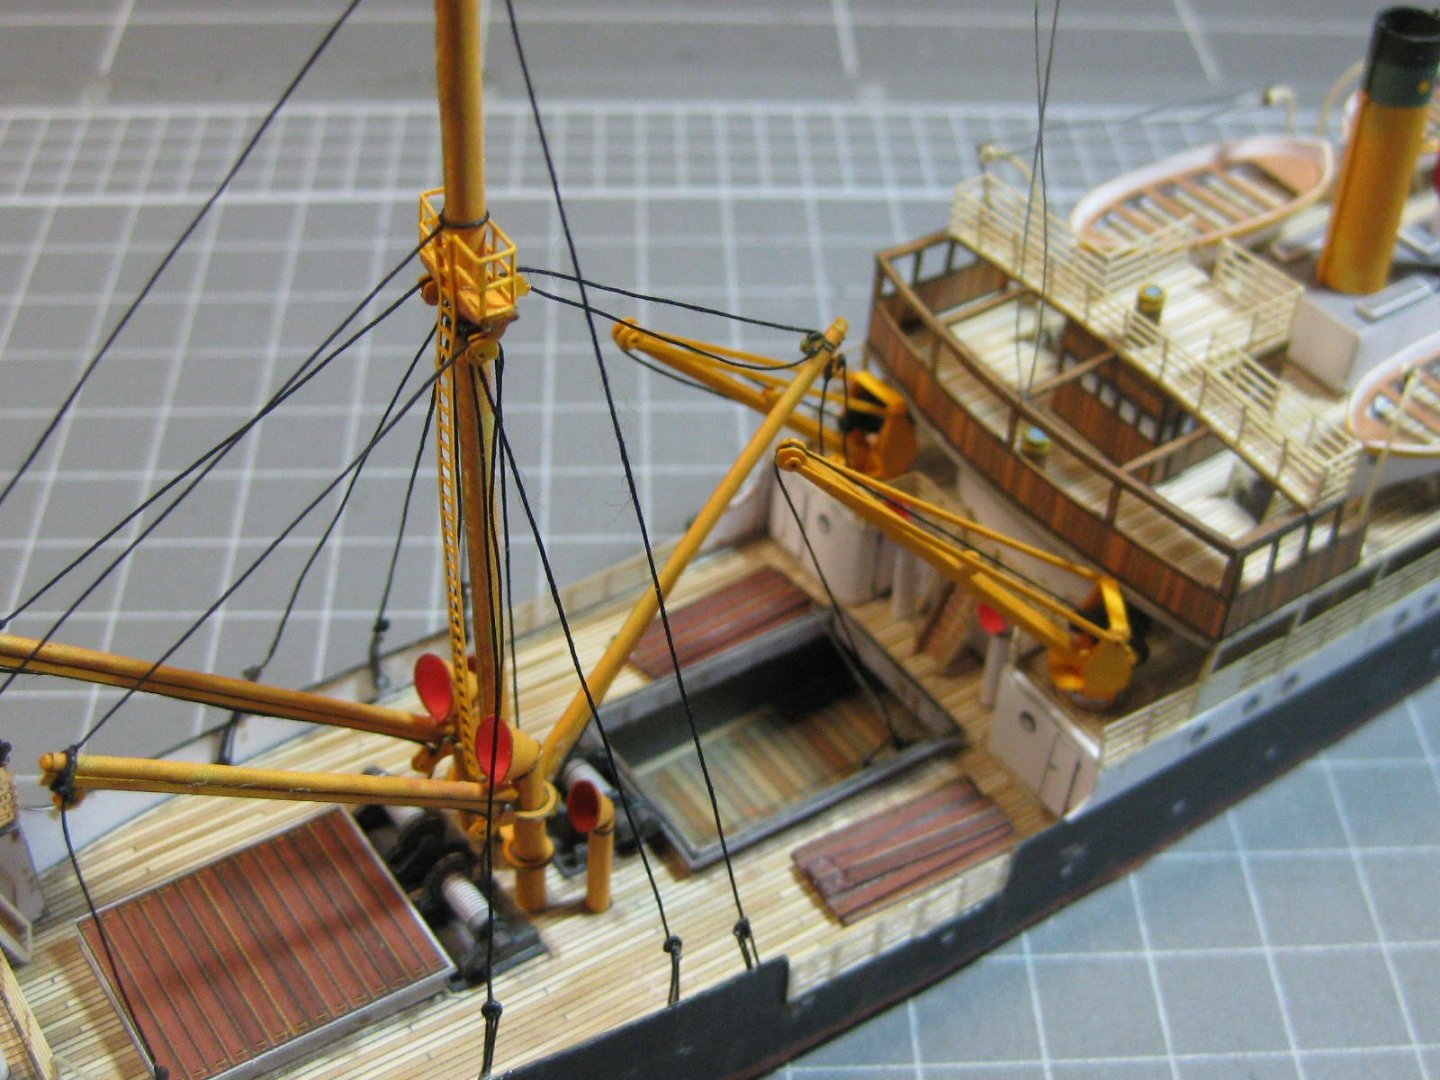
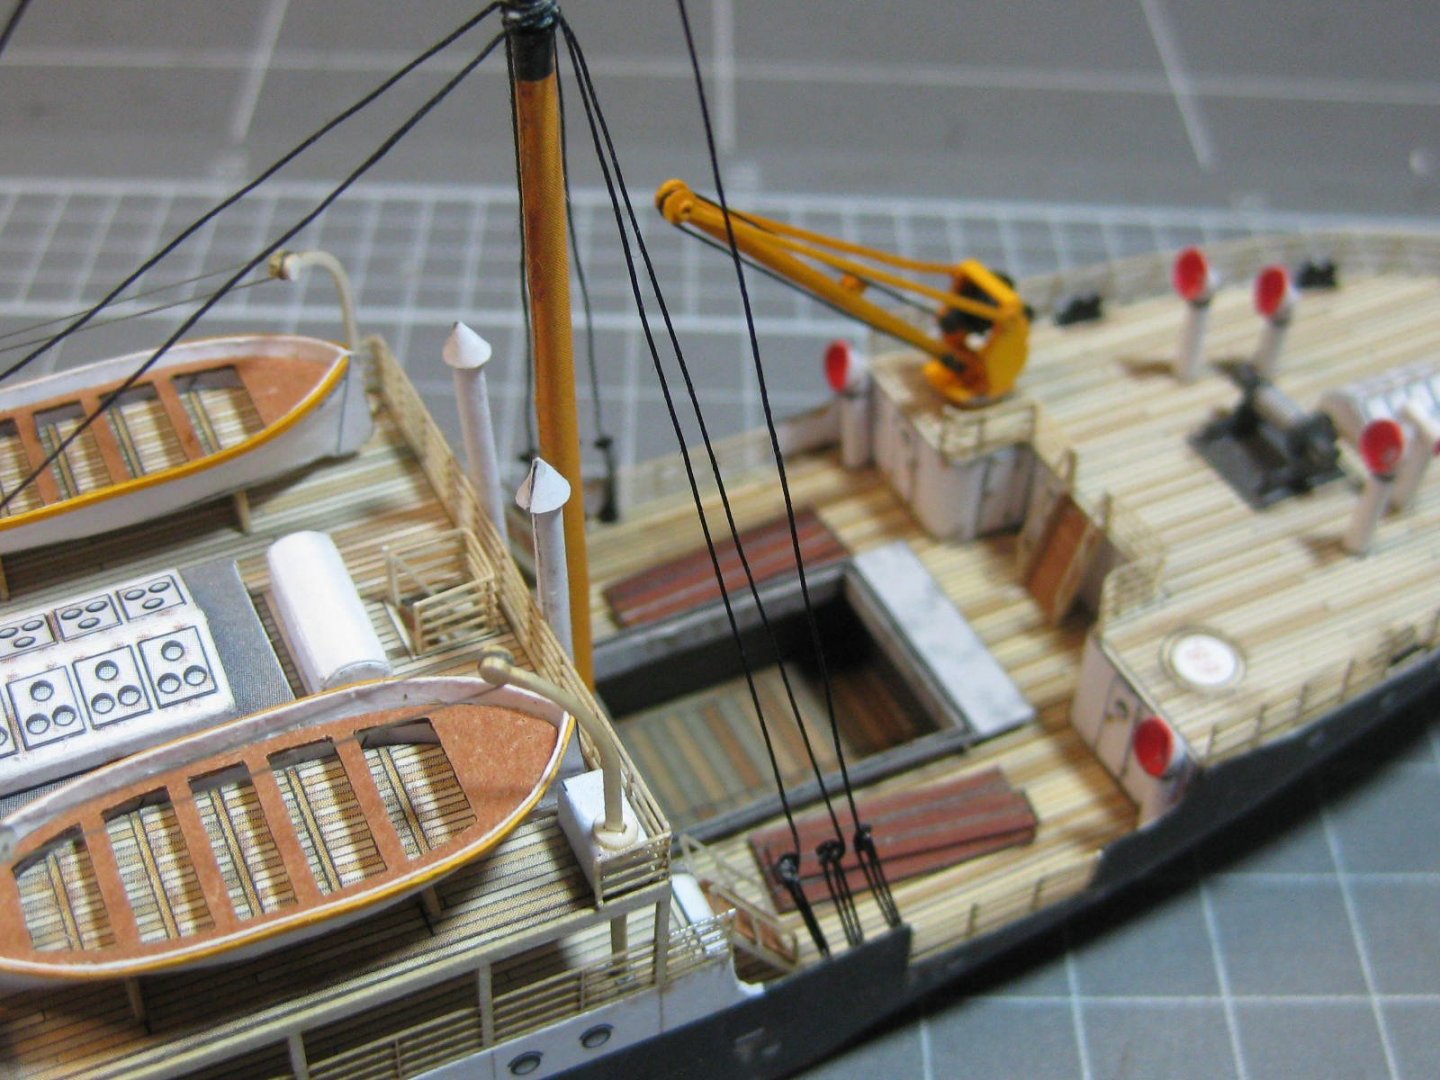
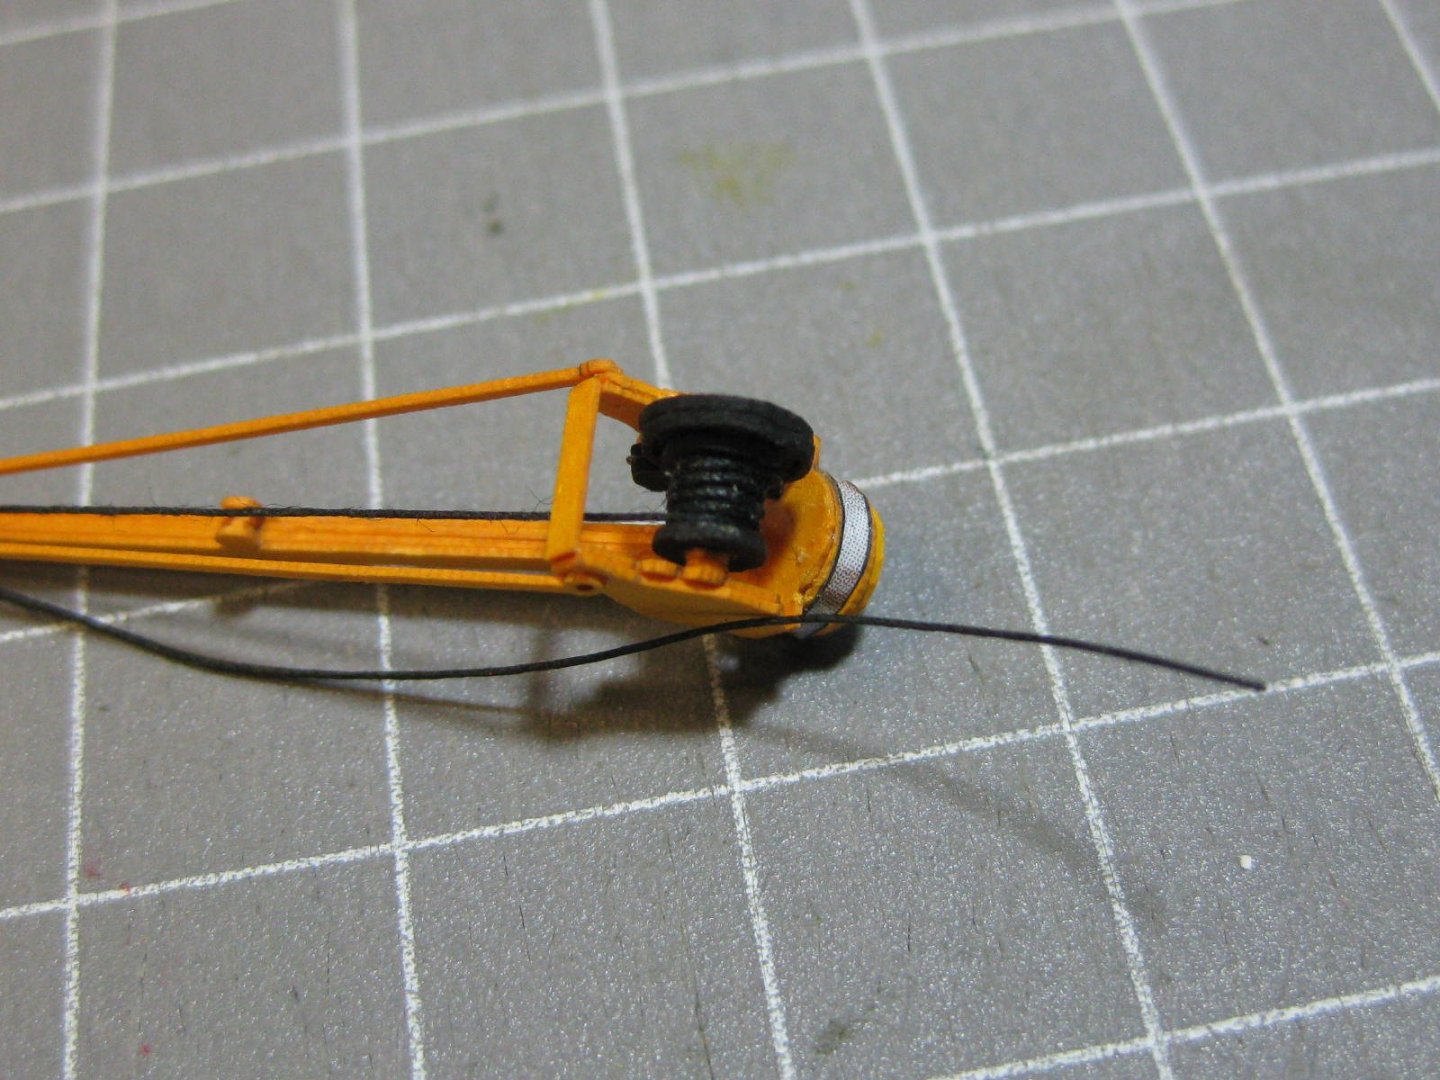
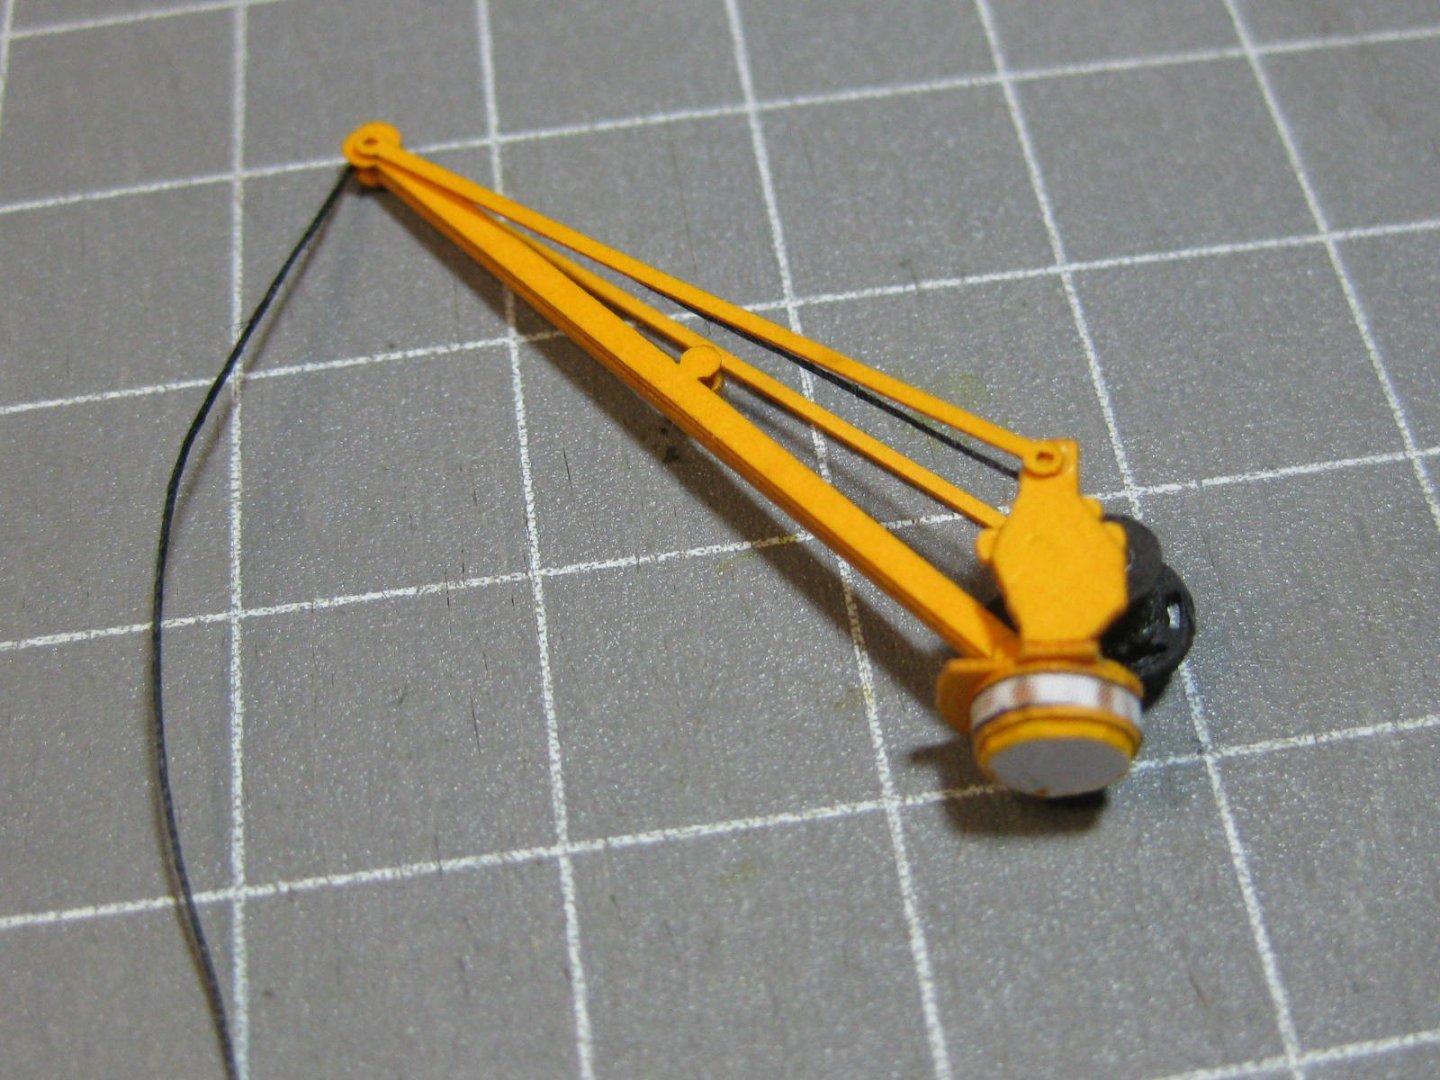
The four ship's boats and a deadeye for one of the masts. The "lashing" is 0.3mm black wire : The mostly completed freighter. One of the cranes will be glued on when a length for the cable can be established : TBC .......... Danny


- 29 replies
-
- 25
-
-
- hmw
- Hamburg Harbor
- (and 2 more)
-
One of my grandsons (Khye) who is 21 y.o. has recently bought a house with his fiancee. It has a couple of spare rooms (until rugrats come along ), one of which he is making into a trophy/exhibition room. They have both taken a great interest in my models, so I am giving them all the ones I have left. He has also indicated that he would like to take up modelling of some type as a hobby, and is going to build a workshop in his huge backyard for that purpose. So I am also going to give him my substantial collection of modelling tools, equipment and workbenches. He's a very smart and responsible lad, so I am hopeful that he will carry on my work, including finishing this kit. Thanks everyone else for the comments and Likes. More pics of the diorama will follow in the next post. Danny
- 29 replies
-
- 18
-
-
- hmw
- Hamburg Harbor
- (and 2 more)
-
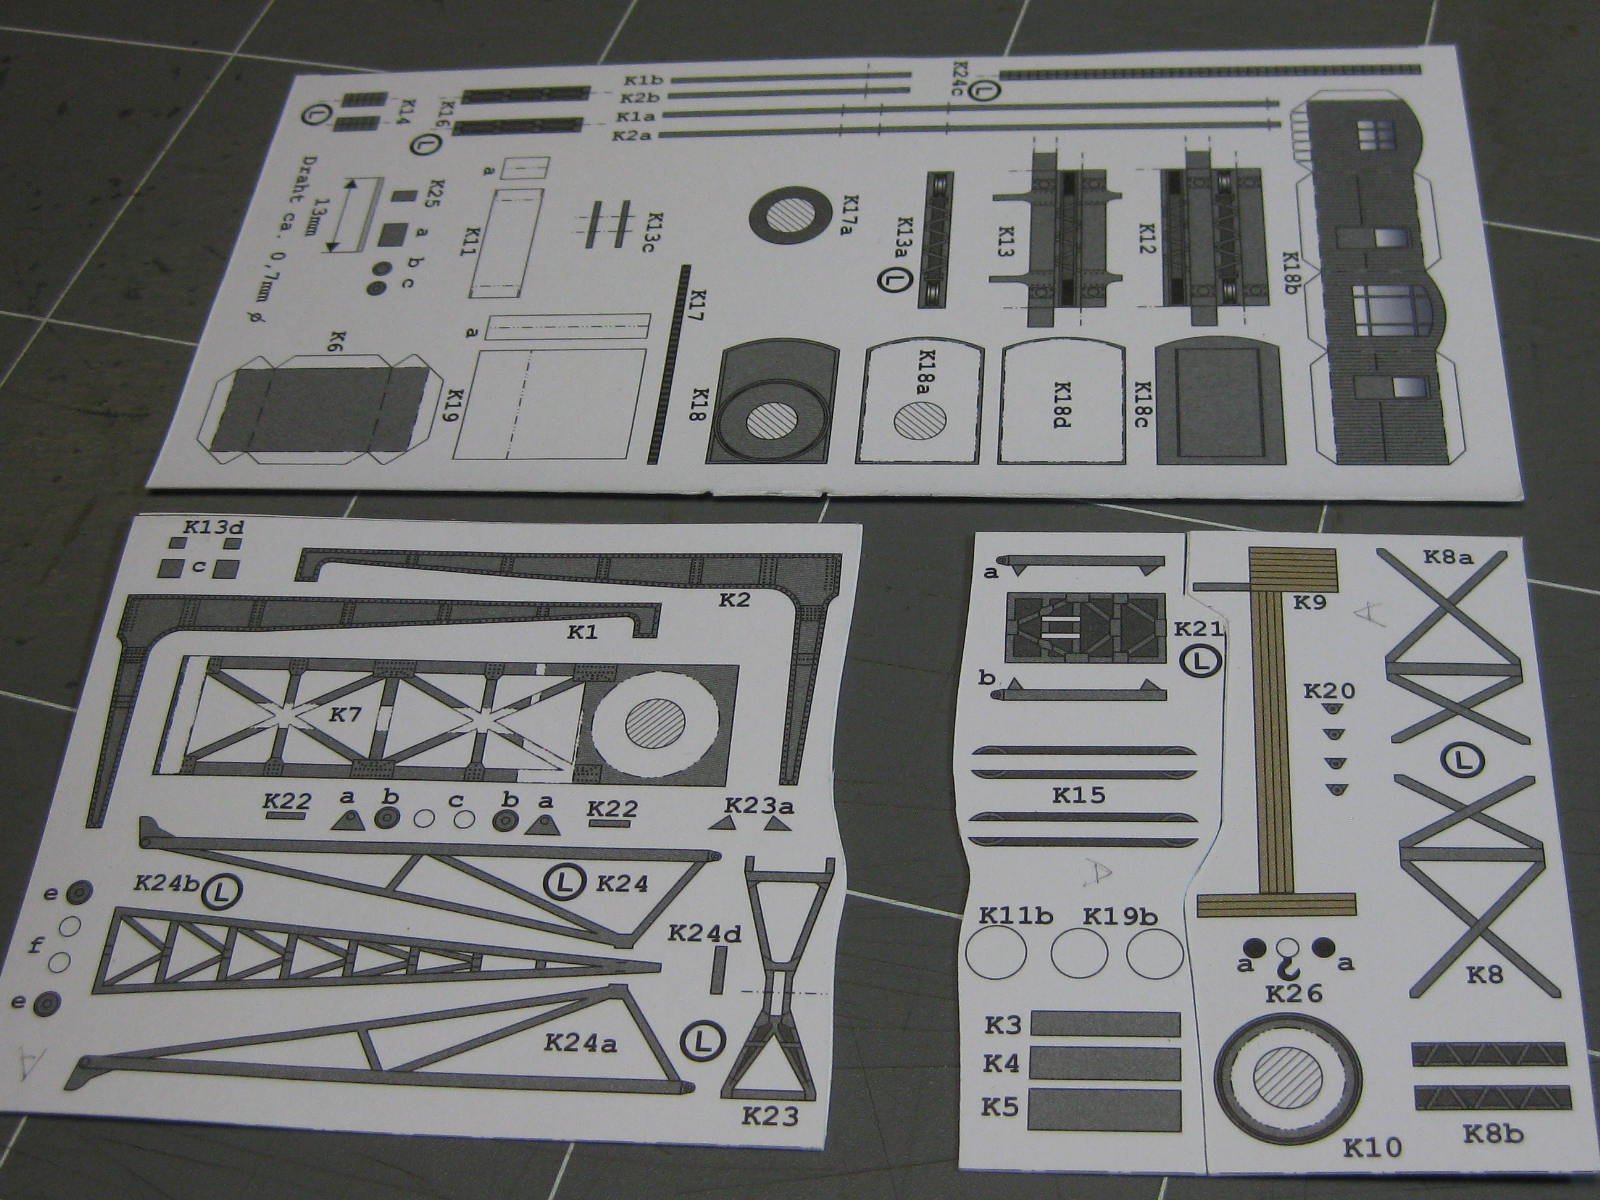
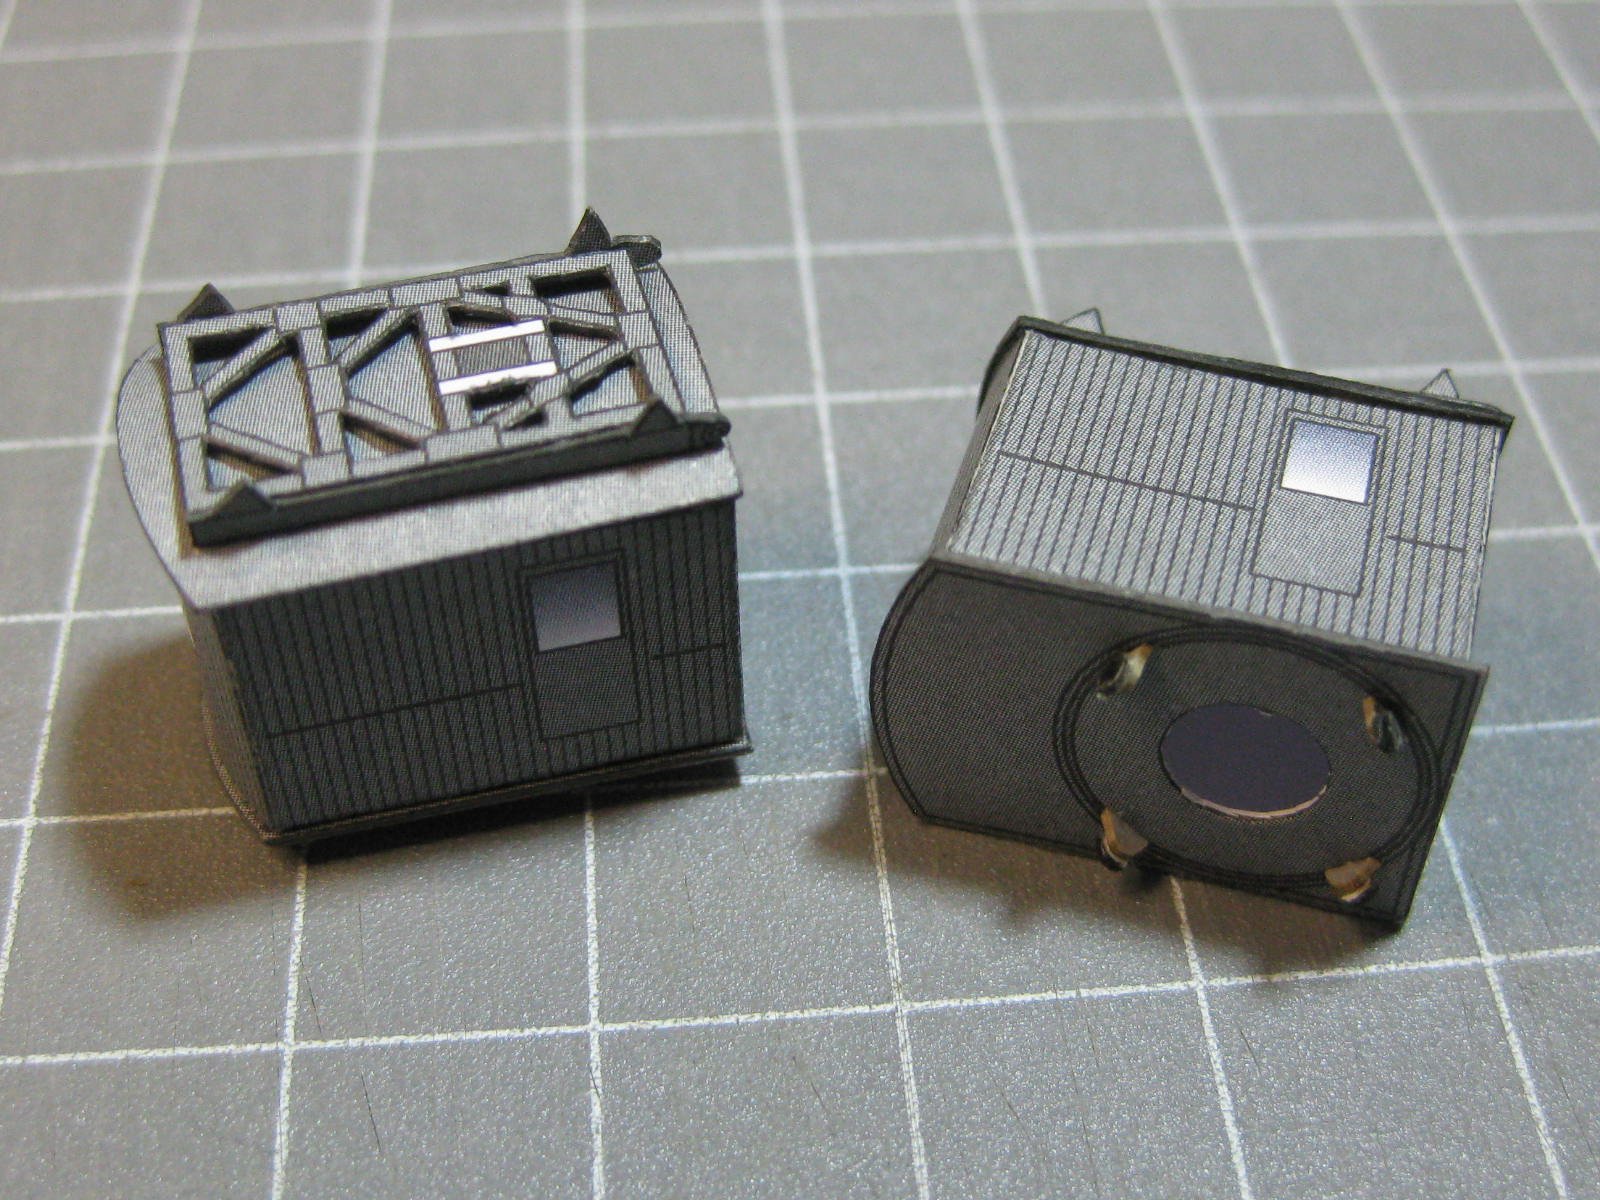
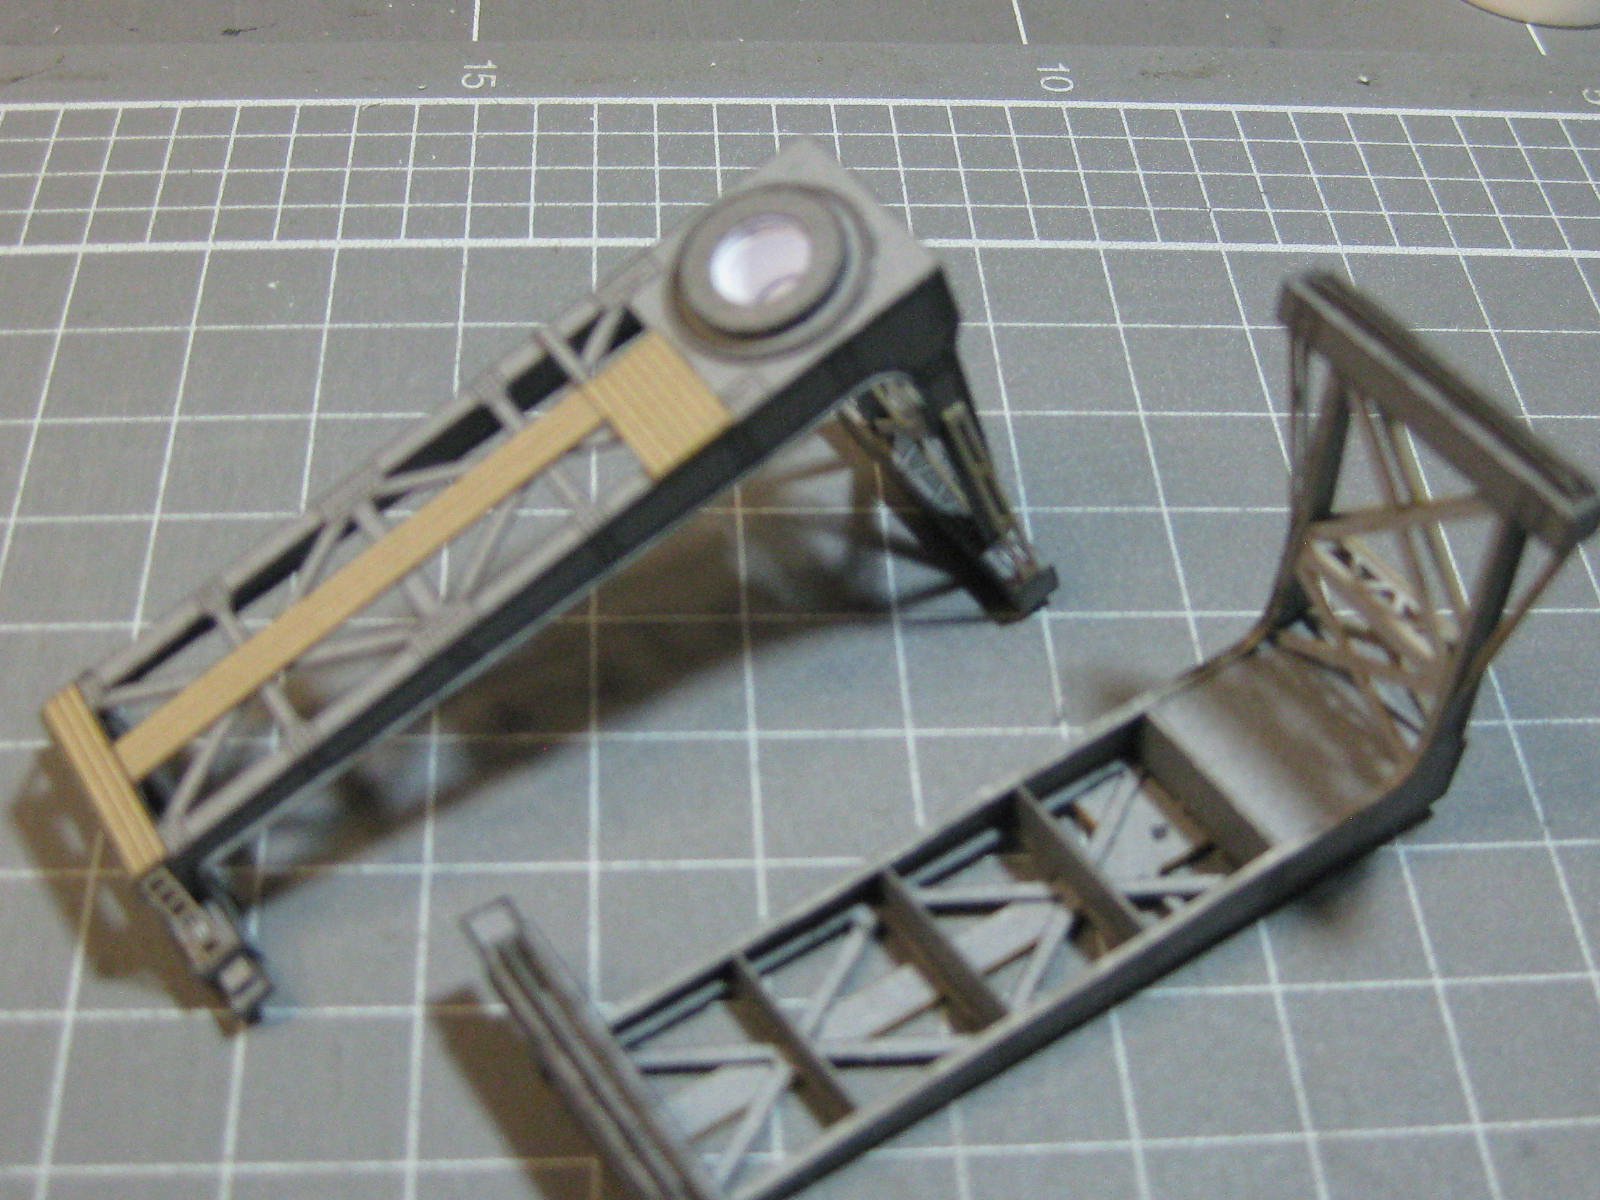
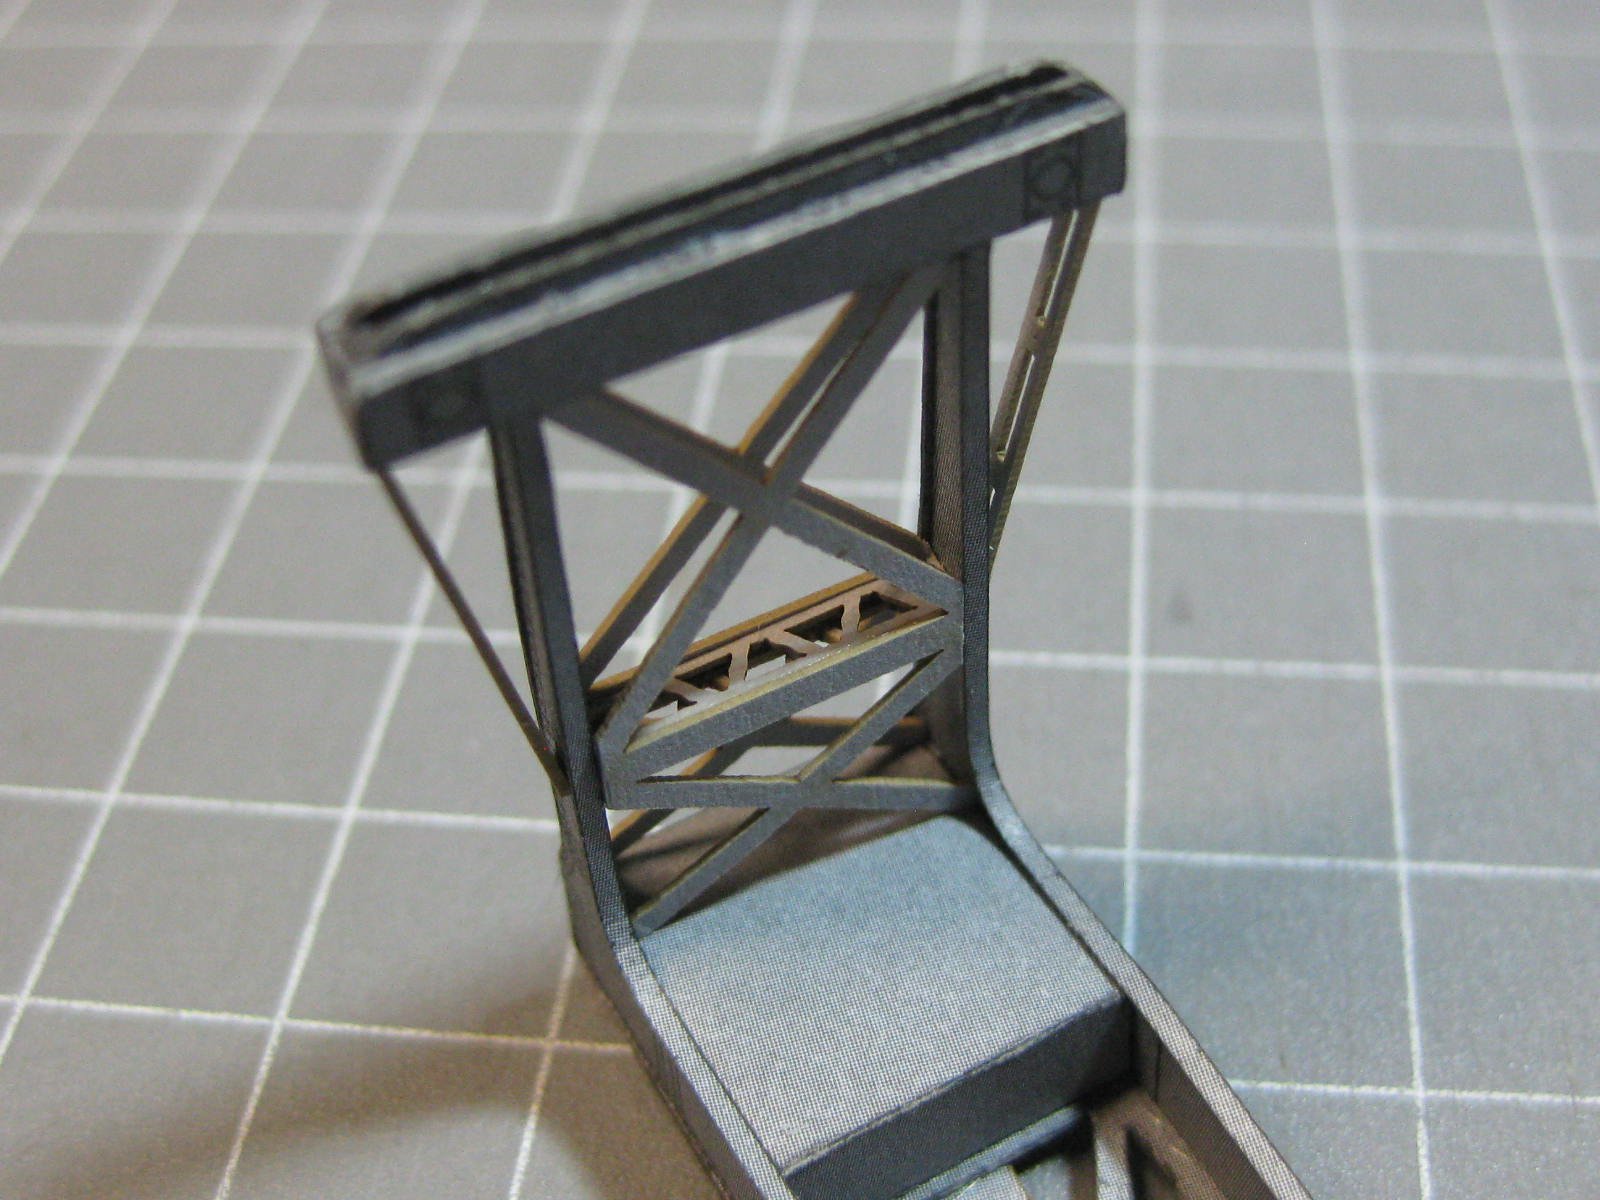
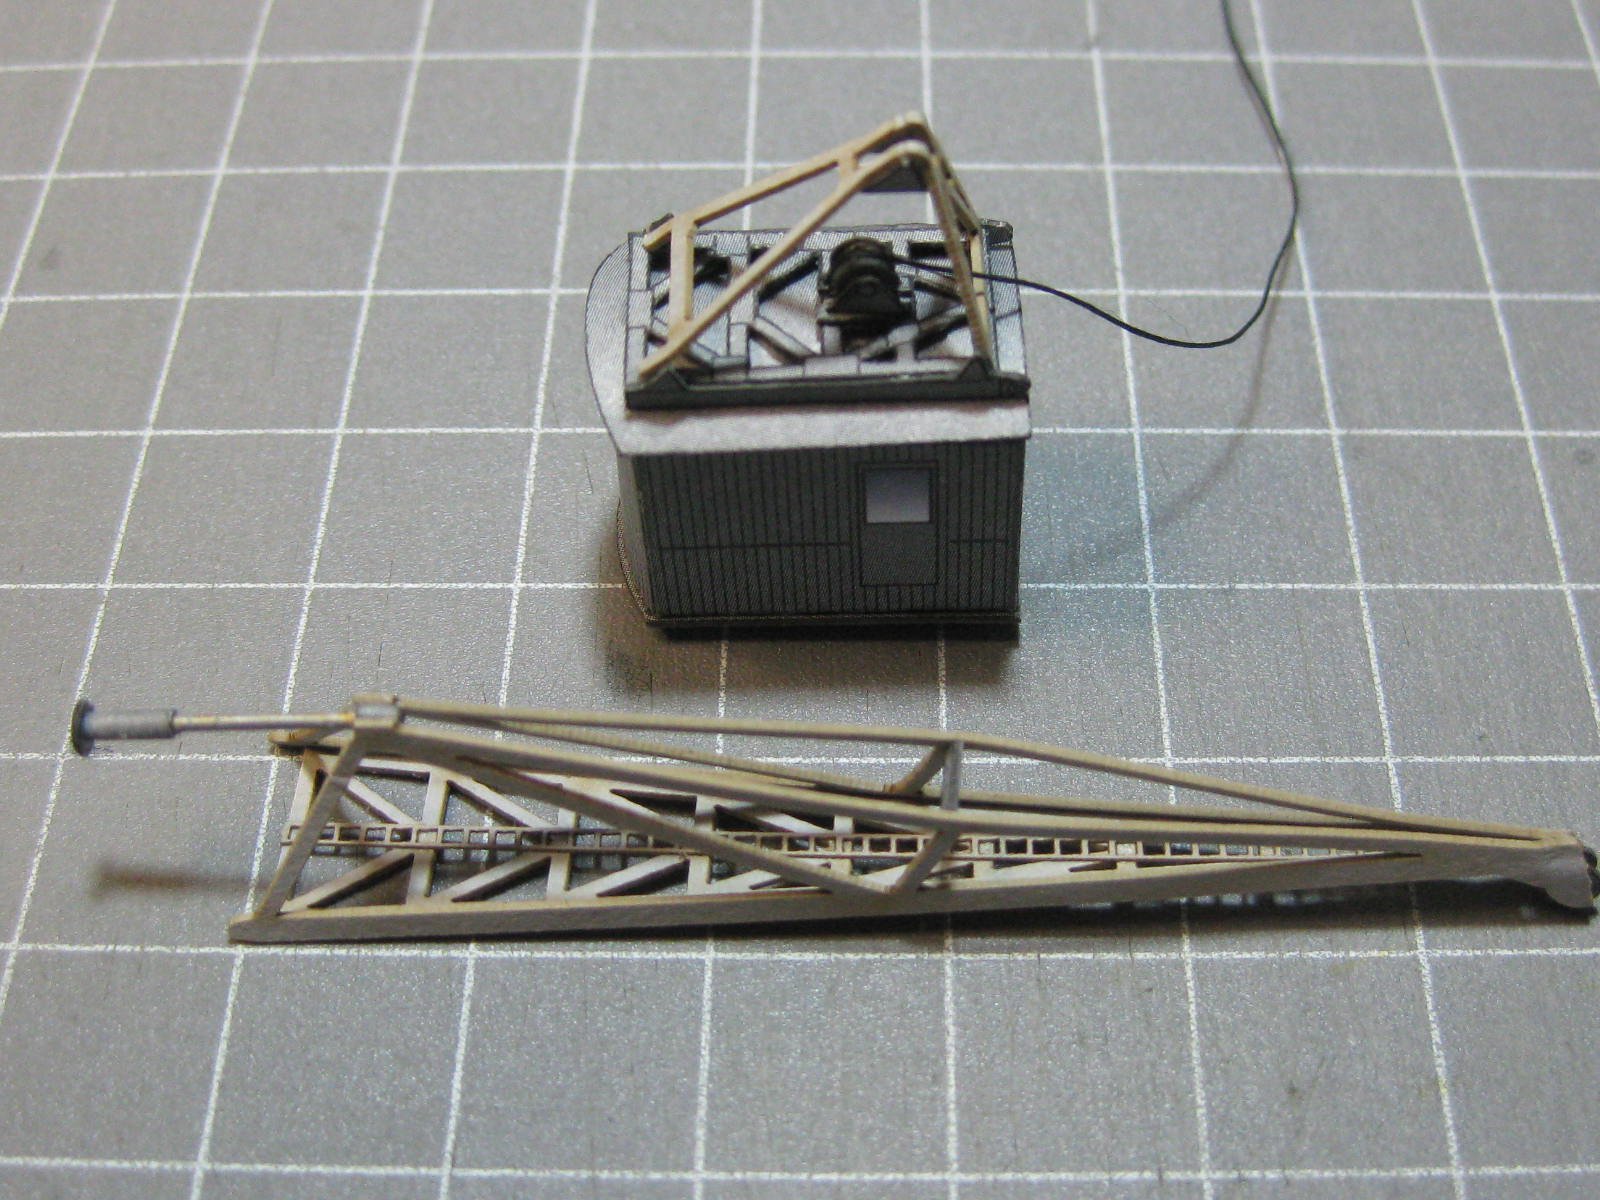
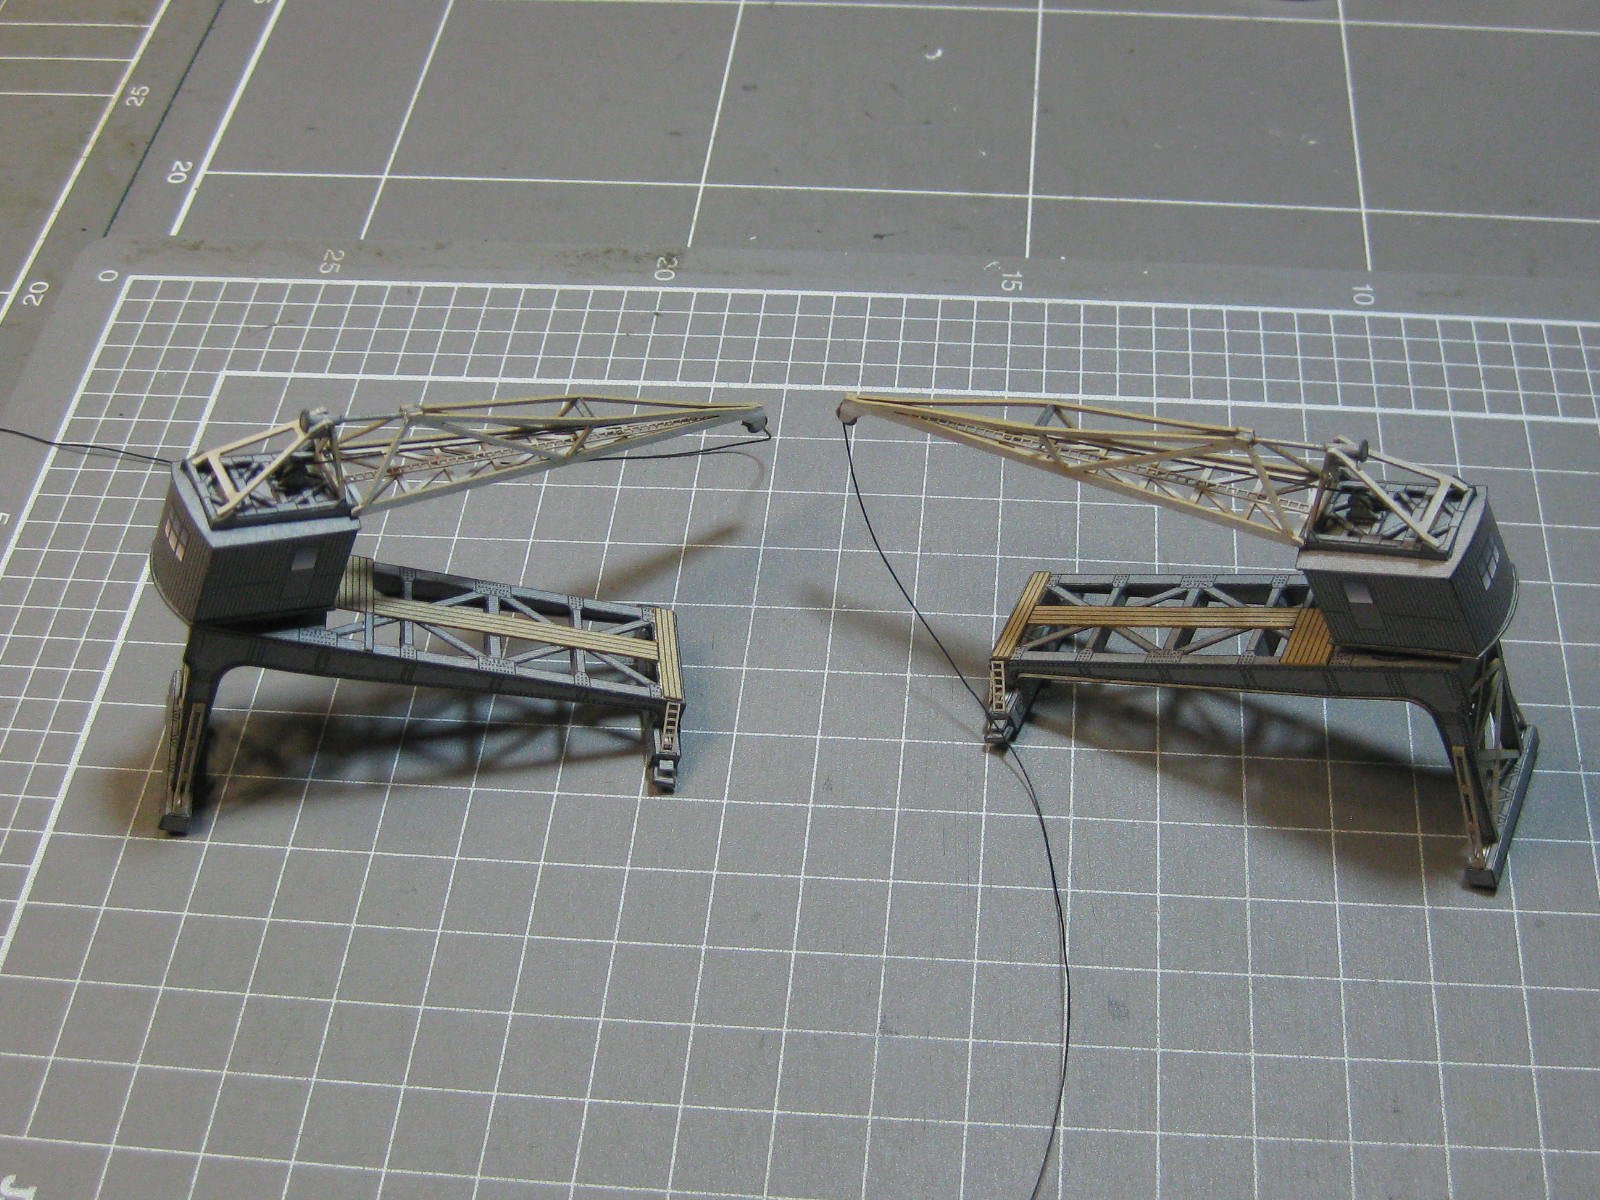
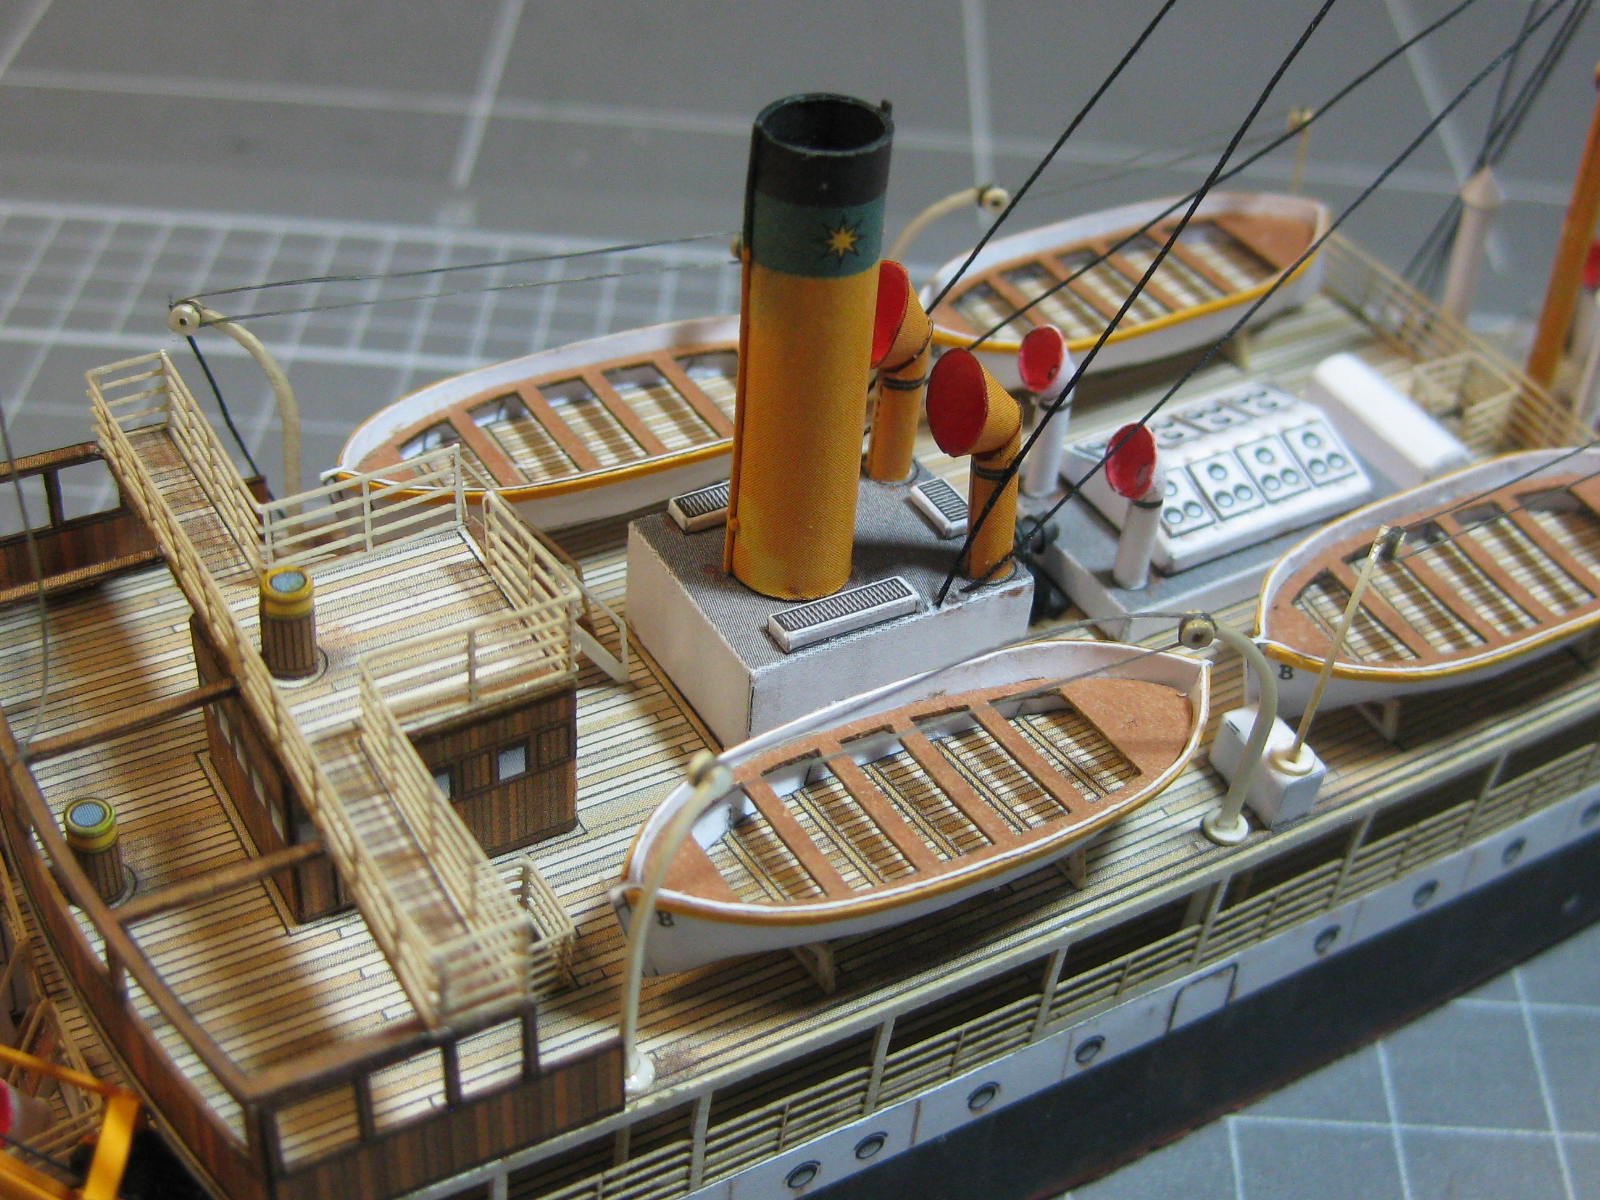
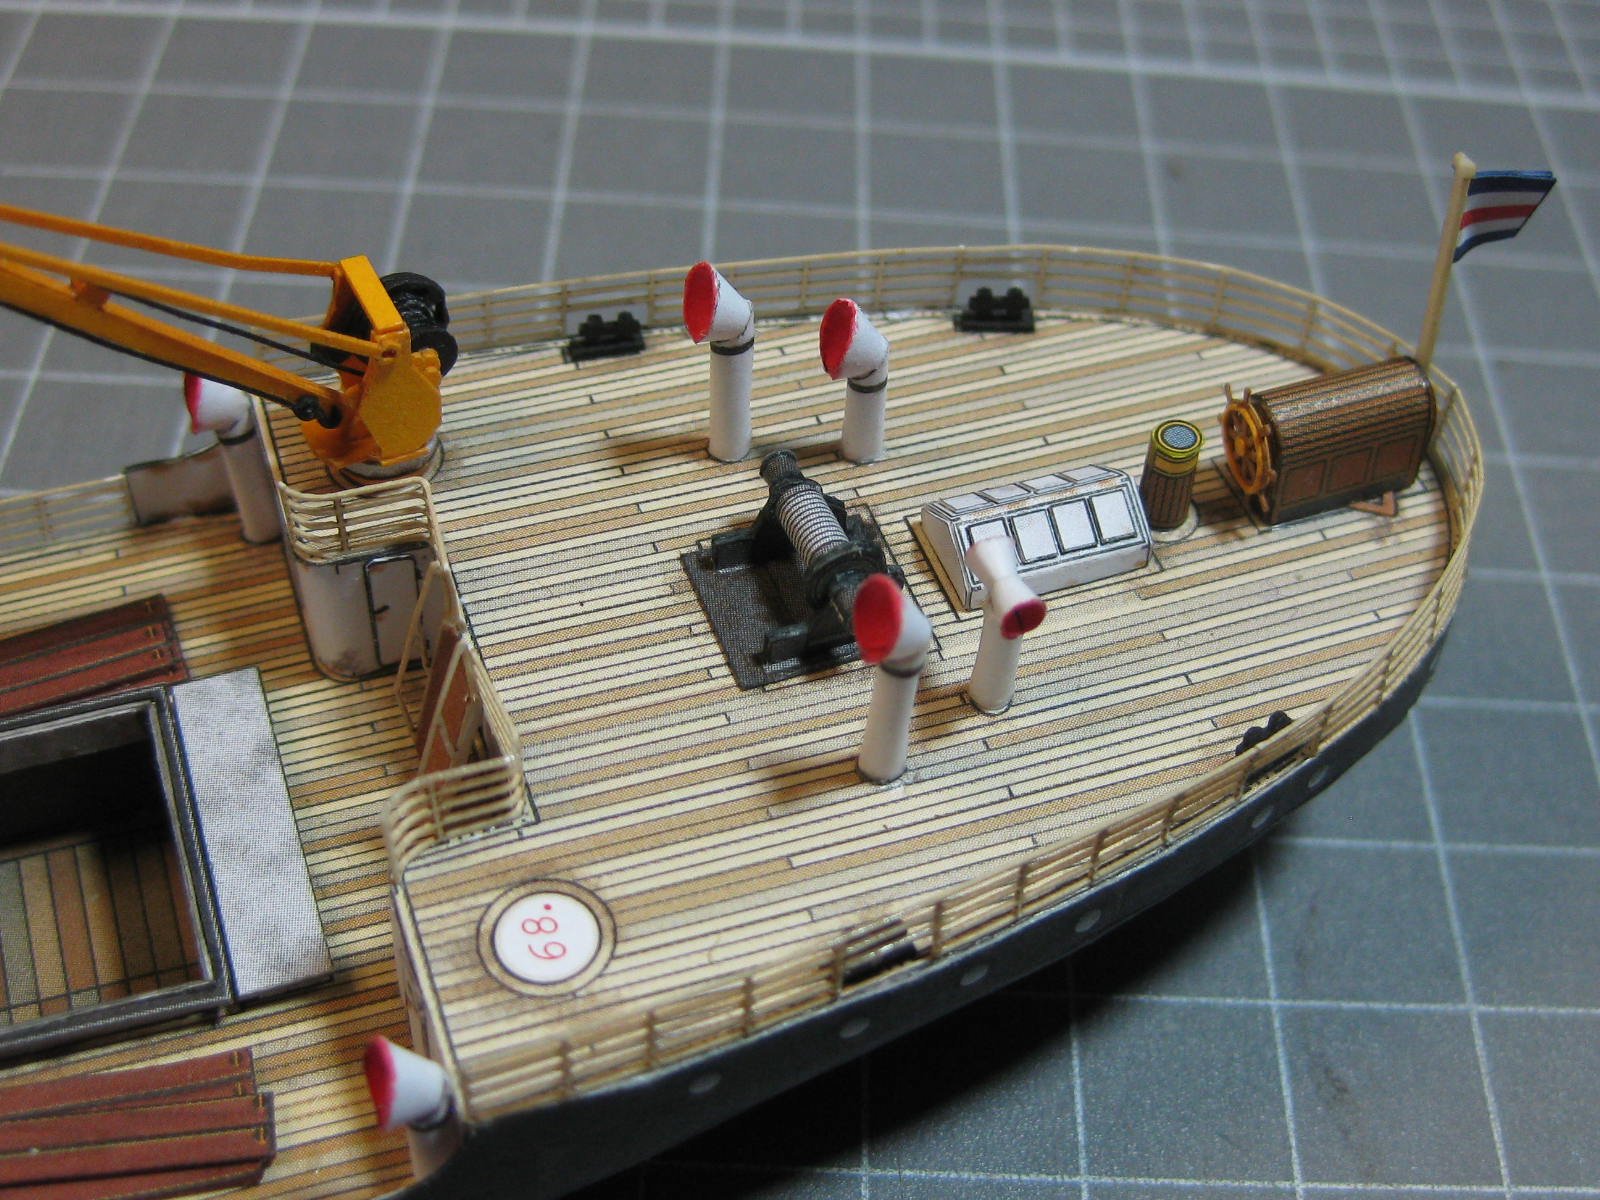
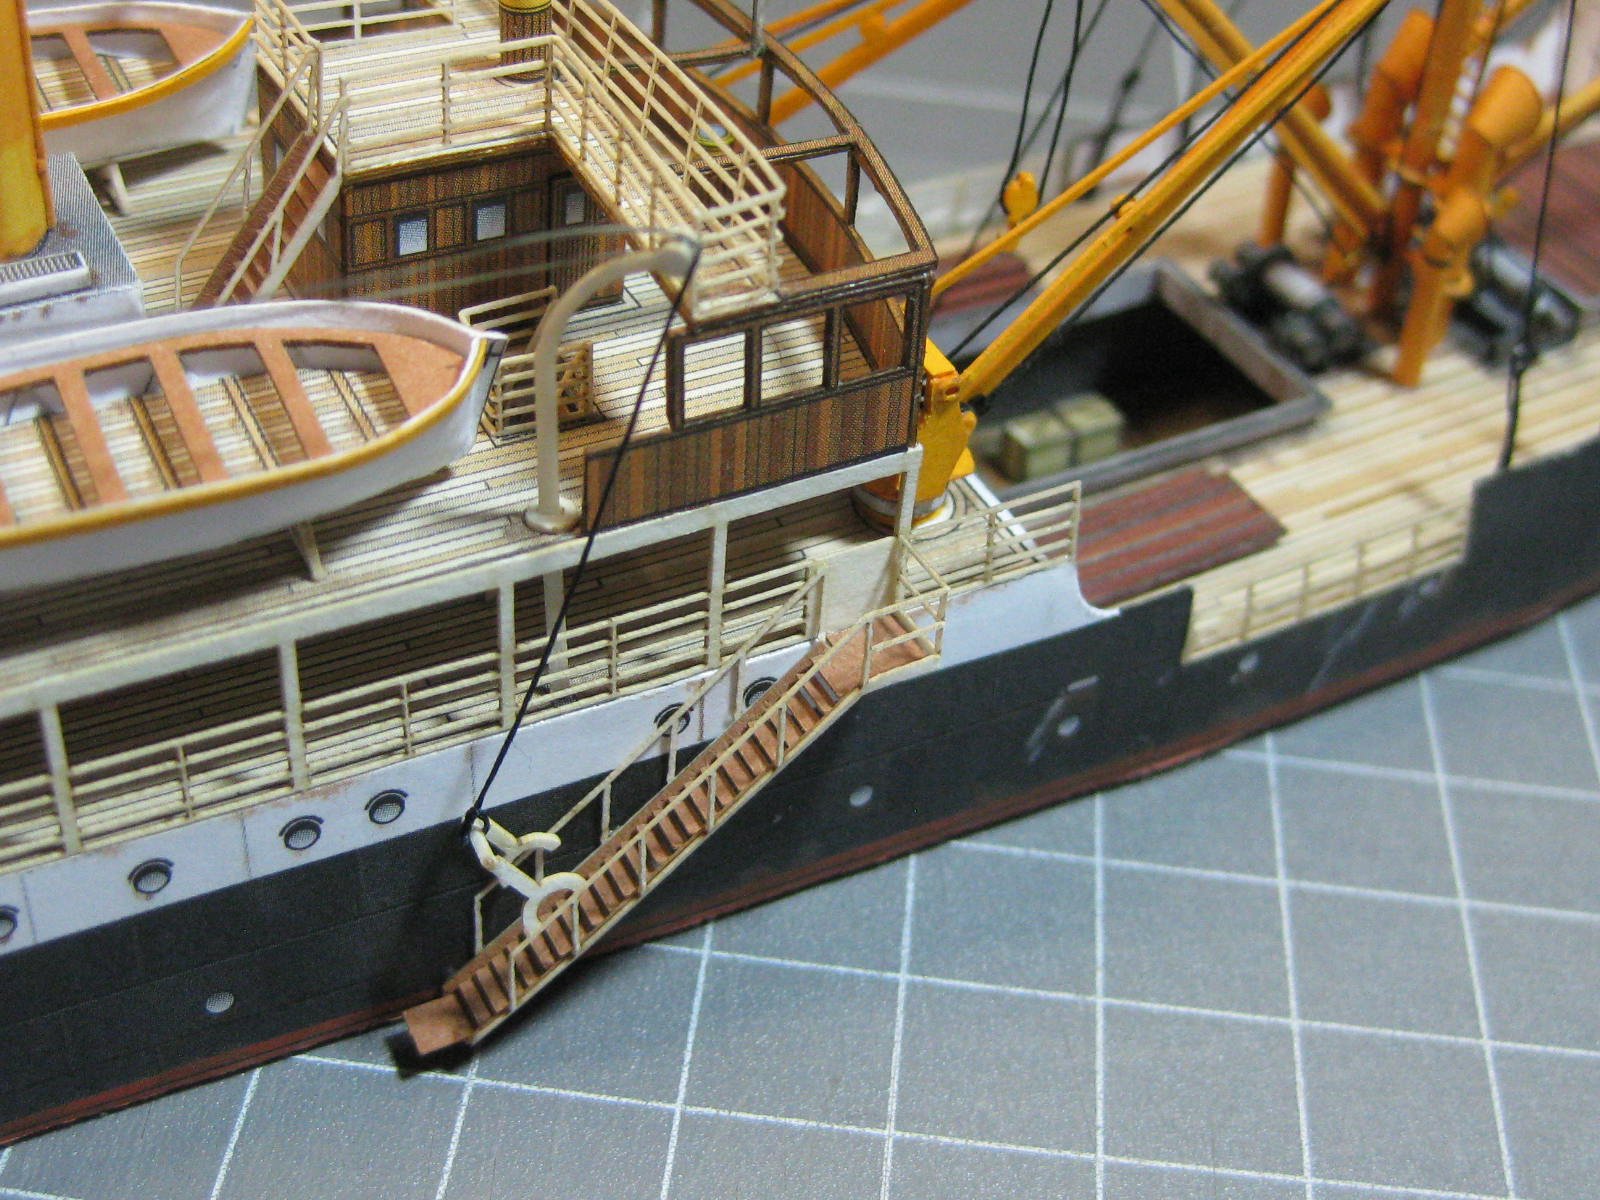
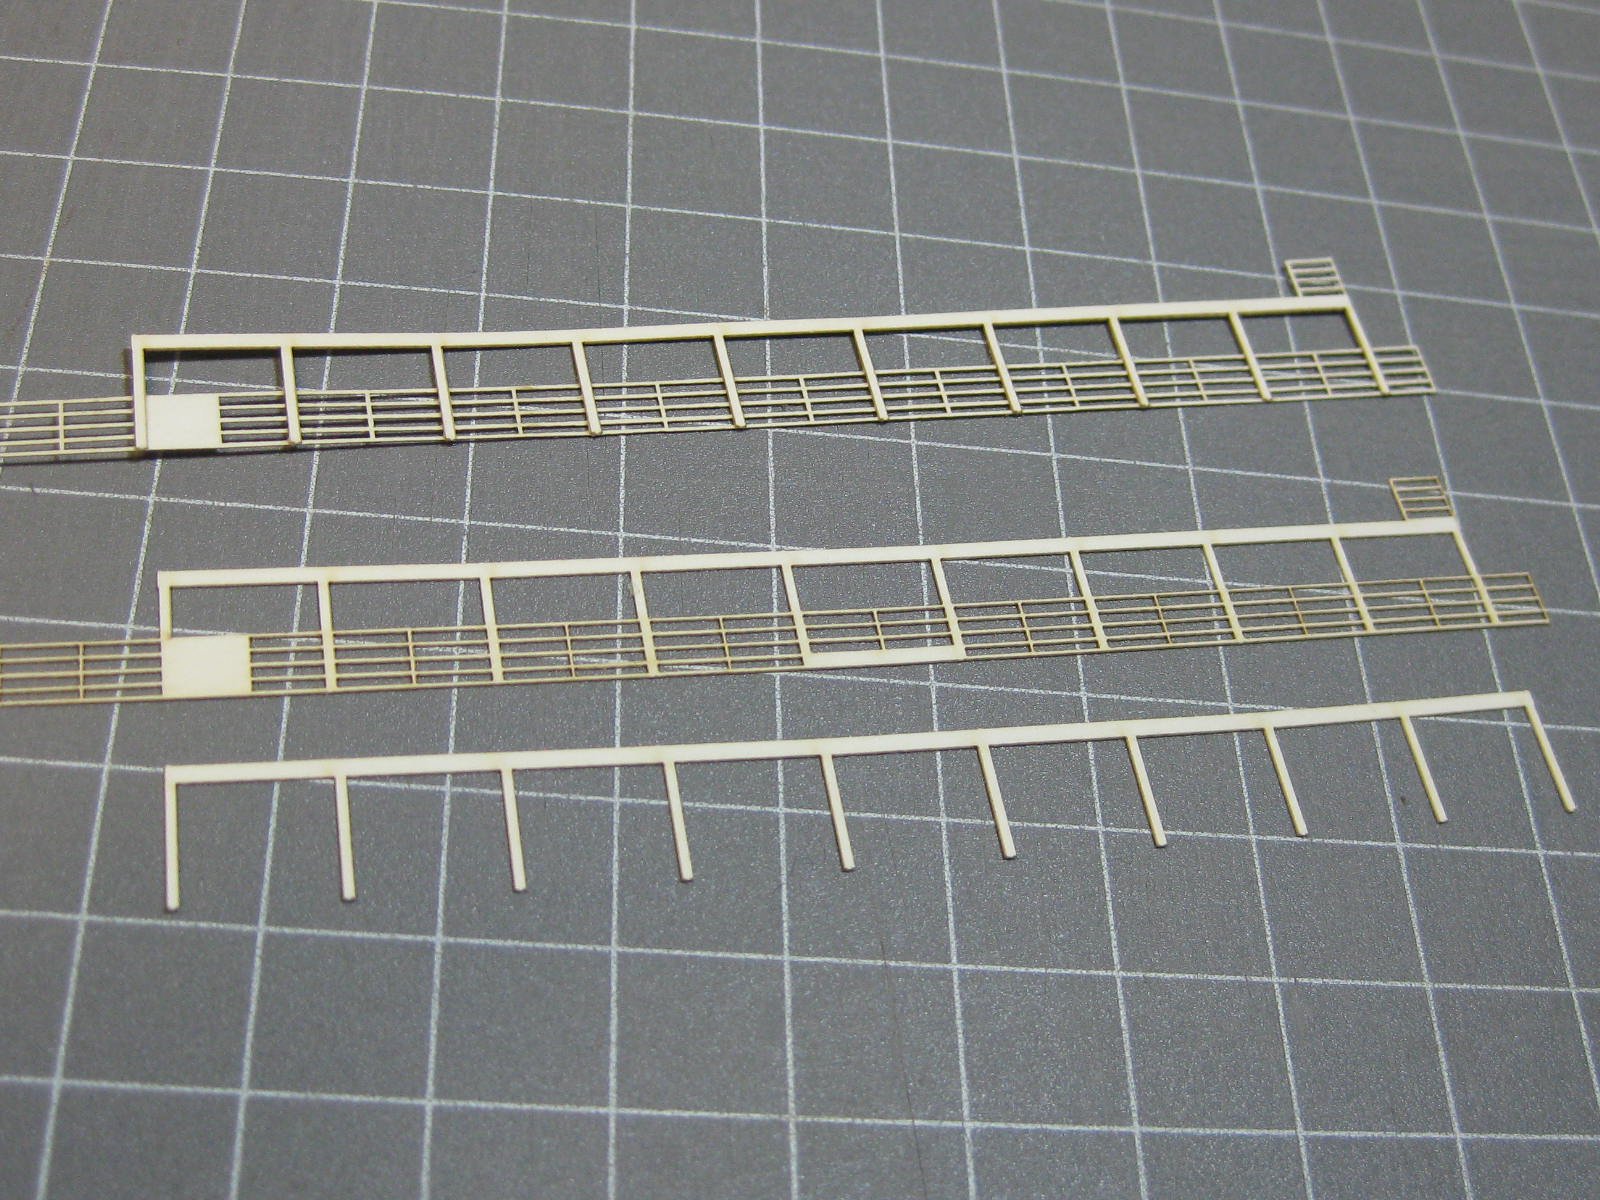
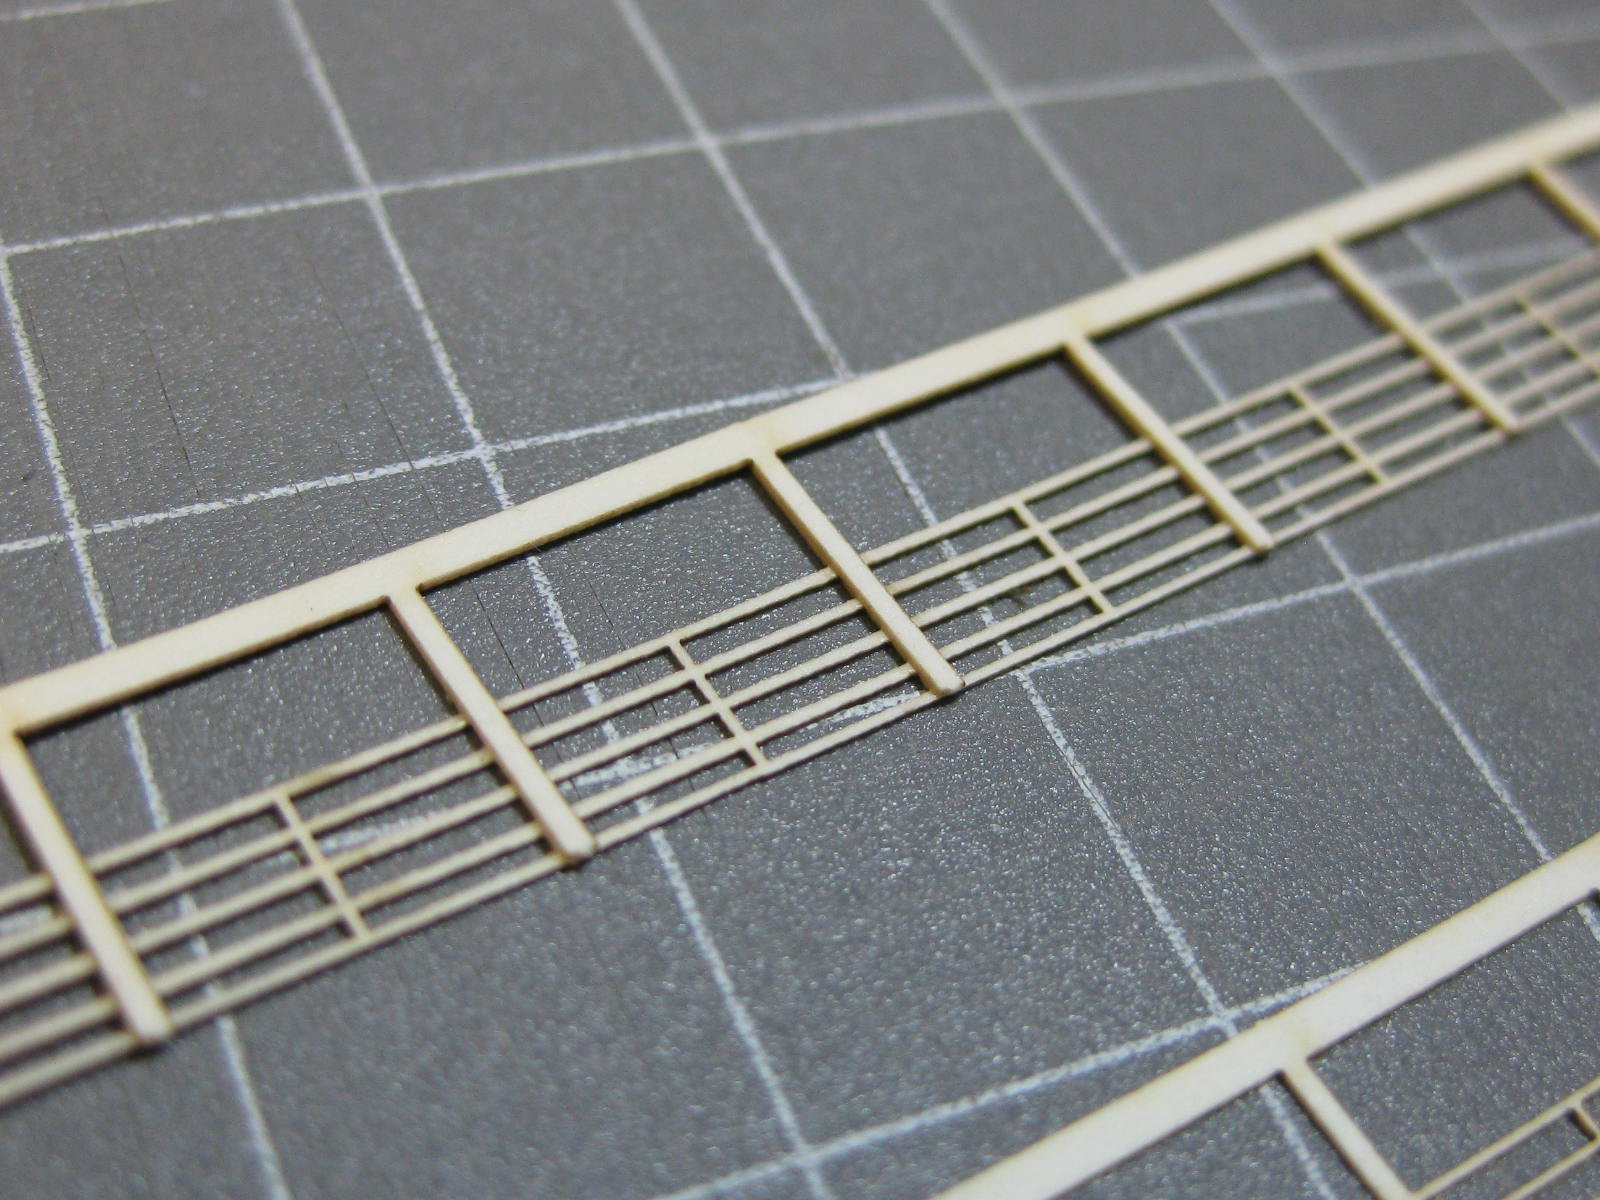
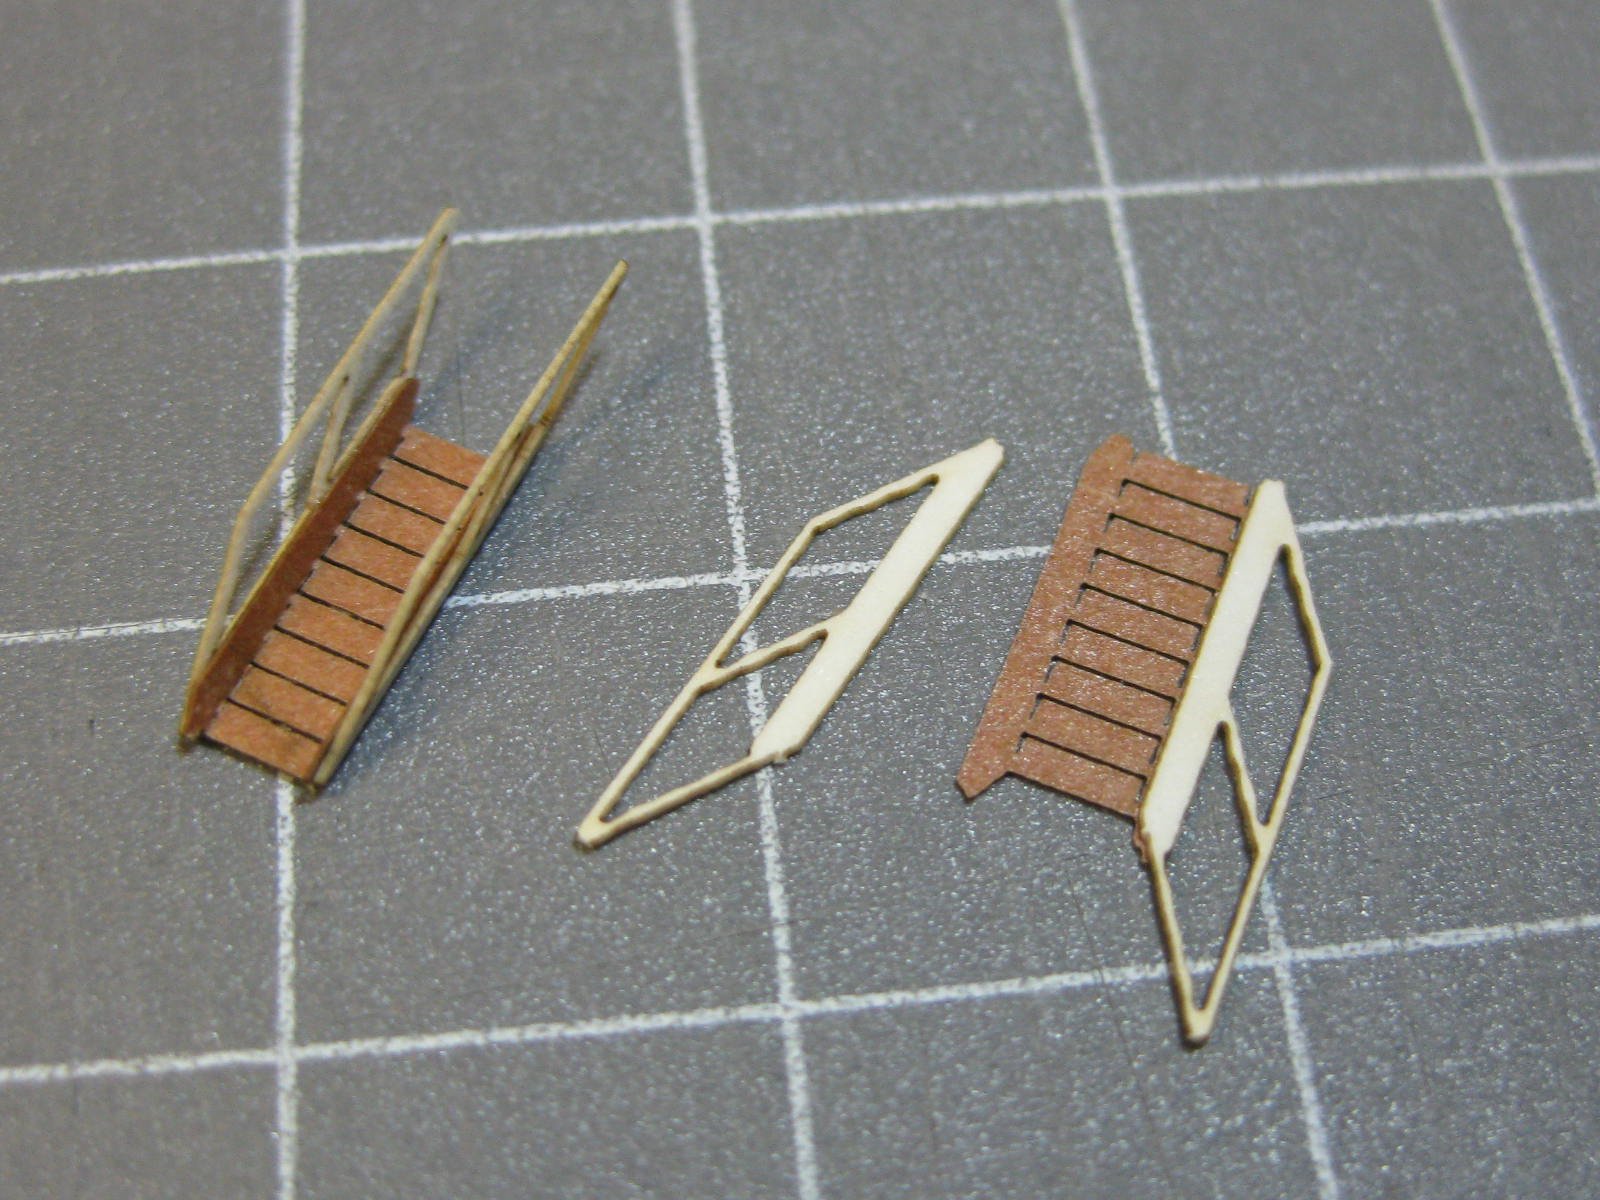
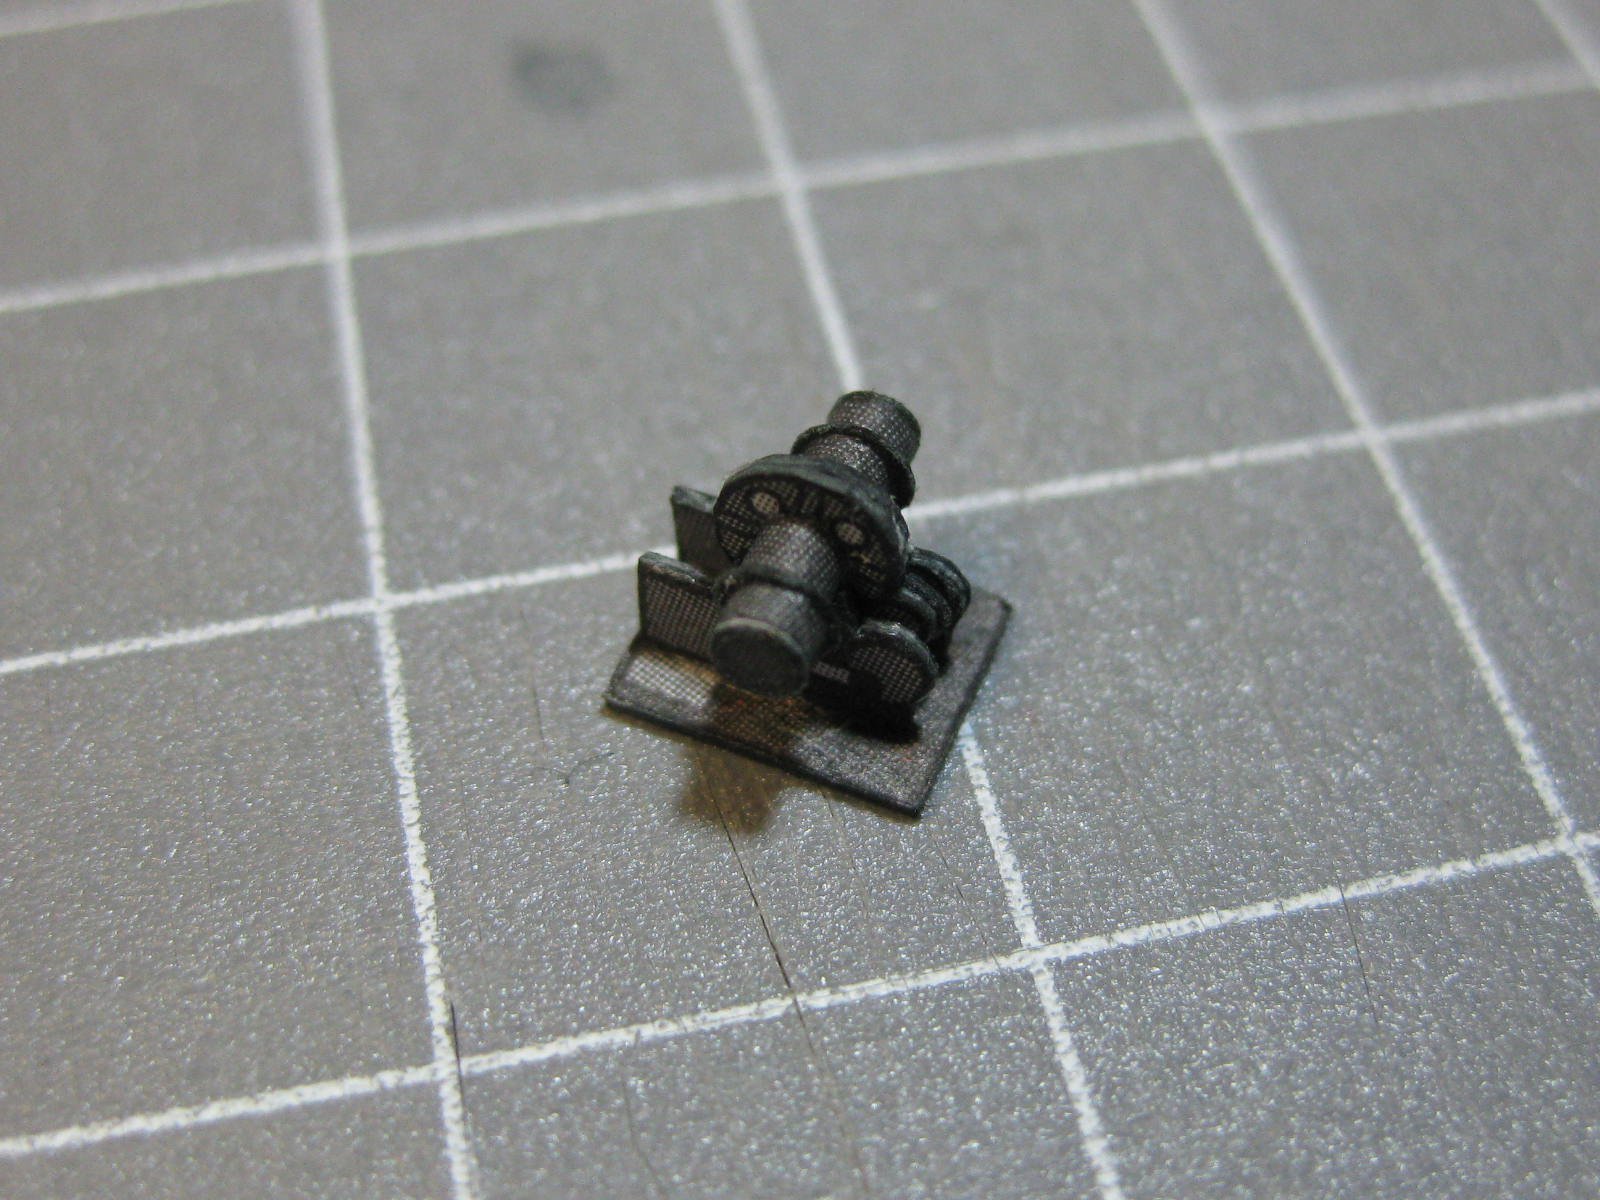
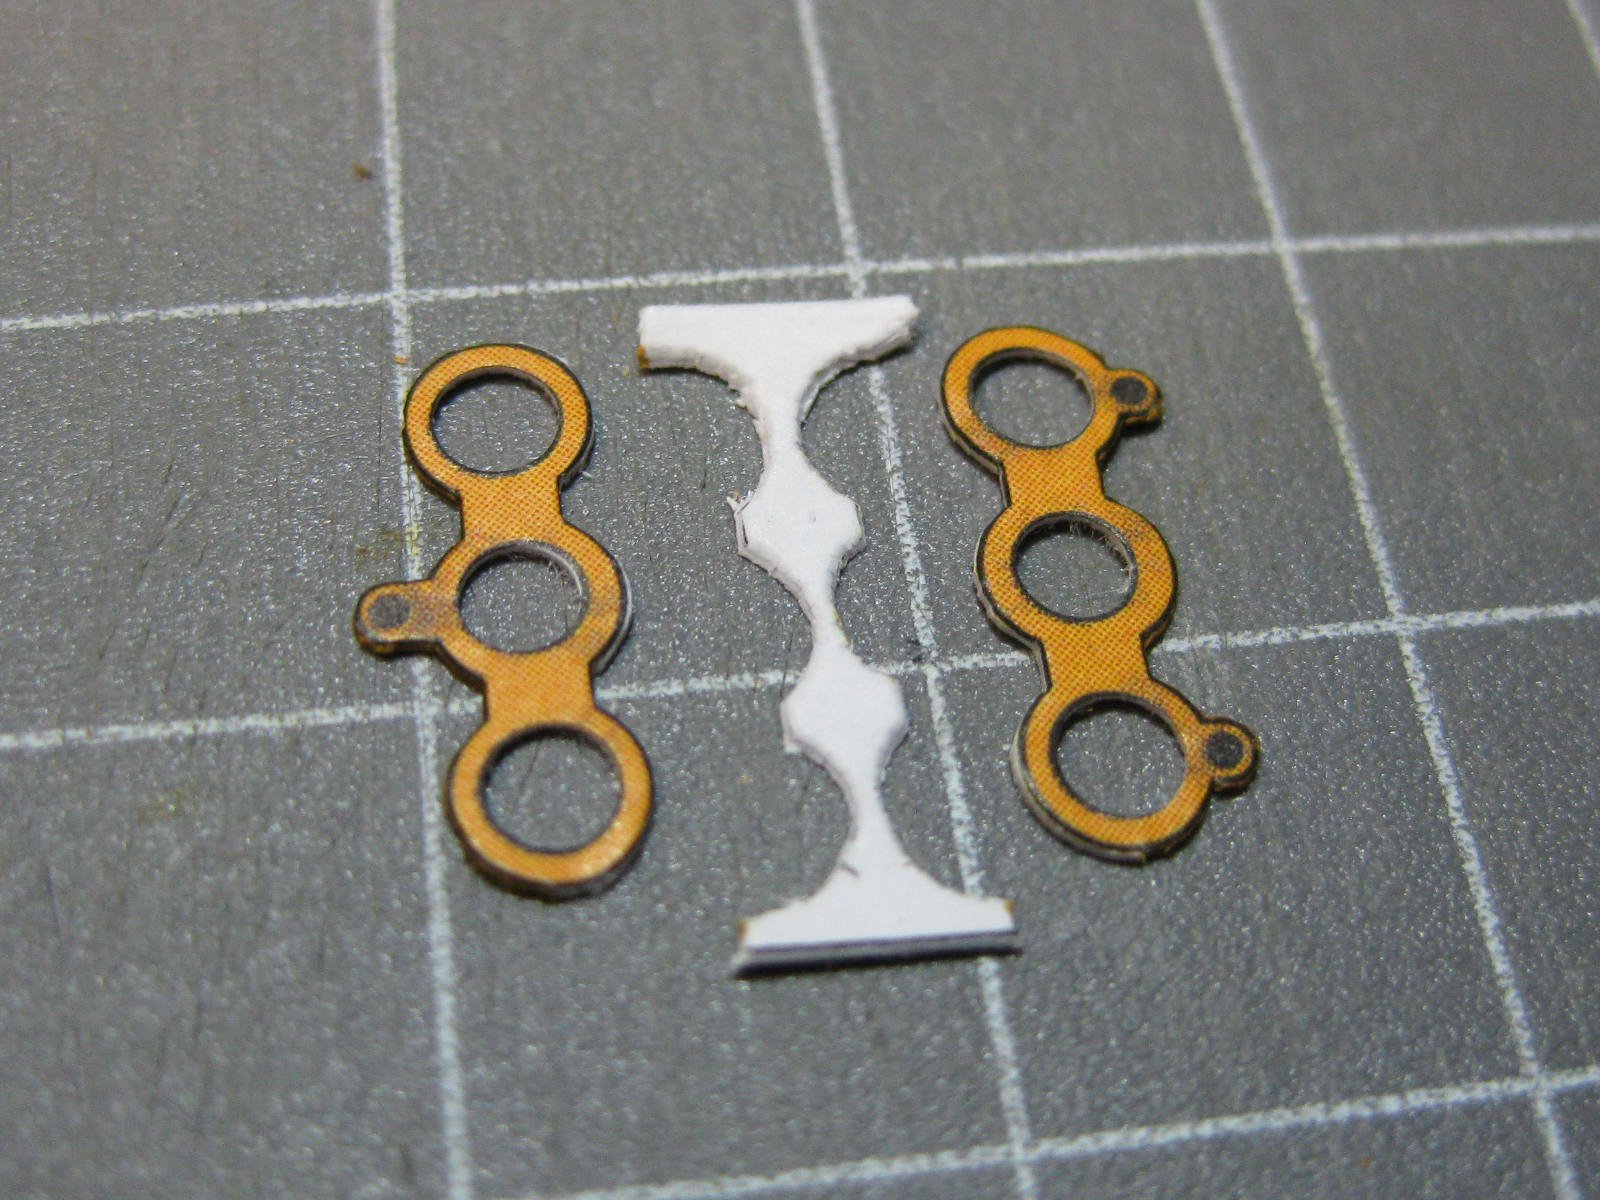
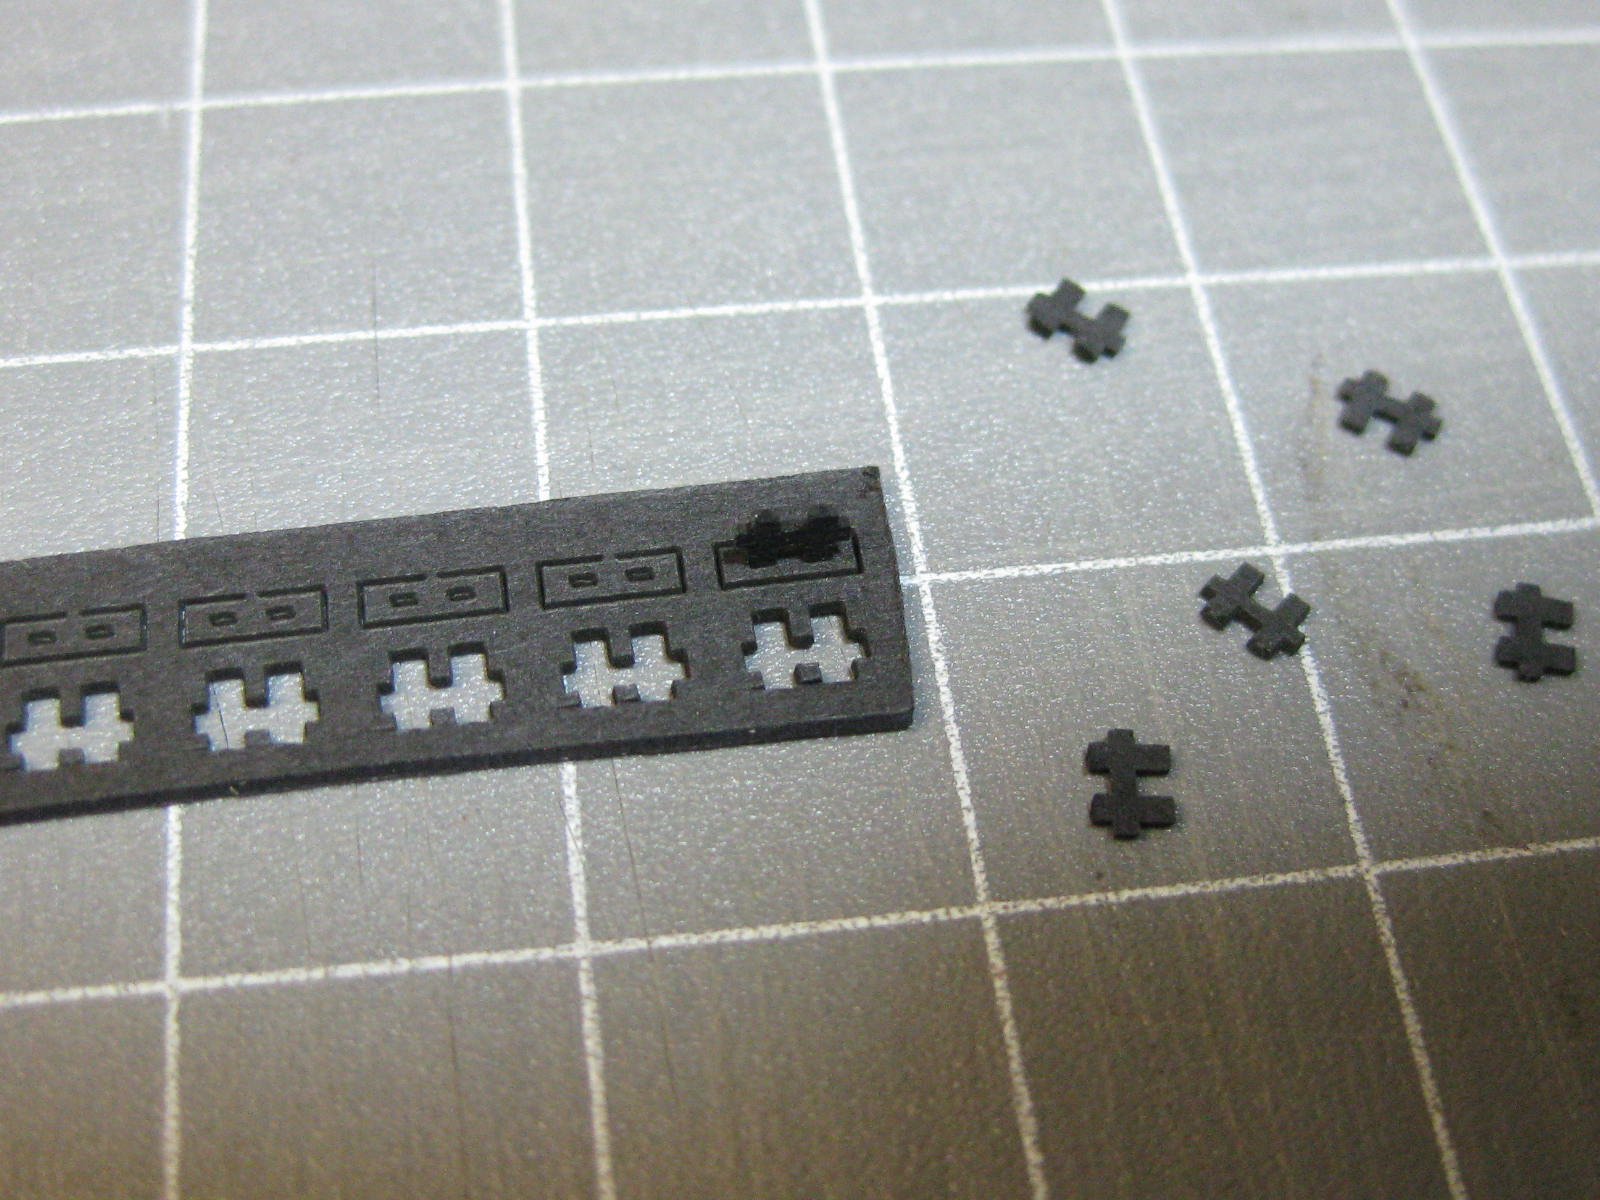
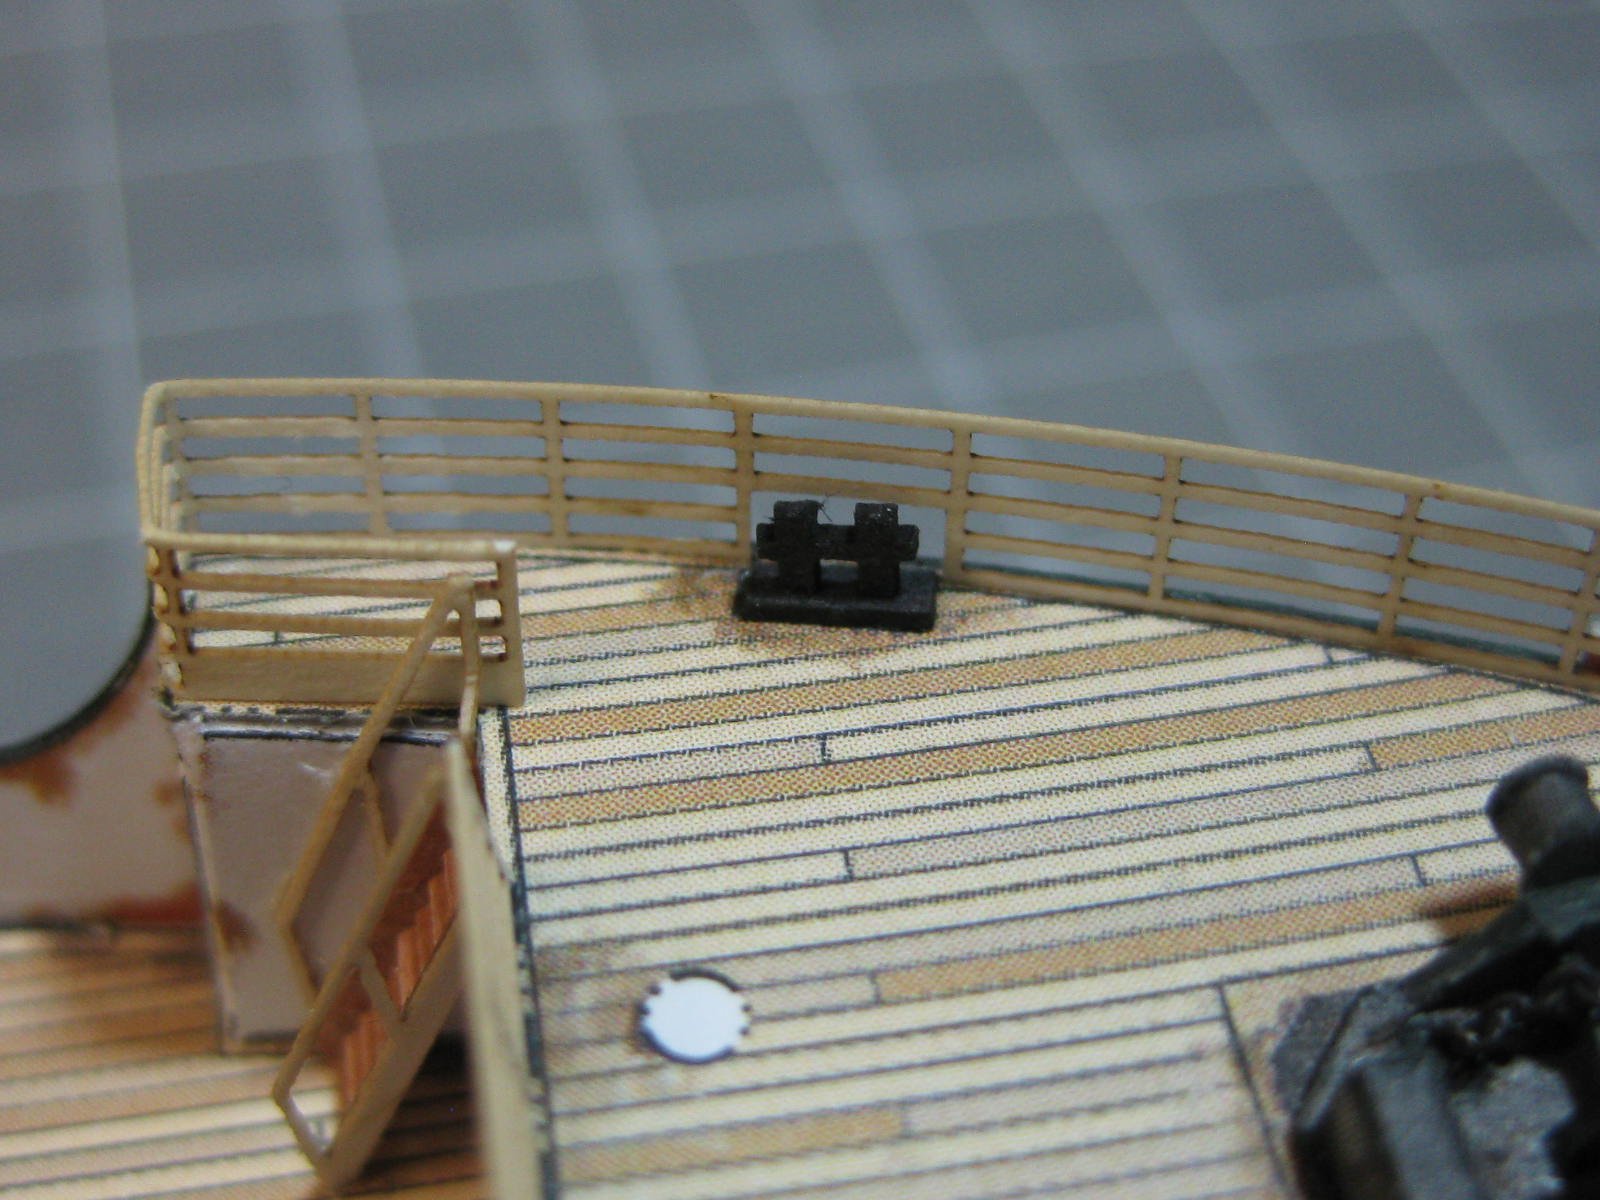
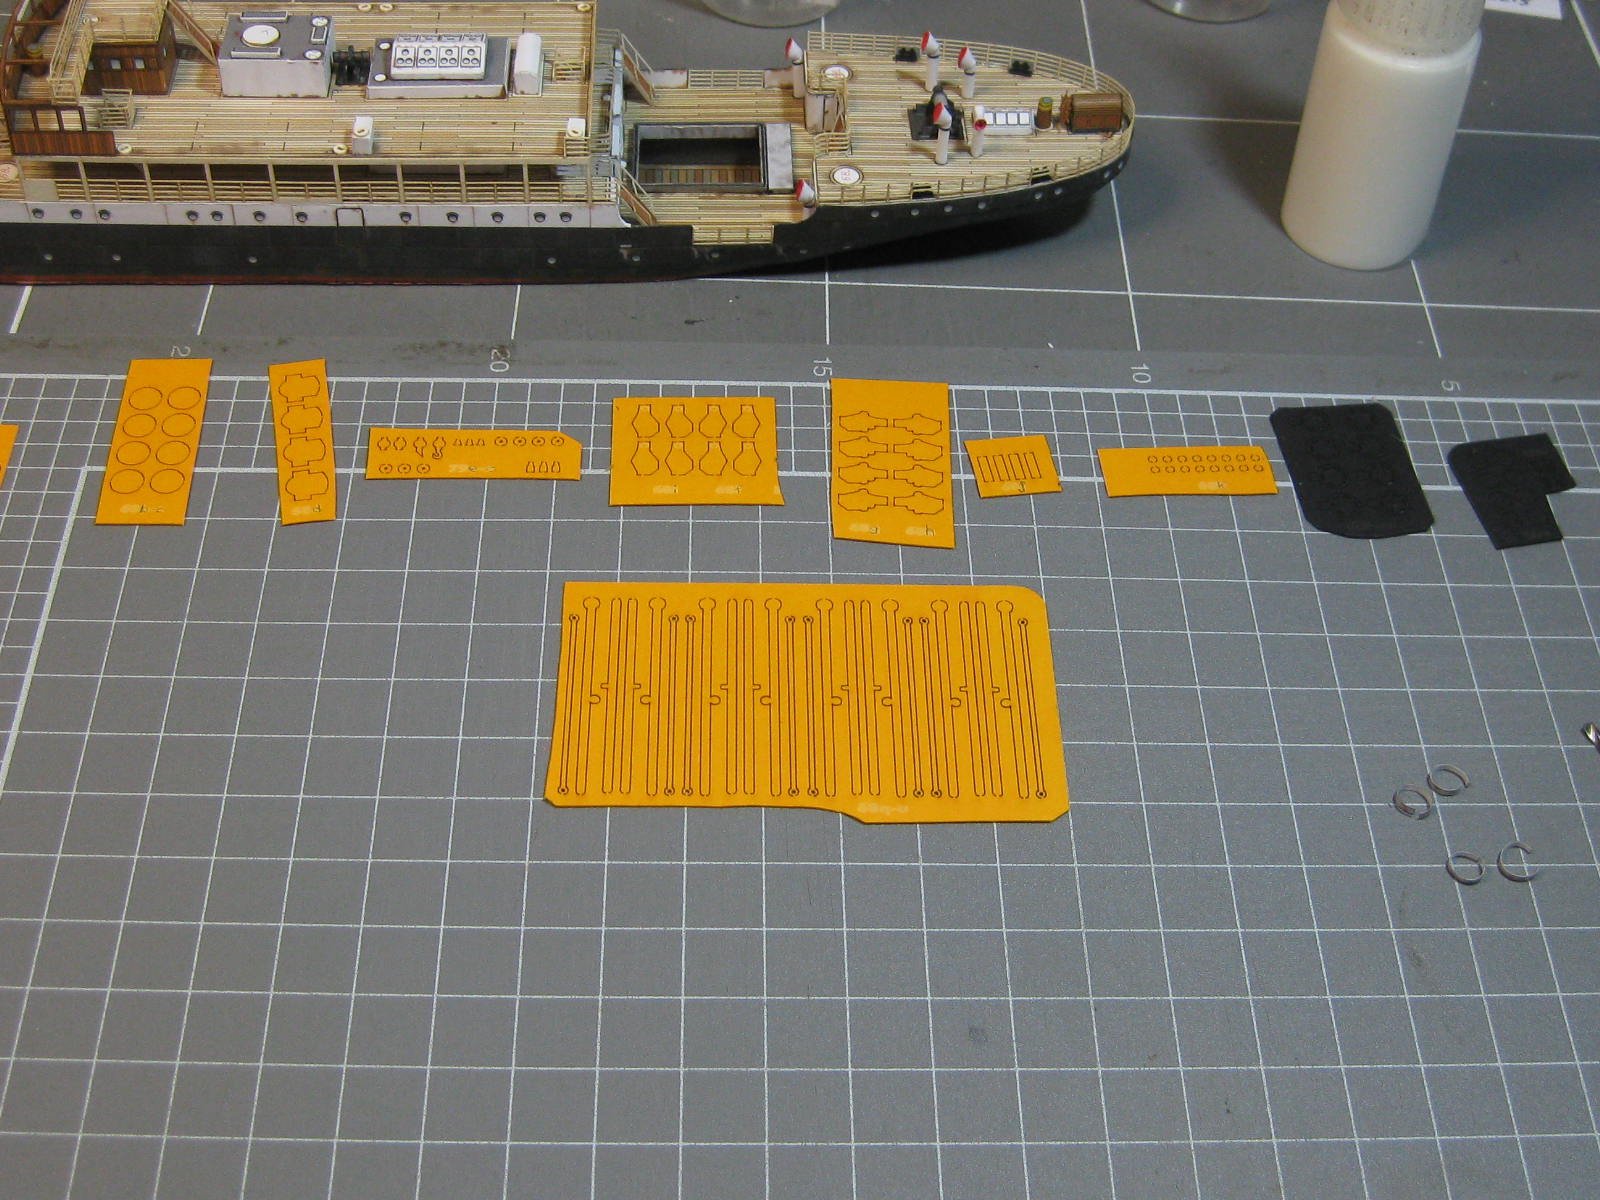
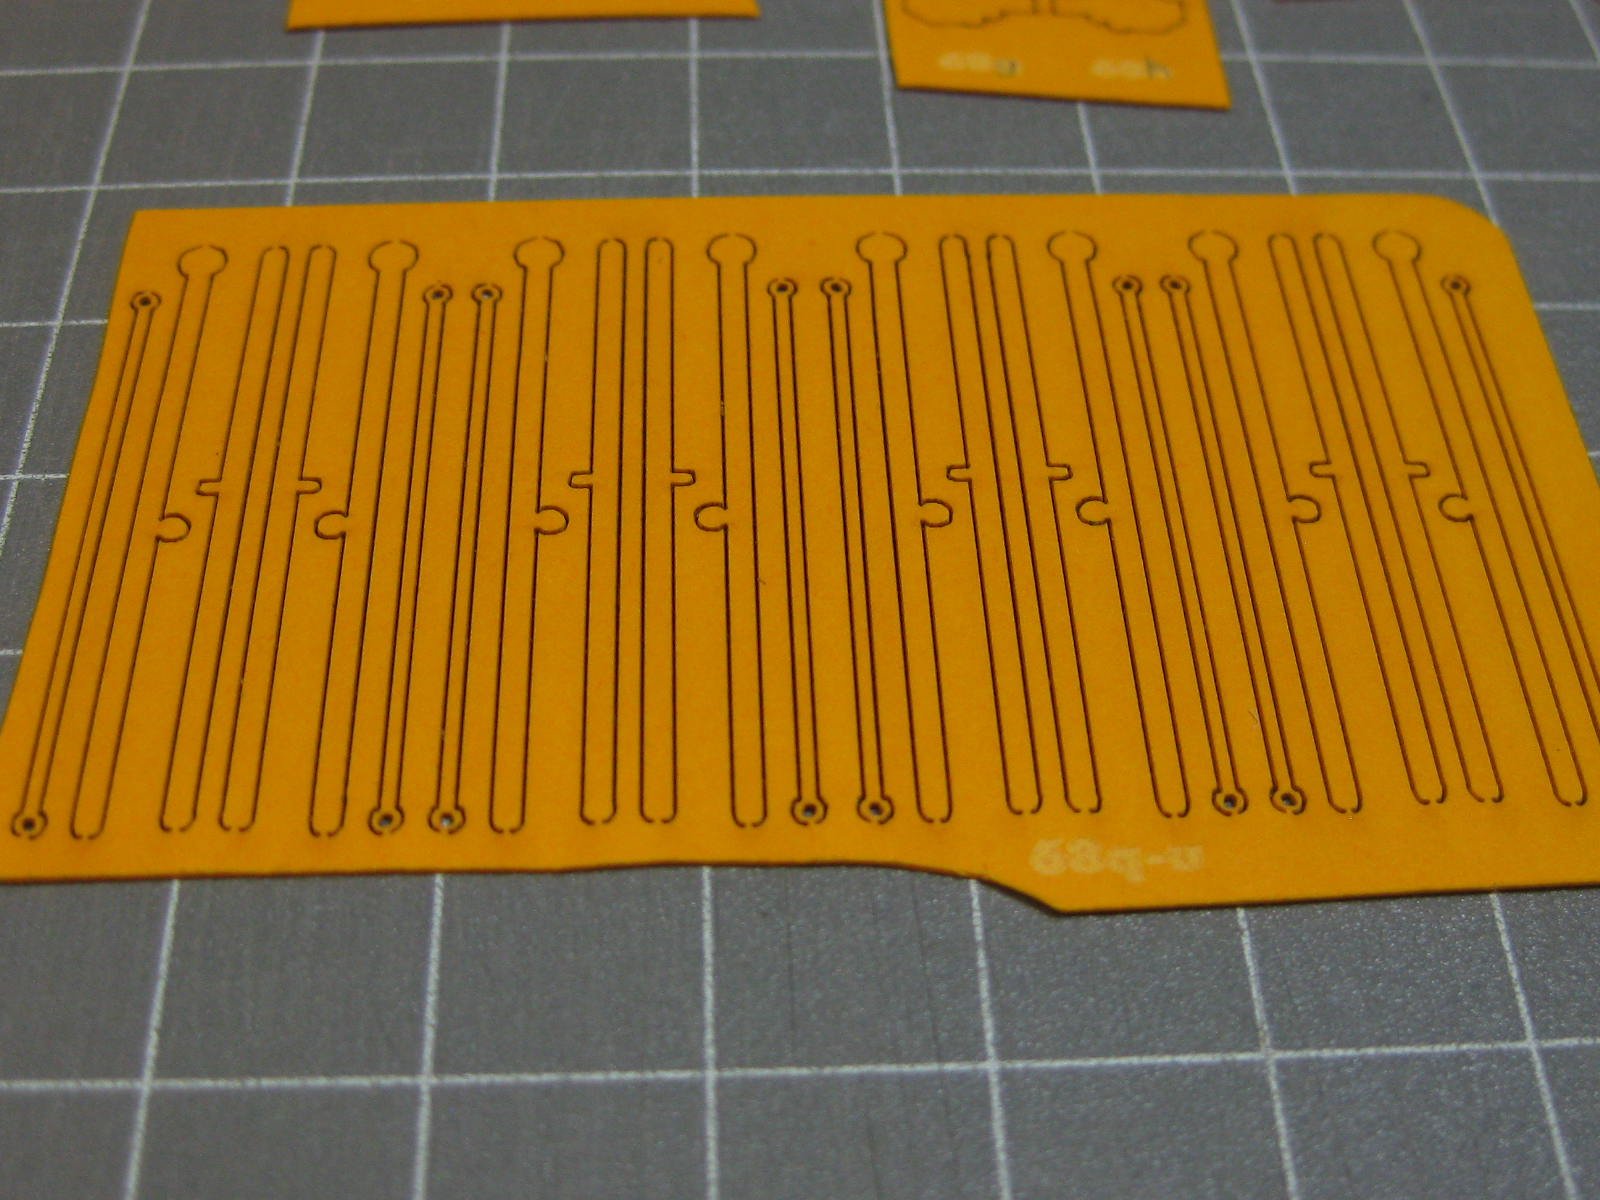
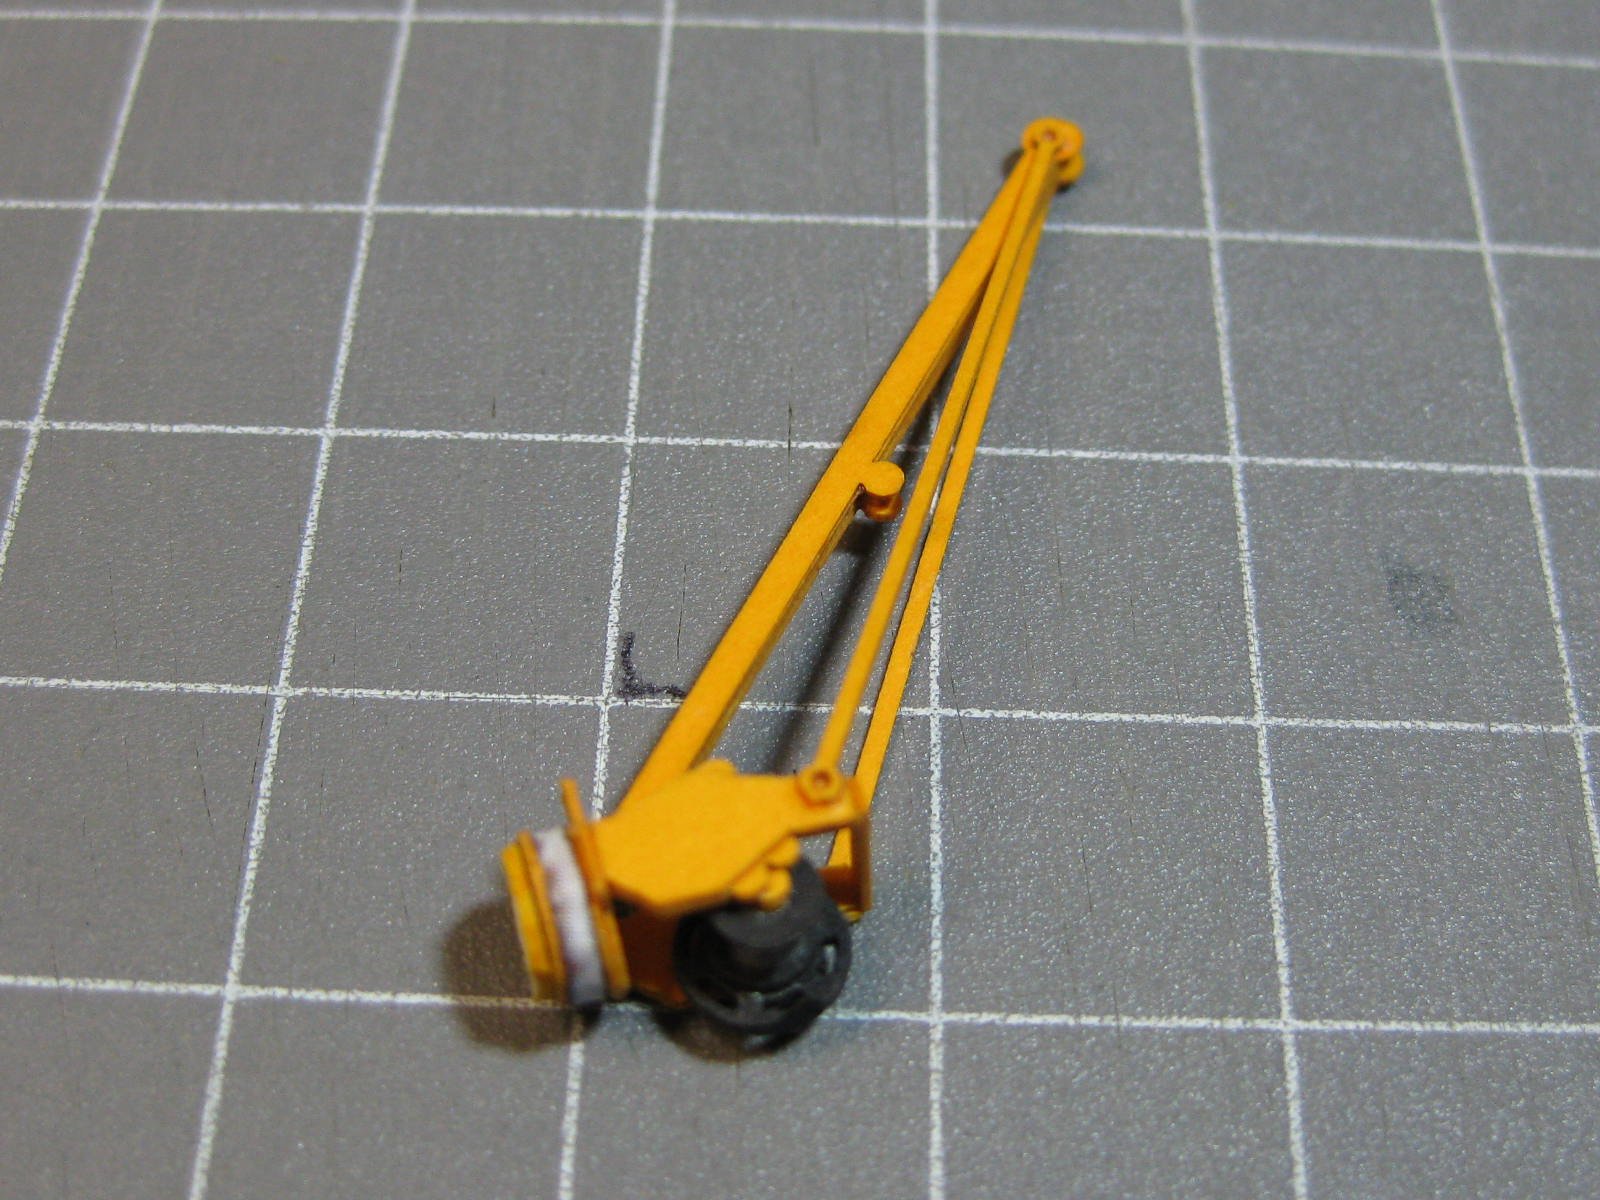
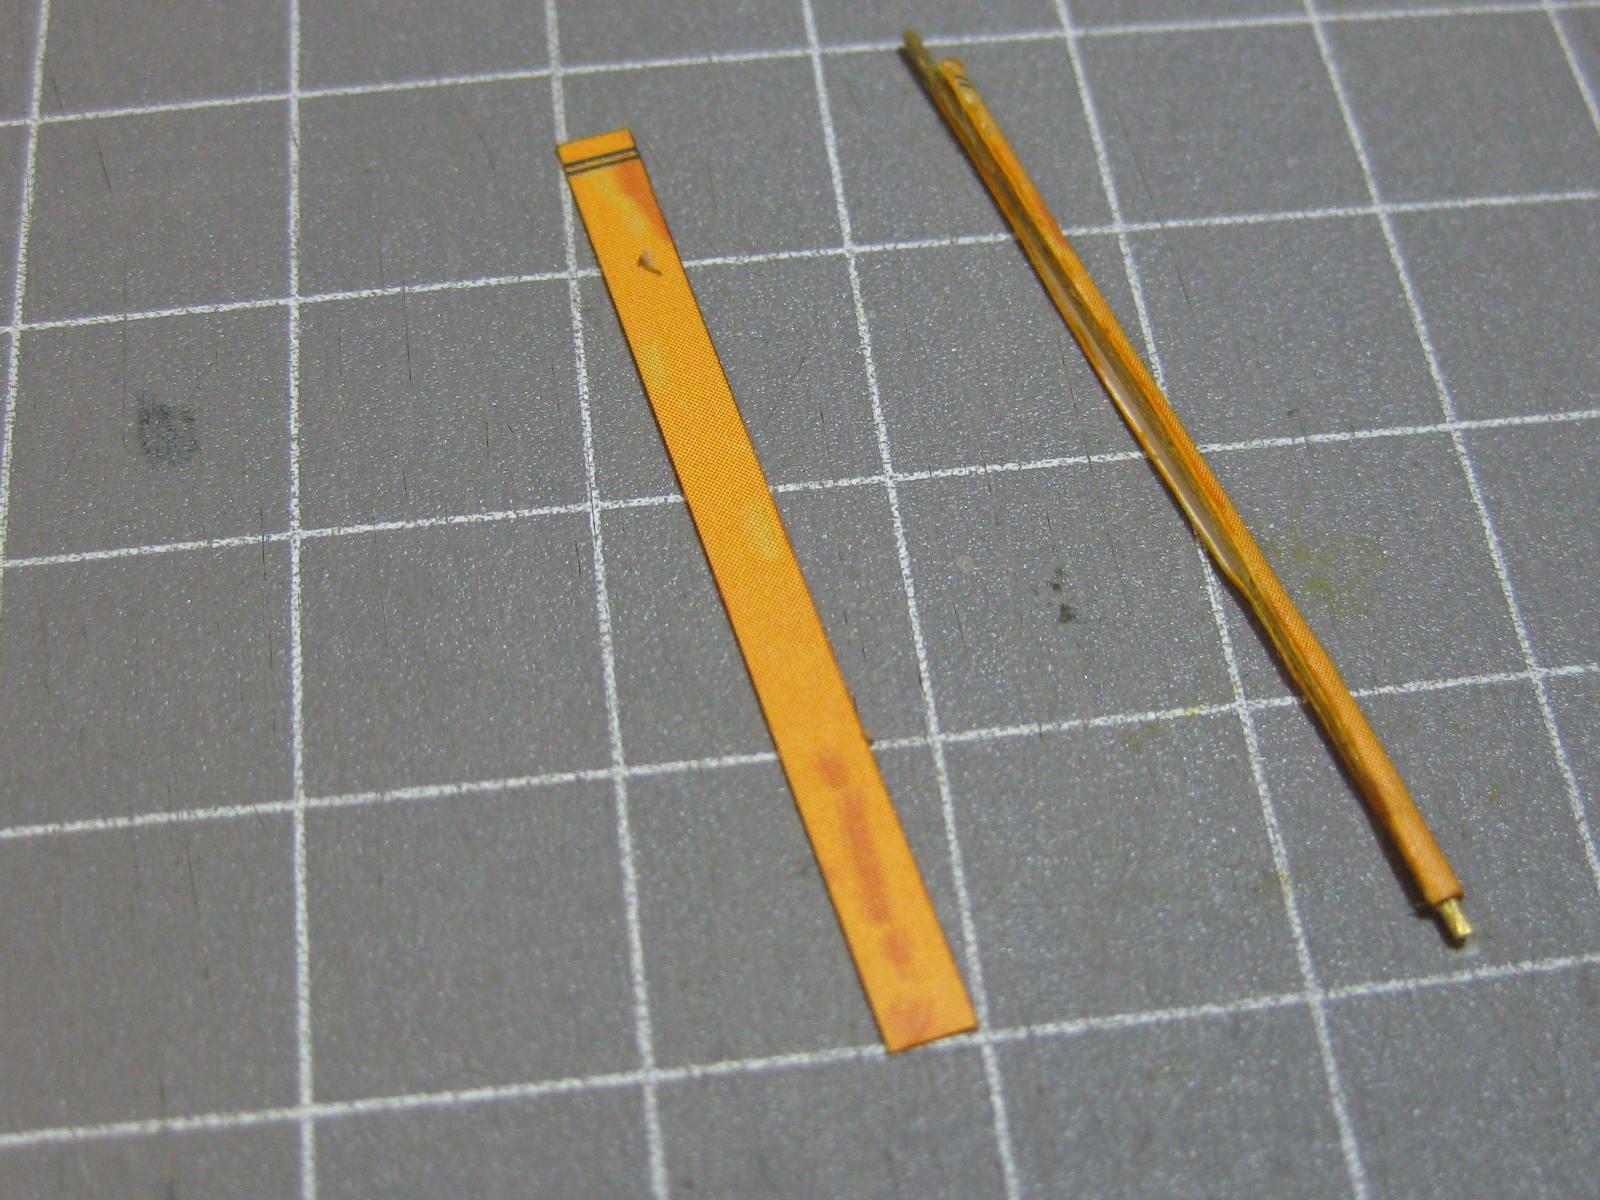
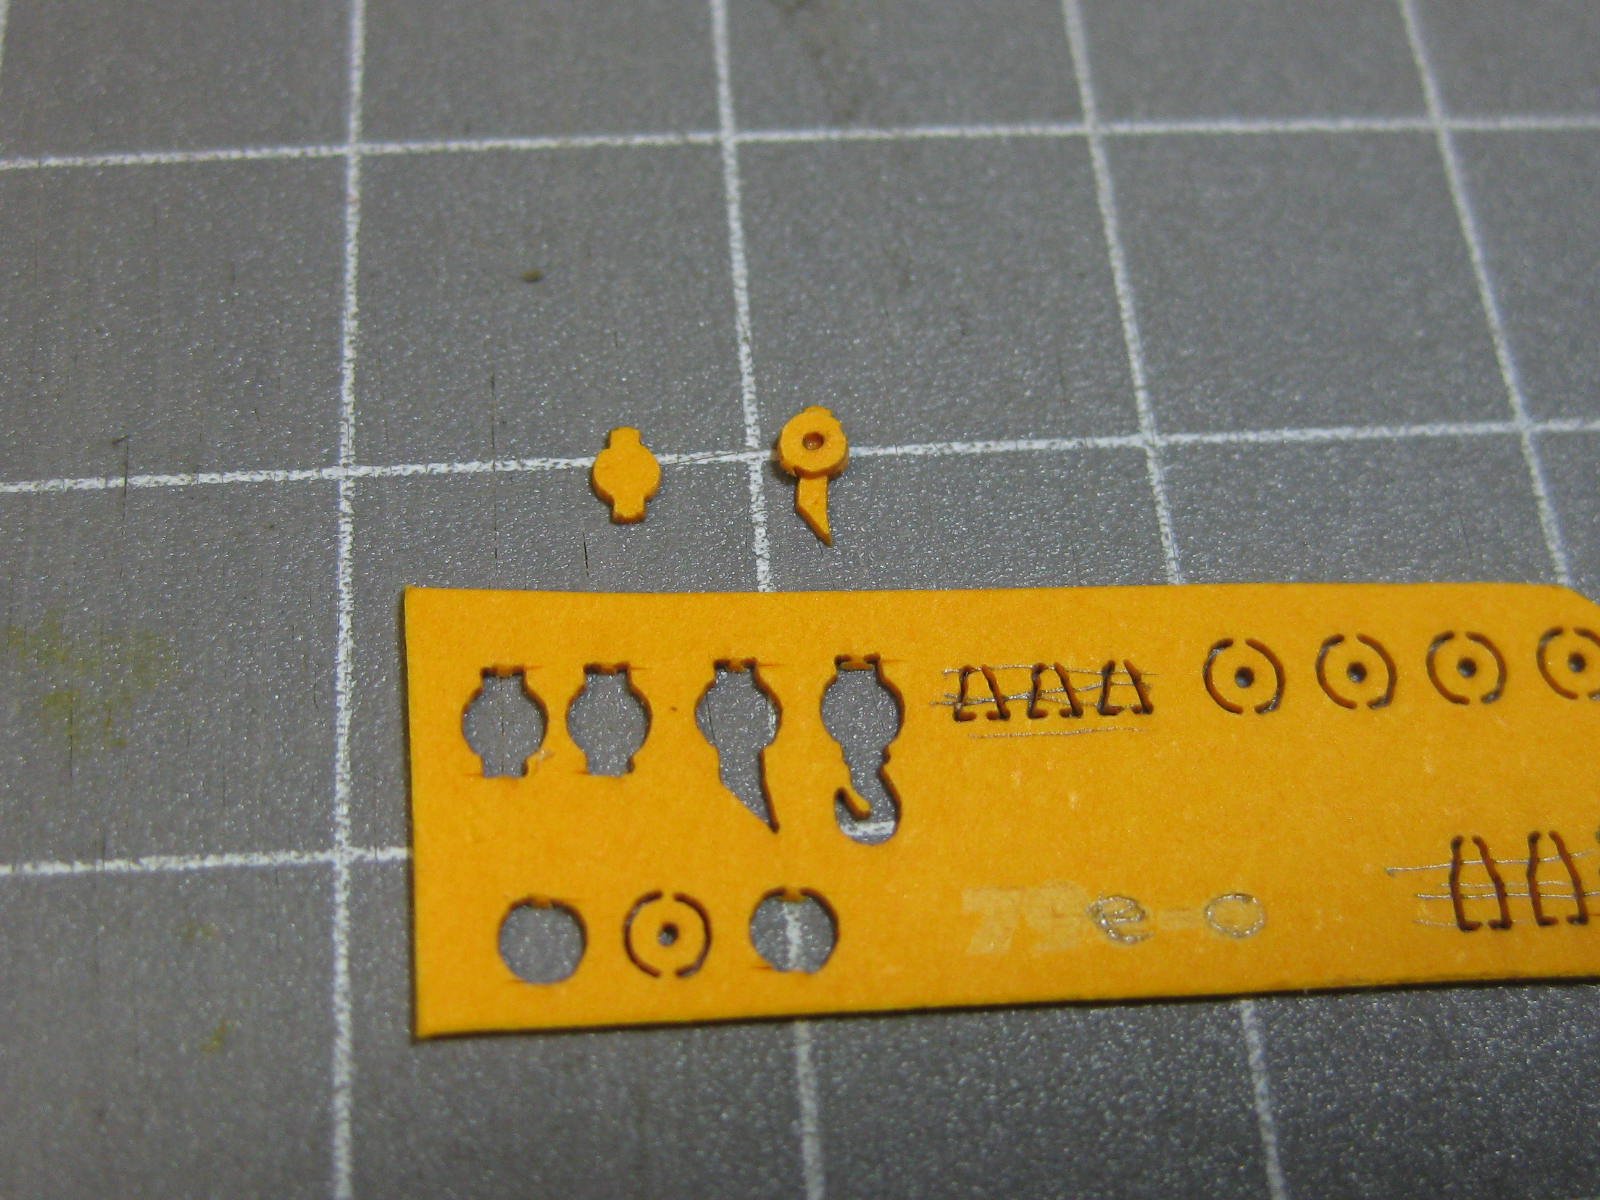
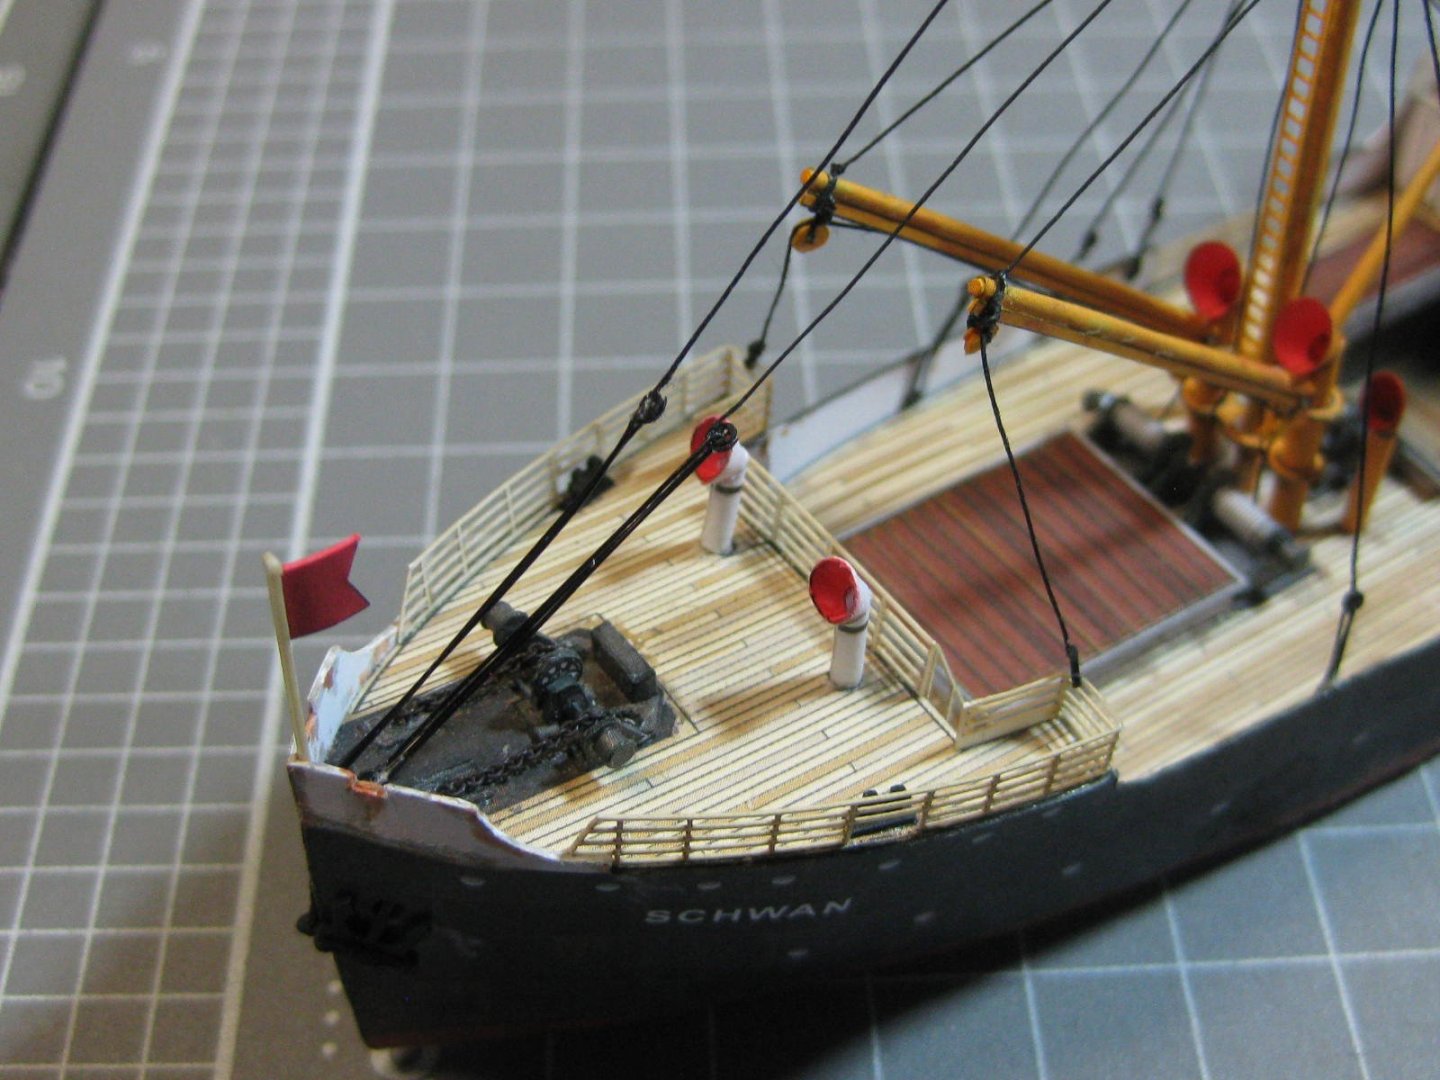
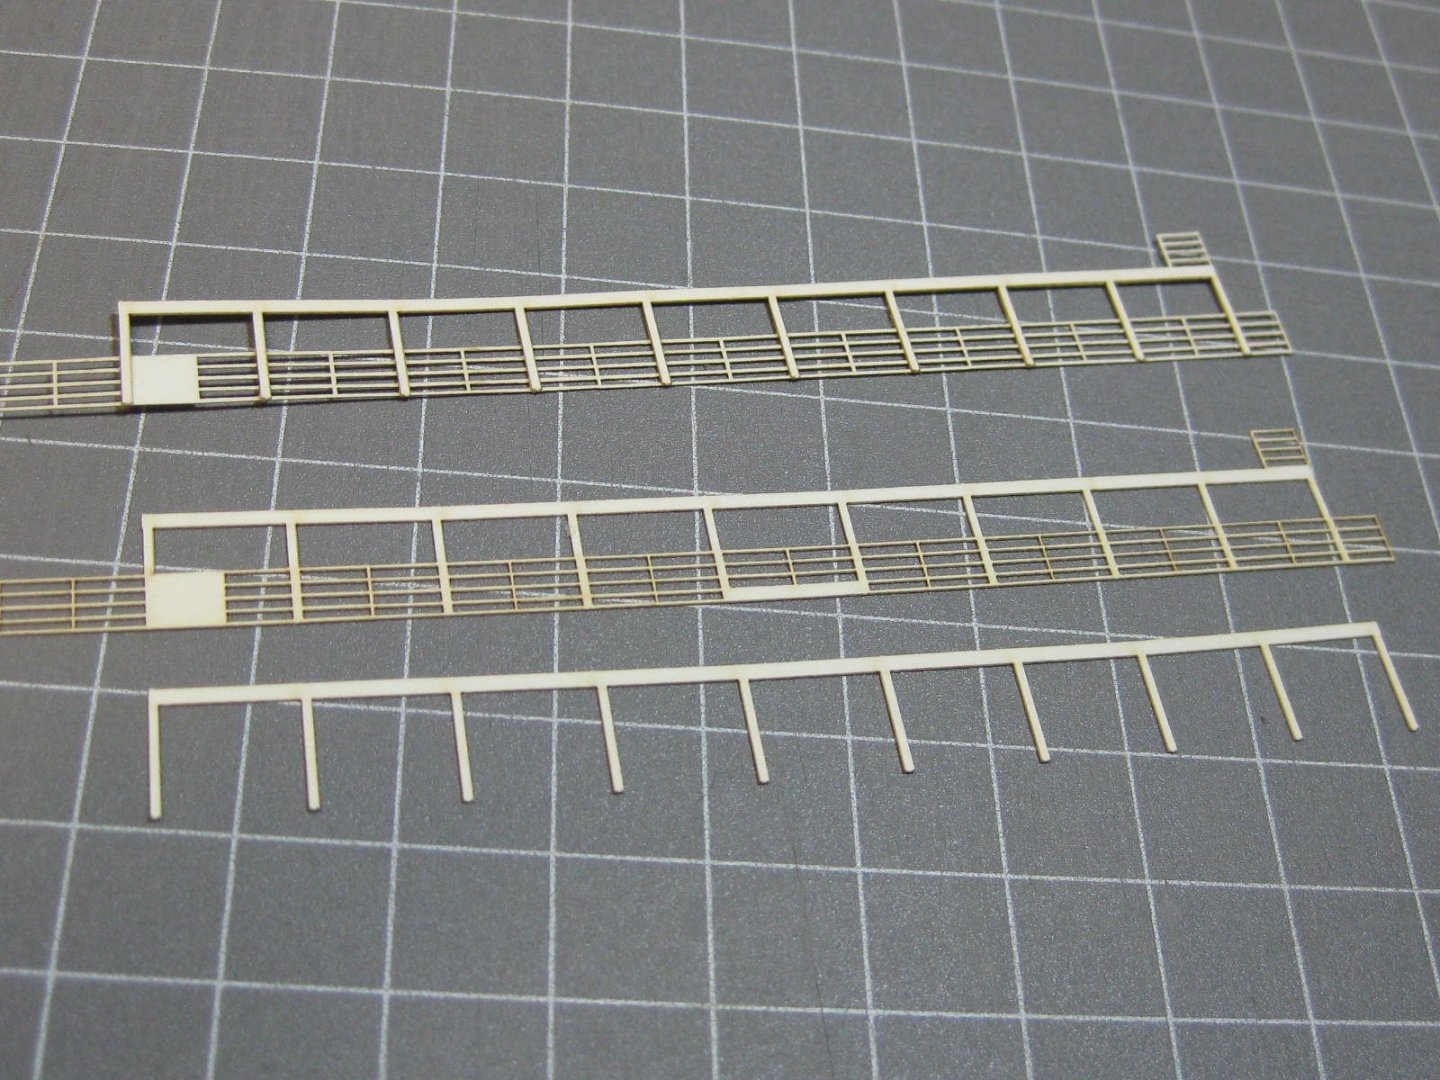
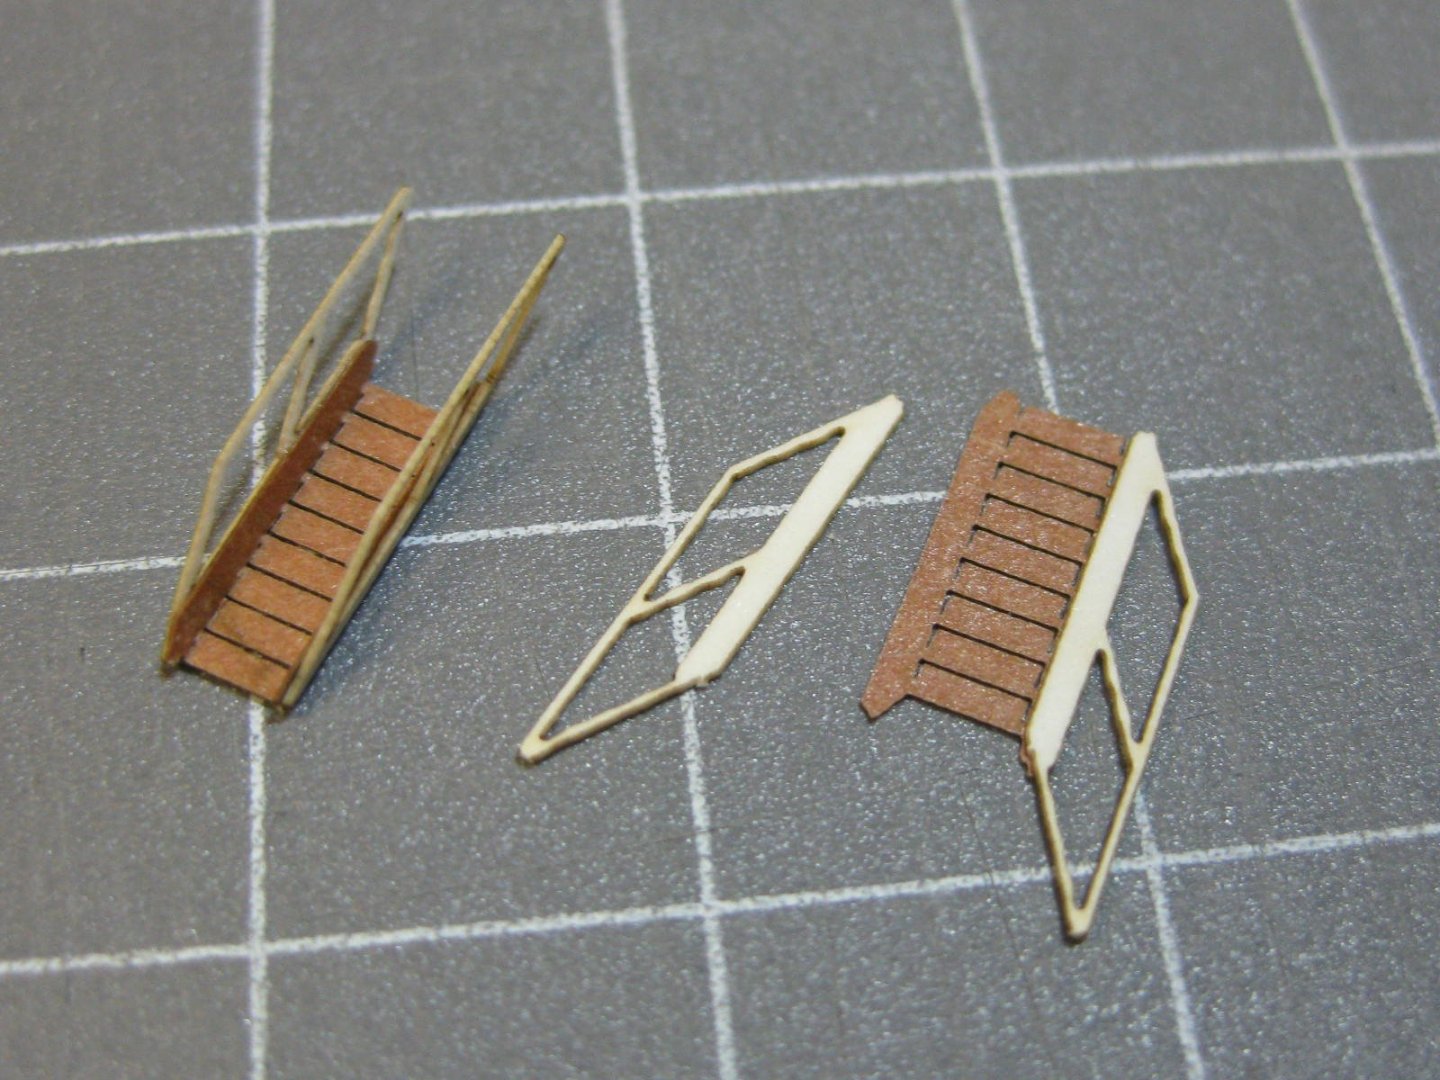
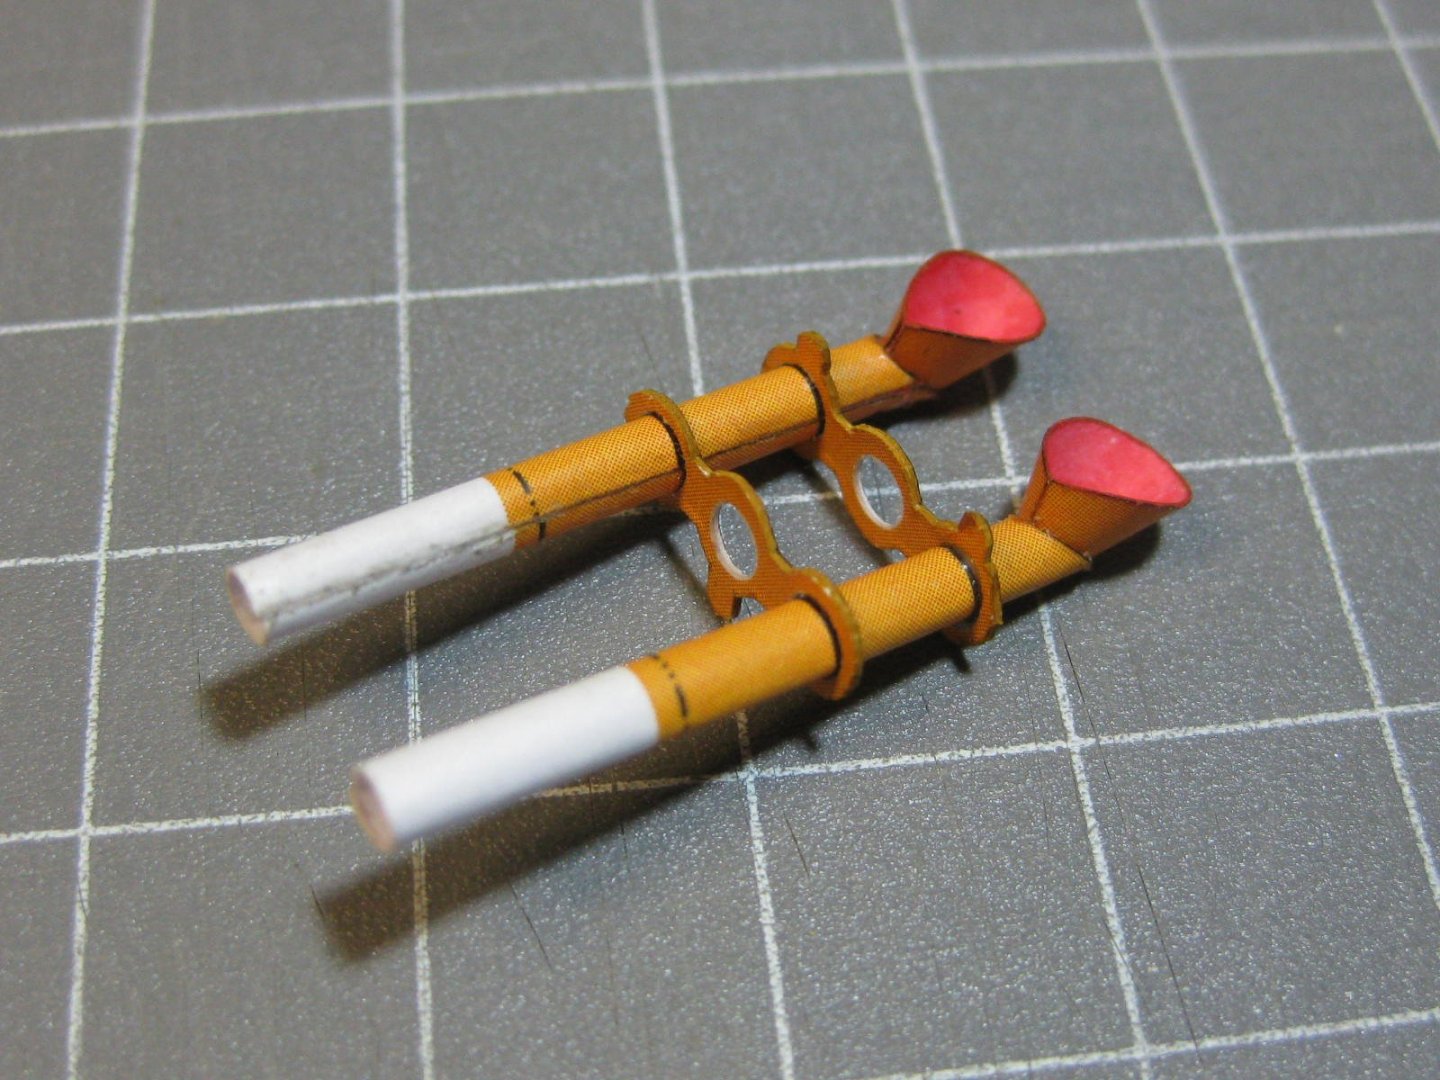
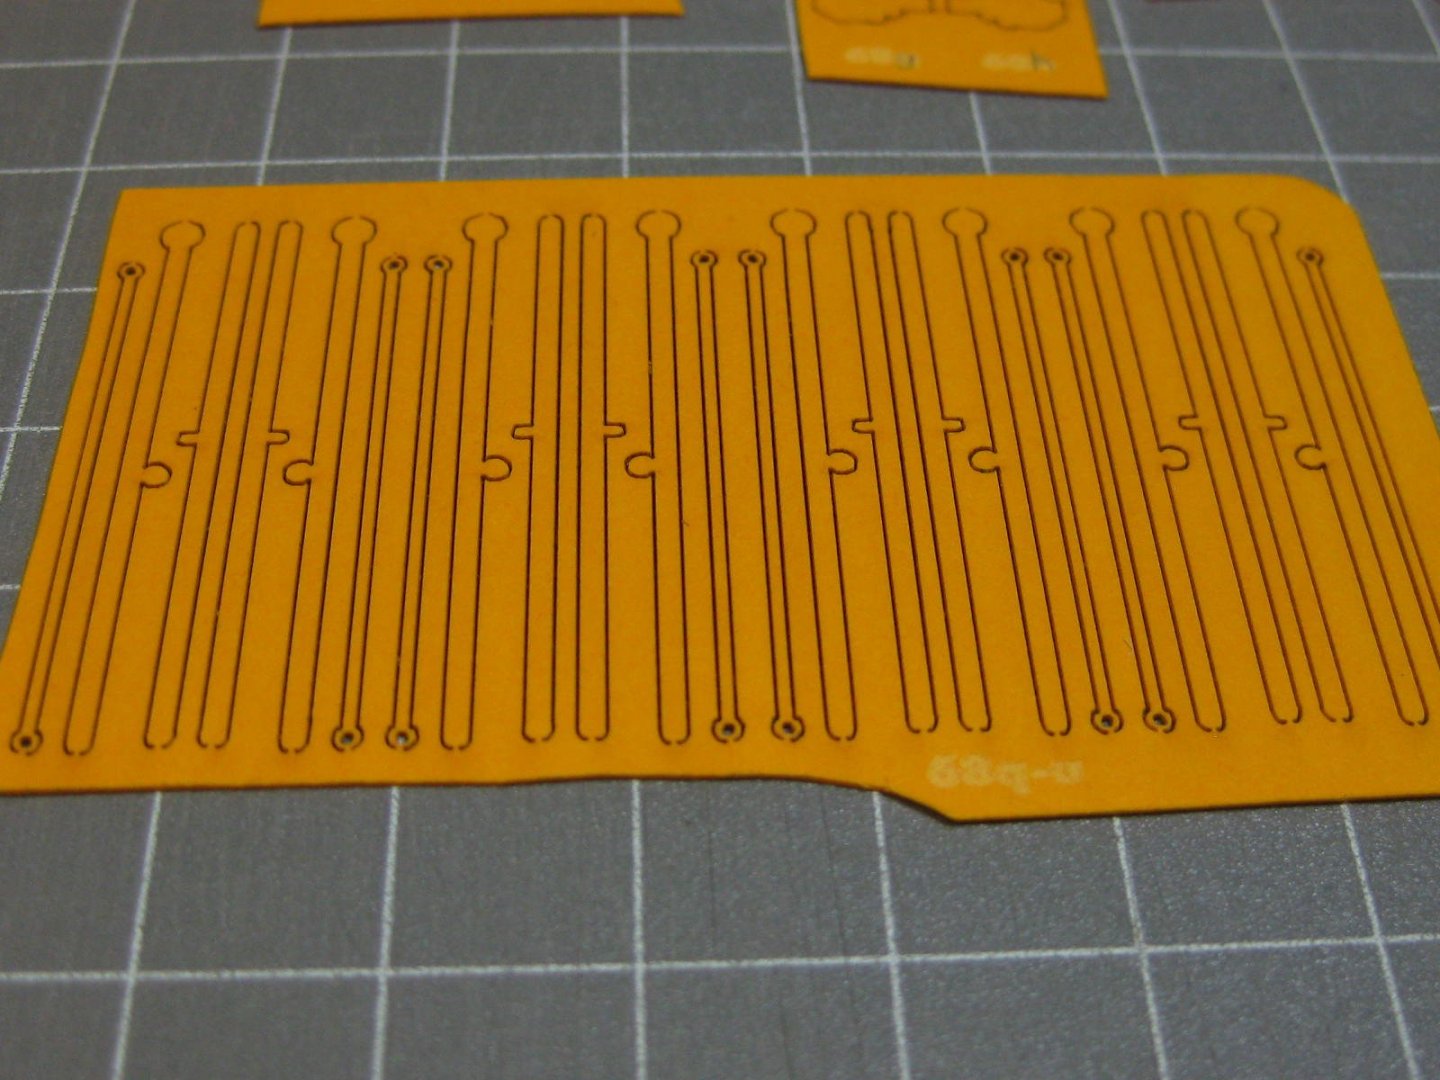
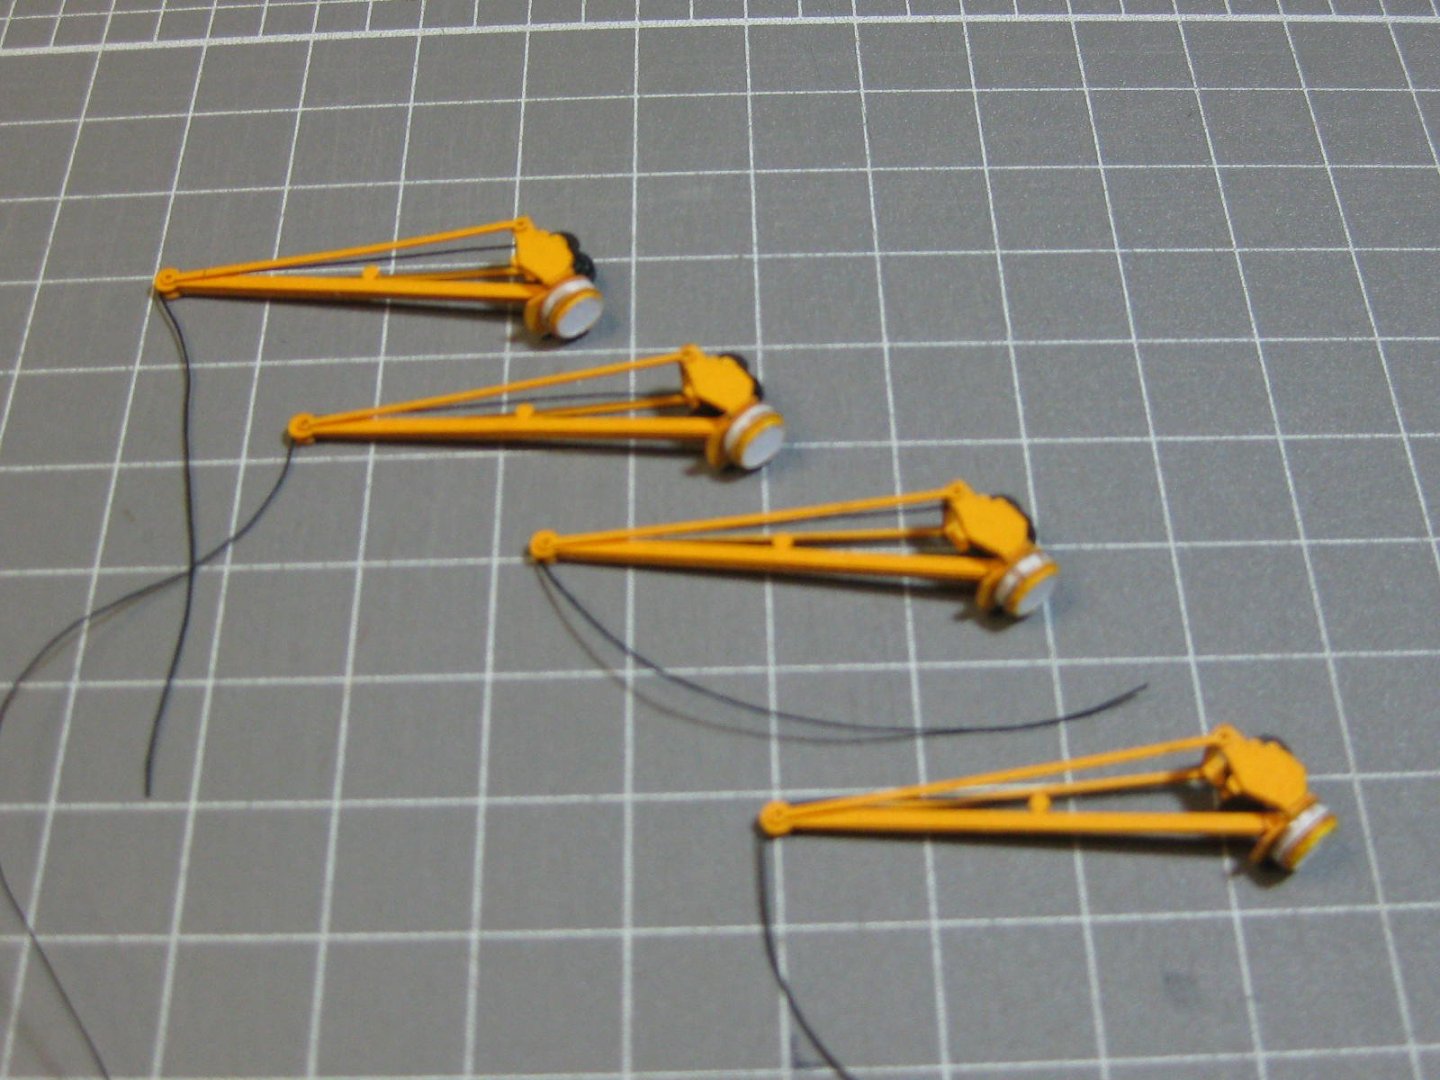
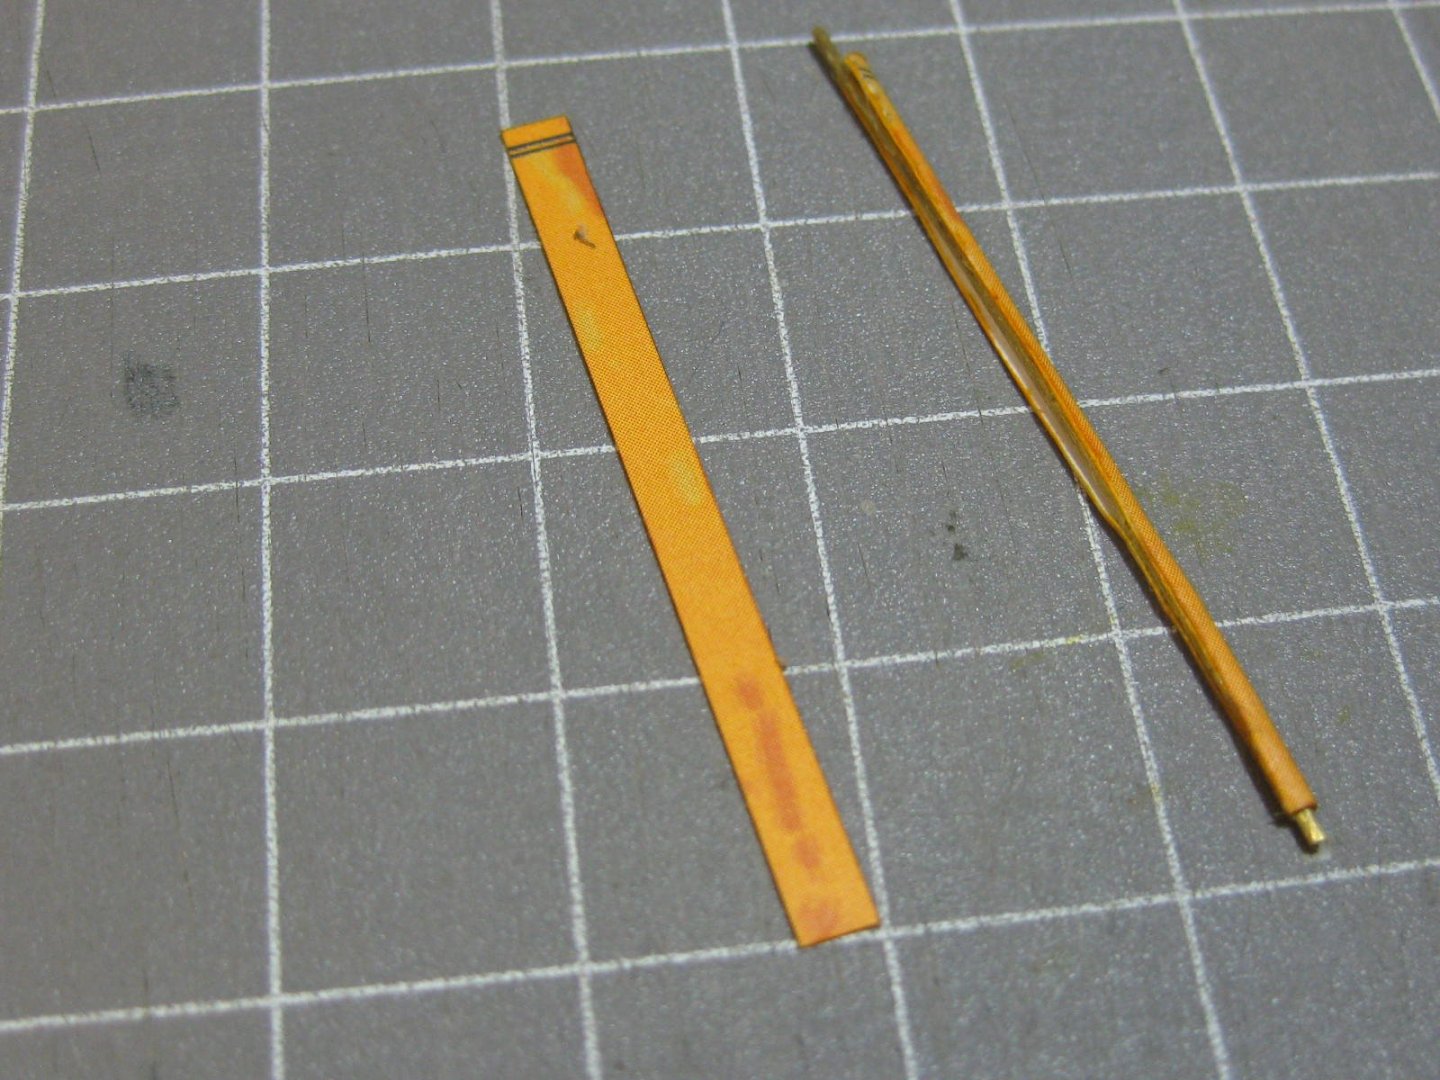
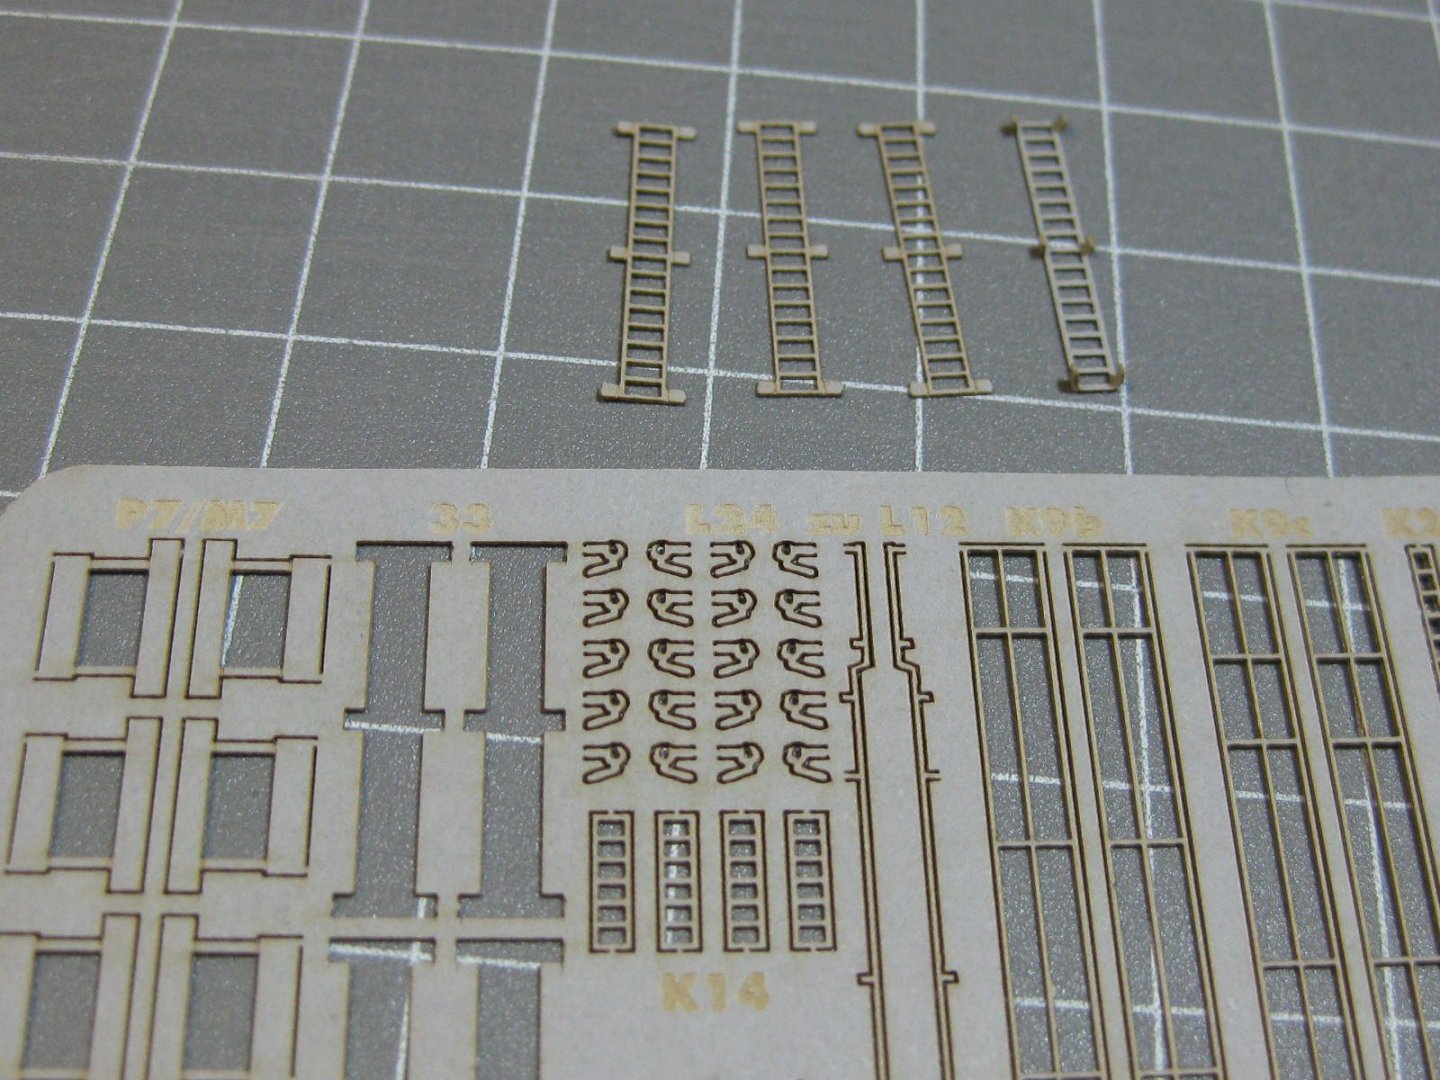
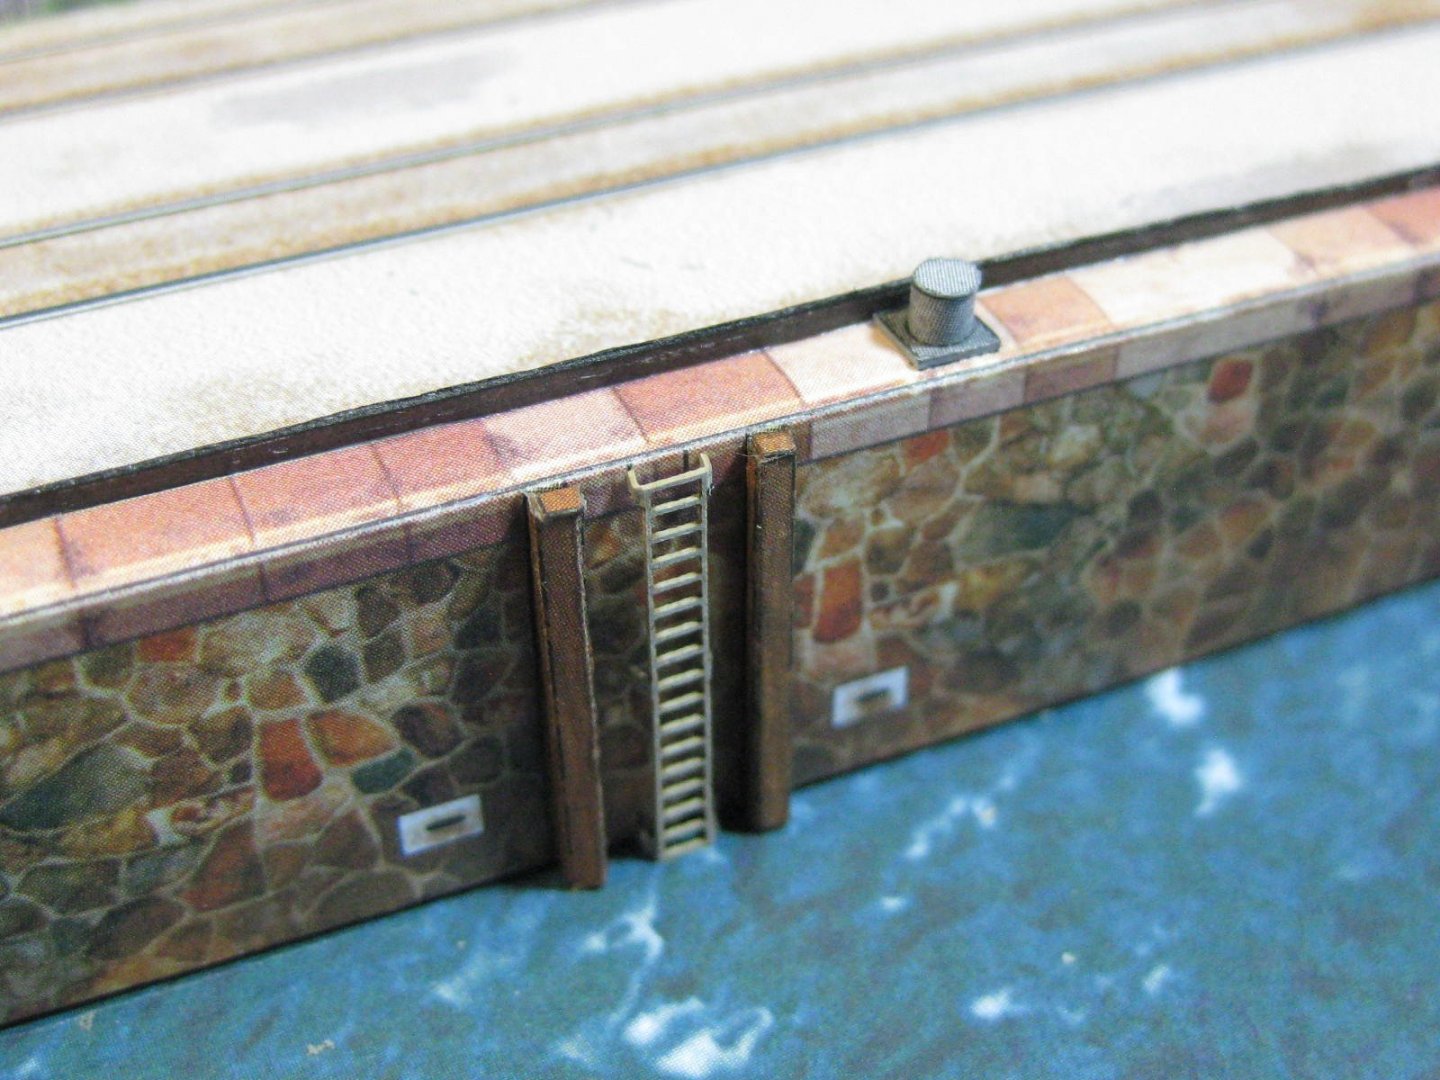
Various laser-cut rails, a companionway and a winch : Bollards, Ventilators and ship-board cranes : TBC ..........


- 29 replies
-
- 27
-
-
- hmw
- Hamburg Harbor
- (and 2 more)
-
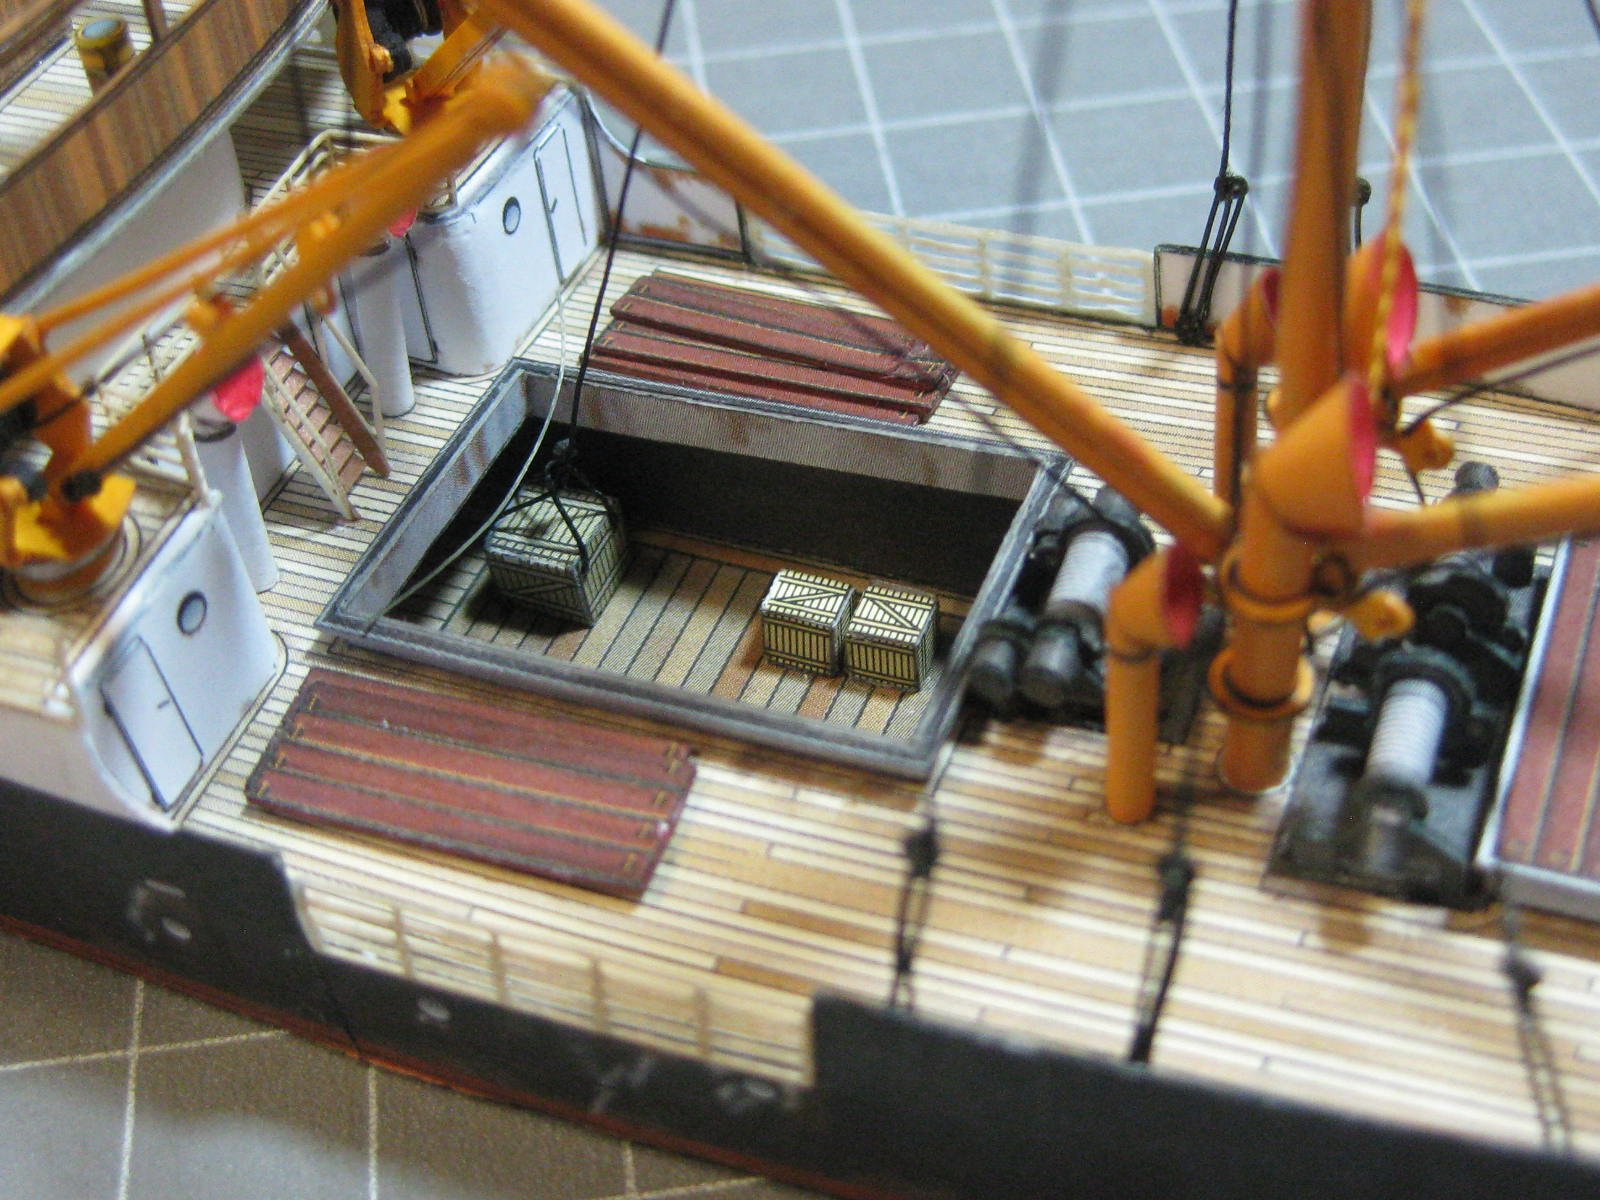
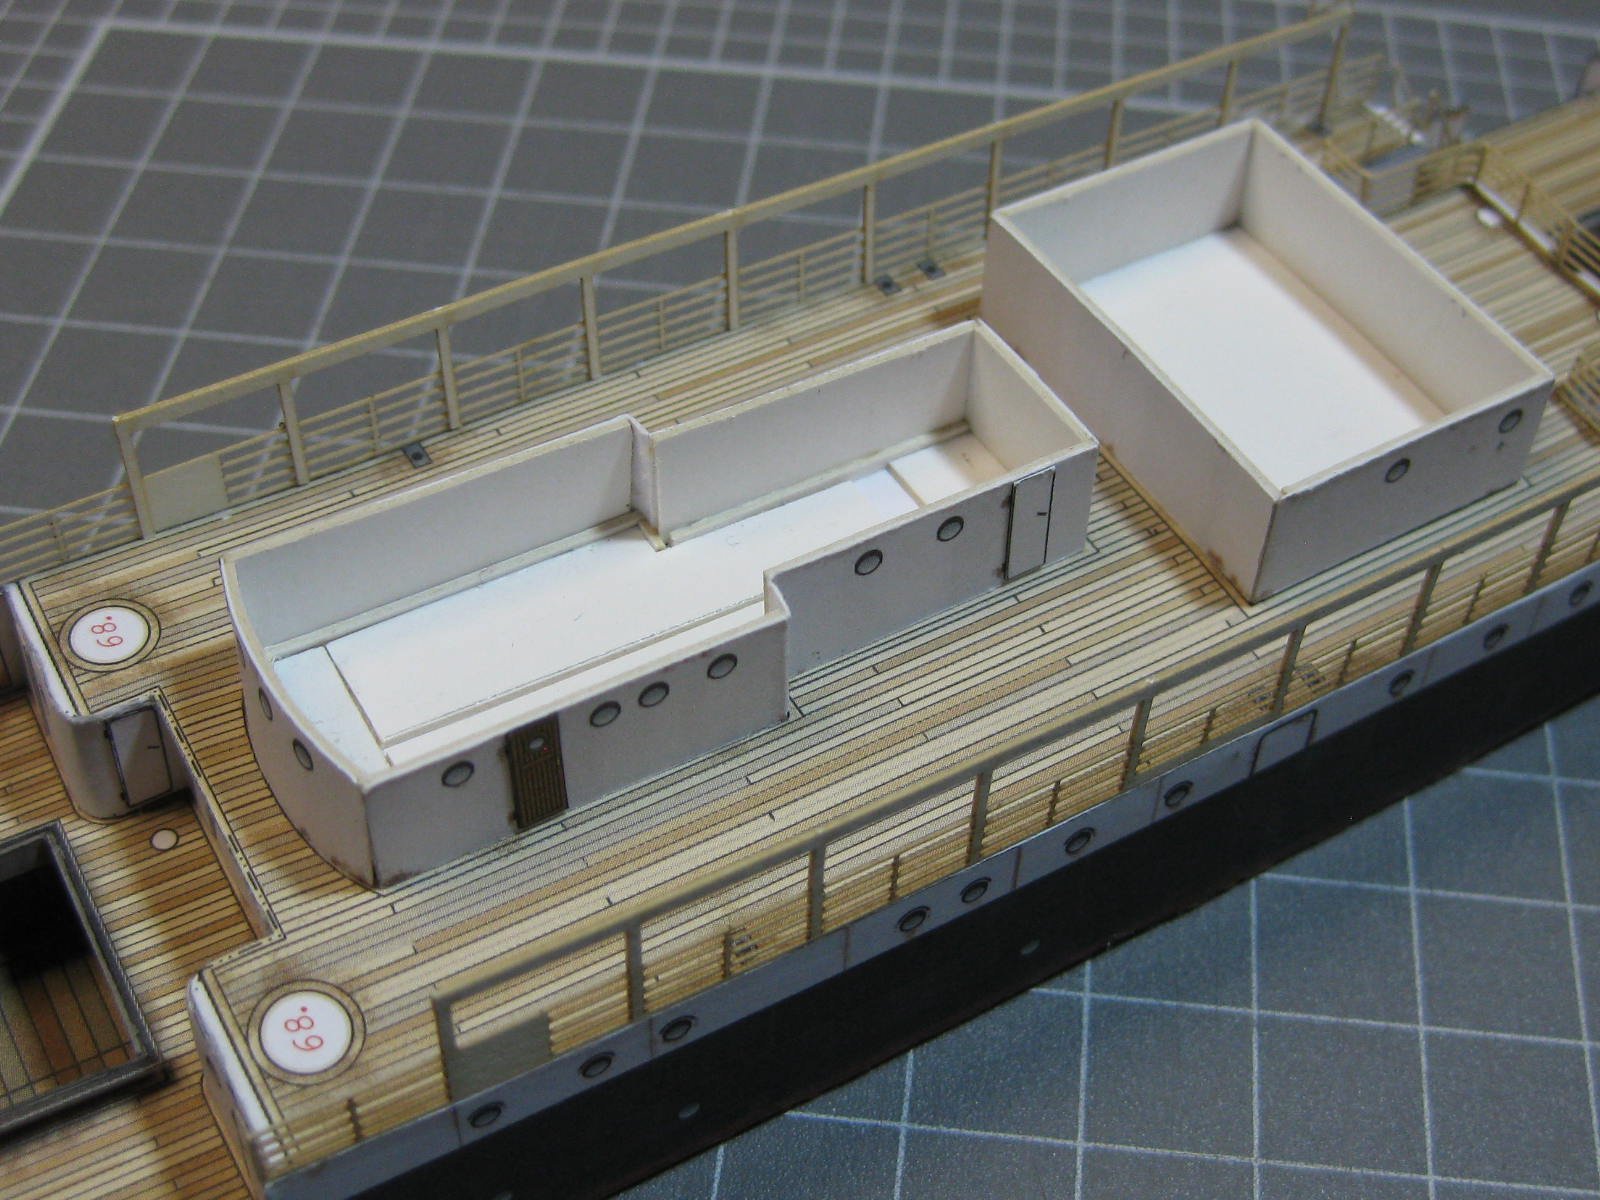
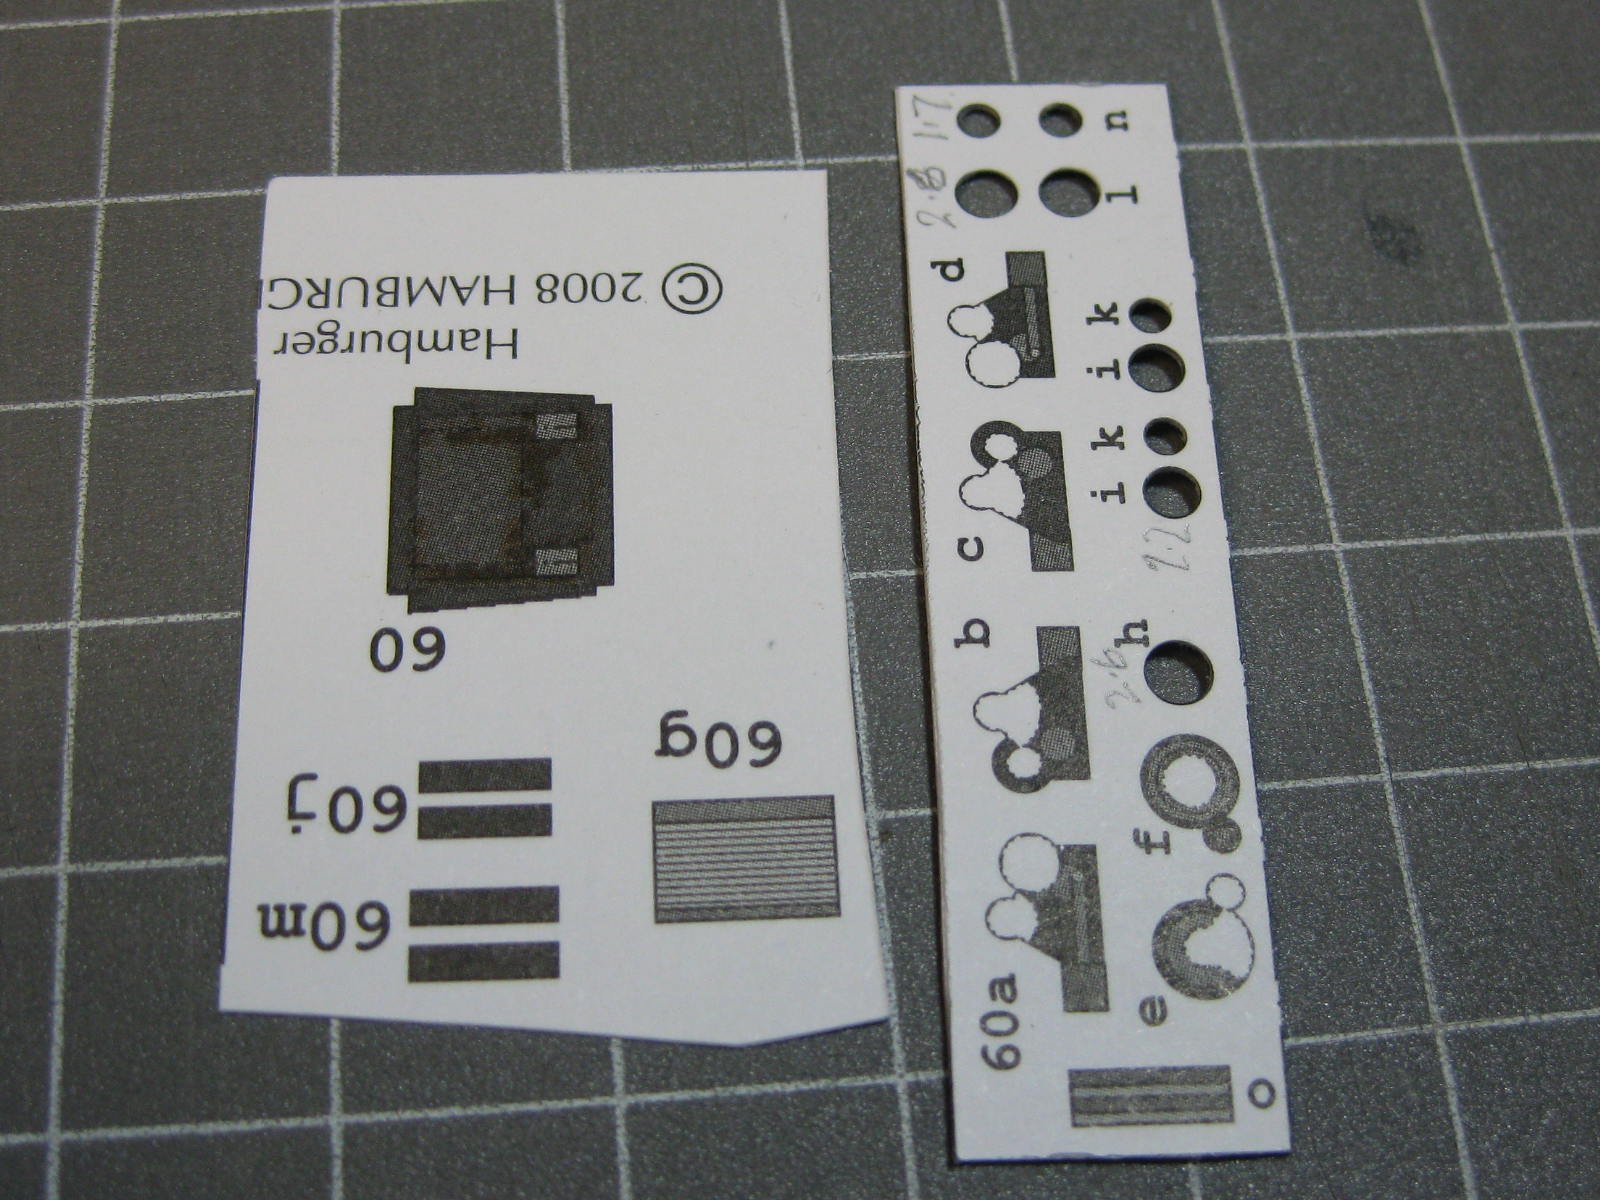
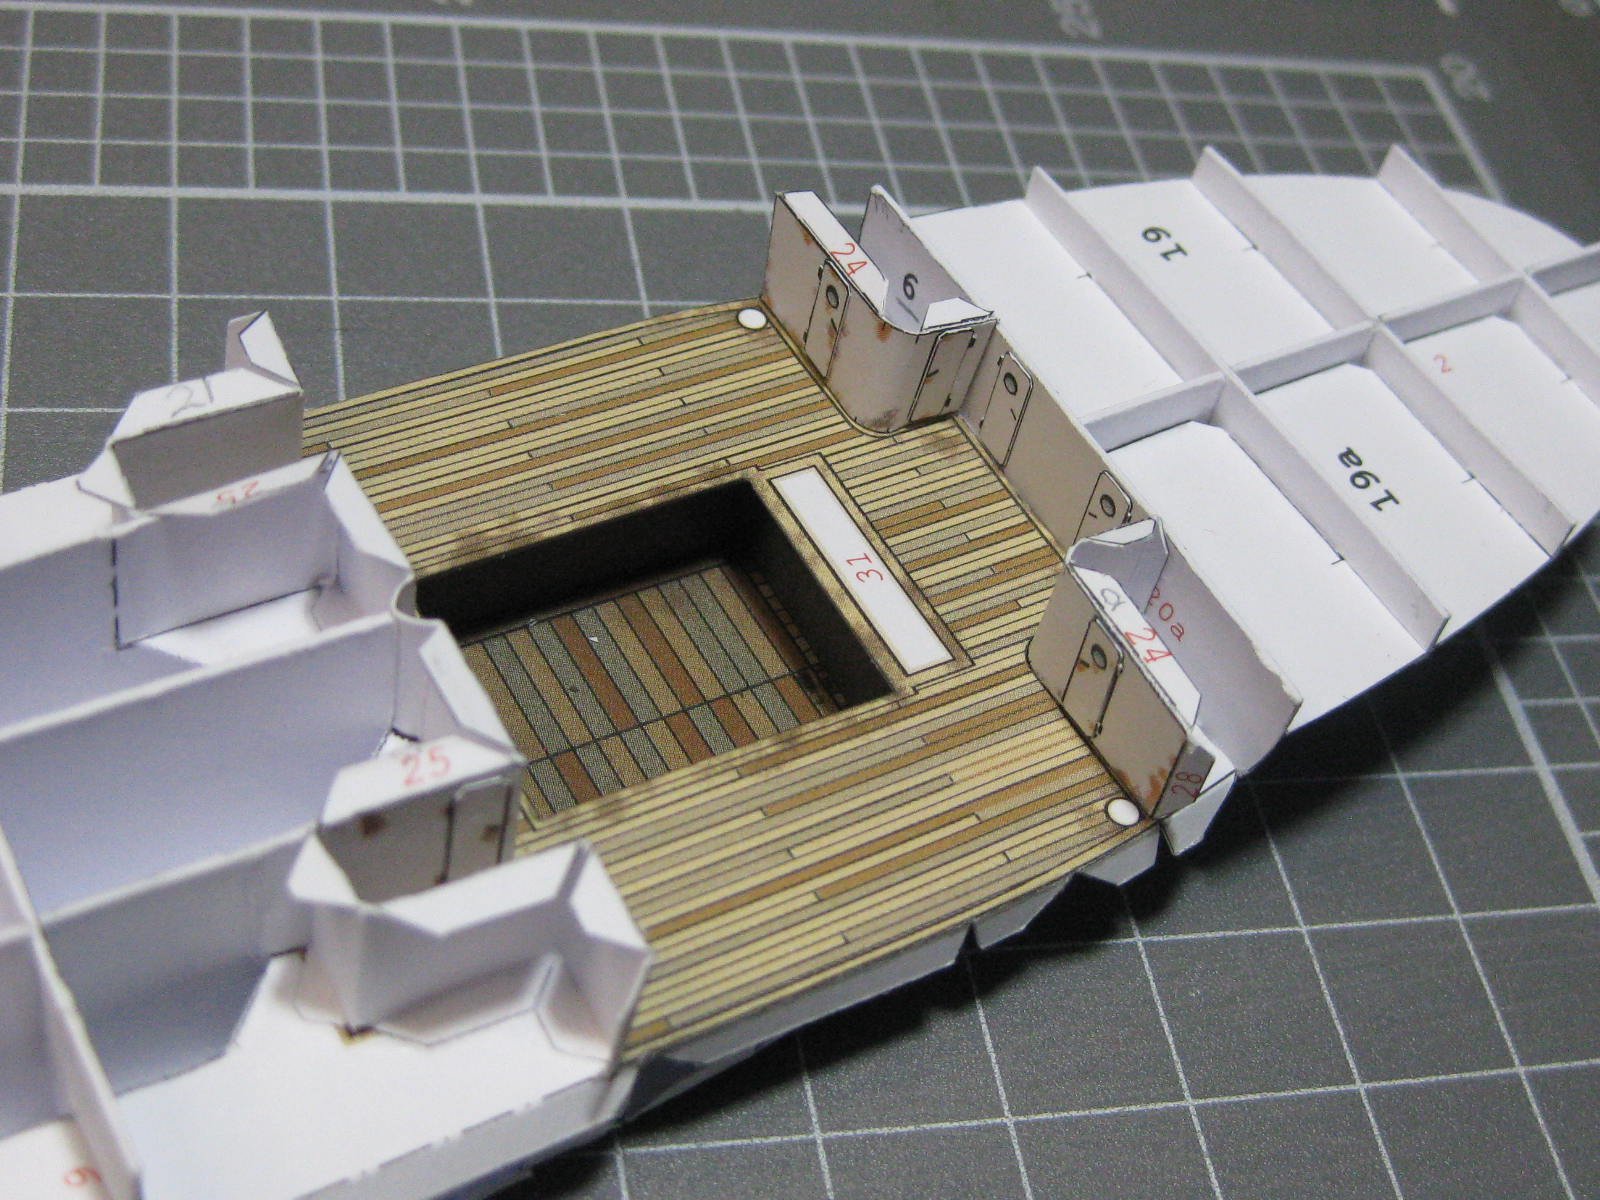
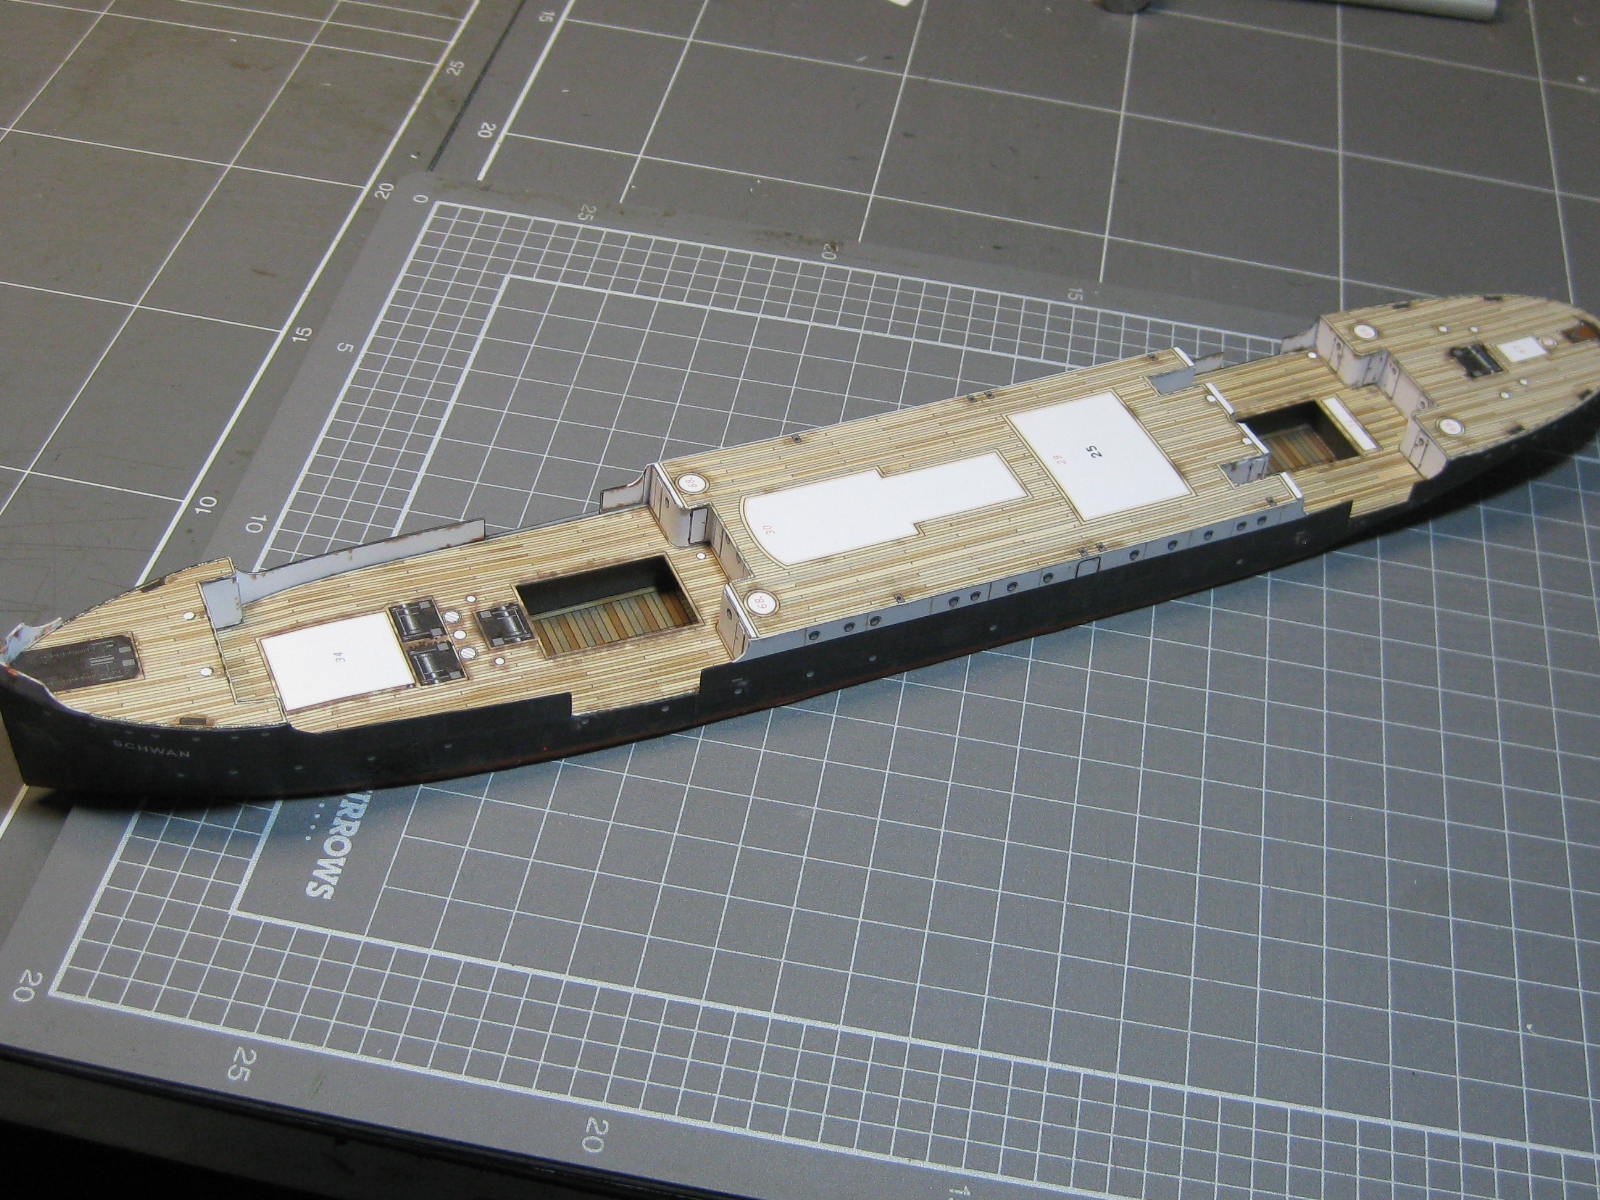
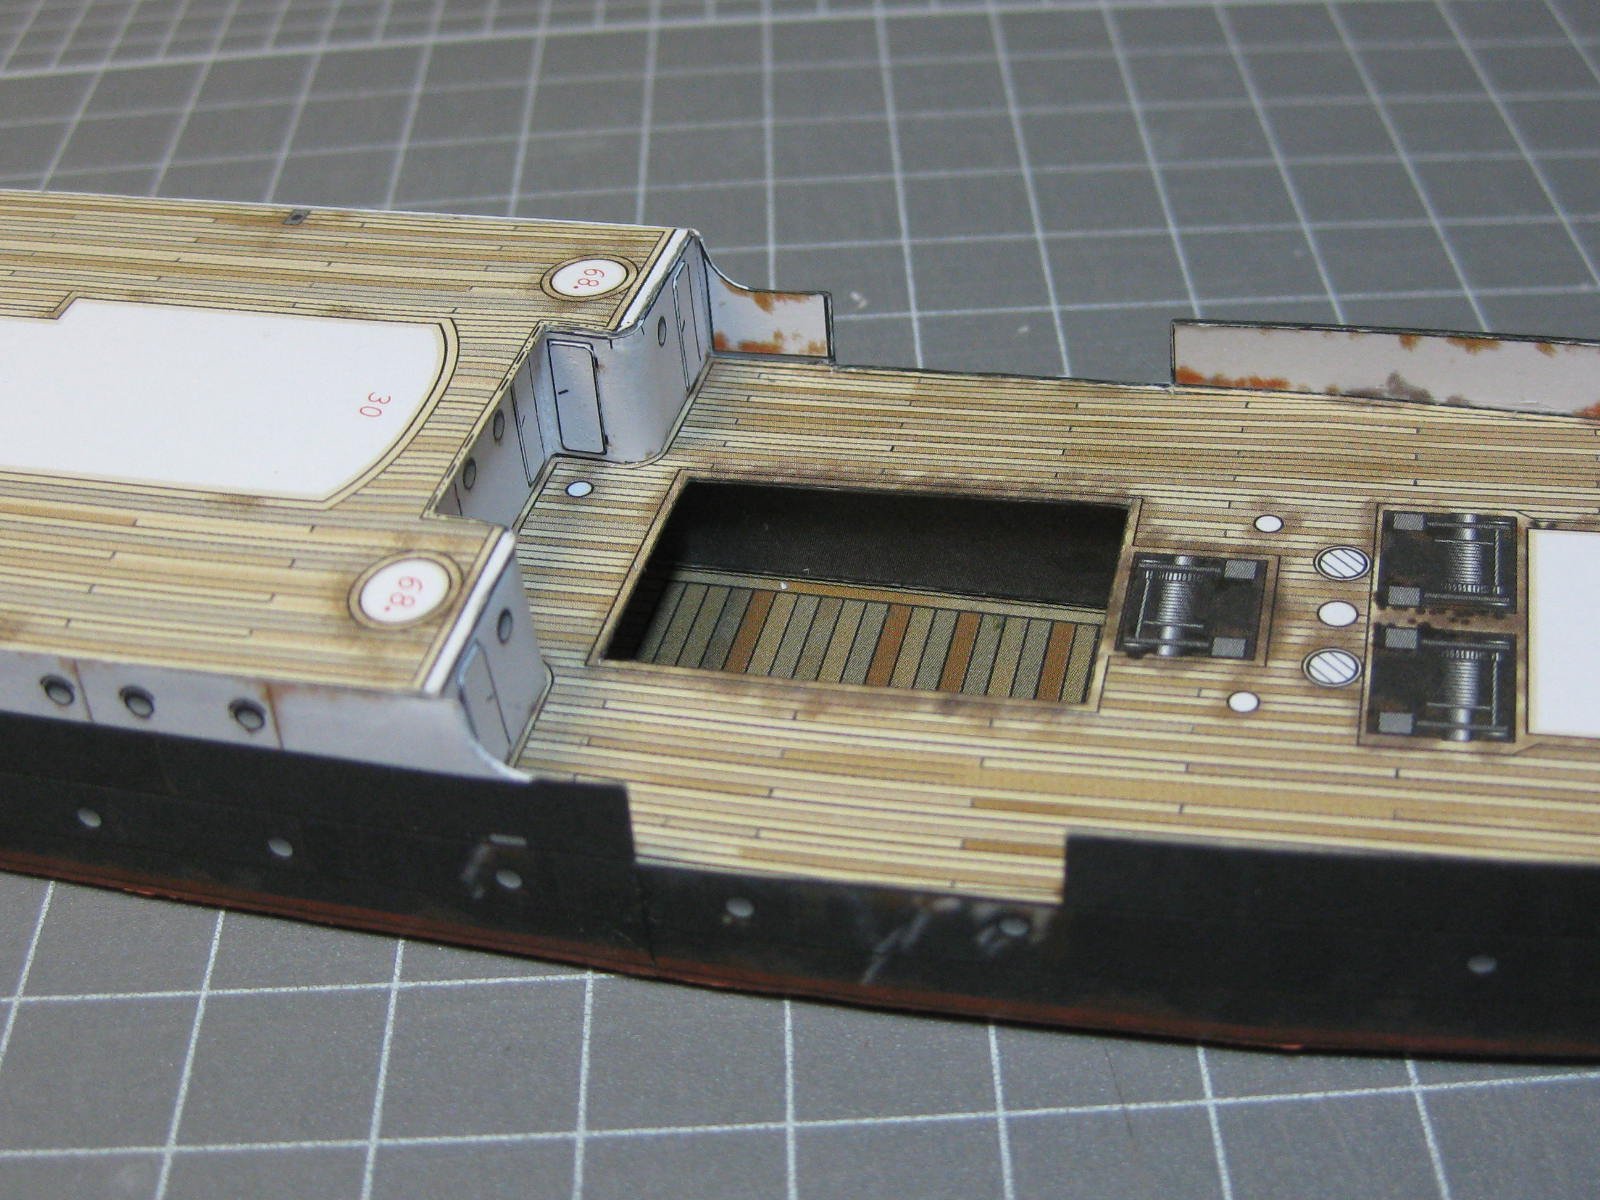
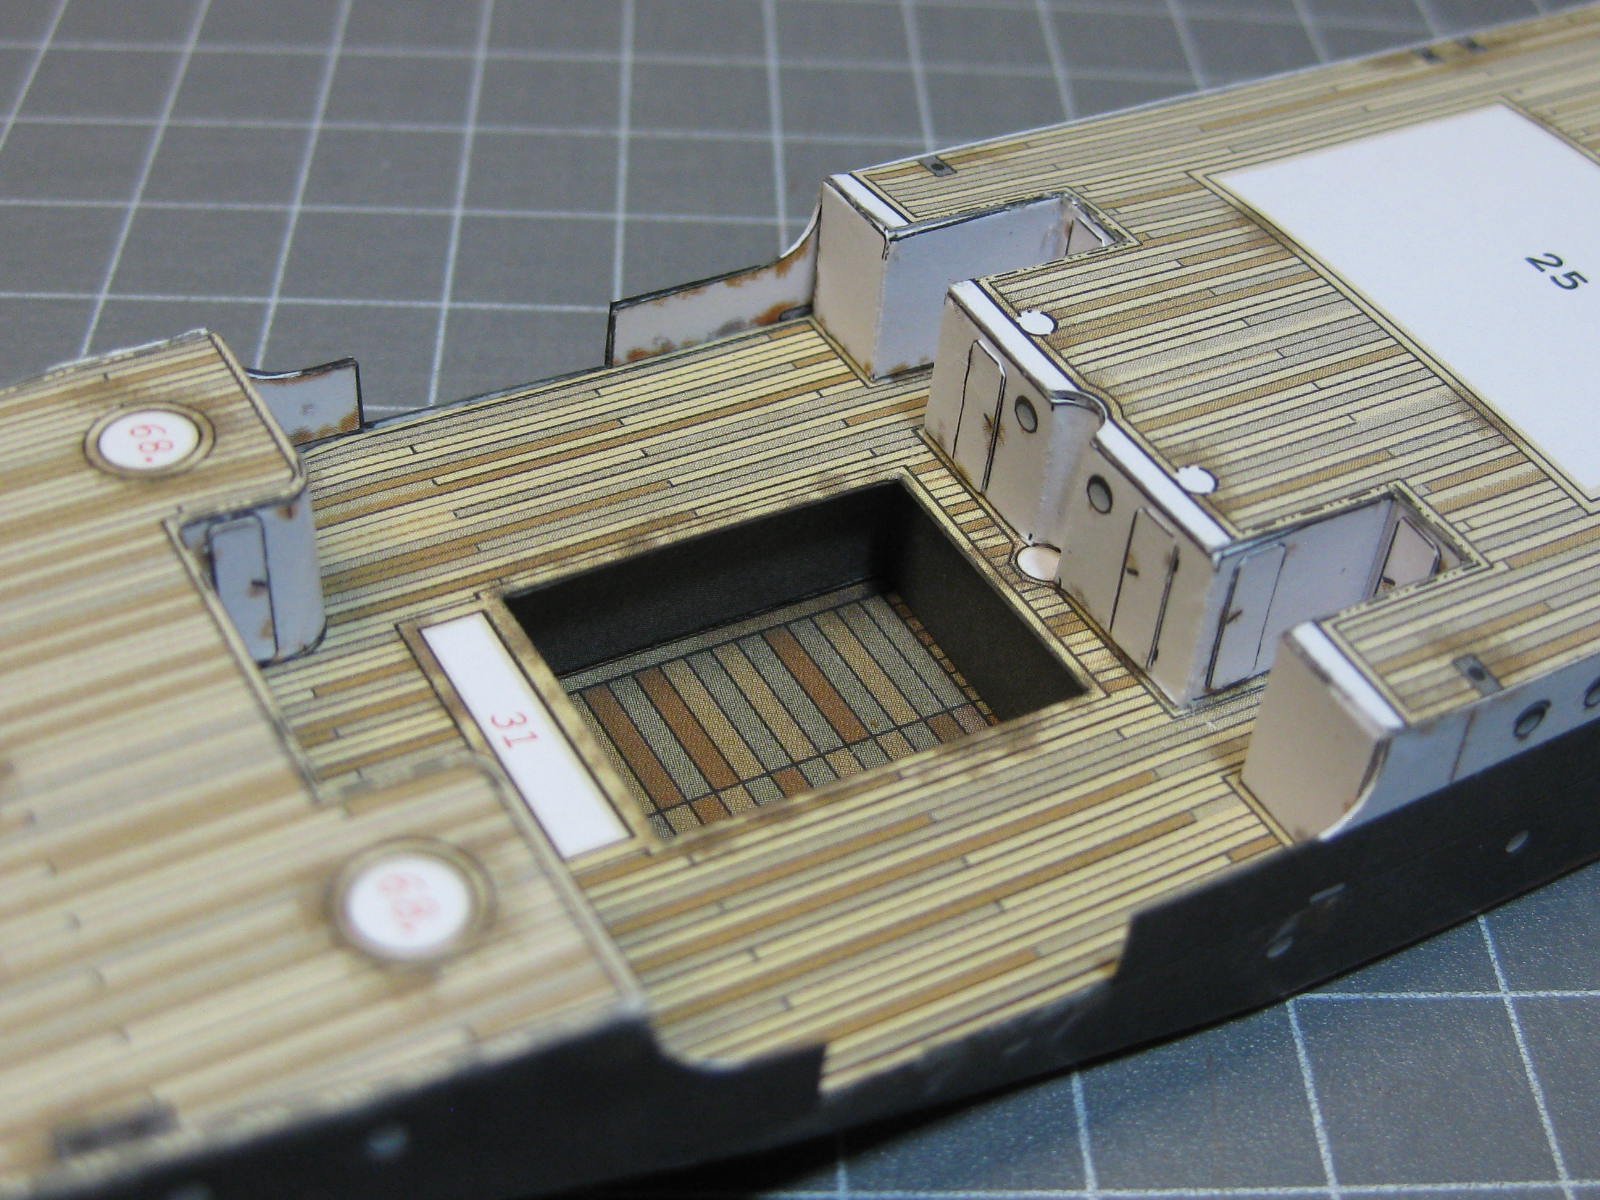
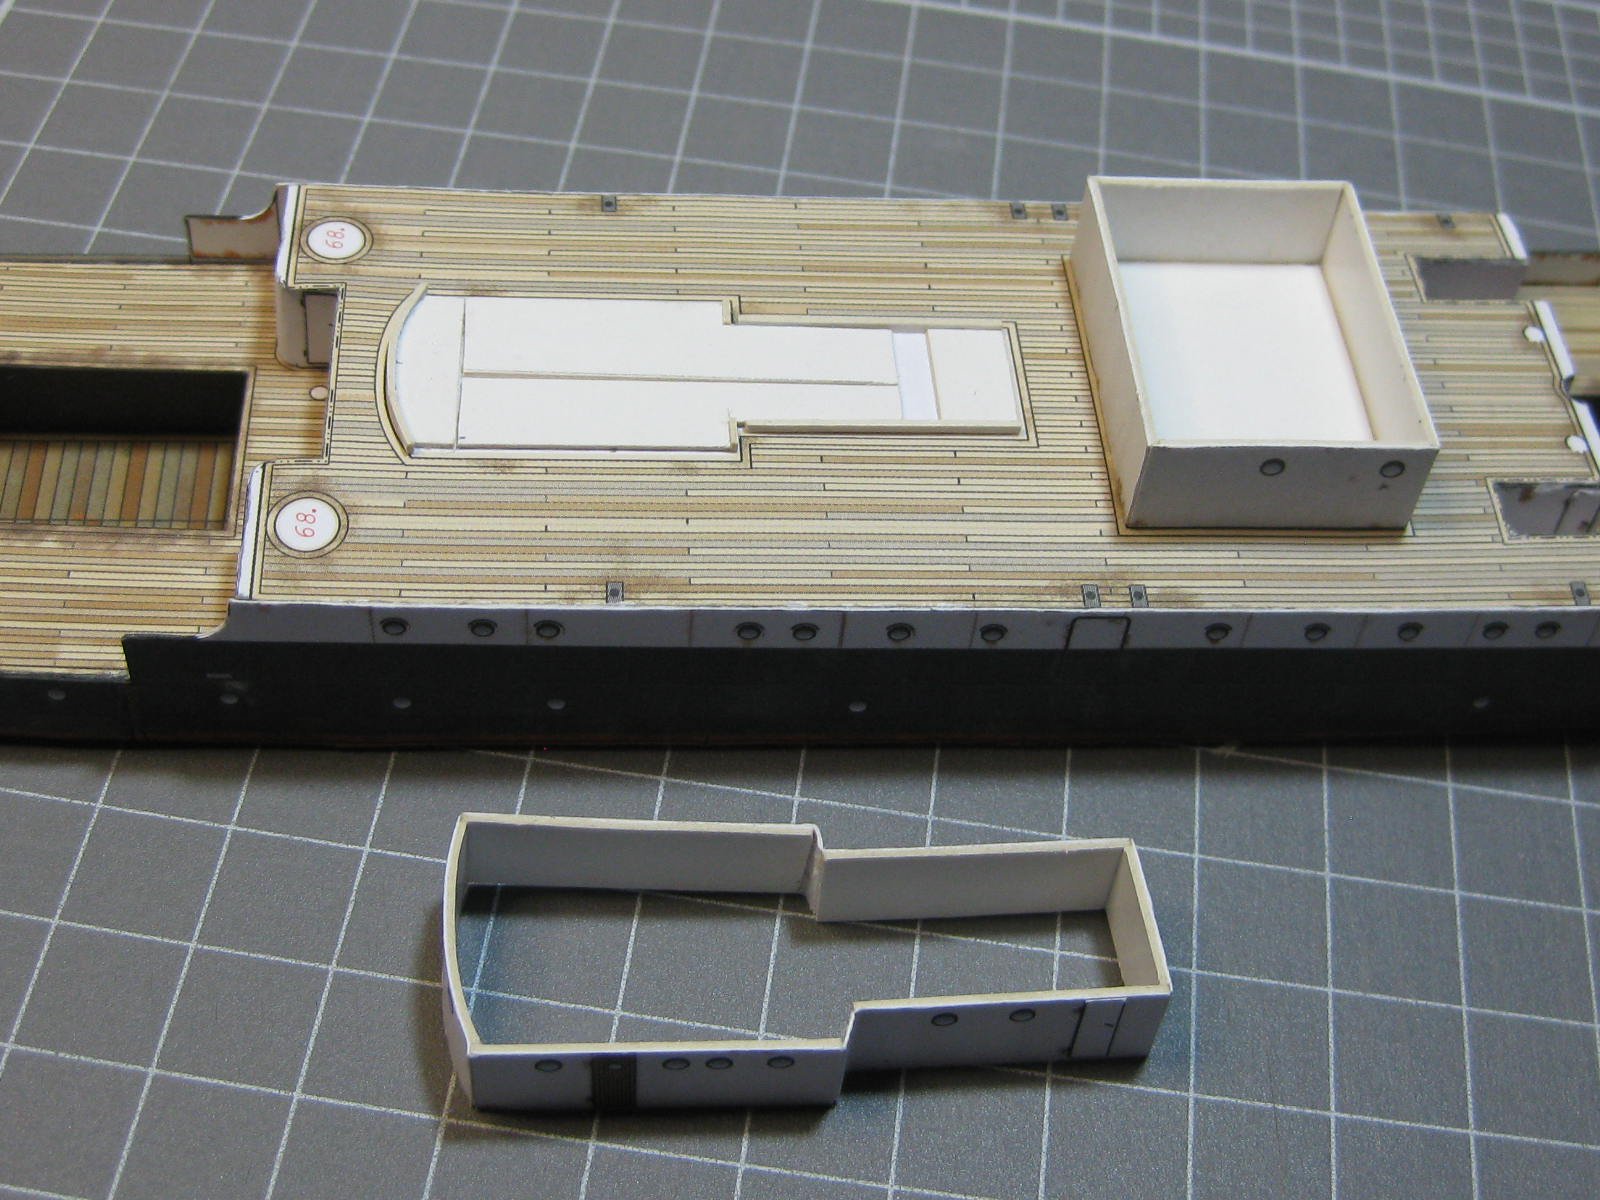
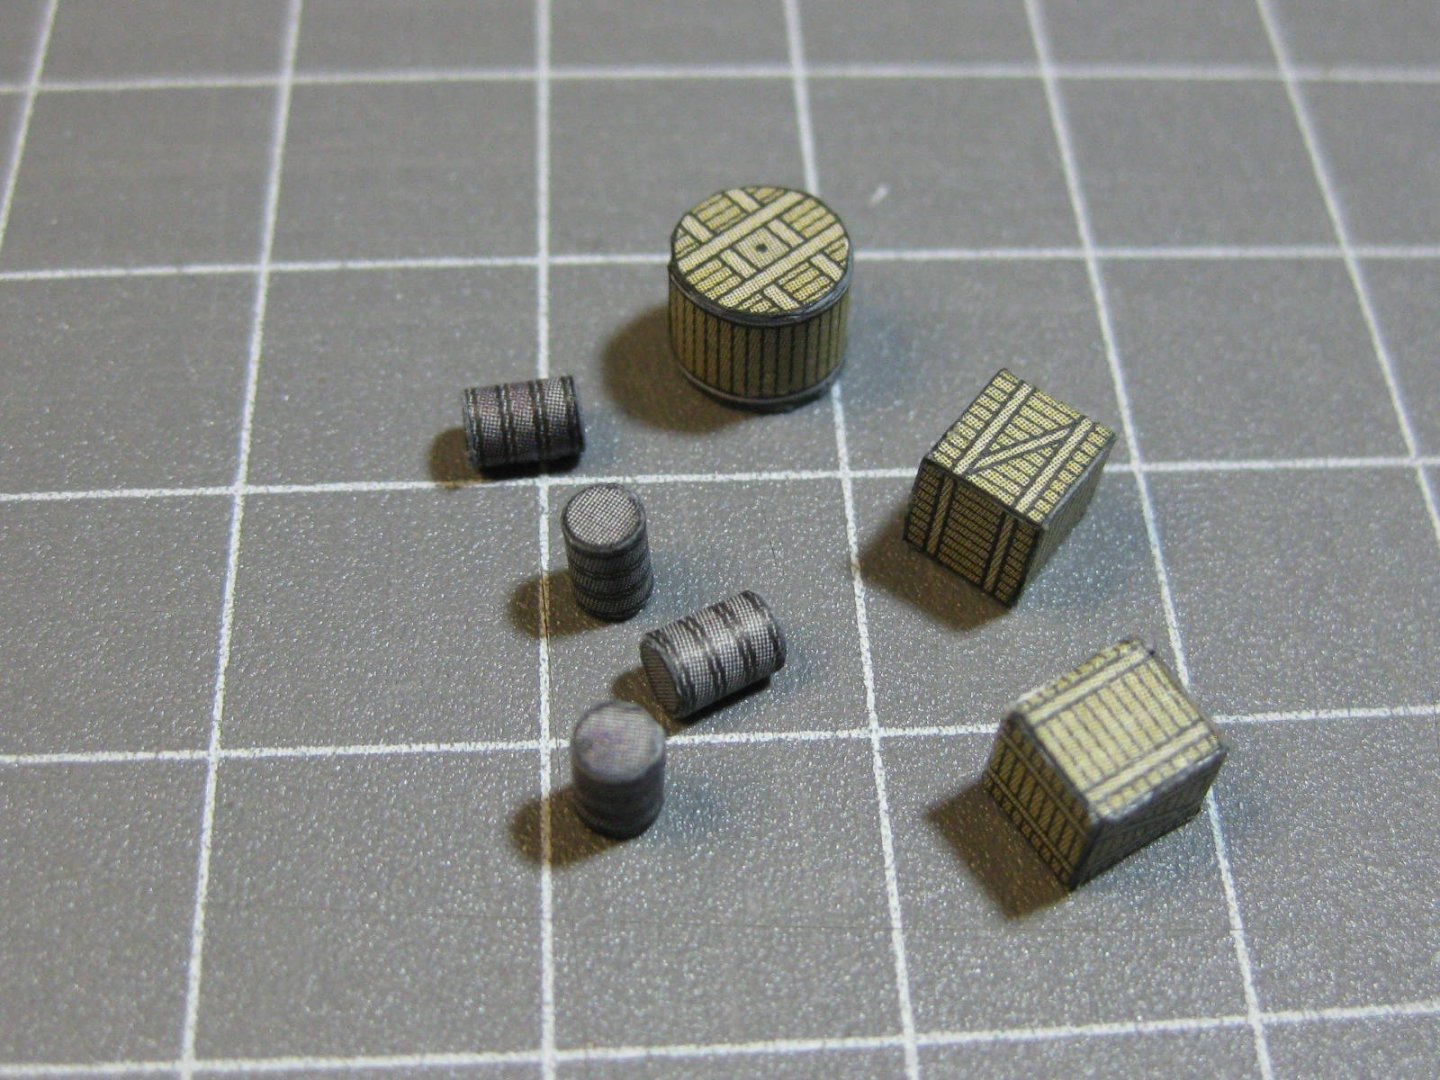
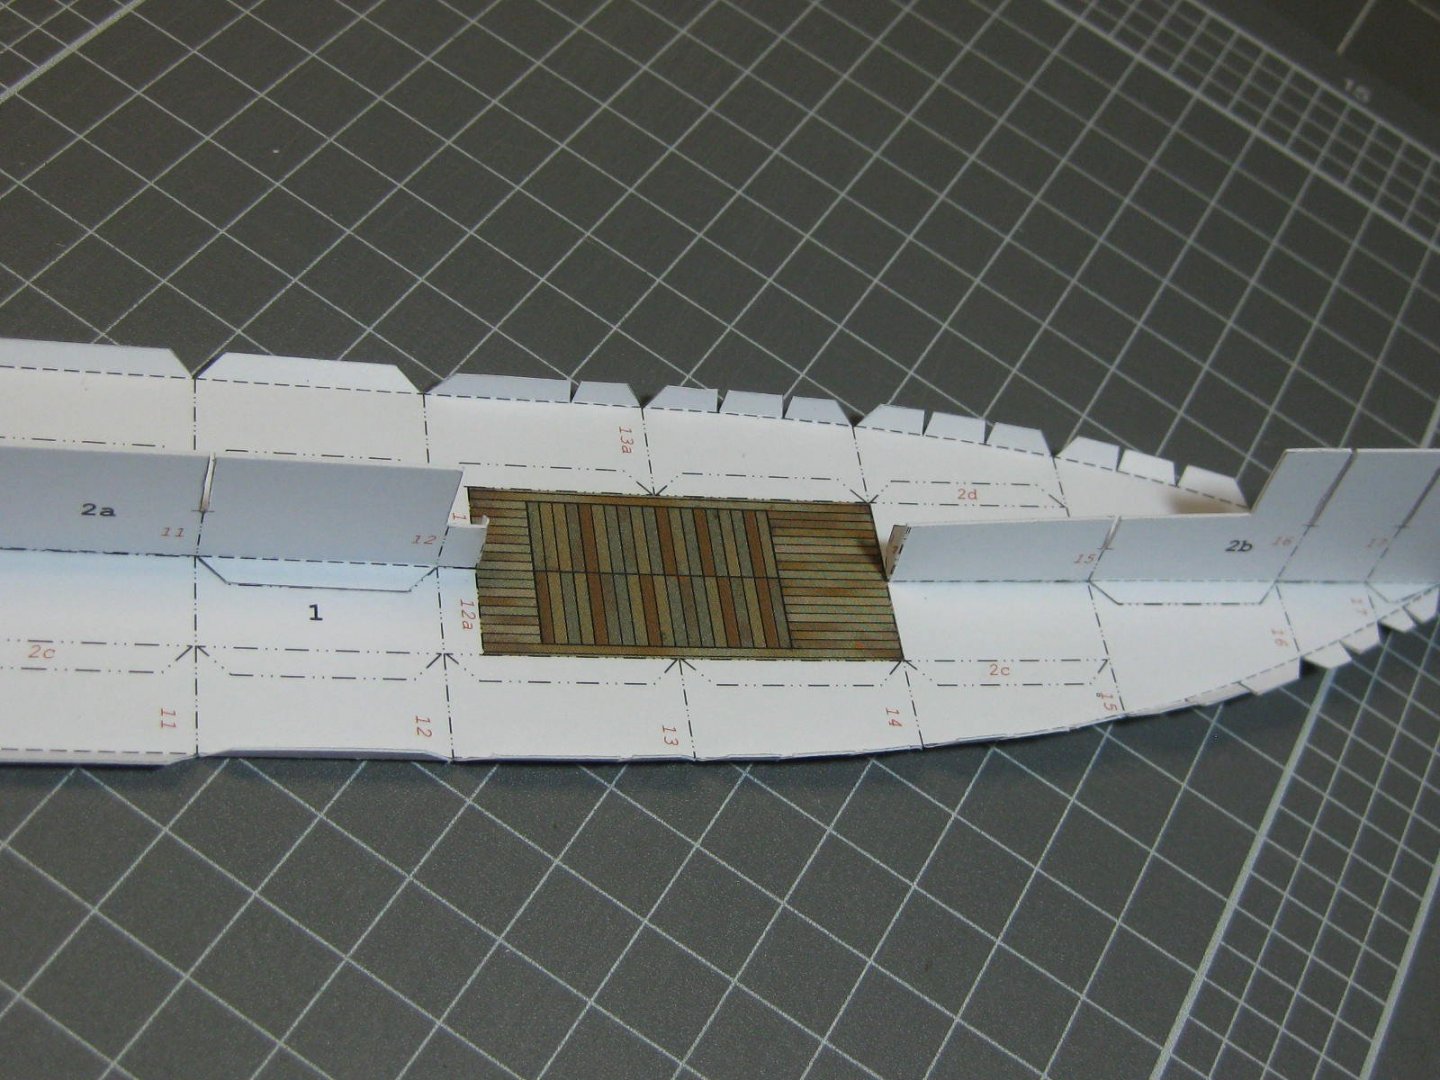
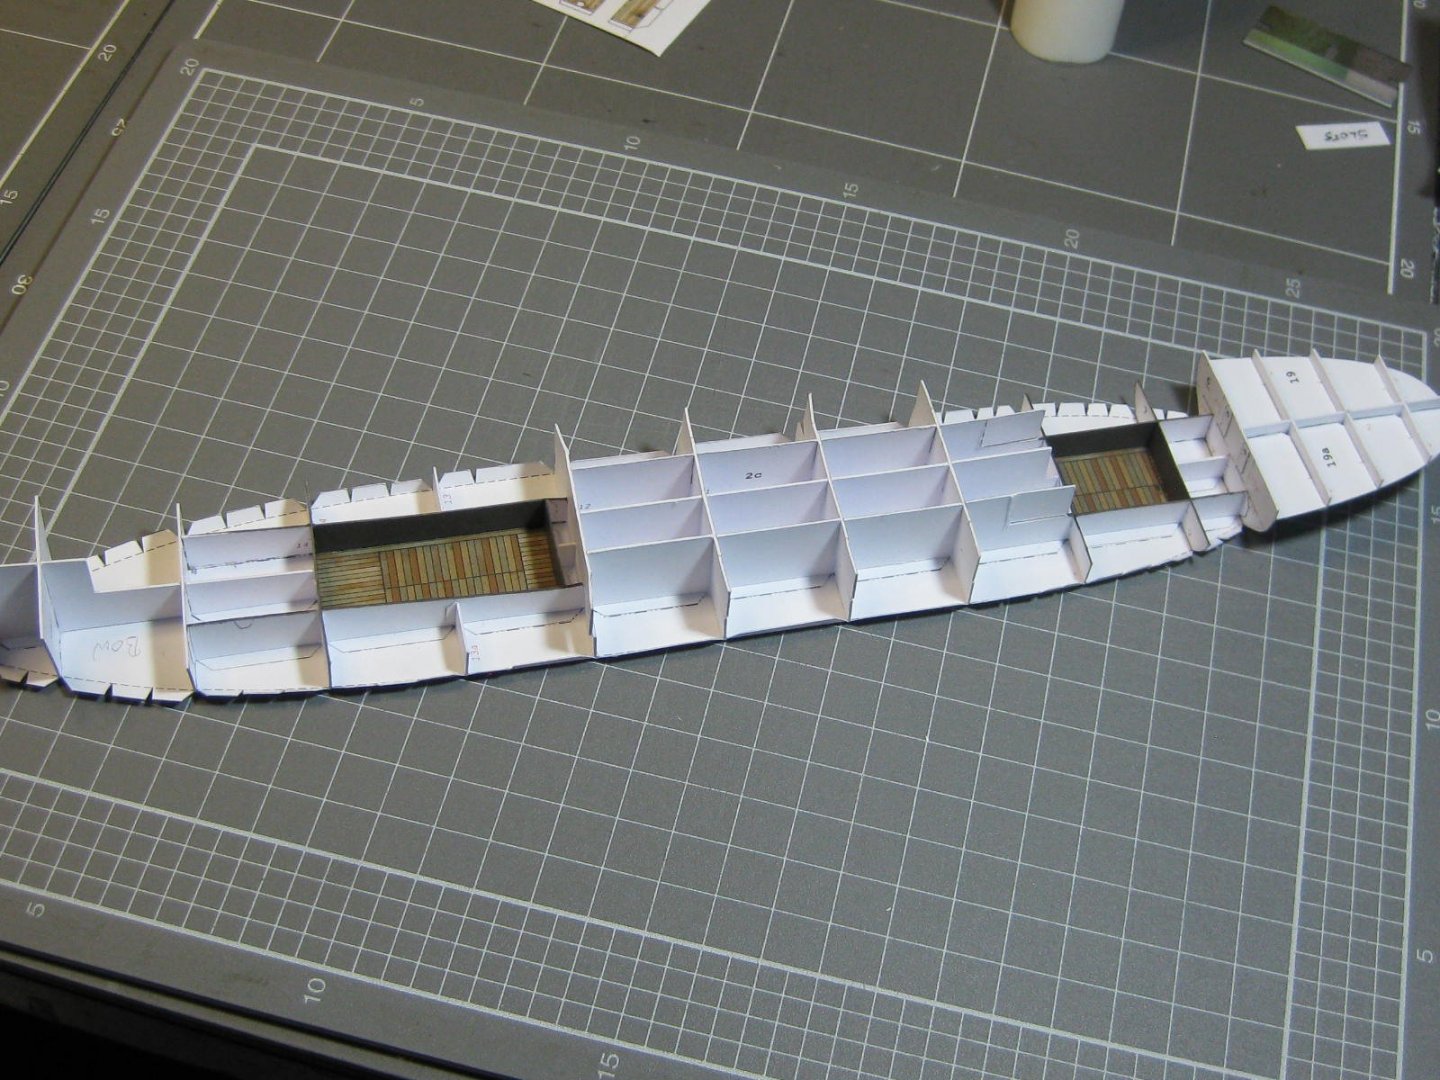
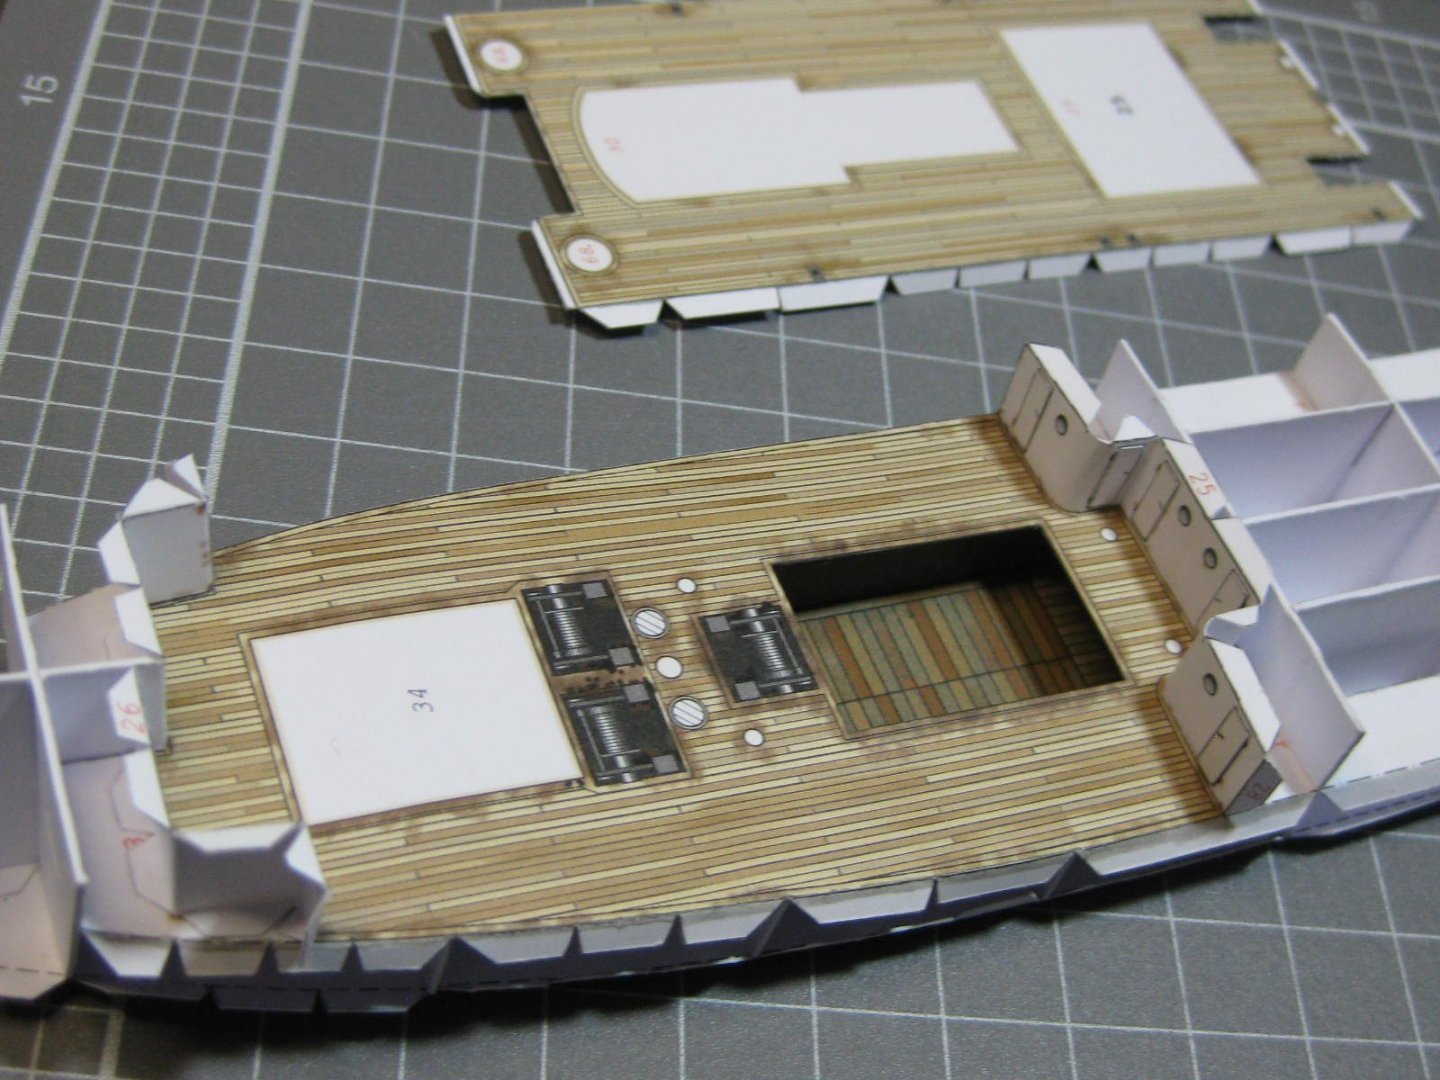
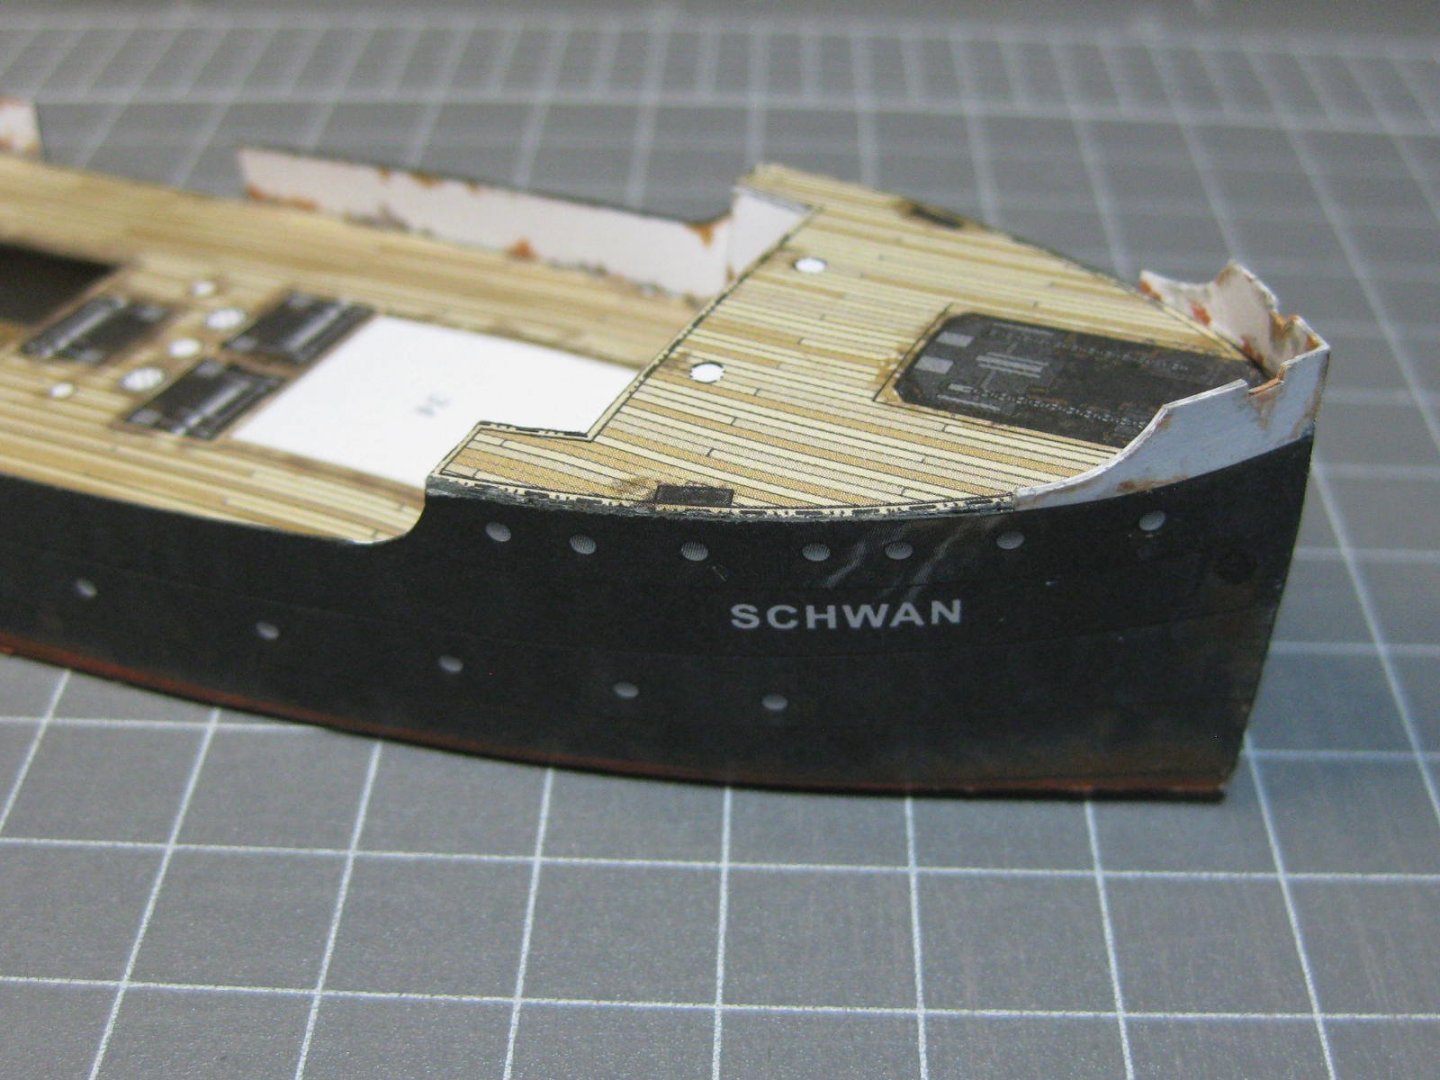
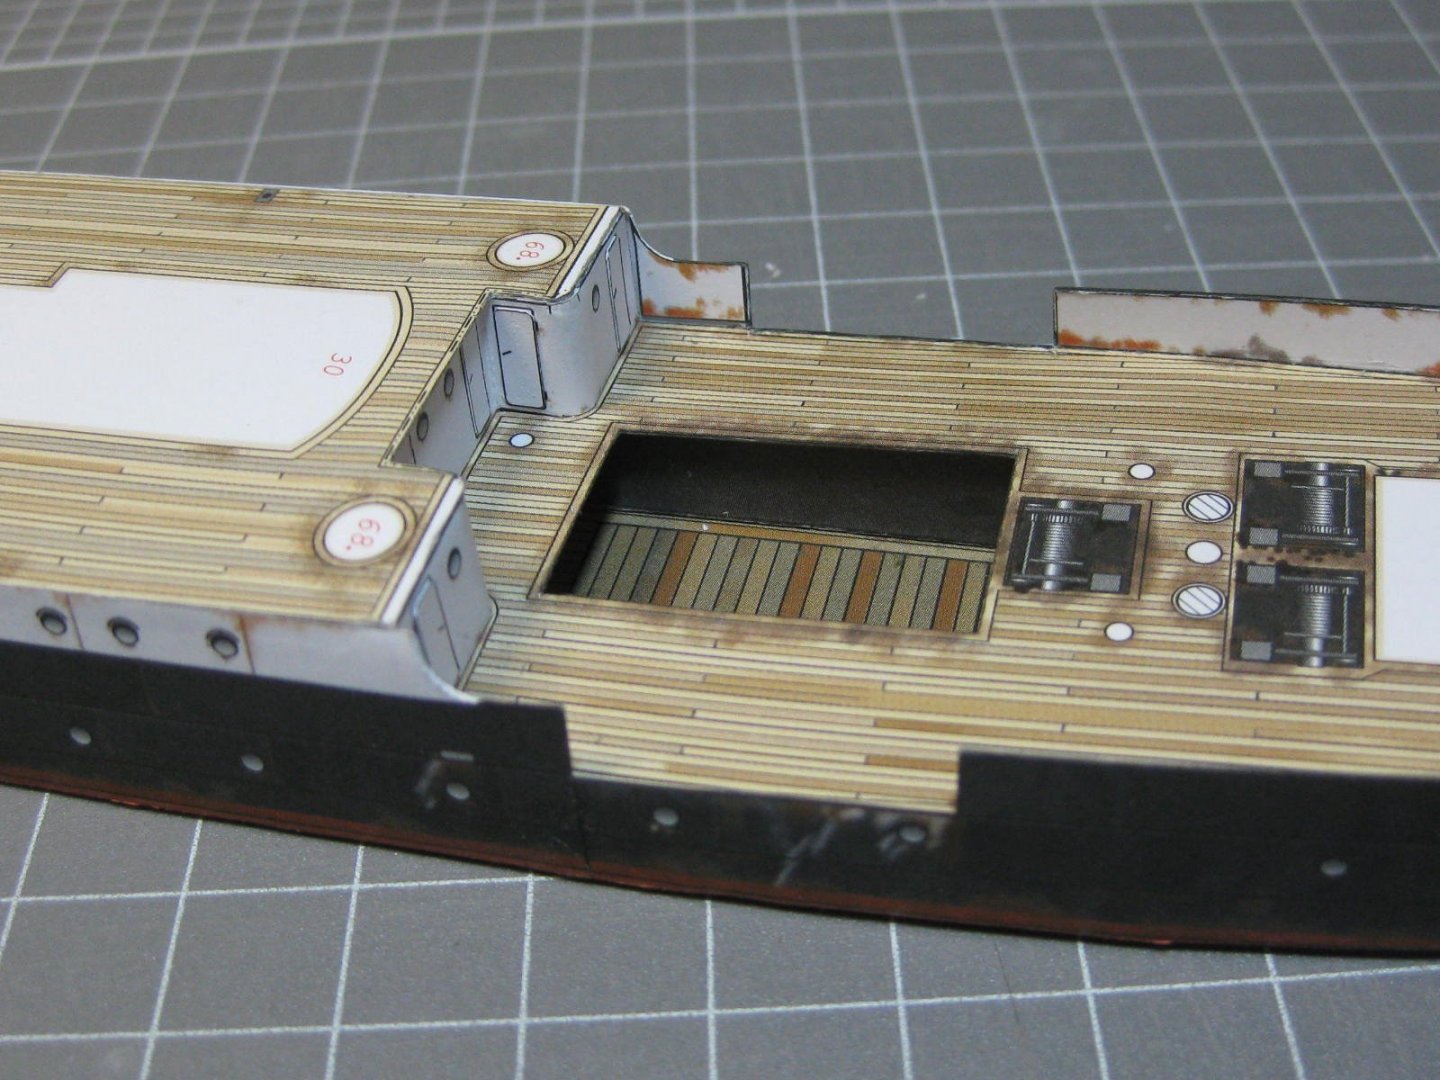
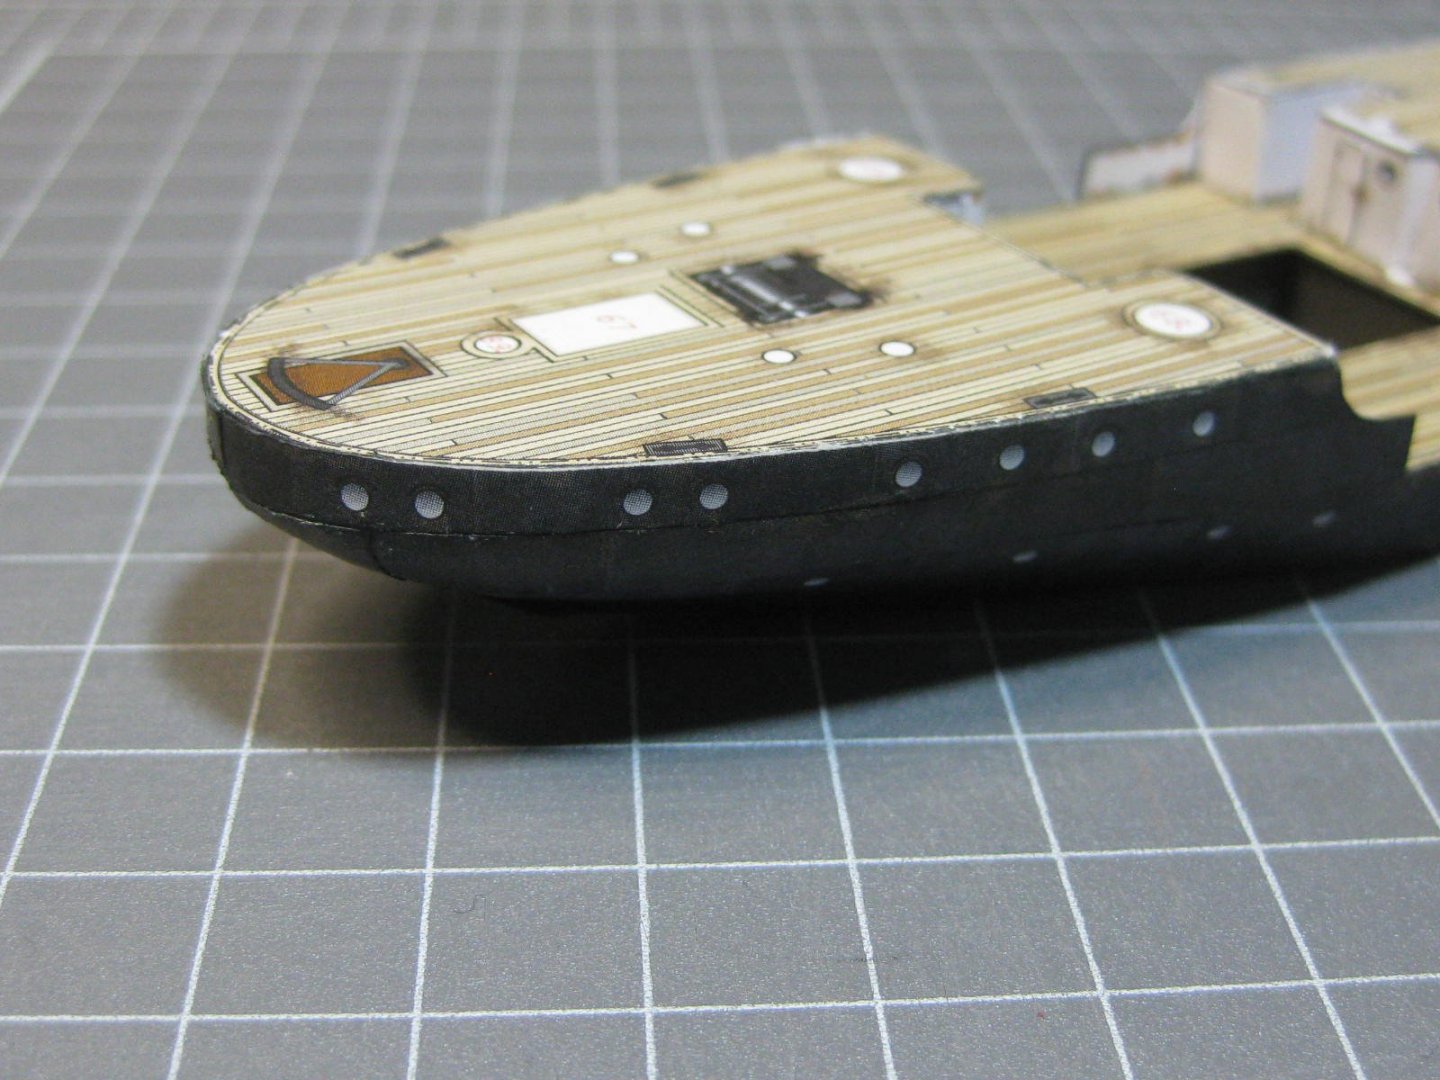
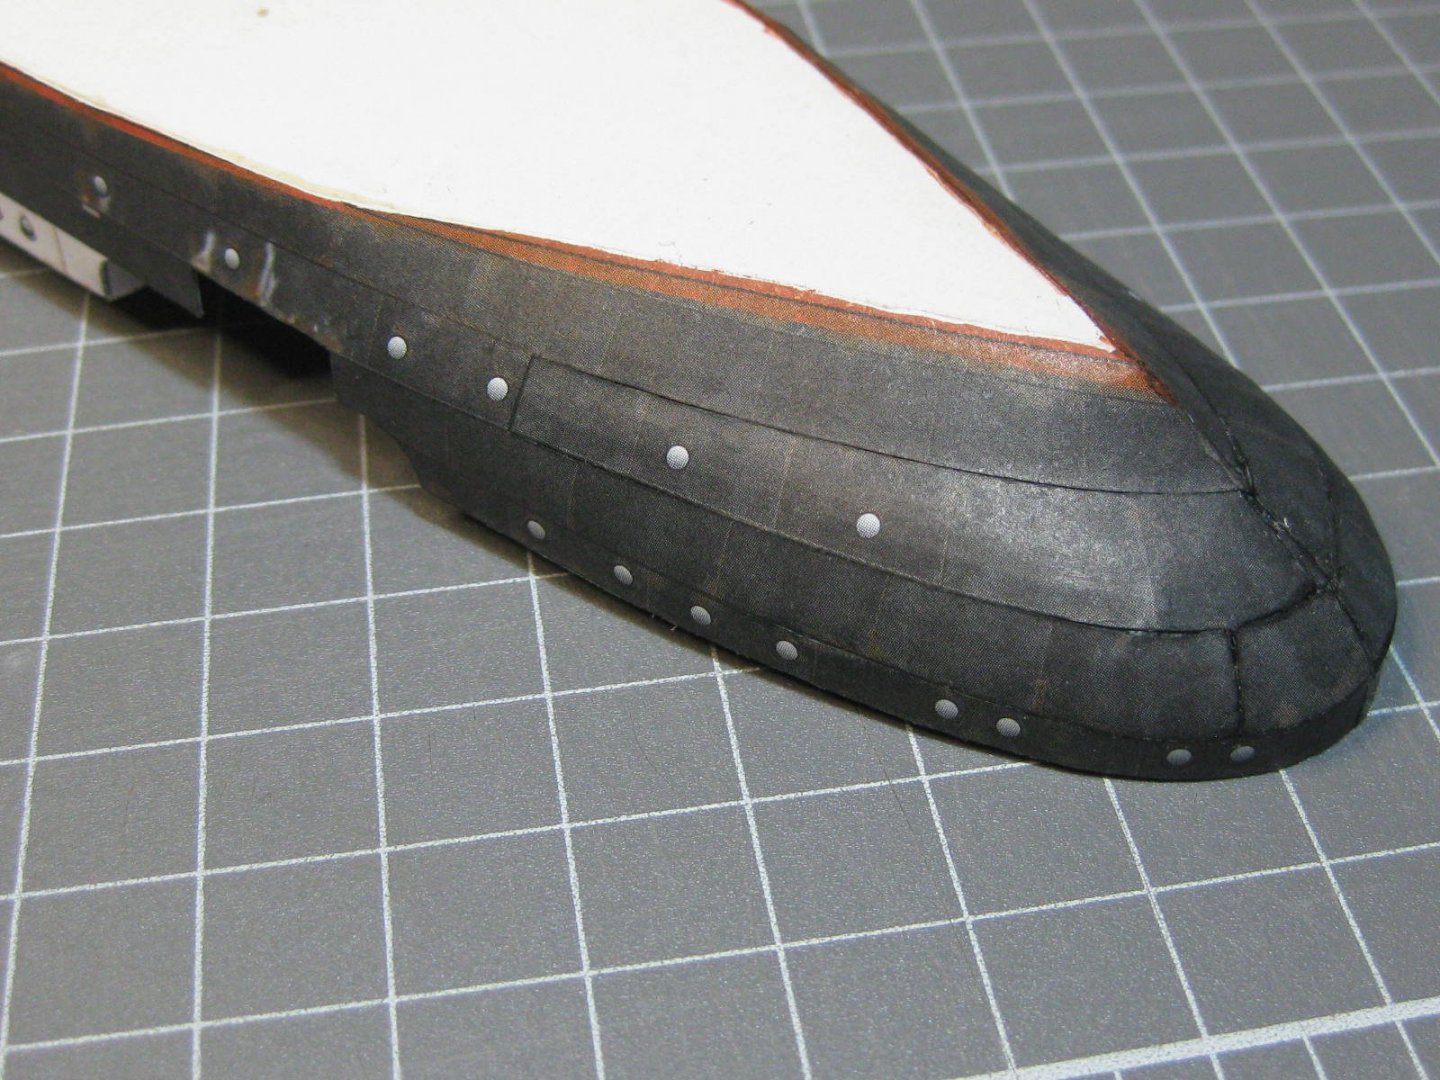
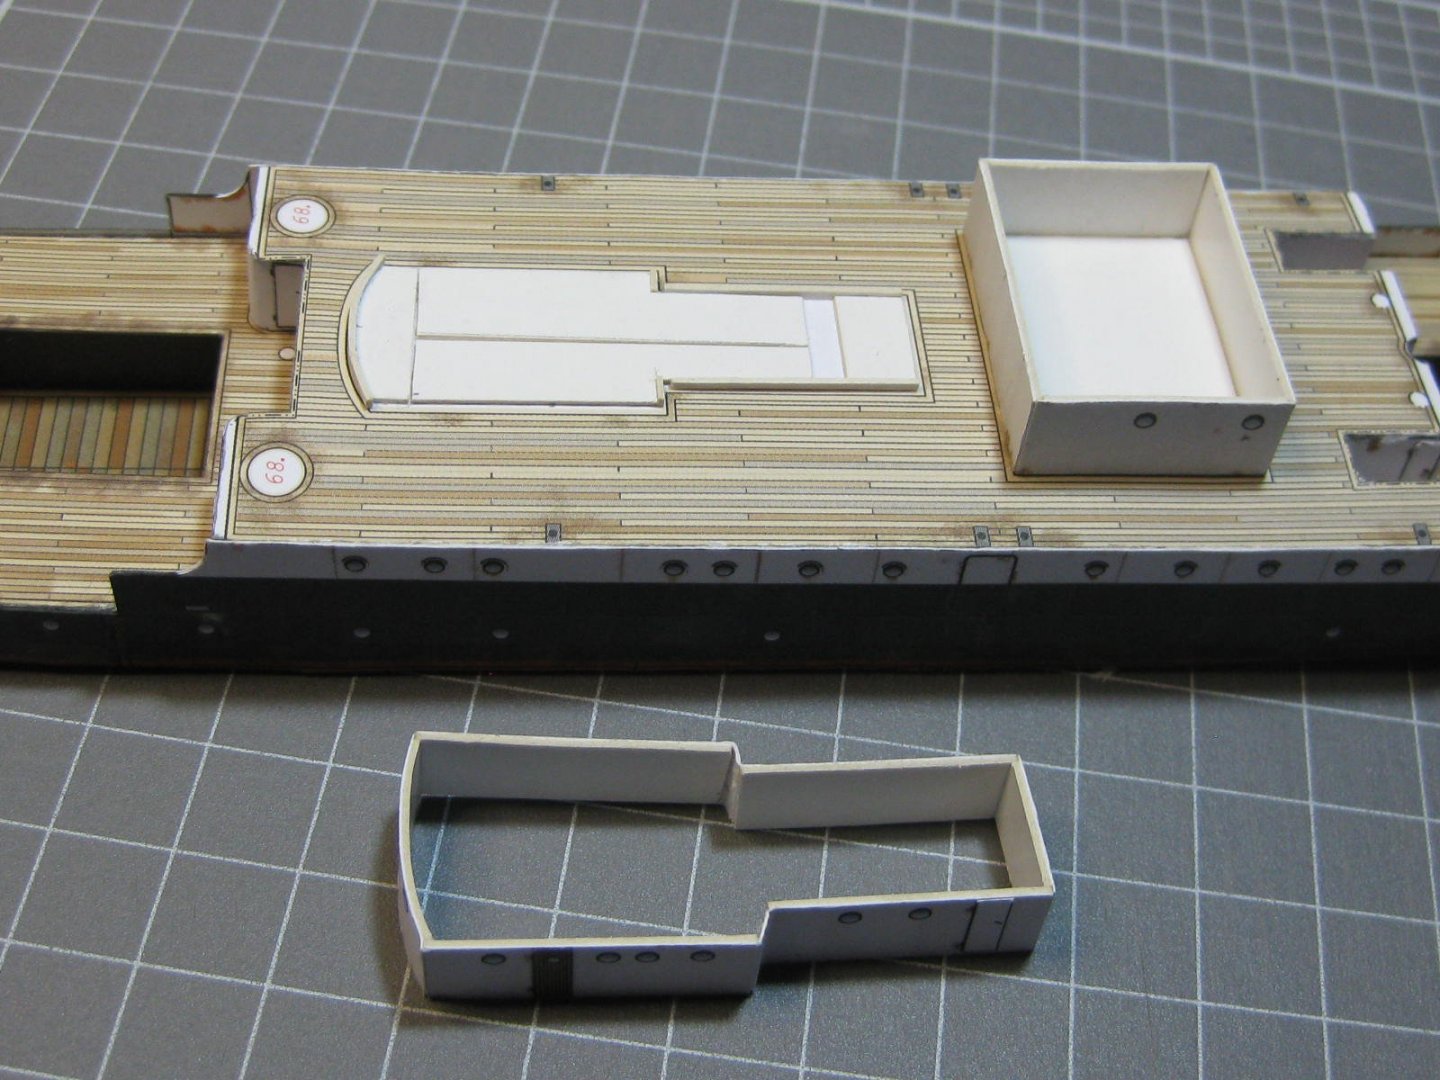
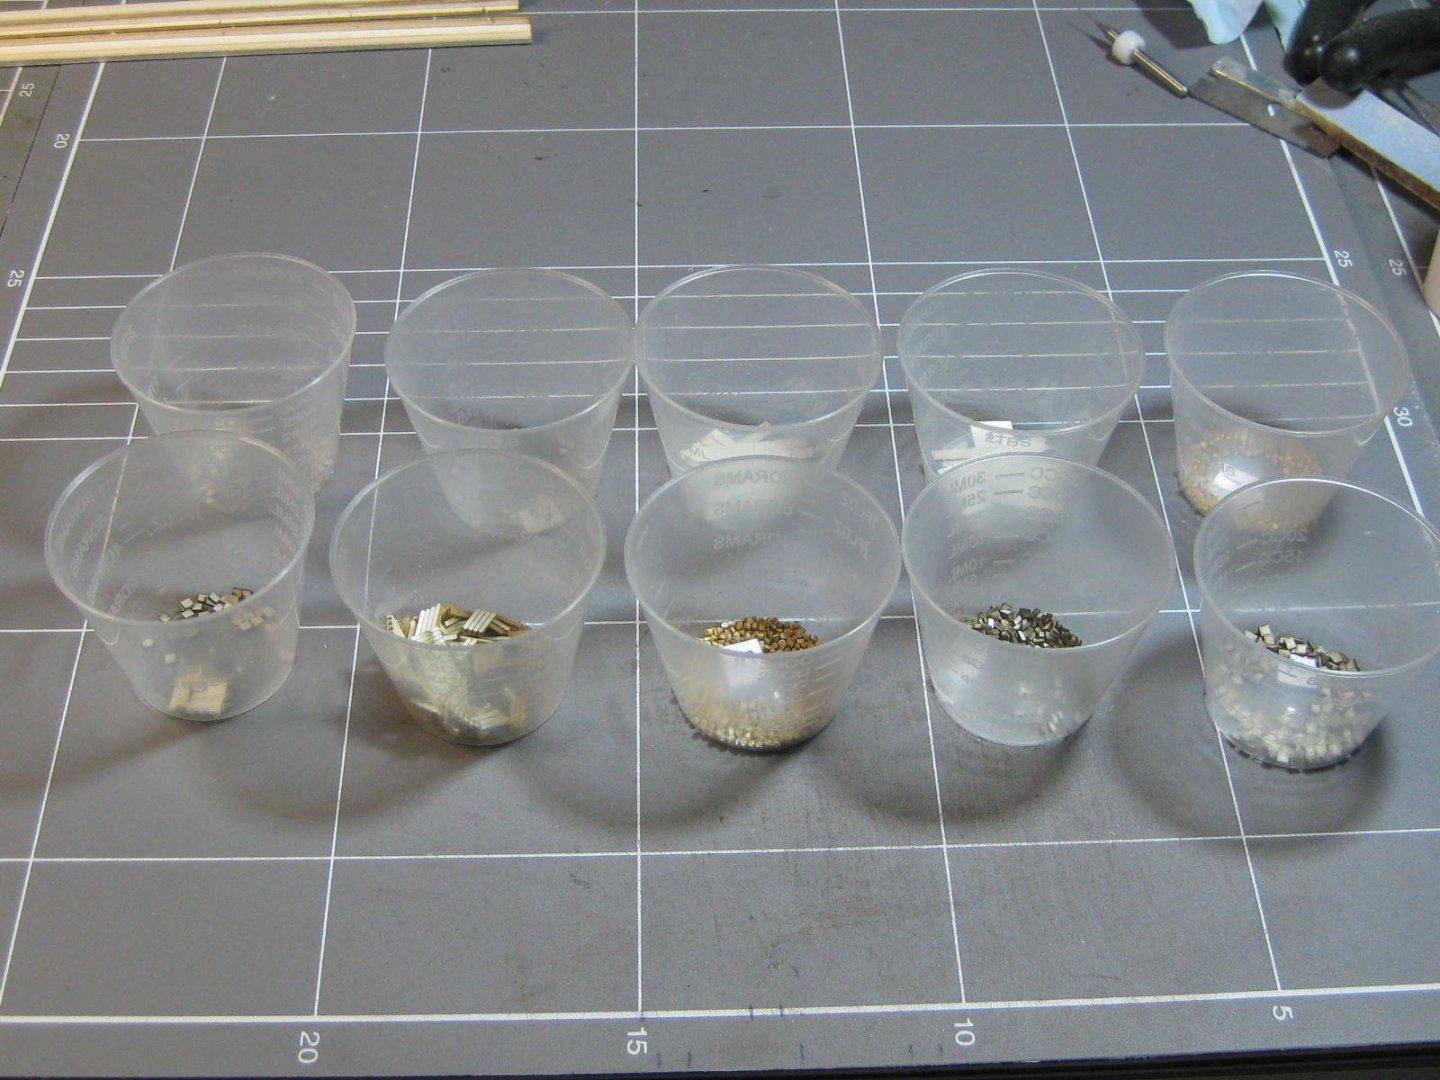
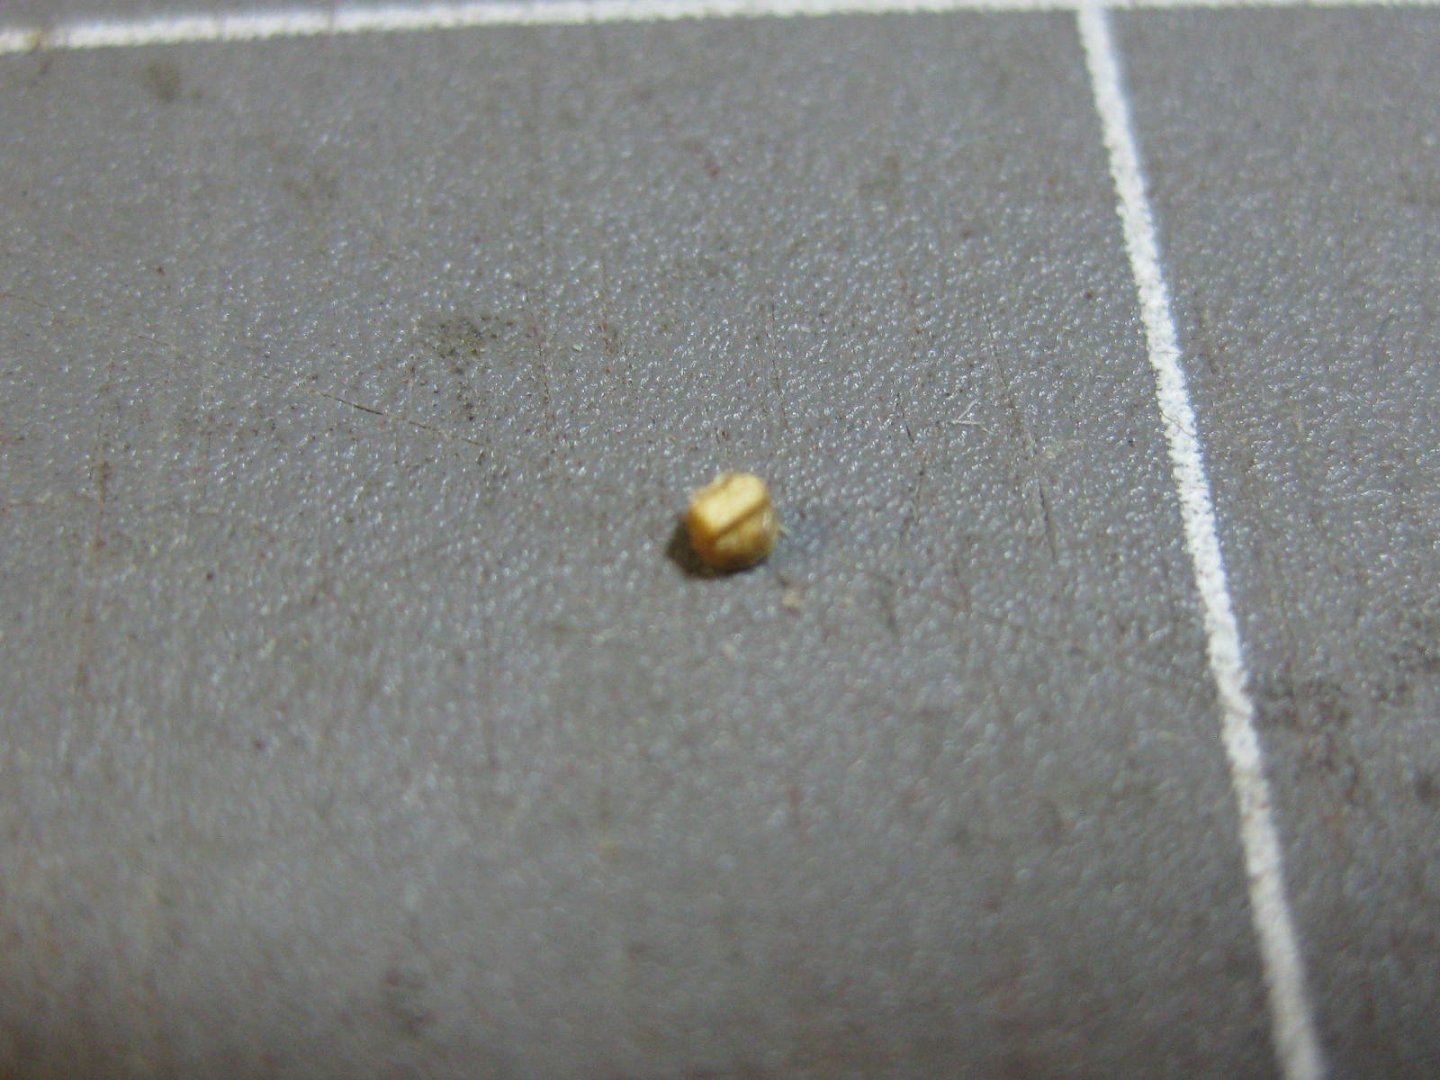
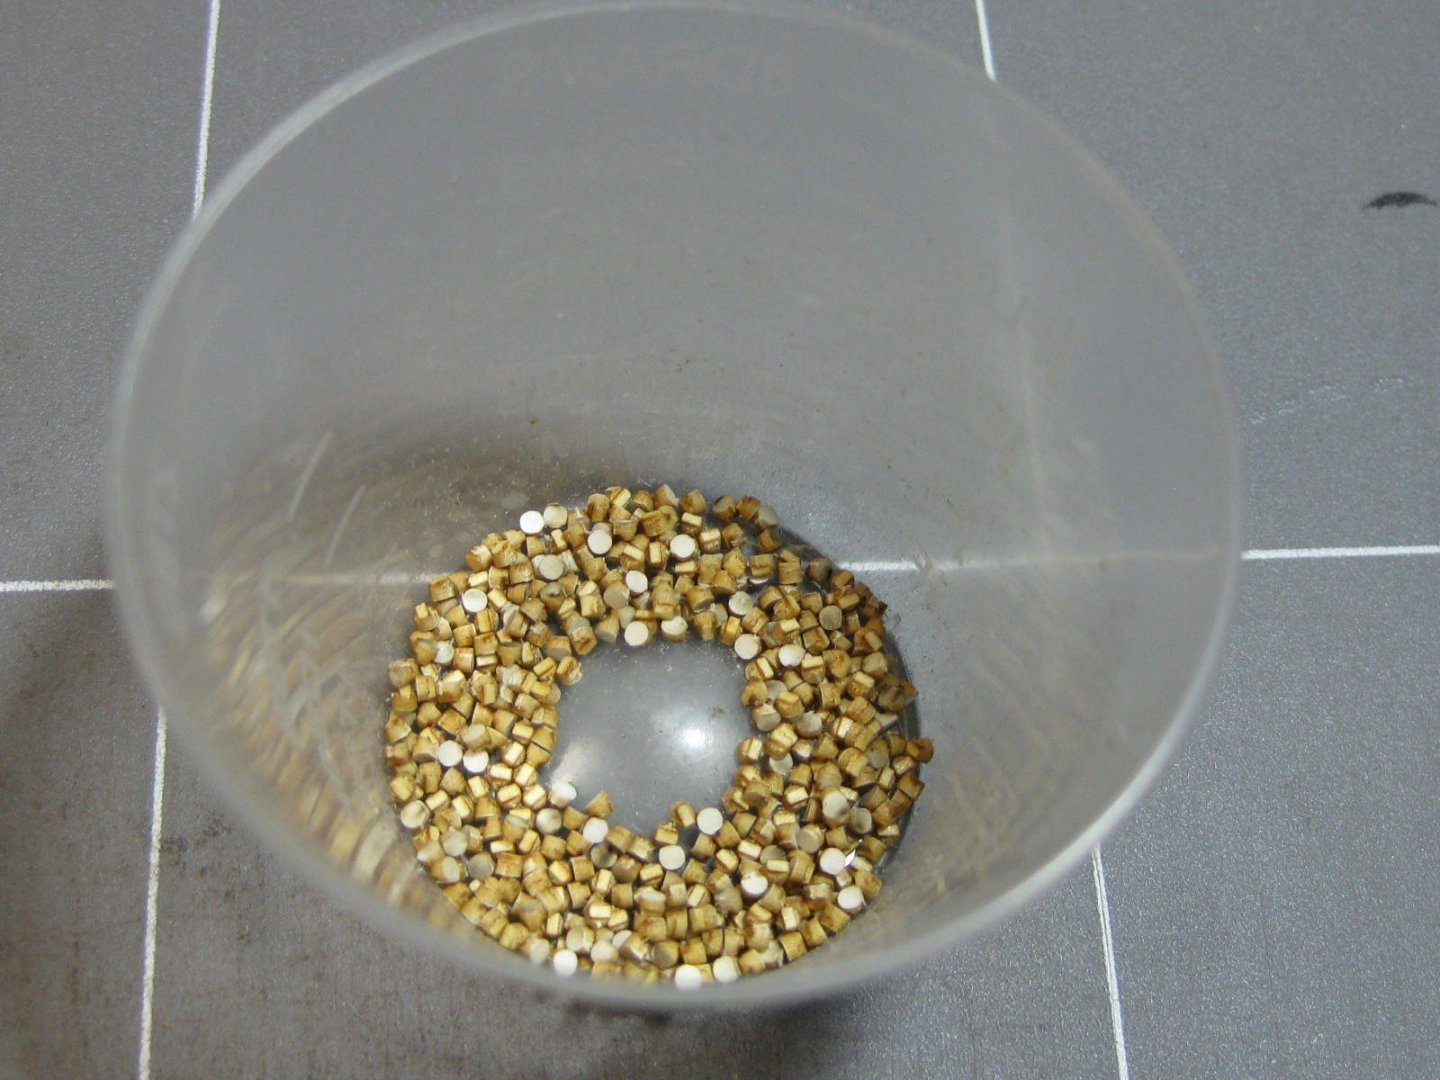
Just for fun I thought I'd make a few of the various types of boxes and drums to see how much was involved - not too bad considering the drums are only 4 mm high : The hull of the freighter, a waterline model of course : The decks and hatches are fitted next : Followed by the superstructures : TBC .......... Danny


- 29 replies
-
- 22
-
-
- hmw
- Hamburg Harbor
- (and 2 more)
-
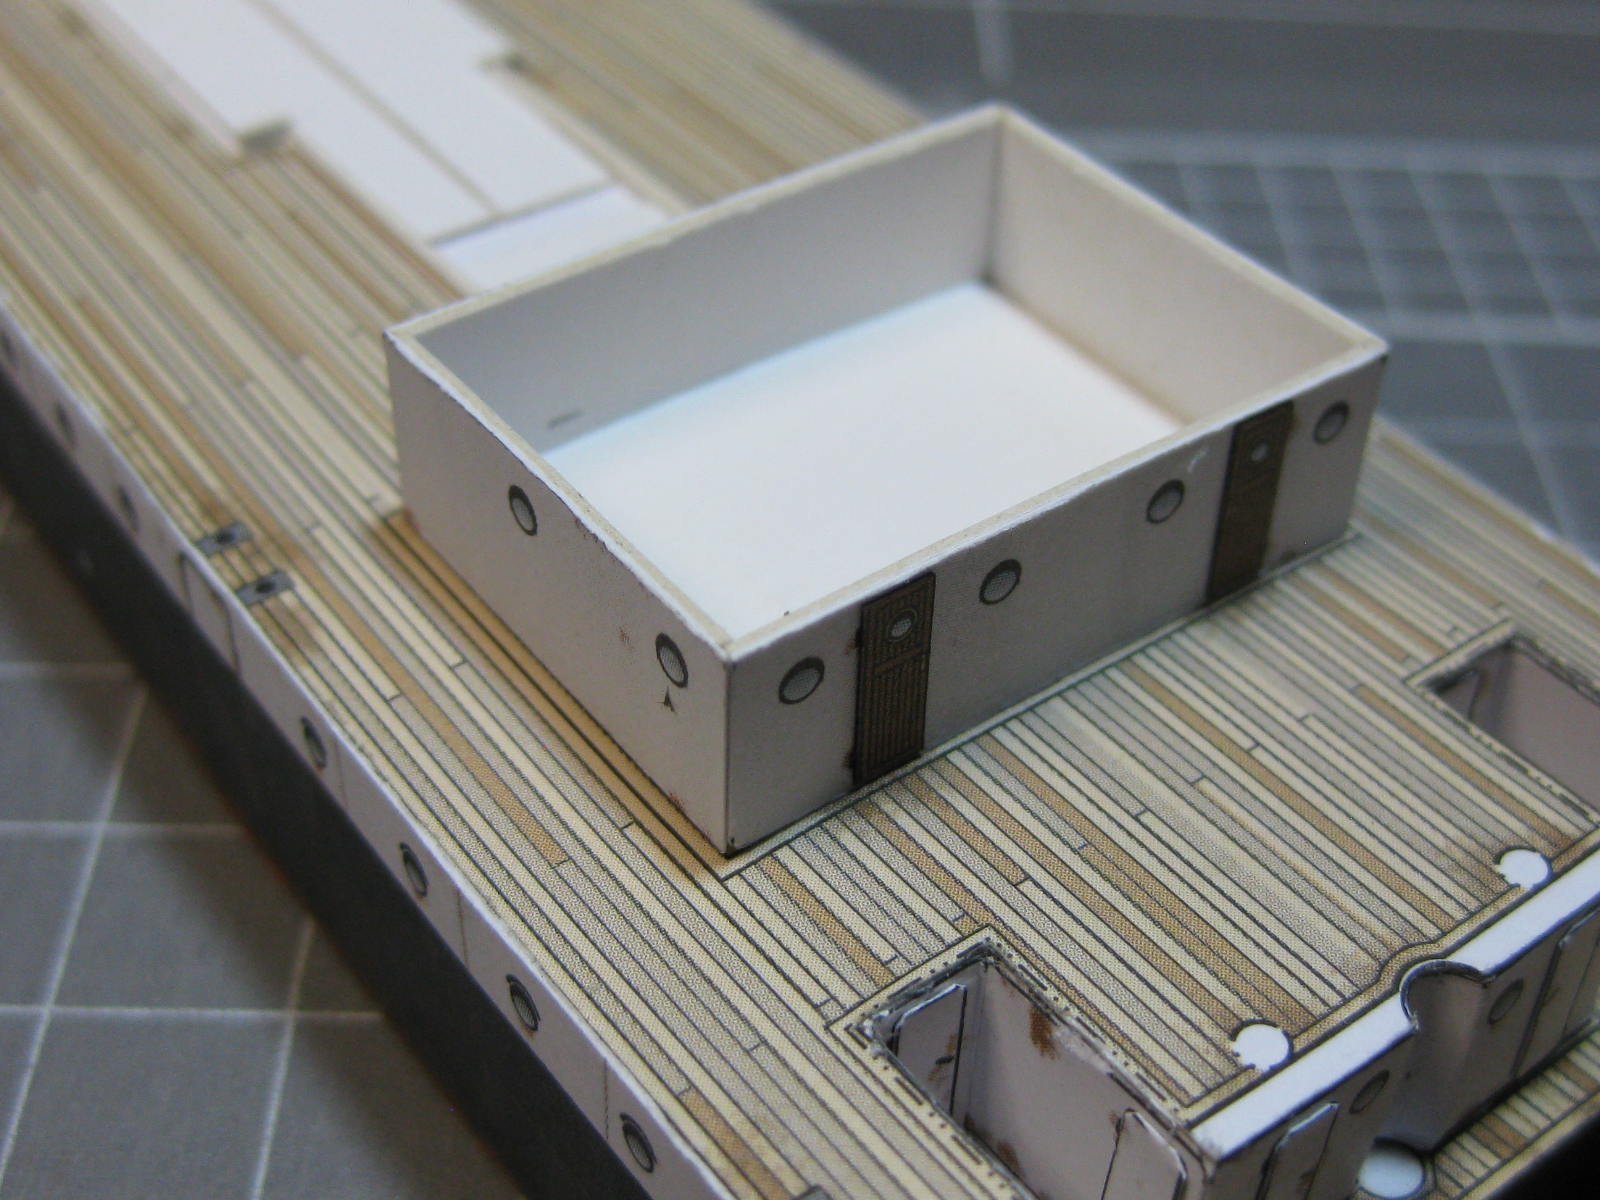
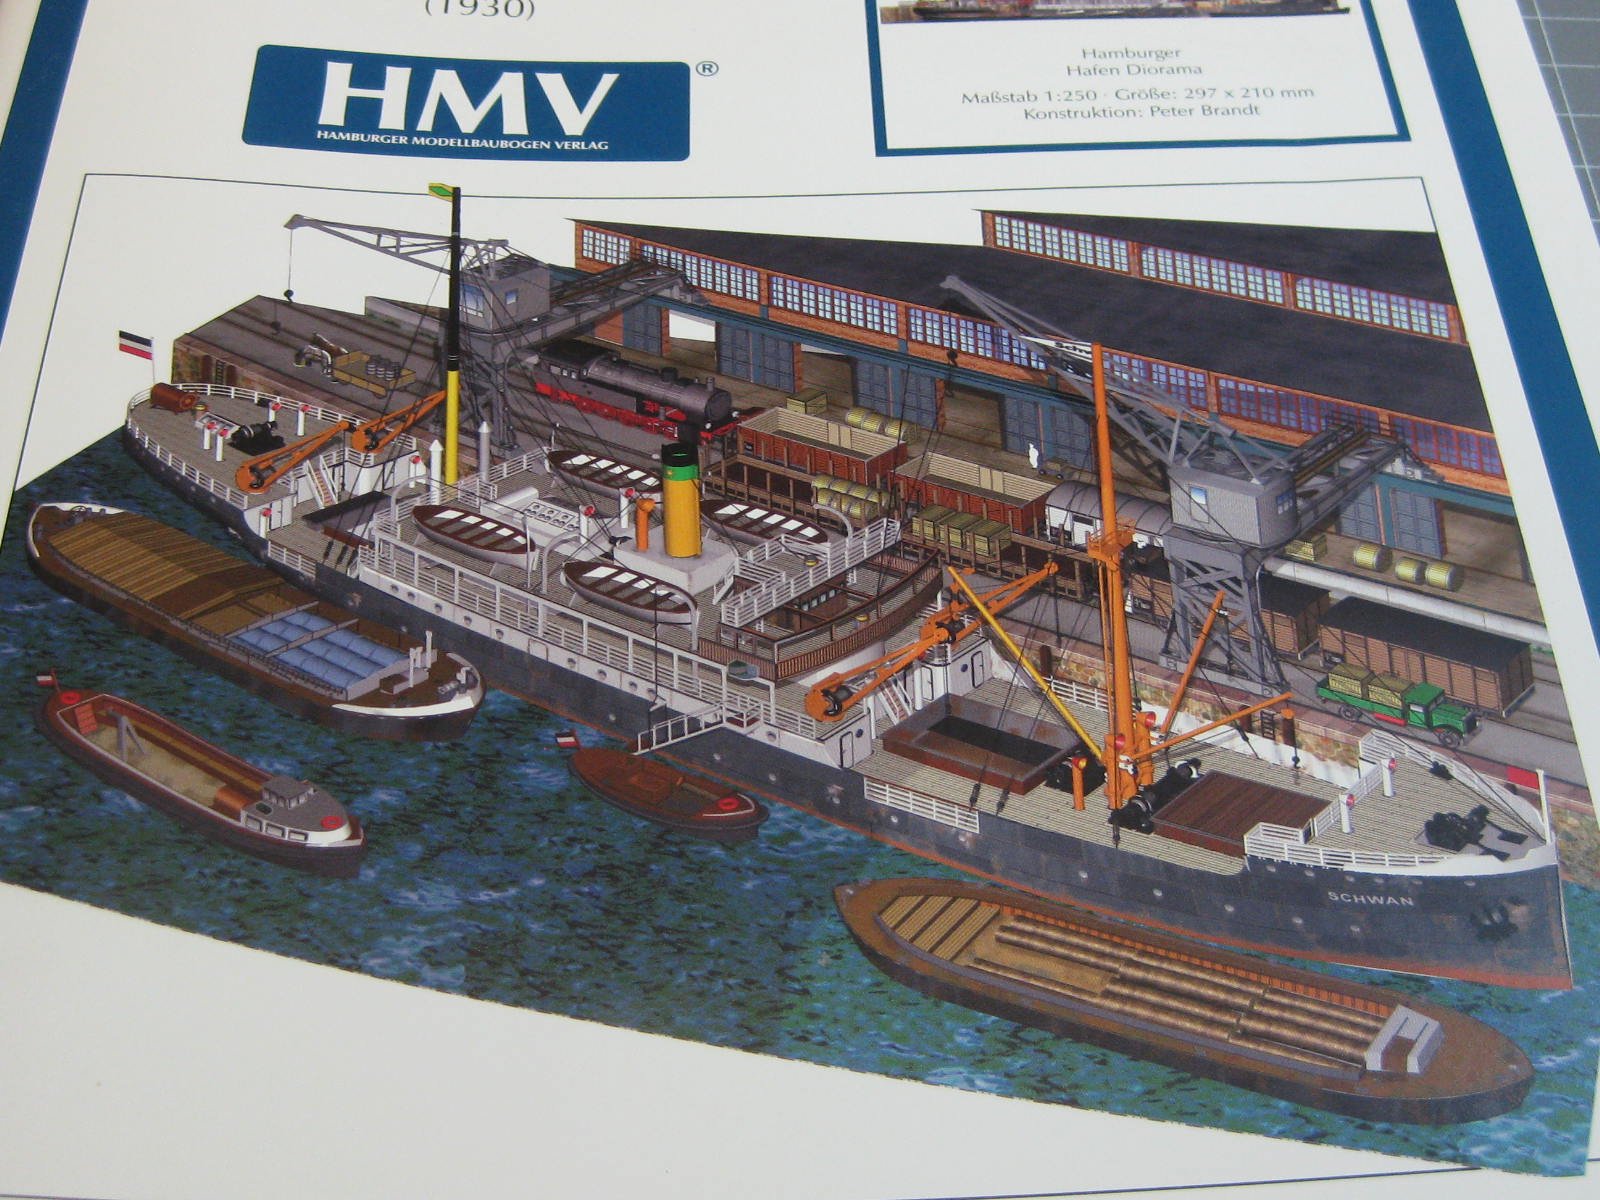
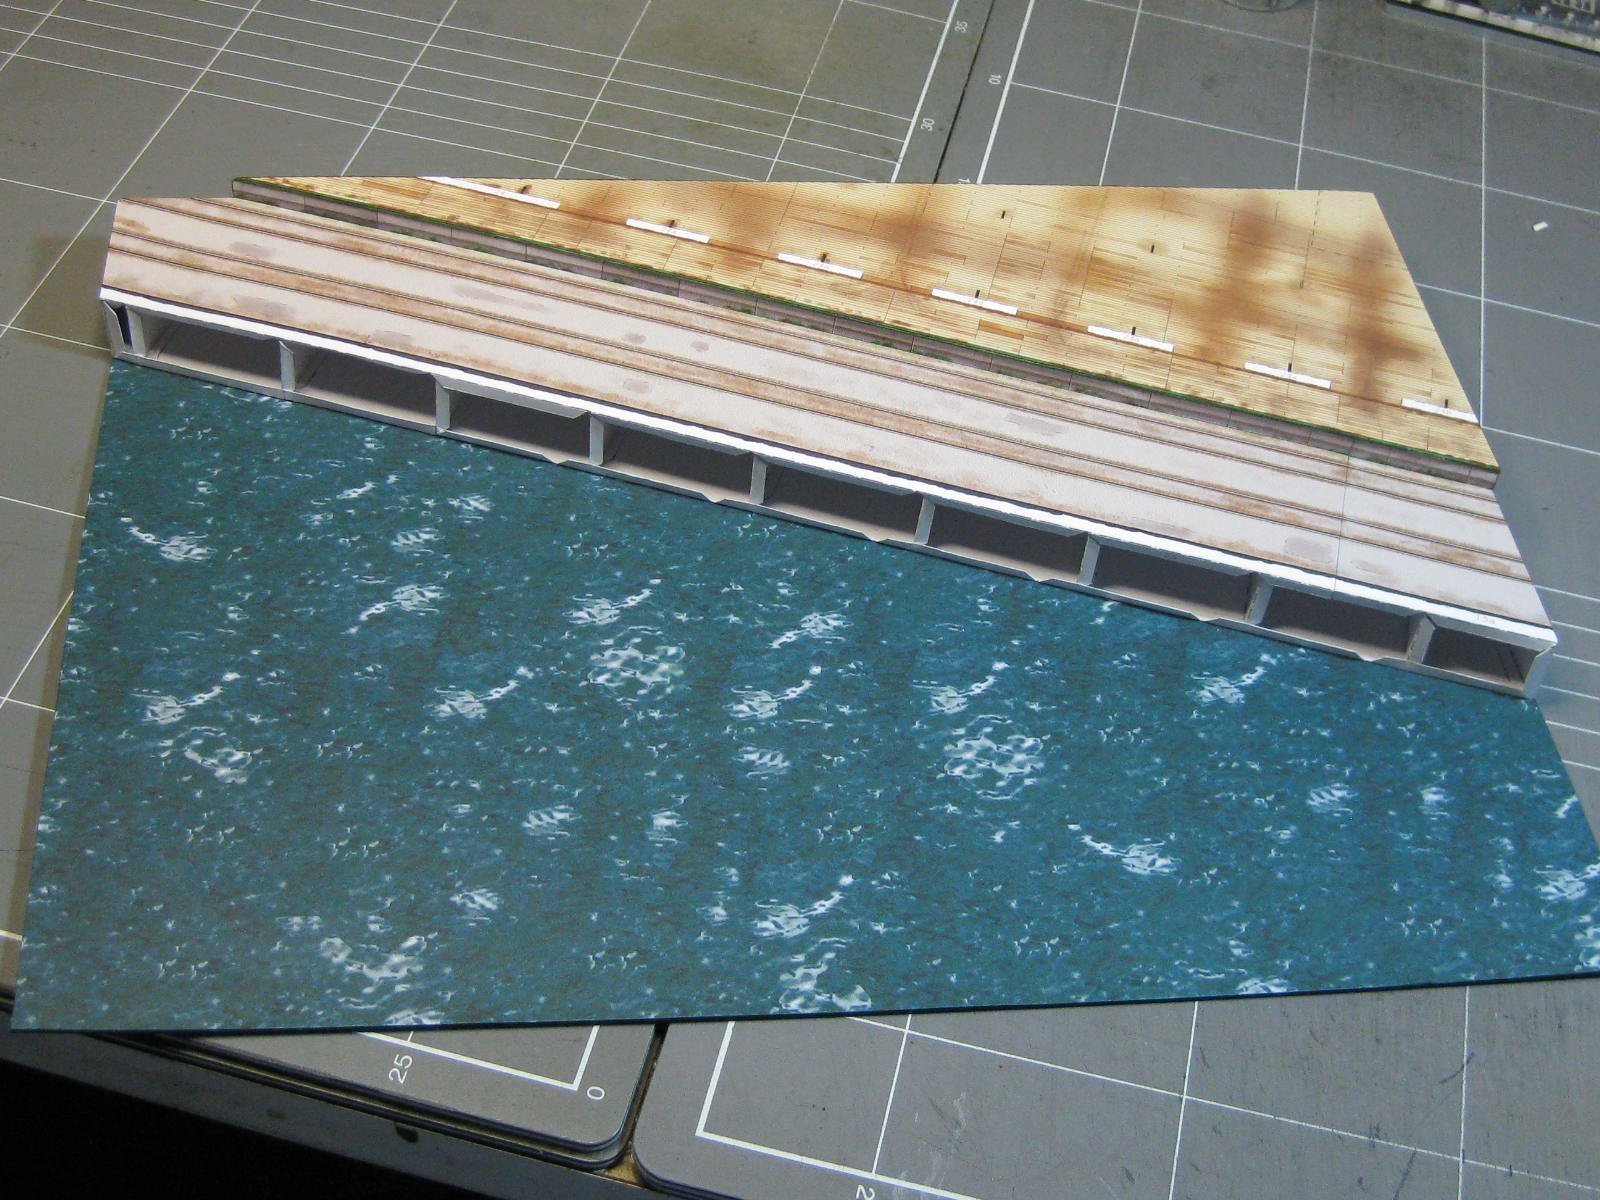
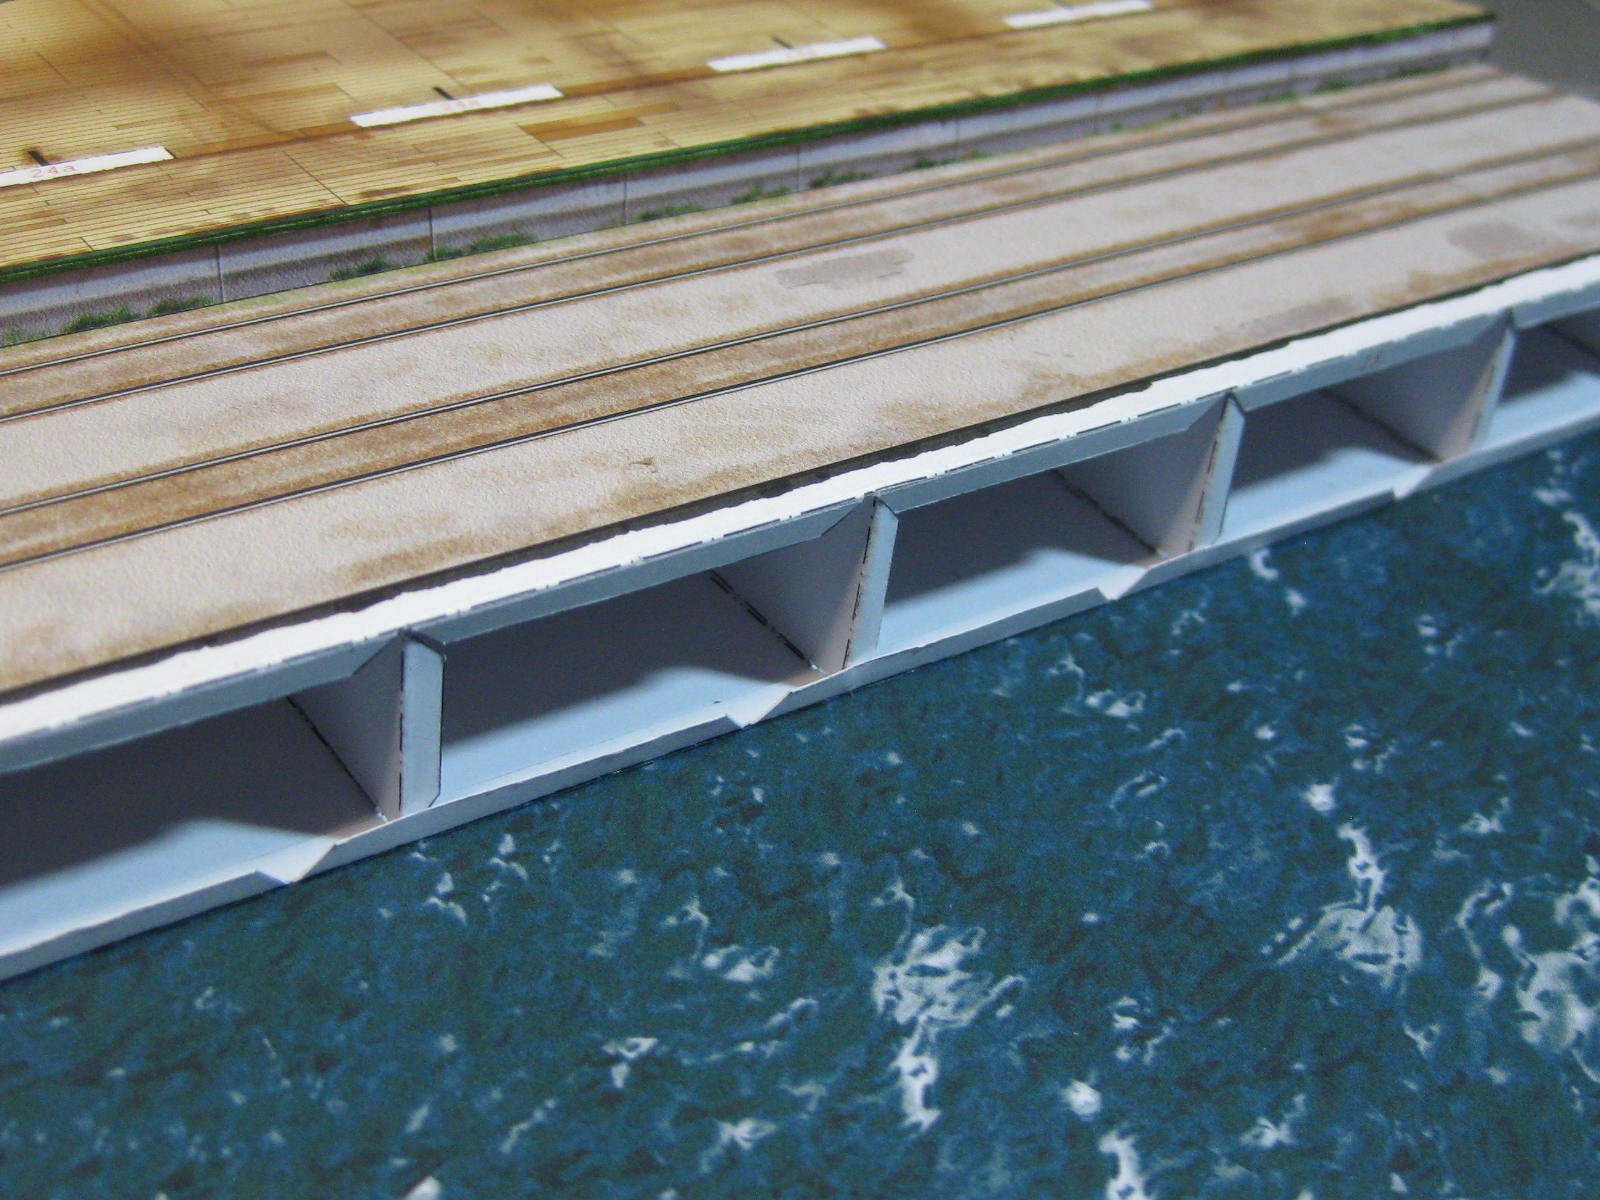
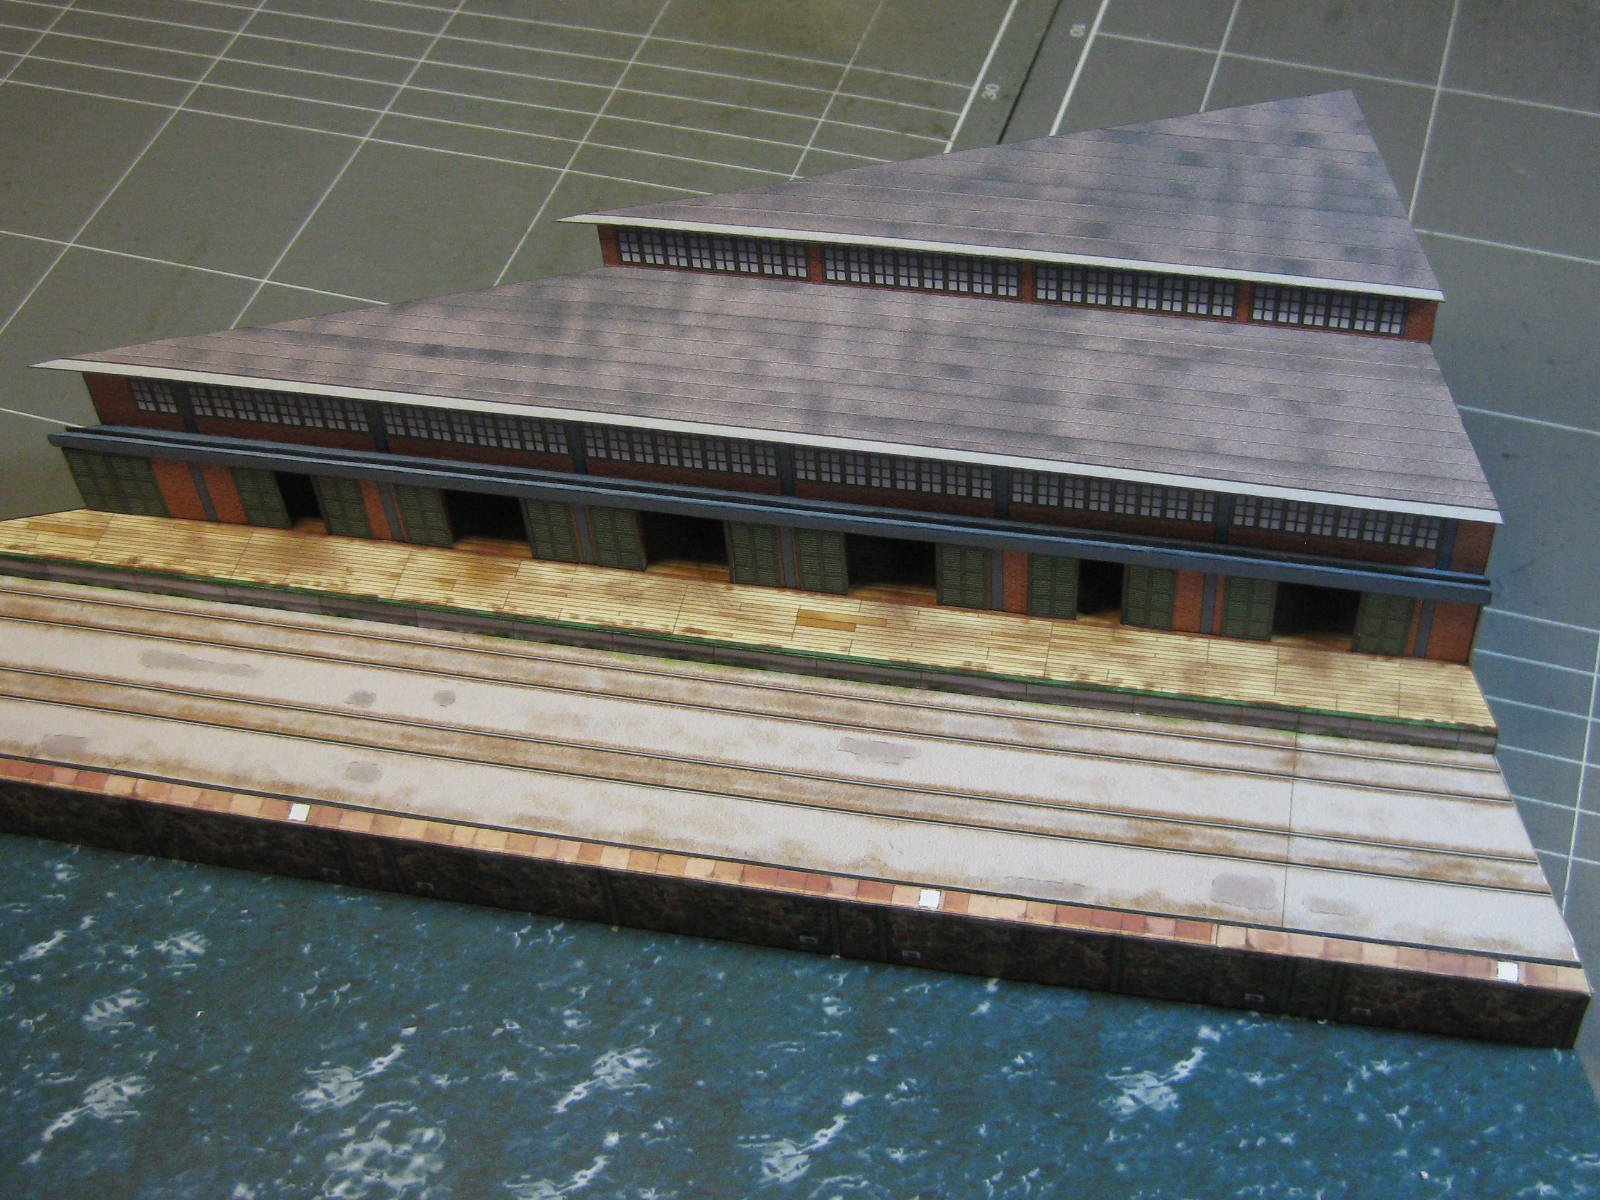
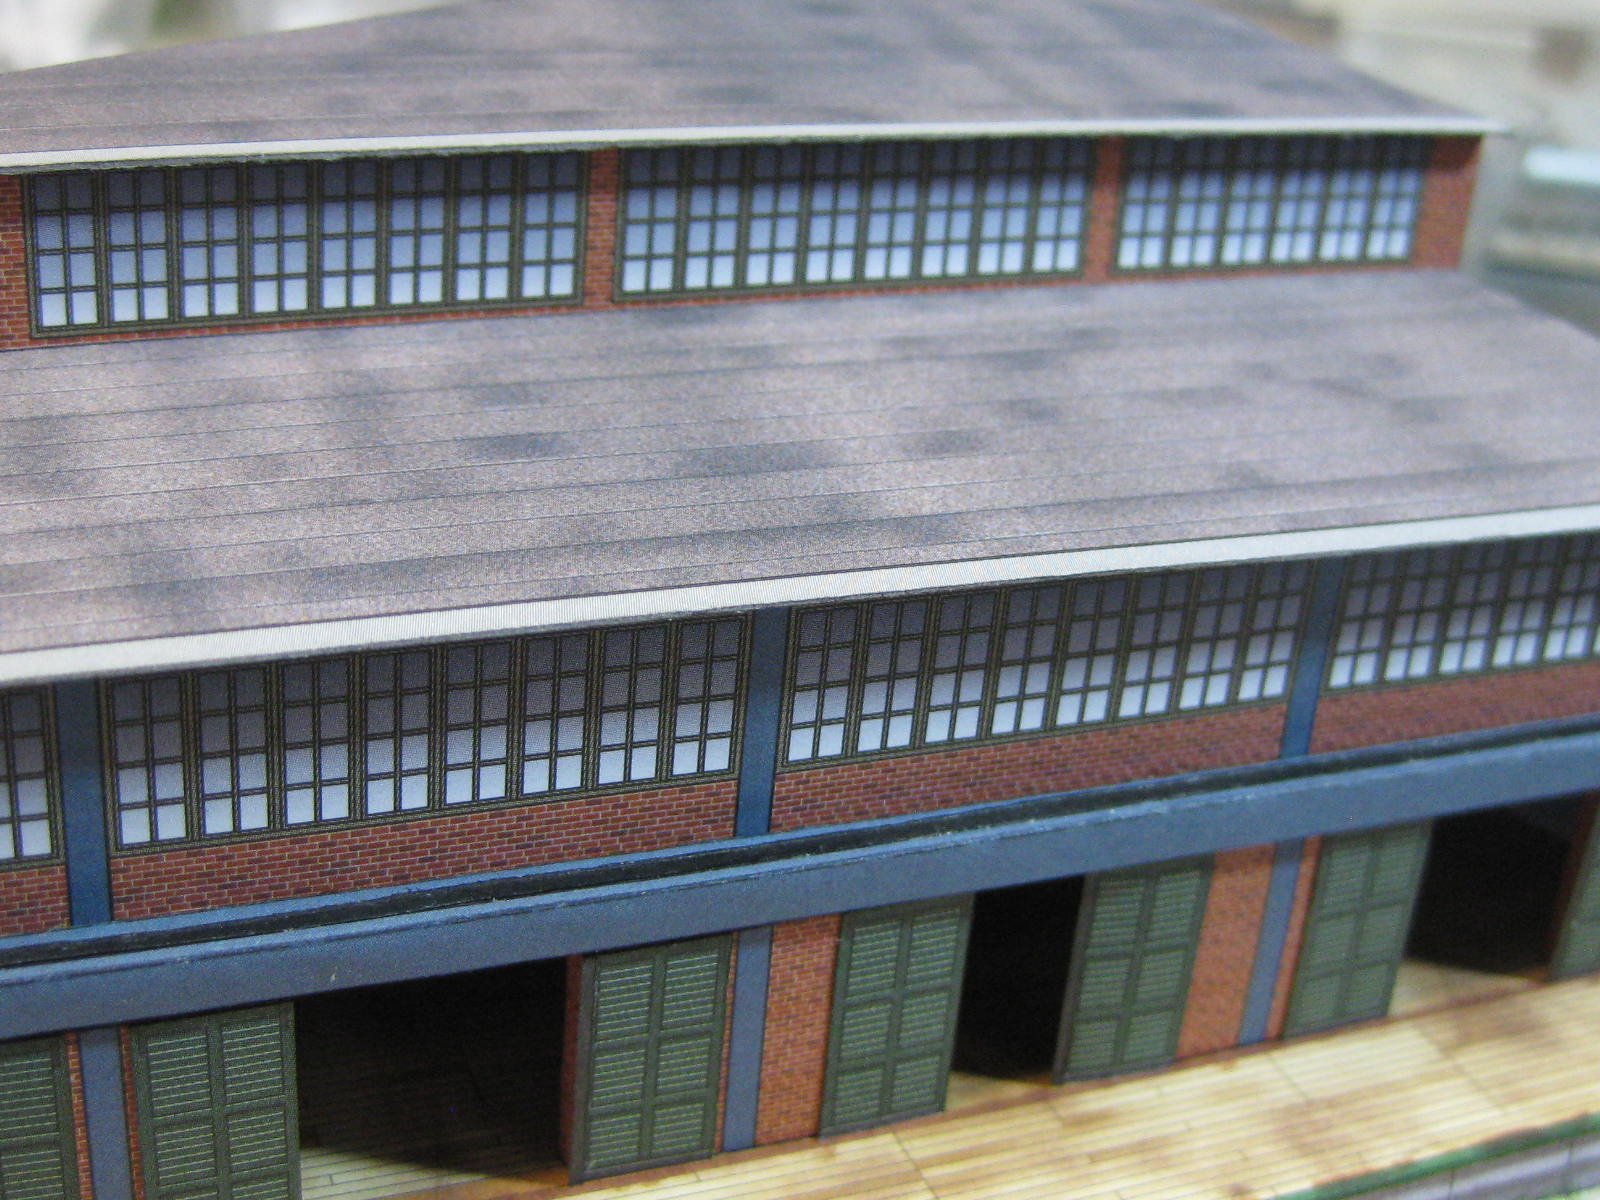
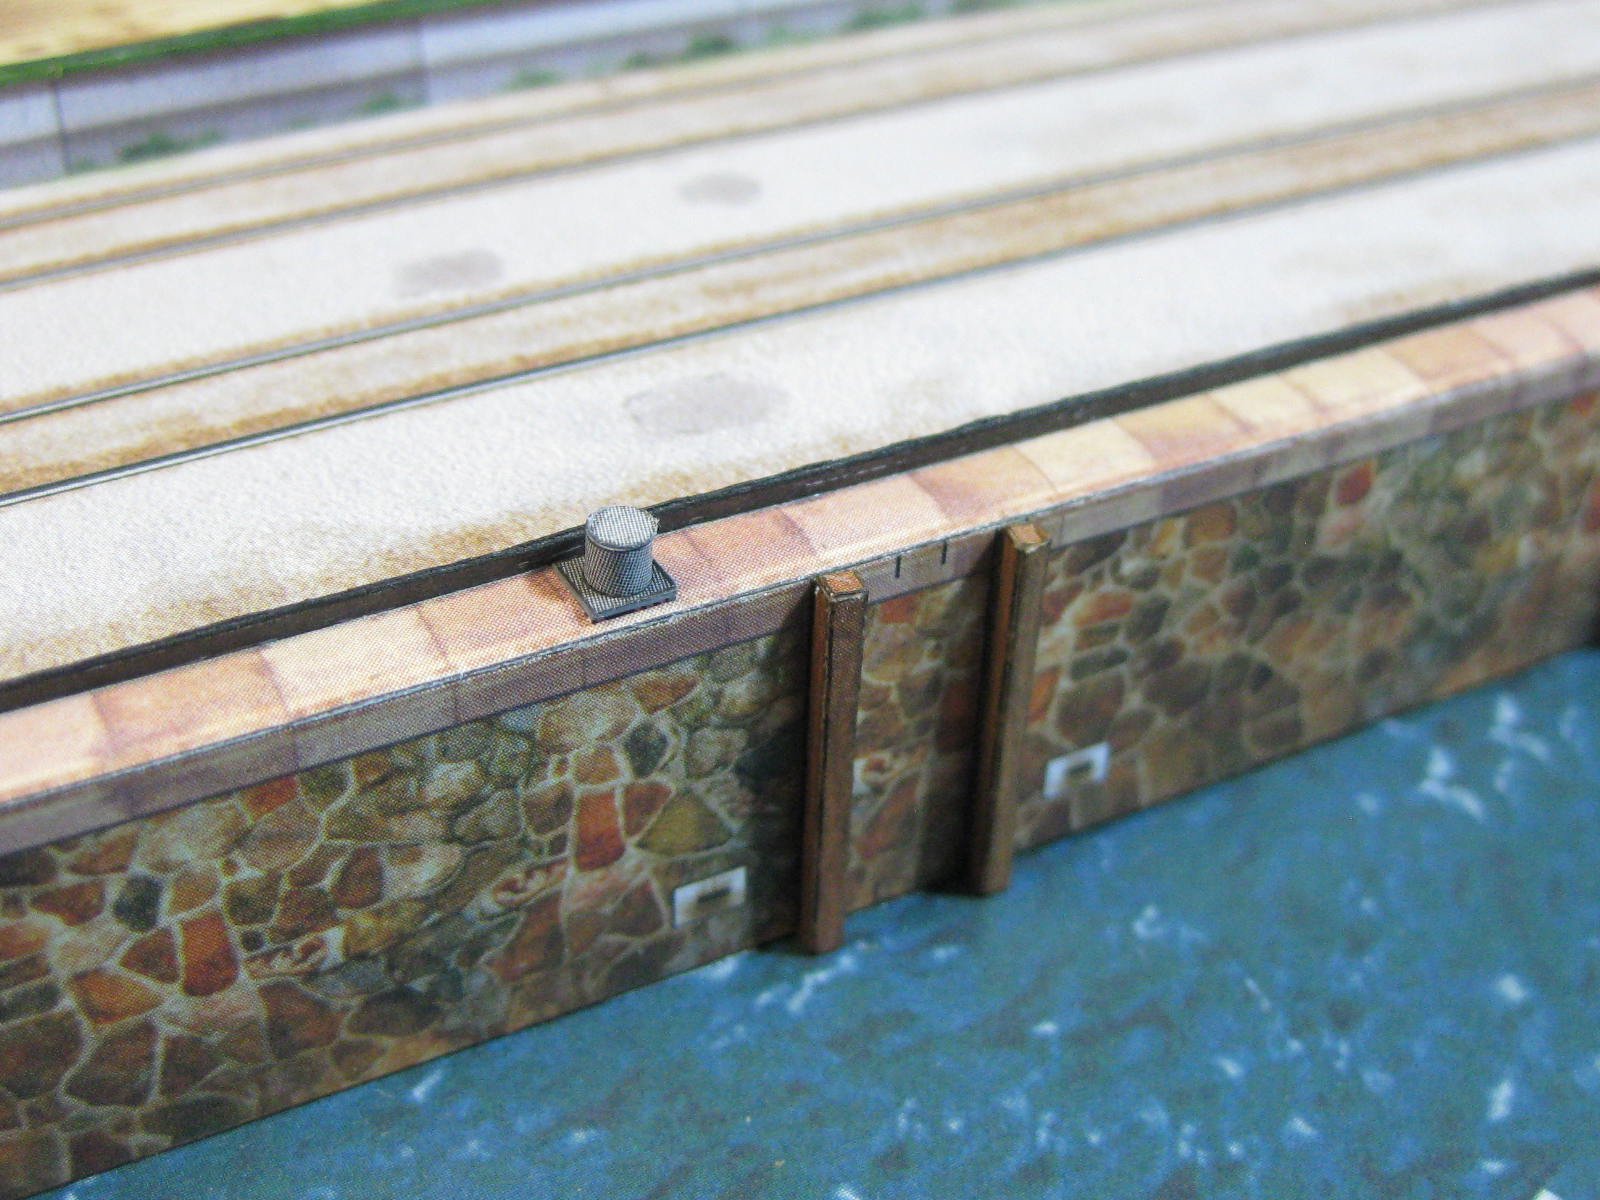
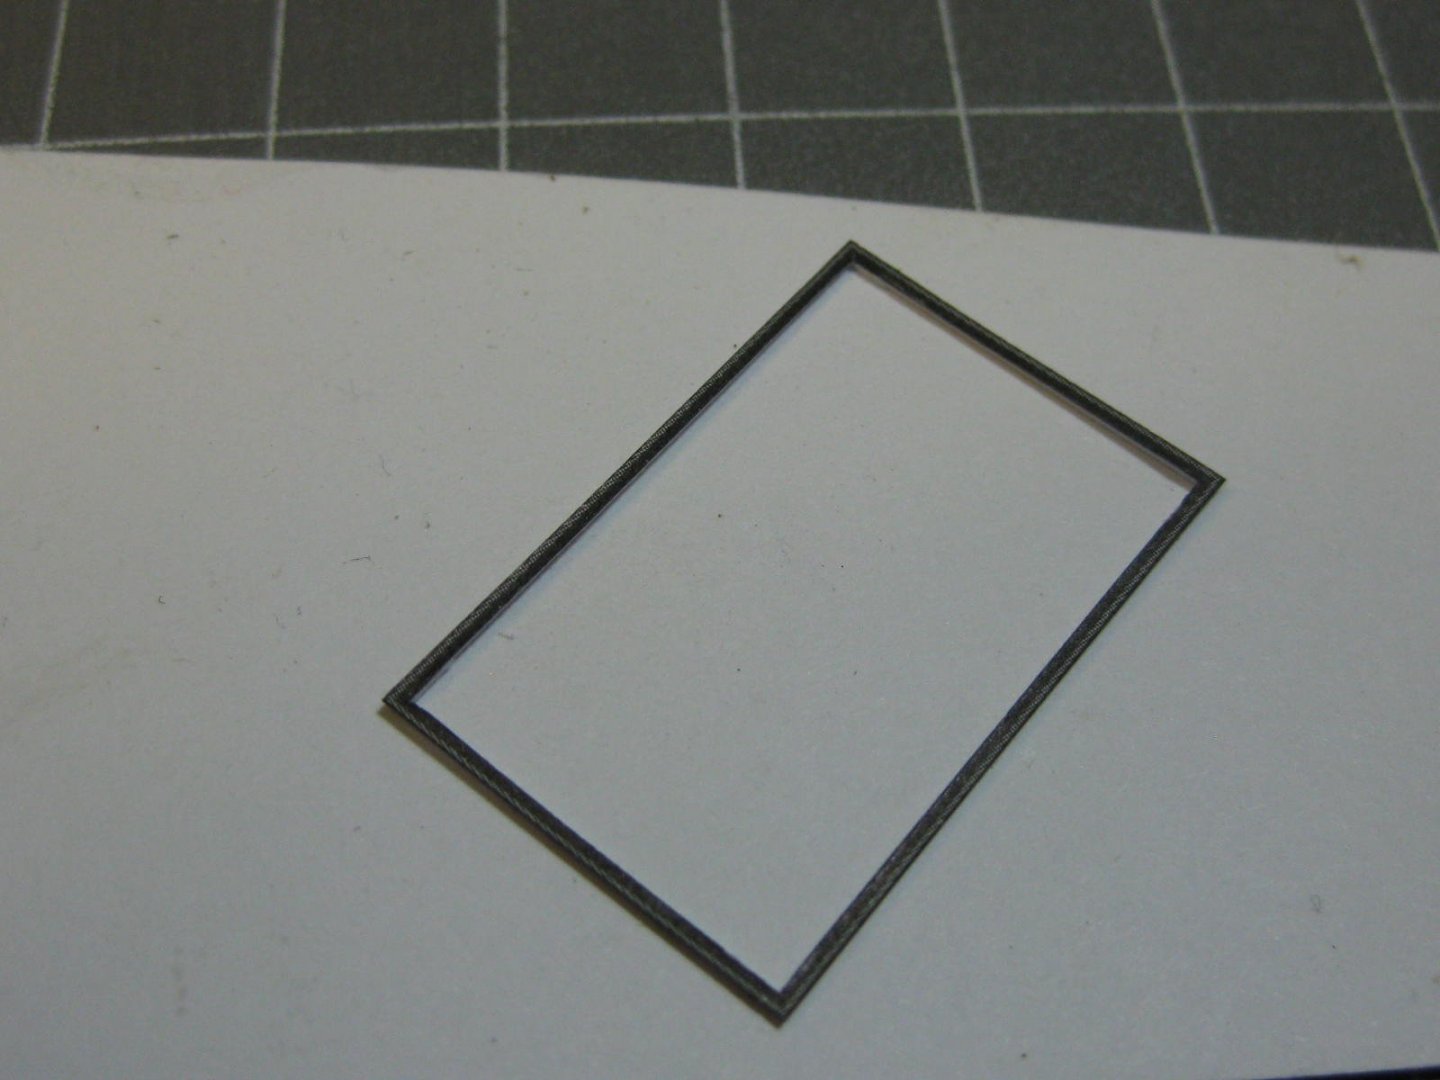
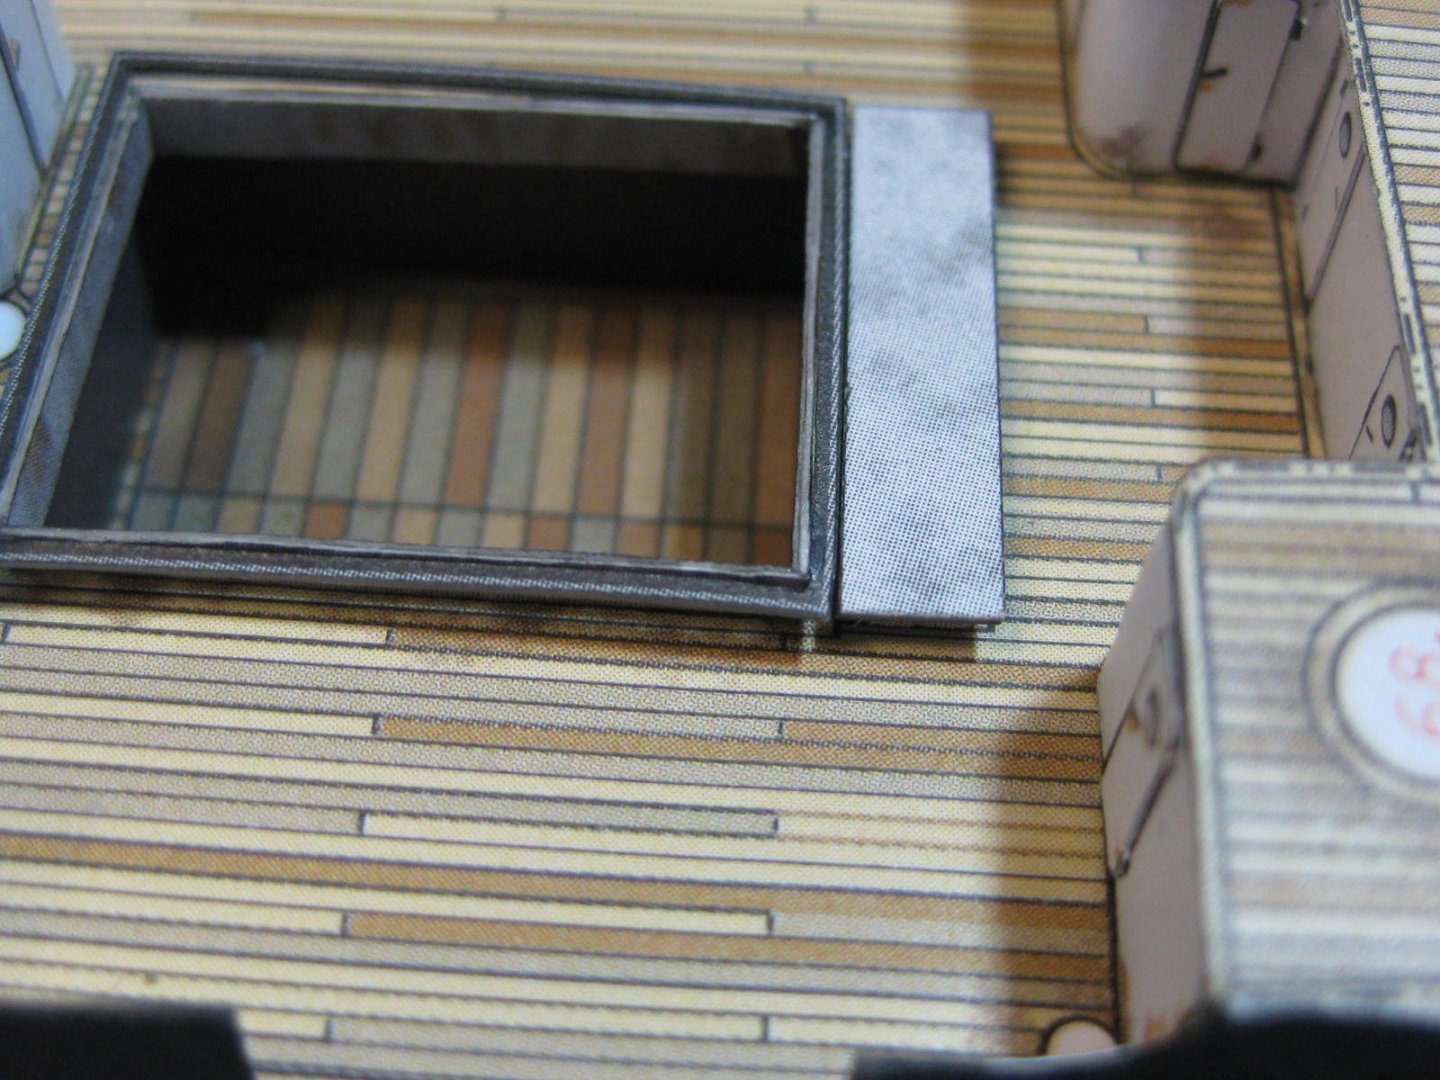
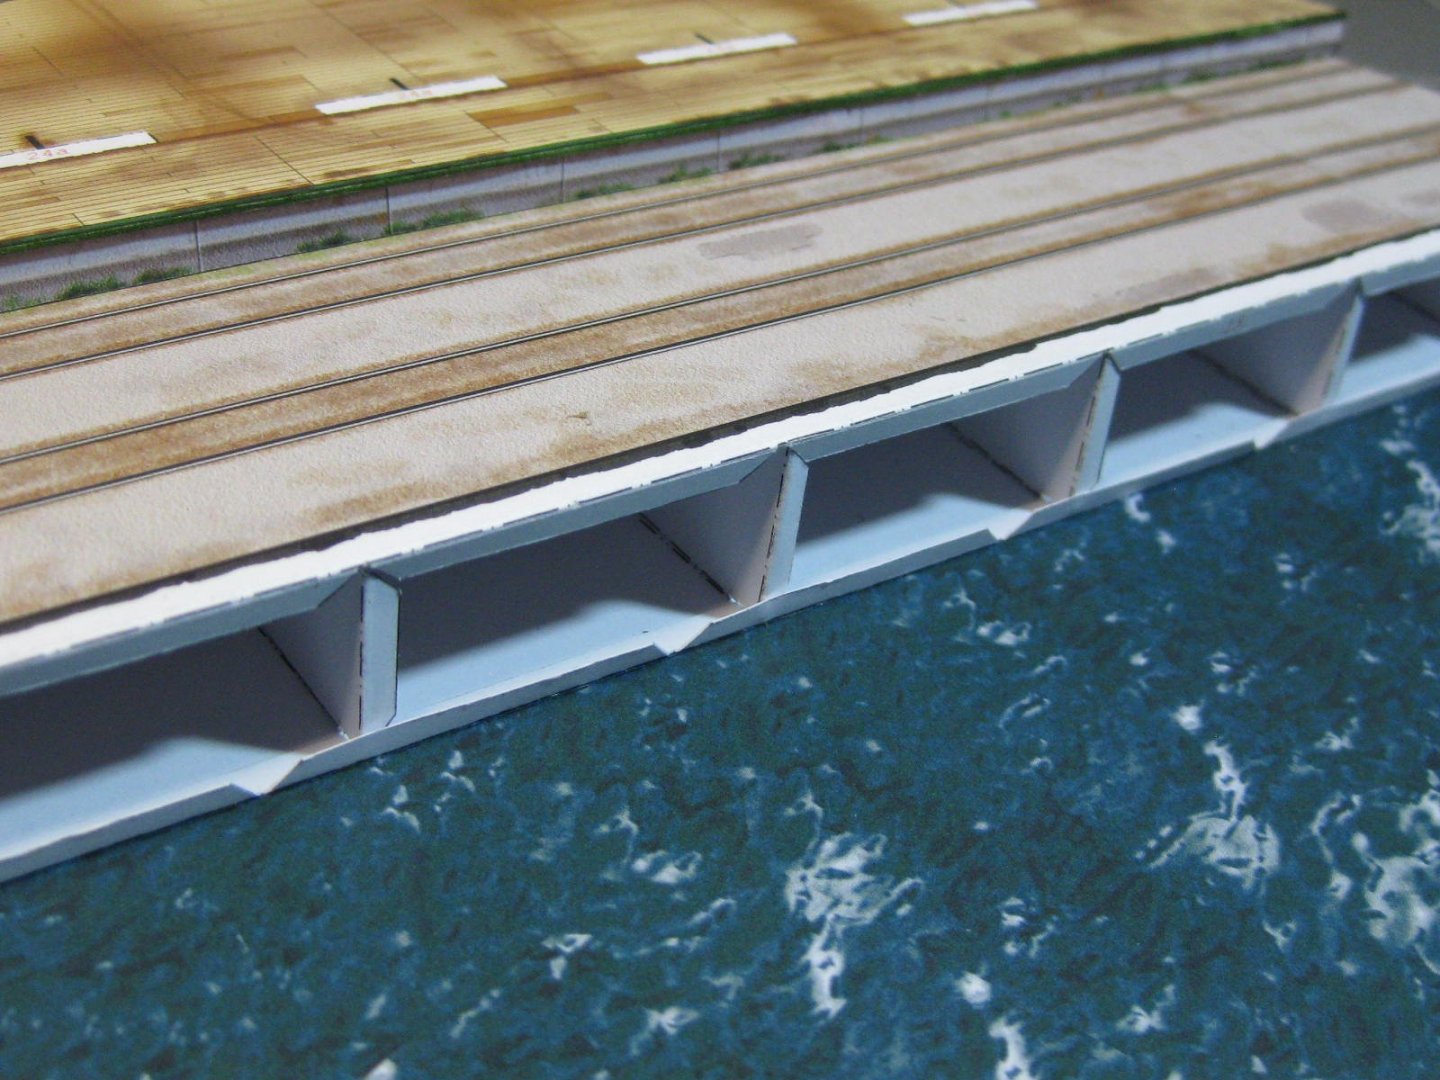
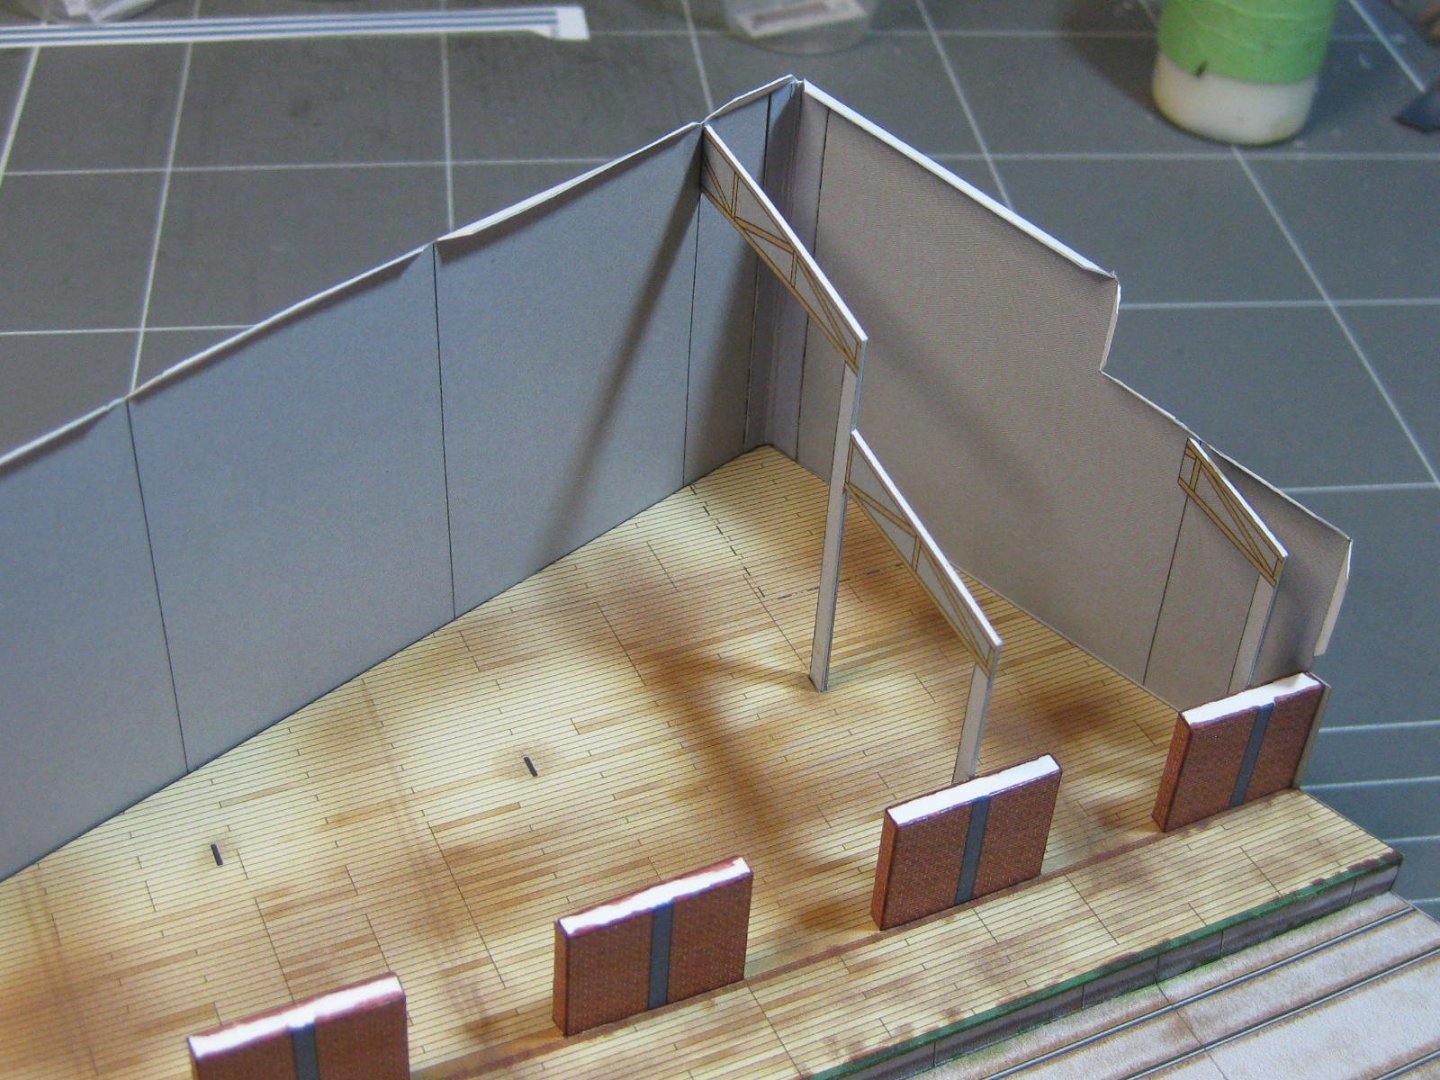
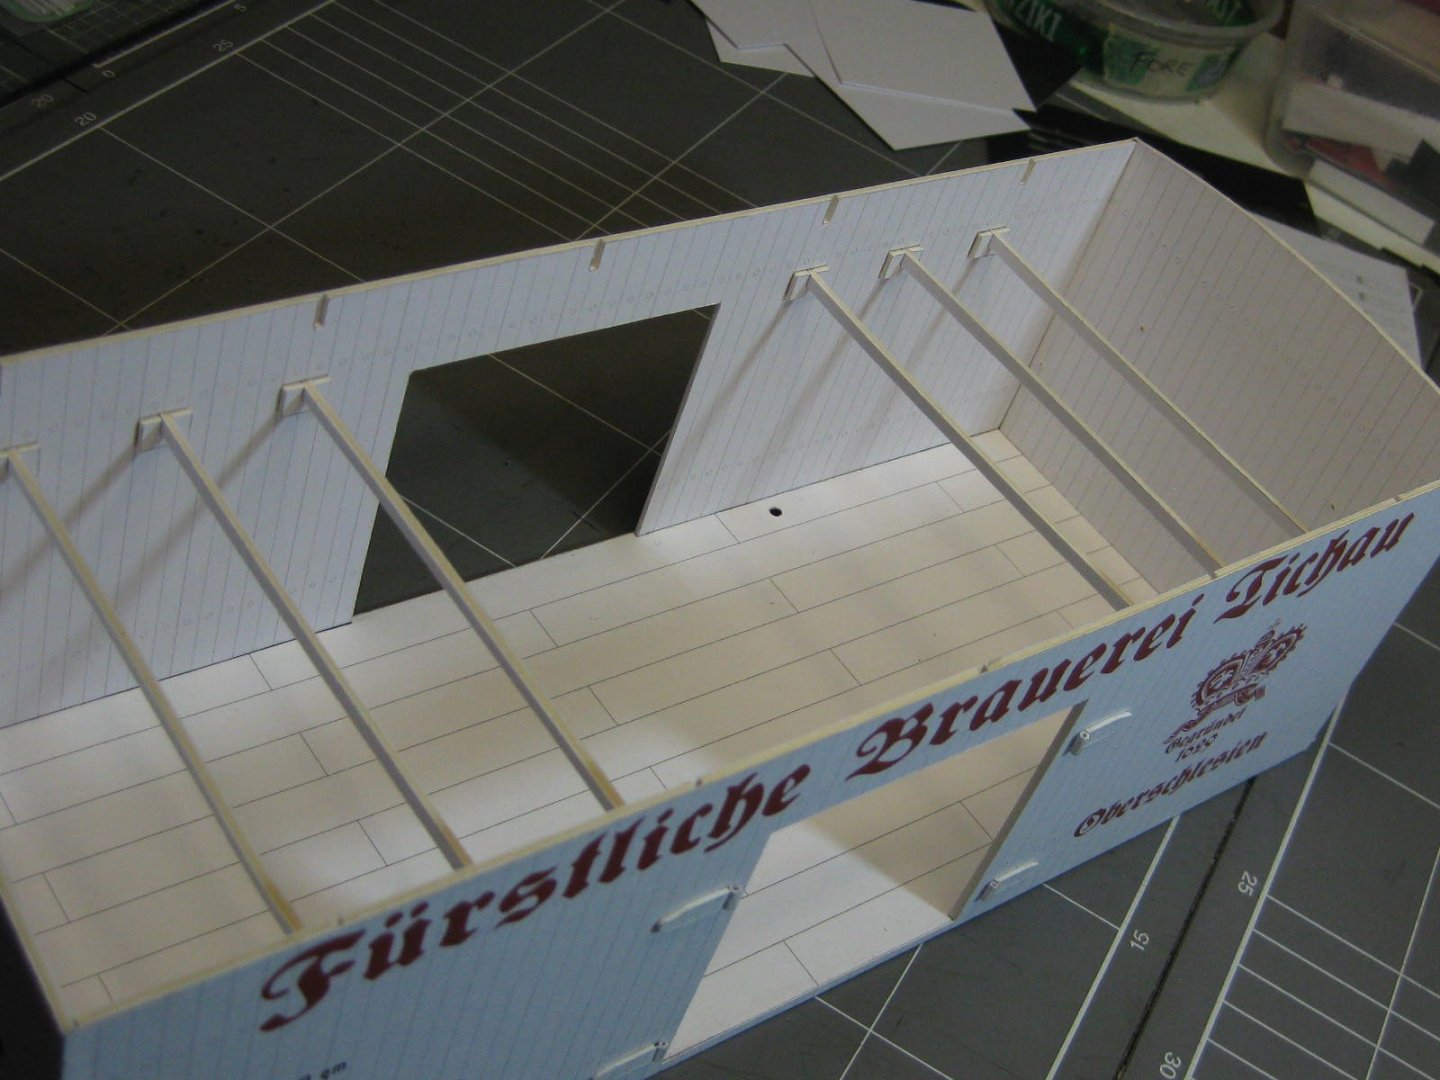
Hi all, This is definitely my last model, and it will have to remain unfinished due to my health issues. However I did manage to get a long way into it before the eyes and body gave up on me, so I do have a lot of pics I can share with you. I'll have to keep the text down to a minimum I'm afraid. Ir's a Card (surprise surprise ) diorama of the Hamburg docks circa late 1930's complete with a freighter in dock. The kit was published by HMV, and is quite complex. Printing and instructions were very good. Here's a pic of the cover art : Work starts with the dock, sea and warehouse : TBC ................ Danny


- 29 replies
-
- 24
-
-
- hmw
- Hamburg Harbor
- (and 2 more)
-
Ford Mustang 65 by Fnick - Revell 1:24 - Finished
Dan Vadas replied to fnick's topic in Non-ship/categorised builds
Nose wet Nick . -
Ford Mustang 65 by Fnick - Revell 1:24 - Finished
Dan Vadas replied to fnick's topic in Non-ship/categorised builds
I'm afraid my modelling (of any sort) days are over . Both my health and eyesight have failed me. AAAARRRRRGGHH Danny -
Ford Mustang 65 by Fnick - Revell 1:24 - Finished
Dan Vadas replied to fnick's topic in Non-ship/categorised builds
I built the same model, though an earlier version of the Revell kit, when I was still in school 53 years ago. It was one of my favourite Plastic models. I painted it in a similar colour to this one, although more on the metallic turquoise side. Thanks for bringing back the memories . A pity it got lost years ago. Danny -
It's not necessarily a "Like" as such L.H. It's more of an "I reacted to this post". Danny
-
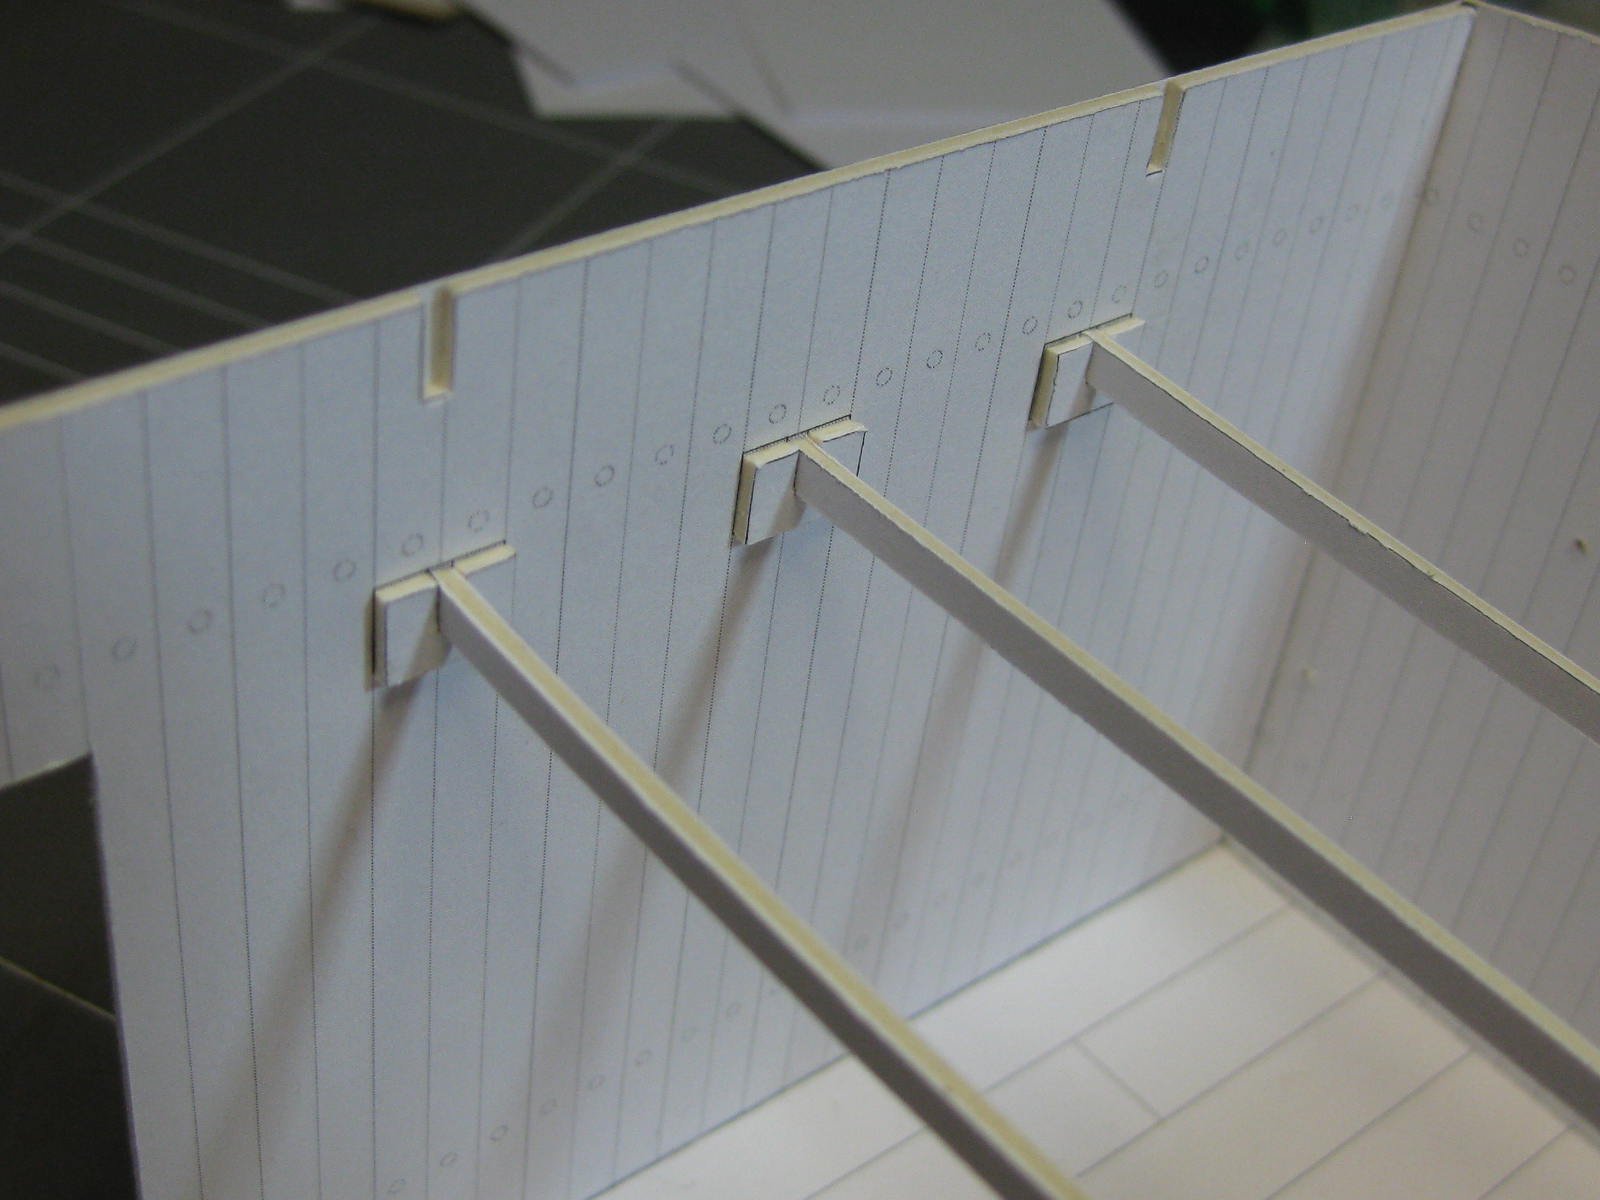
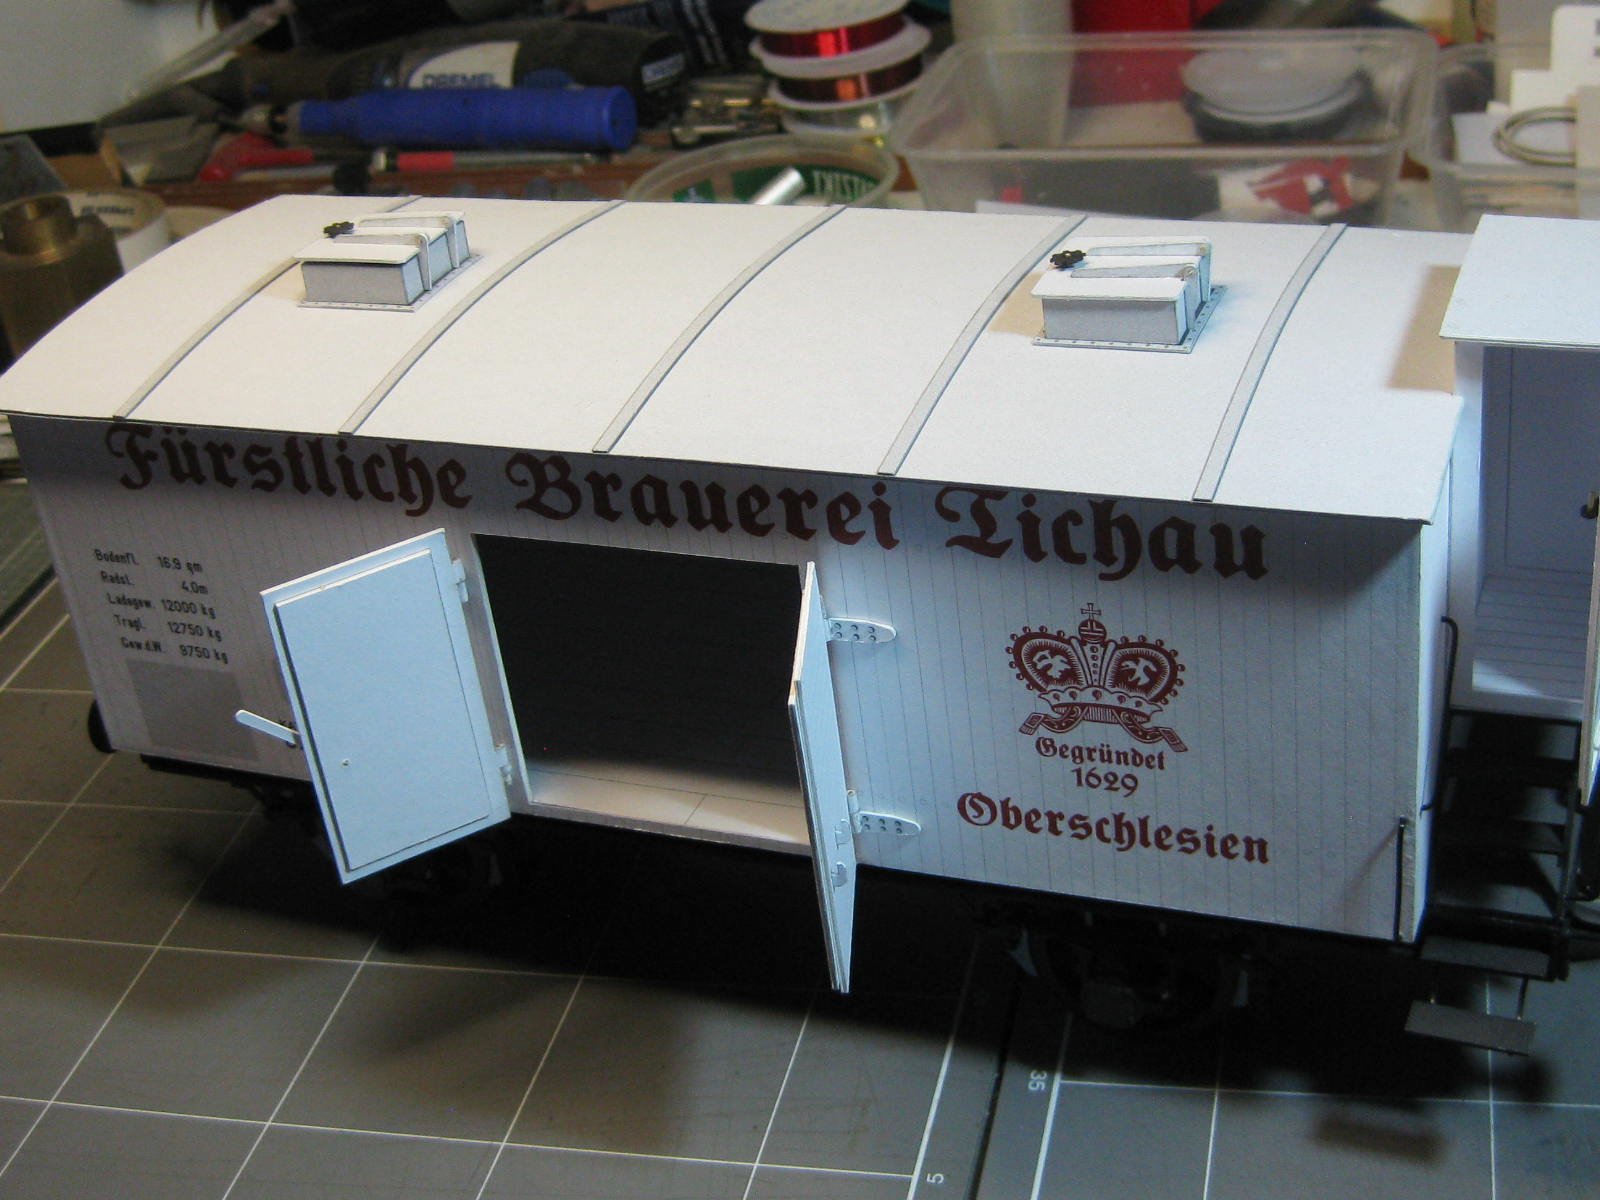
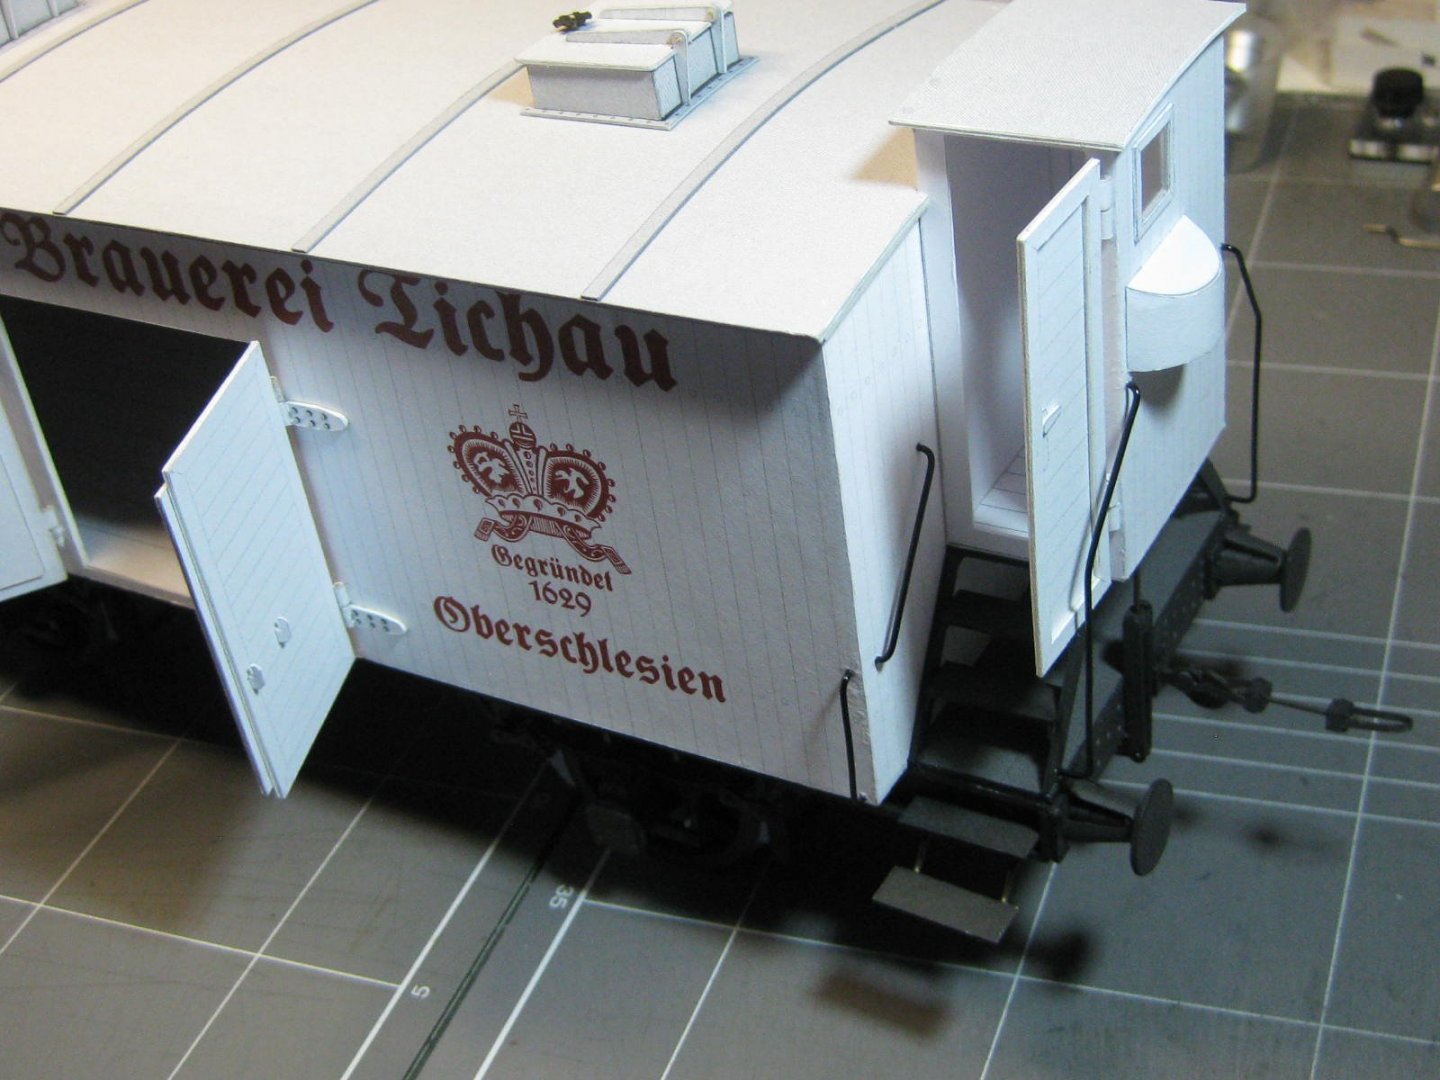
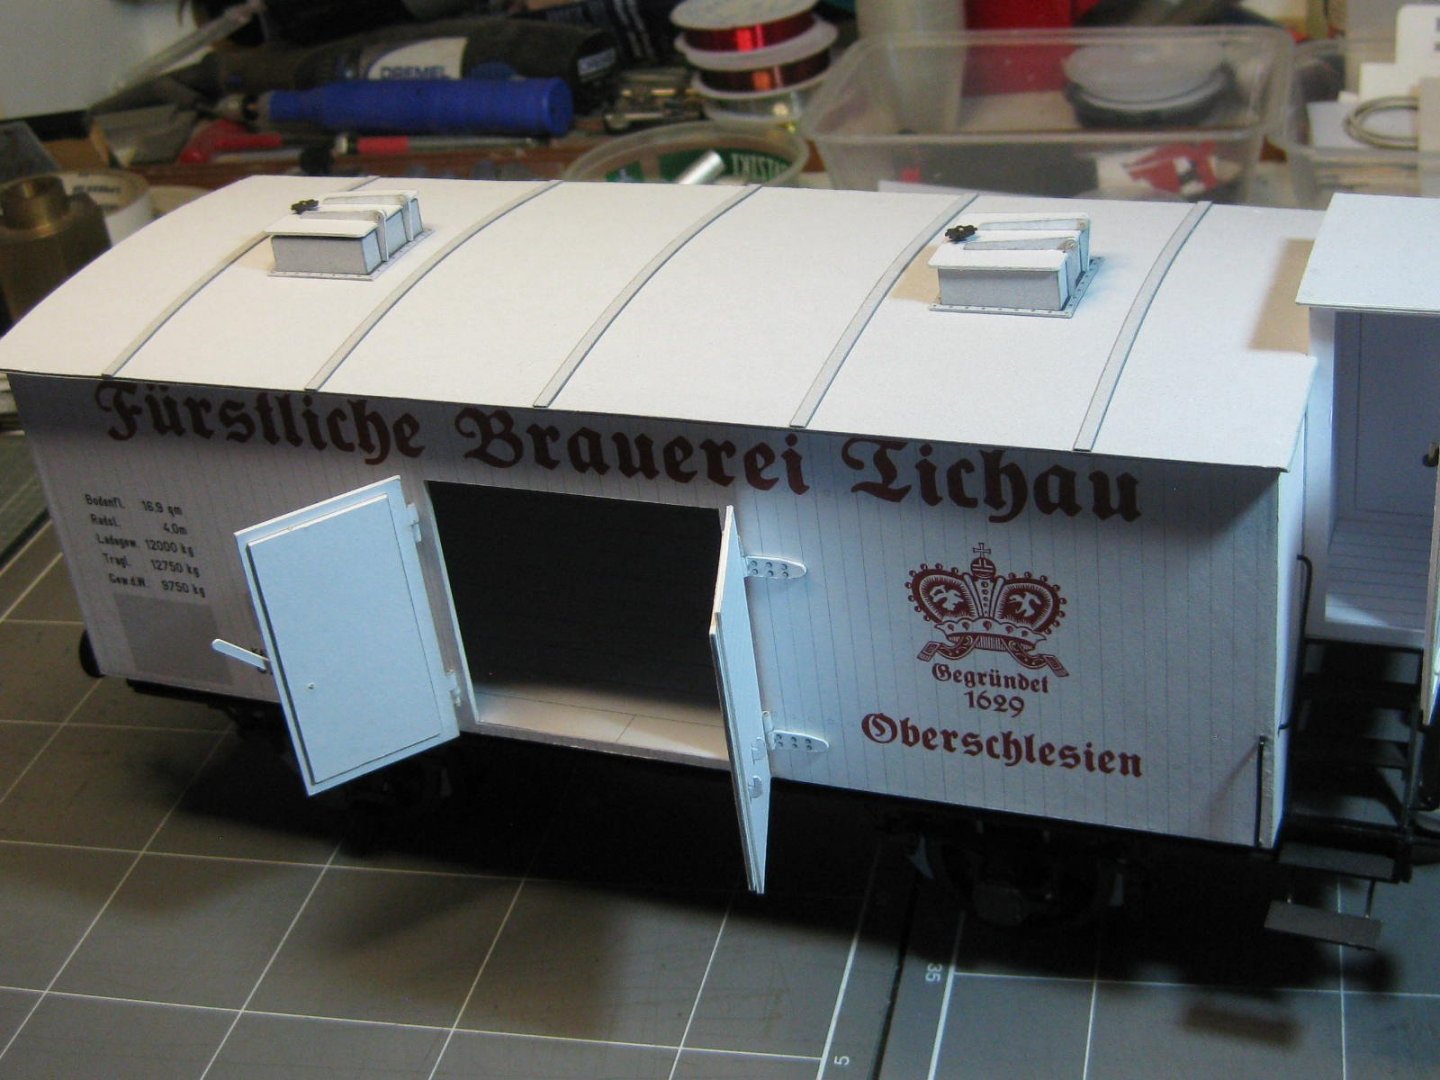
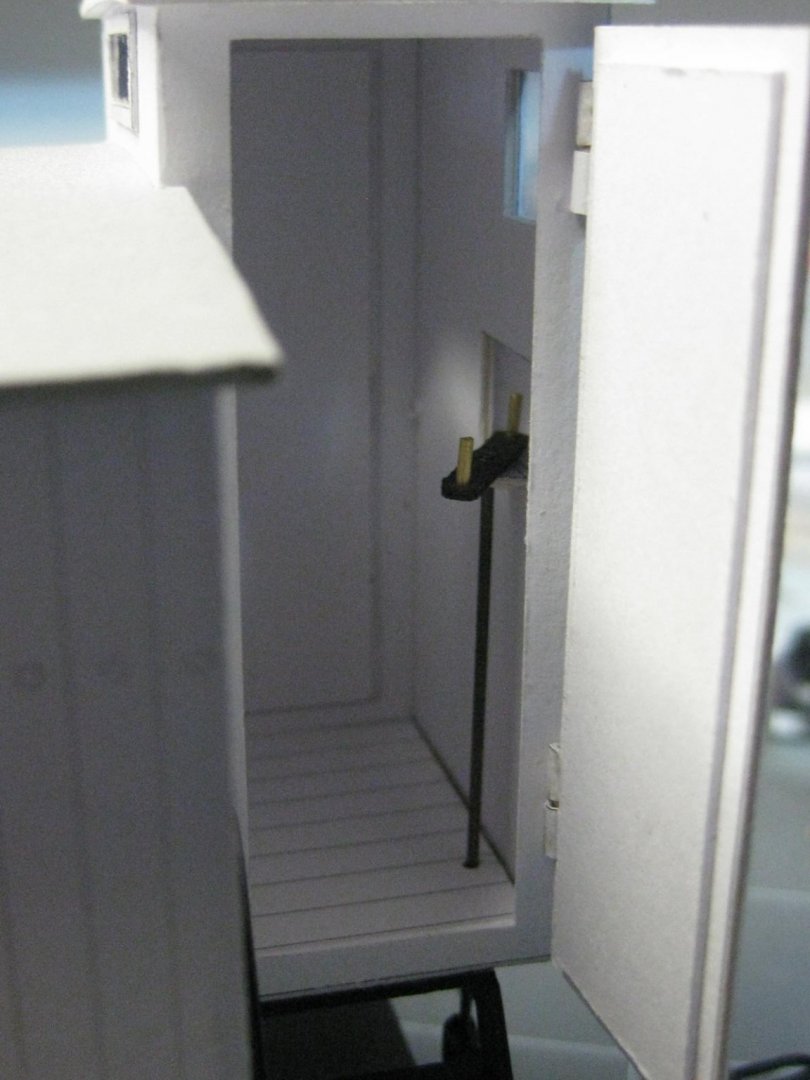
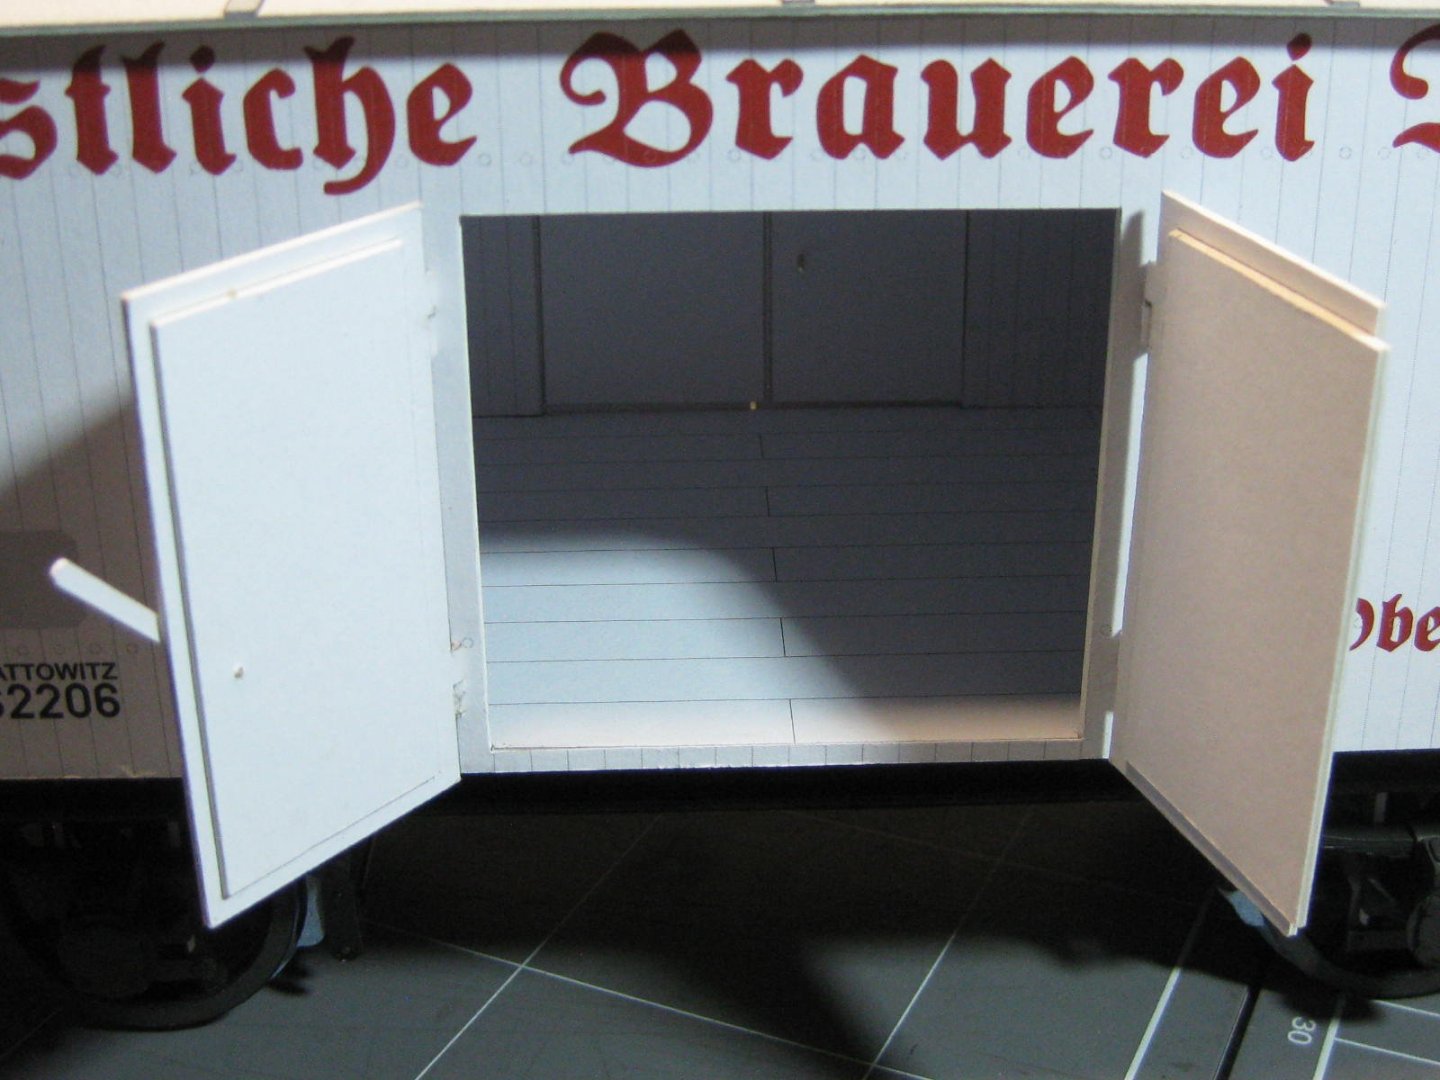
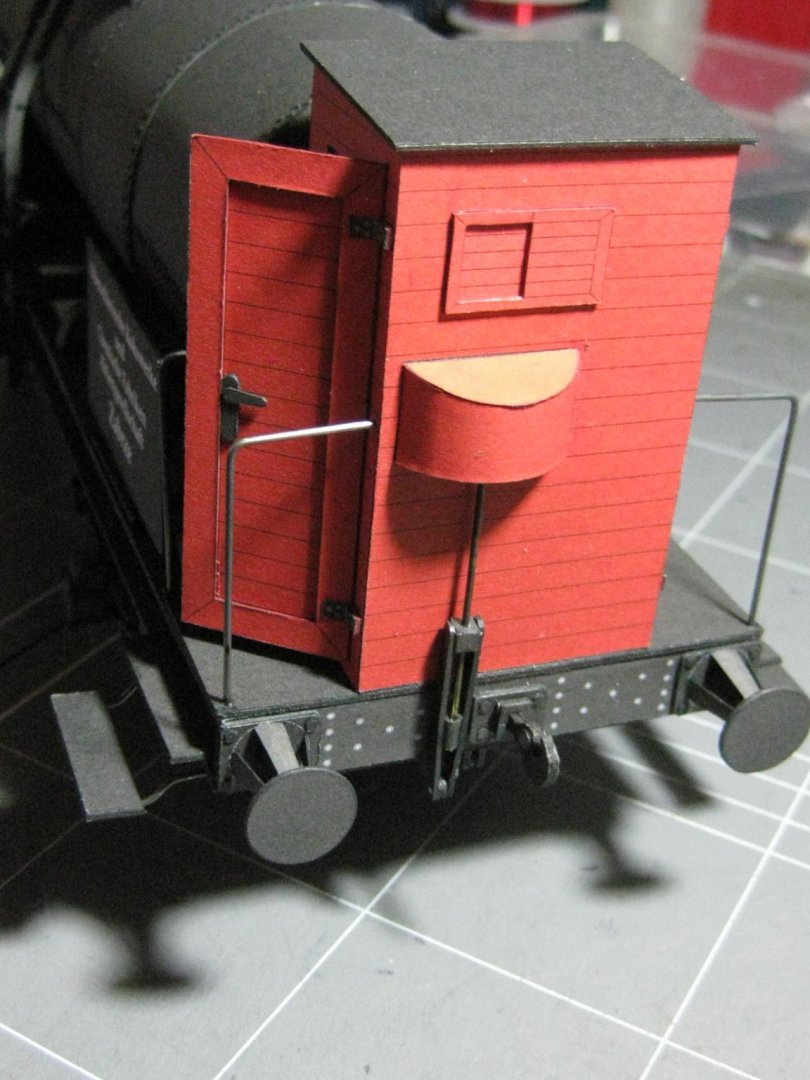
The final wagon in this set - a Beer Wagon : Unfortunately this may be my last model - I don't know how many of you are aware but I've had cancer for the past 6 years, and it's progressed to the stage where they can no longer do anything for me. The pain in my lower back has been getting so severe lately that I'm finding it nearly impossible to sit at my workbench for longer than an hour or so at a time before I need to take a long break. In addition the pain medication I'm now on makes me extremely drowsy and I sleep for most of the day. Thank you to everyone on this wonderful forum for the friendship over the years, and to all those who followed my many builds. I'm making this my goodbye. Danny


- 14 replies
-
- 14
-
-
There's also a Beer Wagon in progress at the moment . I've made 2.5 metres of highly detailed rails (in two pieces for easier transport) which will hold the lot. Danny

-
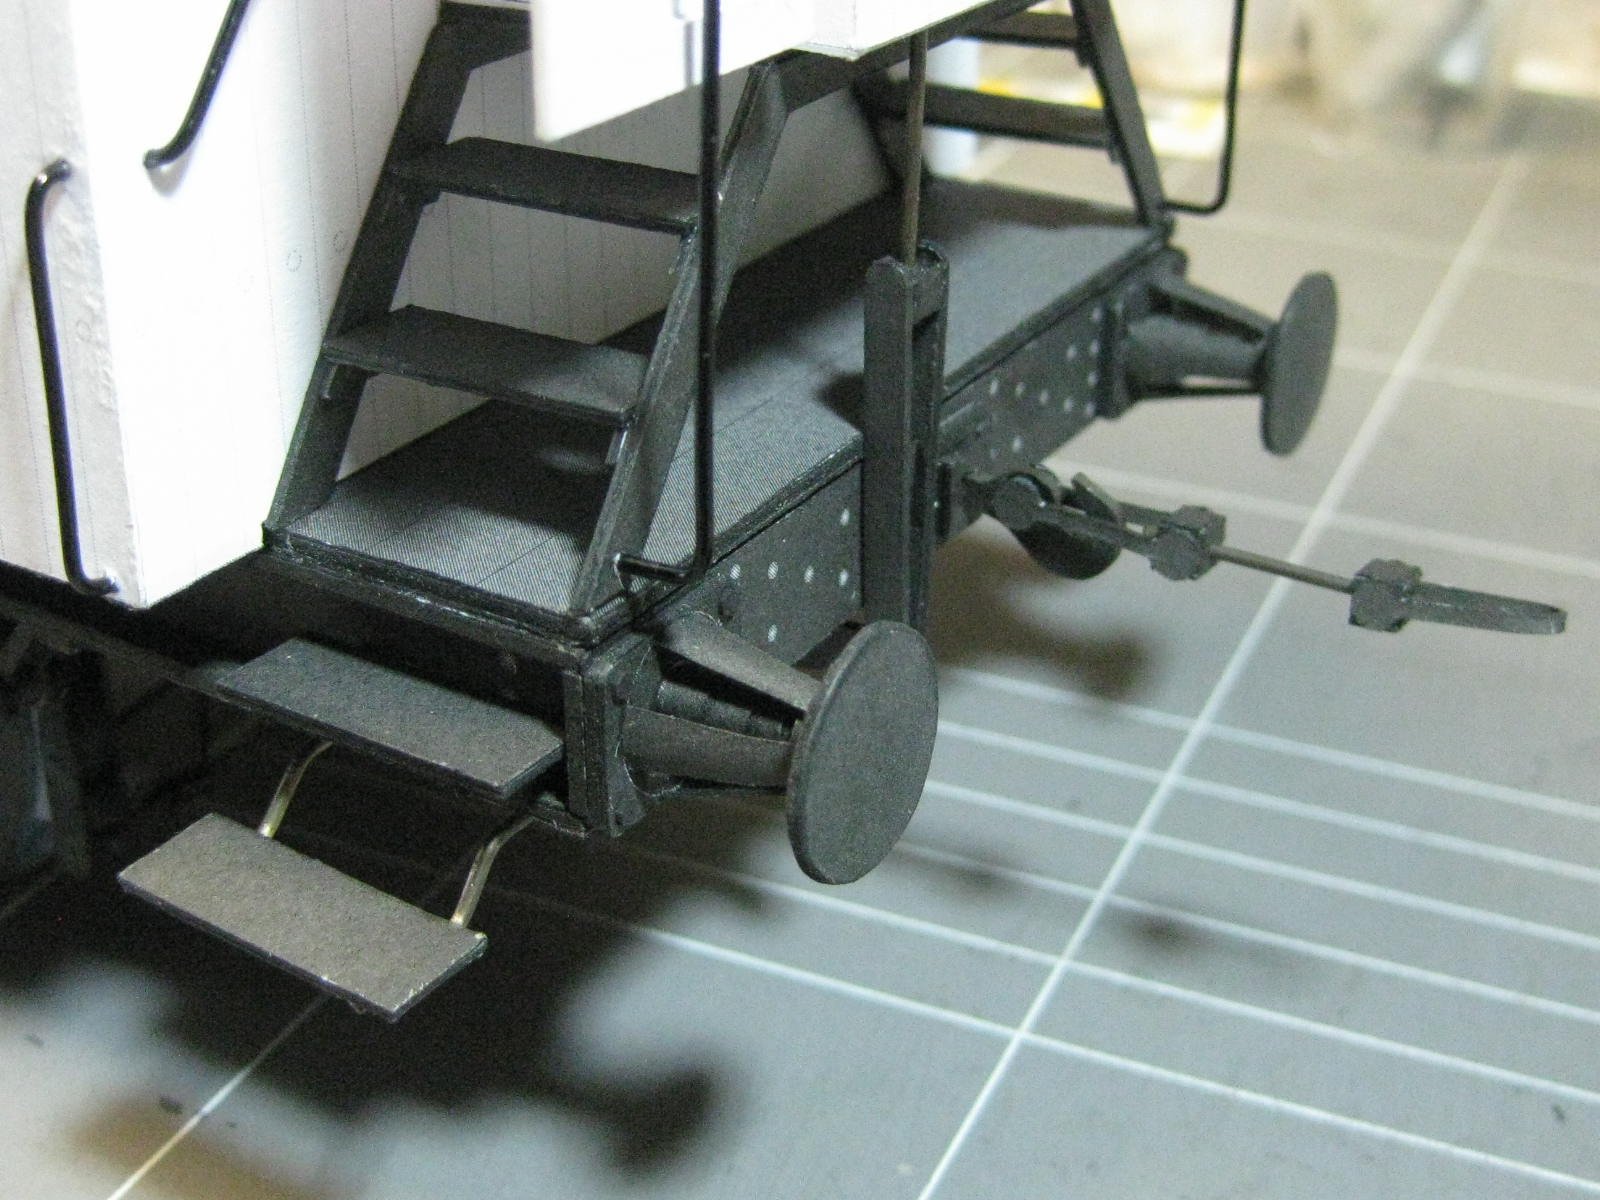
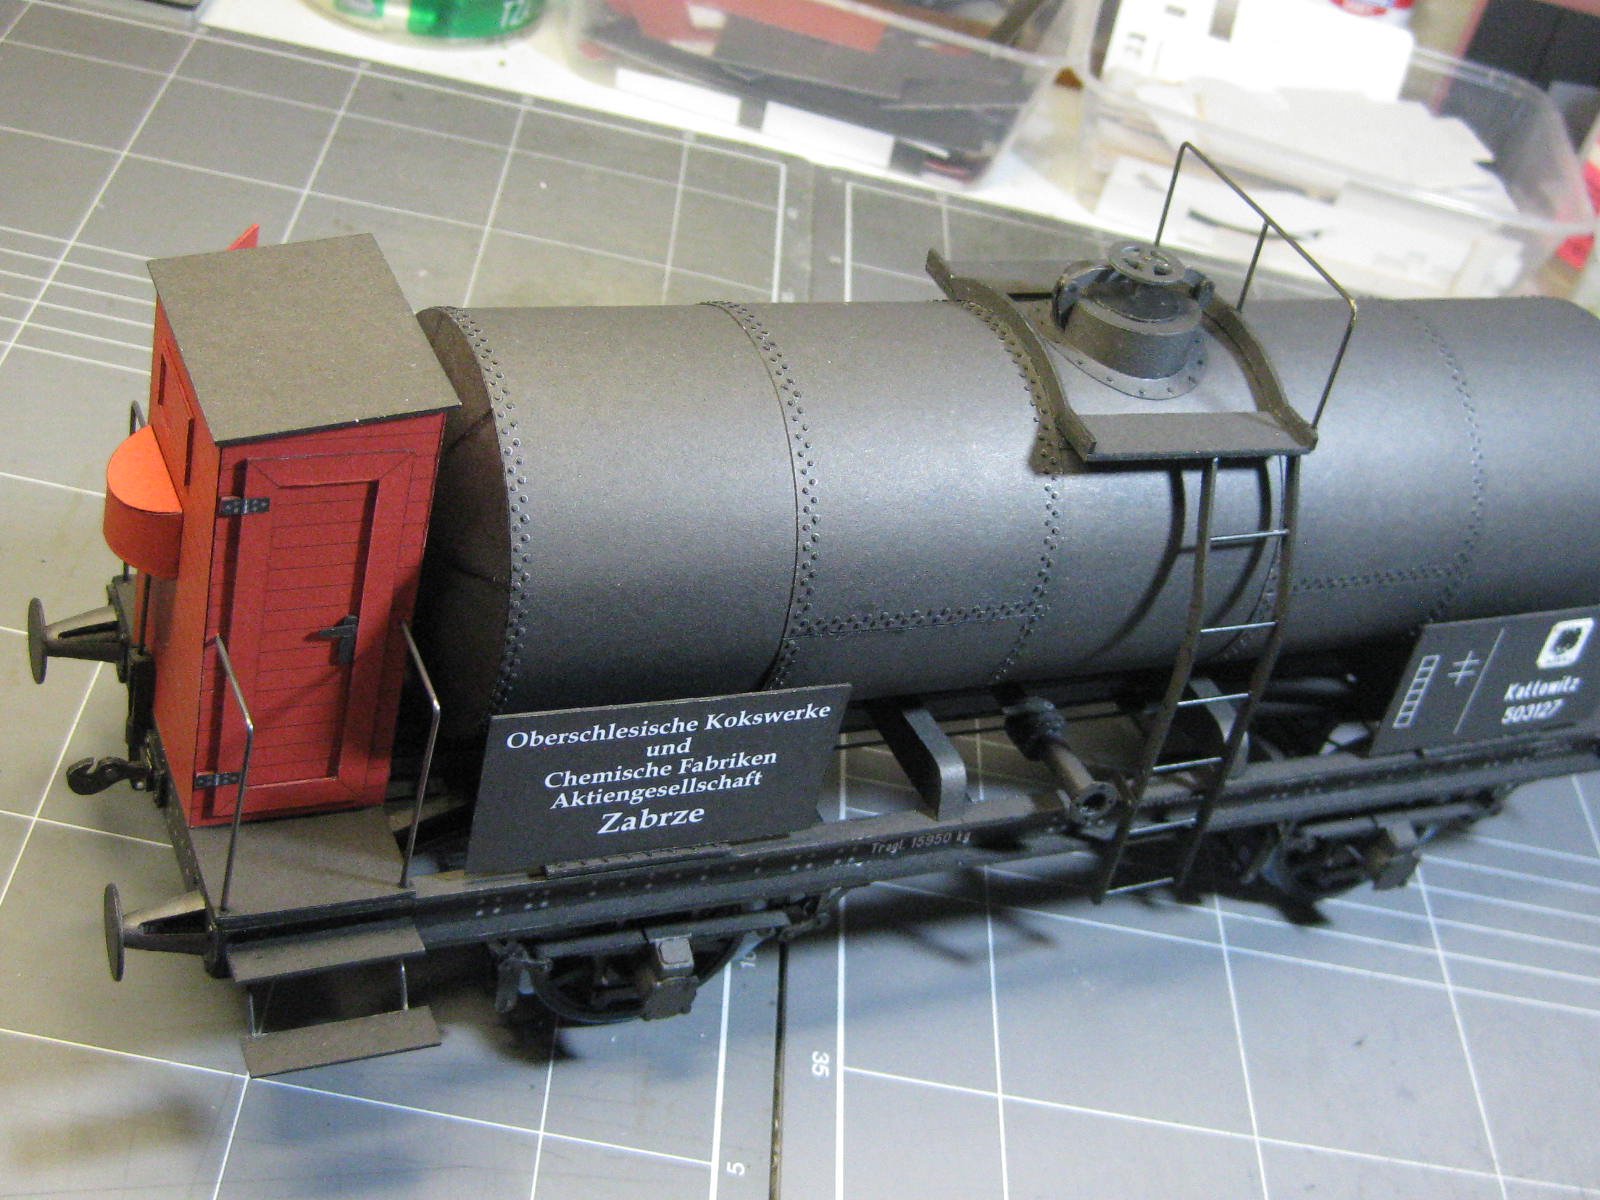
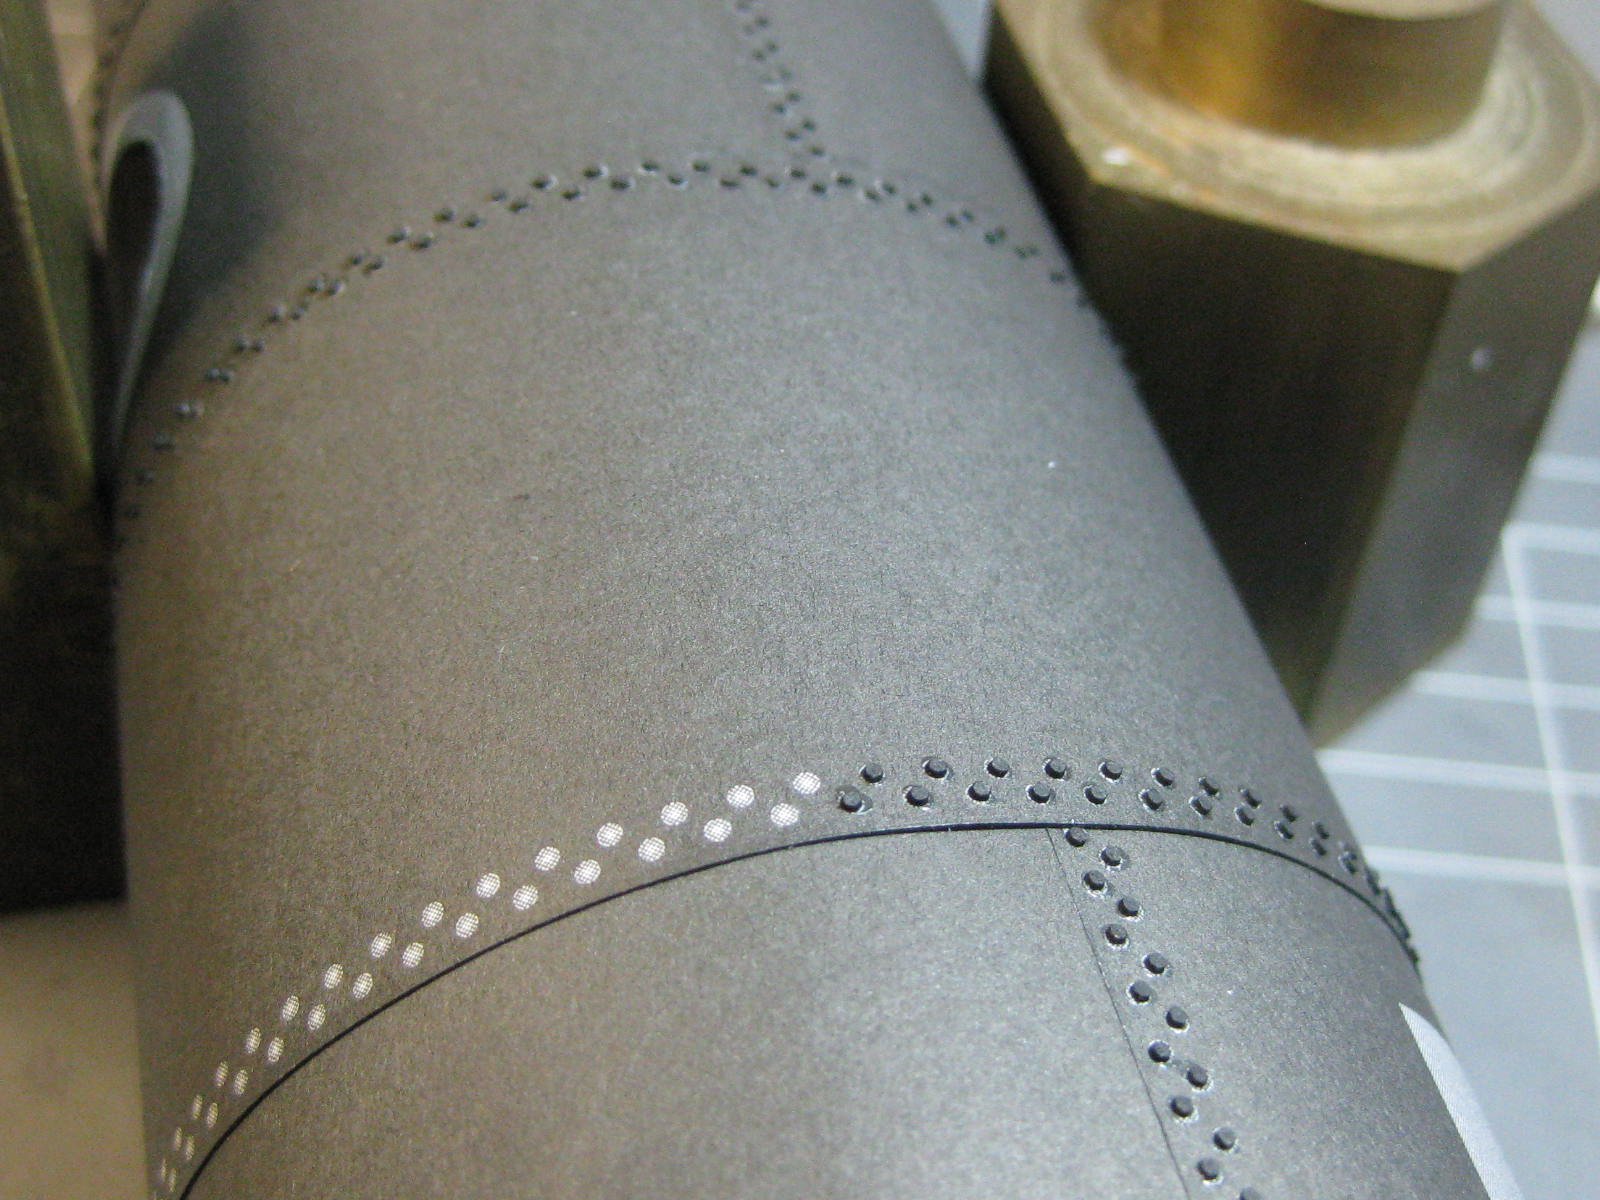
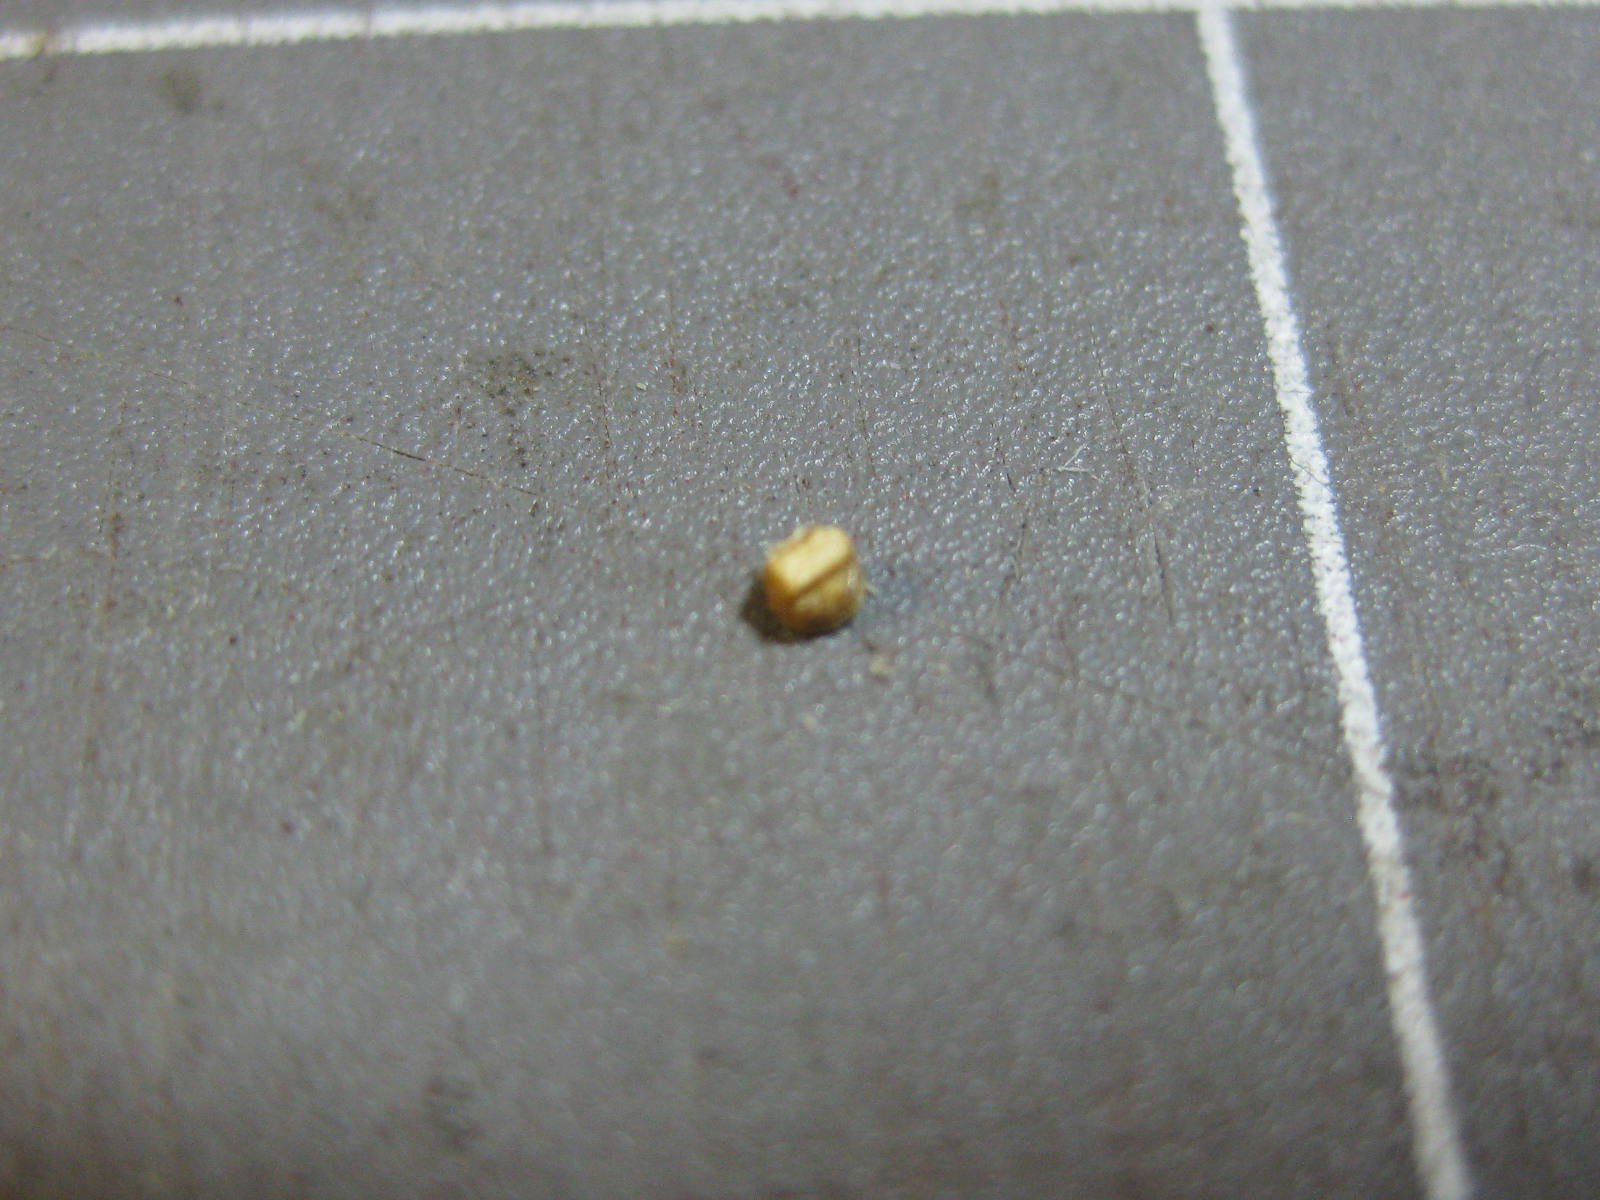
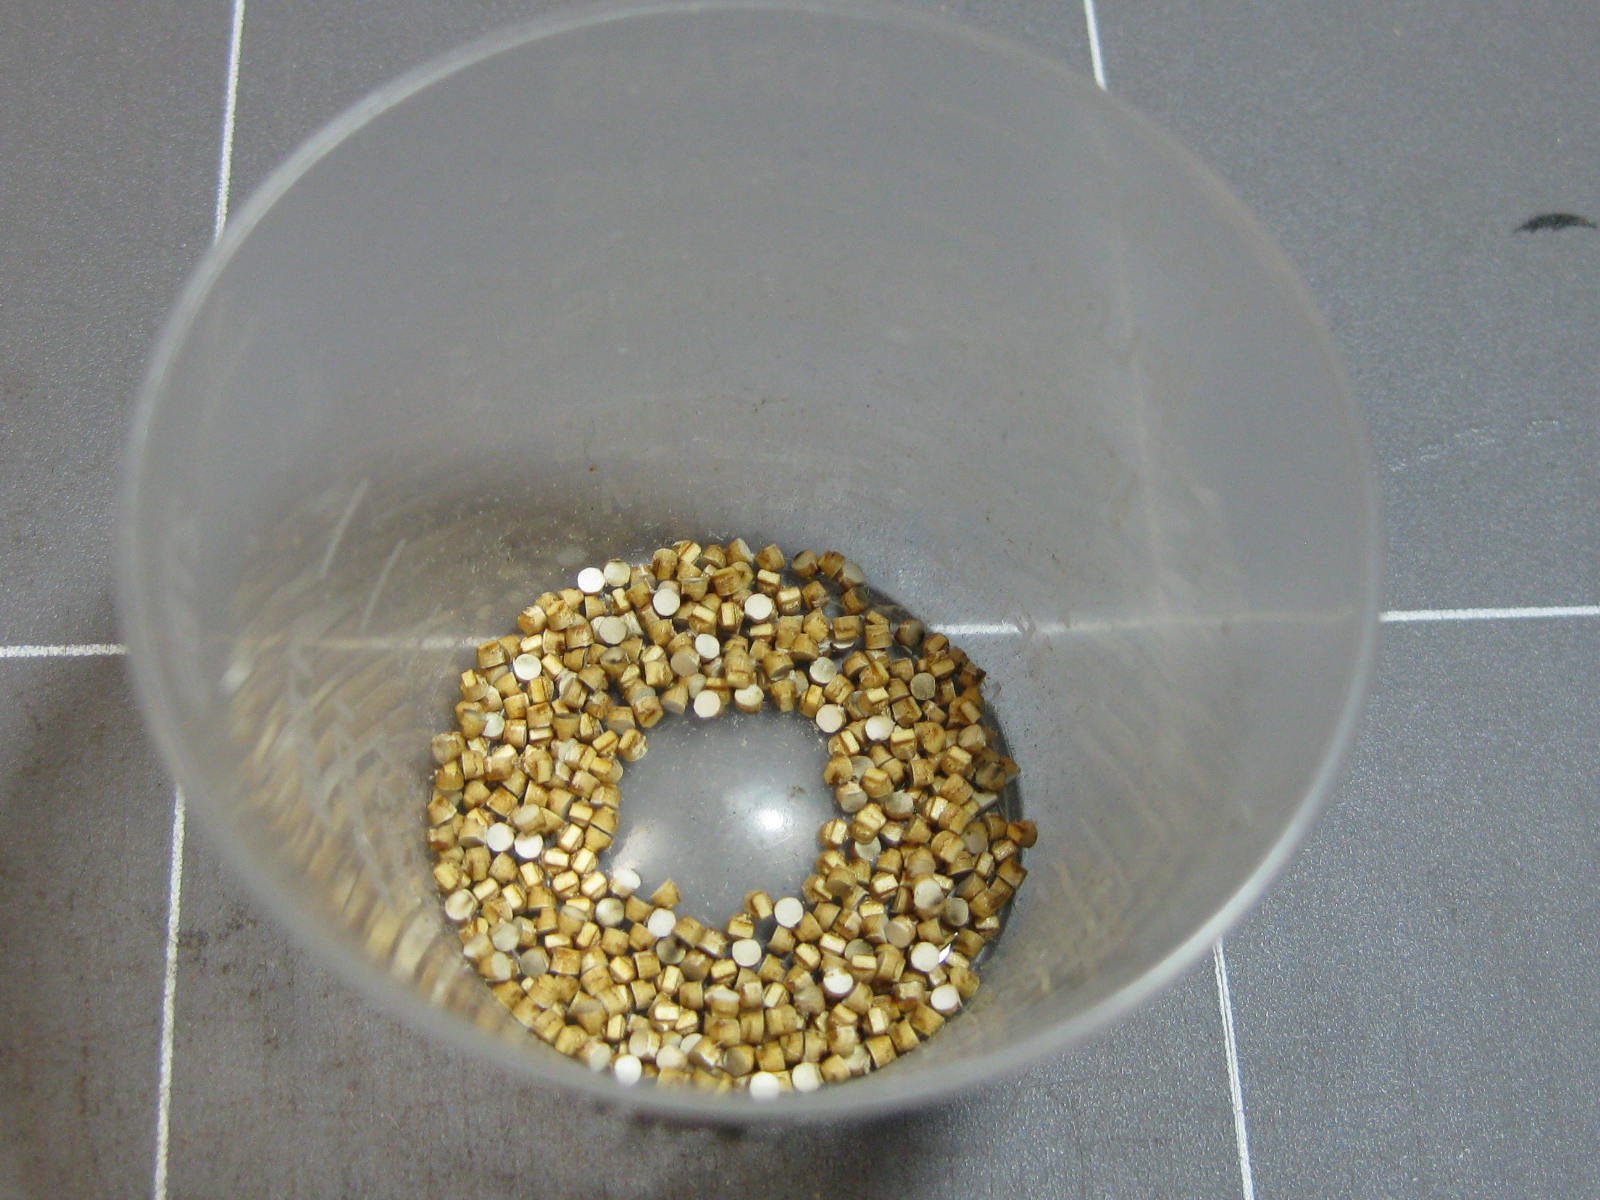
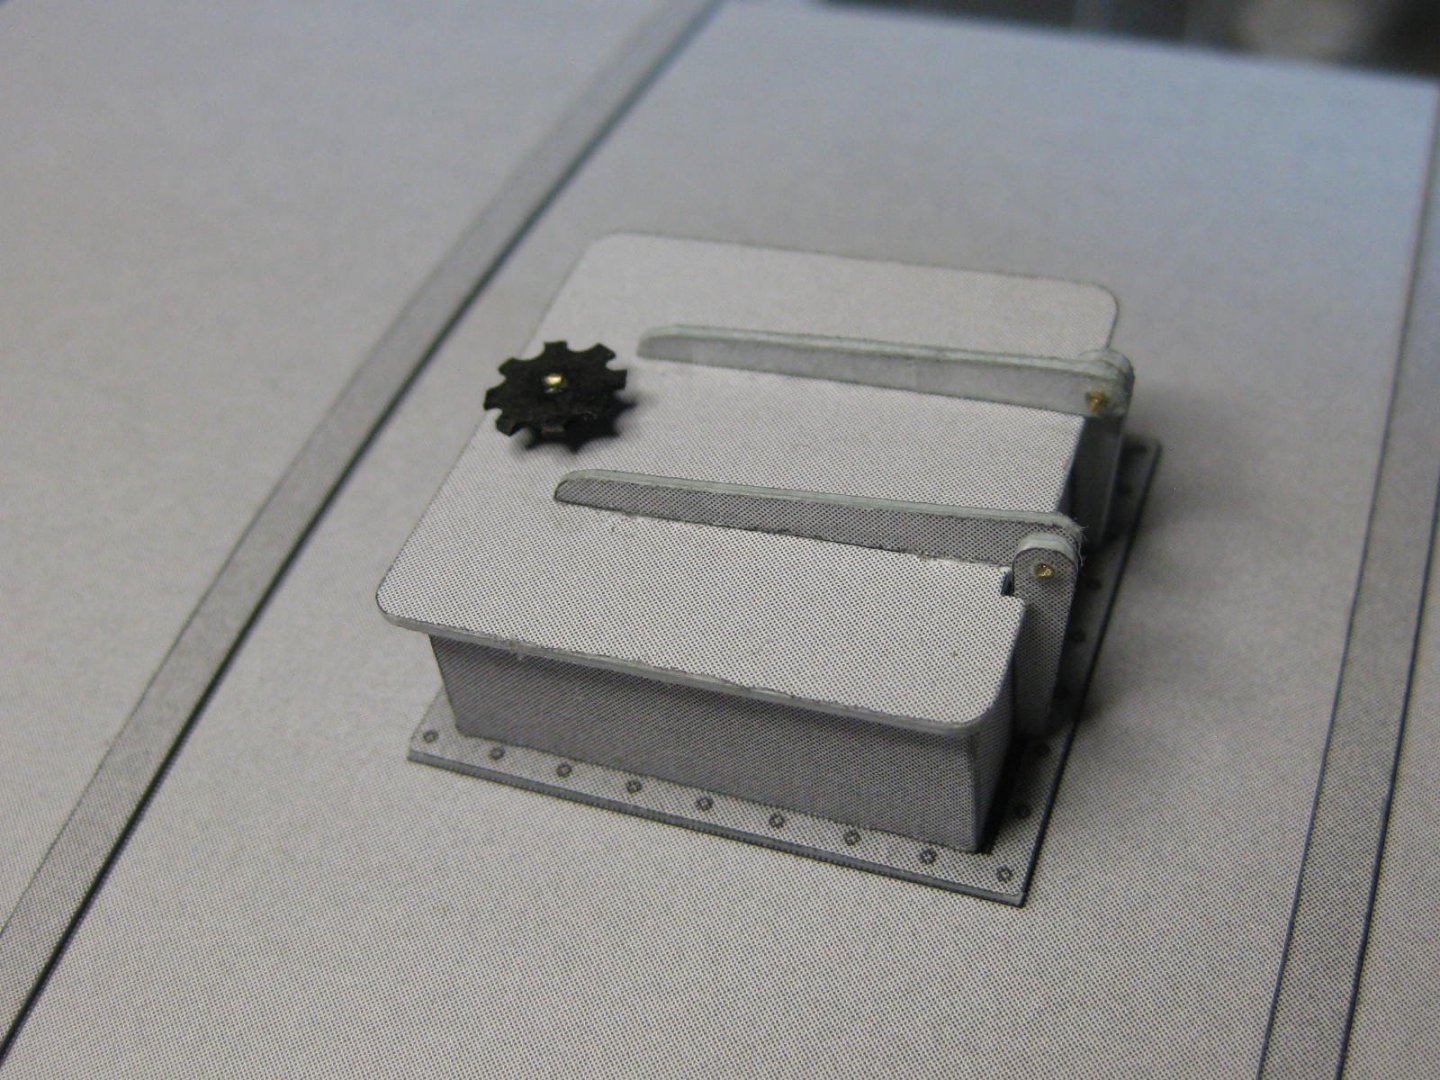
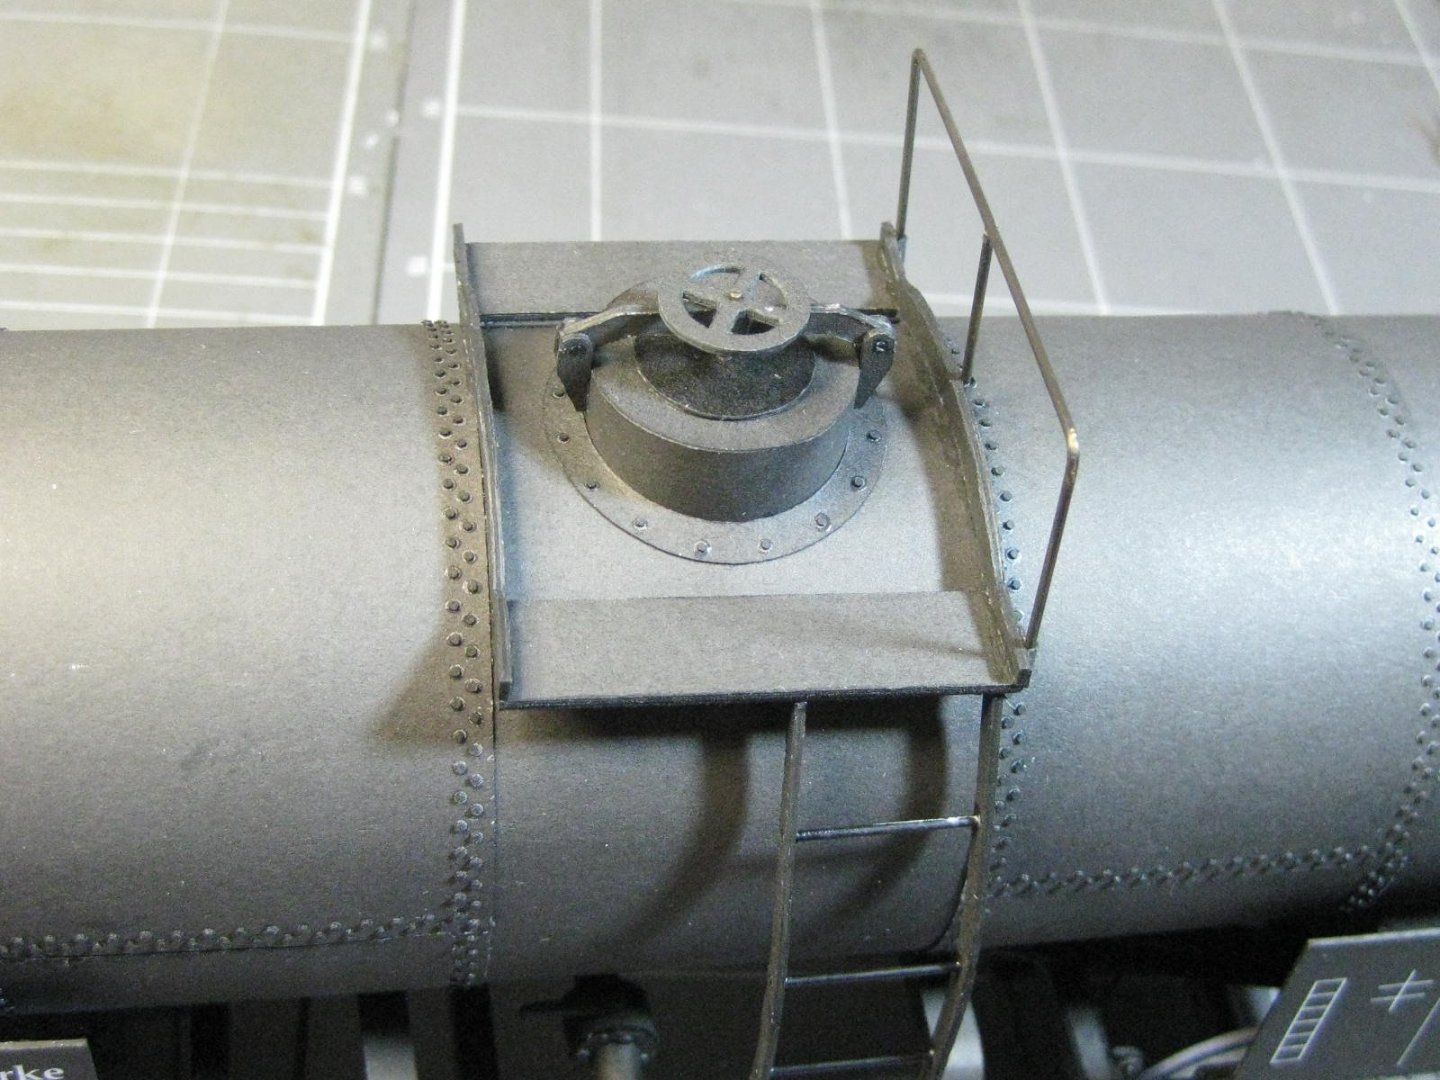
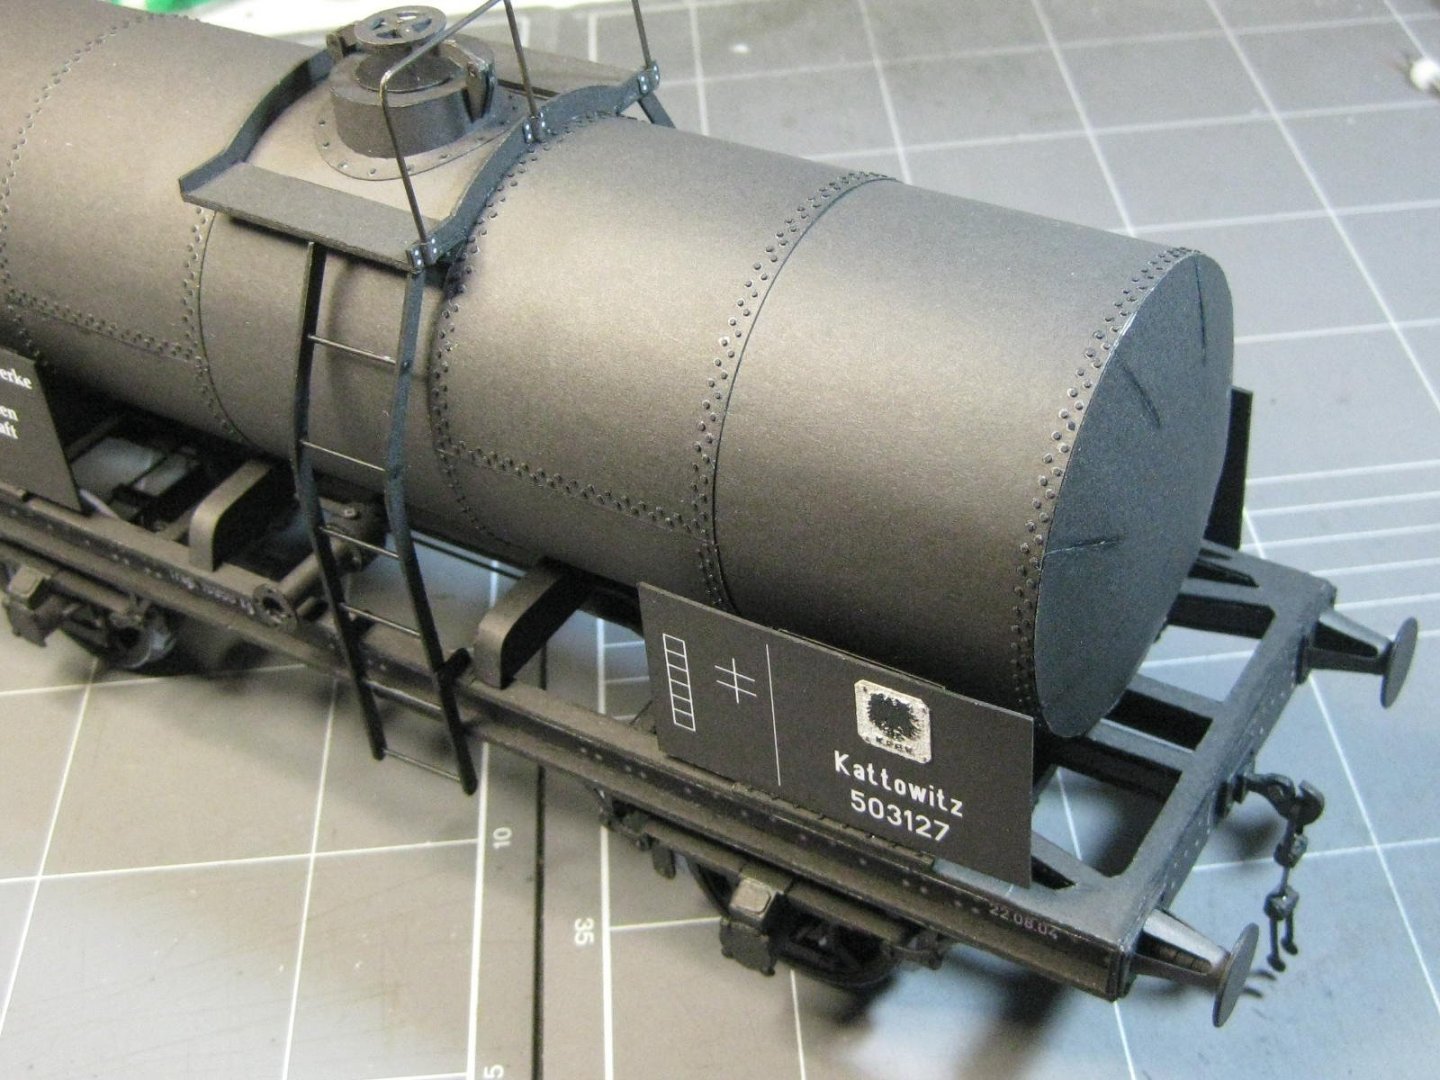
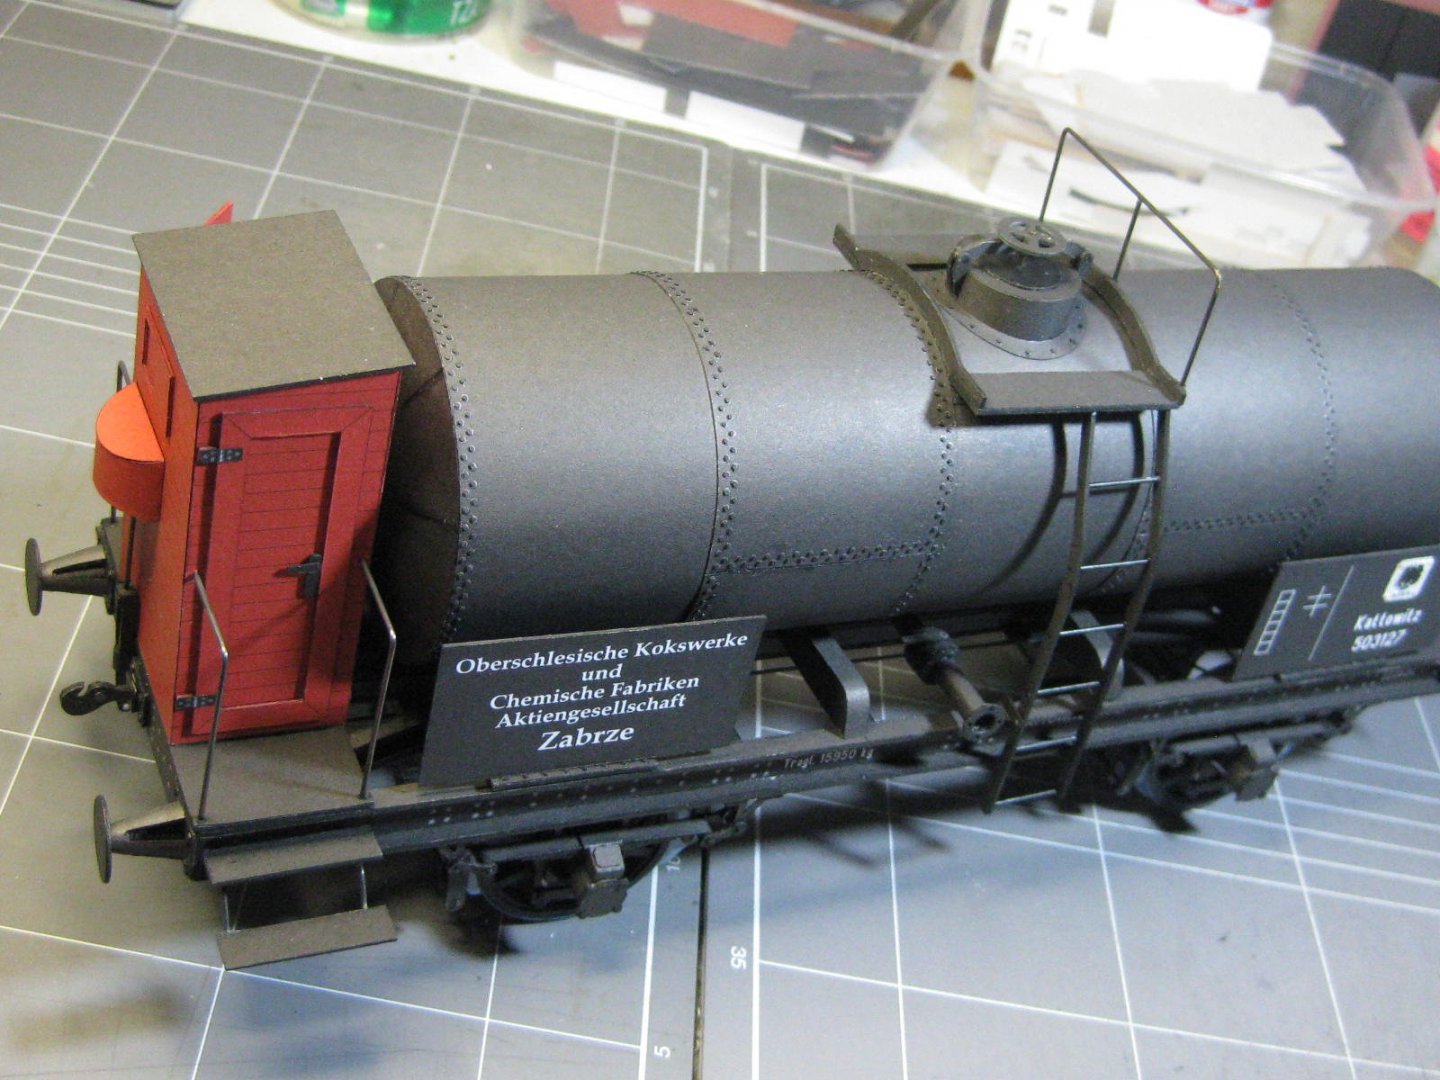
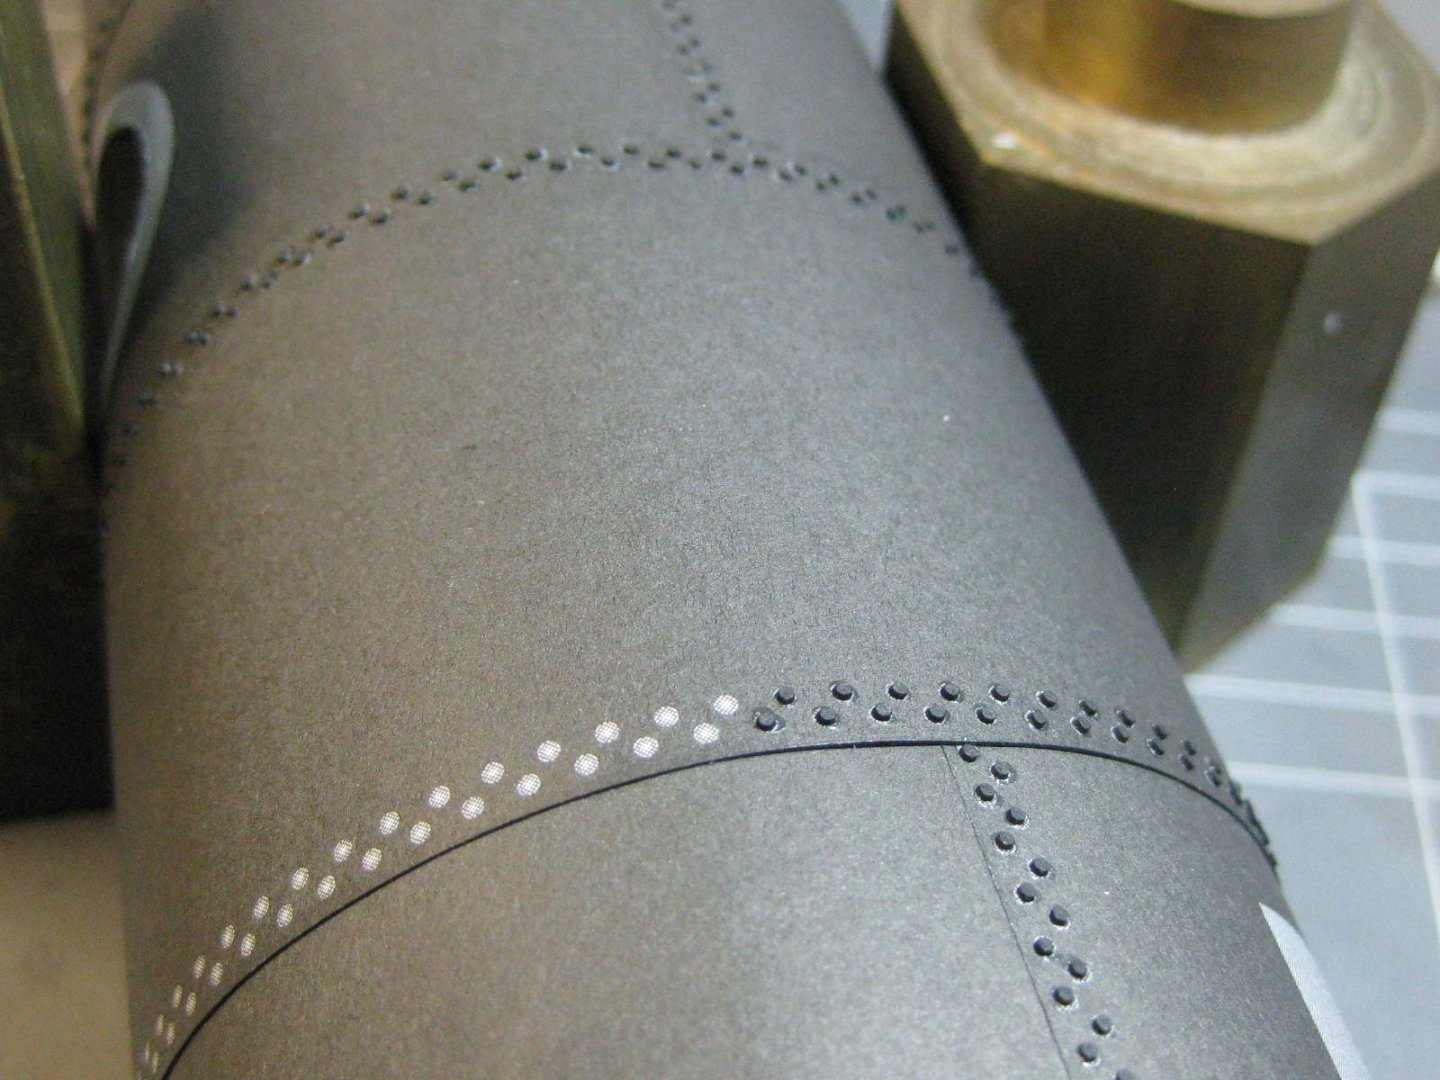
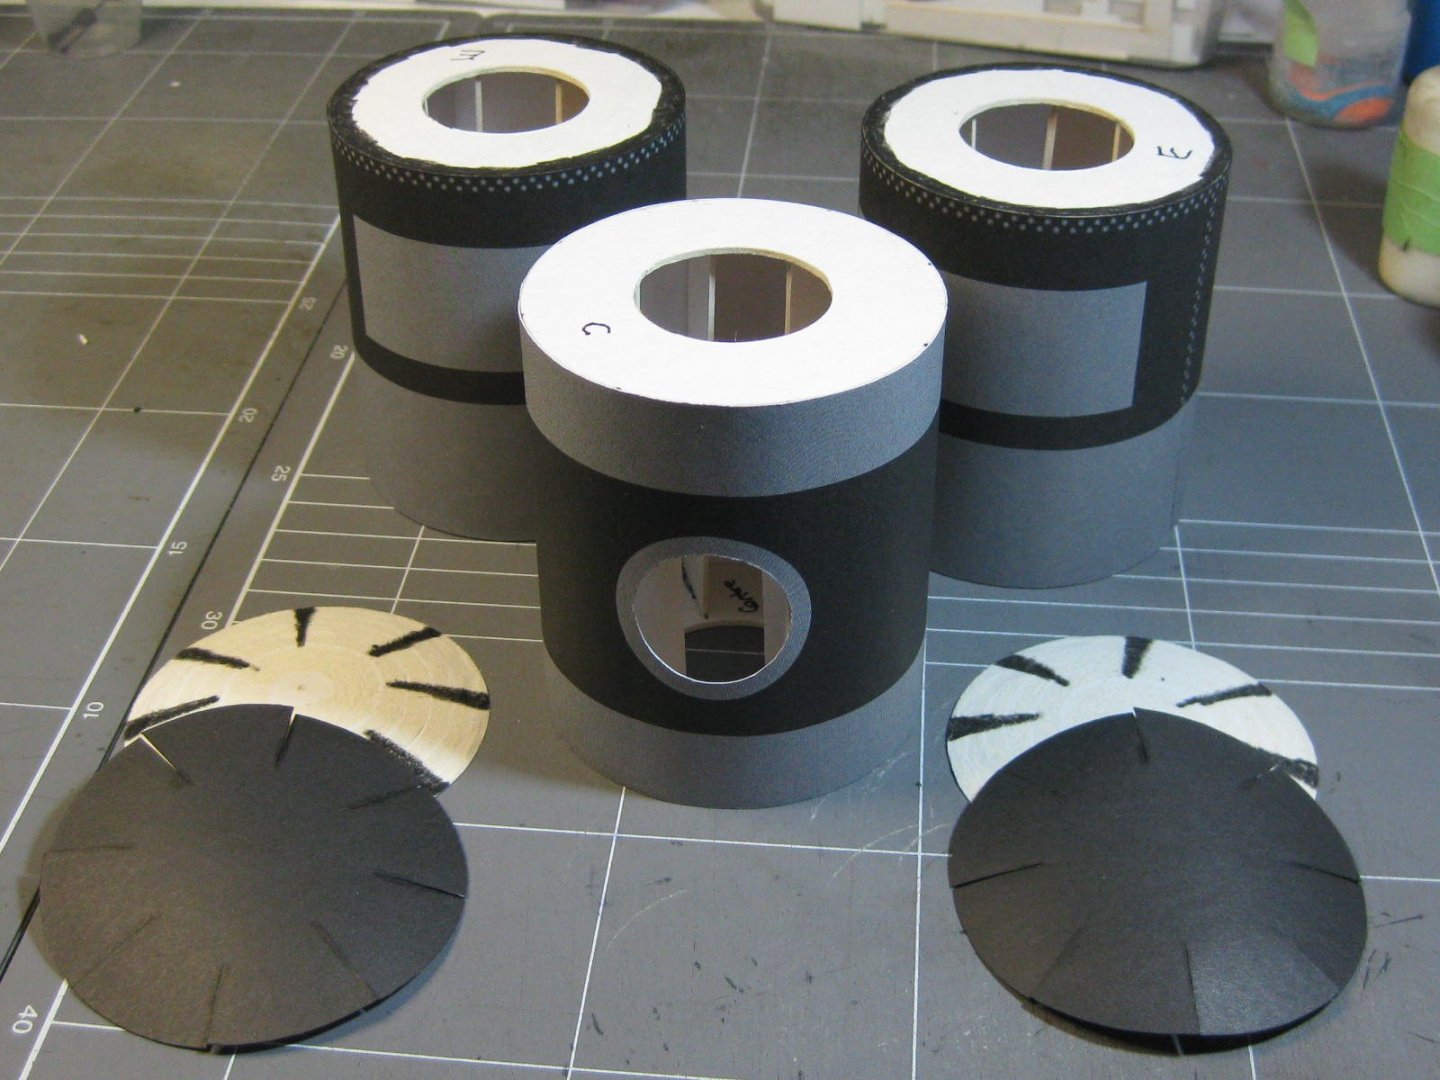
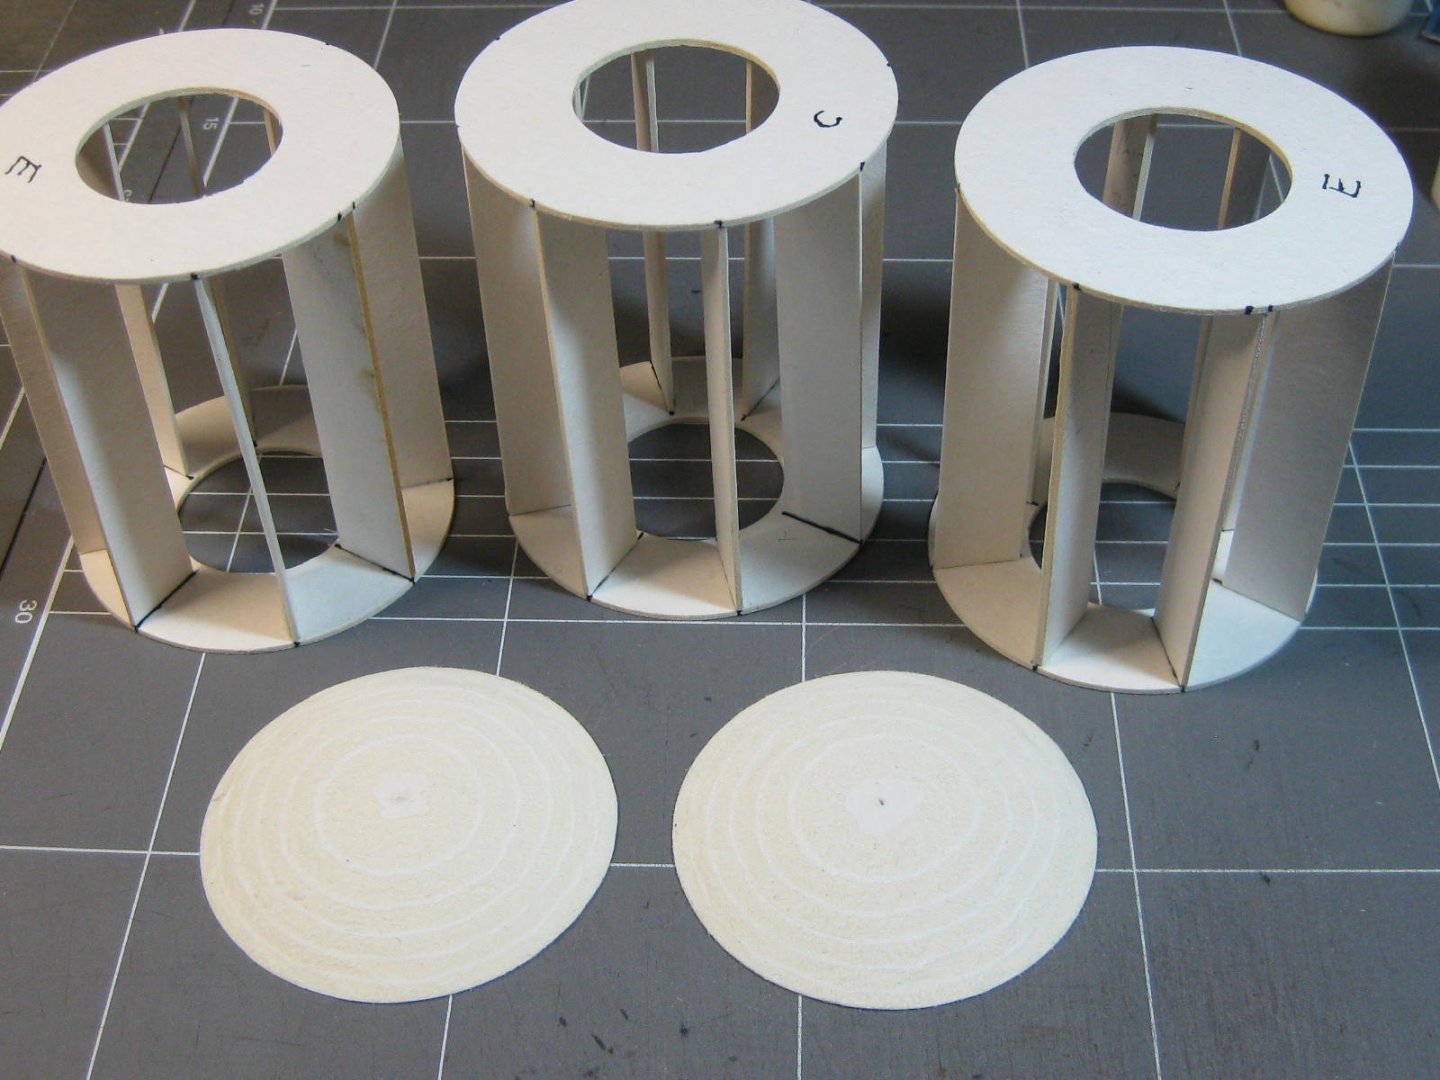
The ends of the tank body are convex, so I made up my usual extra filler pieces. There is also virtually no internal framing, so once again I scratch-built it : Lots of rivets on this one - over 1,400 of them which took 2 1/2 days to glue on : The final pics : Danny


- 14 replies
-
- 12
-
-
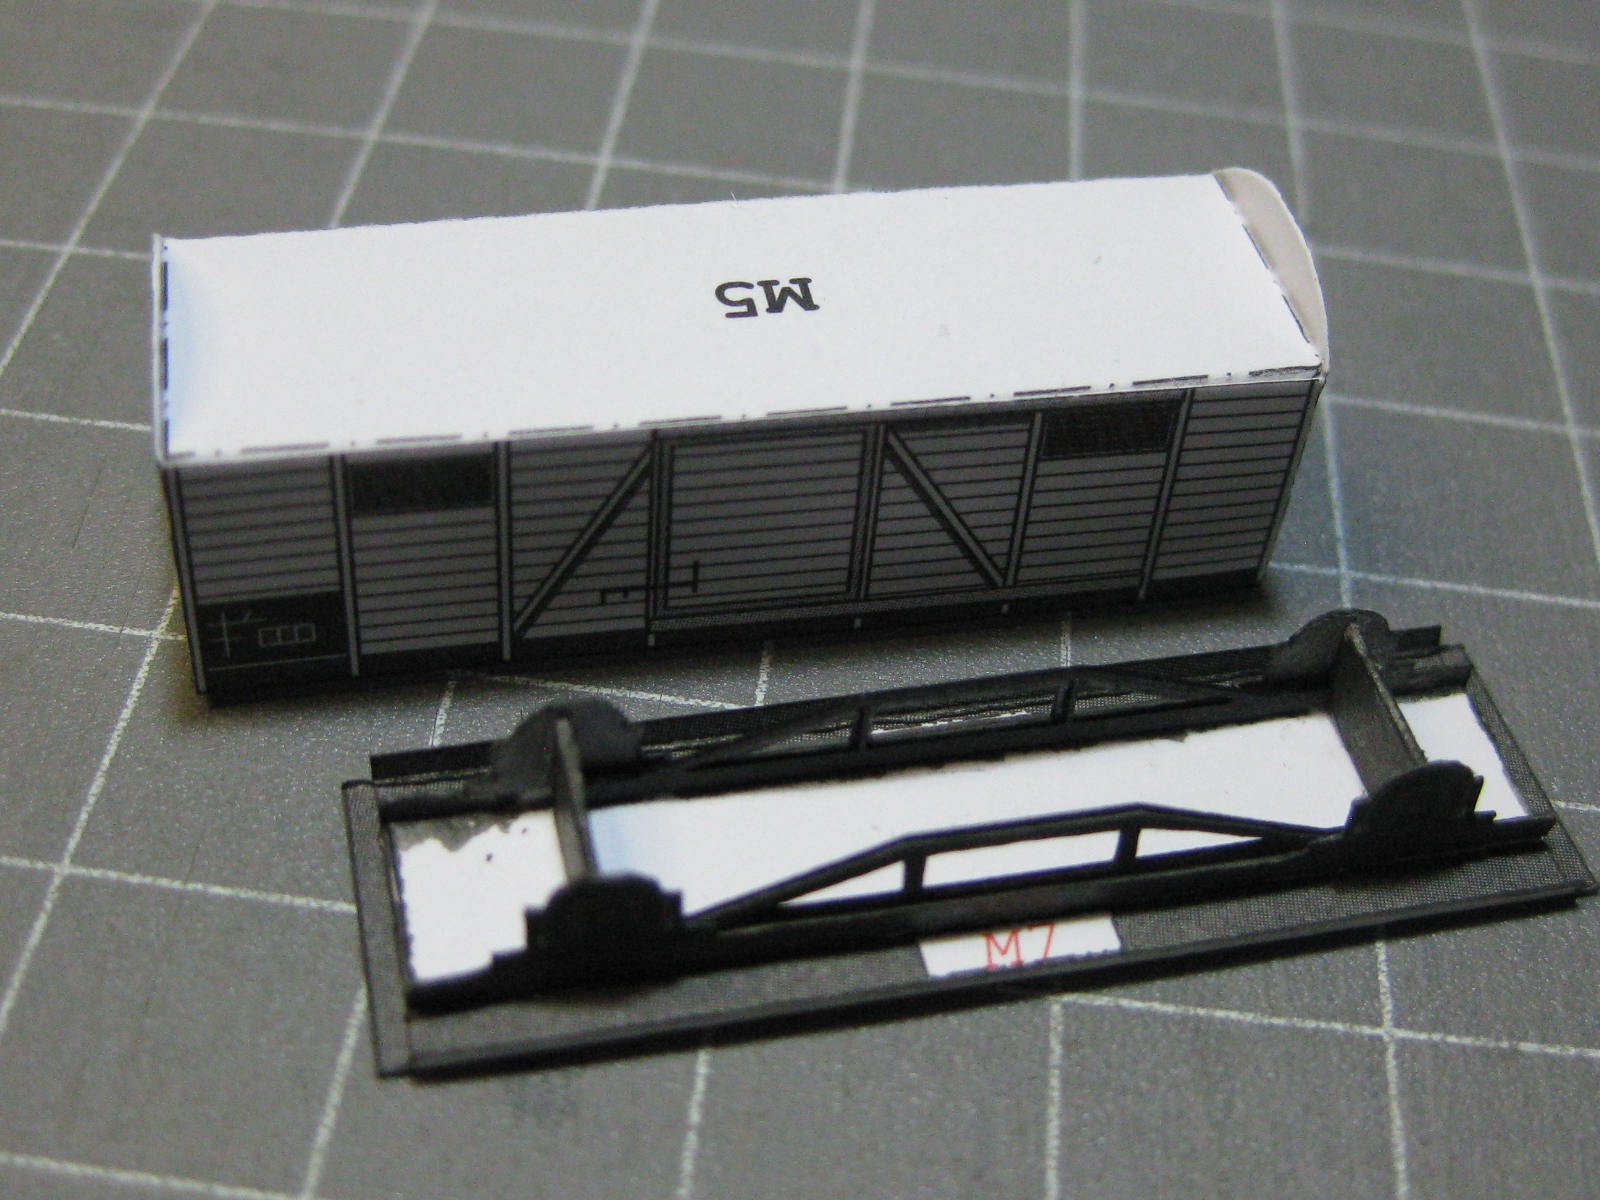
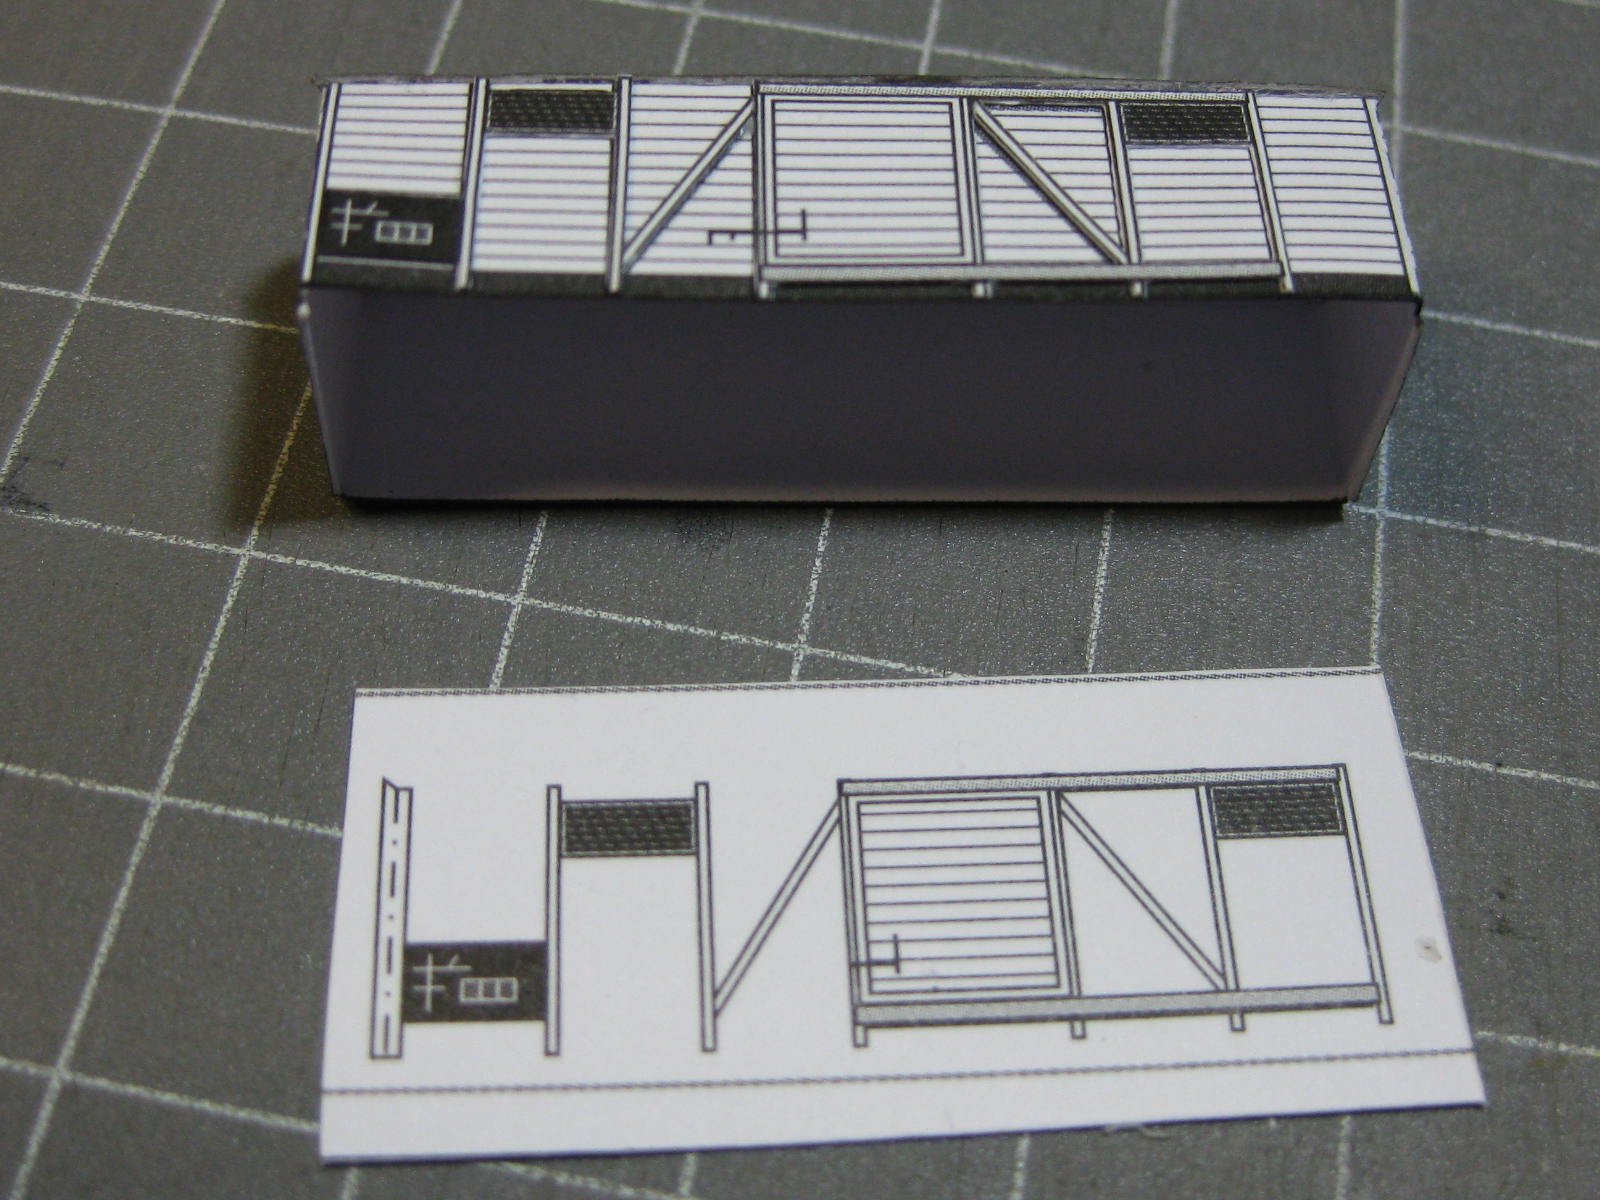
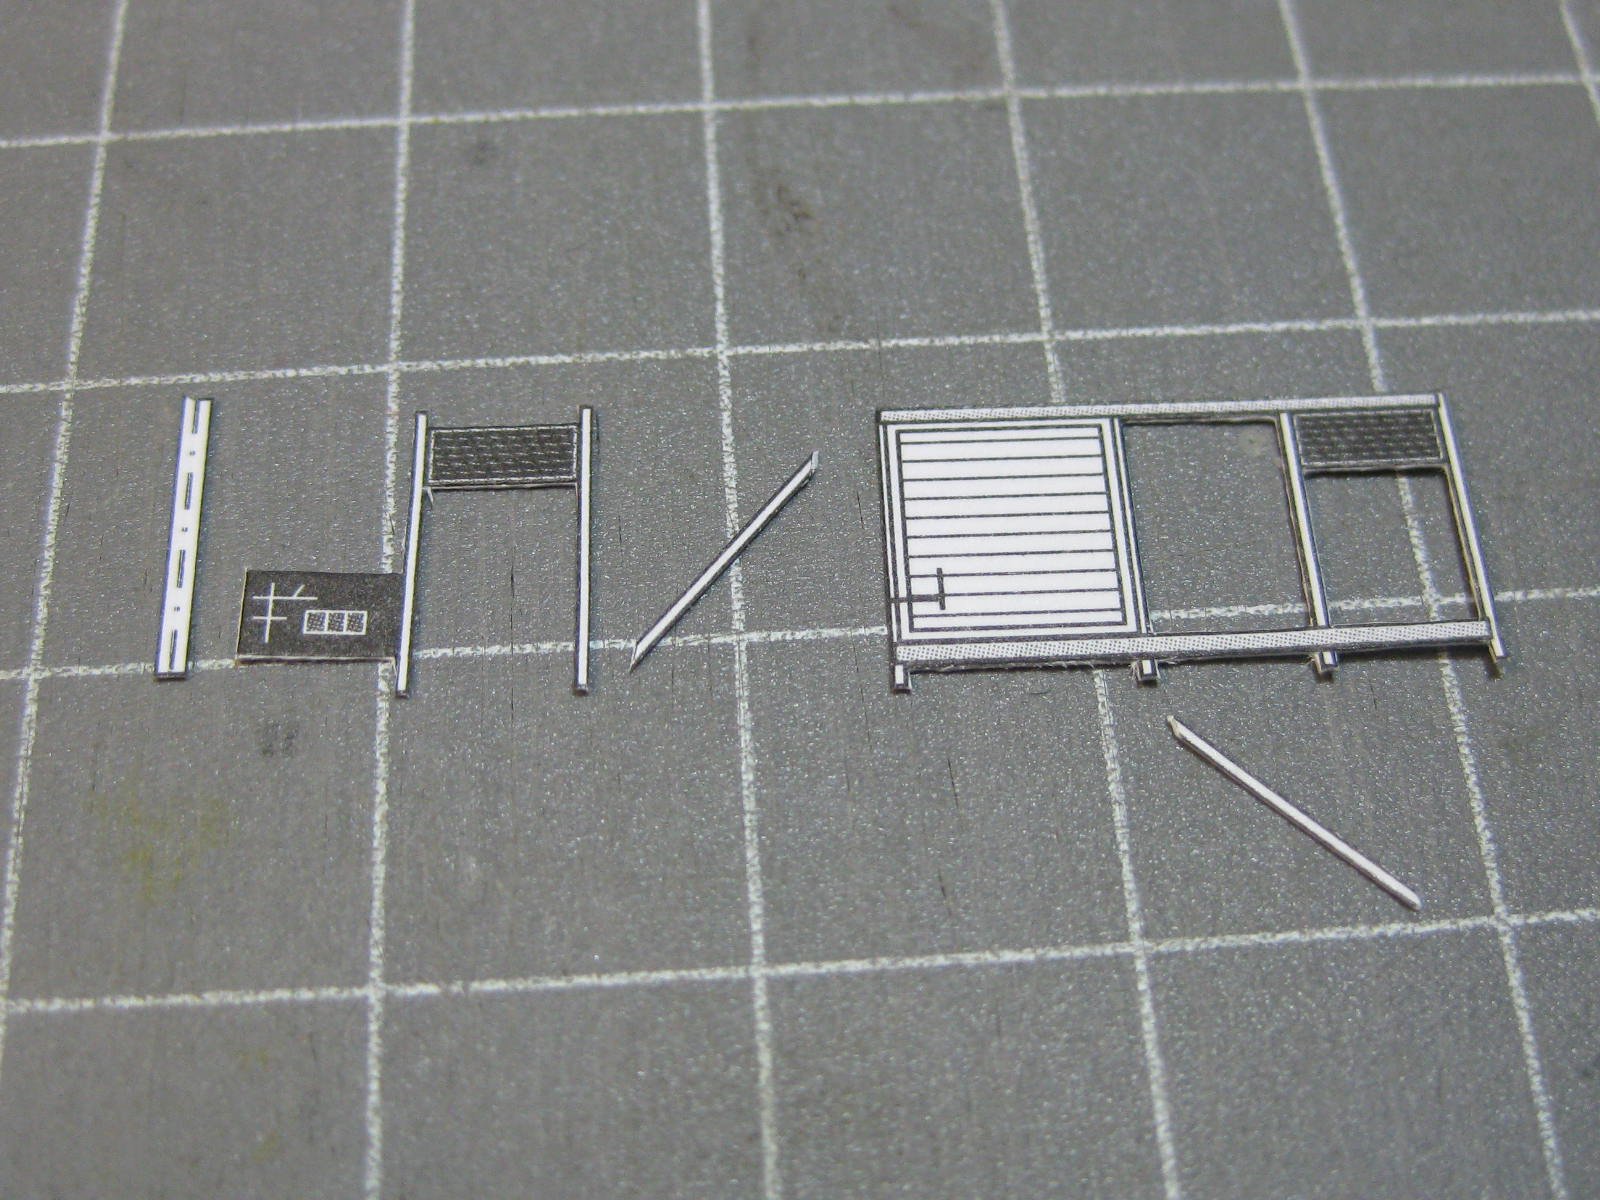
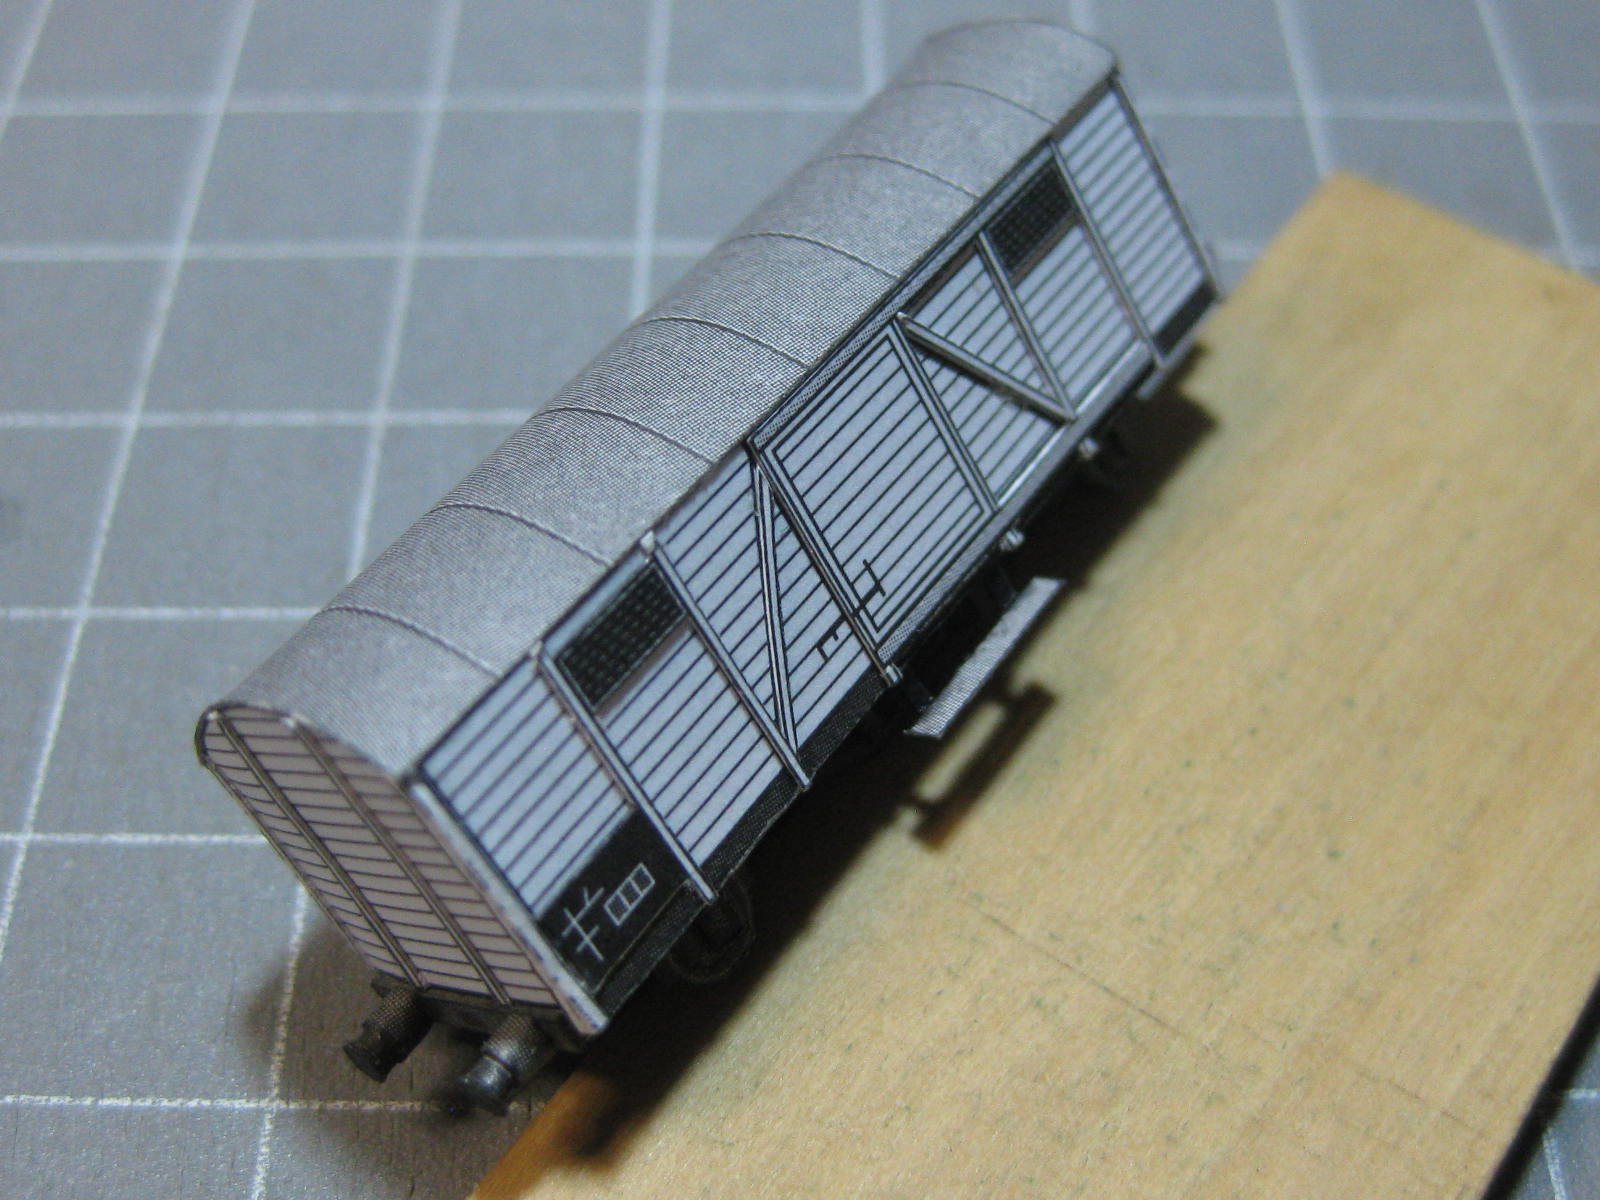
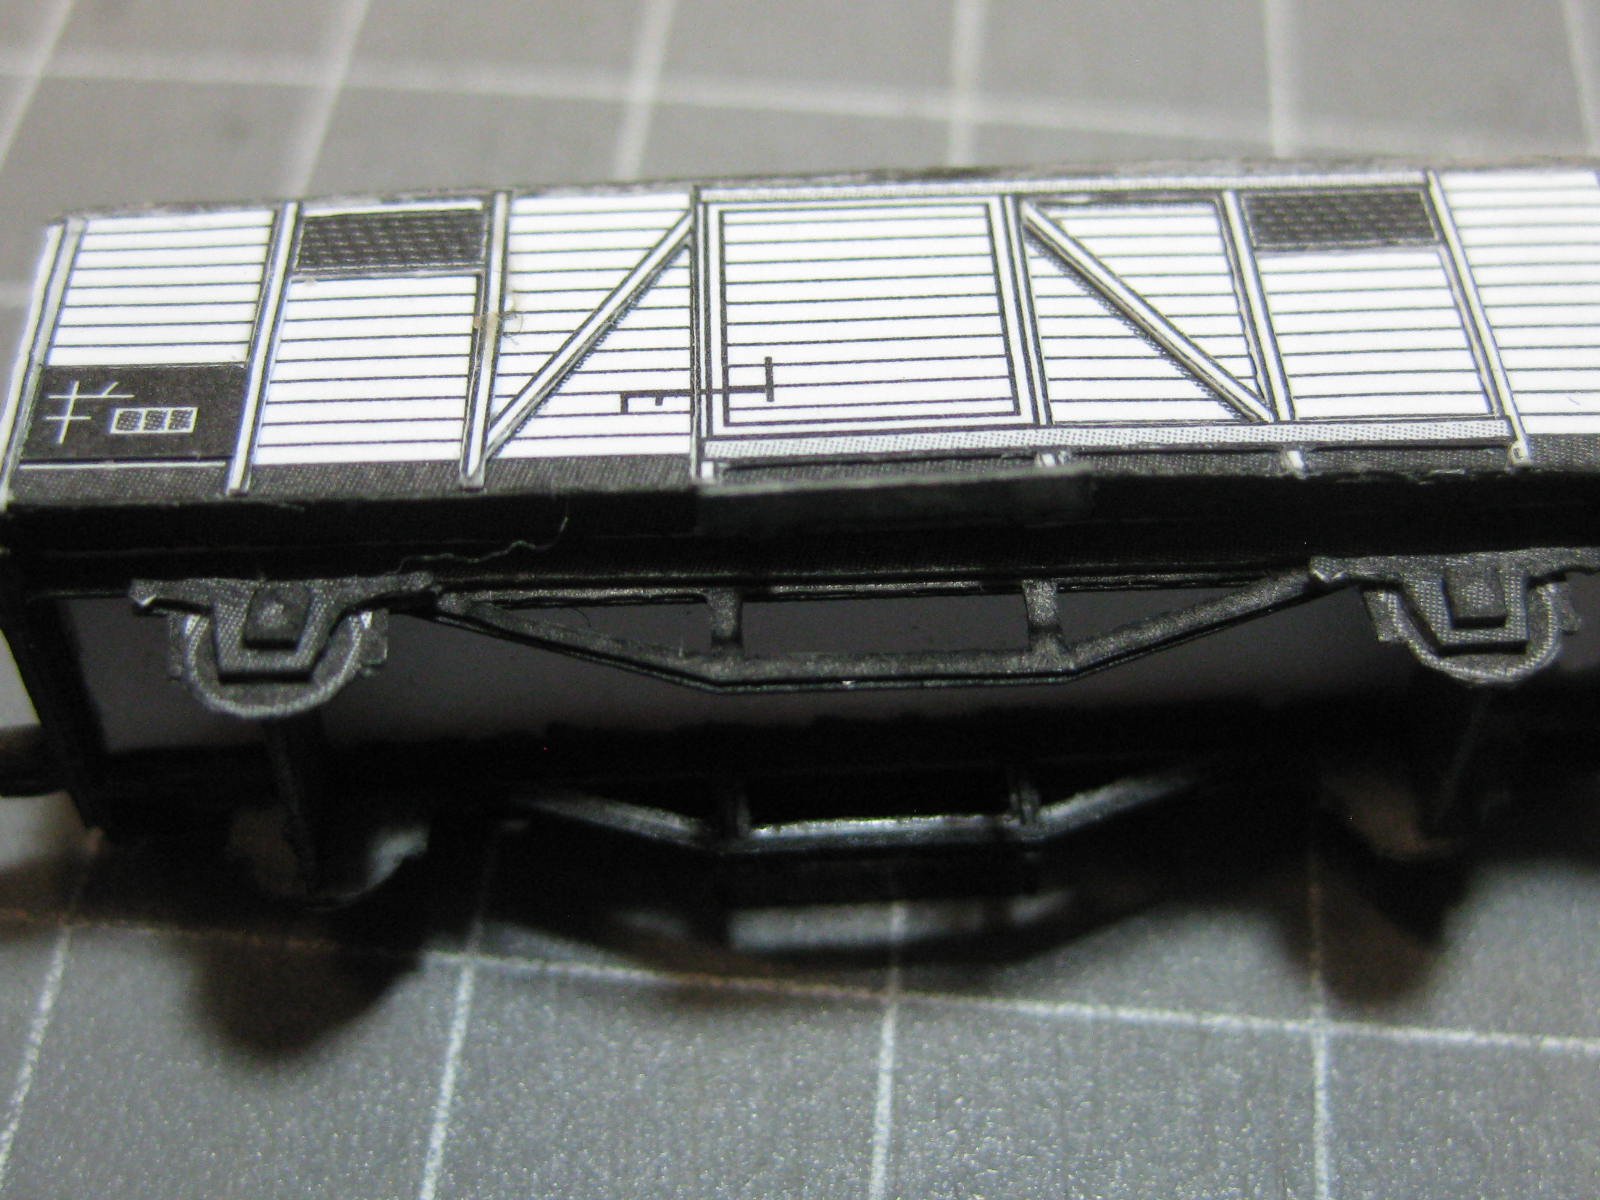
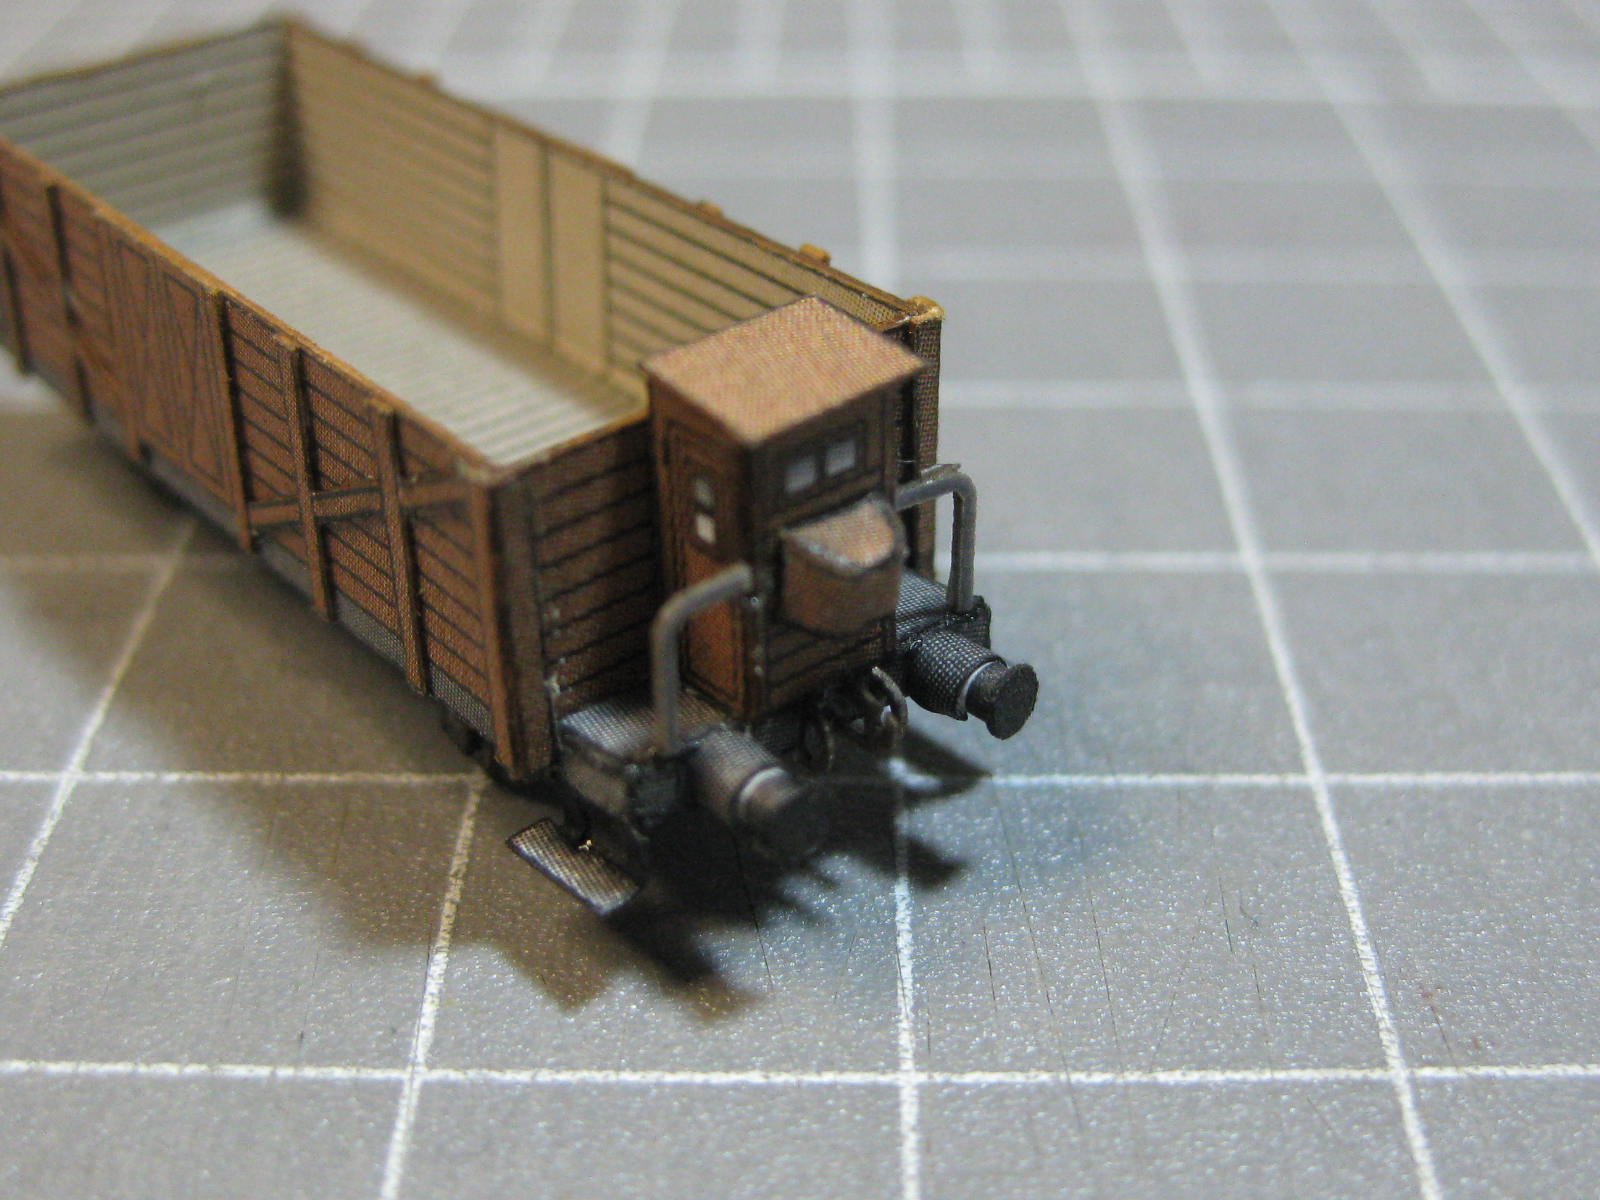
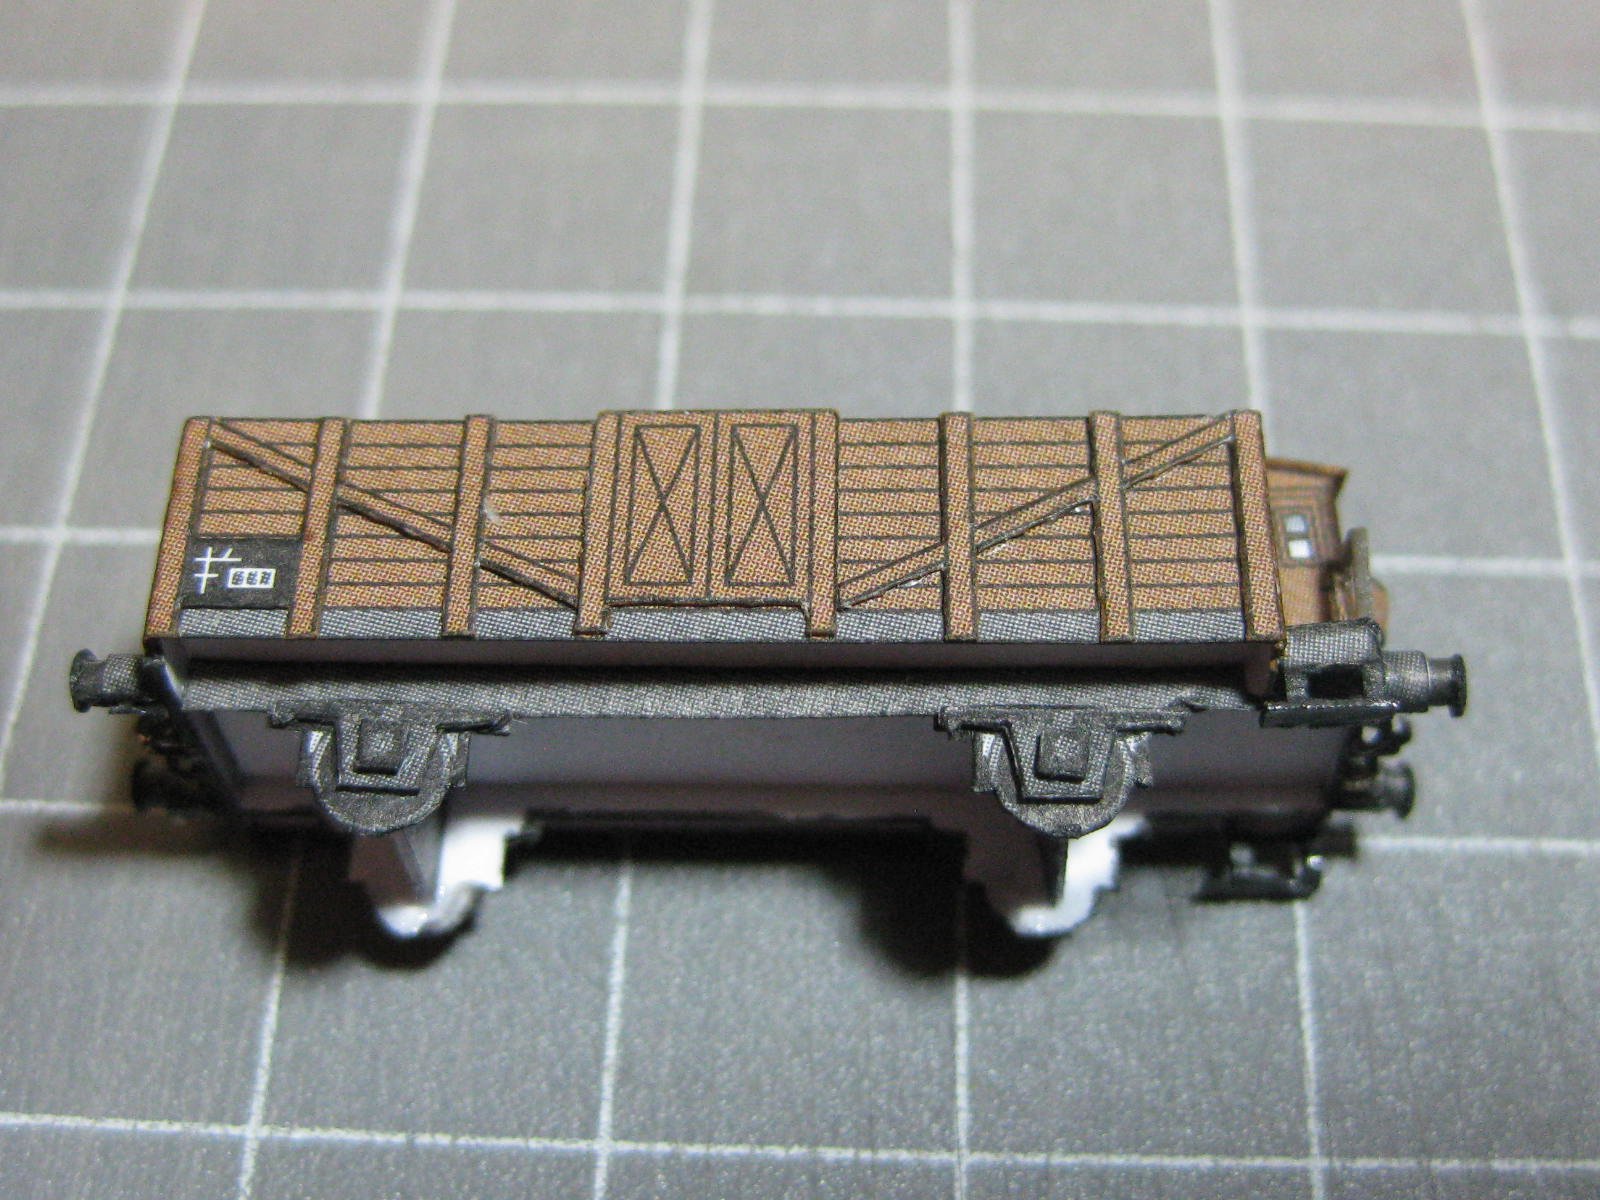
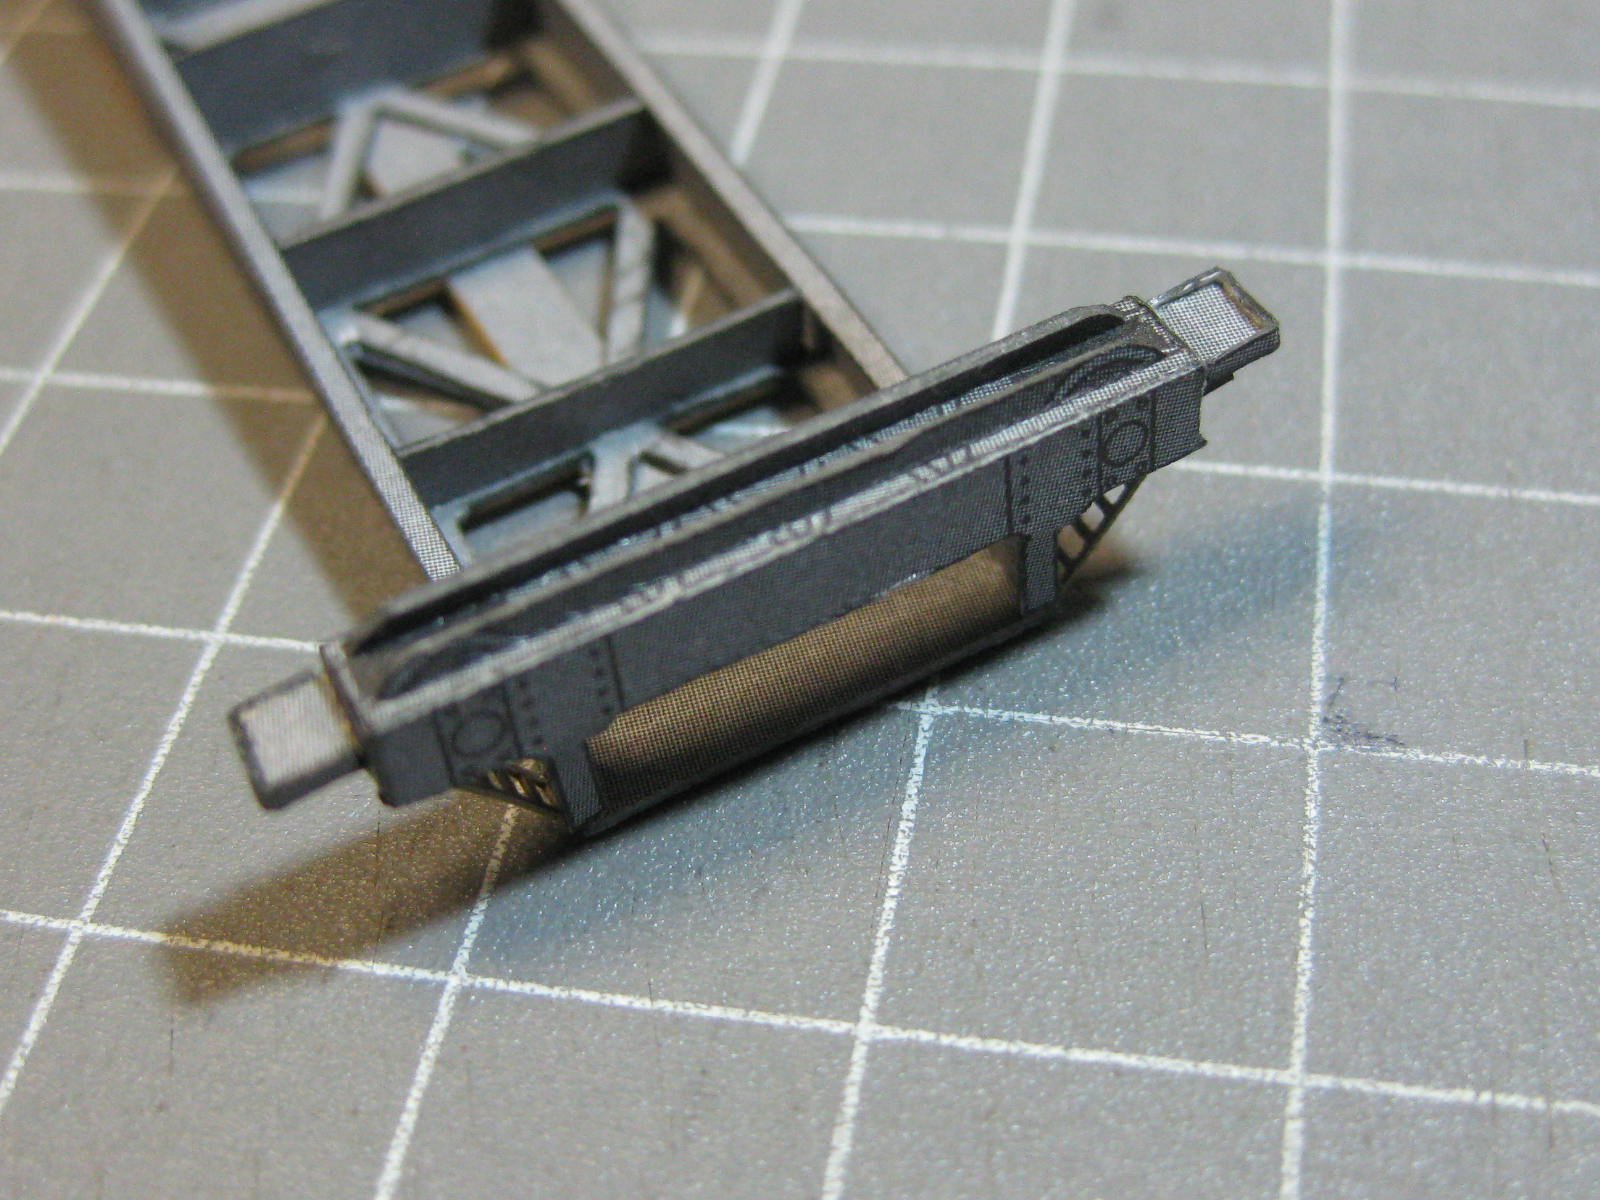
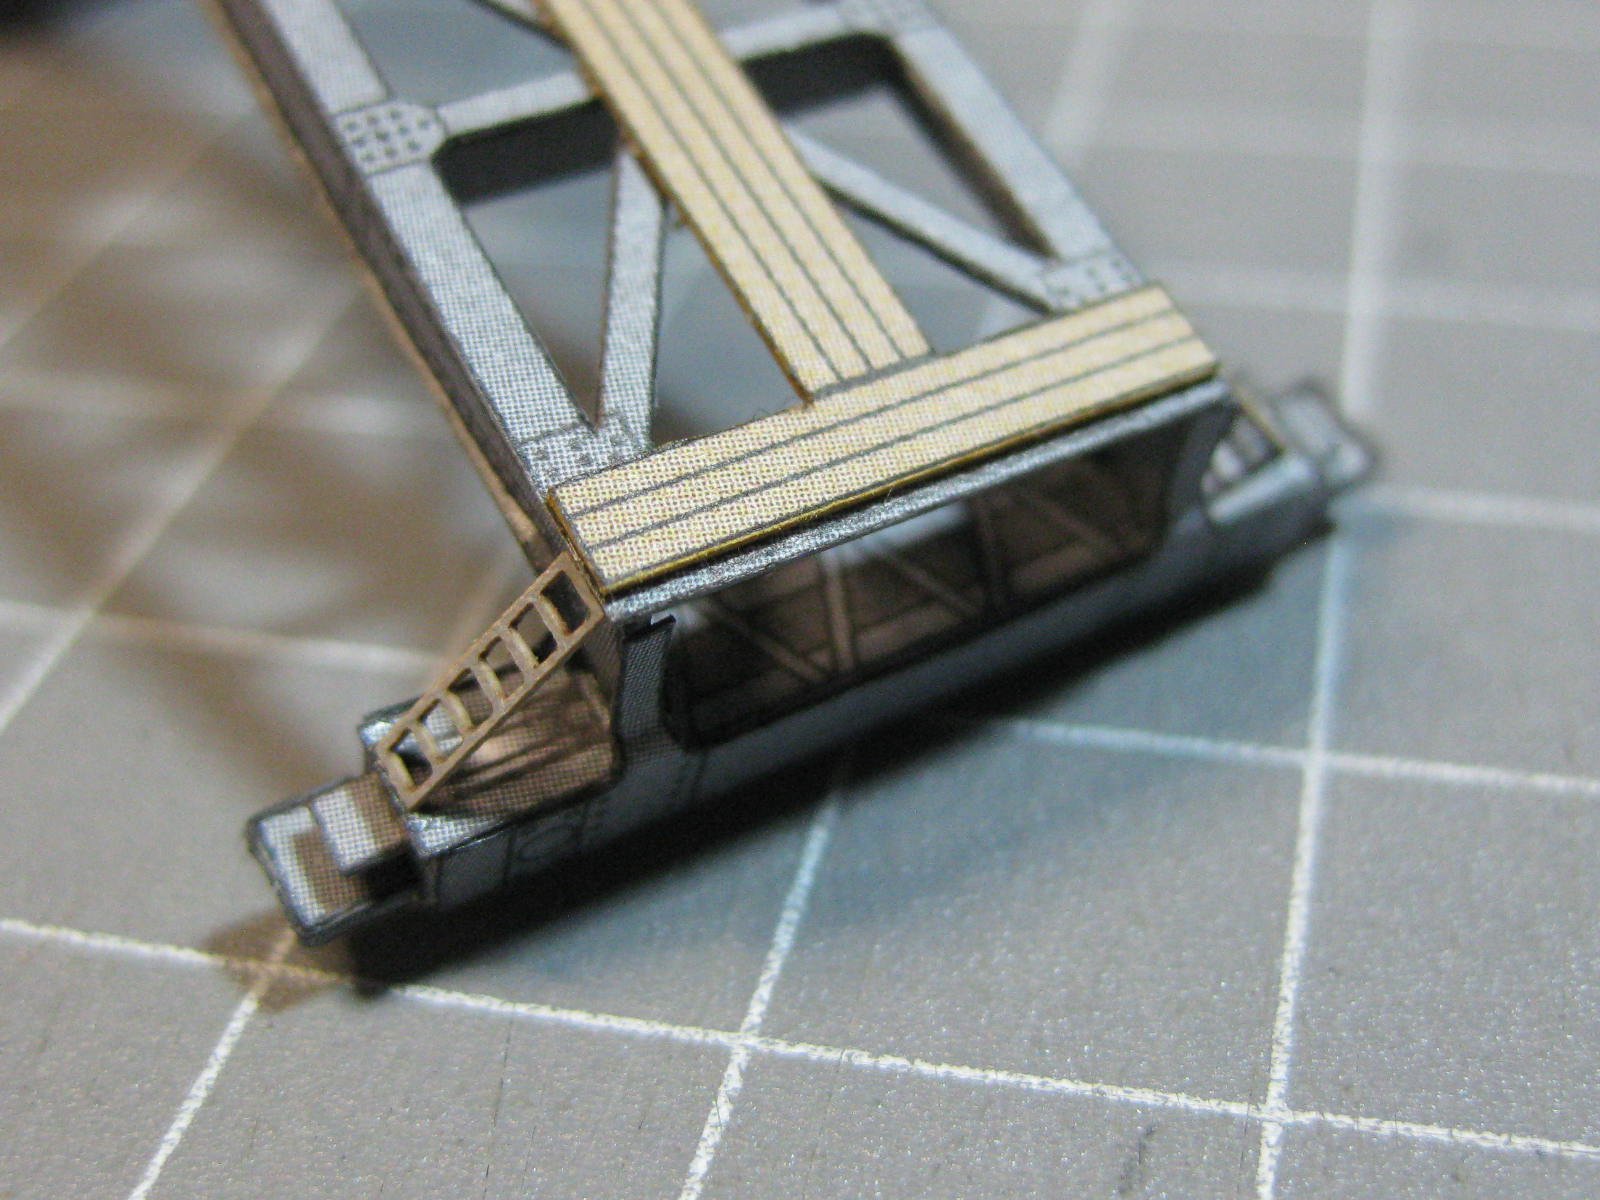
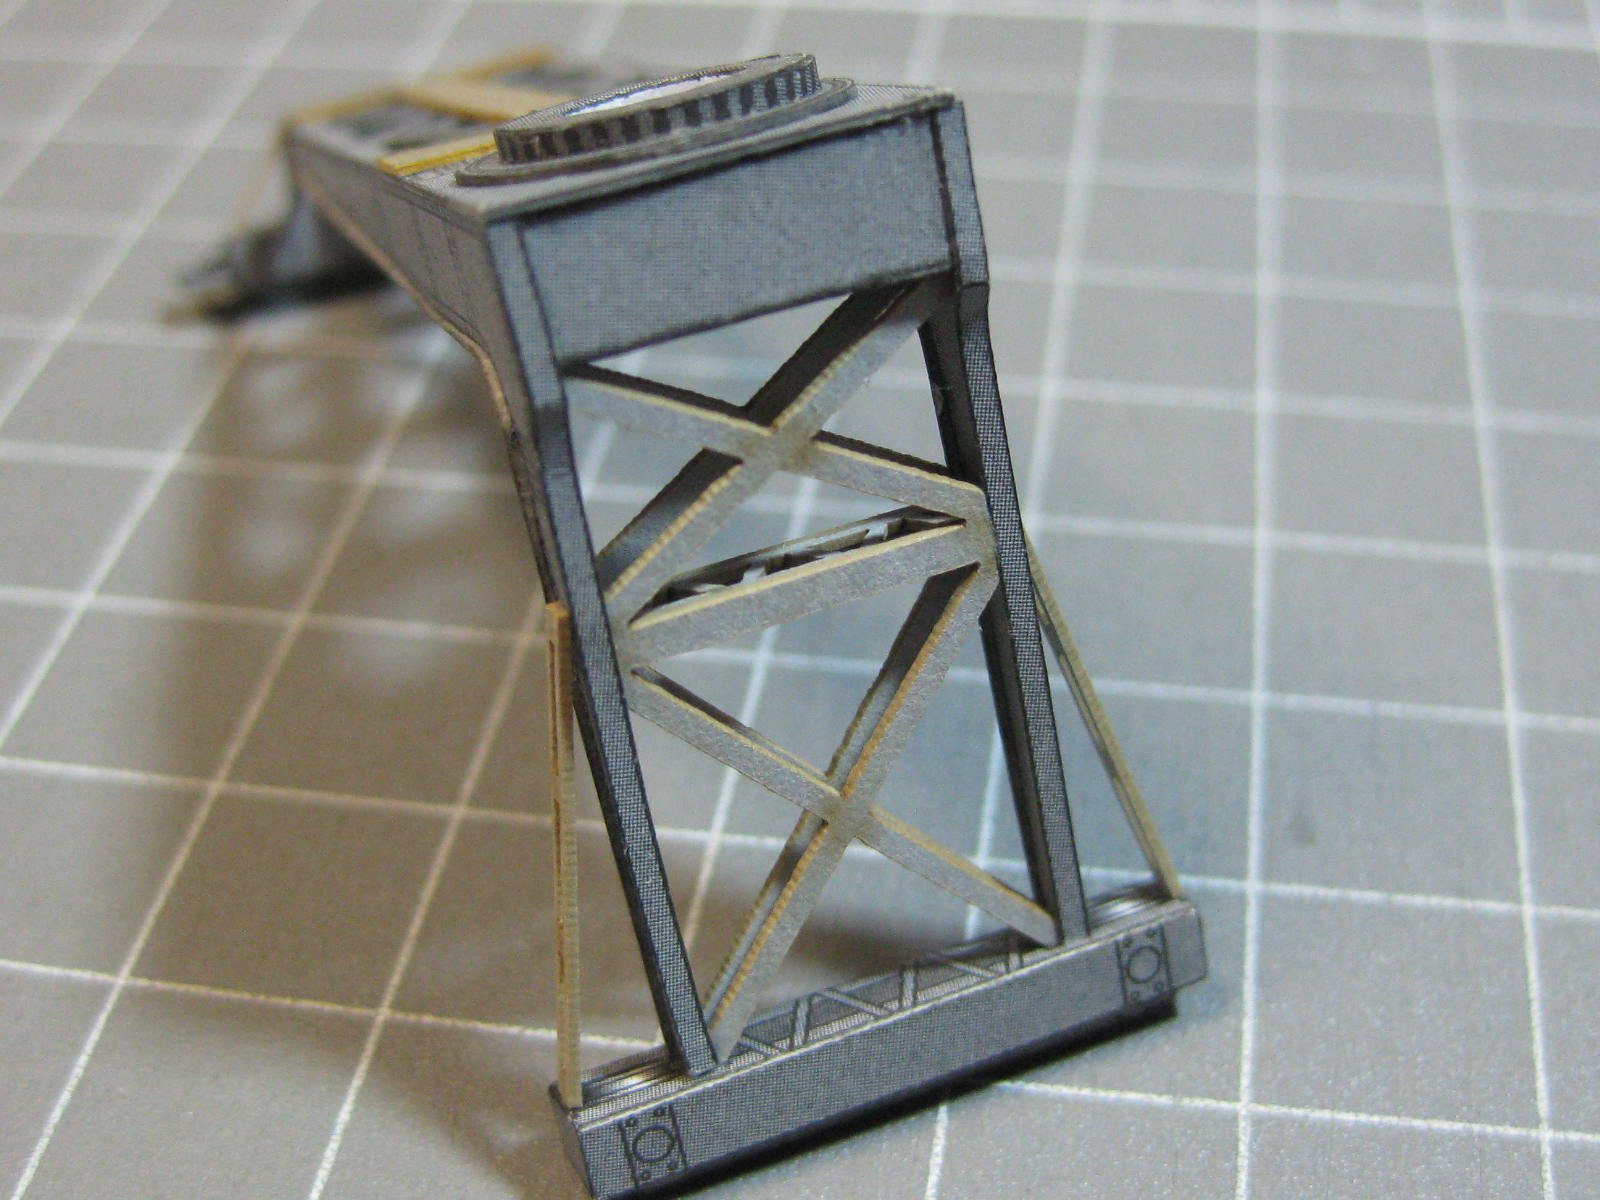
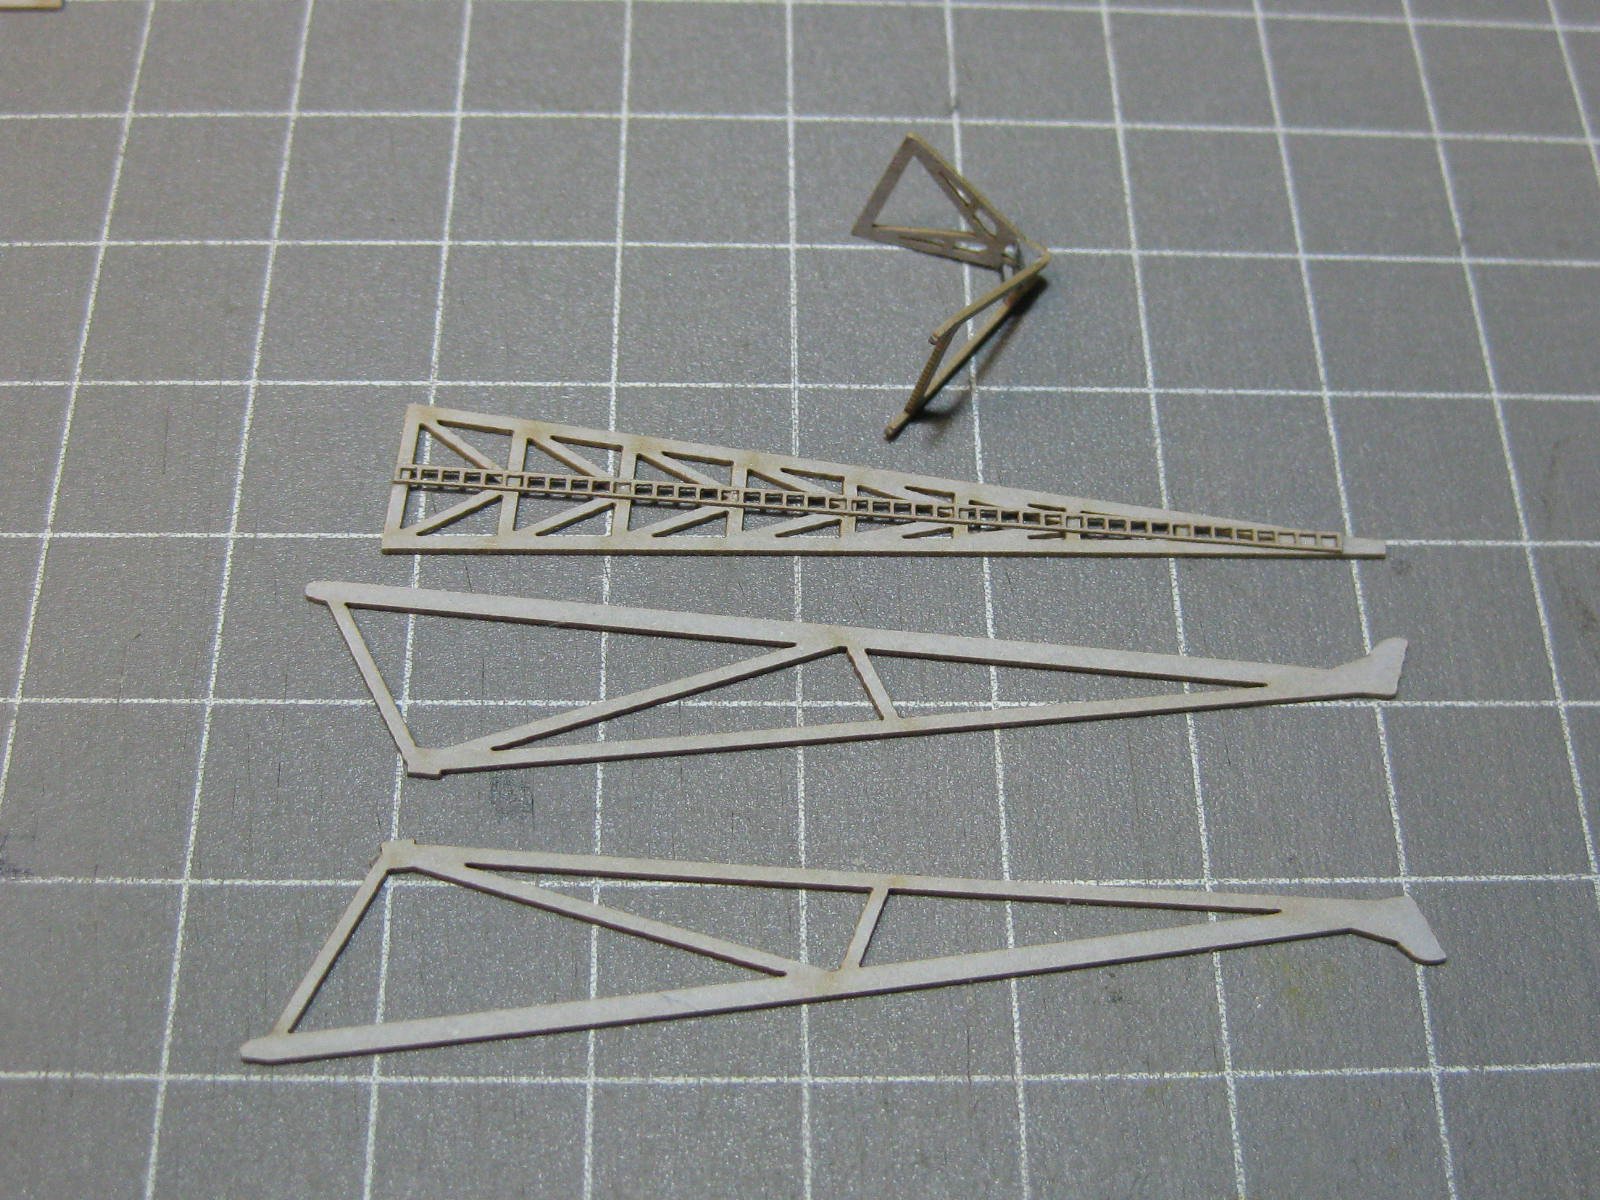
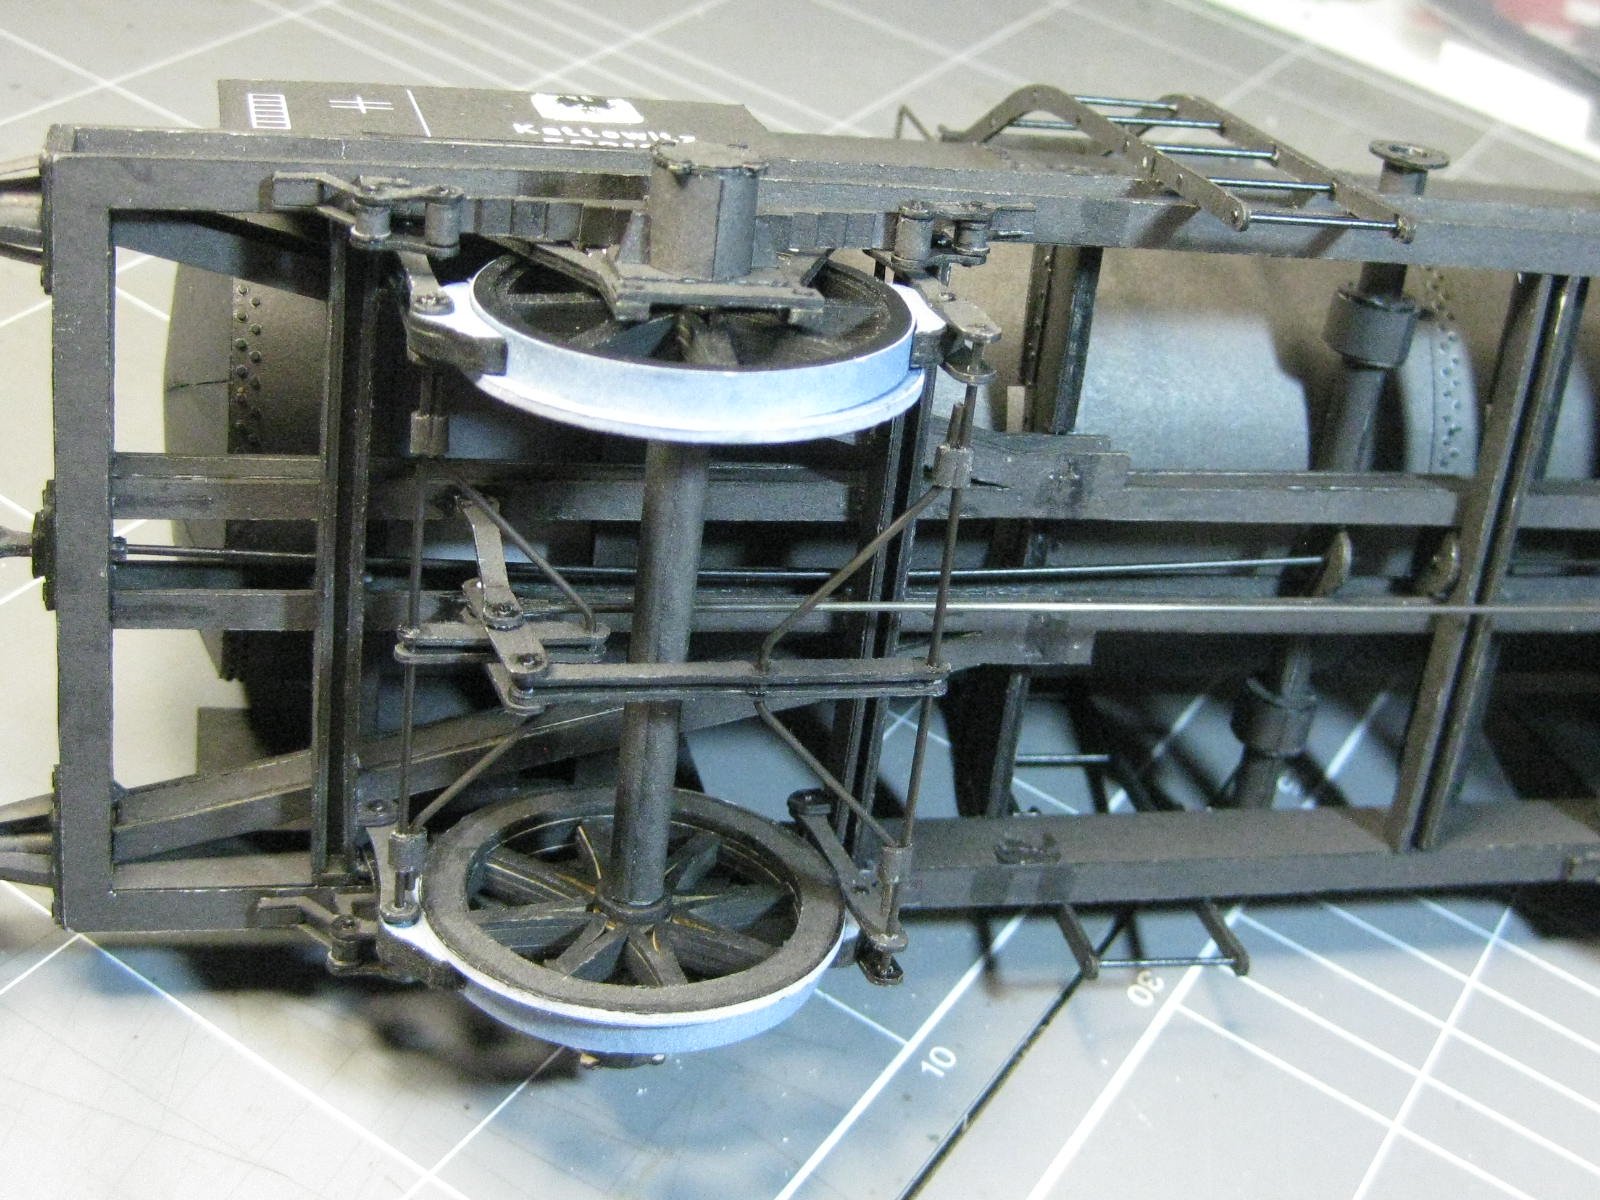
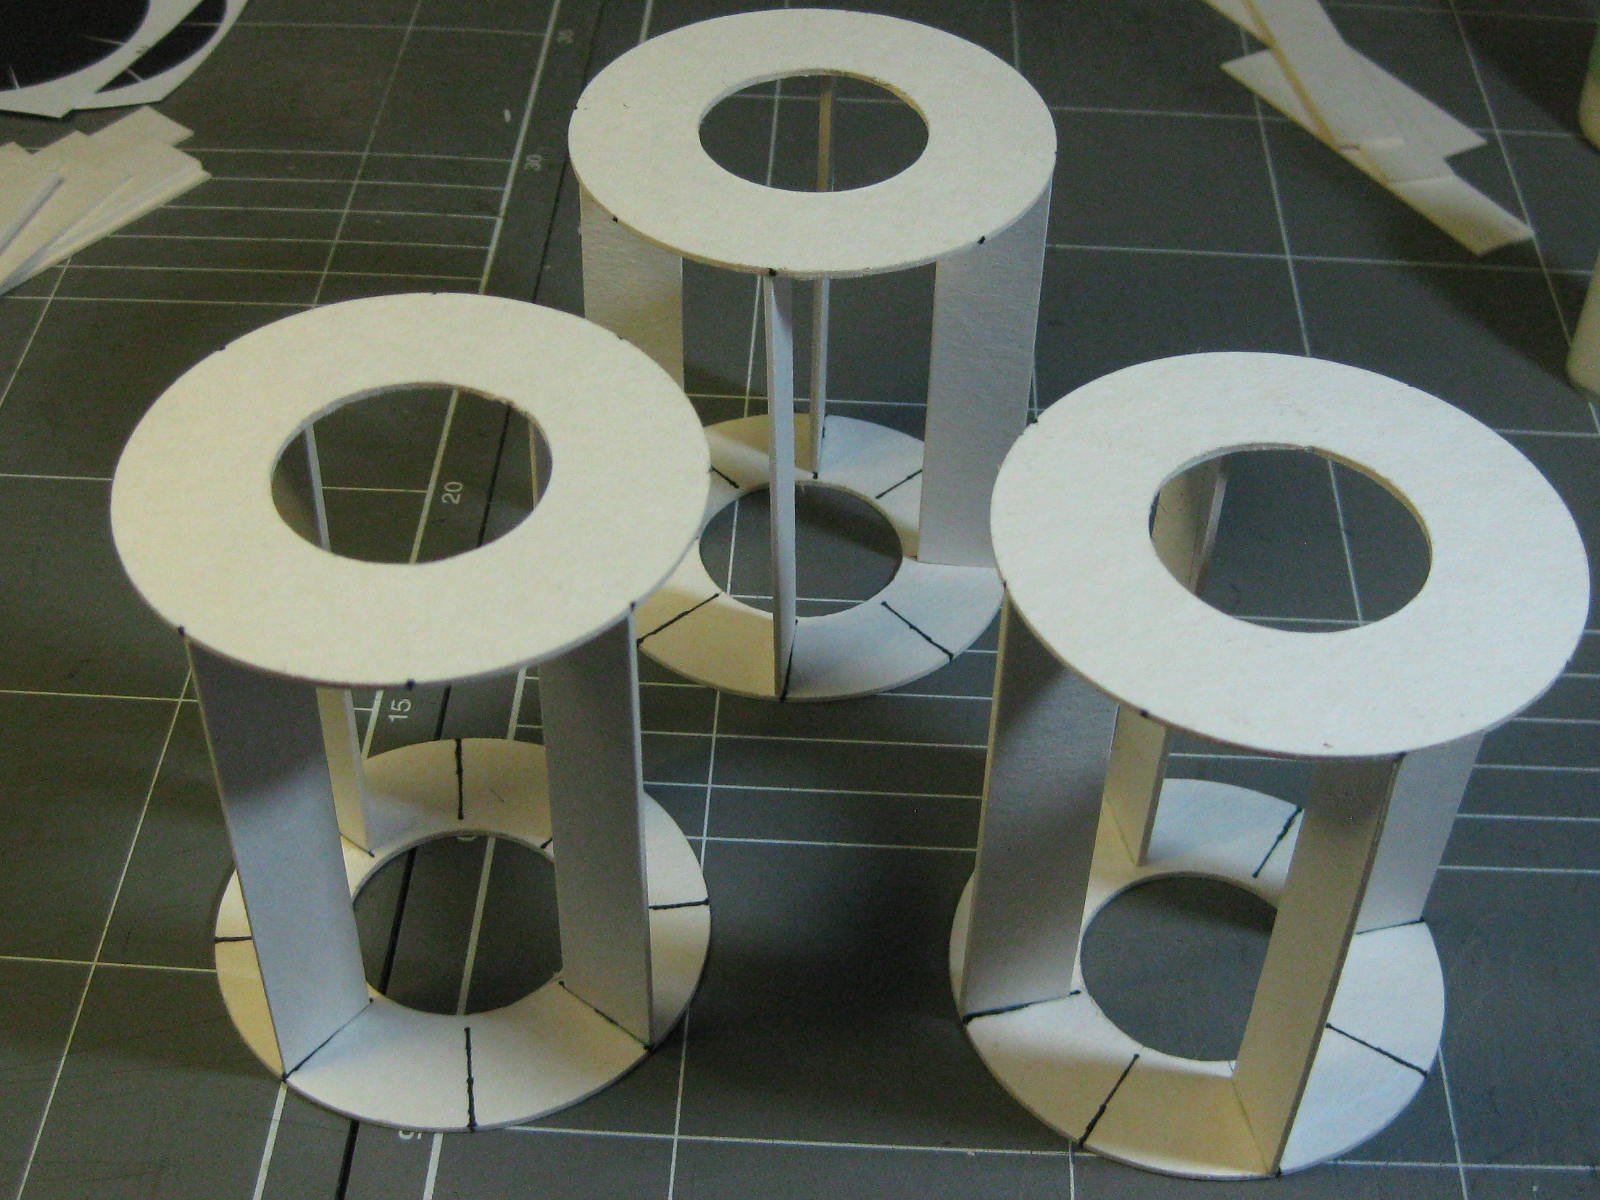
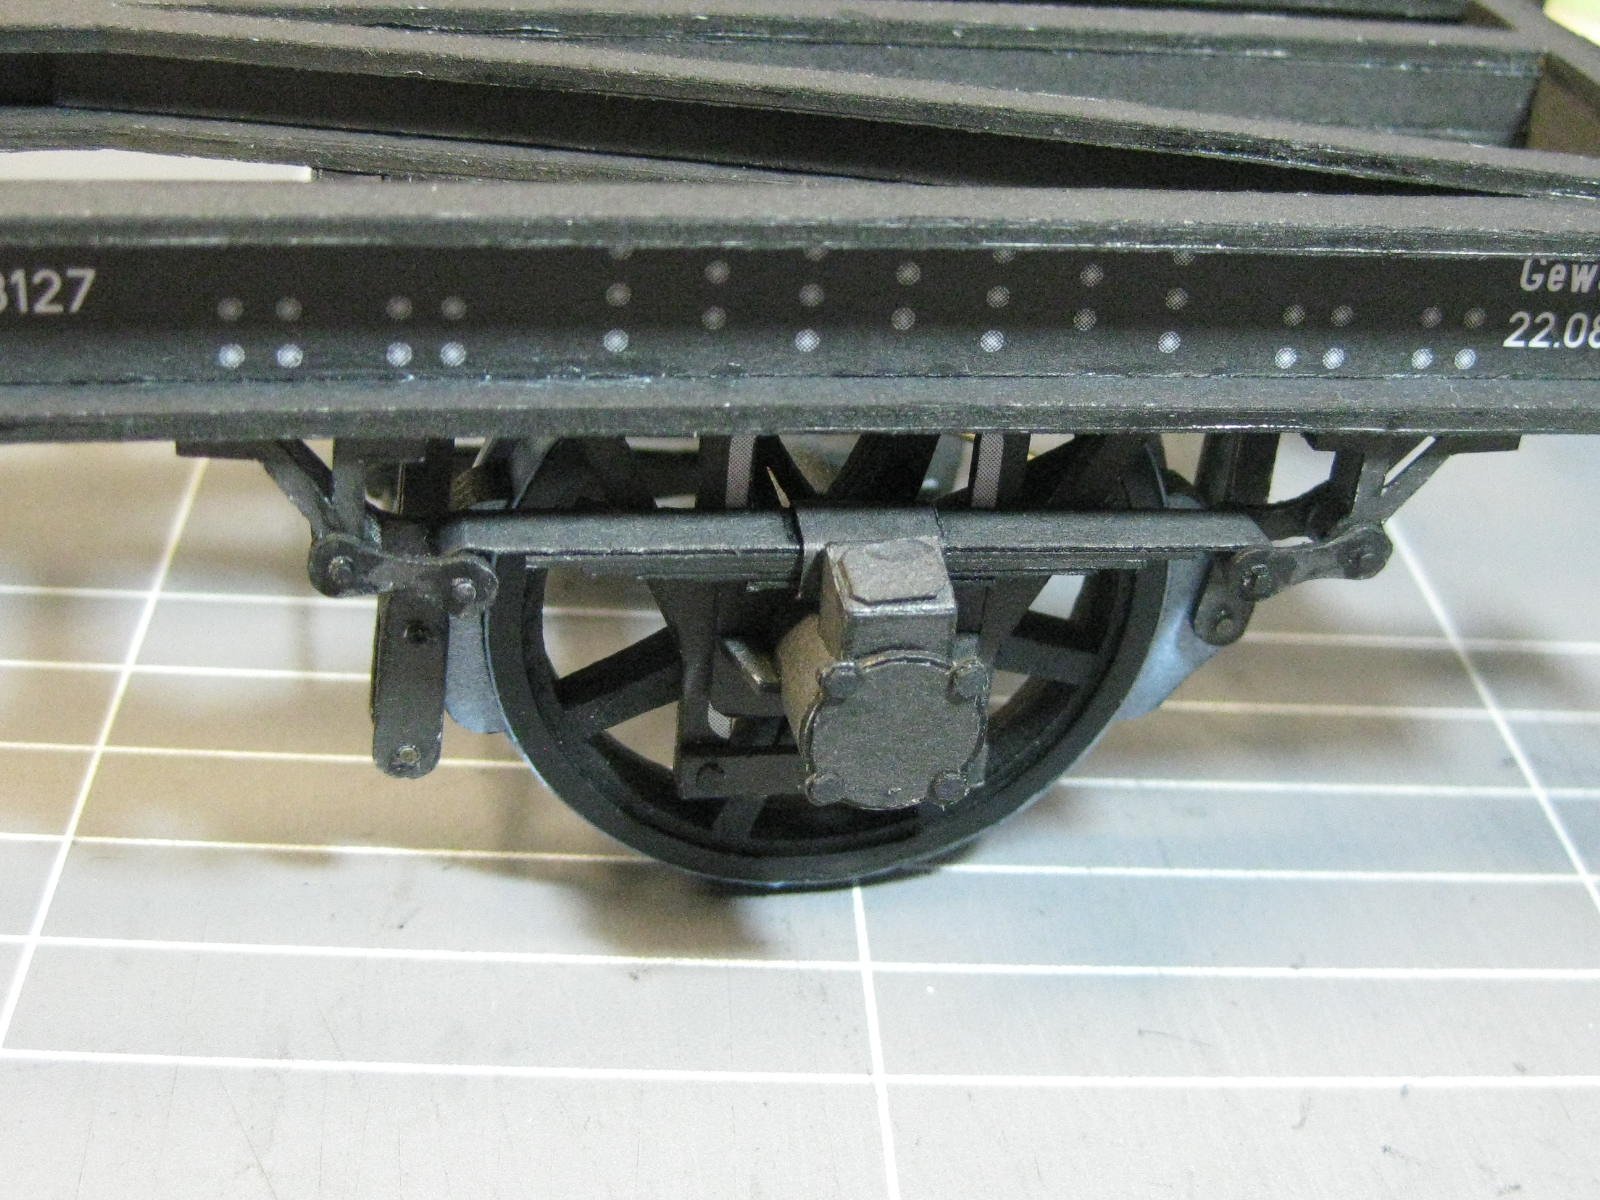
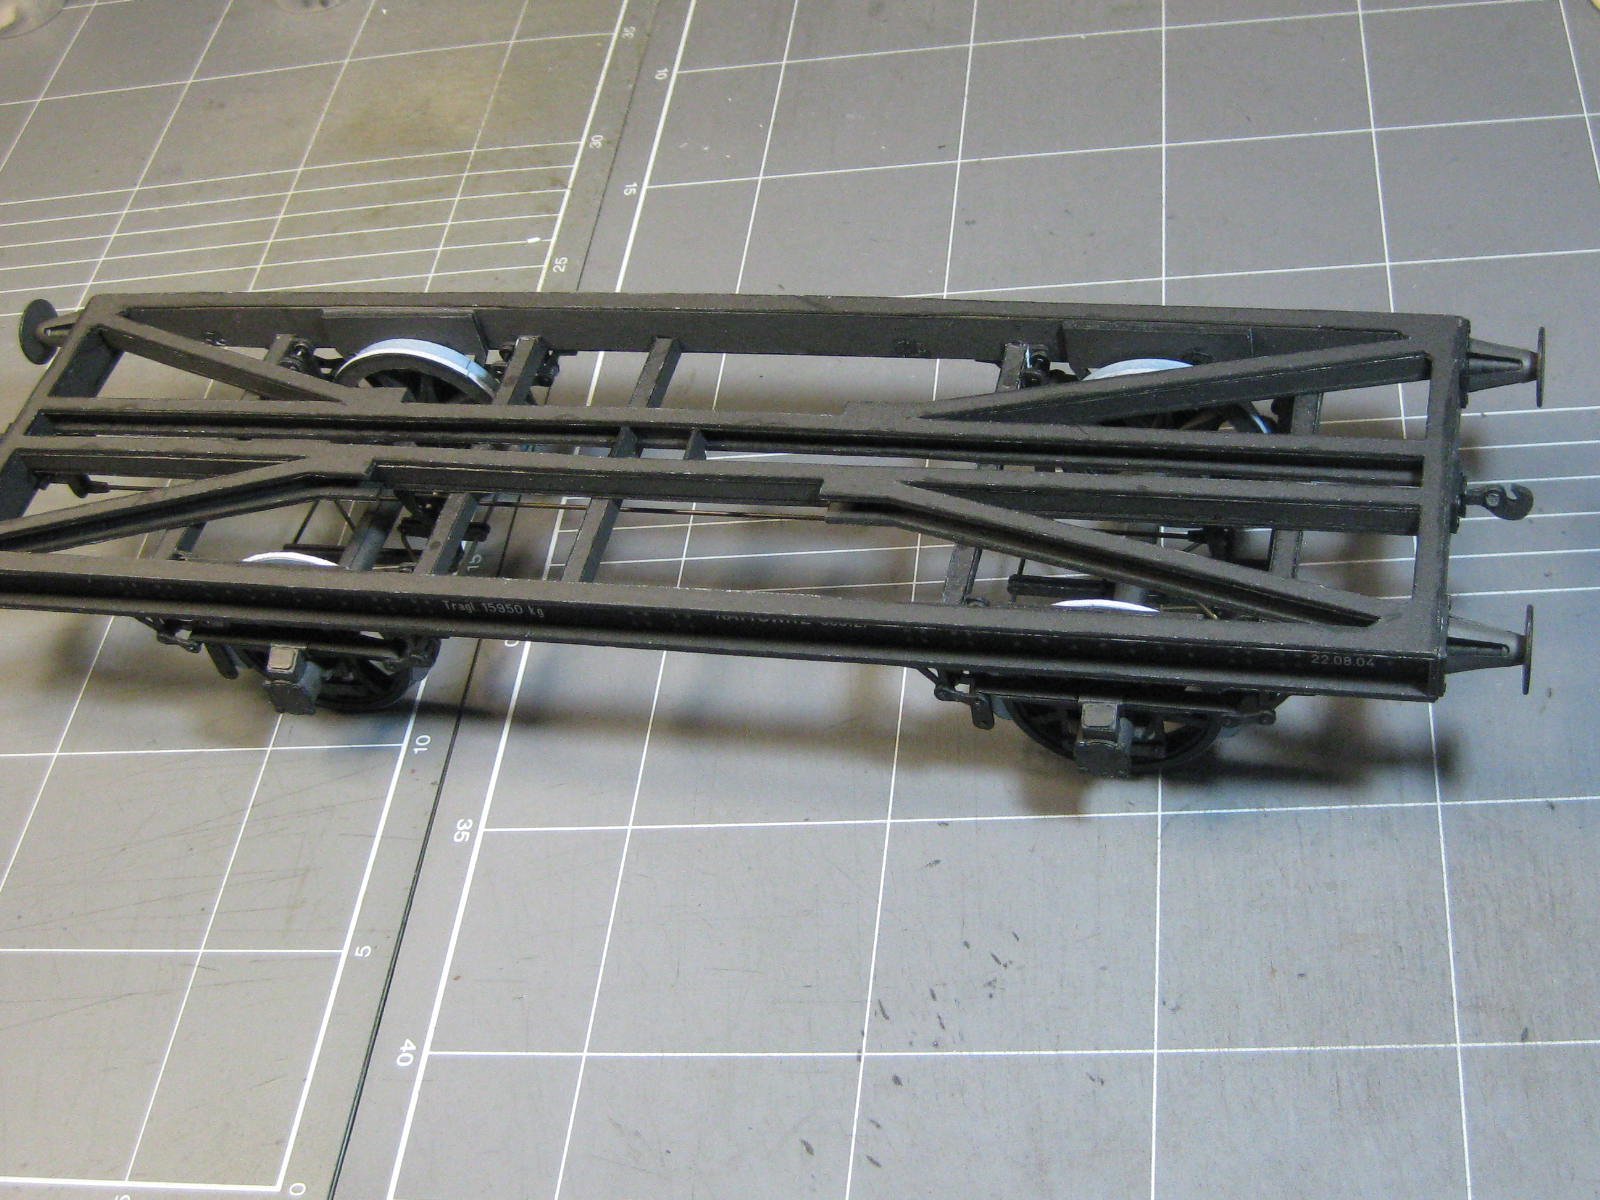
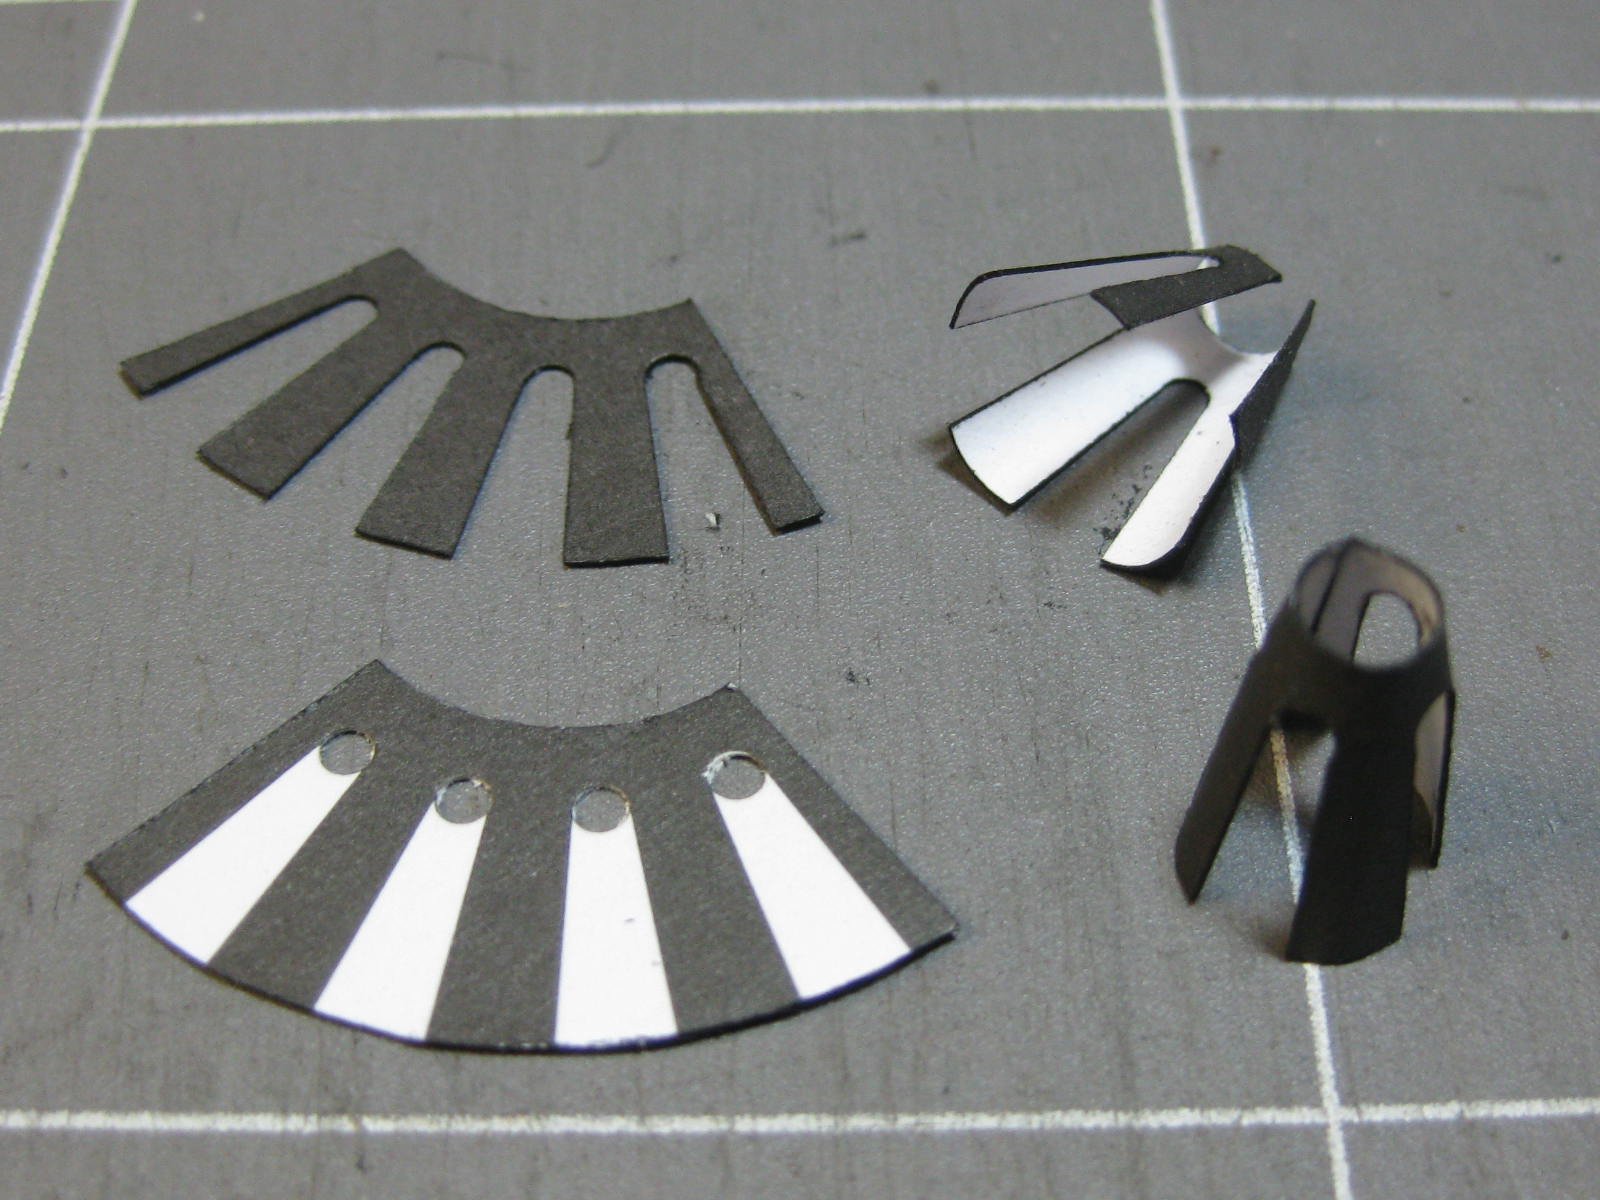
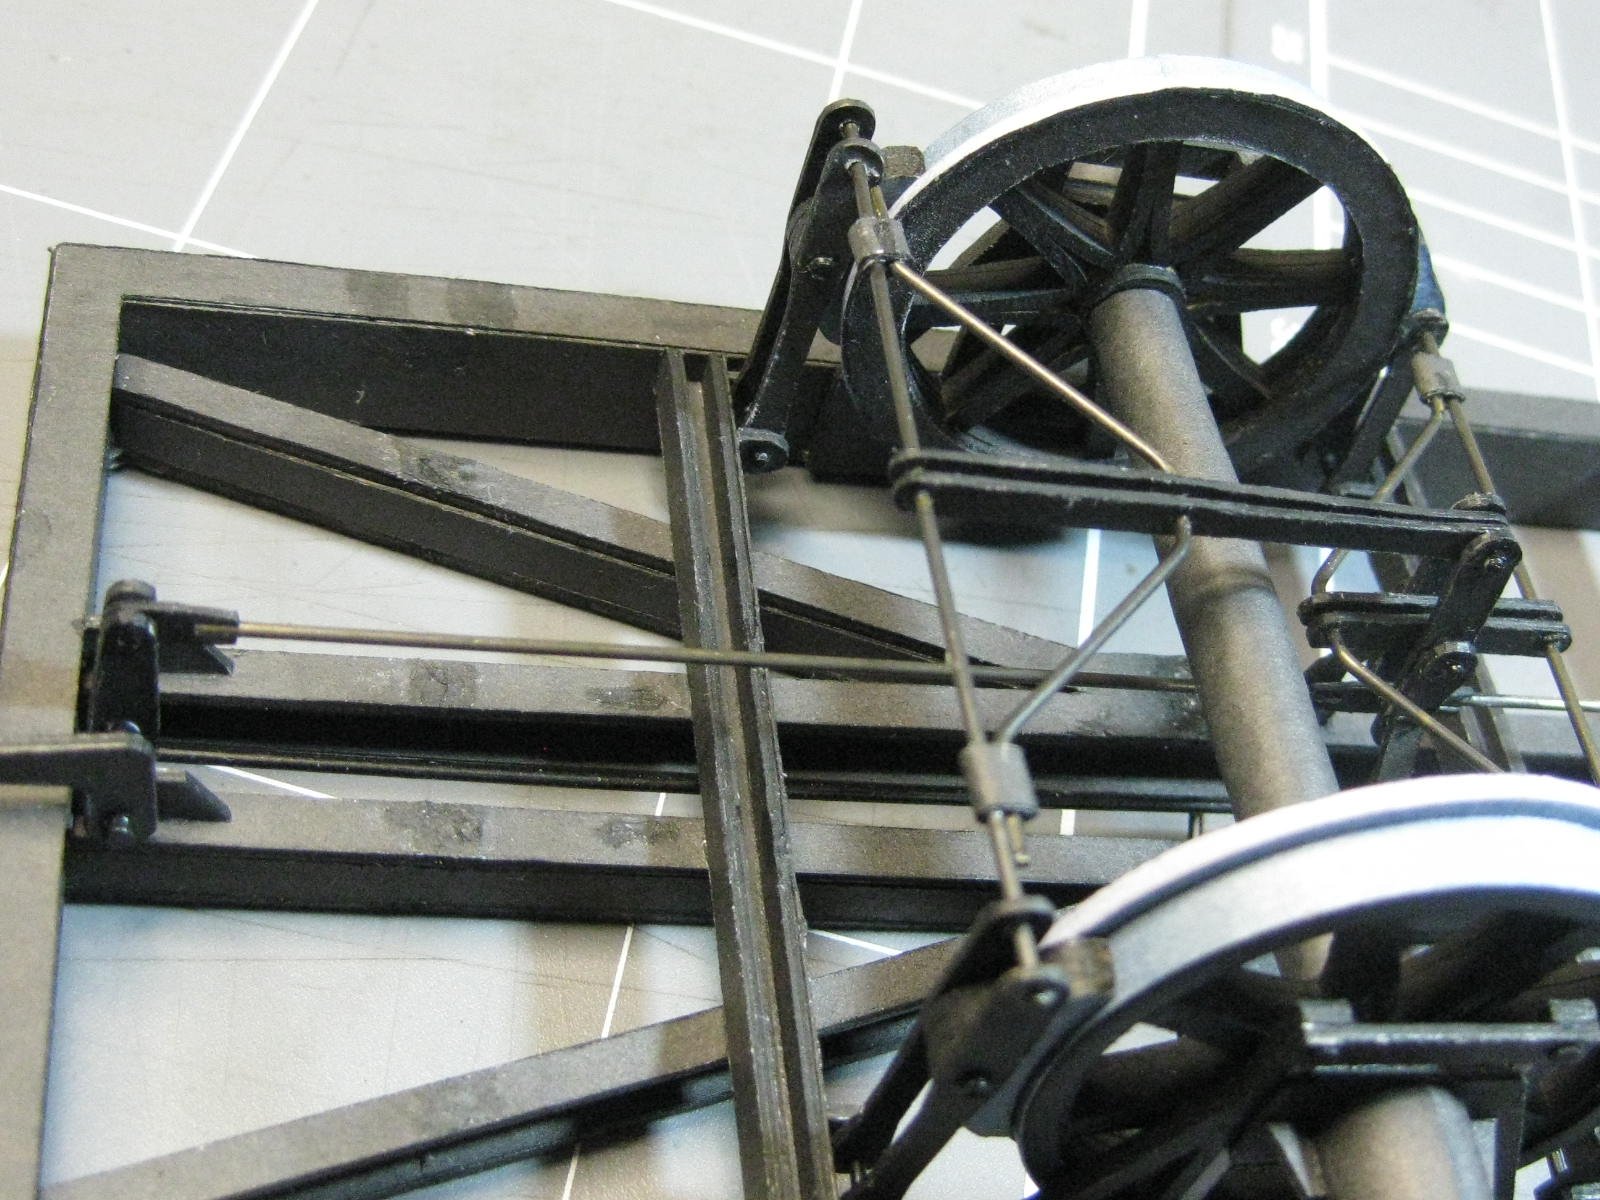
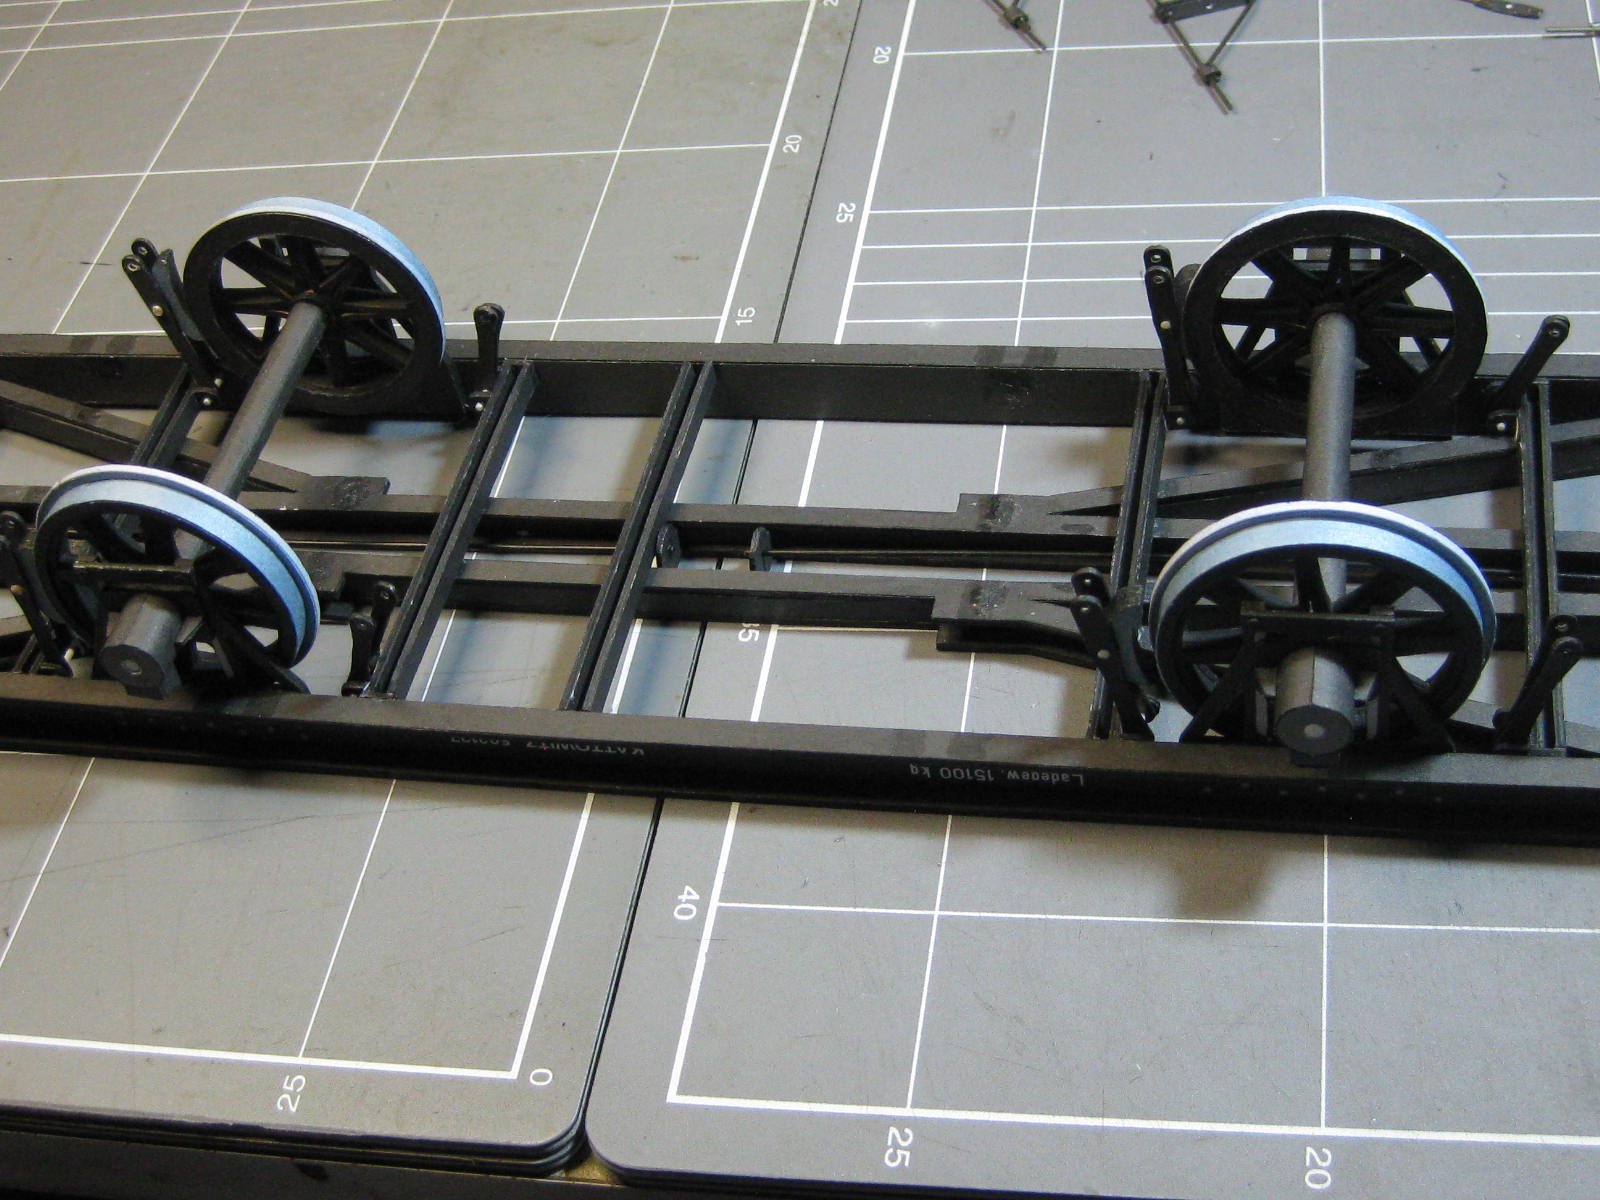
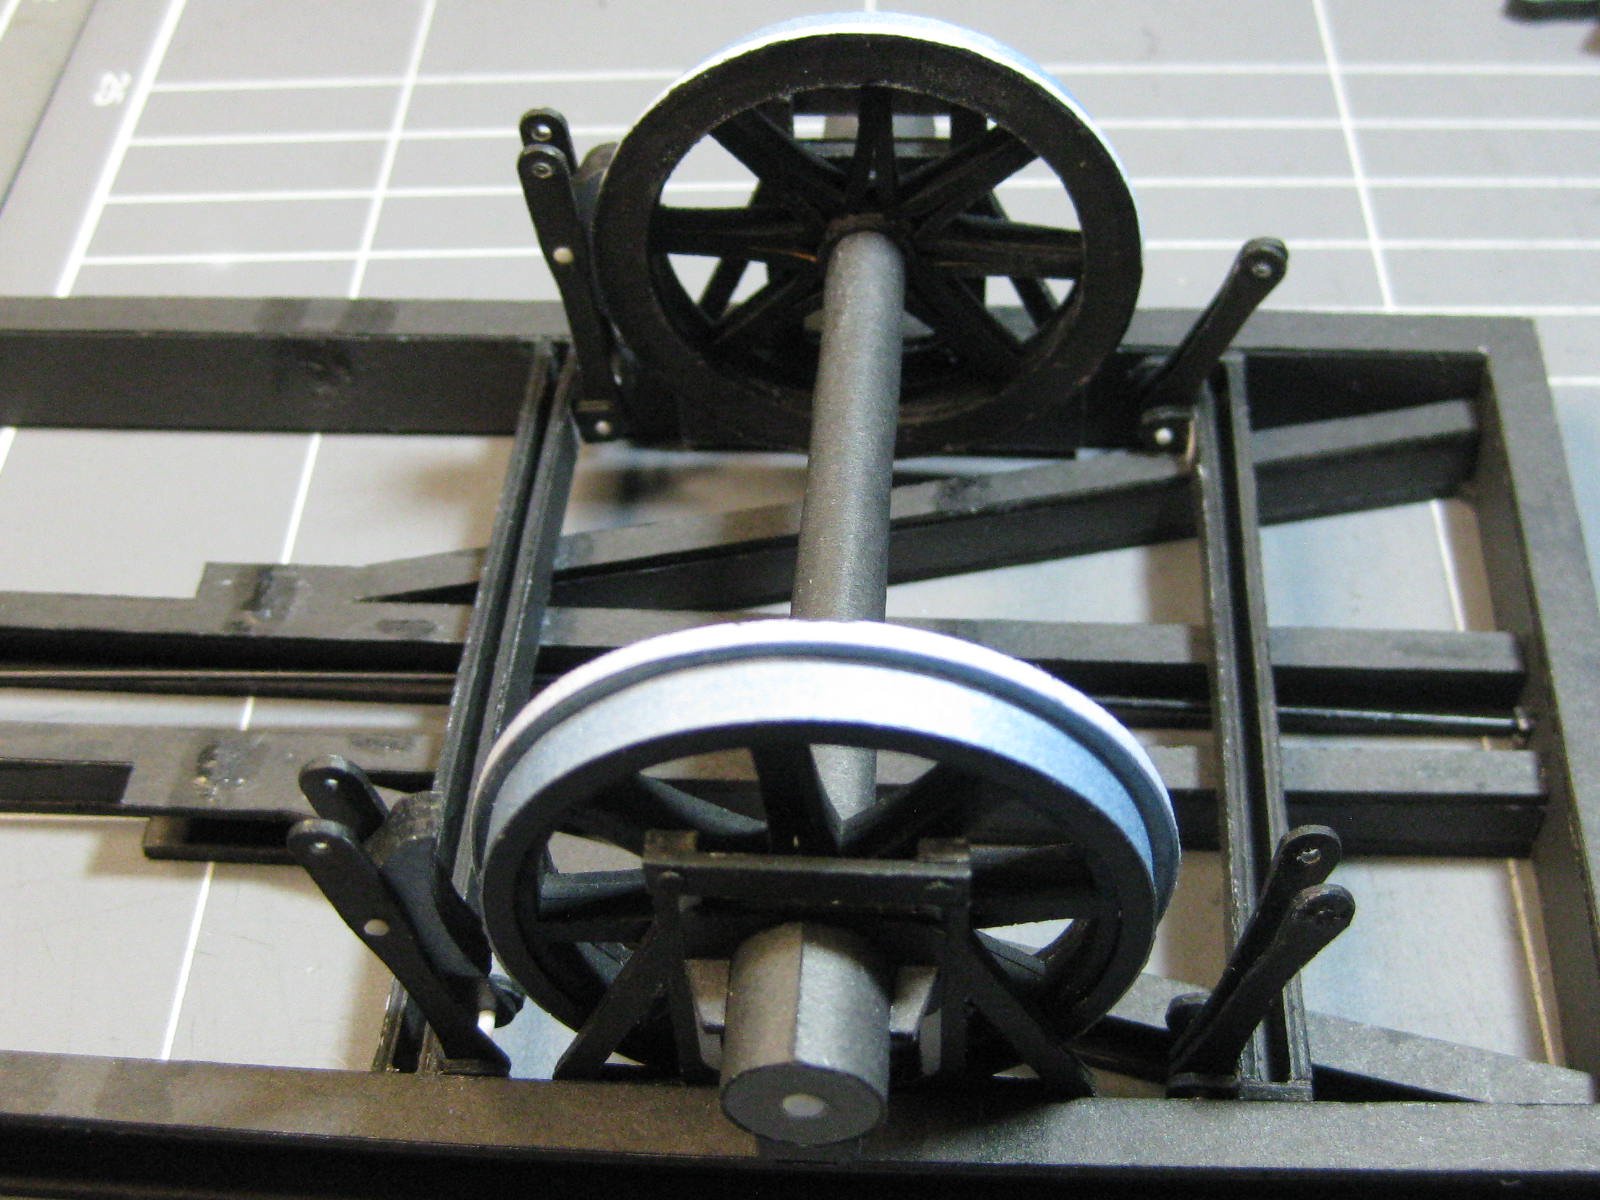
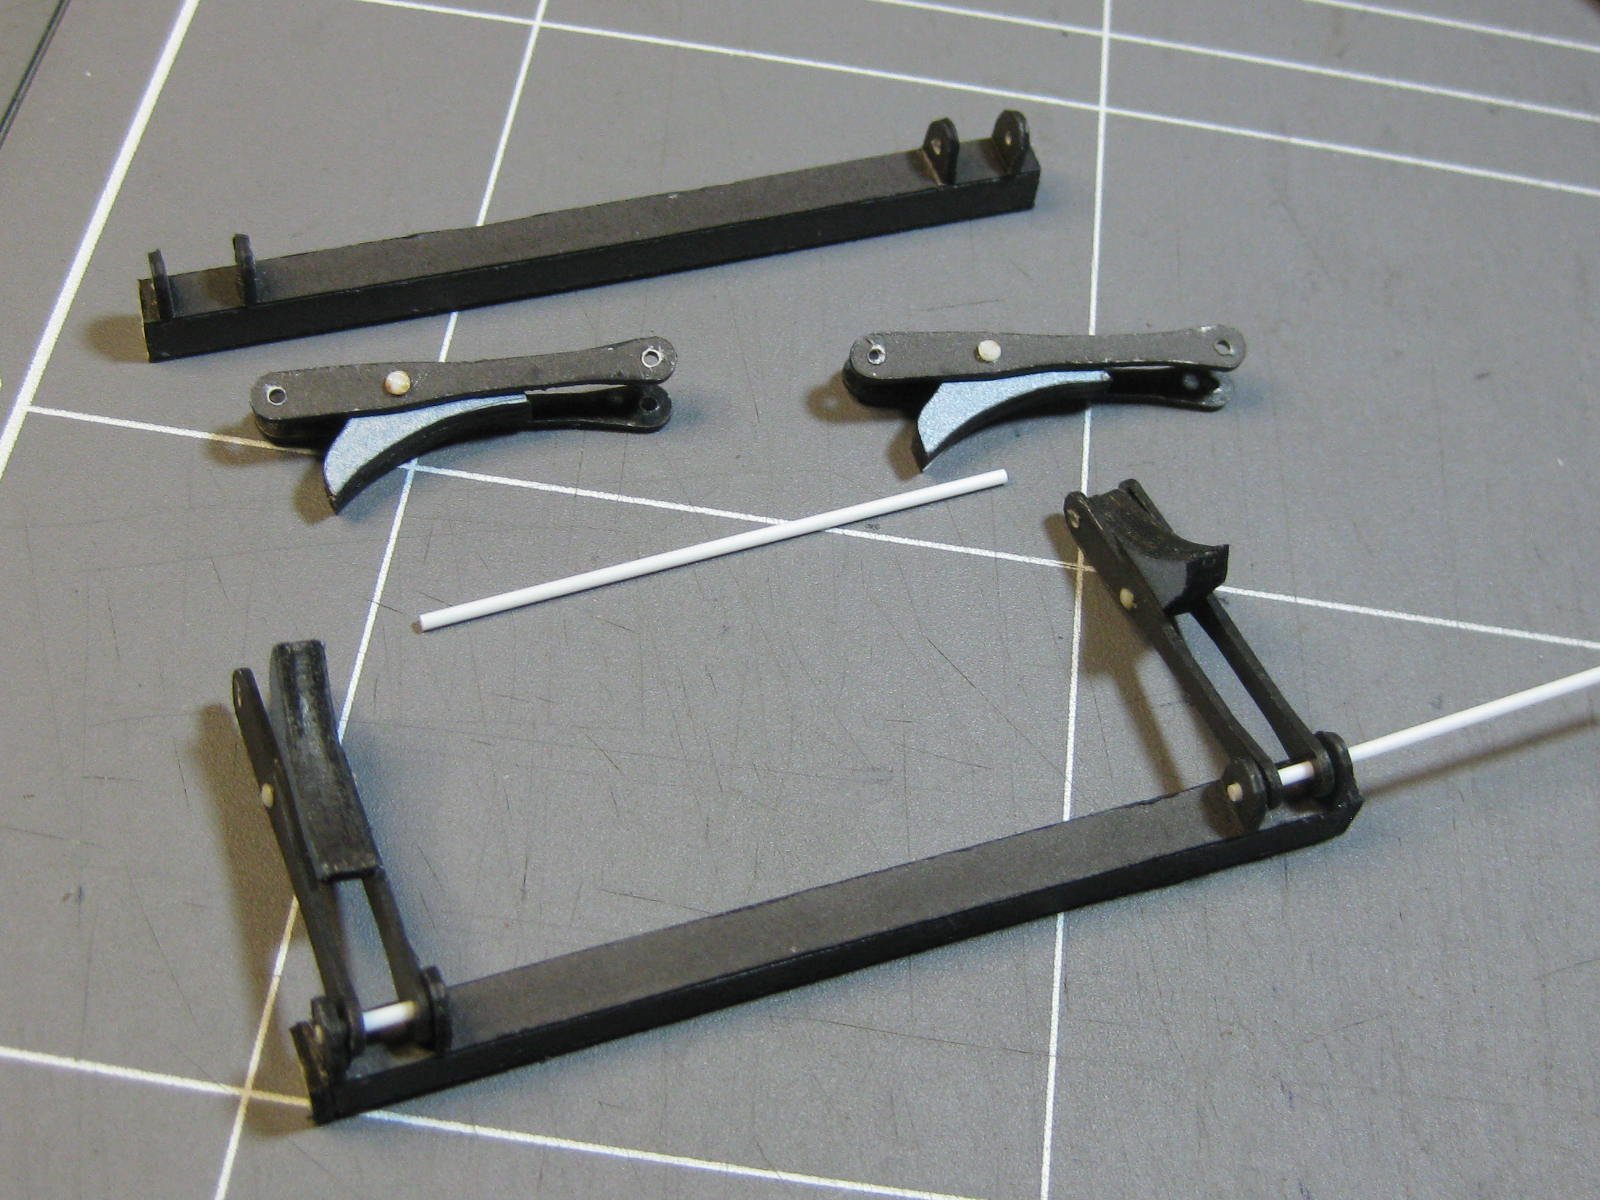
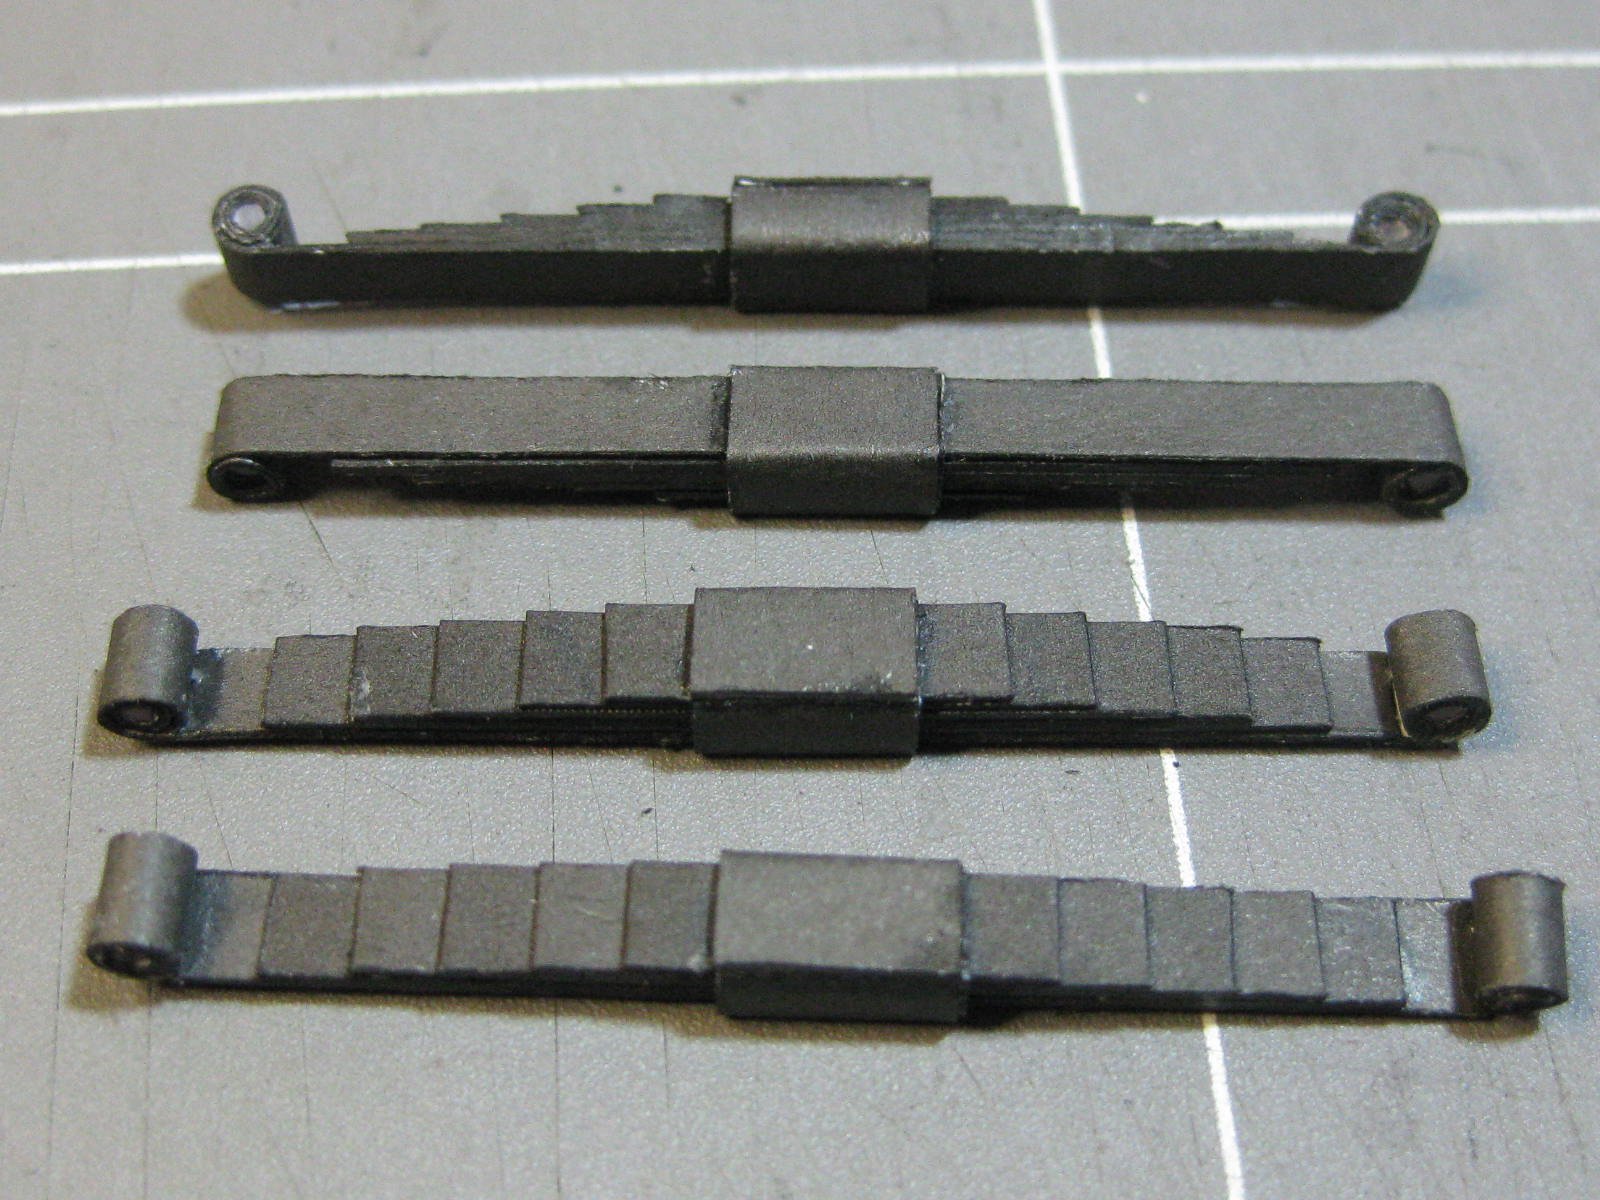
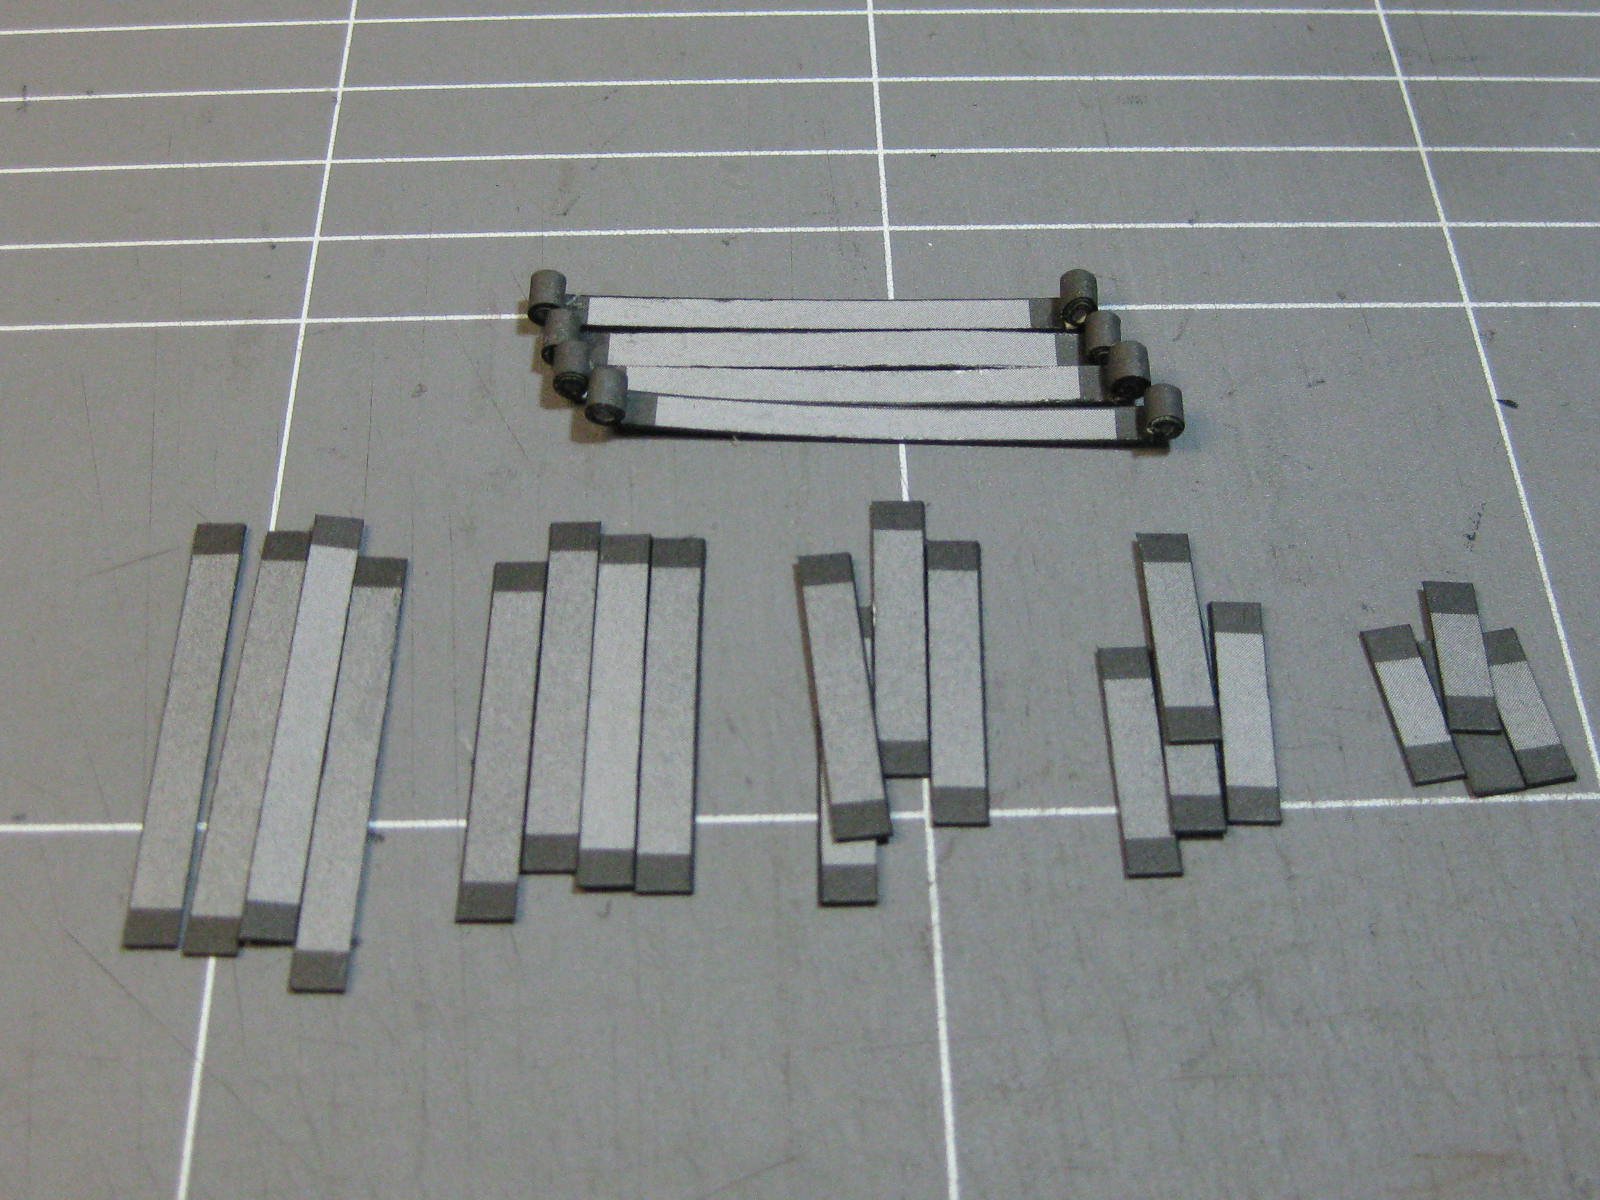
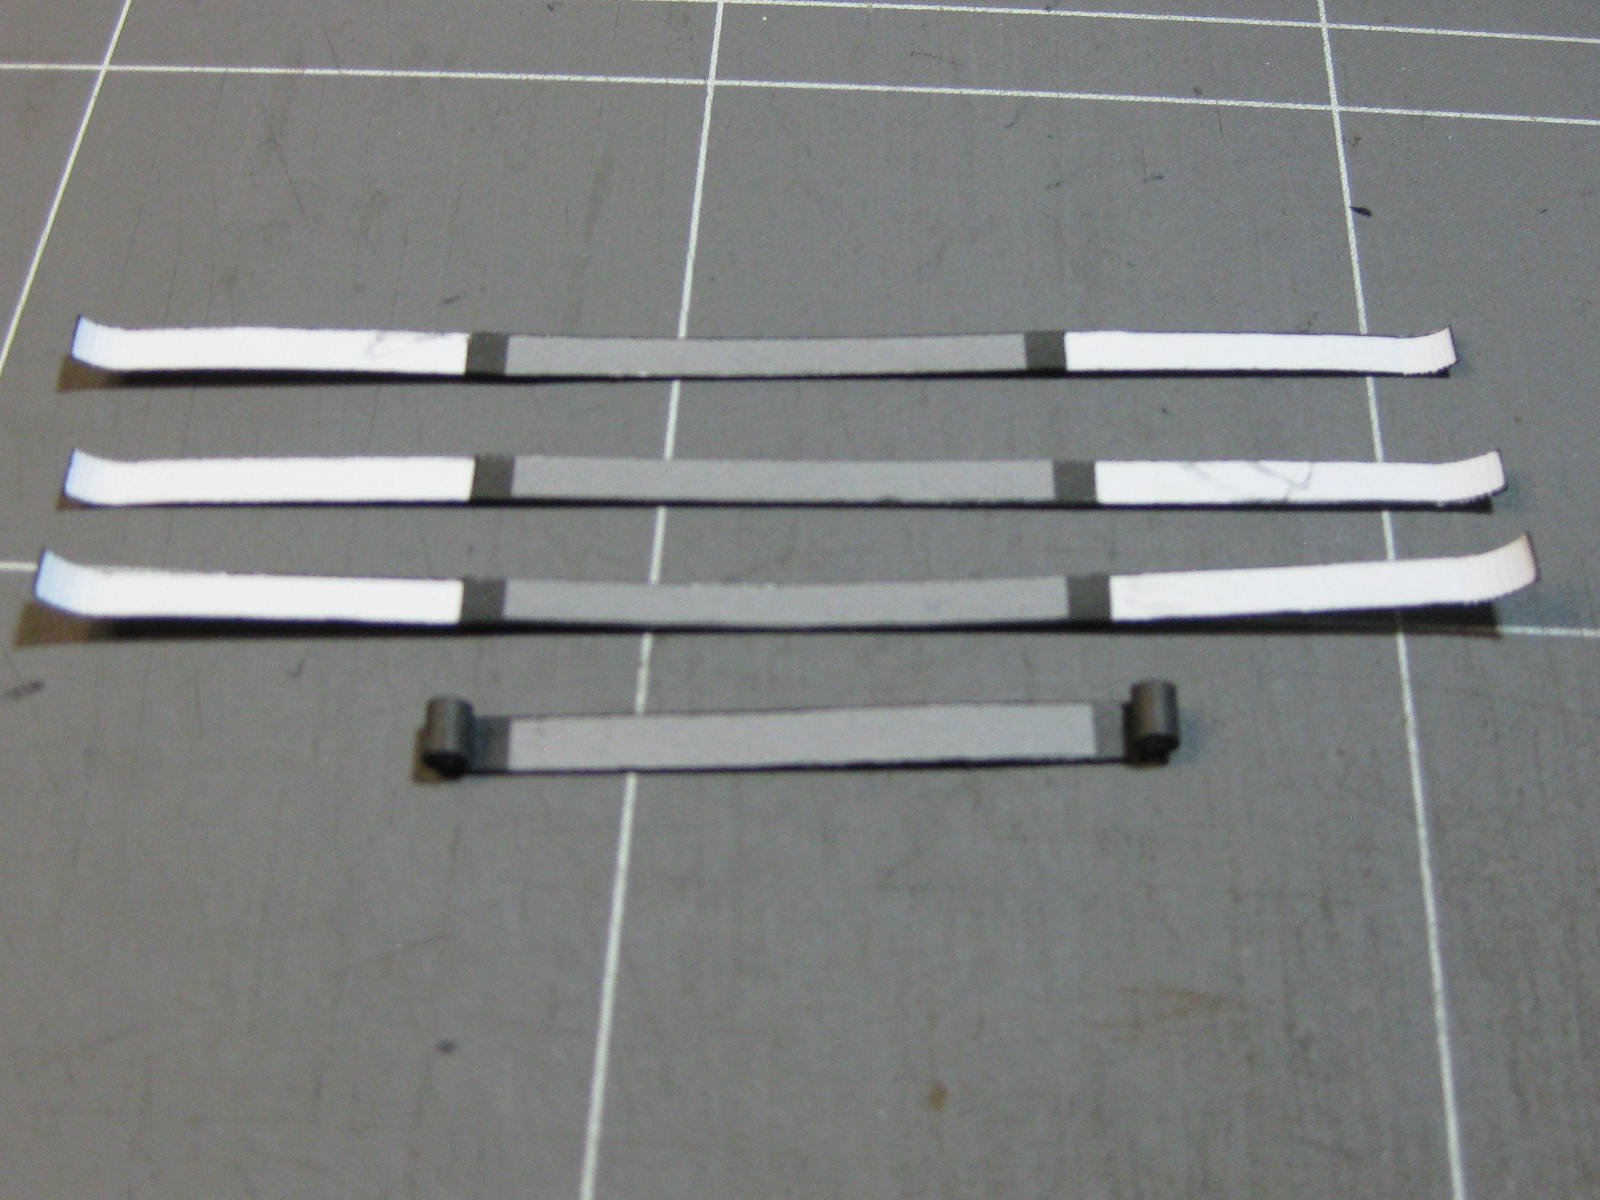
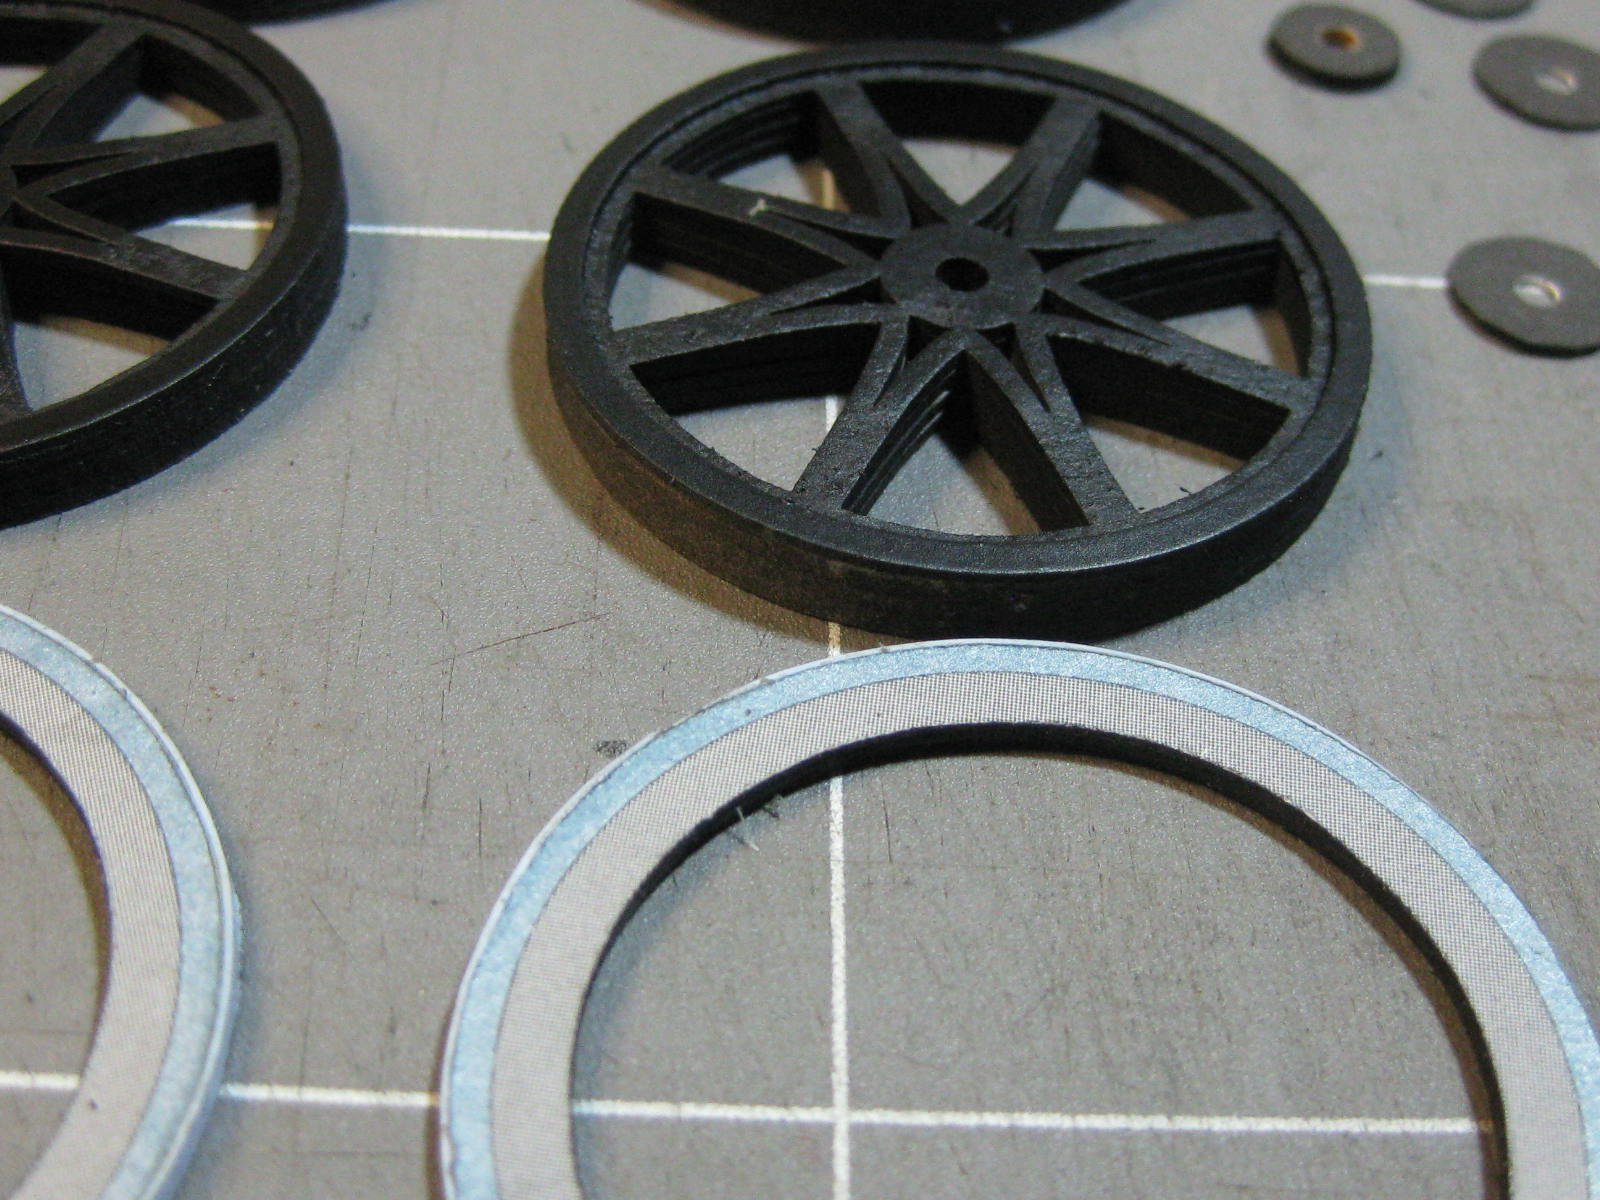
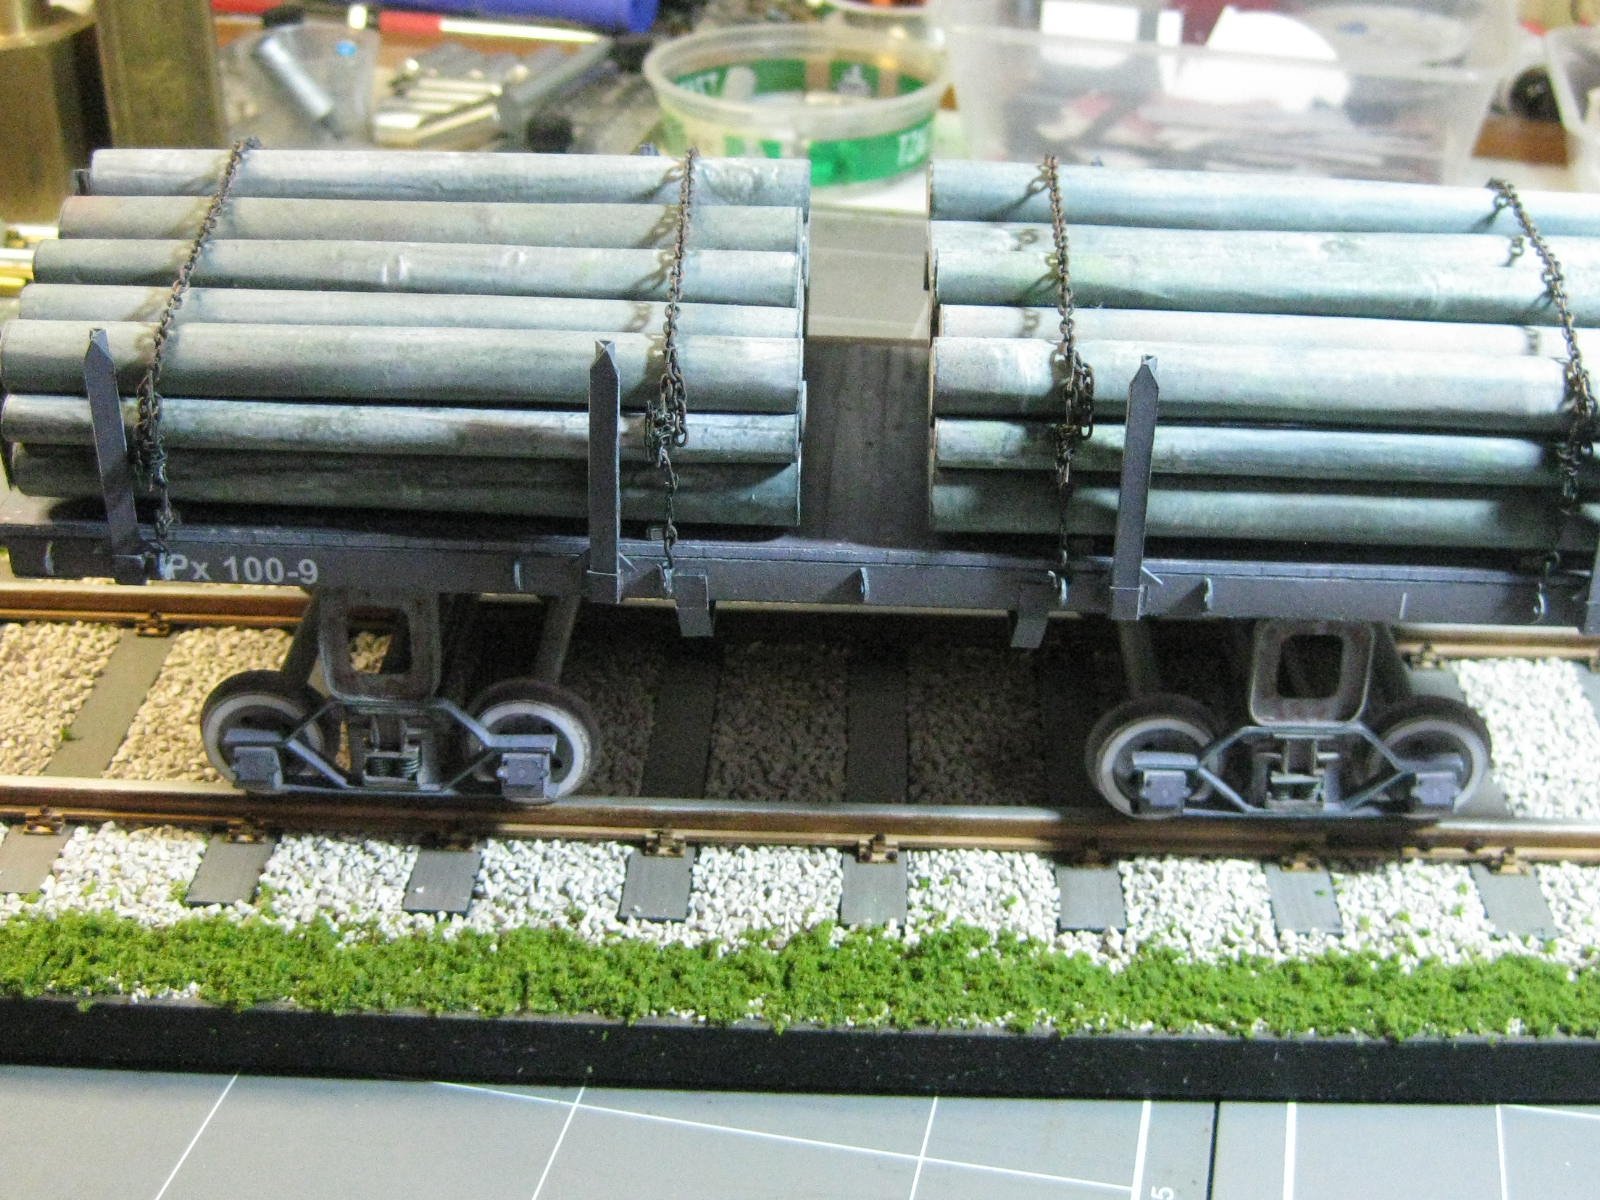
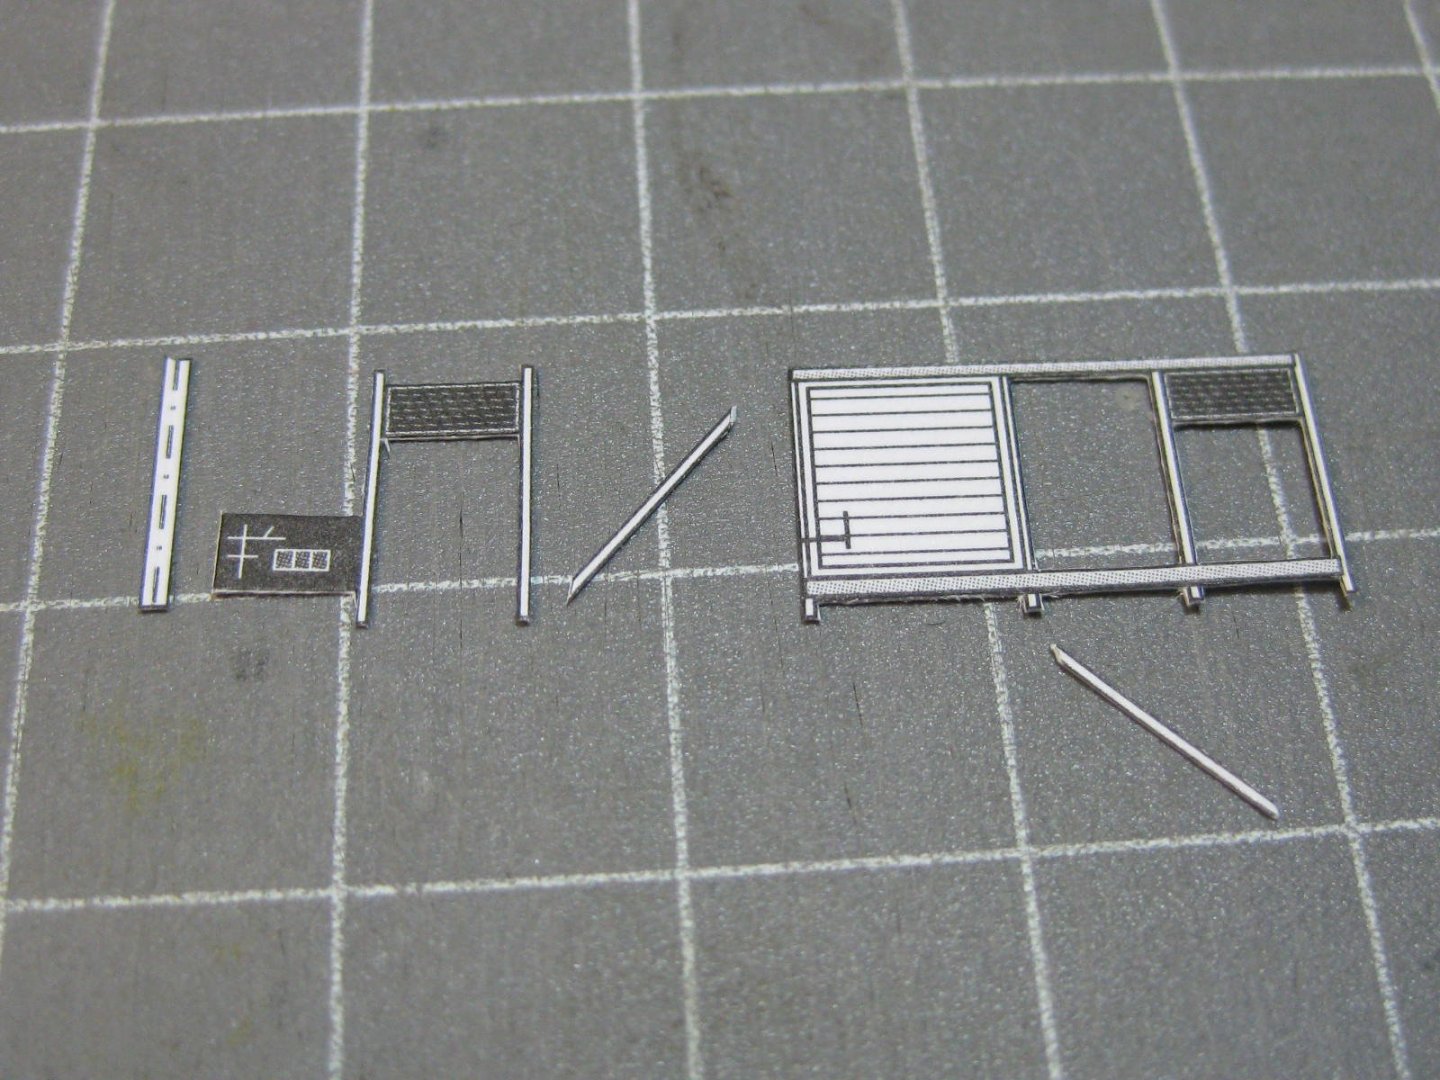
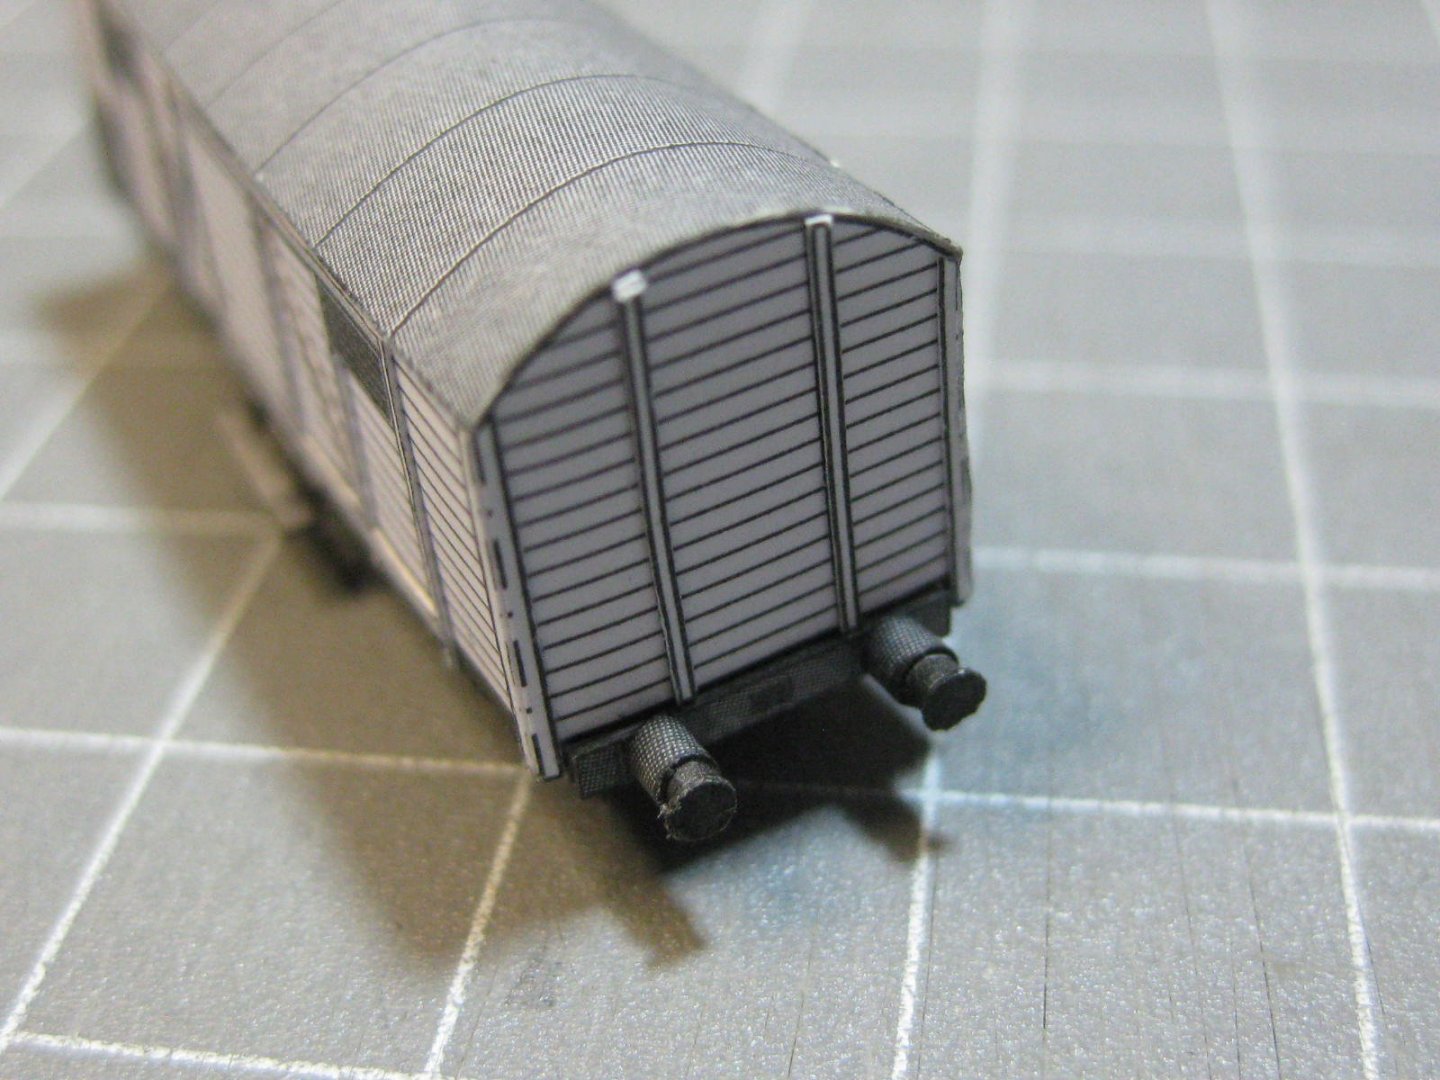
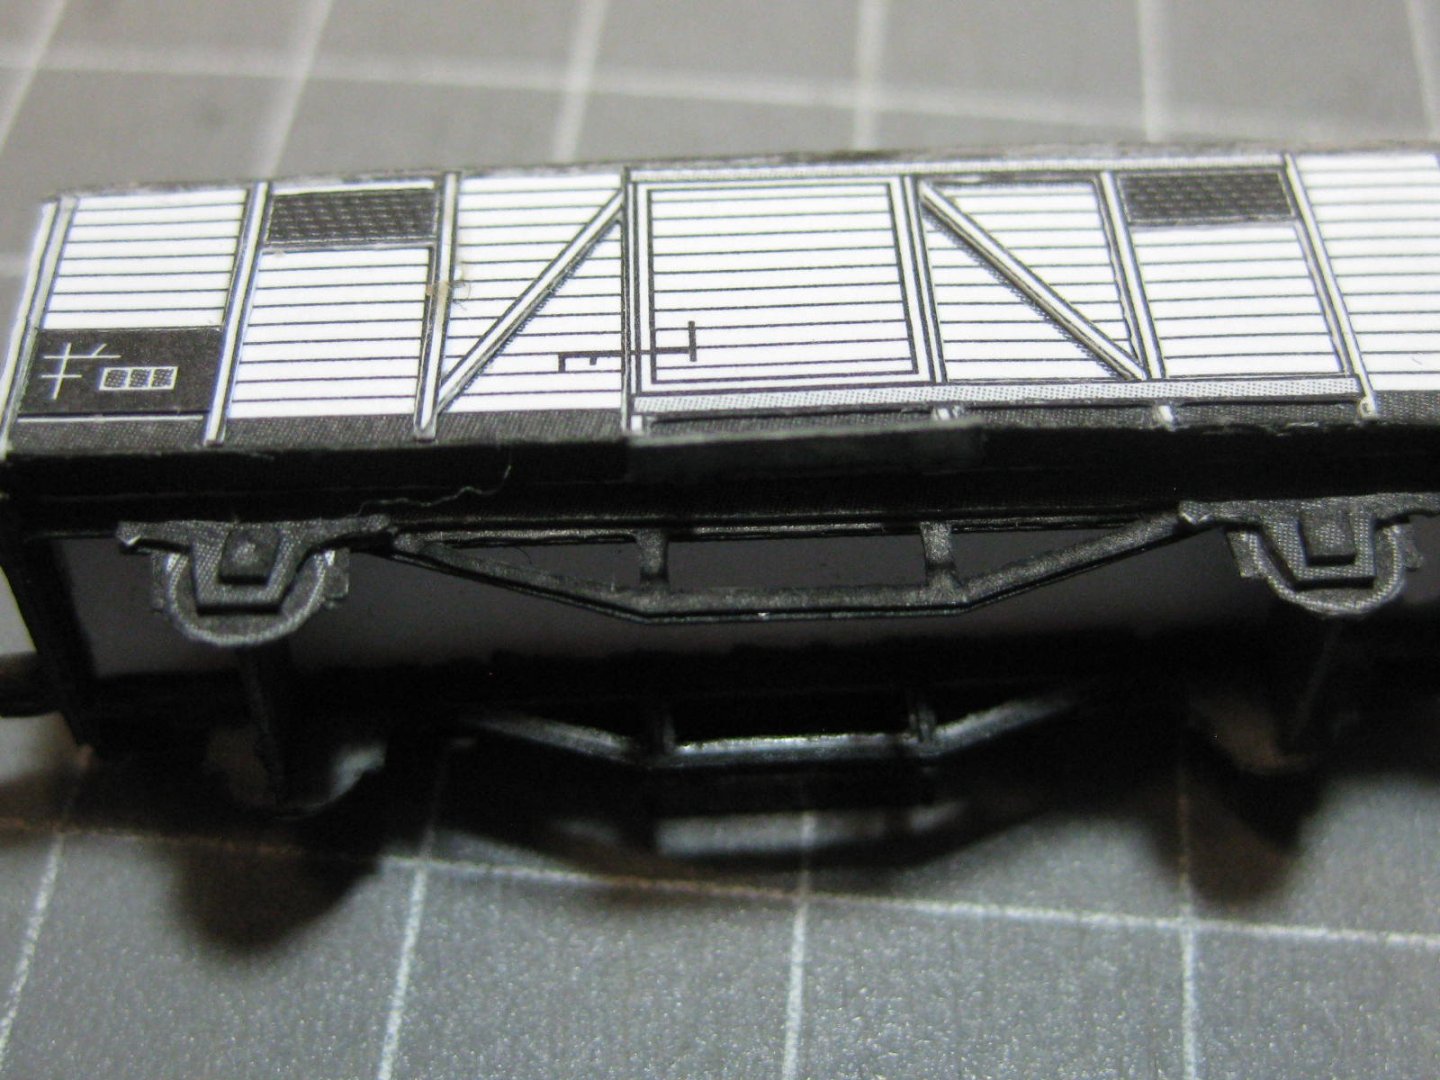
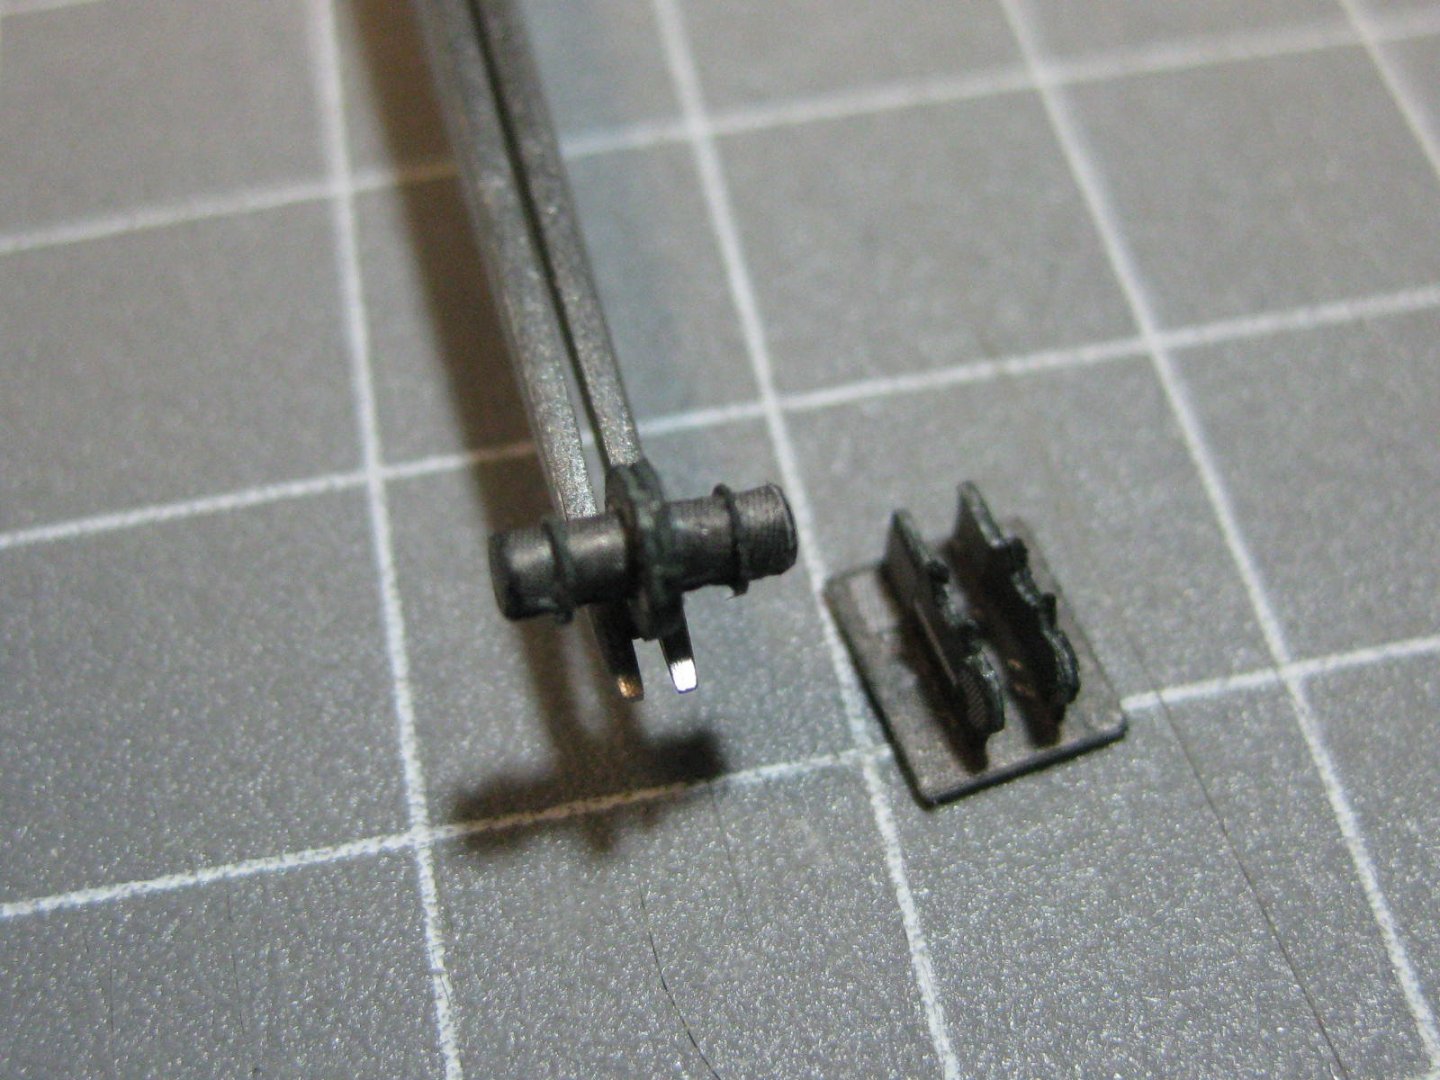
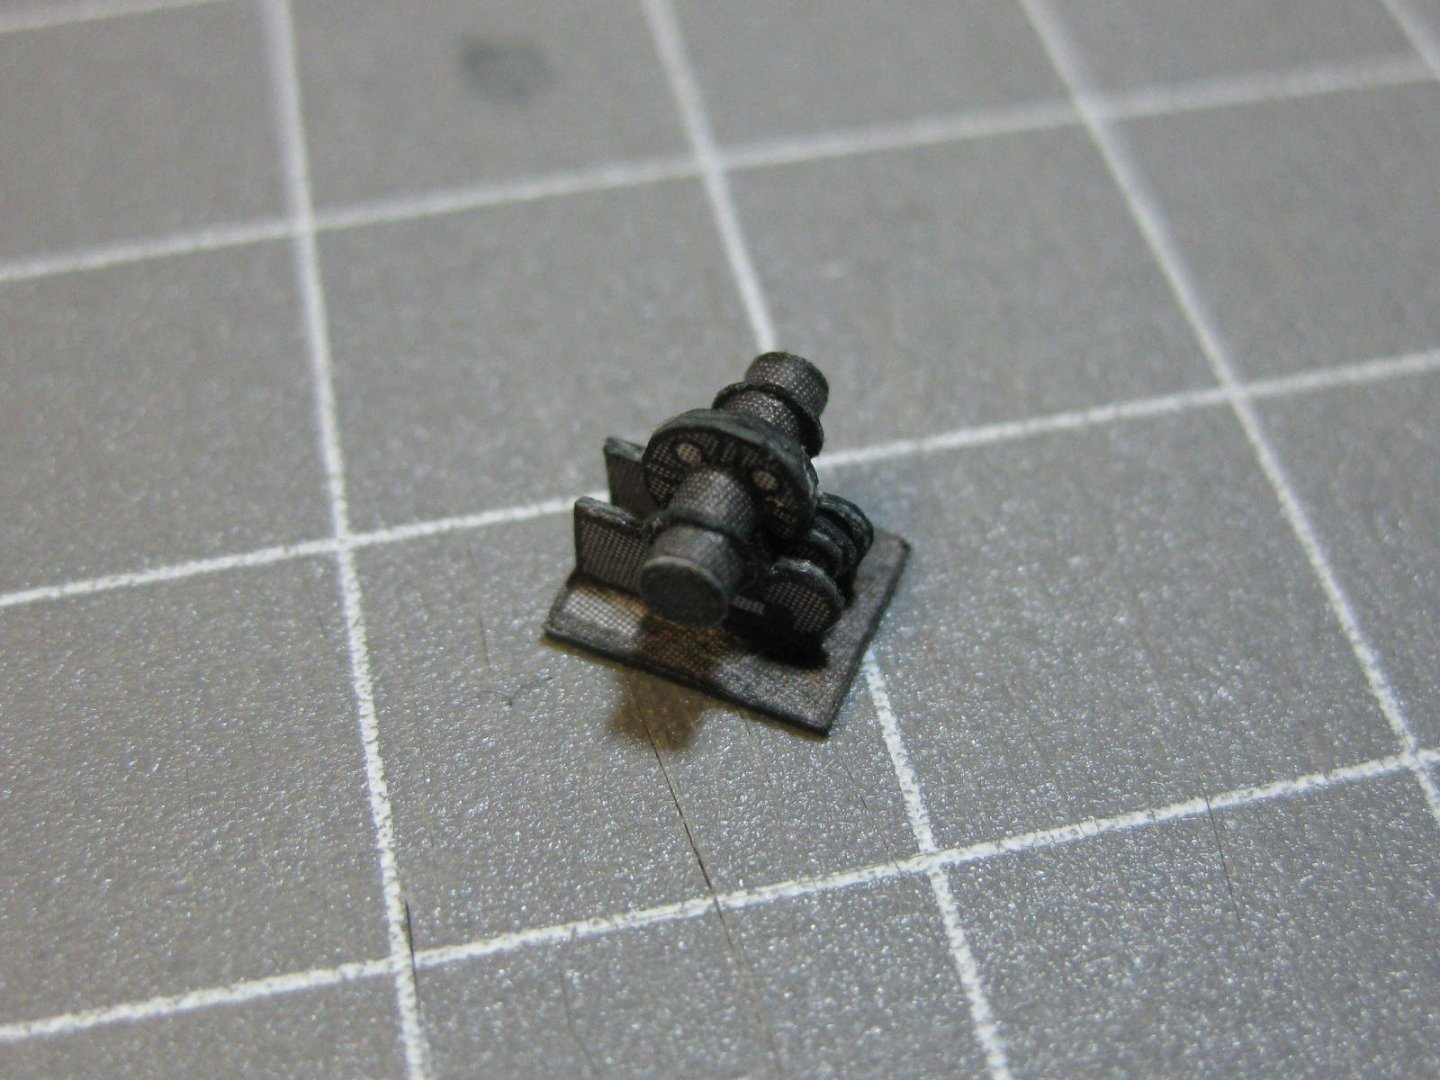
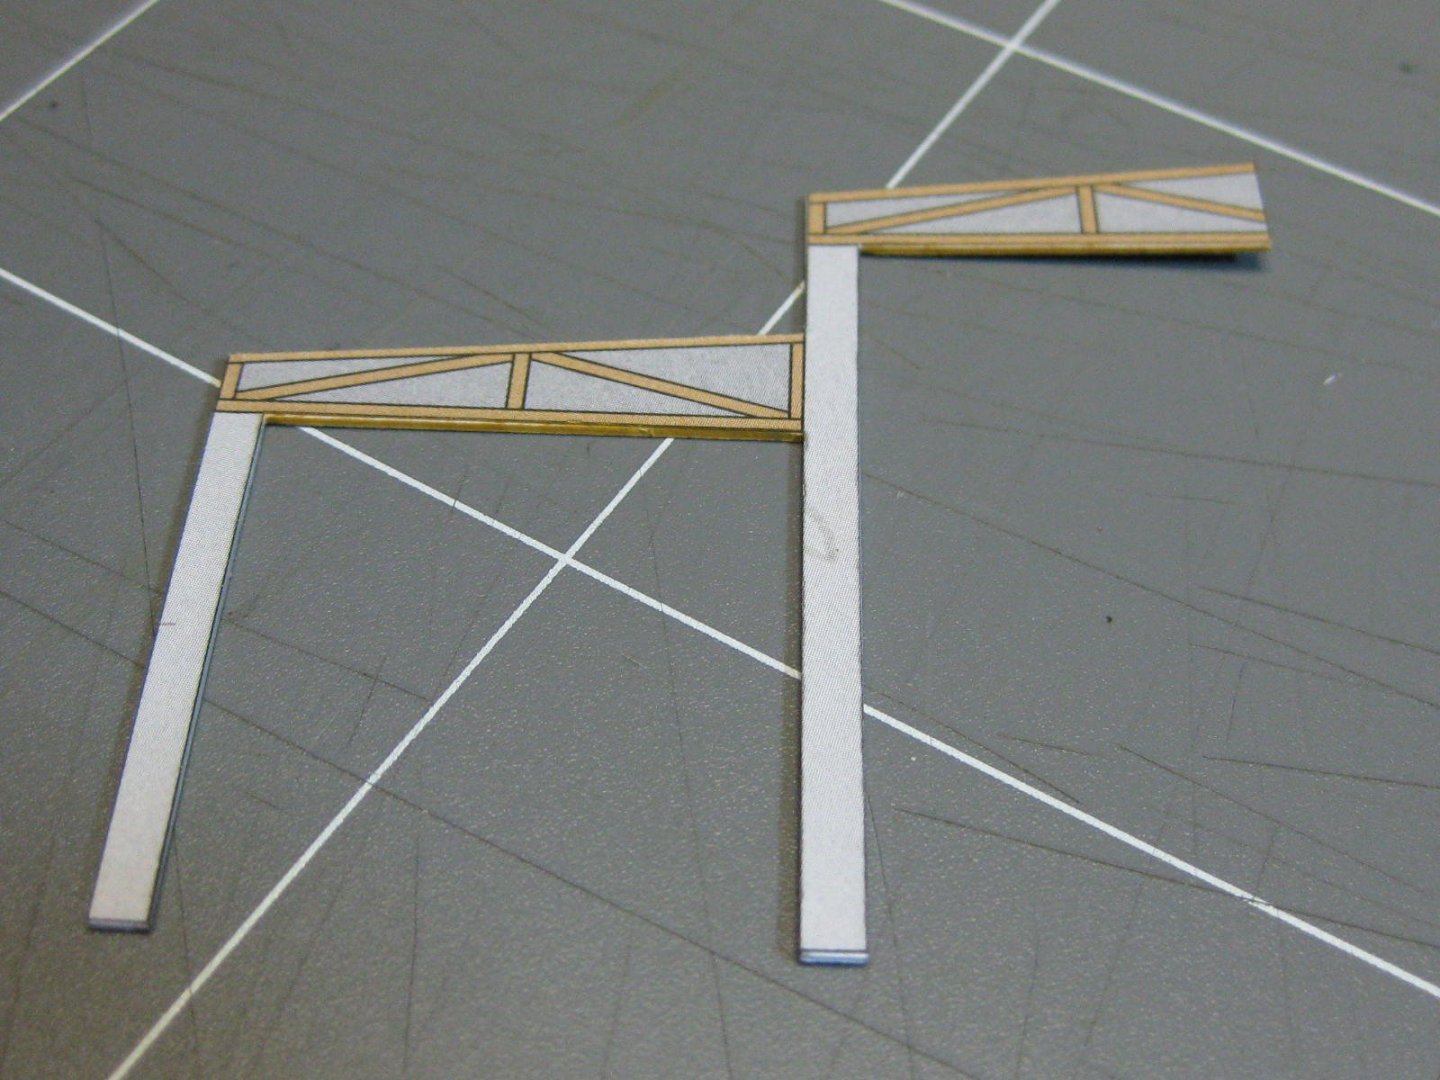
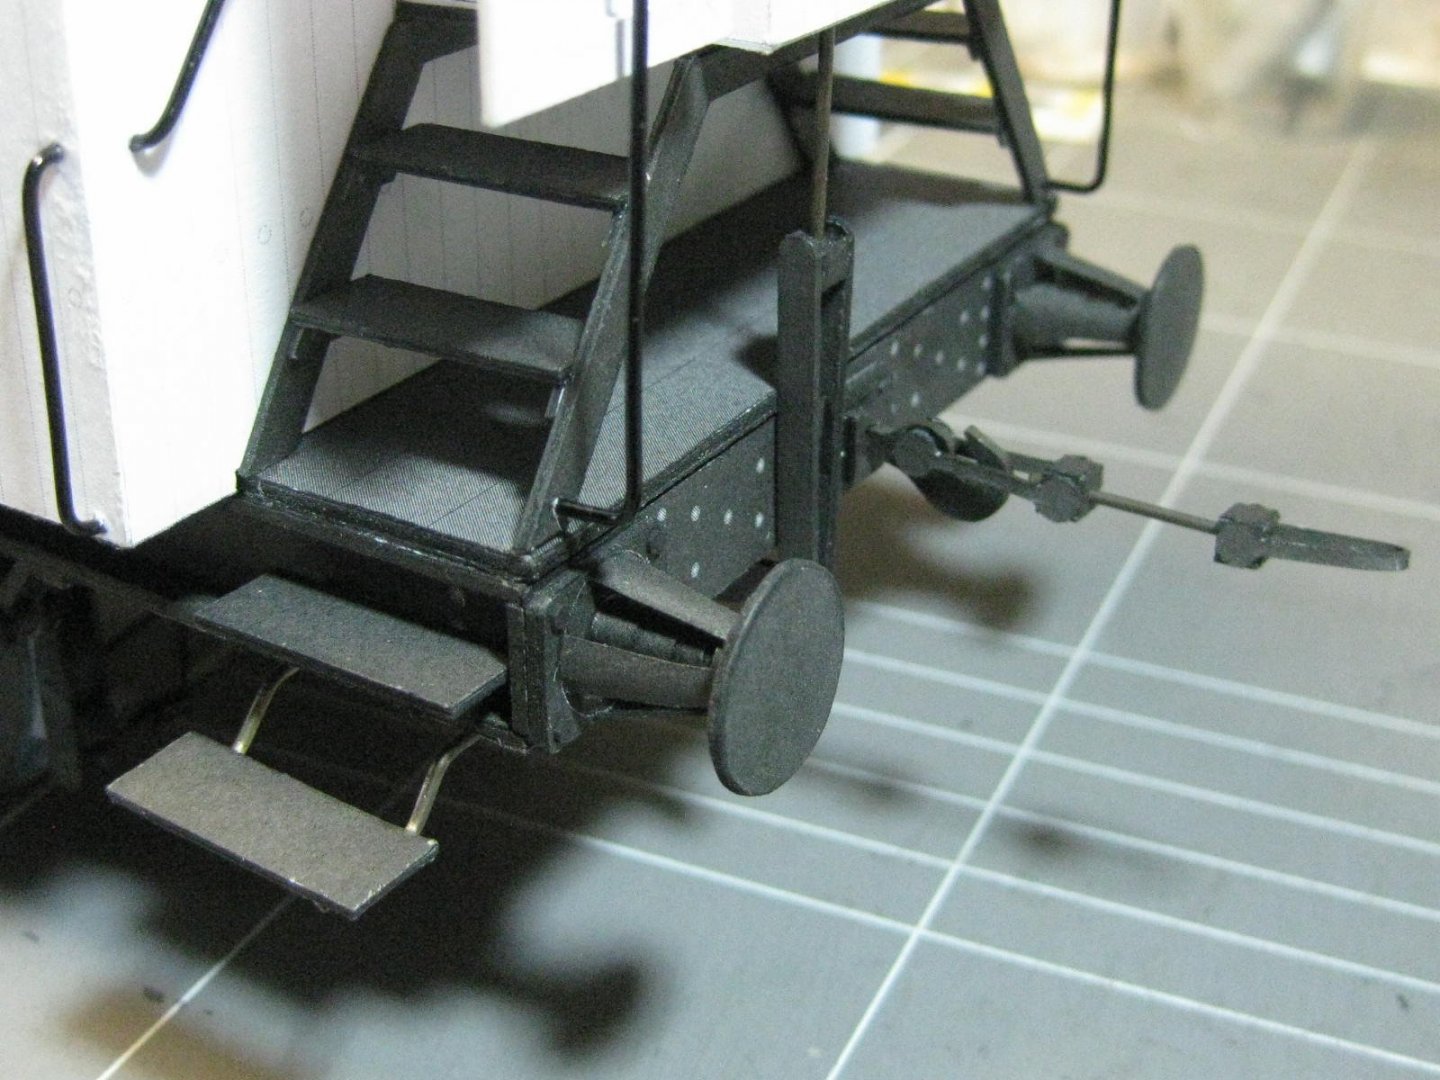
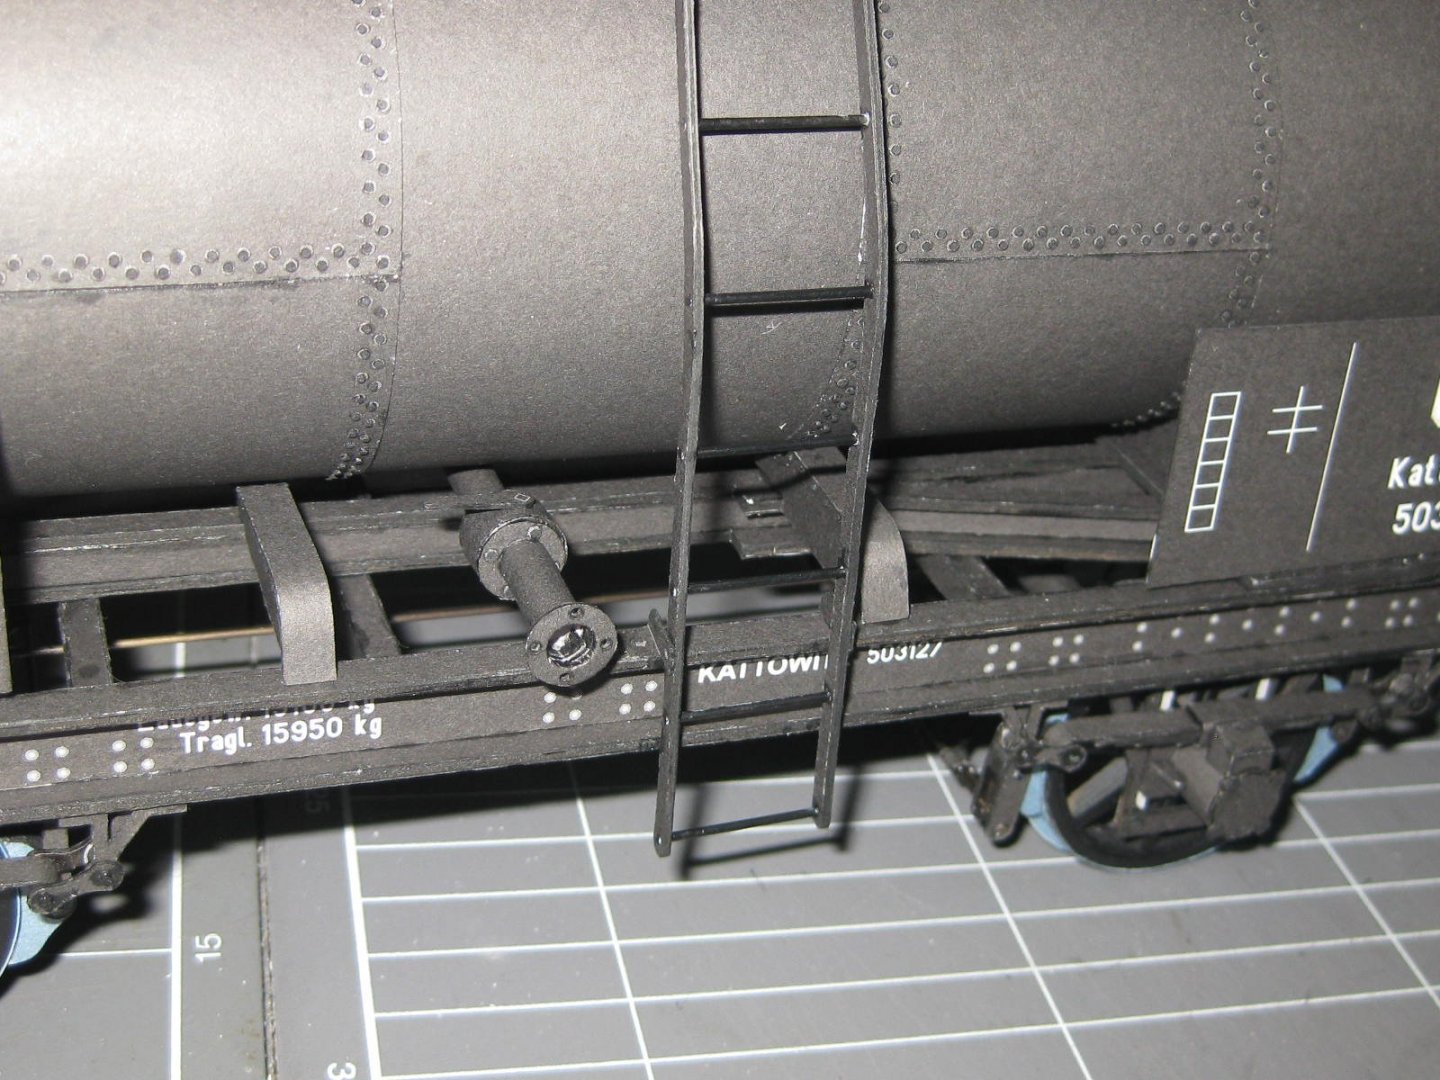
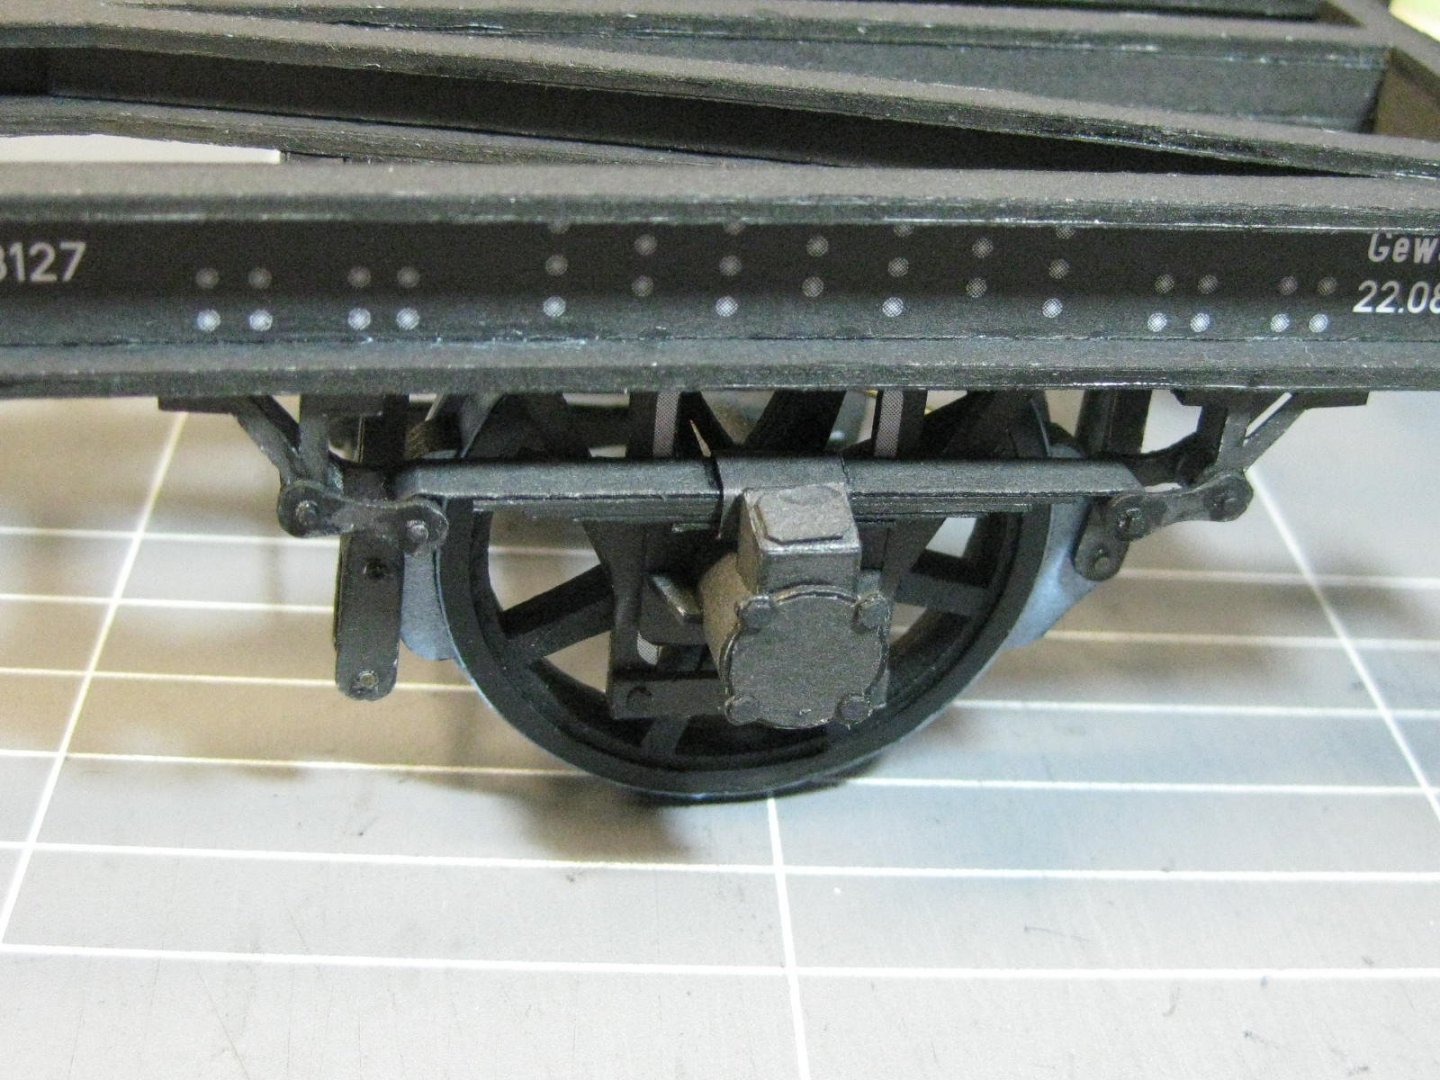
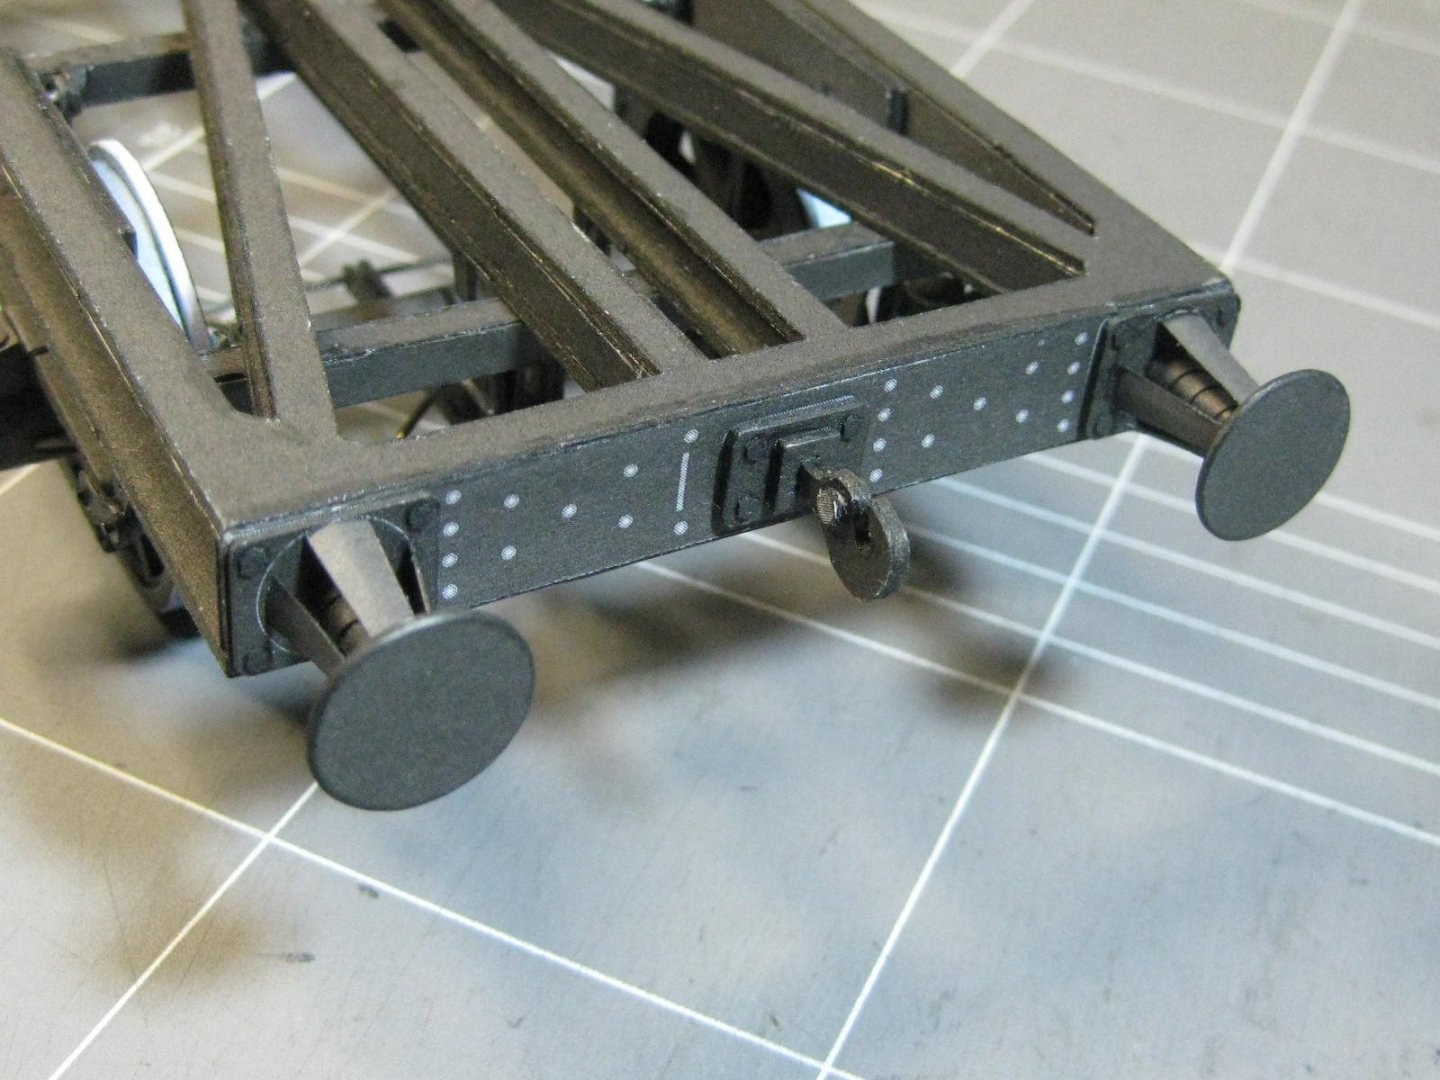
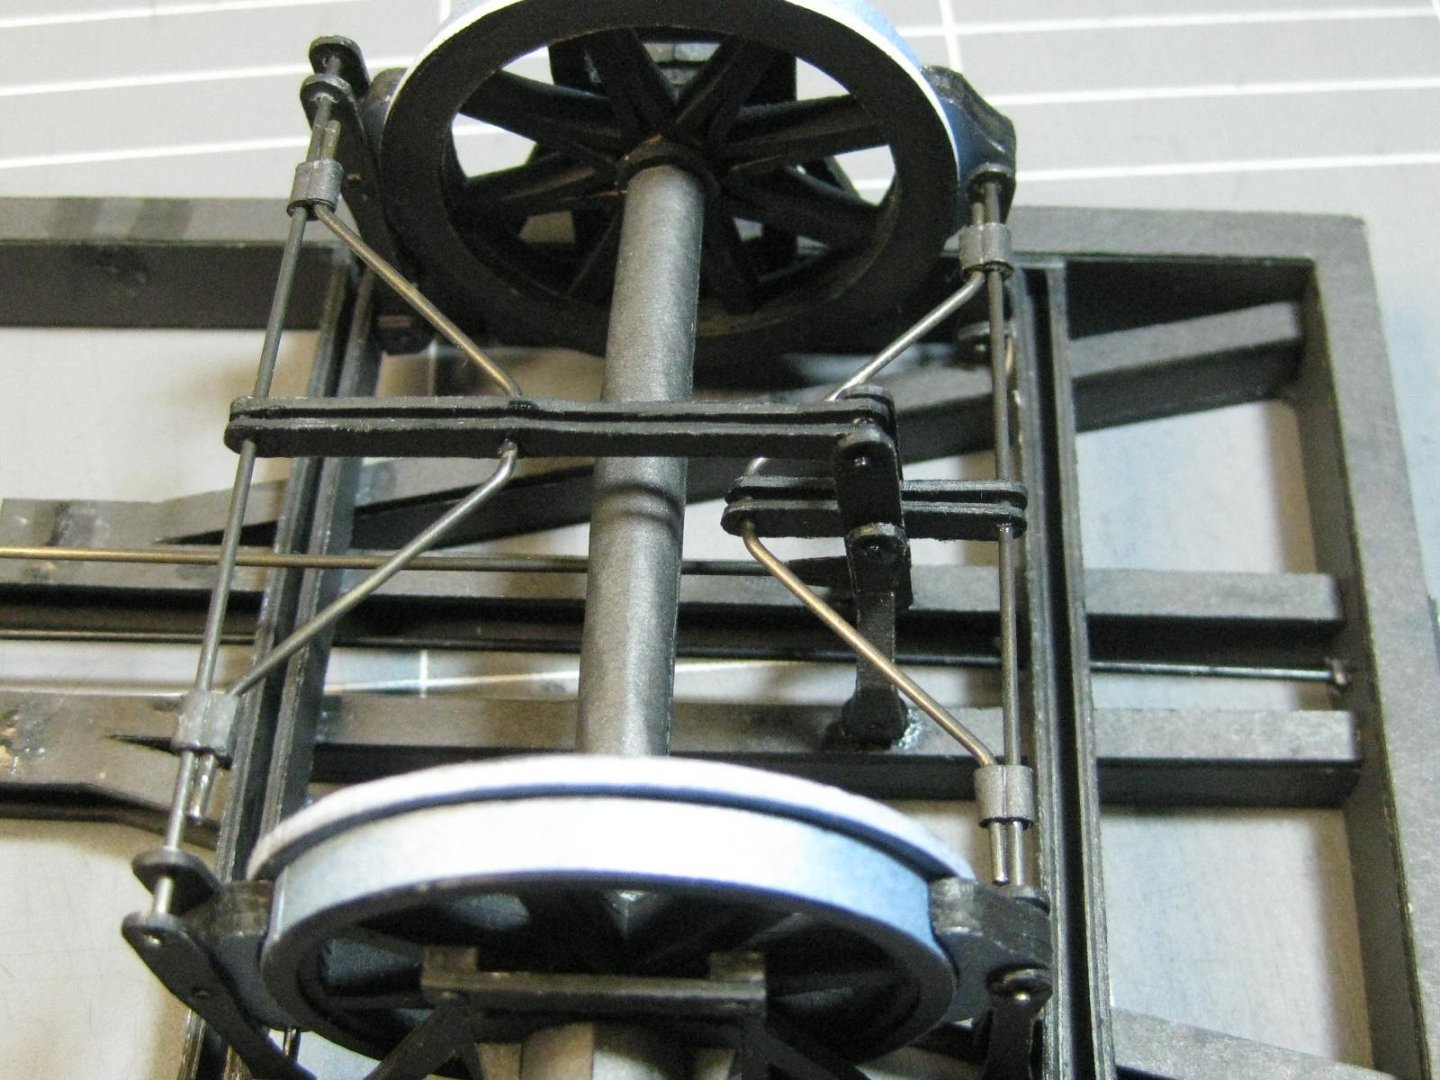
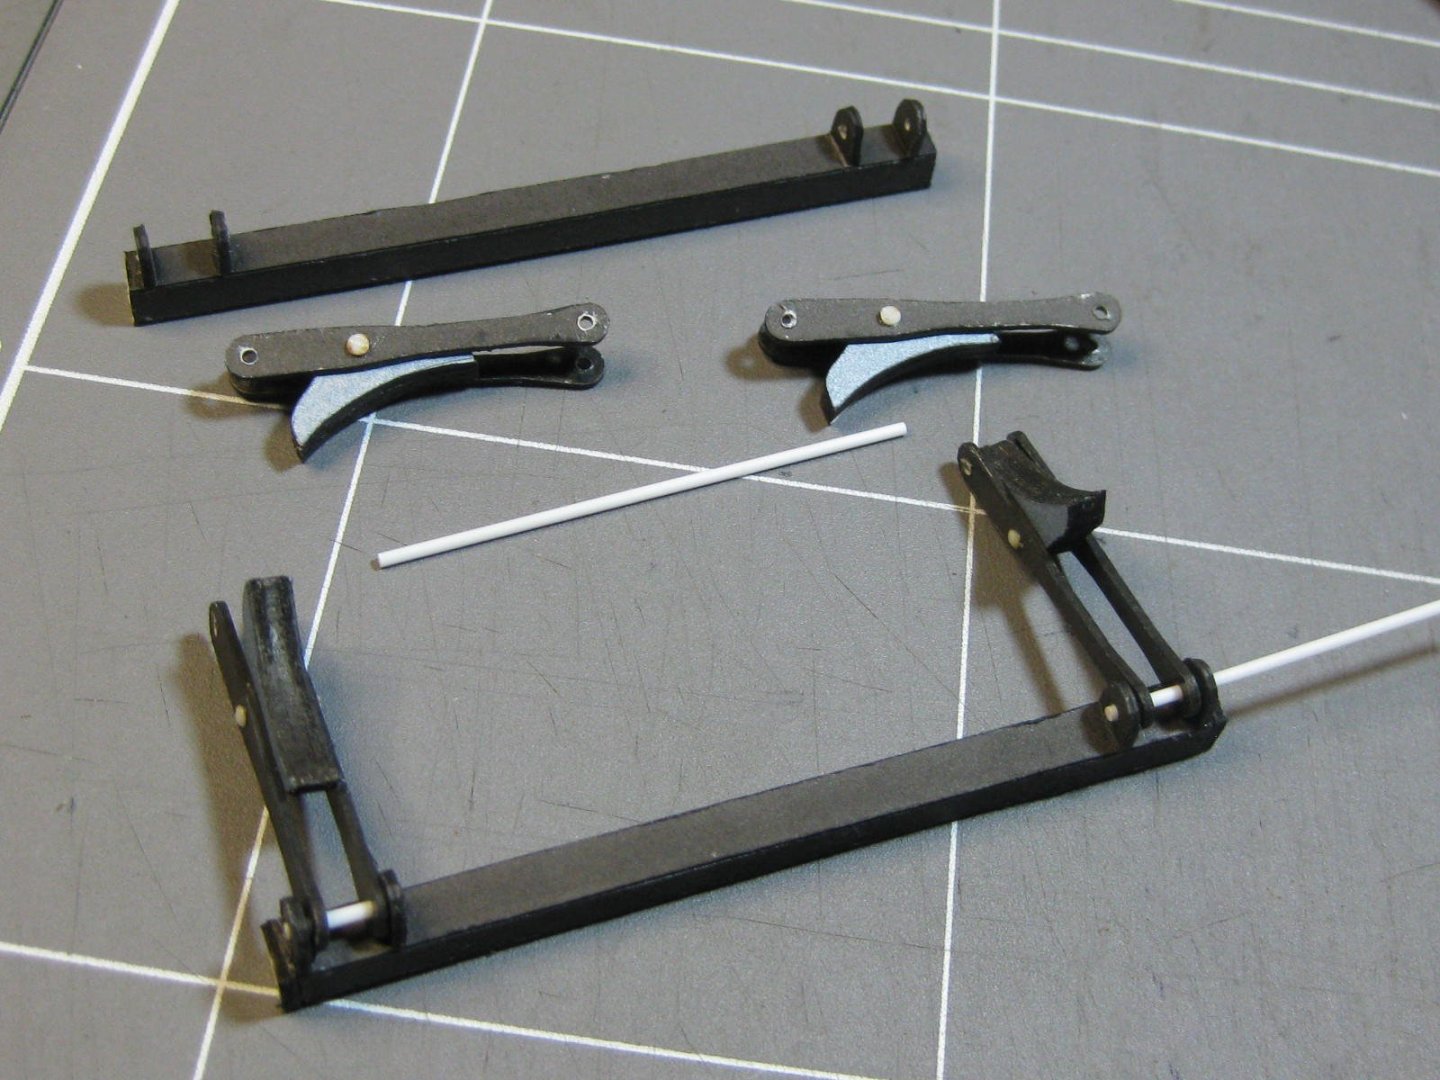
Hi all, Here's another wagon to go with the Bulgar Locomotive. I actually completed it before posting any pics, but I did take them as I went : I made a major mistake early in the construction of the frame. The "X" shaped centre piece is back-to-front compared to the outer frame. Not a really big deal, as all it meant was that the location markings were no longer correct and needed to be painted over. I also had to do a fair bit of measuring off the plans - just as well that there is a full-scale drawing of the side elevation in the kit : More pics follow in the next post. Danny


- 14 replies
-
- 10
-
-
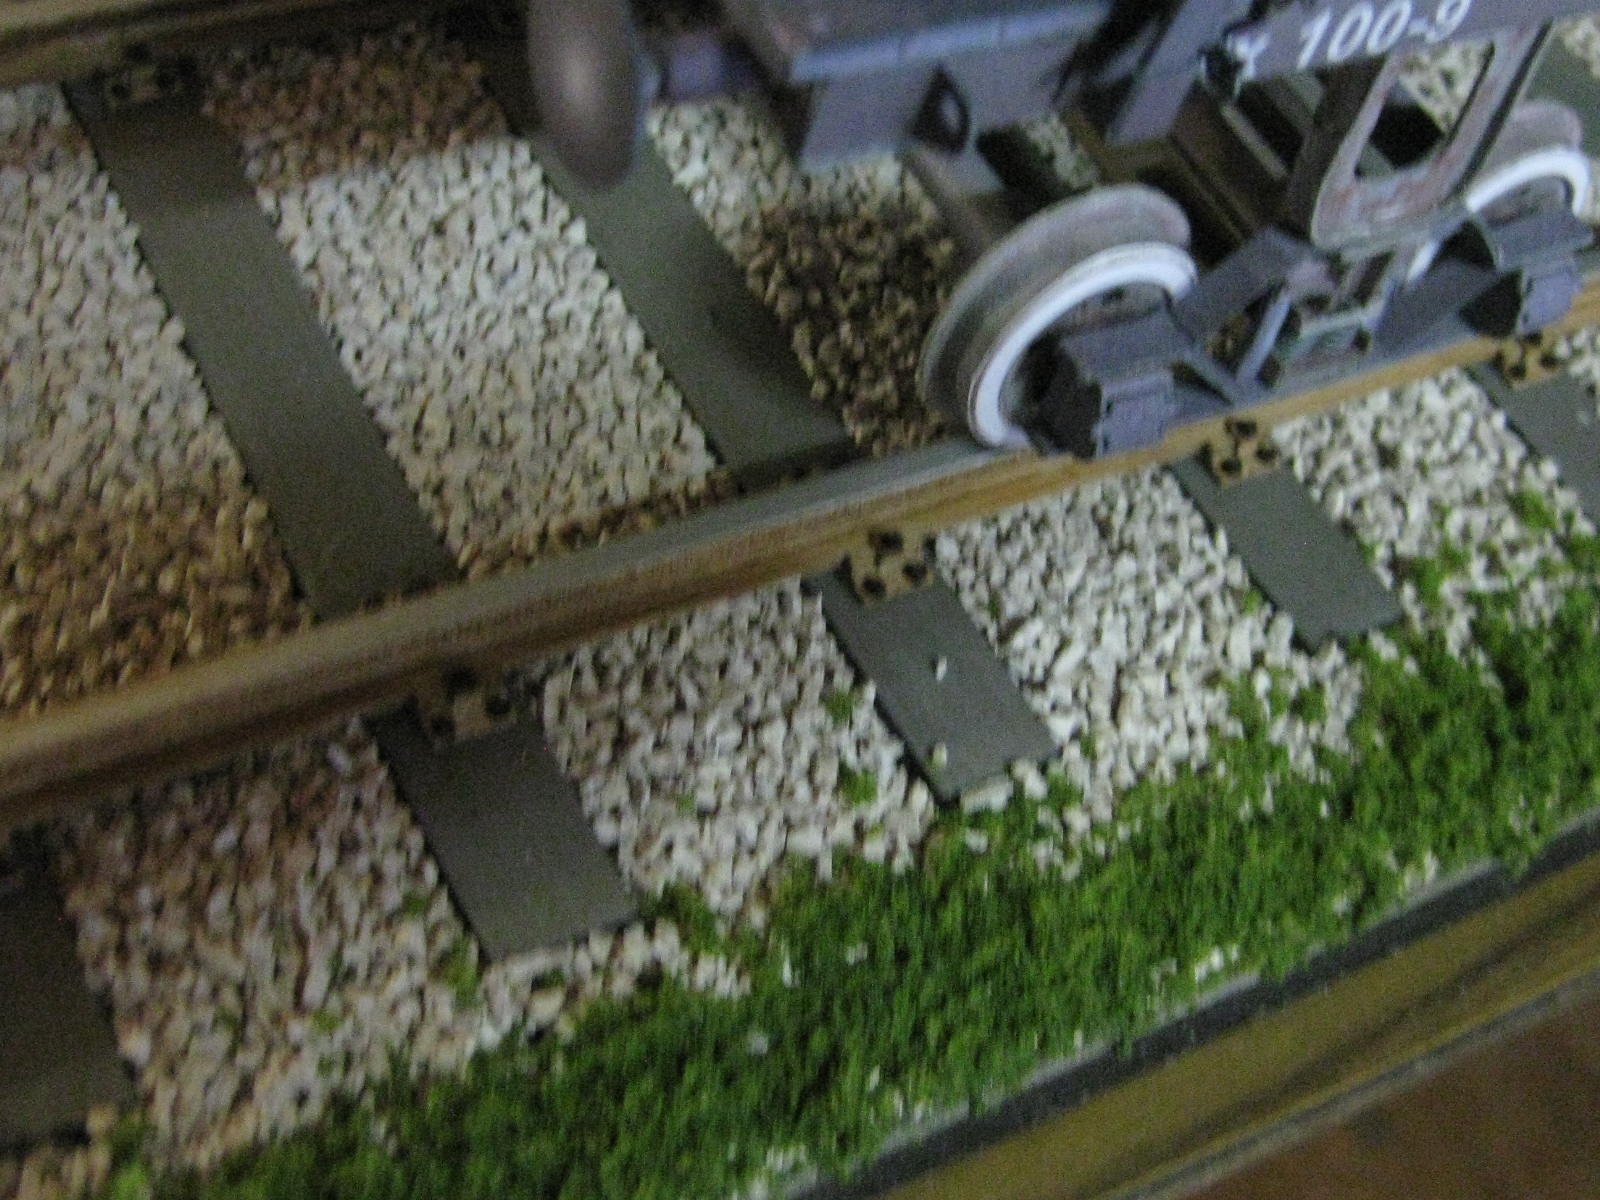
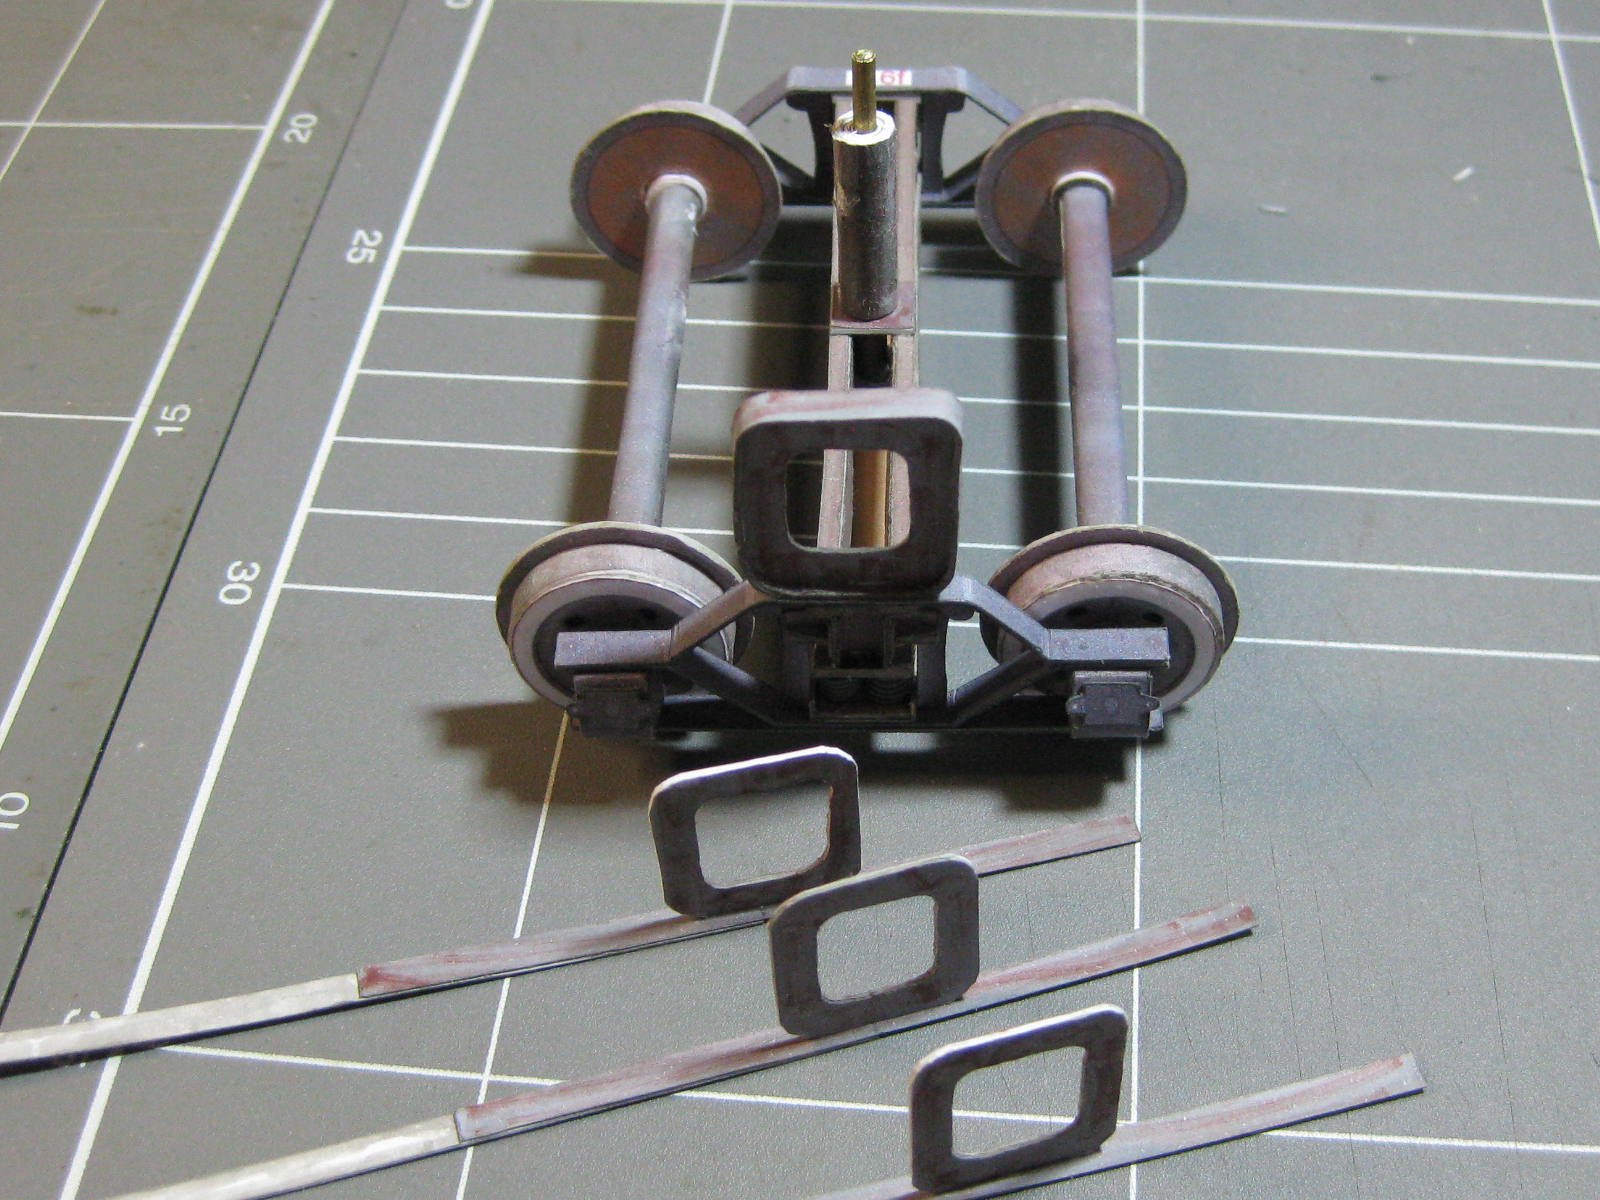
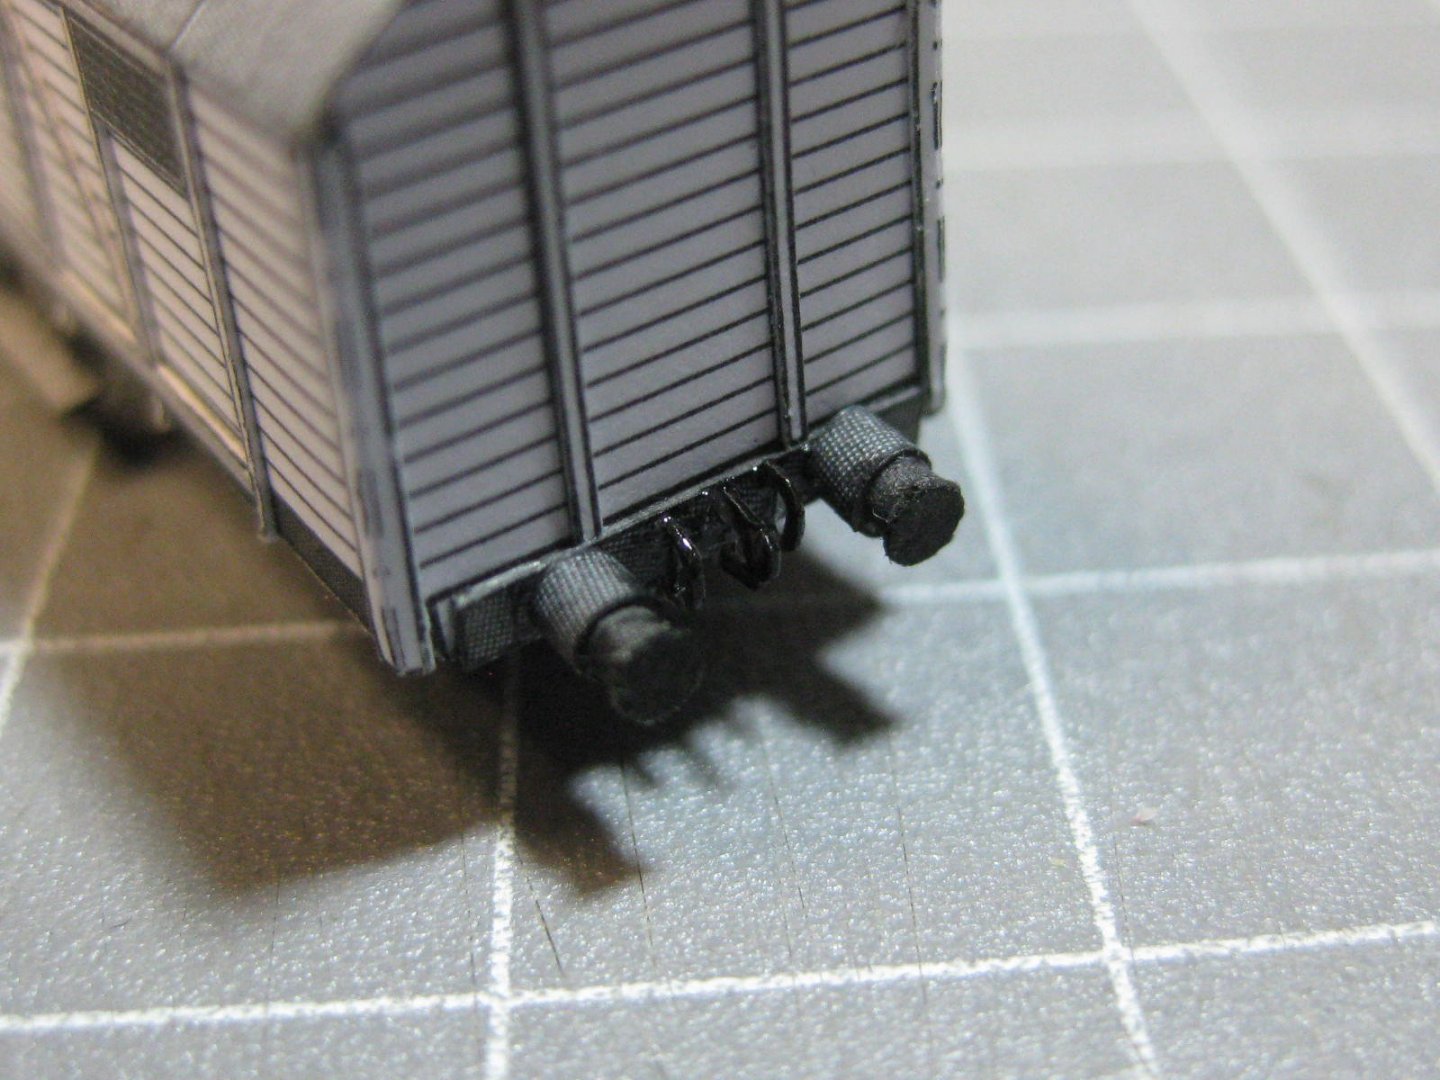
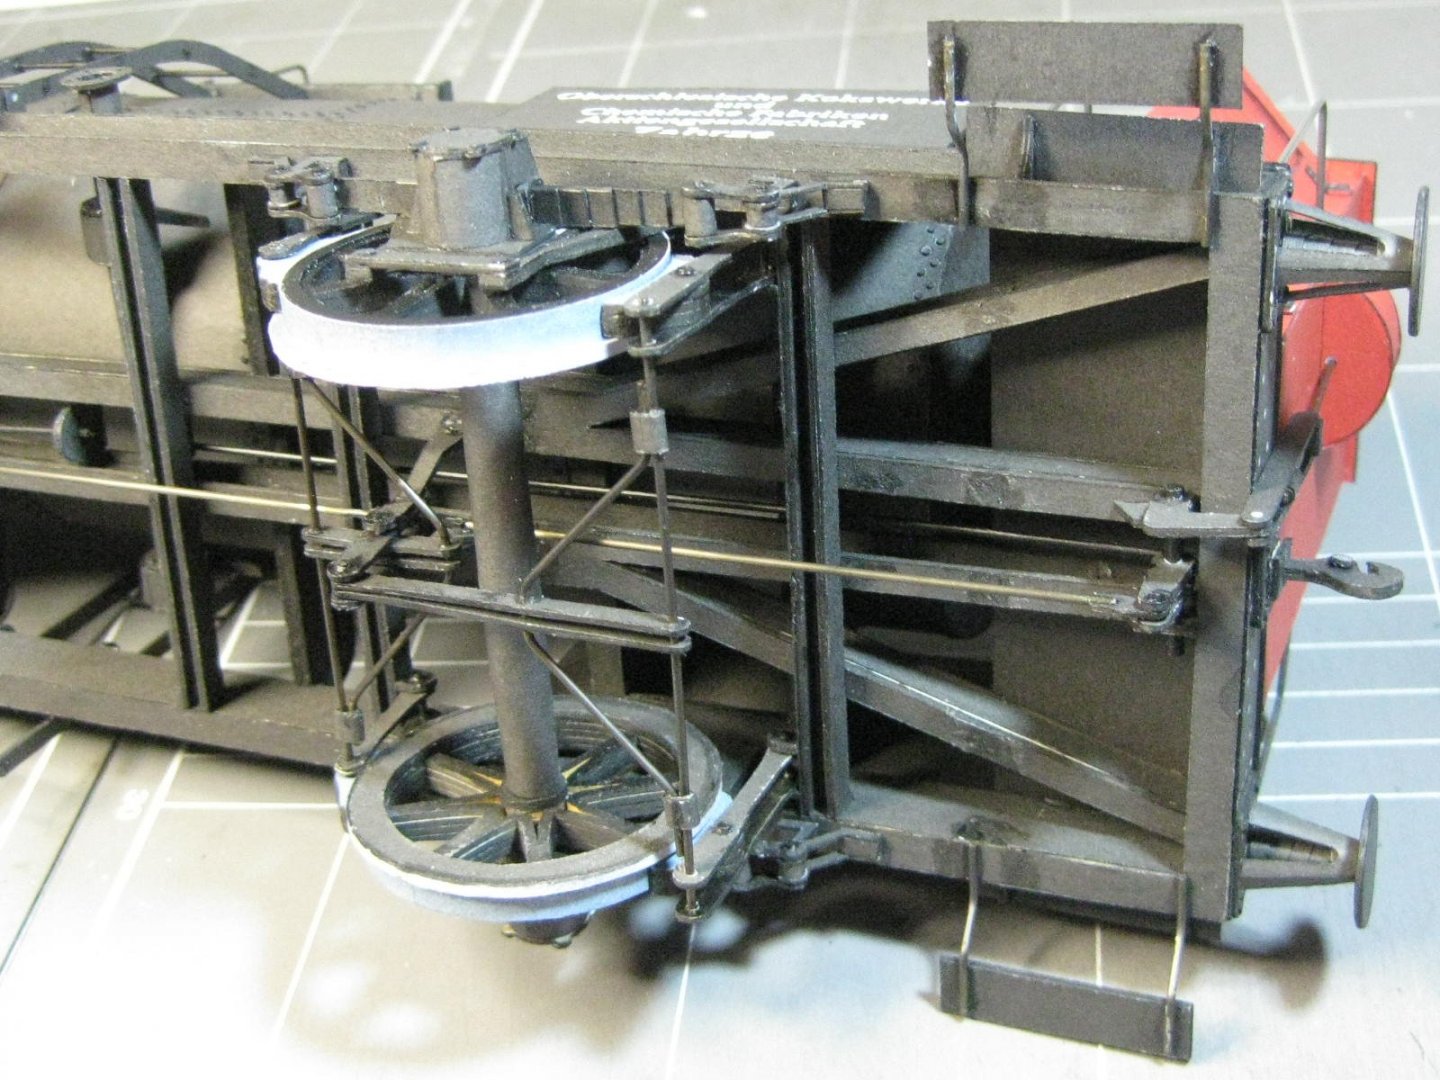
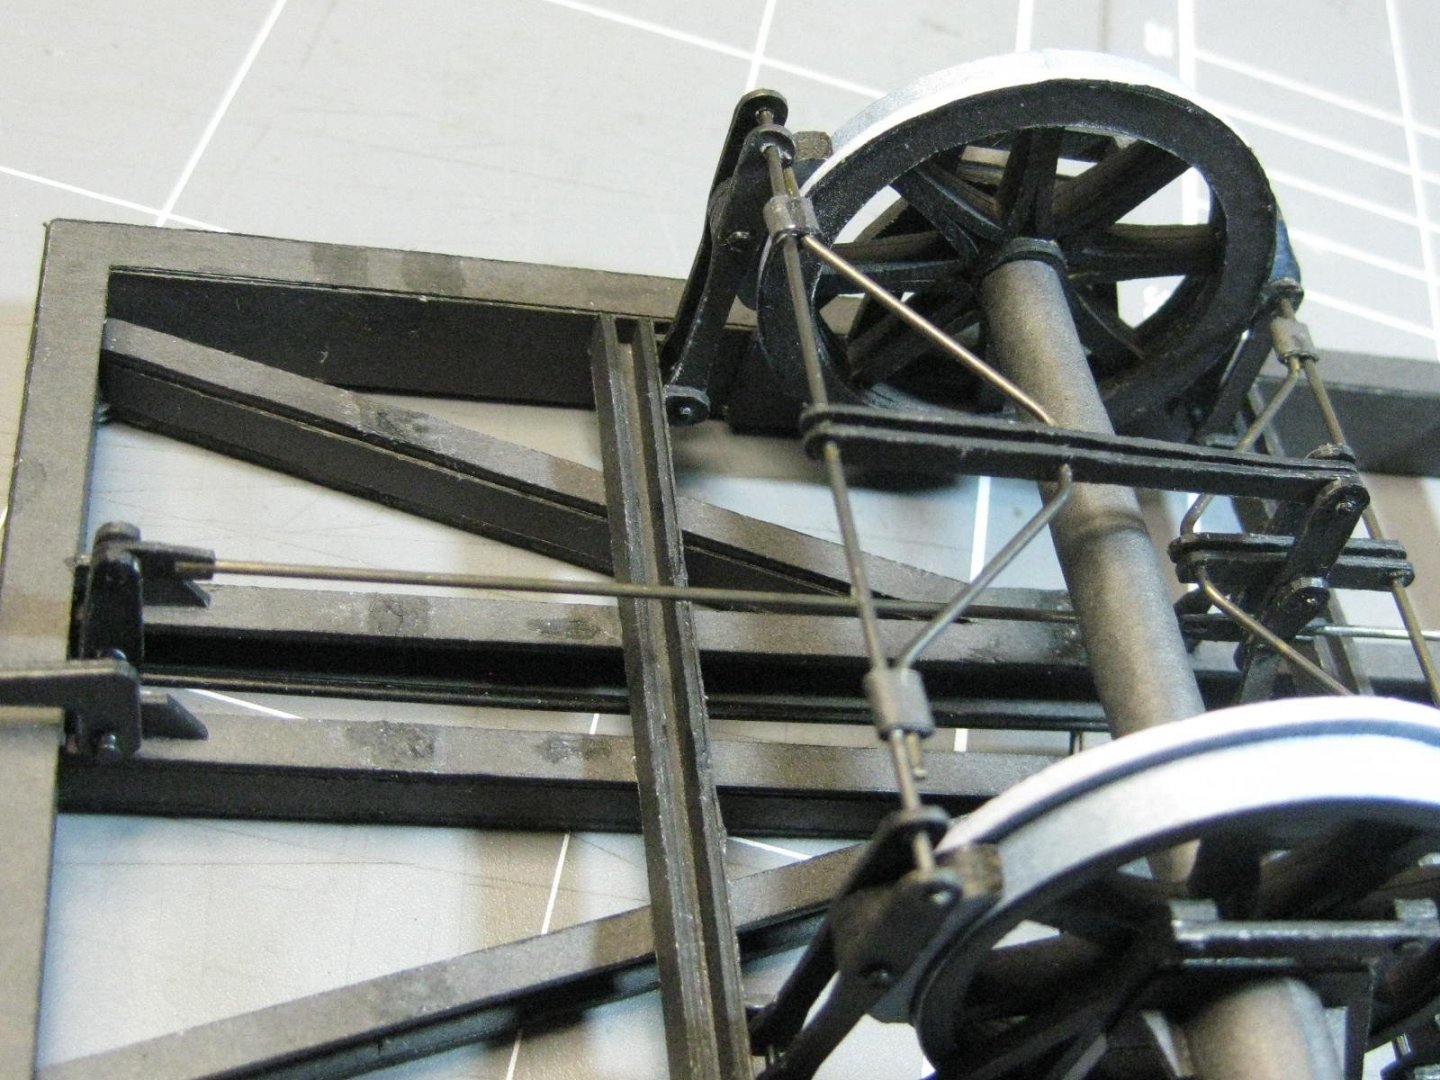
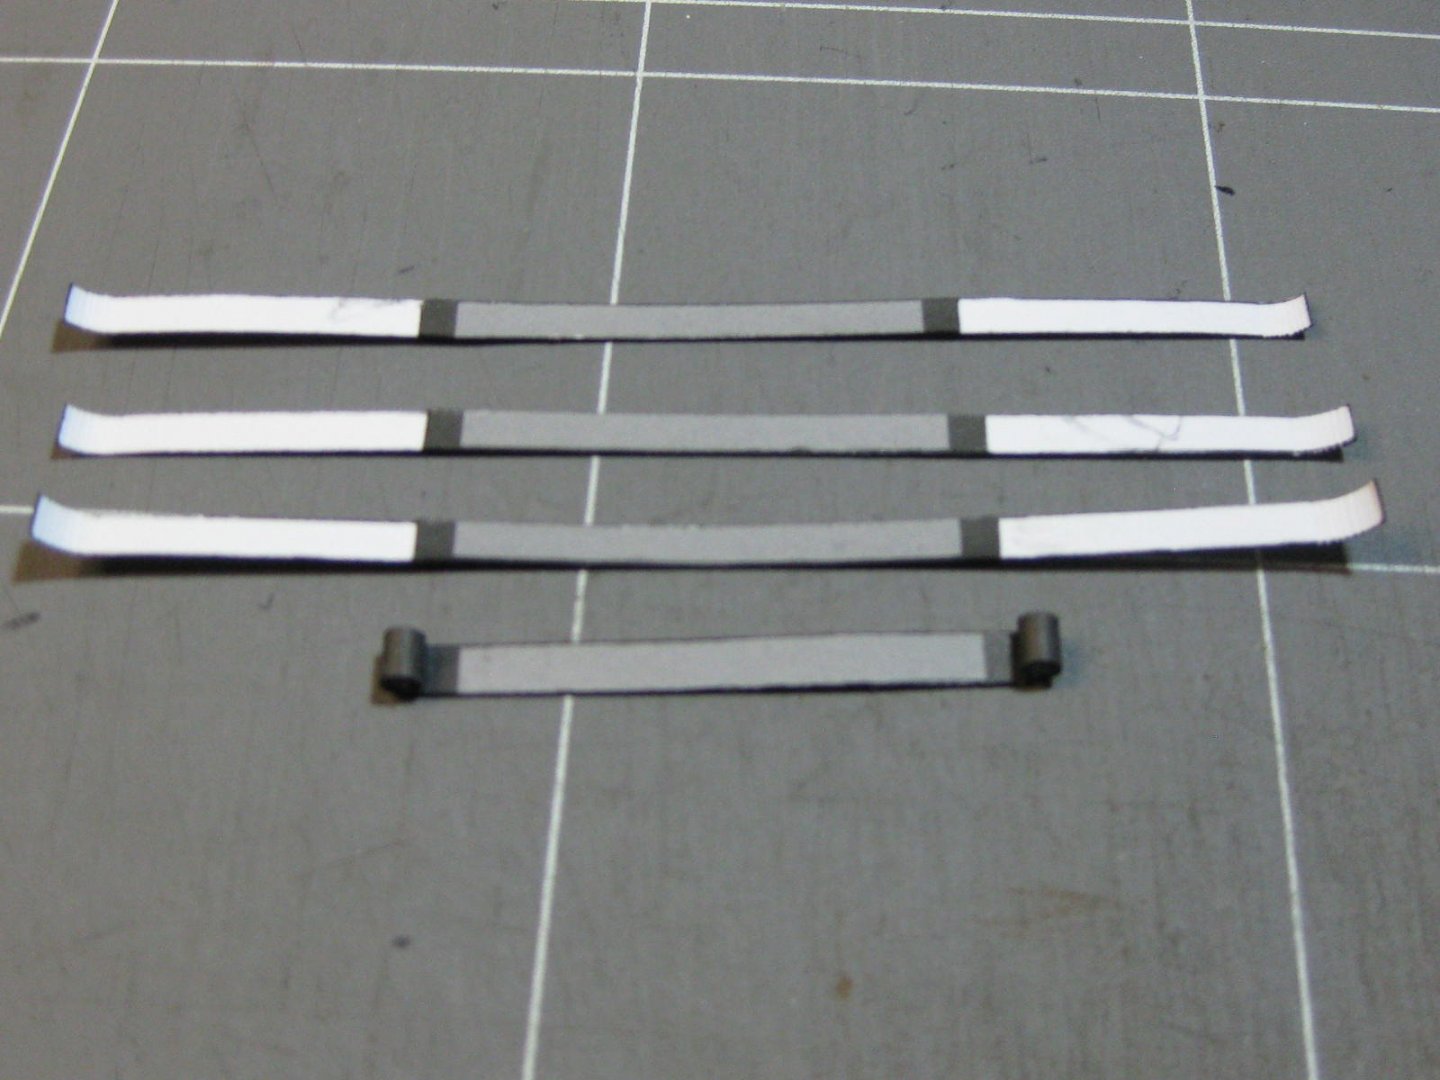
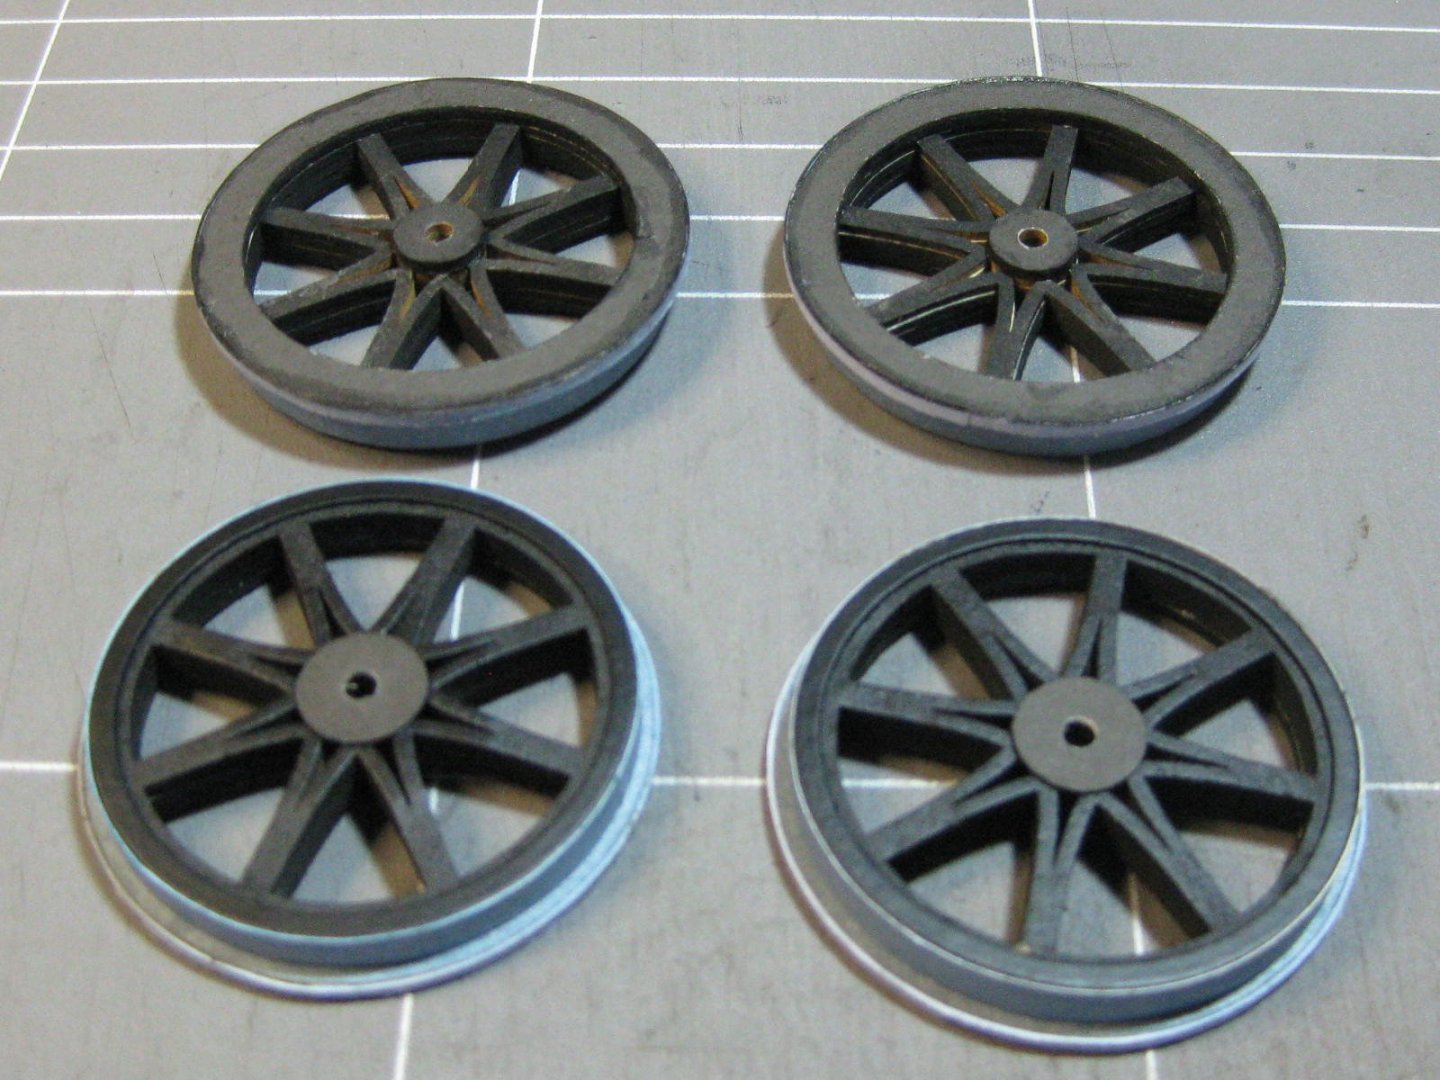
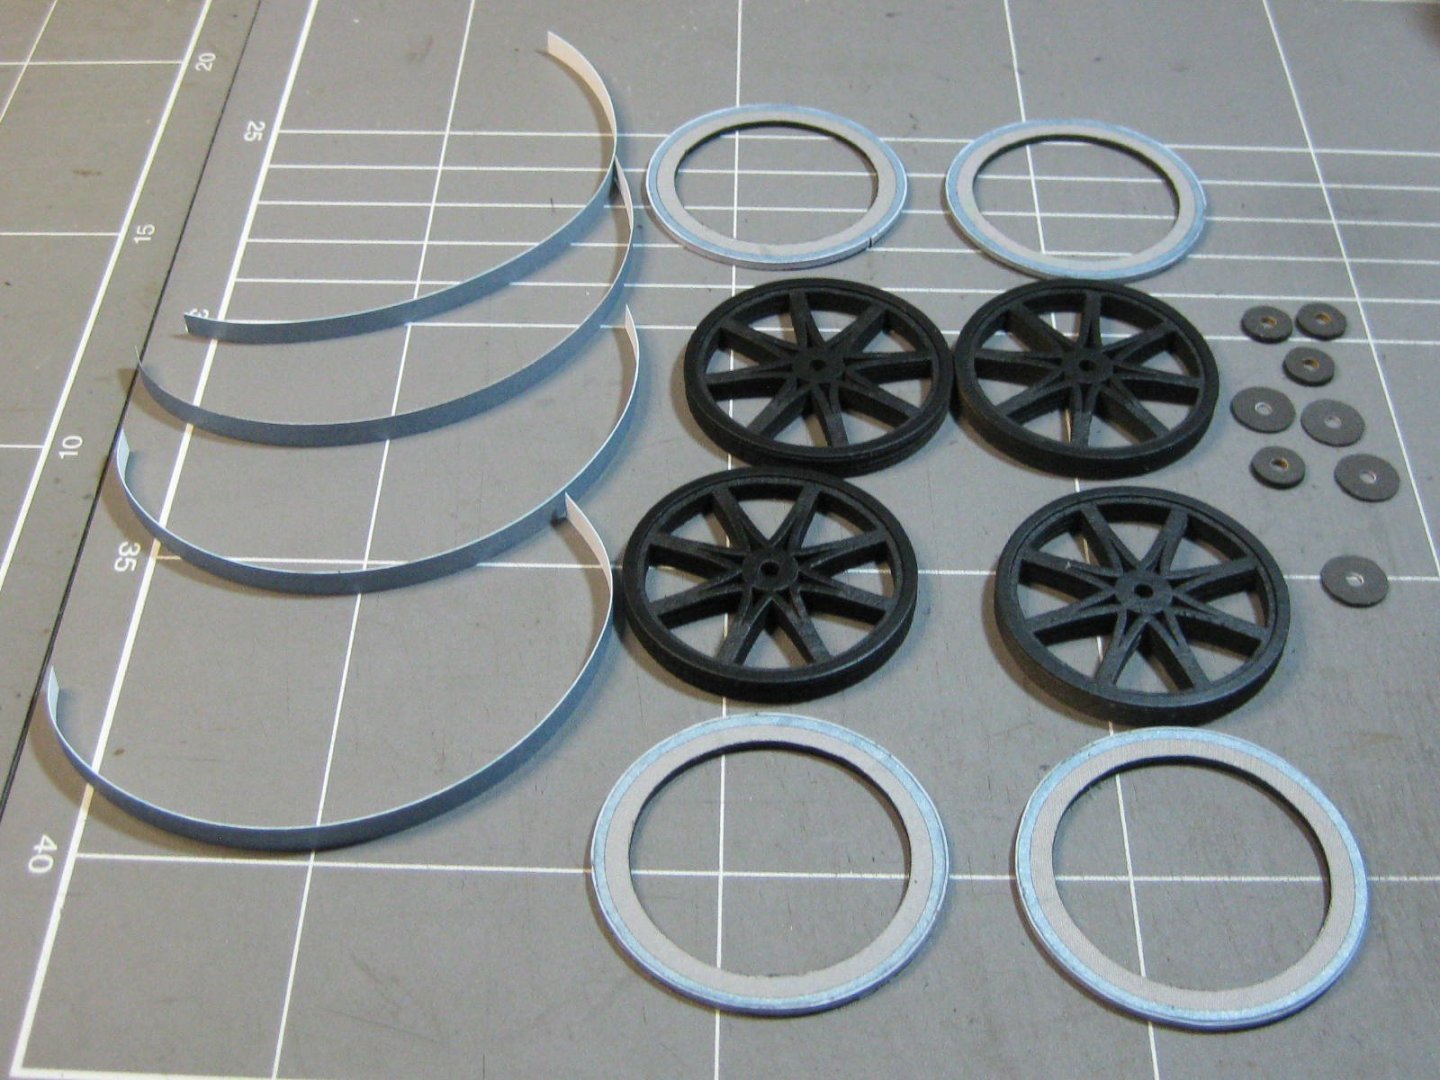
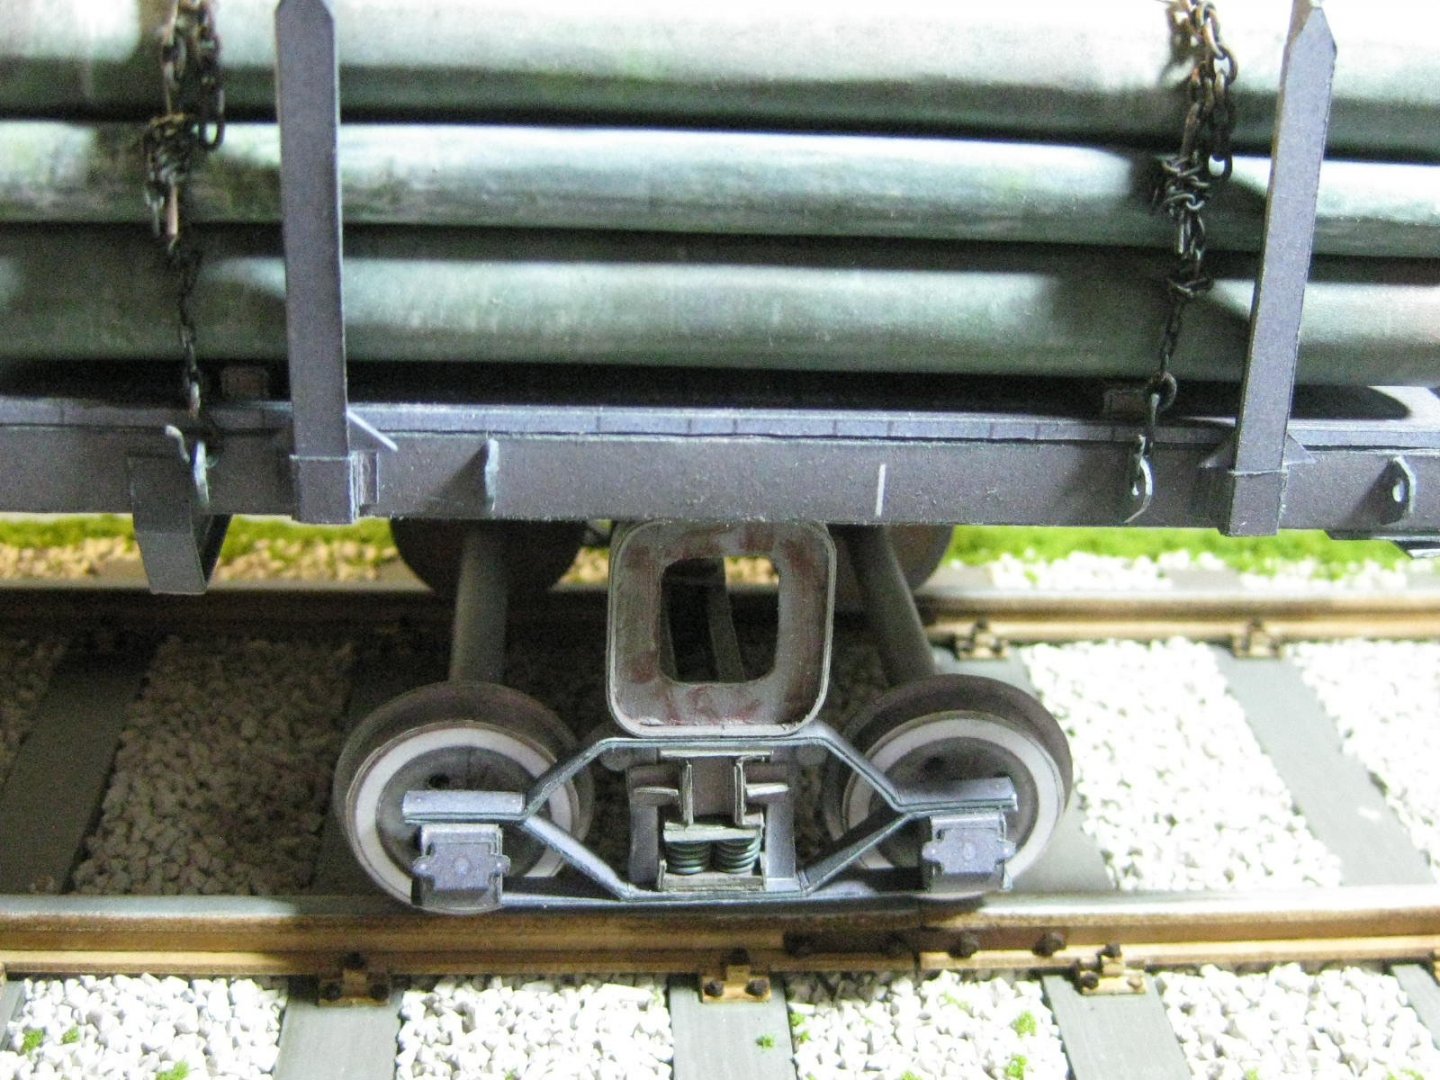
I mentioned earlier in this build log that I would need to modify the trucks to suit the standard gauge rail of the rest of this train. Now that the loco is finished I could work out the correct height. It looks a bit weird, but all is as it should be : Danny


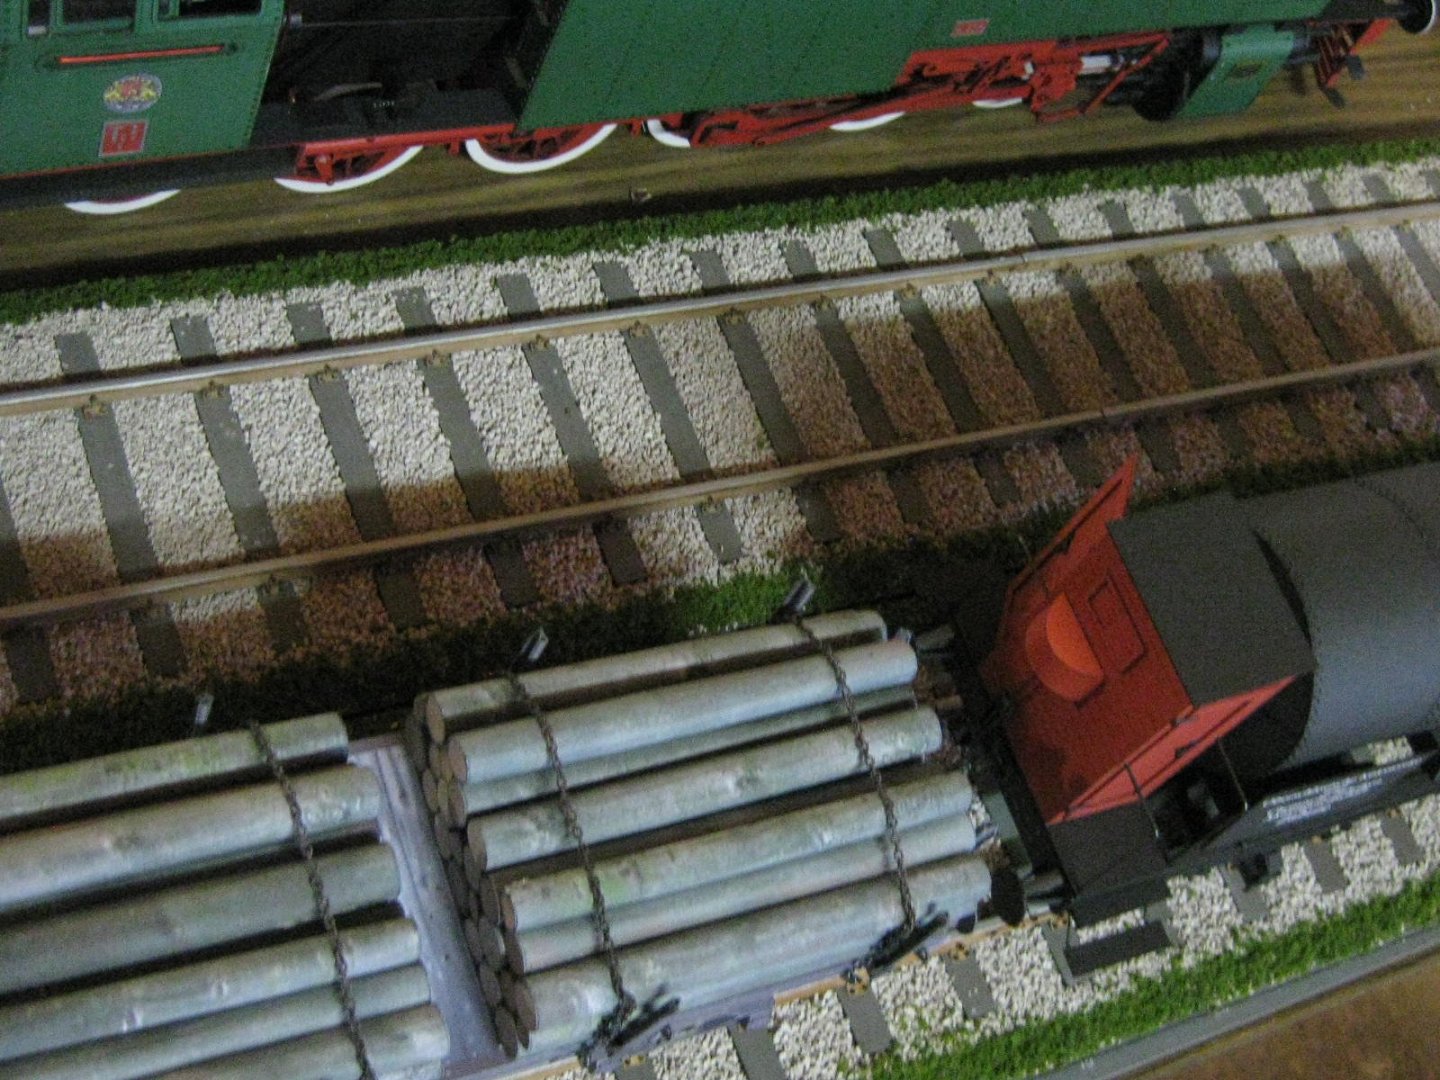
-
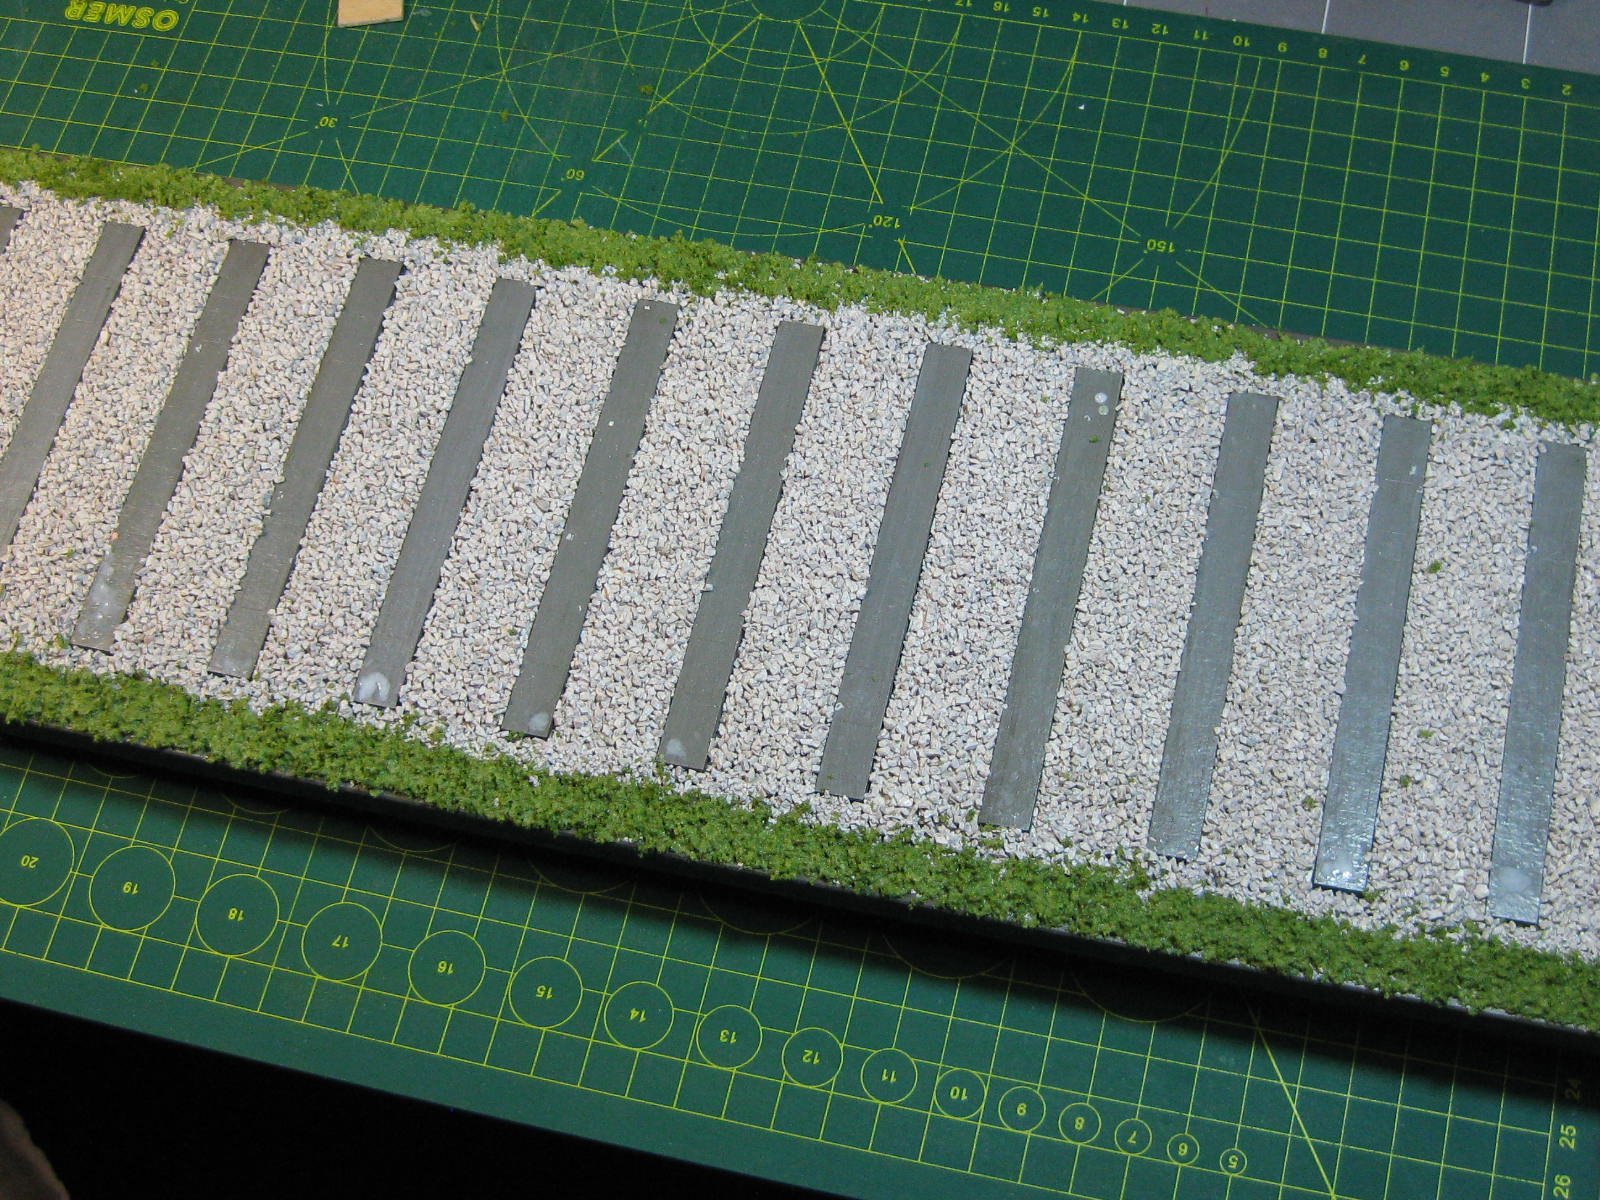
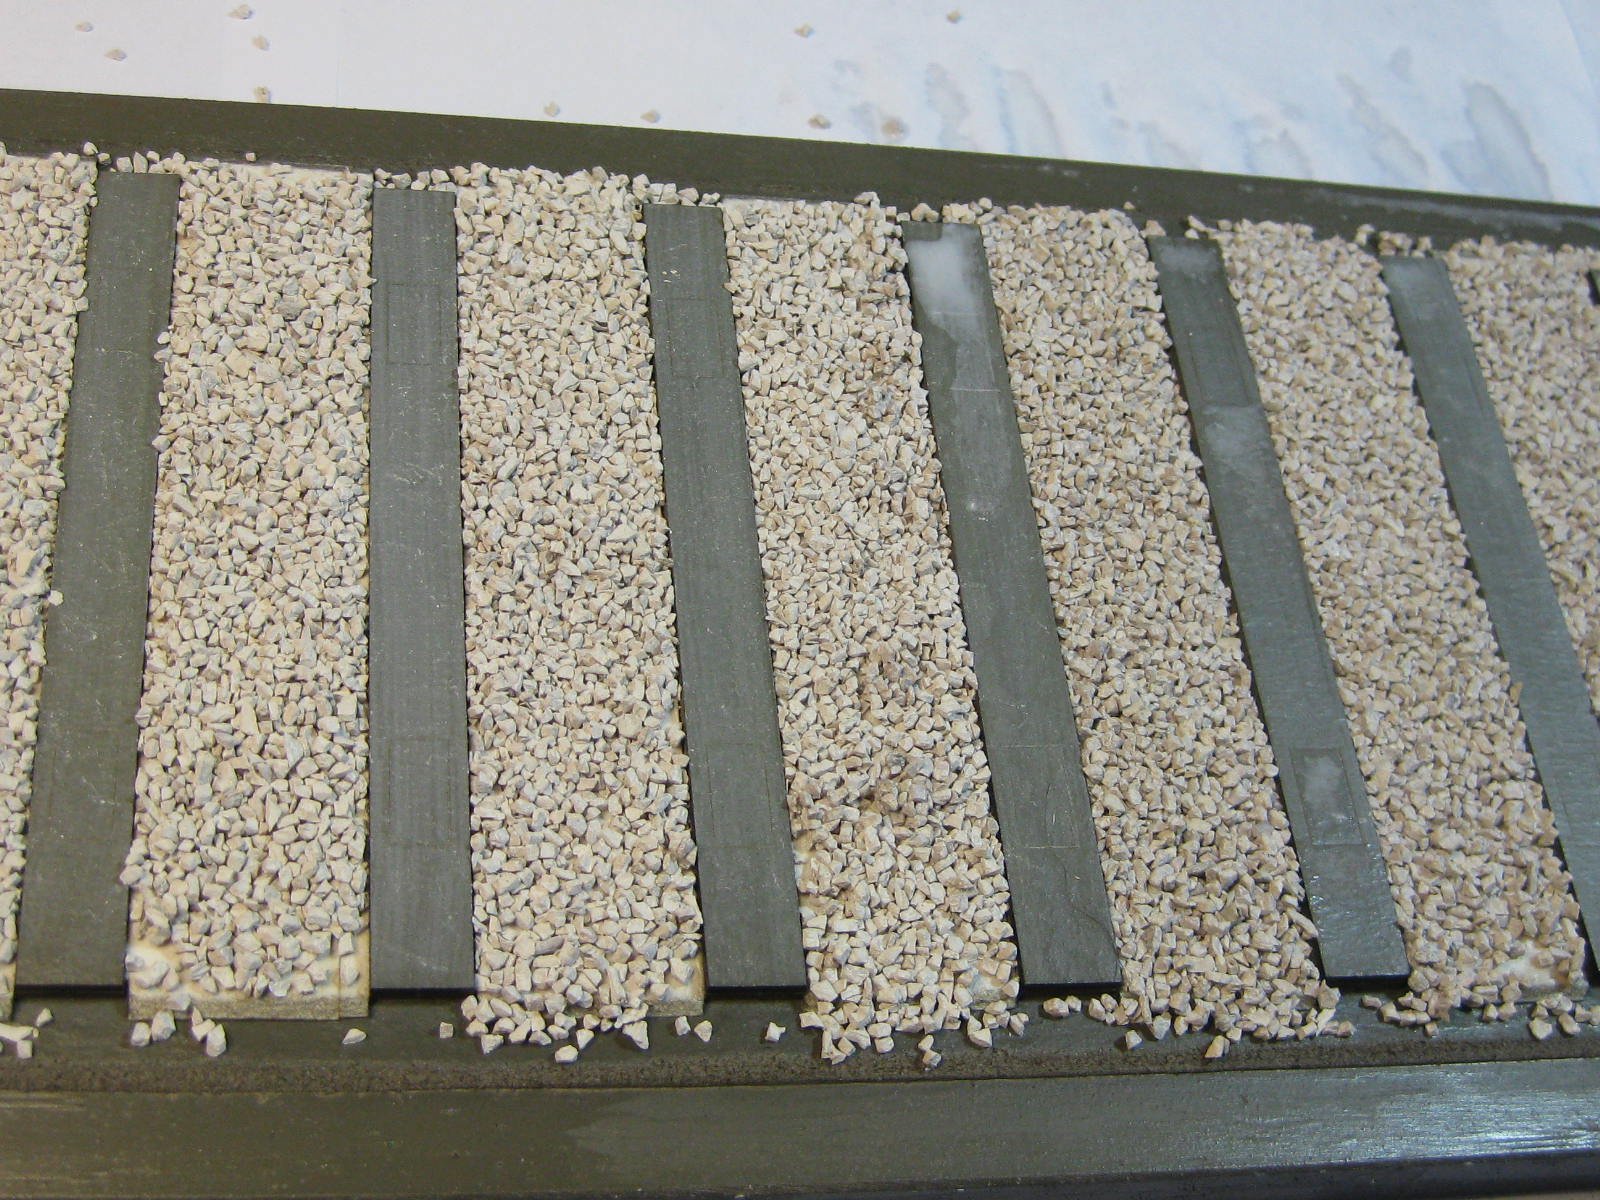
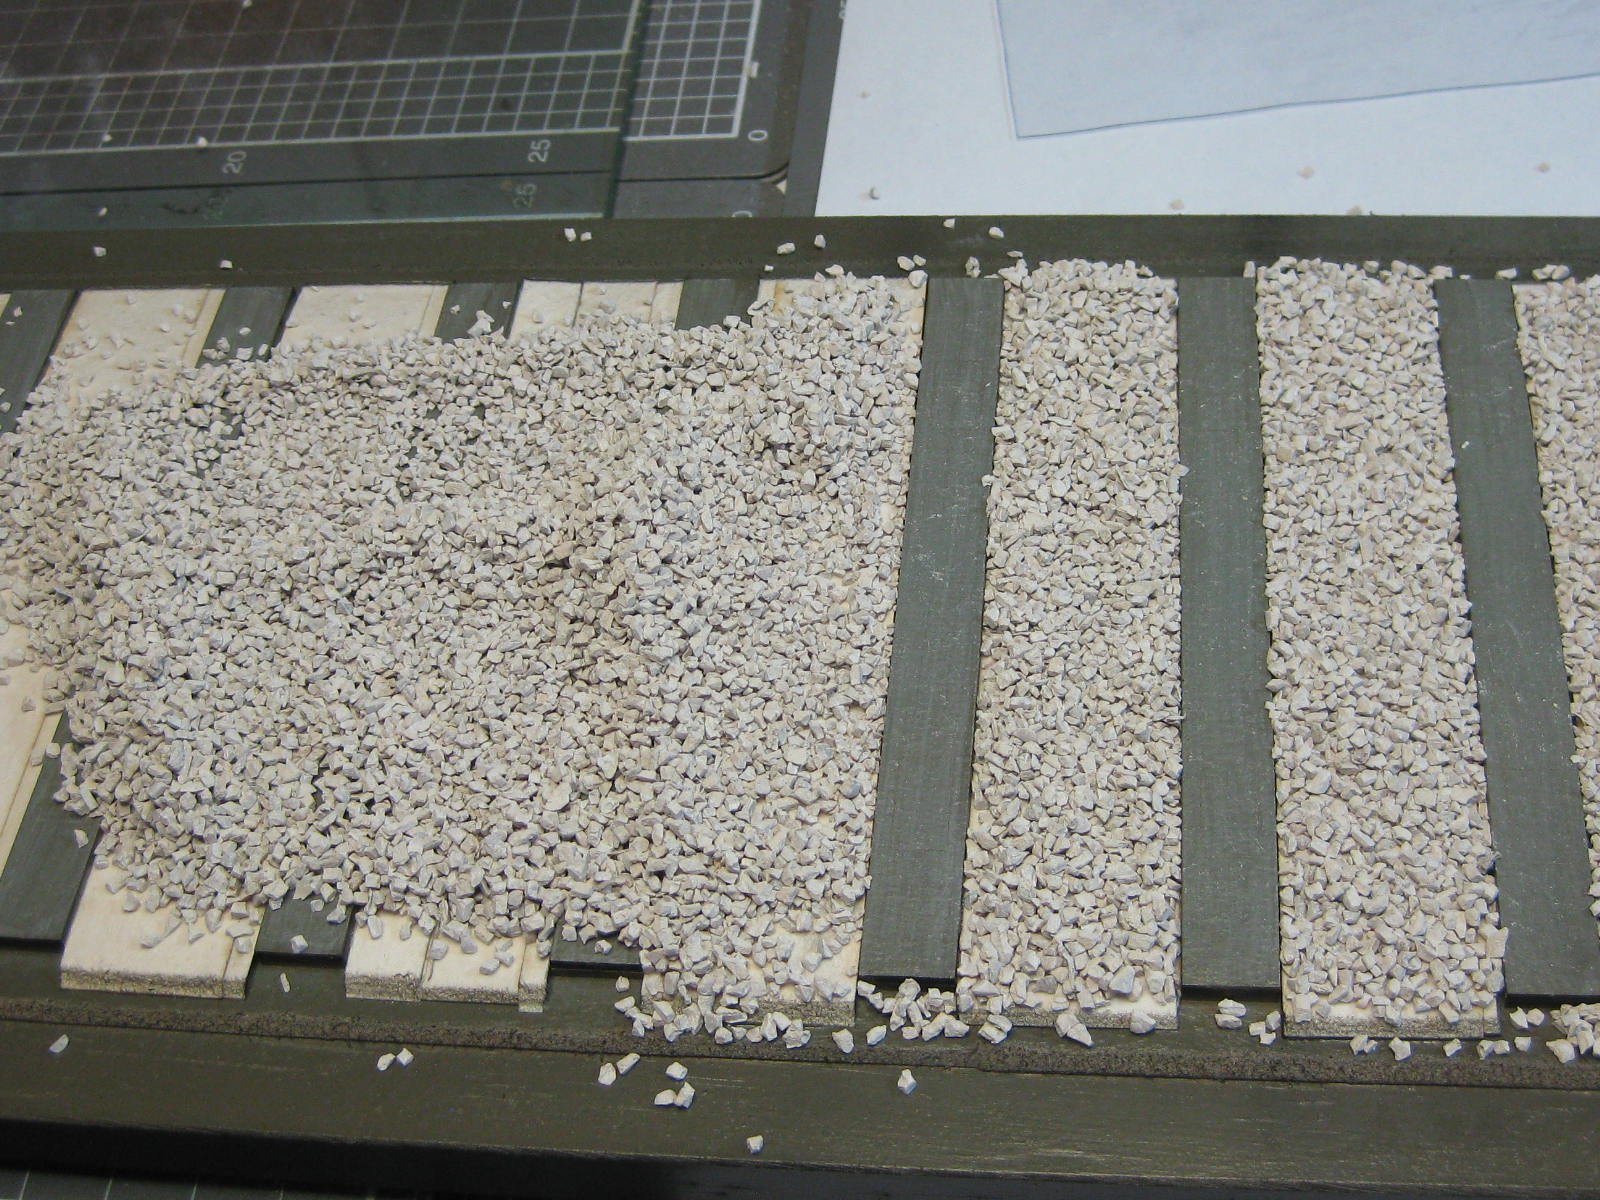
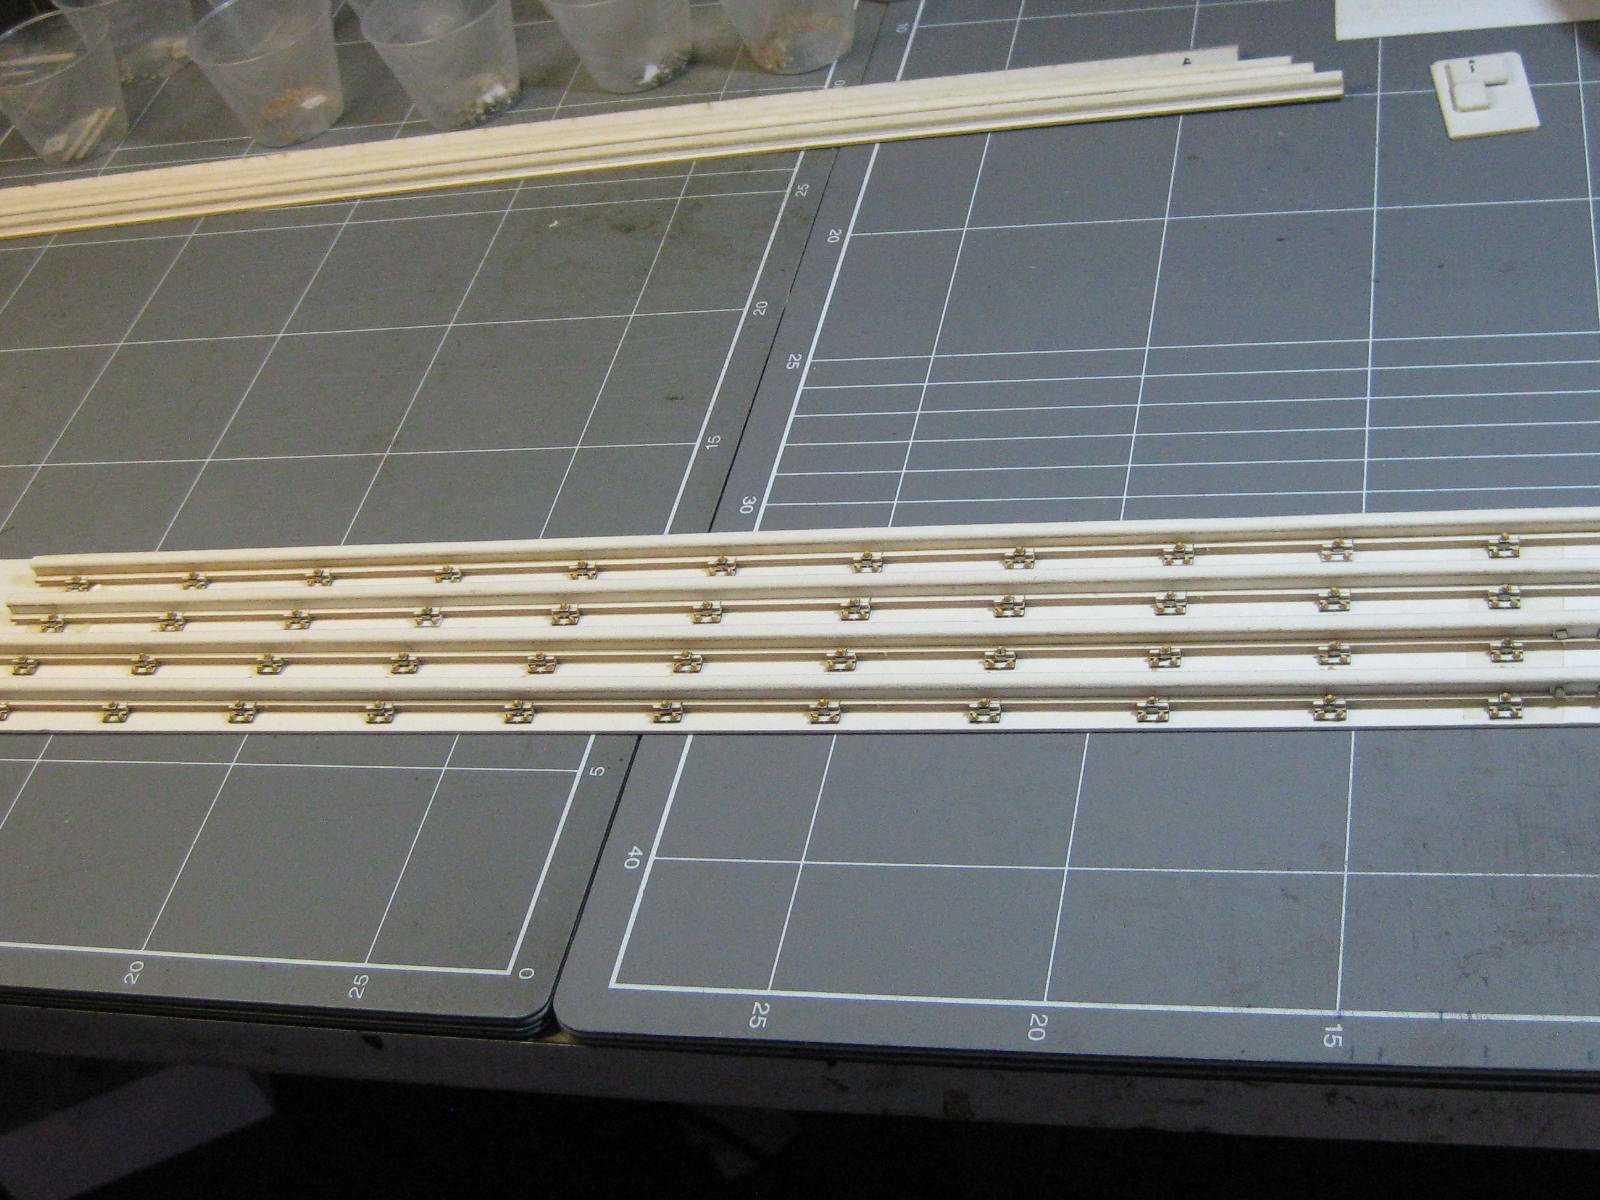
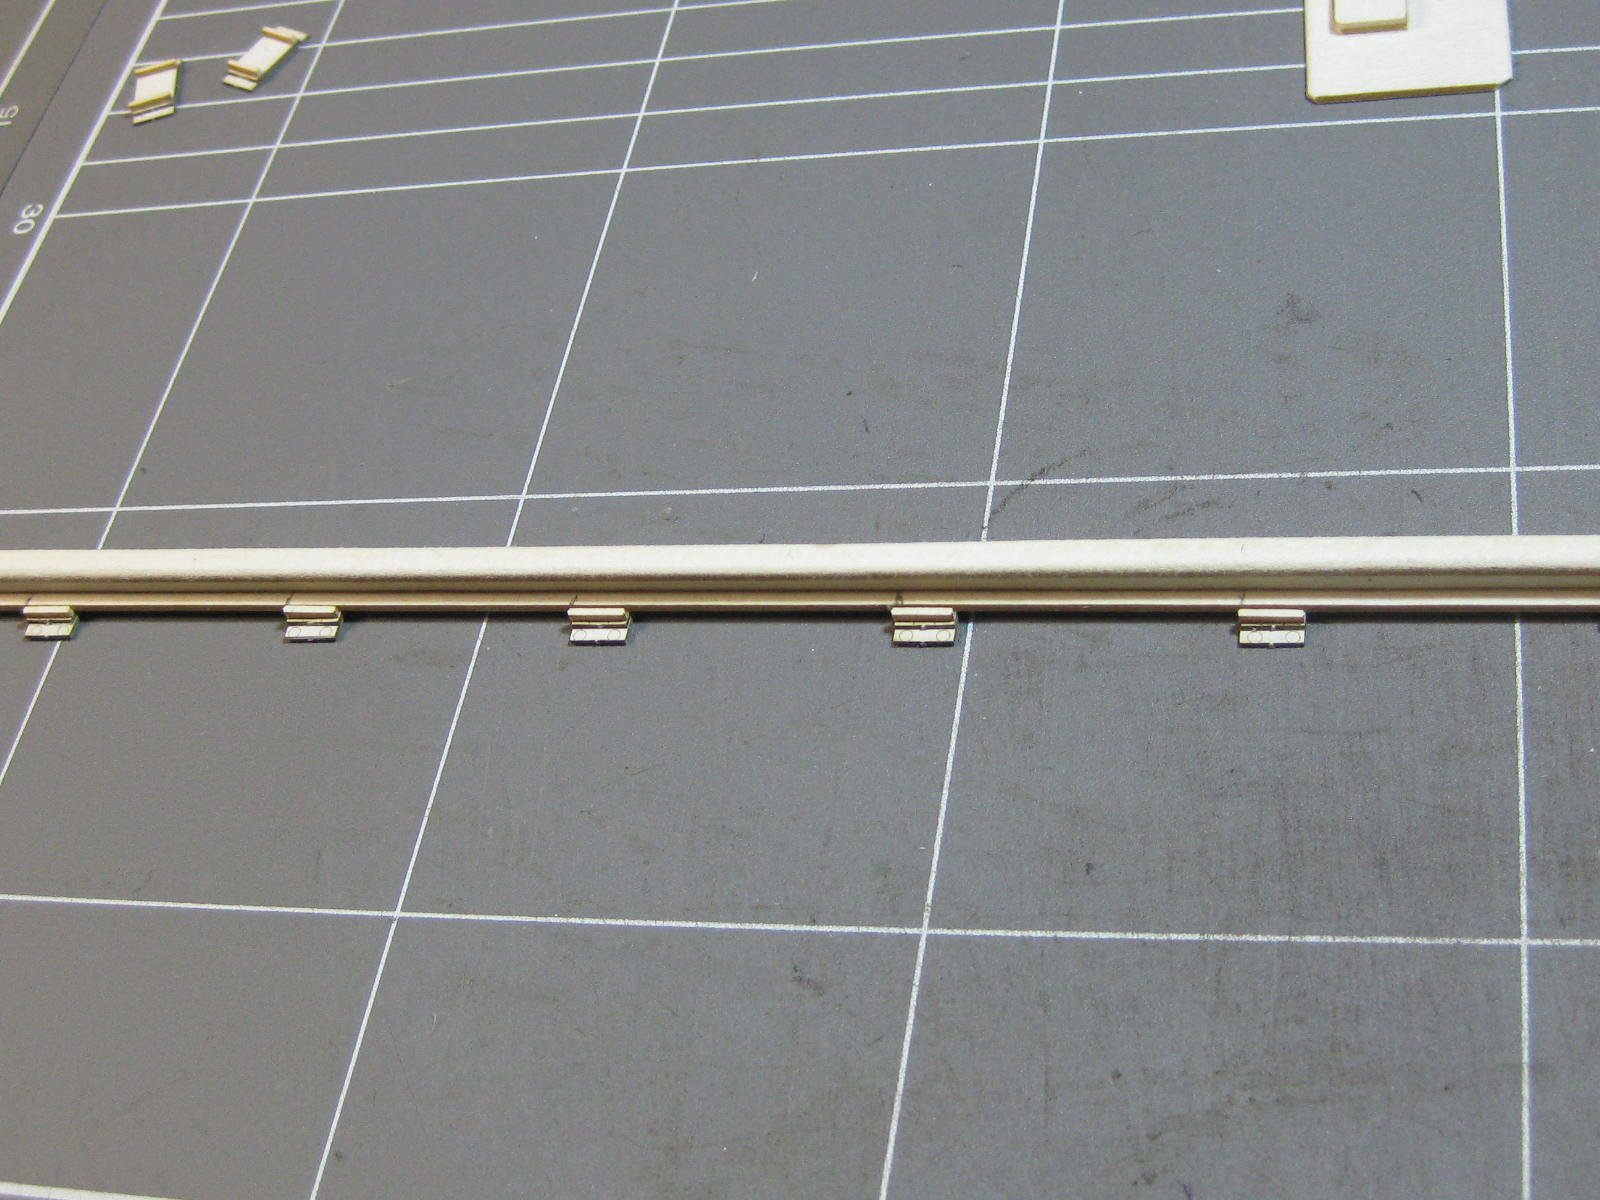
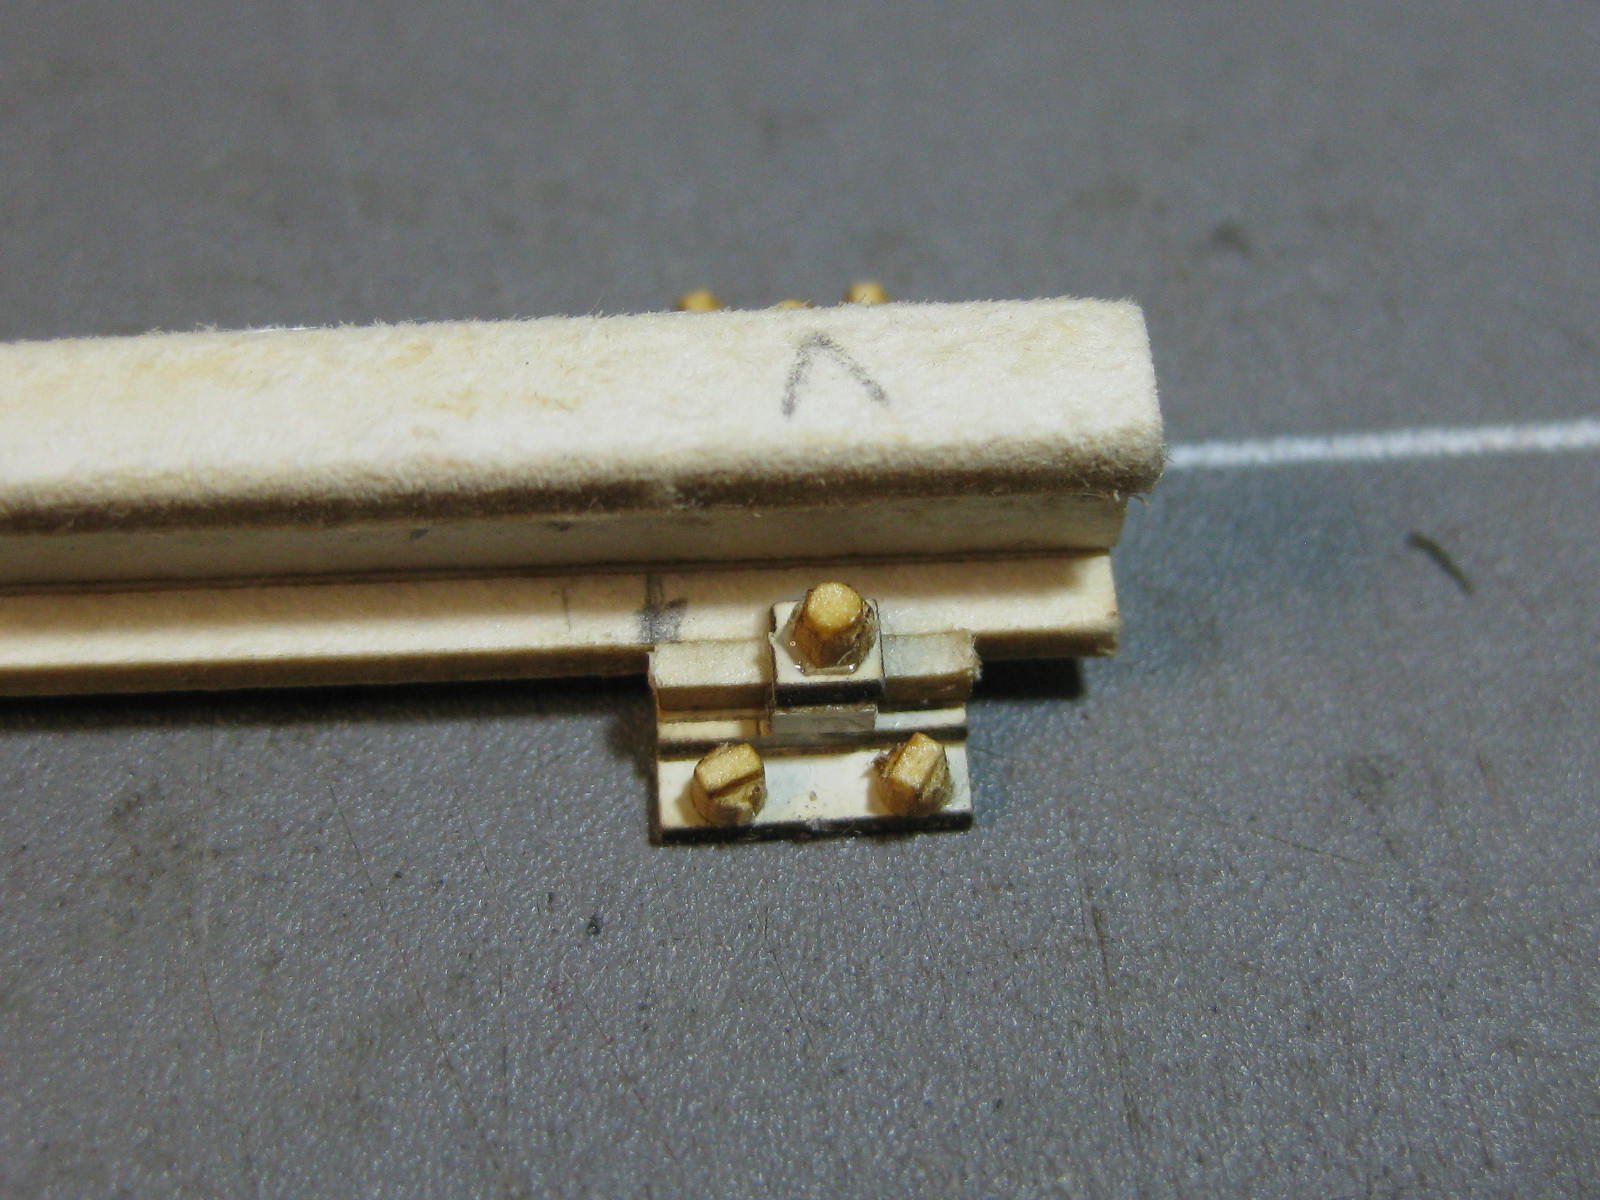
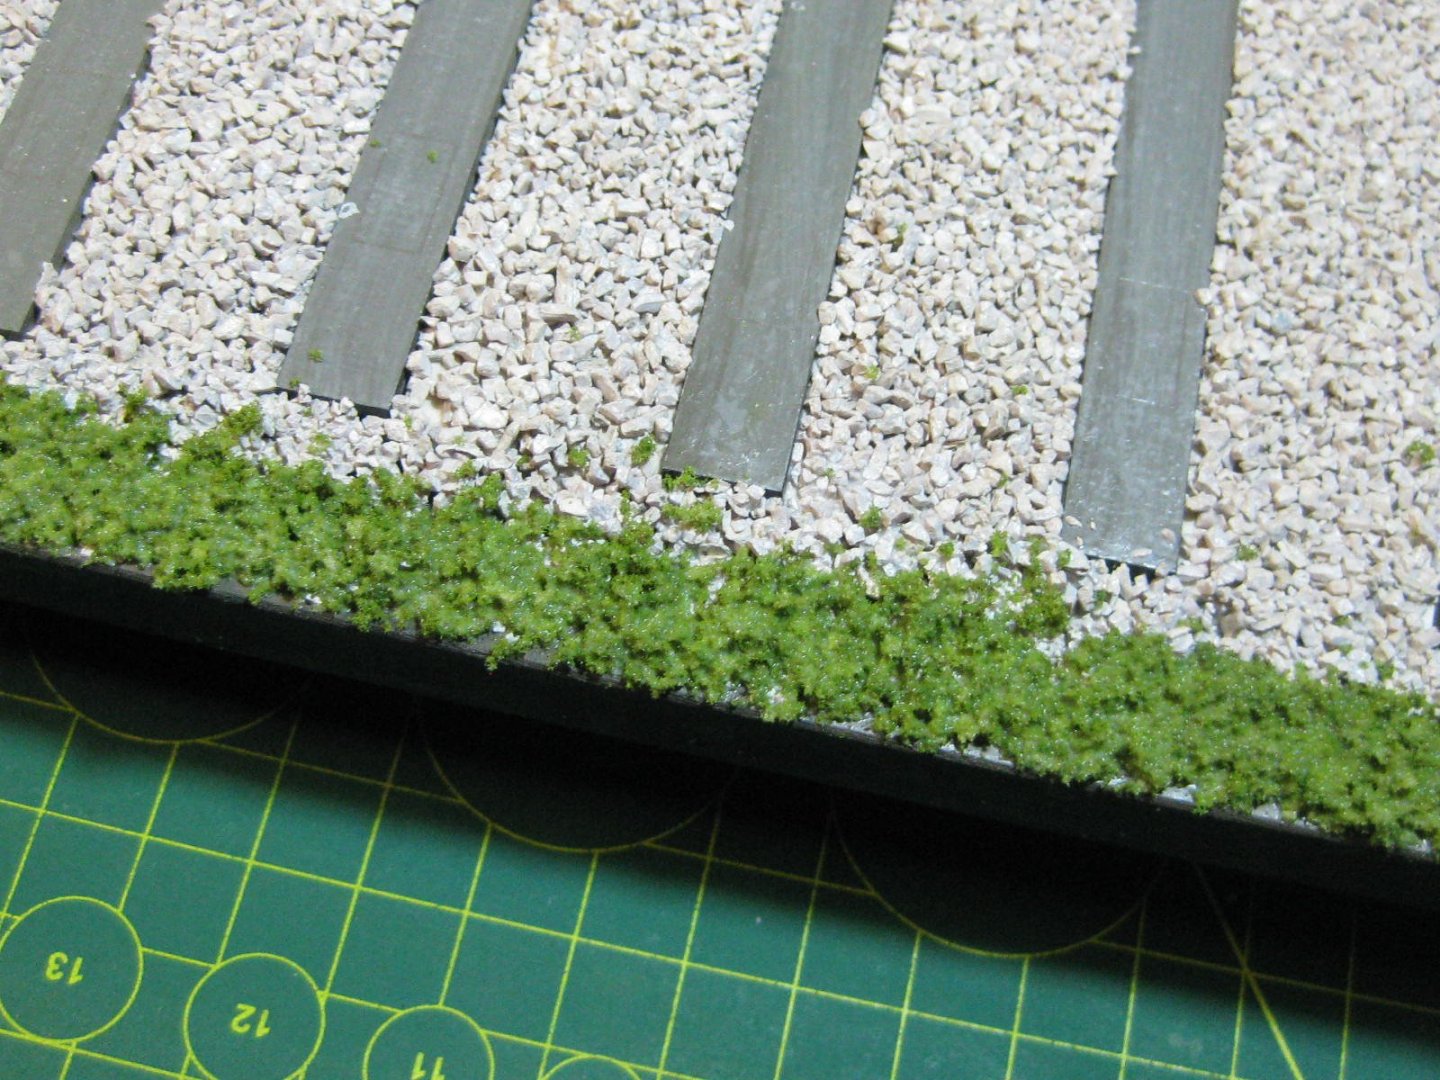
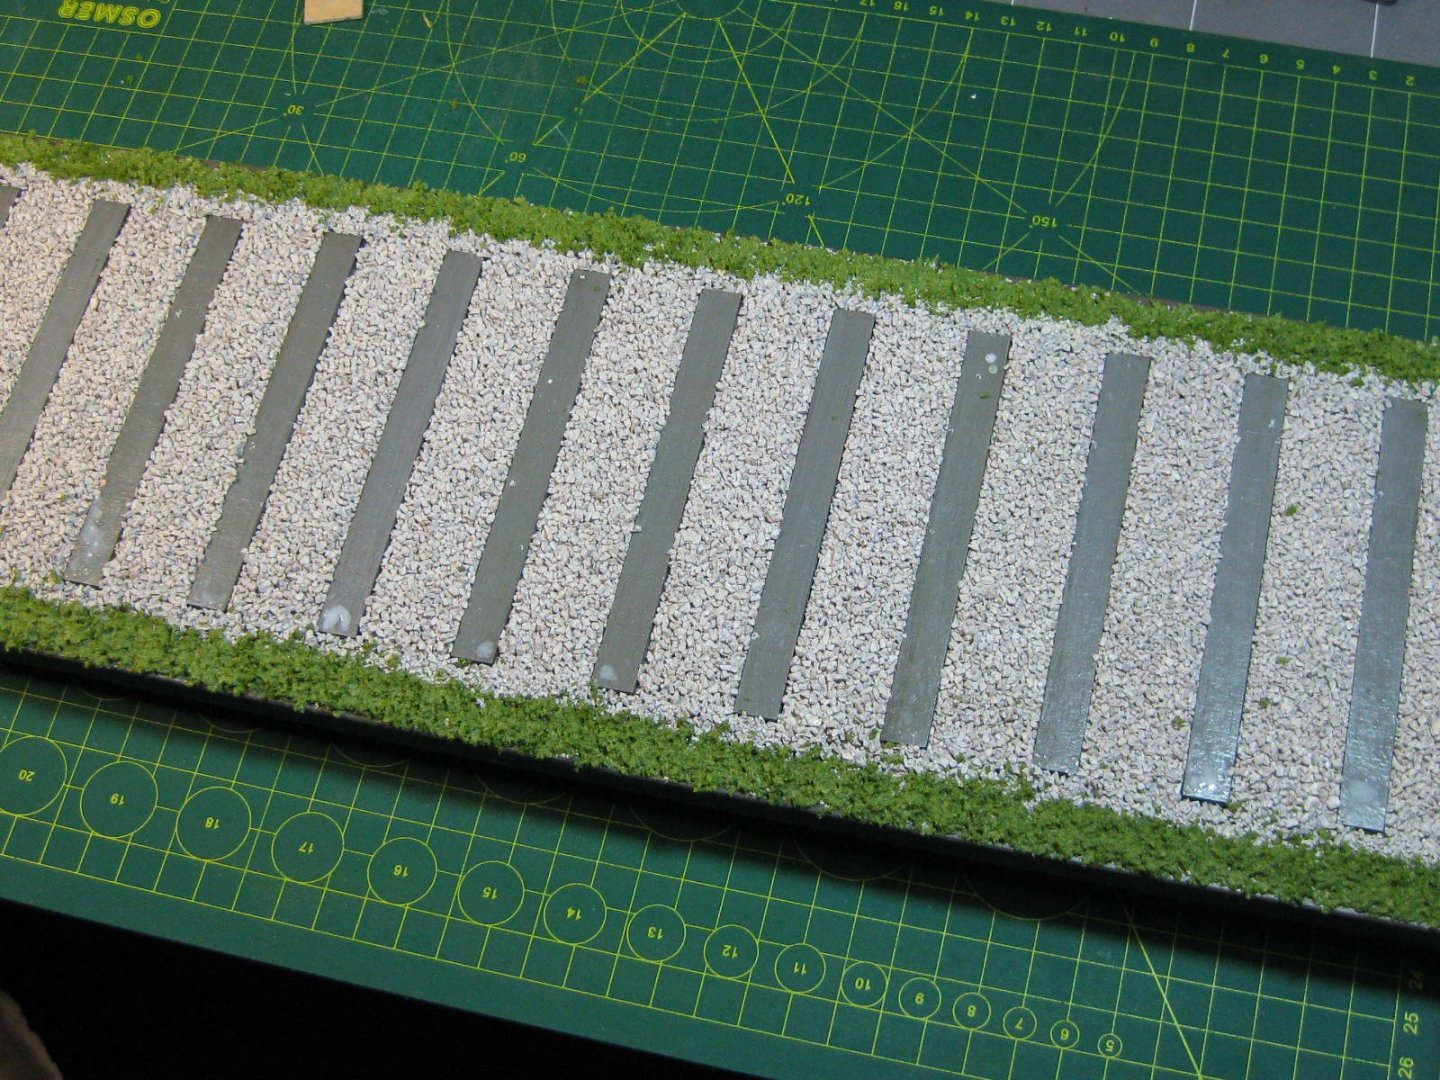
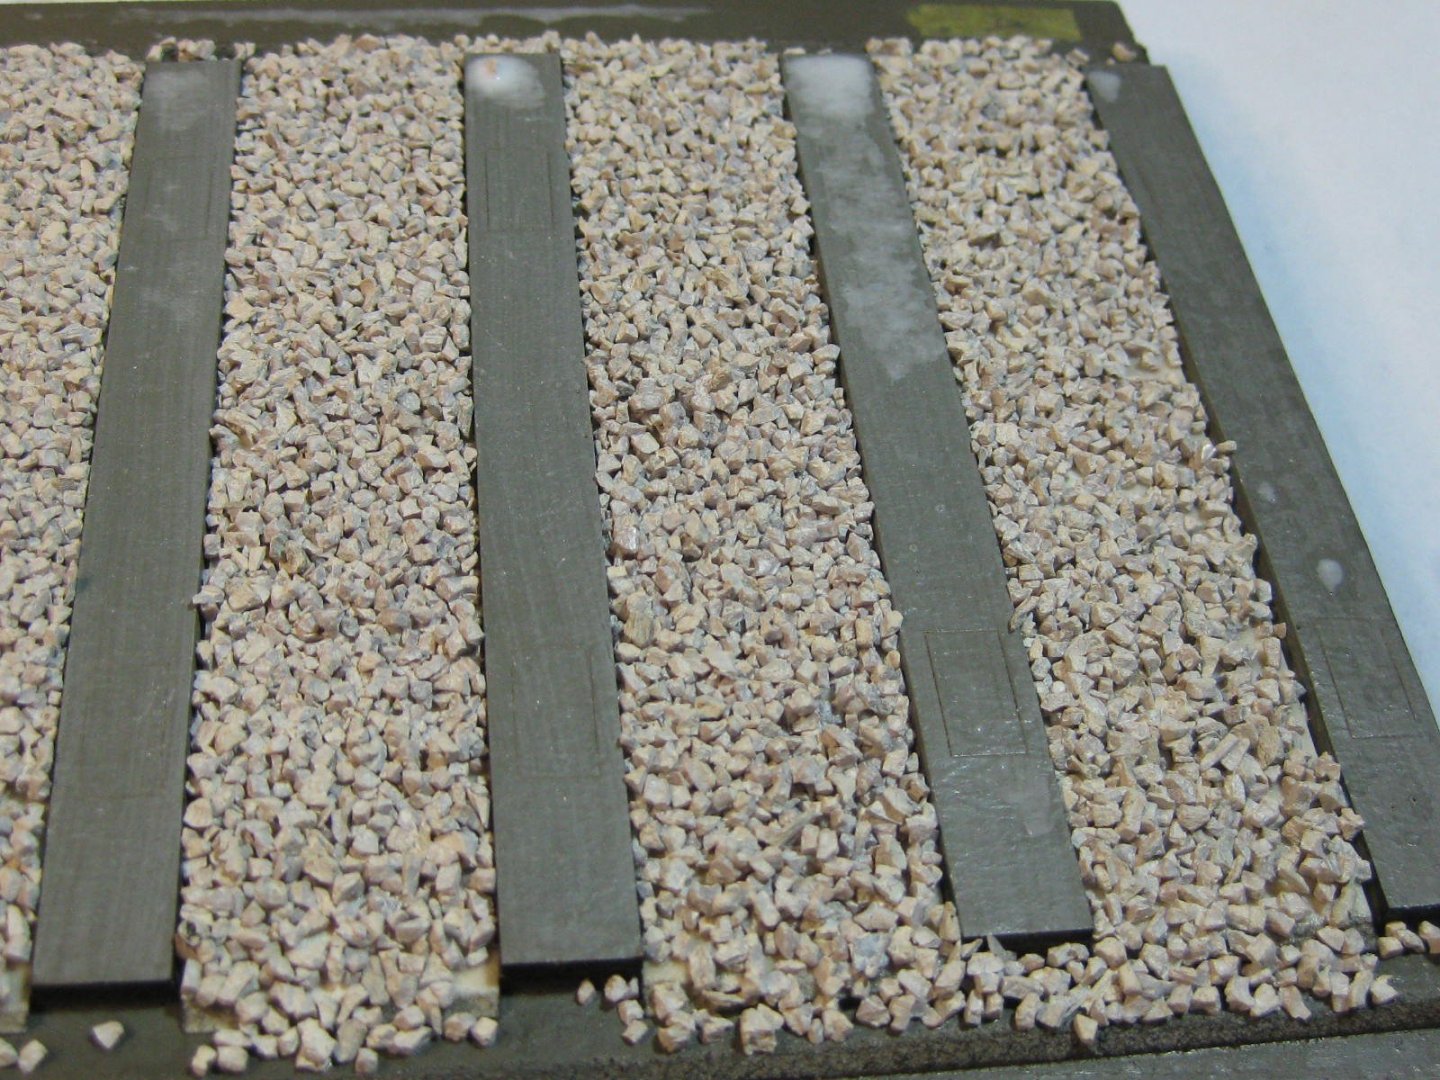
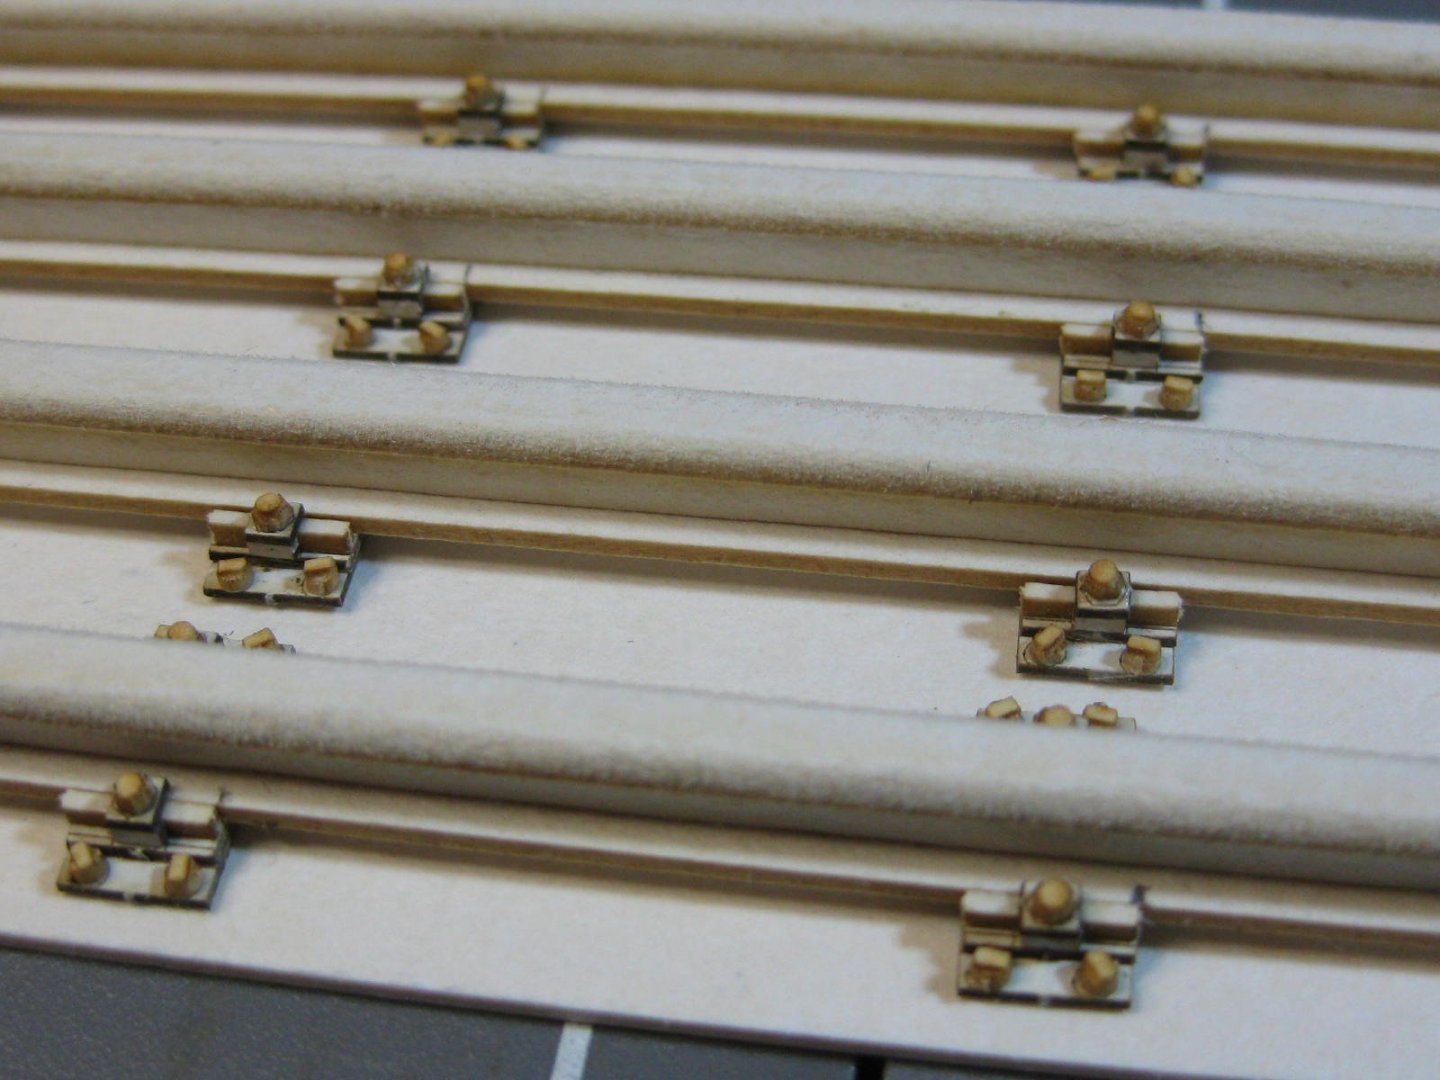
I've made the rails on which the whole train will be mounted. I used some ballast and "grass" from Woodland Scenics. The rest is two add-on laser cut paper kits from Modelik, very detailed and complete with plates and bolts : Danny


- 150 replies
-
- 20
-
-
Hi all, and thanks to all the guys who commented and Liked this build. Now that it's finished I guess I'd better post the final pics - I'd forgotten about them : Danny


- 150 replies
-
- 19
-