


Dan Vadas
-
Posts
3,261 -
Joined
-
Last visited
Content Type
Profiles
Forums
Gallery
Events
Posts posted by Dan Vadas
-
-
That's one camera shy ship you've found there Danny :mellow:
Not really David - there is more than one pic of her on the Net
 .
.Some more clues :
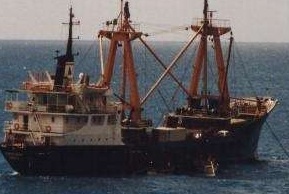
General Cargo Ship
Gross Tonnage - 1434
Built in - 1971
Primary Port - Yamba NSW Australia
Services the Northern regions of Australia and also Pacific Islands
 Danny
Danny -
Thanks for dropping by again John, Aldo, Wolf (glad I could help you before, happy to do it again), Brian and Robbyn.
Thank you for the tip on running the glass under water Michael - I'll give that a go.
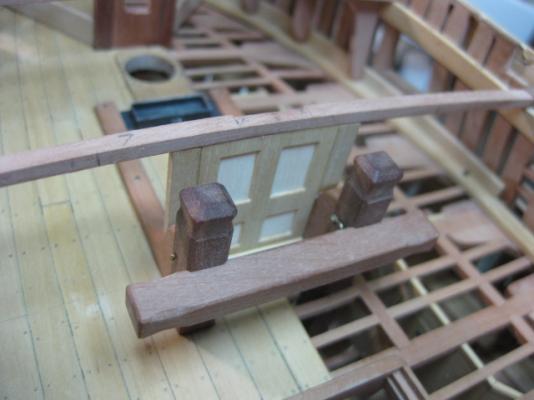
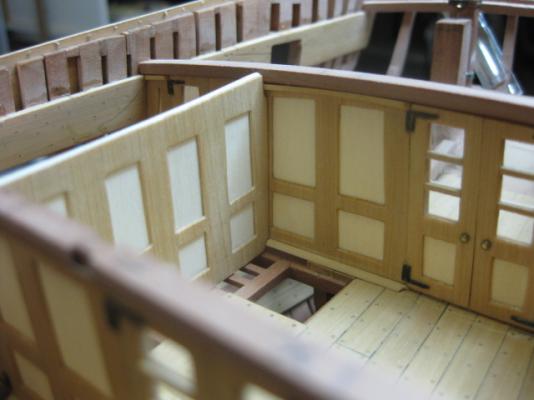
Forecastle Bulkhead
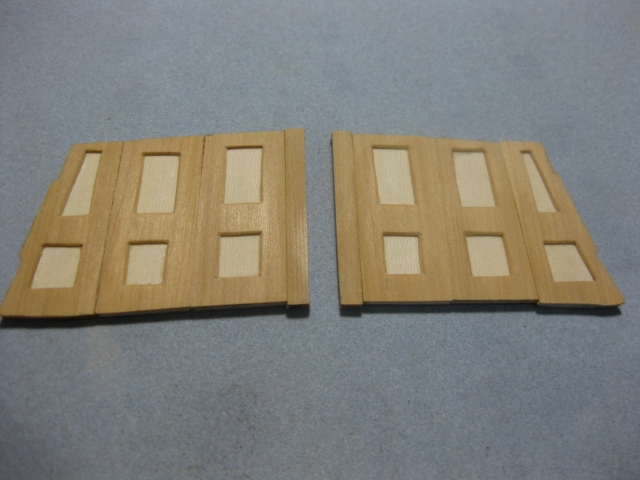
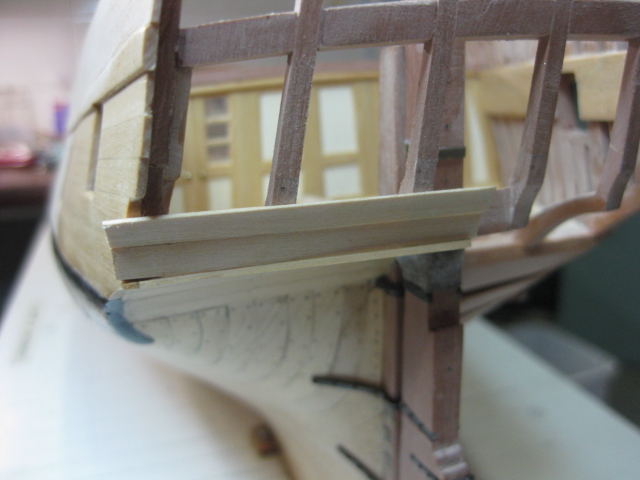
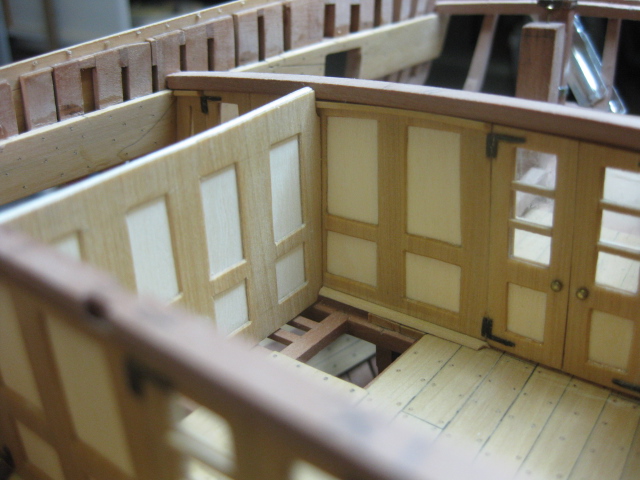
I'm jumping around the place a bit here - I thought it might be a good idea to go back to the Forecastle Bulkhead to get a bit of practice on doing "Lights" (windows) with proper framing before attempting the Stern Lights. This bulkhead has two framed lights which can be swung up out of the way - the stern ones also swing up.
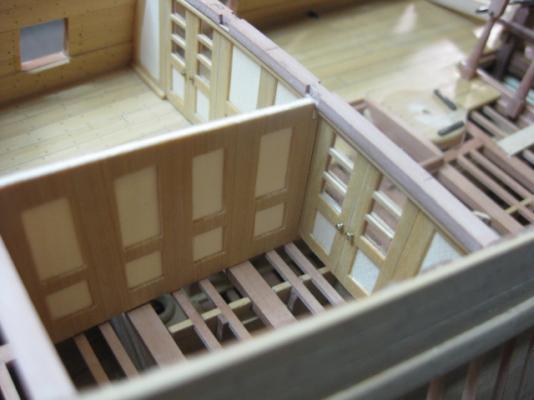
First I had to make the rest of the bulkhead pieces and doors, which are all similar to the previously made aft cabin bulkheads. The doors still need hinges and doorknobs :
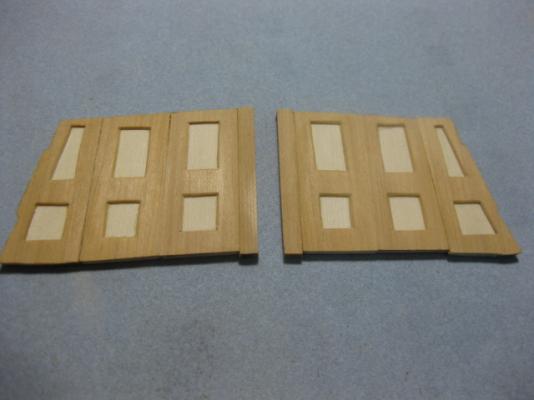

The Lights will go into the section that is still open. I'll be making a removable panel underneath them through which the Anchor Hawsers can pass. This will be a bit of "be your own shipwright" on my part - it seems the only logical (and easy) way to get the hawsers to the bitts without causing any stress or damage to the bulkhead.
Danny -
Neither of the above gents.
My first clue is "Yamba".
Danny -
-
Thanks David.
This one shouldn't be too difficult either :
She had NINE former names
 Danny
Danny -
Former British Prison Ship "Success", converted into a museum.
Danny -
-
You got it Adrieke.
Danny -
-
Just need Adrieke to confirm.
In the interests of keeping the game moving (I will be away for the weekend but have access to MSW via a laptop) I'll put up a screenshot of Adrieke's ship on the page where I found it, and submit another.
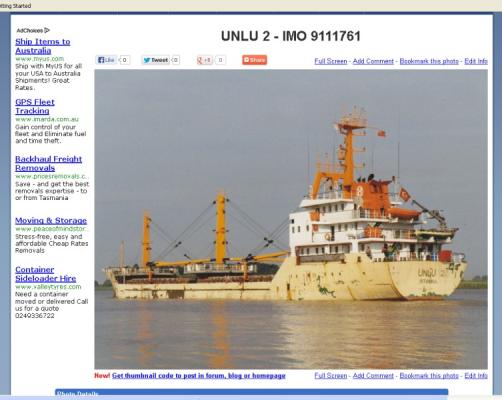
Here's my new one :
 Danny
Danny -
-
Try Silver Soldering them Ron?
Danny -
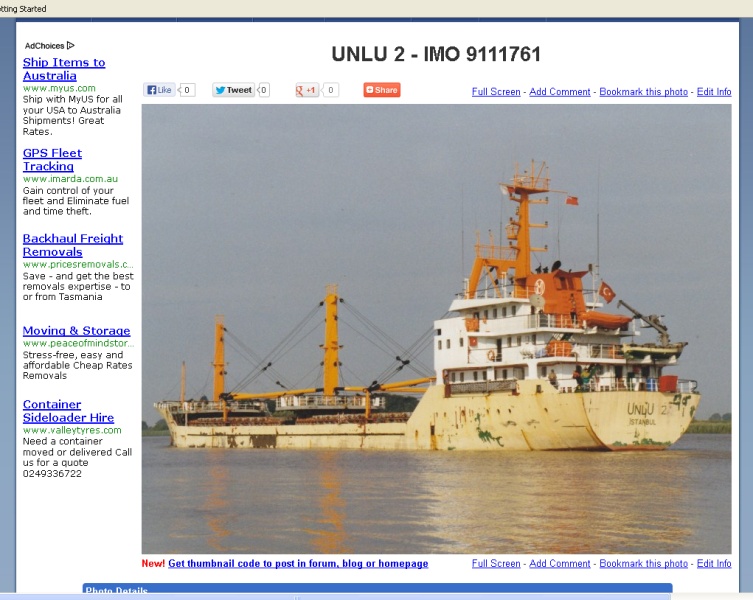
Don't know how you found that Danny.
By looking through a LOT of pages on Google
 . Adrieke's tips helped narrow the field down a bit . Danny
 -
Turkish cargo ship Unlu 2 aka Unlu 1 and Fahri Eksioglu ?
Danny -
I have some mica, but it's way too thin and very discolored - might be OK in a 1:200 scale model
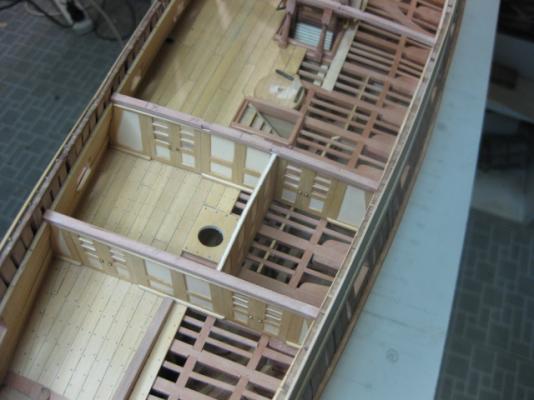
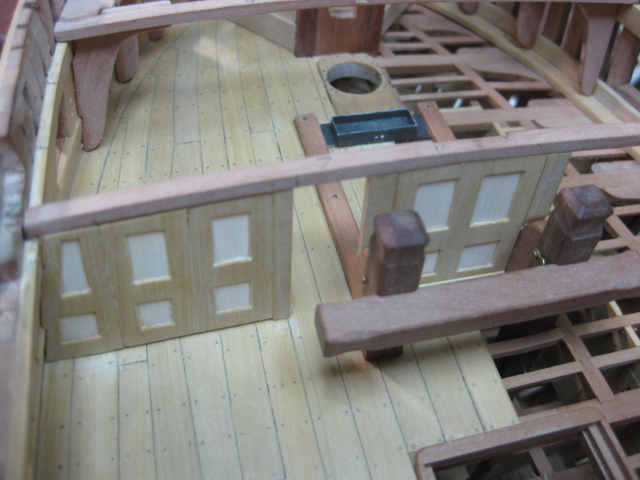
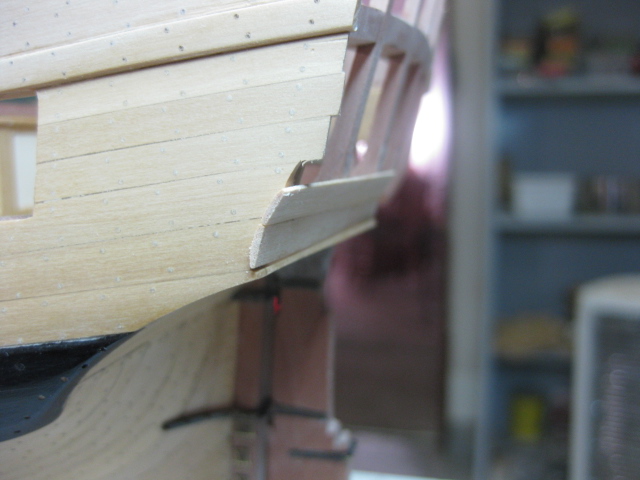
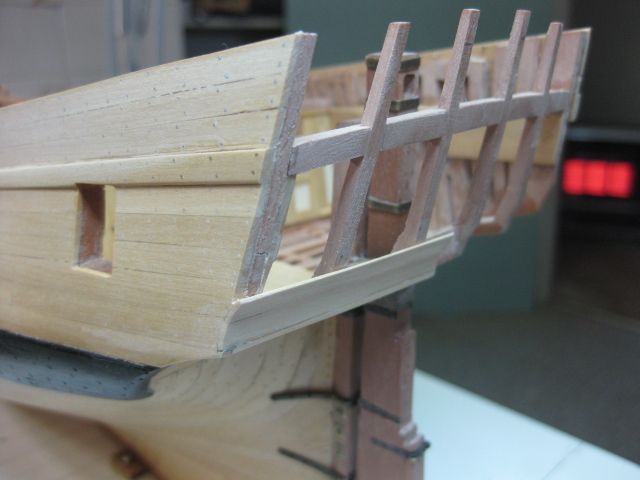
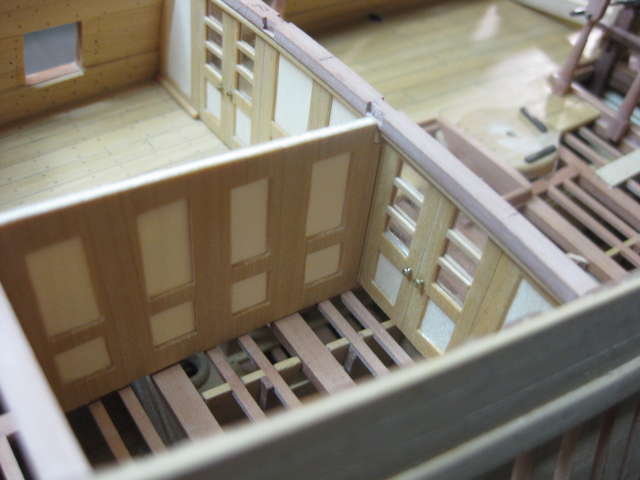
.Longitudinal Aft Cabin Bulkhead
There is a longitudinal bulkhead separating the Captain's Sleeping Quarters from the Coach. This is made in similar fashion to the two athwartships bulkheads. At this stage this bulkhead - and the forward one - are only dry-fitted. Both cabins in this area share accommodation with a 6-pounder, and all the eyebolts etc for them will need to be fitted first. I still have to cut the beams and ledges into it's top edge, fit the Cants to the bulkhead and give it a coat of finish :

 Danny
Danny- Piet, janos, sonicmcdude and 1 other
-
 4
4
-
Hi Jeff,
There's still an issue with the last three posts on page 1 (for me at least), but don't worry about trying to change anything.
If anyone else has a problem with reading those posts the answer is simple - it only seems to happen on the "Spectrum" theme if you are using Firefox as a Web Browser, so change it to something like "Old Skool MSW" and you will be able to read those posts. You can change back to Spectrum later if that's the style you prefer.
Danny -
Sherry, I don't know a real lot about glass cutting but there are a couple of things I DO know.
1. You should only score the glass ONCE. You must have got lucky
 .
.2. Score the glass ALL THE WAY across the cut - don't stop just before it goes over the edge. That may have been the cause of your failure.
Here's a link to a site about cutting glass. It has some useful tips : The secret of cutting glass
Danny -
USS Essex 1779?
Danny -
Thanks Sjors, Greg, Pat and Ian.
That's a good tip Ian - I'll try it out when I get my microscope slide covers. Naturally, I'll get at least THREE times as many as I think I'll need - glass-cutting has never been one of my greatest skills so far
.I've found a supplier of very thin glass : Schott Glass Some incredibly thin stuff on this site.
Danny -
Hi Sjors,
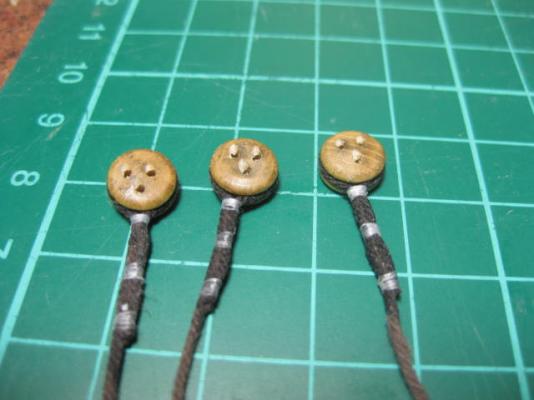
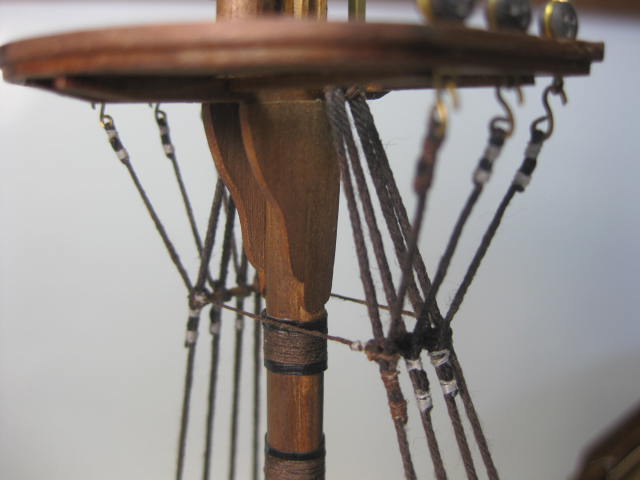
Nice even spacing on the deadeyes - the jig works well
.A couple of things to make it easier and neater for you :
There is one thing that I don't understand...
When i see other builds ,the ropes are so nice smoothly and I have those "bumps?"
My technique for tying the upper deadeyes to the shrouds works like this :
(One thing I'd do differently with your jig is to cut the top part lower to give you more room to wrap the siezing (lashing) around the shroud without the jig getting in the way.)
The siezing rope should be VERY thin - yours looks too thick. Fine cotton or linen thread works the best - don't use nylon, it doesn't hold it's shape very well and keeps coming undone. I actually use a very thin fishing line for this, but that's another story.
First I loop the shroud around the deadeye and tie the bottom siezing with a double overhand knot and pull it tight to hold it in place. Sometimes I need to use tweezers around the shroud to slide the knot hard against the deadeye. Then I use some diluted PVA glue around the deadeye and the knot and let it dry.
Next I wrap the siezing around the shroud 6 or 7 times and pull the last turn back under itself, glue the siezing and let it dry again. There are actually three siezings to be done on each deadeye/shroud, but you can just use one if you want to (it's a bit easier, and most of it will be hidden by the lanyard anyway - see below). Keep wrapping the siezing until you get to the end of the shroud "tail". Make sure you have cut all the shroud "tails" the same length.
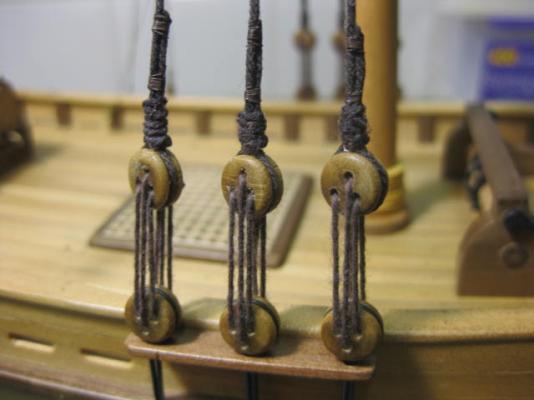
Now is the time to remove the deadeyes/shrouds from the jig so each one can be tightened. The Lanyard rope should be half as thick as the shroud.
The ends of the Lanyards should wrap around the shroud tail about 3 or 4 times and finish with a small siezing :
So first all the shrouds ,then the yards, then those lovely ratlines, then running rigging and then the backstays.
A better order would be to do the Shrouds (including those under the bowsprit - yes, fit it NOW), Forestays, Ratlines (before too much other rigging gets in the way) and Backstays - finish ALL the Standing Rigging before you even think of hoisting the Yards and start on the Running Rigging. You need to have all your Masts and Bowsprit correctly aligned BEFORE you start any Running Rigging.
Another tip : Don't "finish" any of the Lanyards on the Shrouds yet - they may (WILL) need some "fine tuning" as you progress with the Standing Rigging. A simple single knot will hold them for now. If you have used PVA to hold the Lanyards you have already fitted and find you need to adjust them, just brush some water on them to soften the glue and you will be able to undo them again.
Danny- maso and popeye the sailor
-
2
-
-
Very well done. BTW, what did you use for glazing?
The top off a packet of nails
. I haven't been able to get any microscope slides locally (actually I haven't looked all that hard yet) or I would have used them instead. I'll be doing that with the stern lights though. Danny -
Love that boat
.Your turn again Adrieke.
Danny -


Name the Ship Game
in Nautical/Naval History
Posted
Very well done Anja - you got her .
.
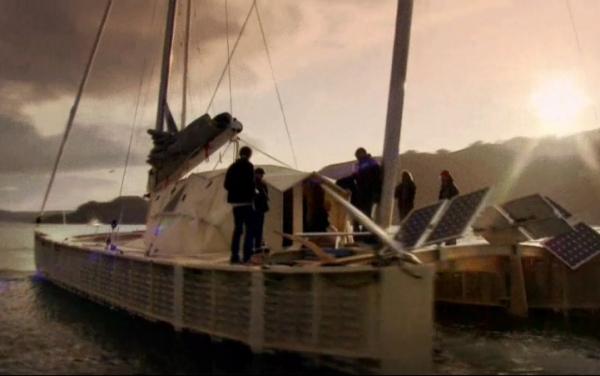
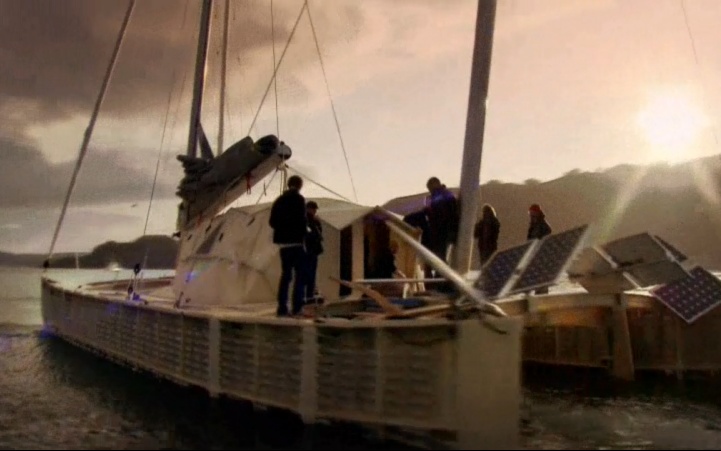
This was the second ship named "Norfolk Trader" (as far as I know). The previous one is HERE. They both sailed from Yamba, NSW to Norfolk Island and several other Pacific Islands supplying them with virtually everything from Australia. The Norfolk Trader has recently been replaced by the Norfolk Guardian.
Unloading on Norfolk Island is a real trick - there is no harbour so everything from sewing needles to bulldozers has to be unloaded by Lighters (similar to old whaleboats). To unload a truck or bulldozer they lash two or even three lighters together and load it across them - take a look at