dr_huckin_john
-
Posts
7 -
Joined
-
Last visited
Content Type
Profiles
Forums
Gallery
Events
Everything posted by dr_huckin_john
-
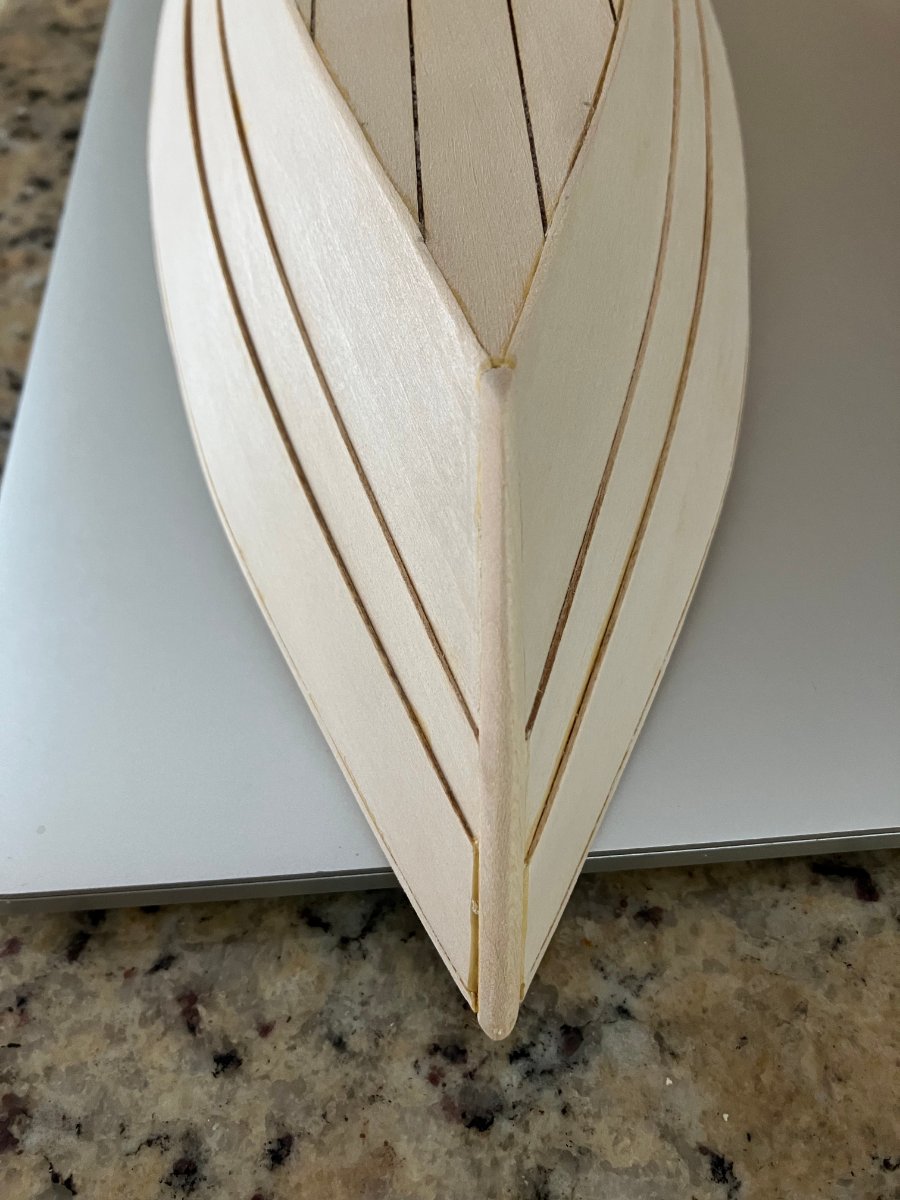
Thank you! It has been a really fun first build and I have learned a lot. That is a great idea using the pizza cutter. I'm guessing you will have finer control with keeping a straight edge than a knife or chisel. I used a carving wedge chisel and as you can see it jumped to follow a grain line (probably because it was a cheap tool that wasn't sharp enough). Another tip I would give is to make sure that your starting board is square and level. Mine was warped and I needed to clamp it down to get the warp out. Unfortunately I think the workbench was also out of flush because I still had some small variations in the frames. Couldn't see it when I had them glued down or when I was planking but it showed a bit in the hull line after I cut it from the base. This will be the last time I used a piece of scrap wood from who knows when as a base! If you have any questions on the latter parts of the build, feel free to reach out!
- 6 replies
-
- 1
-

-
- Grand Banks Dory
- Bluejacket Shipcrafters
- (and 2 more)
-
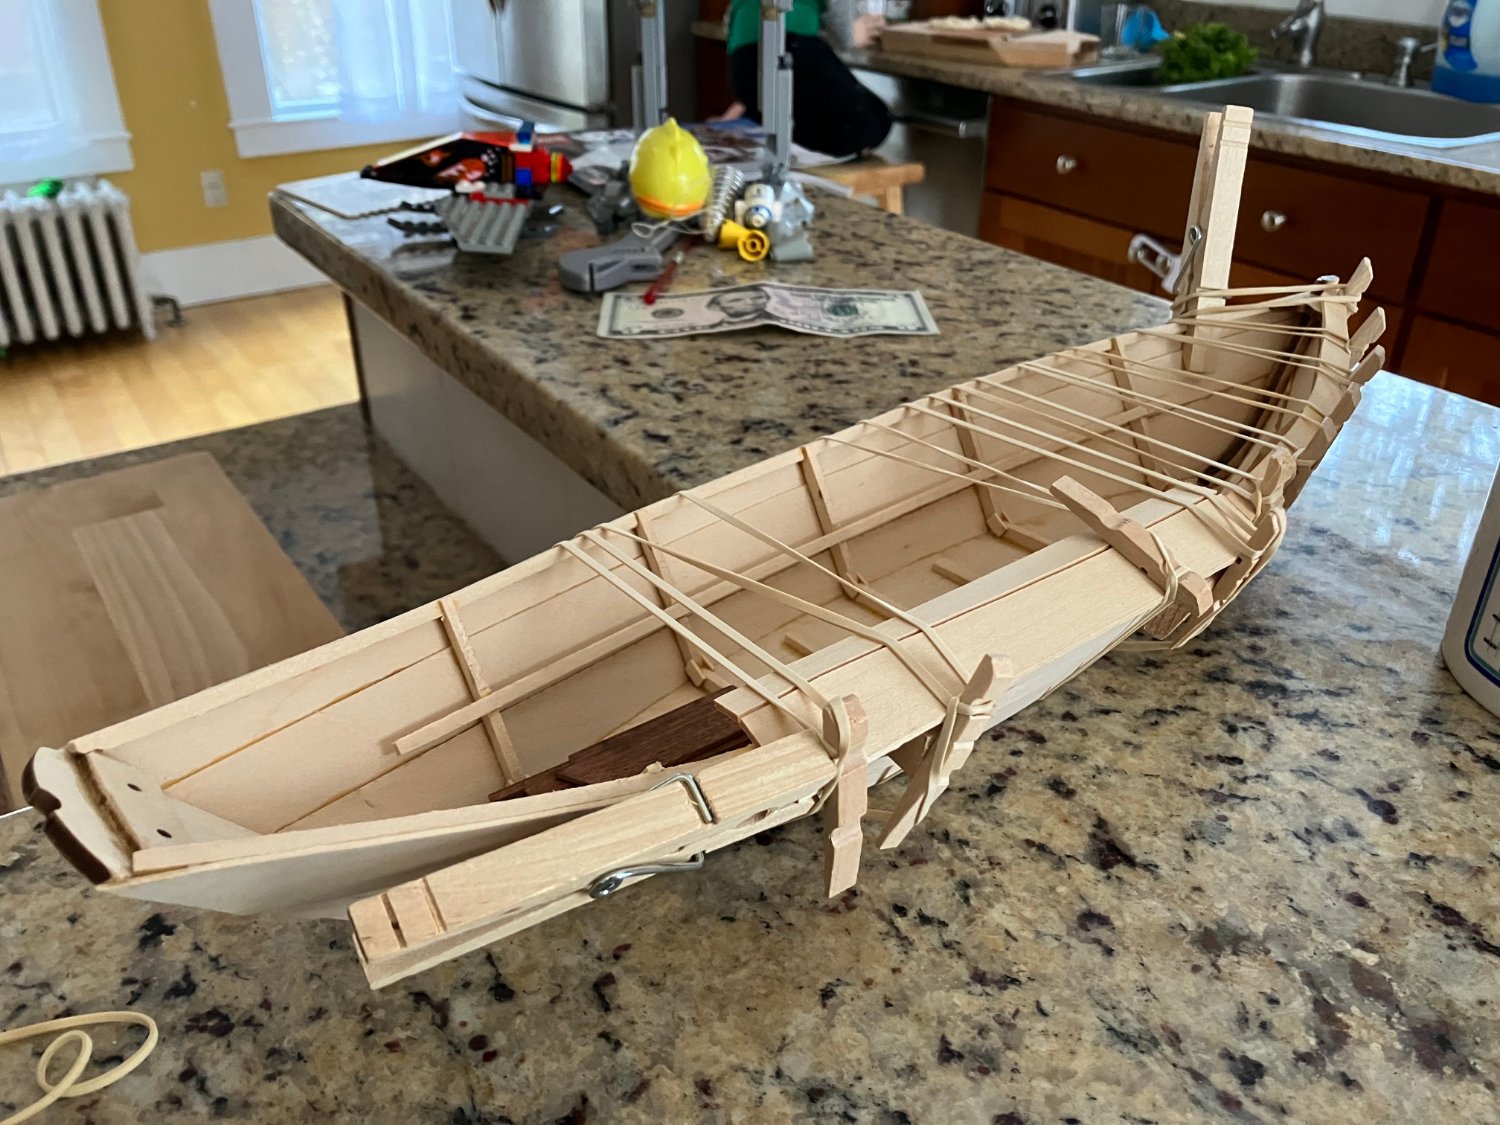
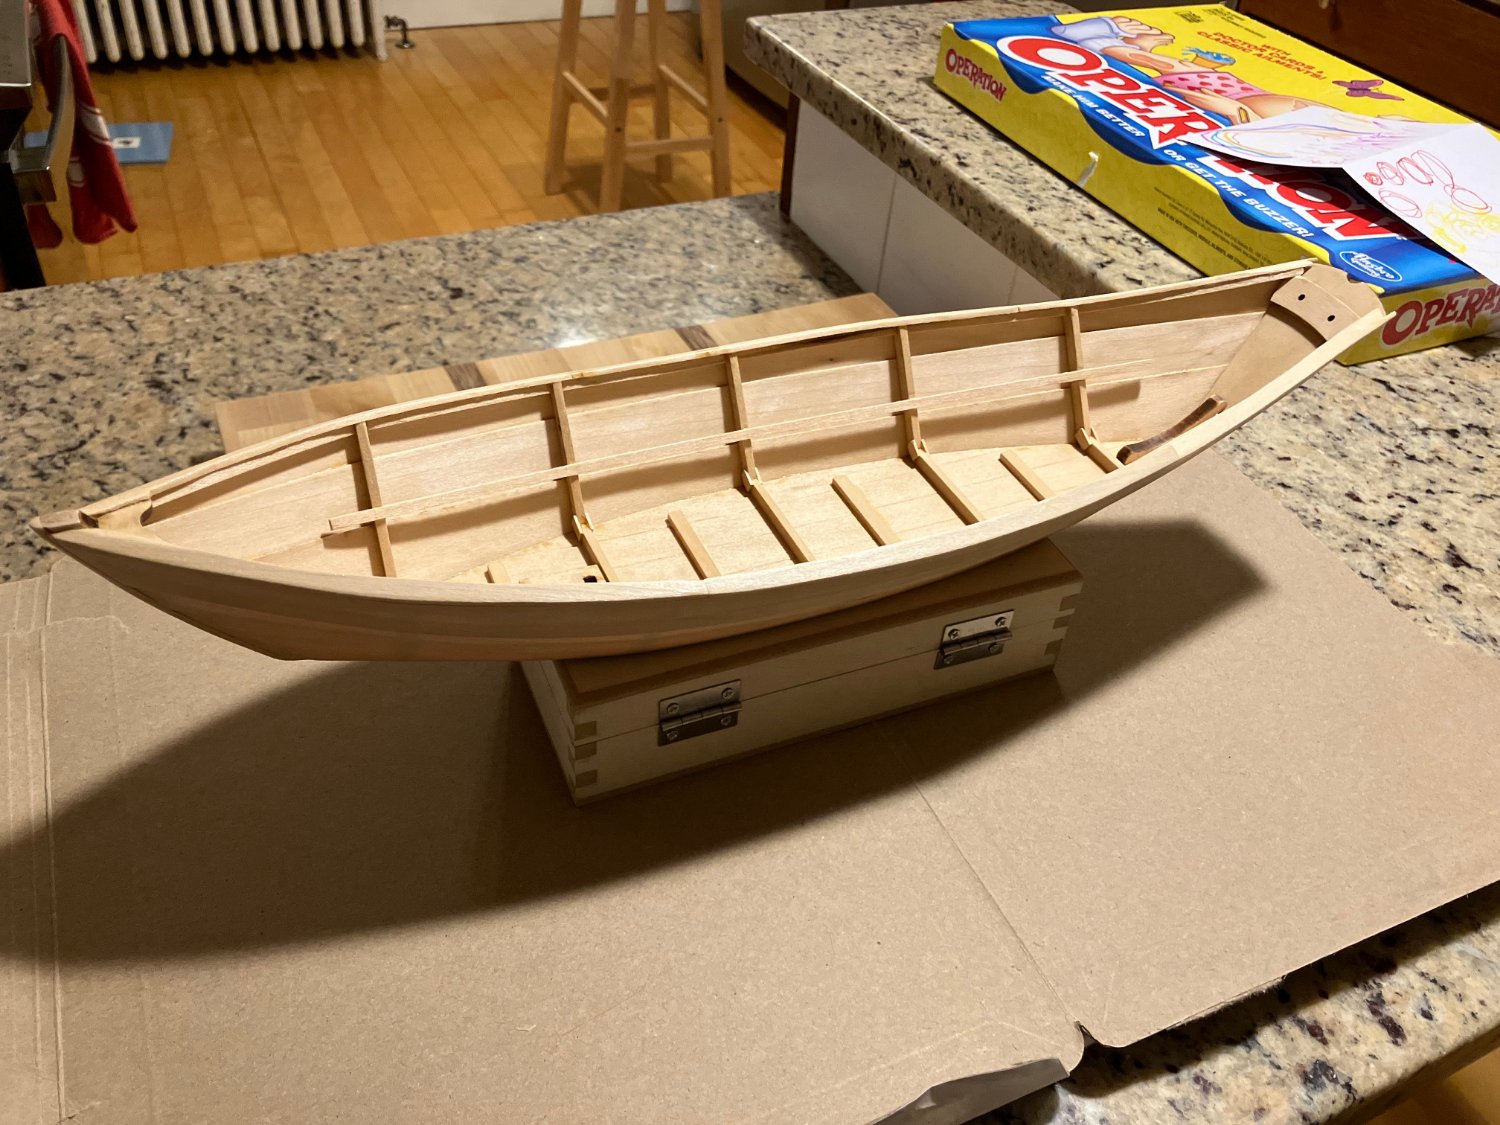
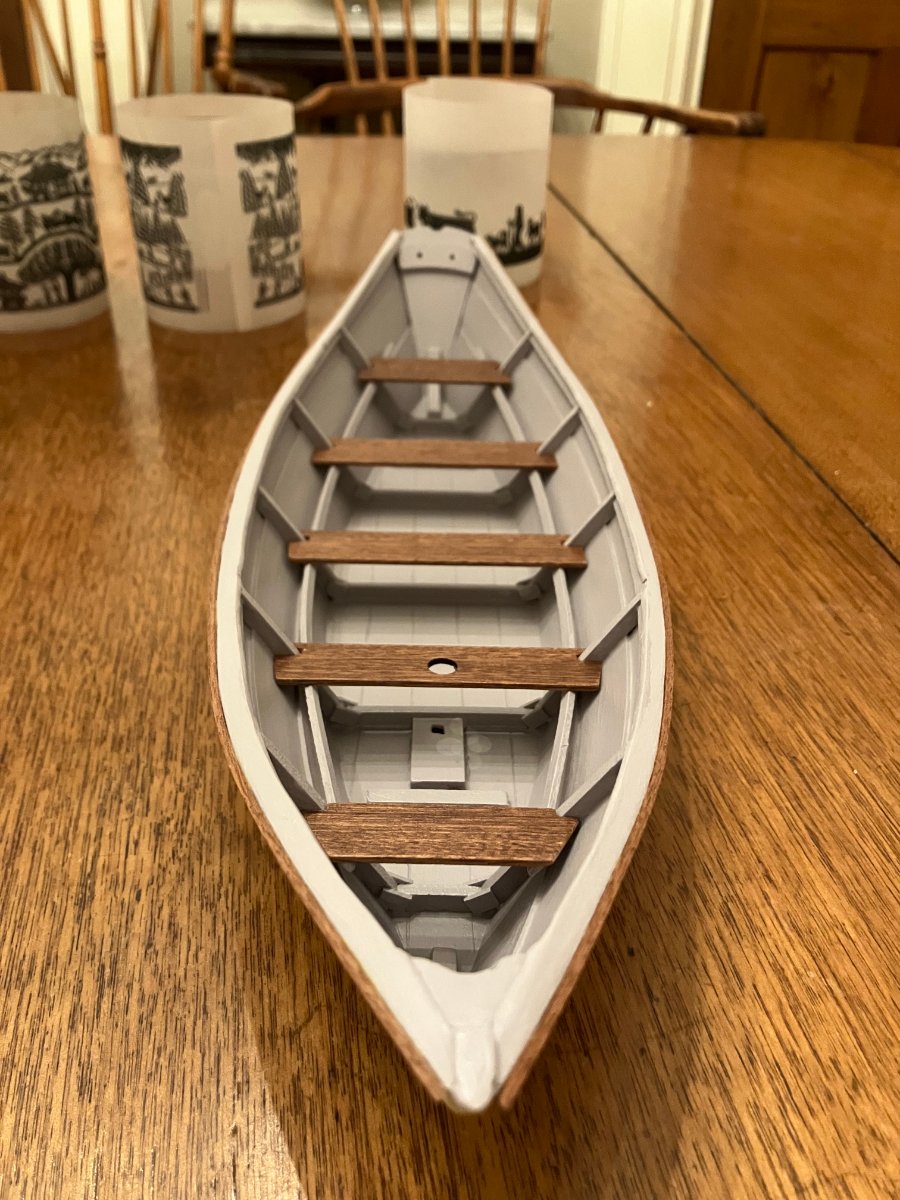
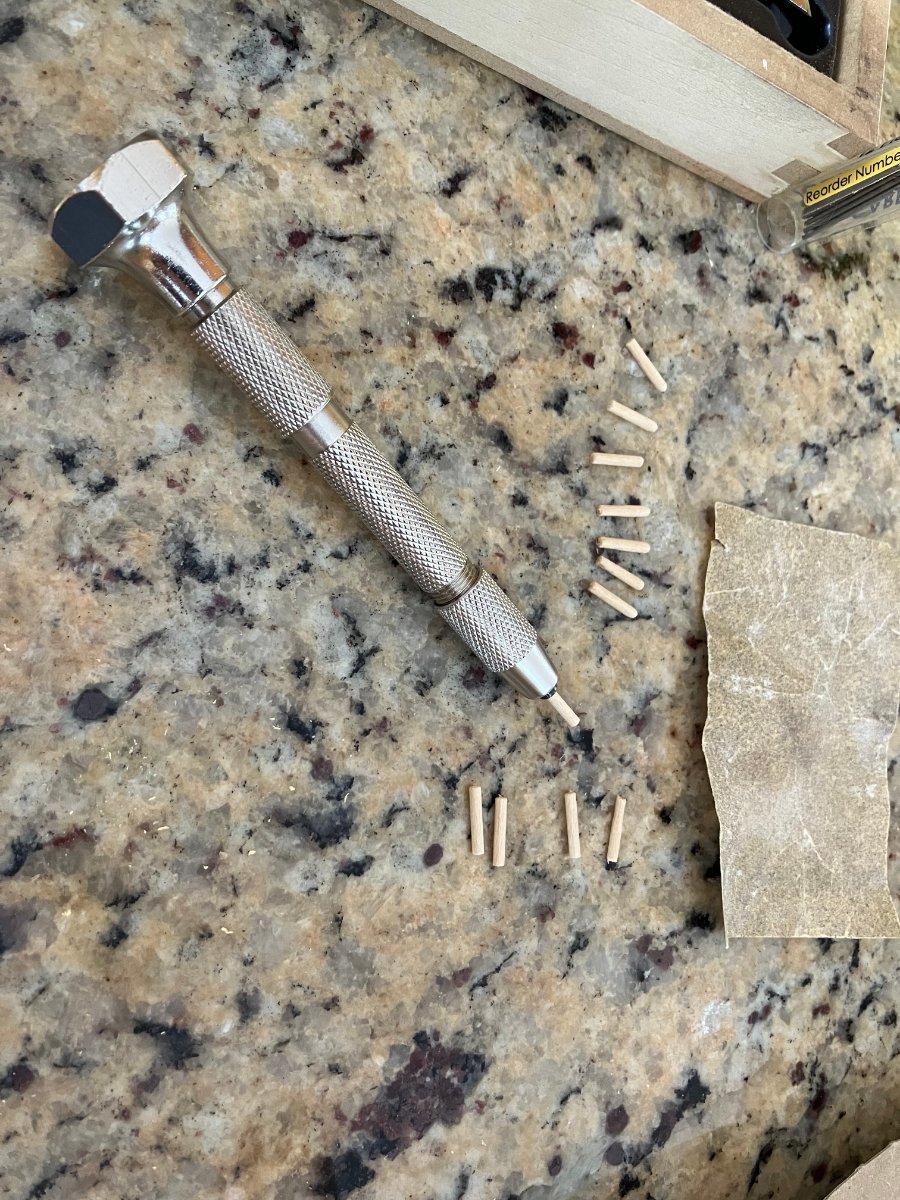
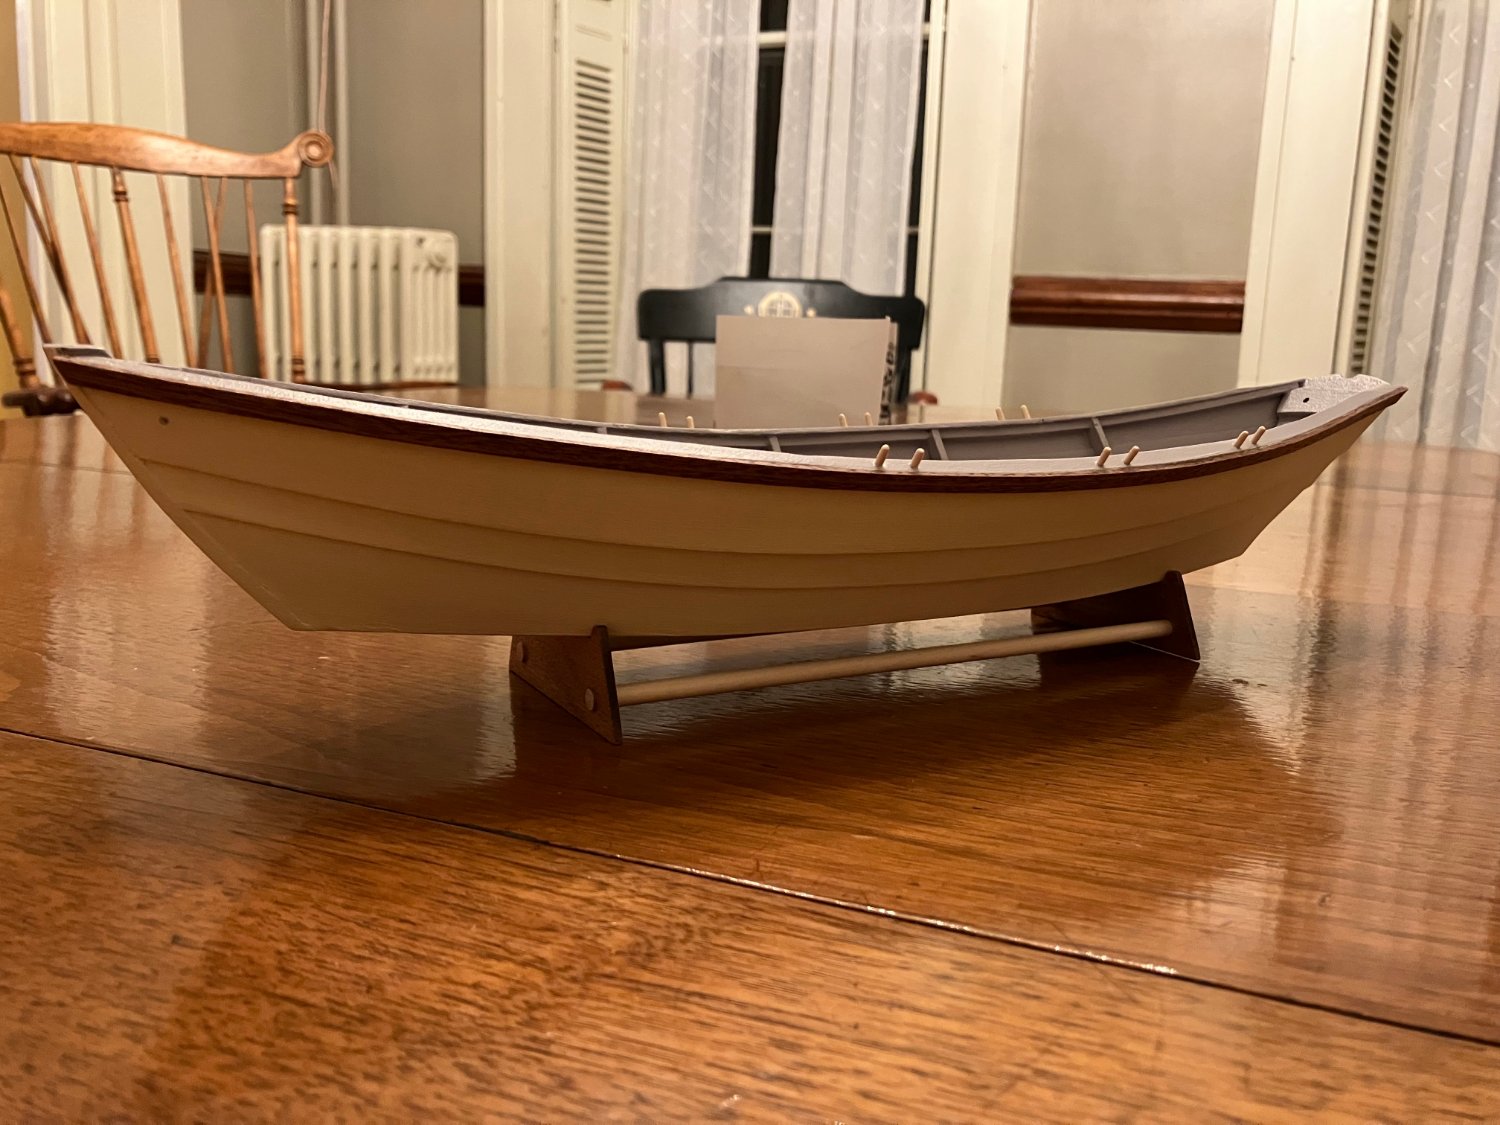
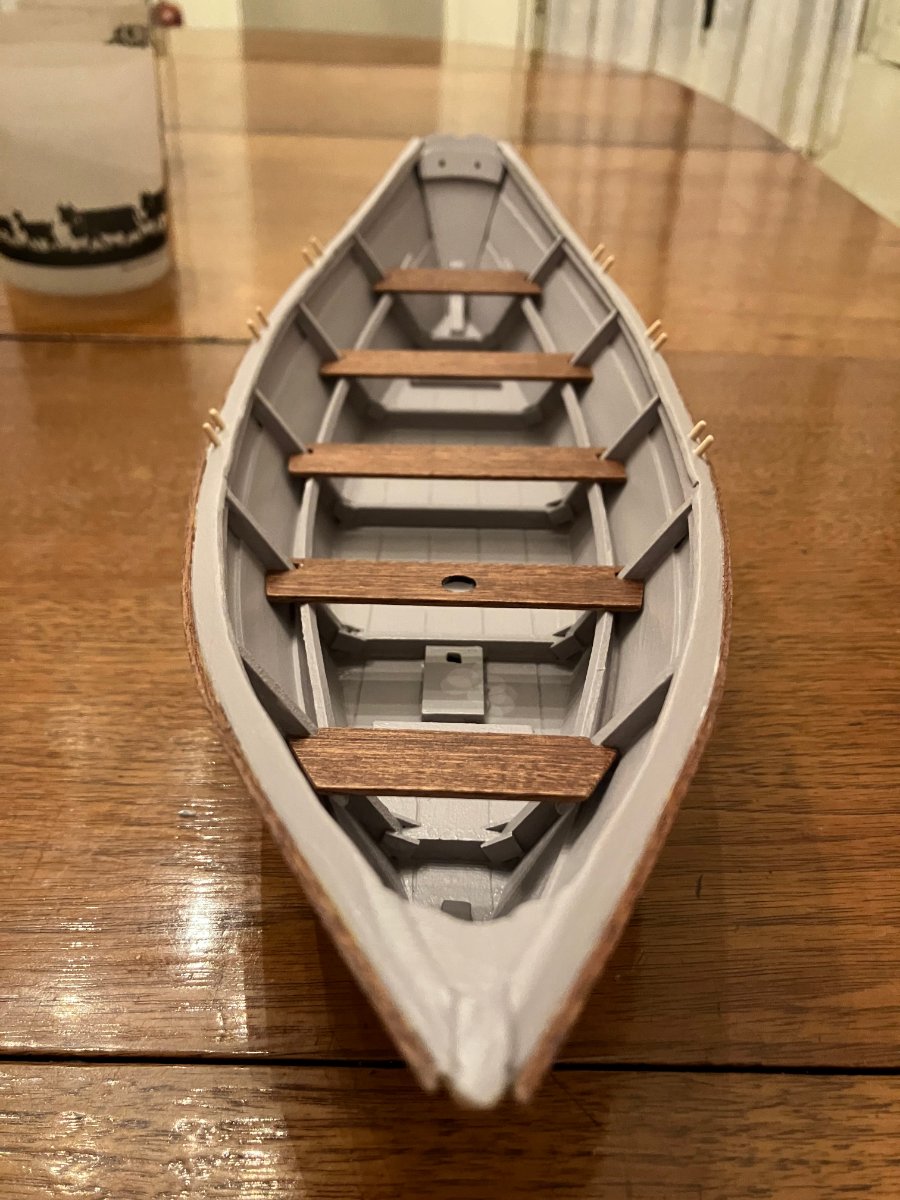
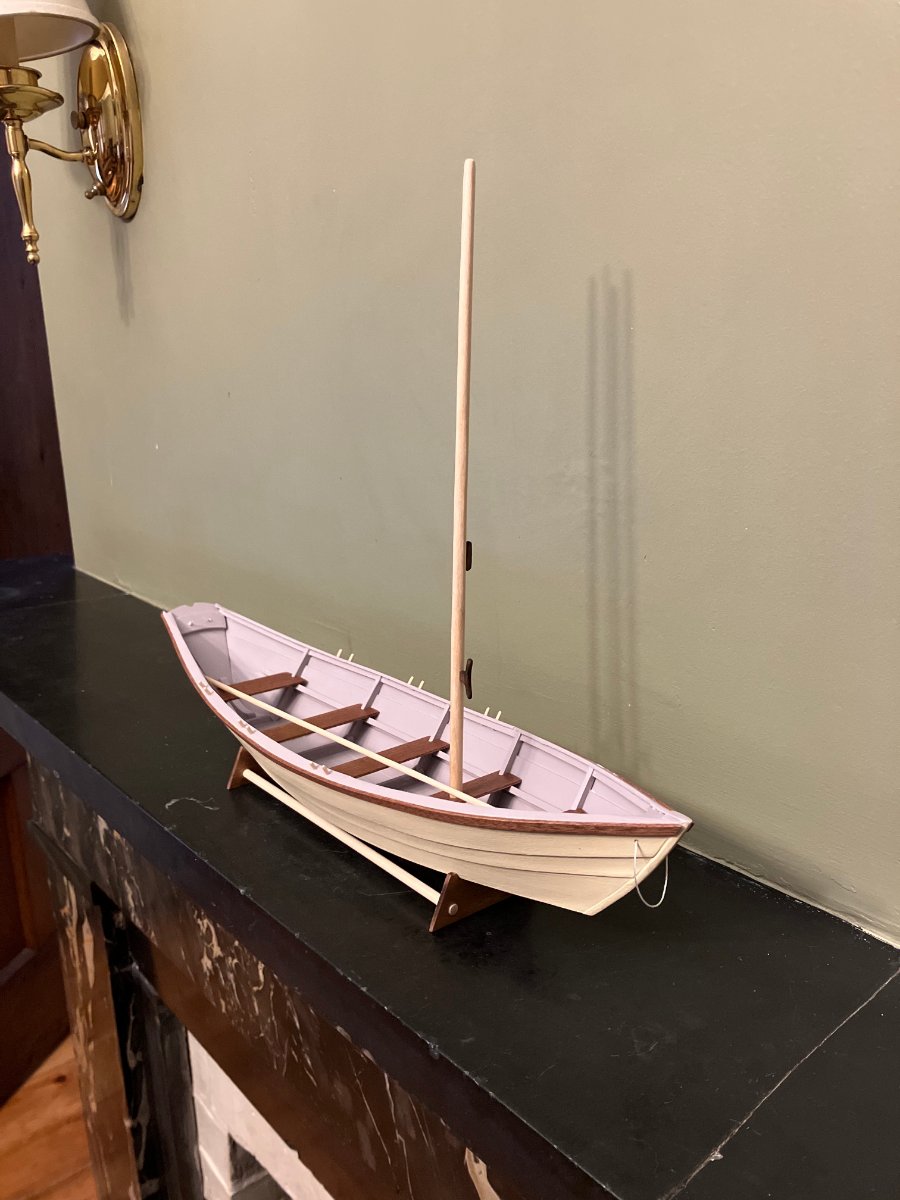
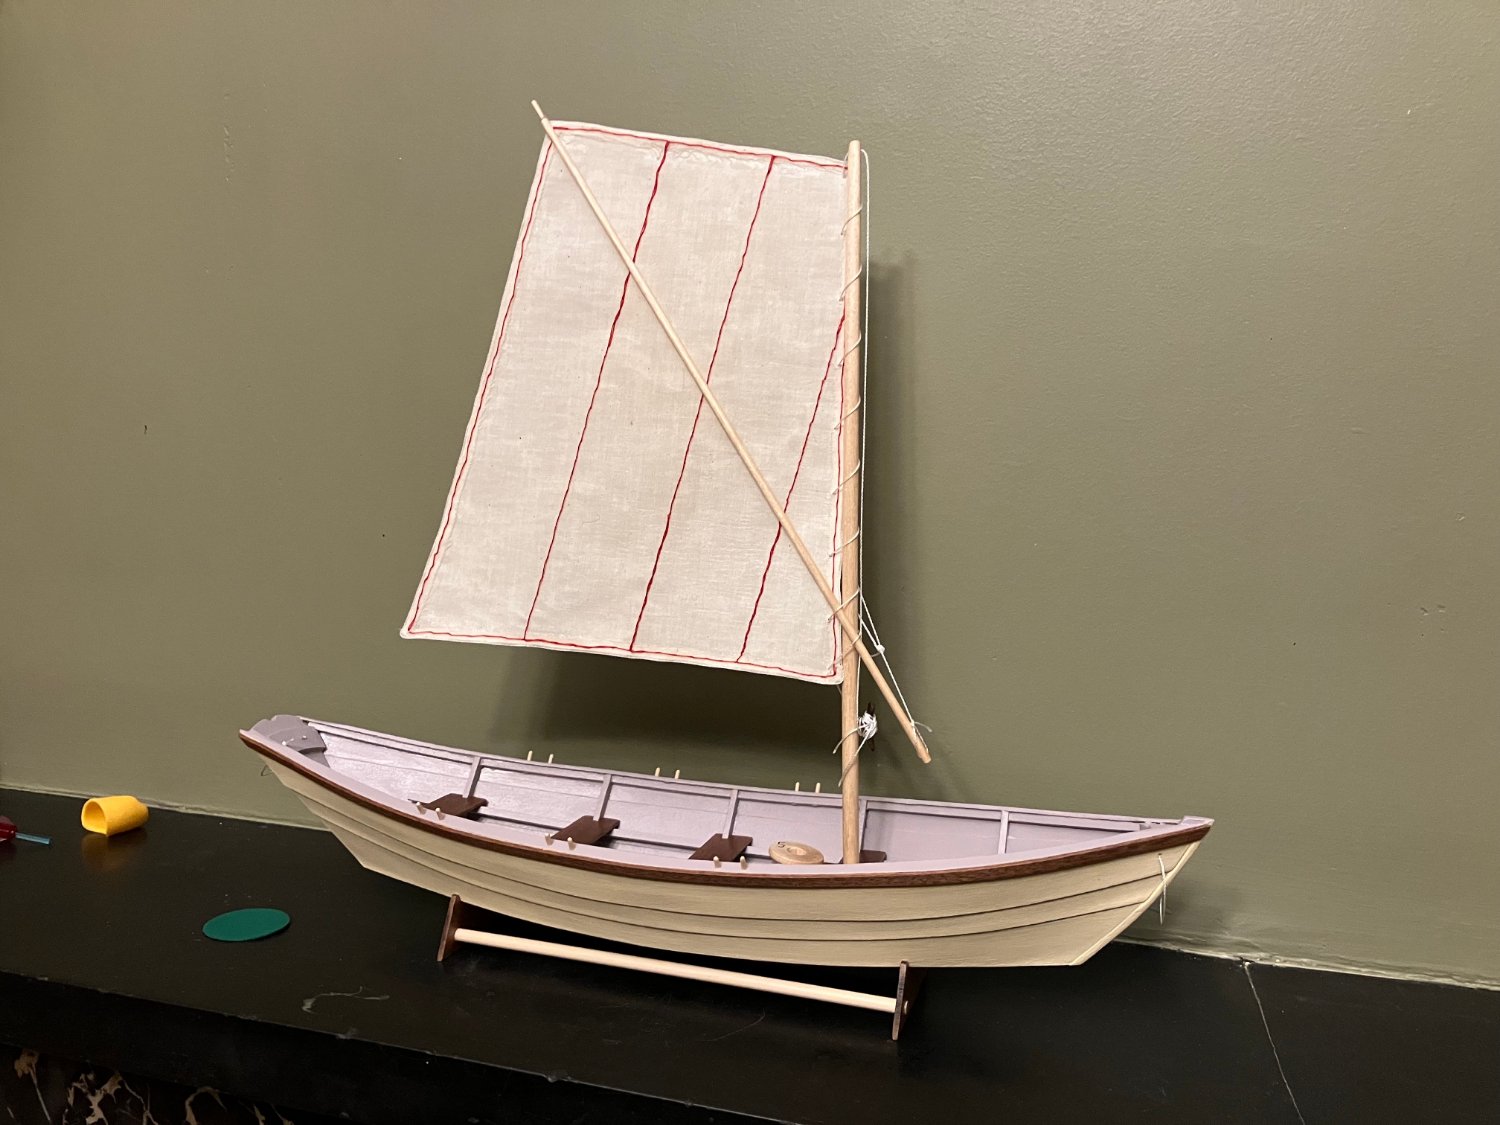
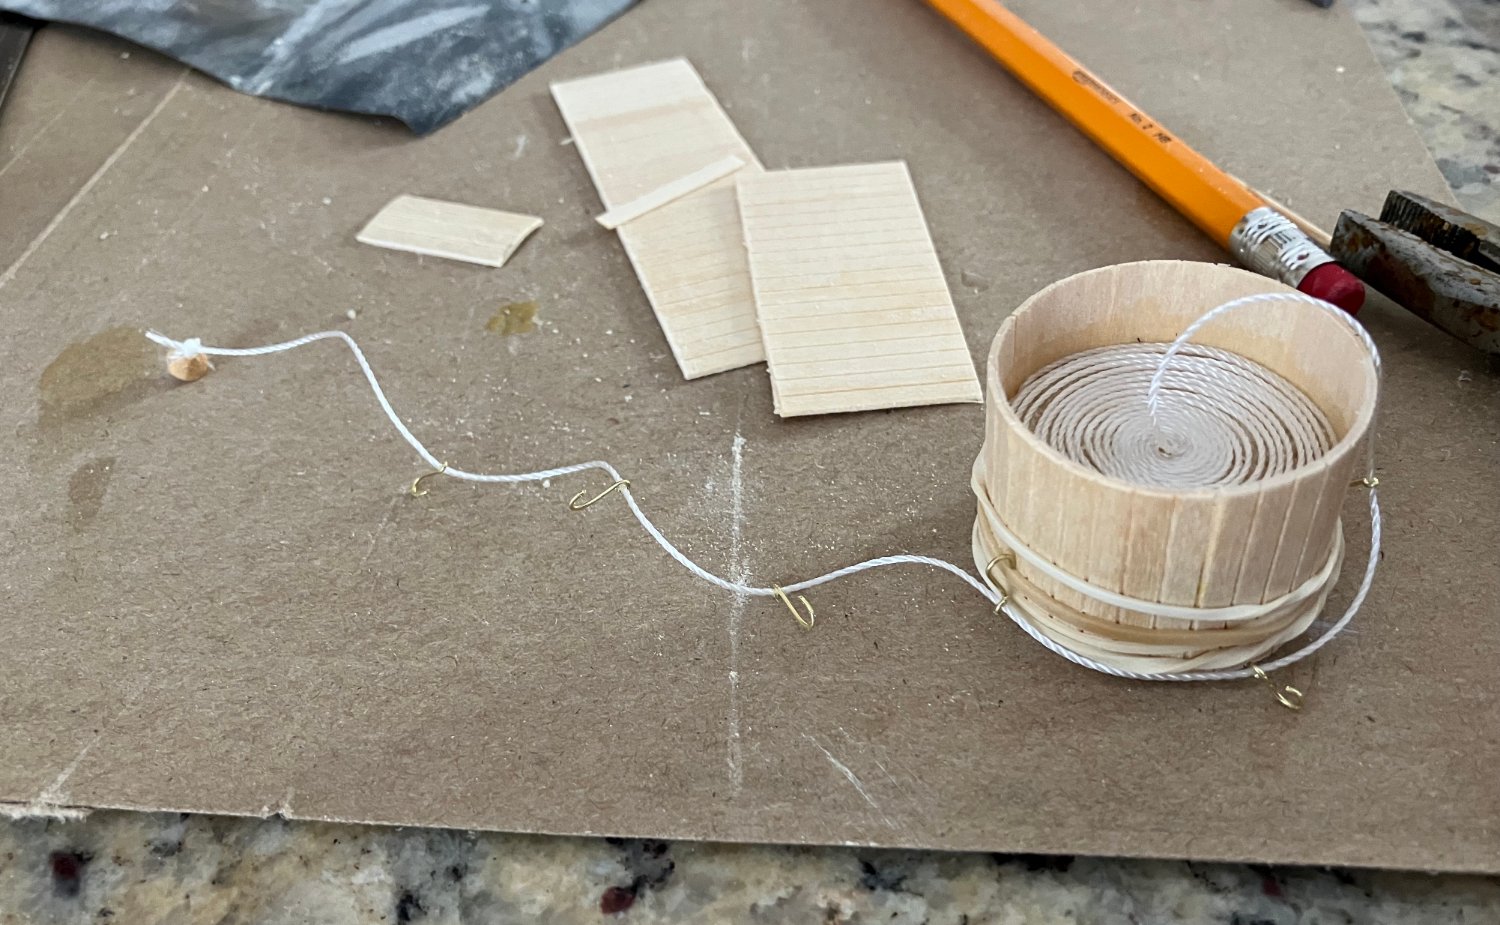
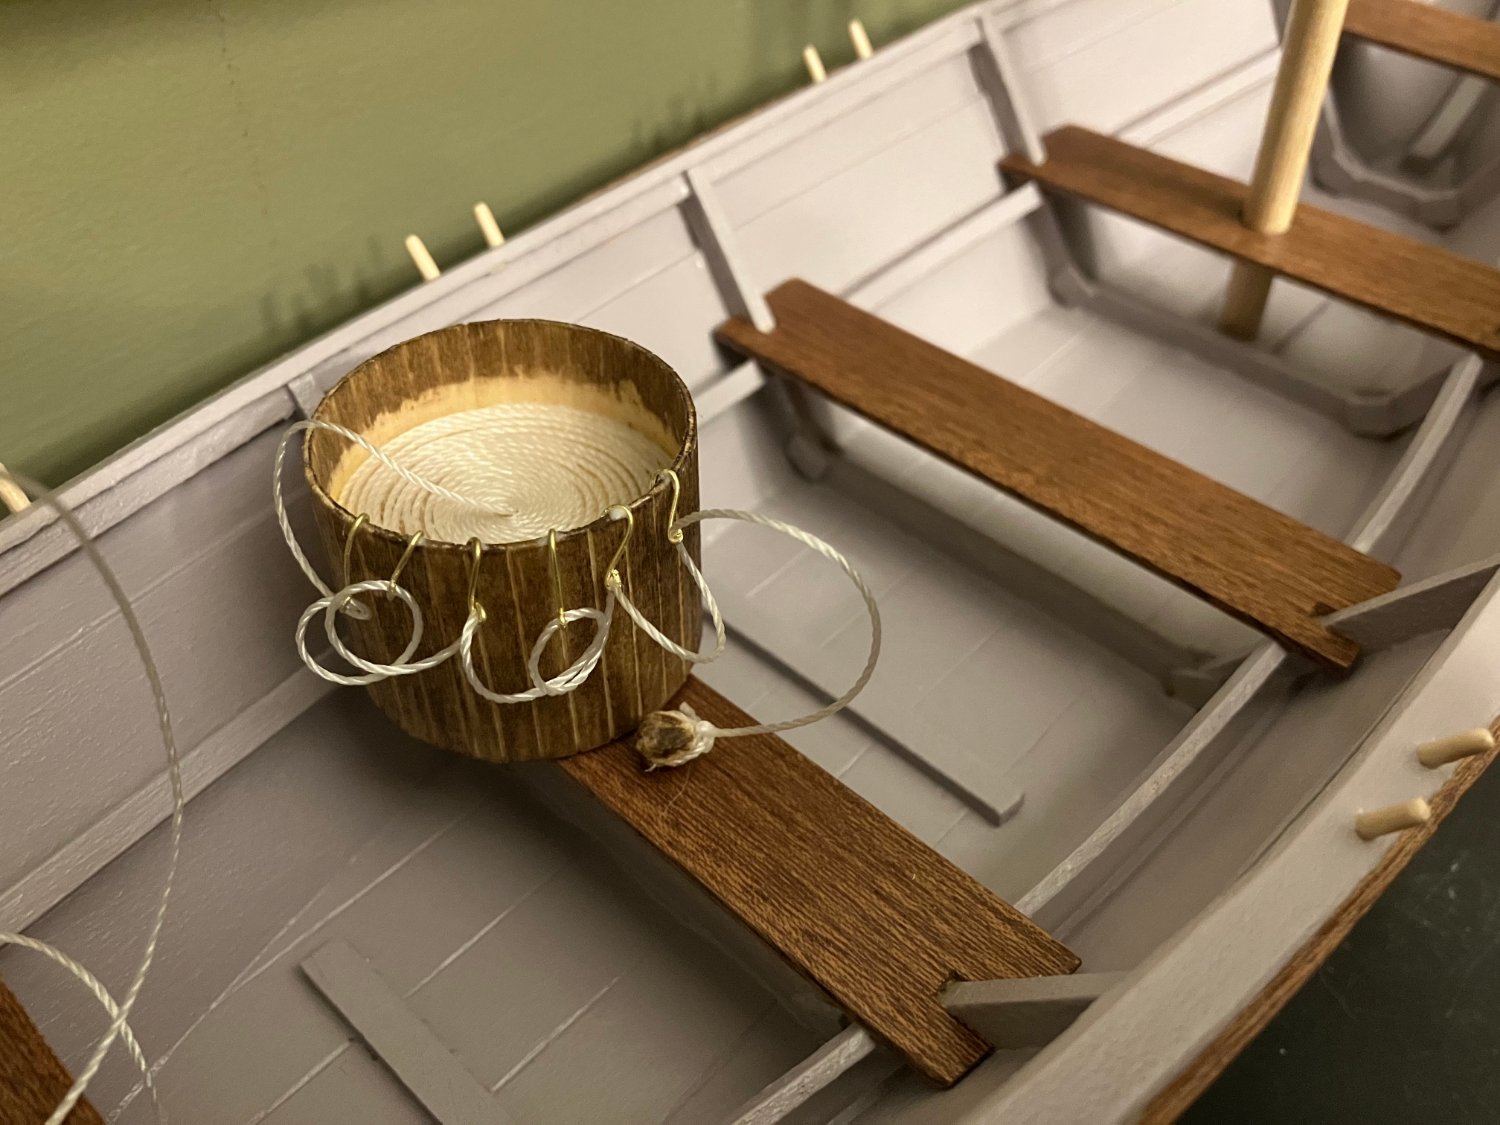
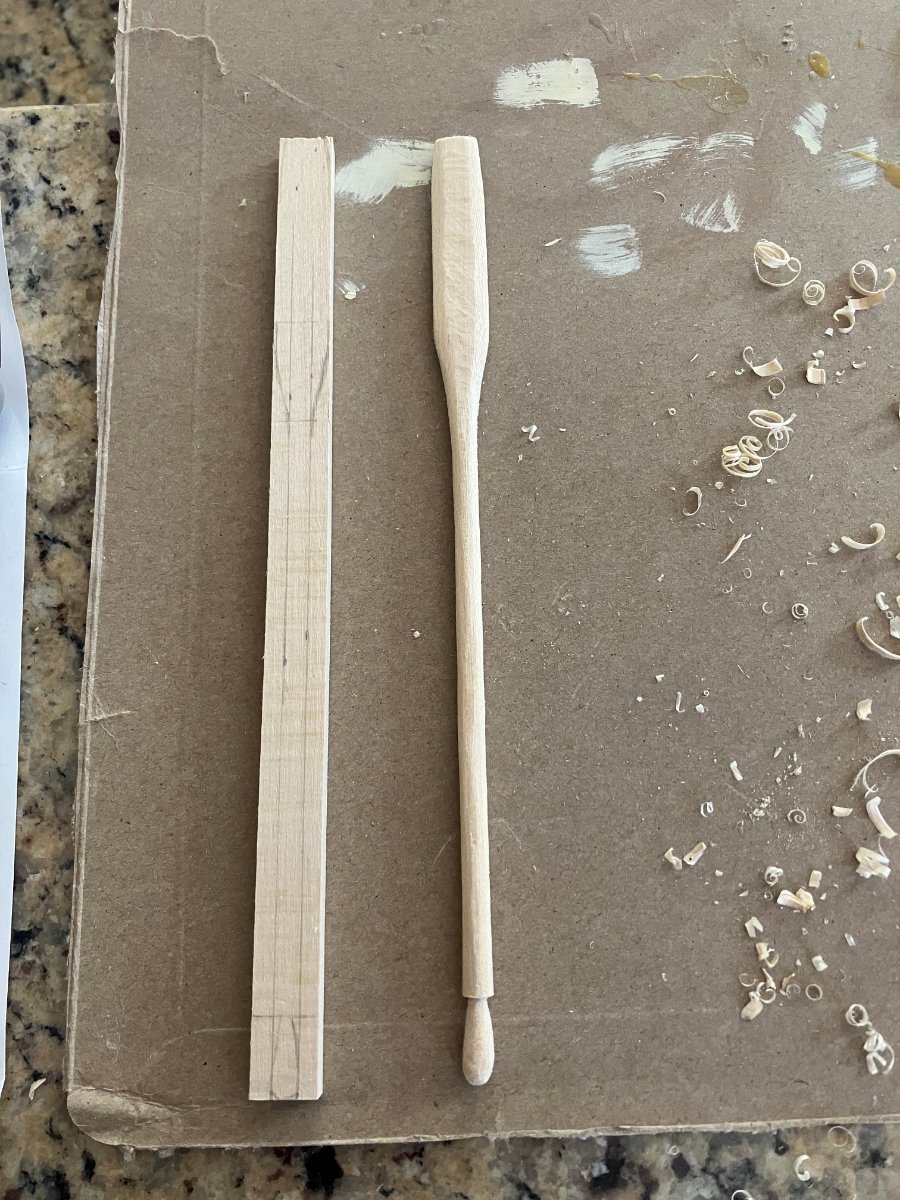
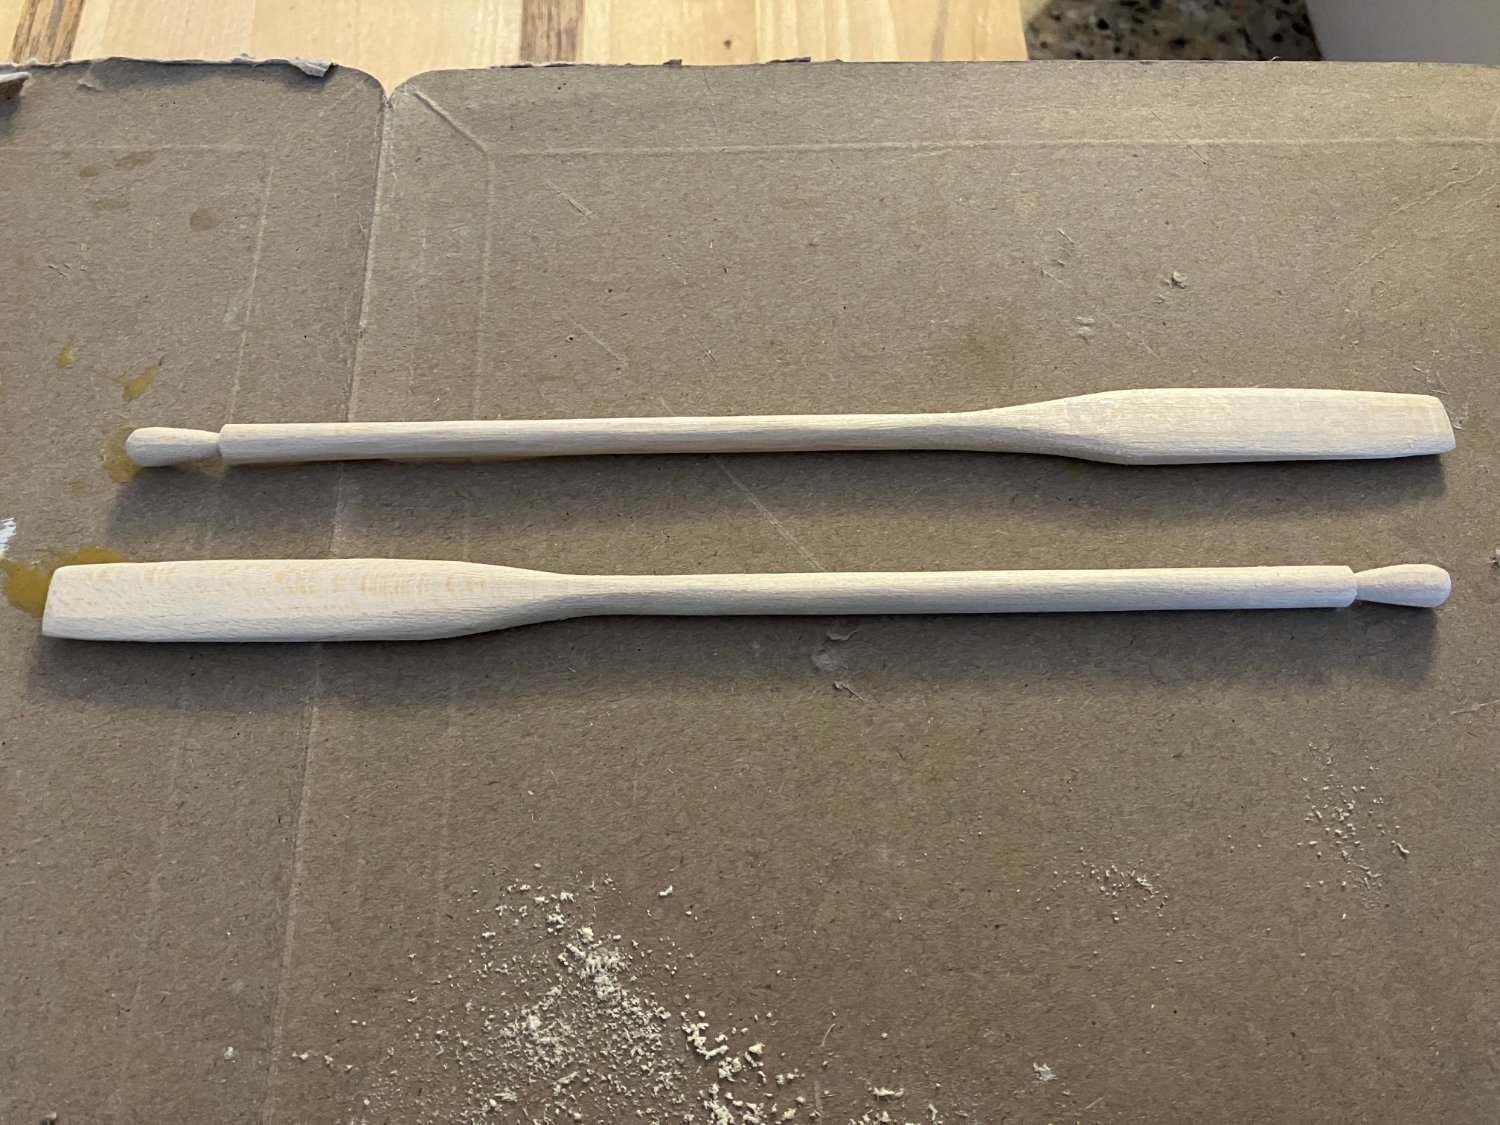
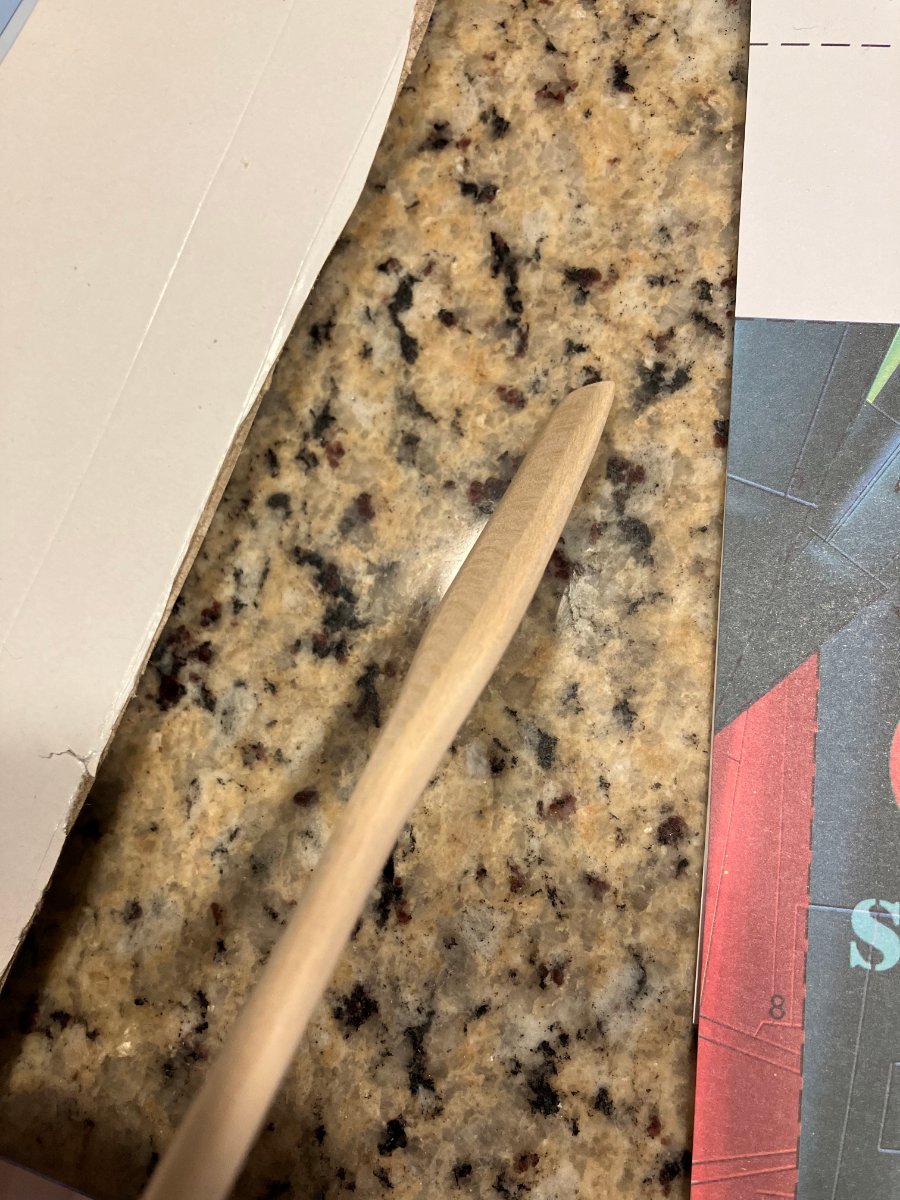
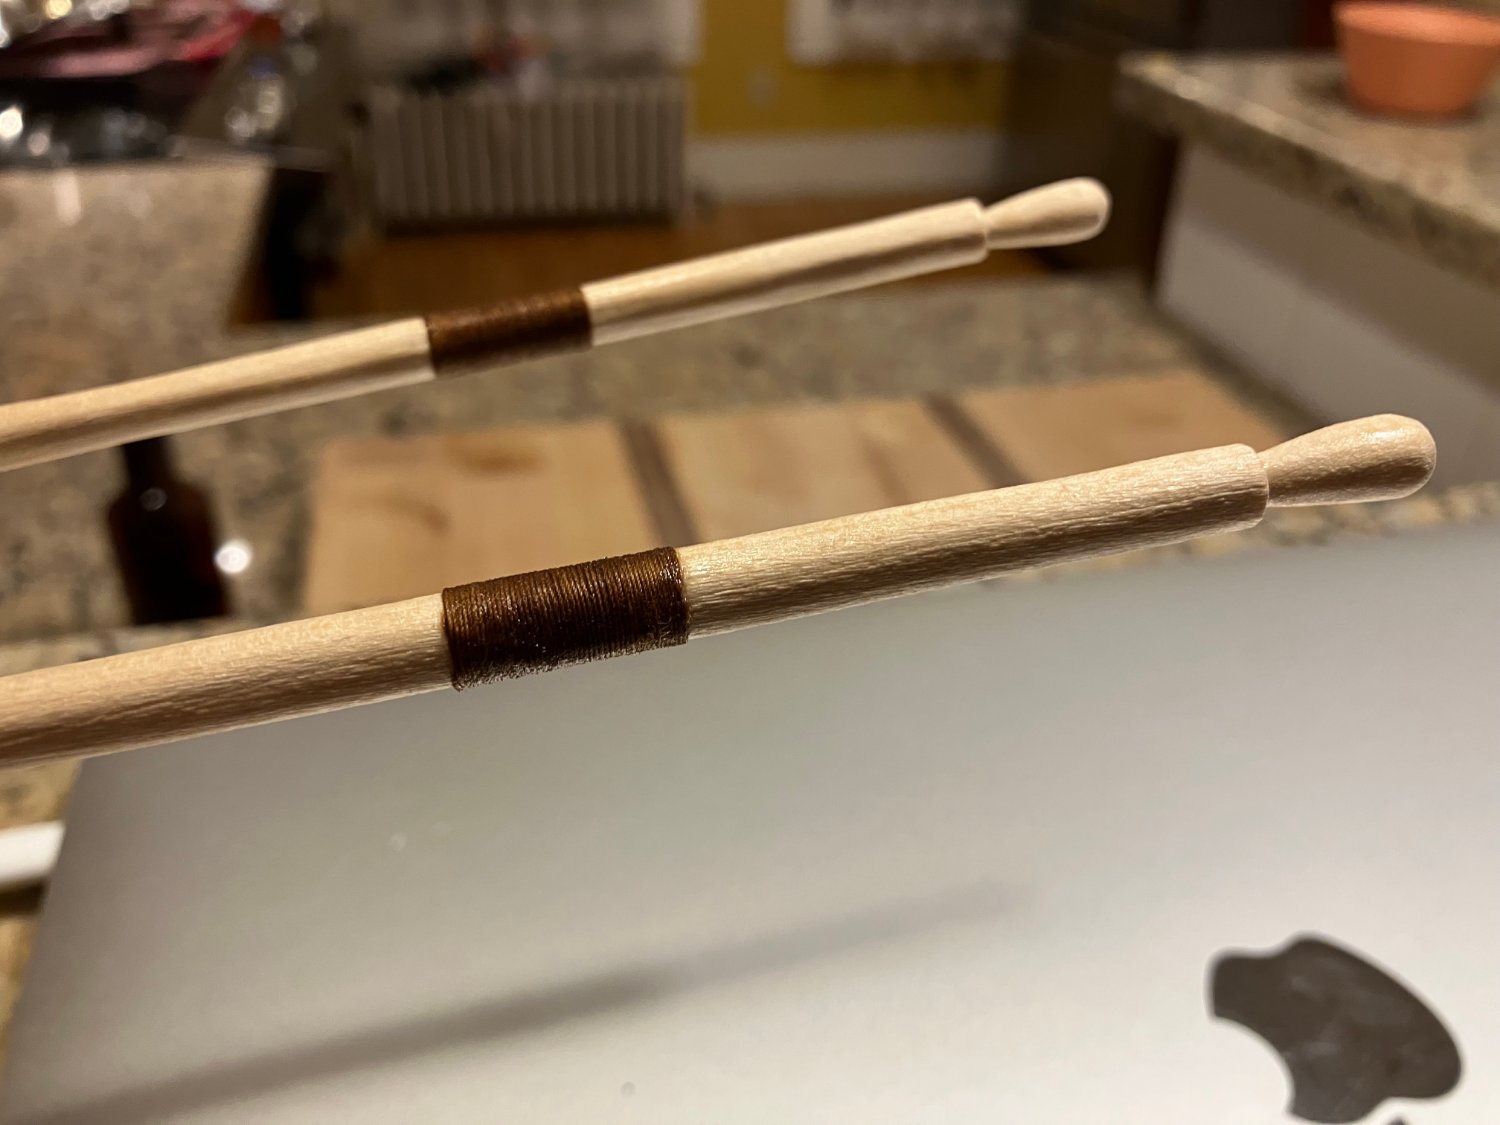
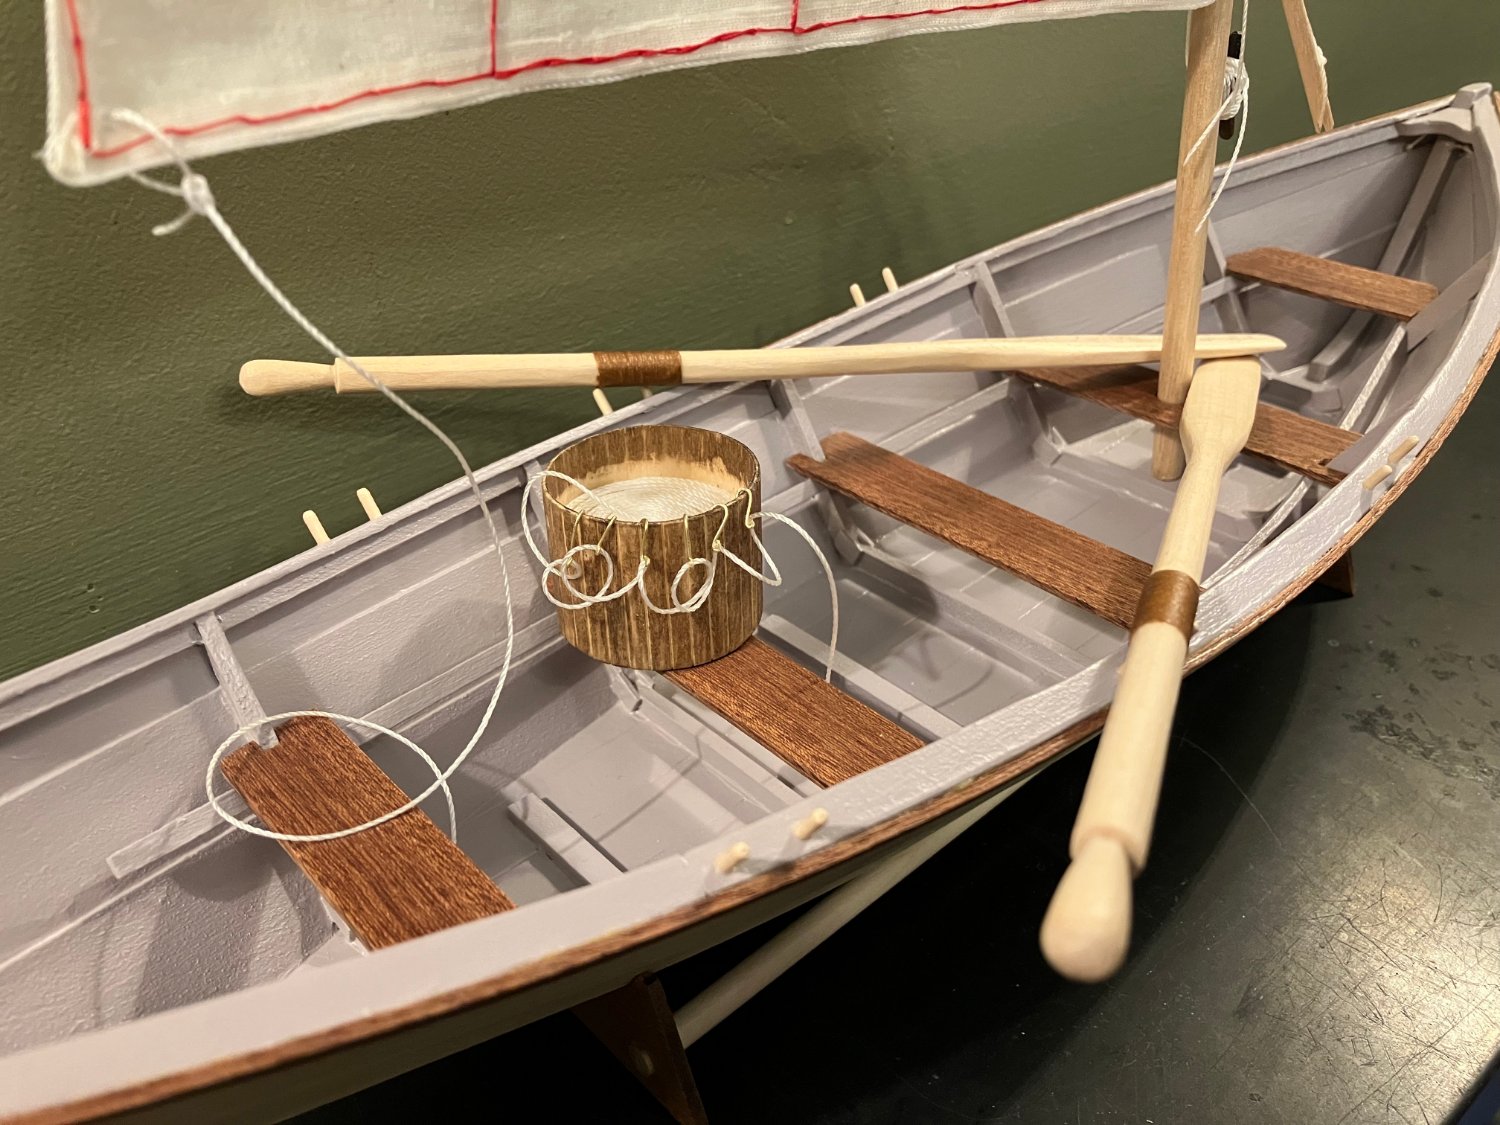
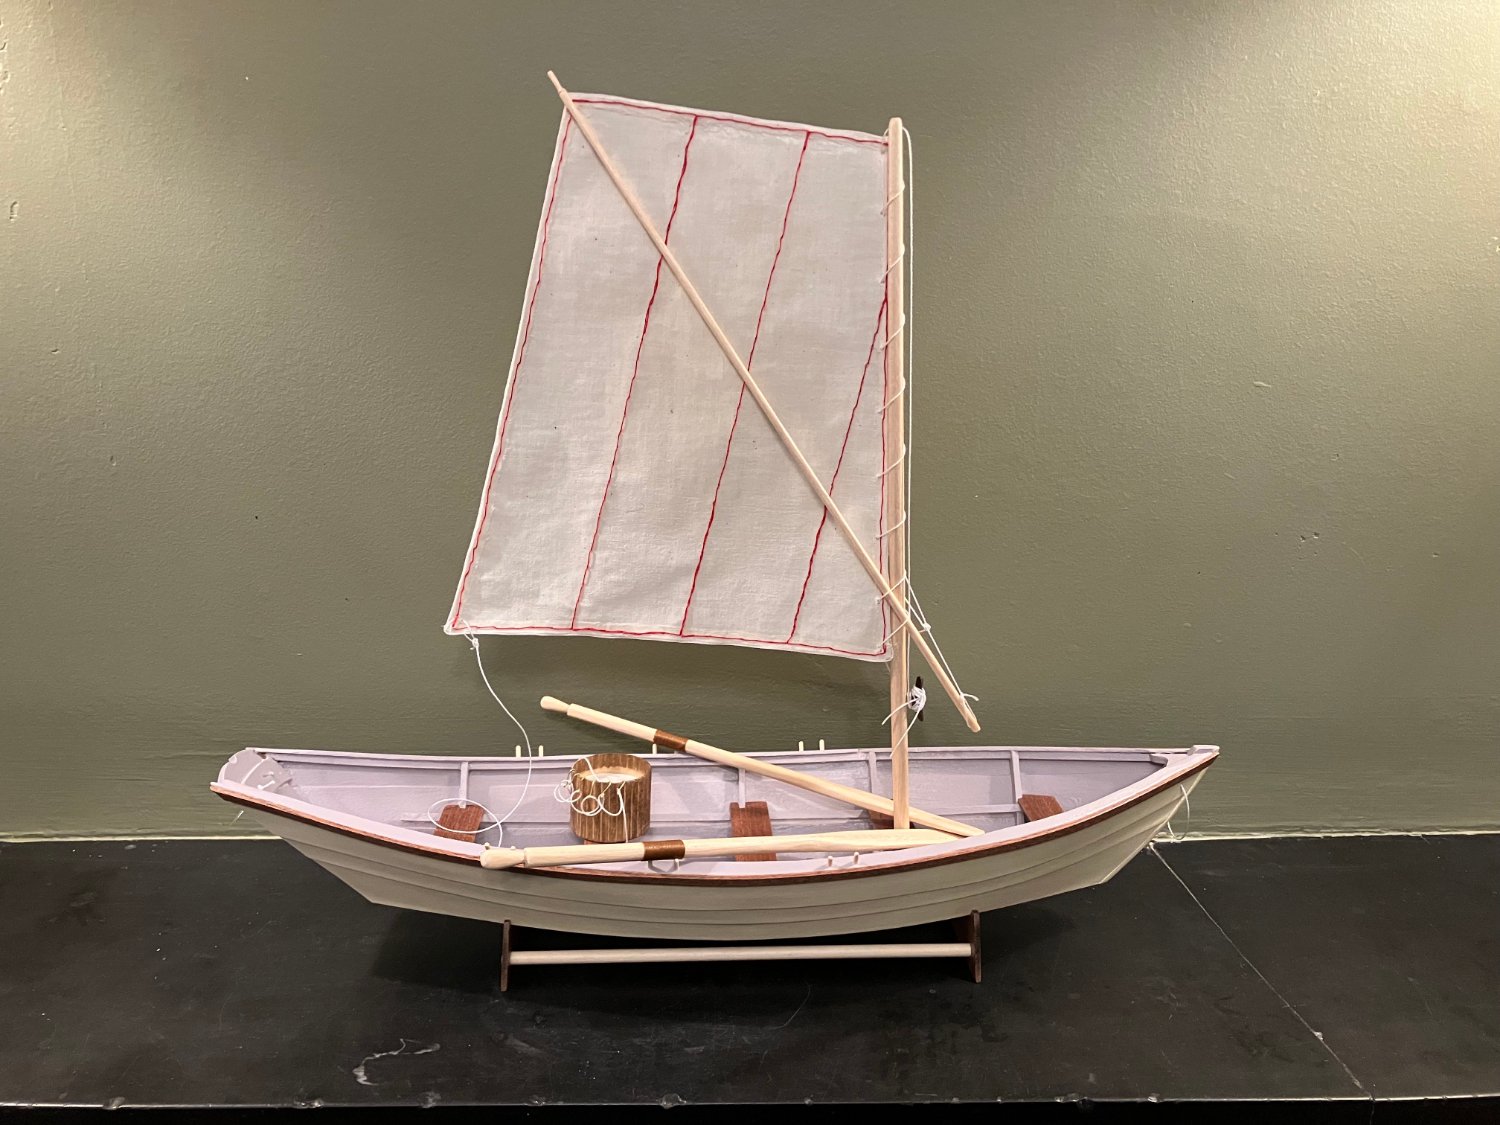
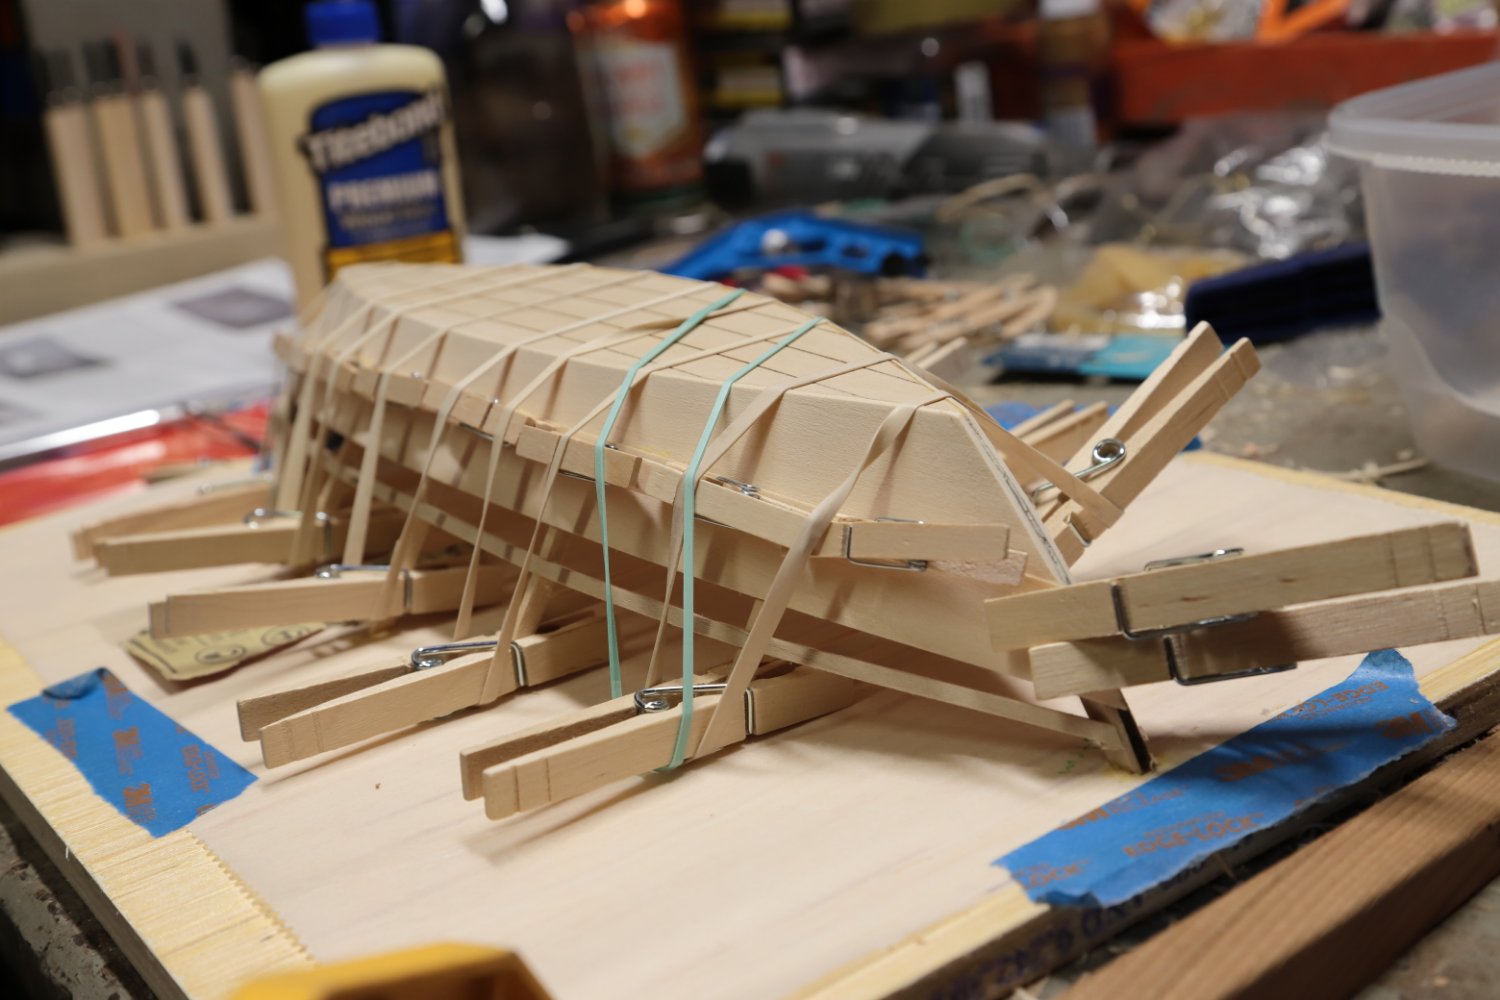
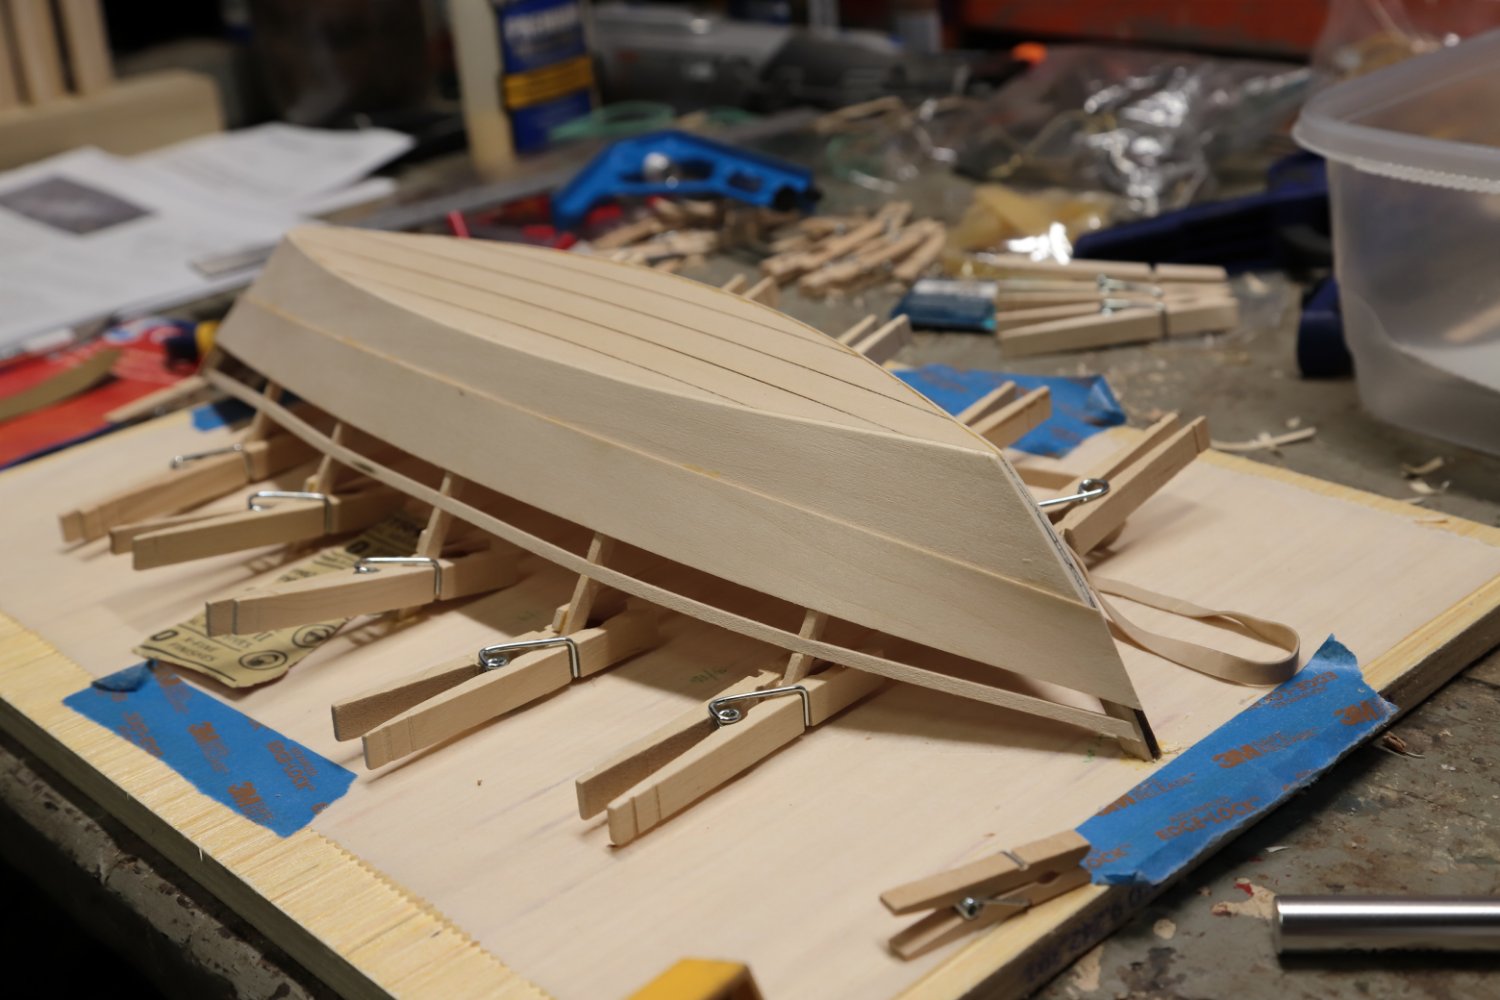
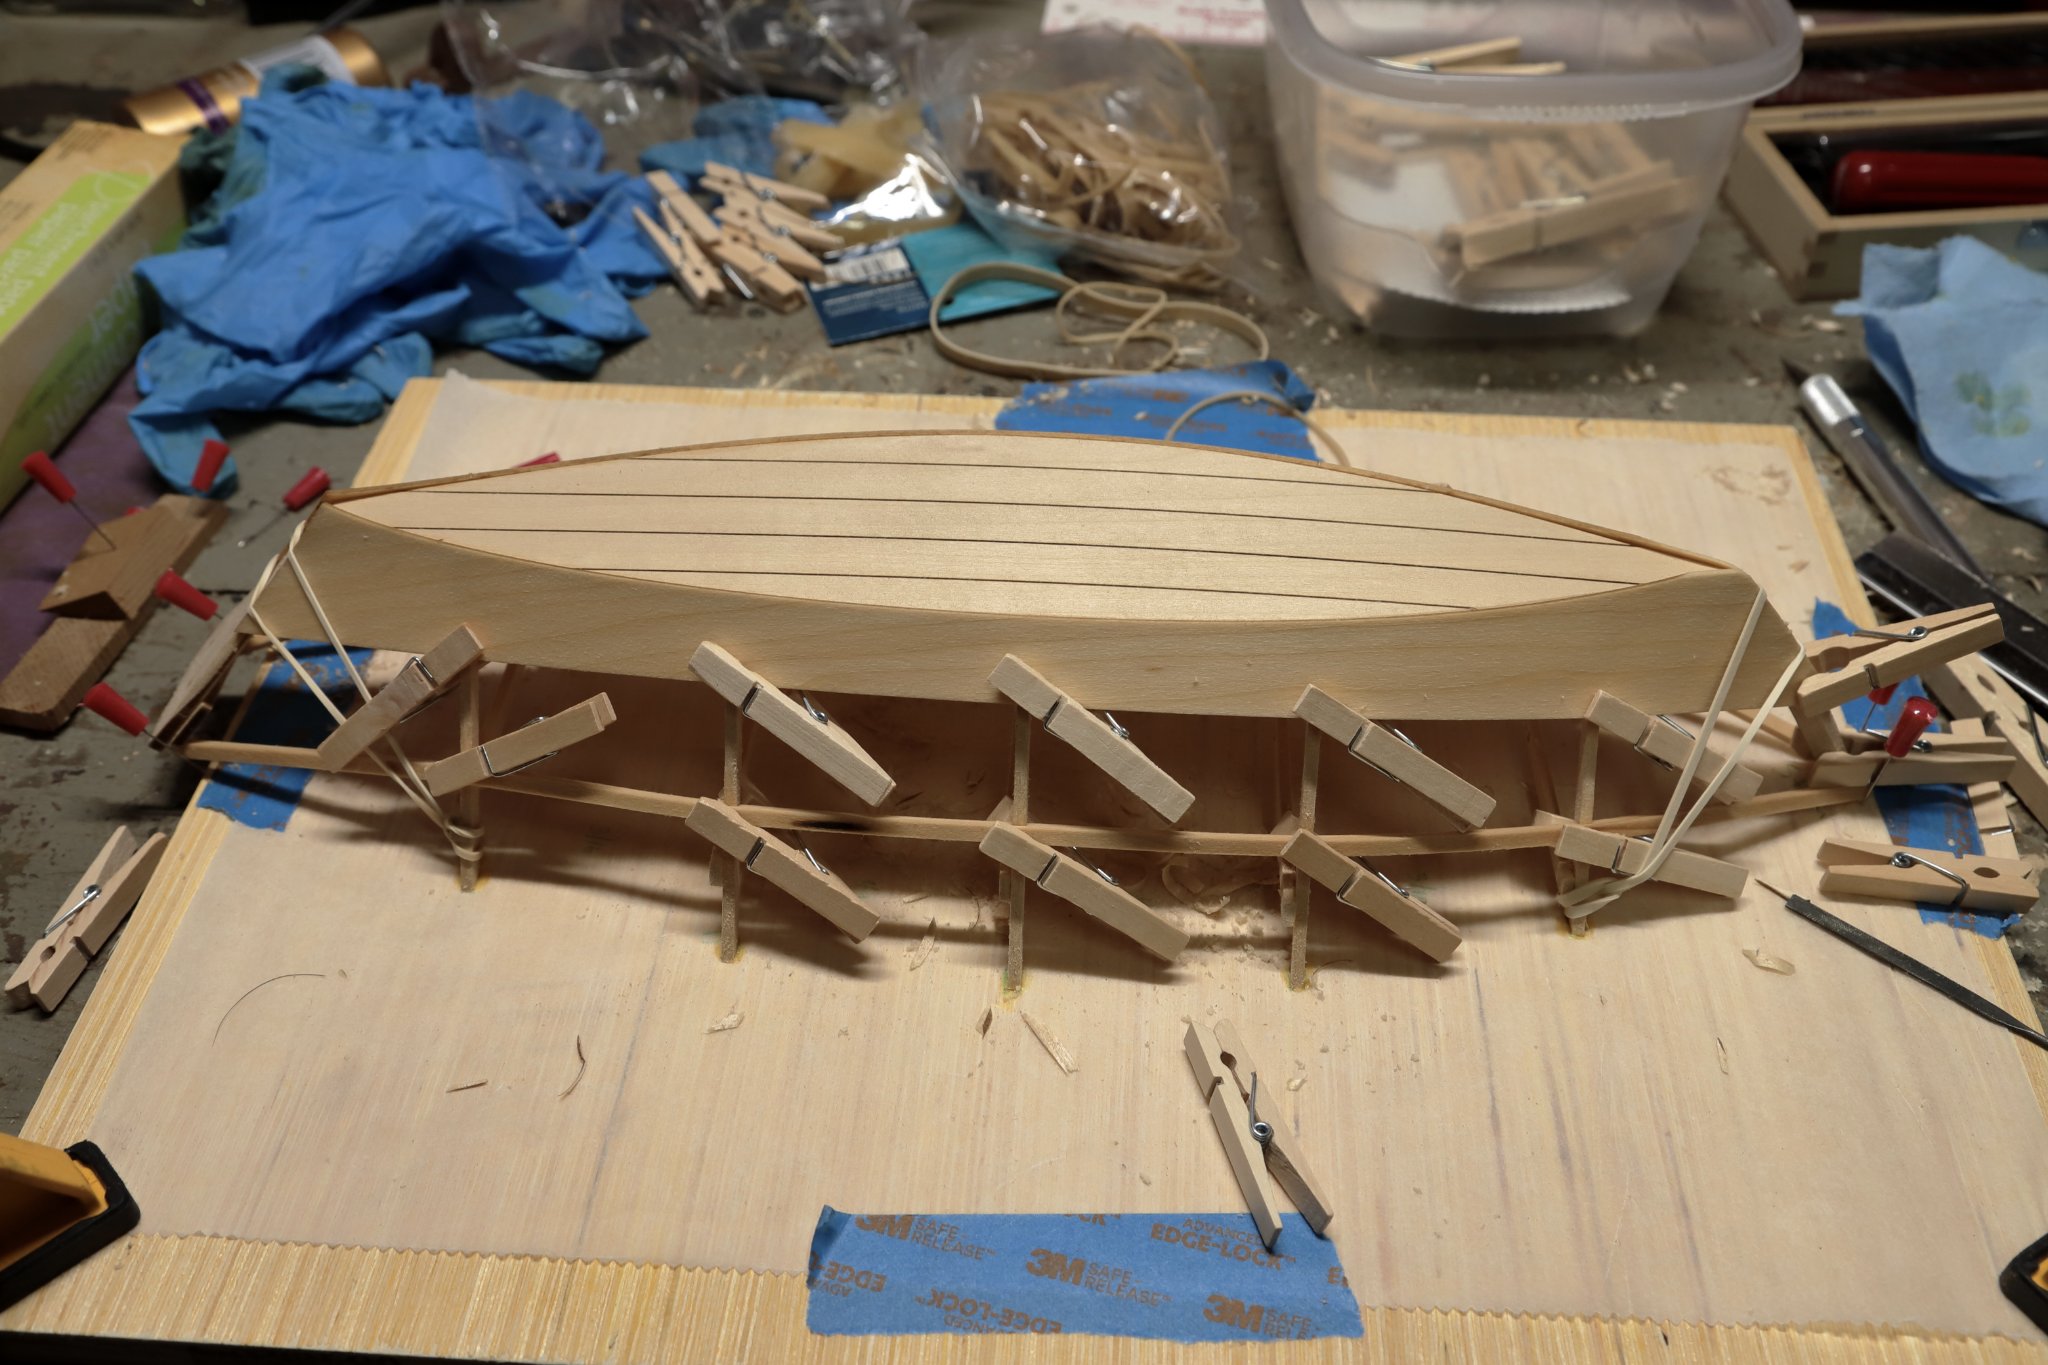
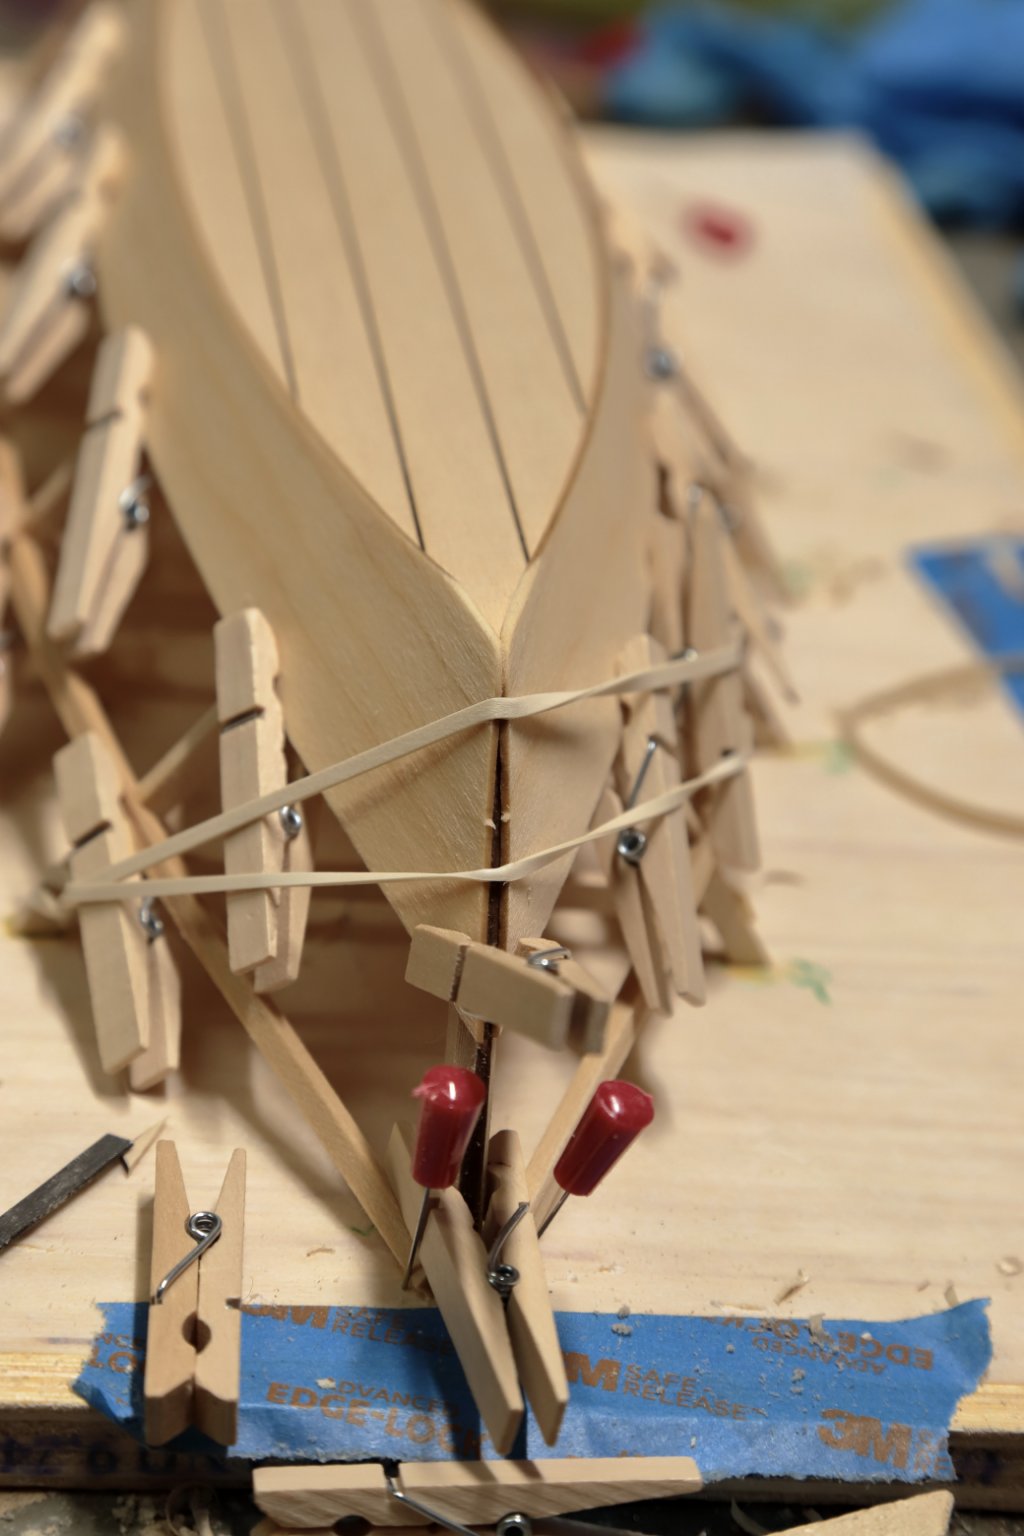
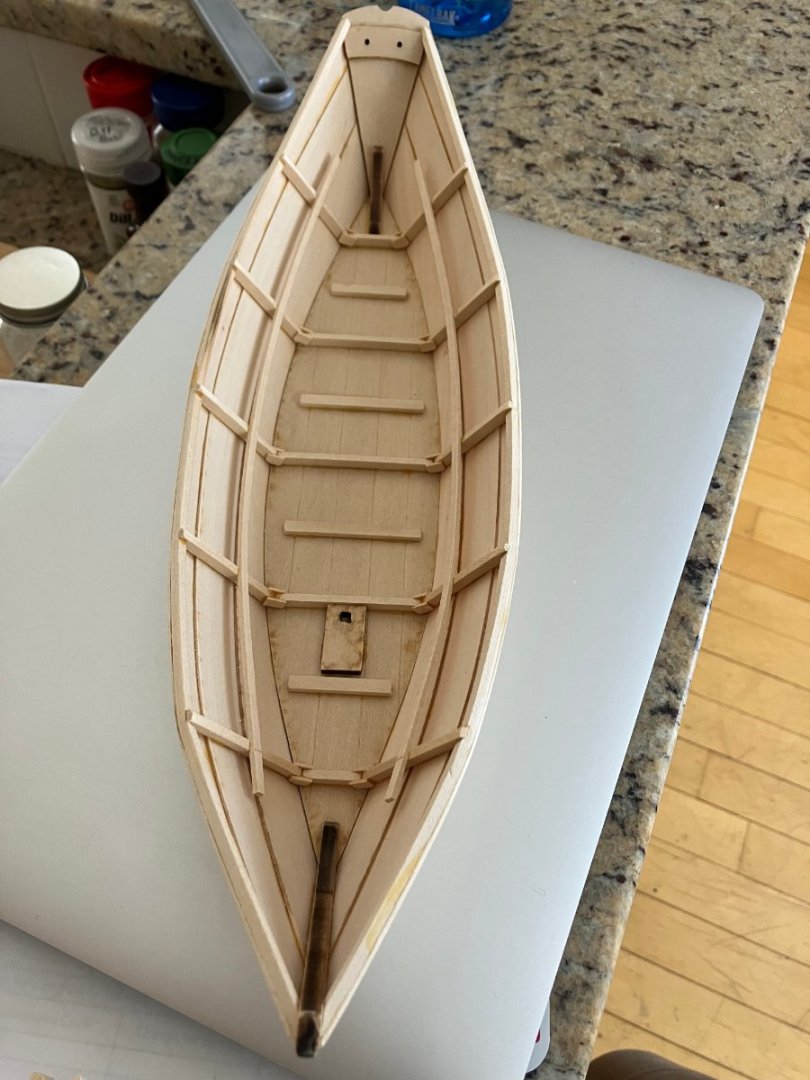
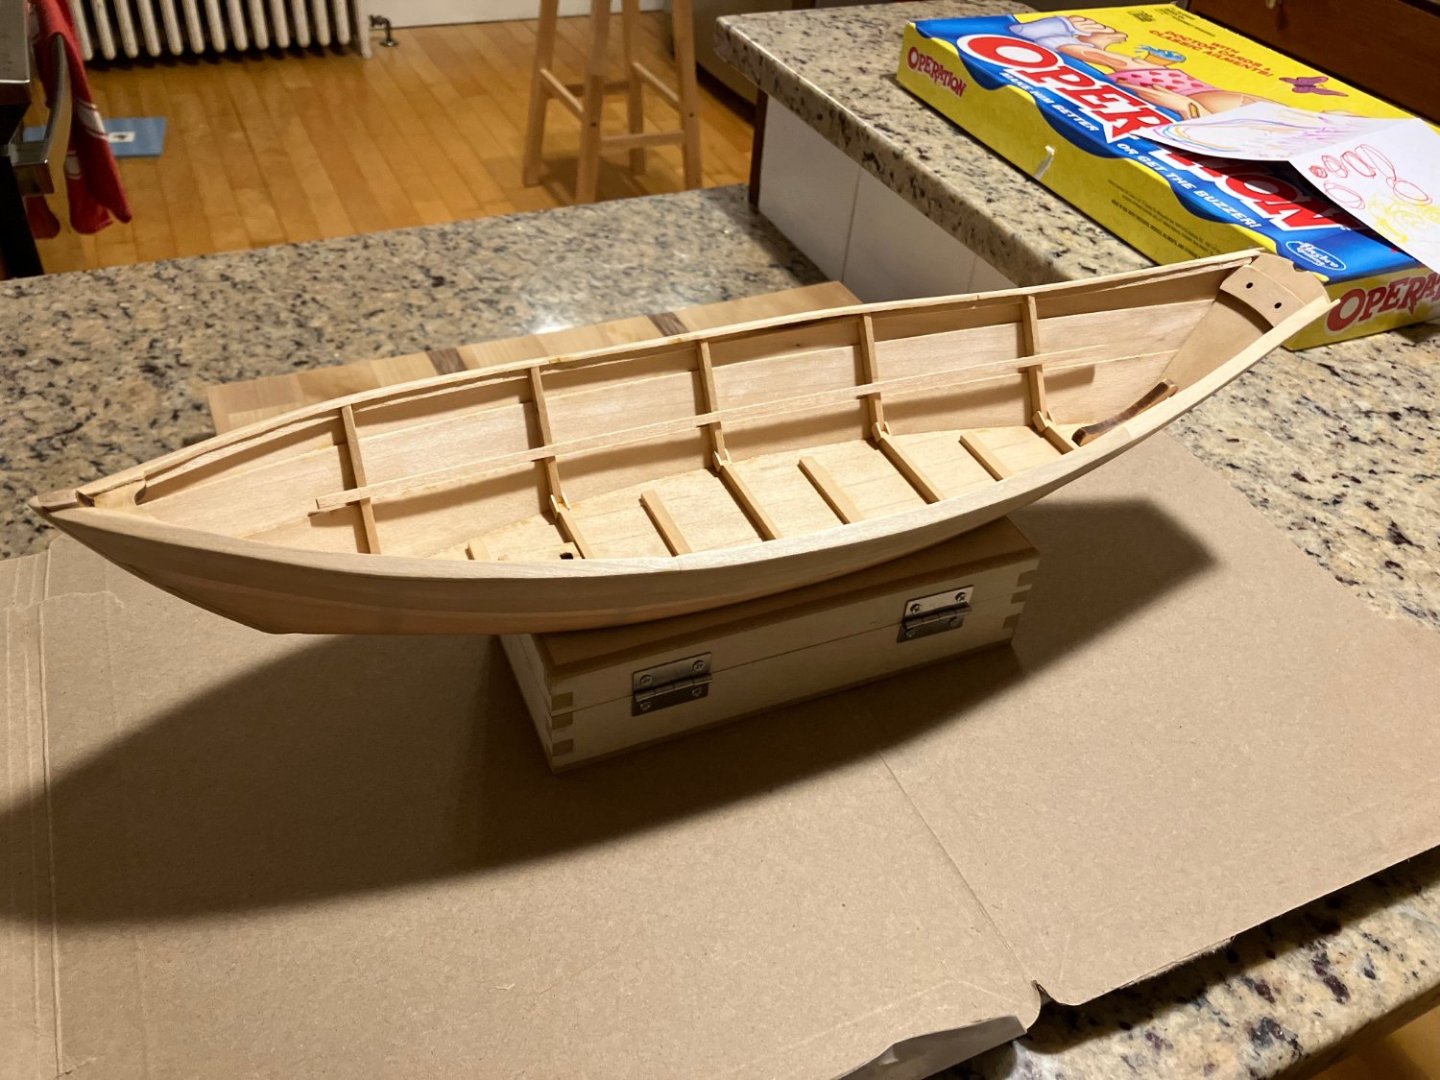
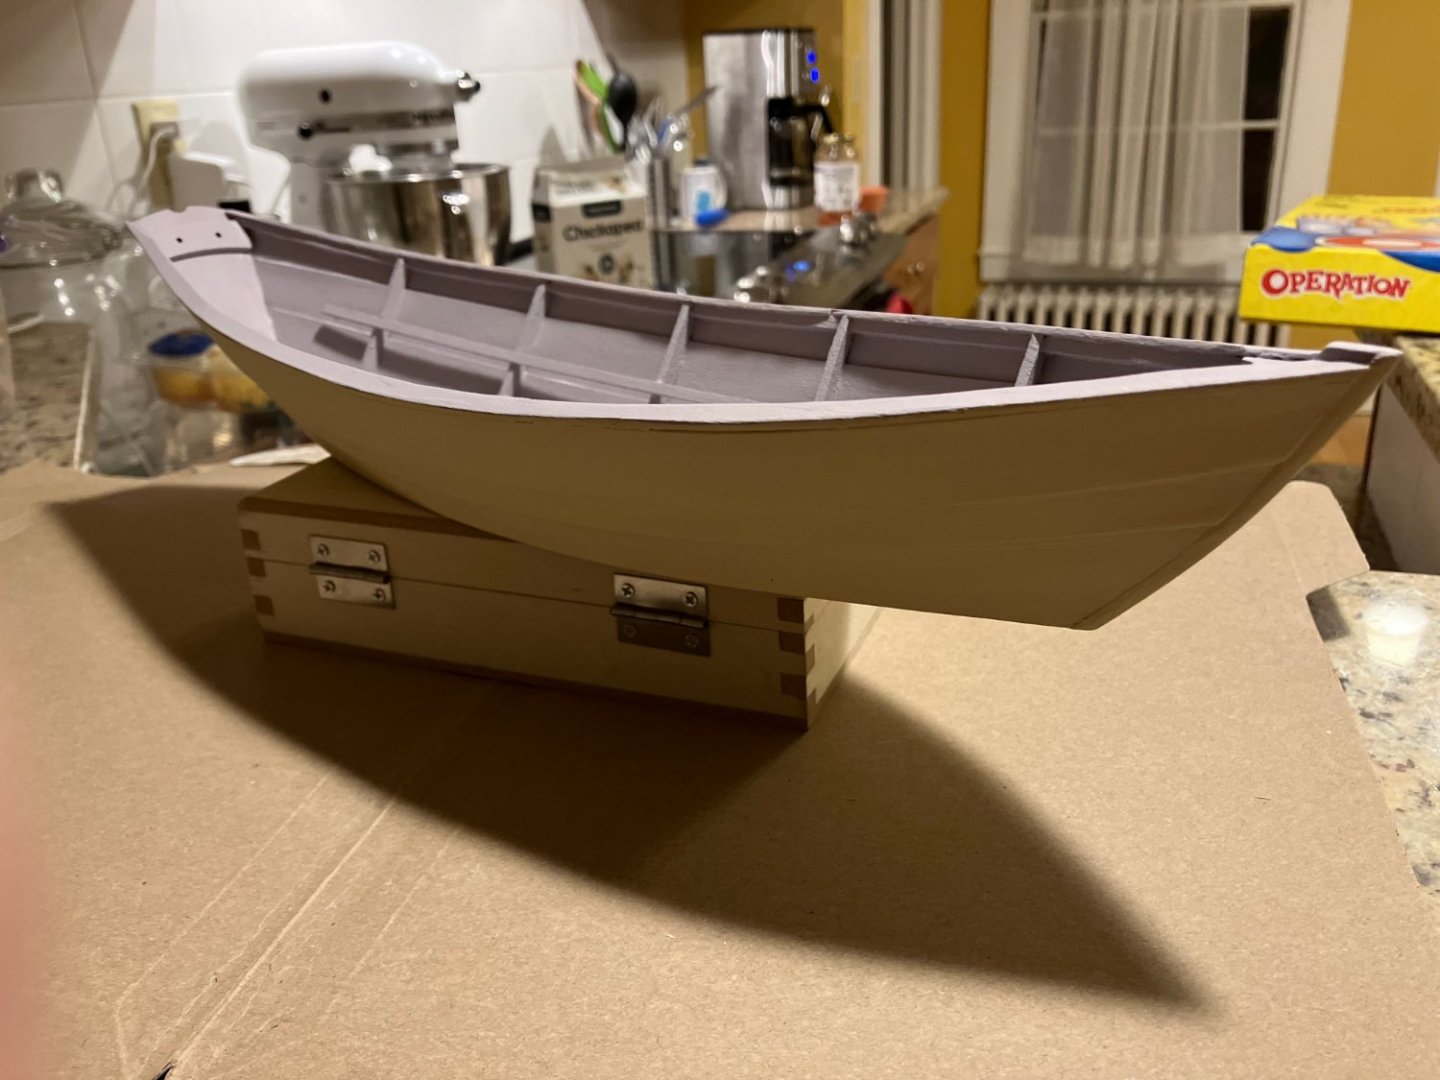
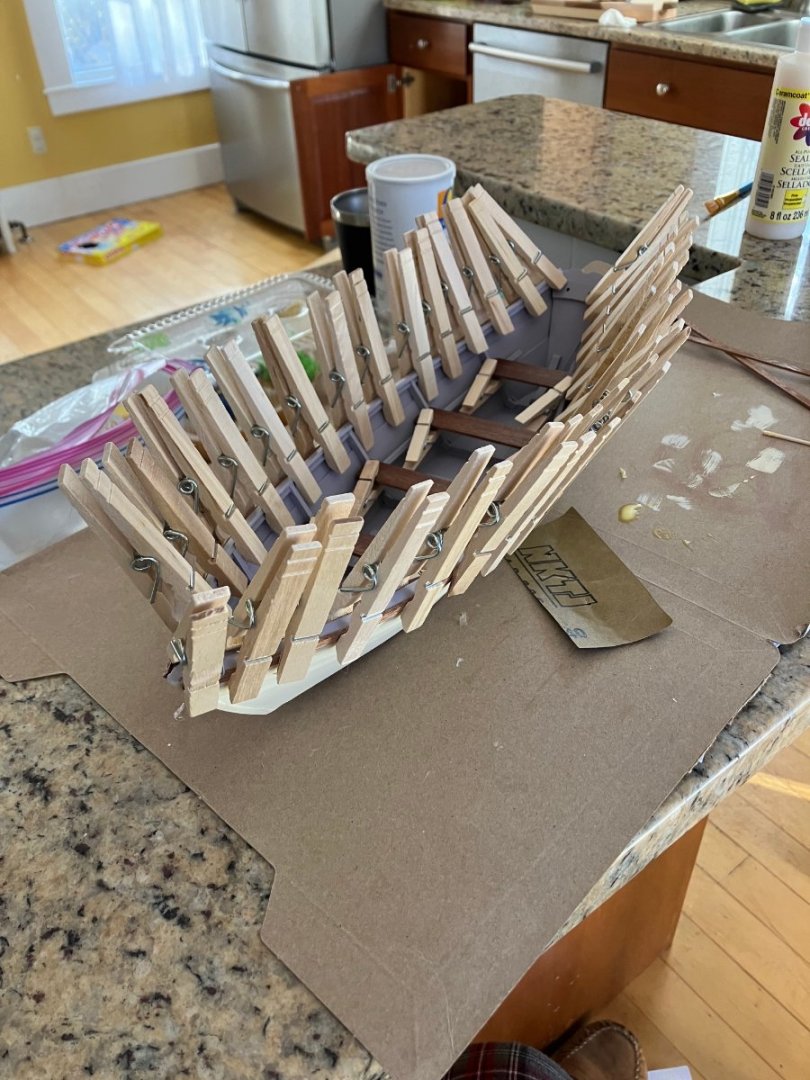
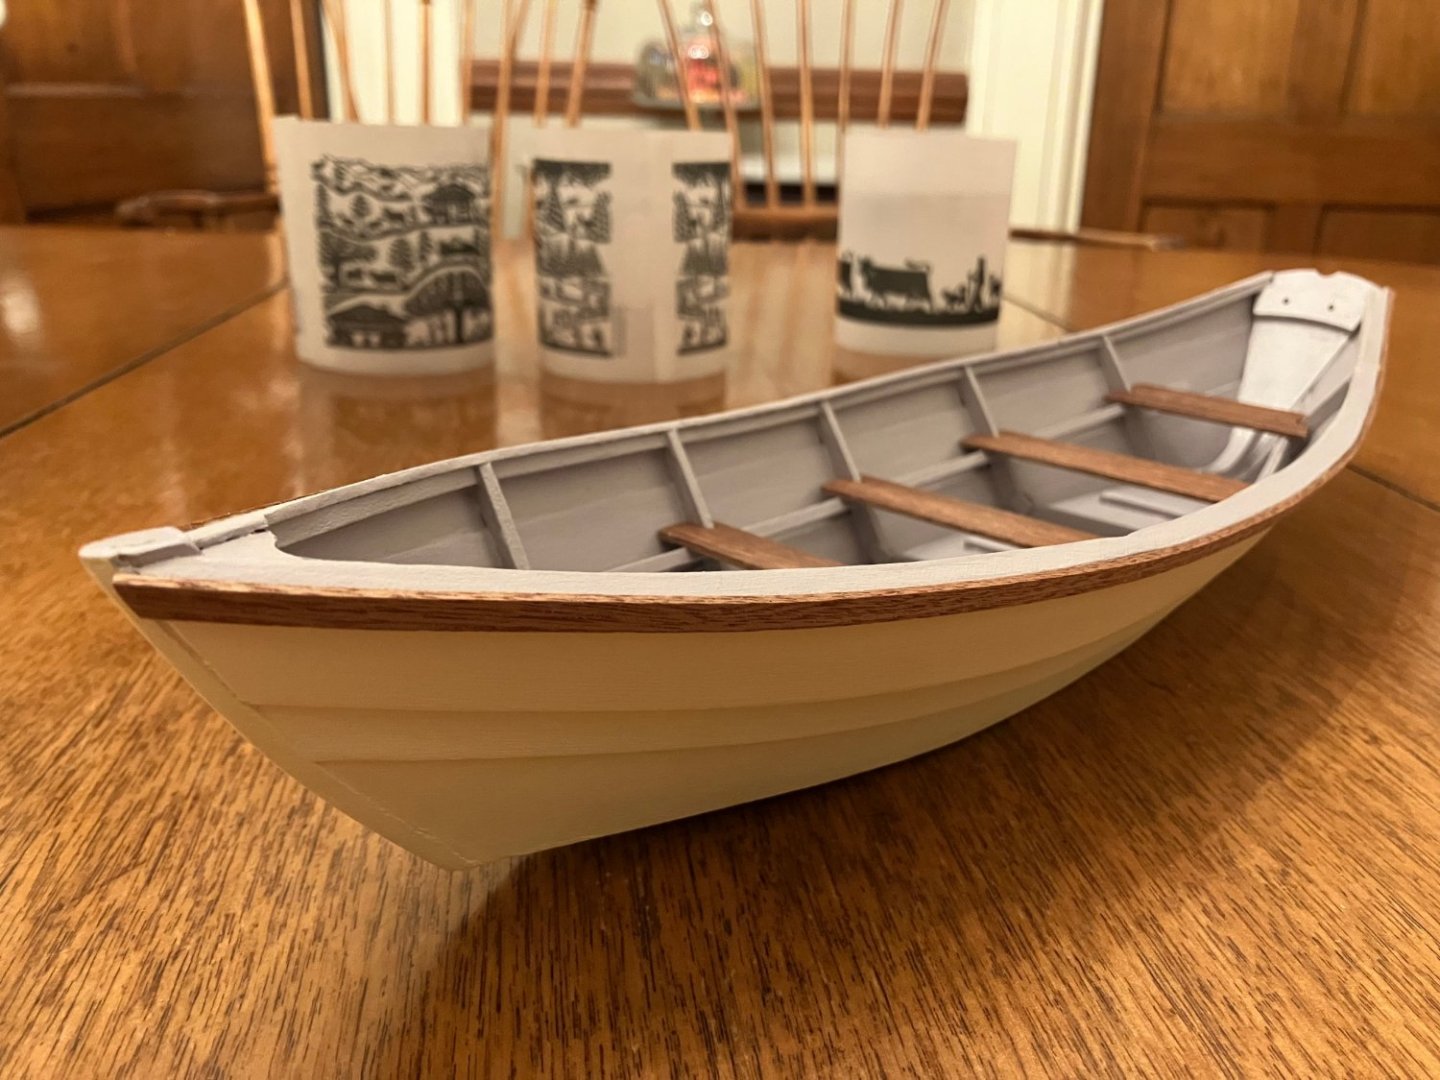
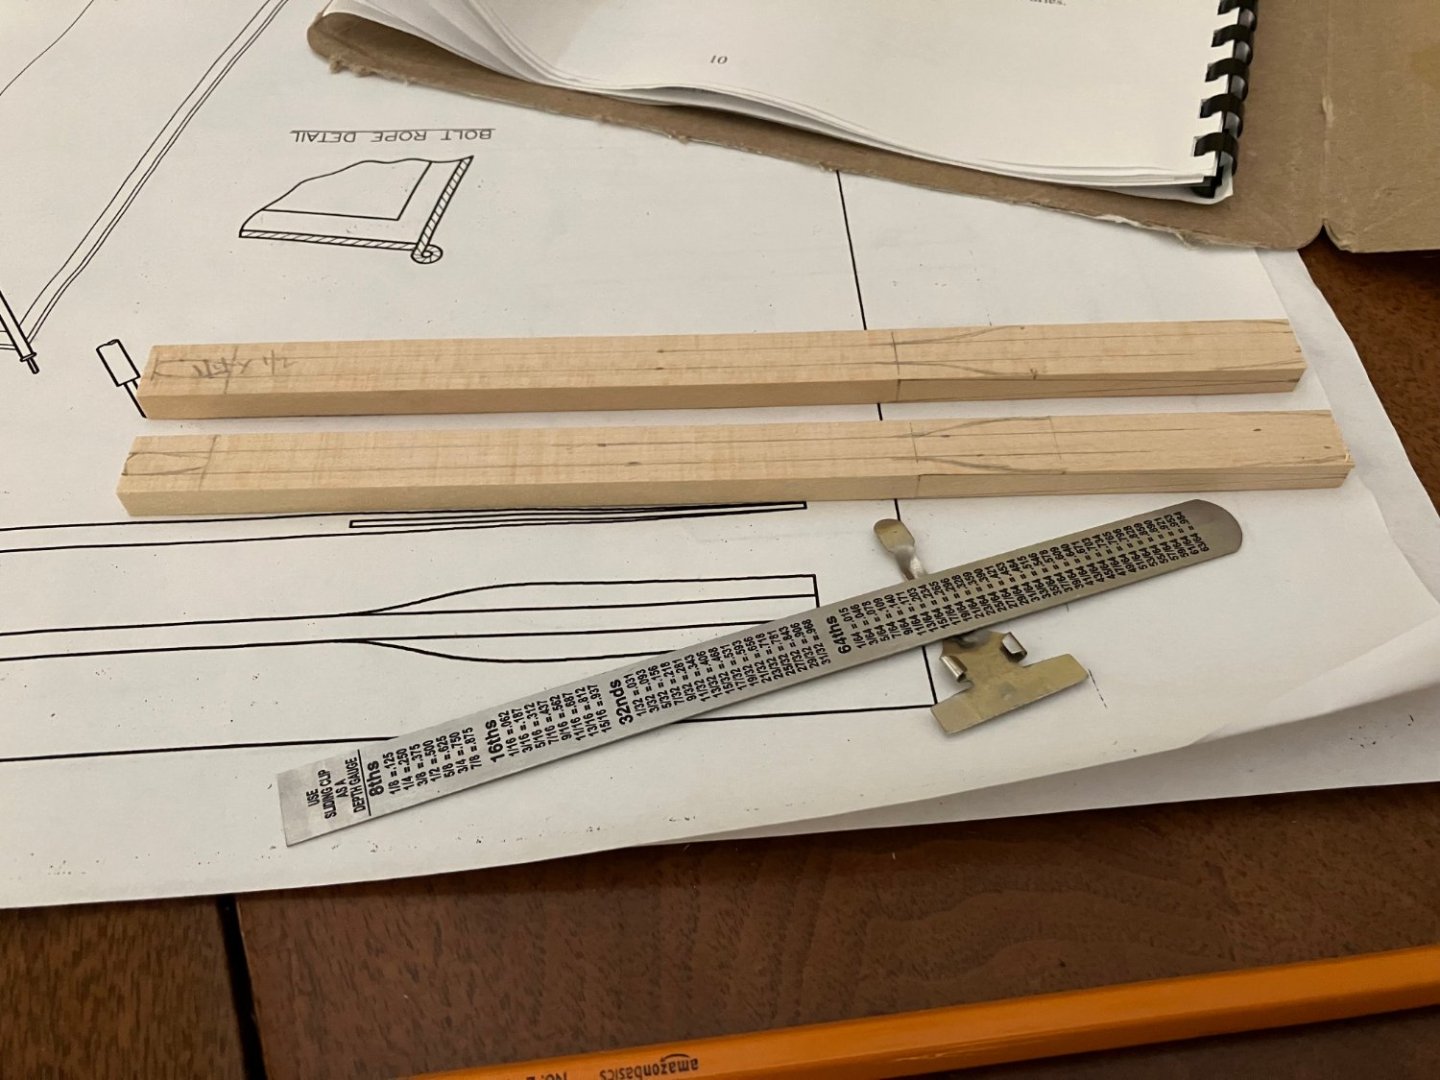
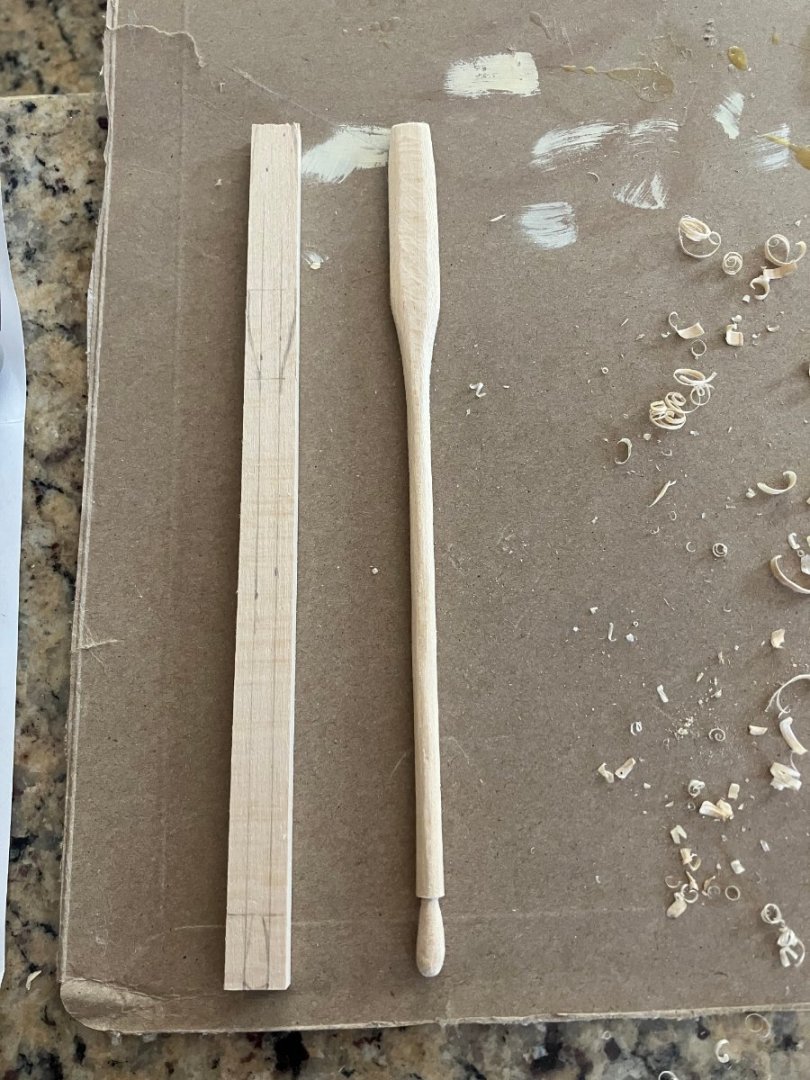
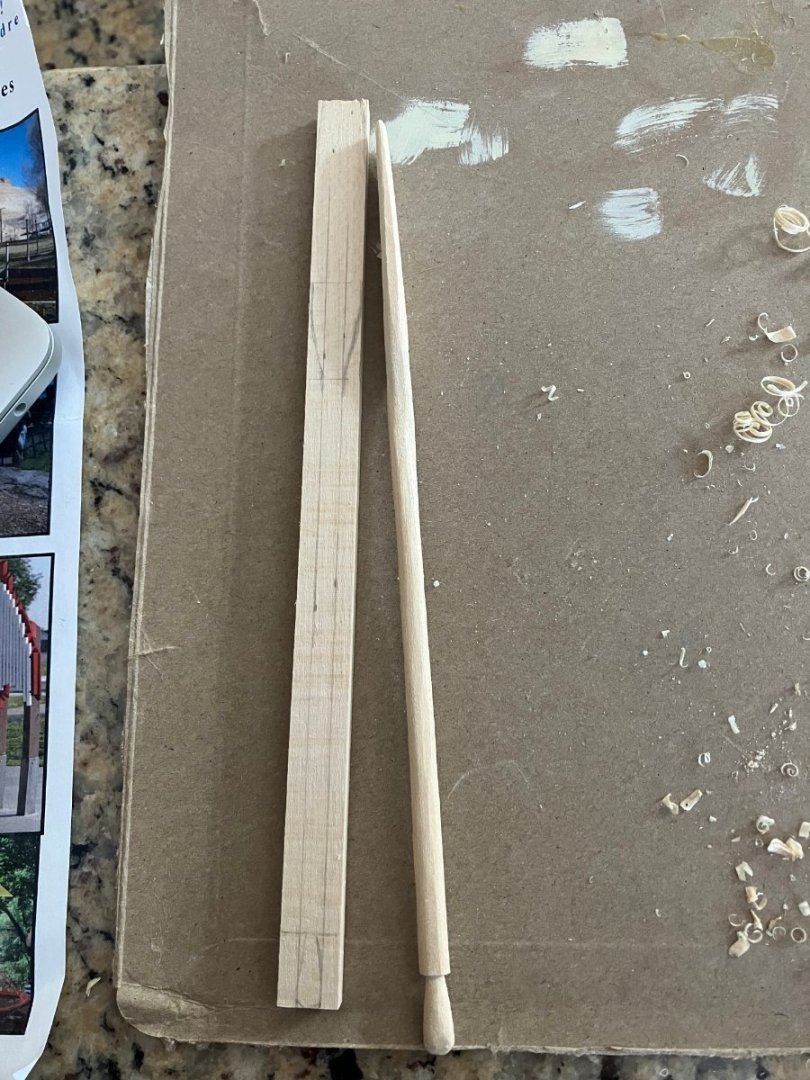
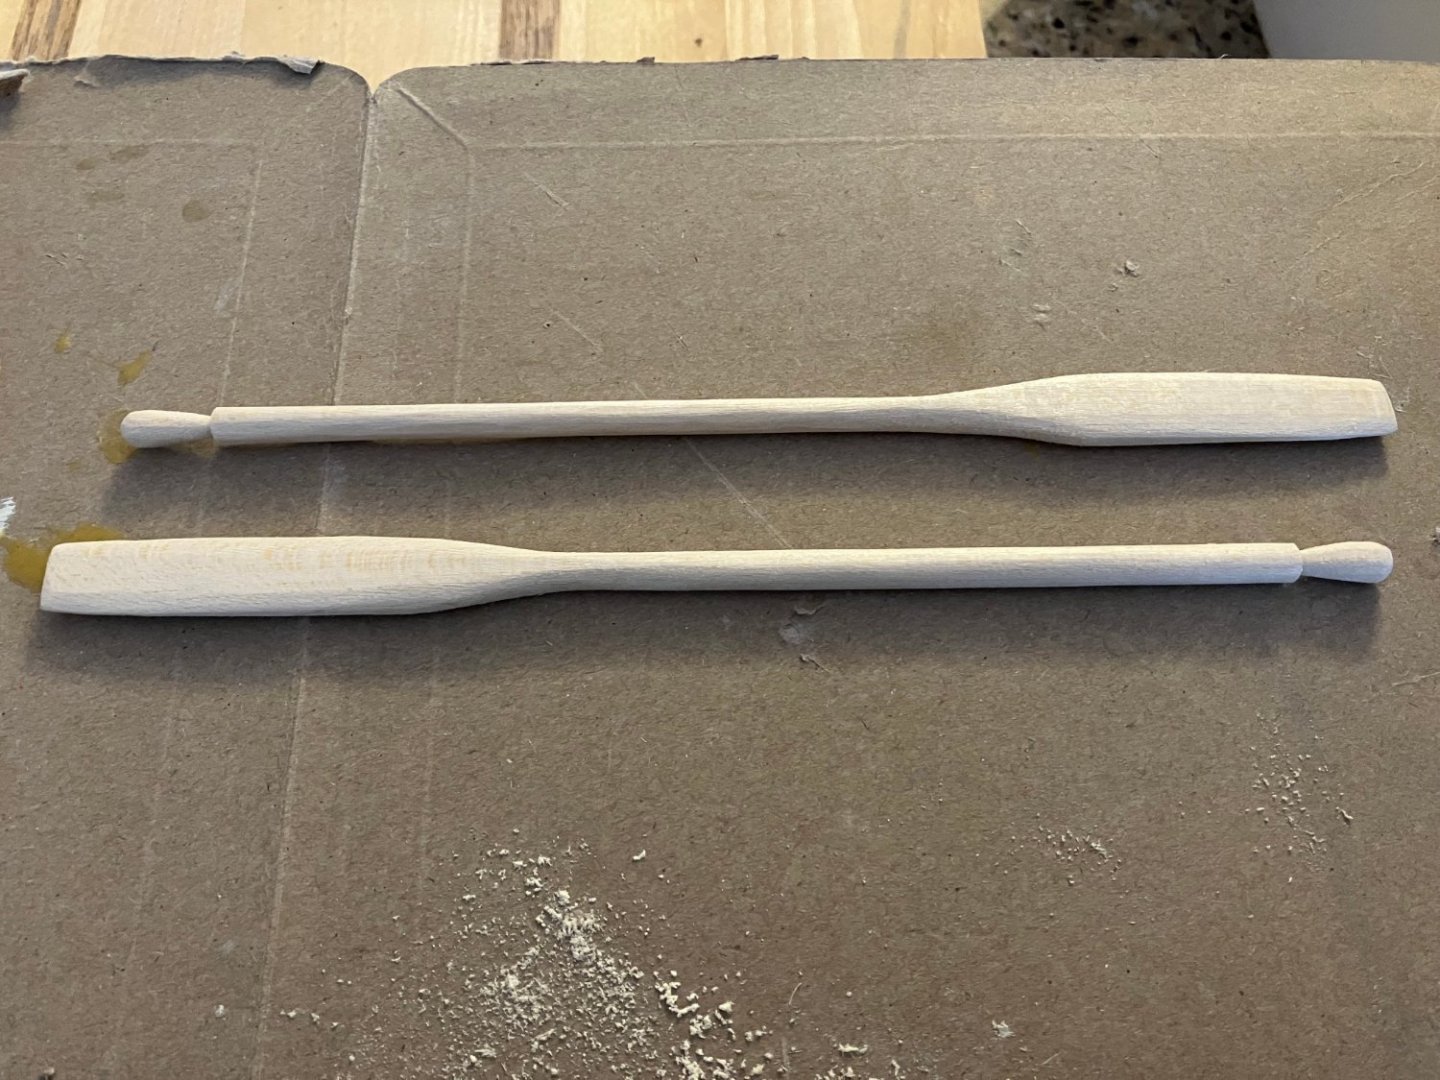
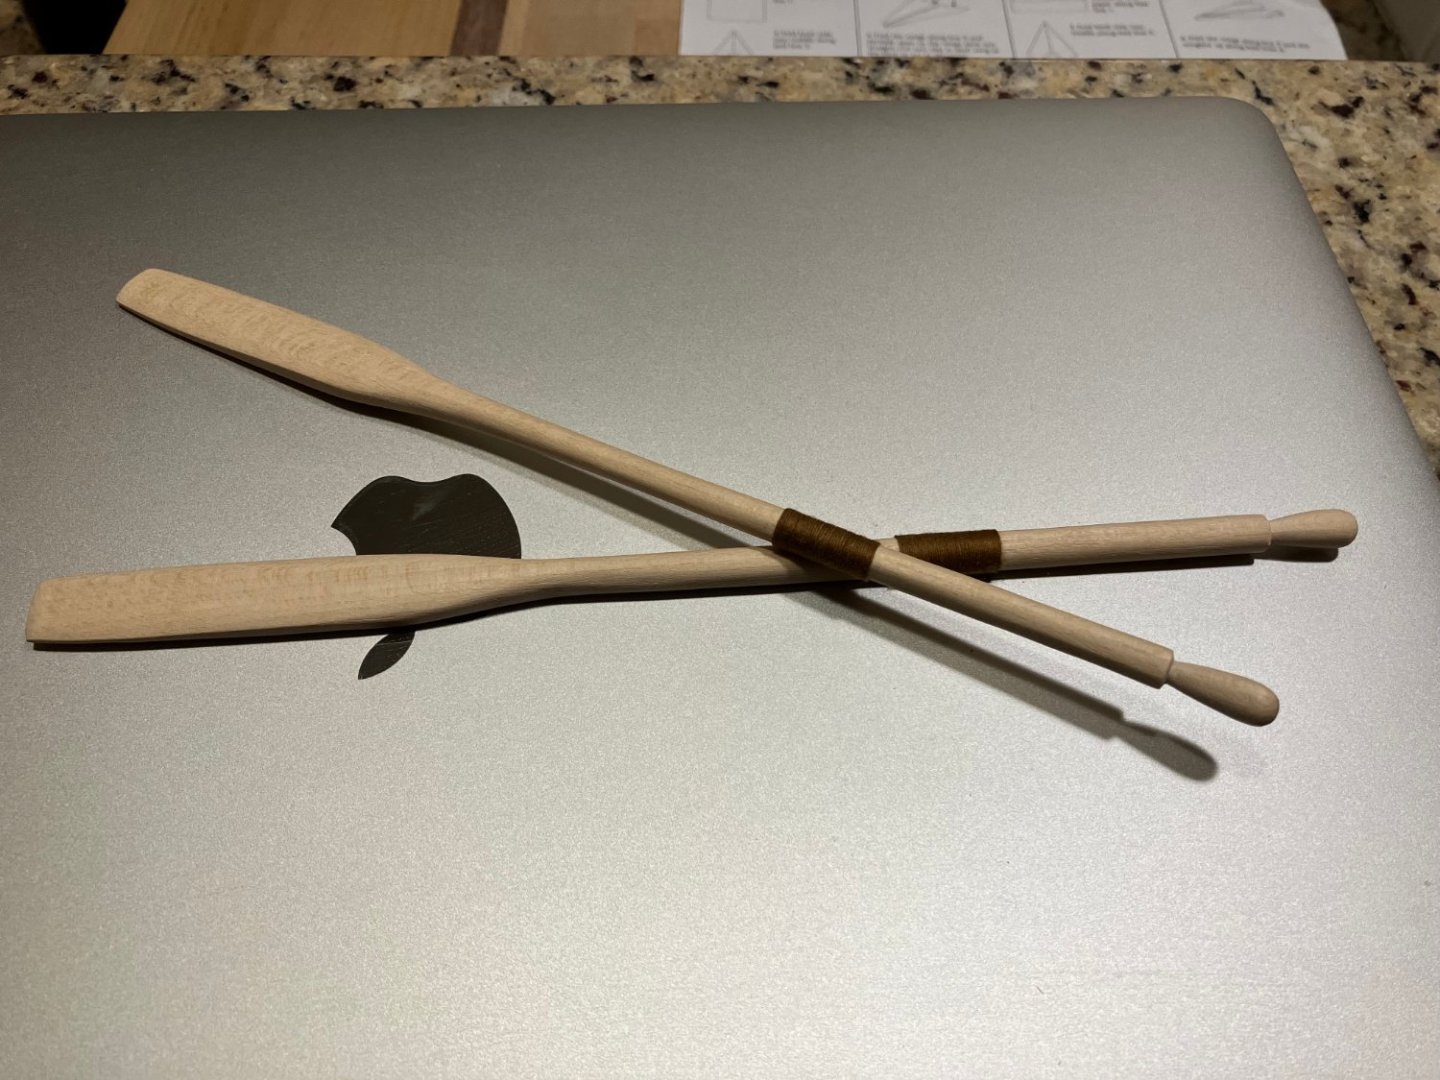
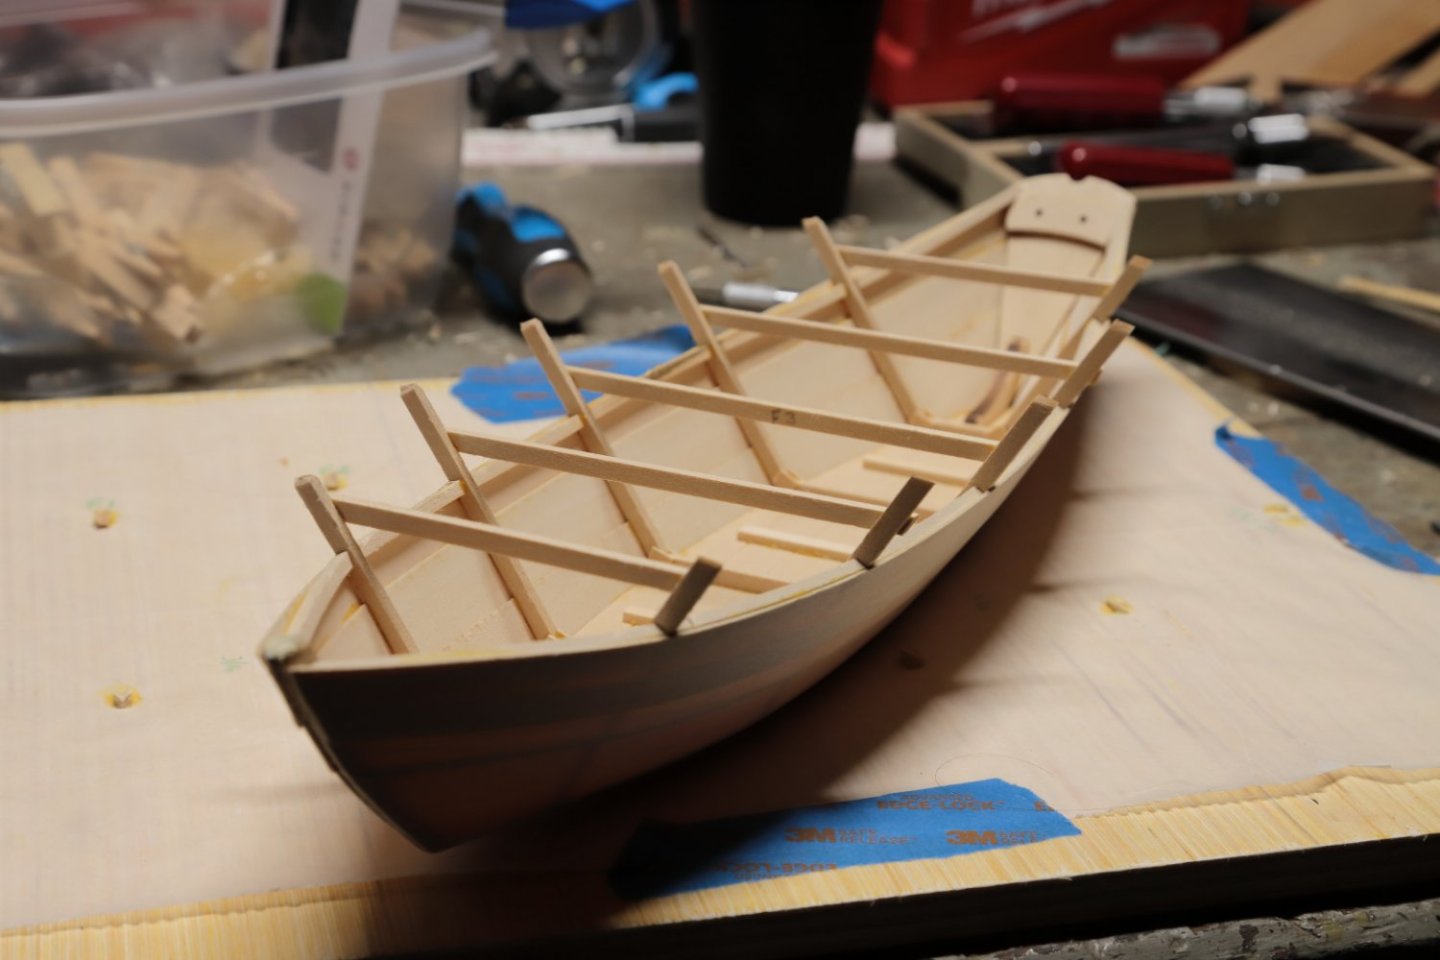
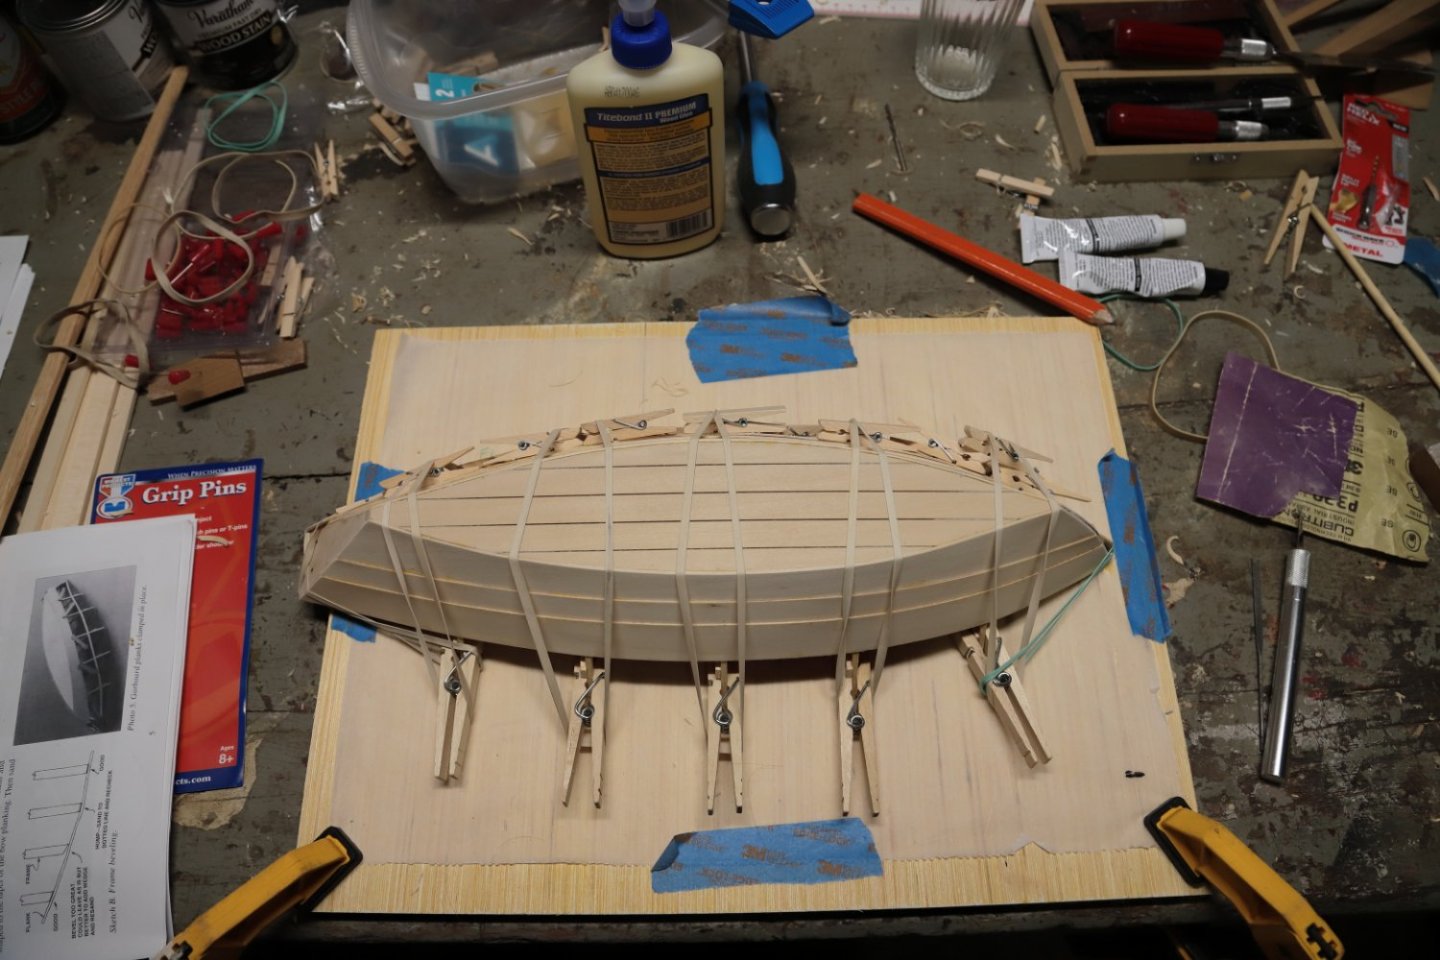
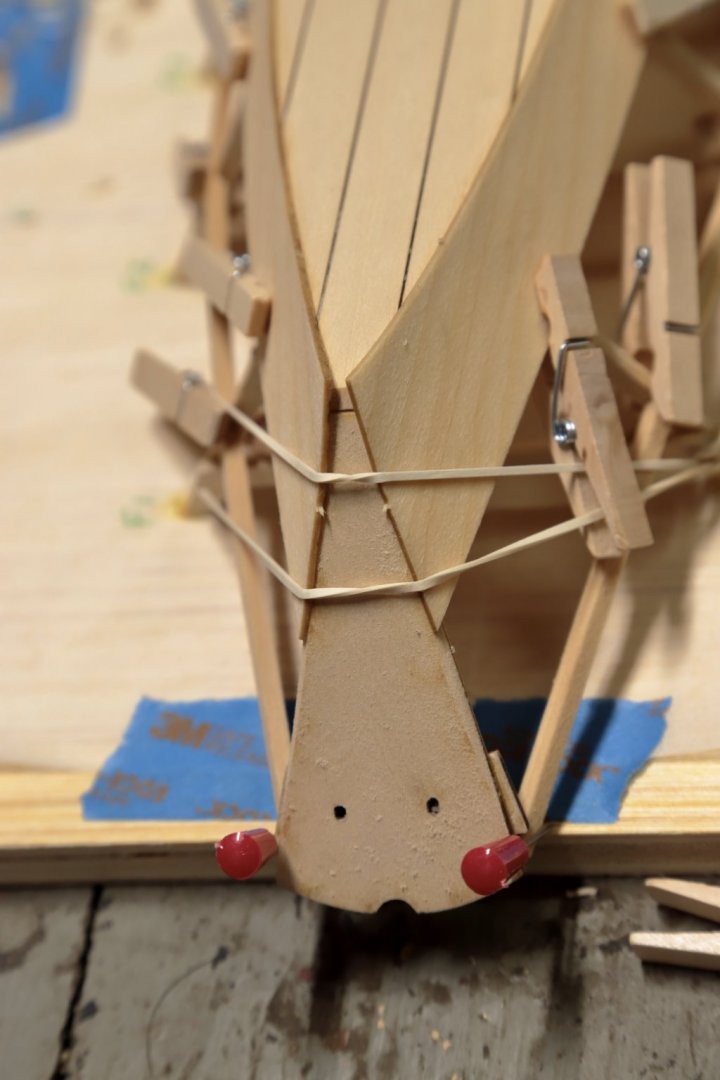
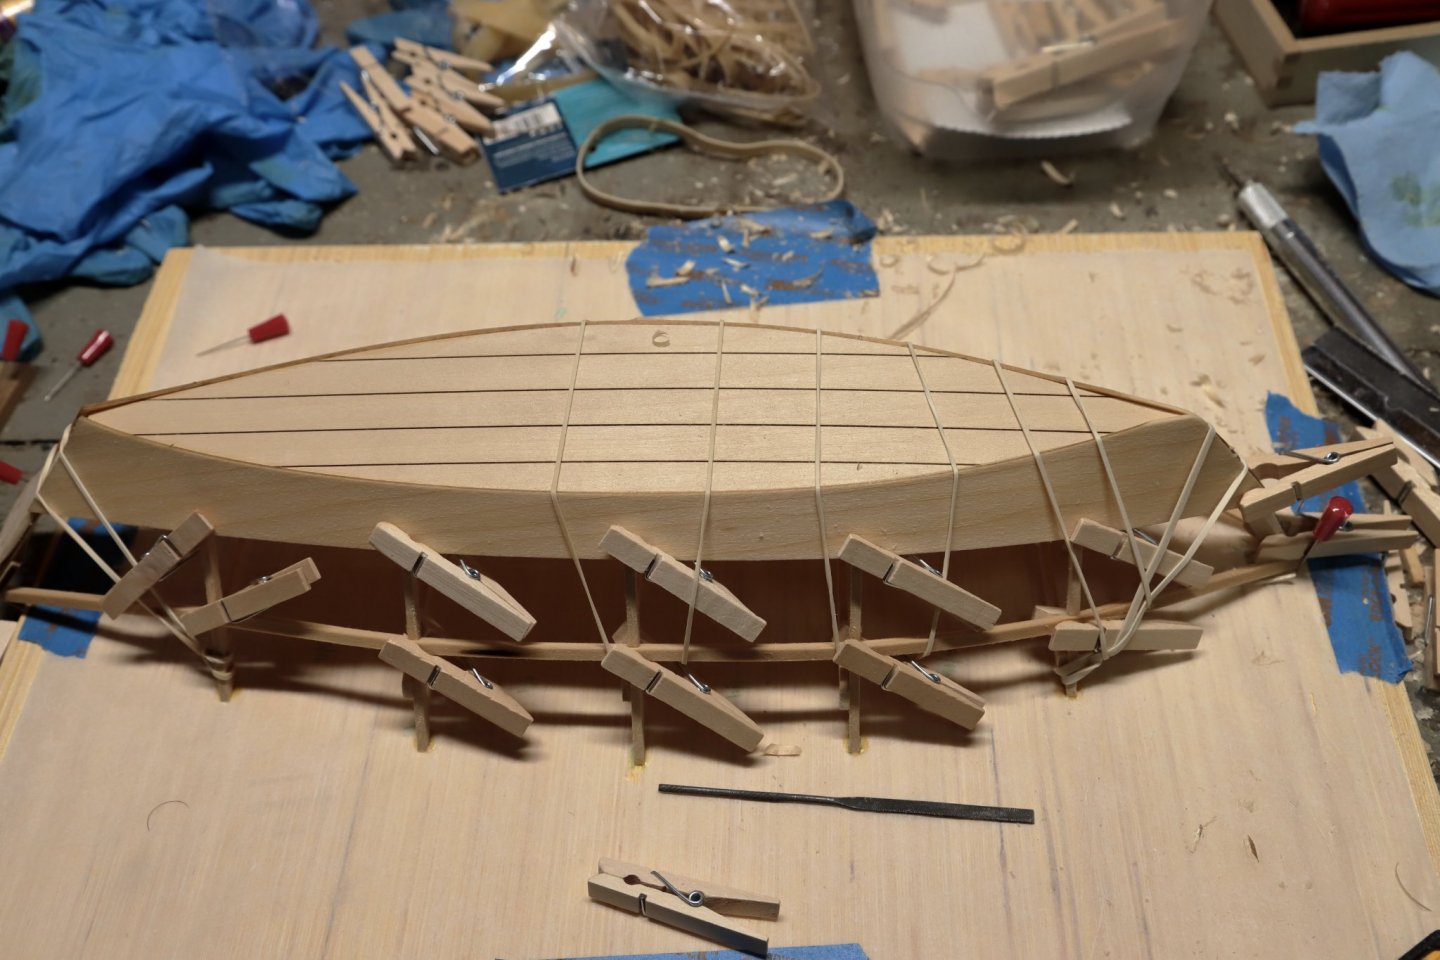
Here are my build progress shots so far. Some shots from before the move. Planking being added. Lots of rubber bands and clothespins. I finished planking and cleaned up the frames in June 2021 but had not put on cap rail, seat rails, or done anything else. The rest below are from January and February 2023. Adding the cap rail. A very tricky part in the build. Cap rails on and shaped. Boat has been sealed at this point for paint.The gripe is on and shaped. First coat of paint on. I opted for Morning Mist for the interior and Buttermilk for the exterior. Both paints are DecoArt Americana acrylic in matte finish. Gluing on the mahogany sheer bands and seats Detail shots of sheer bands and seats This was a fun bit. shaping the thole pins. I used a swivel head pin vise/hand drill to hold the pins while I shaped them with sandpaper. I then used the vice to squeeze down the pins enough to get them into the drilled holes in the gunwale without breaking. Thole pins in place and base made. Everything has been varnished with Ceramcoat/Delta Creative Satin varnish. Main mast finished with cleats attached. Sprit is lying down in the dory. Cleats stained red mahogany. Hoist loops were added as well. Sail finished. This was a fun bit as well. True to form, I used cordage I had on hand to hand stitch the panels and hem. I went for the more realistic option detailed in the instructions including sizing the sail with varnish, gluing hems and then stitching. I had off-white and red colored thread and left it to my 5 year old son to pick the color (red is his favorite). I do like that this is a functional sail as far as the rigging goes and can be adjusted as needed. Creating the accessory pieces for the inside of the dory. I felt that the line tub needed some added flair to make it clear it was for fishing. Created 6 cod hooks out of 0.51mm brass rod. I also hand coiled the rope over white glue as I couldn't get it to stick to any tape. Line tub finished and lightly stained with red mahogany. Hooks glued in place with "rock" weight free outside of tub. Hooks are spaced 1" apart on line. The start of the oars. I opted for the hand carved method outlined in the instructions. Used 1/4"x1/2" basswood stock. First oar roughed out. Oars roughed out. Ended up sanding them lightly with 240 grit sandpaper which really allowed the contours to pop. In researching whether to stain dark or leave the oars natural, I saw that many historic depictions of the grand banks dory had oars with rope wrappings where they would rest in the oarlocks. This is leftover brown thread from my ship in a bottle kit hand wrapped over the oars. Either end of the threading is pulled under the wrappings to lock it in place with no knots. Detail shots of the oars after satin varnish. Oars and line tub in the dory. Full shot of the Grand Banks Dory as of this morning. A few more finishing touches but she is almost complete. I plan to make 1-2 lobster traps as well to add to the dory so that I can swap out line tub when desired. I also need to add some wrapped rope and possibly a bail.


- 6 replies
-
- 6
-
-
- Grand Banks Dory
- Bluejacket Shipcrafters
- (and 2 more)
-
Restarting this build thread! After almost 2 years, moving to another state, and adding one to our family, I am finally getting back to finishing the Grand Banks Dory by Bluejacket Shipcrafters. I was spurred to finish the build after finishing a ship in a bottle kit. I am very excited with how the build has been coming along and I am nearly finished. Just completing the final accessories and hope to finish this weekend.
- 6 replies
-
- 2
-
-
- Grand Banks Dory
- Bluejacket Shipcrafters
- (and 2 more)
-
Micheal, wondering what software you are using to do your design on?
-
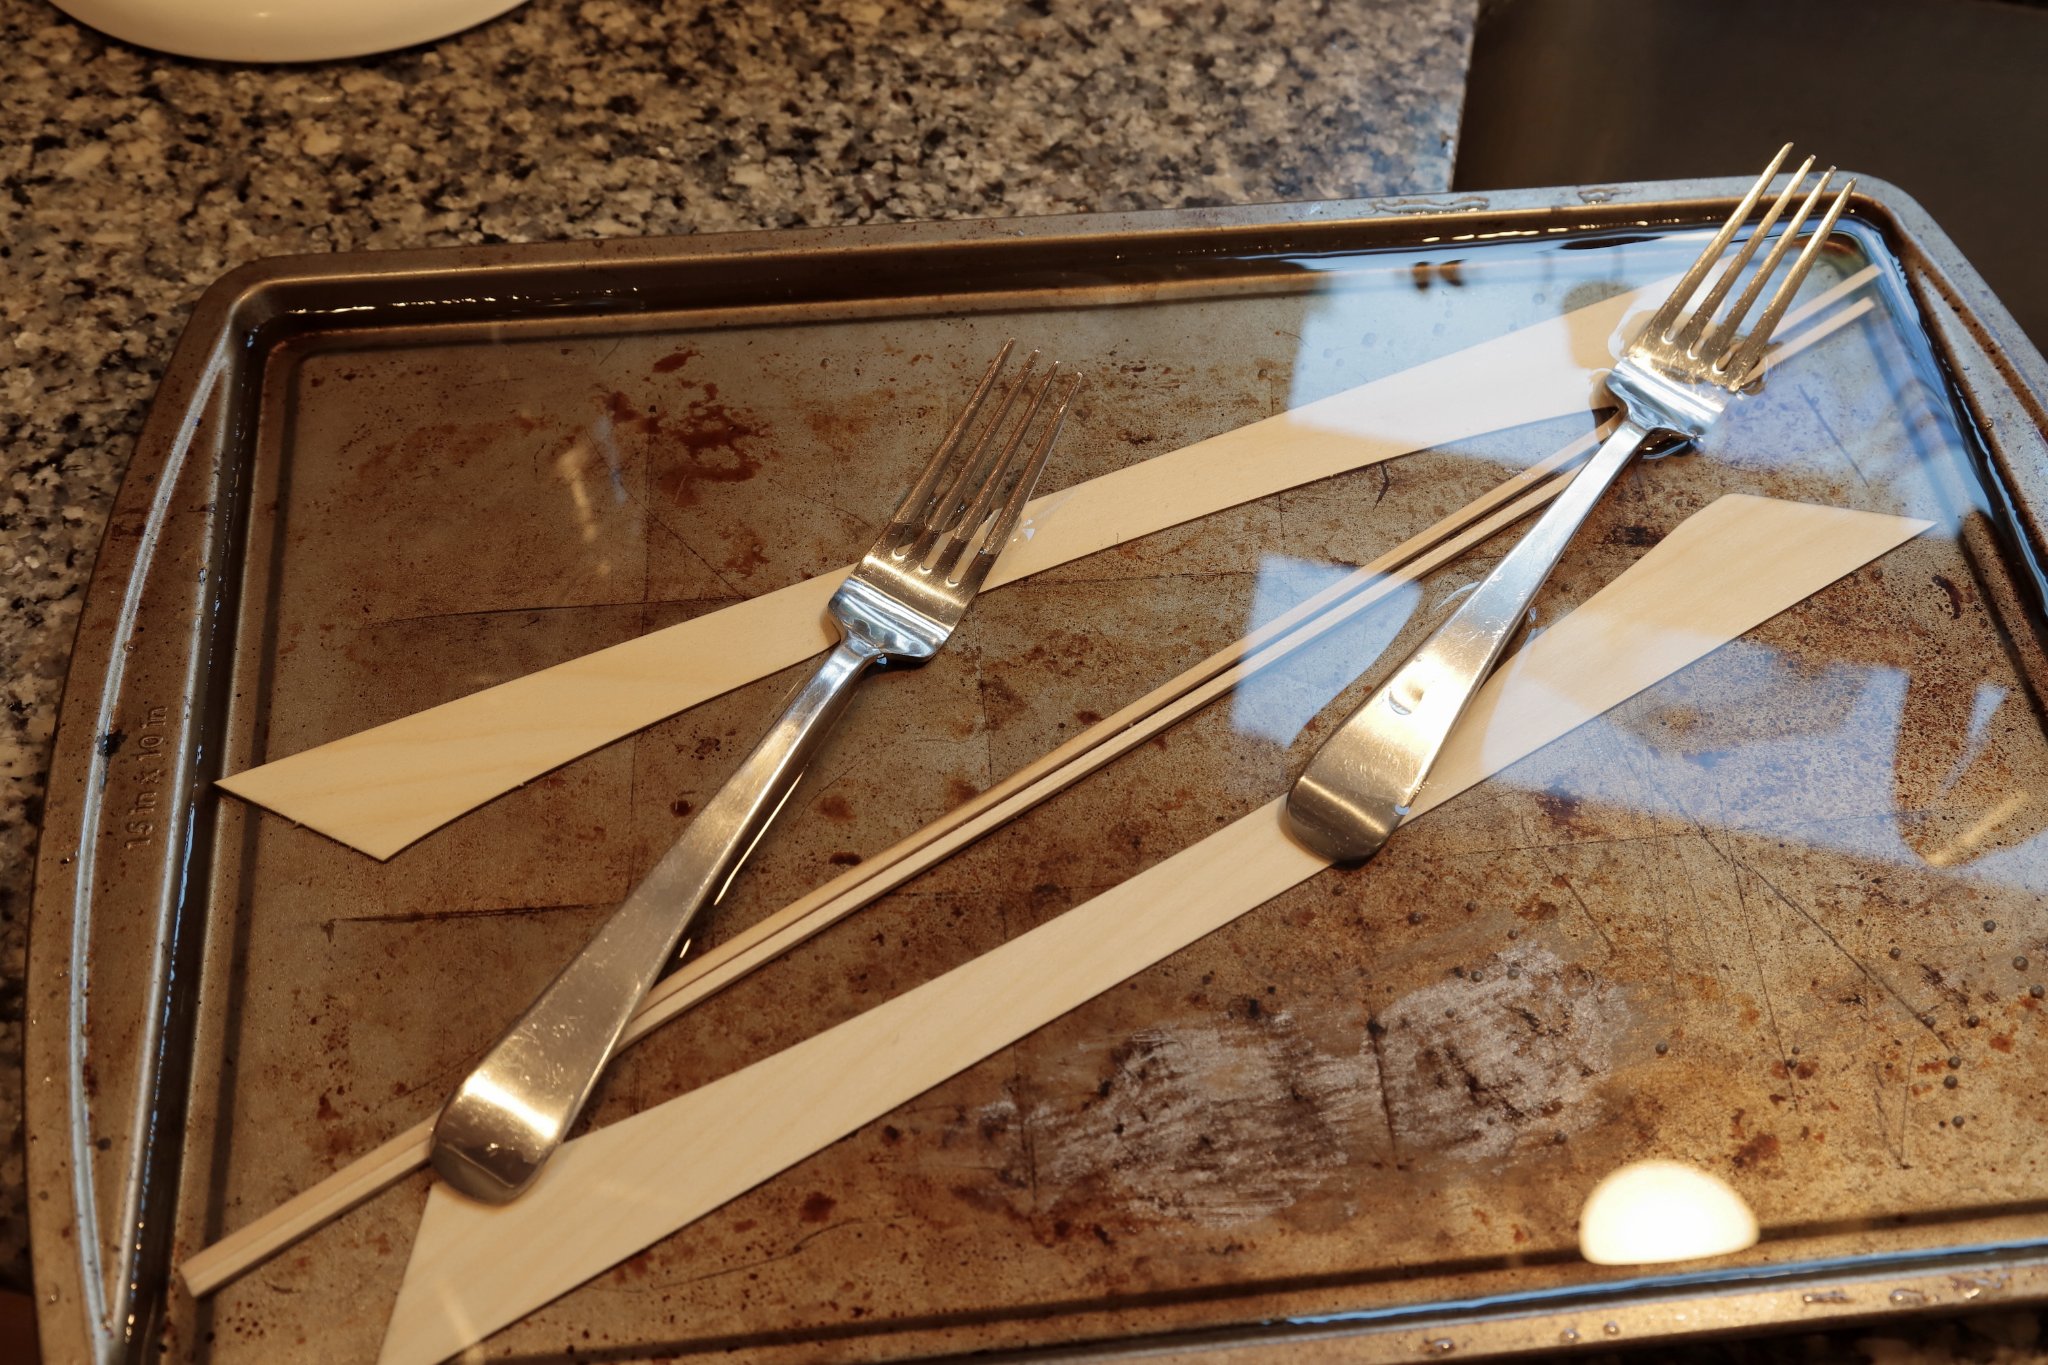
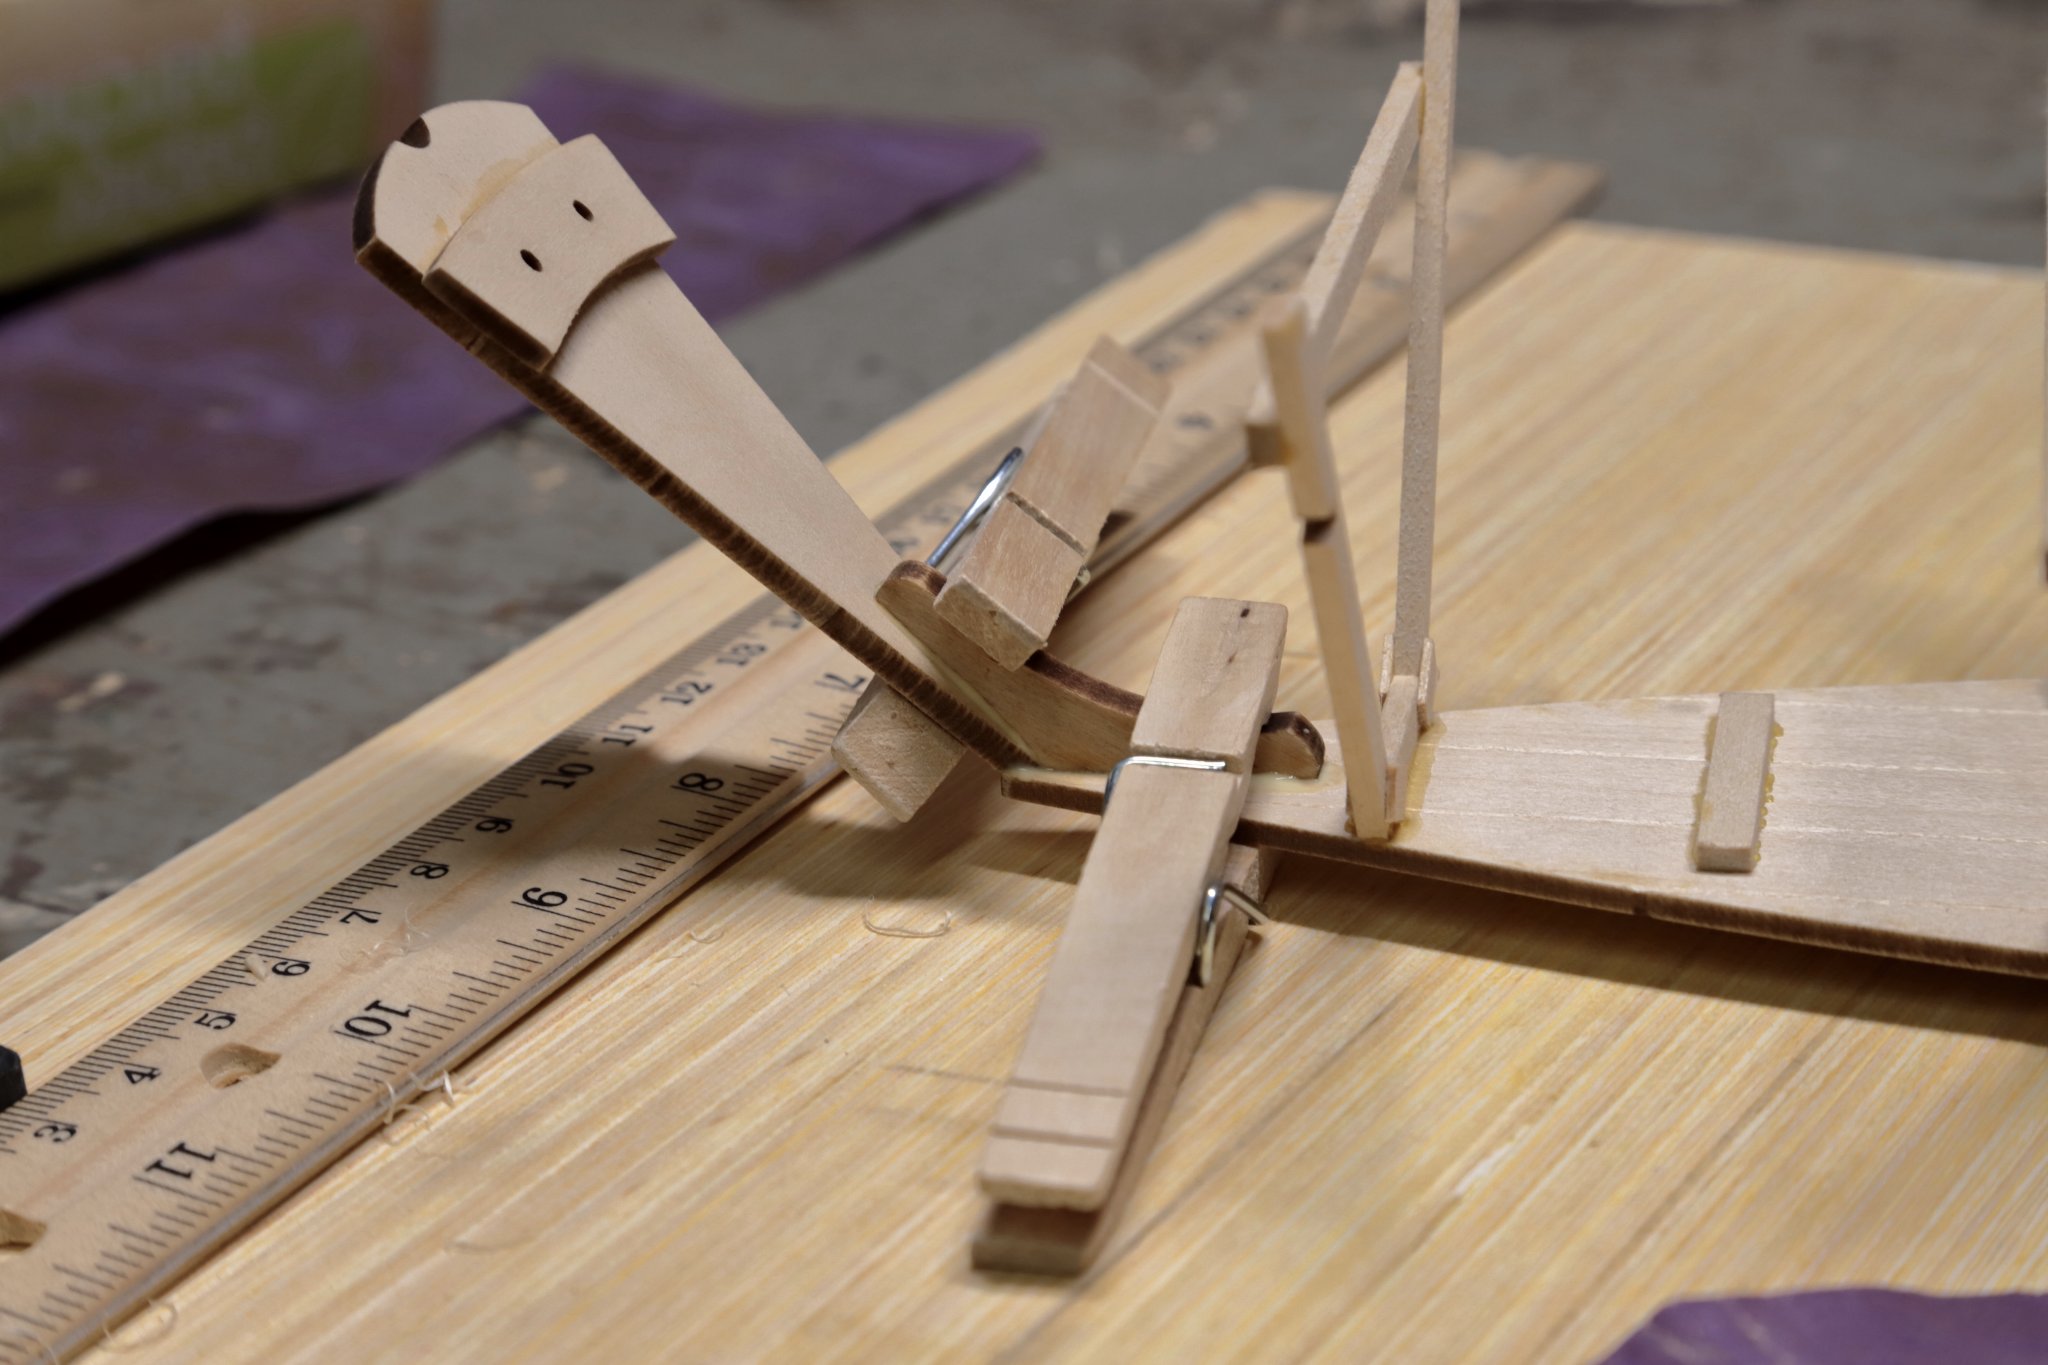
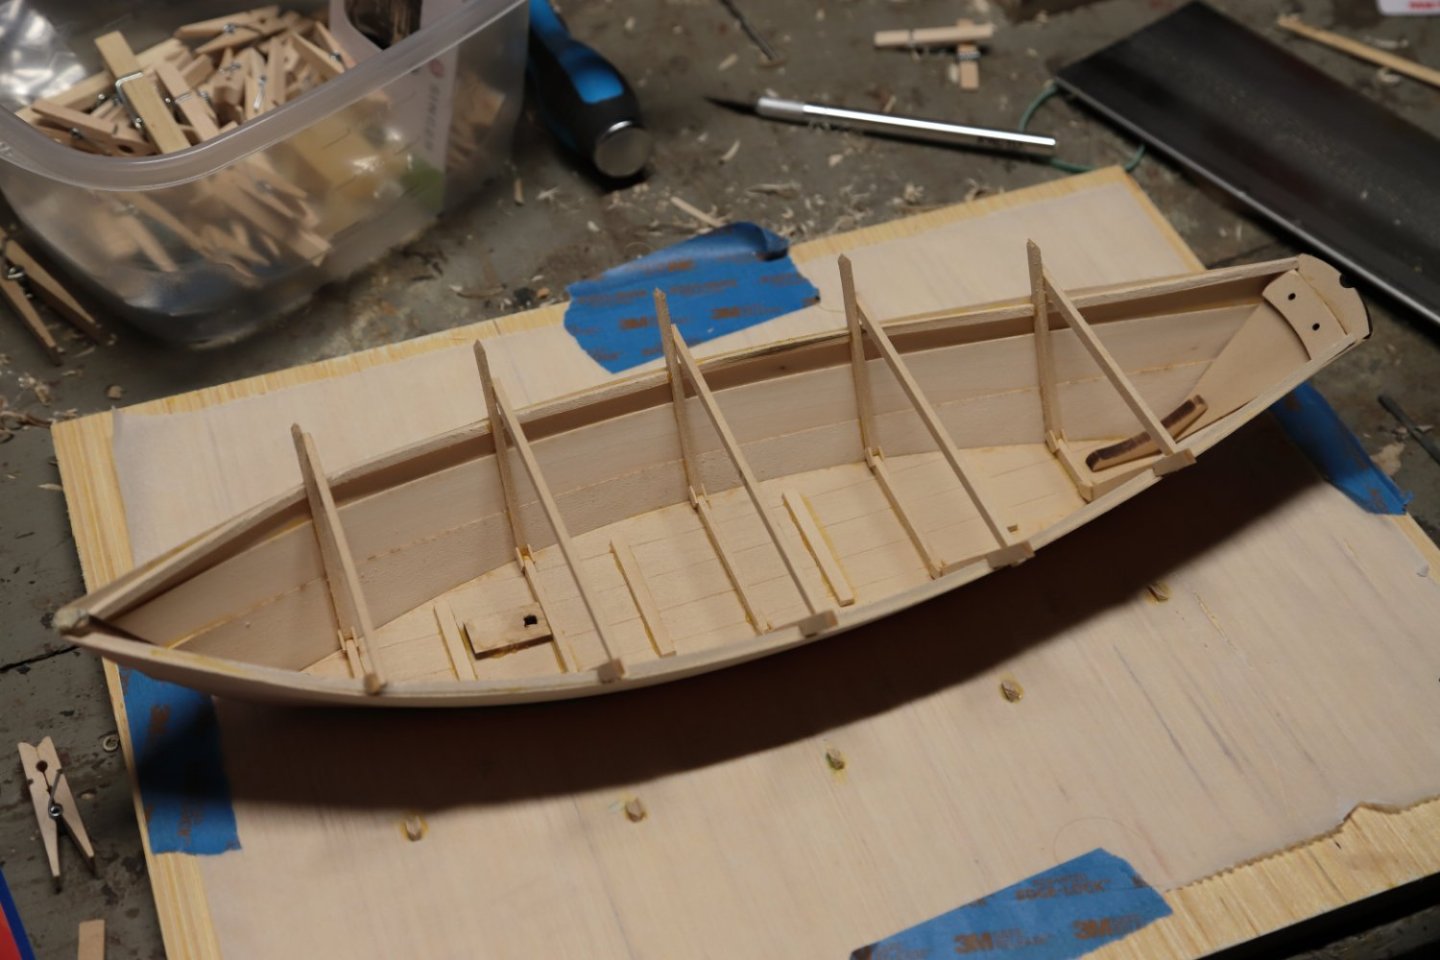
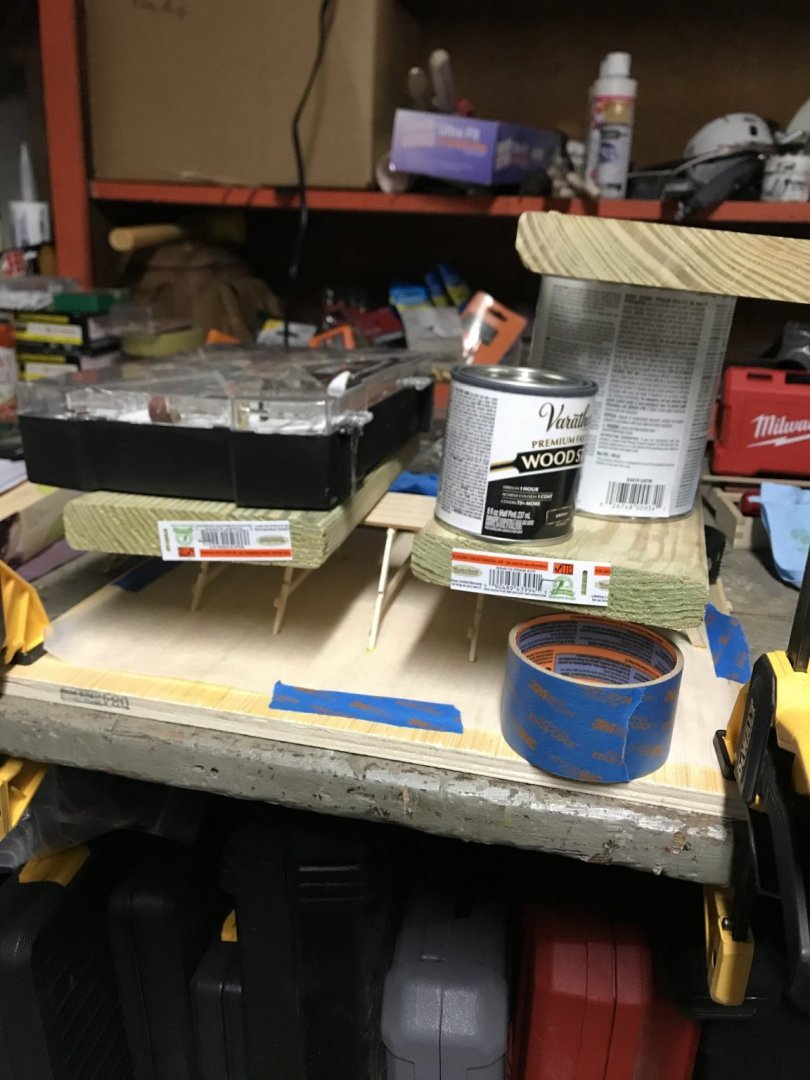
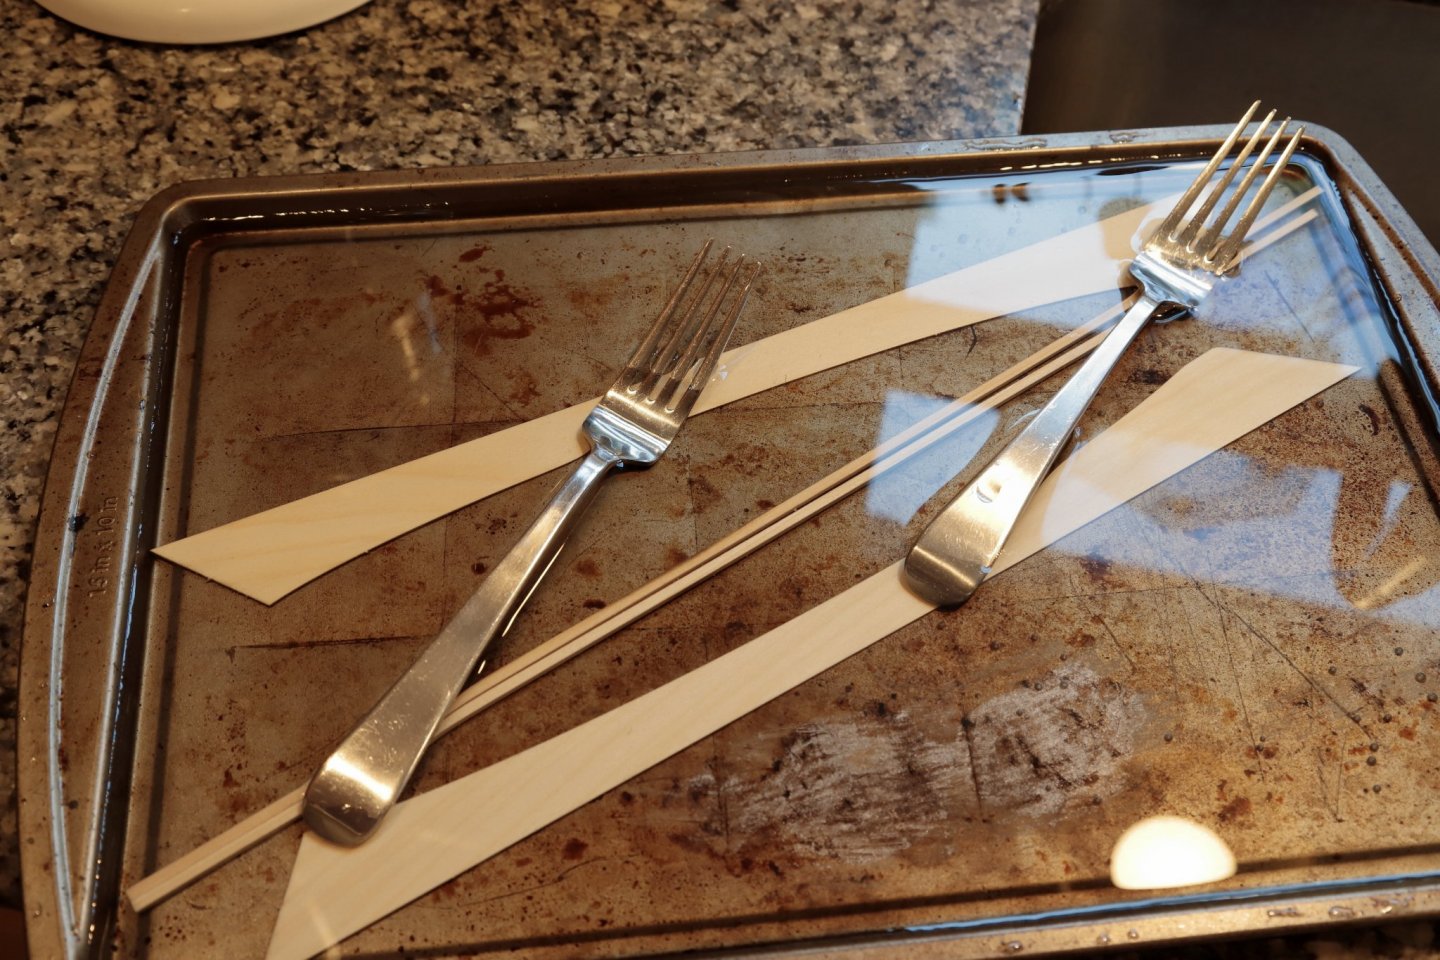
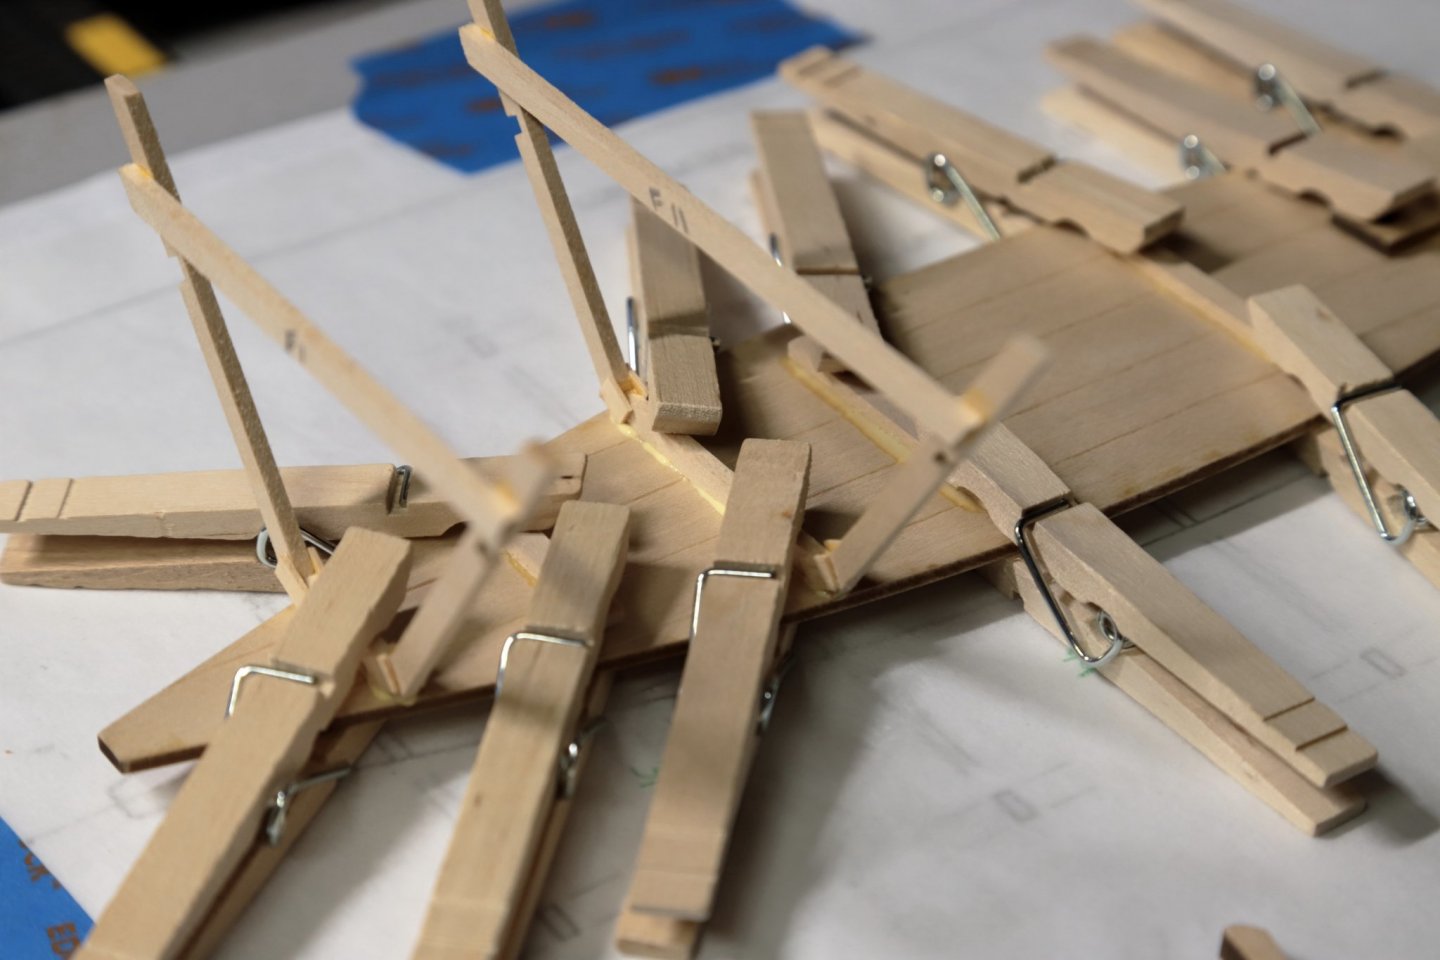
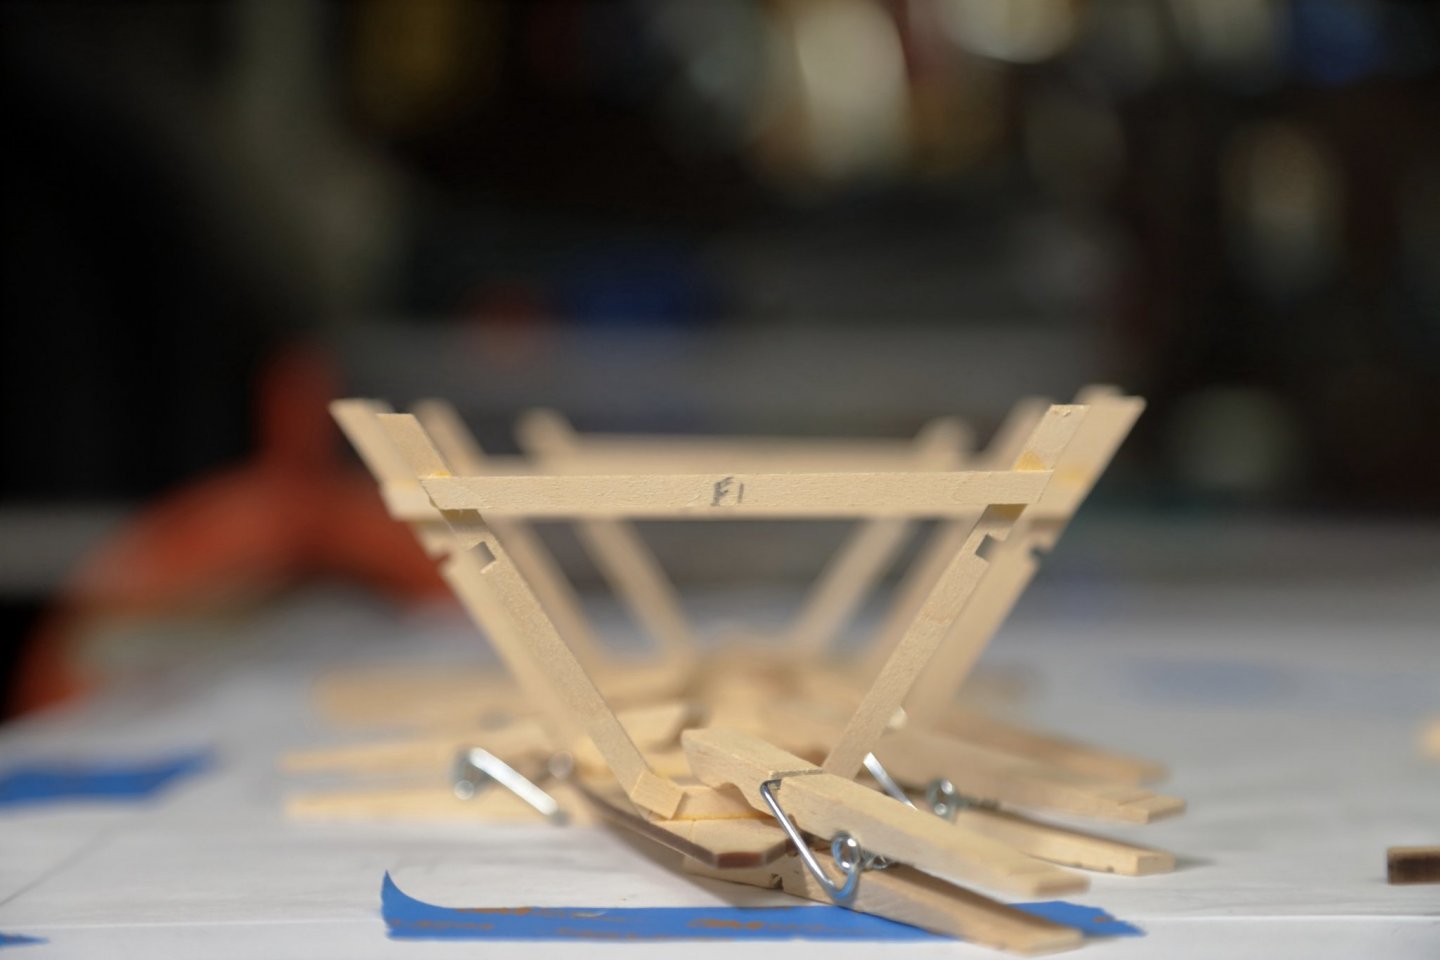
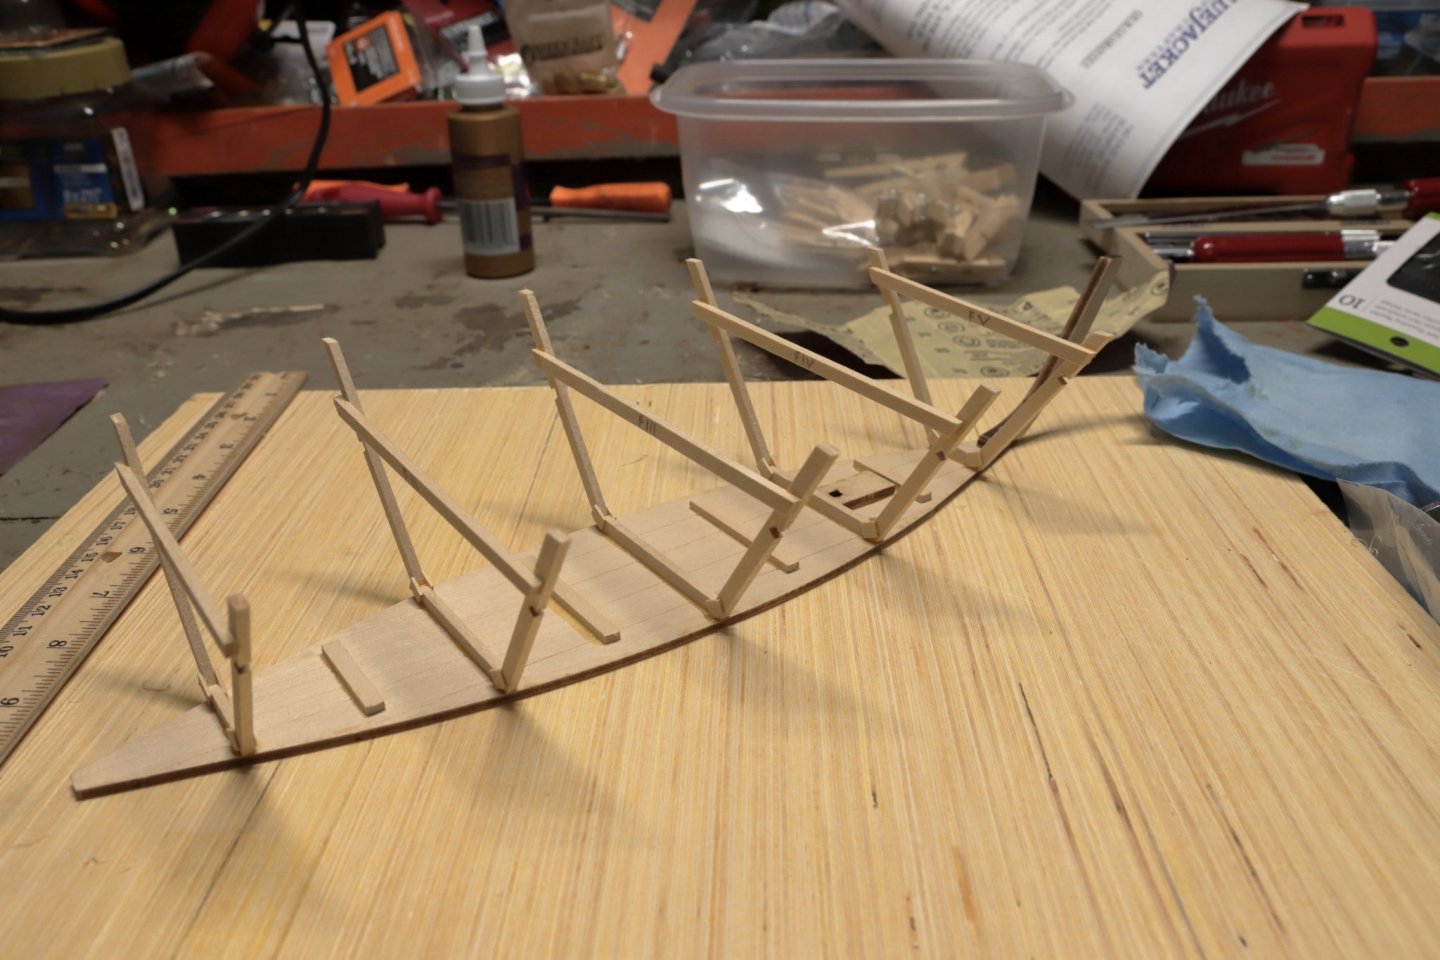
Have been making real progress with the GB Dory! Thank you to Nic for this comment as I hadn't even thought to look through others' build logs for tips. So glad I did! I had initially planned to glue the framing down with a lighter glue but after seeing the strength of the bottom planking (it was able to lift a considerable amount of weight) I decided to use the same glue as I had been using for the rest of the build: titebond wood glue. I used parchment paper to transfer the frame glue down spots and cut out the rectangle places after taping the parchment paper down to the work board. After a lot of balancing of random heavy things within arm's reach on top, I managed to get all the frames to line up and get glued down. Left that for about 36hrs to make sure the glue was set. Then I went to town on shaping the frames and bottom to fit the garboard planks. I am seeing how being precise earlier with frame placement is key and one frame was a bit further starboard and required a bit more shaping to get the planking right. After basic shaping was done, I used hot water to soak the garboards and gunwale strip and make them more pliable. Soaked for about 10 minutes in the hottest tap water and then did a 5 minute soak in boiling water using a baking tray. Clamped and rubber banded everything down and lined it up as if it was glued and I am going to let that dry overnight. Hopefully that will help keep the shape and I can glue and finish shaping tomorrow or Monday. I am finding this extremely satisfying and a true learning experience! In the meantime, I am continuing to do research on another build recreating a boat found in a children's book - see my thread here.


- 6 replies
-
- 3
-
-
- Grand Banks Dory
- Bluejacket Shipcrafters
- (and 2 more)
-
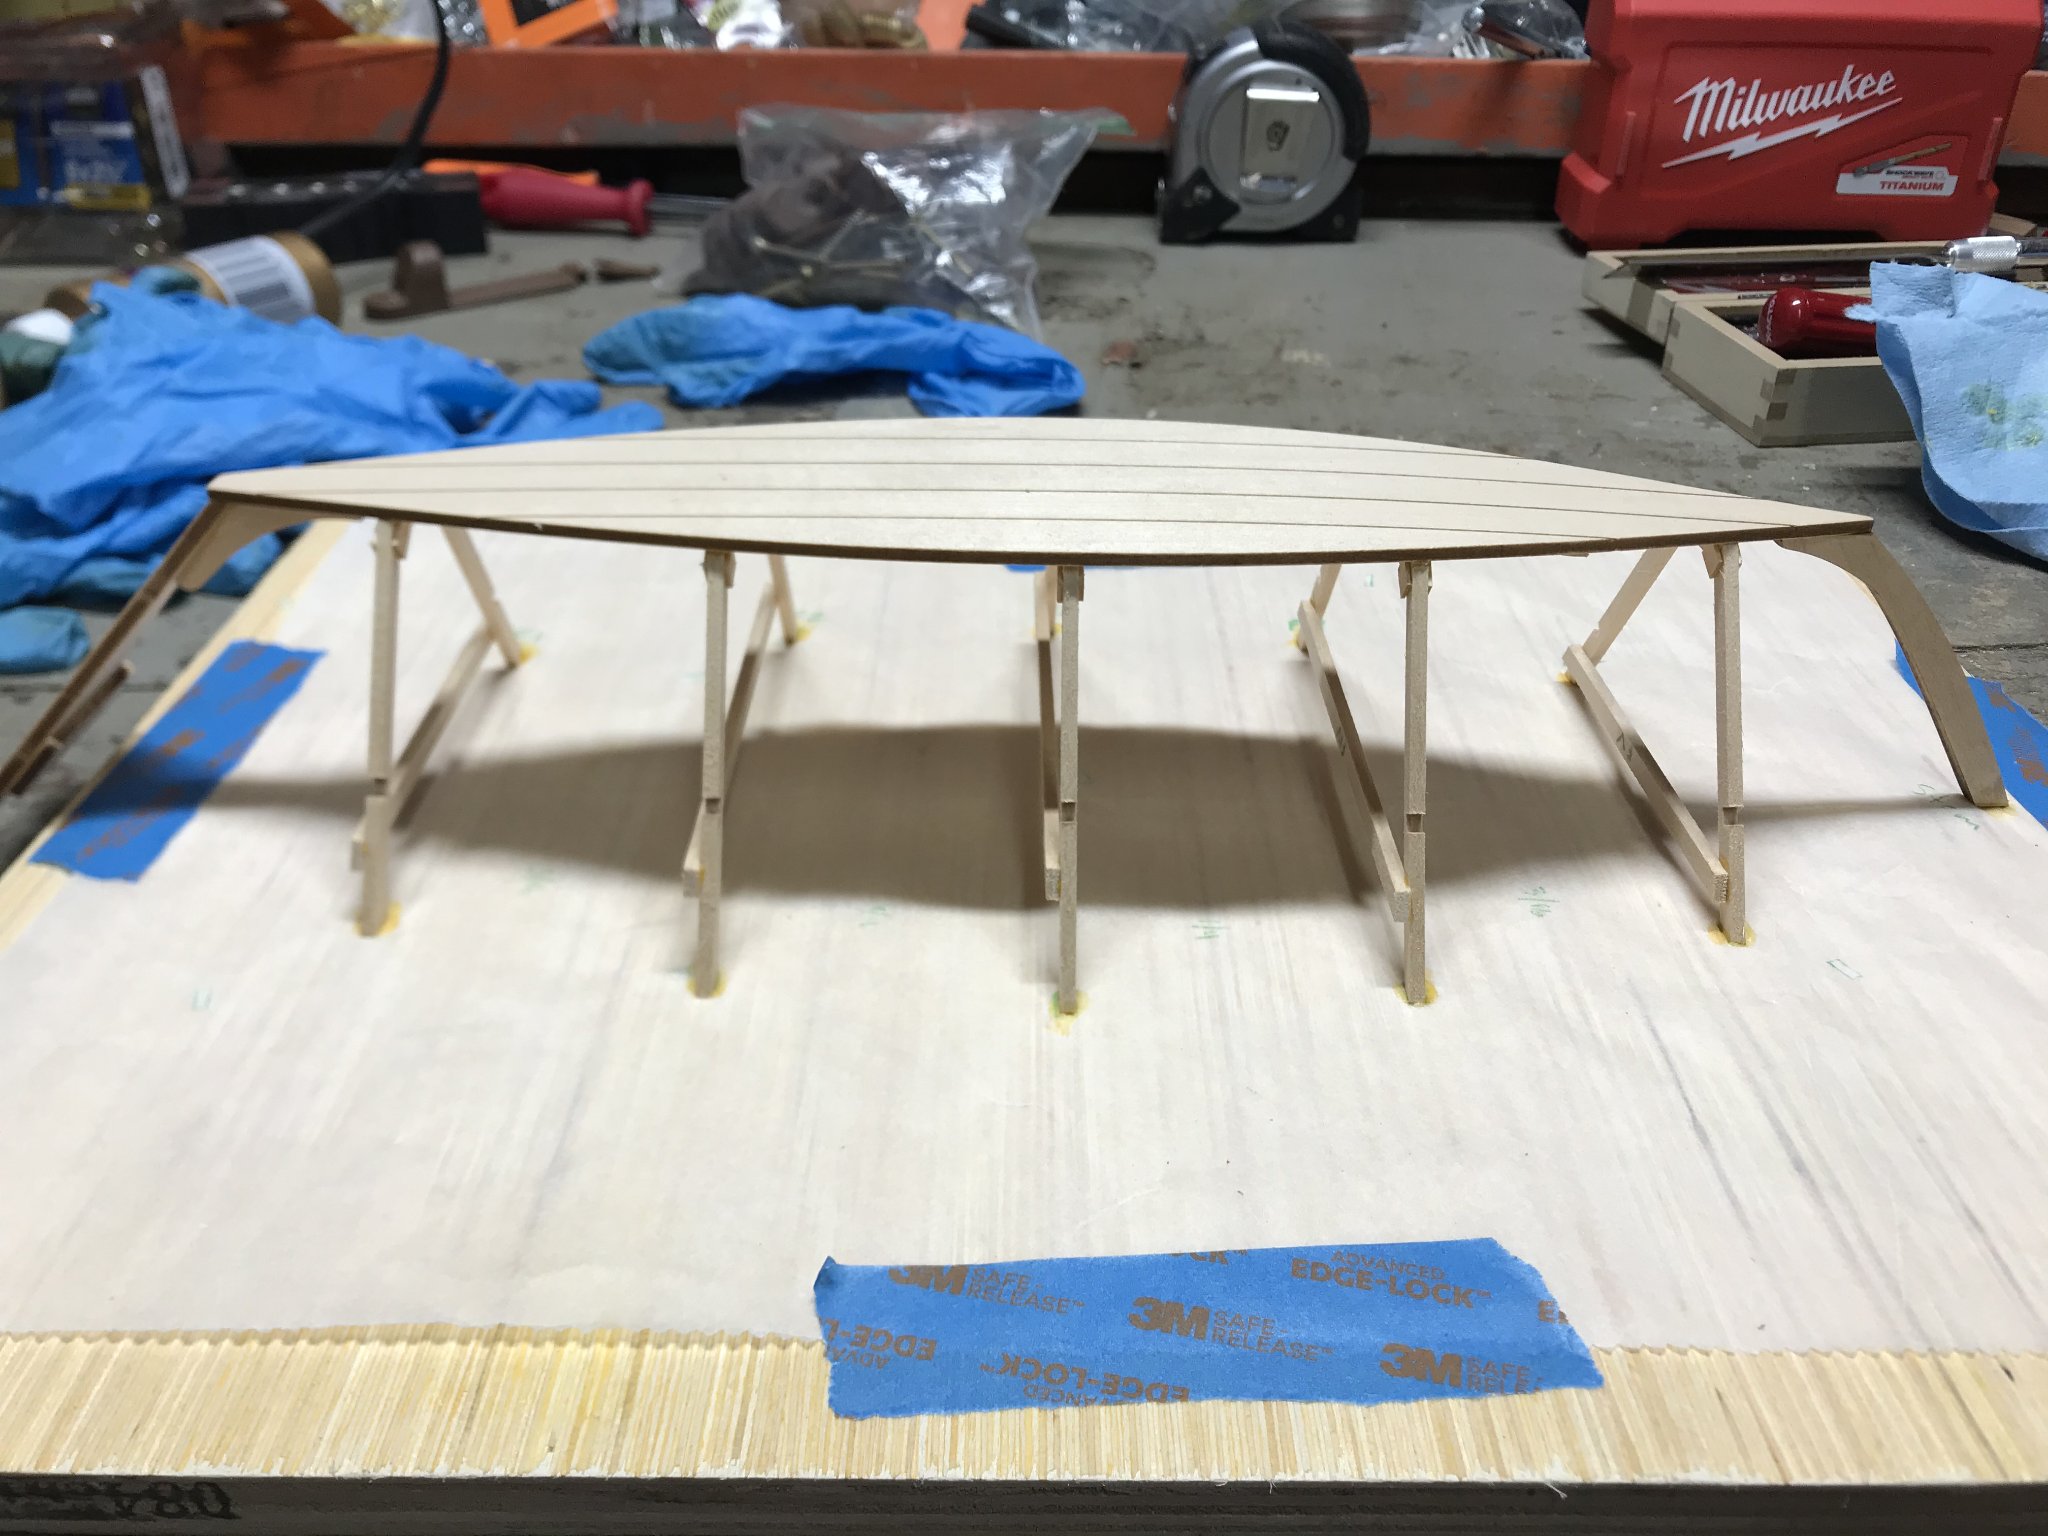
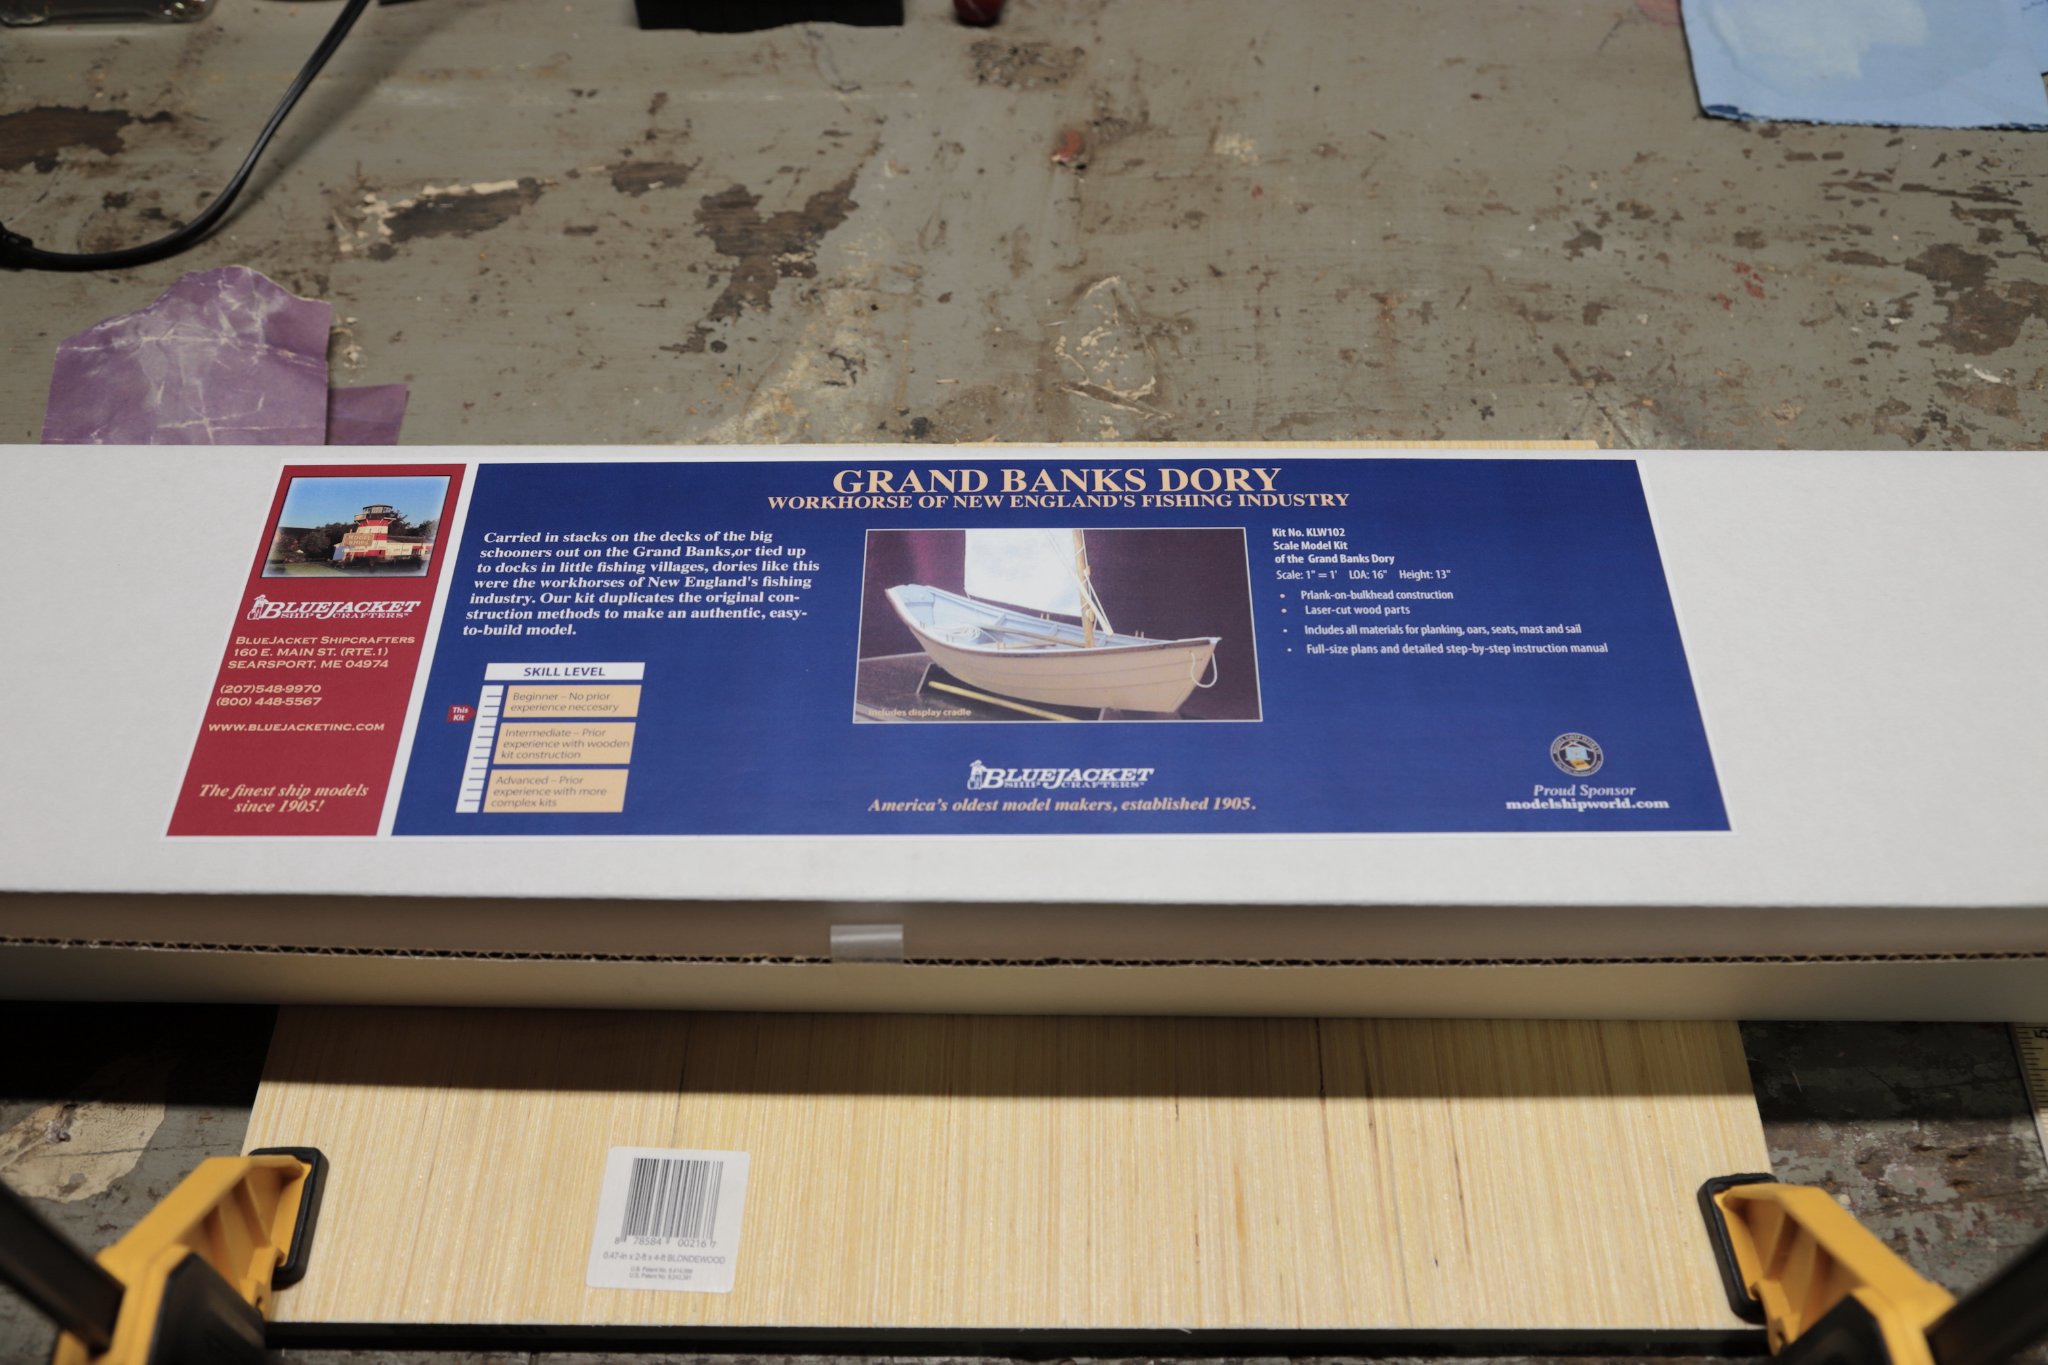
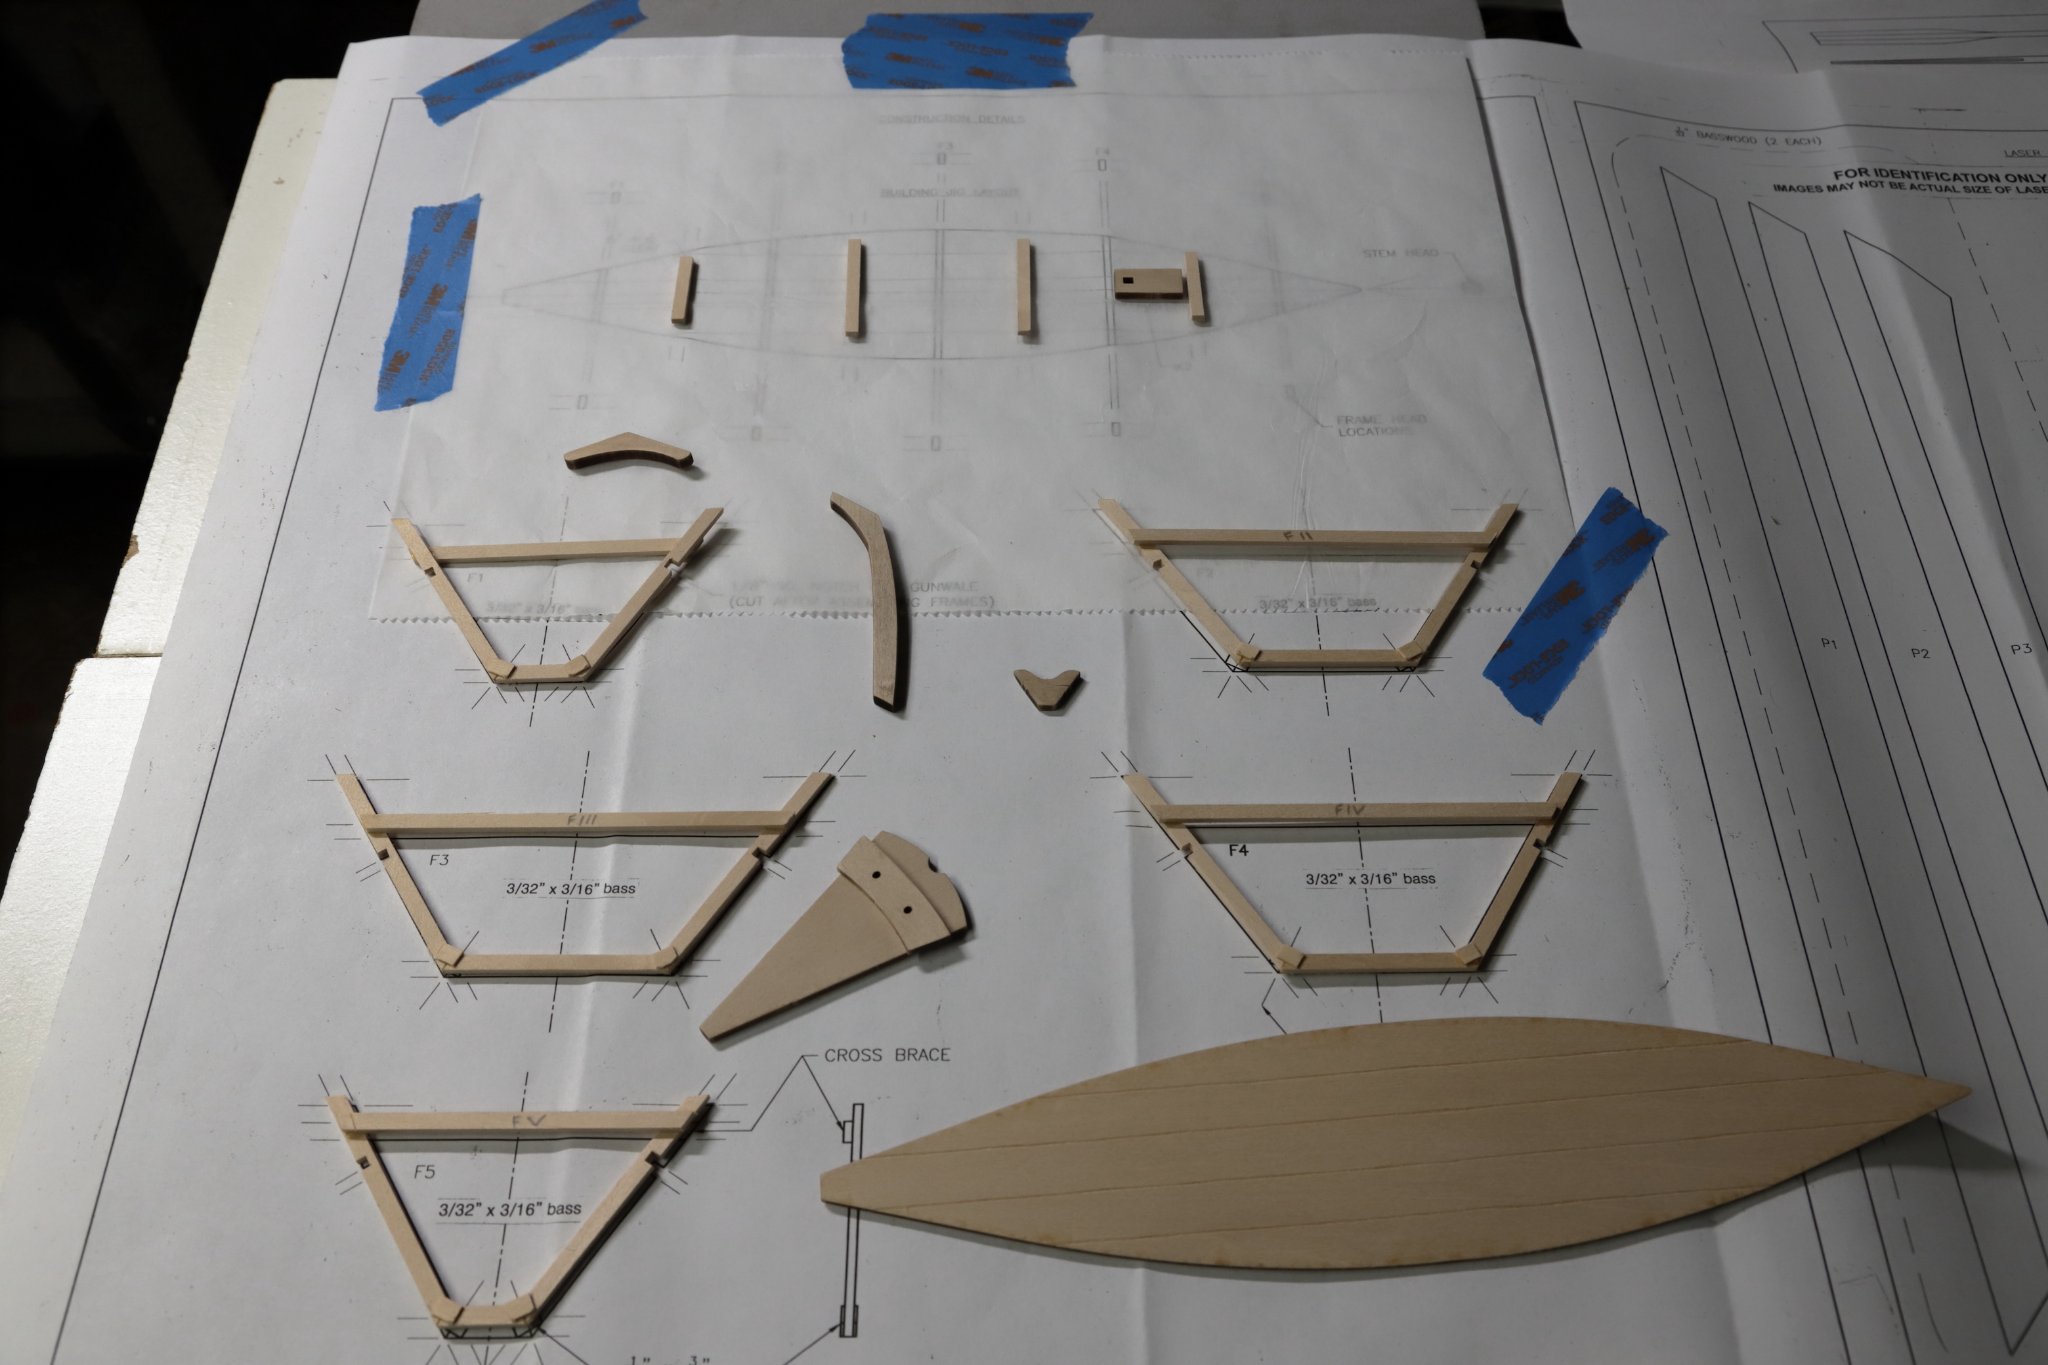
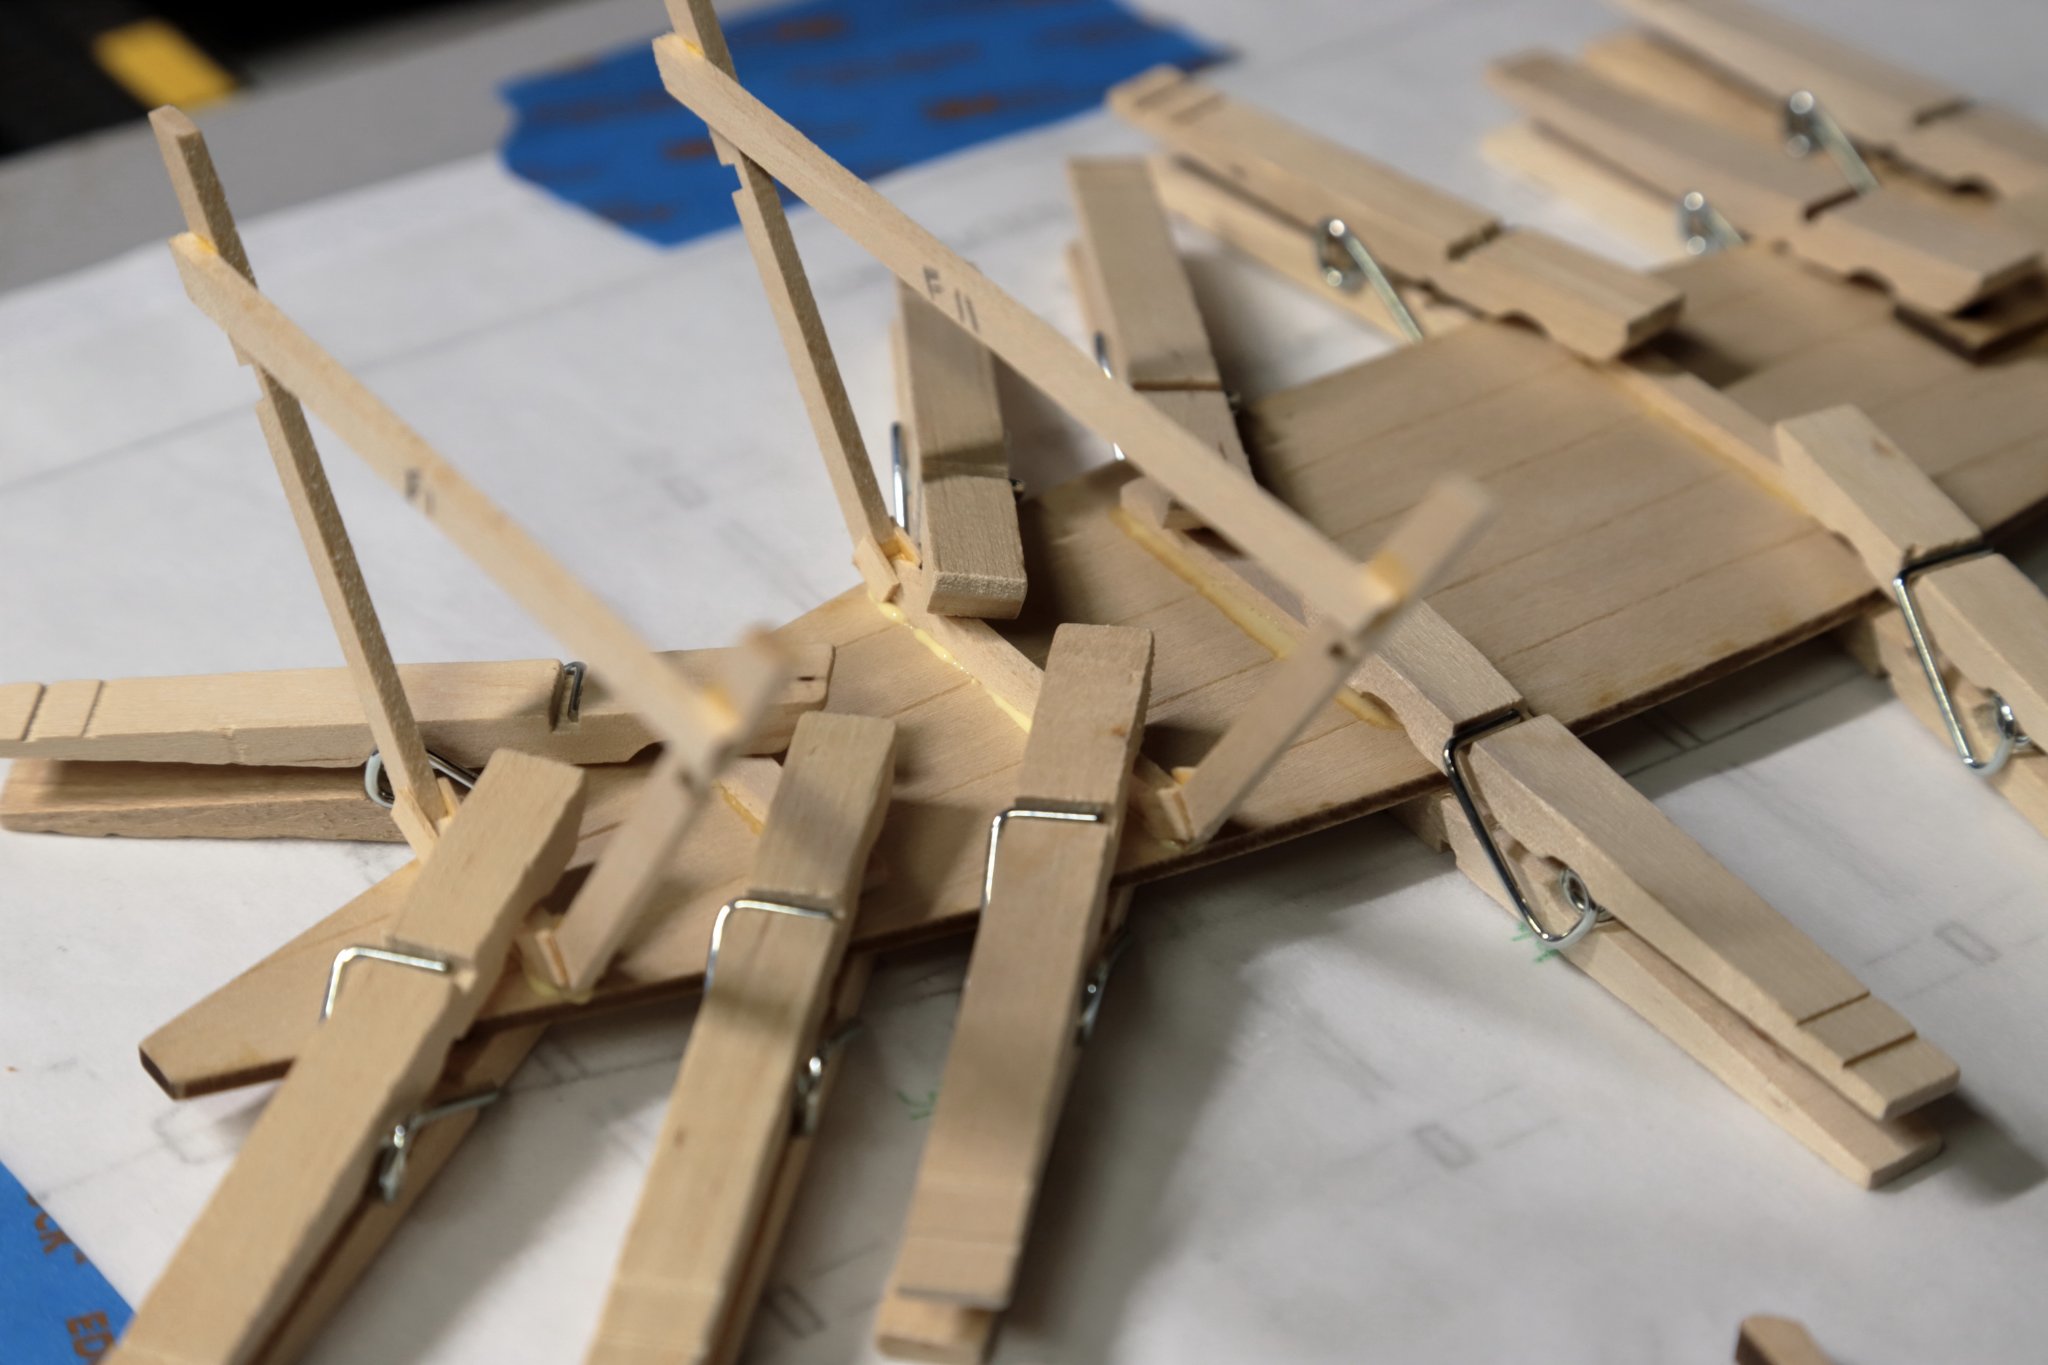
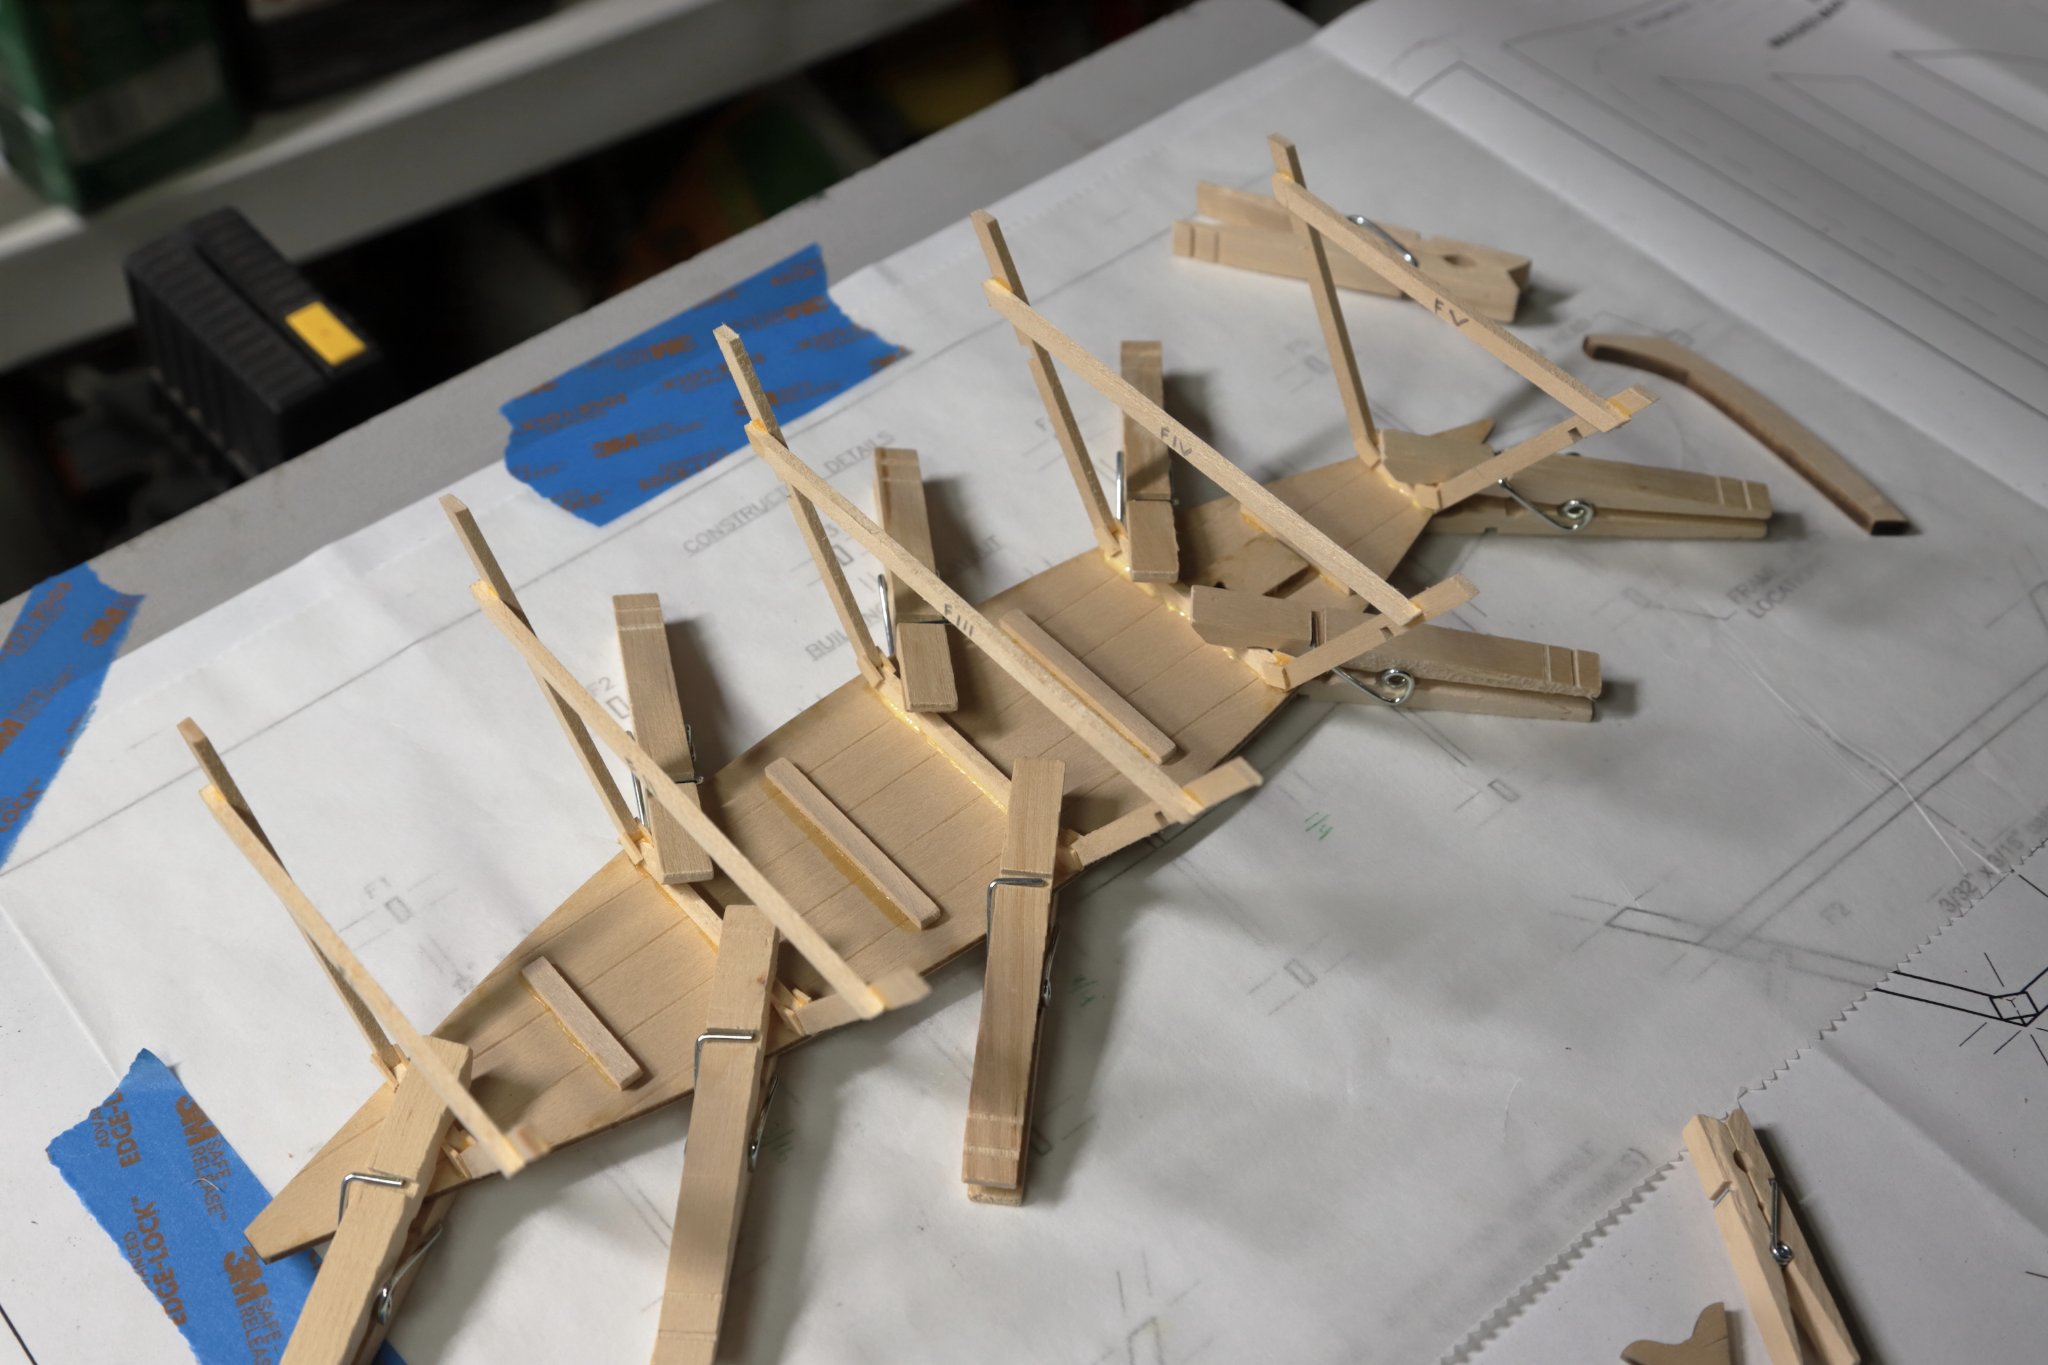
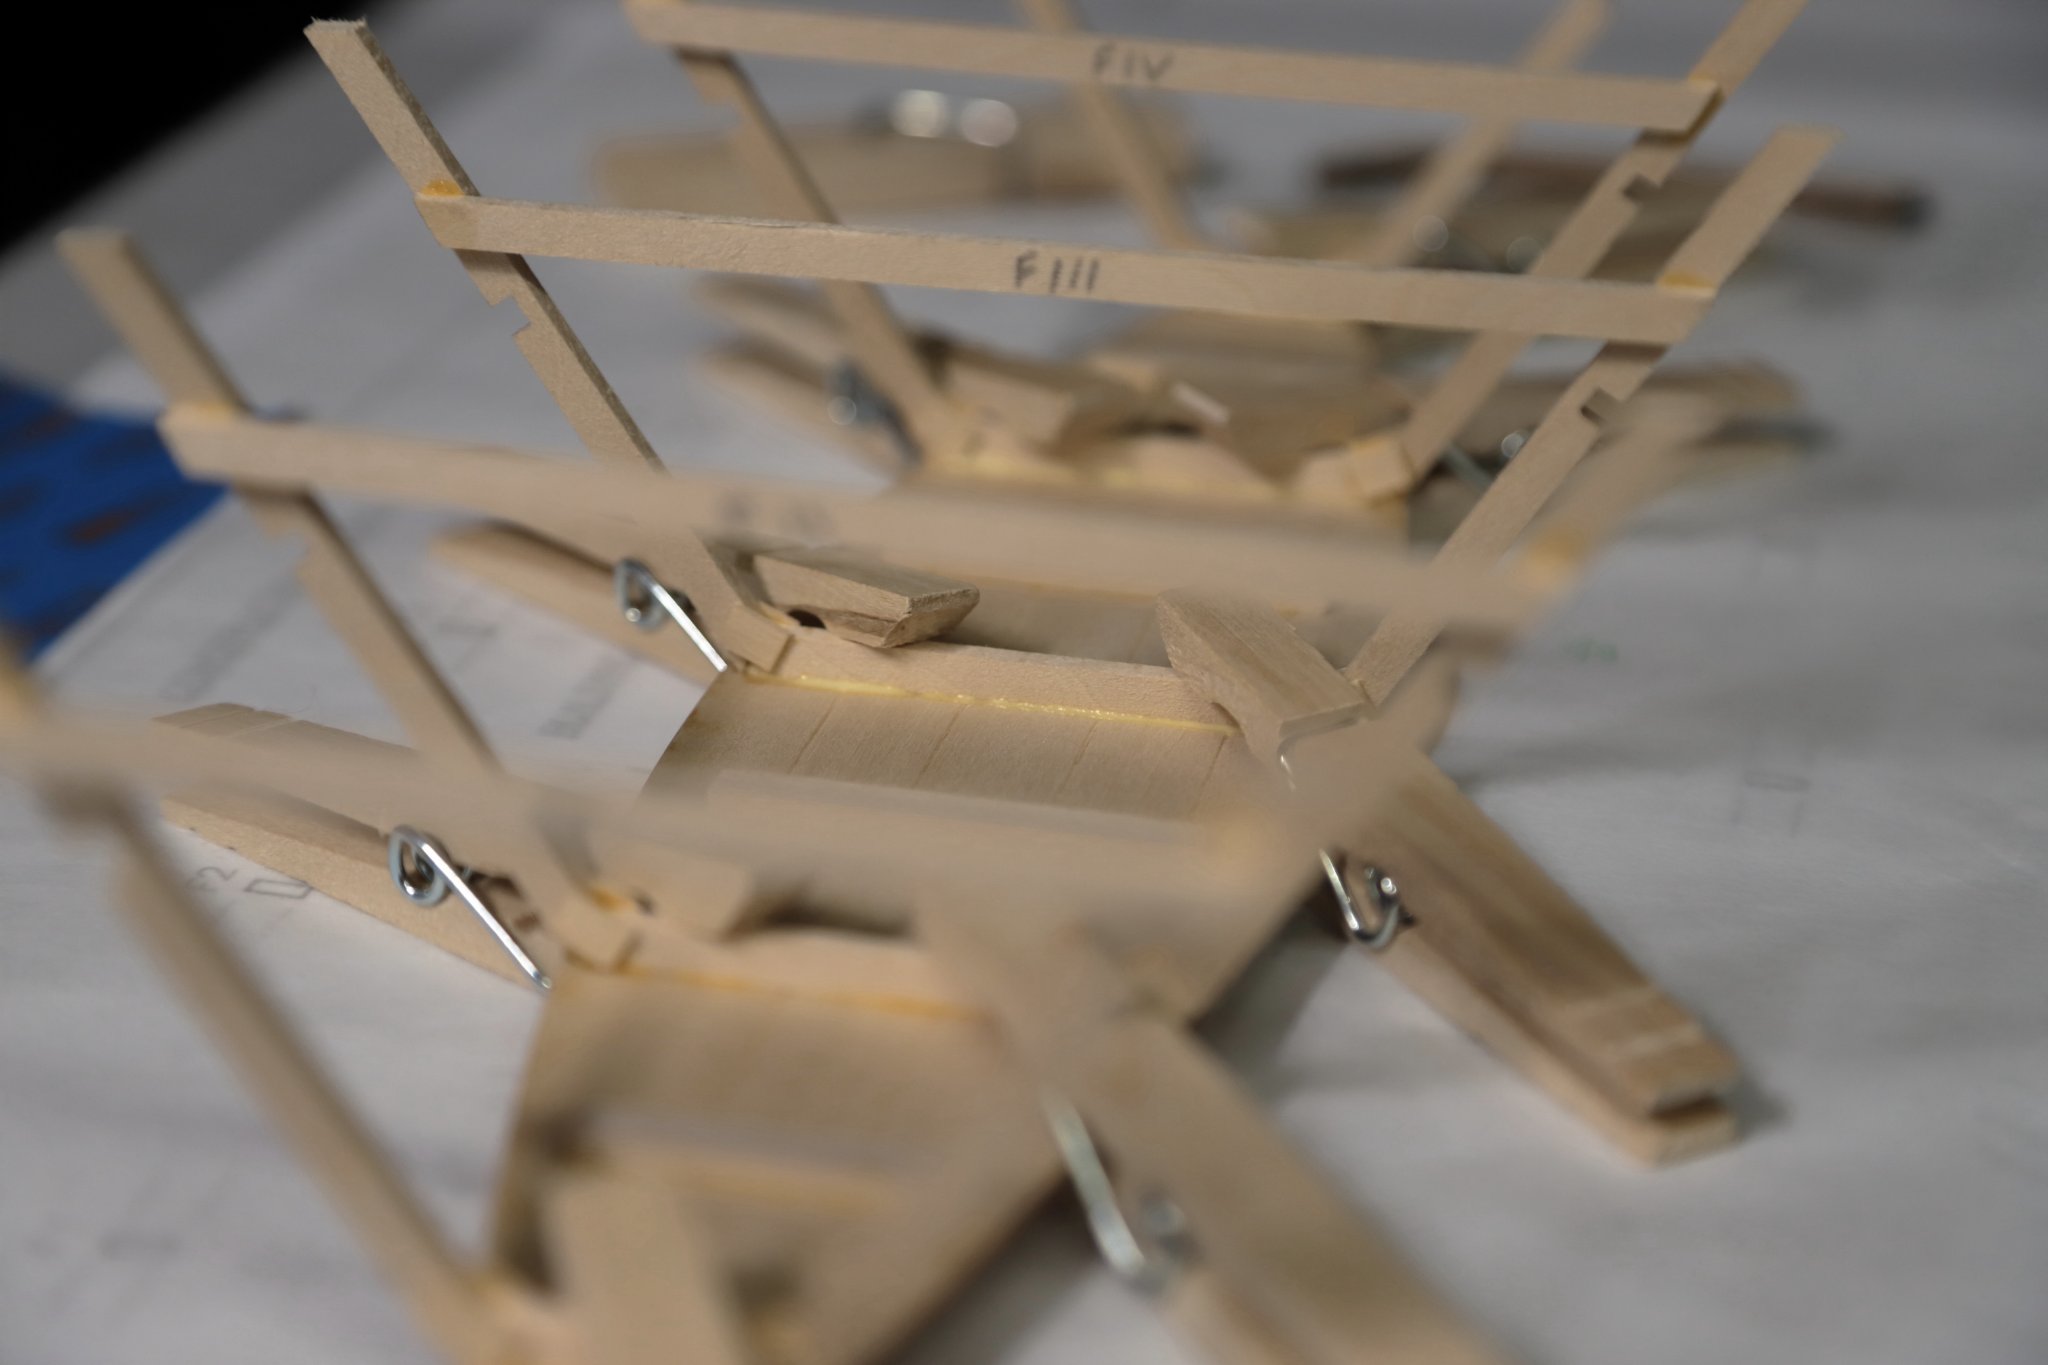
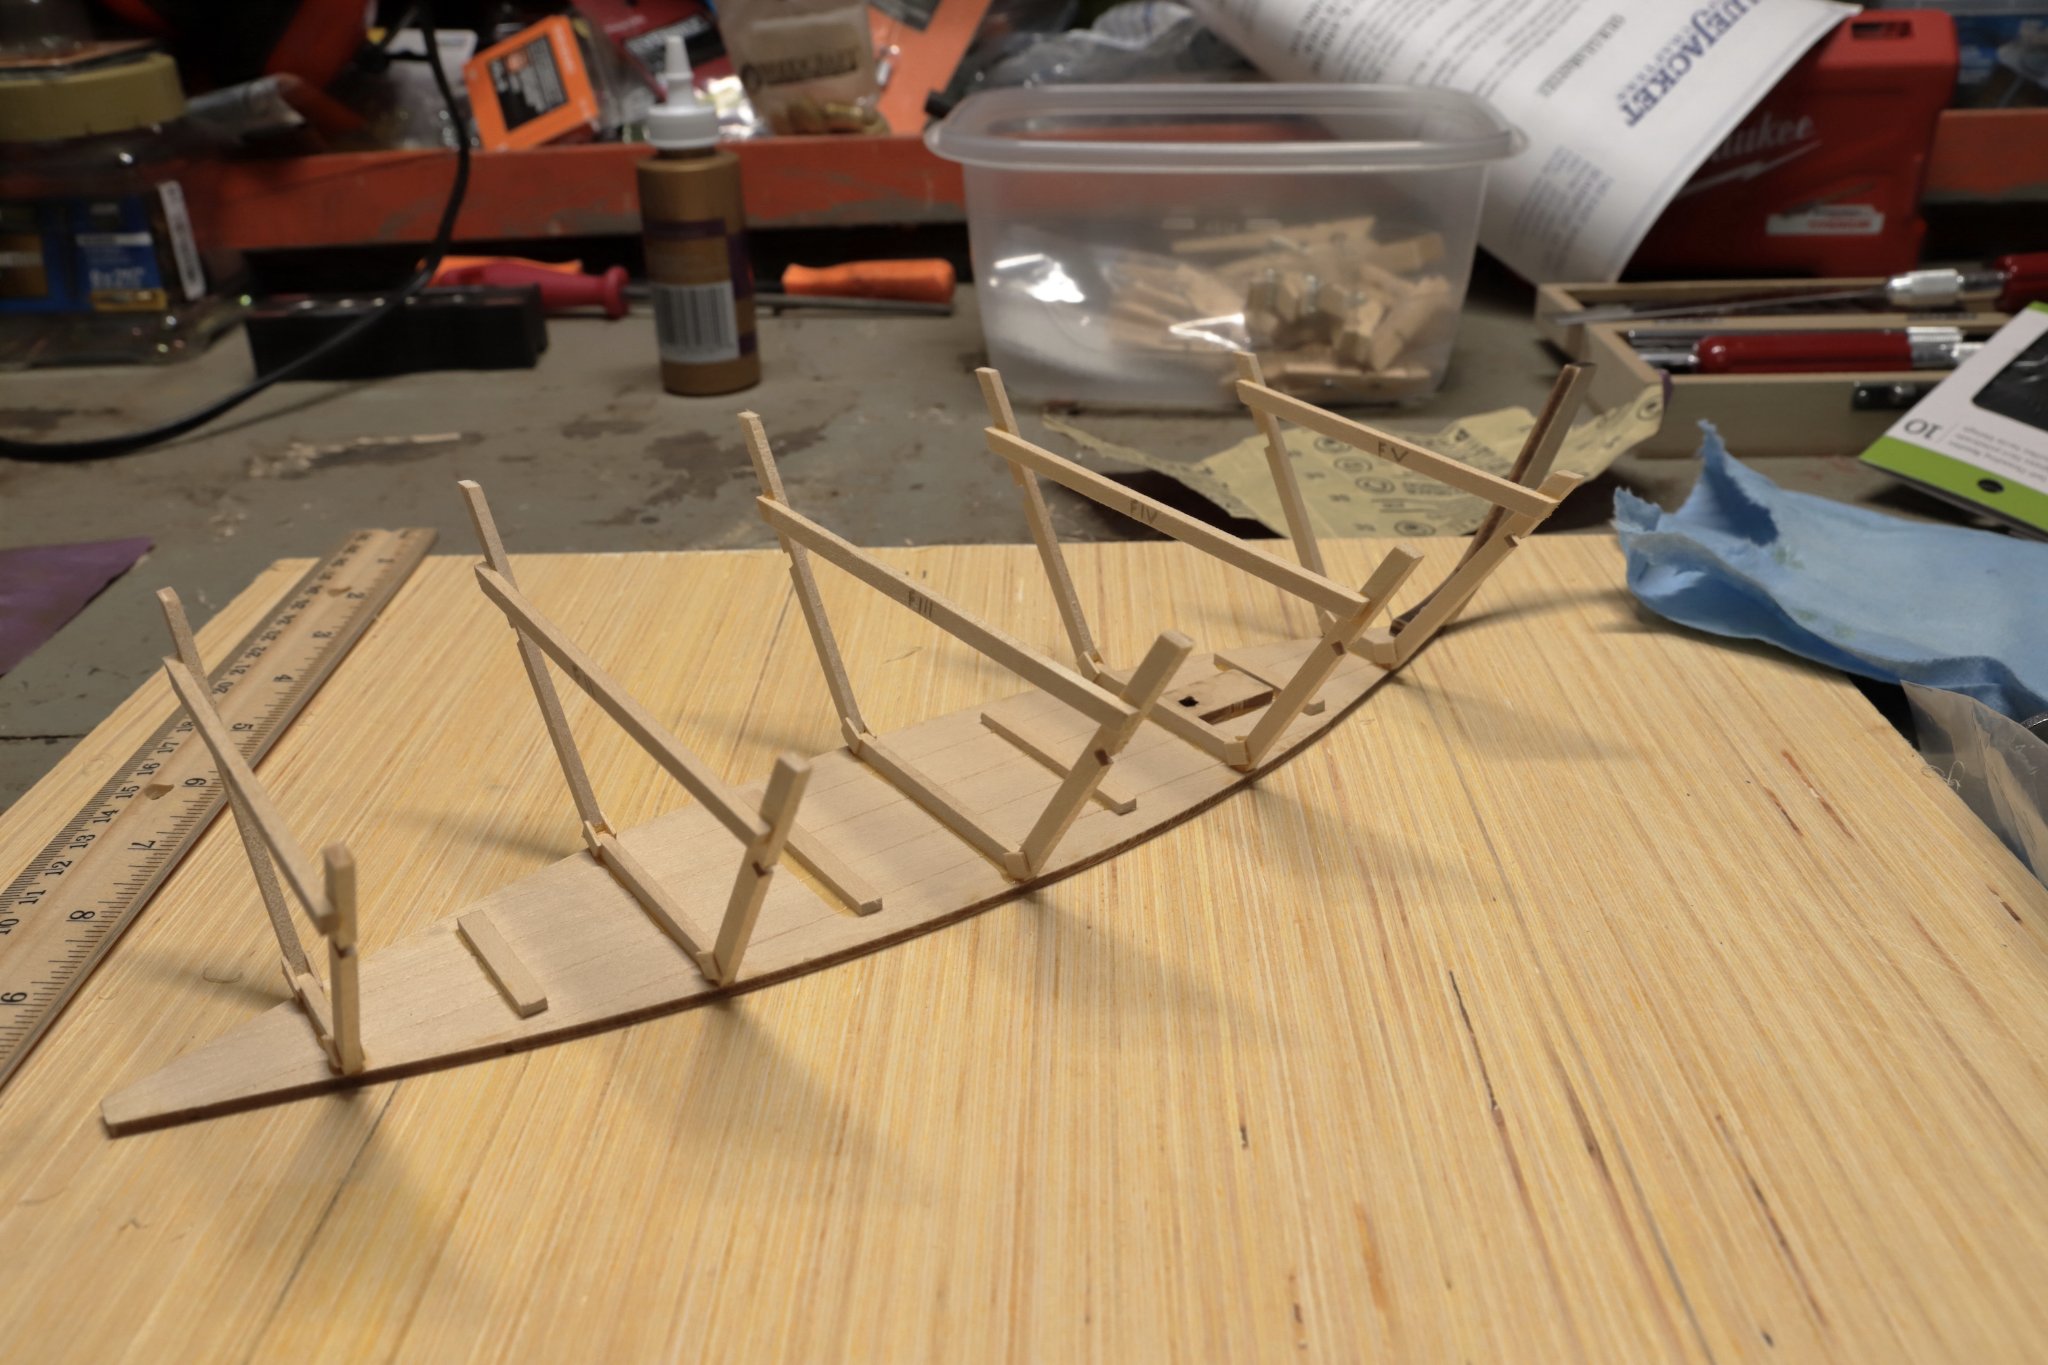
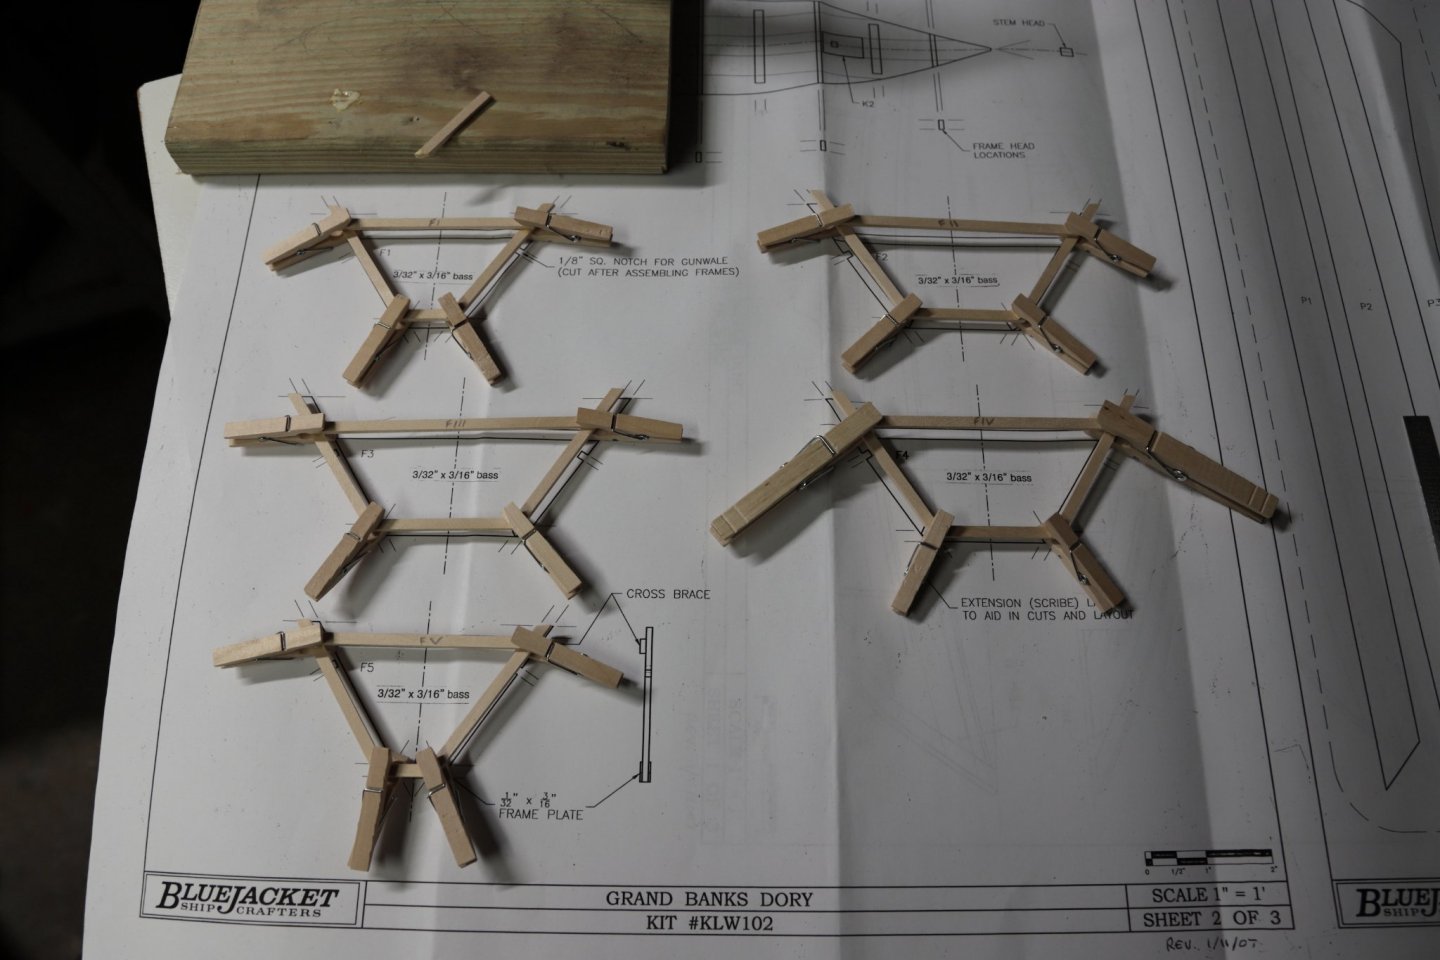
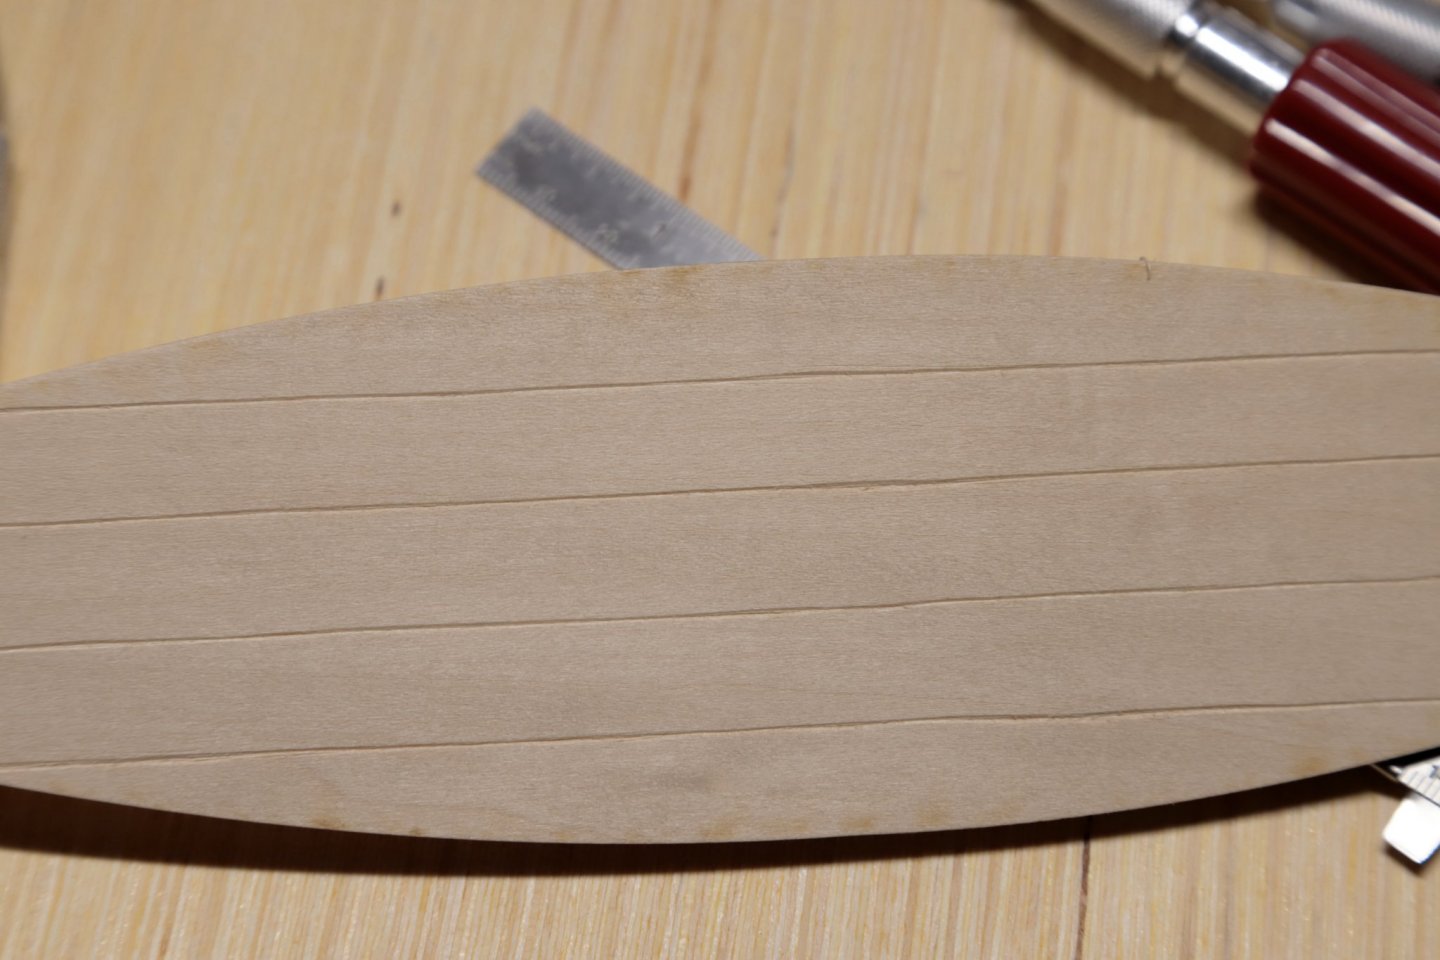
Hello all! This is my first model ship (or model anything really) build. My wife got me this Grand Banks Dory from BlueJacket Ship Crafters along with the book Captains Courageous by Rudyard Kipling (a great book for those looking for a new read) that the model is based on for my birthday. I welcome all constructive criticism on my build as I realize that I am liking doing something that could be done a bit more efficiently. Build started 5/30/21 and I have been working on it while my kids nap. This has definitely sparked a new passion! Kit: Frames cut, glued and clamped: Gunwale notches cut: Bottom planking scribed: Frames being attached to bottom planking: Frames attached: Transom glued & clamped:


- 6 replies
-
- 3
-
-
- Grand Banks Dory
- Bluejacket Shipcrafters
- (and 2 more)