Dimitris.
-
Posts
8 -
Joined
-
Last visited
1 Follower

-
 Dimitris. reacted to a post in a topic:
Lowell Grand Banks Dory by JacquesCousteau - FINISHED - Model Shipways - 1:24
Dimitris. reacted to a post in a topic:
Lowell Grand Banks Dory by JacquesCousteau - FINISHED - Model Shipways - 1:24
-
Dimitris. reacted to a post in a topic:
Lowell Grand Banks Dory by JacquesCousteau - FINISHED - Model Shipways - 1:24
-
Dimitris. reacted to a post in a topic:
HMS Victory Renovation - Outer Planking Removed
-
Dimitris. reacted to a post in a topic:
Bon Retour by HakeZou - FINISHED - Artesania Latina - 1/25 scale - First wooden ship build
-
Dimitris. reacted to a post in a topic:
Rebuilding the fleet by mikegr - 1/700 - restoring old plastic models
-
Dimitris. reacted to a post in a topic:
Yamato by ted99 - FINISHED - Nichimo - 1:200 - PLASTIC
-
Dimitris. reacted to a post in a topic:
Bon Retour by Dimitris. - Artesania Latina - 1:25
-
yvesvidal reacted to a post in a topic:
Bon Retour by Dimitris. - Artesania Latina - 1:25
-
yvesvidal reacted to a post in a topic:
Bon Retour by Dimitris. - Artesania Latina - 1:25
-
mtaylor reacted to a post in a topic:
HMS Ontario by myxyzptlyk - MarisStella - 1:48
-
Andyrew reacted to a post in a topic:
Bon Retour by Dimitris. - Artesania Latina - 1:25
-
Andyrew reacted to a post in a topic:
Bon Retour by Dimitris. - Artesania Latina - 1:25
-
BLACK VIKING reacted to a post in a topic:
Bon Retour by Dimitris. - Artesania Latina - 1:25
-
 Now that was difficult!!! I don't know if these bulkwards are, on every model, so difficult to place. Anyway i've put them into water for an hour and then i've realized that i could handle only one at the time. So if someone reads this do not wet both of them. Do one at a time because if you leave them a lot in water, let them dry and wet them again, the wood will become very weak and will be easy to break. So after one hour inside water i was trying to figure out how could these huge pieces of wood could be placed correctly. It was obvious that, even wet, glue couldn't hold them in place. So i've tried to use the electric plank bender. And that worked well for the first one. I manage to give the shape needed and was trying to press the whole think with both hands in order glue to do its job. I didn't manage to place it correctly. But the worst was still to come. Today it was the day for the next one to be placed. It was dry so i ve put it again into water for an hour. Did again the electric planking thing, but i was in hurry to finish it and start planking. Been in a hurry made whole process more difficult. I couldn't make the plank parallel to the deck and i saw the plank to start breaking, so i did hurry uu more. The outcome is below average and that's a lesson I took. Do not hurry. Do one at a time. Take your time. I'll write that 100 times...Ok 1000 times then... The final build is here, not happy, many many mistakes that will alter the hull's shape, but life goes on and surely learning comes from mistakes.
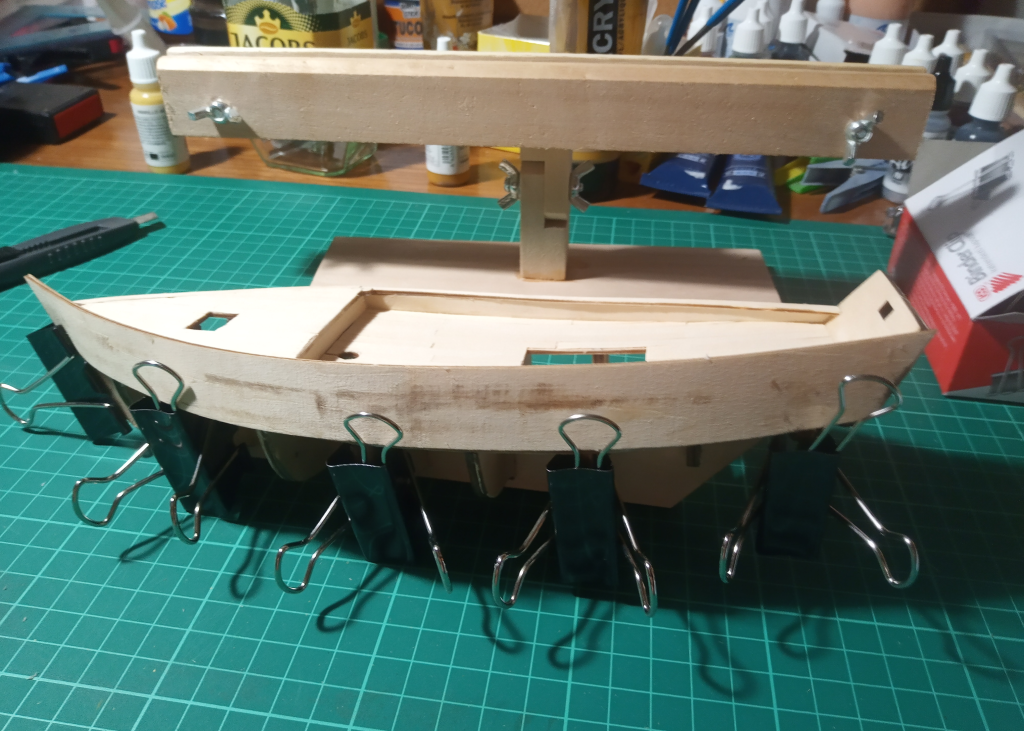

-
Dimitris. reacted to a post in a topic:
US Brig Syren by Desalgu - FINISHED - Model Shipways - 1:64
-
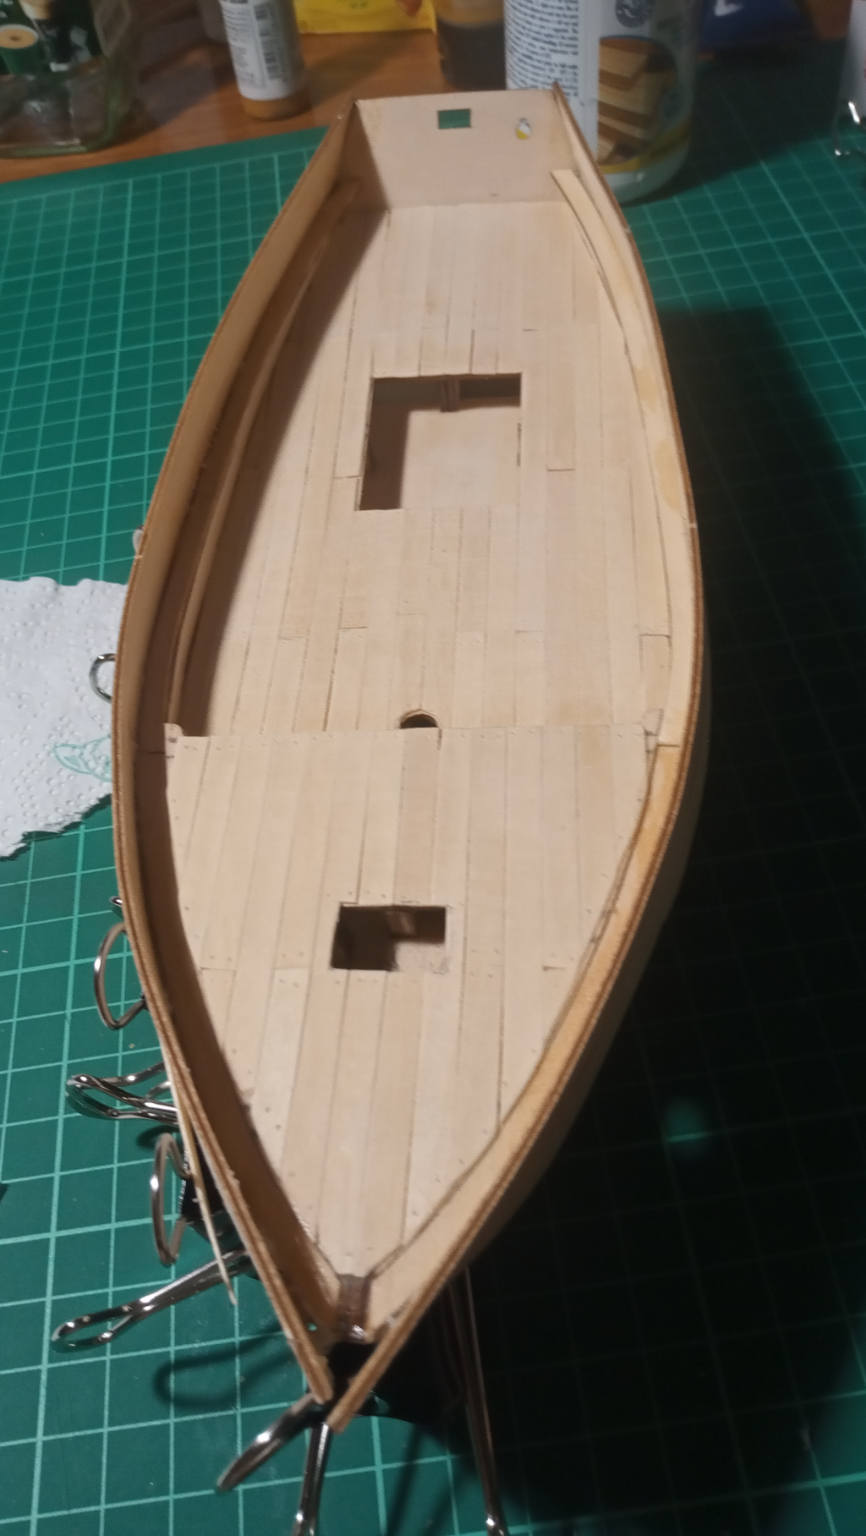
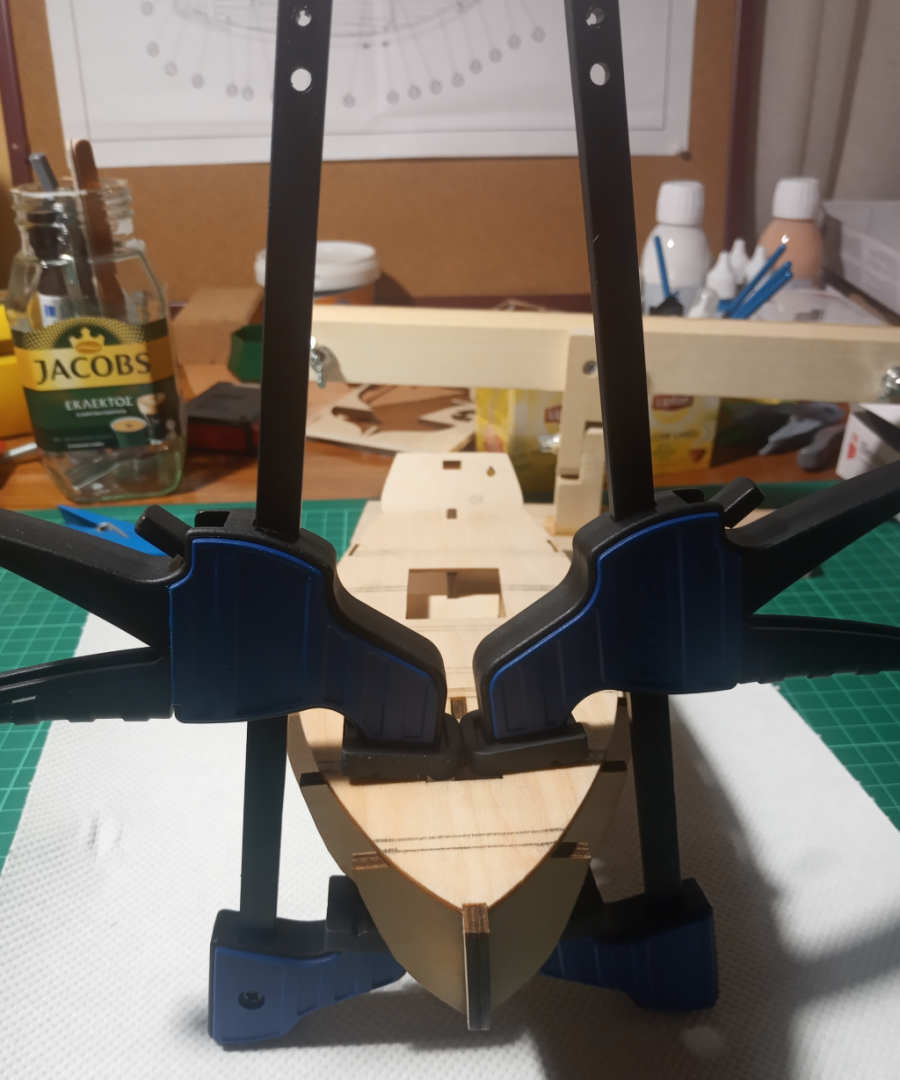
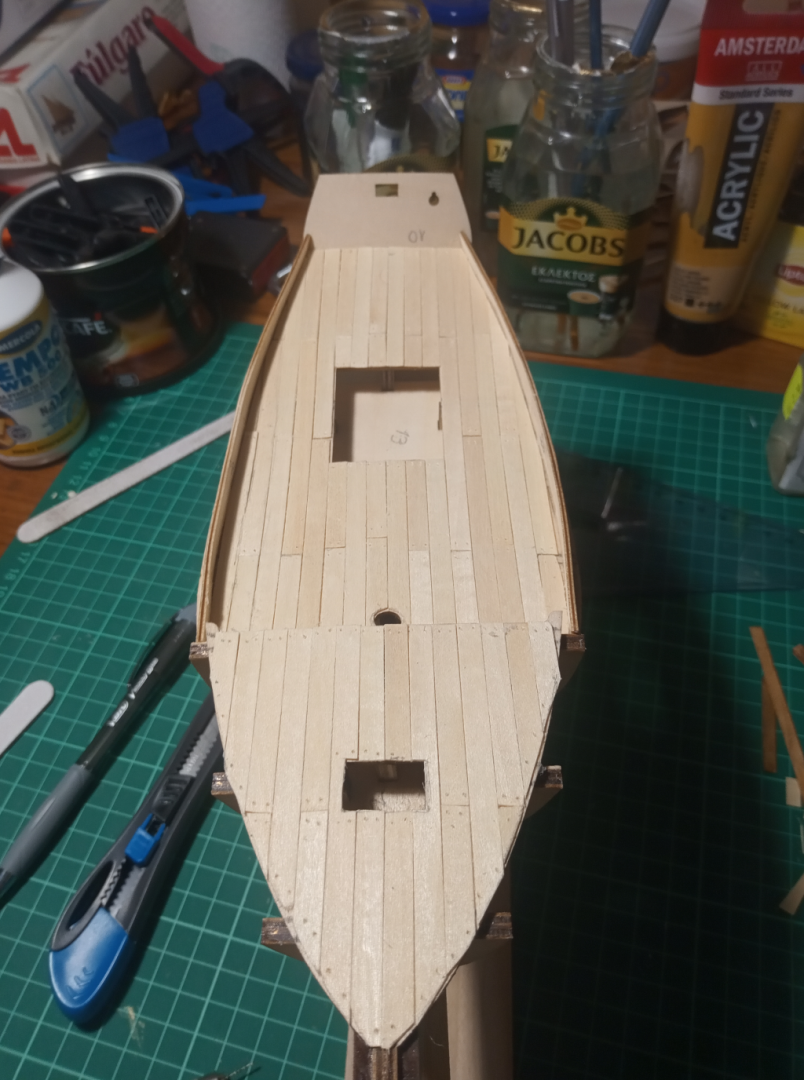
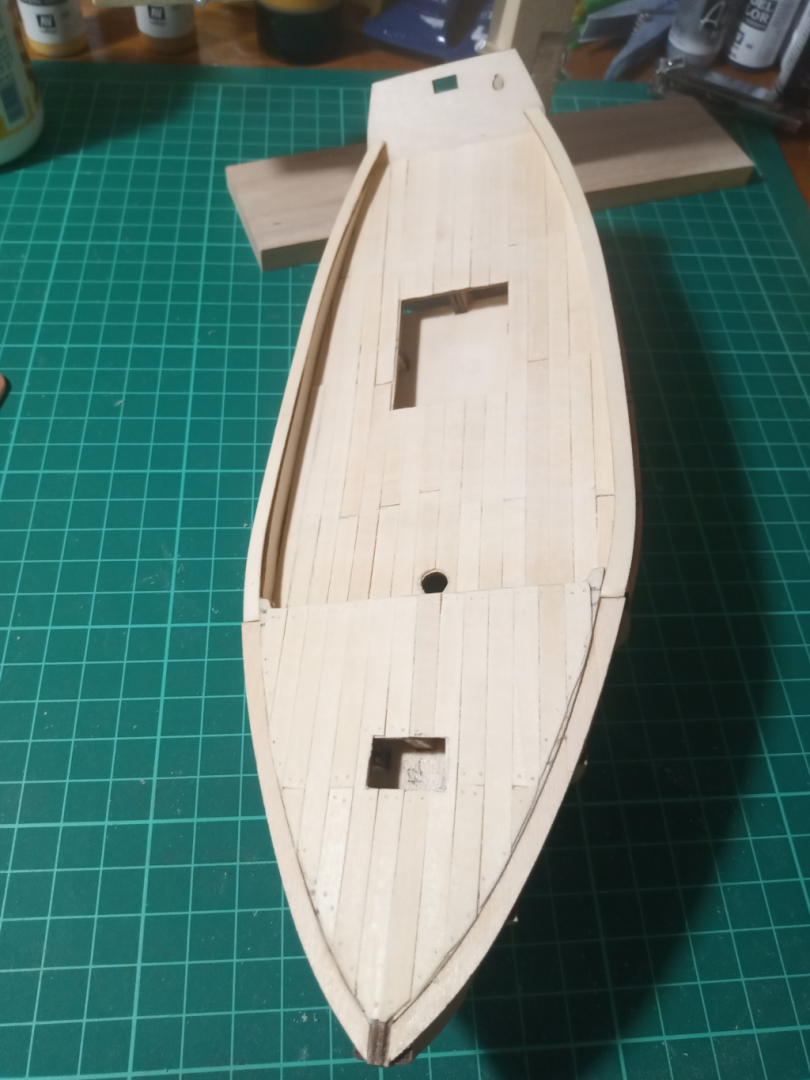
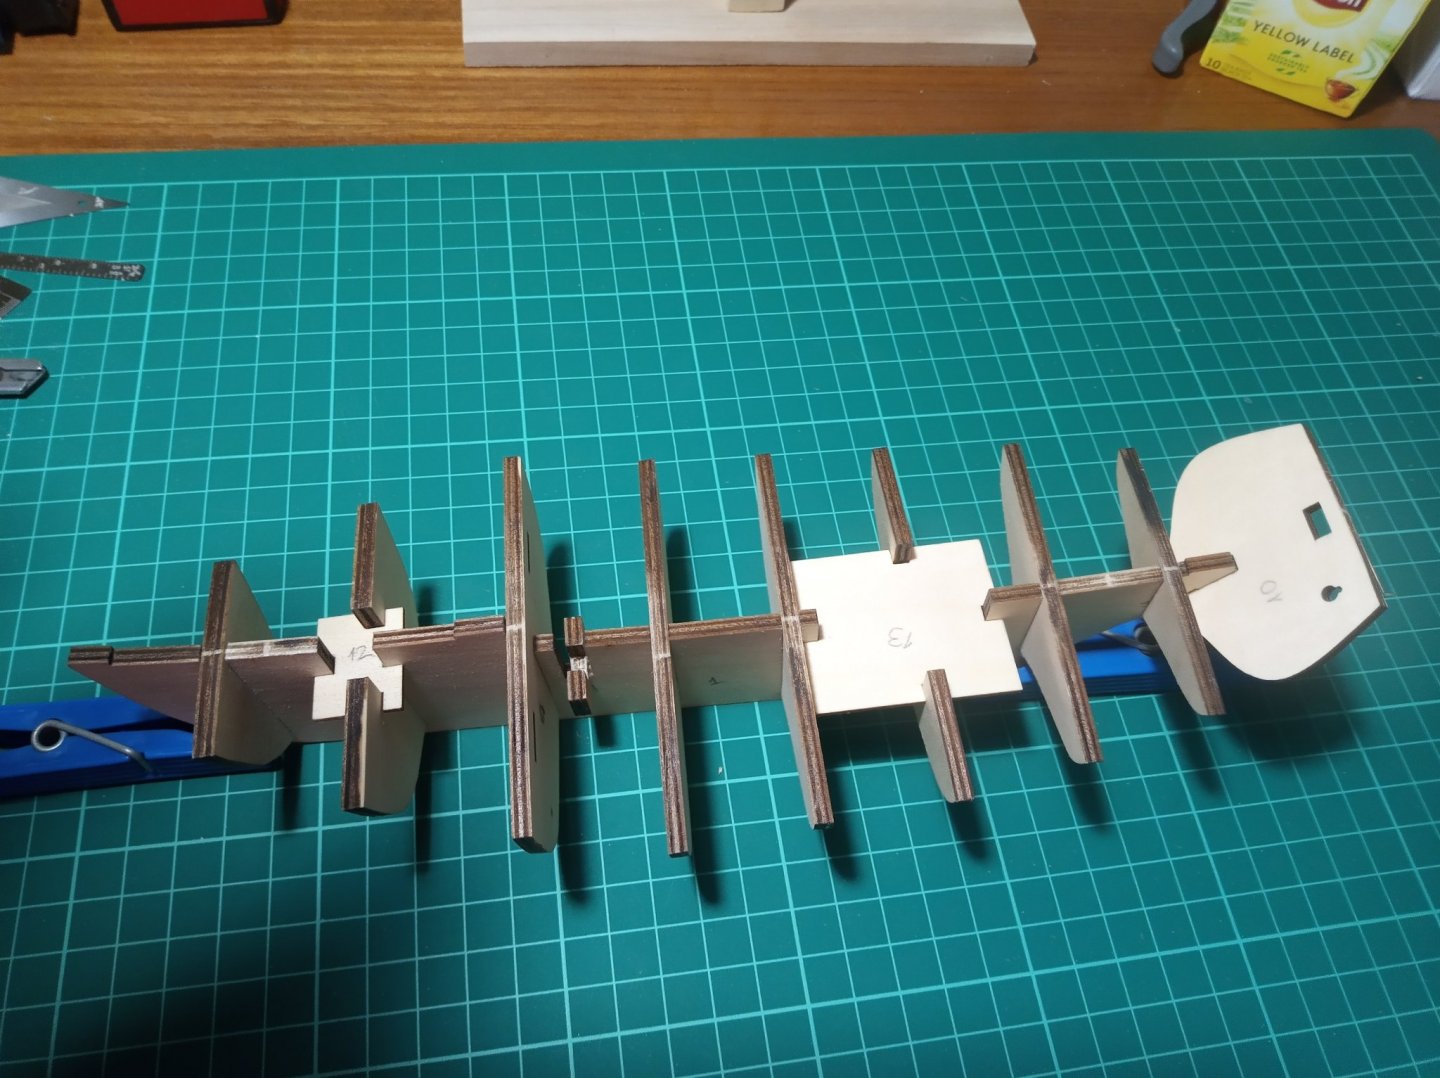
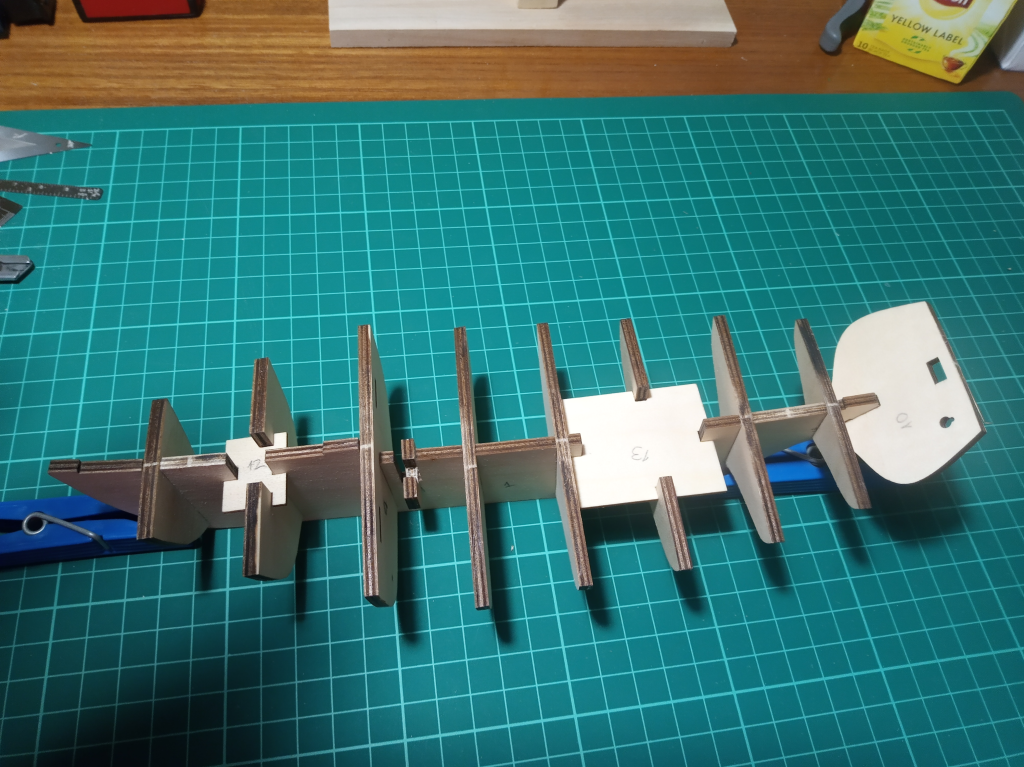
Thanks for the tip Andyrew!!! With clamps it worked. Now everything stays is in place without any cluing. its time to dry fit the side deck bulkeads. Also its time to clue everything up. I didn't dismantle the pieces, instead I've clued them in place with a small brush. Next day was "planking the decks" day. I've made my mind to cut 4cm and 8cm length planks as to make a more interesting deck, and drill two holes at each end so to give the impression of nails. I can see the many errors I've made, and that's knowledge for the next builds. Maybe i can use some putty to fill some gaps and sand them off... Anyway, now we're getting somewhere... Next step is bend and place these huge bulkwards. Up to then..take care!!!

-
Dimitris. reacted to a post in a topic:
Bon Retour by Dimitris. - Artesania Latina - 1:25
-
Andyrew reacted to a post in a topic:
Bon Retour by Dimitris. - Artesania Latina - 1:25
-
Dimitris. reacted to a post in a topic:
Phoenix by Kevin - Panart - 1/84 - Ex Amerigo Vespucci - restarted June 2020
-
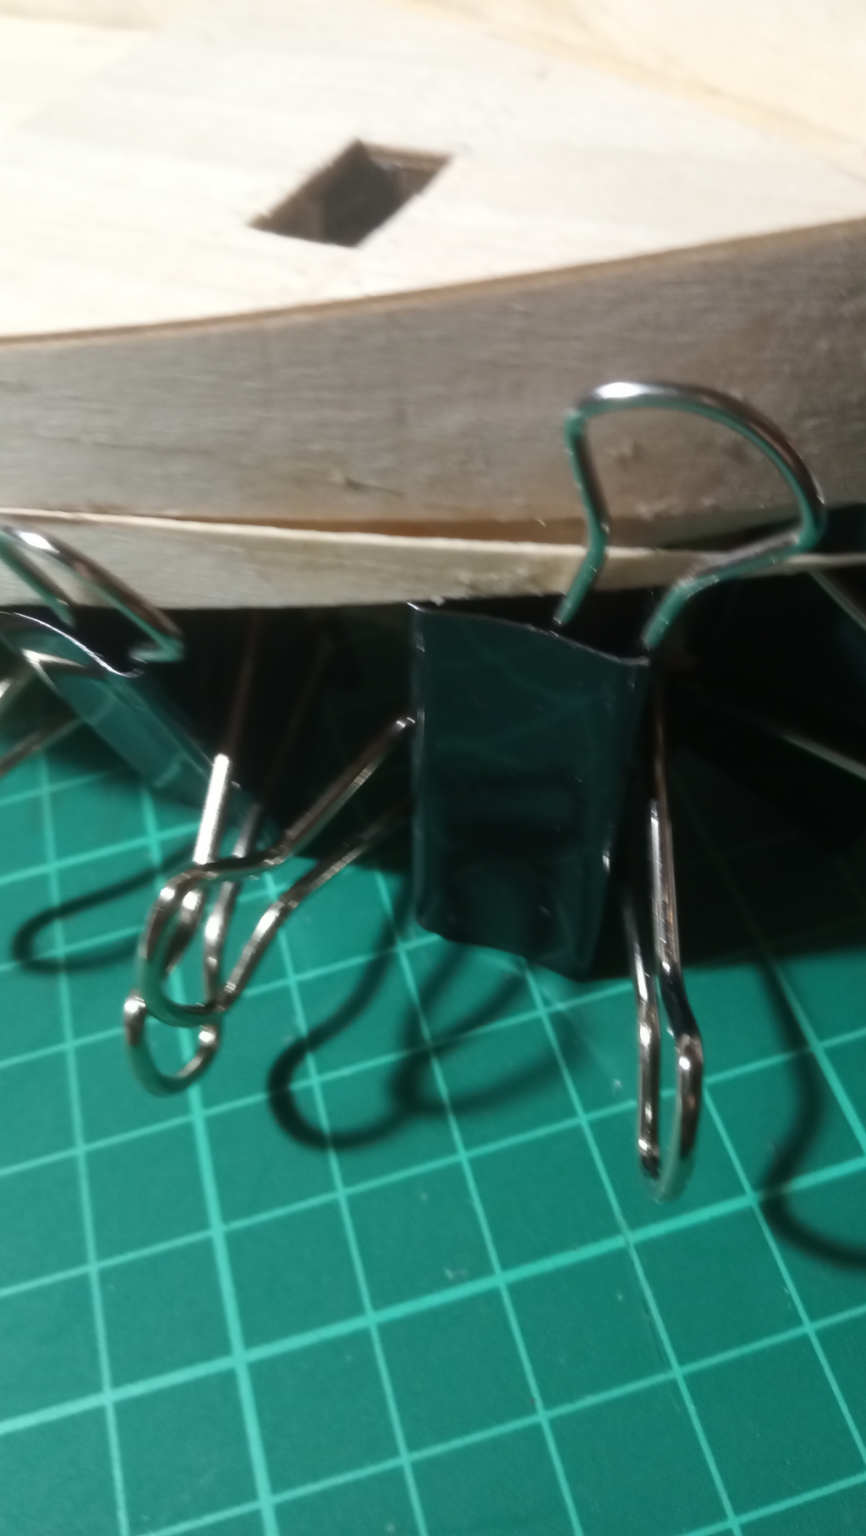
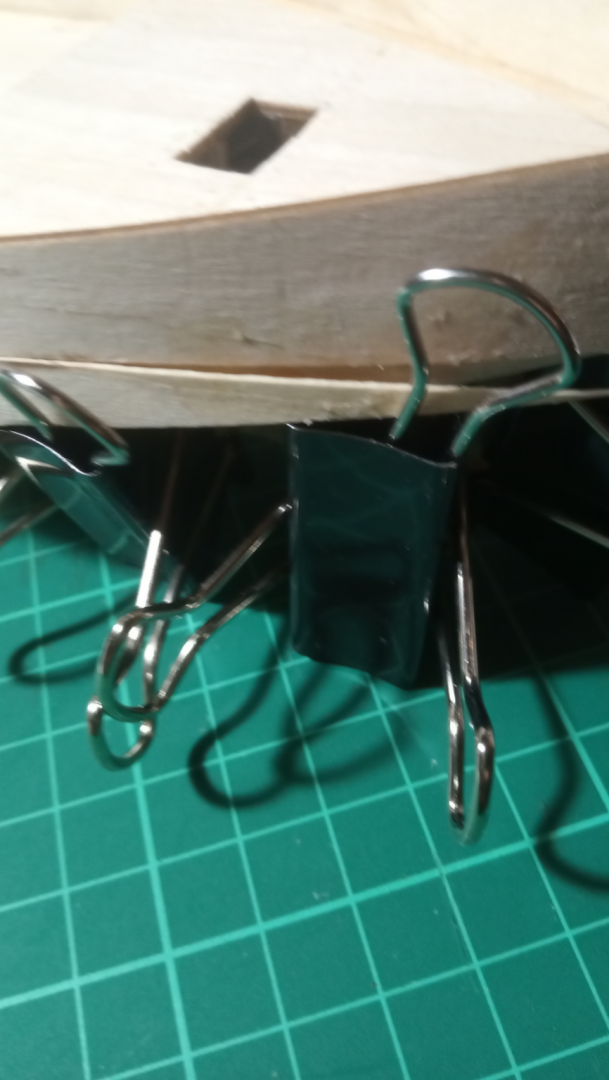
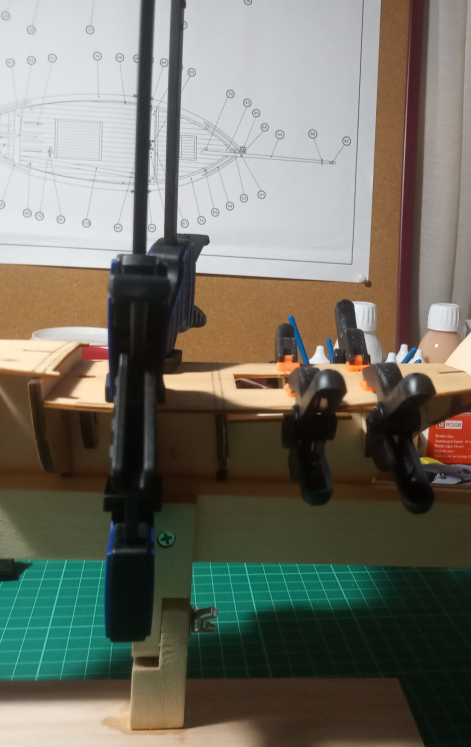
These days where days of tests. I've tried to make the false decks take the shape i want, but with not very acceptable outcome. First try was one hour in water, then put pins and leave for 12 hours. The decks took some shape but there are points where there is a gap, which i believe the clue isn't enough to hold. Then second attempt, one hour in water and then use some clamps instead of pins. Better results but still there is a non manageable gap (at least at my eyes). Like this one. So i got some bigger clamps in order to give the shape. It's take three. Clamps only. Tomorrow i will know. It will be great If someone can suggest an idea, or point me to another direction. Cheers, Dimitris
-
mtaylor reacted to a post in a topic:
Bon Retour by Dimitris. - Artesania Latina - 1:25
-
mtaylor reacted to a post in a topic:
IJN Yukikaze by DmitriyMarkov - Tamiya - 1/350 - PLASTIC
-
Baker reacted to a post in a topic:
Hello from Greece
-
Dimitris. changed their profile photo
-
Very challenging to my novice eyes. Will keep following your build as it's quite interesting.
-
Wow! I'm impressed not only from your quality of work, but also the quality of your pictures! Well done!
-
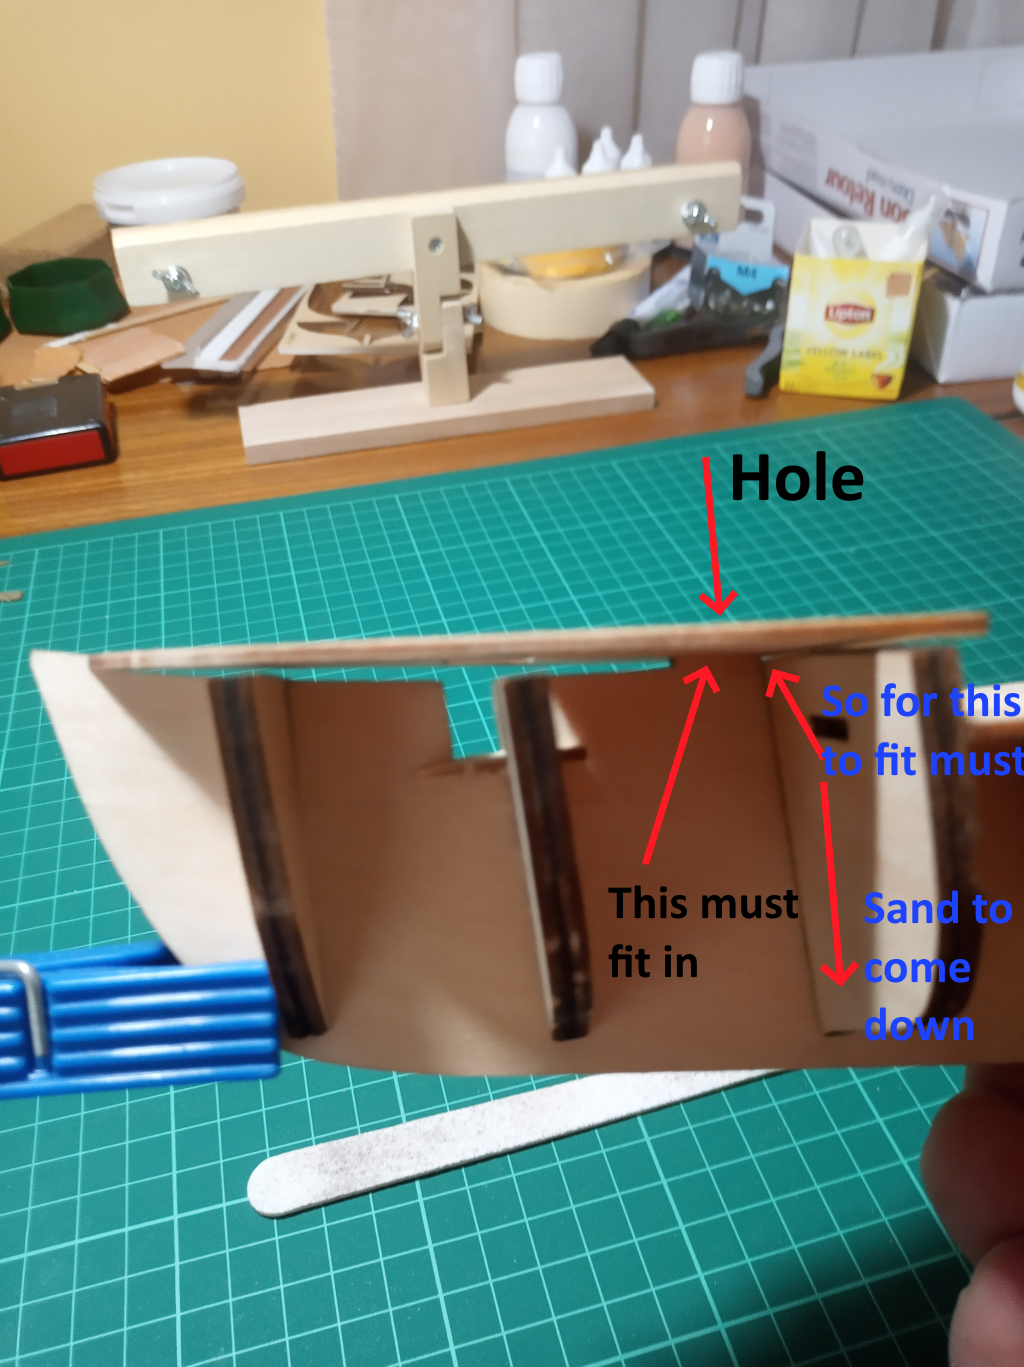
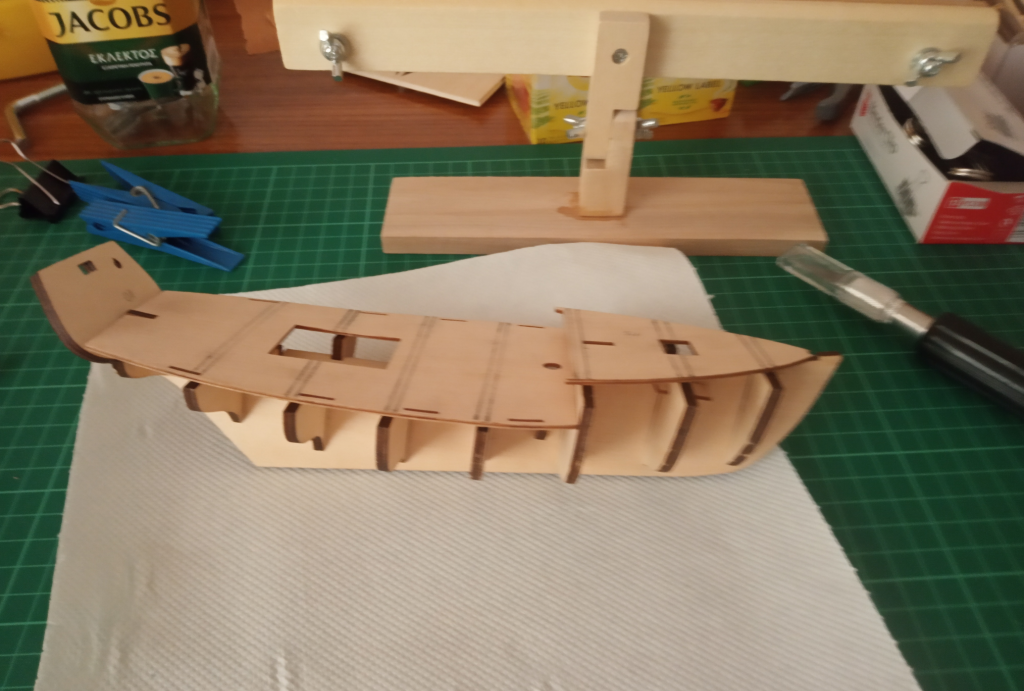
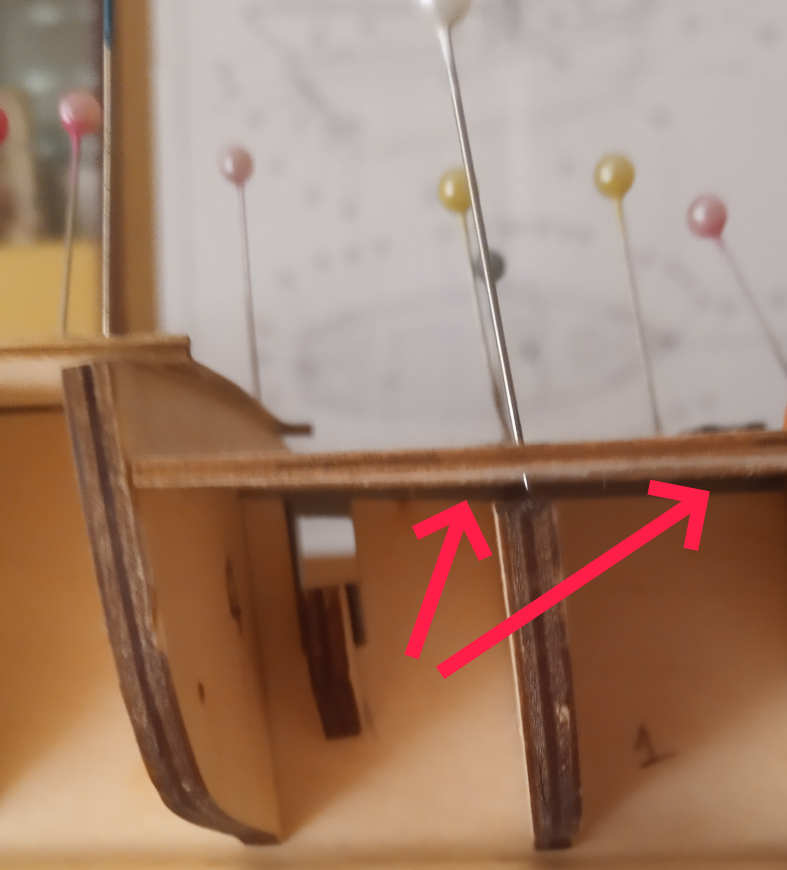
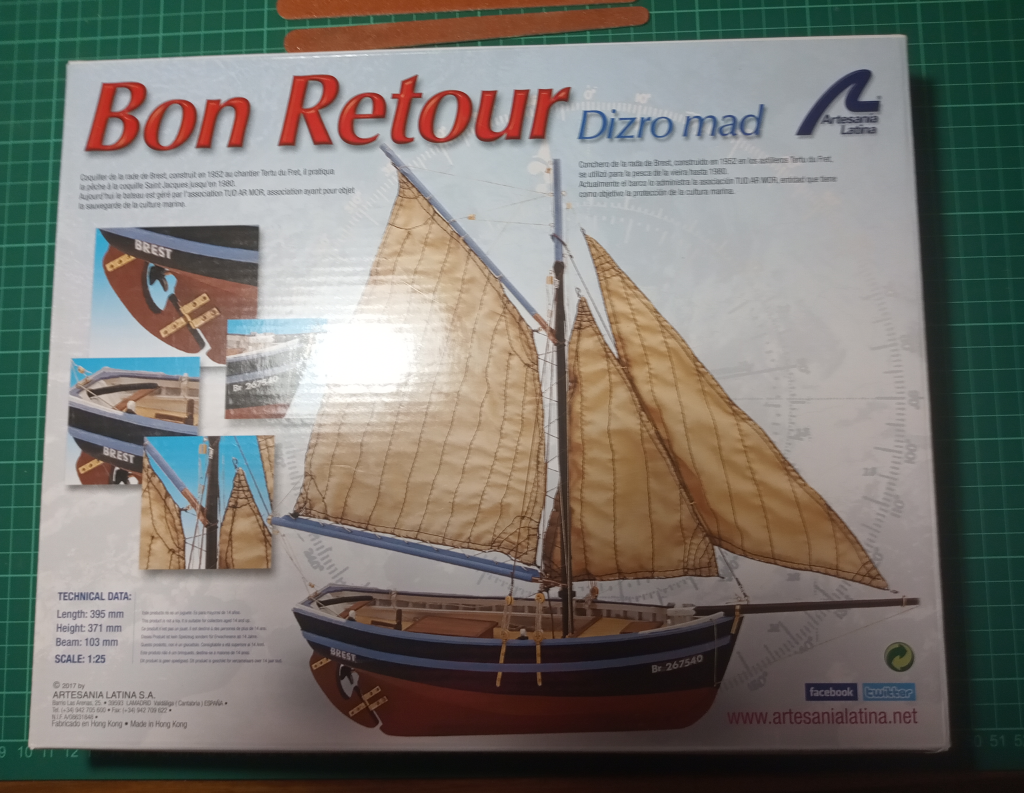
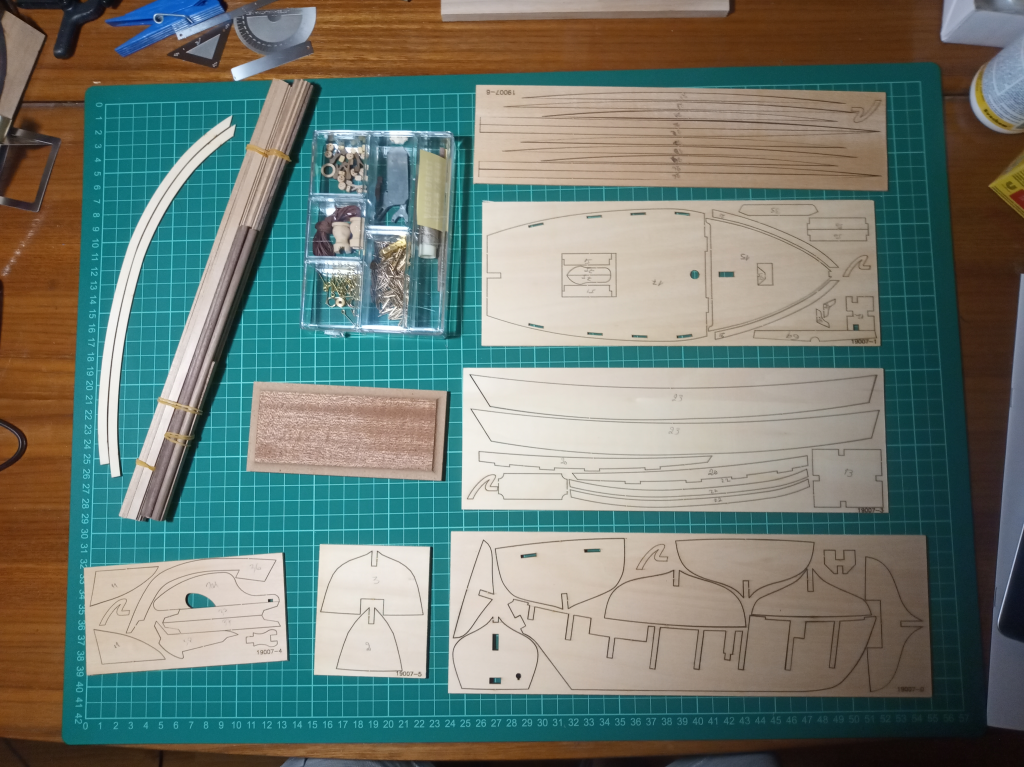
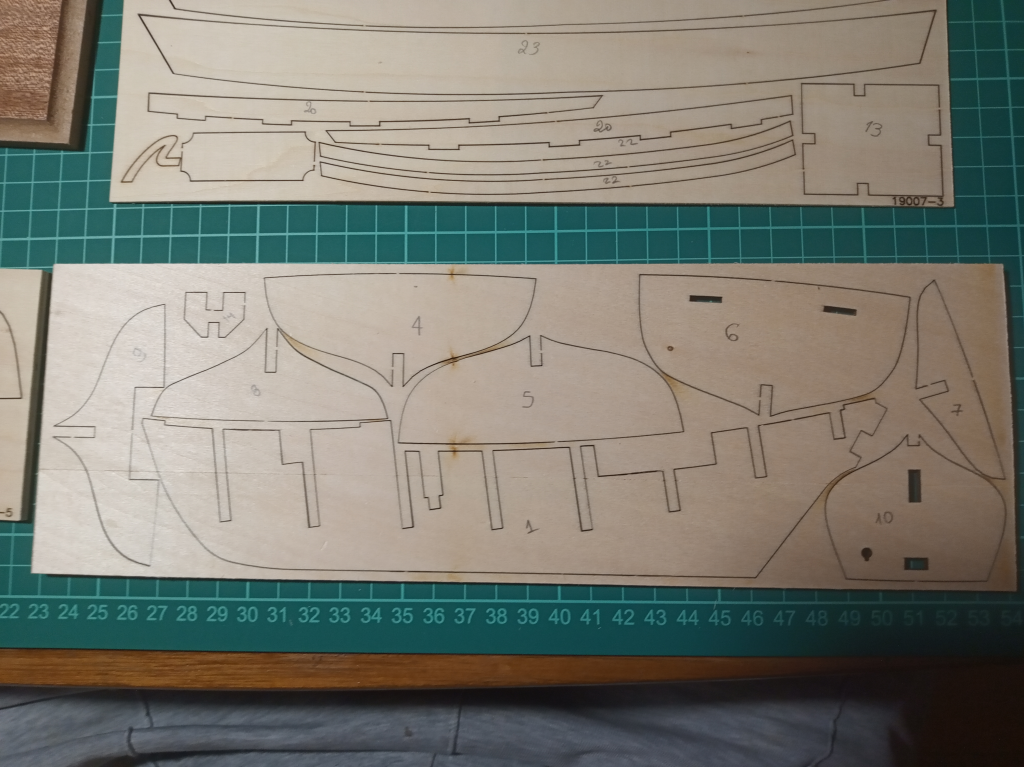
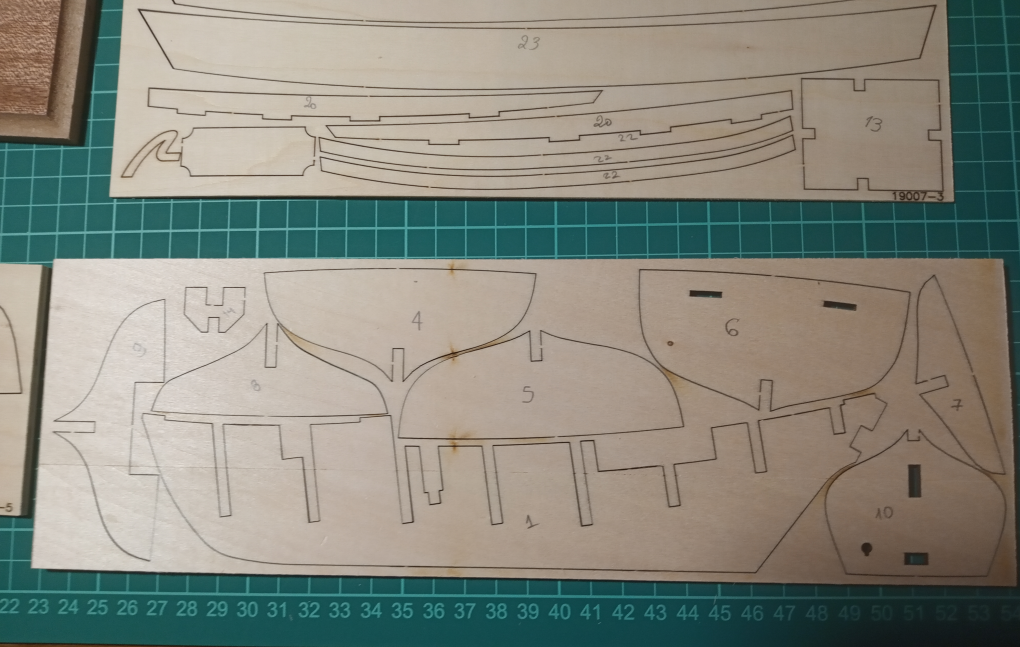
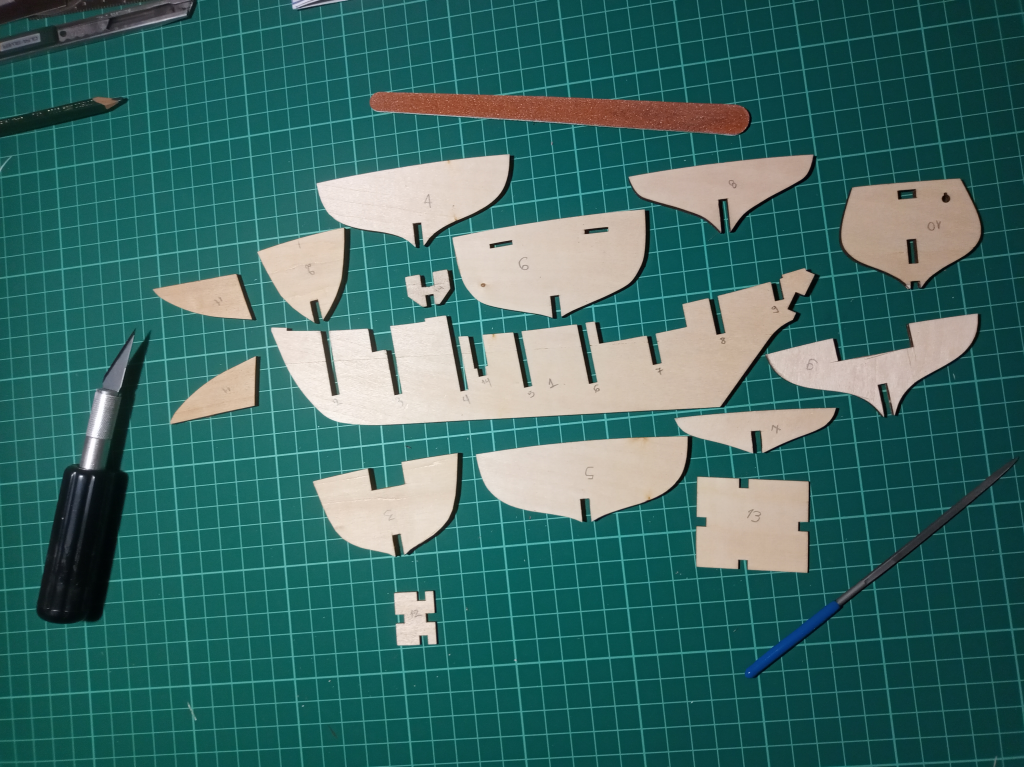
I'm an impatient man. But also a disciplined man. The battle between these is always won by a slight difference. When got at my hands the box of "Bon Retour" by Artesania Latina i was like a small child having its dream toy at hand, at the same time an inner voice was telling me "Don't do it again. Take your time. Be as sure as possible with each step, with next step". This time discipline will be in charge. So I've read the building logs posted here, and general advice, and bought the Kindle version of "Ship modeling shimplified" by Frank Mastini, and then become a member here. I consider that a good start. With all newly knowledge acquired i' ve opened the box trying tame my excitement, but....i was so in hurry i couldn't take a proper picture...That's the best i've got. "Bon Retour" is a fishing boat, as all of you already know, build at early '50s and then become a private yacht. No much info i could find about her. Pity as its a beauty. I've selected that one over others beginners models, because it has a deck. And i would love to learn about building one. Next step...taking the parts out and checking them. And then put numbers on them... Next one was to carefully cut away the hull and bulkheads, sand them off at the edges. Now the bulkheads where too tight to fit. I had to sand them a lot, as to fit them without been too tight or too loose. But i finally did it. When i fit the first one, it felt as a glorious win!!! What a joy, like celebrating at Rocky Steps! So I've put my music on and kept working on them. My girlfriend got jealous and wanted to give a try. I was more that happy to explain the task at hand. Sand them to fit not too tight, not too loose and the top of each bullhead must align with the top part of the keel. As mr. Mastini writes "You think its finished and want to clue it? Don't!". So i dry fit them all by following his line of work, which is different from the illustrated and written instructions. Well that was fun!!!...and then came up to my first problem to solve. Next step was to cut and dry fit the false decks...And then i understood why i should dry fit first and clue later. I'll try to explain with pictures. It seems that i should sand the bullhead beneath the hole as much as to make it as tall as to make the hole plugin in place correctly. Did the above steps hoping i was right with my understanding. Now, as you can see from the picture above, the deck must take the curvature of the hull/bulkhead. I found two suggested ways. First to keep the false decks in water for an hour and then pin them (not clue them) at place, let them dry for 12h. Other one put them in hot water for 15' and then pin them in place, let them dry for 12h. But in order to do so must draw some lines where the bulkheads fall at the false decks, so to place pins correctly. So next step is draw the lines and then...choose one of them to go on. If you have any suggestions, tips would be more than welcome! Up to then...take care and keep on living at full speed!!! Cheers, Dimitris


-
Thank you all for your warm welcome. I will start my log today and begin a wonderful journey here, with you. Cheers!!!
-
My name is Dimitris and I' m from Athens, Greece. I 've started a model on my early 20's (now I'm 52), no internet or any kind of help back then. Artesania Latina's Fulgaro. Got stuck and left it on its box. Now my girlfriend start making small rooms, hand made from ground up, with any materials she could find. With pianos and candle lights and chairs and everything. The outcome is great! And then I remember my old Fulgaro, still in storage. Got her from my storage and gave it a go in order to finish her up. Trying to find some kind of help and examples of Fulgaro's construction found this site. I ve made my mind that it's not possible to finisher up, at this time. I ve lost some pieces and I don't know what to do next. But I m willing to do it. So I'm starting a new boat of Artesania Latina, in order, when finished, to have the knowledge to finish Fulgaro. Meantime all the knowledge found here is inspirational and made me to want post my build and share with you my stories. Nice to be here then. Thank you, Dimitris