Wreck1919
-
Posts
64 -
Joined
-
Last visited
Content Type
Profiles
Forums
Gallery
Events
Everything posted by Wreck1919
-
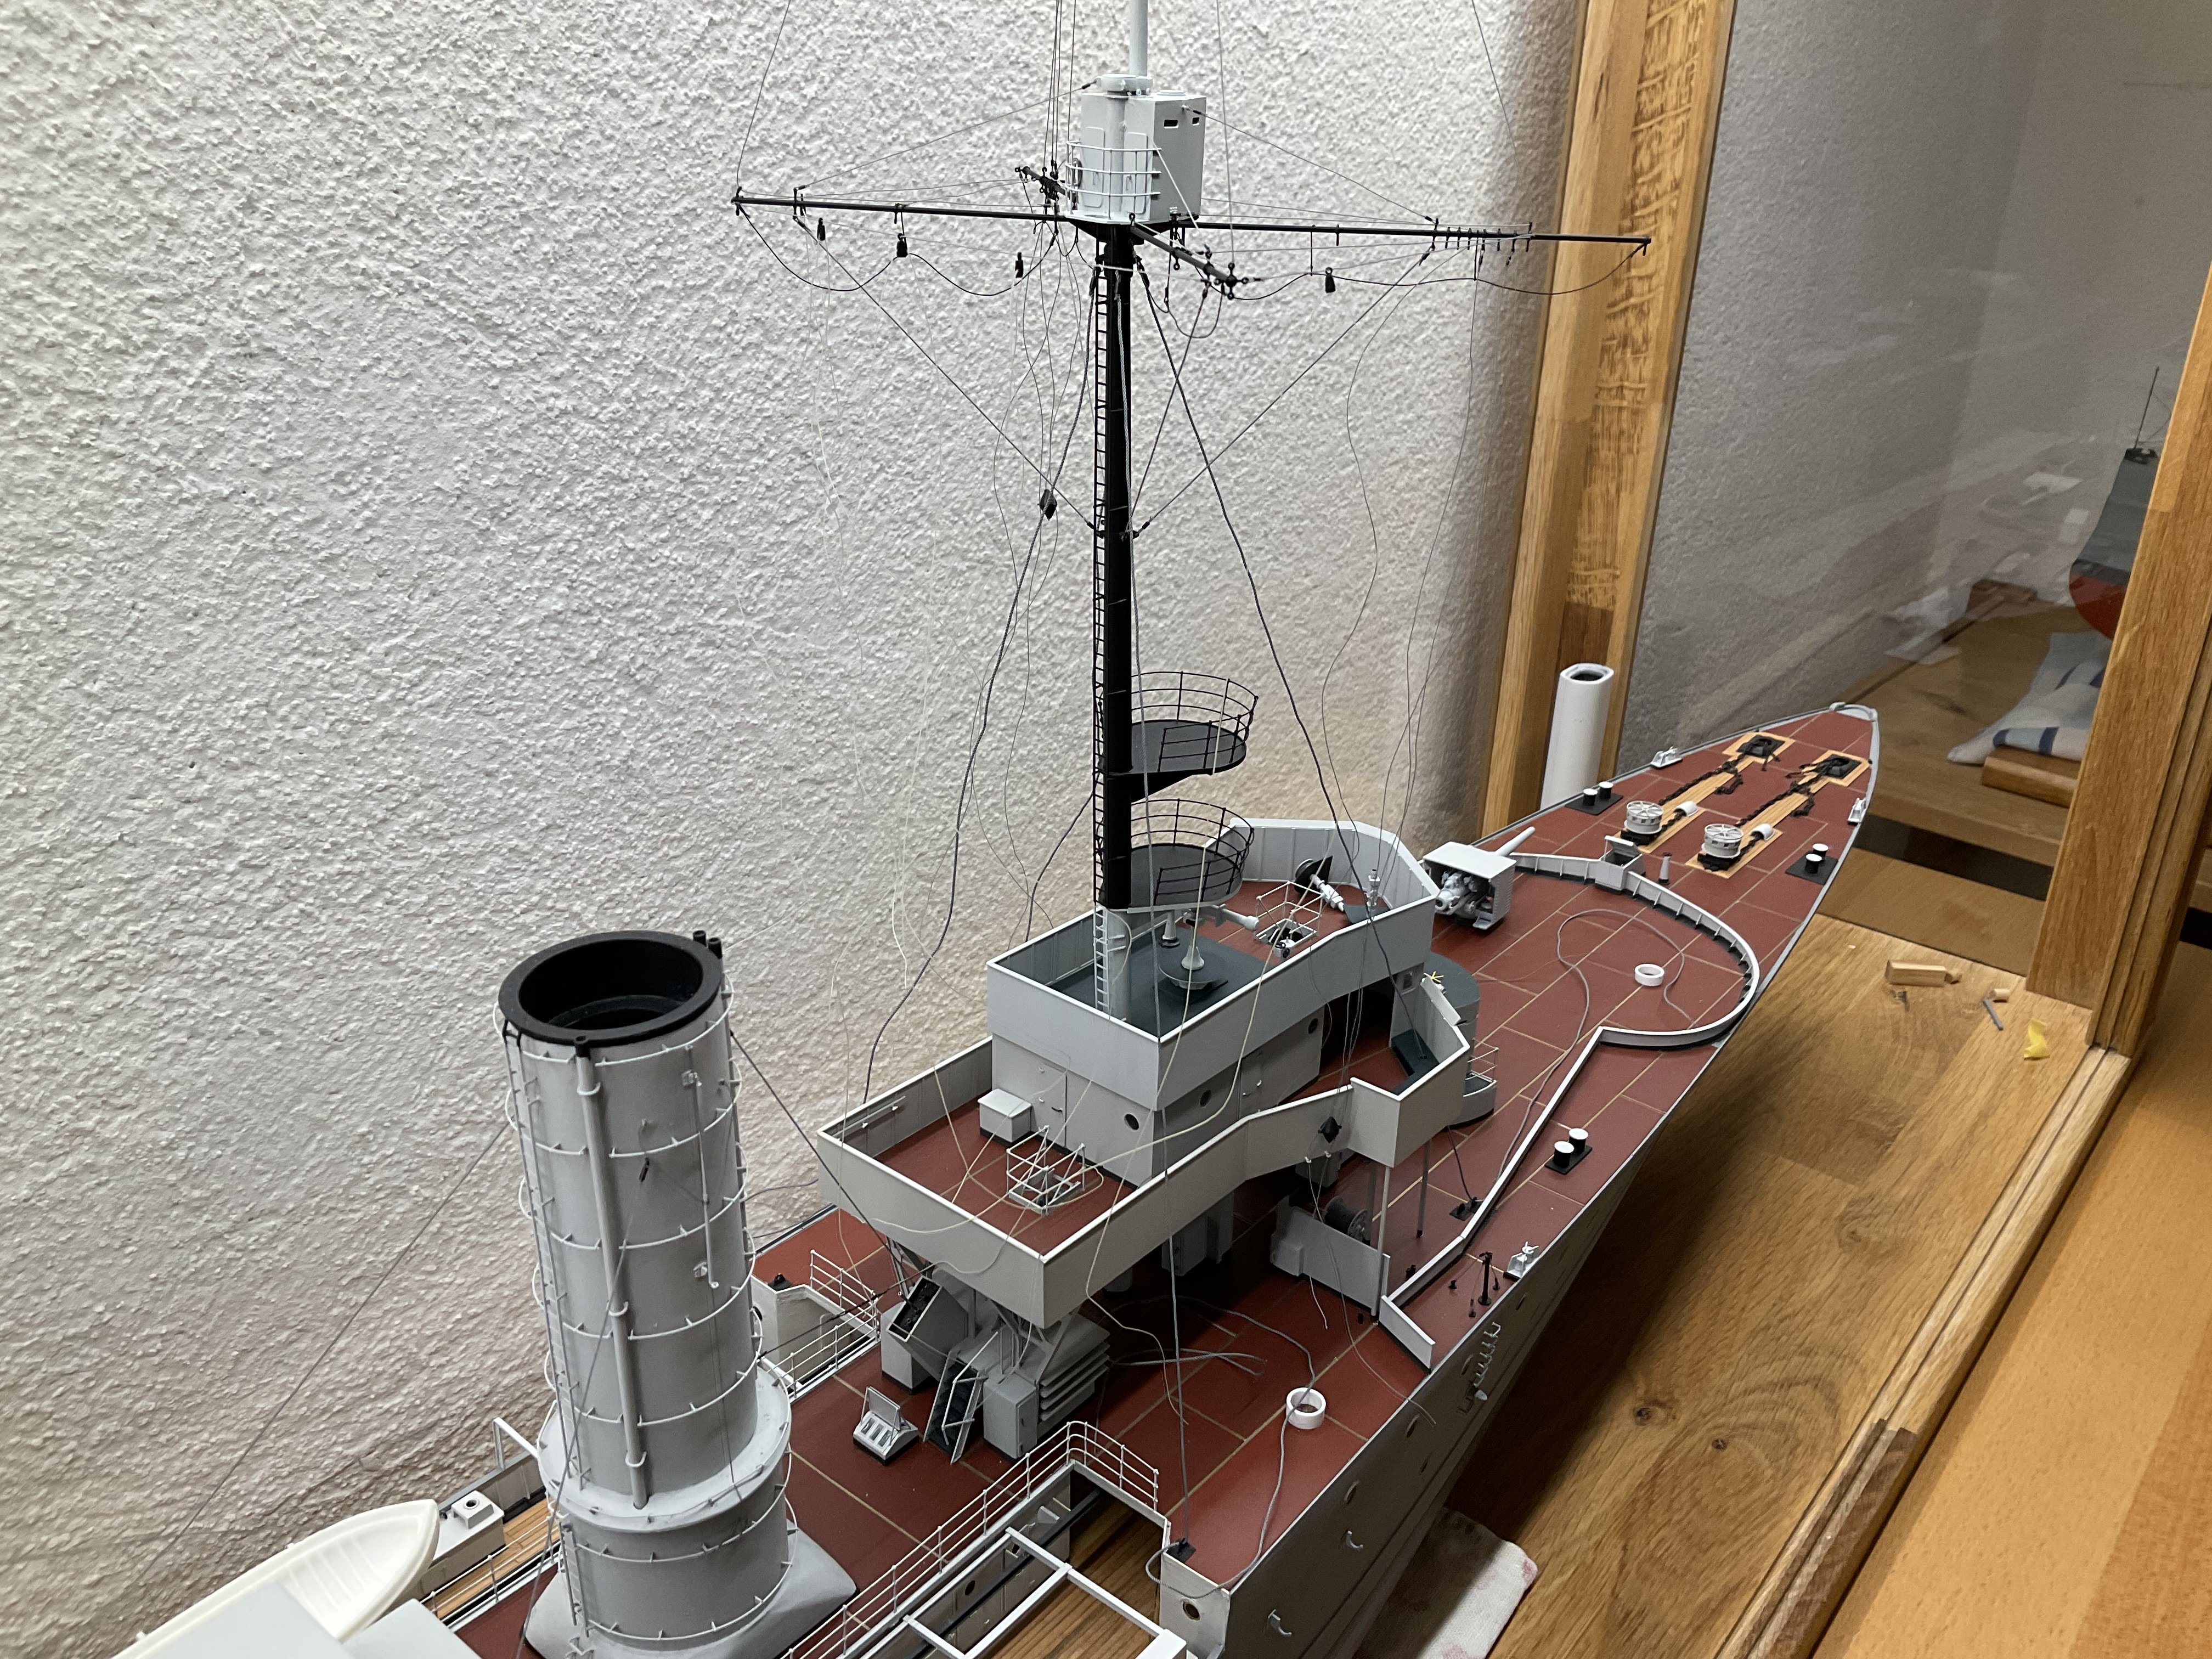
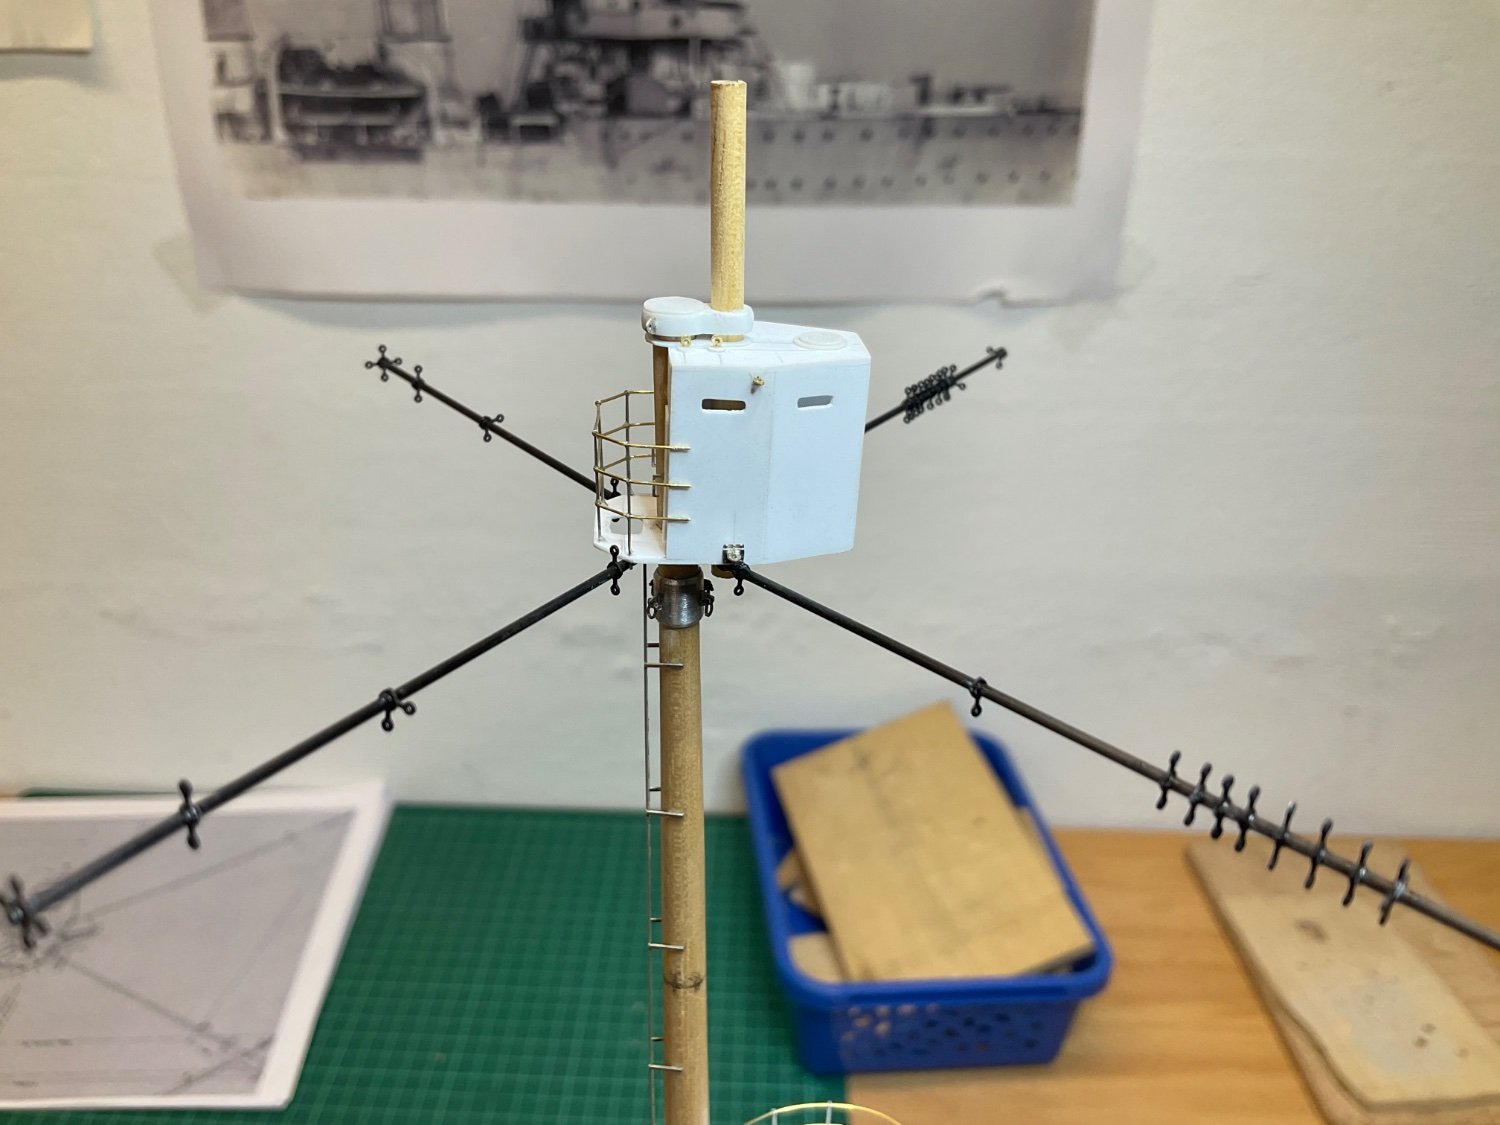
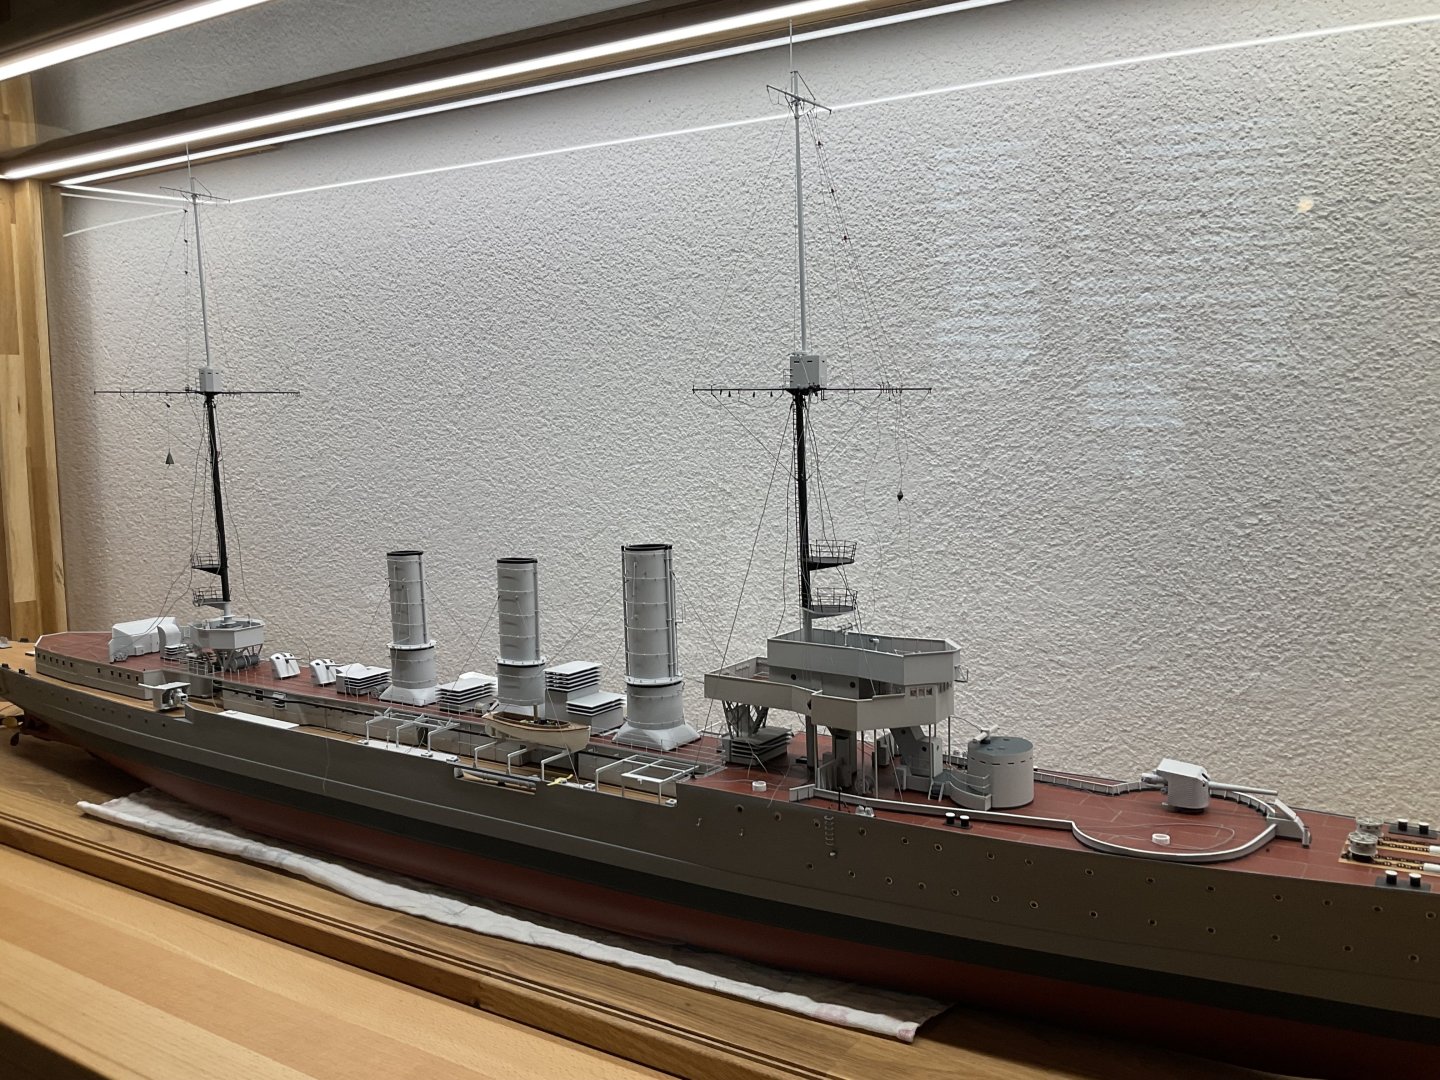
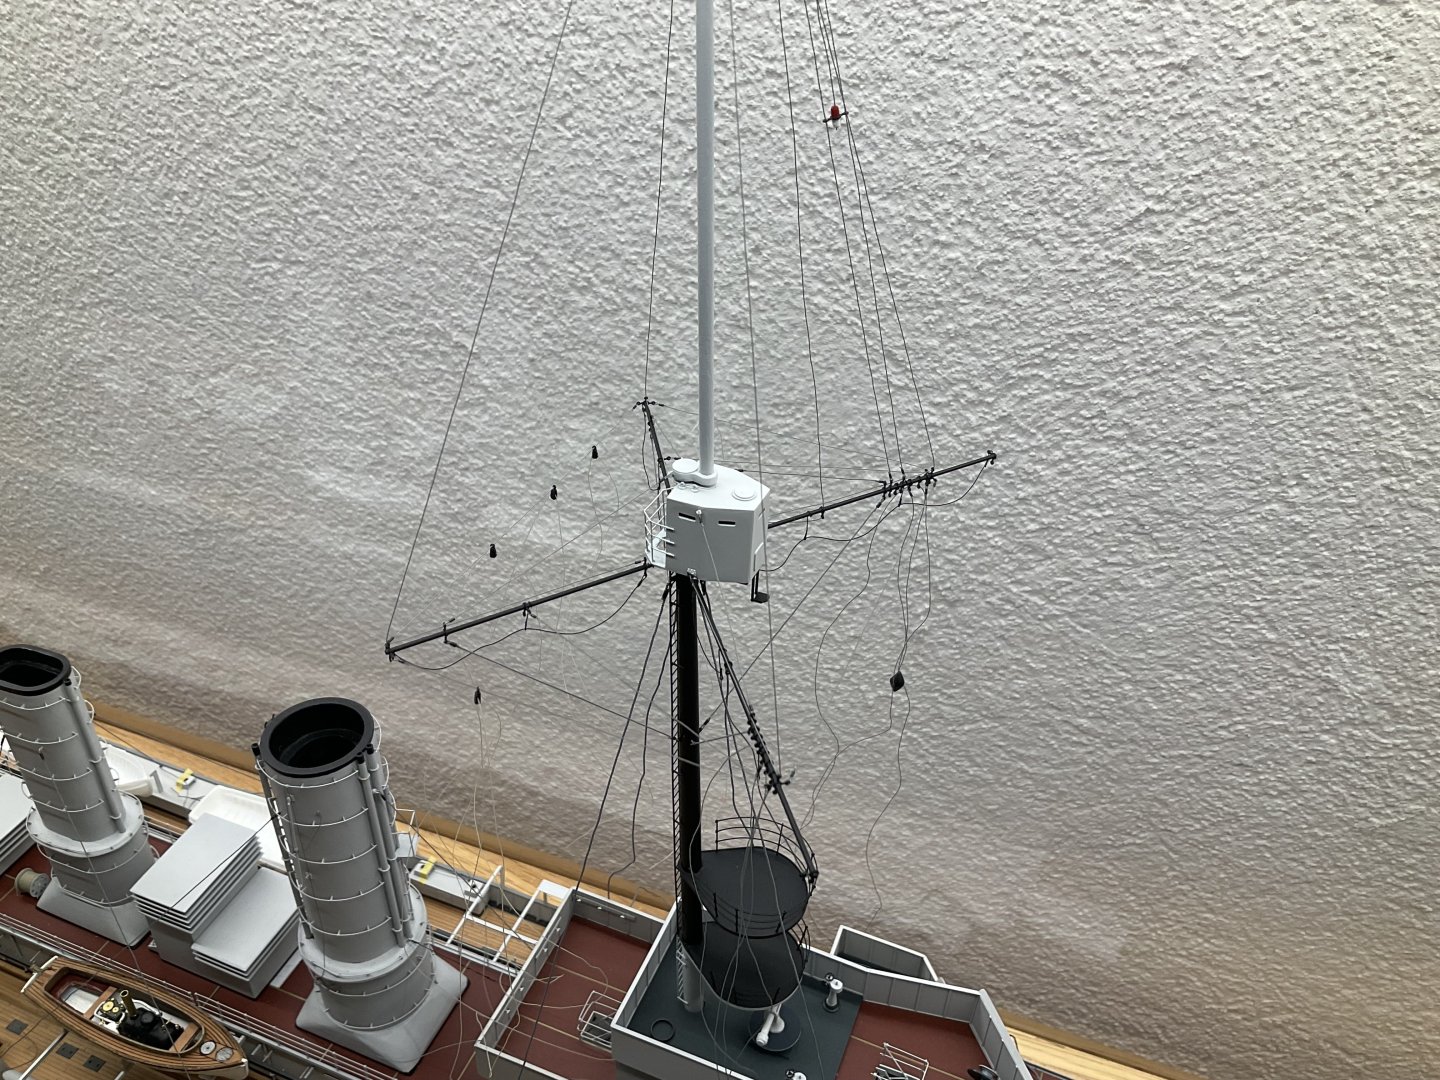
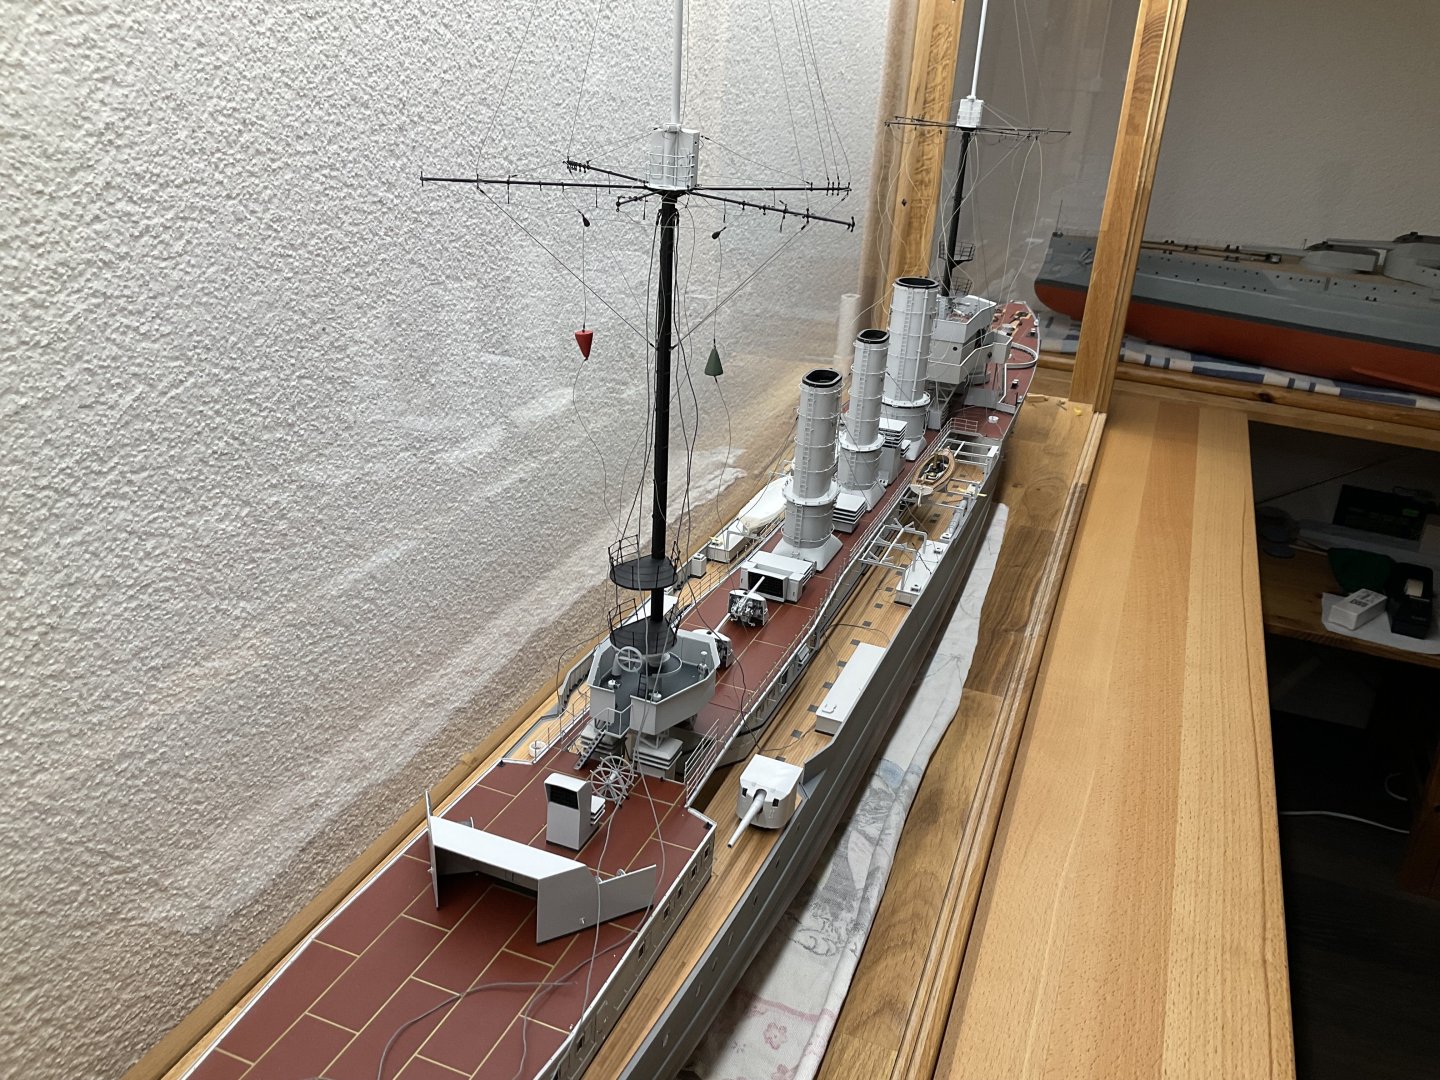
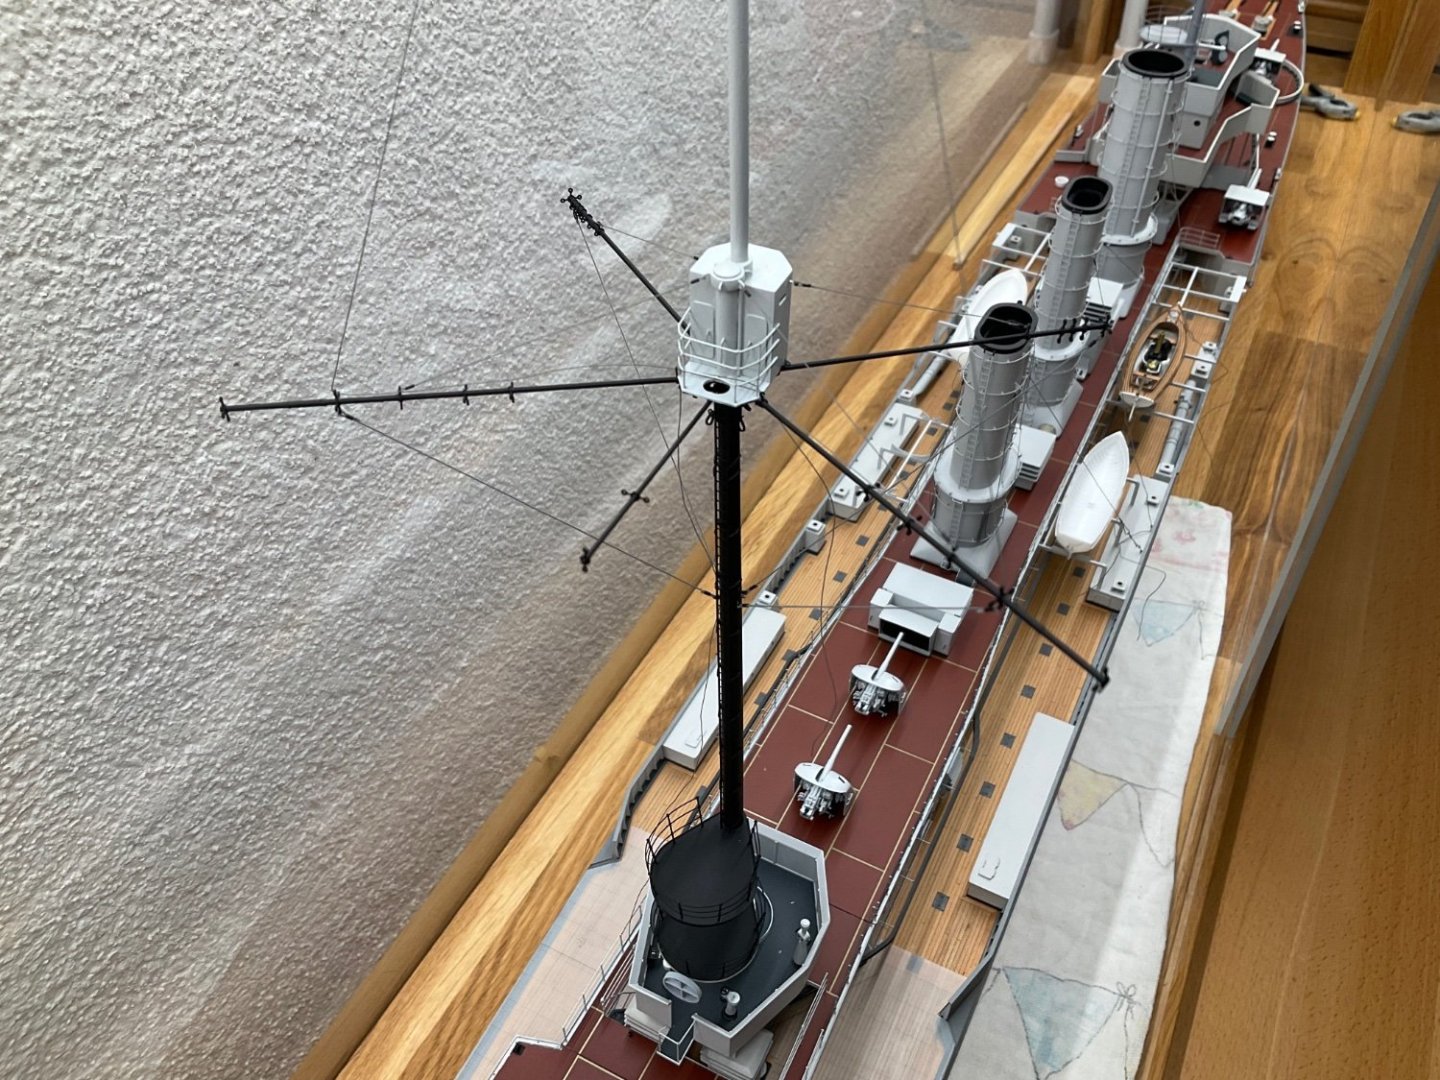
Another update: rigging is almost done. All that can be attached to the masts off model is finished. Remains „only“ to do the lower attachment points on deck. How to attach the signal lines on the foremast to the bridge without tearing everything apart is still a mystery to me though…🤪. Looks a bit wild now but once straigthened out it should be ok,..i hope. cheers sascha

- 97 replies
-
- 11
-

-

-
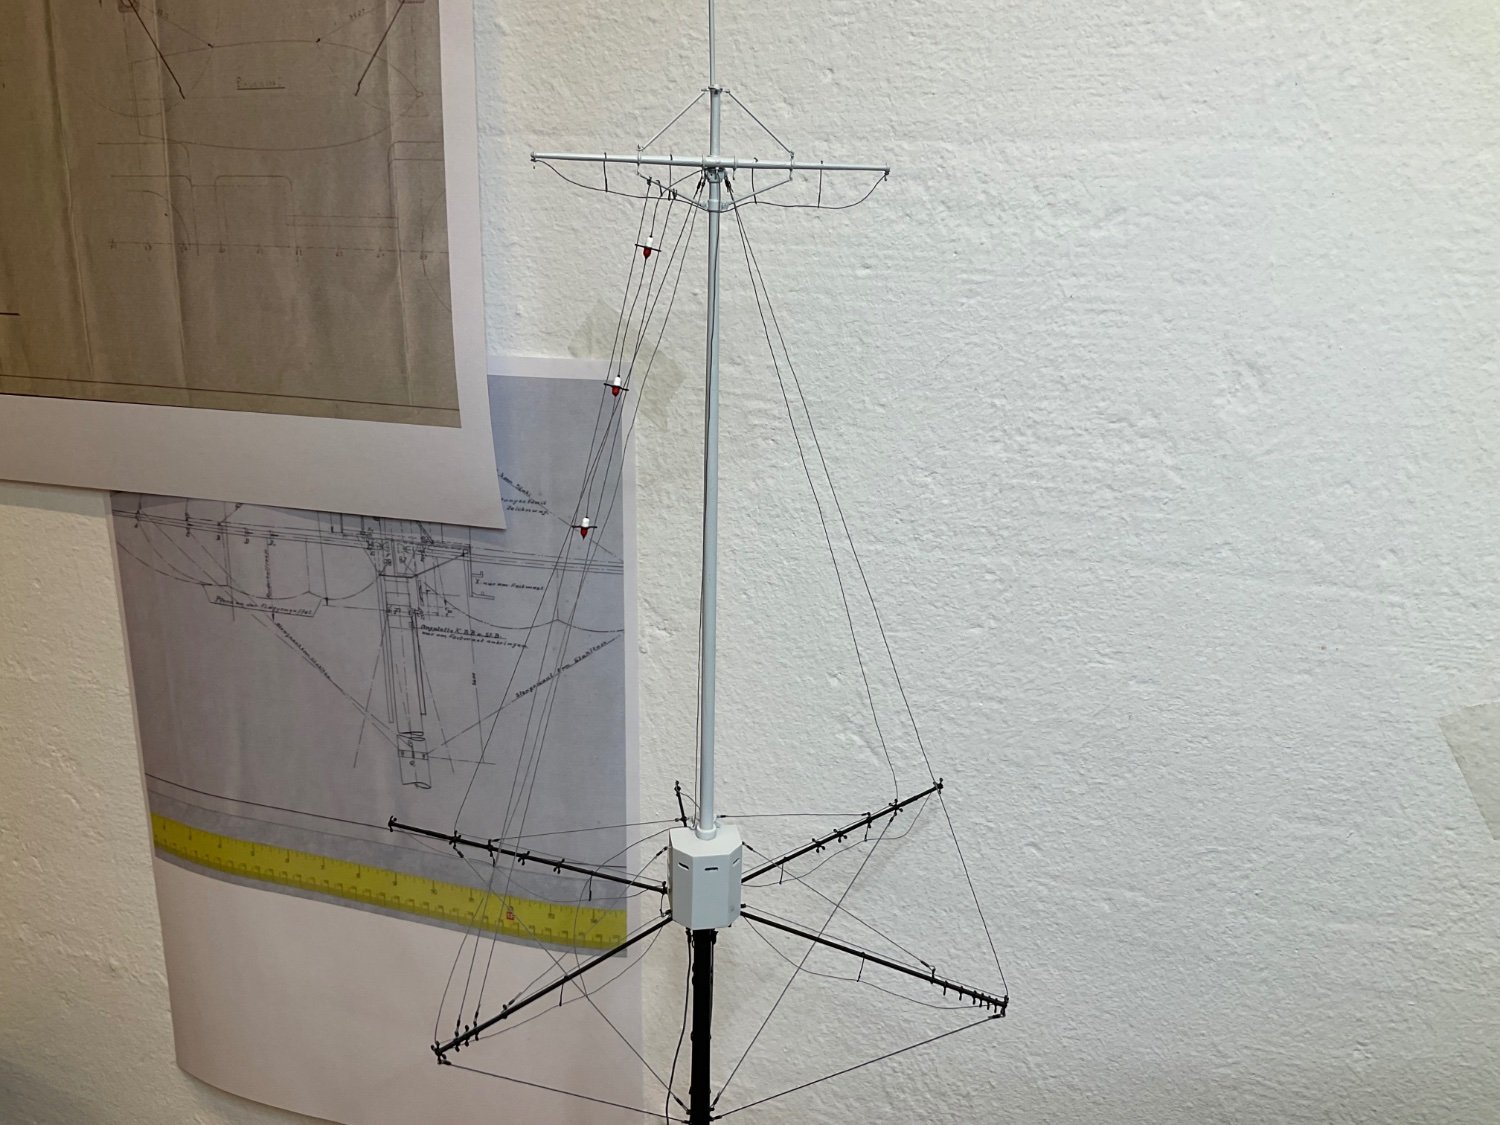
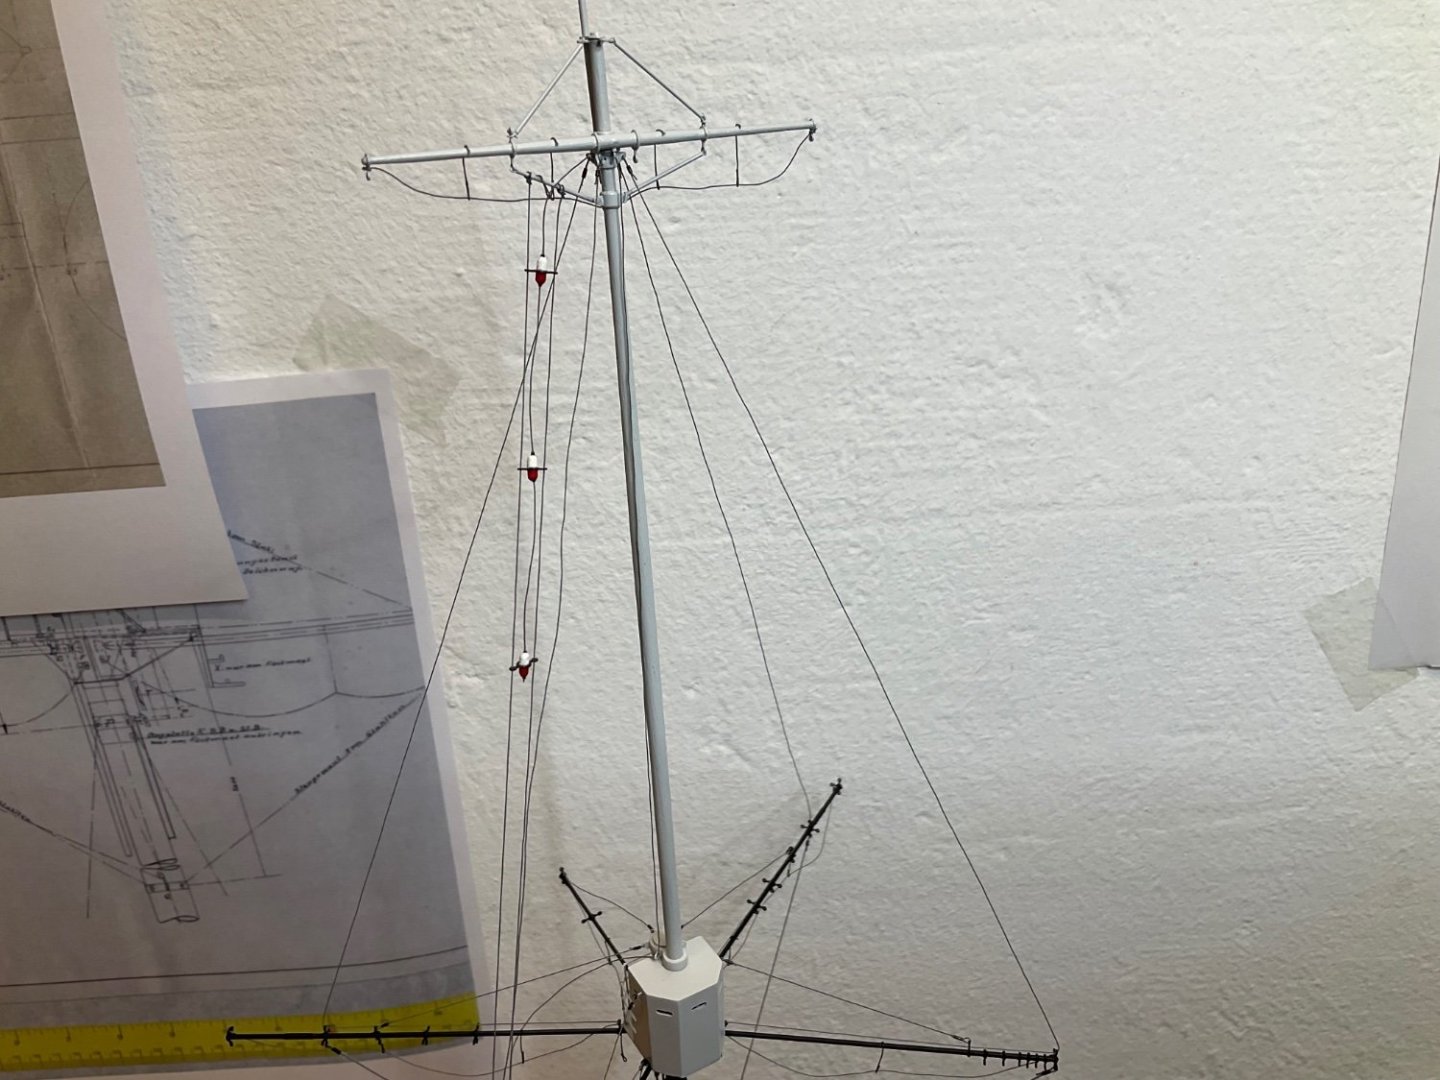
Rigging continues with upper signal lights. I didnt think about those when building the mast, so they too have no upper attachment points (cheat with knot and spare stirrup) , something to remember for the next model 🤪.

- 97 replies
-
- 10
-
-
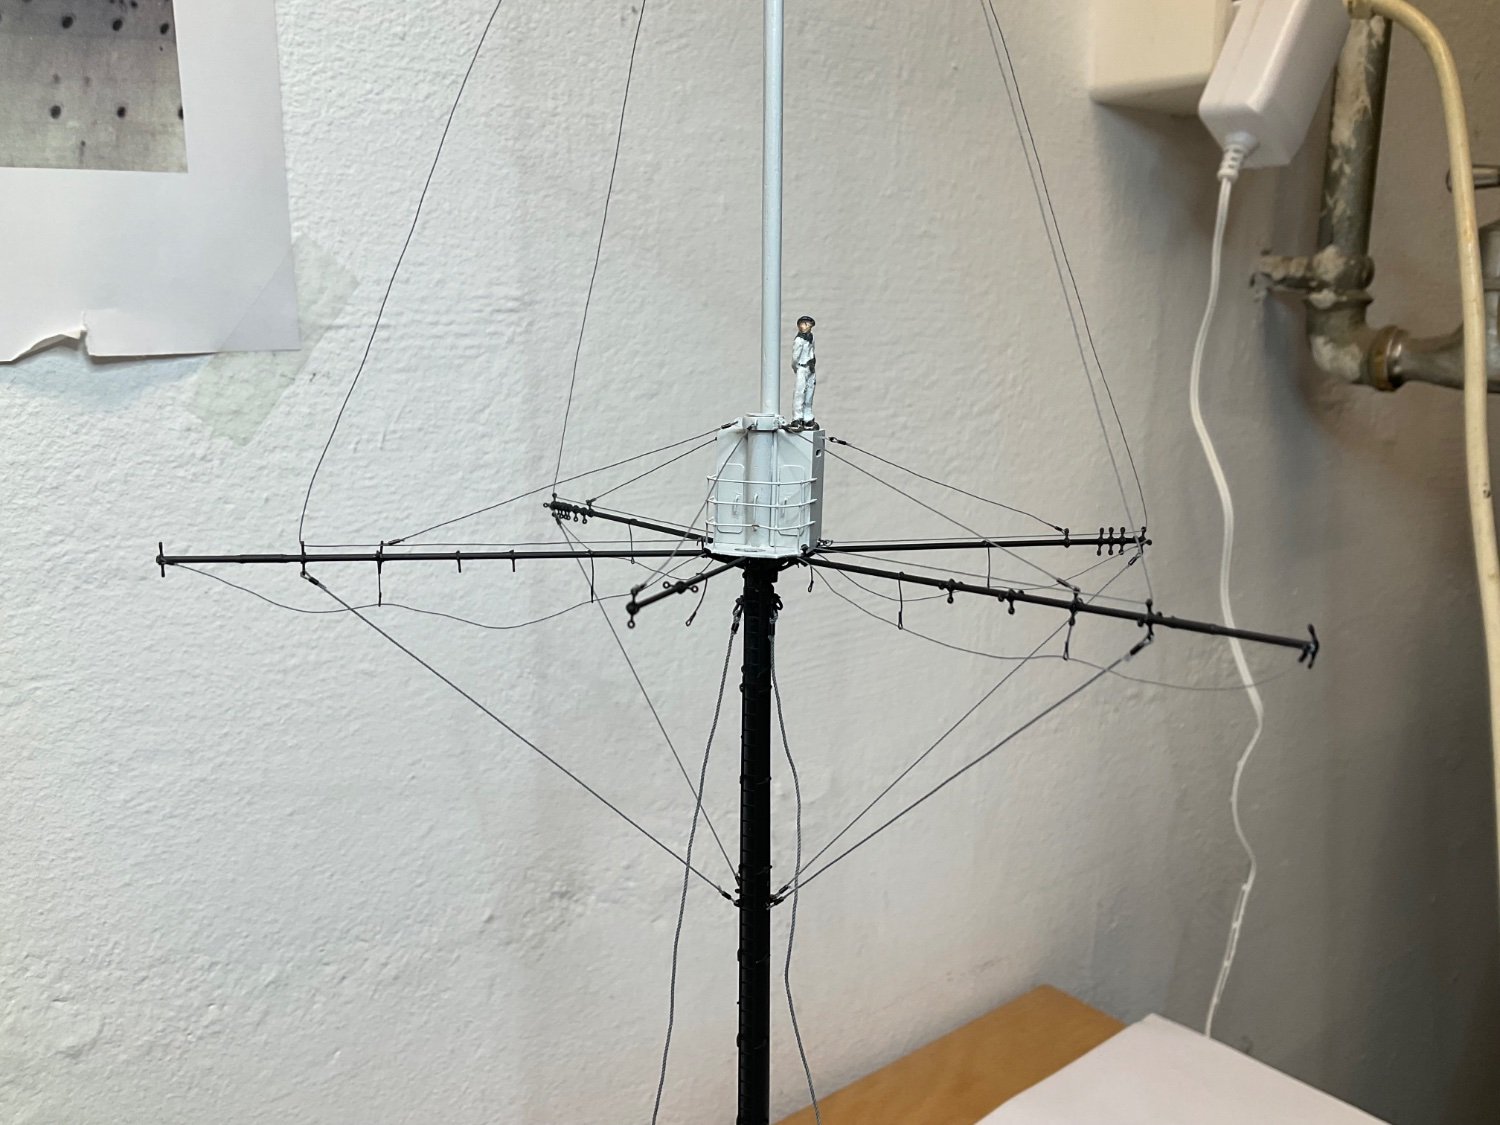
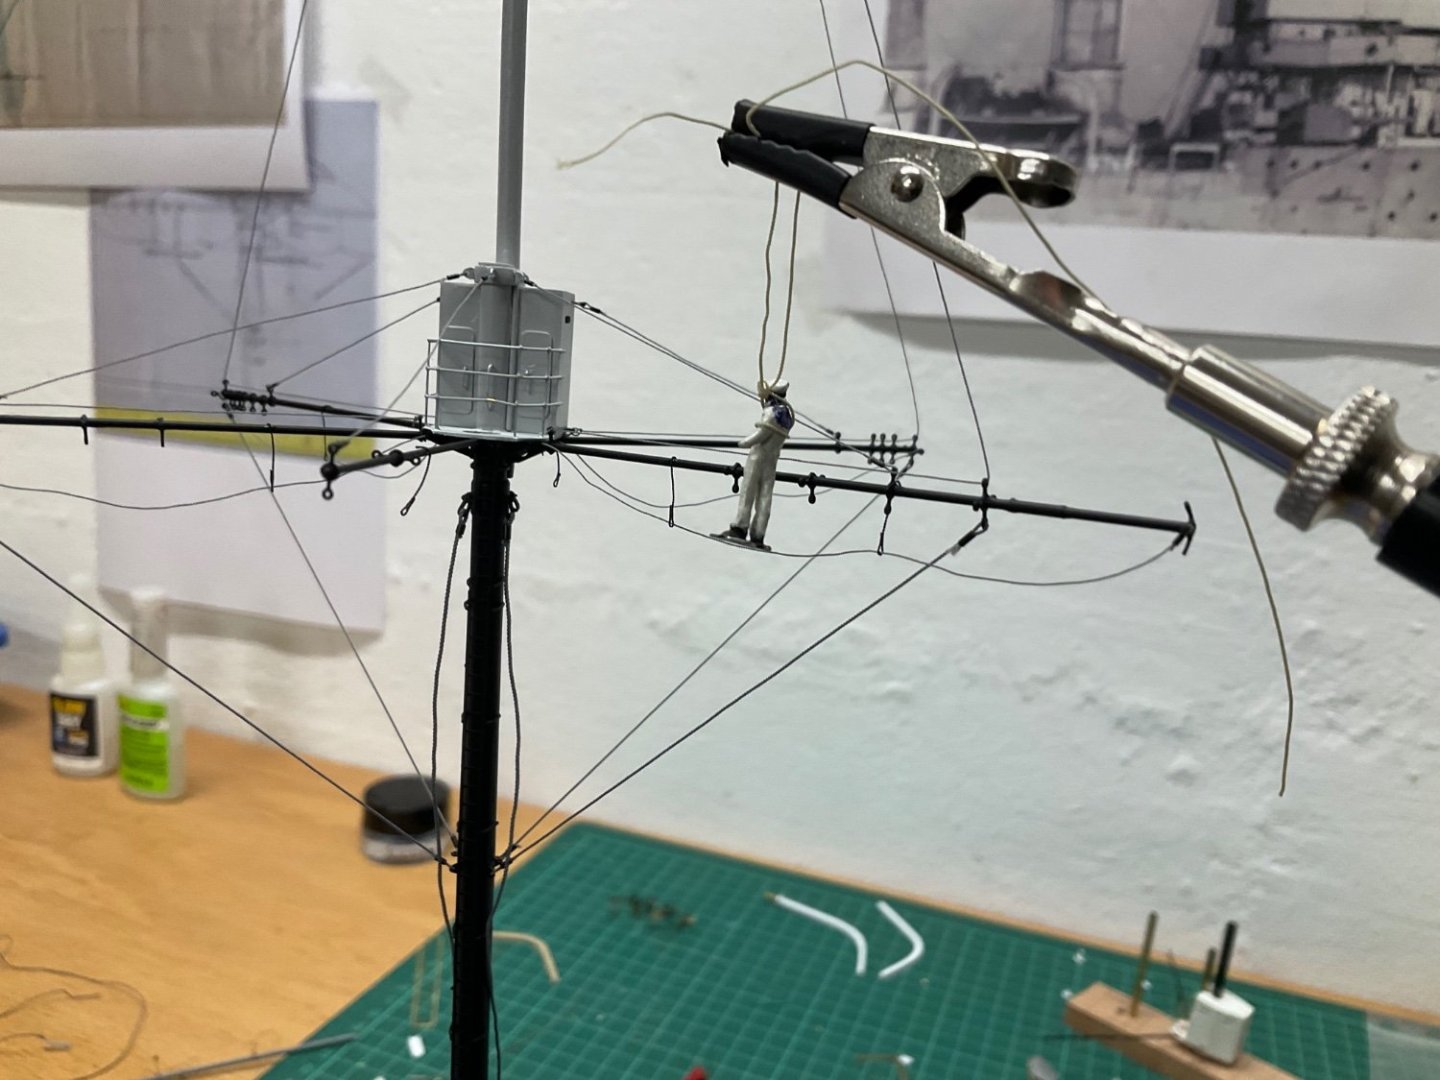
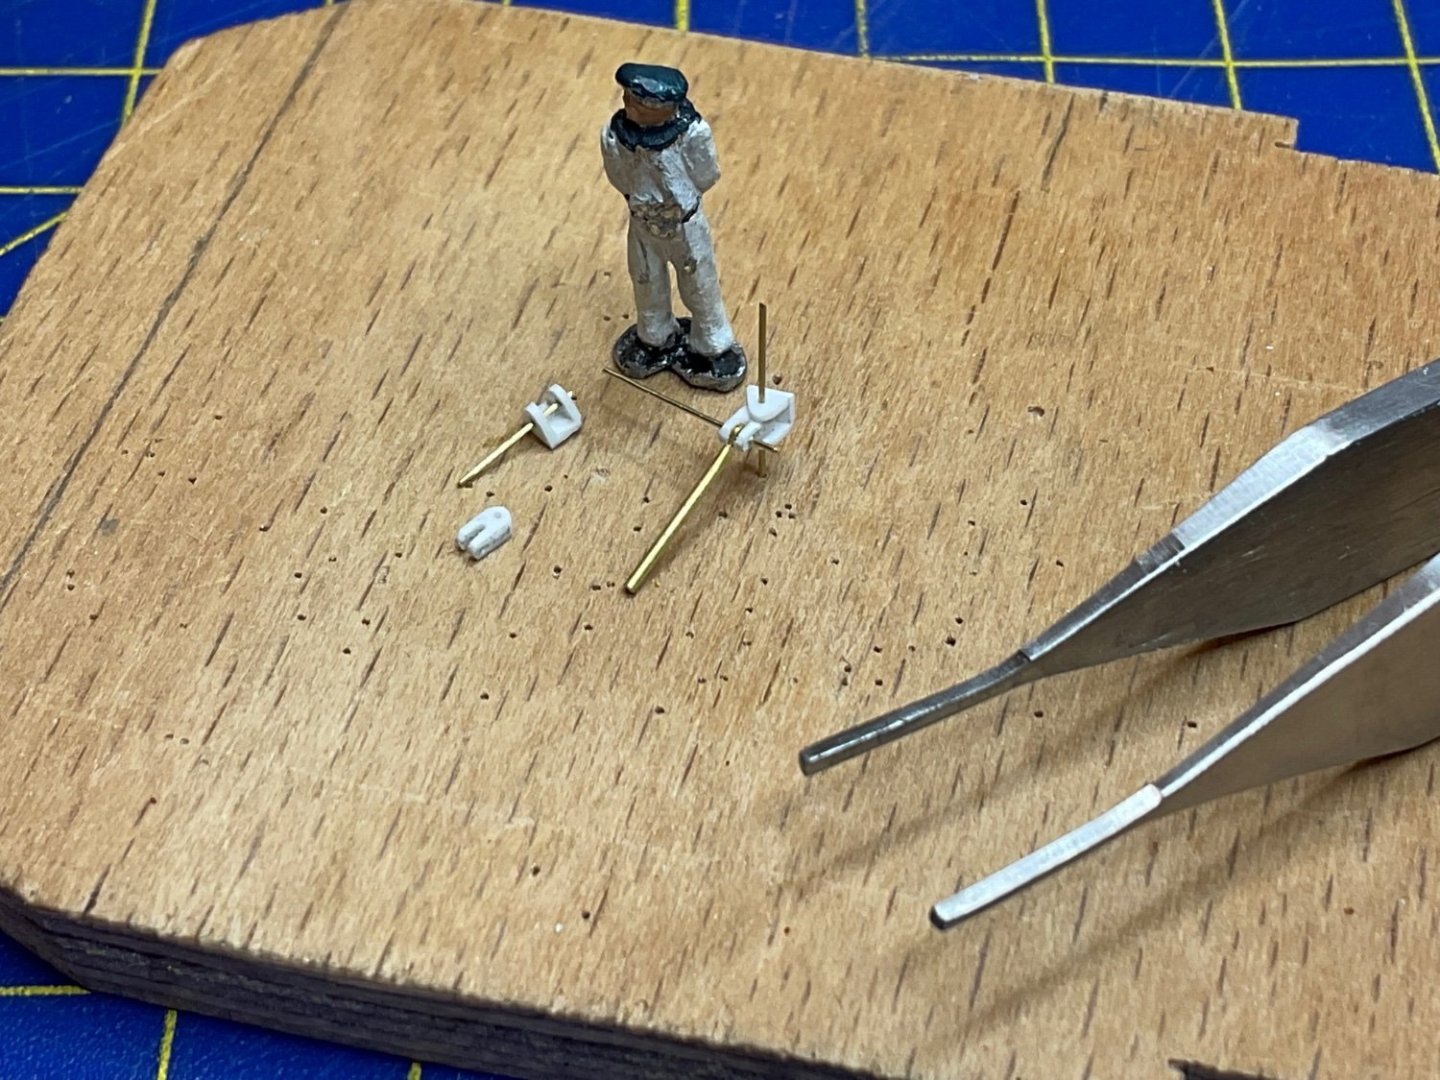
Morning(?😎) Keith. Yes, of course you may👍🏻. the stirrups are 6.5mm(0.25“??) so maybe the picture wasnt good. So here is another one where my inspector is being hoisted up. Note that i tied the rope under his arms and not around the neck since his services will still be required 😎. The shape of the ropes is work in progress, am still experimenting (off model) with varnish. Edit: and i did cheat with the attachment points for the ropes under the platform, because i forgot to include them when building. Now its too late.

- 97 replies
-
- 11
-
-

-
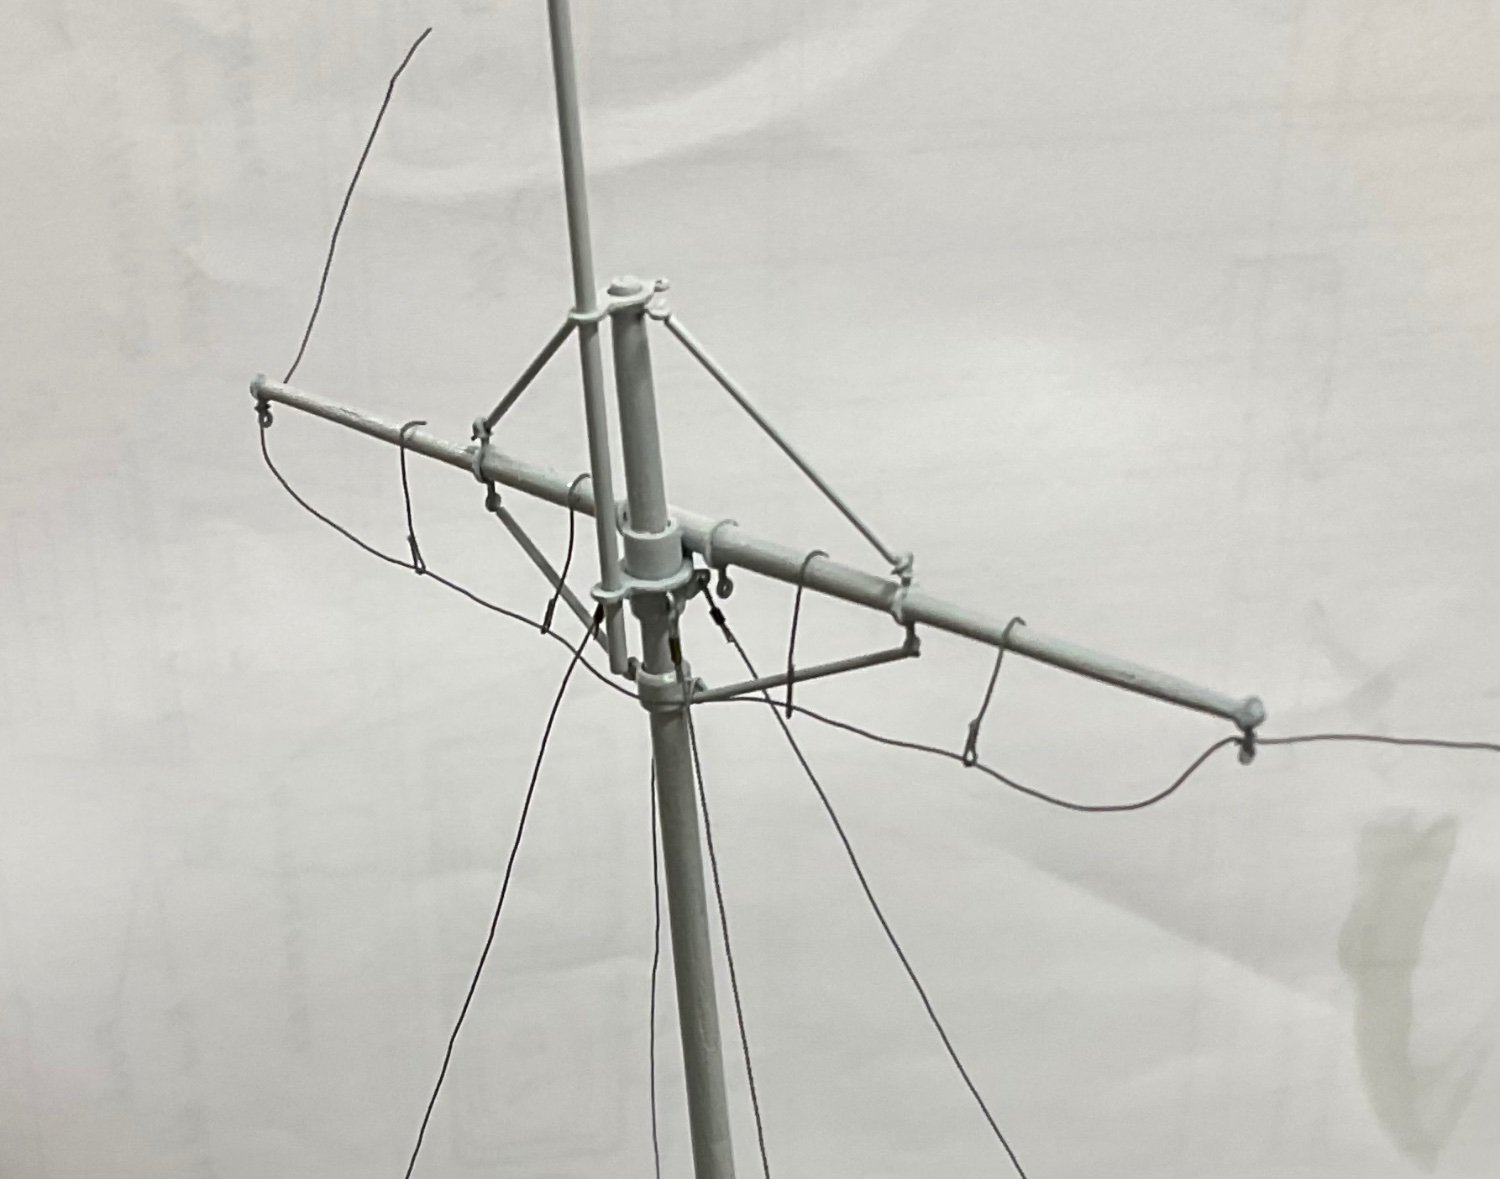
Progress… nothing broken yet. Missing the varnish/„natural“ slack still, but will experiment. Halfway done. Unbelievable how many lines/ropes are on that mast given its not a sailing ship. Oh and thanks eberhard/valeriy for the comments about the position of the footropes. The are shown to be „aft“ /behind the spar/yardarm on the plan, but i totally missed that detail. cheers sascha

-
Hi, so here is the first one. I hope to improve execution for the remaining spars/yardarms. Getting the vertical ropes (stirrups) to the same lenght and position is tricky for me.guess i will find a method by the time the last ones a made. Fortunately a photograph shows footropes/stirrups as also not being straight. Thats my excuse 😎. cheers sascha

-
Moin Nils, nice to see another one starting from the keel up (or rather down😎). Please keep up the detailed reporting. Sascha
- 119 replies
-
- 5
-
-
- lightship
- Feuerschiff Elbe 1
- (and 1 more)
-
Hi both, thanks. Will do away with the rings. Sadly i didnt think ahead enough to make some attachment points on the spar. So i now have to attach on the spar (knot) and at the bottom (splice?) for the foot rope. And all on the assembled mast. Its a very short lenght of rope too. Thats why i thought a ring would be easier than making a loop at the lower end. Lets see what comes out. Will report. cheers sascha
-
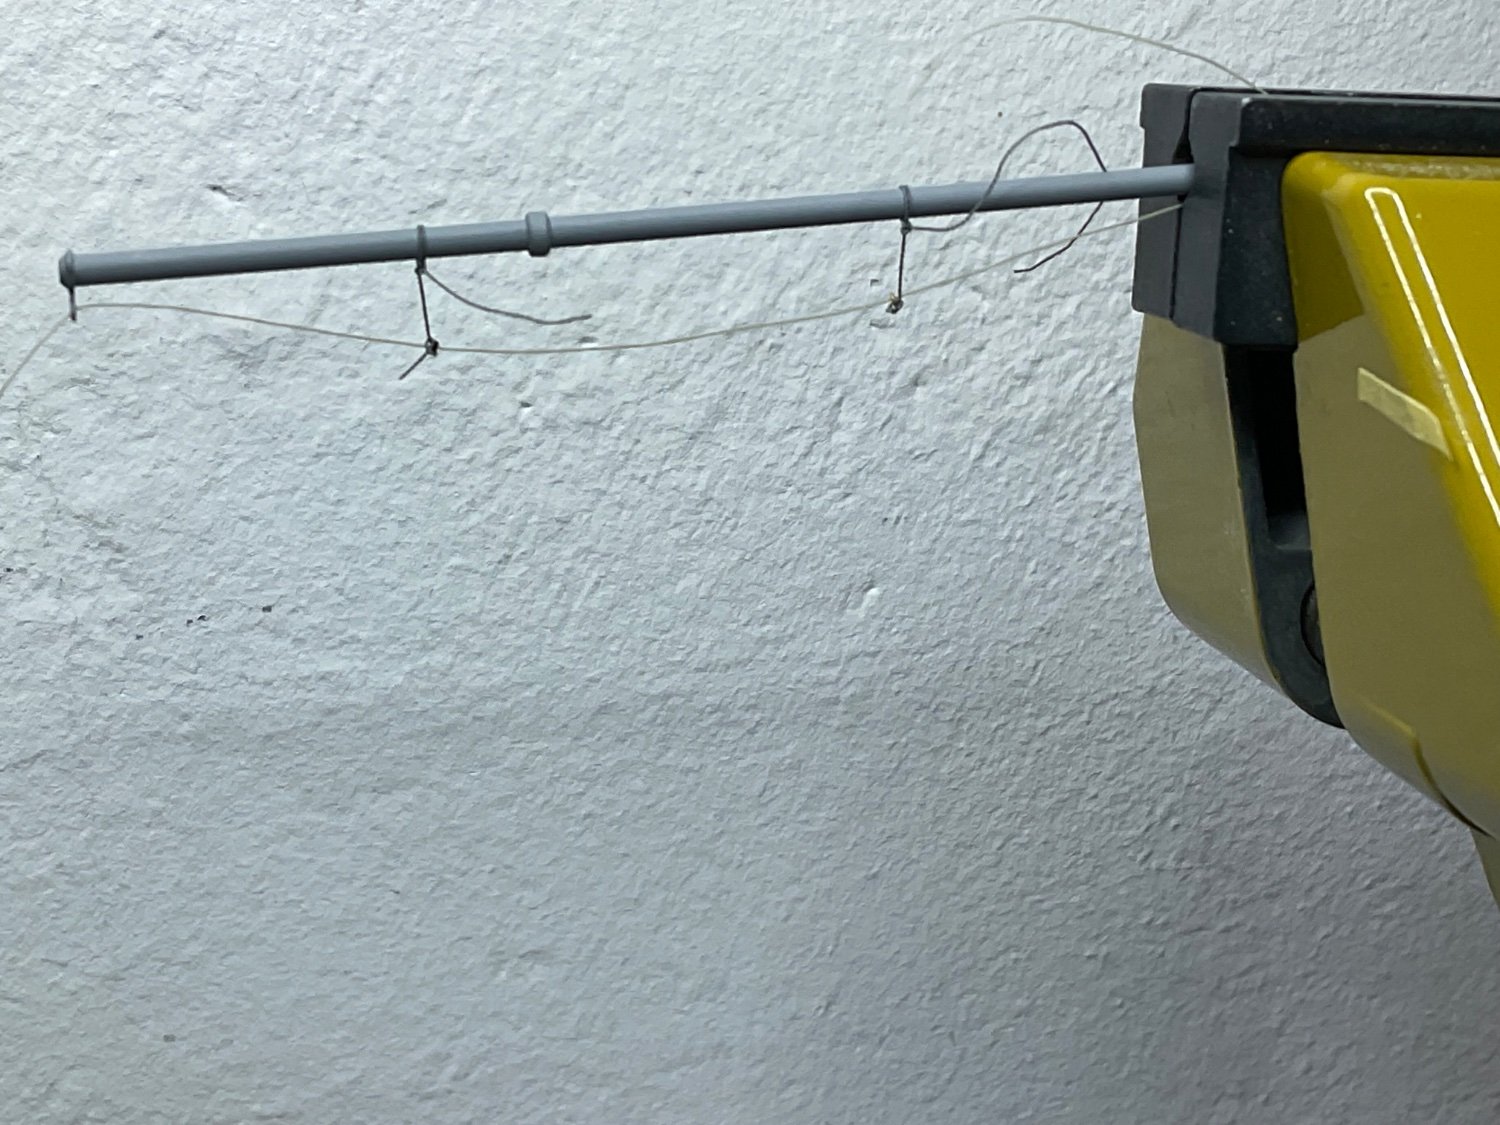
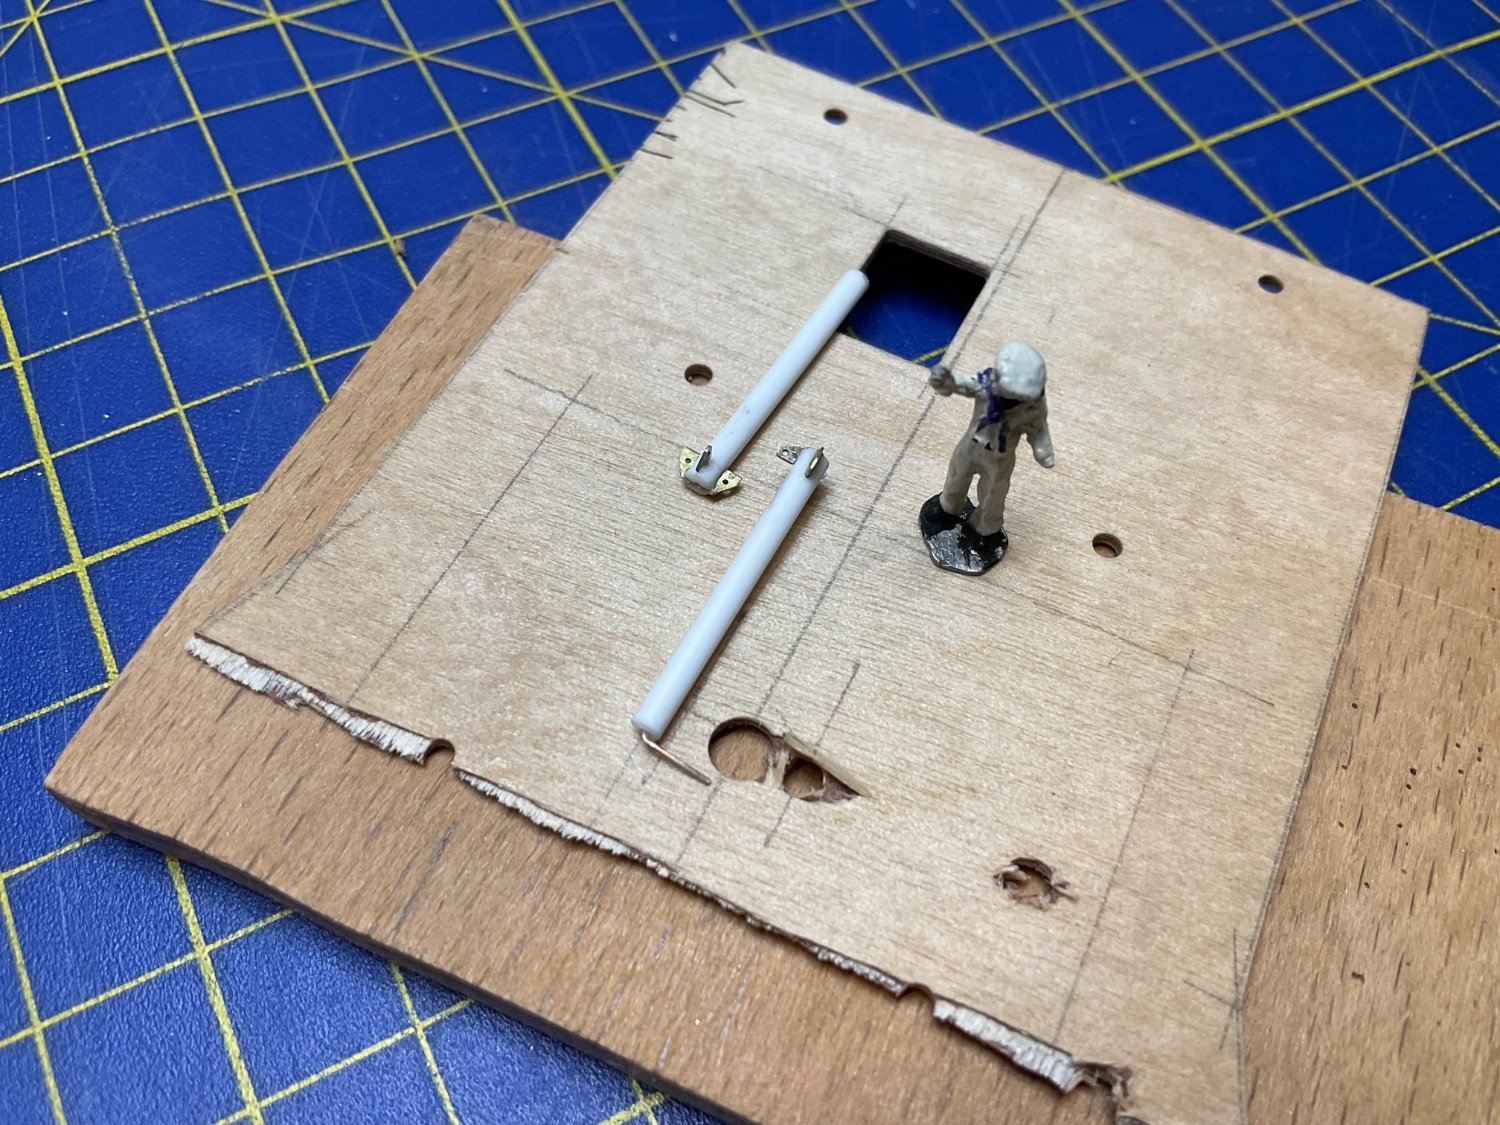
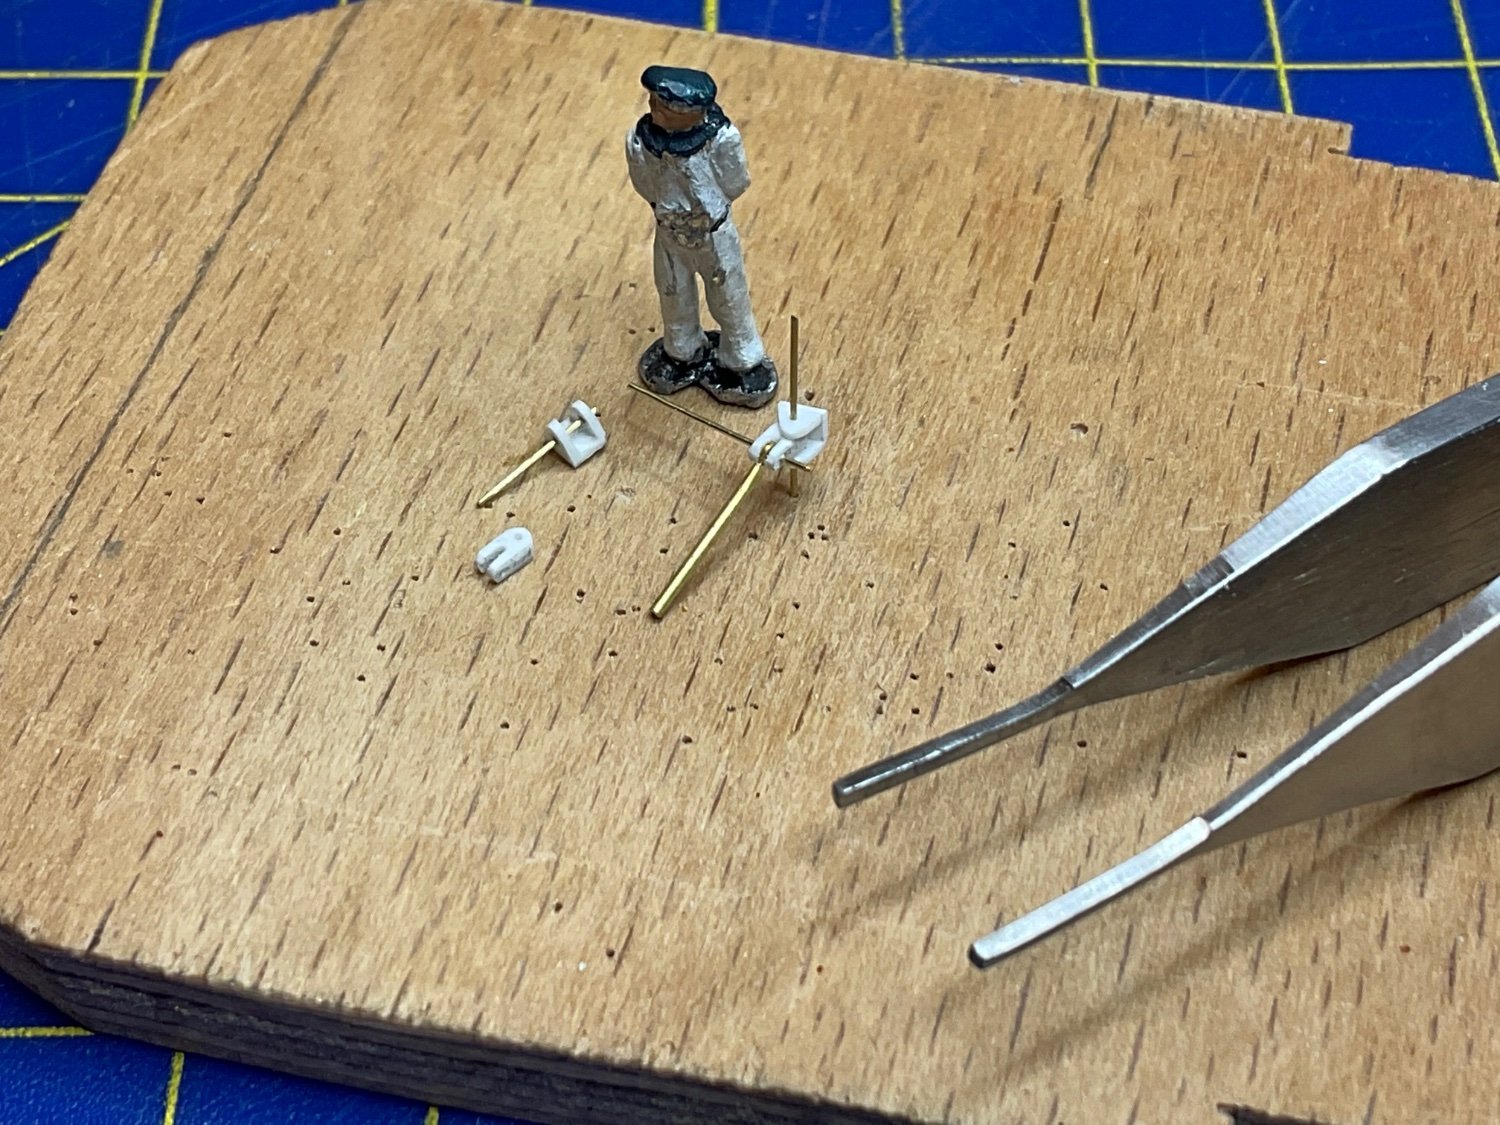
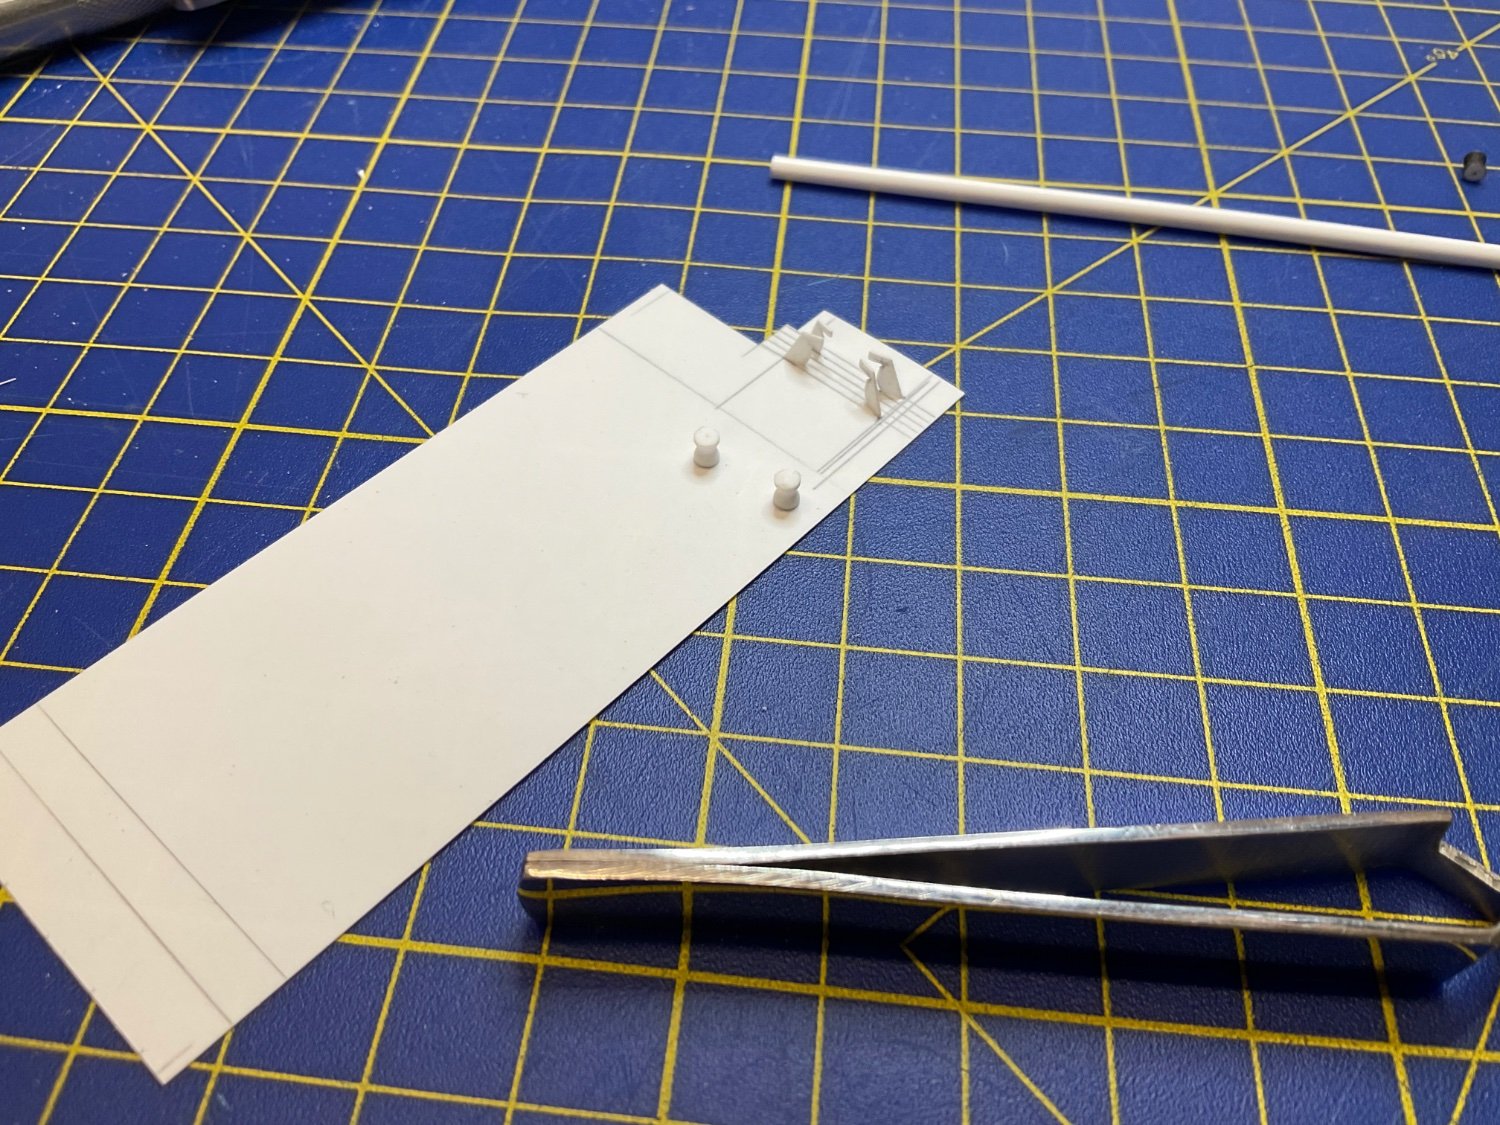
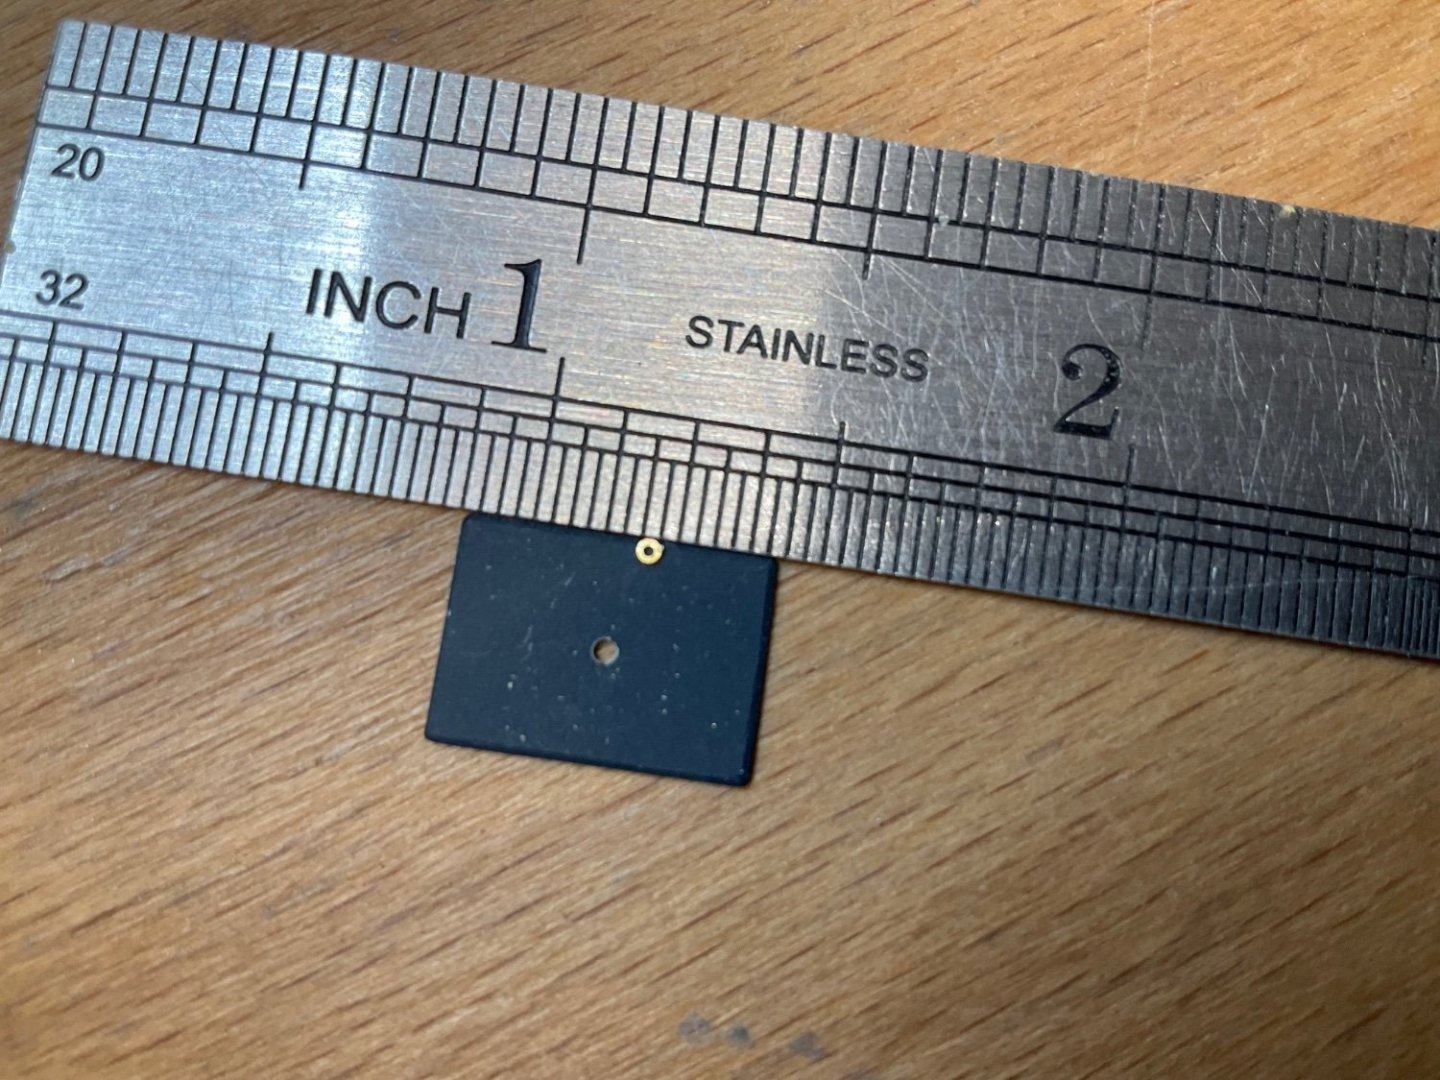
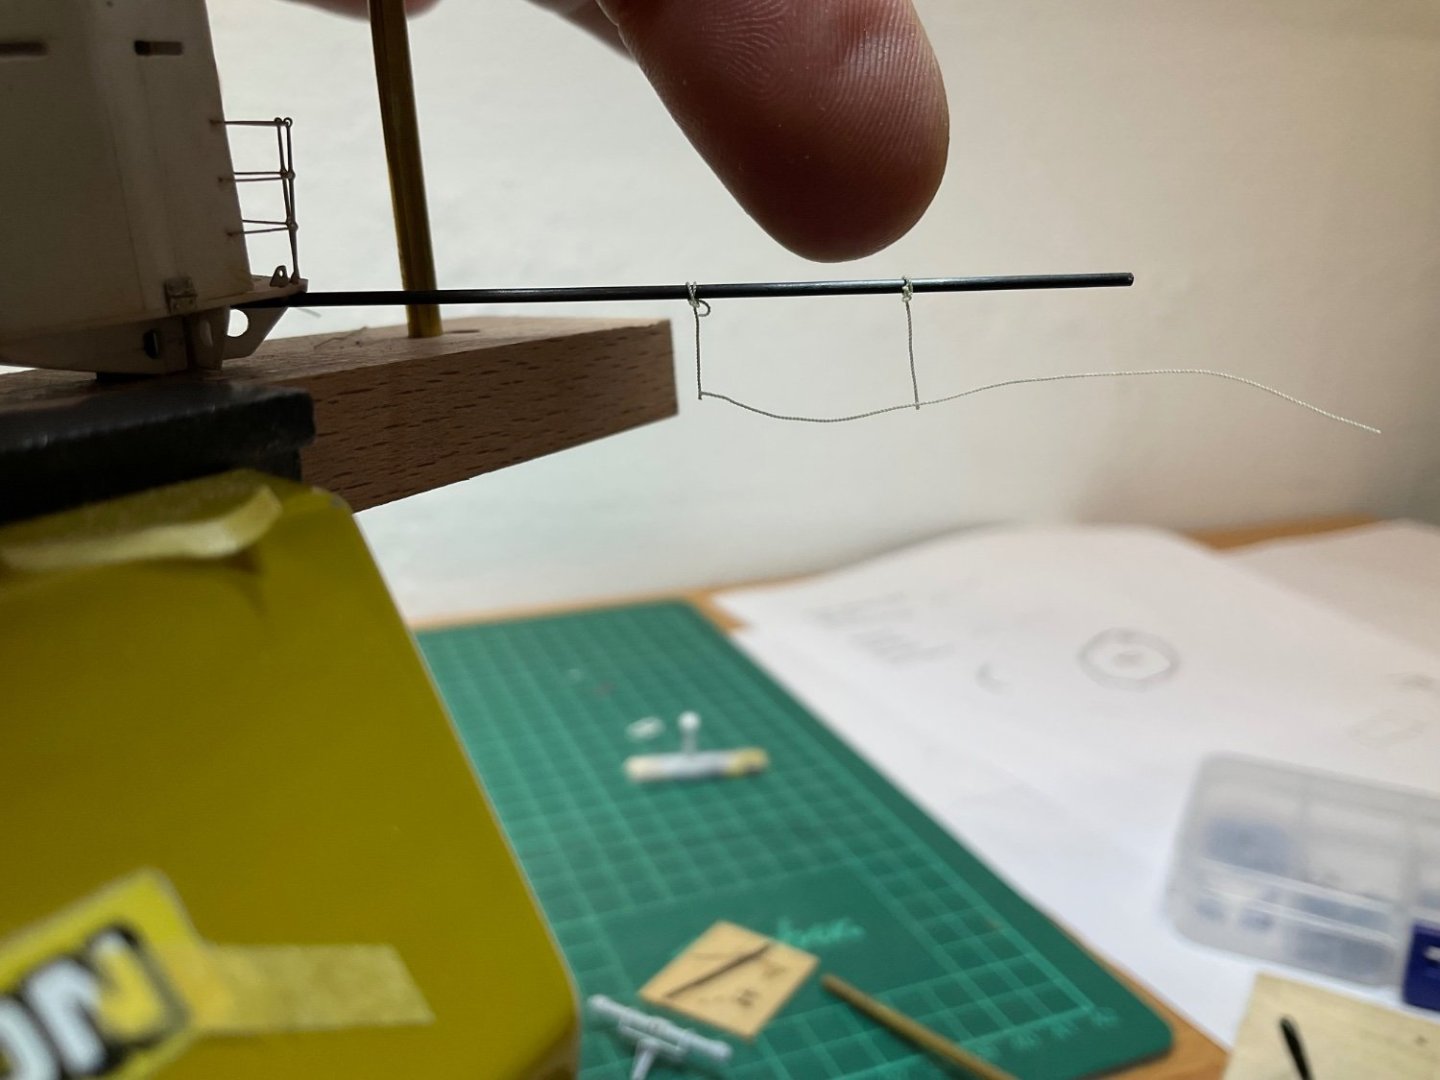
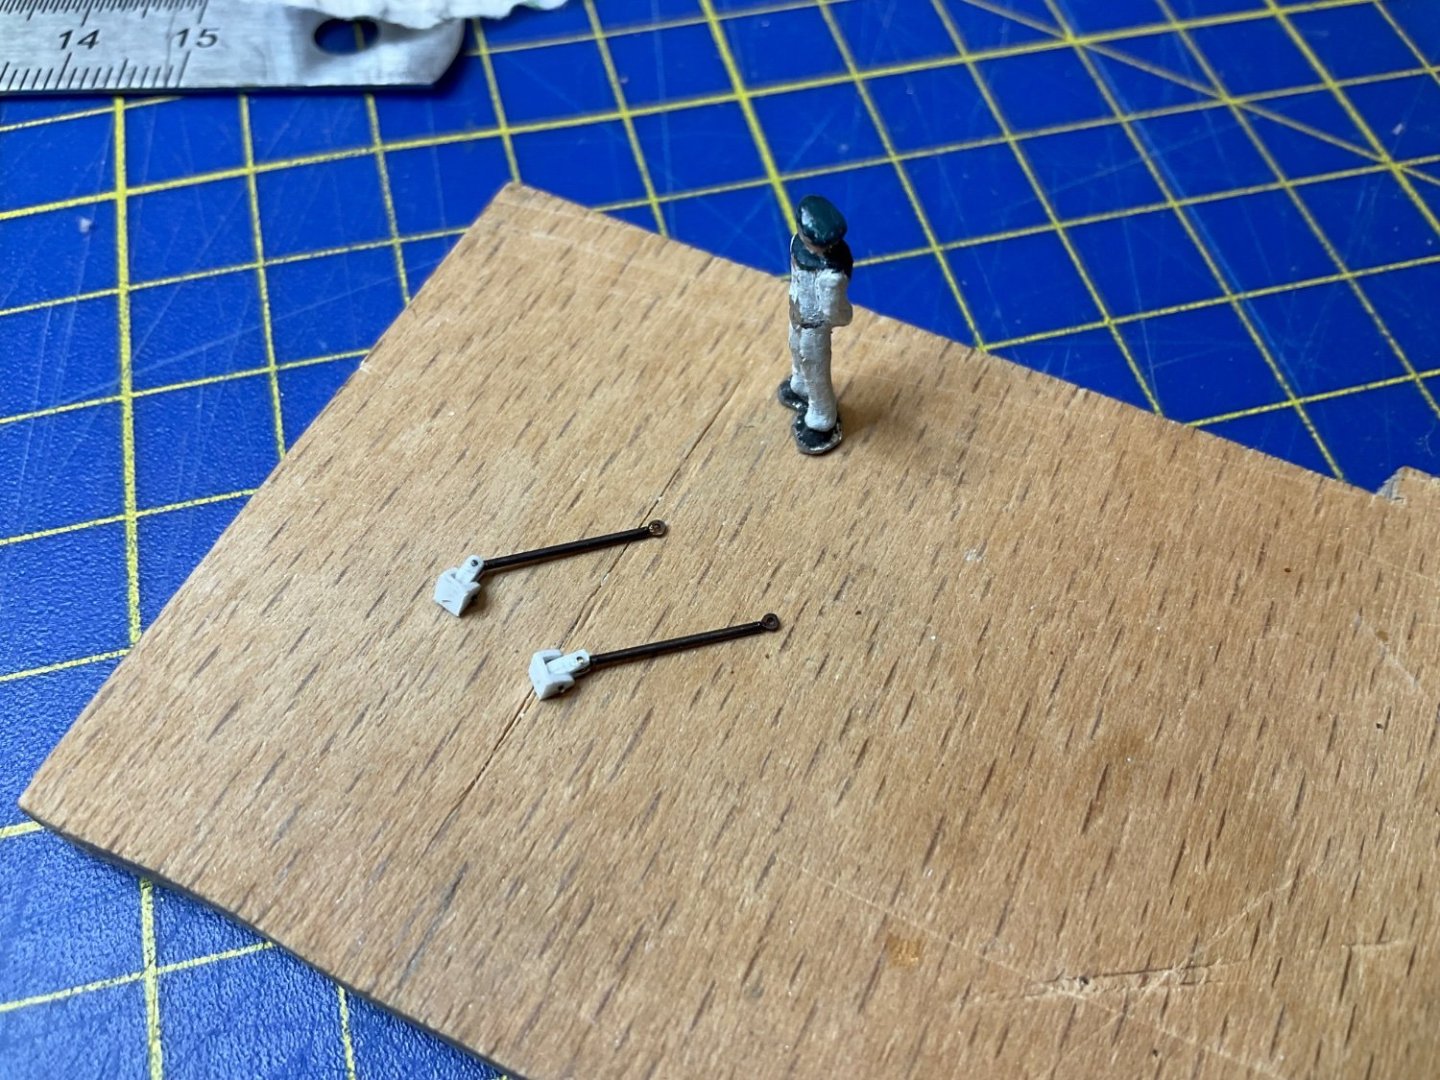
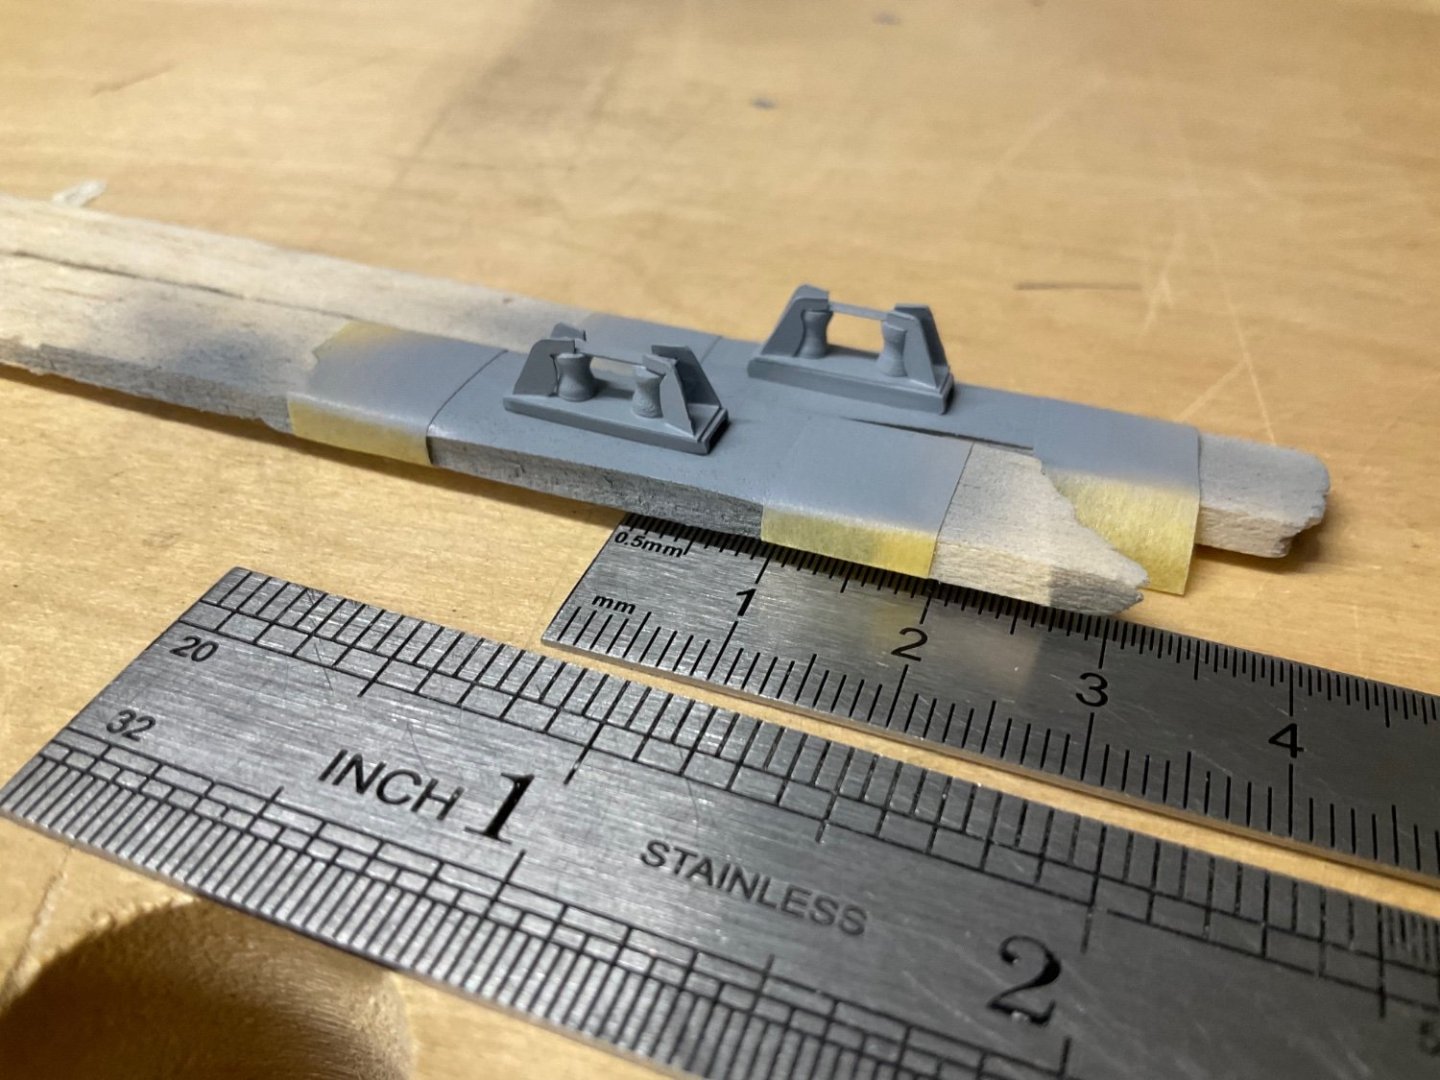
Hi all and thanks for picutres (valeriy) , translation for the fusspferde (eberhard) and tips to make the thing. I fear that the scale surpasses my abilities eberhard 🤪. Here‘s some result of trials. i made some small rings to thread the rope through (picture with inch measure for our imperial friends 😬). However when attached they always want to turn in the wrong direction making the whole thing bend. Thats the picture with the grey spar - it being a random 2mm diameter piece. The third picture is a using valeriys method (i believe) on a prototype with actual dimensions (1 mm diameter spar and 0,1mm rope. The huge shadow is the tip of my finger… on the upside i did manage to tie a correct knot,.. kind of. i will continue experimenting because i would have destroyed the mast had i done the experiments on the actual piece. further tips are pf course welcome. Cheers sascha

-
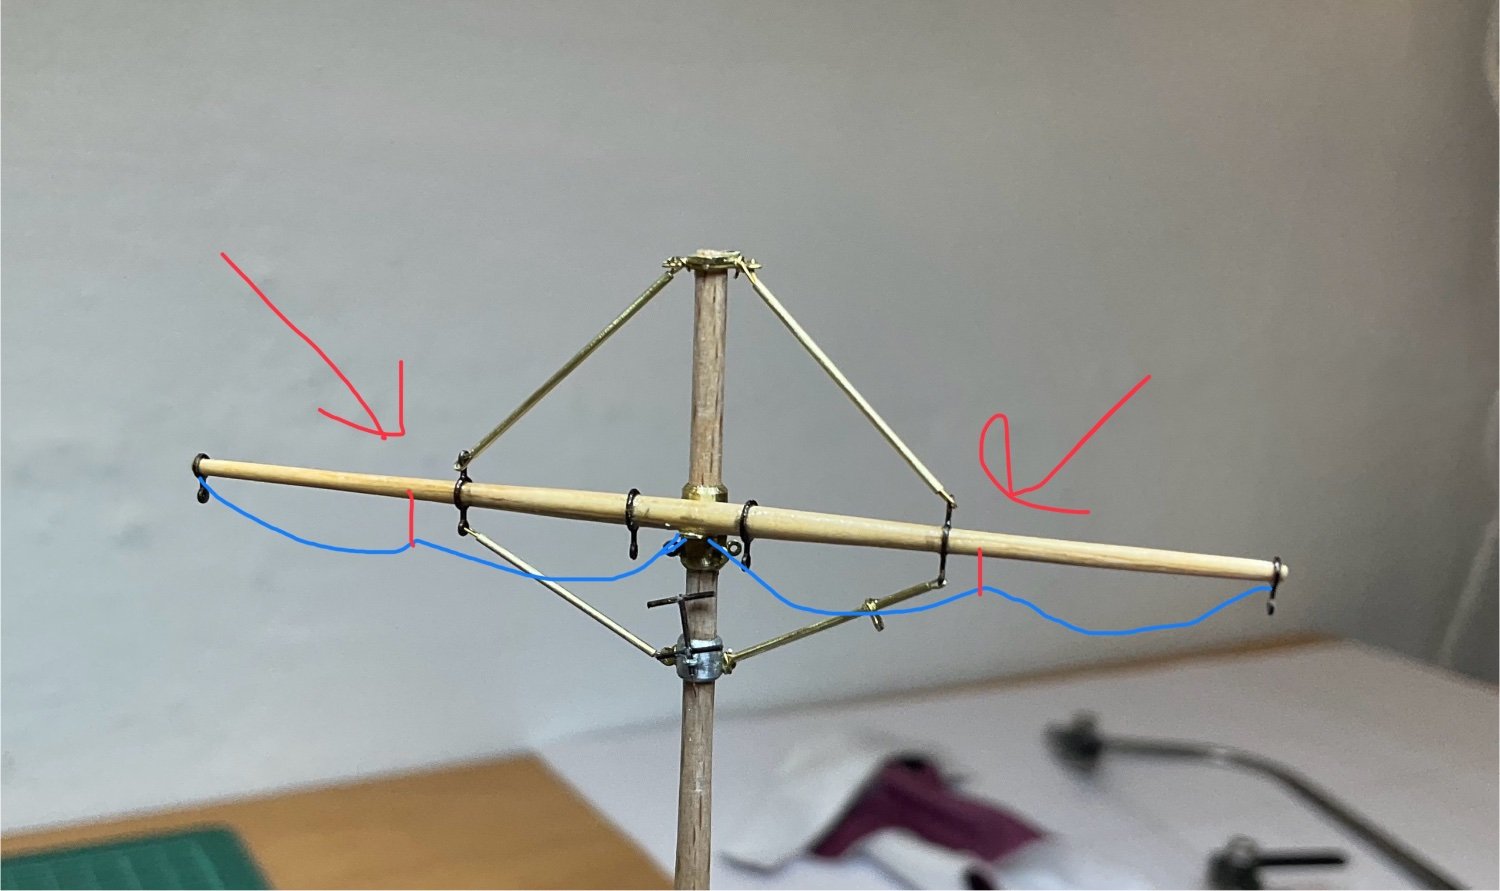
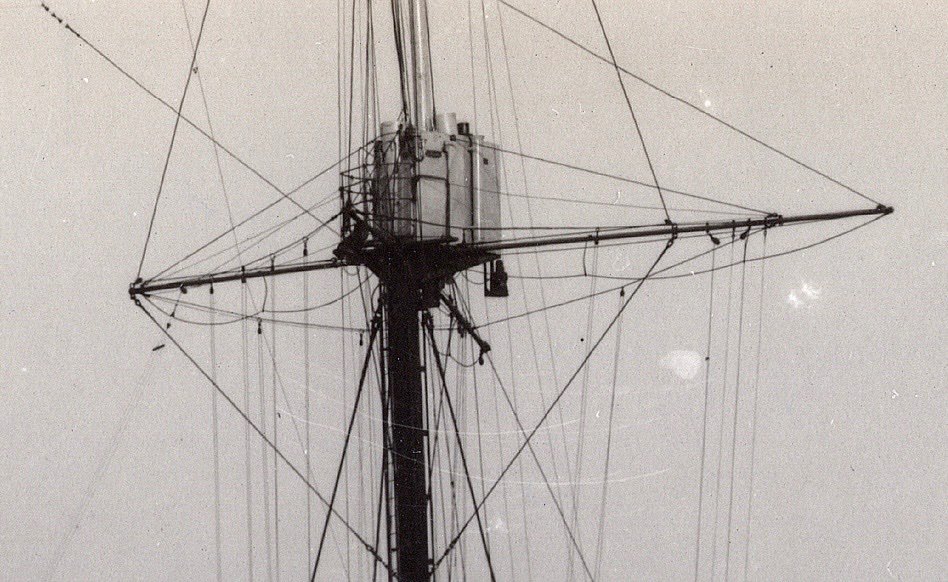
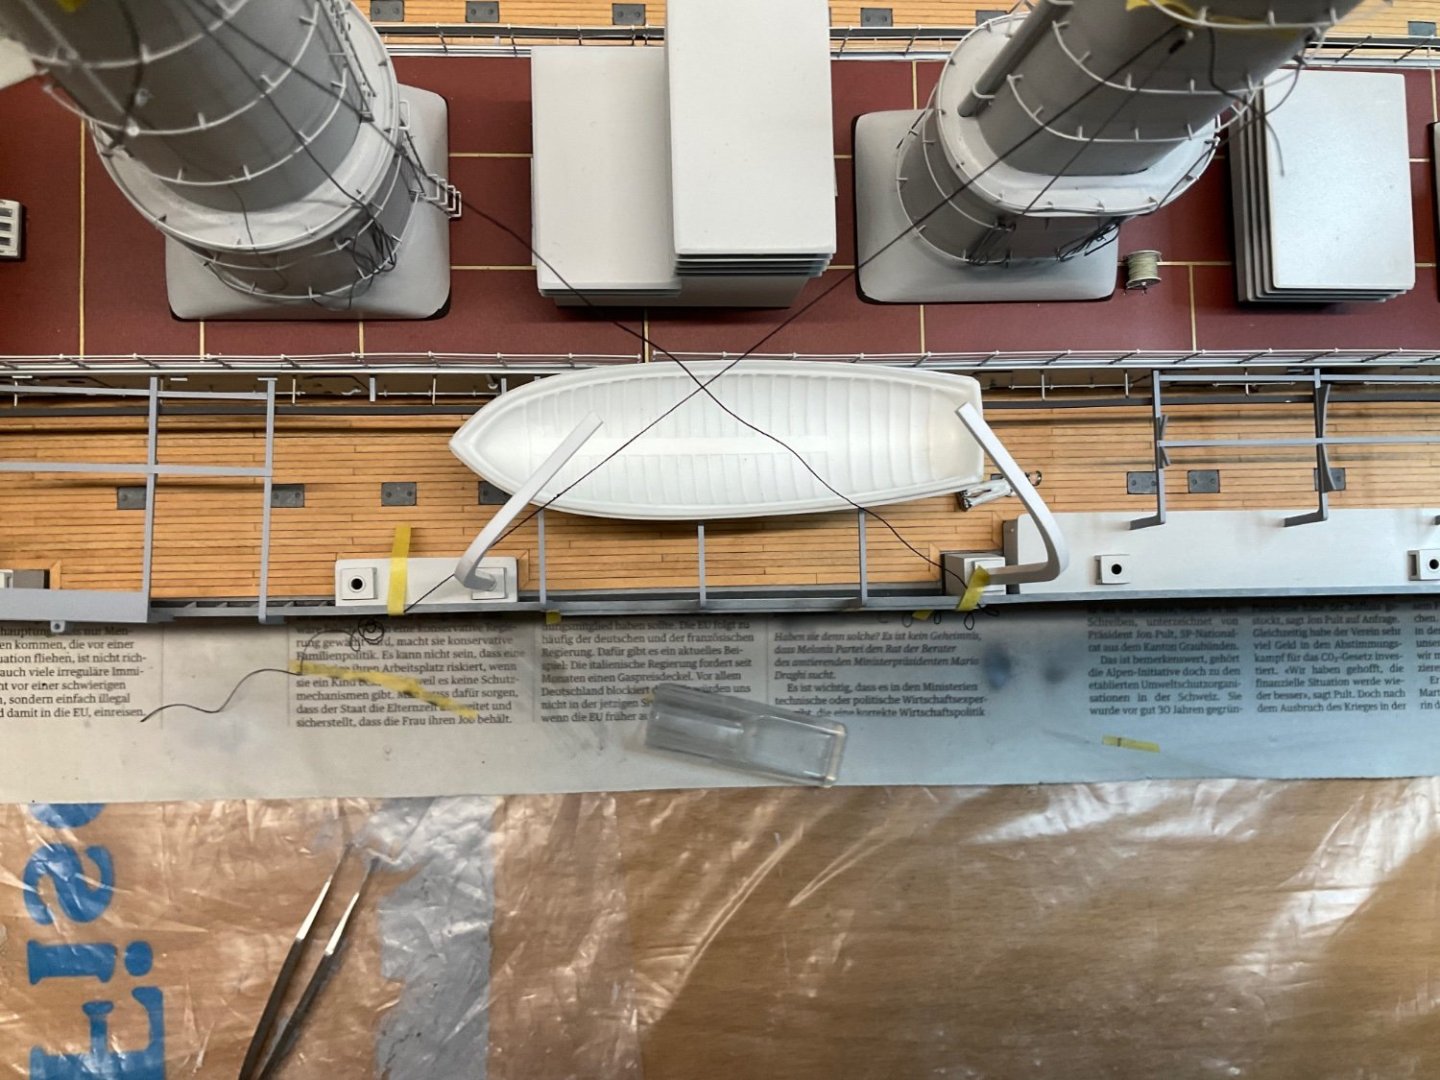
Hello all and thanks for following. I come to you with a question now😎. This is about rigging , and i think there are a lot of sailing boat experts here. Its about the lines in blue and red . Since i dont know what they are called in english i attach a photo and crude drawing. Sailors step on them when working on the spar. the questions: 1) how to achieve the blue line hanging down „naturally“ between the point where it is supended? 2) general tips how to get it done. Currently thinking of having a brass ring at lower end of the red rope , and thread the blue one through it. Assemble that separately and then mount to spar using a knot (round turn and two half hitches, as this one allows the standing line to drop down straight) As its 1/100 my fingers/tweezers seem incredibly big 🤪. cheers sascha

-
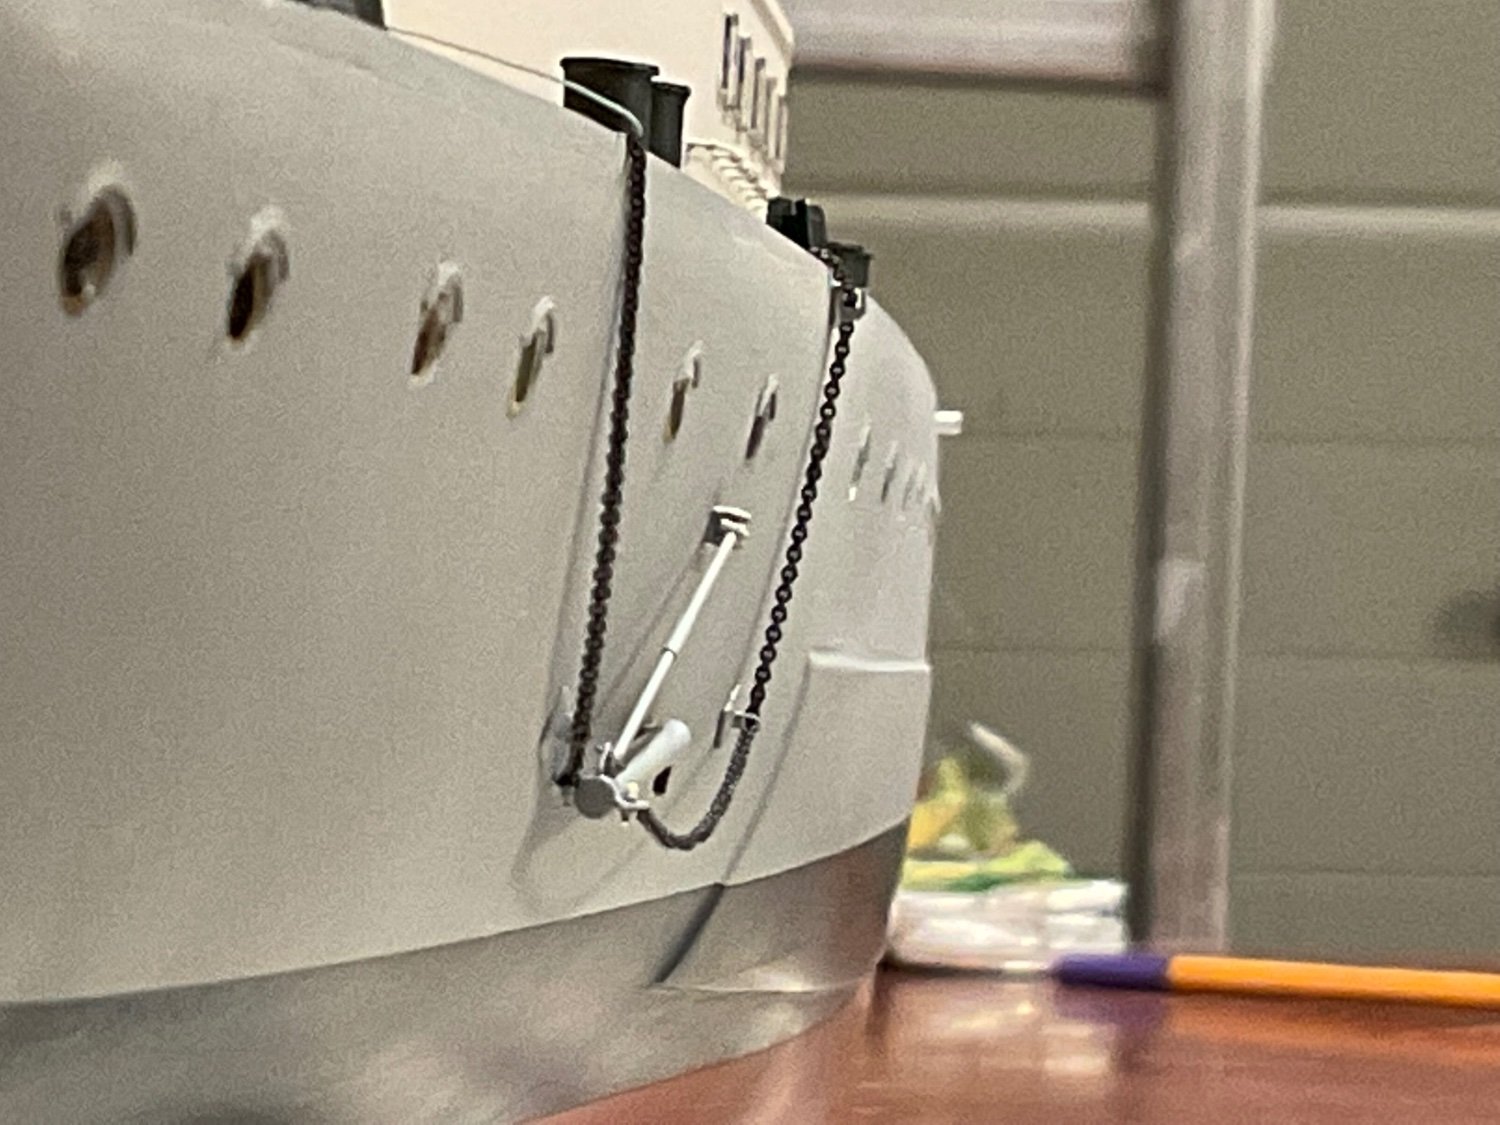
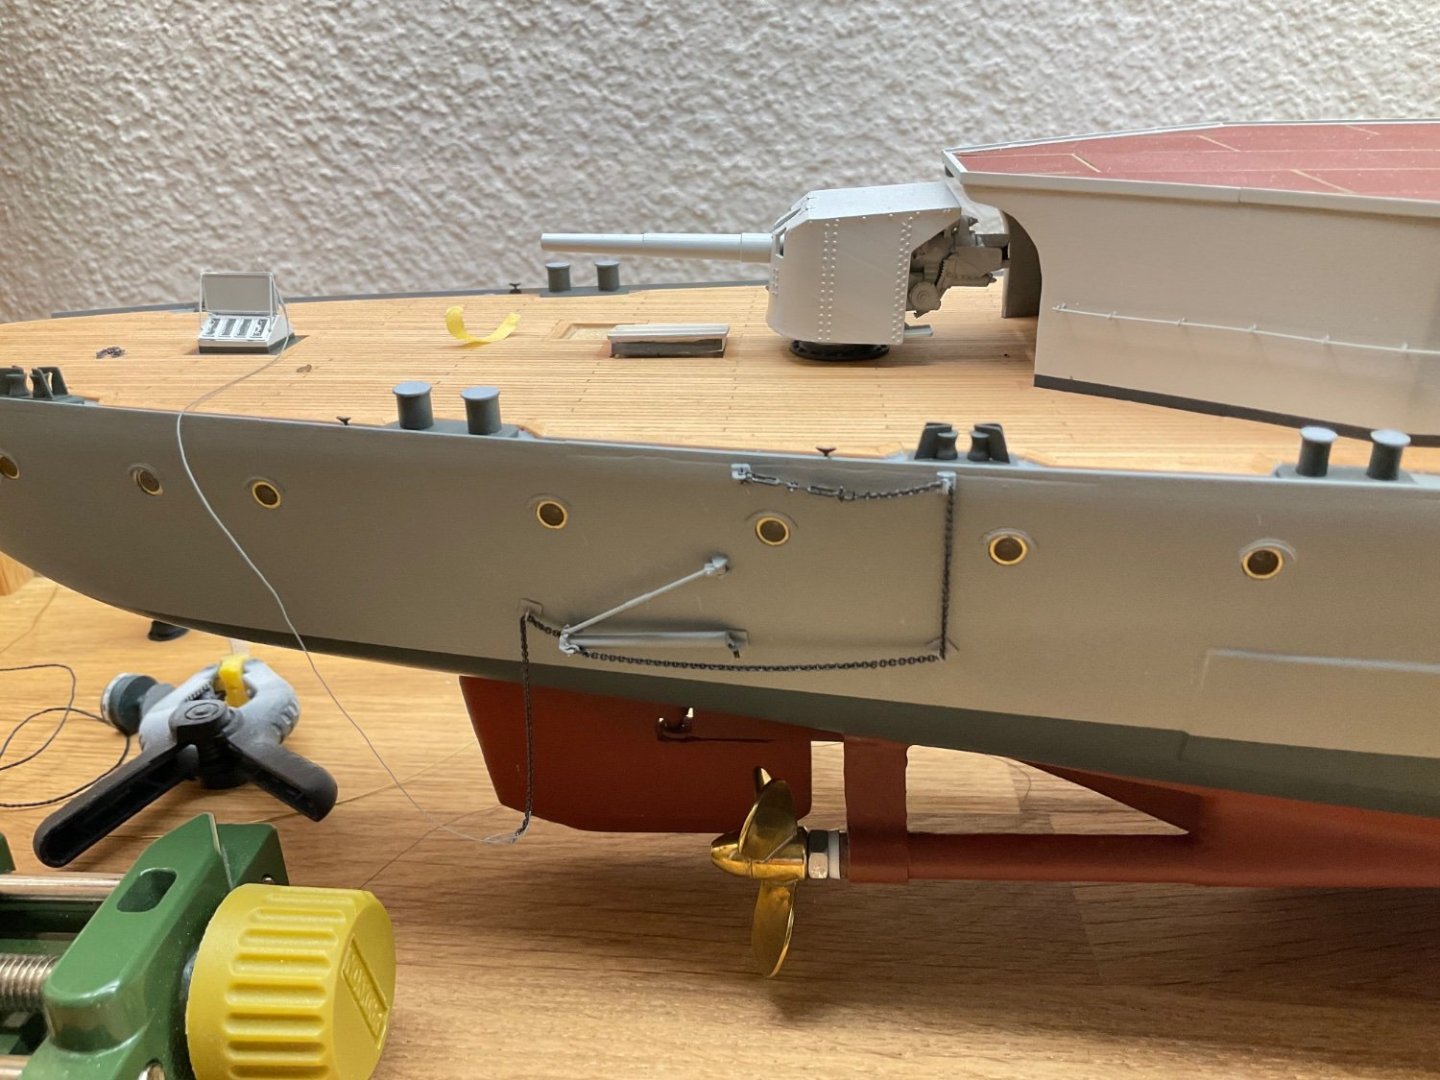
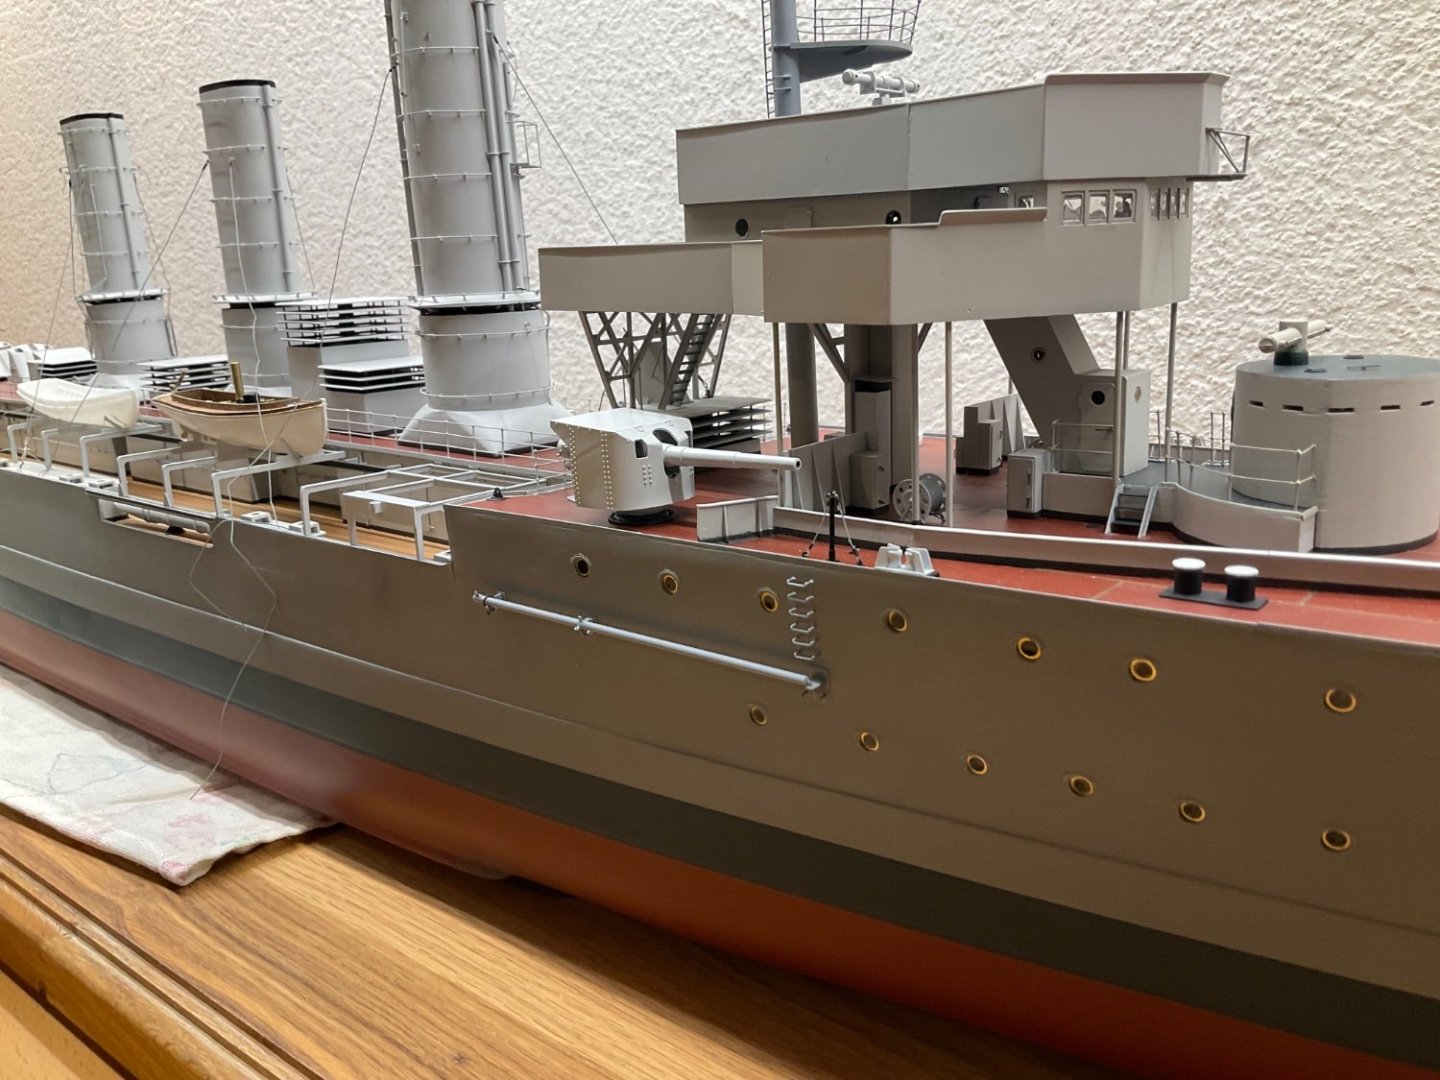
Hi, work moved to the stern. (Foldable) Screw protection , bollards, fairleads and some mini cleats (brass). Also the aft rangefinder on the main mast is done. I will install it only when most of the rigging is done as i am likely to shear it off otherwise🤪. cheers sascha


- 97 replies
-
- 10
-
-
-
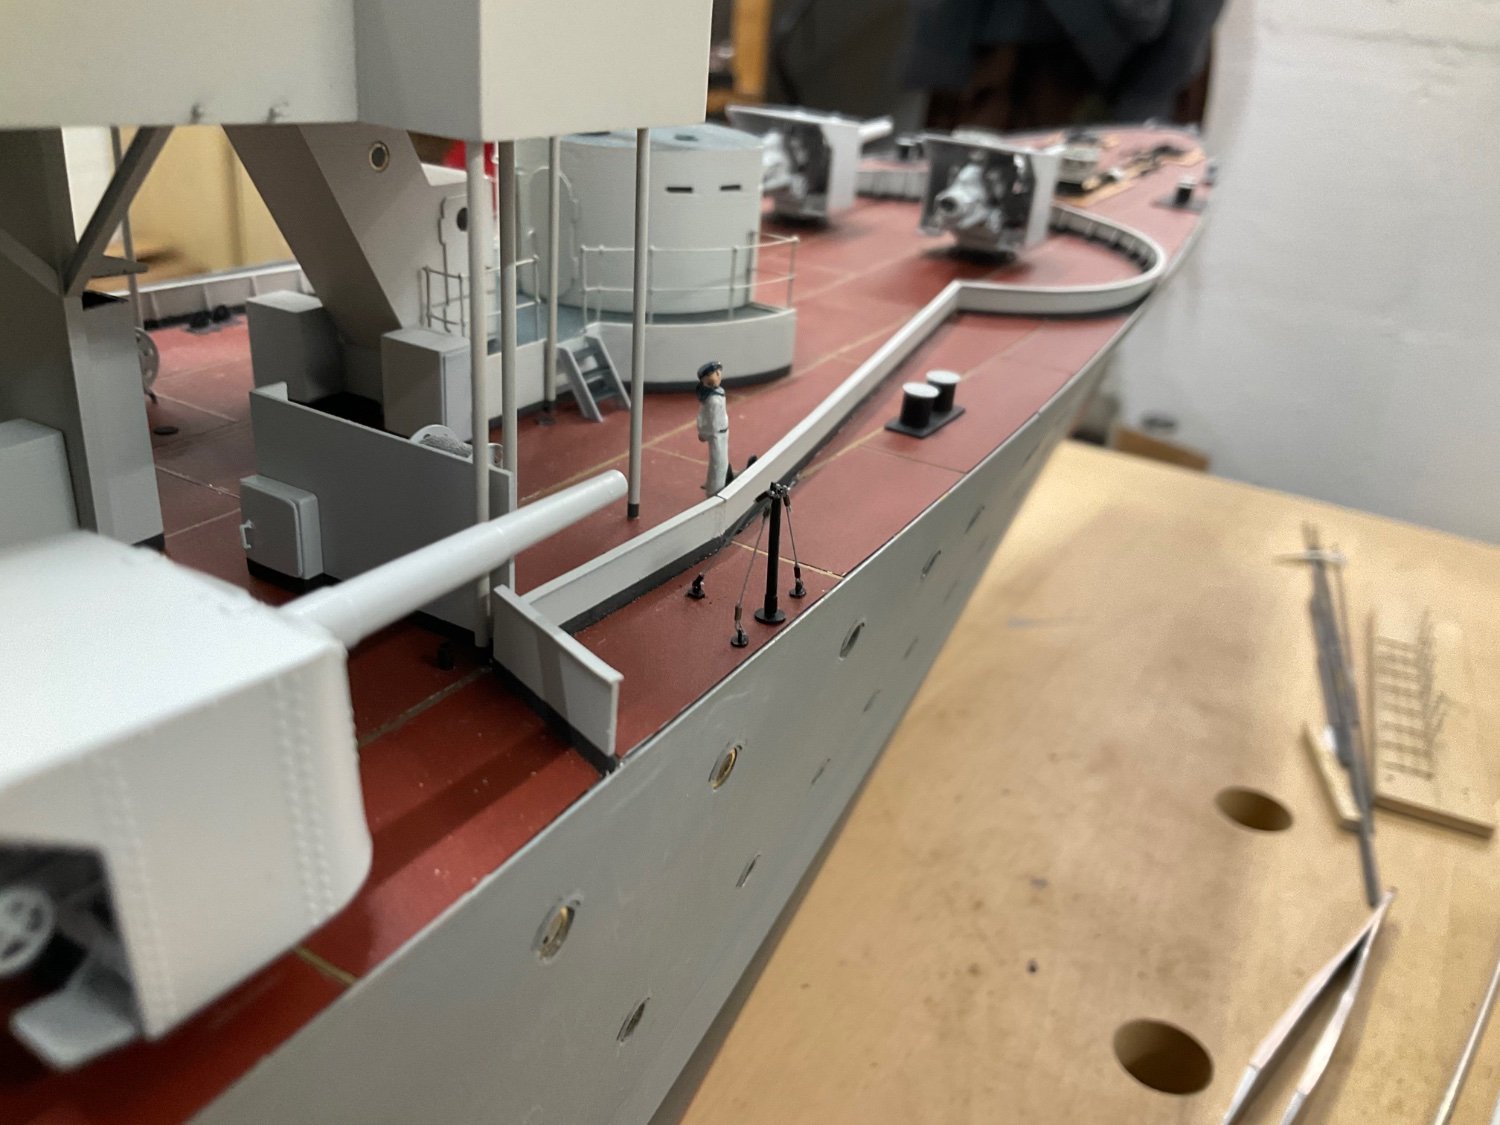
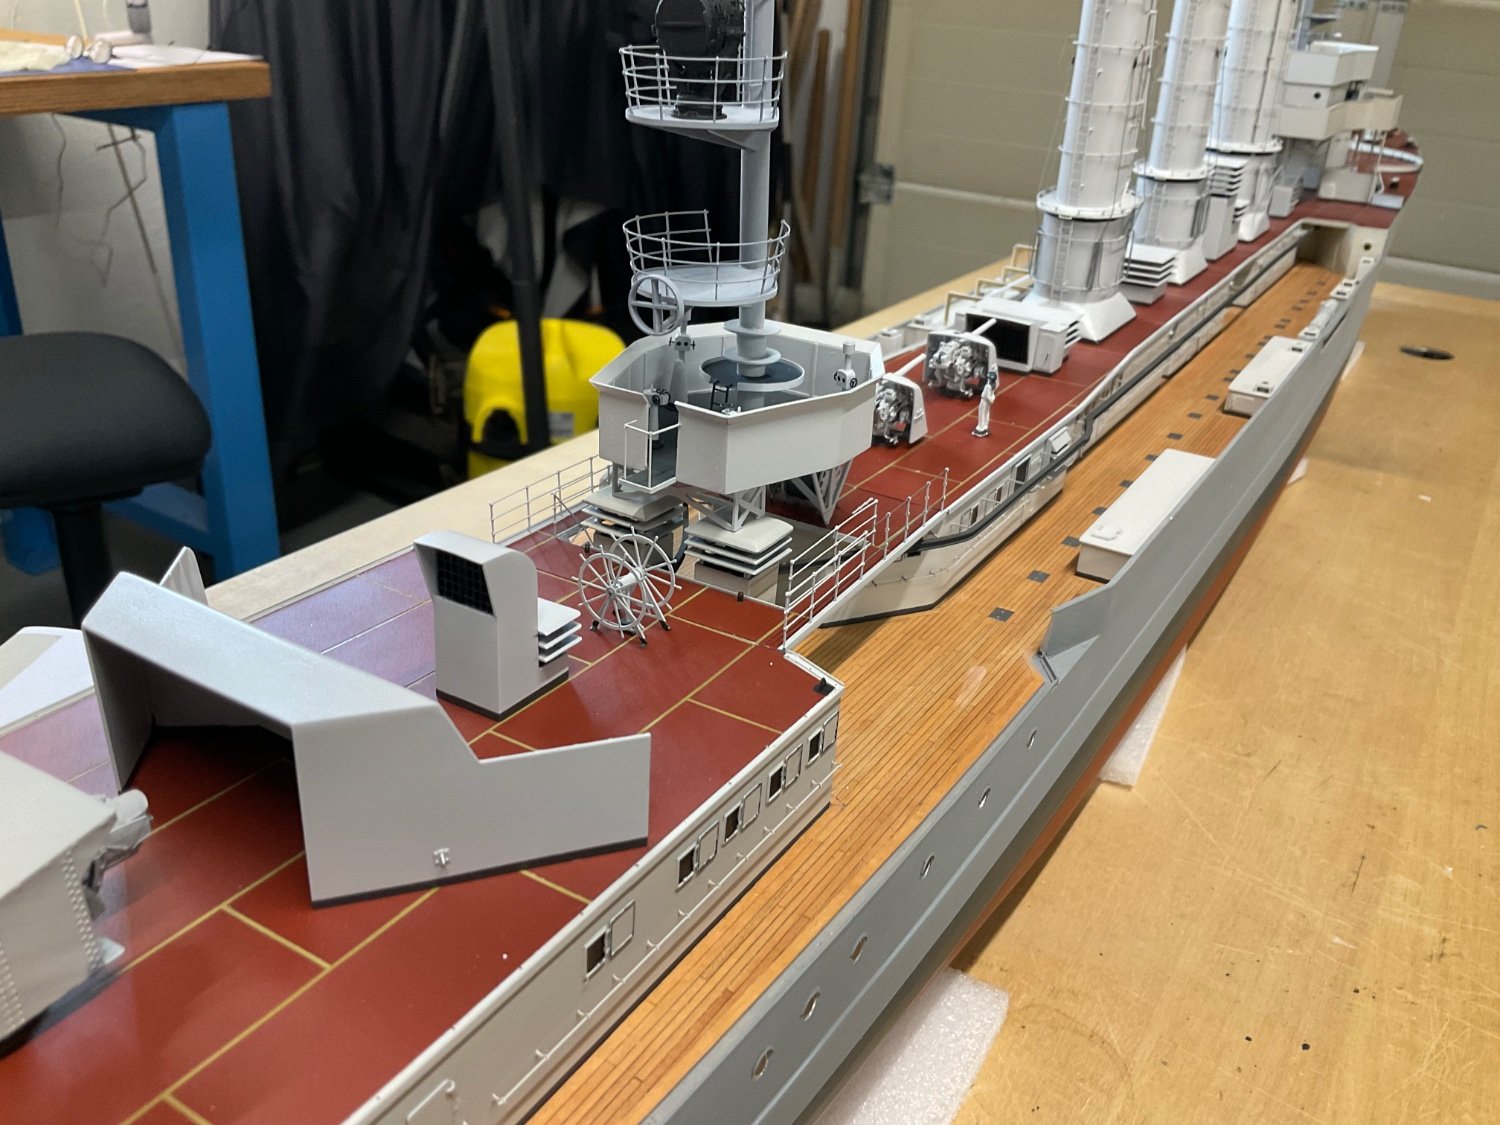
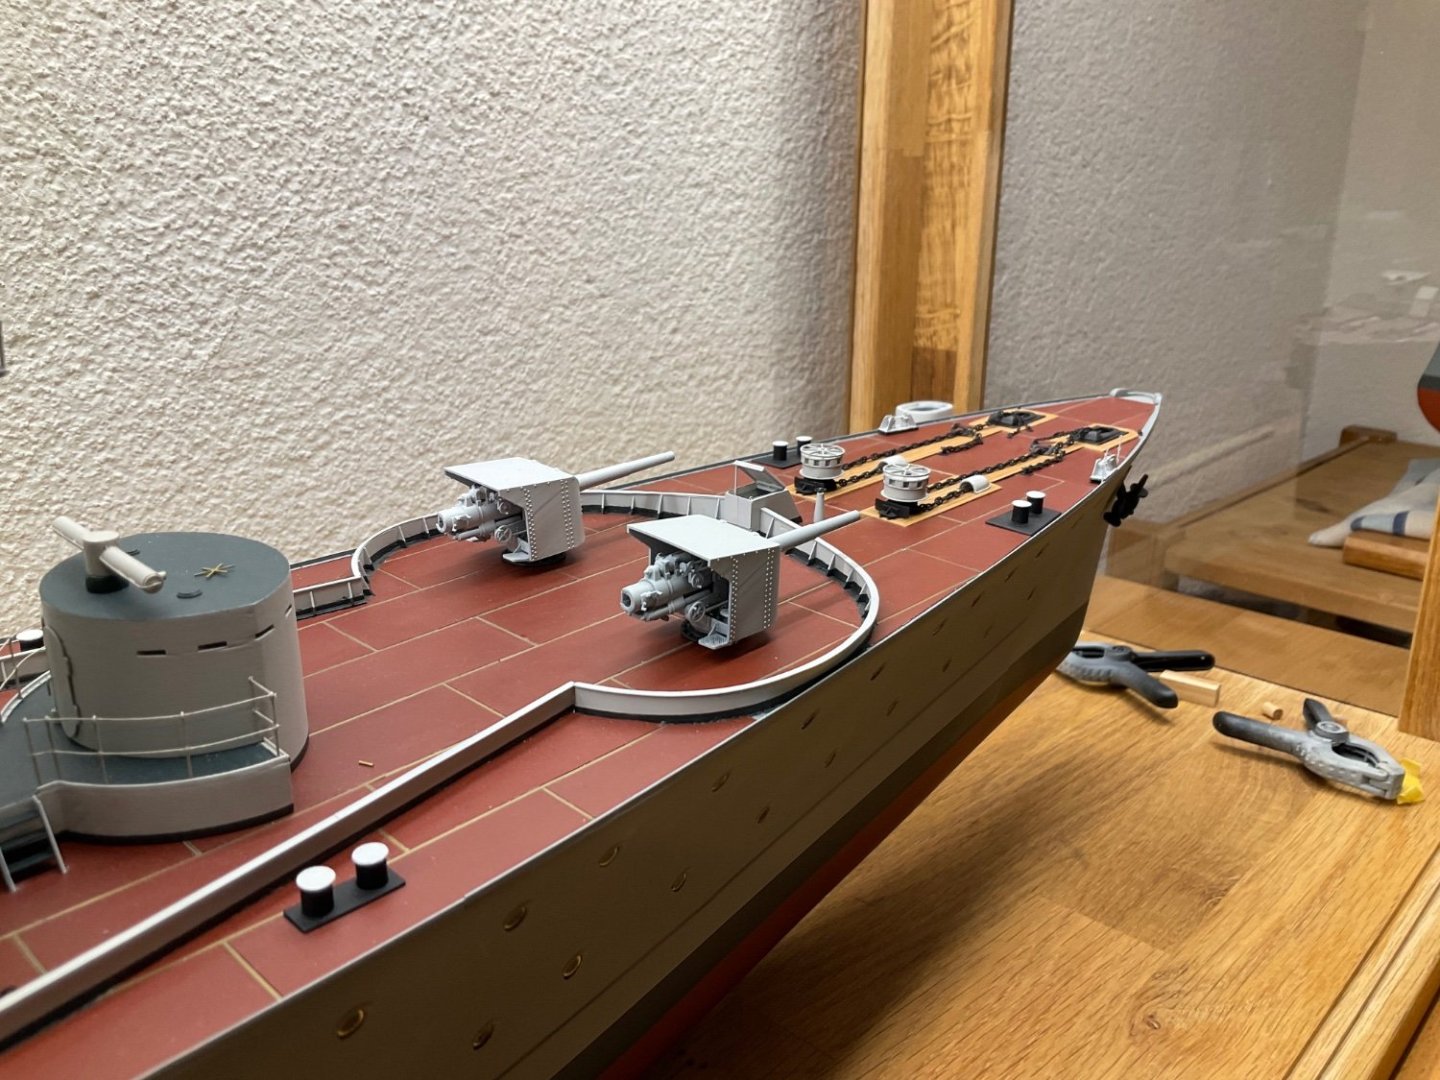
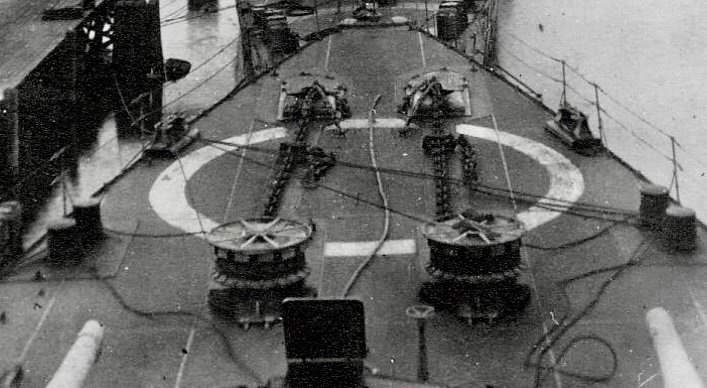
Morning all, further work on the foredeck with fairleads installed, starter for the capstan engine and (open) hatch. Also all barrings are now mounted. As a test i started rigging on the main mast and learned a lesson about what patience means😎. cheers sascha
- 97 replies
-
- 14
-
-
-
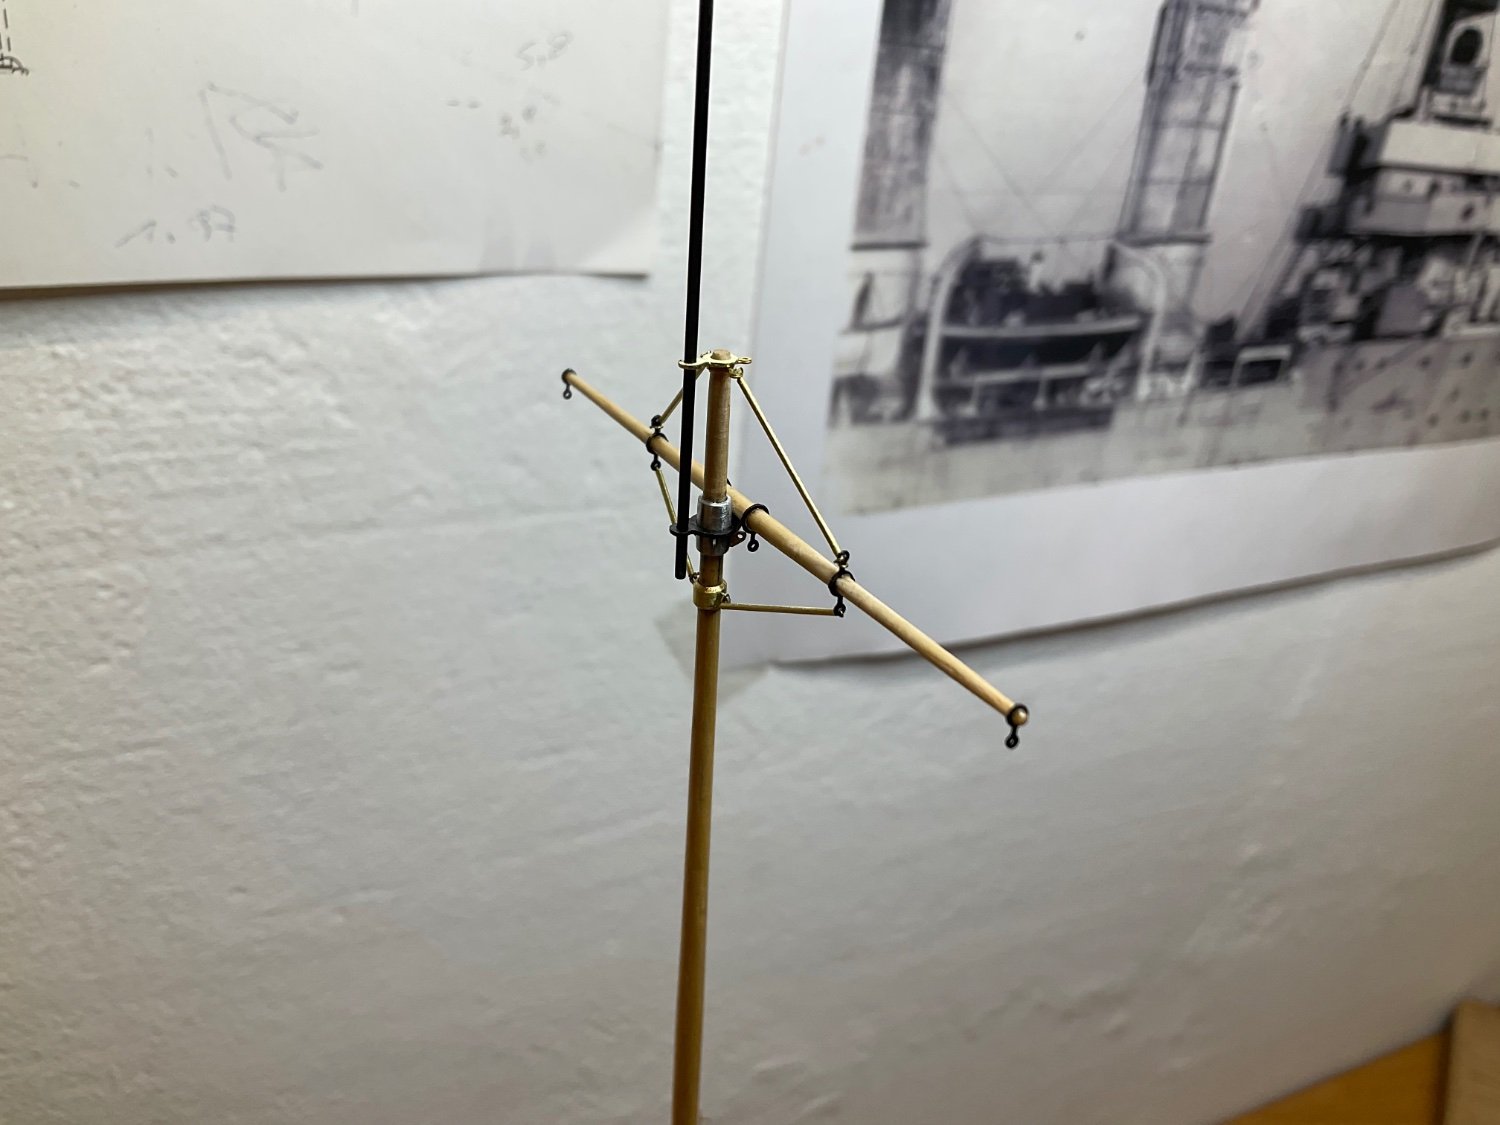
Hi all, i thought i had posted some progress,… but forgot. as my workshop is manual it takes time. Fairlead production continues, also made the (removable) tripod that is used to swing out the spar (backspier in german). cheers sascha


- 97 replies
-
- 13
-
-
-
As always phantastic work Valeriy ! Am always following your builds, but often forget to leave an answer or comment. all best sascha
-
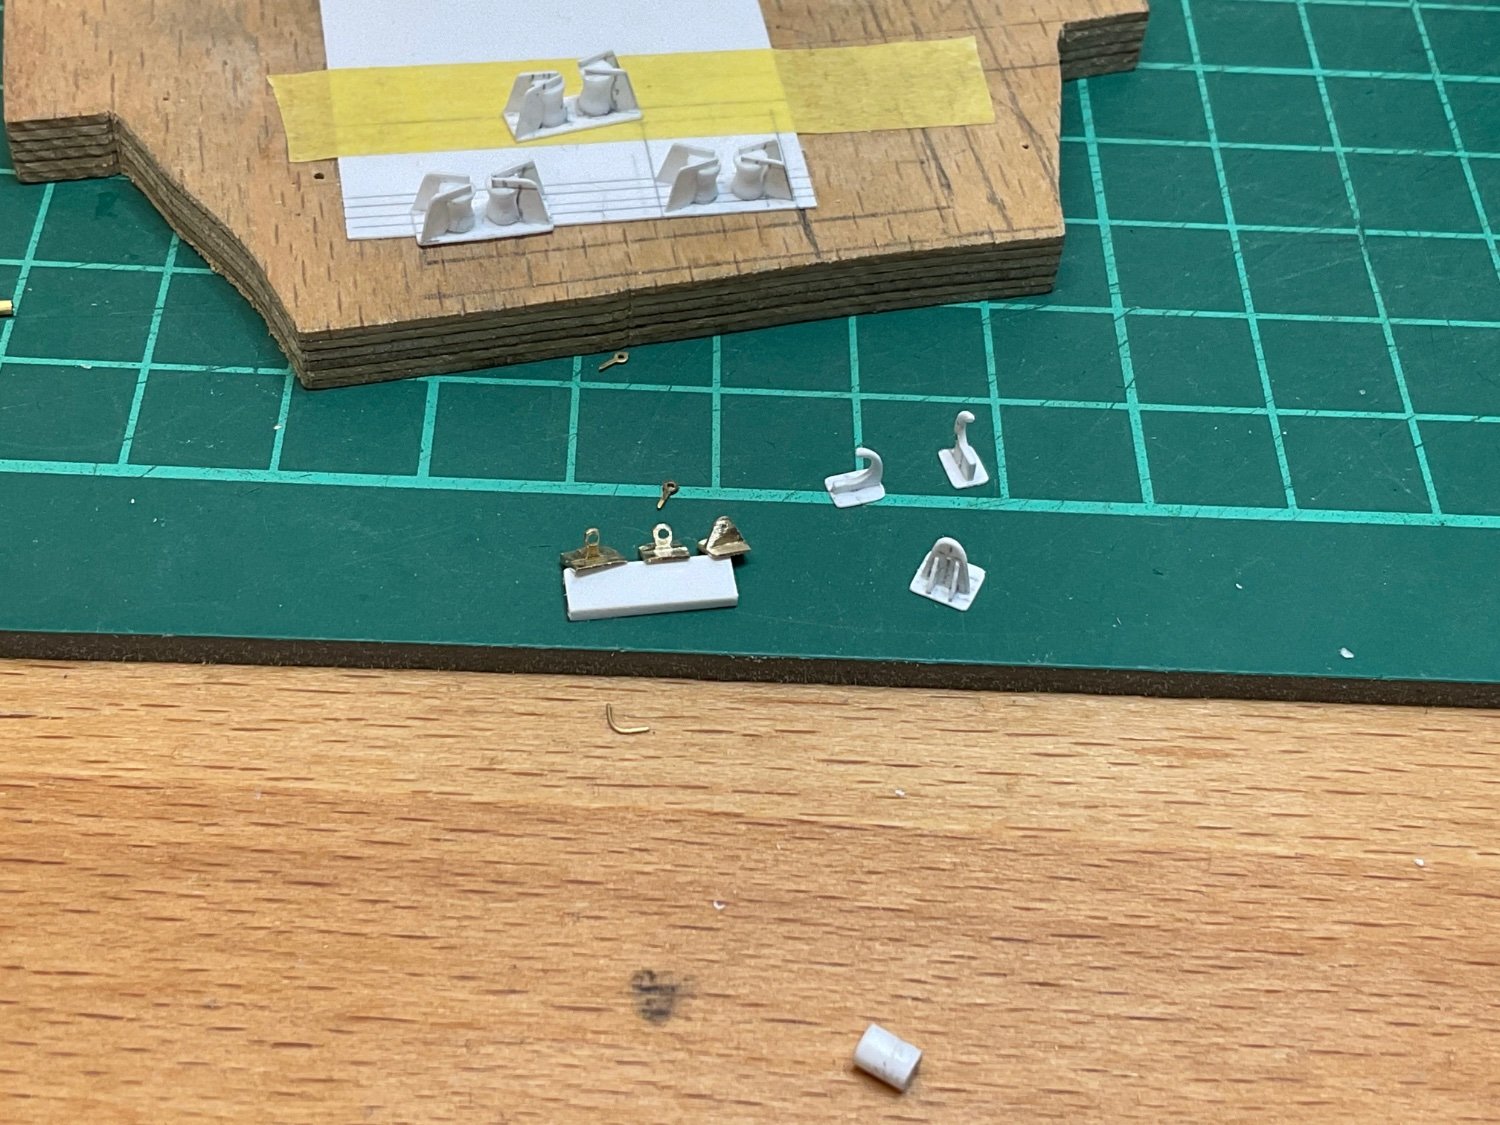
Hi guys, and thanks for your likes (if thats a word now) 😬. i continued work on the boat racks, fitting them out and giving them a coat of primer. Before fixing them in place i needed to understand where the various steel ropes go (attachment points) as those need to be made and mounted first. For this i needed to make davits. The ones in the photo are raw prototypes for shape only. Originals are H-profiles 320x320mm. also made the first two fairleads (? Correct translation). Those were not flat on deck, but on a u-shaped profile. enough text 😎 cheers sascha


- 97 replies
-
- 11
-
-
-
A very nice project, and good documentation if the work. Thanks, and keep at it 👍🏻 cheers sascha
-
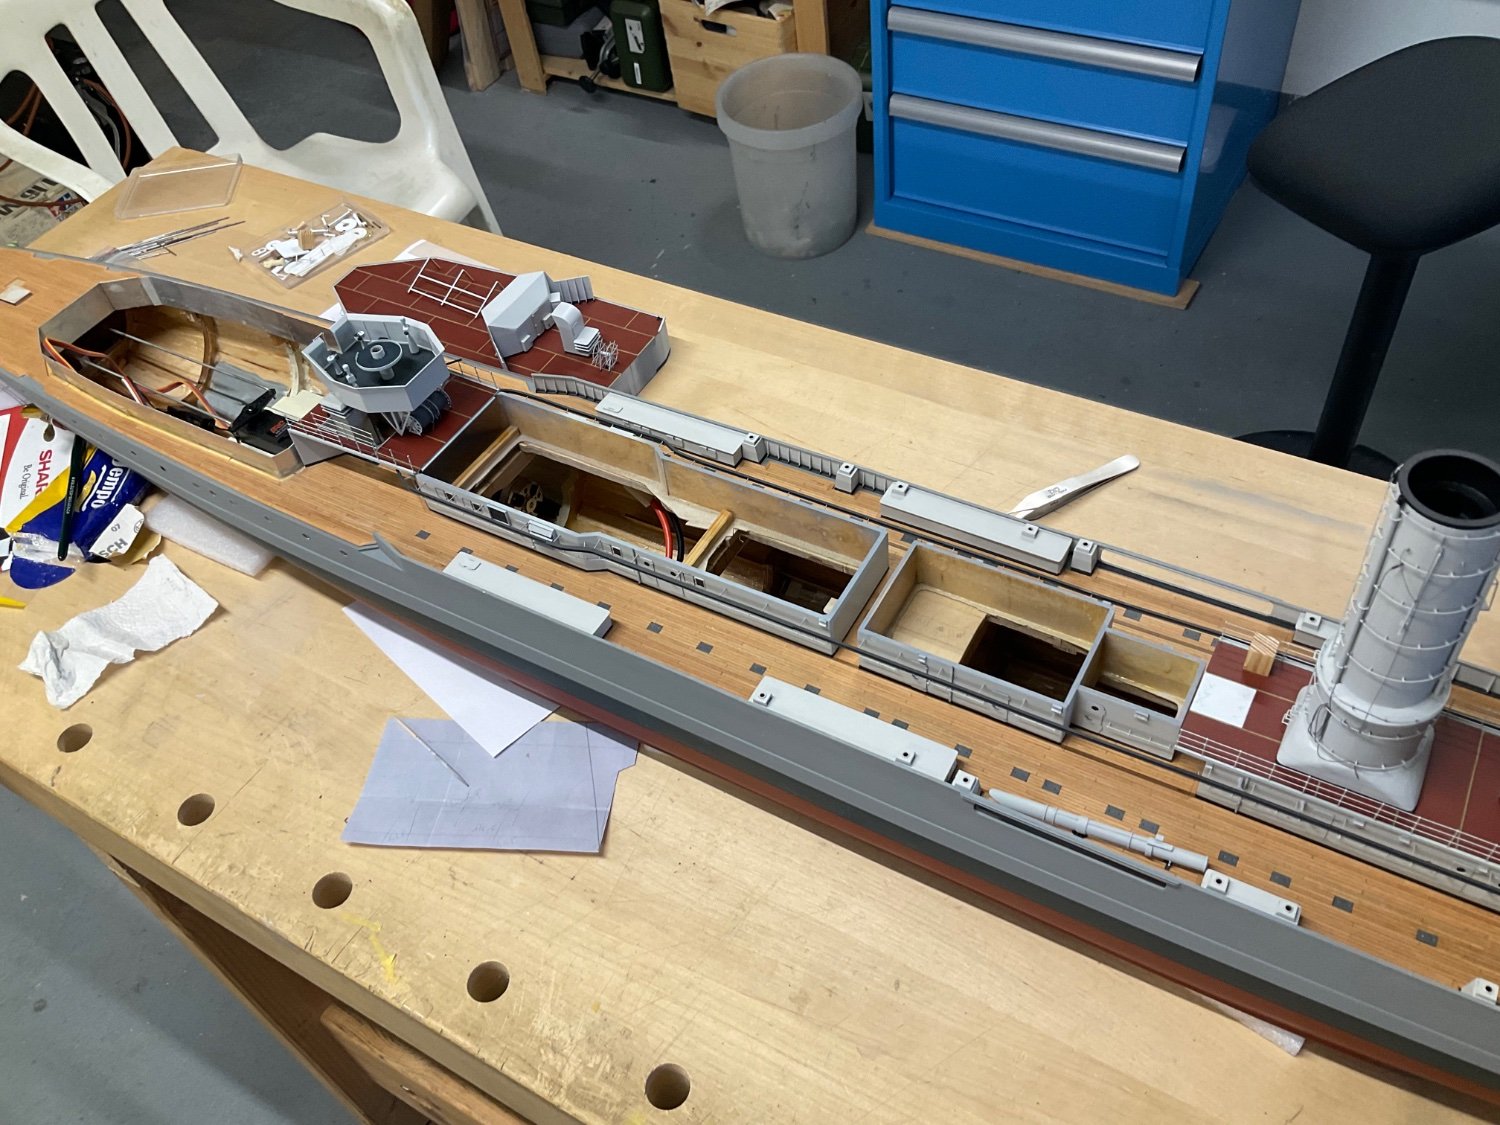
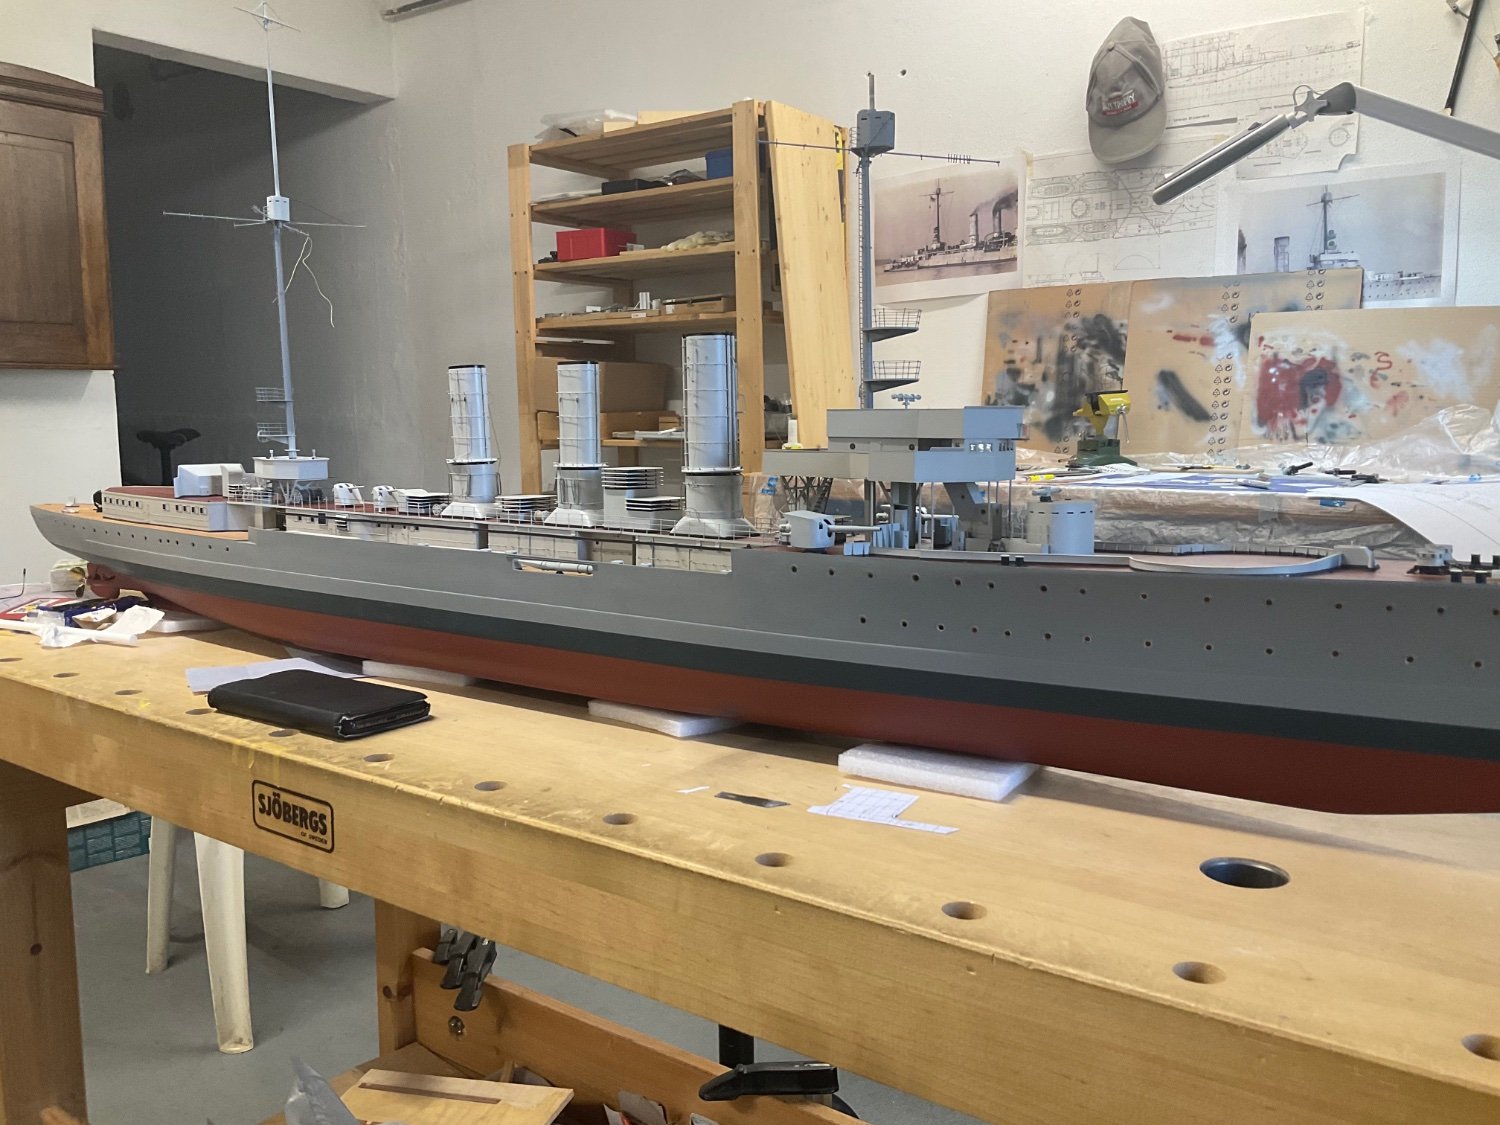
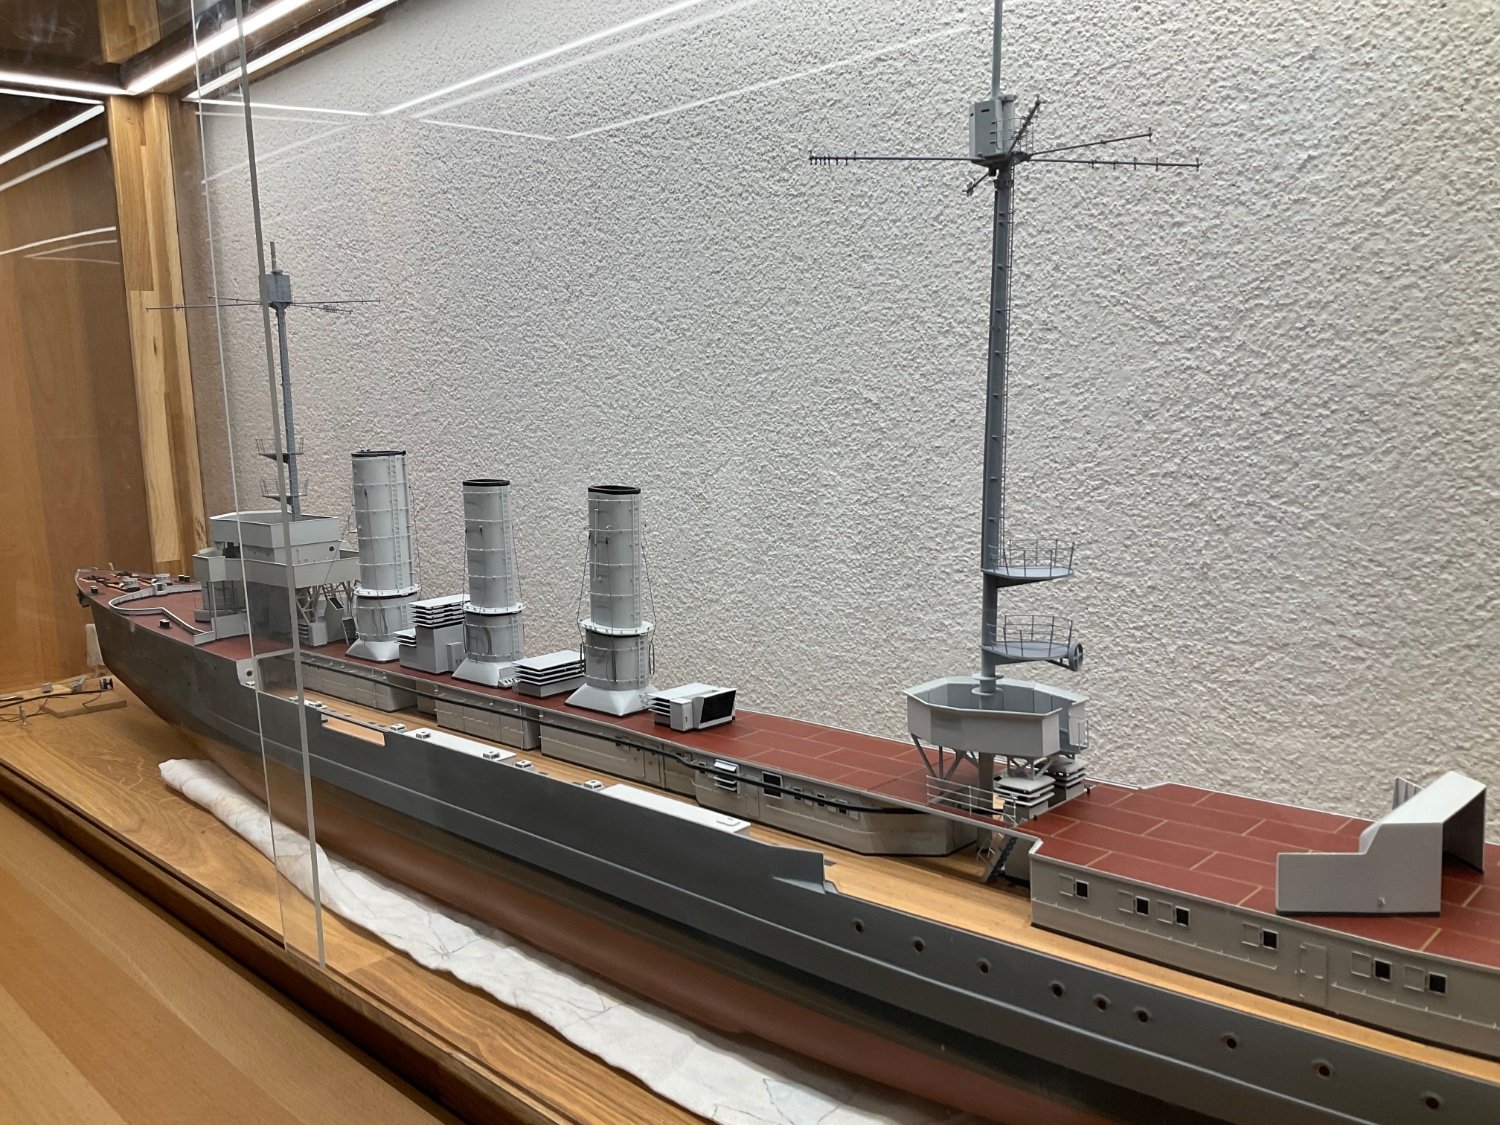
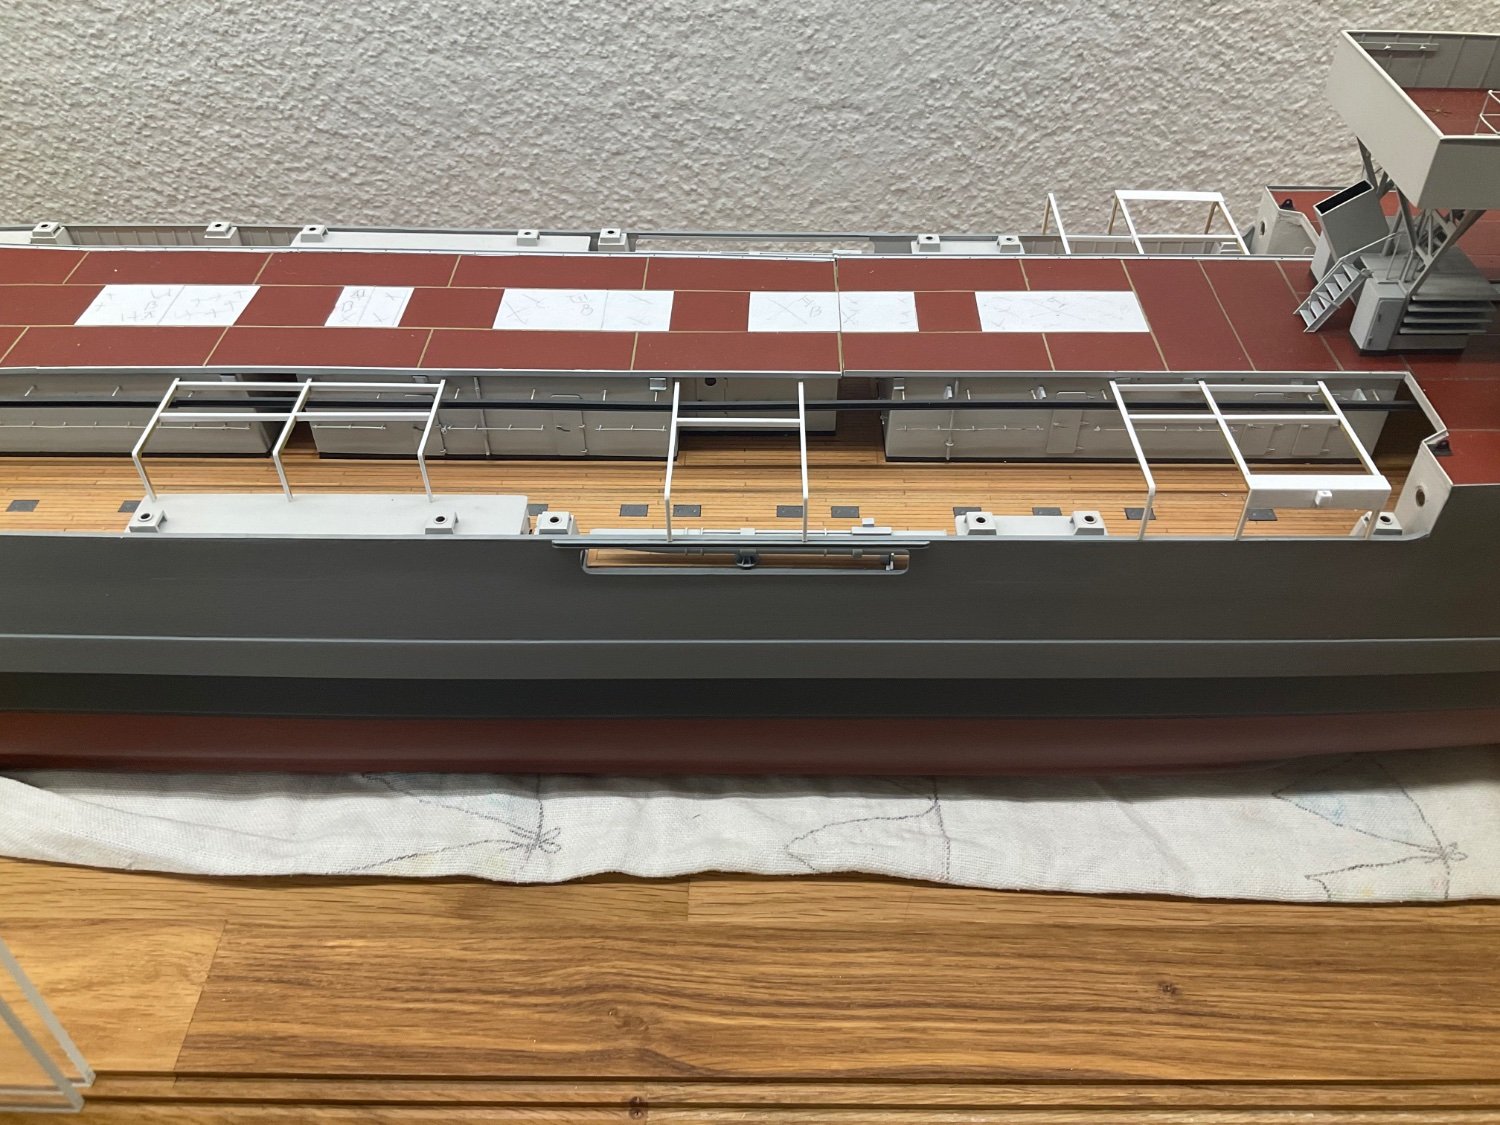
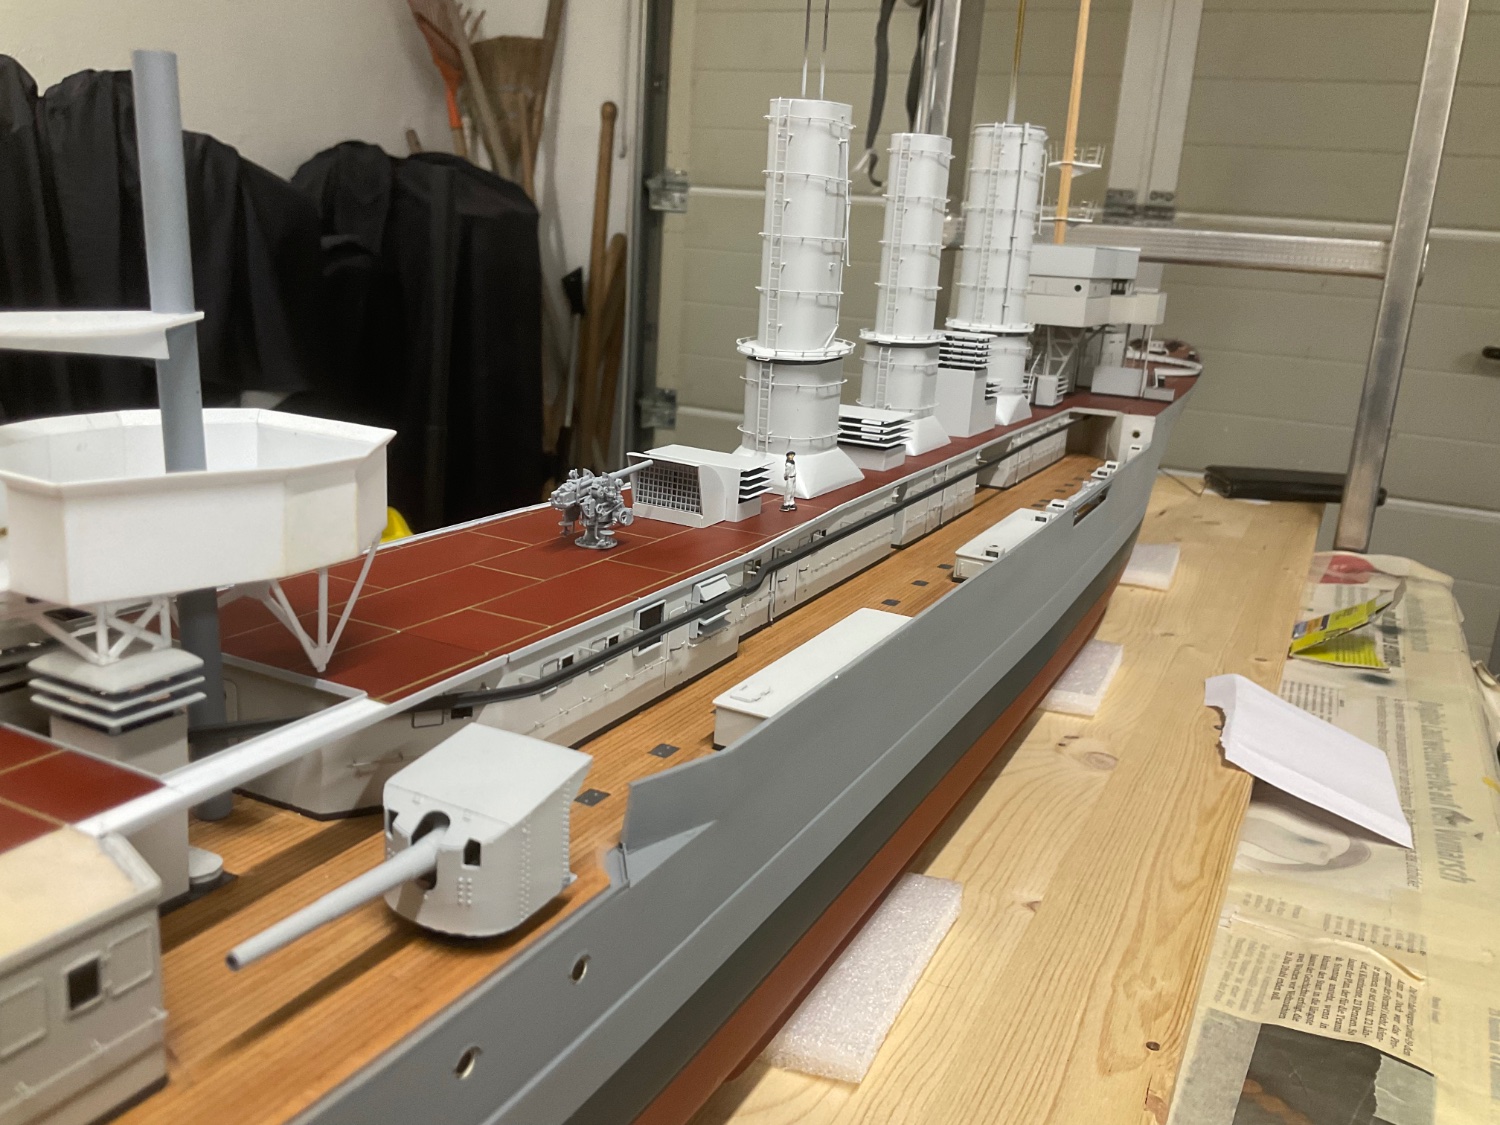
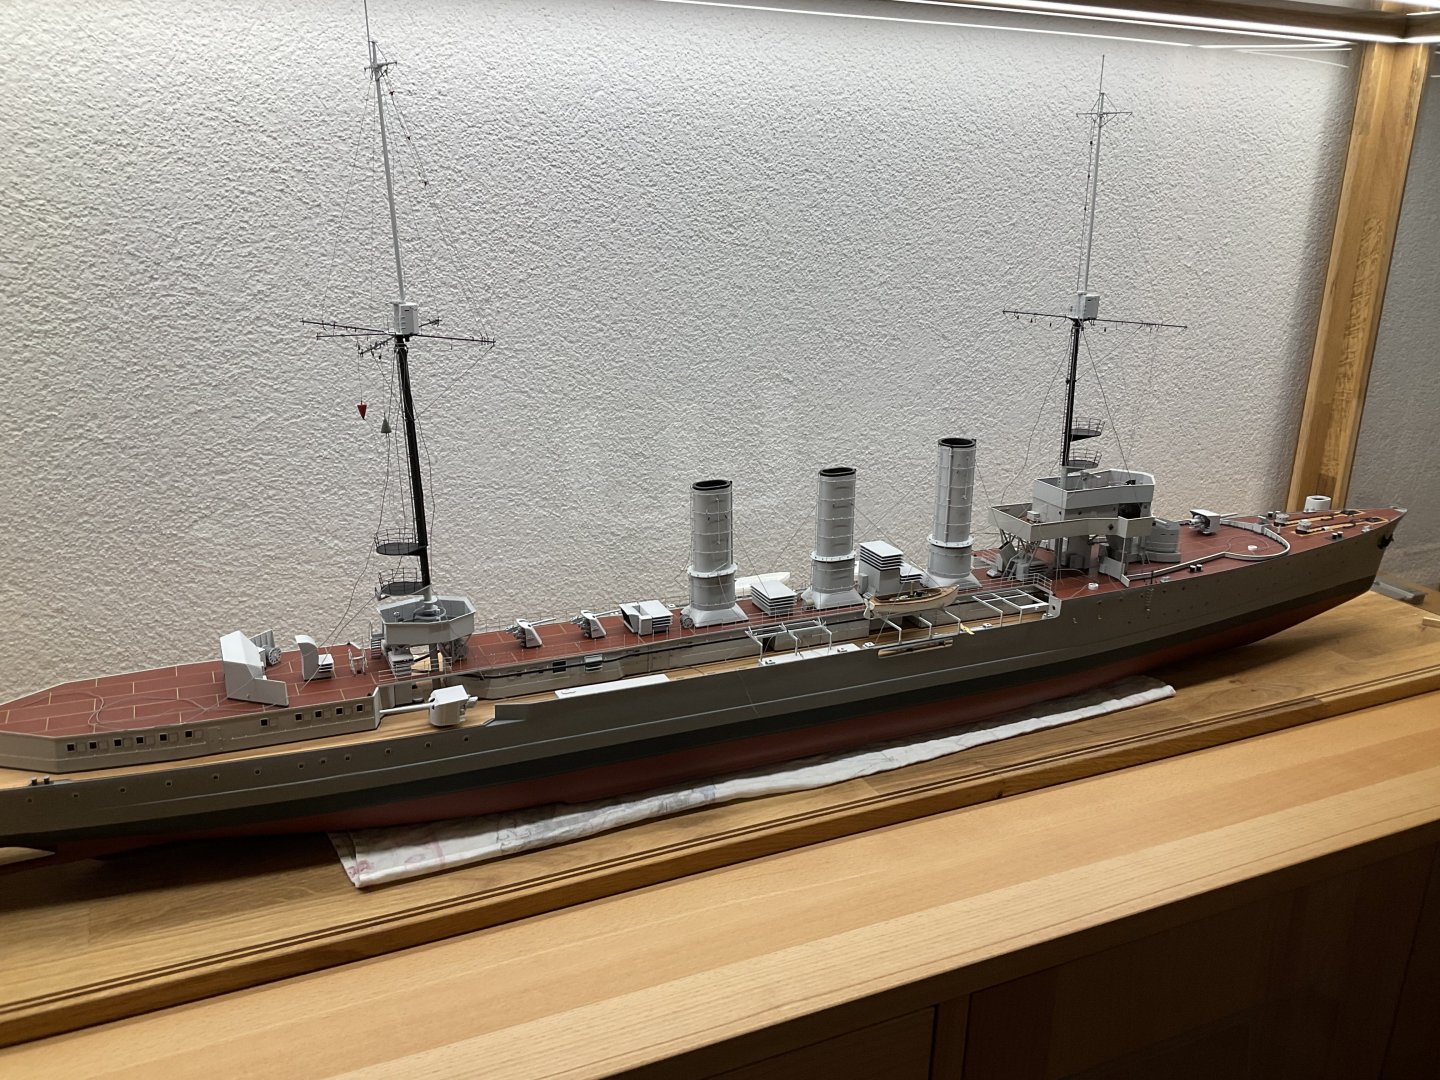
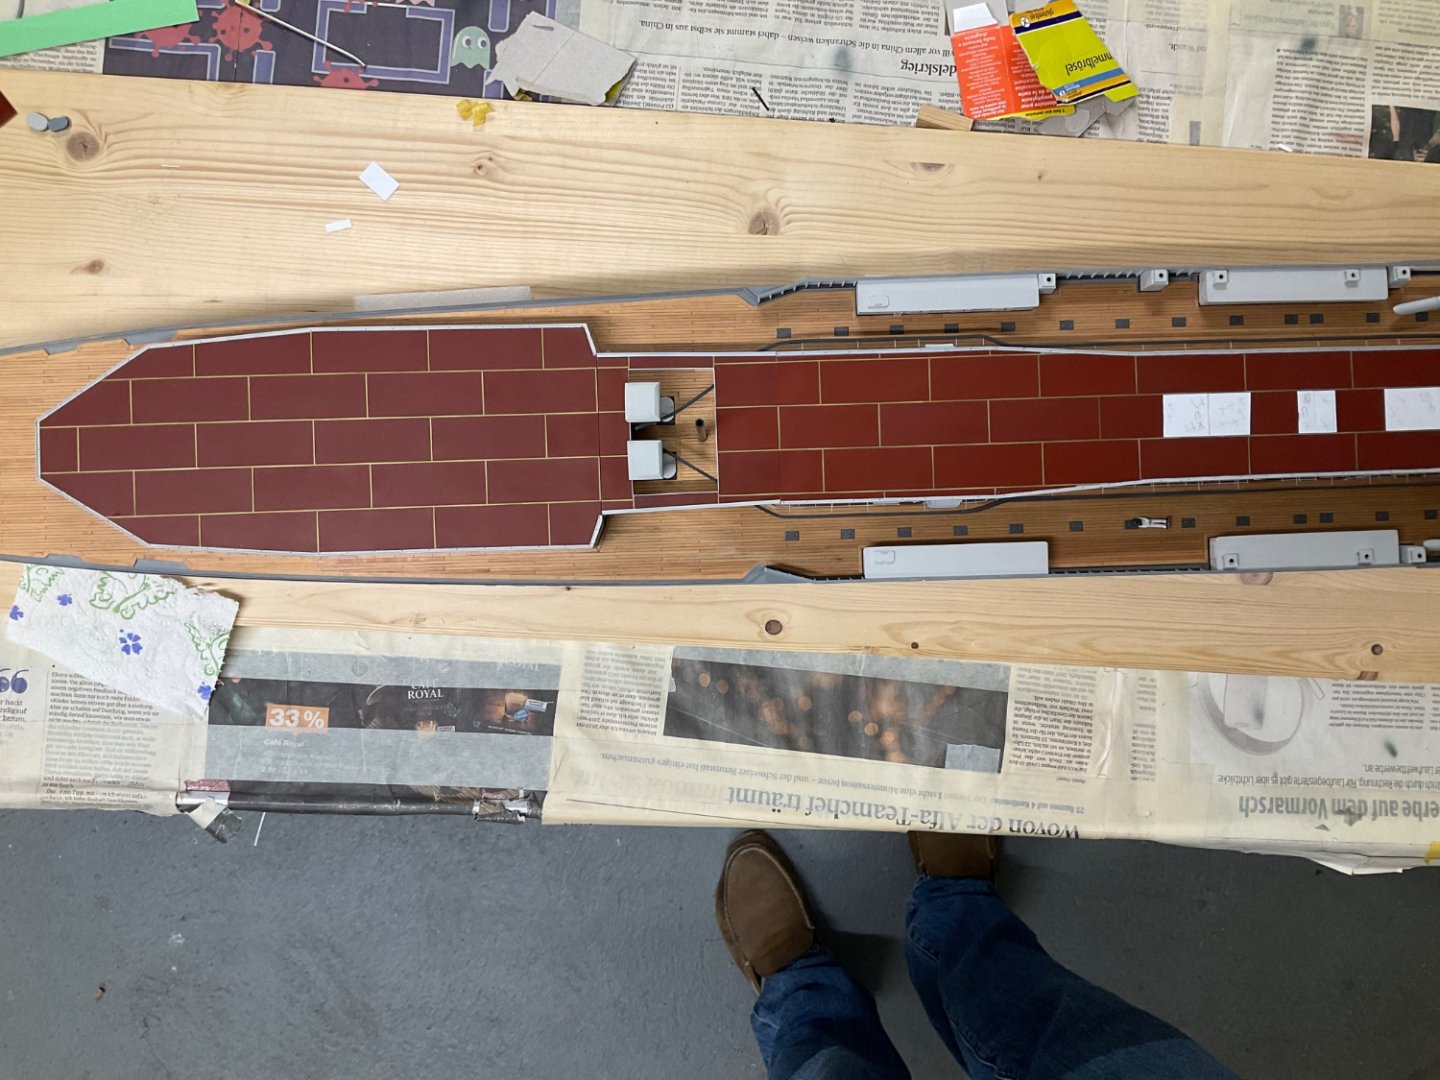
Thought i‘d post a „nude“ picture too, as it is/was originally intended as rc model. Which is why lots of the superstructre is such a hassle. I want to at least sail it once before winter sets in (read: before i make all the parts that i will most certainly break off when handling it🤪). Engine/rudder trial worked nicely in the trim tank.

- 97 replies
-
- 10
-
-
-
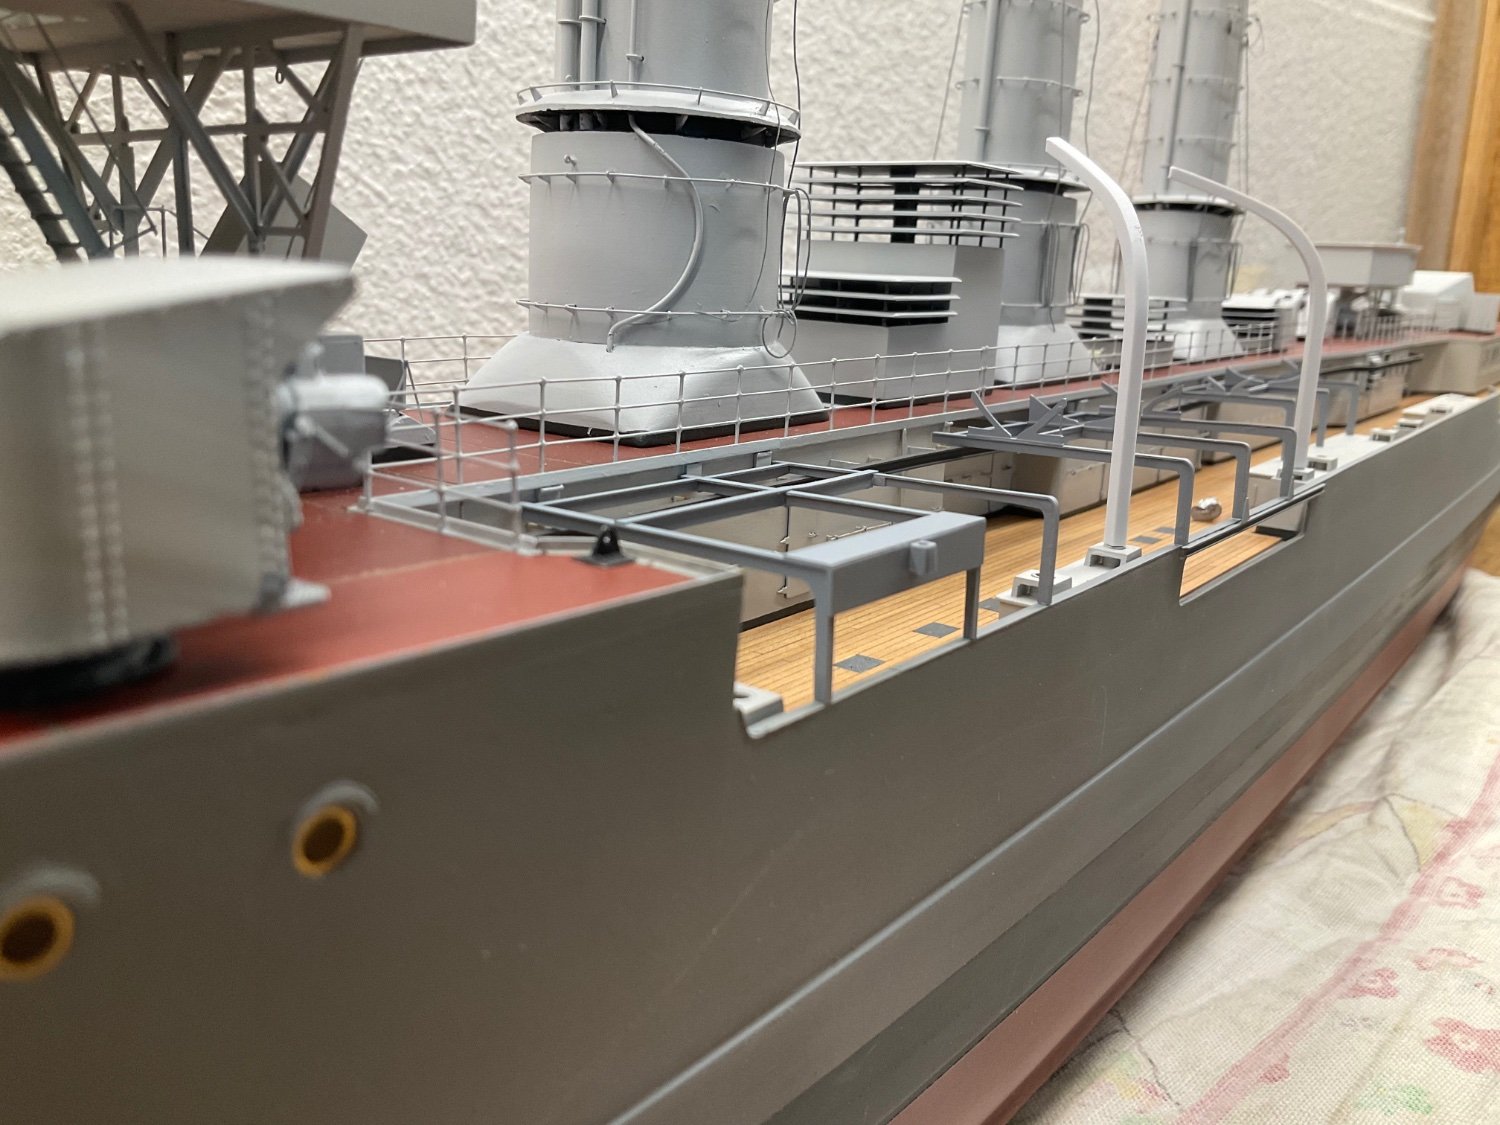
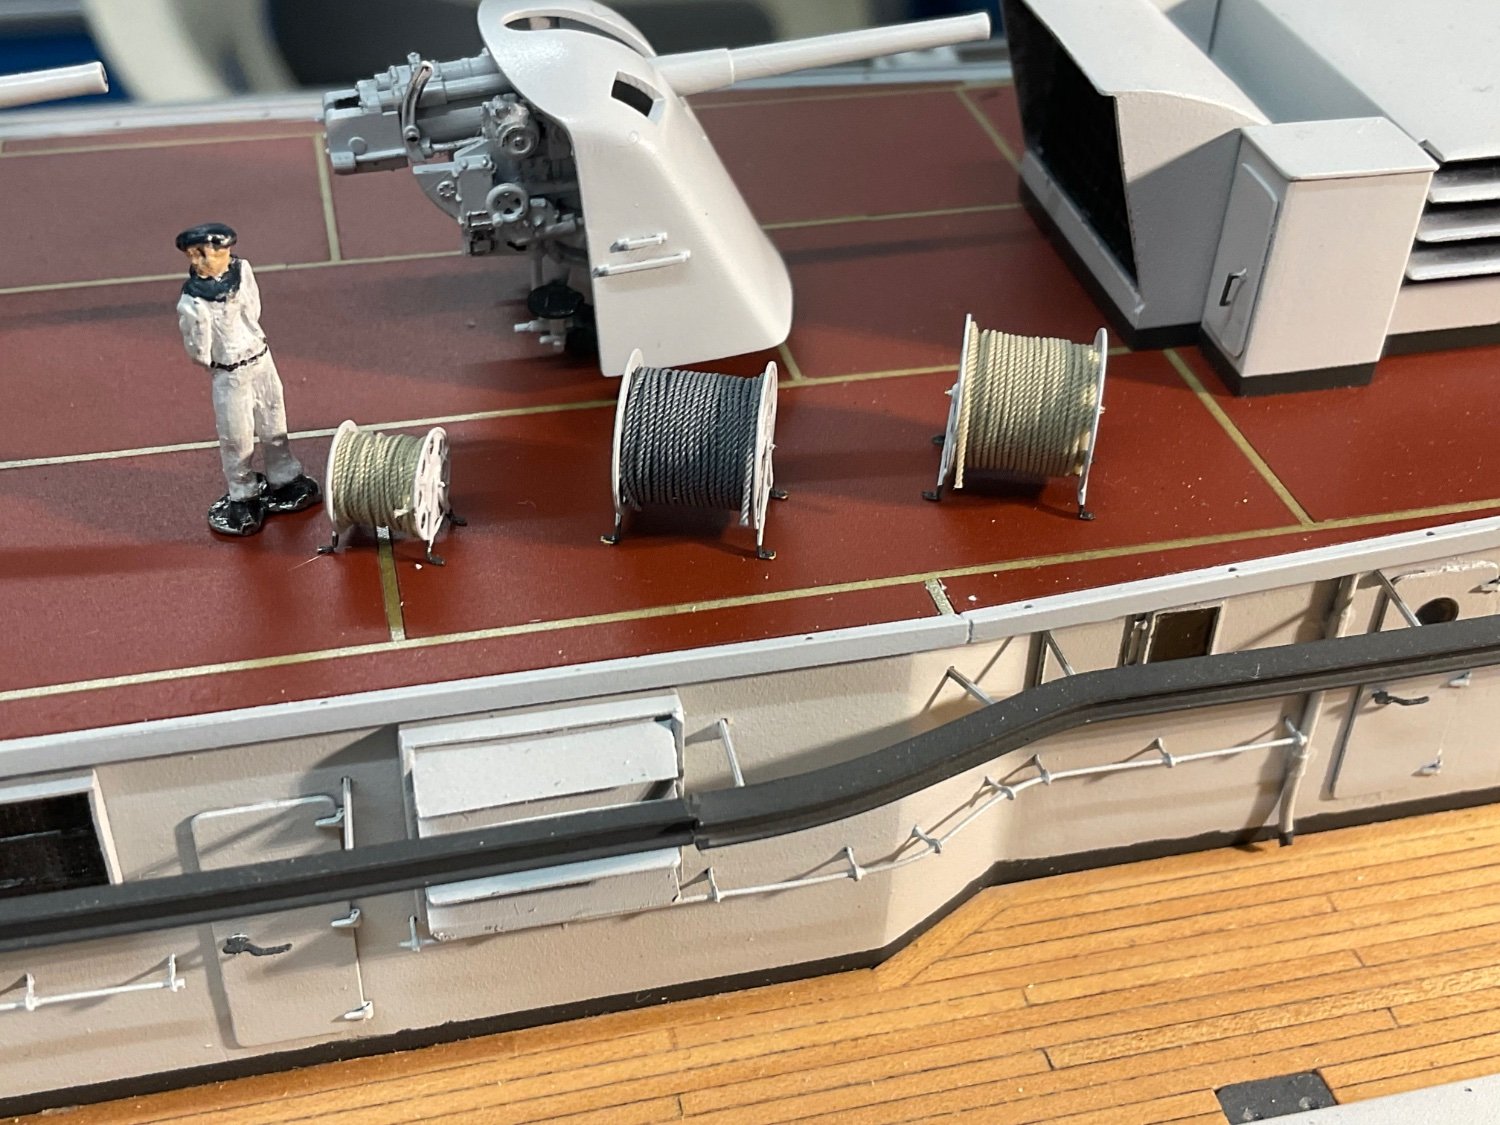
Thank you for your nice comments gents. Progress to report is: made some of the hawser reels (? Correct english?). As you can see the smallest one (6mm dia) shows the limits of my fingers🤪. 4 more to do. Also some railing both fixed (steel tubes) and removable (chain). The „chain“ is two very thin wires extracted from an old cable and then twisted. Happy weekend


- 97 replies
-
- 13
-
-
-
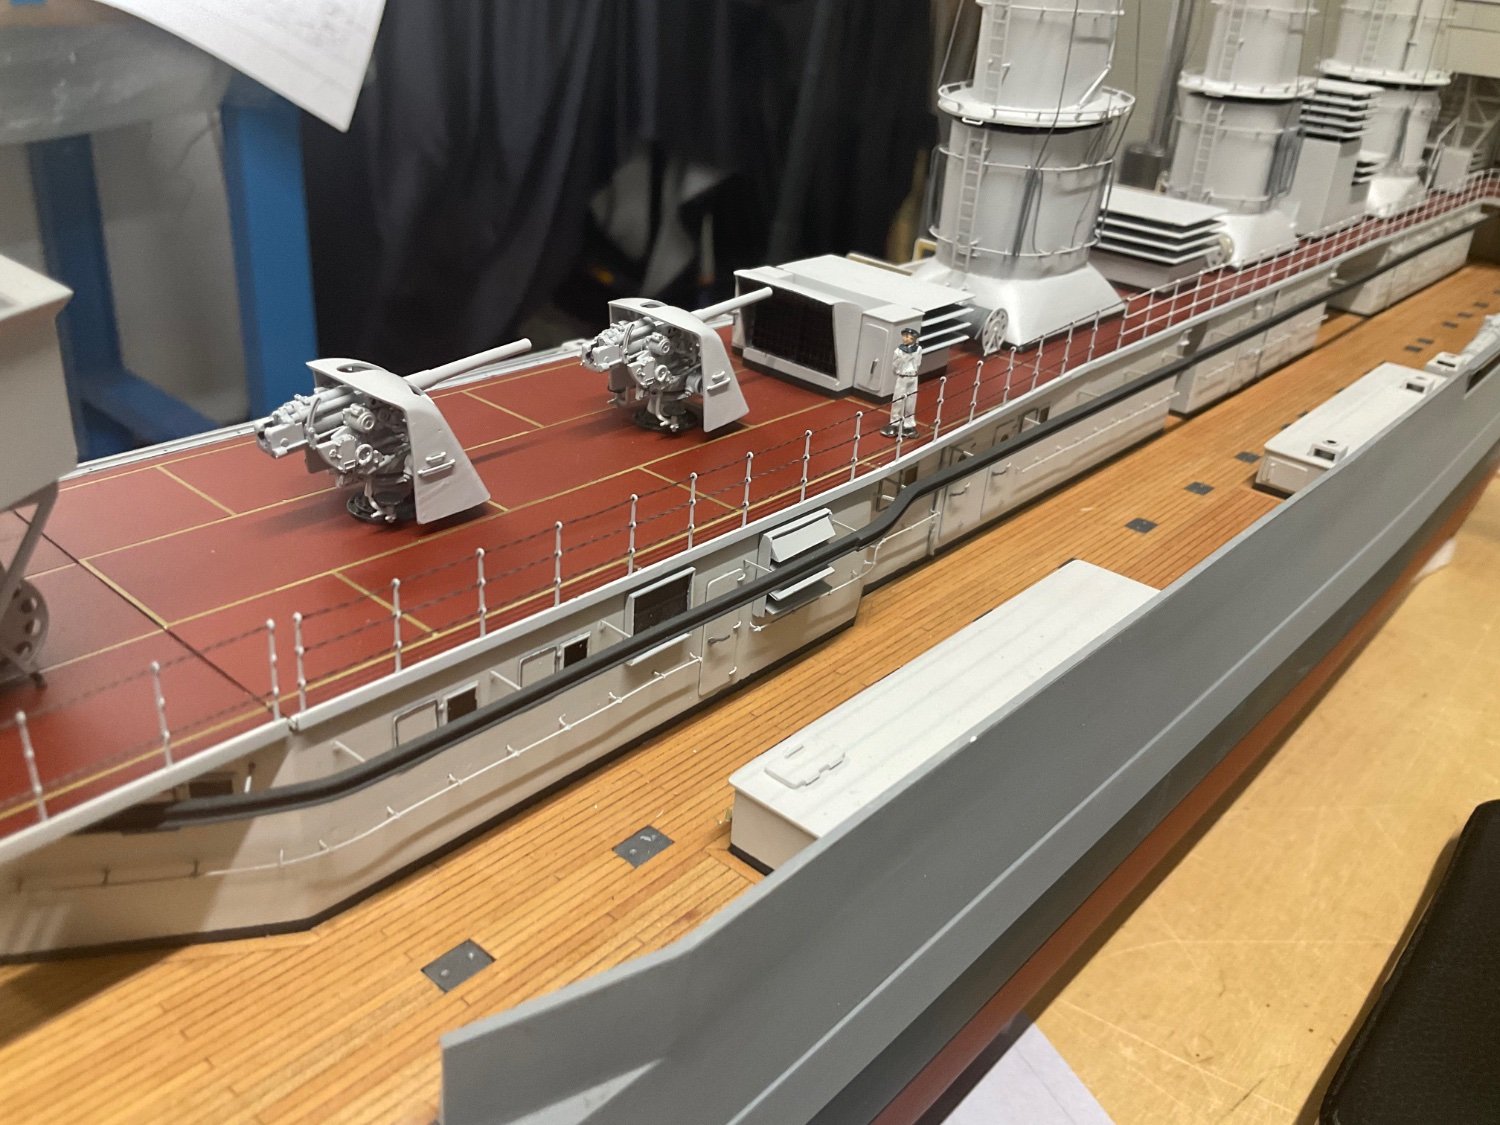
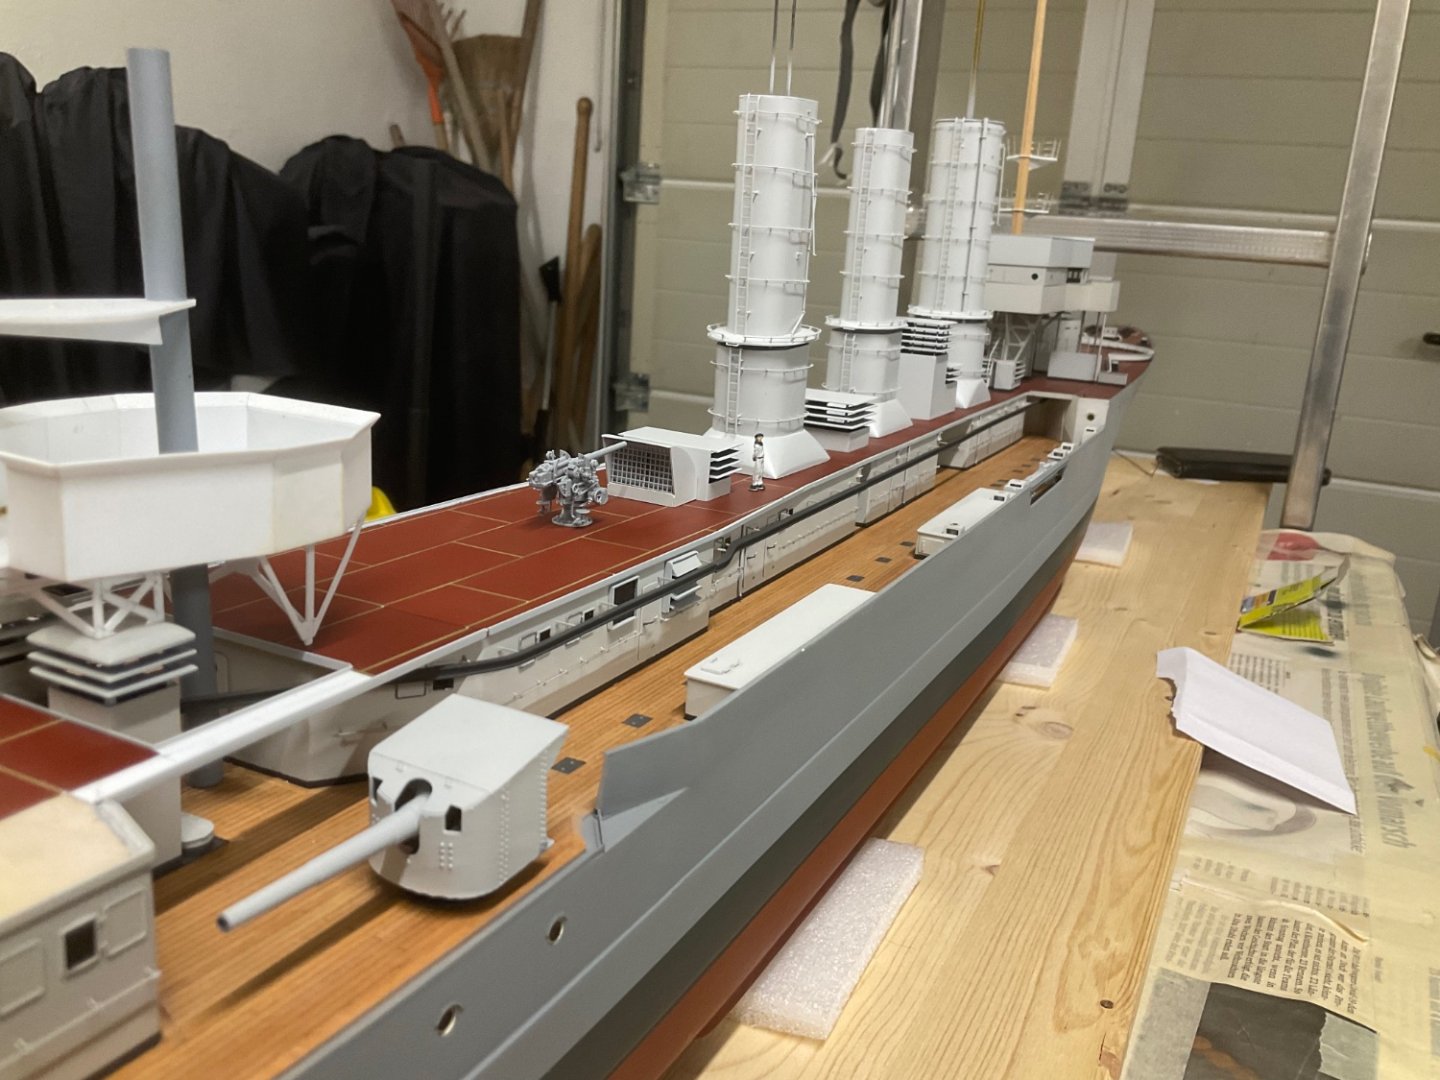
A little update after summer. Work continues with small parts and the aft cdo stand. The 8,8flak are 3d printed parts from micromaster. Still more to make but progress is slow.


- 97 replies
-
- 15
-
-
-
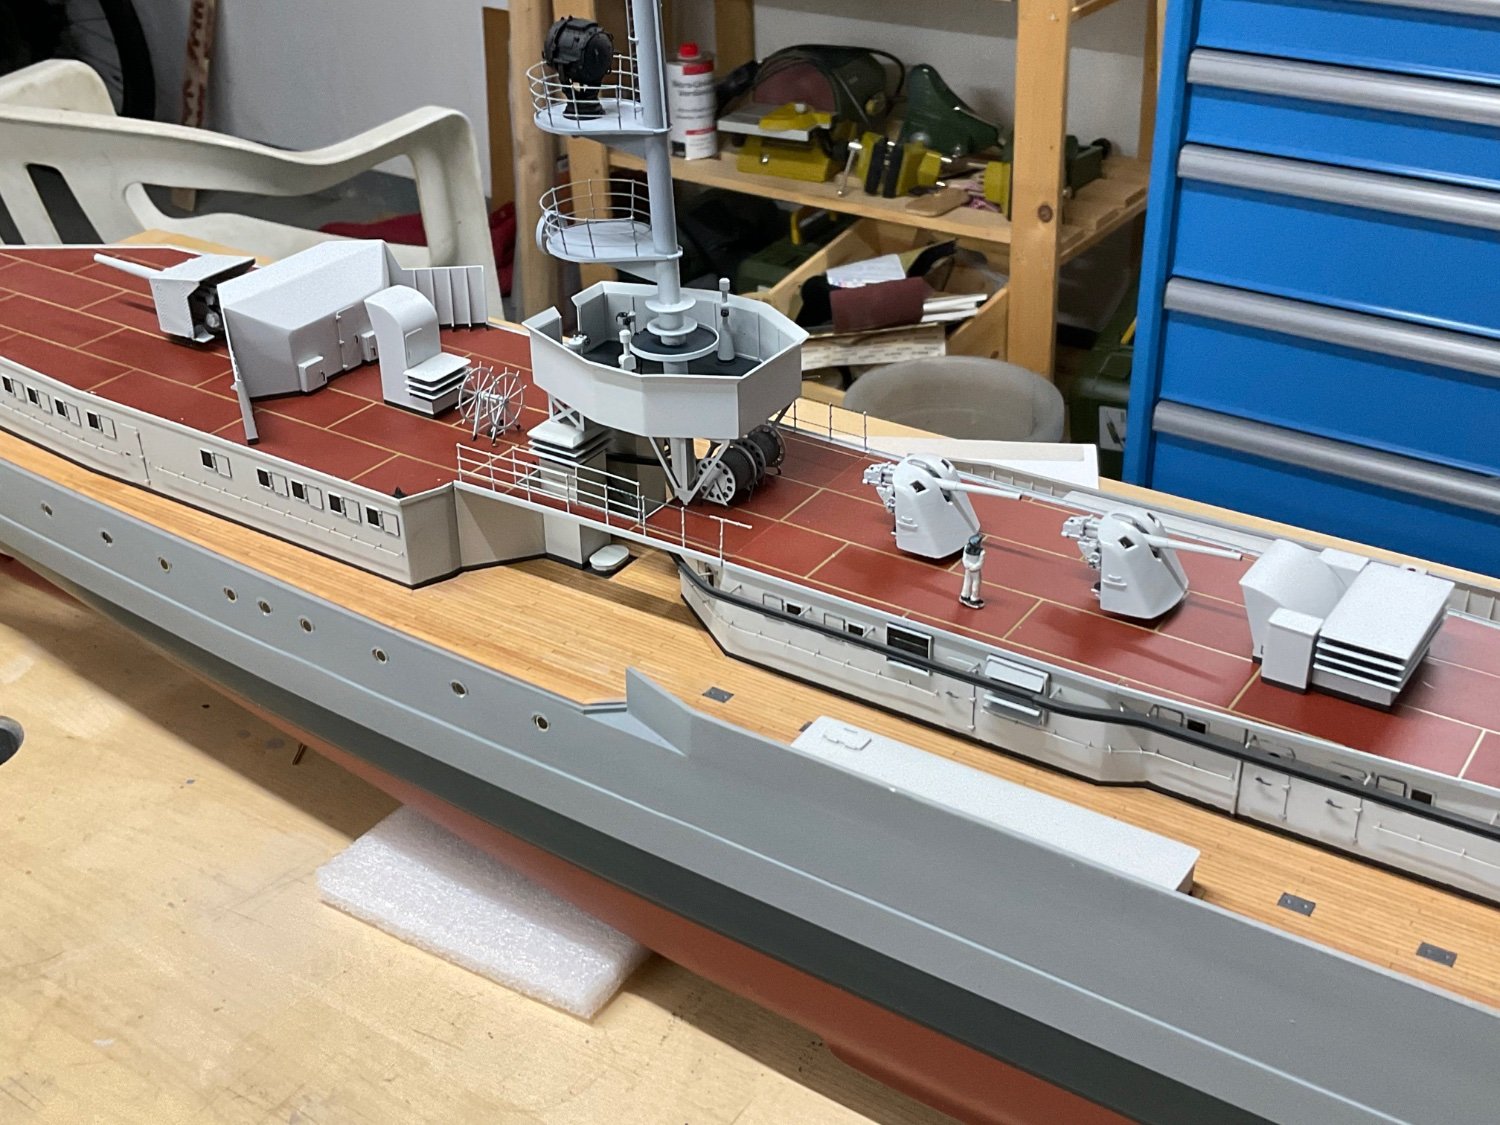
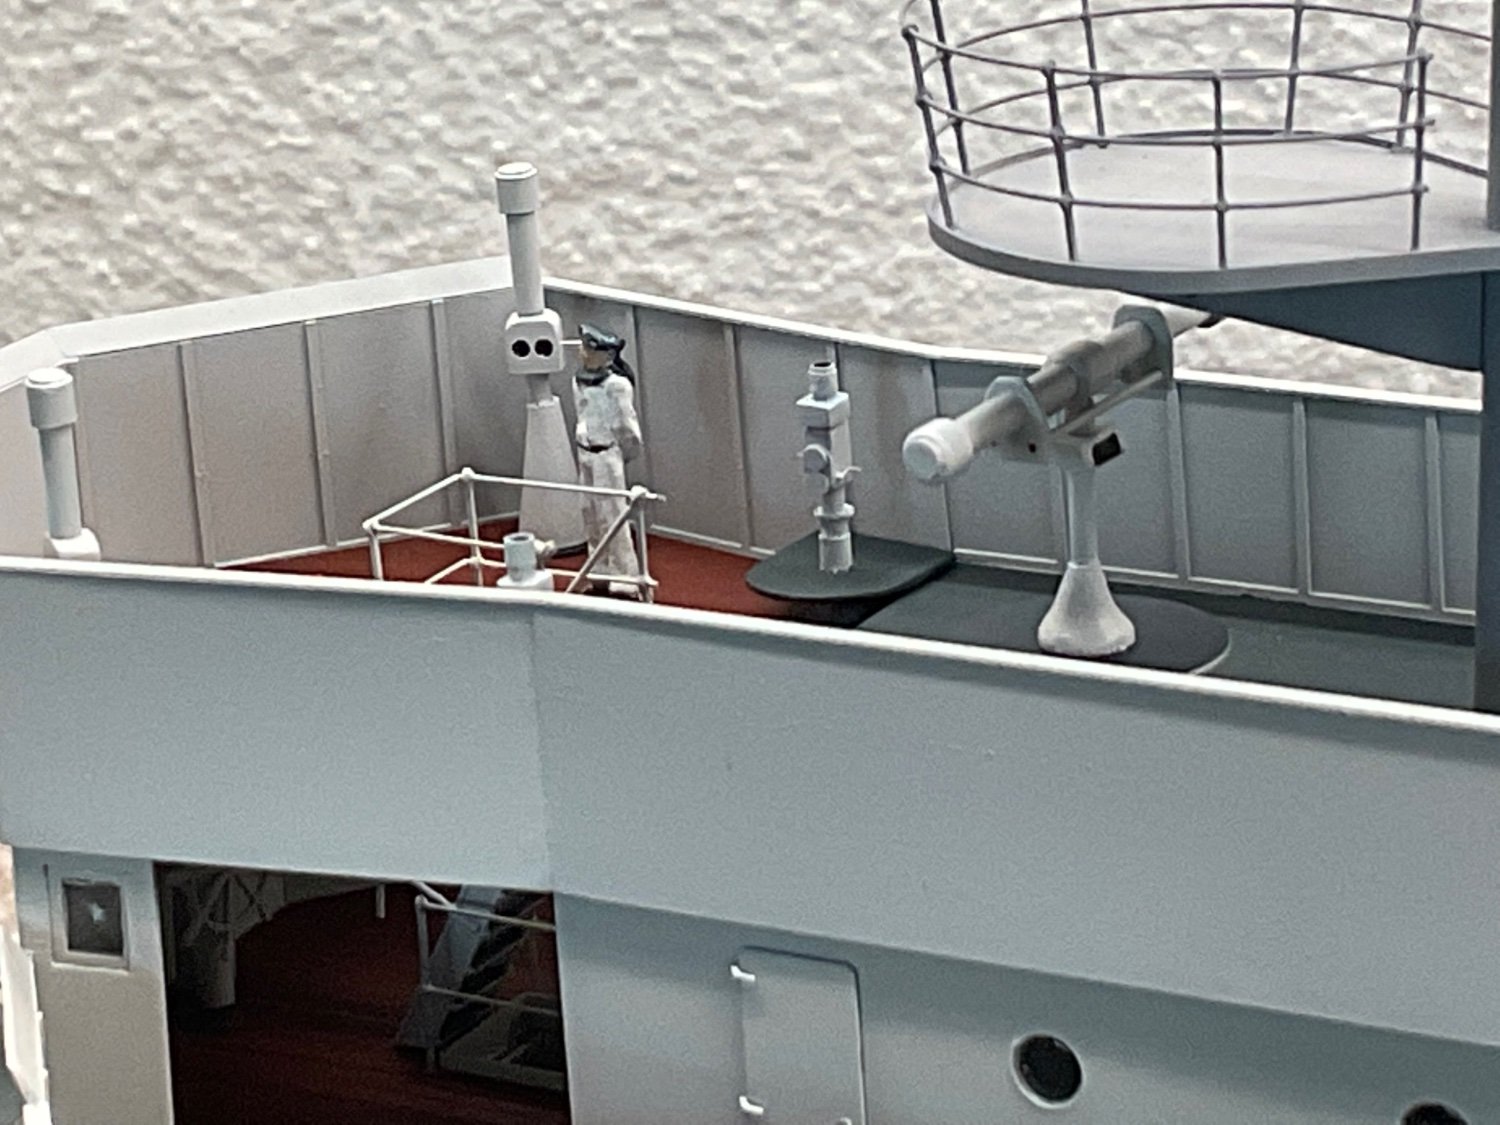
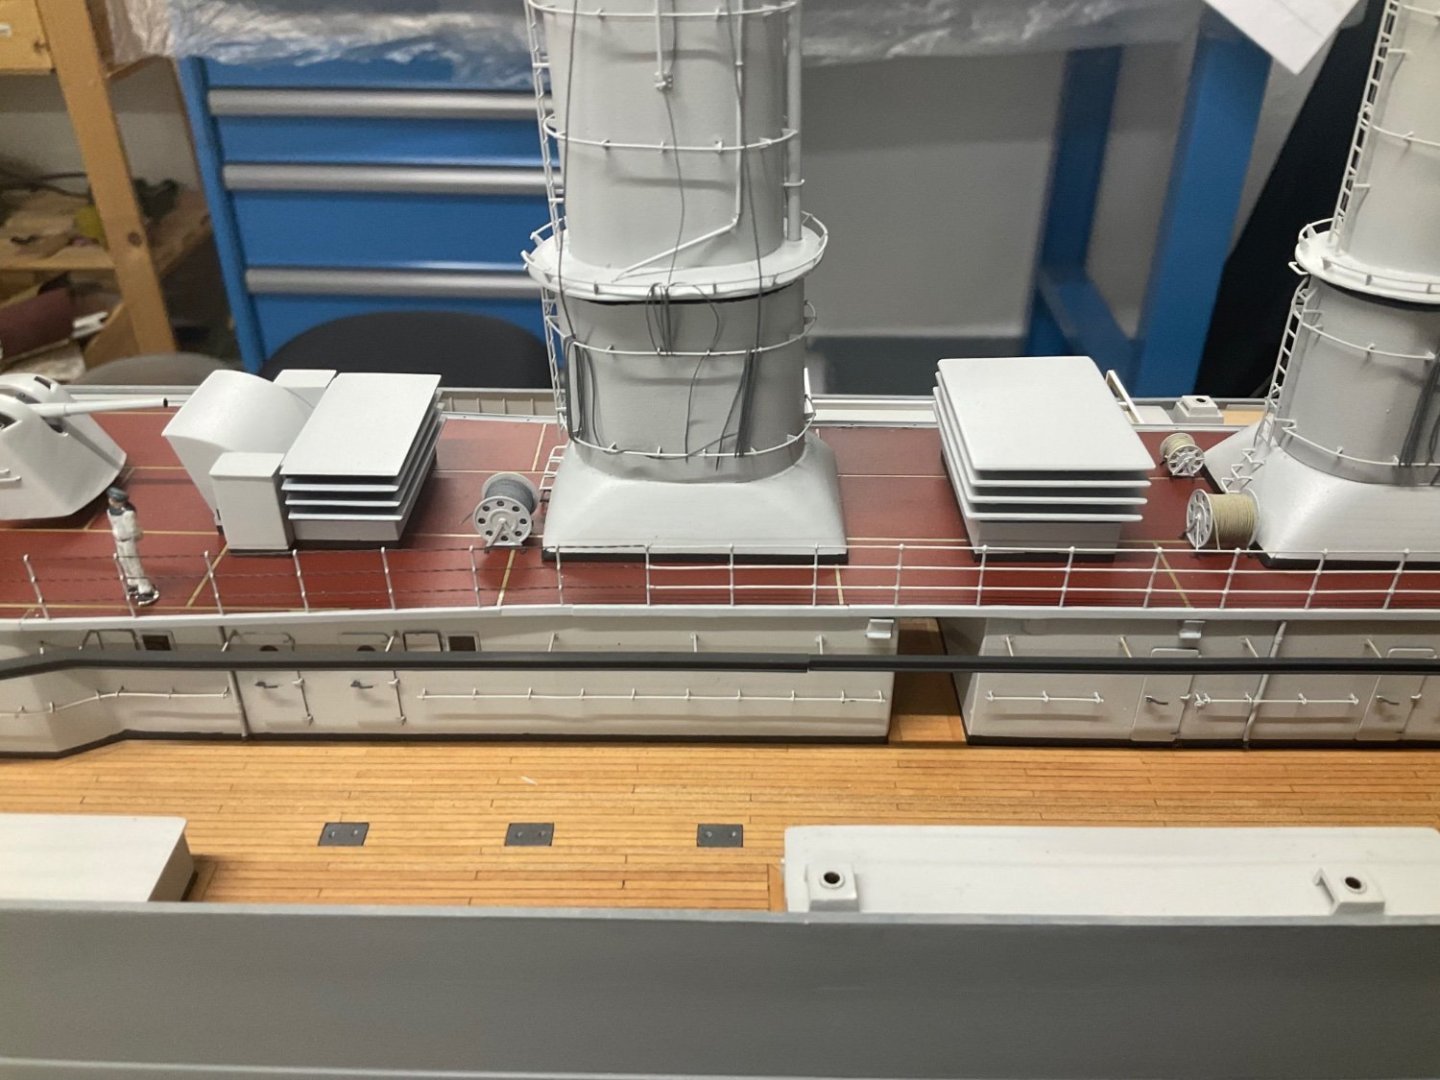
Thanks Nils - the upper bridge received some equipment. Handwheels and optics still missing.
- 97 replies
-
- 10
-
-
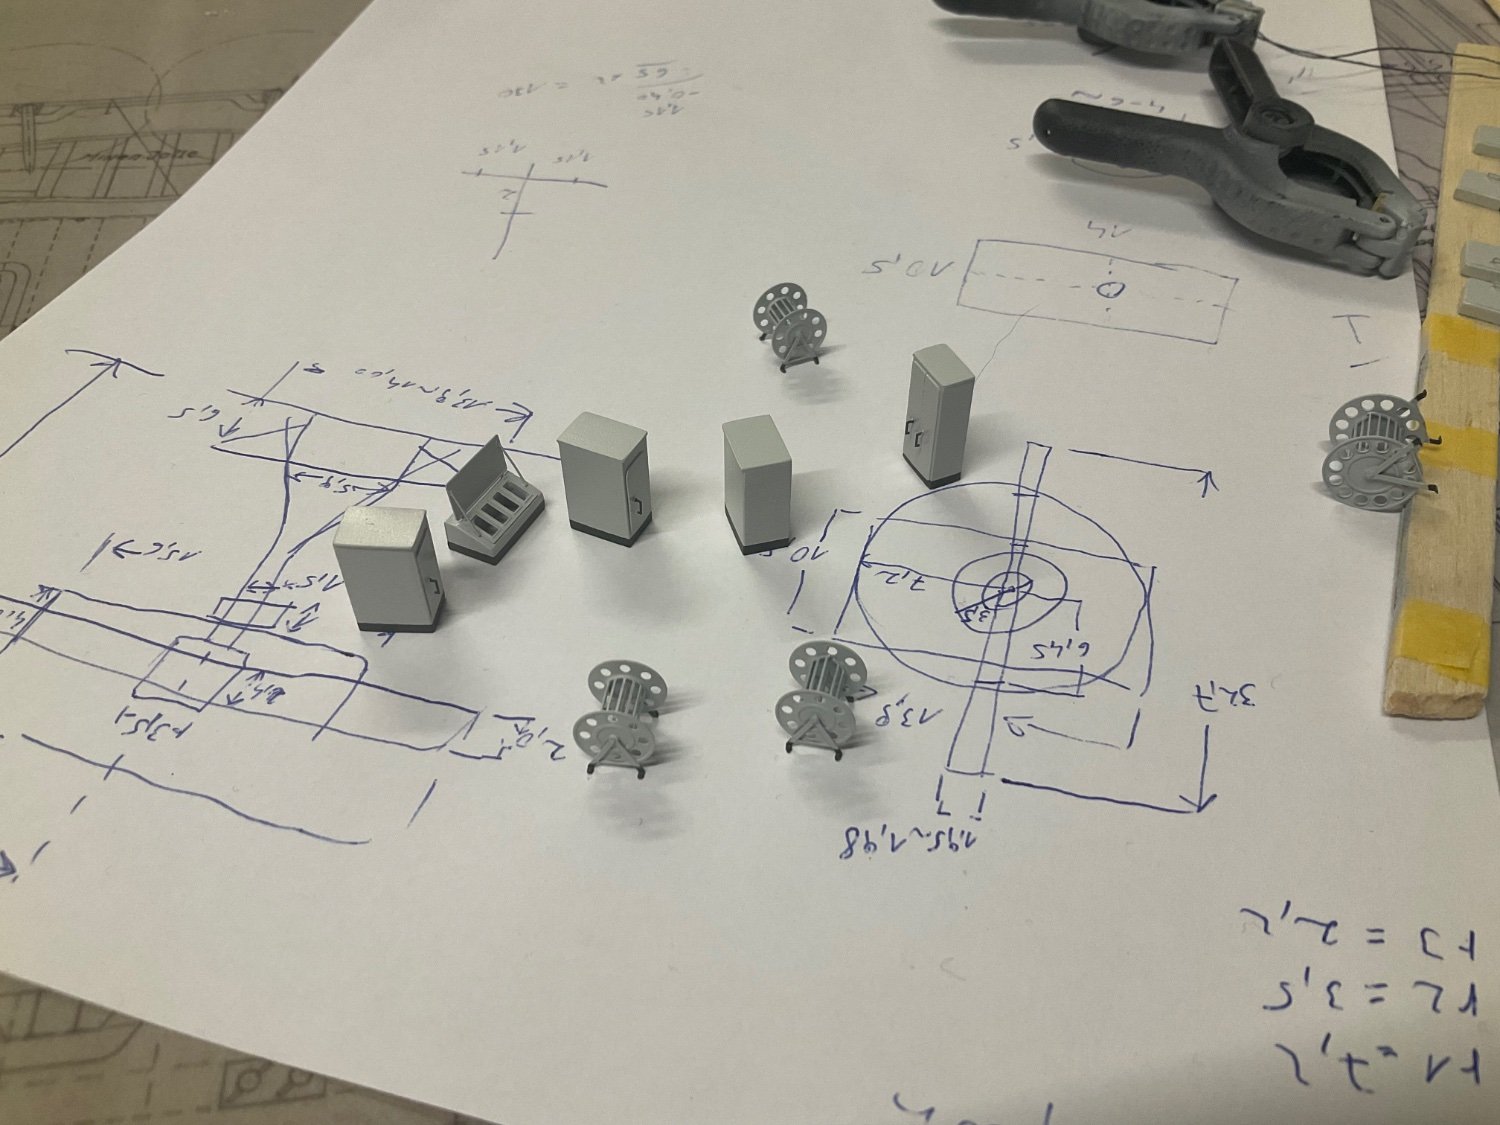
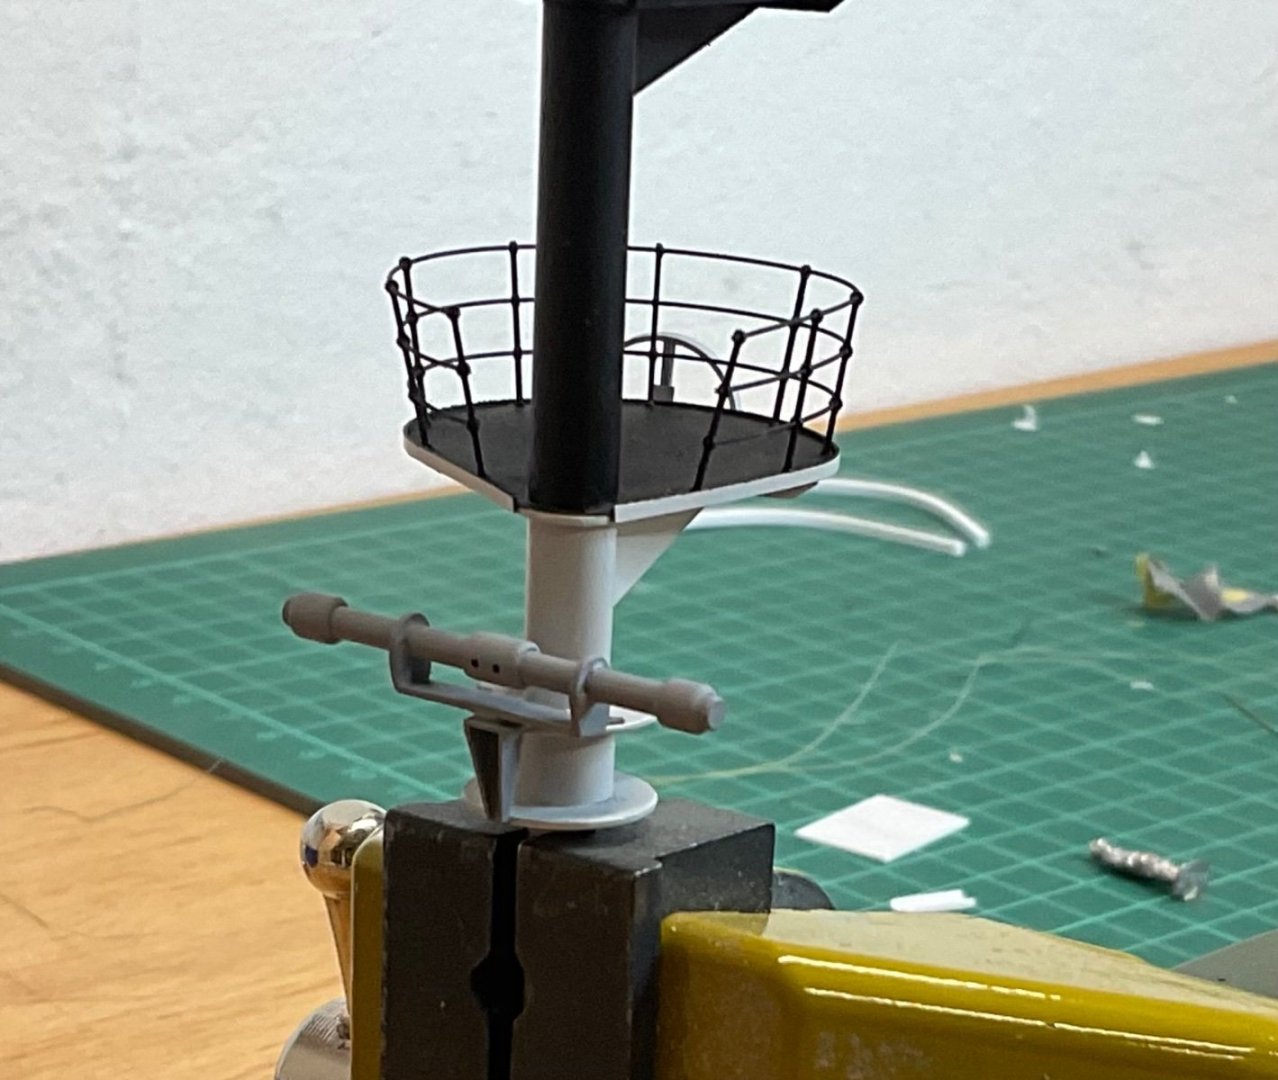
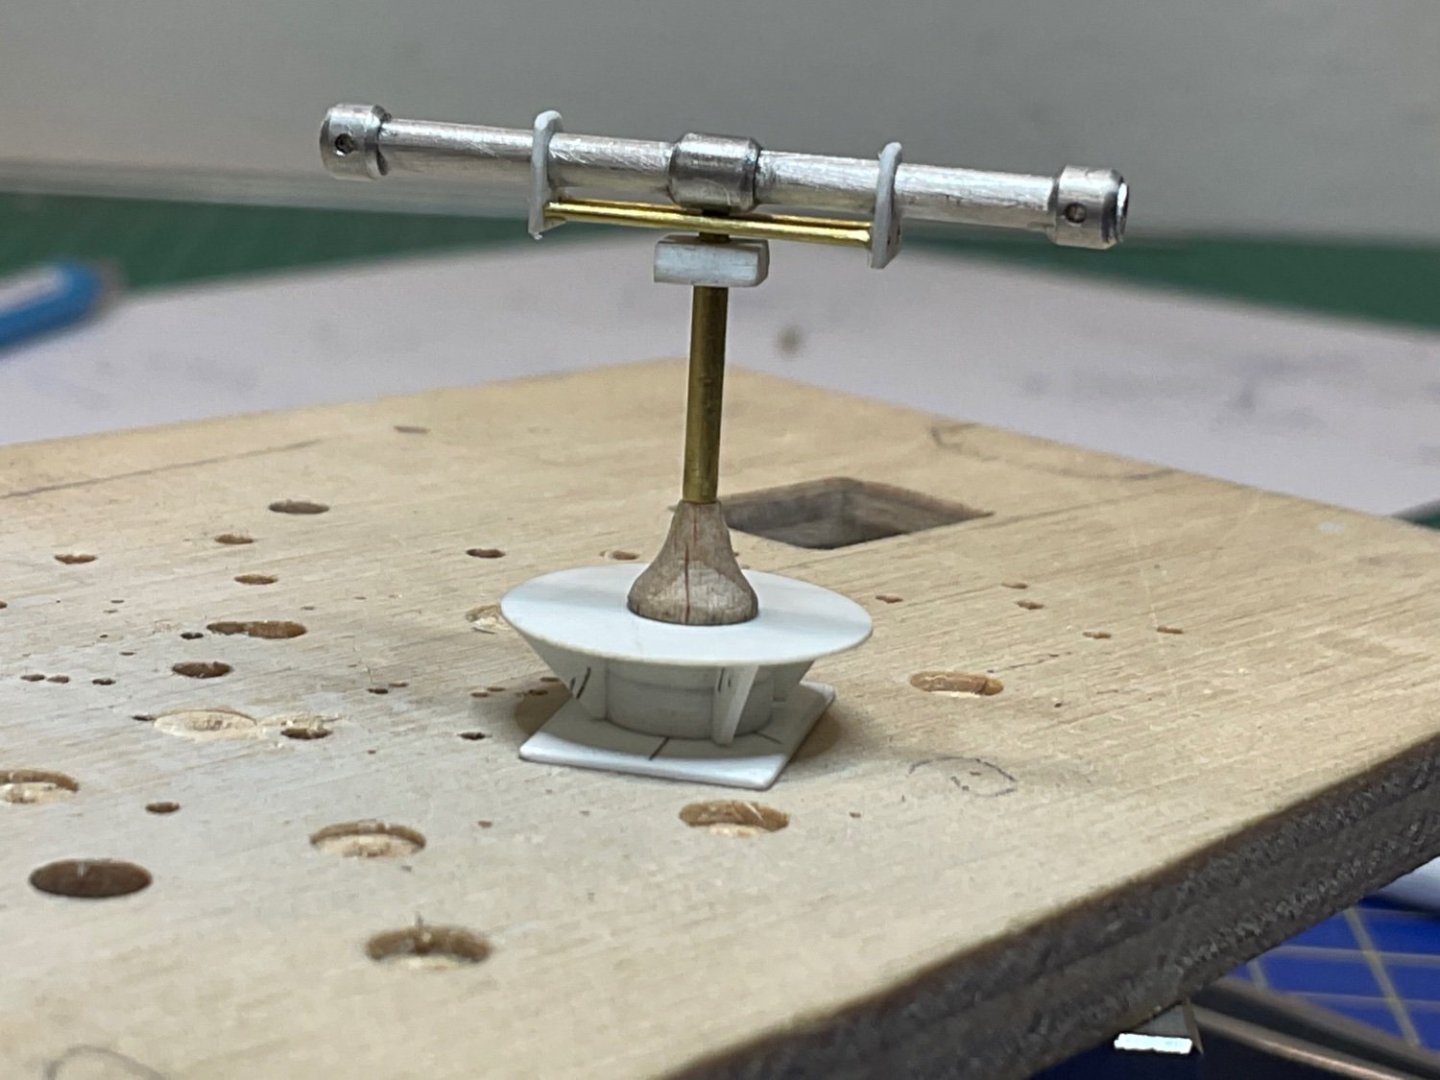
Thanks for your likes guys. Visible progress is slow, as there are now a lot of smaller things to make (lockers, skylights,..). And i made the 3m rangefinder for the upper bridge. cheers sascha


- 97 replies
-
- 16
-
-
-
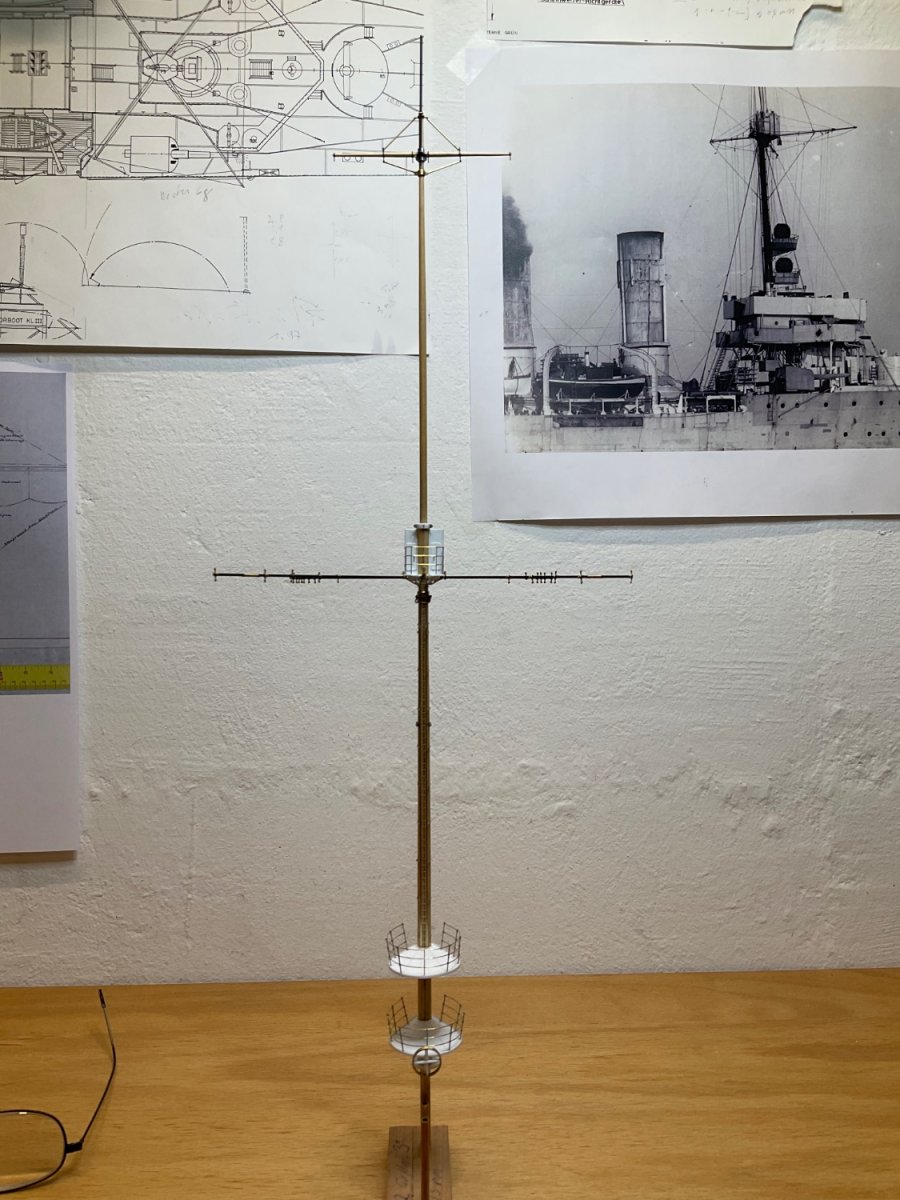
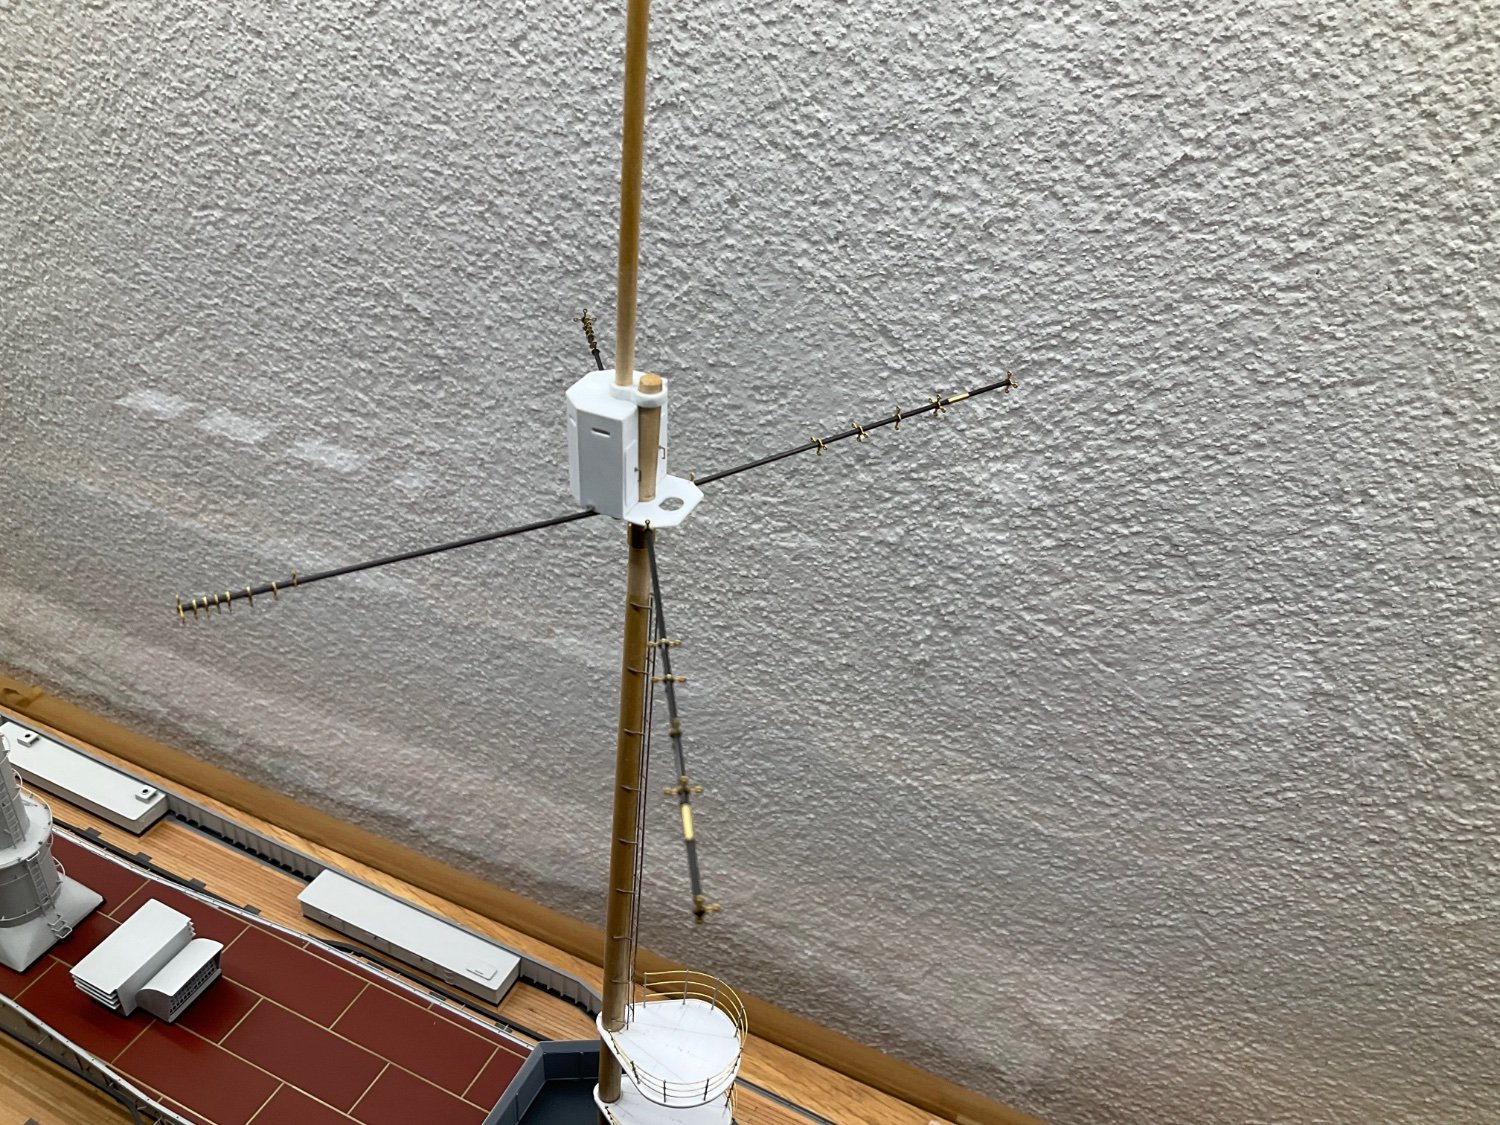
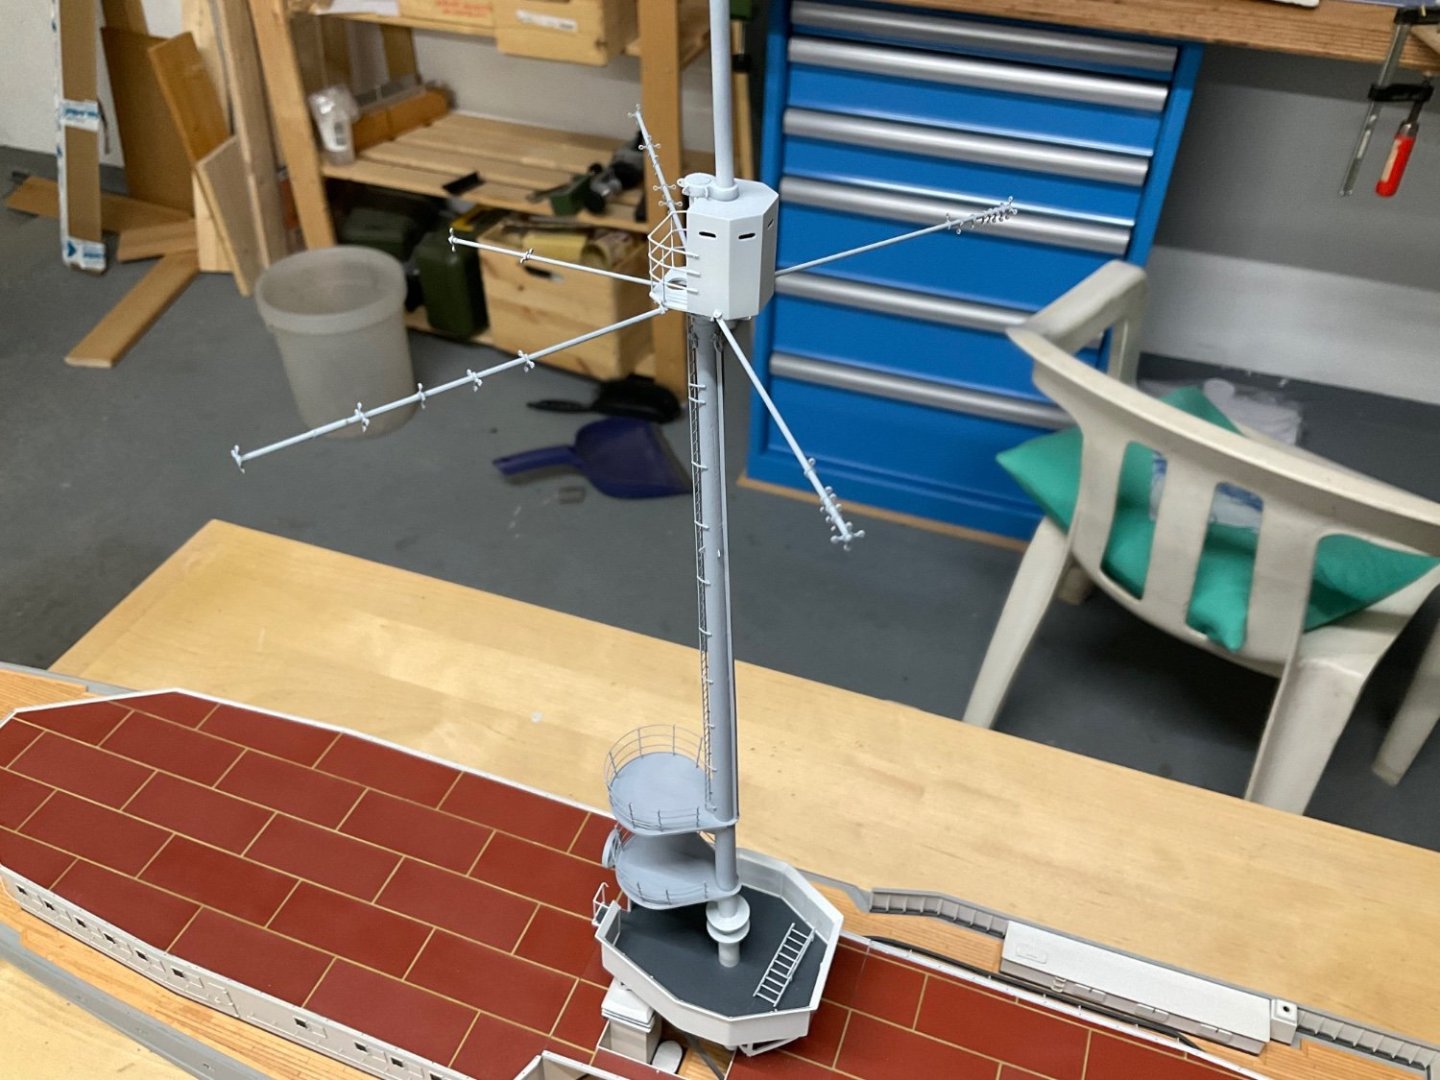
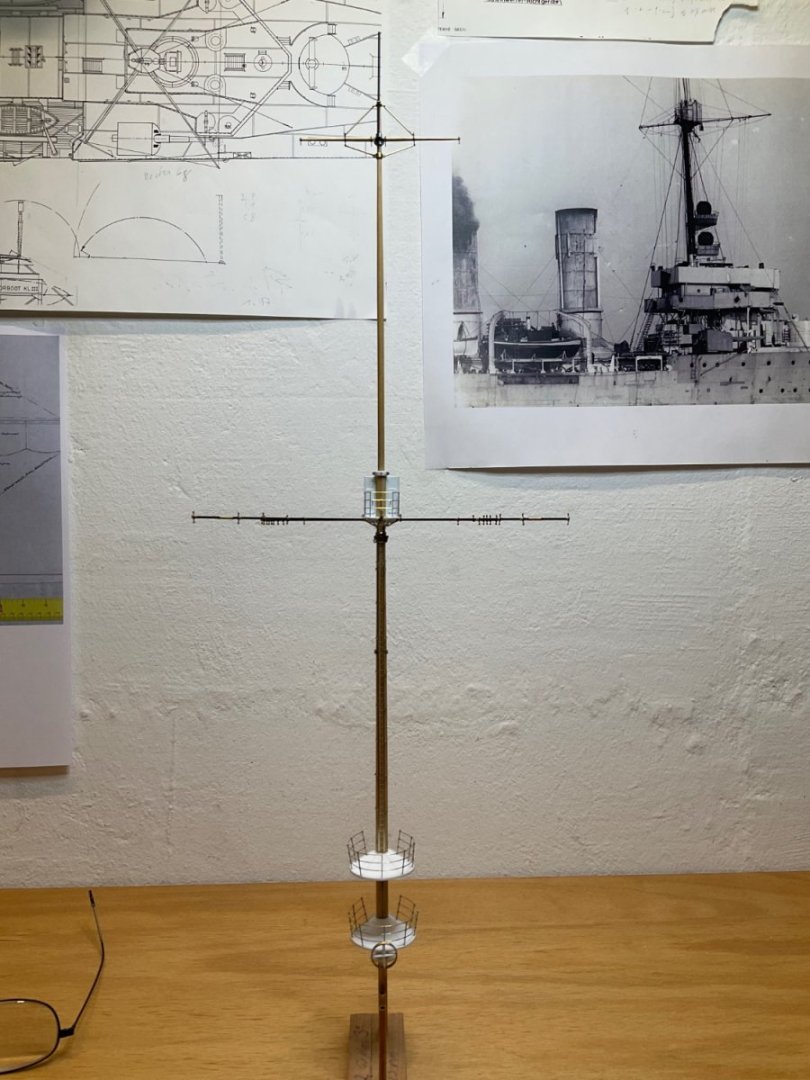
Thank you for comments. A little update. Upper part of main mast is done. So to thing is basically complete minus rigging. A little primer gives colour. The foremast is also getting there. Spotting top needs a few more parts.


- 97 replies
-
- 15
-
-
-
Morning all, there isnt much to see in terms of progress as am working on small(er) parts and trying out things in the process. Re-making the boat racks thinner as i didnt like the old ones , starting to paint the dark stripe that was on the base of all superstructure and started construction of the main mast and spotting top (if thats the name). Currently wondering how to assemble lower and upper part so that they are exactly vertically aligned. cheers sascha


- 97 replies
-
- 14
-
-
-
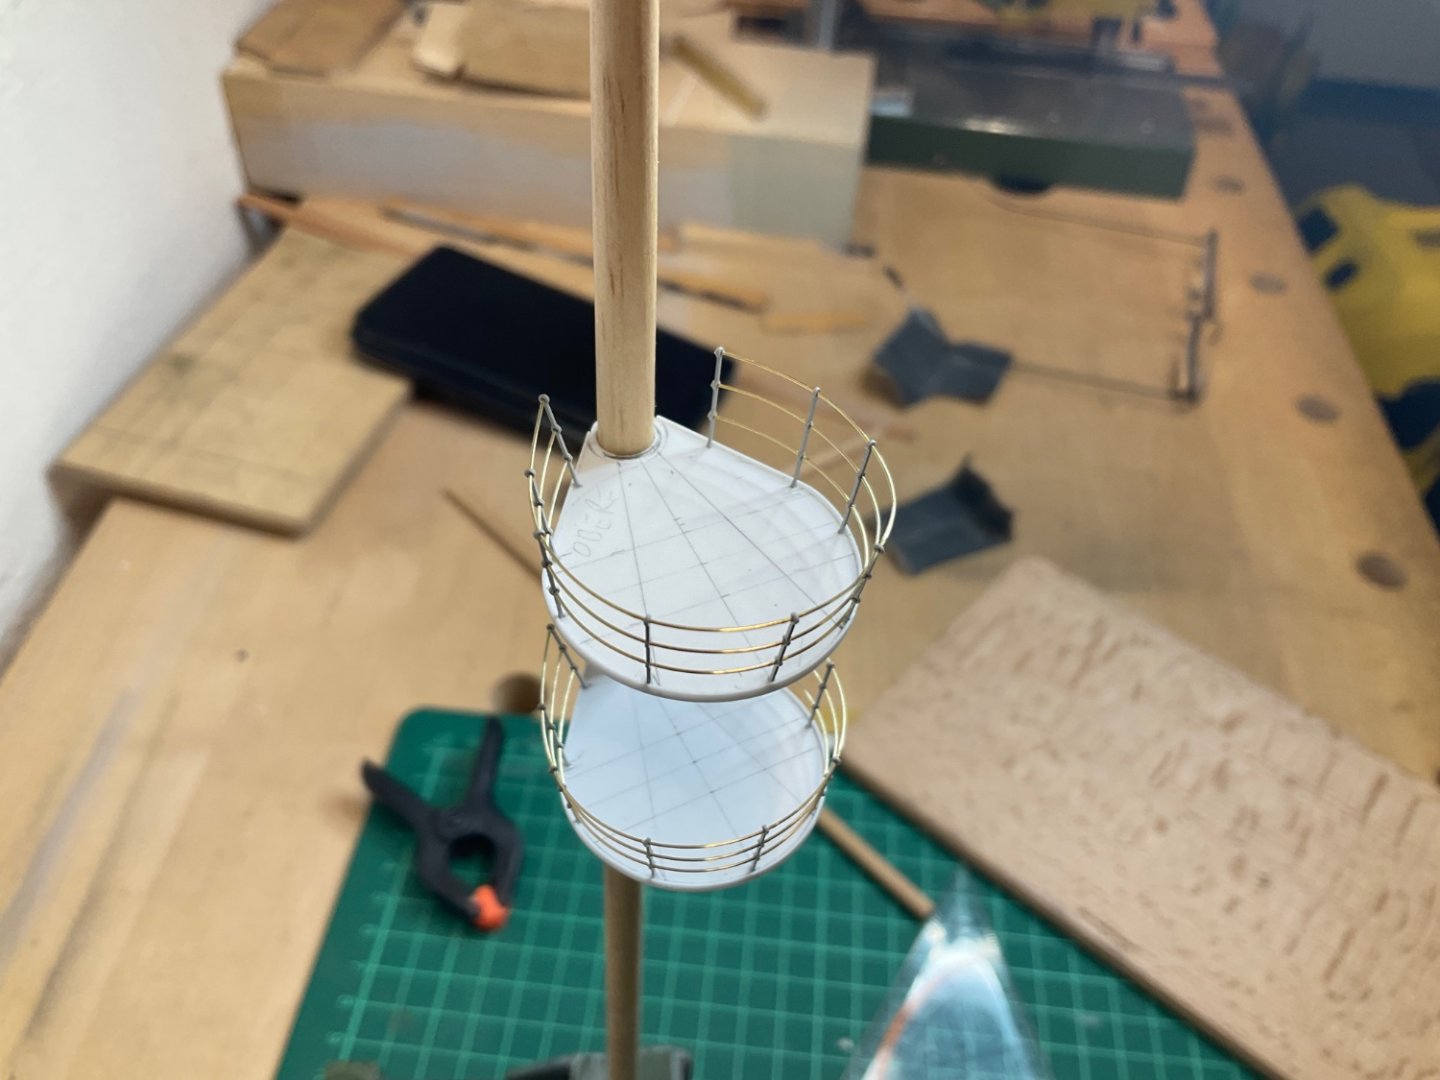
Moin Eberhard, i dont have the capability /machinery to make these. Those are photo etched stanchions from Saemann. very good quality and service. cheers sascha
-
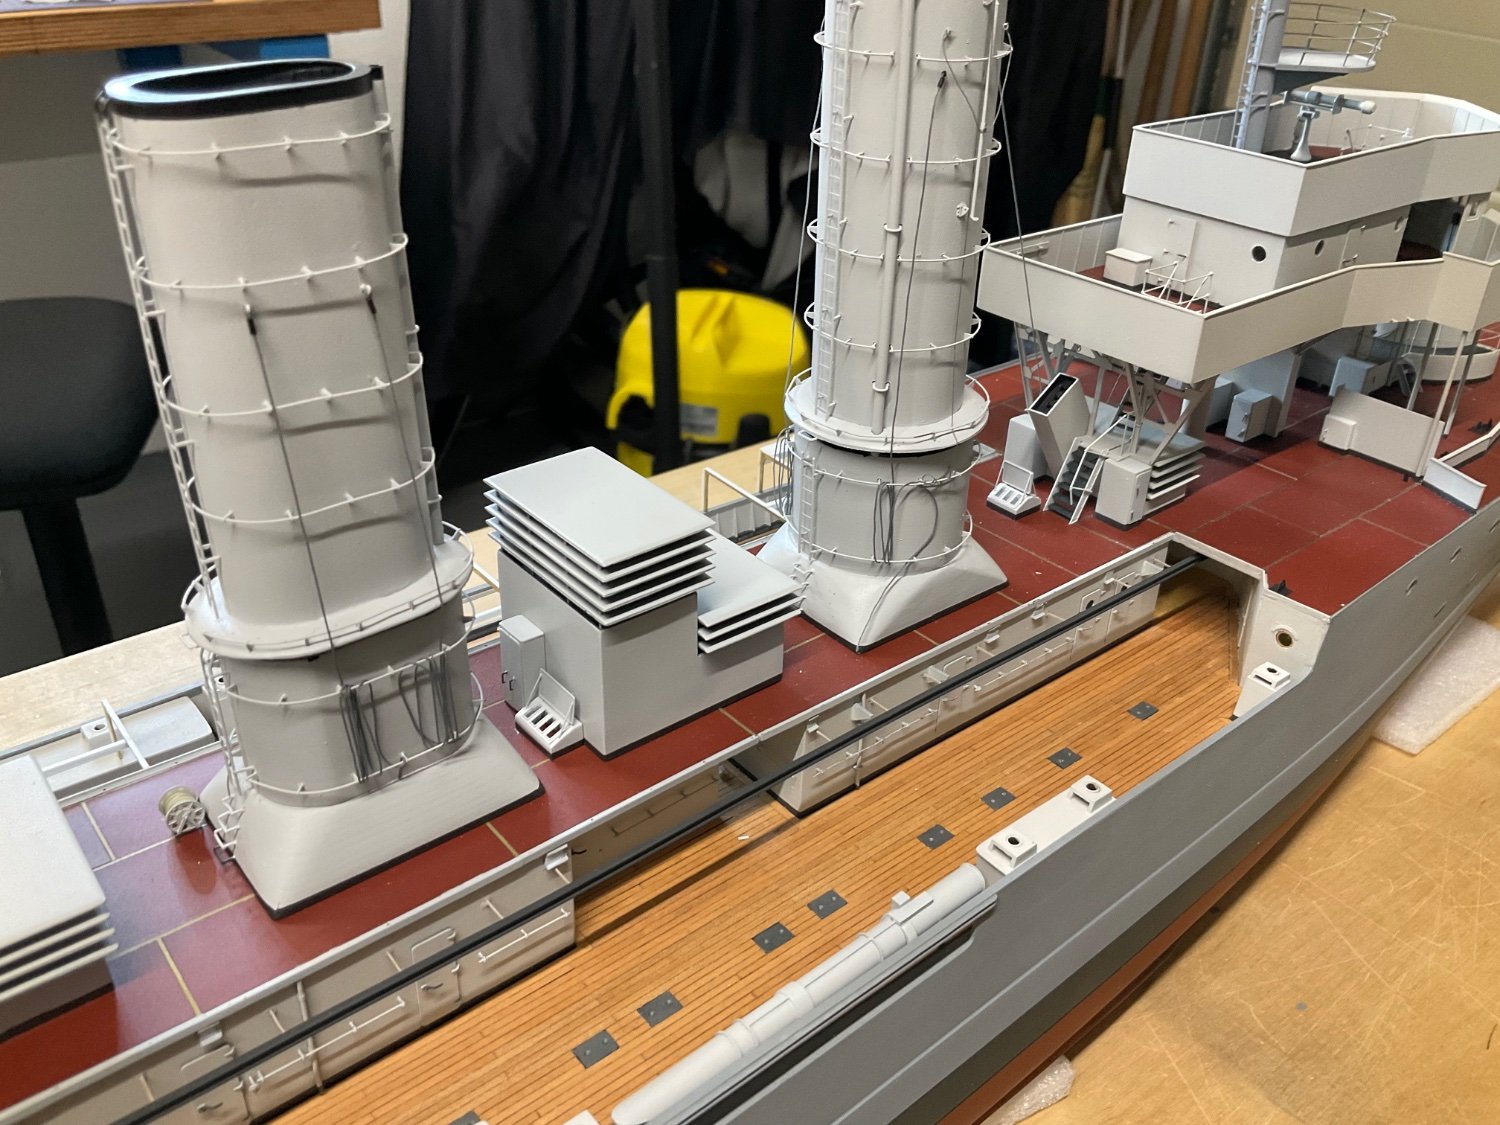
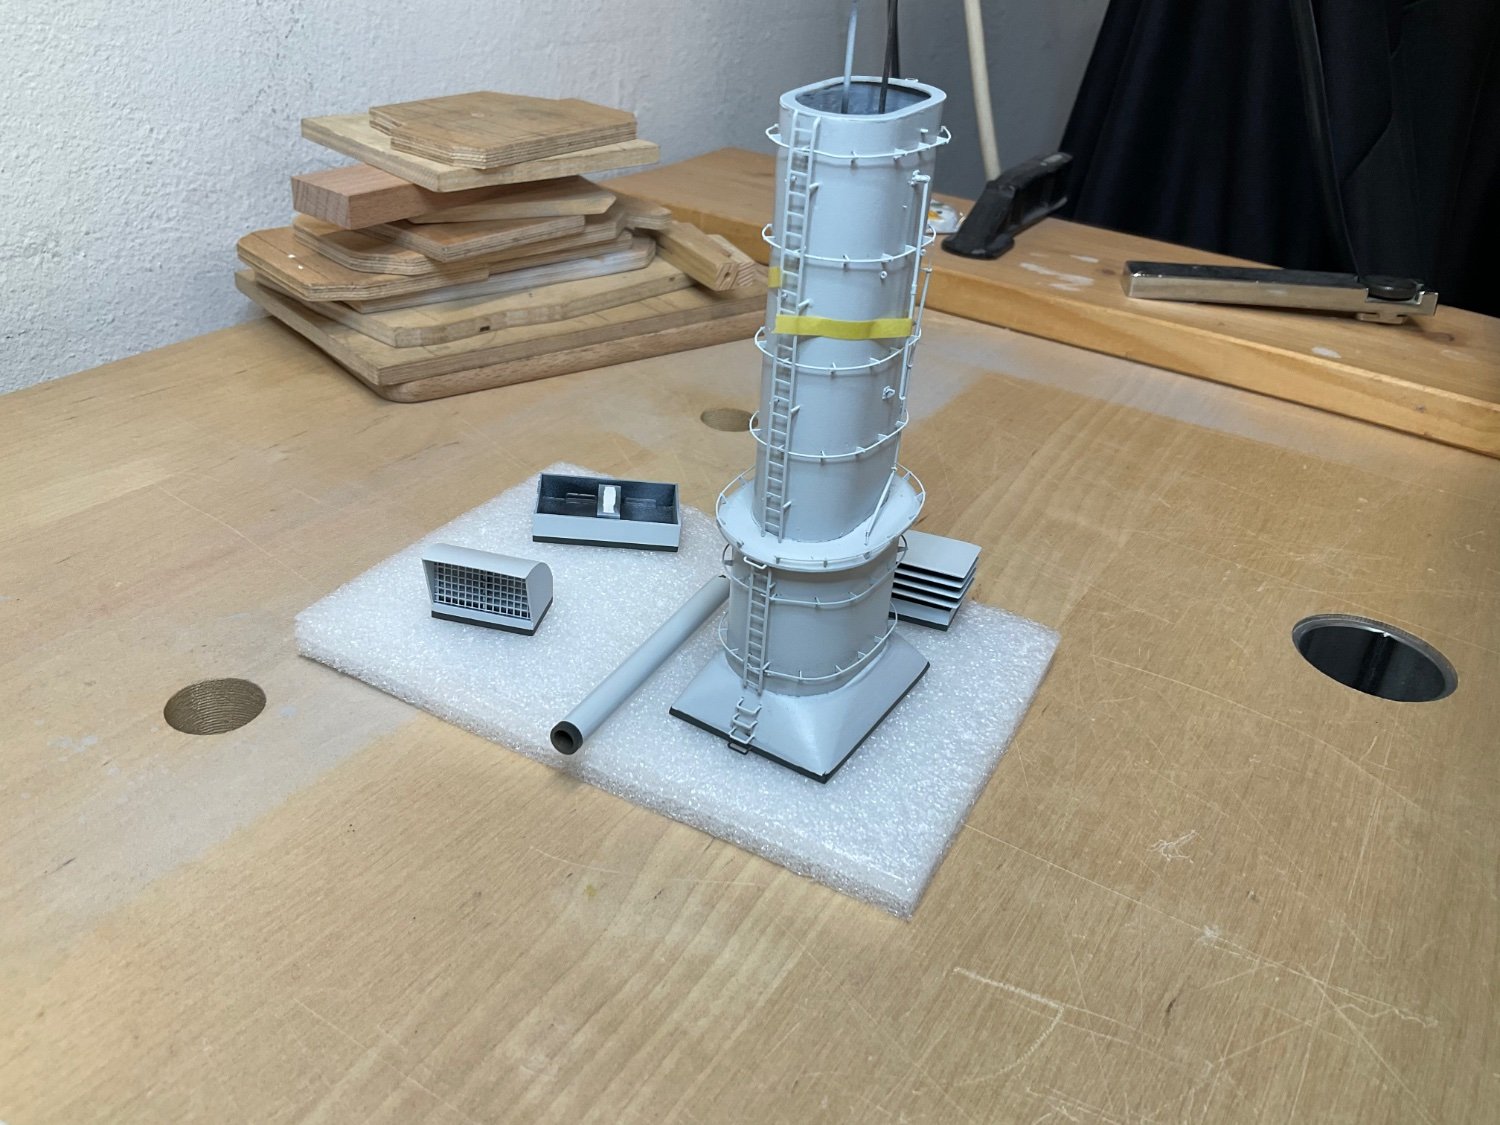
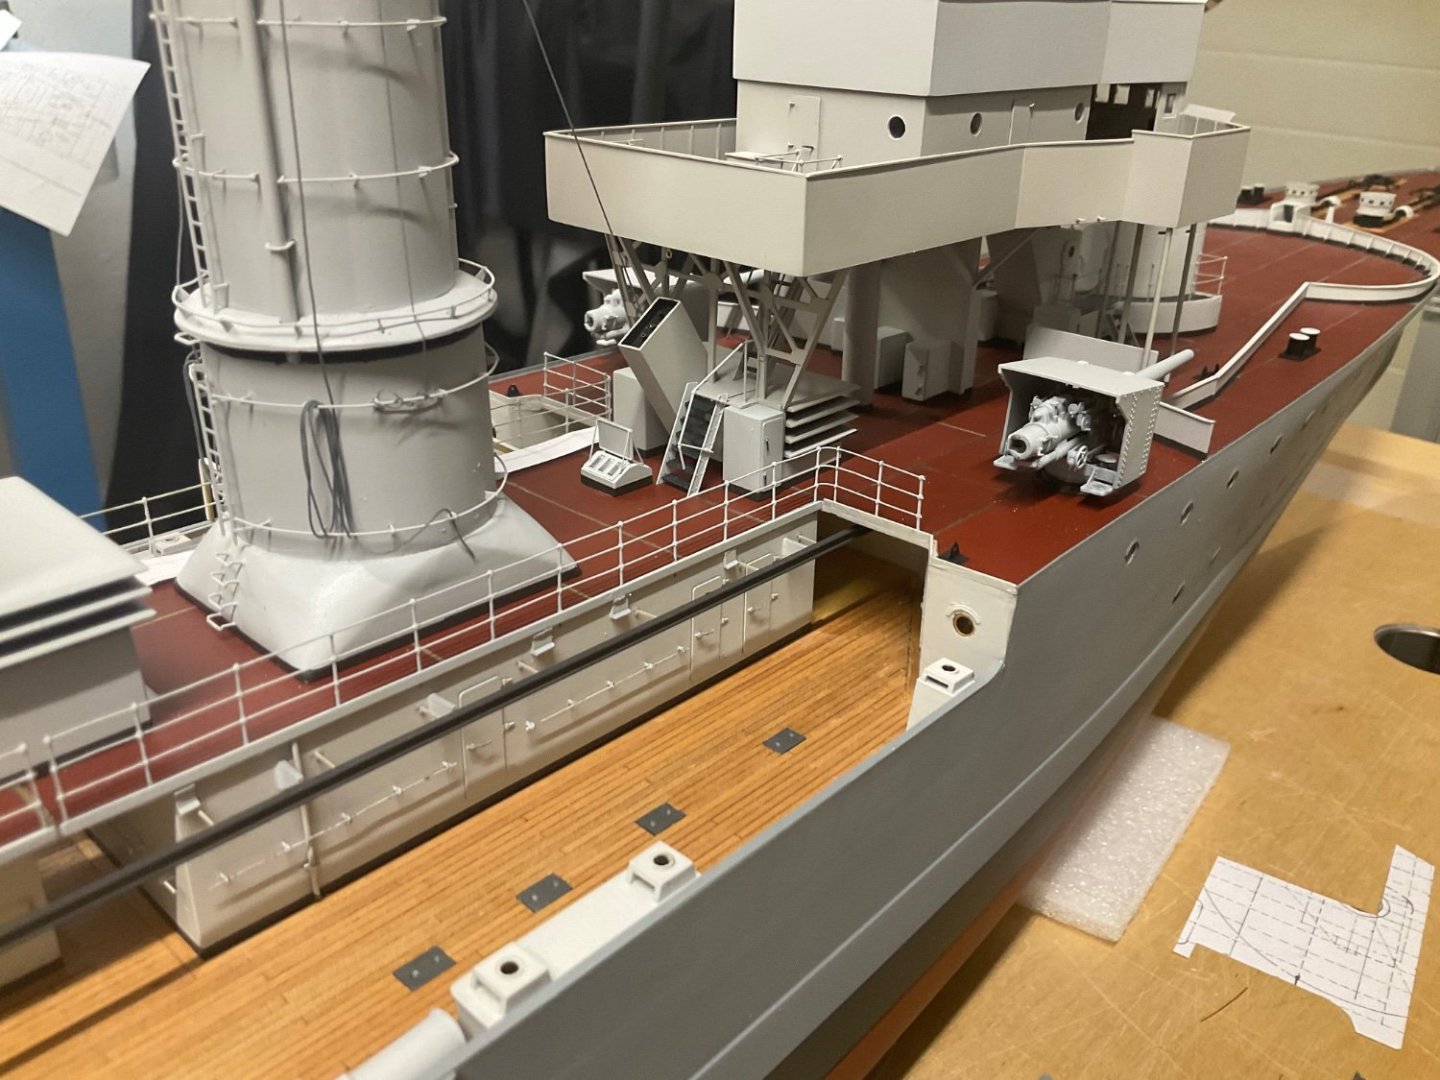
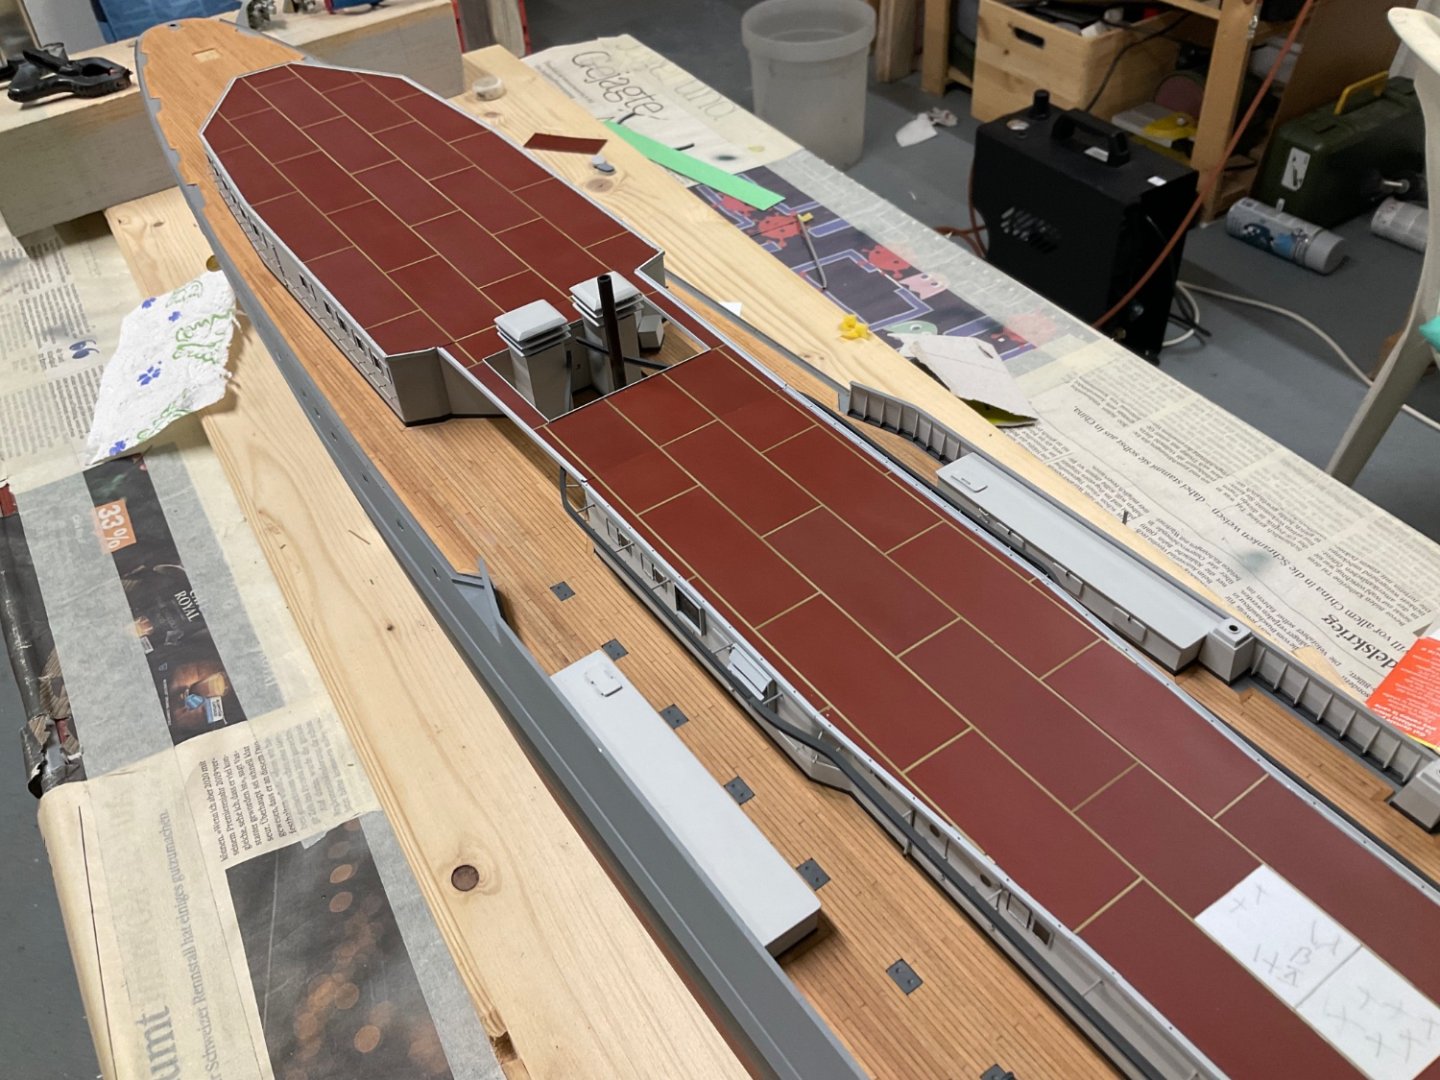
Thank you for your comments 😀, a short update: to distract me from the „colour no more available“ subject, i made two searchlight platforms and more vents. Also finally the linoleum decking is finished. The small puzzle pieces take the most time. cheers sascha
- 97 replies
-
- 13
-
-
-
Soon ready to sail💪