SUBaron
-
Posts
183 -
Joined
-
Last visited
2 Followers

Recent Profile Visitors
437 profile views


-
 mtbediz reacted to a post in a topic:
USS Constitution by Der Alte Rentner - Model Shipways - 1/76
mtbediz reacted to a post in a topic:
USS Constitution by Der Alte Rentner - Model Shipways - 1/76
-
Welcome aboard - and especially to another USS Constitution build! I’ve heard good things about the Mamoli kits. There are several active Consitution builds going on - in quite different phases. They could still be of help. Regardless of the maker - the builders here can share great technical skill and help you kill your budget with tool ideas 🙂 Have a great journey - and have fun!! -Andre
-
Great planking - and thanks for the new clamp 🗜️ idea - always looking for new tools!!
-
SUBaron reacted to a post in a topic:
USS Constitution by Der Alte Rentner - Model Shipways - 1/76
-
 SUBaron reacted to a post in a topic:
USS Constitution by Der Alte Rentner - Model Shipways - 1/76
SUBaron reacted to a post in a topic:
USS Constitution by Der Alte Rentner - Model Shipways - 1/76
-
SUBaron reacted to a post in a topic:
USS Constitution by SUBaron - Model Shipways (MS2040) - 1:76
-
Scottish Guy reacted to a post in a topic:
USS Constitution by SUBaron - Model Shipways (MS2040) - 1:76
-
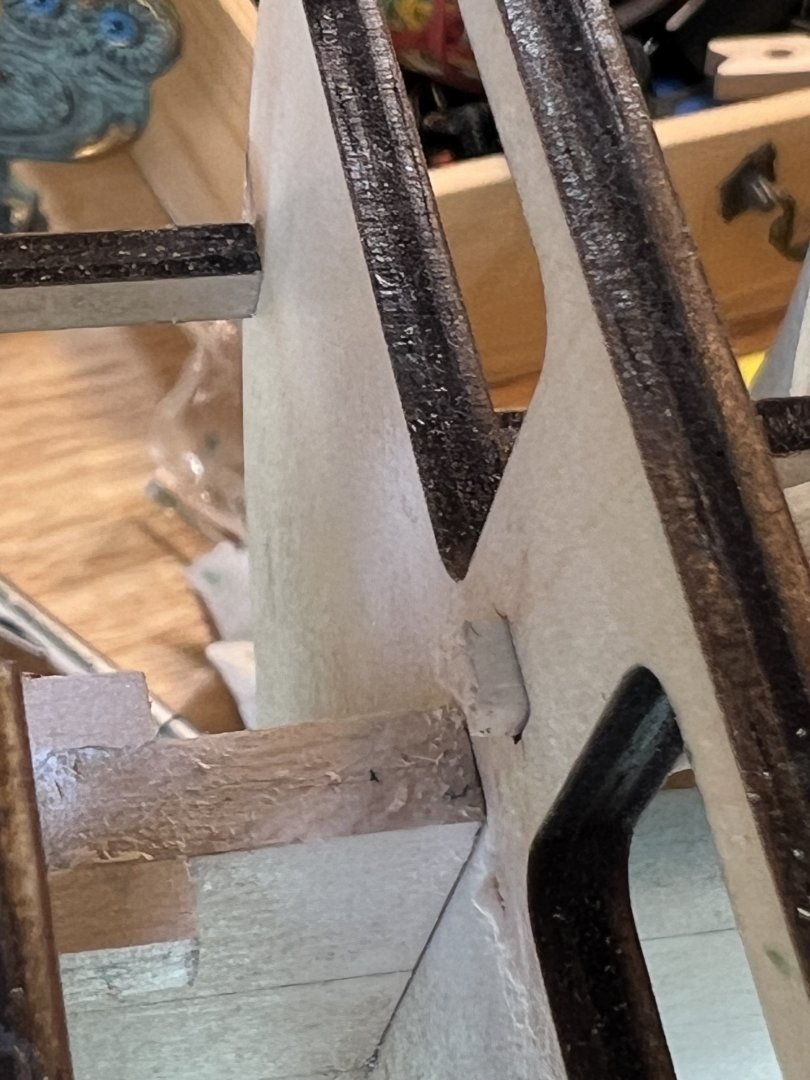
At this point in the guide though- we are adding “fillers” to represent the outer part of the planksheer. So why would you have one between 3&5 - this area won’t be opened up so that filler (aka planksheer) will never be seen (perhaps I’m mistaken about this). The one that seems it will be opened is between 2&3. I added filler between 3&5 because- why not? But the area between 2&3 will be opened later - the plan sheet 2 shows it as an opening access to the Head - I won’t add the timber until I know it’s needed but it just seems a bit odd. My pic may not look familiar because I added a filler or two “off plan” just for strength.
-
Der Alte Rentner reacted to a post in a topic:
USS Constitution by SUBaron - Model Shipways (MS2040) - 1:76
-
SUBaron reacted to a post in a topic:
HMS Snake by drtrap - Caldercraft
-
targa4403 reacted to a post in a topic:
USS Constitution by SUBaron - Model Shipways (MS2040) - 1:76
-
Scottish Guy reacted to a post in a topic:
USS Constitution by SUBaron - Model Shipways (MS2040) - 1:76
-
I still haven’t found out what the problem was. Everything seems to have worked out so far - I like the way the lines look. Thanks for checking back in.
-
SUBaron reacted to a post in a topic:
USS Constitution by SUBaron - Model Shipways (MS2040) - 1:76
-
 SUBaron reacted to a post in a topic:
USS Constitution by SUBaron - Model Shipways (MS2040) - 1:76
SUBaron reacted to a post in a topic:
USS Constitution by SUBaron - Model Shipways (MS2040) - 1:76
-
SUBaron reacted to a post in a topic:
USS Constitution by SUBaron - Model Shipways (MS2040) - 1:76
-
Scottish Guy reacted to a post in a topic:
USS Constitution by SUBaron - Model Shipways (MS2040) - 1:76
-
Scottish Guy reacted to a post in a topic:
USS Constitution by SUBaron - Model Shipways (MS2040) - 1:76
-
Scottish Guy reacted to a post in a topic:
USS Constitution by SUBaron - Model Shipways (MS2040) - 1:76
-
Scottish Guy reacted to a post in a topic:
USS Constitution by SUBaron - Model Shipways (MS2040) - 1:76
-
Scottish Guy reacted to a post in a topic:
USS Constitution by SUBaron - Model Shipways (MS2040) - 1:76
-
Jon - I was thinking the same thing. At worst - you have to carve it back out. Better than trying to surgically implant the fillers 8 steps later. I already added them between the 3&5, but as I ponder them - they’ll add purchase area for planking. So I’ll leave them and take the (short) time to add the fillers between 2&3. This hobby is tough in the Spring. Ground’s maintenance is screaming for attention - but these cannon slots are finally appealing work vs all this previous substrate (unseen) stuff 😂 🤣 Hopefully my summer shipwright work won’t get too sloppy between the competing priorities (vacations, swim meets, golf, etc!). I love this hobby but don’t want this taking 15 years. As my young daughter watches, I’m trying to impart so many lessons. Patience, yet knowing when to cut bait (vis-a-vis research)…perfect is the enemy of progress, magnification must be tempered by reality, jumping into the deep end is OK (after gauging the risk) - and of course- not letting her see dad get pissed off at a wooden ship model. In retrospect- this model was over my current abilities (after only completing the Swift), but not my skill - if that makes sense. Nothing I have encountered is beyond my skill - my greatest weakness so far is in not looking 3,5, 10 steps ahead. My relative failures so far have been when I said “this is good enough”, but didn’t realize the future implications. Jon - sorry for the somewhat of a ranting reply to your comment. But I suspect there are several folks who are just lurking and biding their time to begin their USS Constitution build (which has been hiding in a closet like a bottle of Pappy Van Winkle awaiting “that moment”). I just want them to jump in and carpe diem! Dont wait until your age or patience betray you. Thanks Jon!
-
SUBaron reacted to a post in a topic:
USS Constitution by SUBaron - Model Shipways (MS2040) - 1:76
-
Practicum question - Hunt’s guide states to add an outer Planksheer (filler) between bow framework timbers 3&5. Shouldn’t that be 2&3?
-
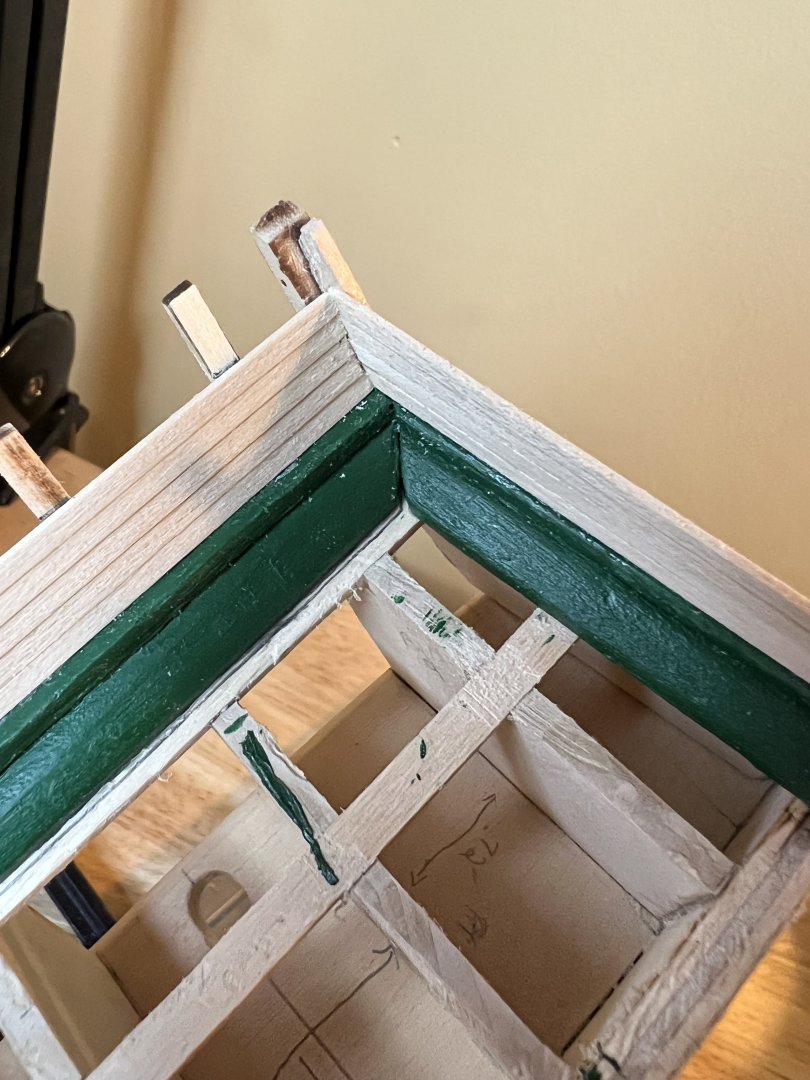
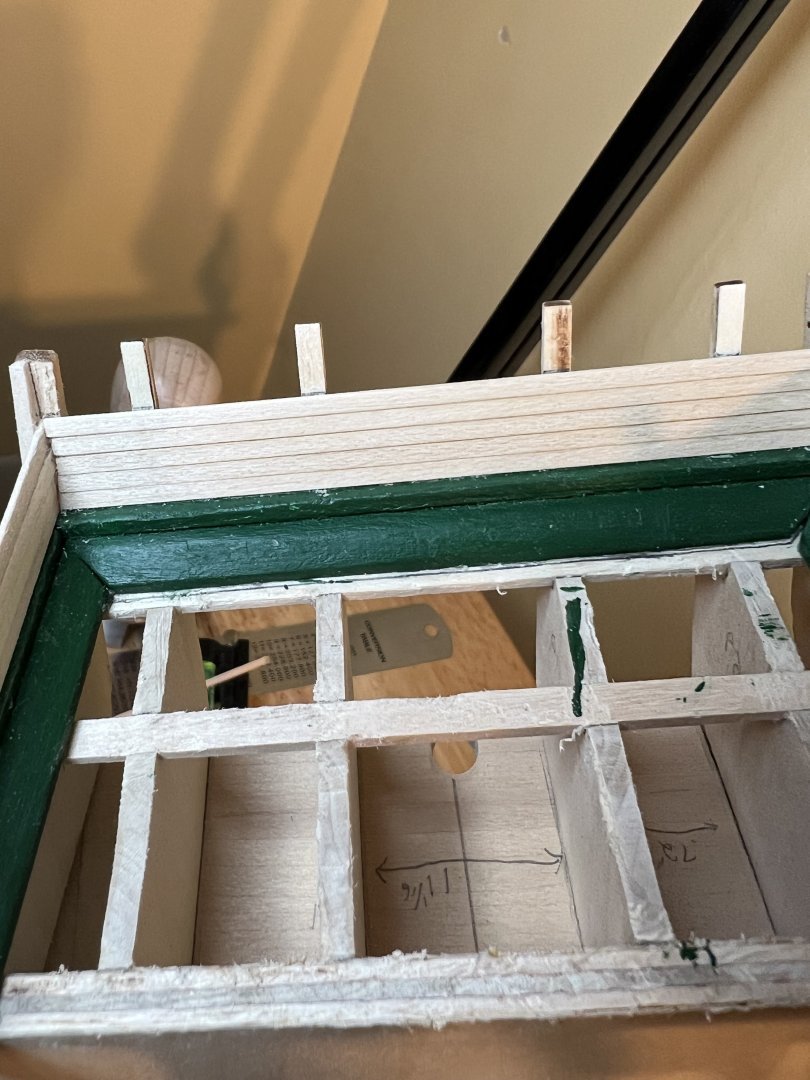
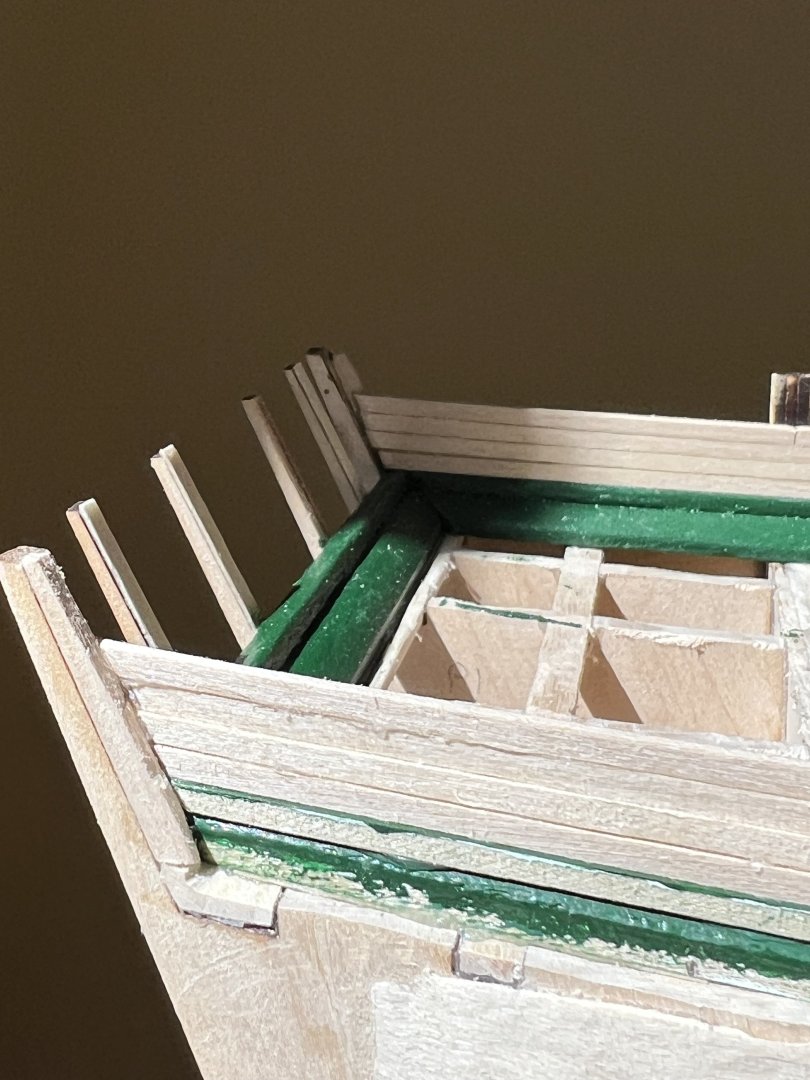
I made quick work of the 5 stern inner bulwarks planks. I may have over beveled my first plank - according to the practicum (I’m going to call it “the guide” from now on) - I would need to shave the 5th plank a bit to match the 4 Stbd and port planks. Mine however- fit almost perfectly. I had a minor heart palpitation when I realized I still had a full half inch of rear transom risers after laying the 5th plank. I recalled seeing someone’s blog where they were flush with the last plank. Of course - that’s a step coming up soon to prep for the rail. 🙄 Every once in a while I get those moments when I think I totally screwed something up. Probably a hangover from Bob Hunt telling me I should start from scratch and that my rabbet was “terrible”. 😂
-
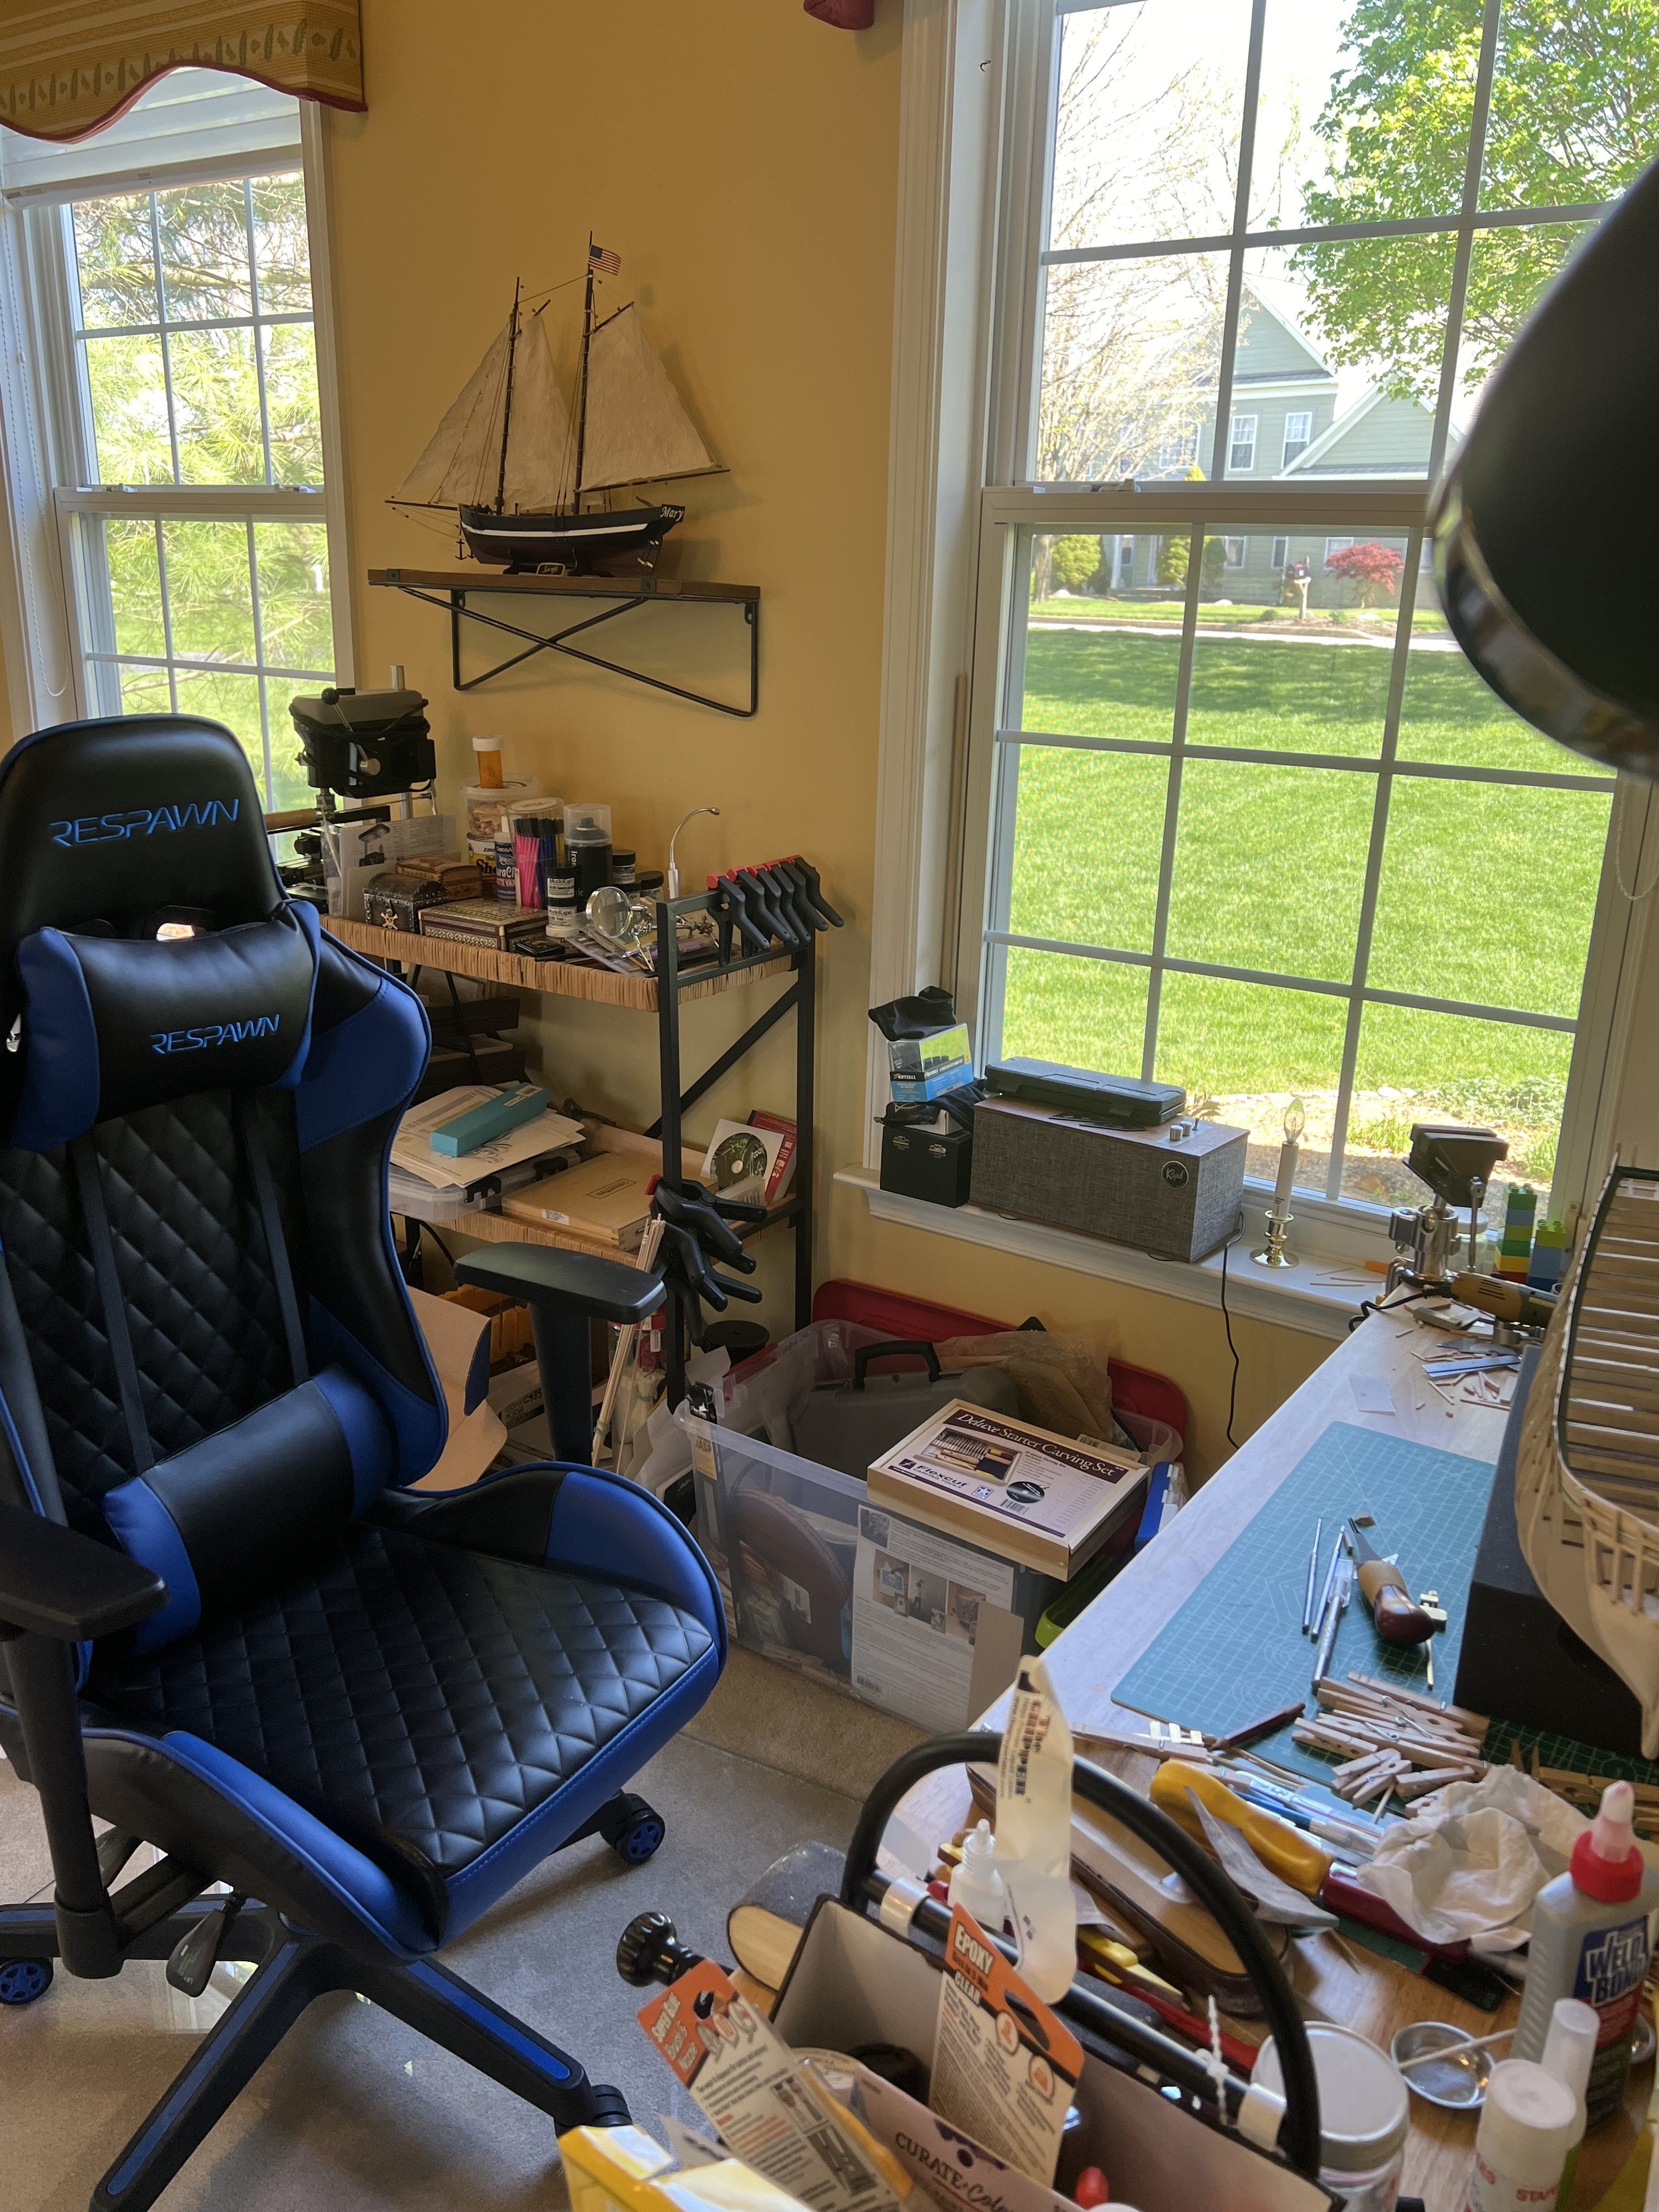
It’s great to see those set-ups - thanks all for sharing! I like to see the shops/spaces you all have - feels like it’s a little bit of getting to know you. My goal when I retire (in New England) is to have a full workshop, possibly in a barn - with a stove and ocean view - for all the power tools I can handle and I can play music as loud as I want Cheers! Andre
-
SUBaron reacted to a post in a topic:
USS Constitution by SUBaron - Model Shipways (MS2040) - 1:76
-
SUBaron reacted to a post in a topic:
USS Constitution by SUBaron - Model Shipways (MS2040) - 1:76
-
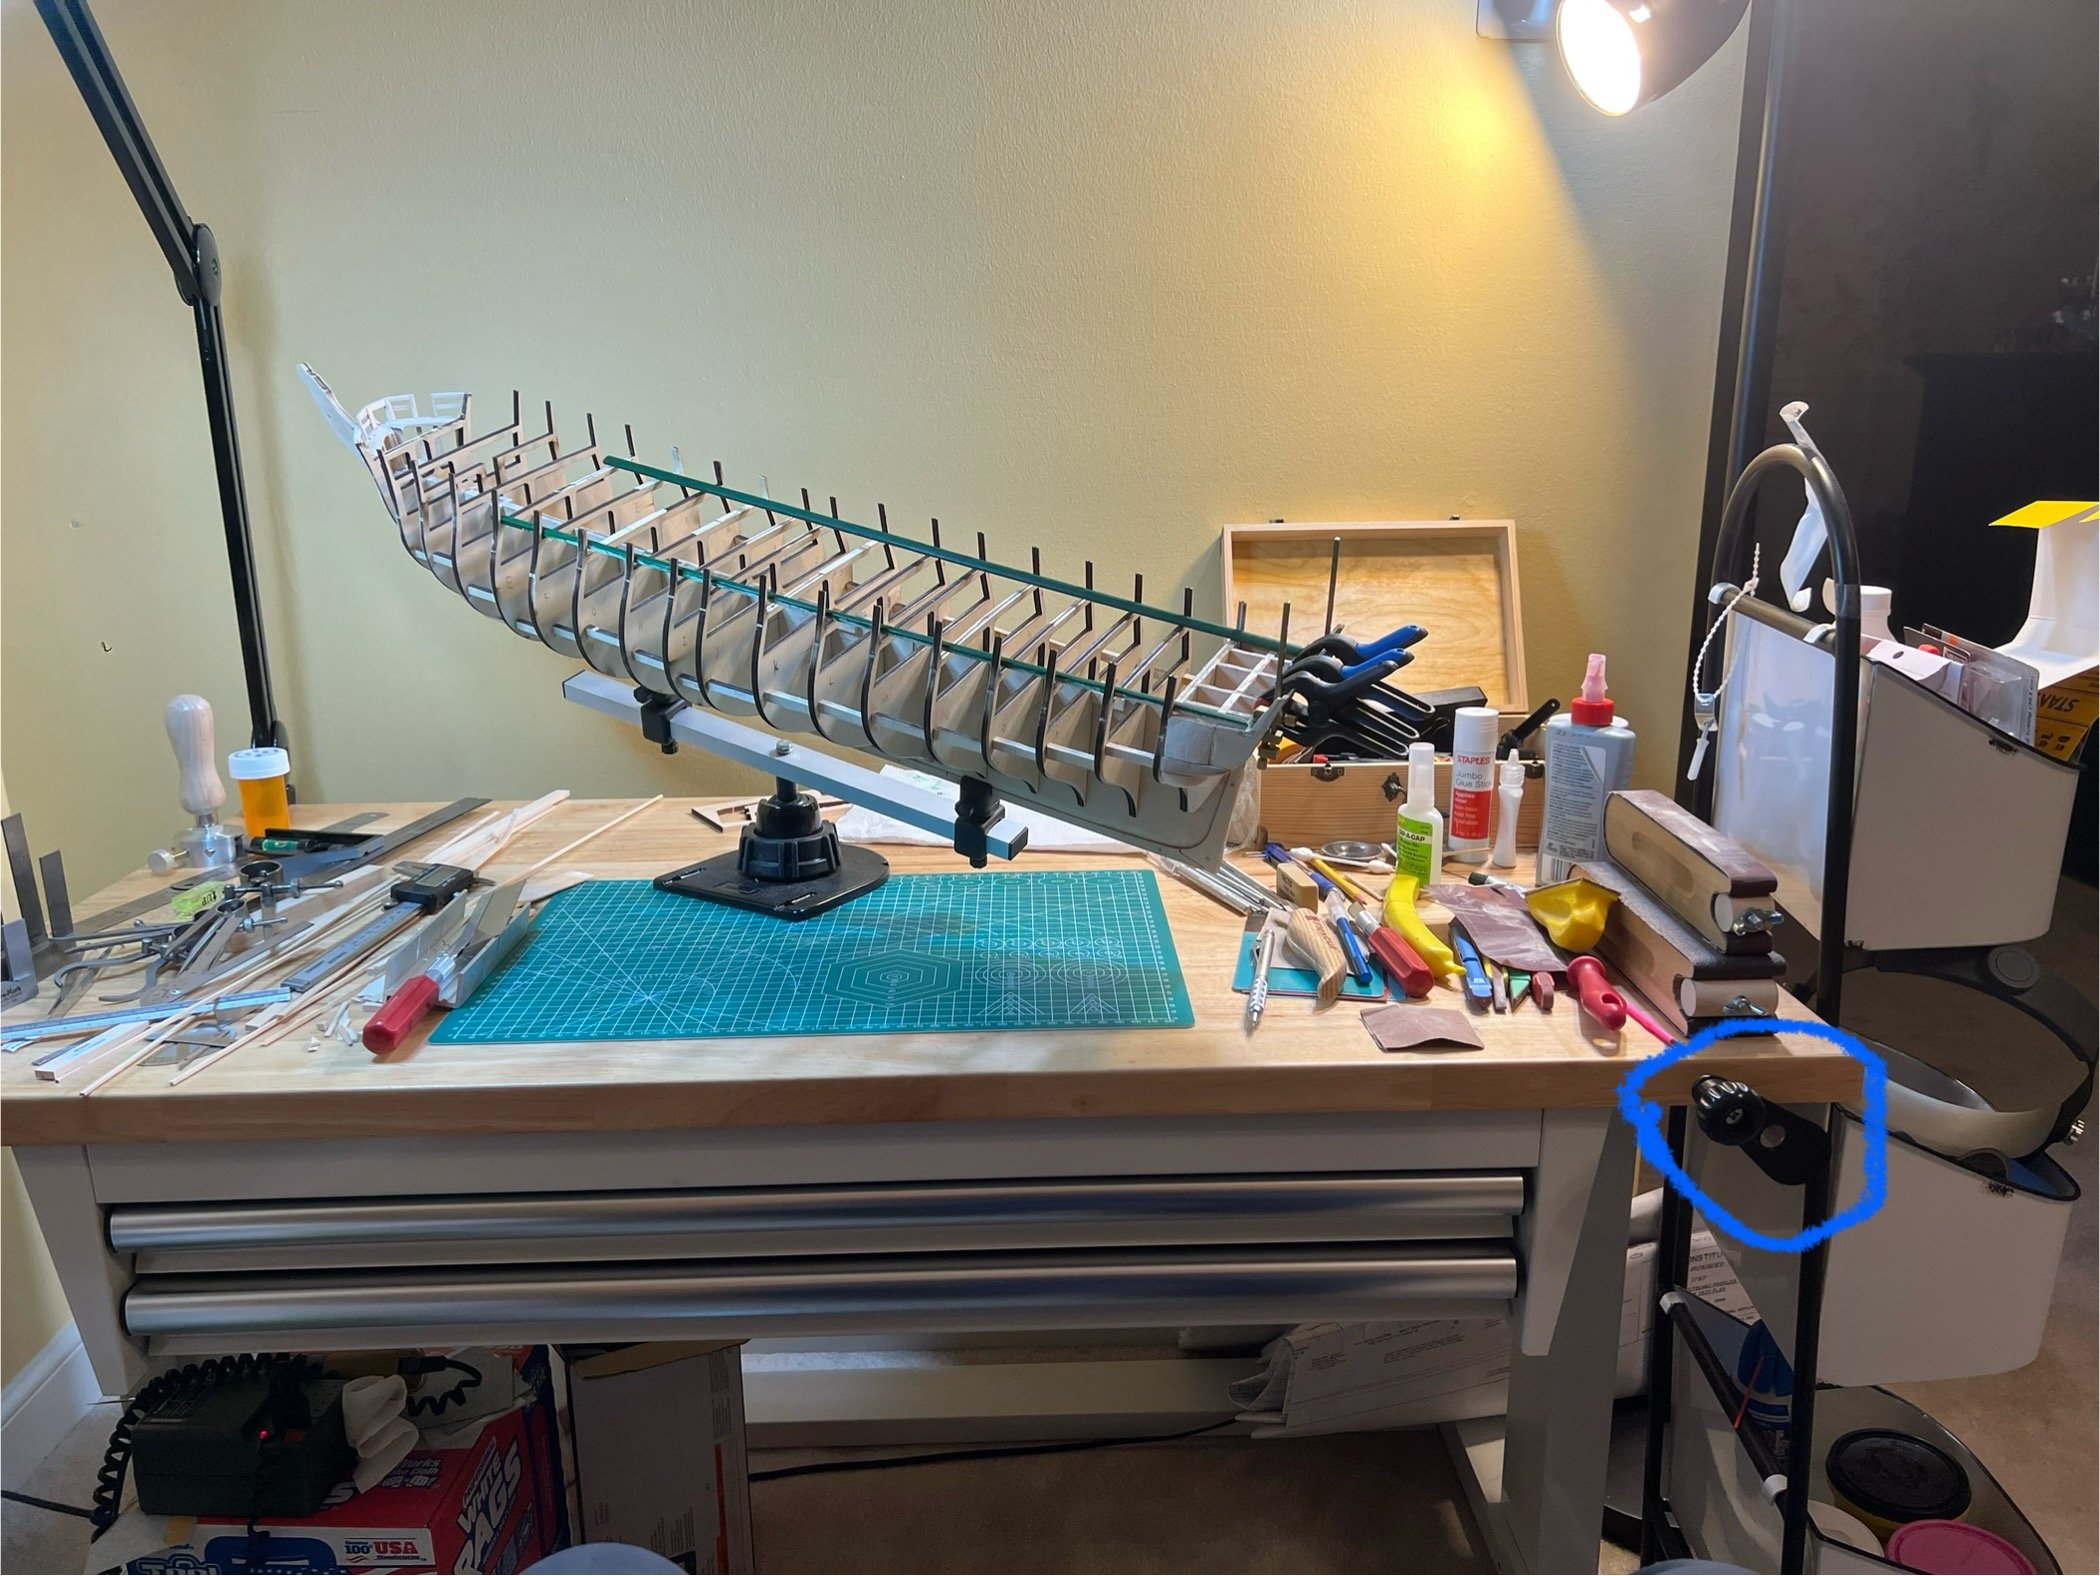
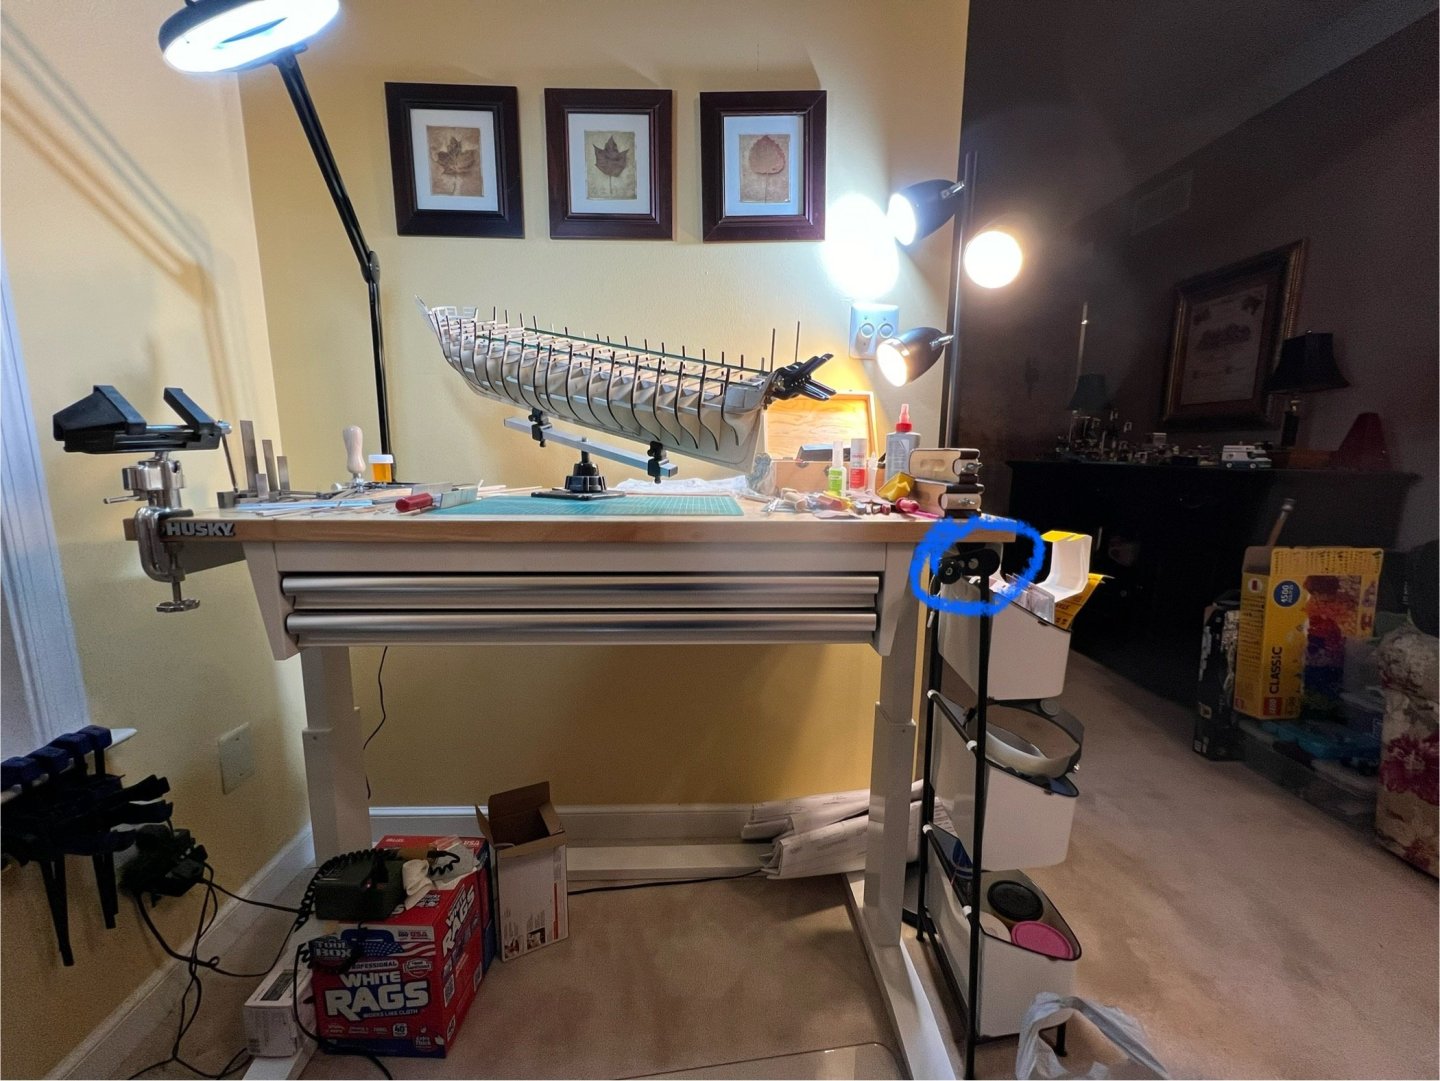
Workspace I’m curious about the work/hobby stations folks use. I’m fortunate to have a workspace in the sunroom - it allows me to work and still be sociable. I suspect folks probably like getting some Q/T in a remote shop/space - but I prefer it this way. I do have a vacuum “wand” that I use regularly after whittling and sanding. My garage has the few power tools capable of being utilized for this hobby; Scrollsaw, lathe and an old Central Machinery combo 6” belt & disk sander. One of my favorite “tools” is my work desk. Can be raised or lowered with a hand crank. I circled the crank and the range of movement can be gauged by the white bucket shelves to the right.


-
Peter - Thanks for your suggestion regarding the filler blocks. What's the reason behind your suggestion? And from your experience, would it make a difference if I made them out of hardwood or balsa? Do you feel that a full block is needed to fill the bulwark space? Would just an inch or two thick work? Making these things mostly with hand tools is a bit of a PIA, so I'm hesitant to do it, especially with no plans to work off of. But I know if you suggested it, it's likely worth the time! My guess is that without them, the planks began to buckle a bit at the bend and/or the markings for the planks was more difficult? Regards, Andre
-
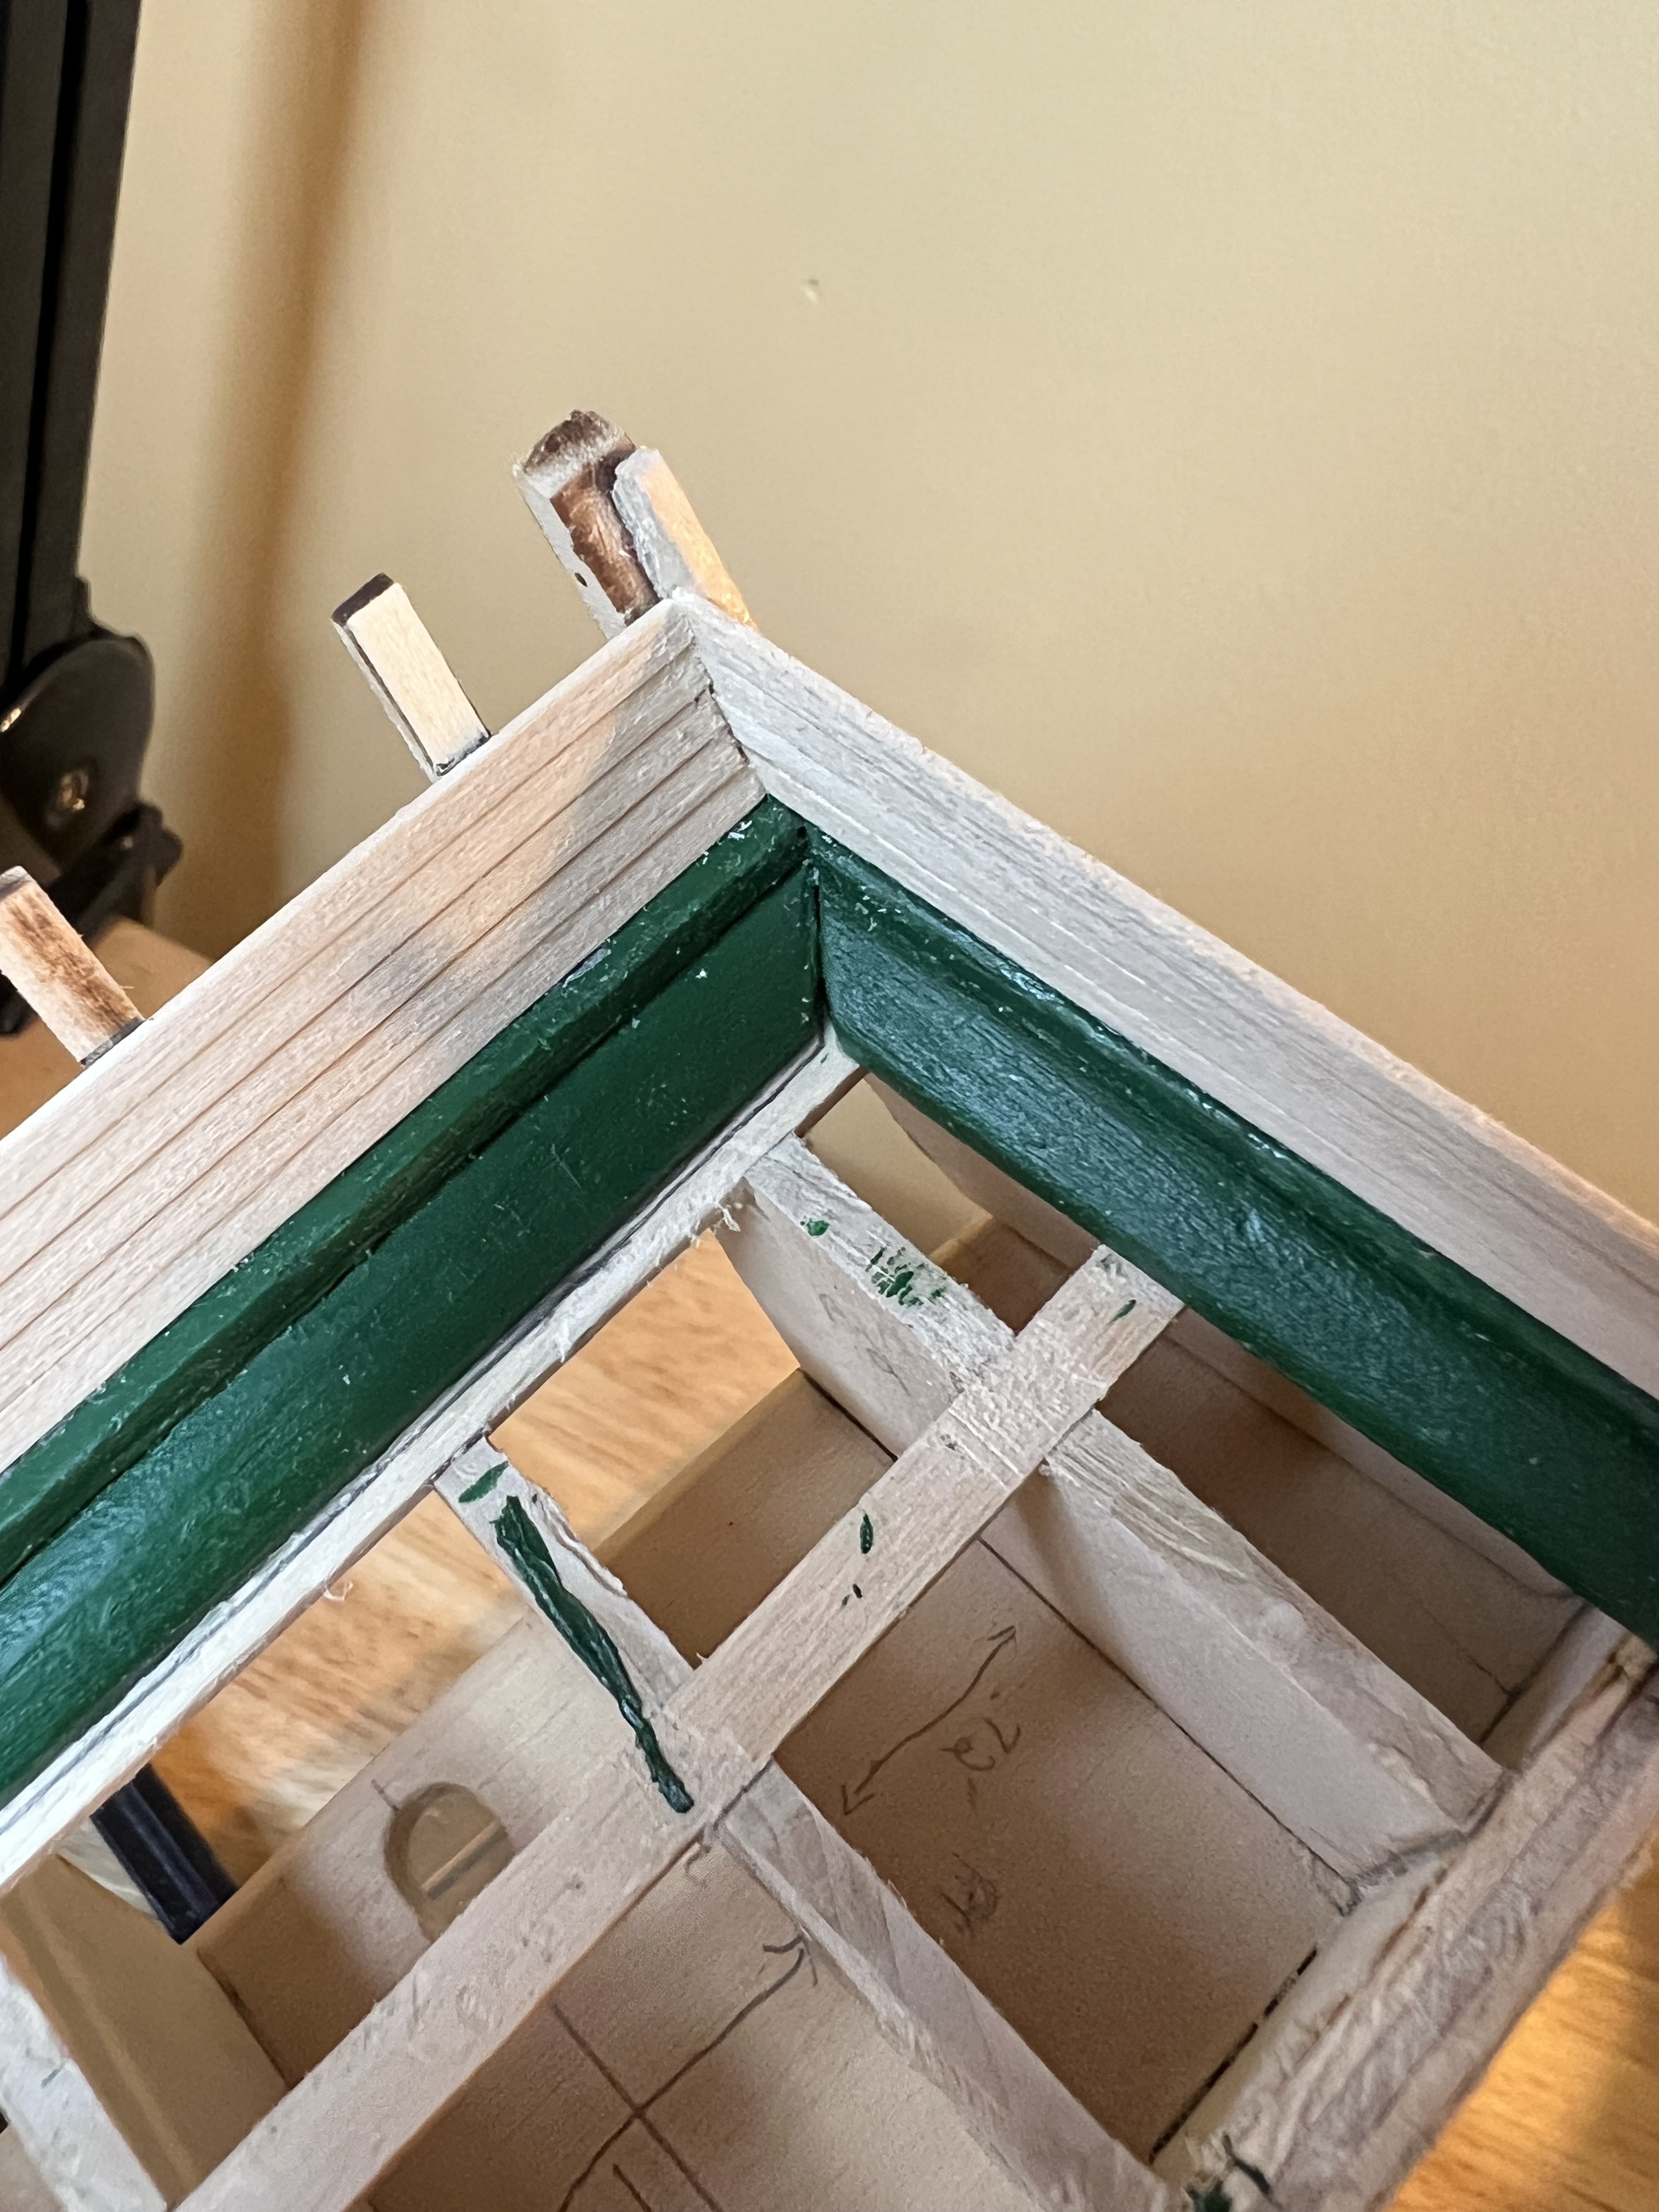
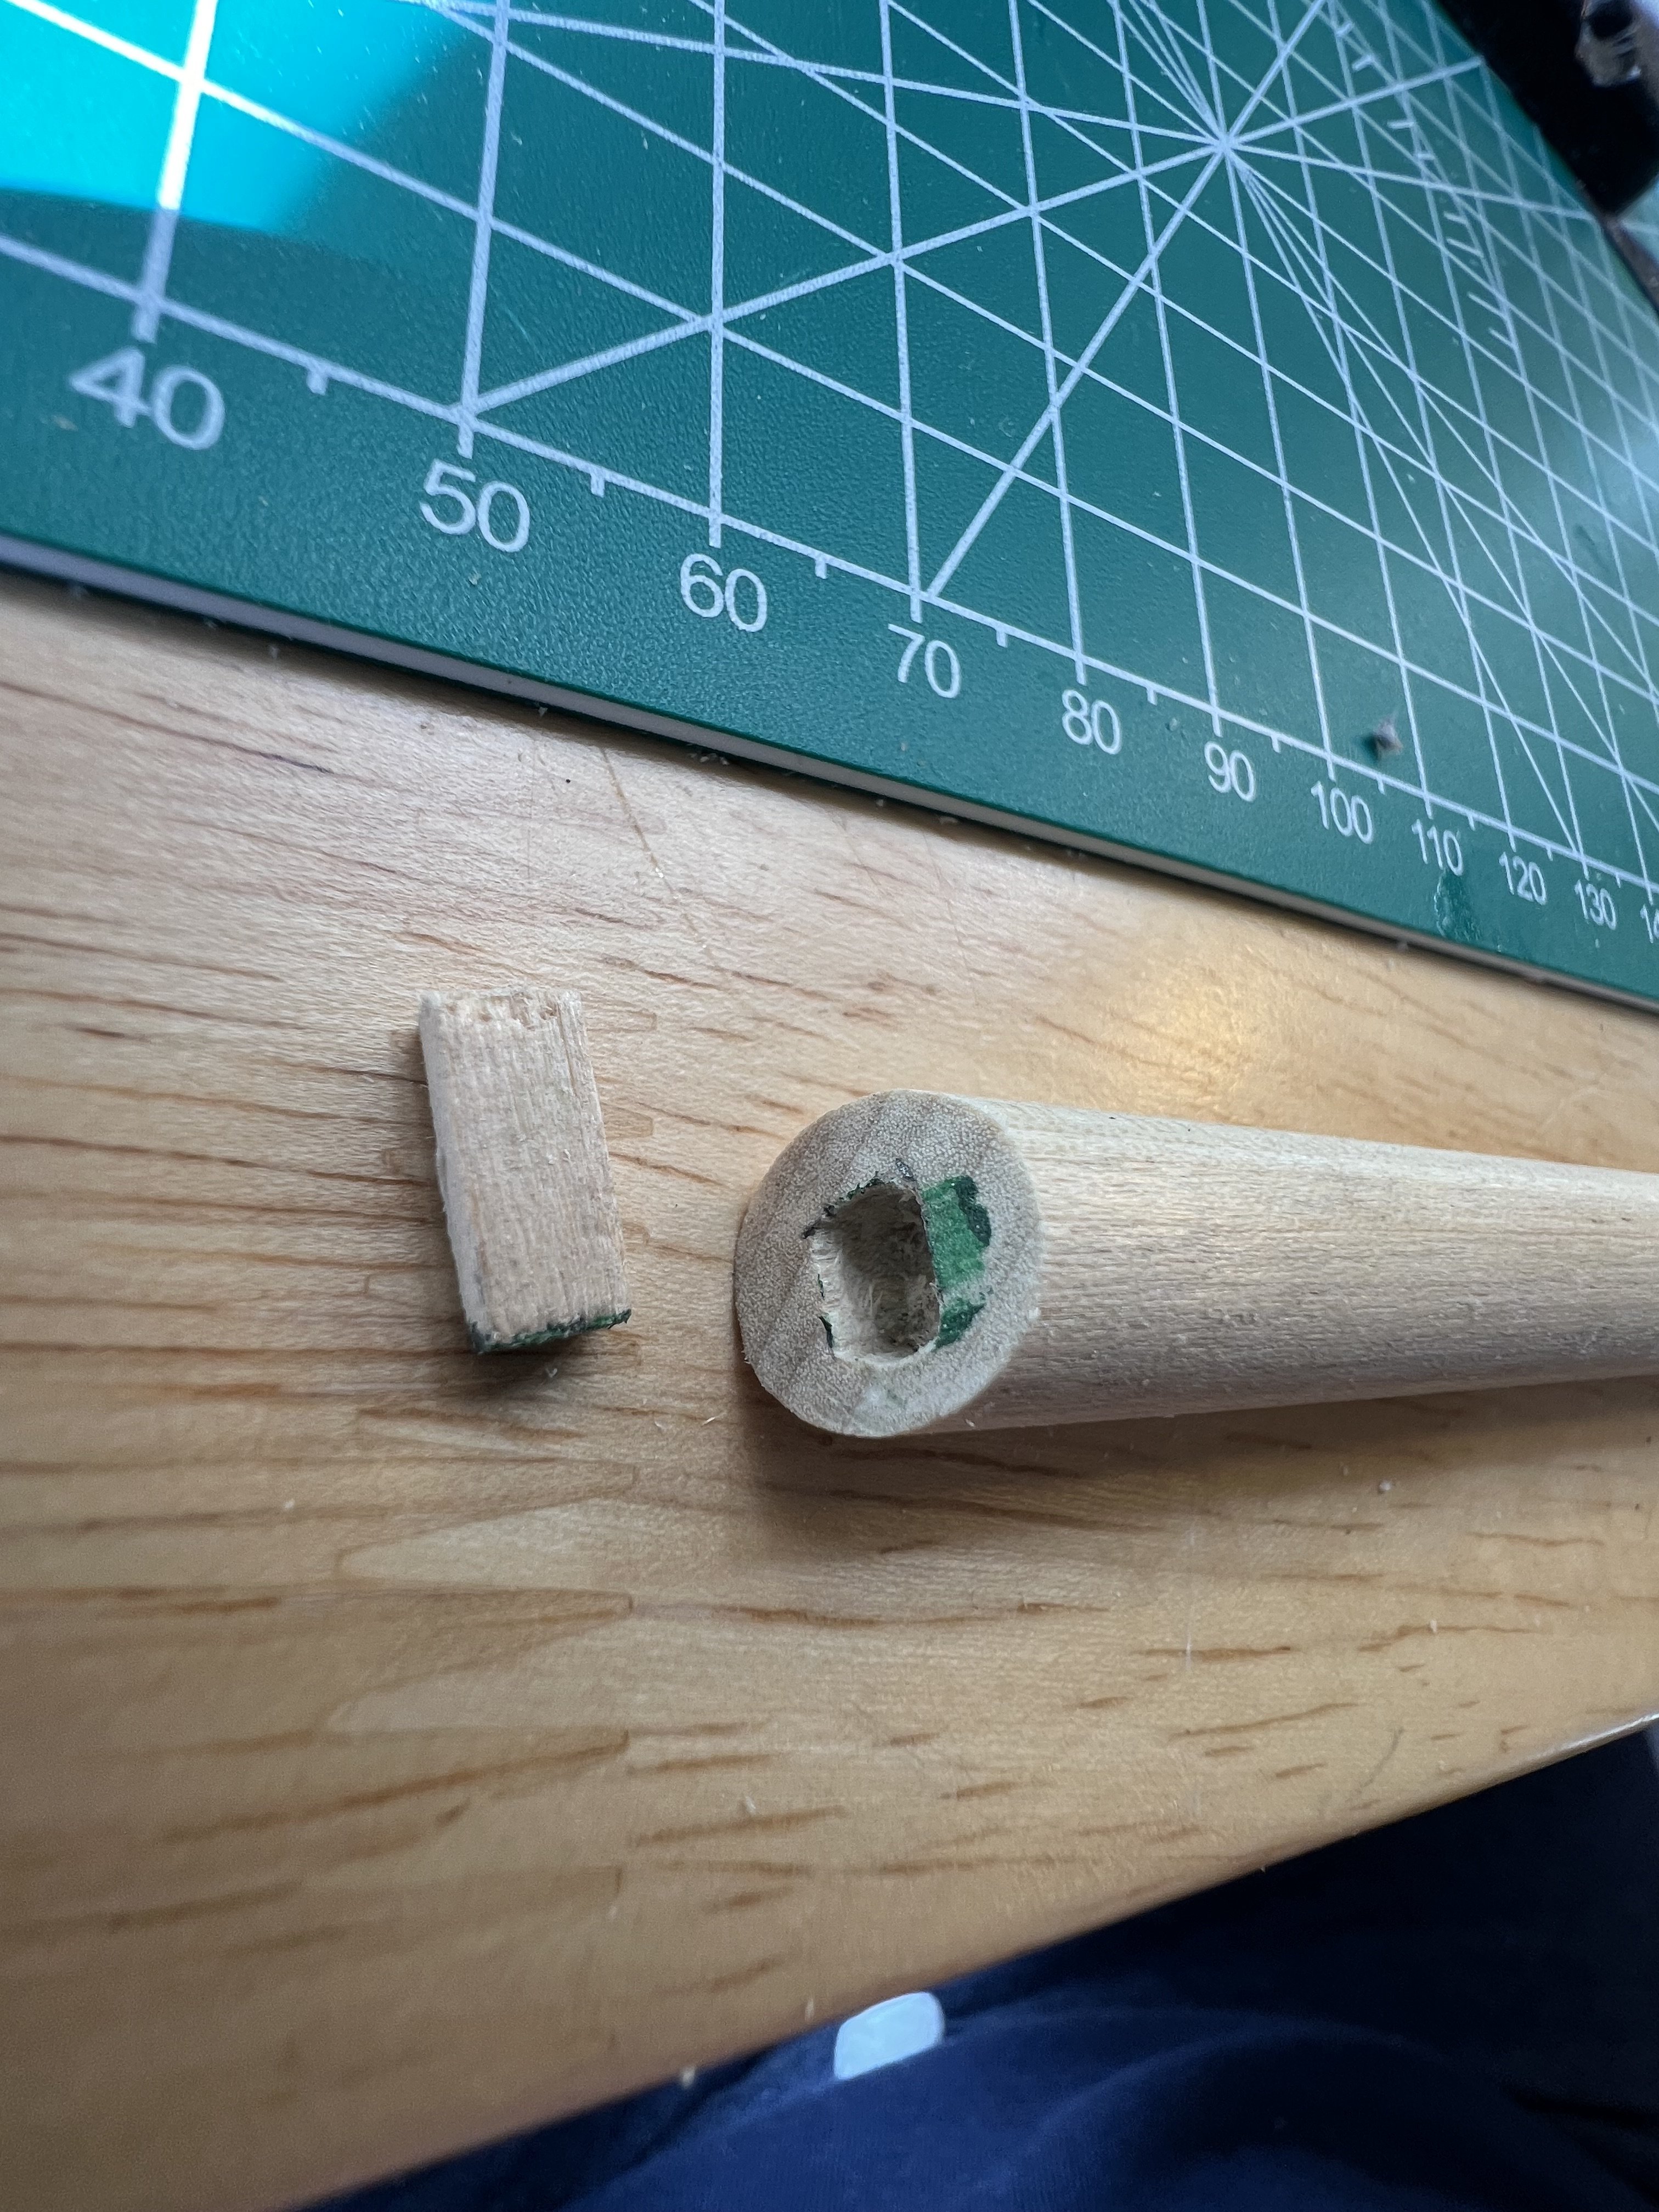
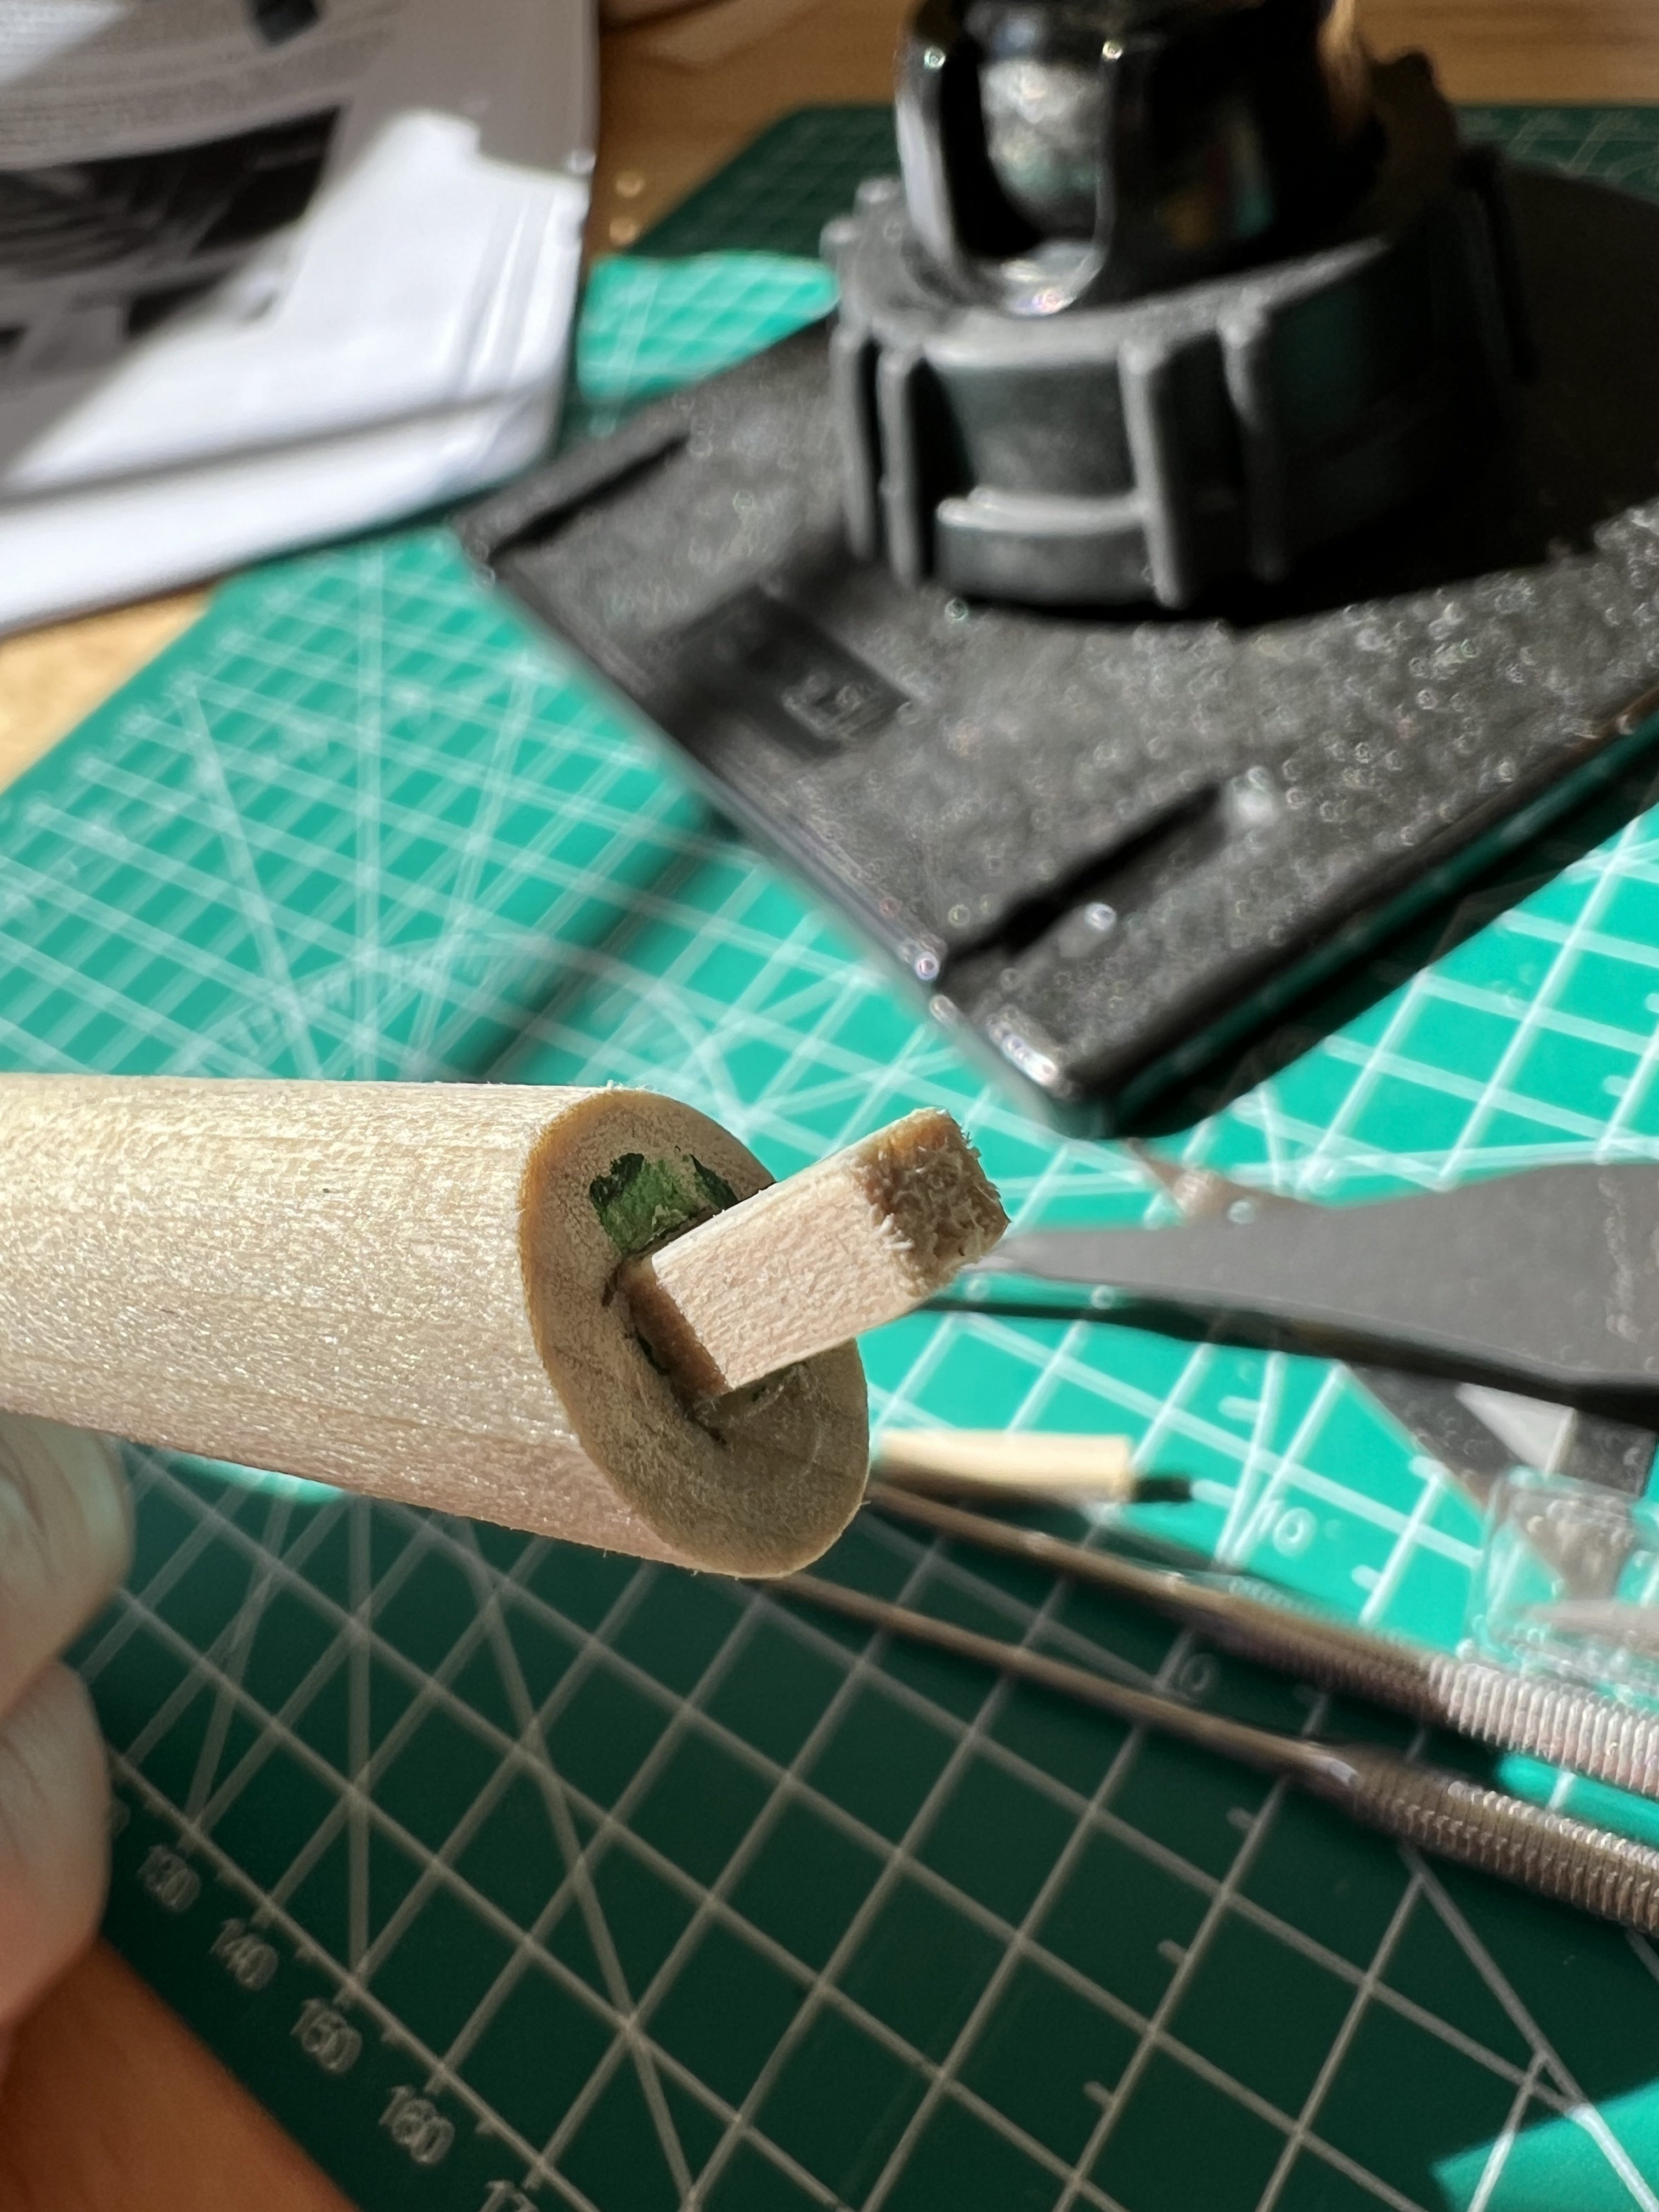
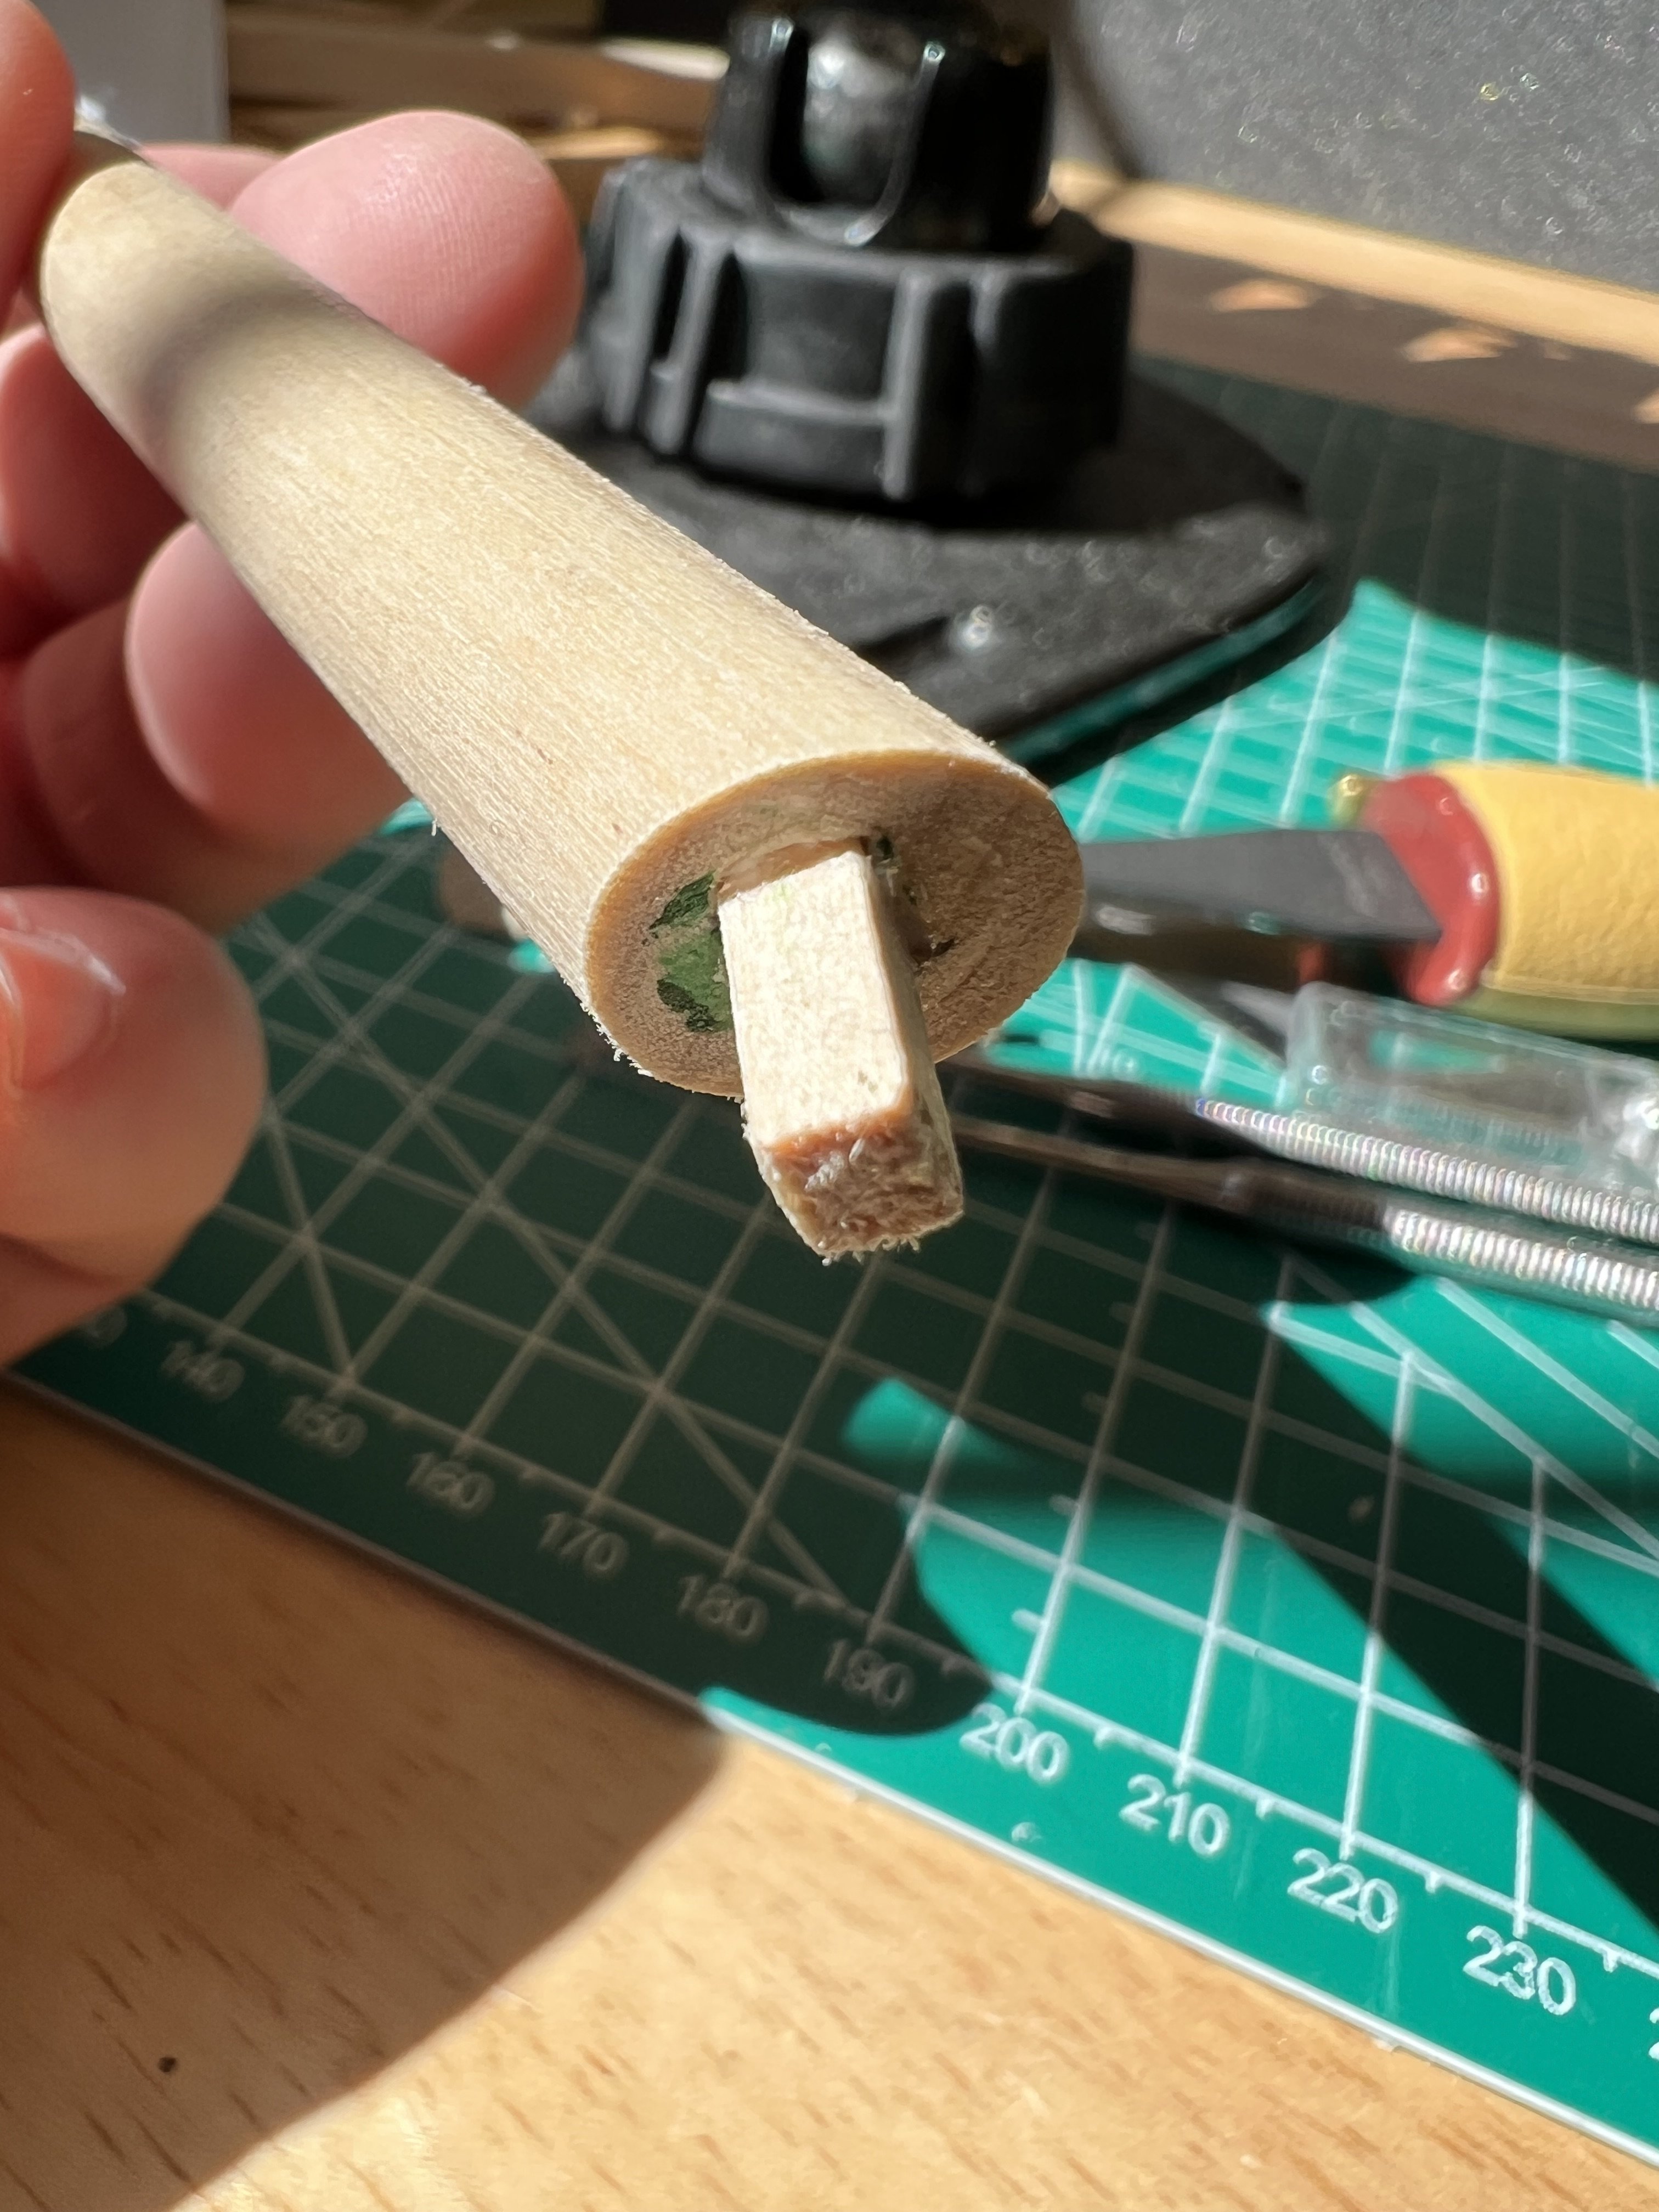
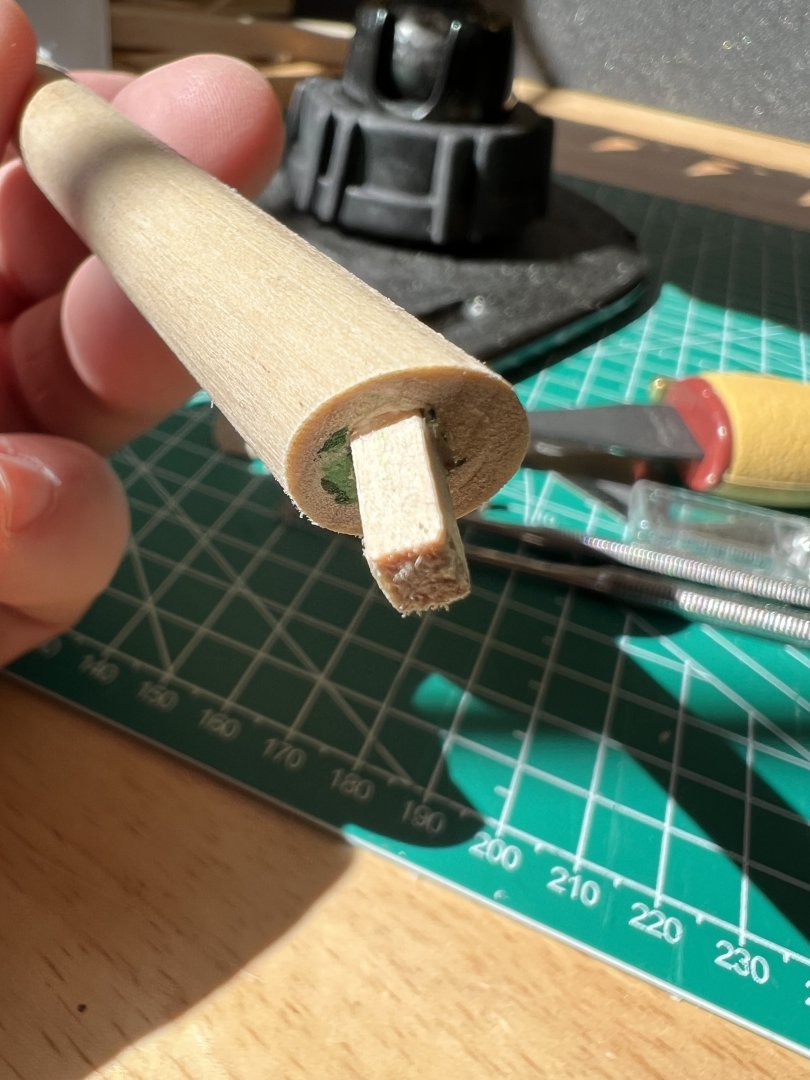
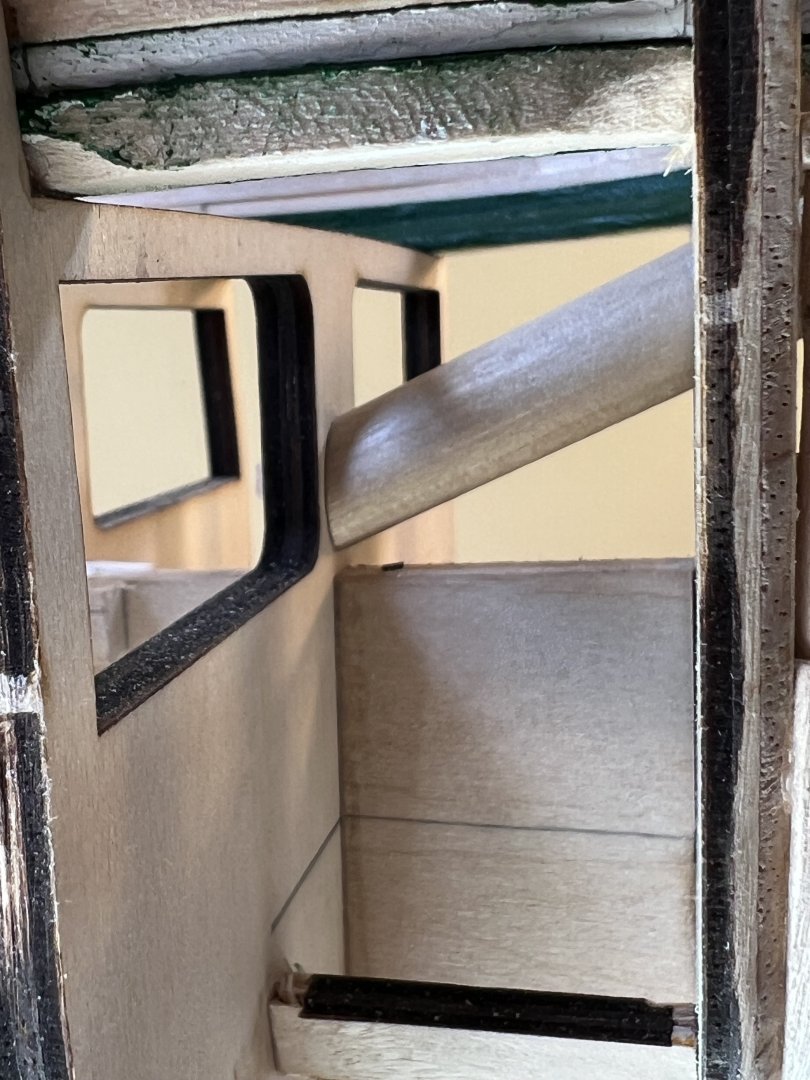
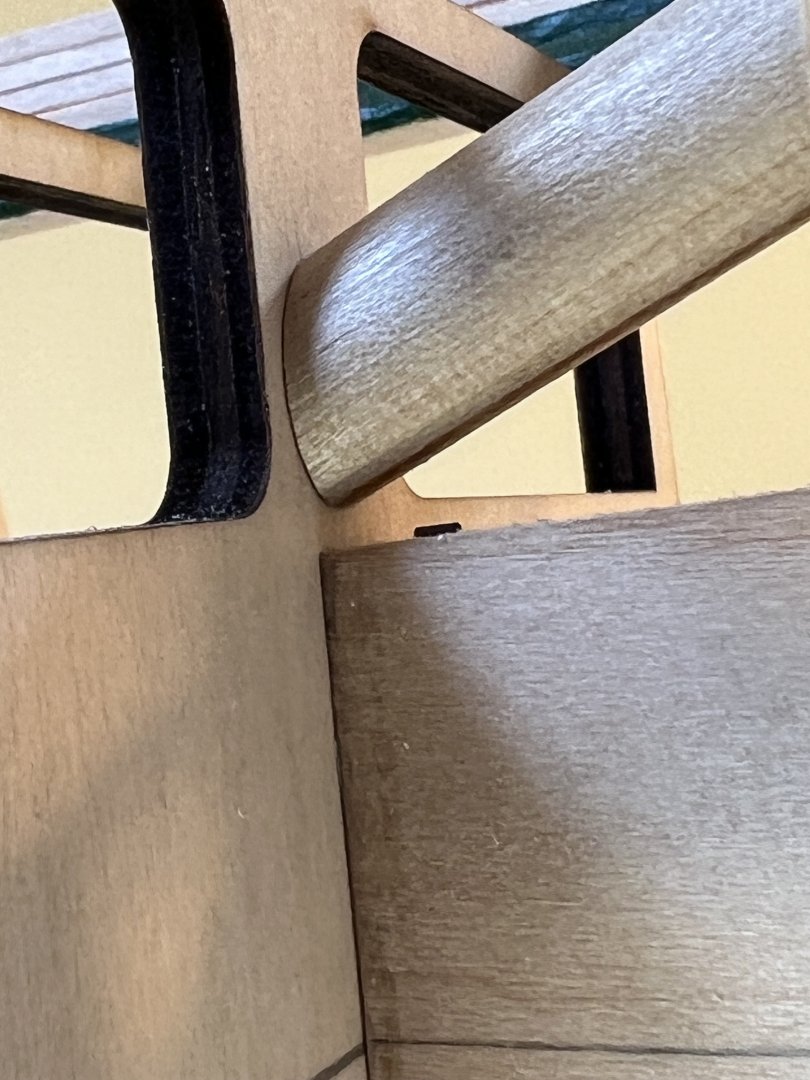
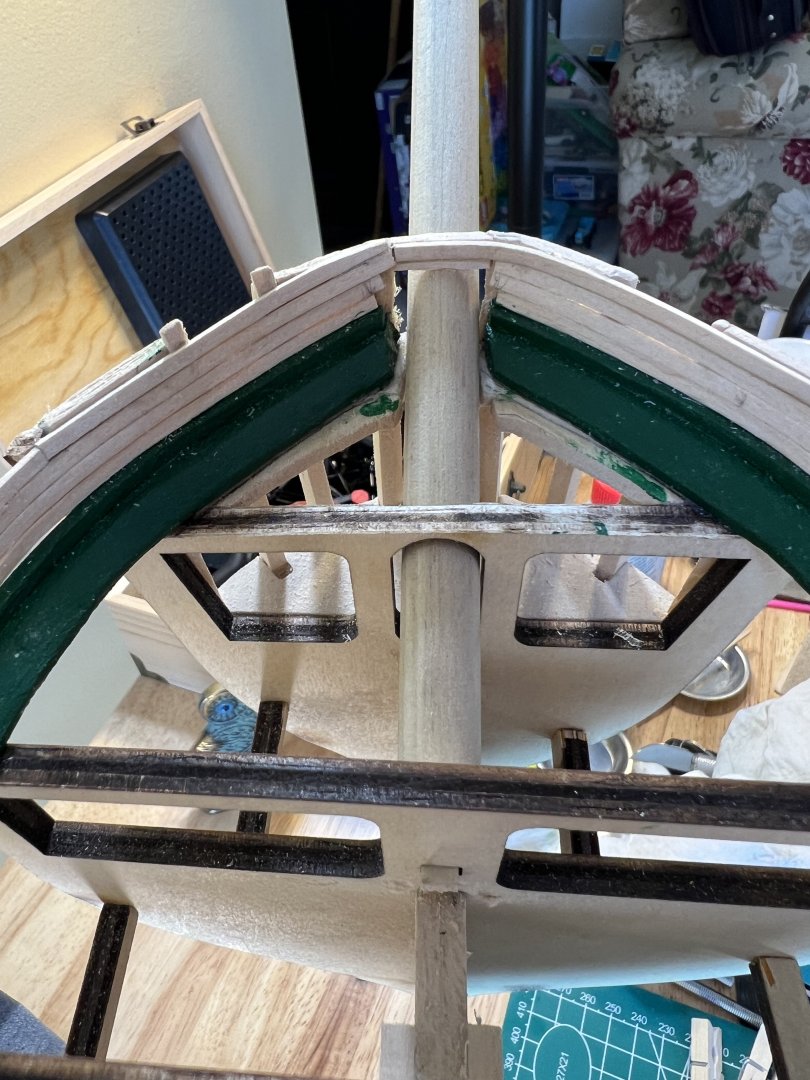
Bowsprit Tenon After some thought, I decided to make a tenon separate from the bowsprit. It’s fitted tightly to the laser cut bulkhead mortise and feeds through it into a mortise I cut into the bowsprit. For some reason - my brain preferred this method - it was quick, easy and sturdy.


-
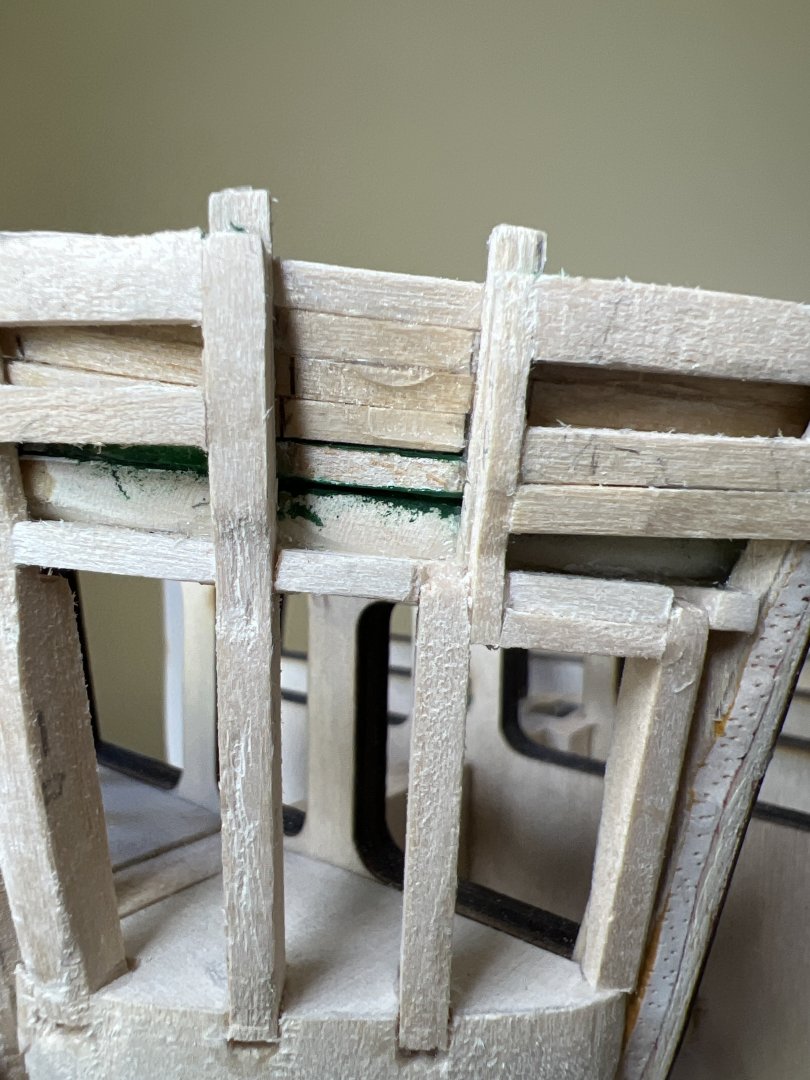
I’ve completed installing the starboard and port inner planking. I will finish sanding and painting later. My bow section needs some work and I’m thinking of cutting some planking away and creating a “plate”of sorts, fitted to the bowsprit. Not sure how I let it get so messy - The area needs some cleaning up. I followed Hunt’s suggestion to use shorter plank sections and I think that threw me a bit toward the bow.

-
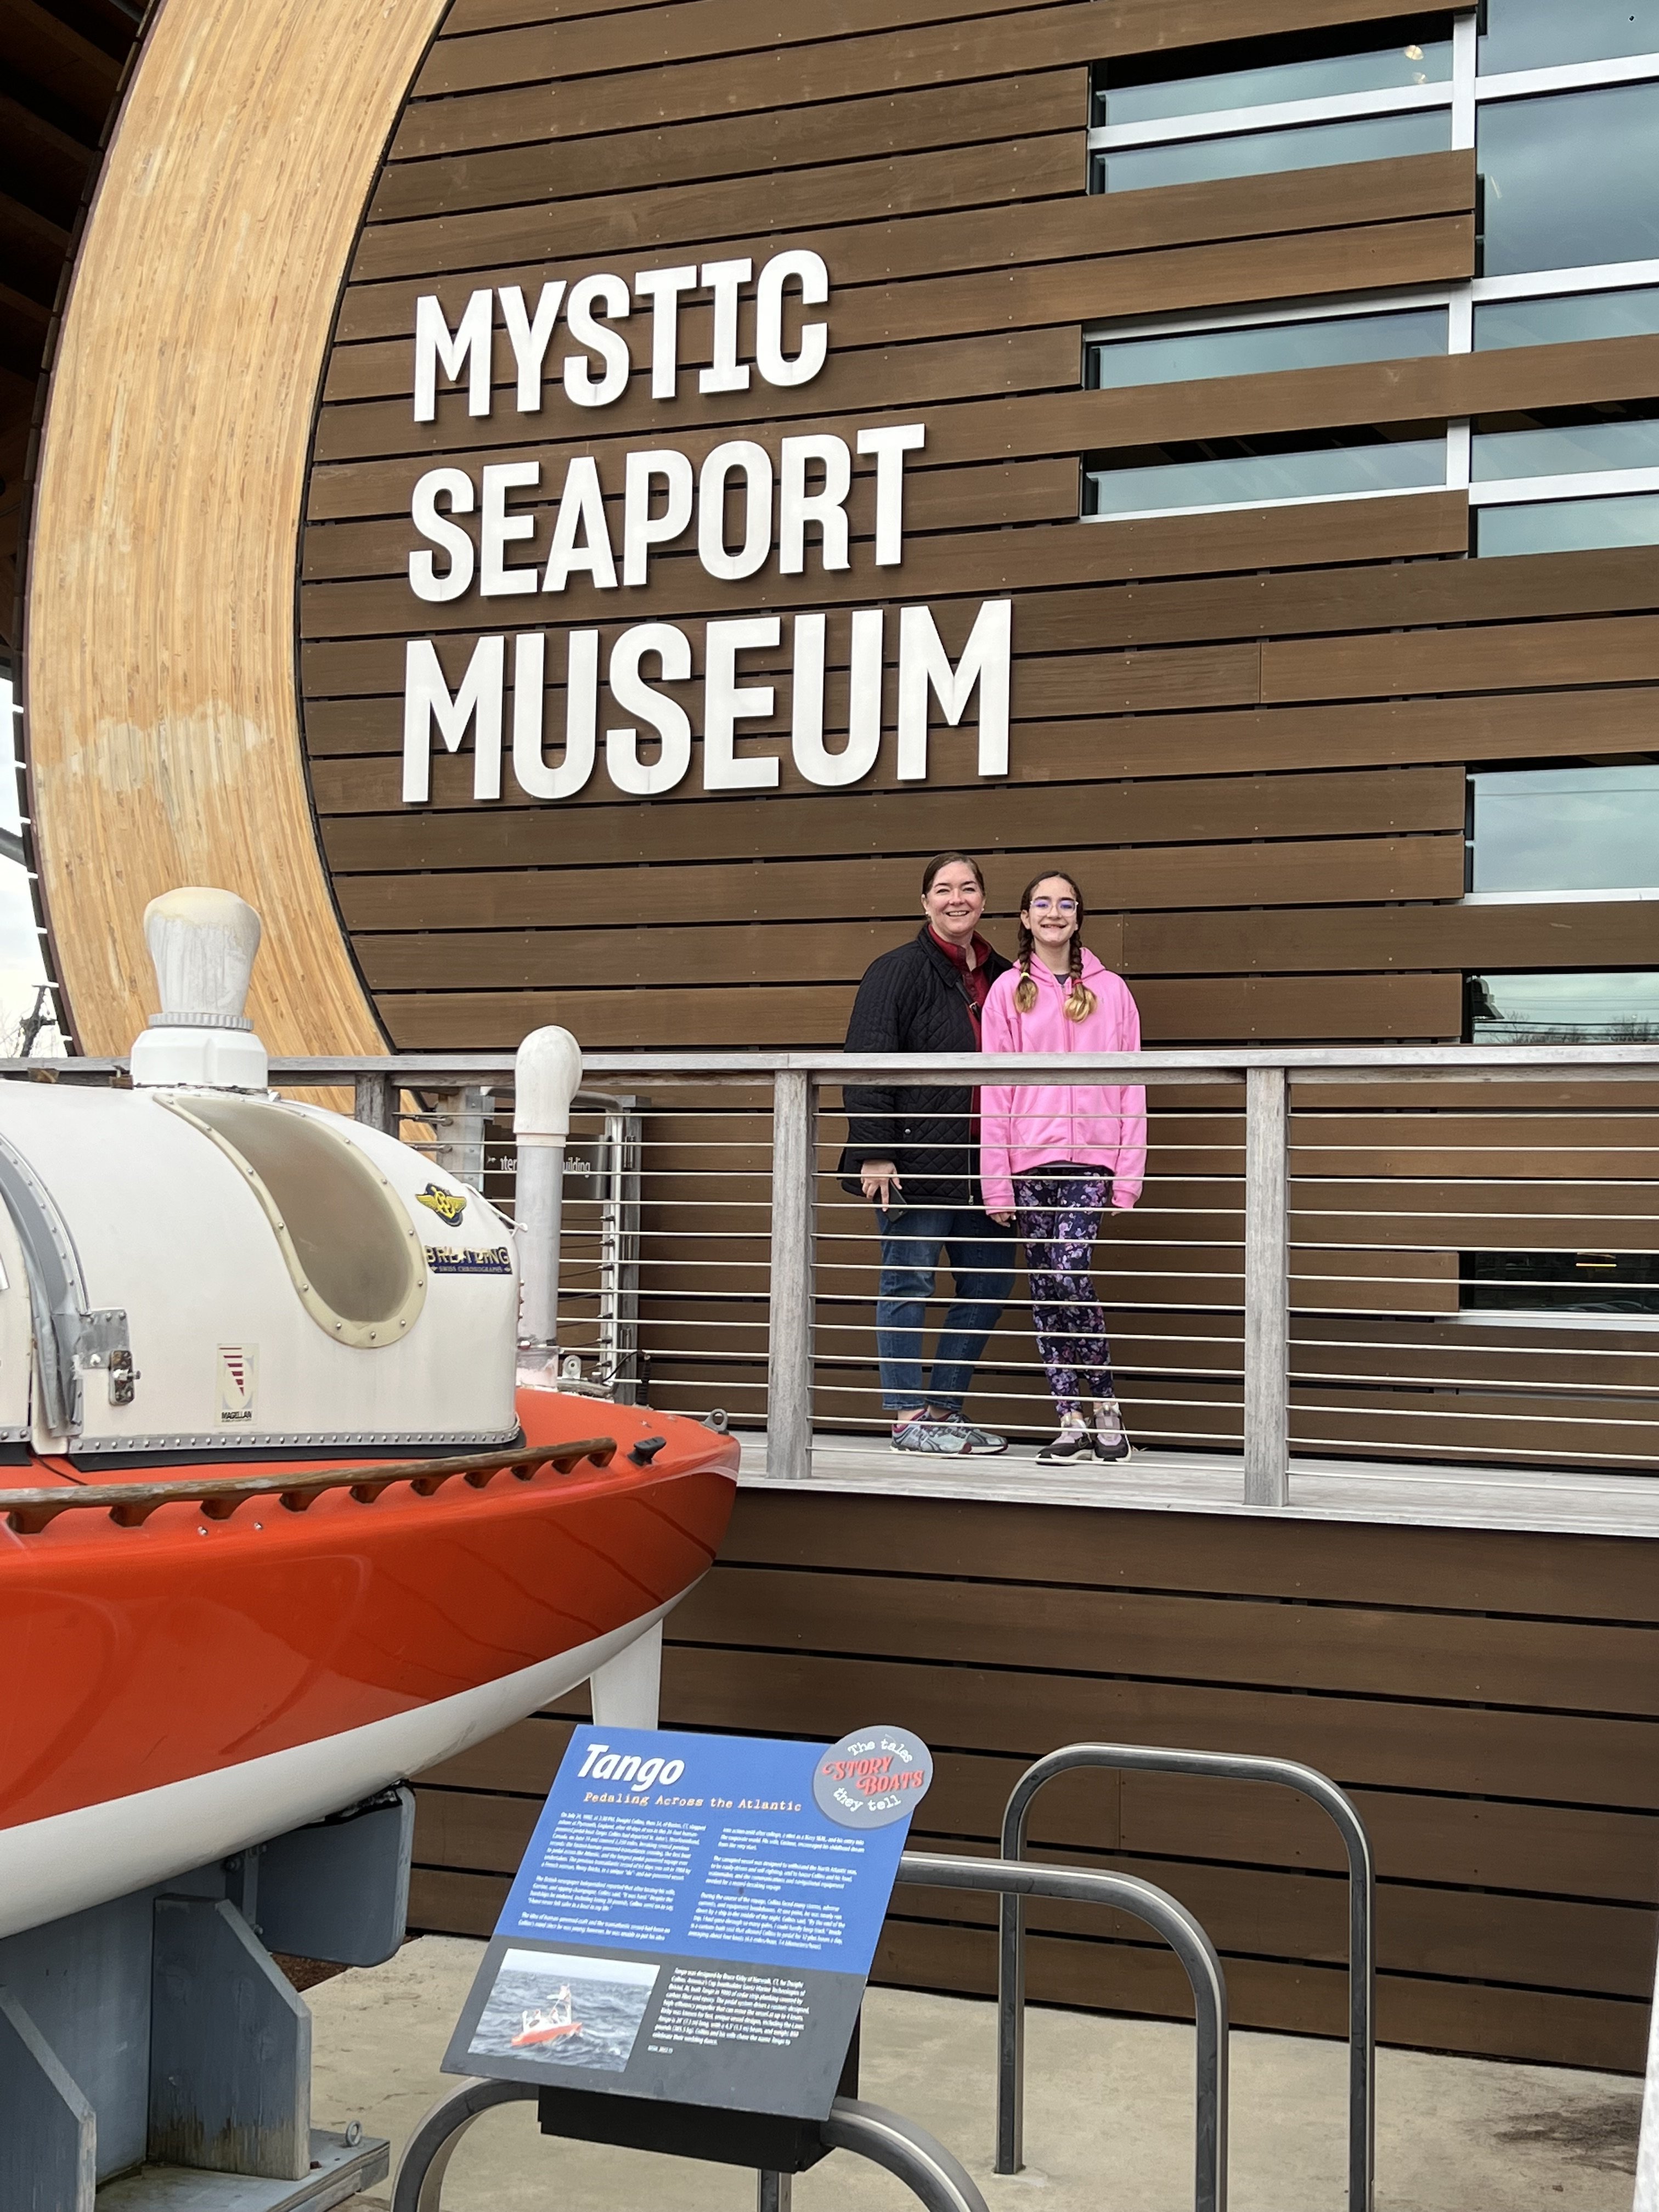
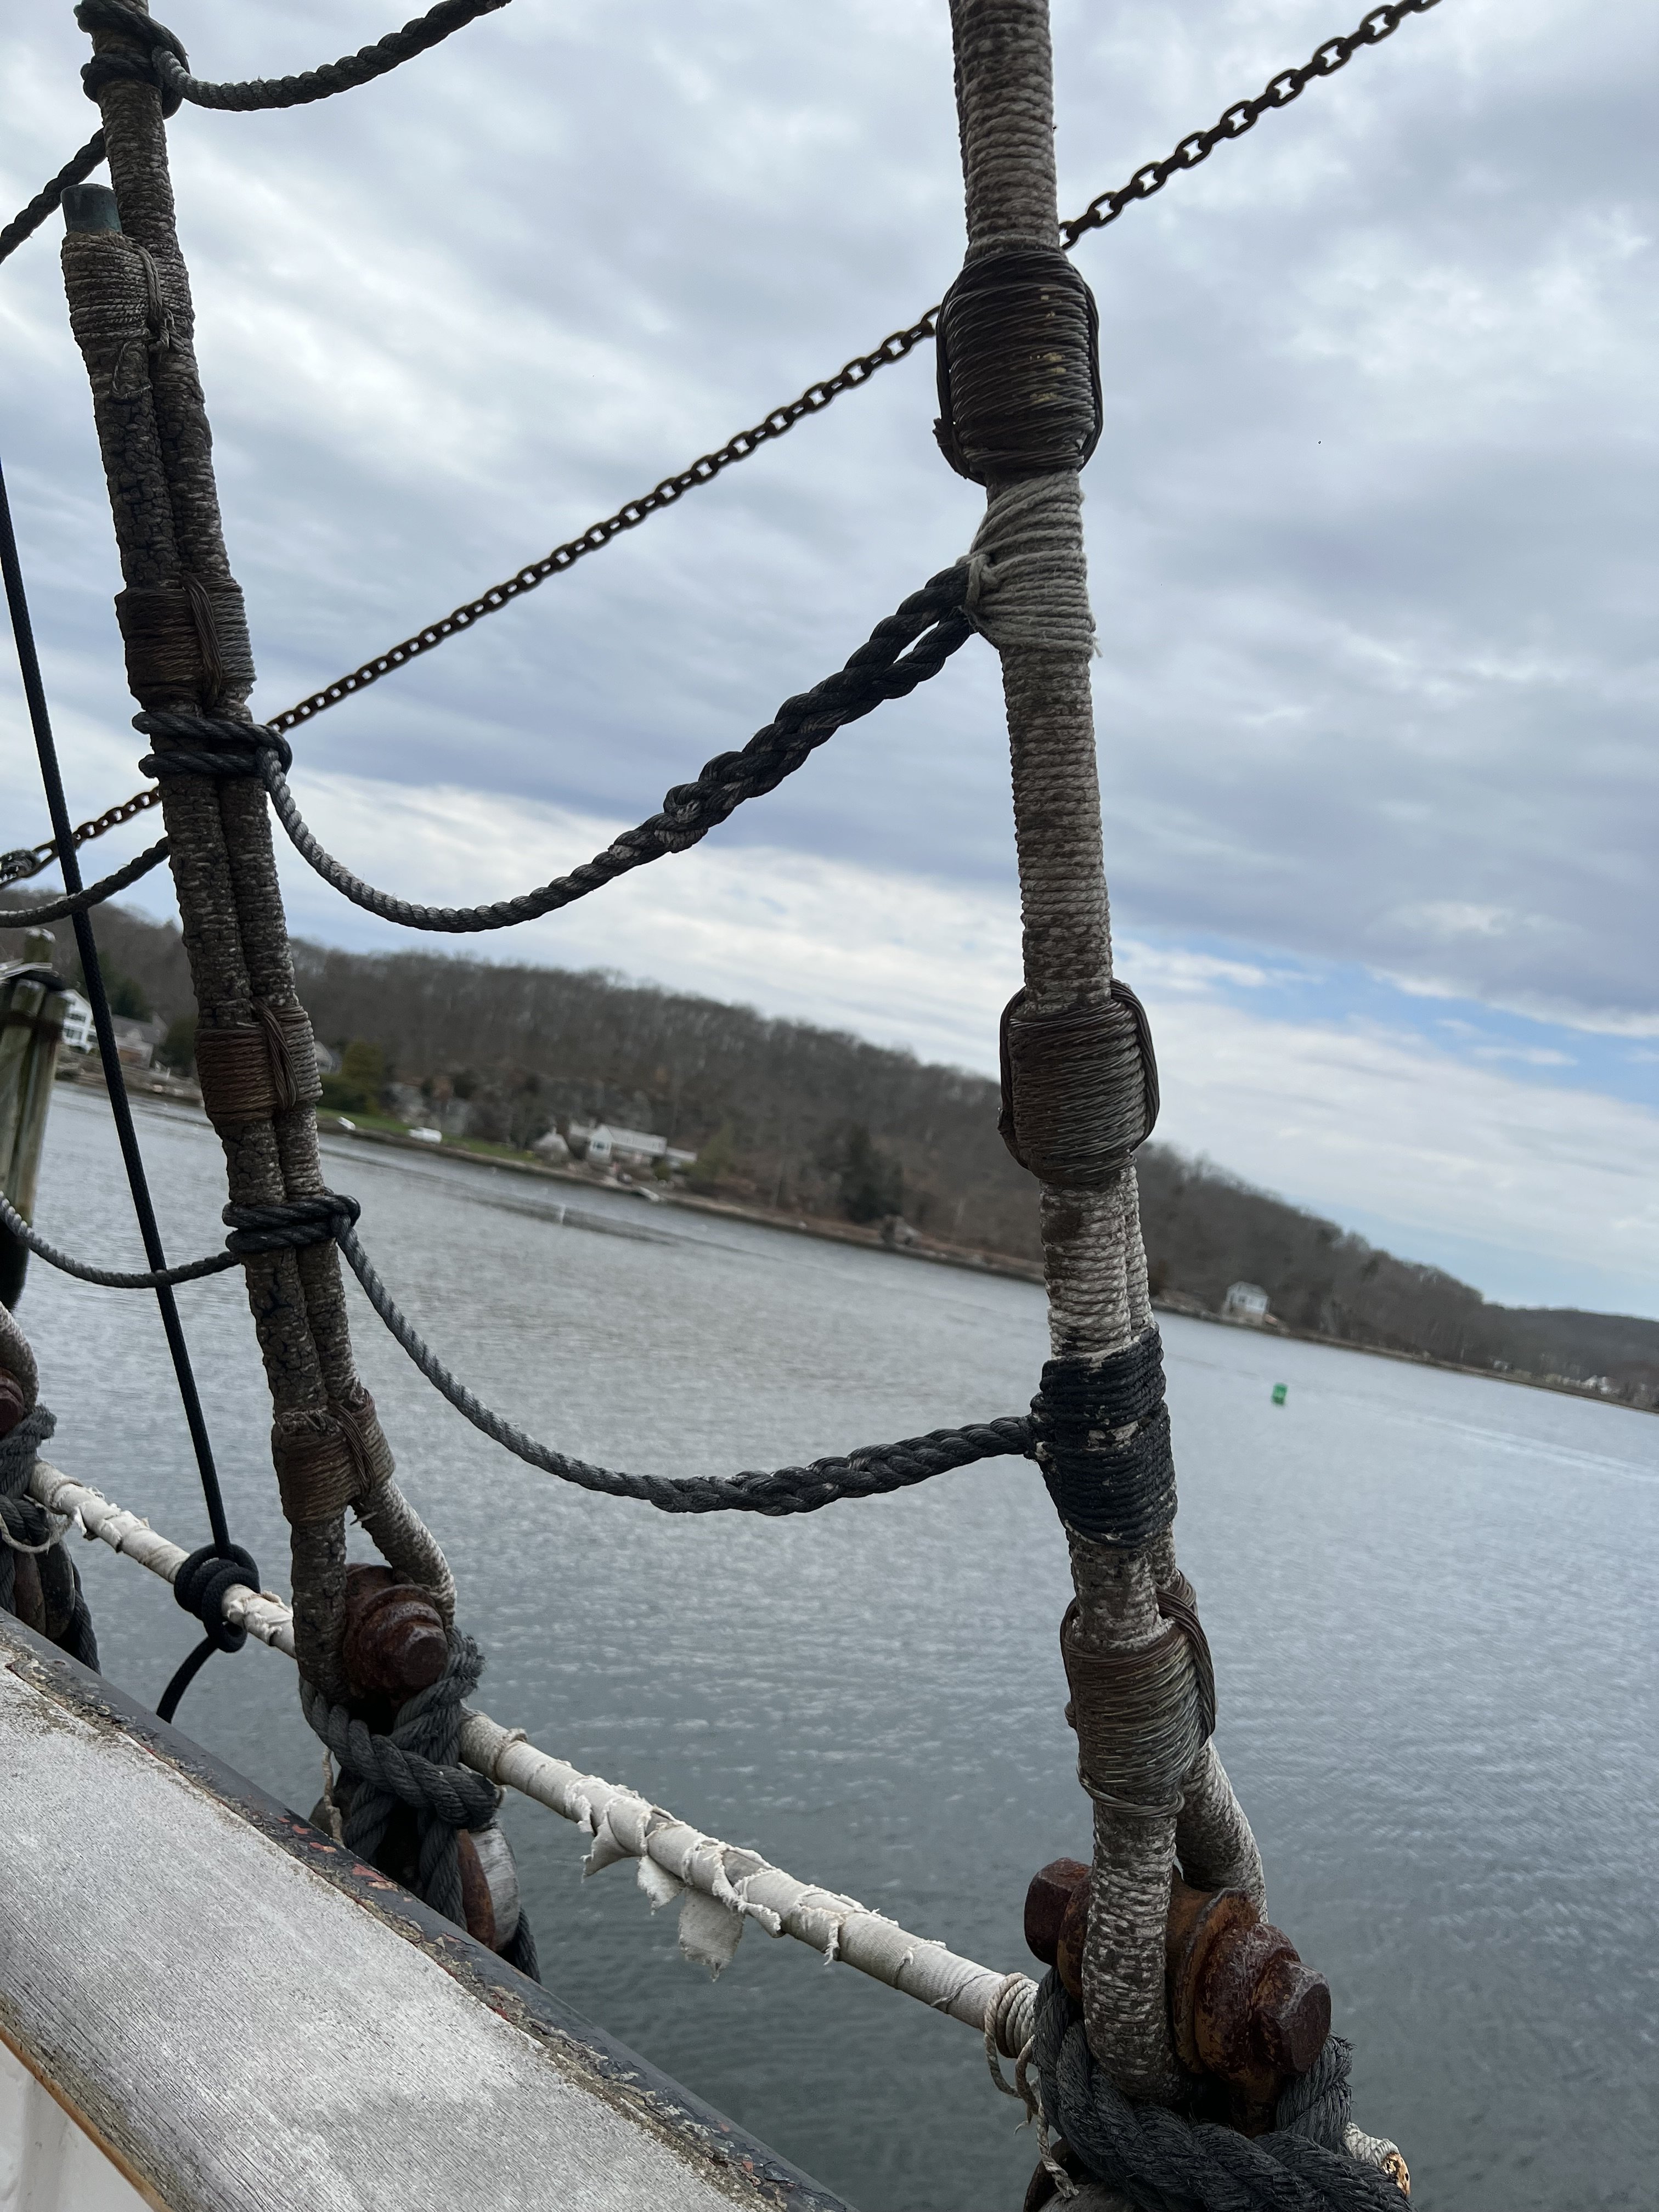
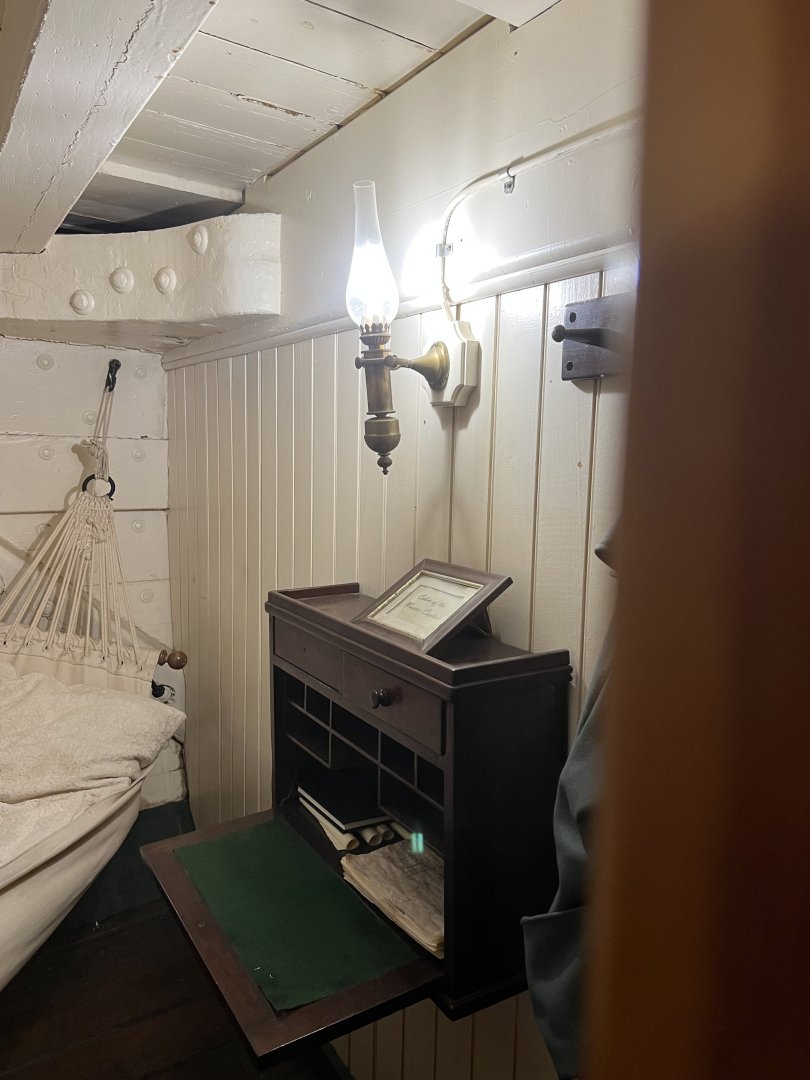
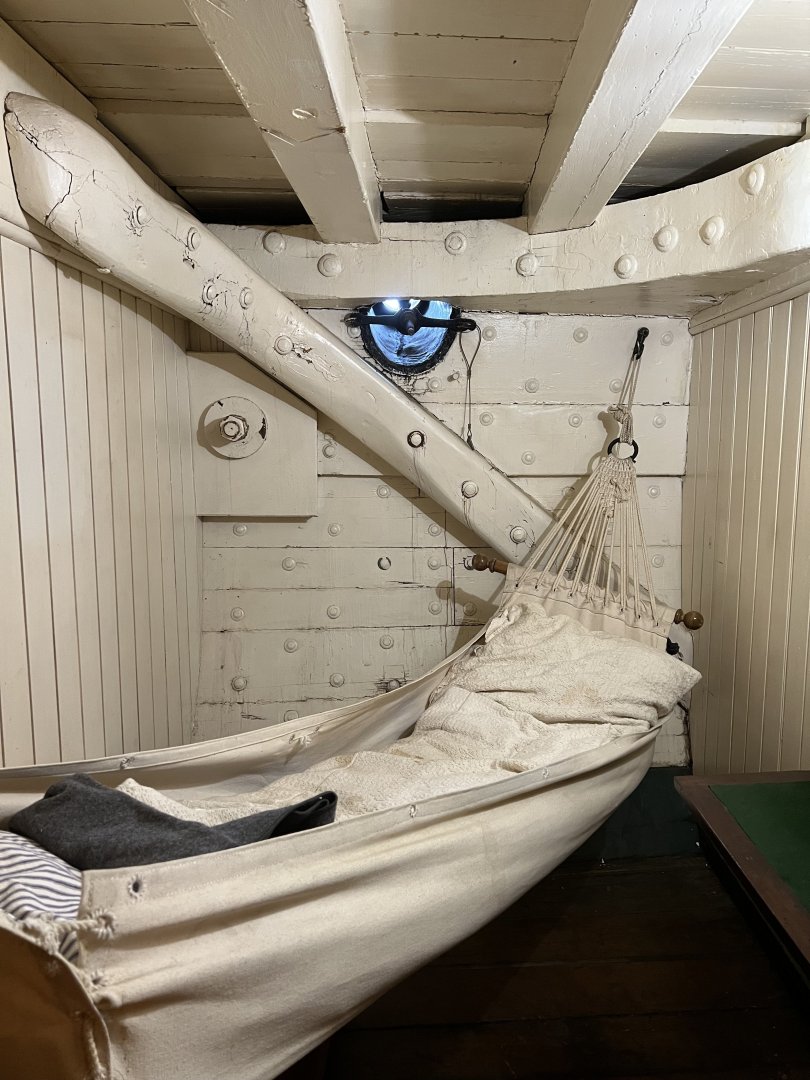
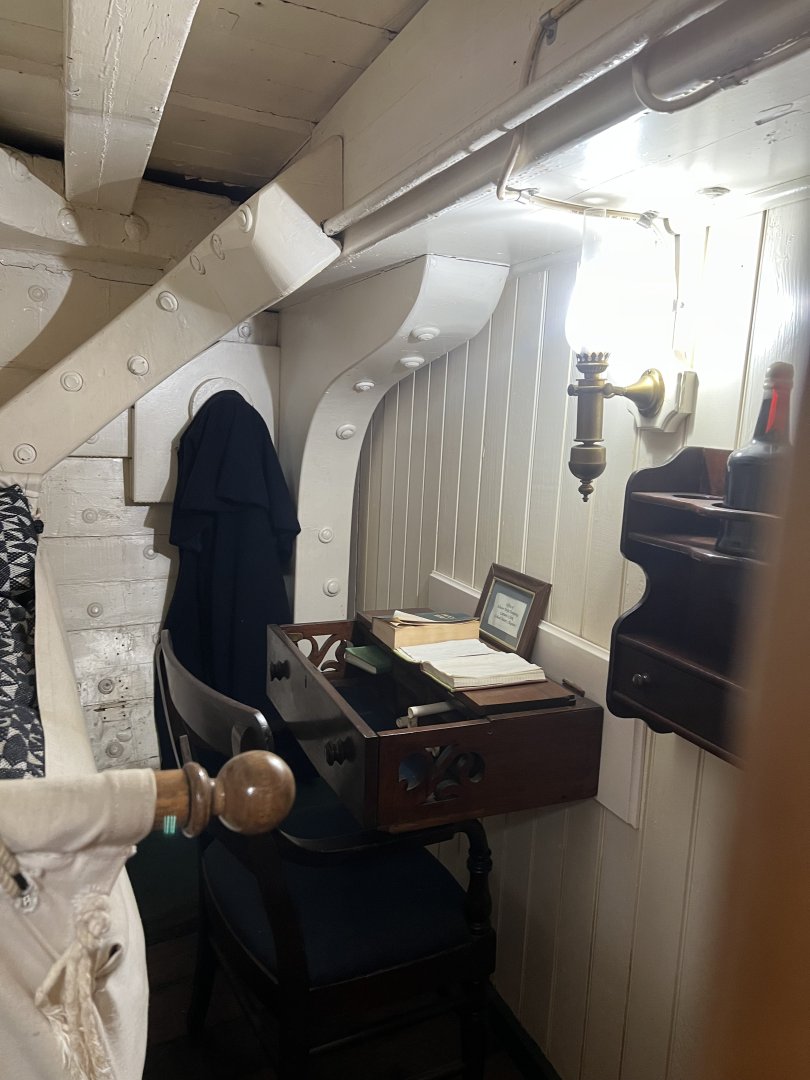
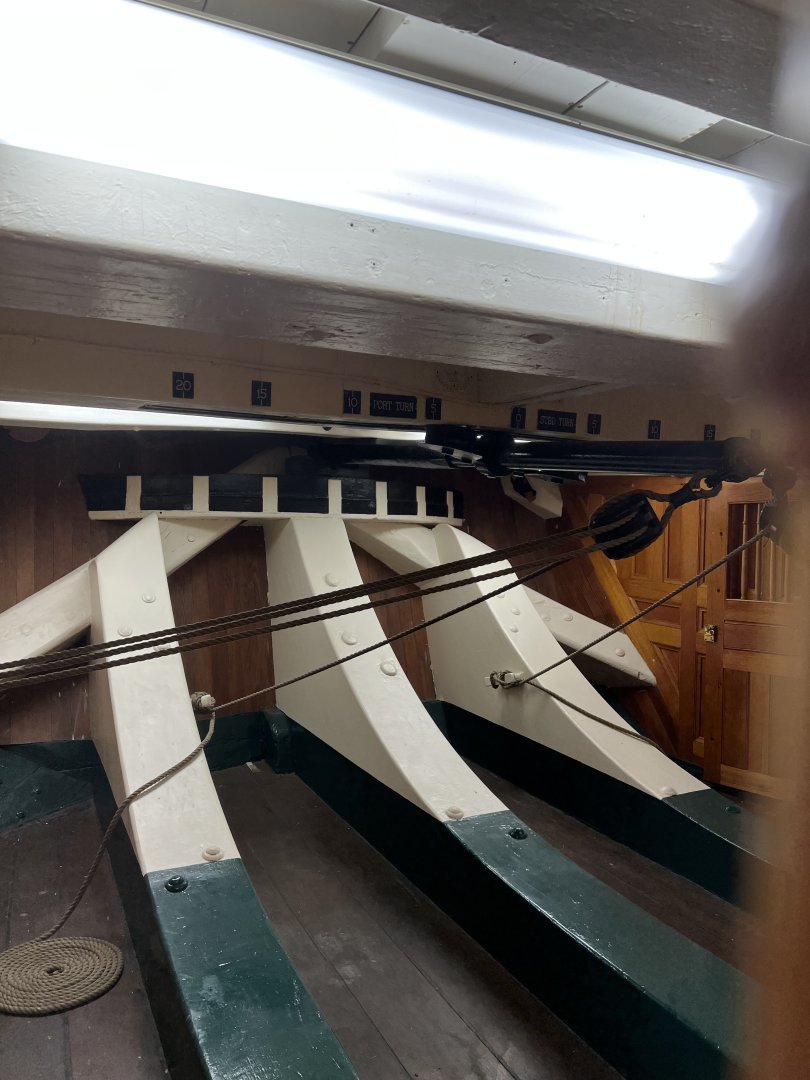
@JSGerson@Der Alte Rentner Jon and Peter - thank you for sharing your pictures! Mystic is such an enchanting place. I can’t wait to go back. I’ve never done any true blue water voyaging - but I did travel for 2 weeks around the Galápagos Islands. It was in a 100’ modern(ish) yacht, but it was easy to picture Darwin making entries in his travel diary!
-
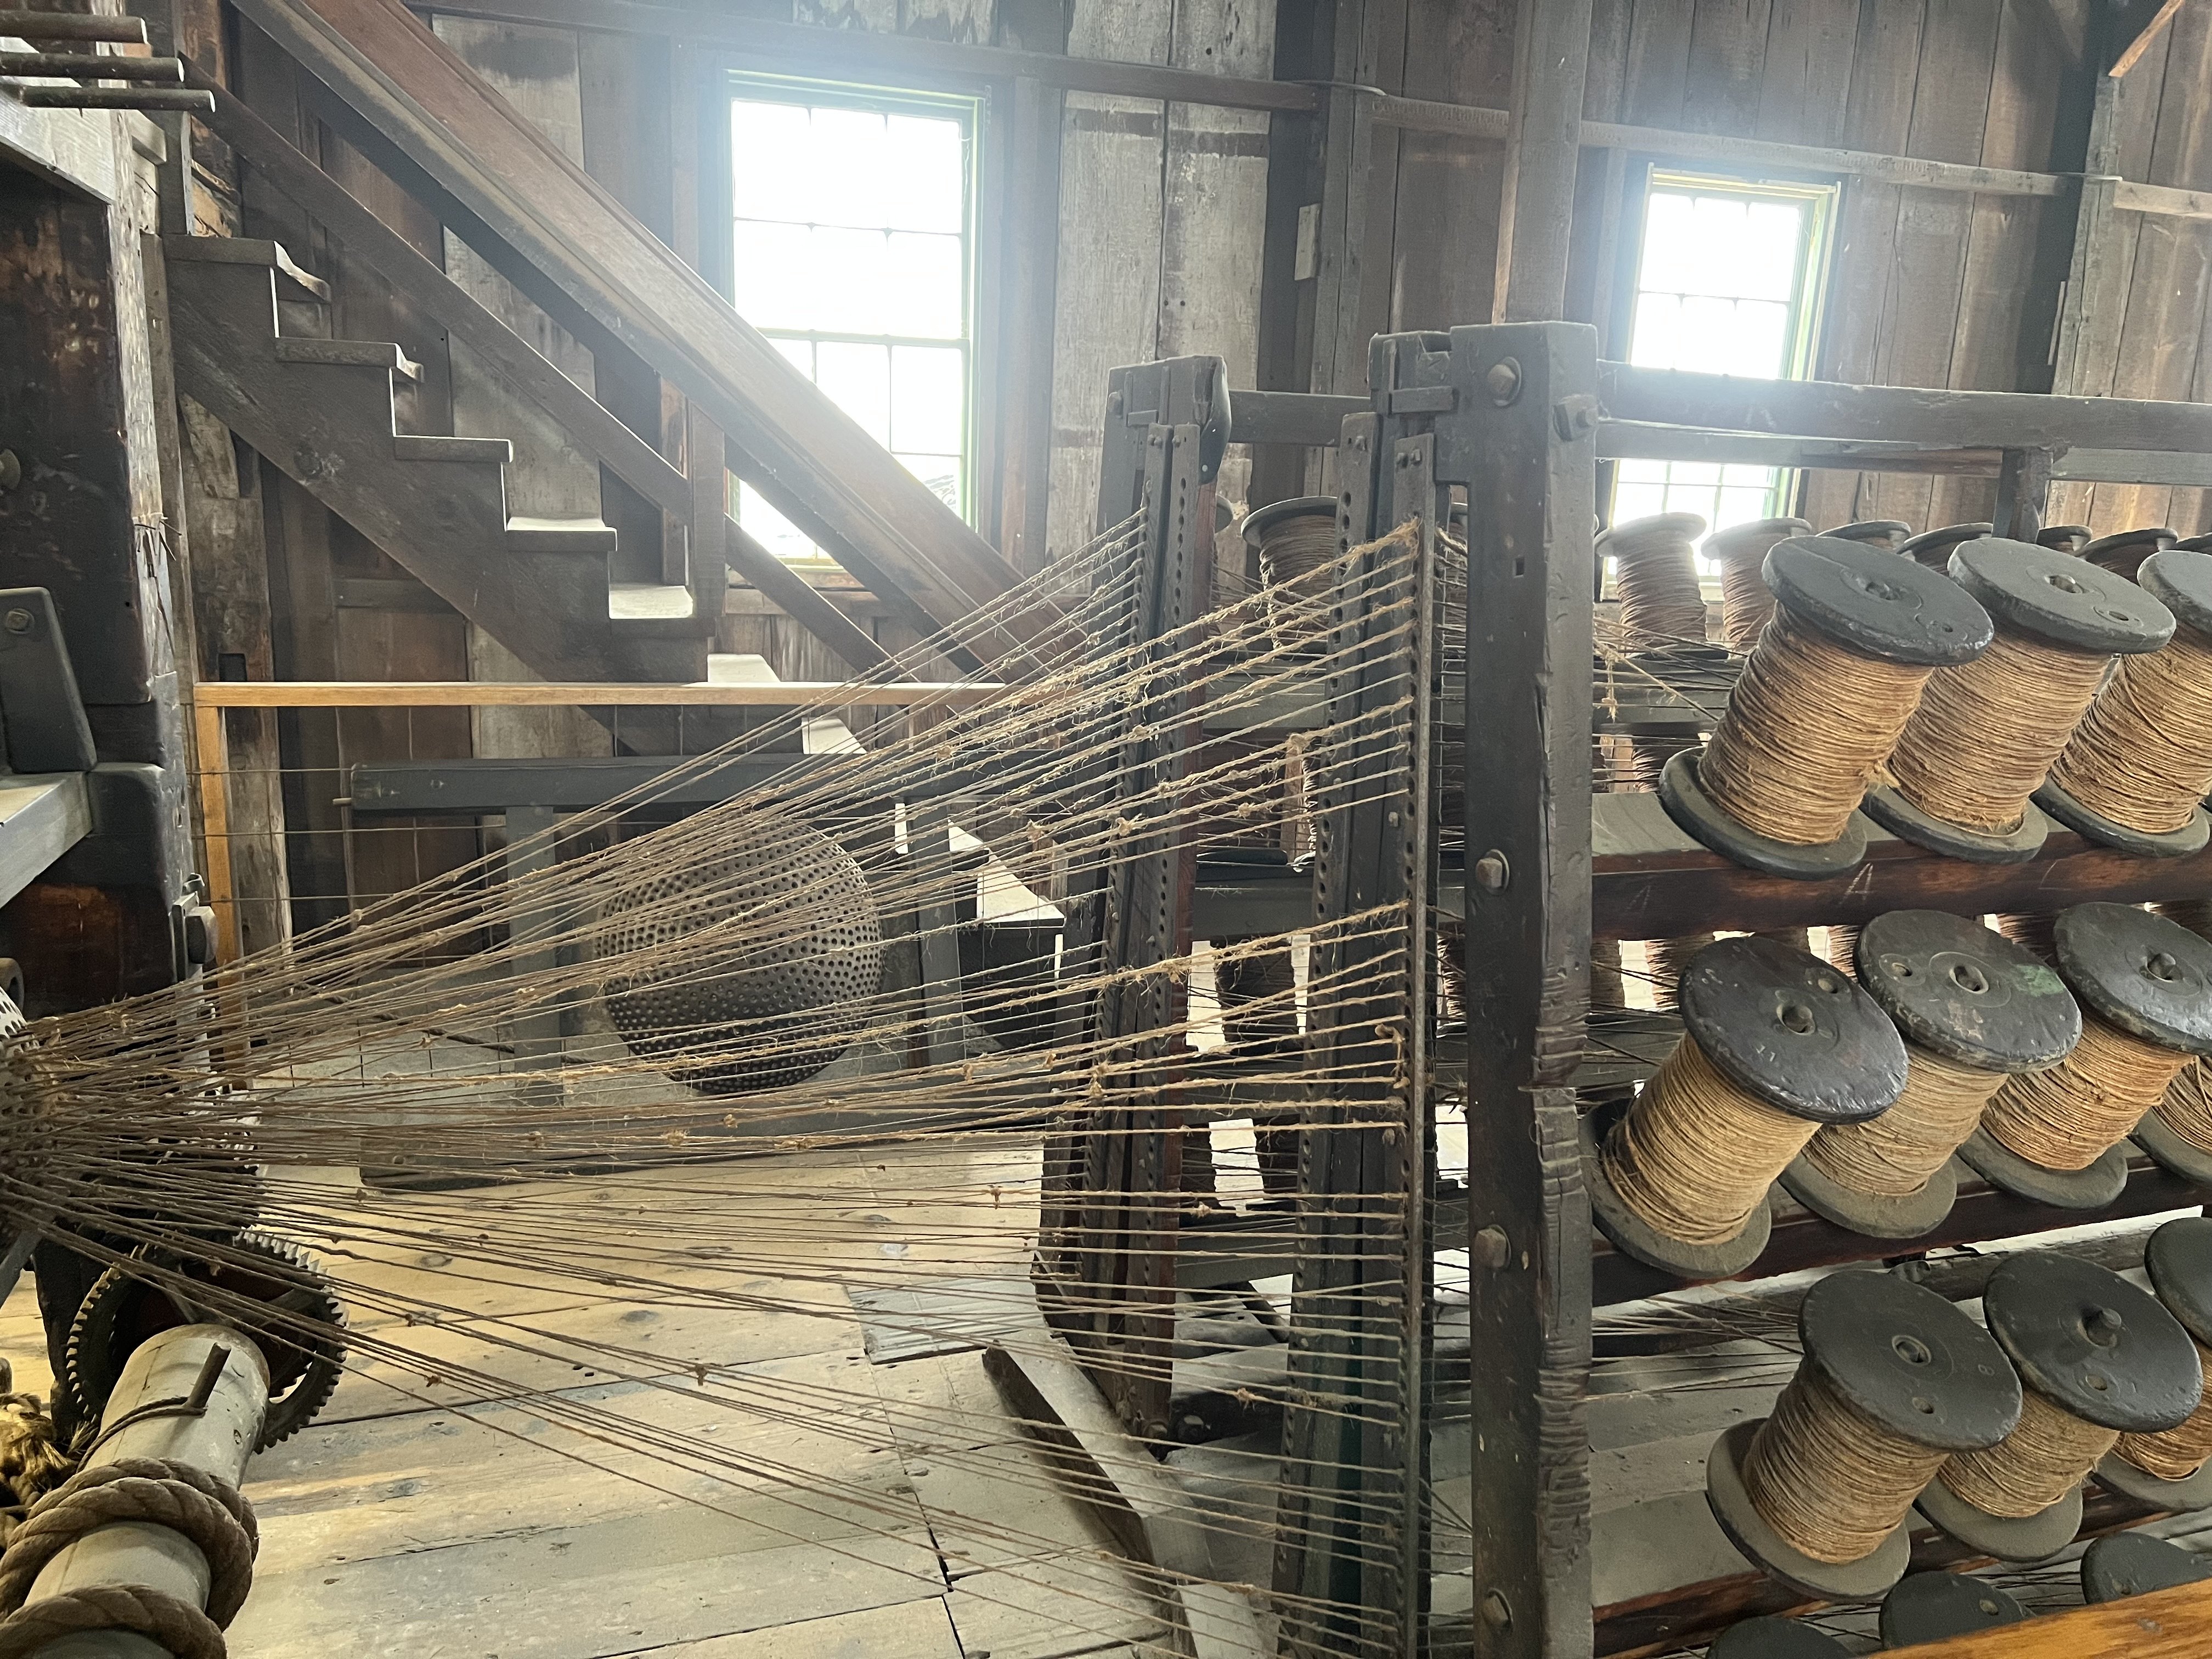
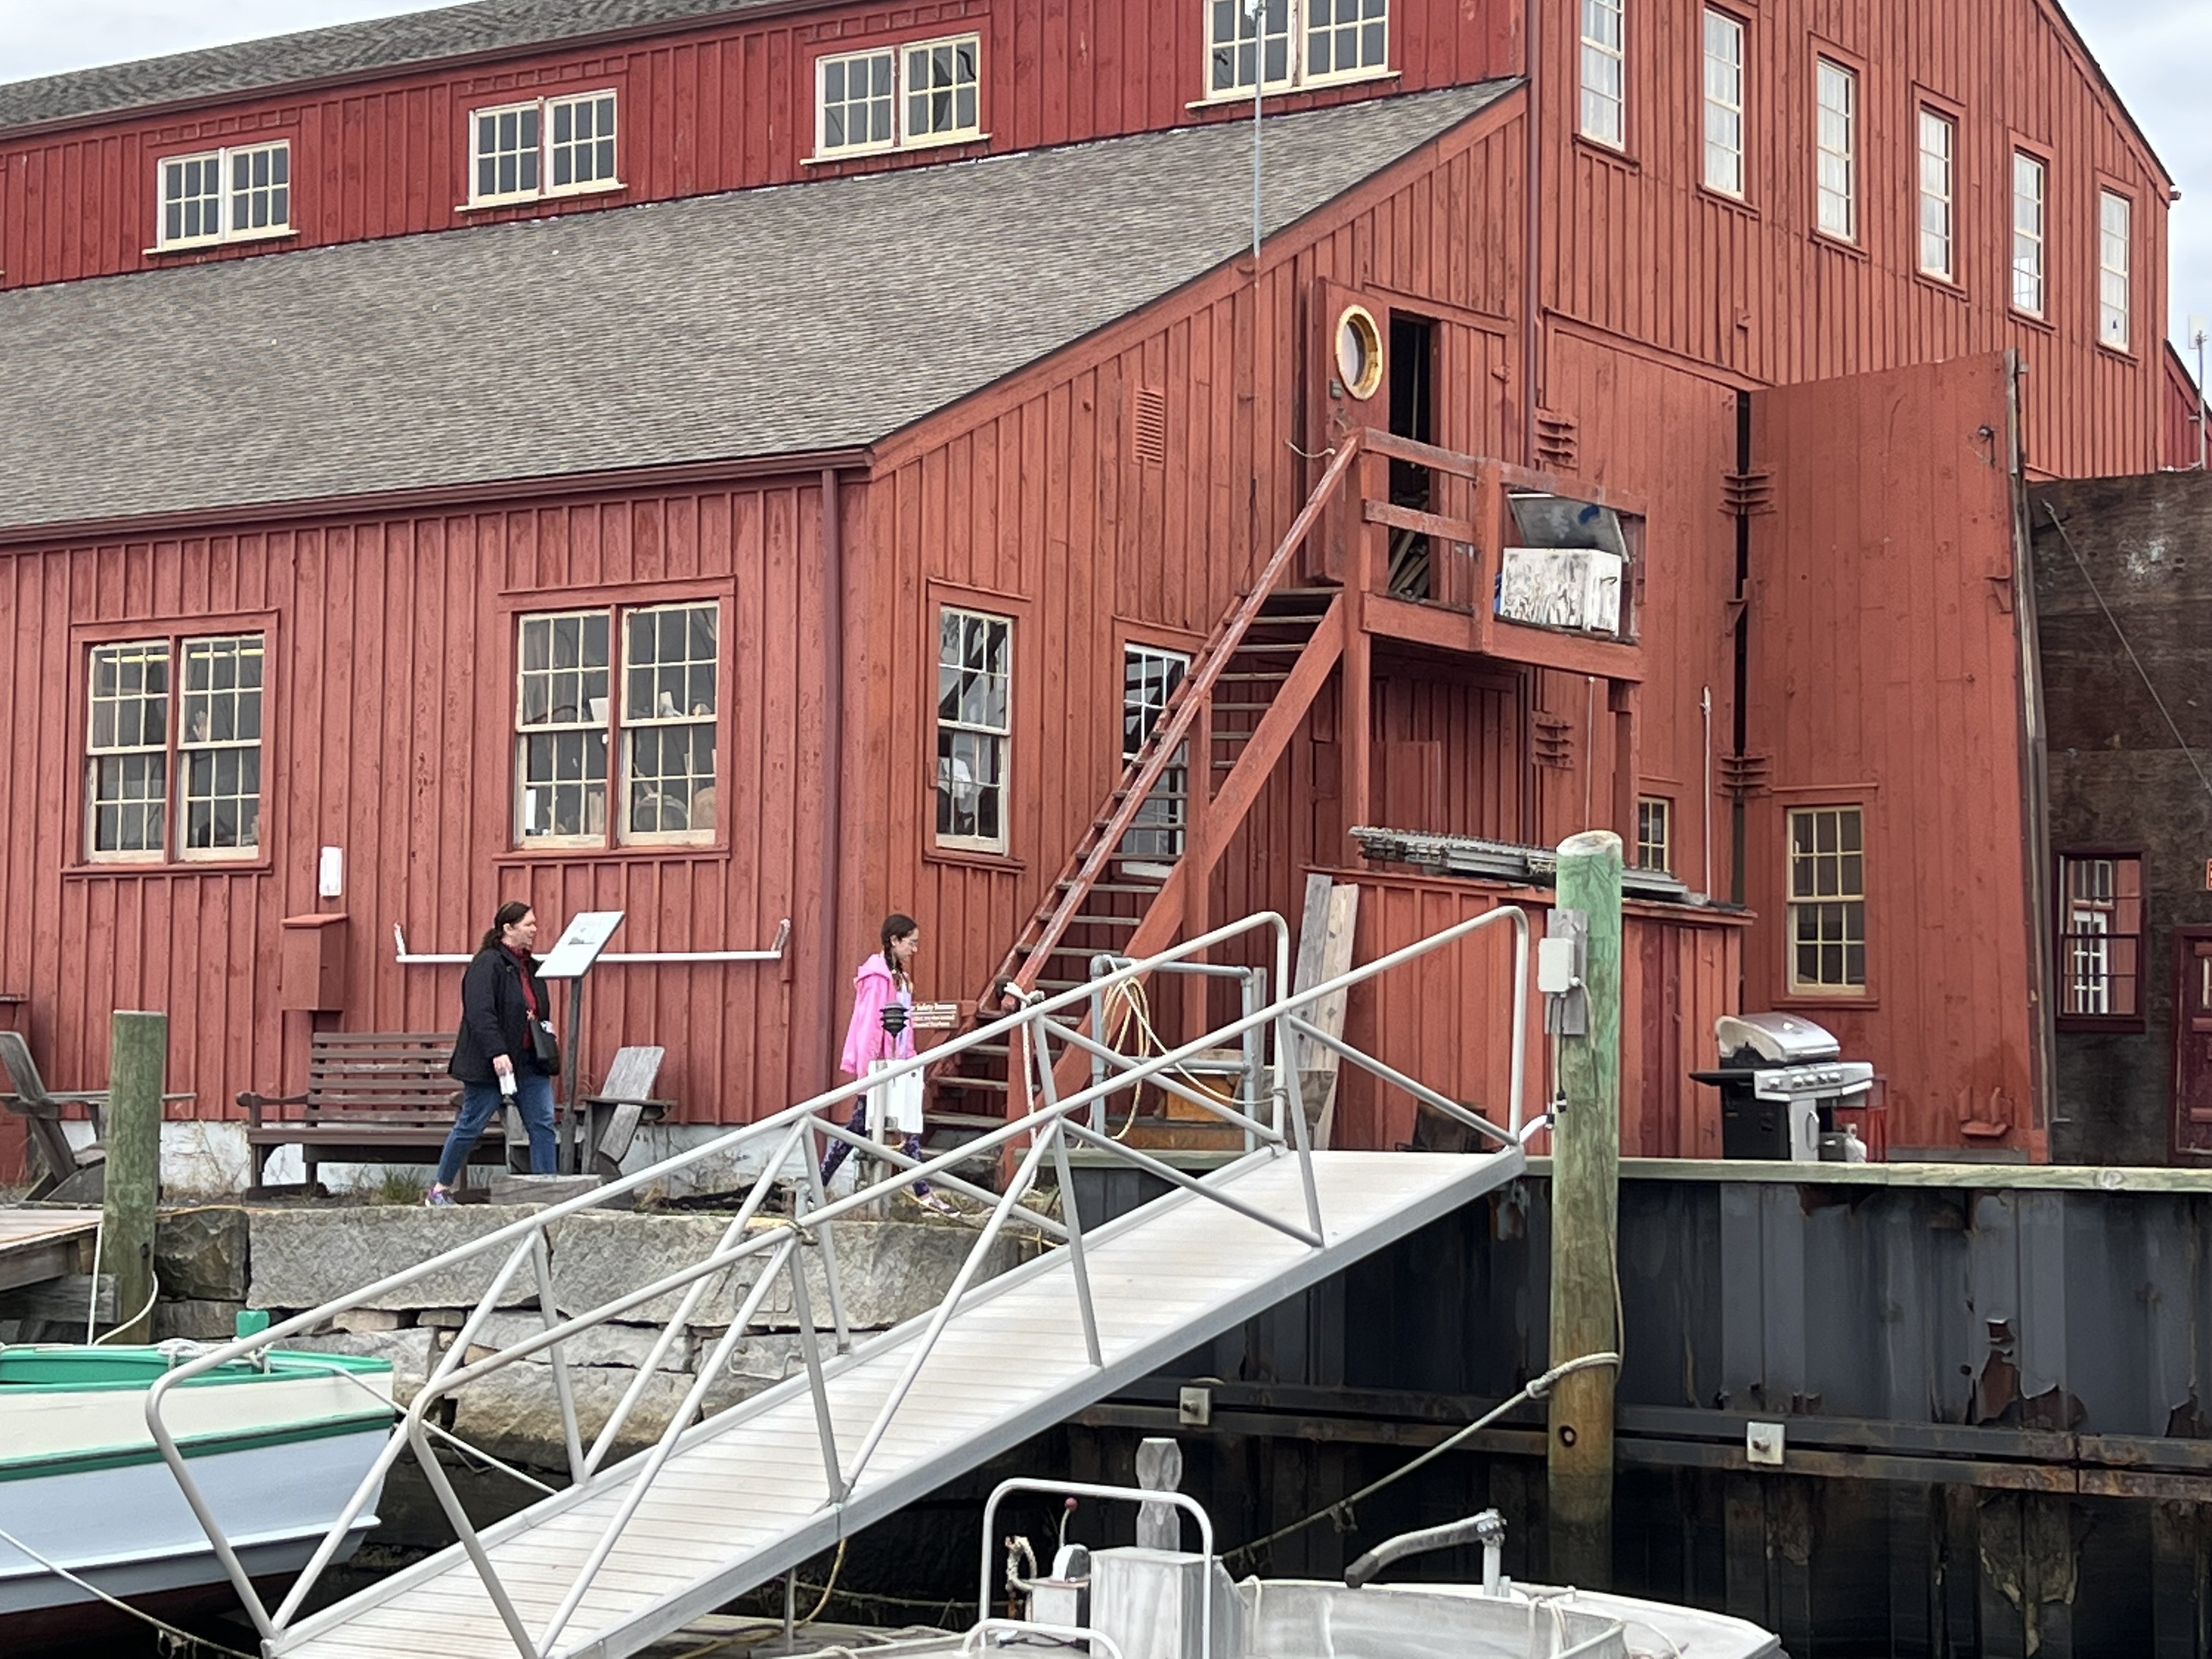
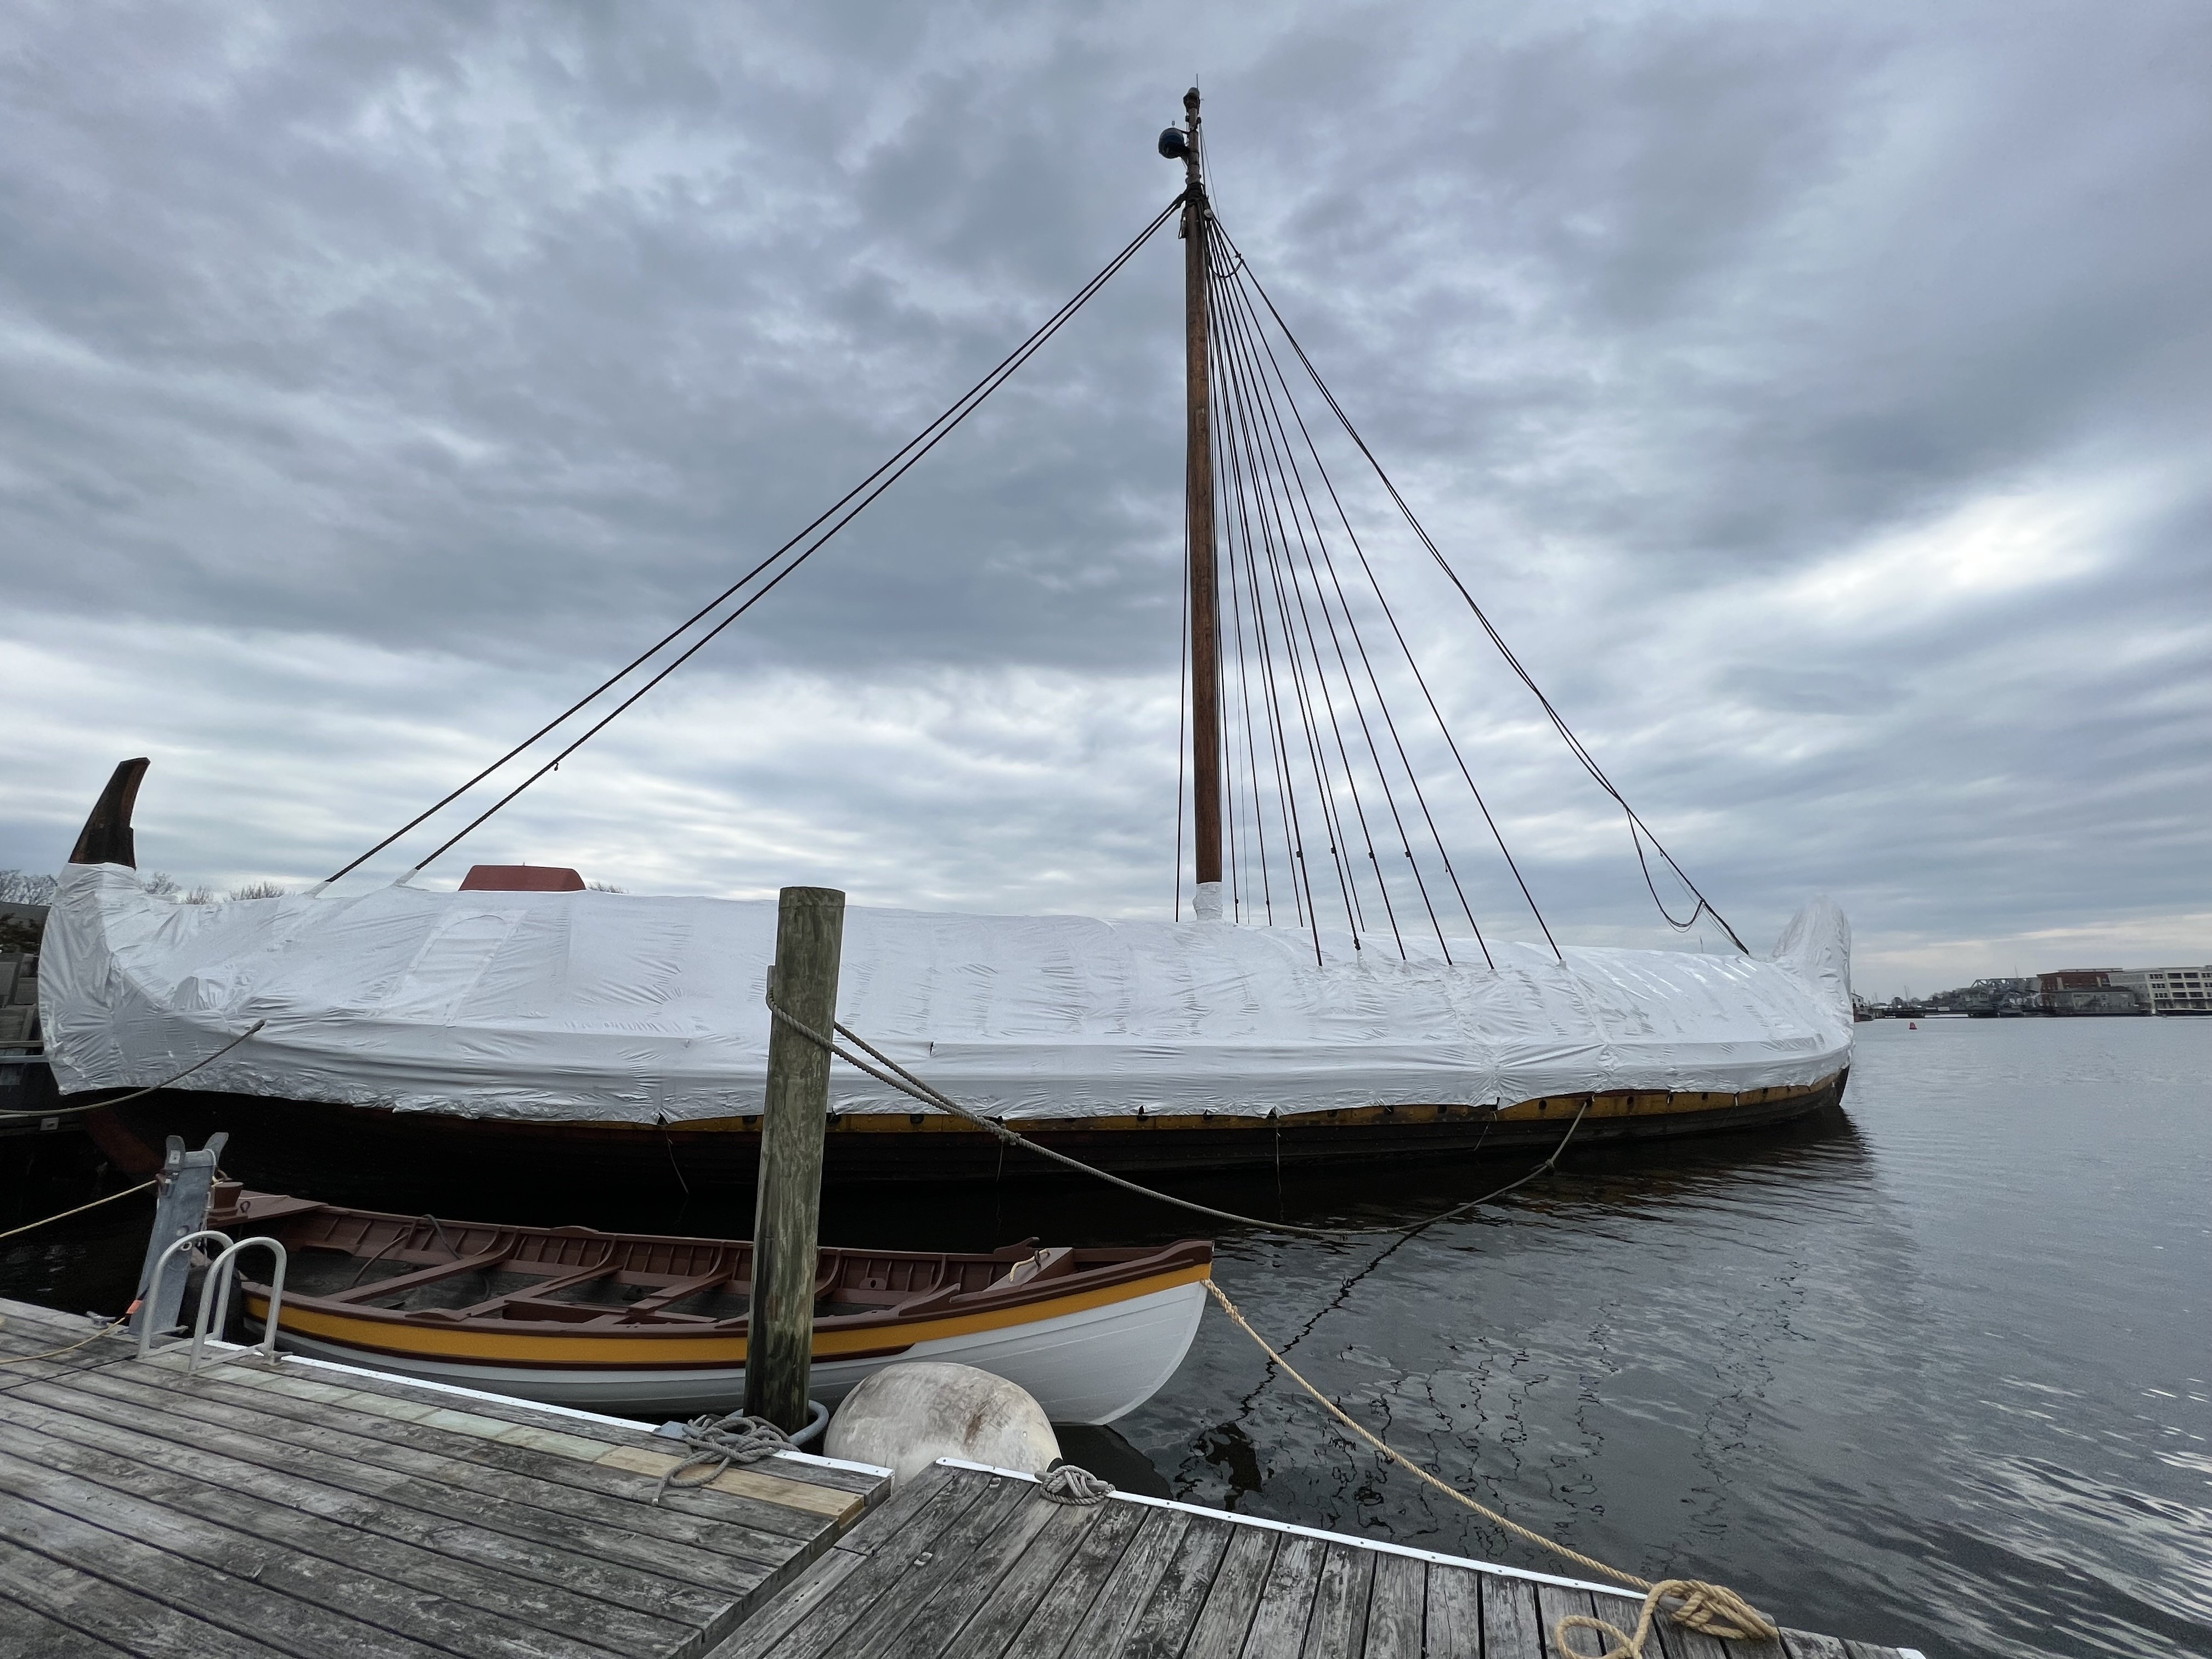
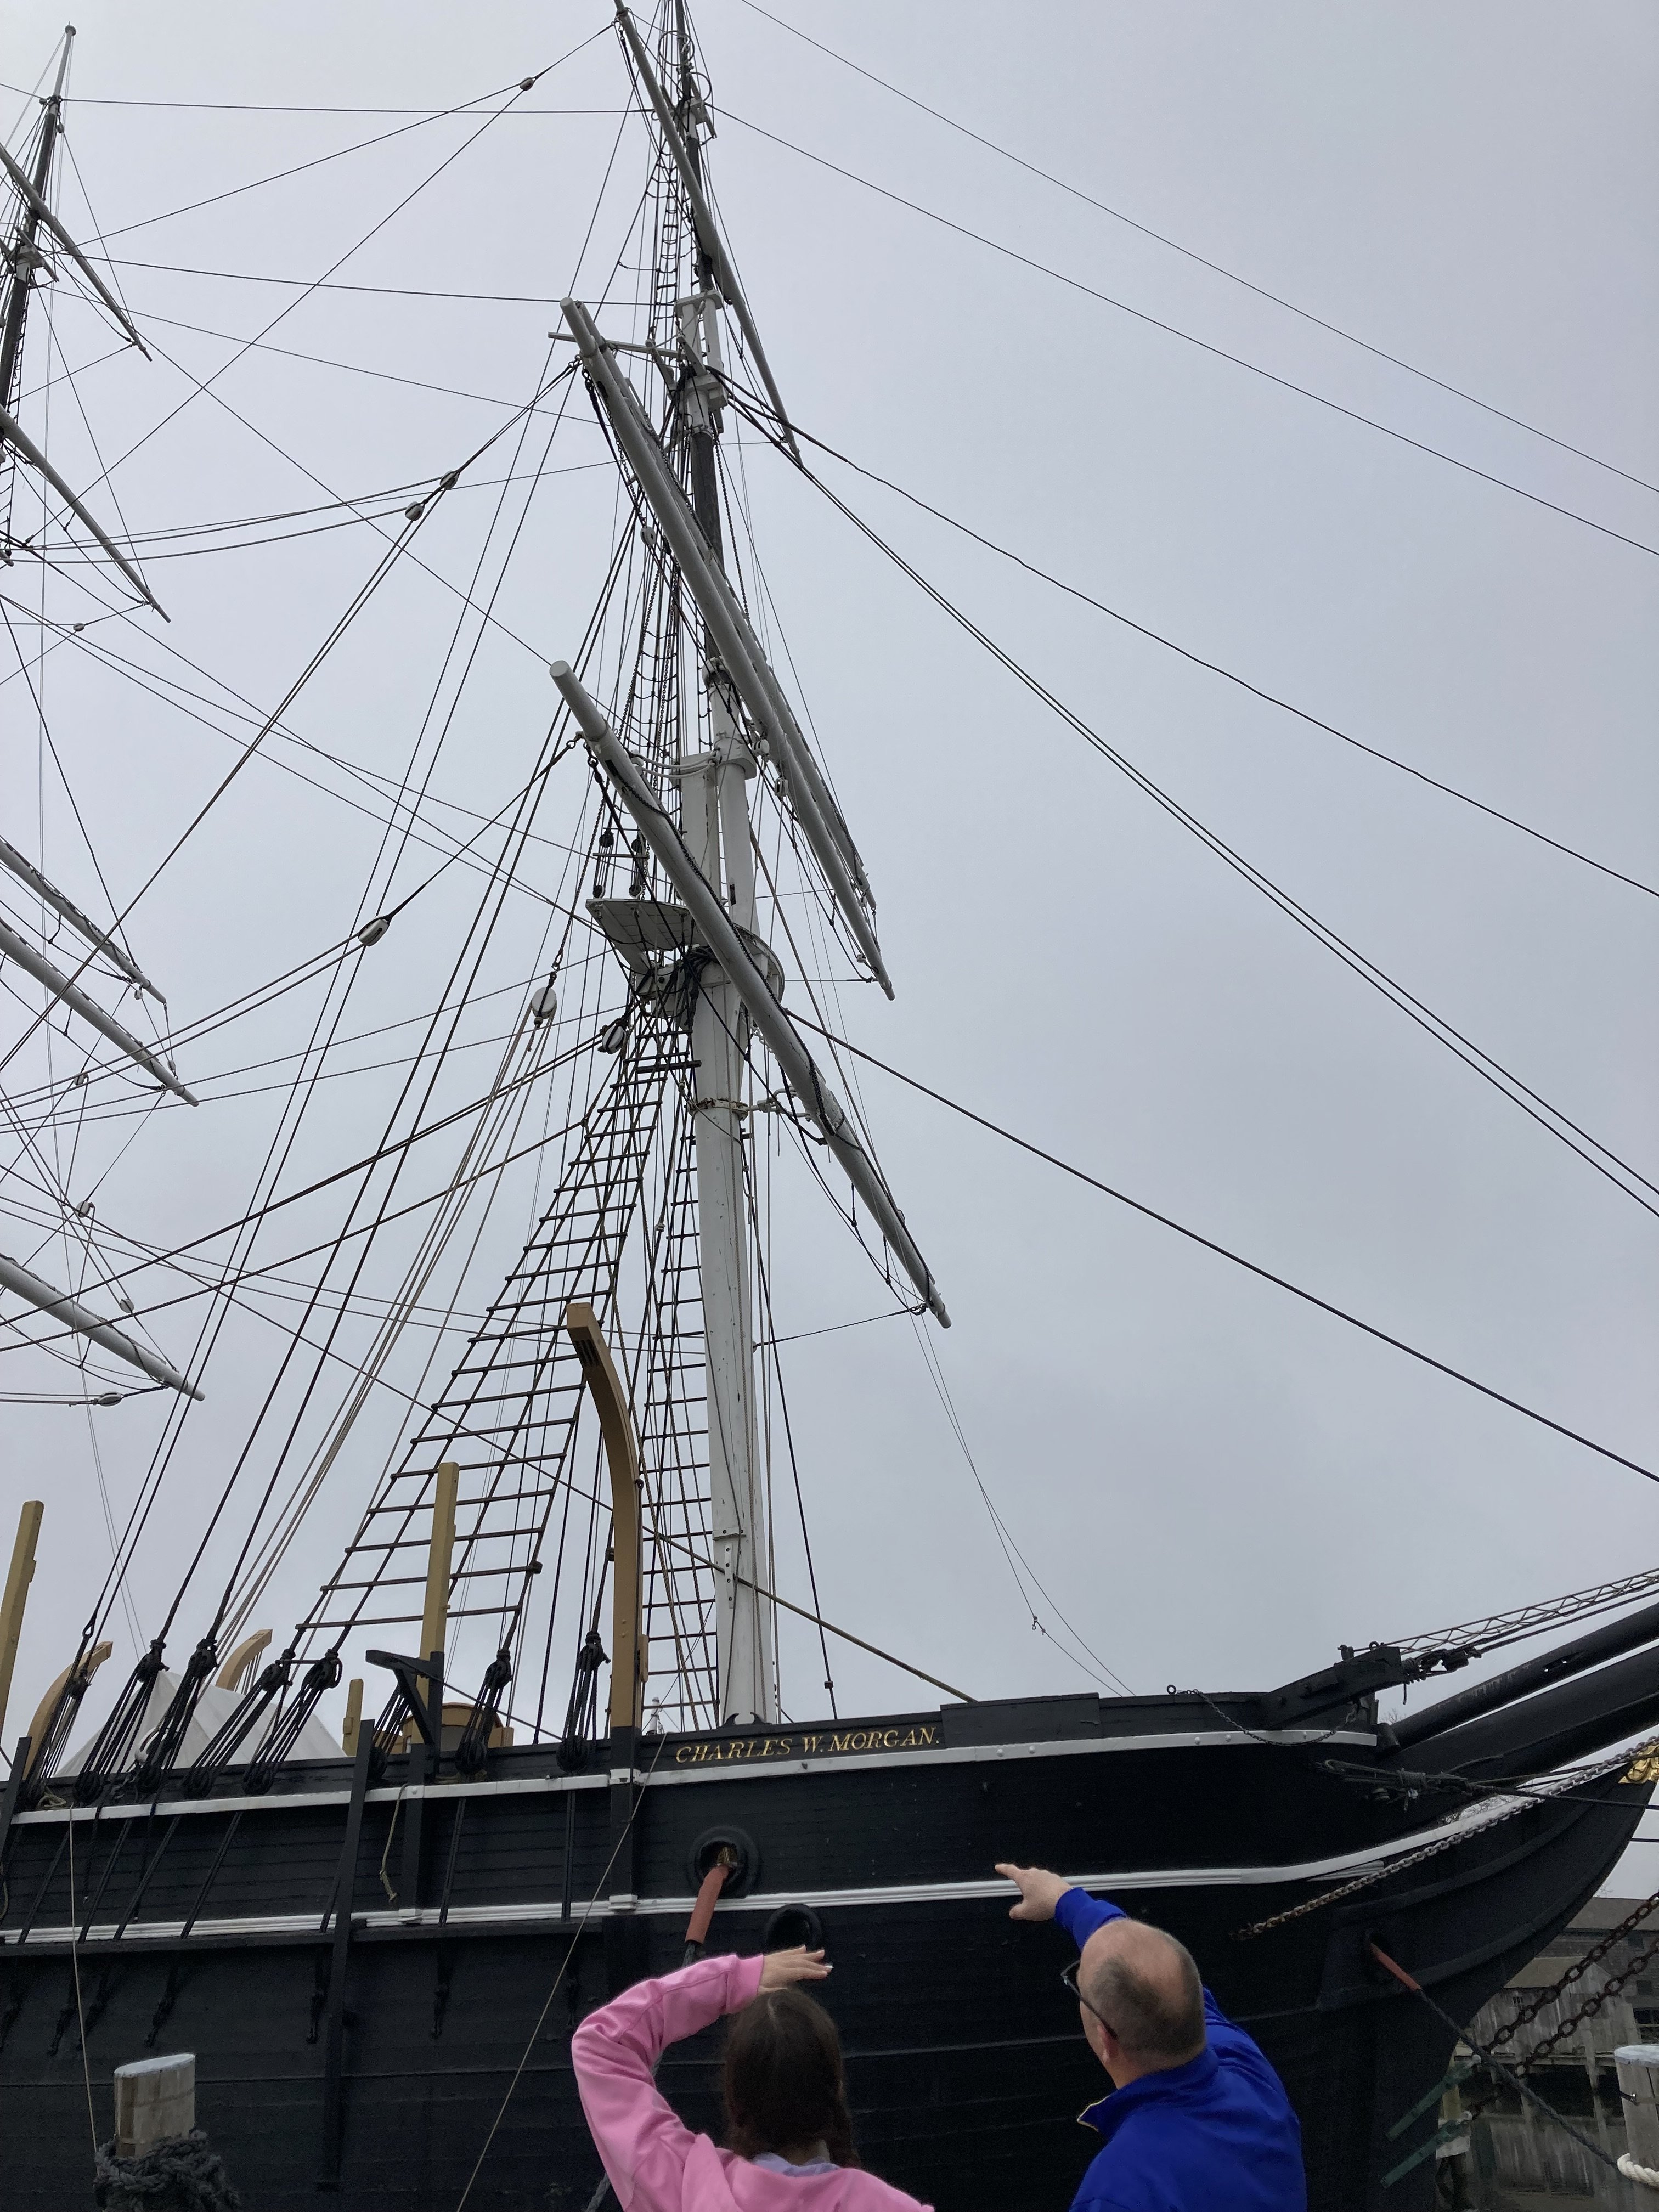
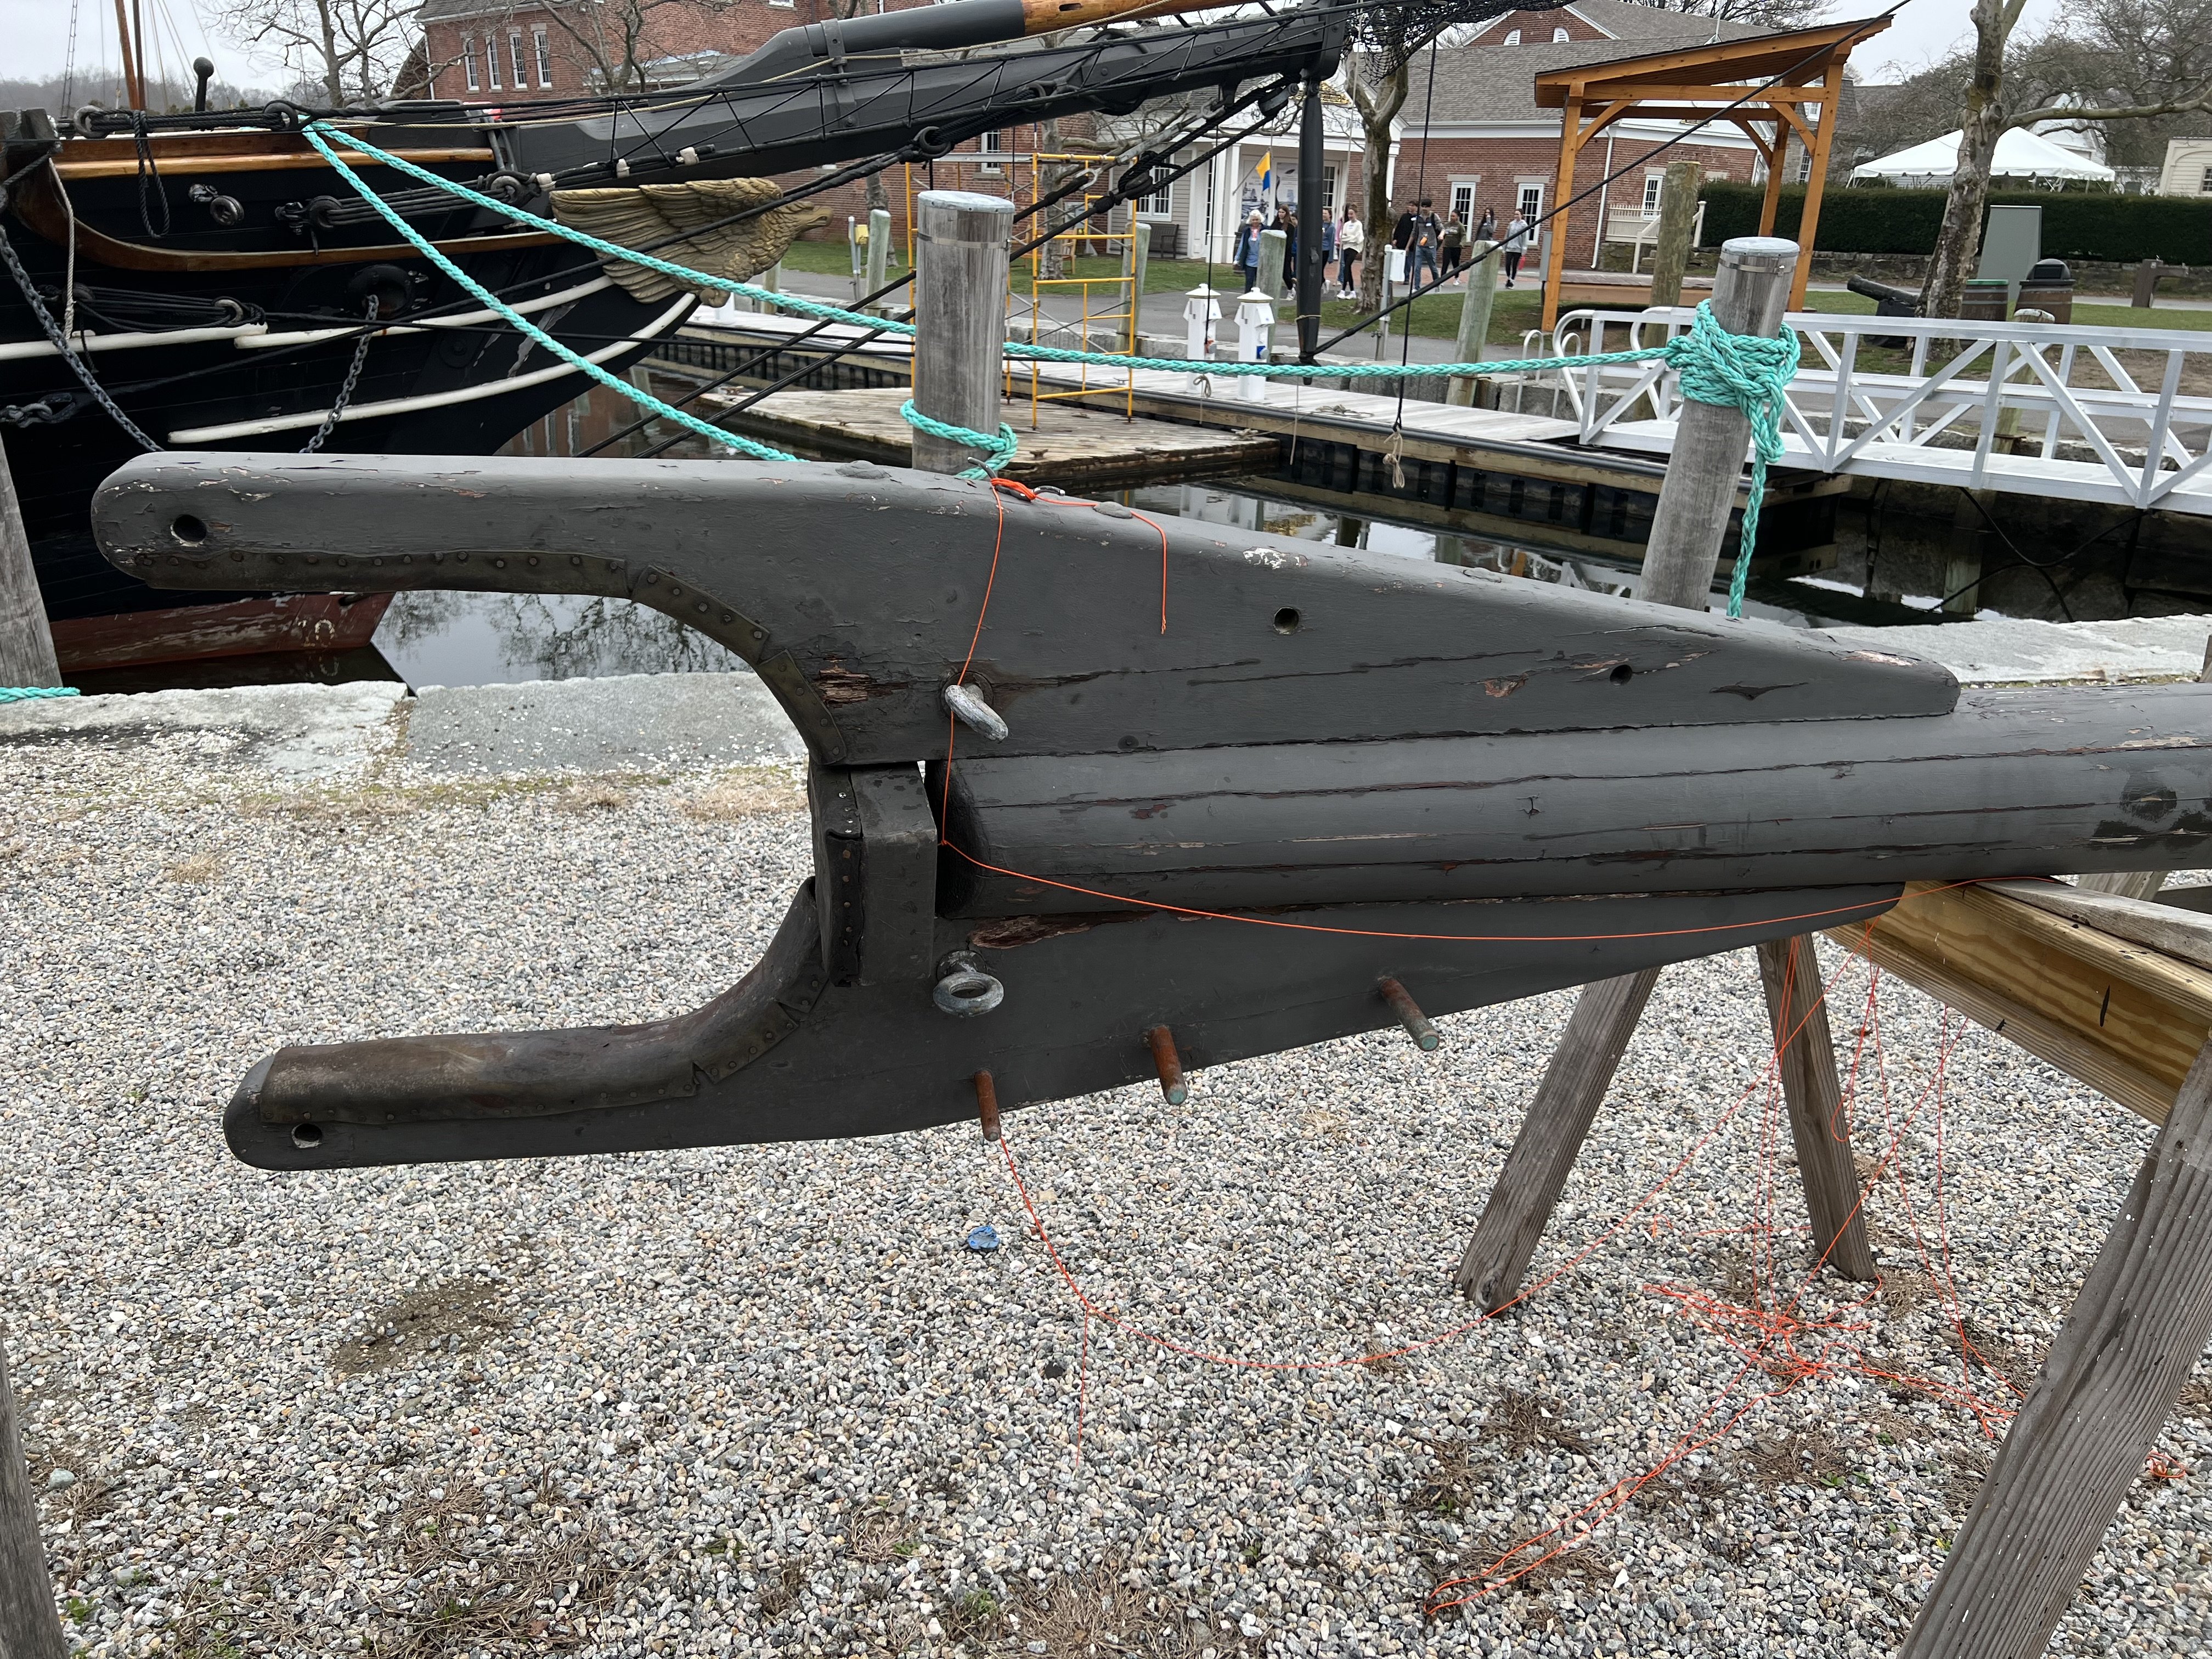
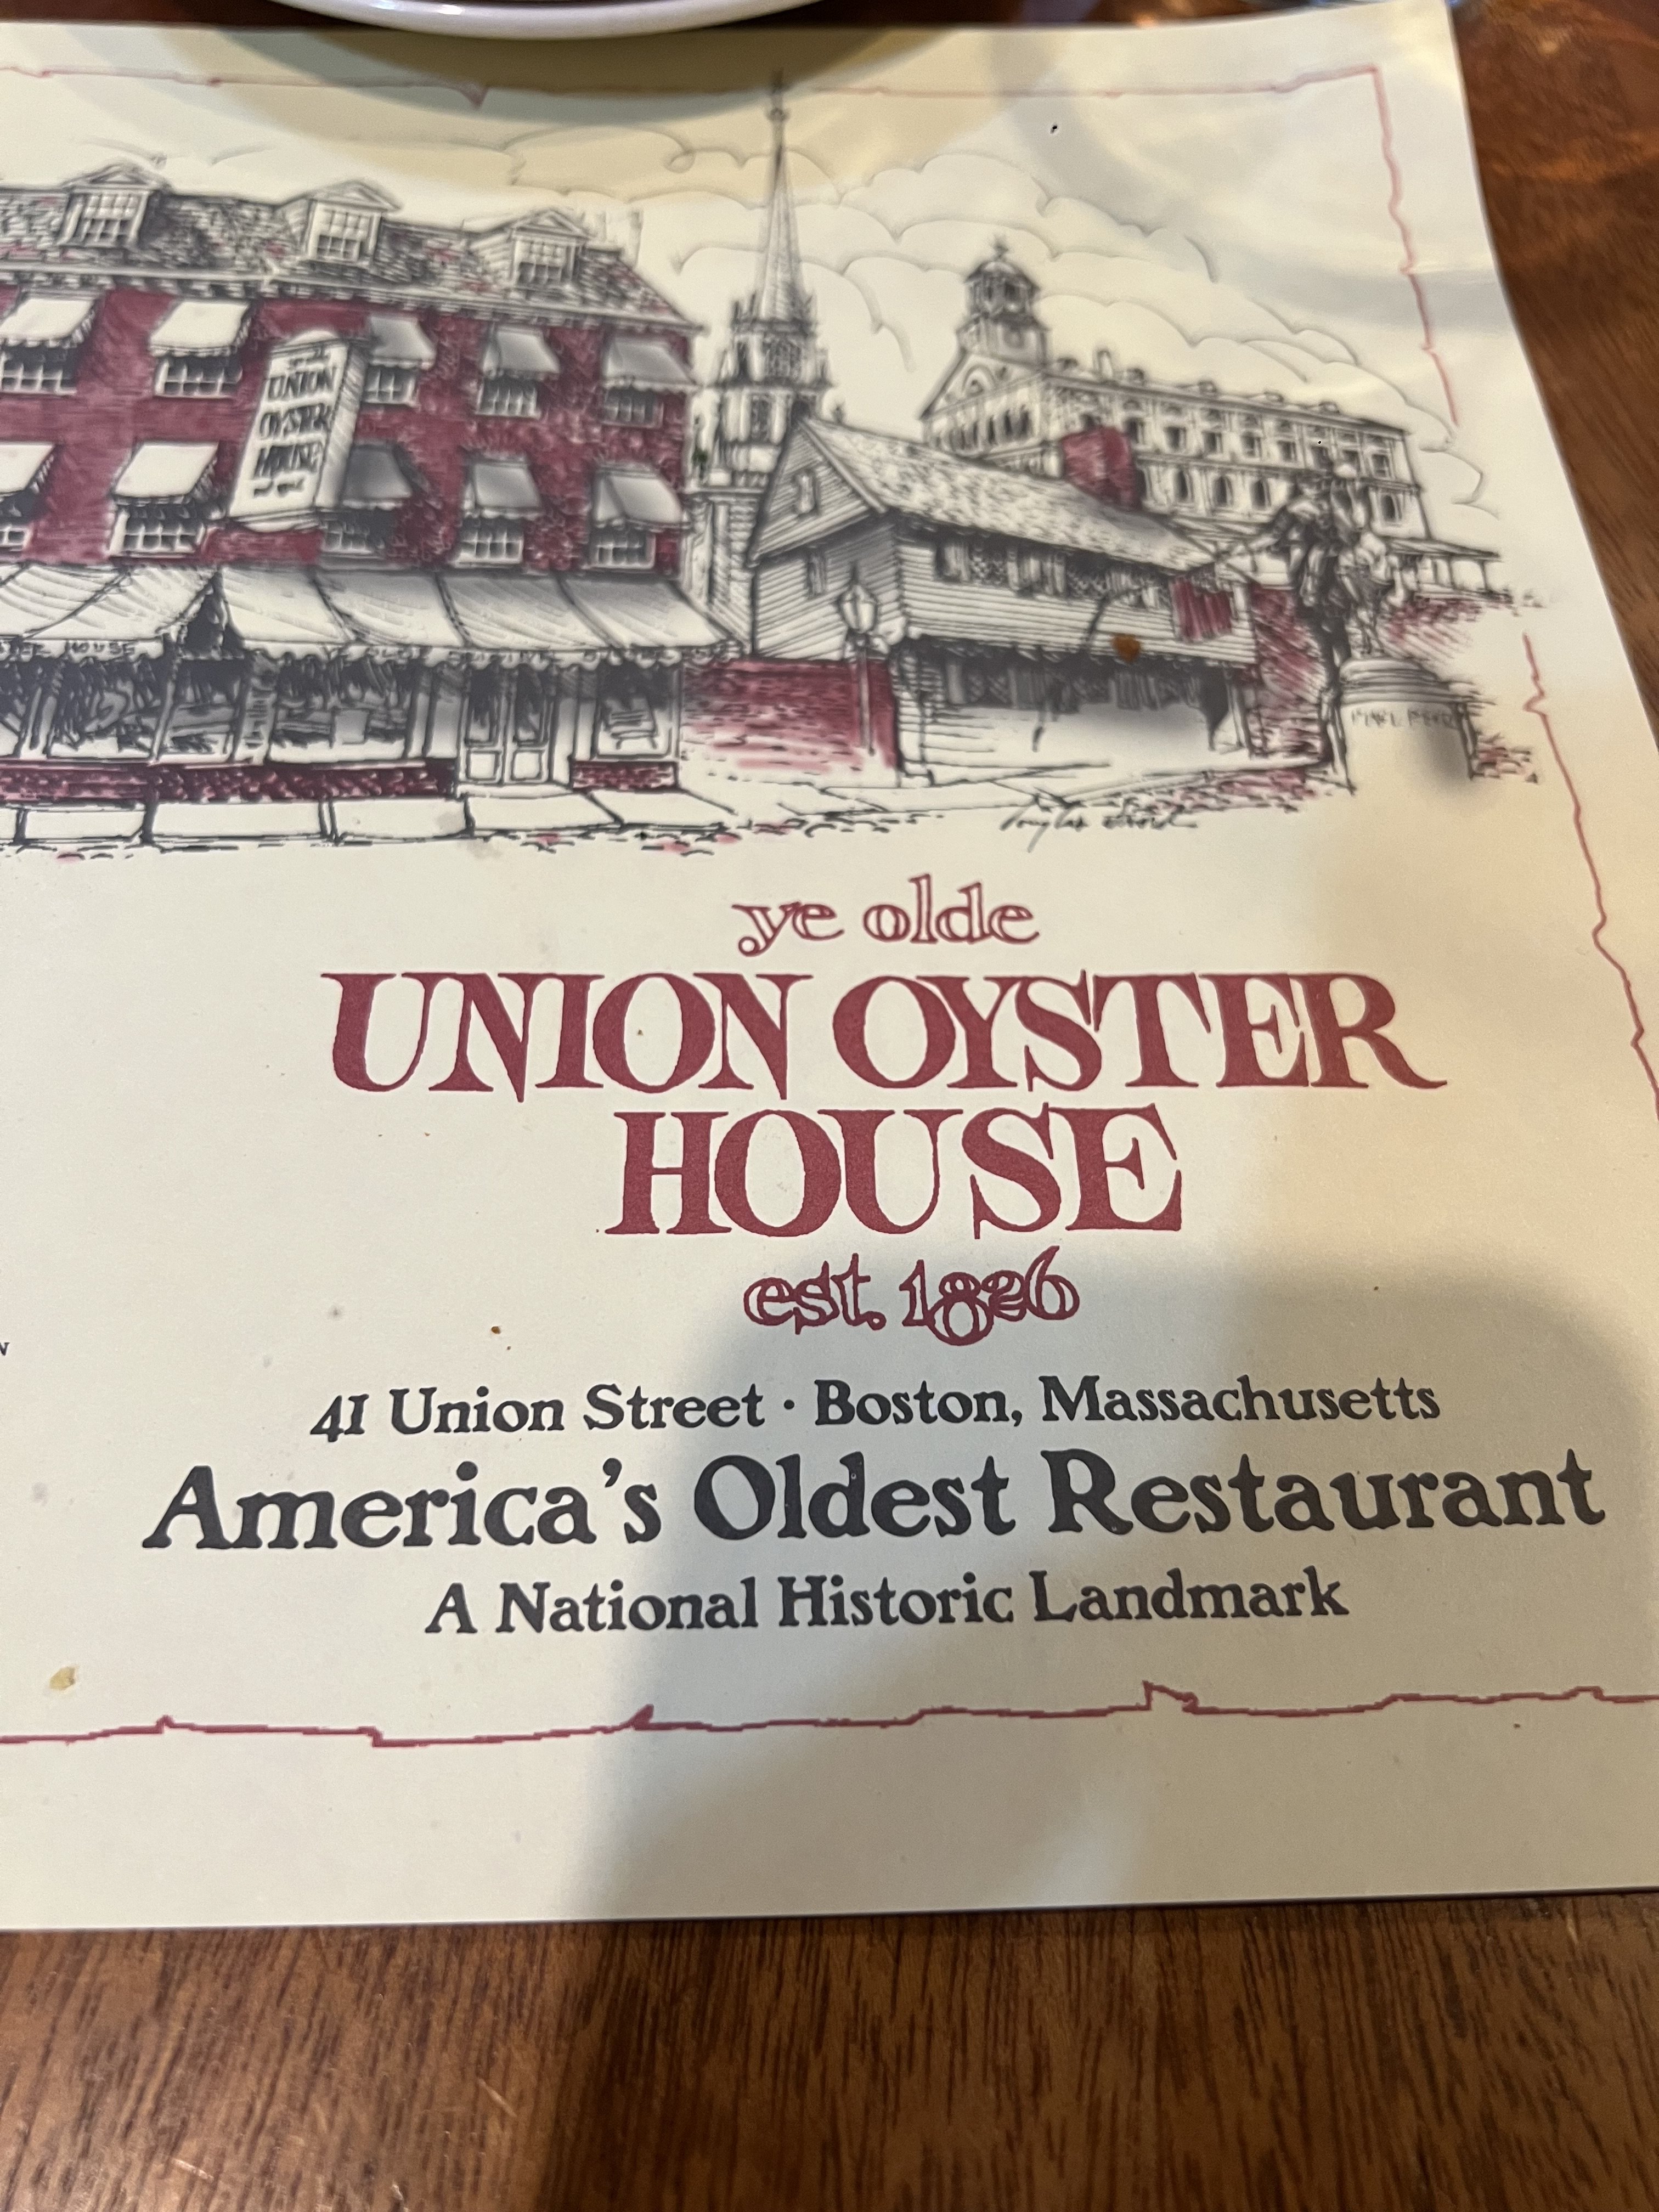
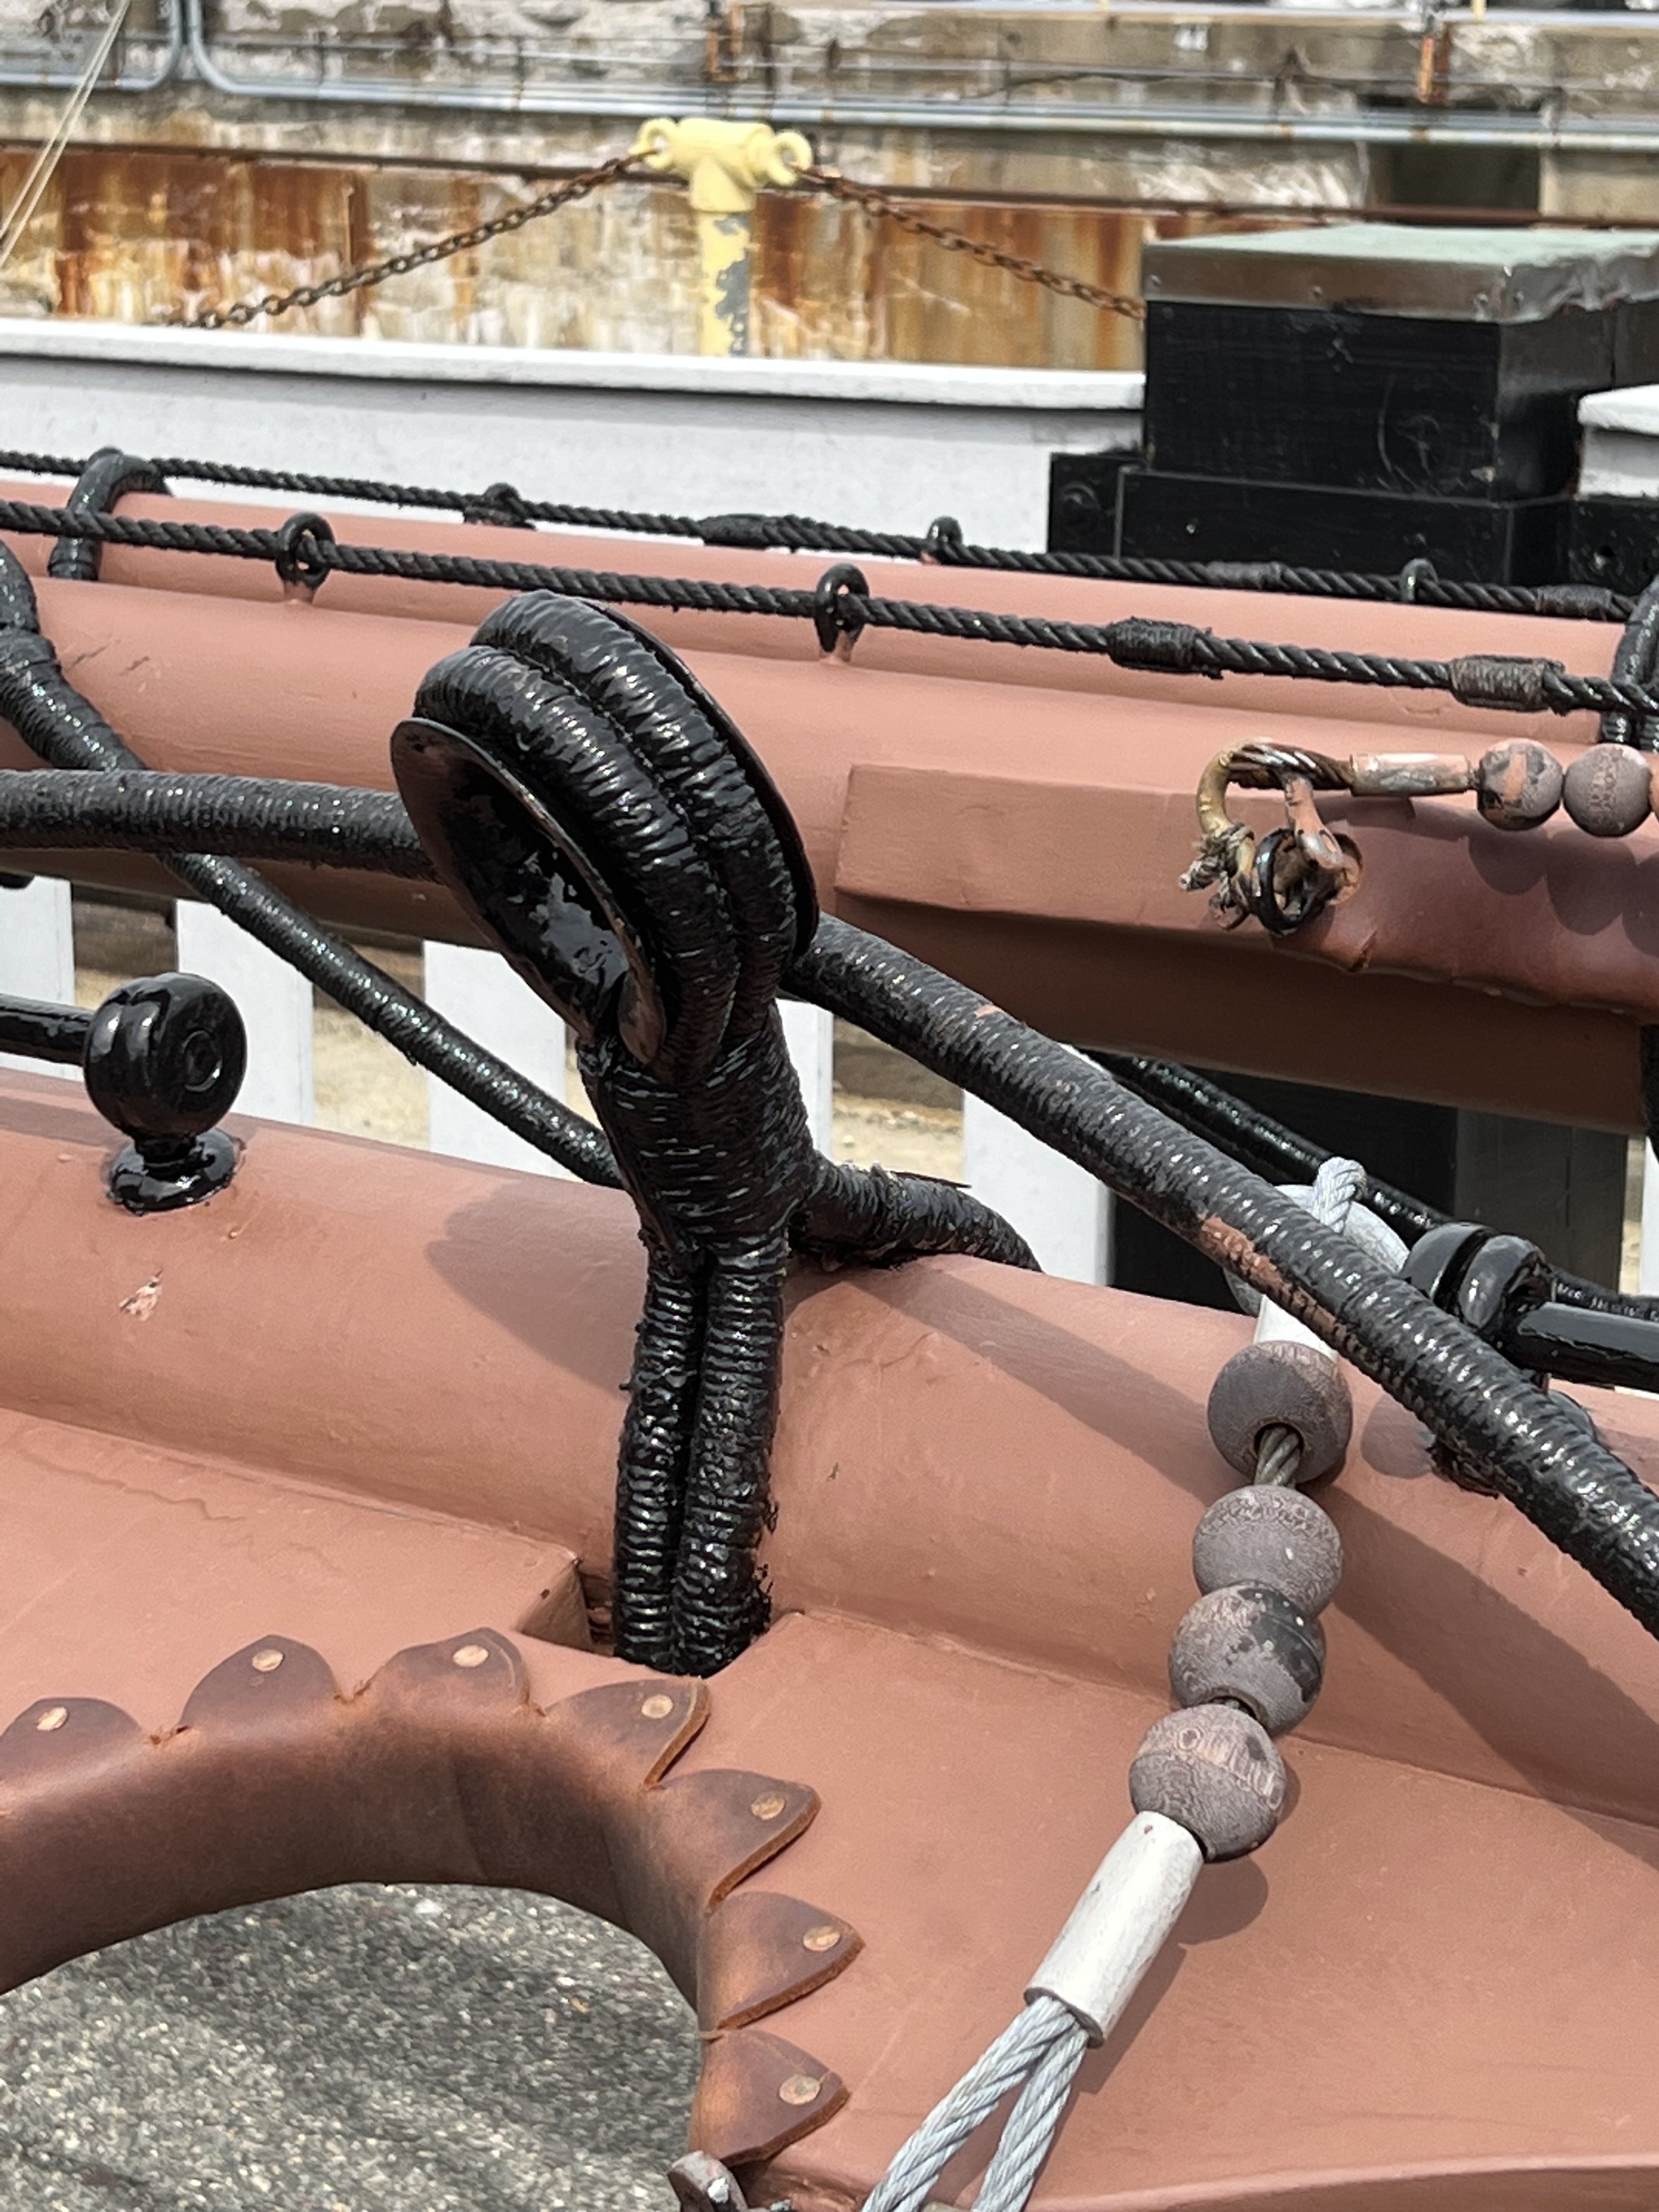
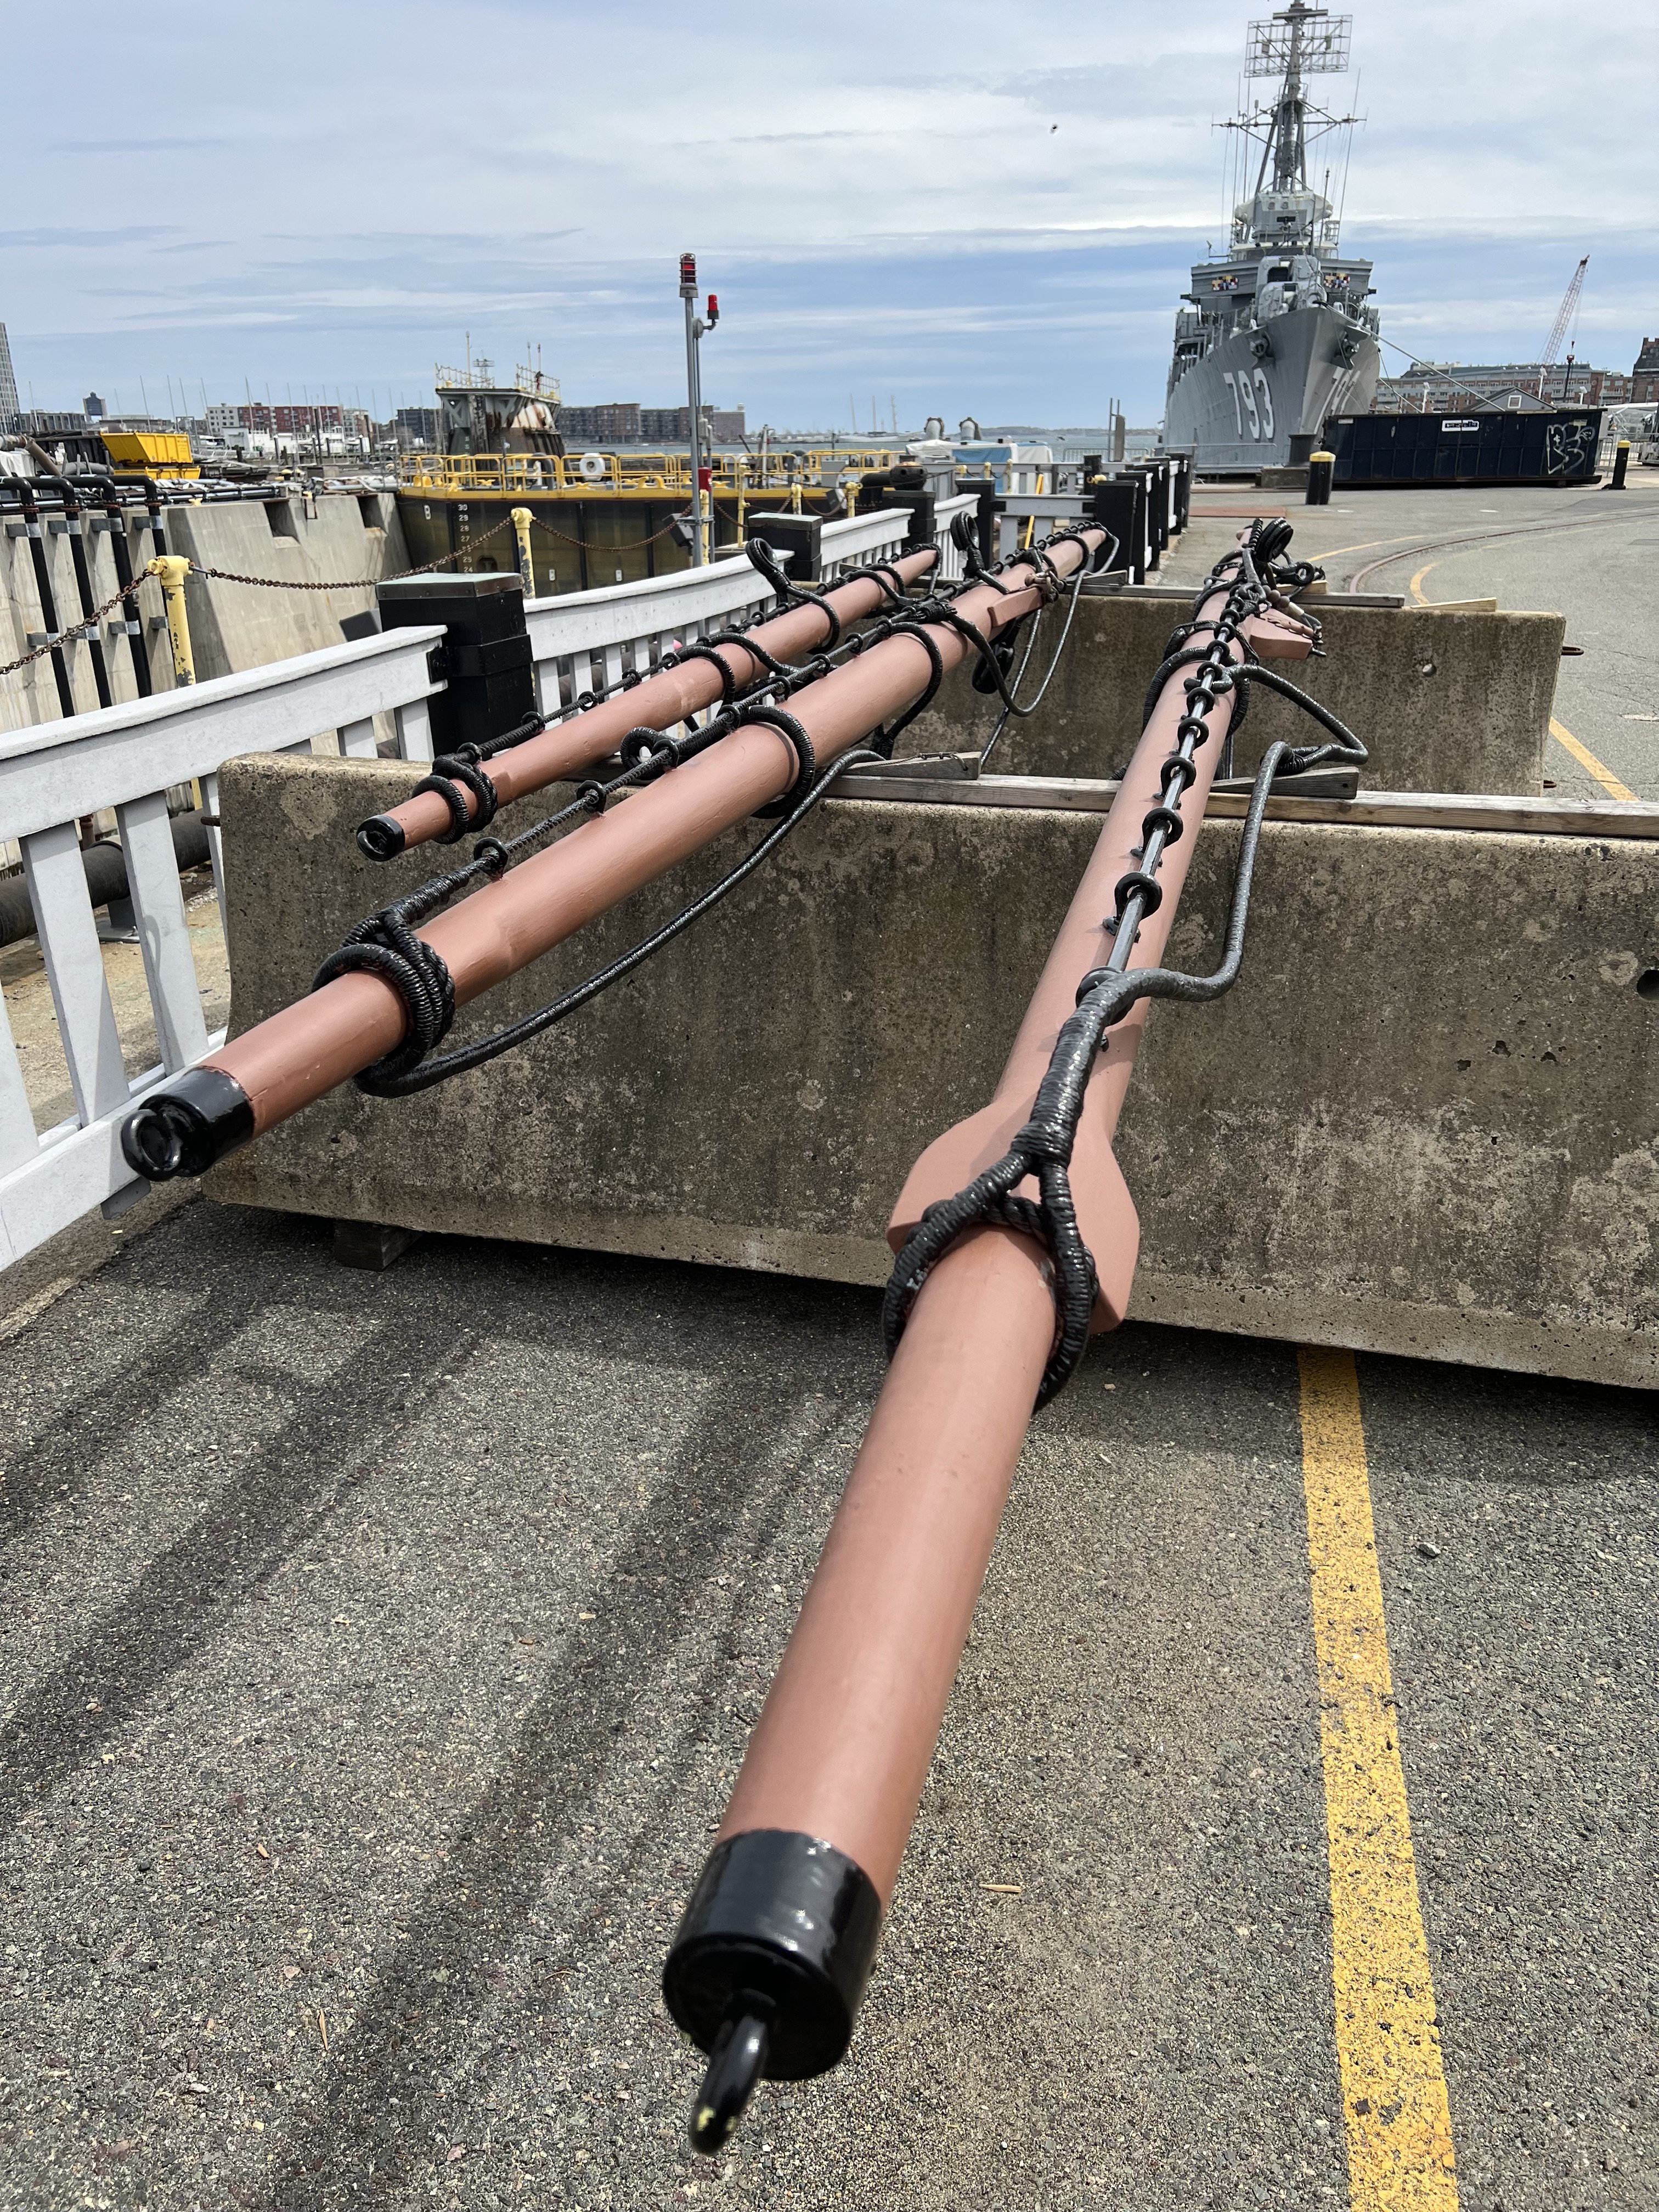
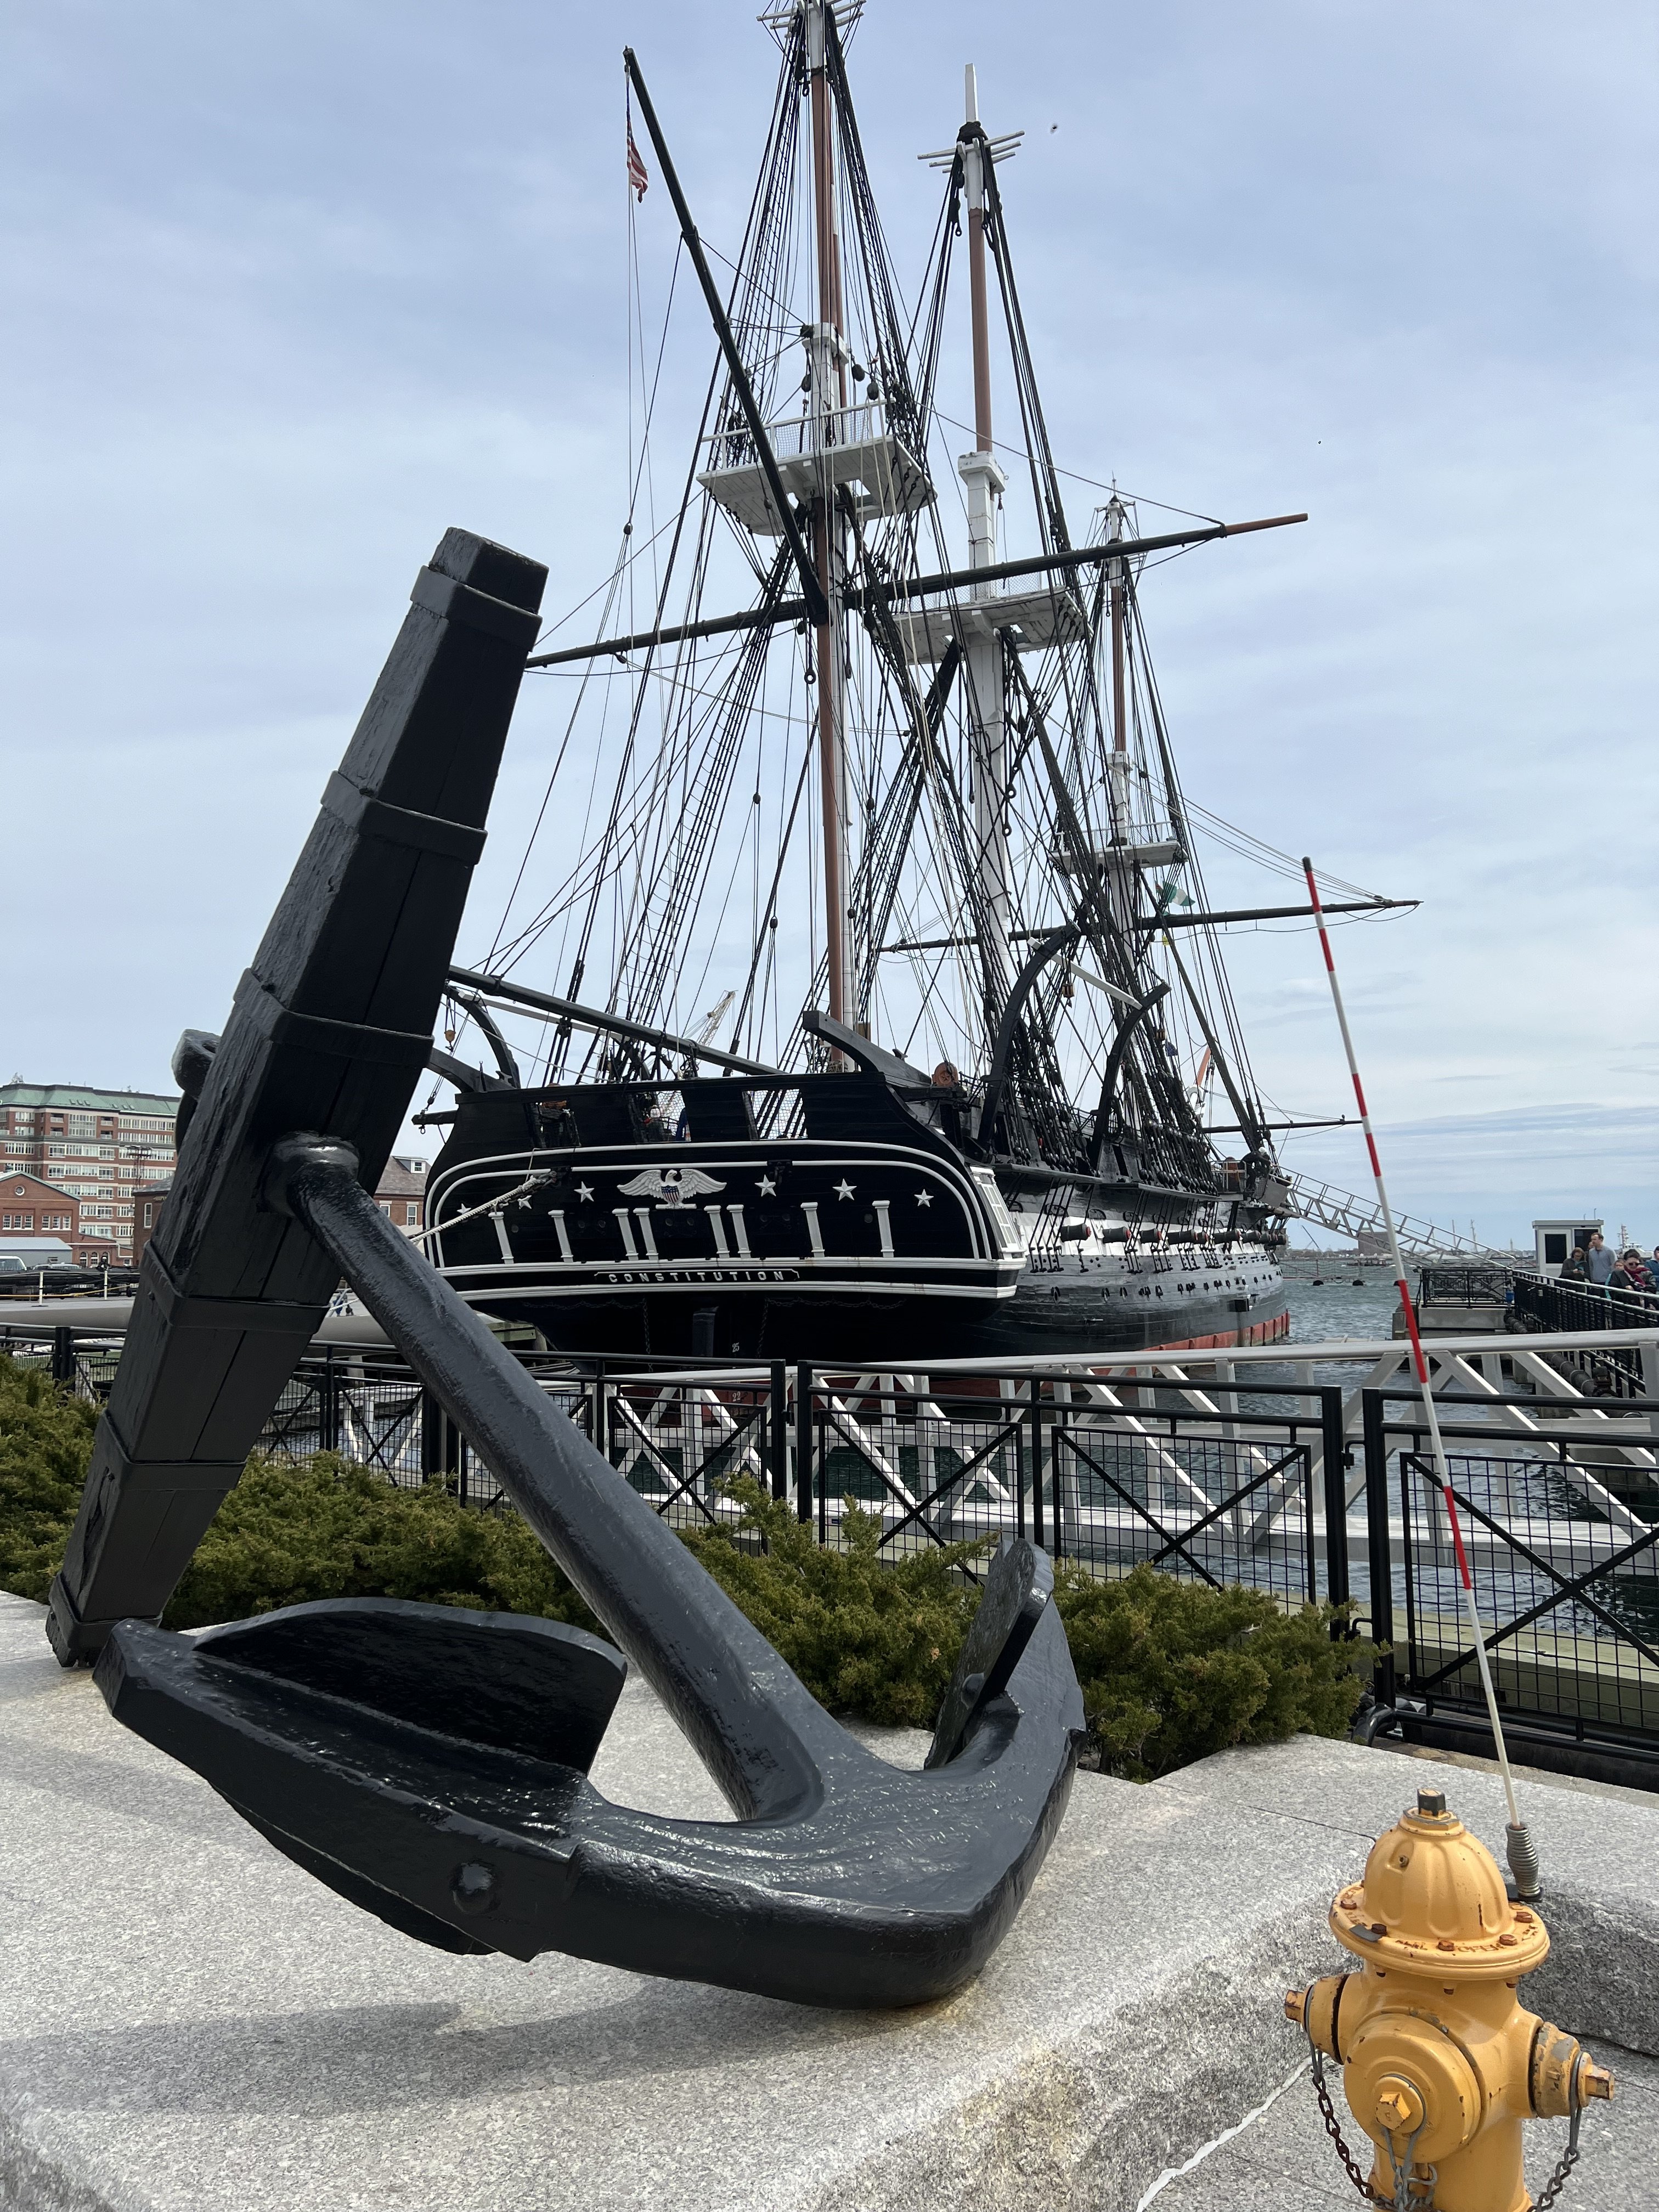
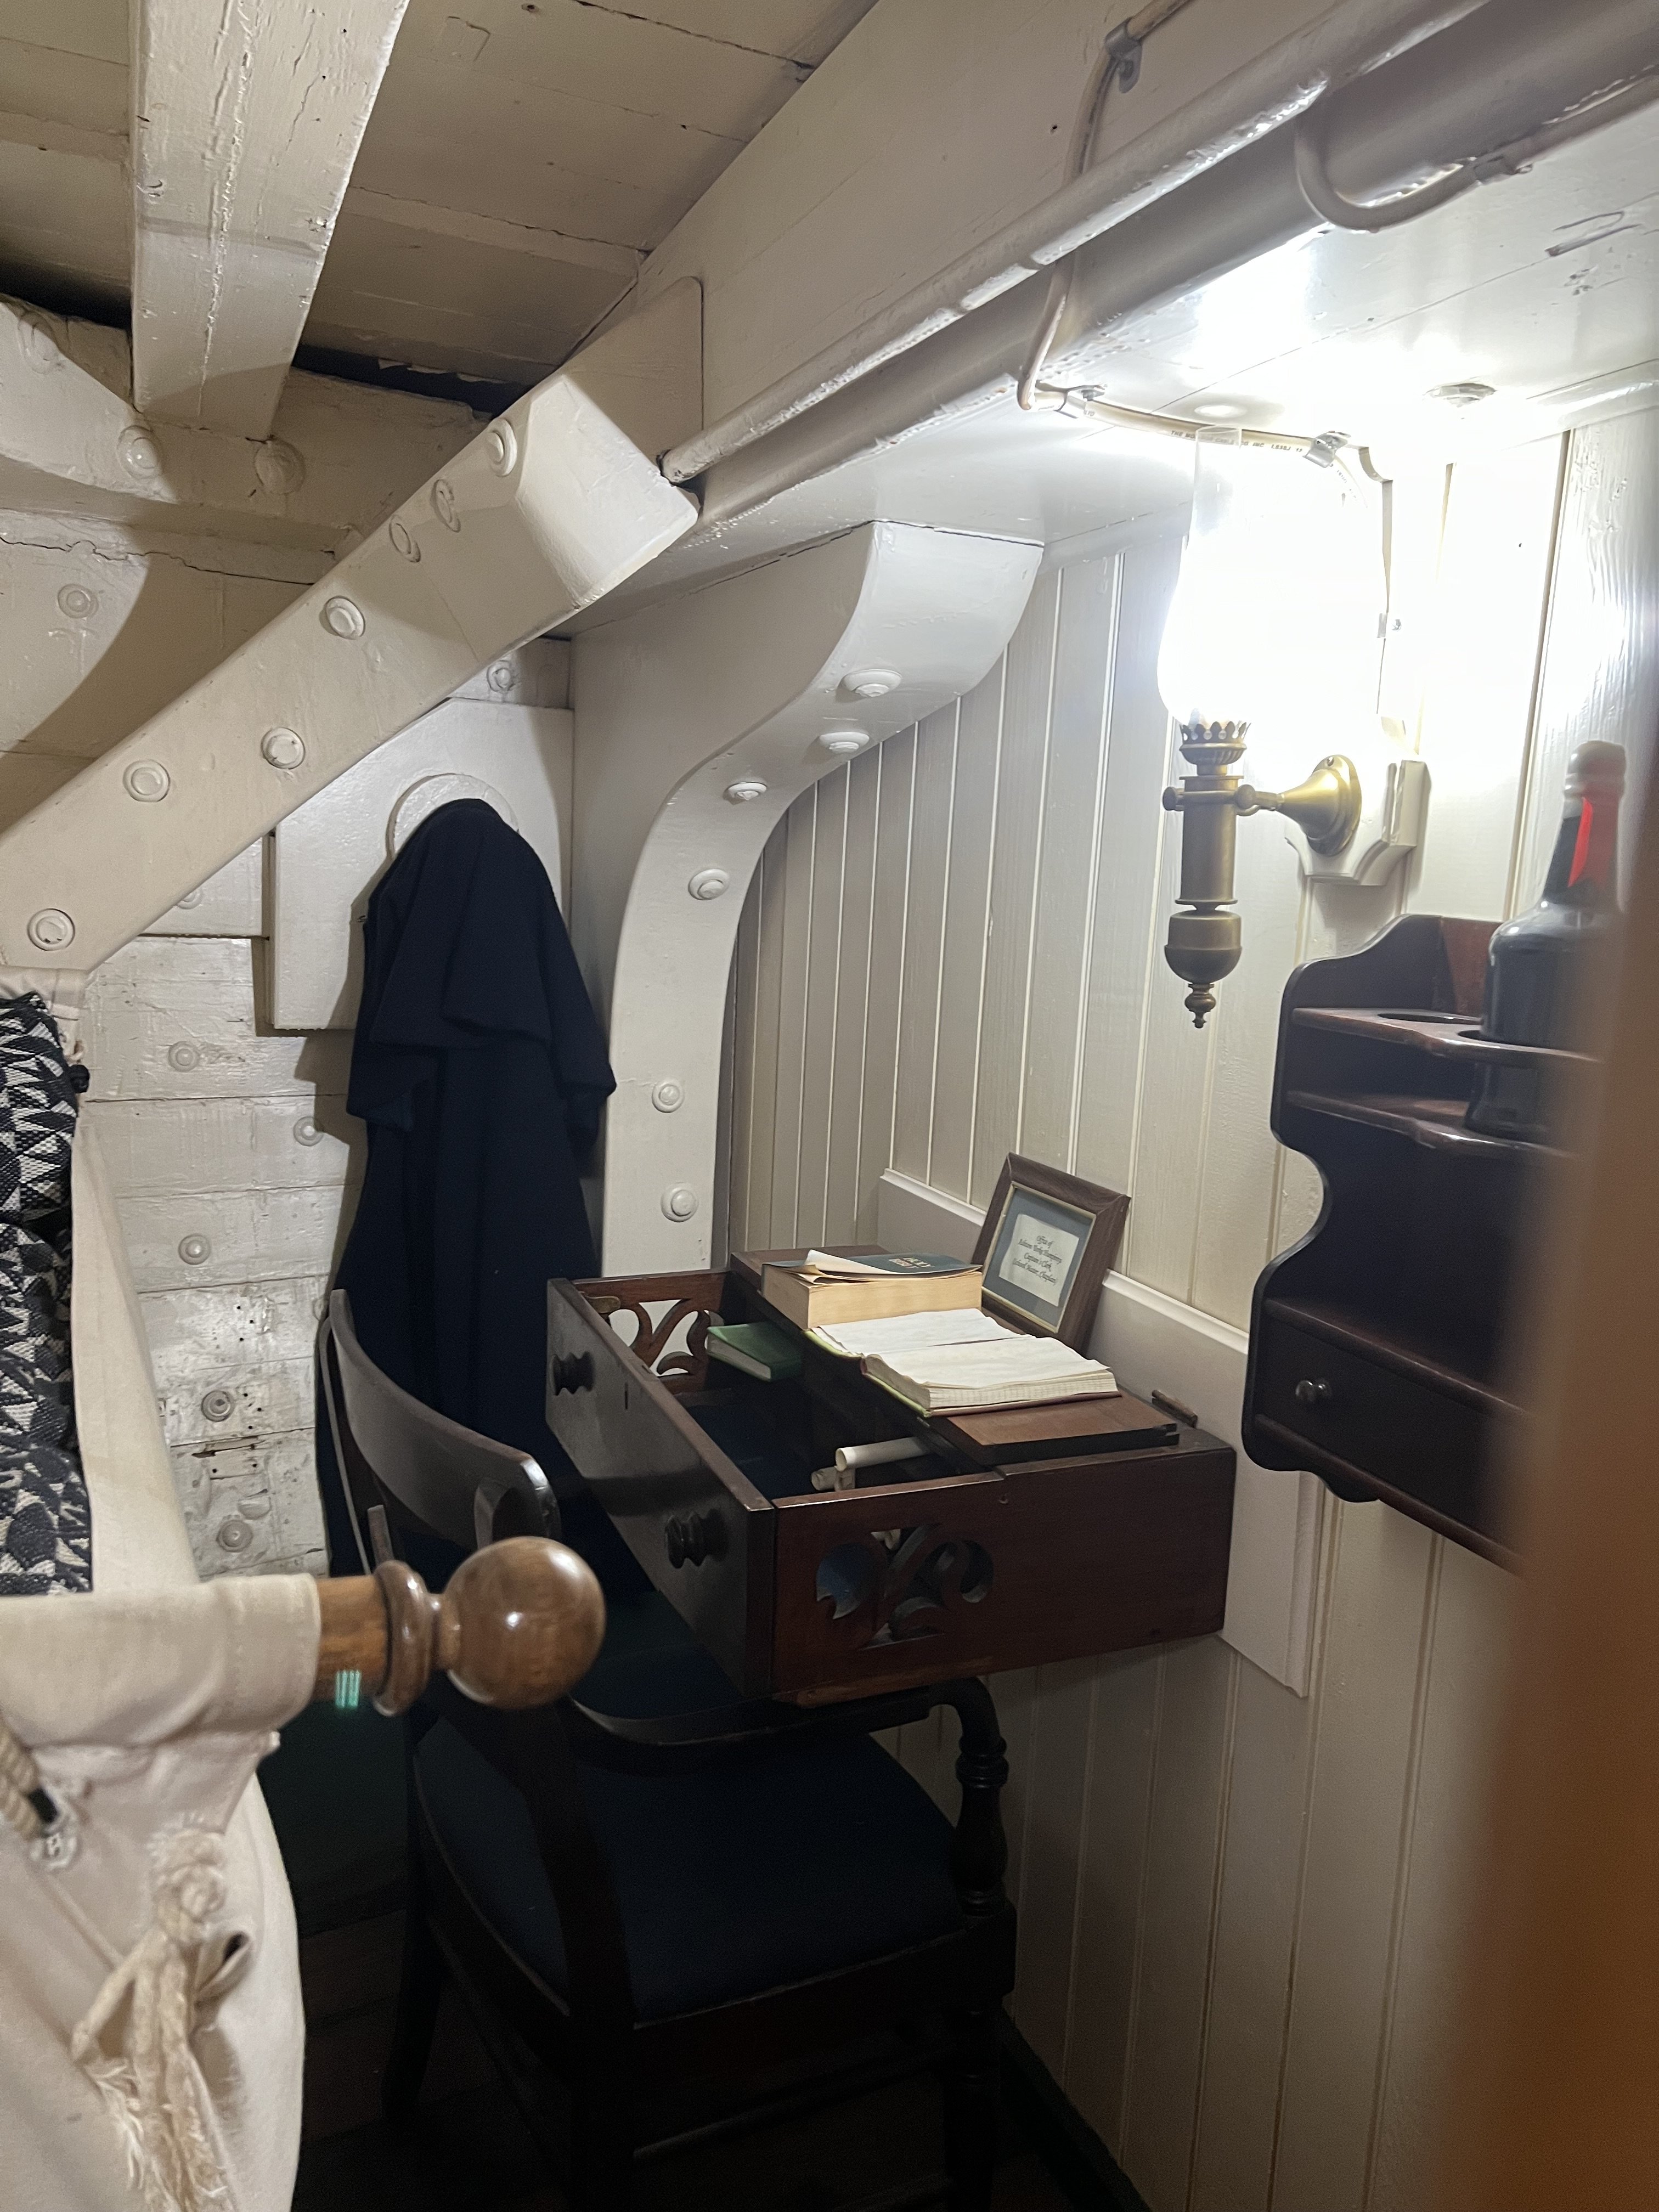
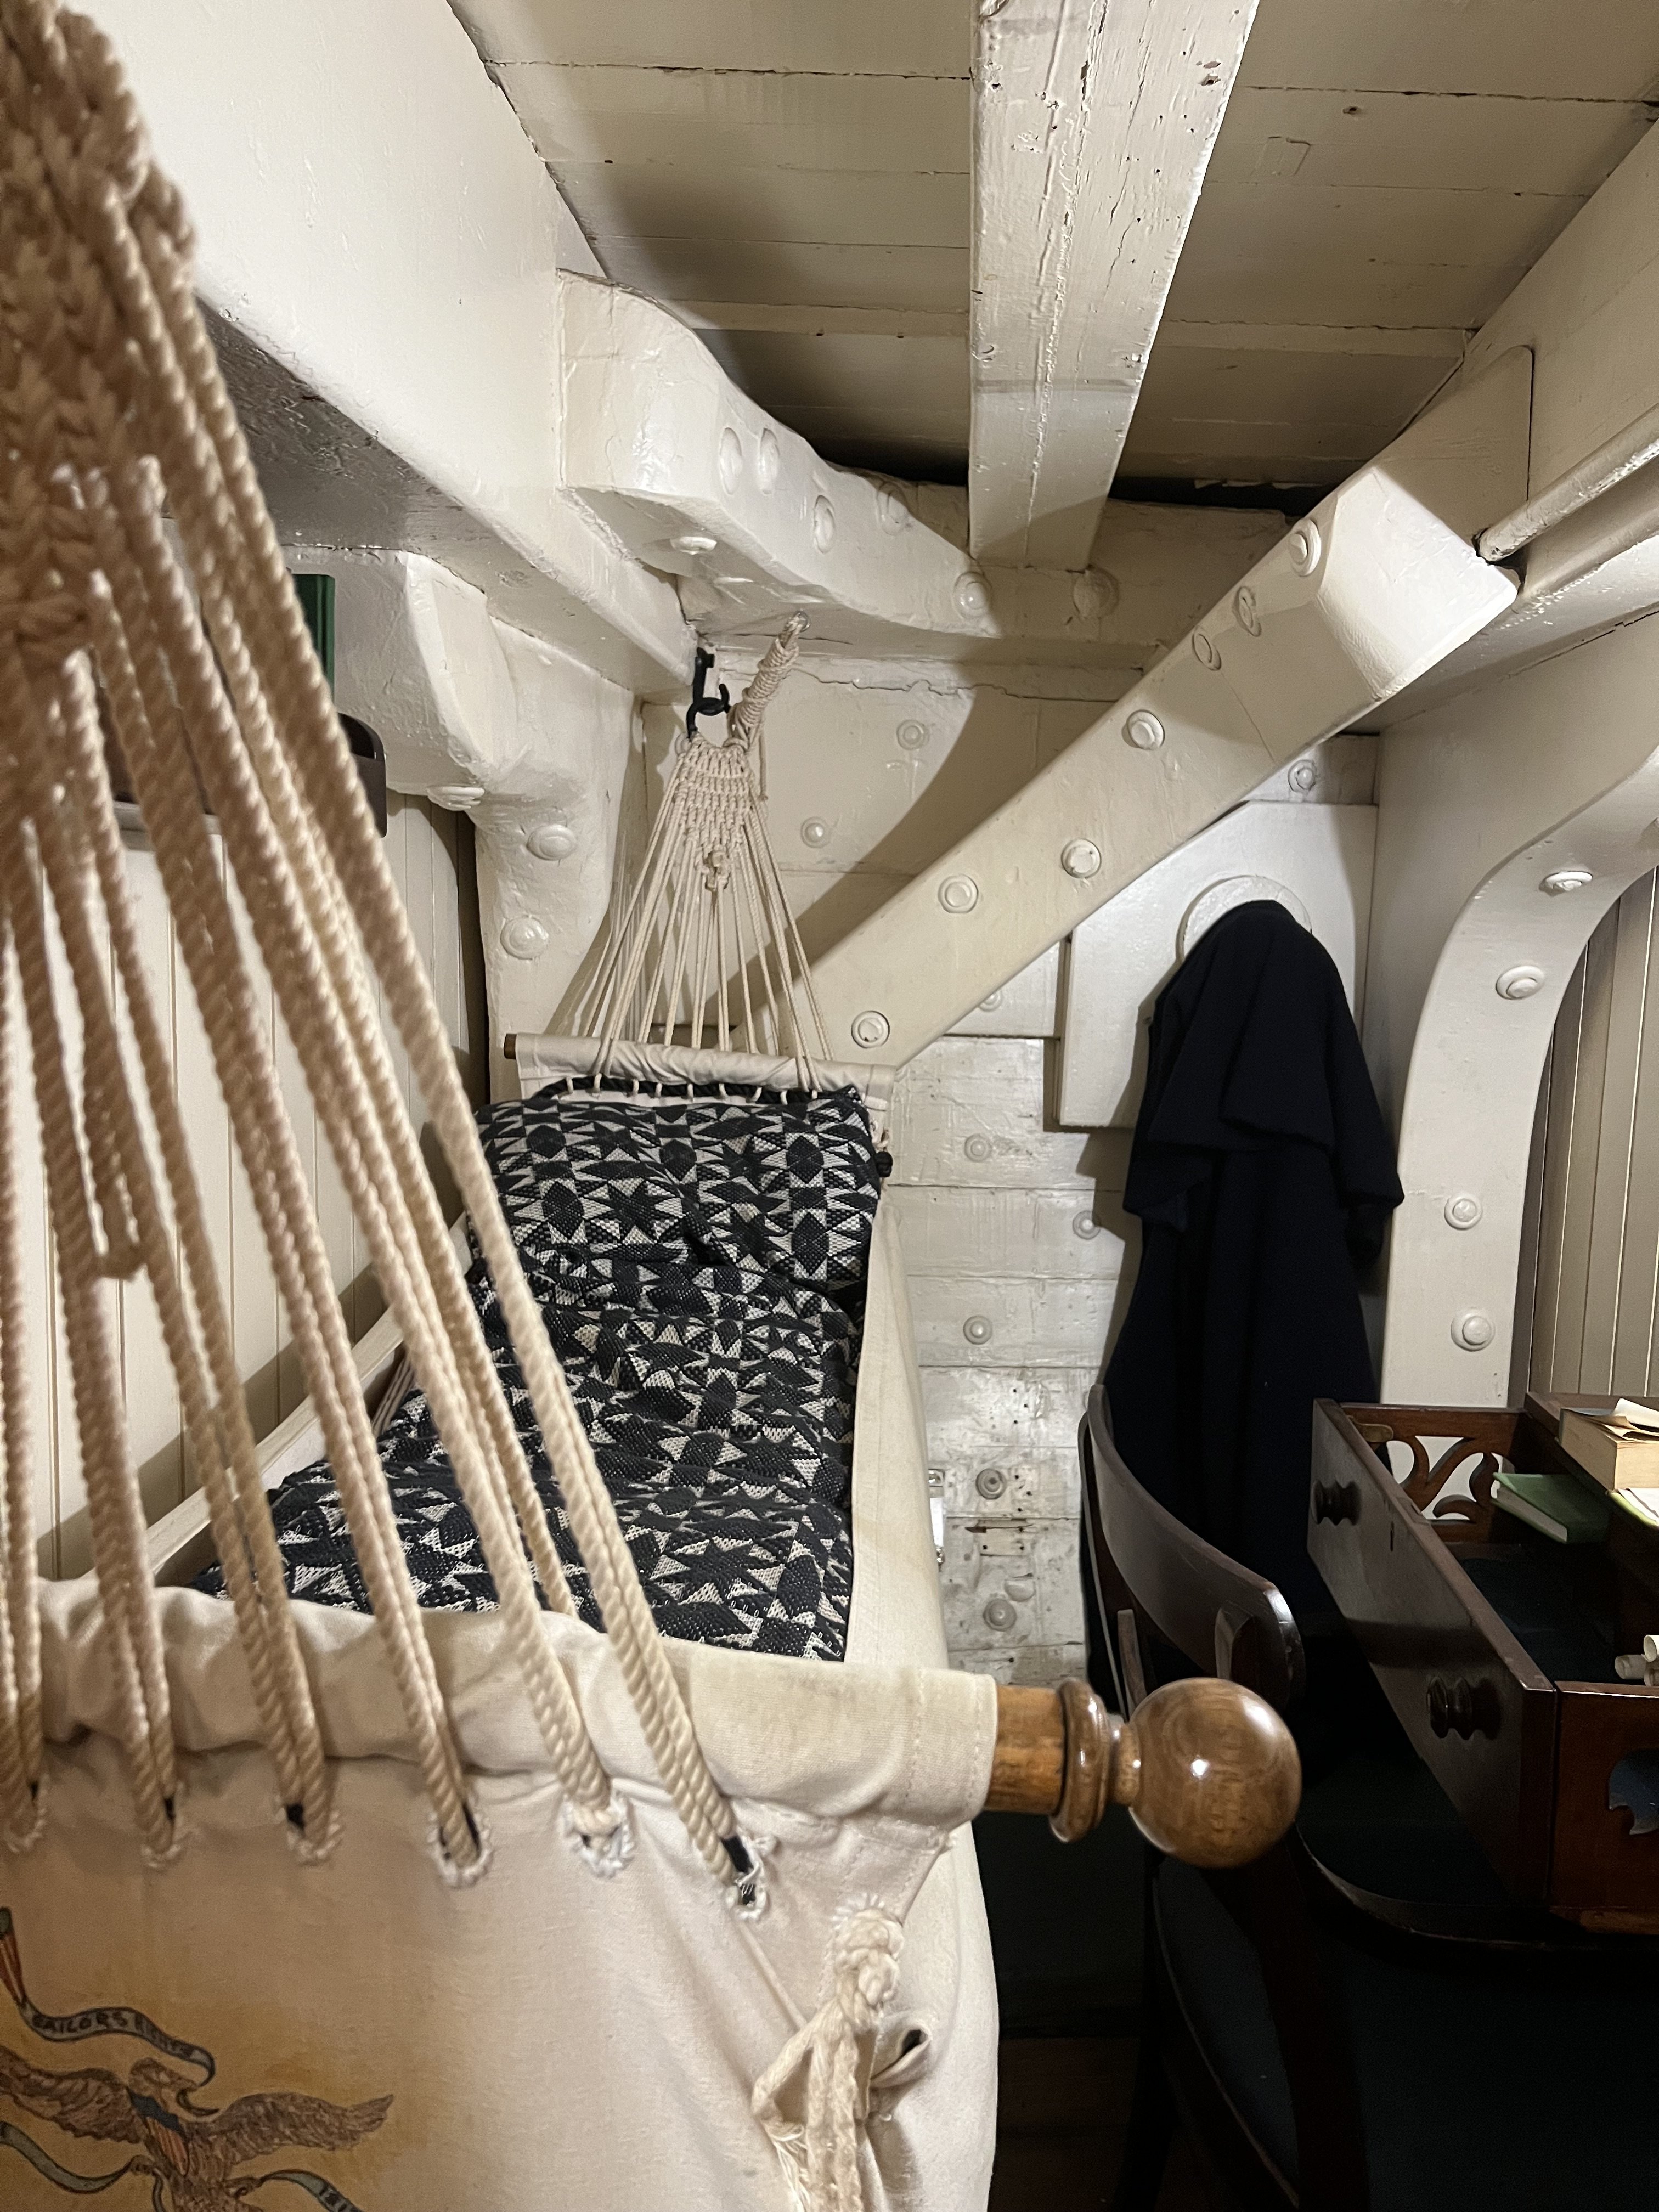
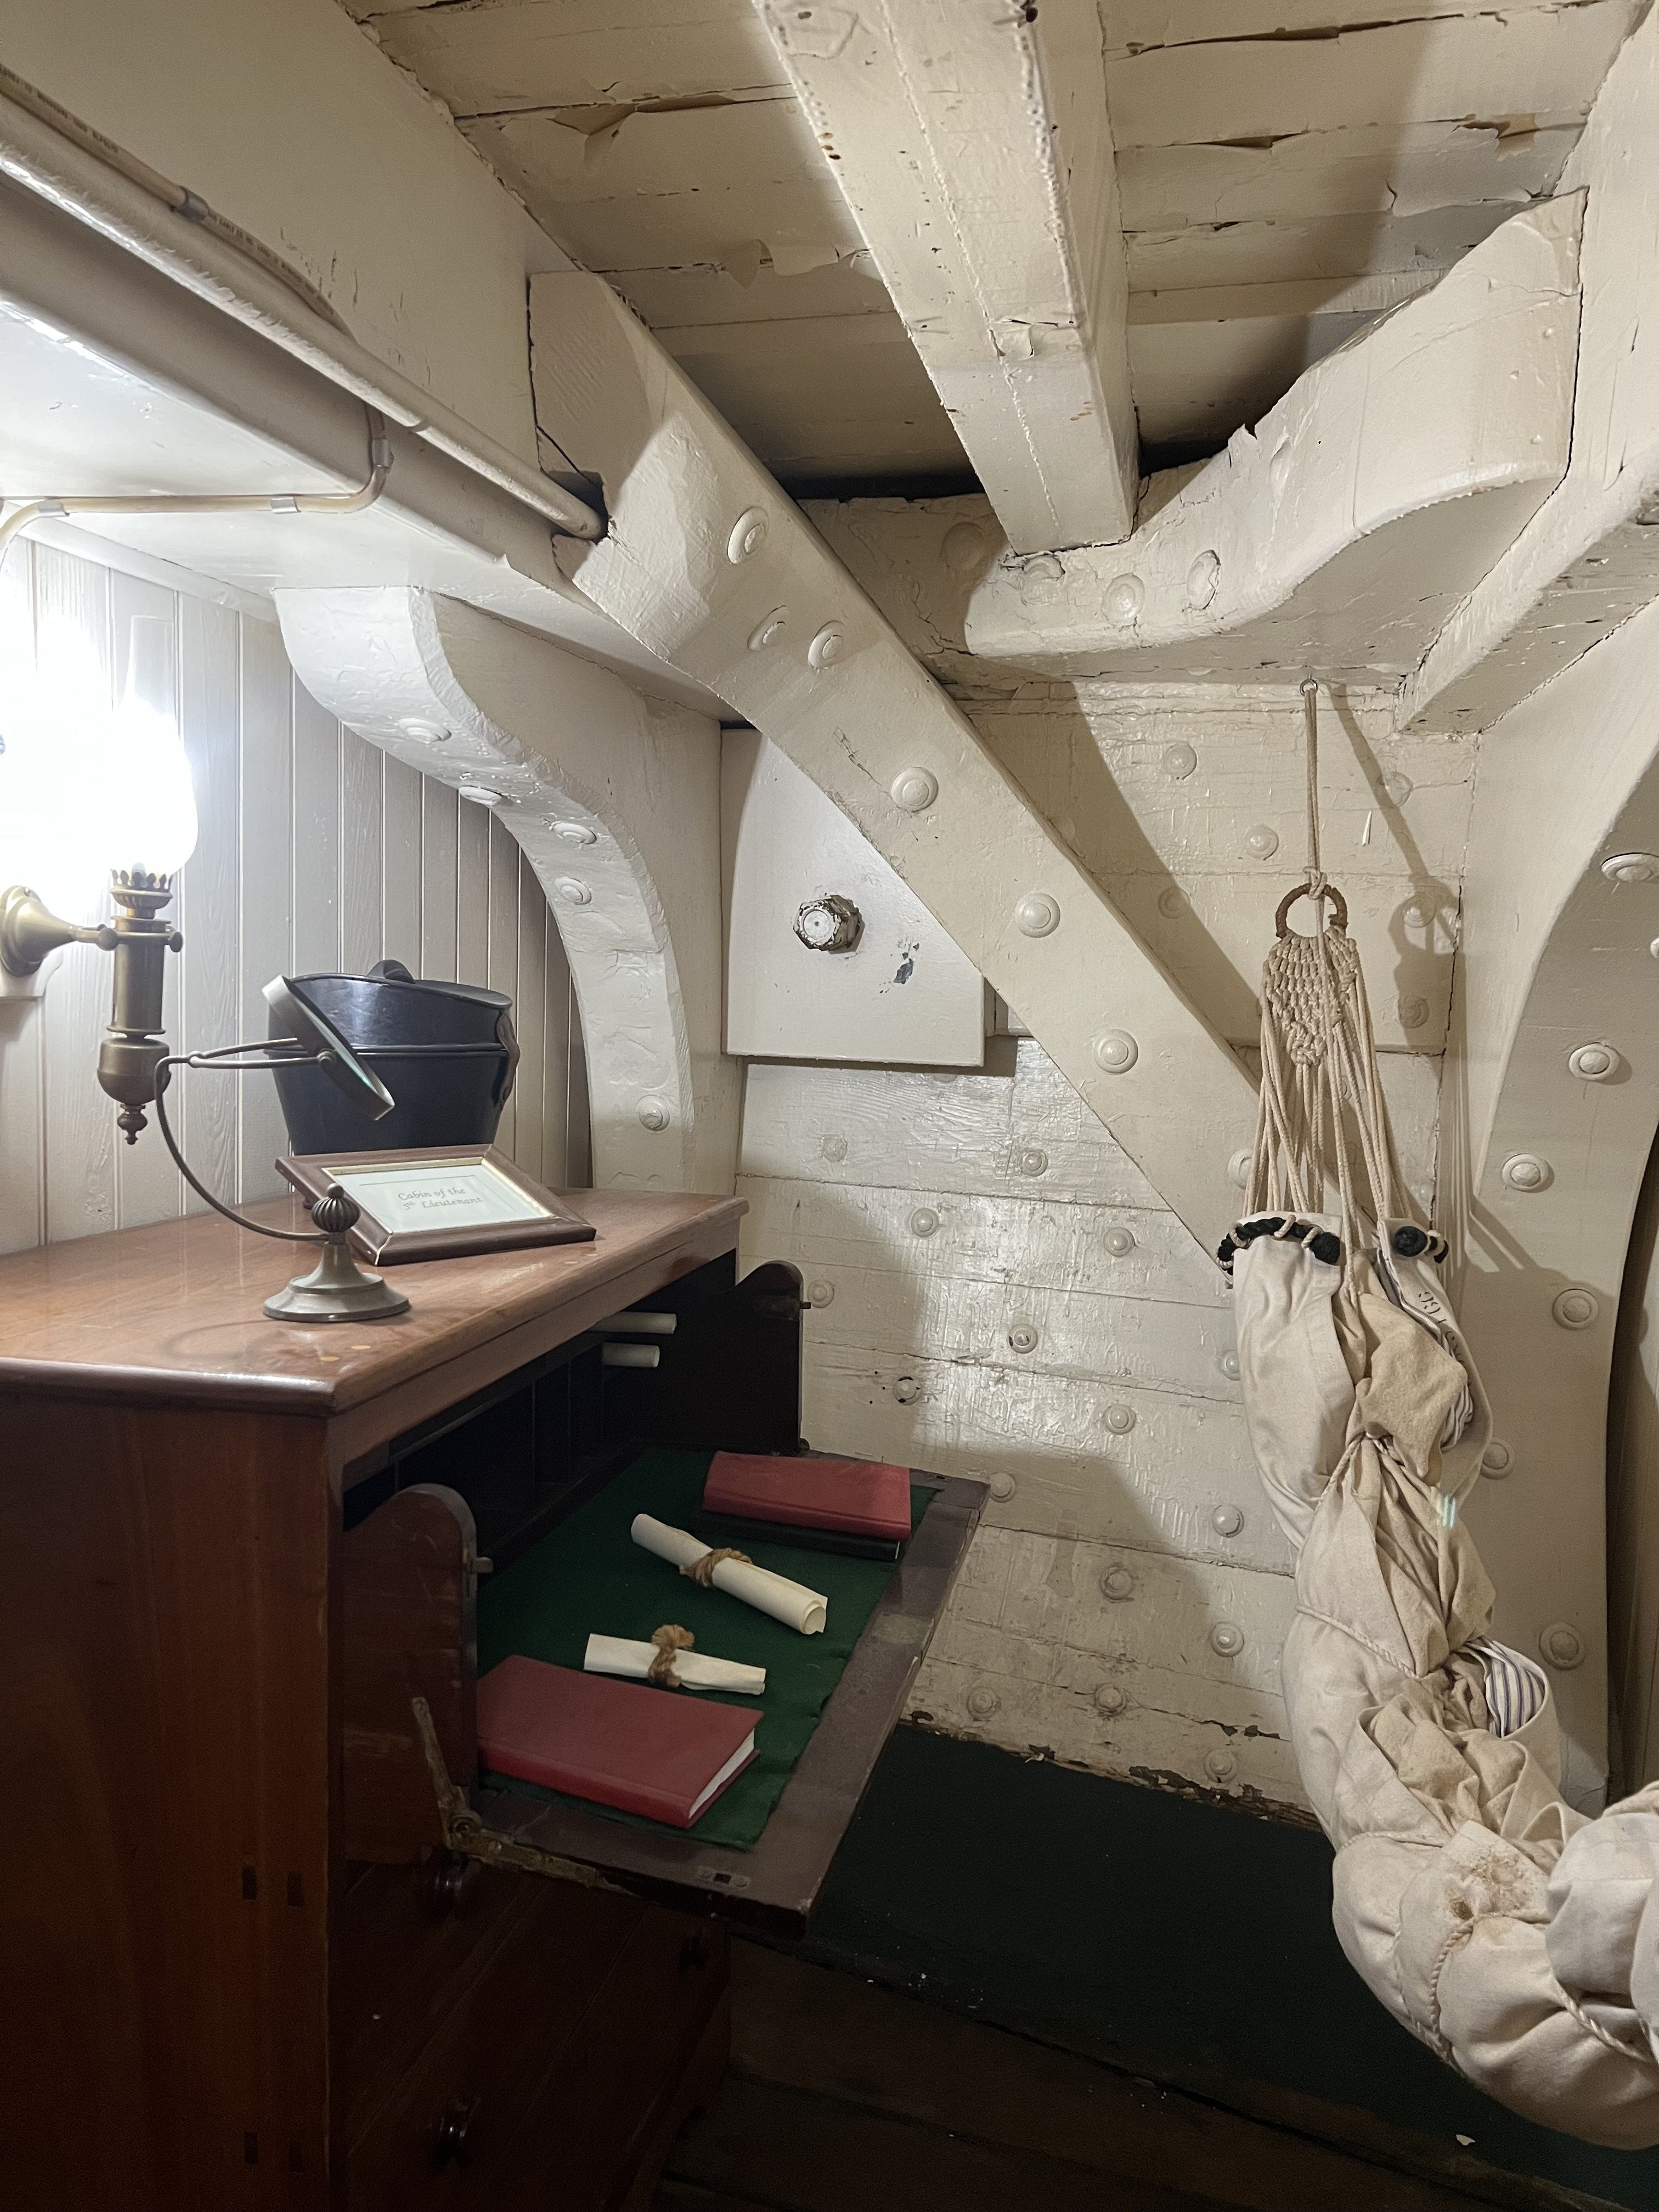
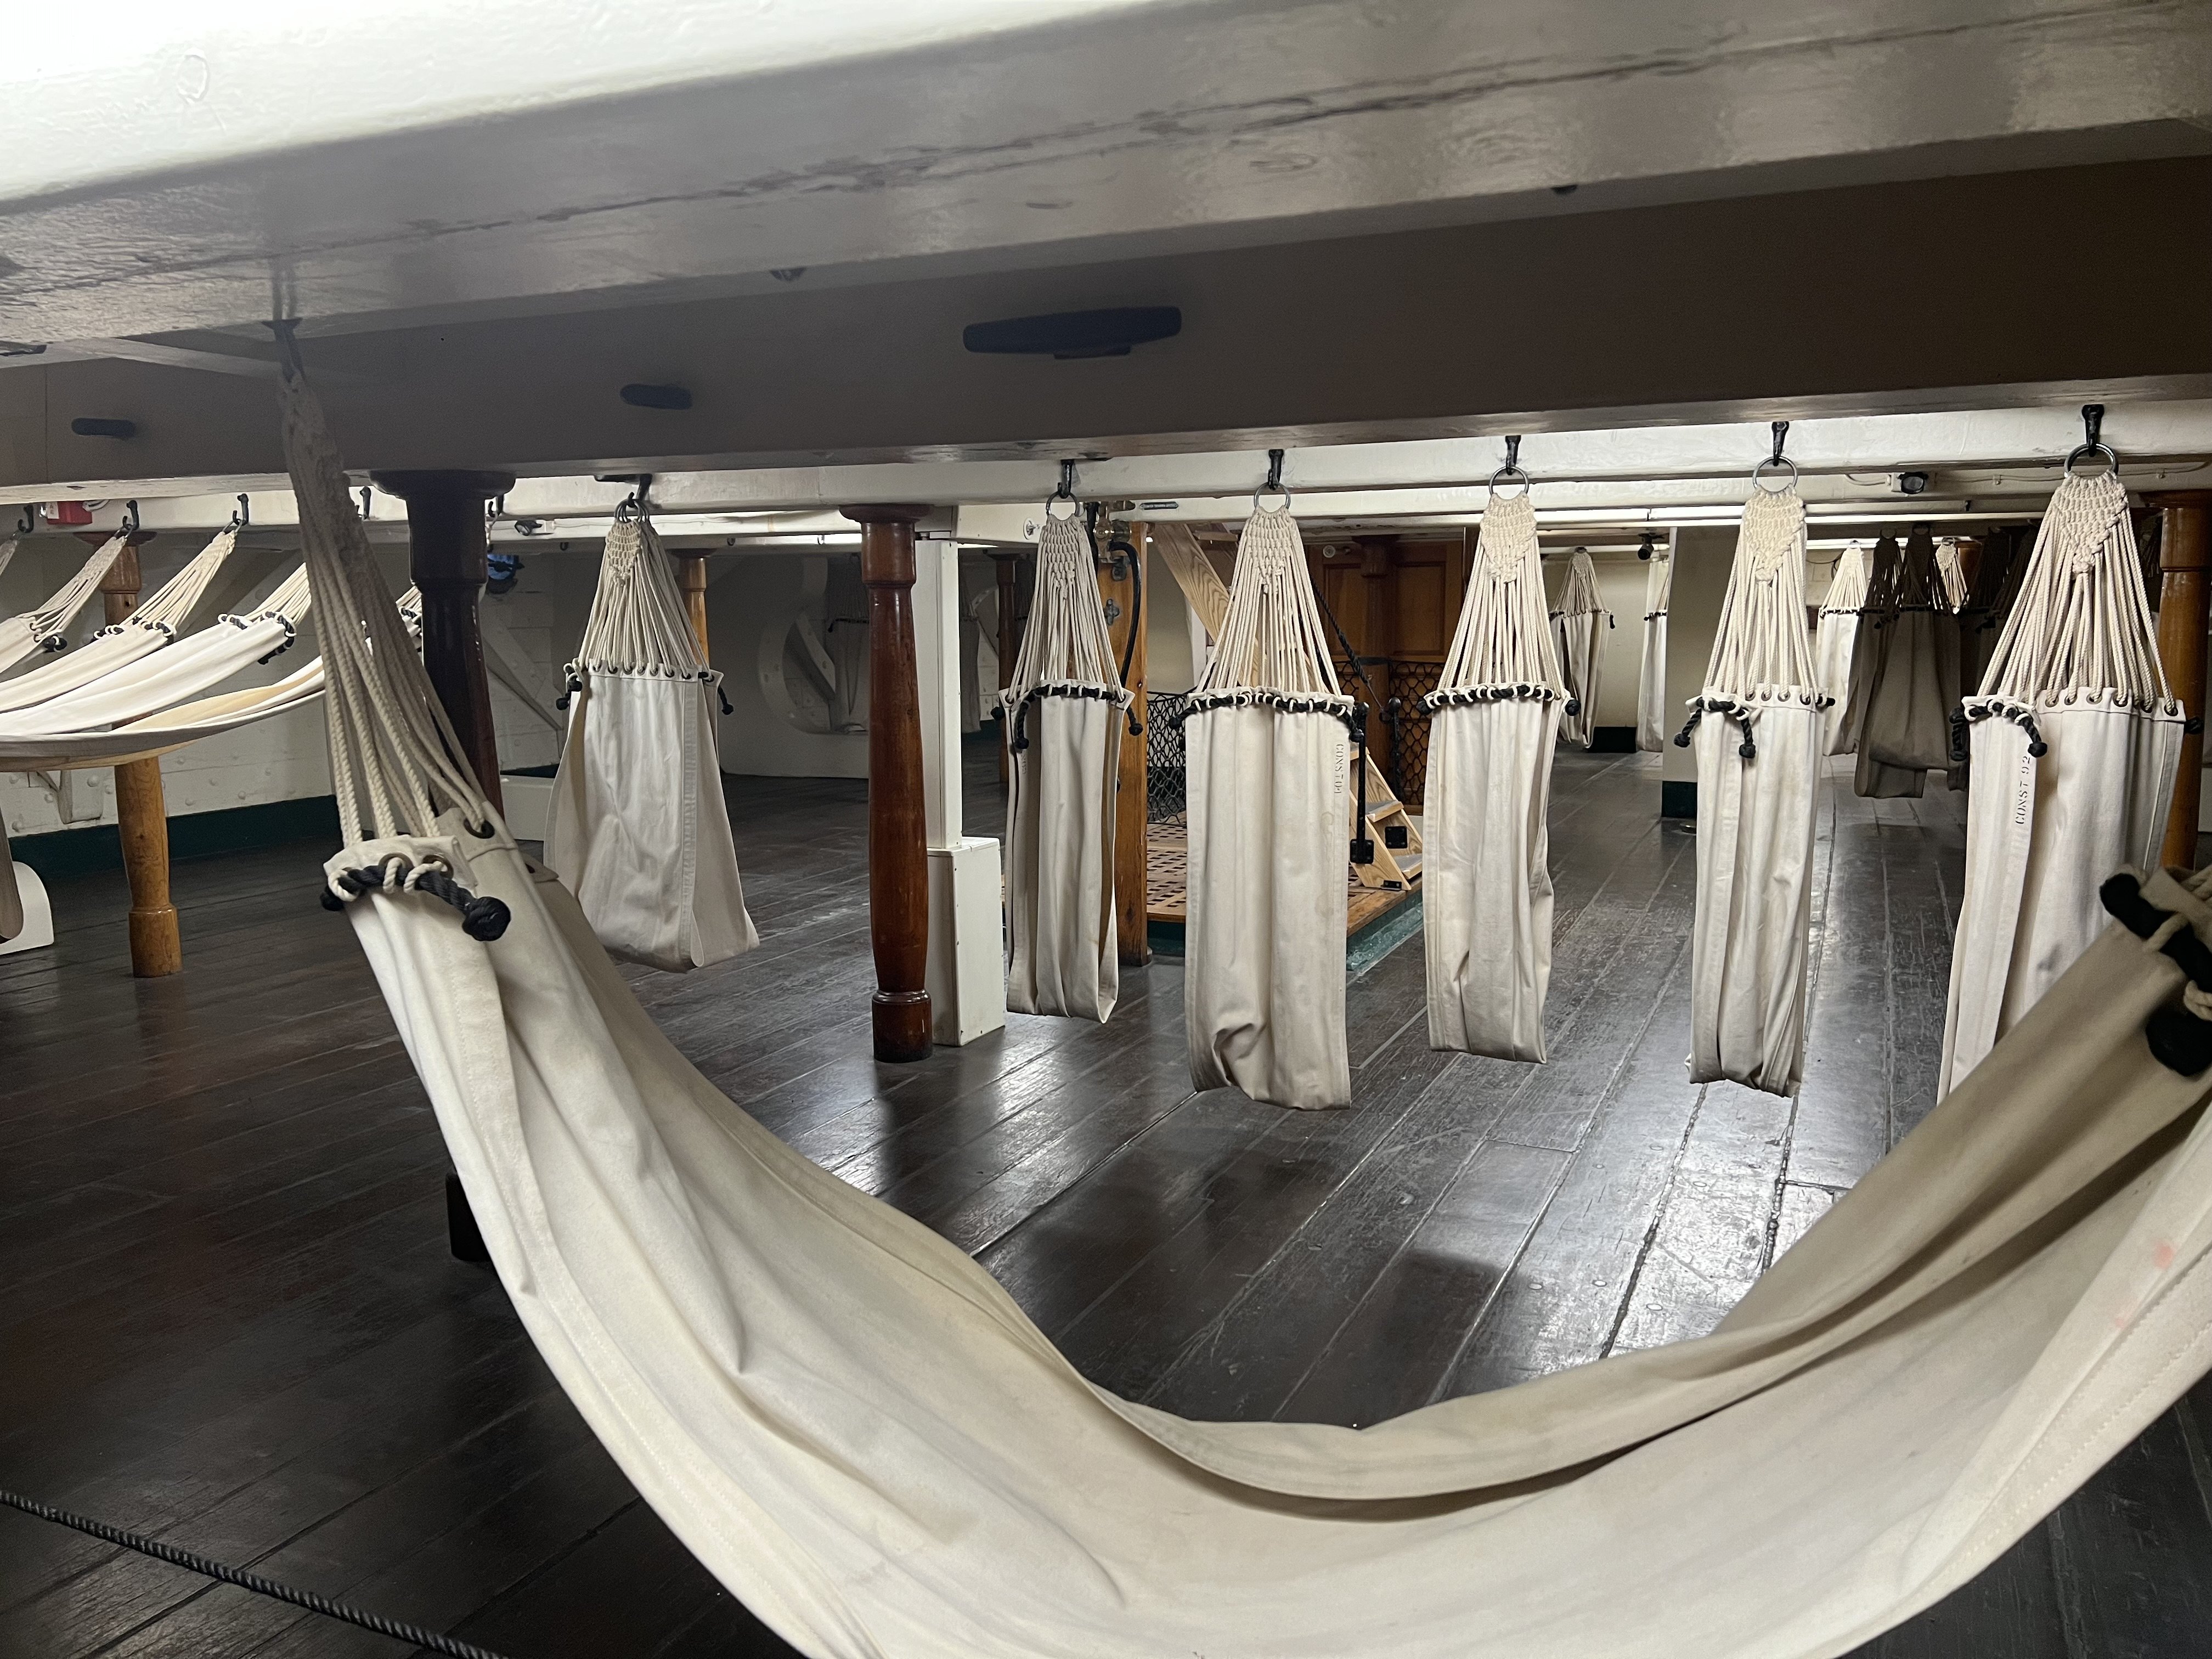
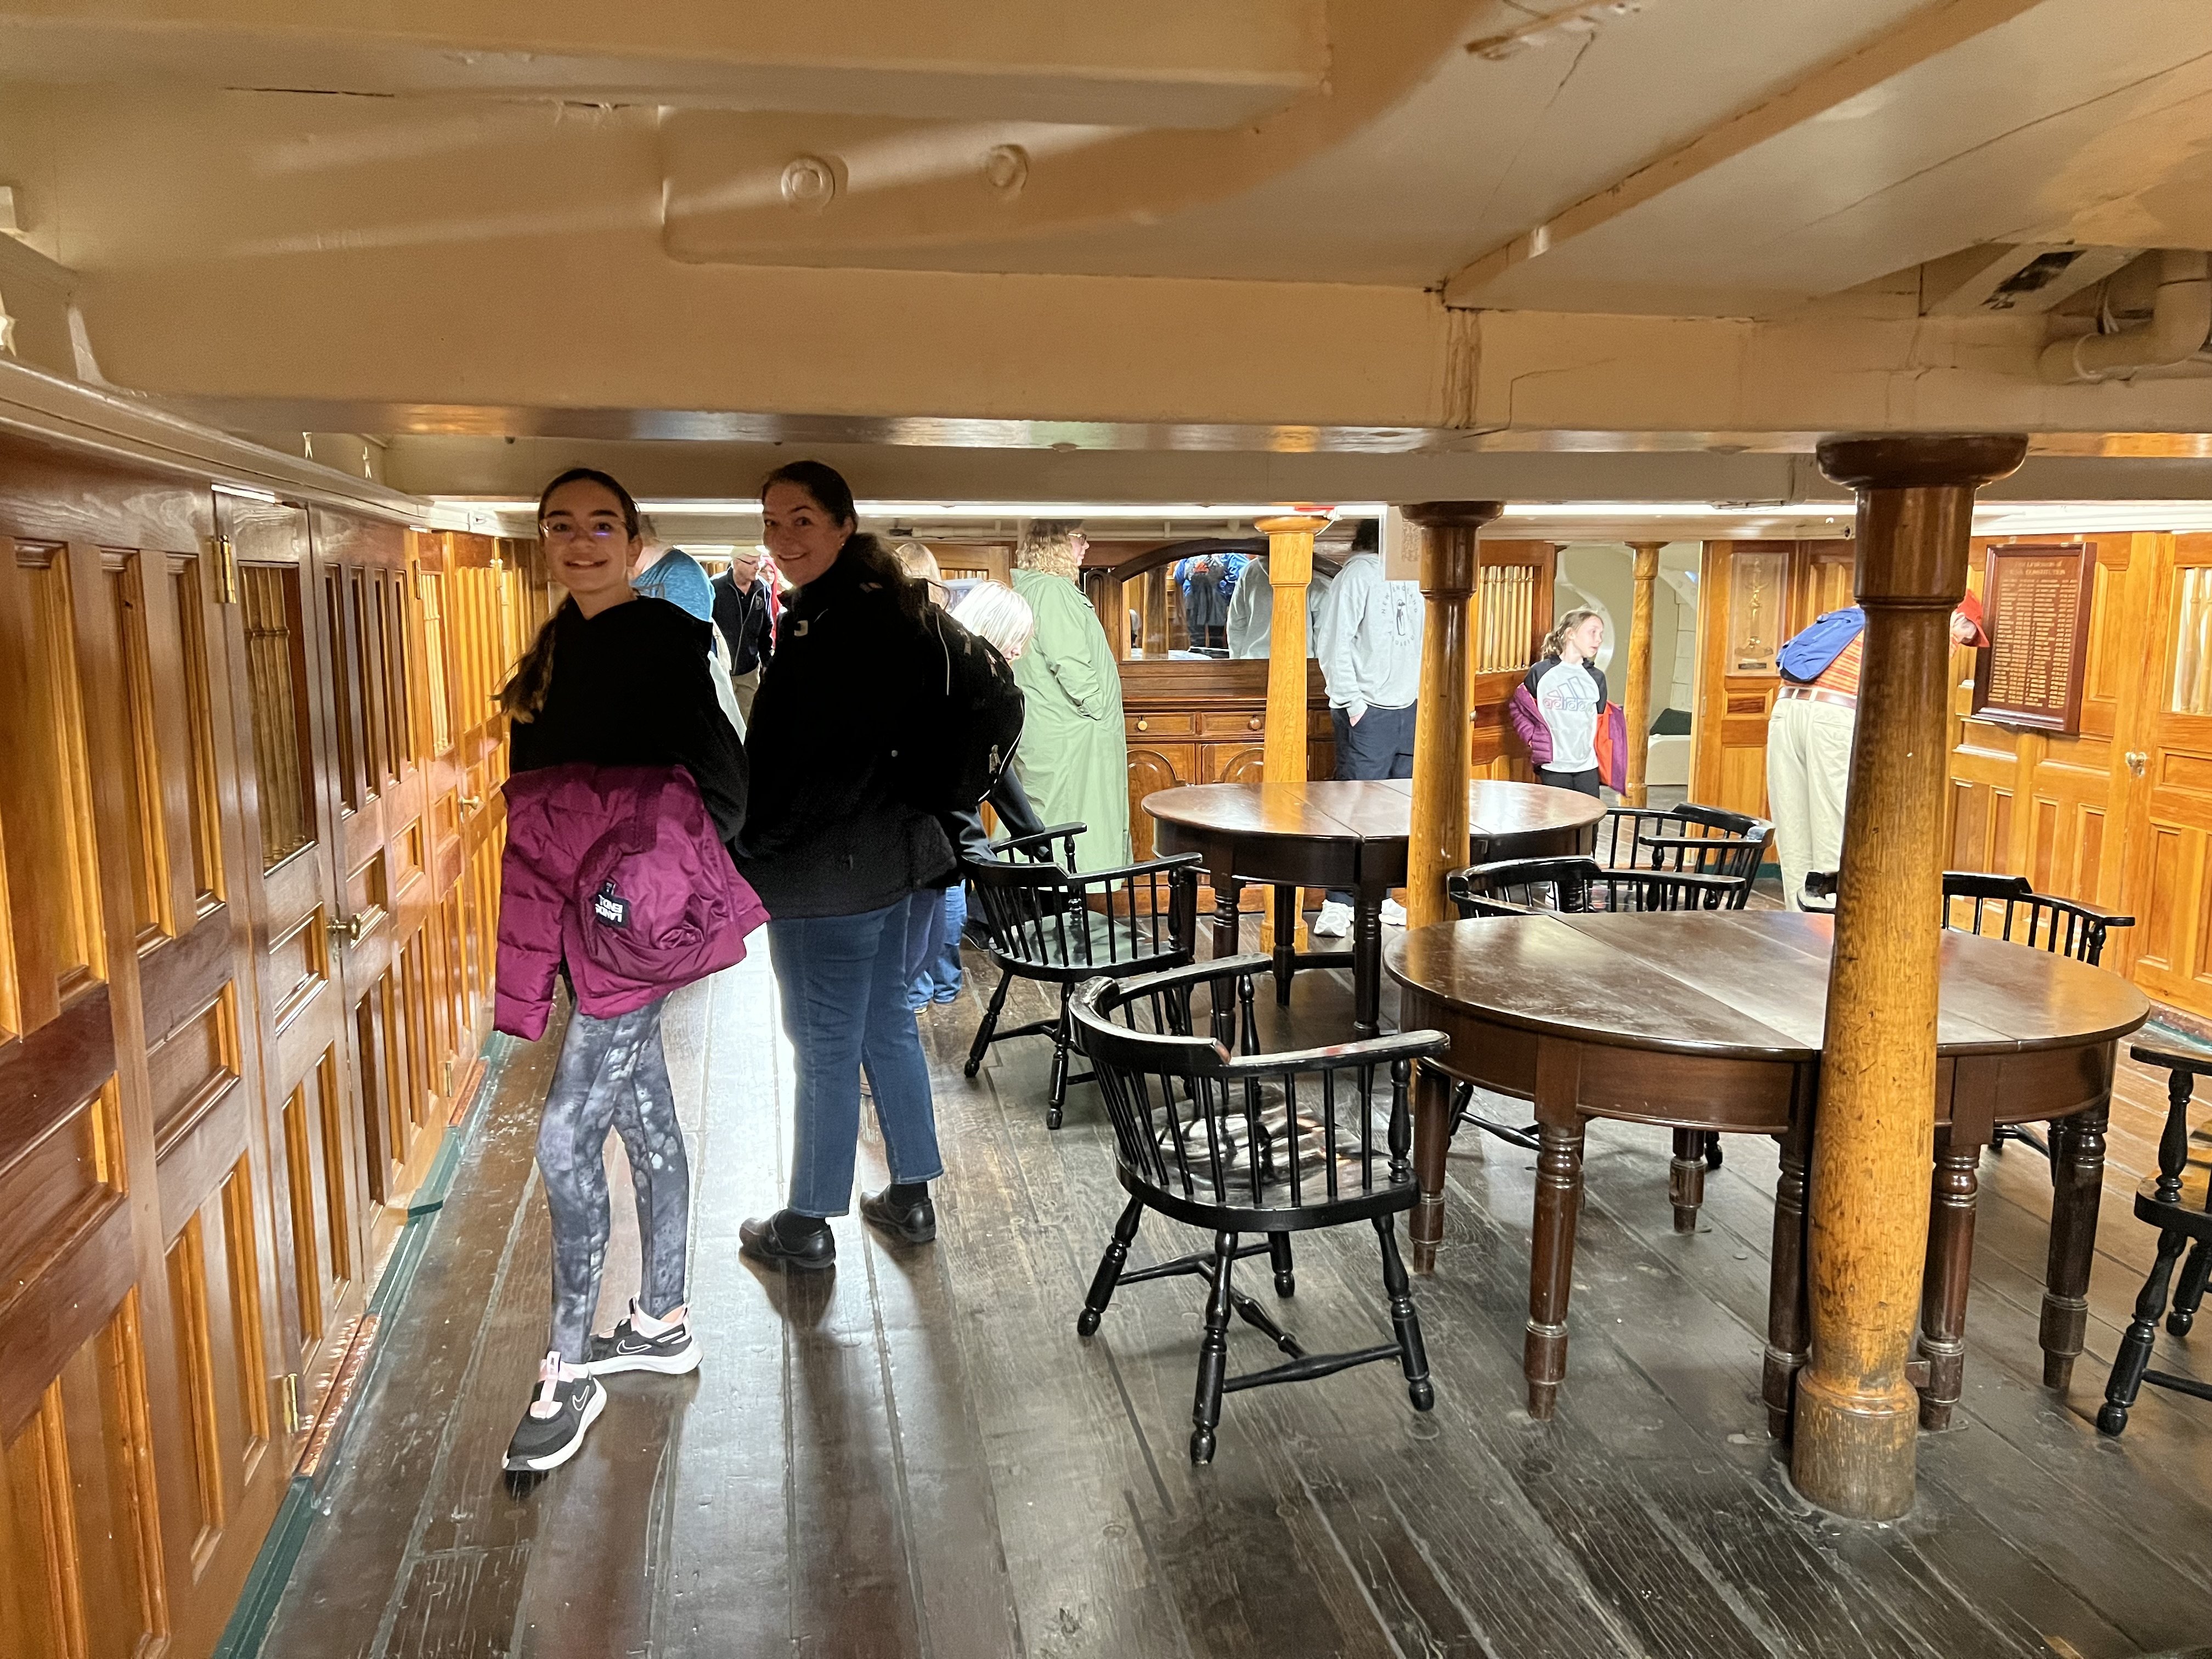
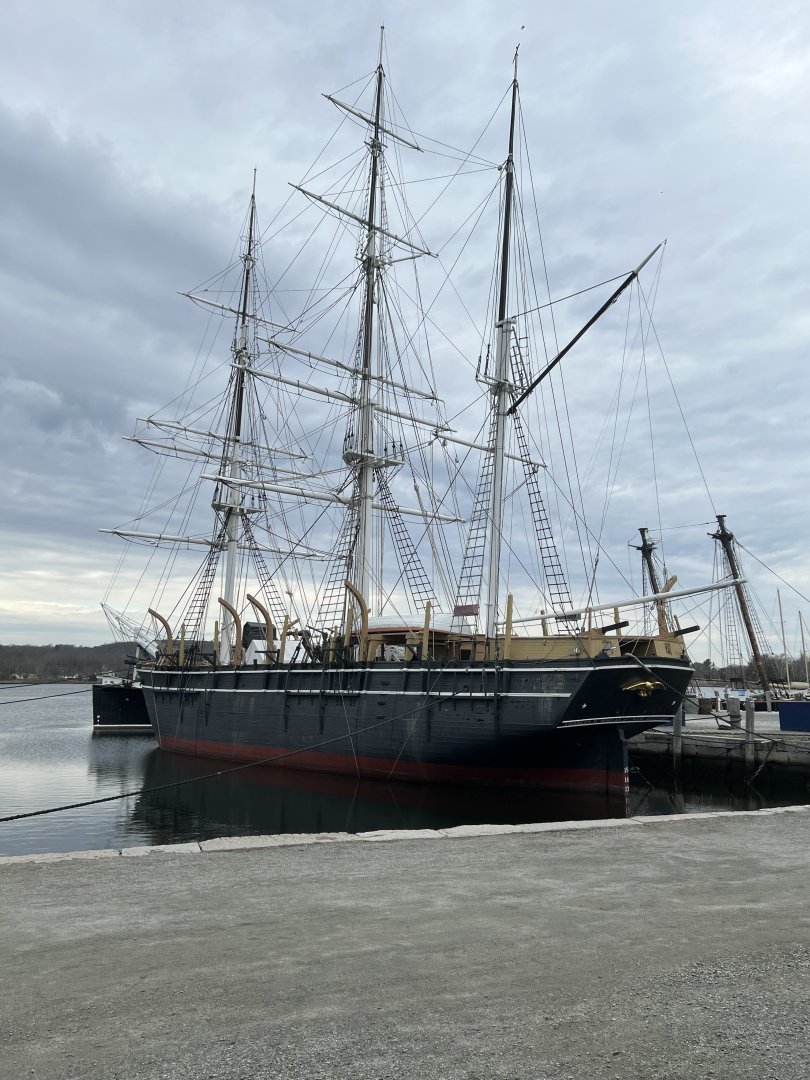
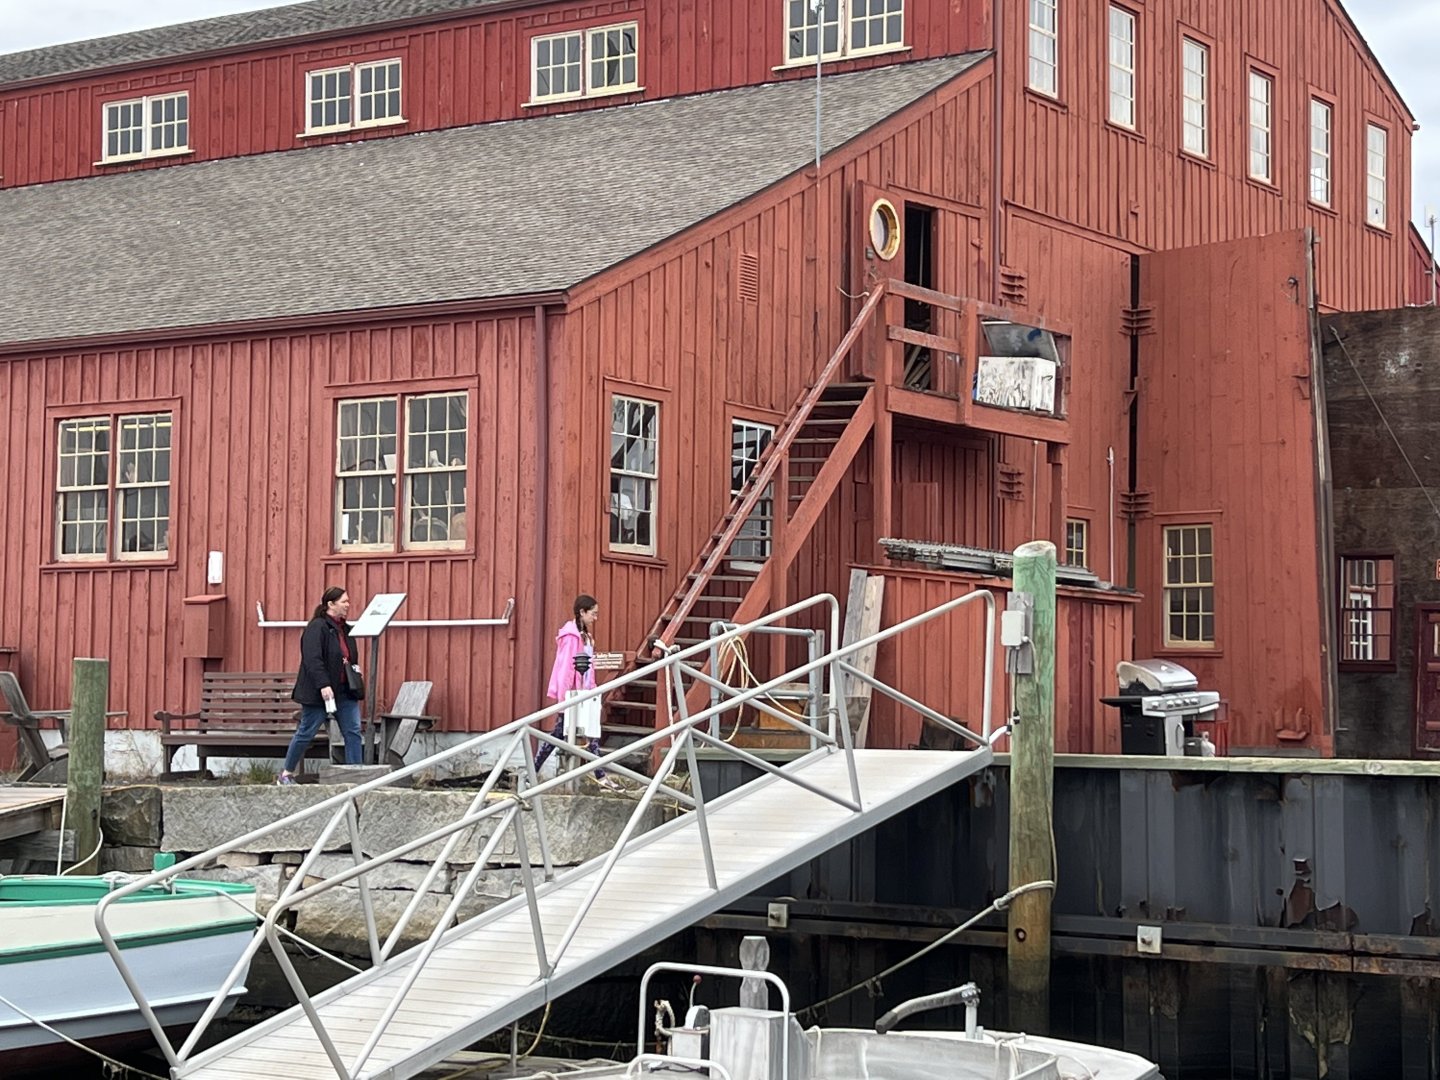
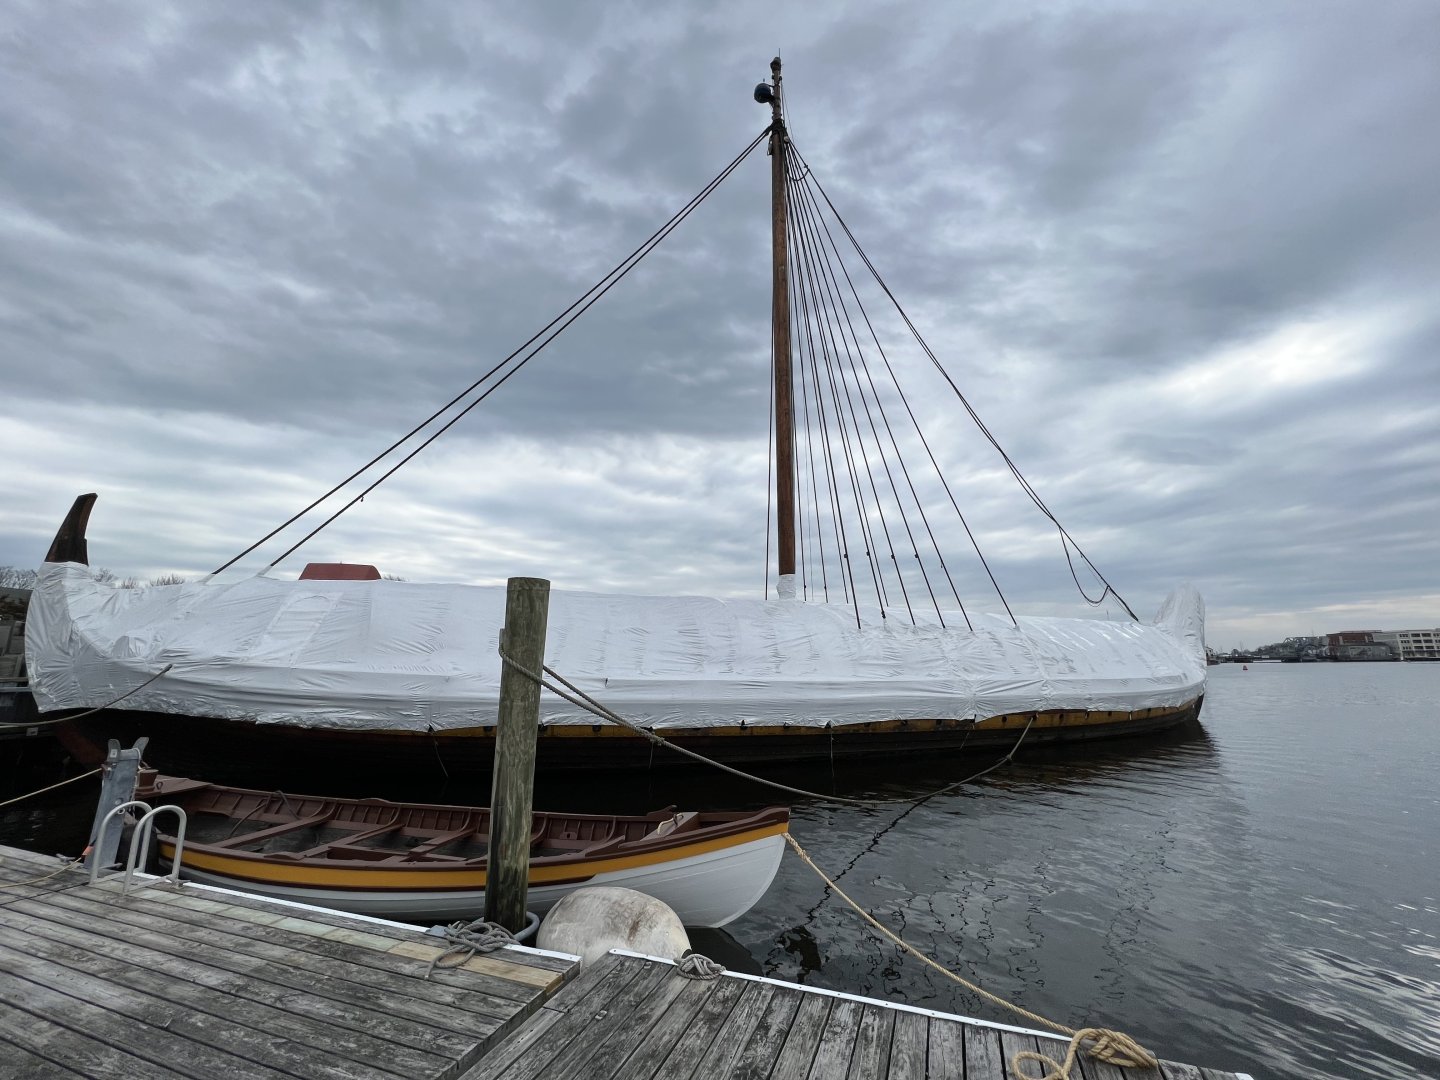
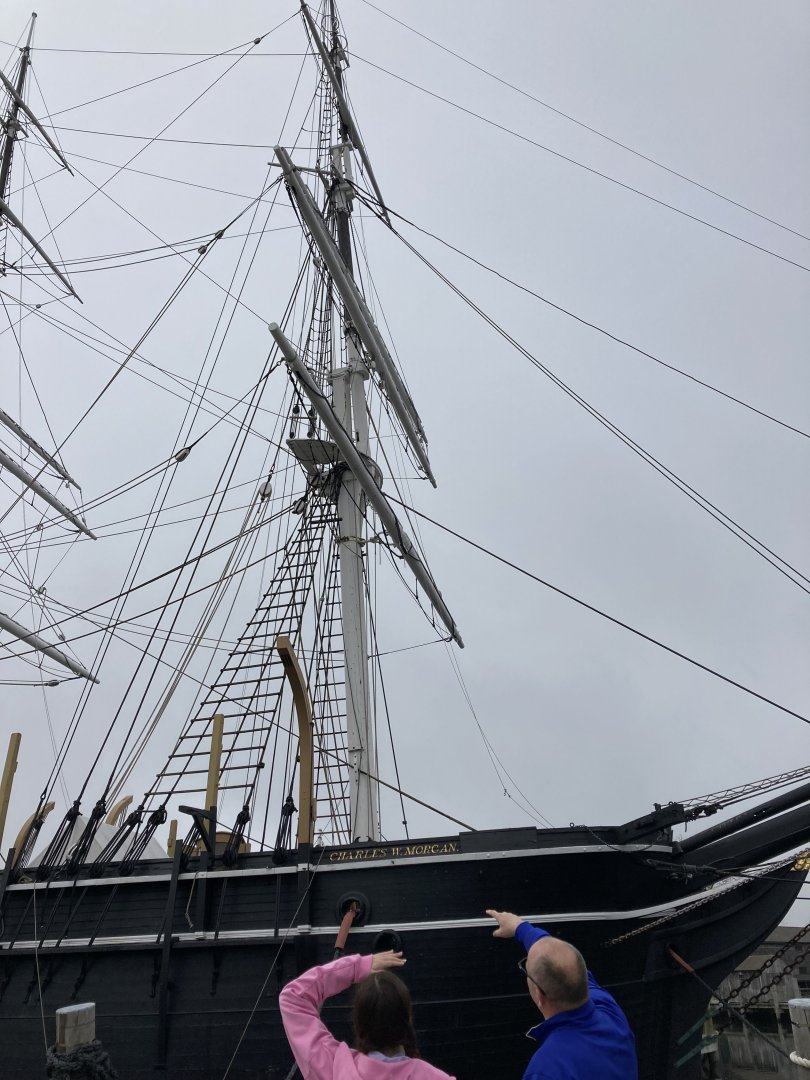
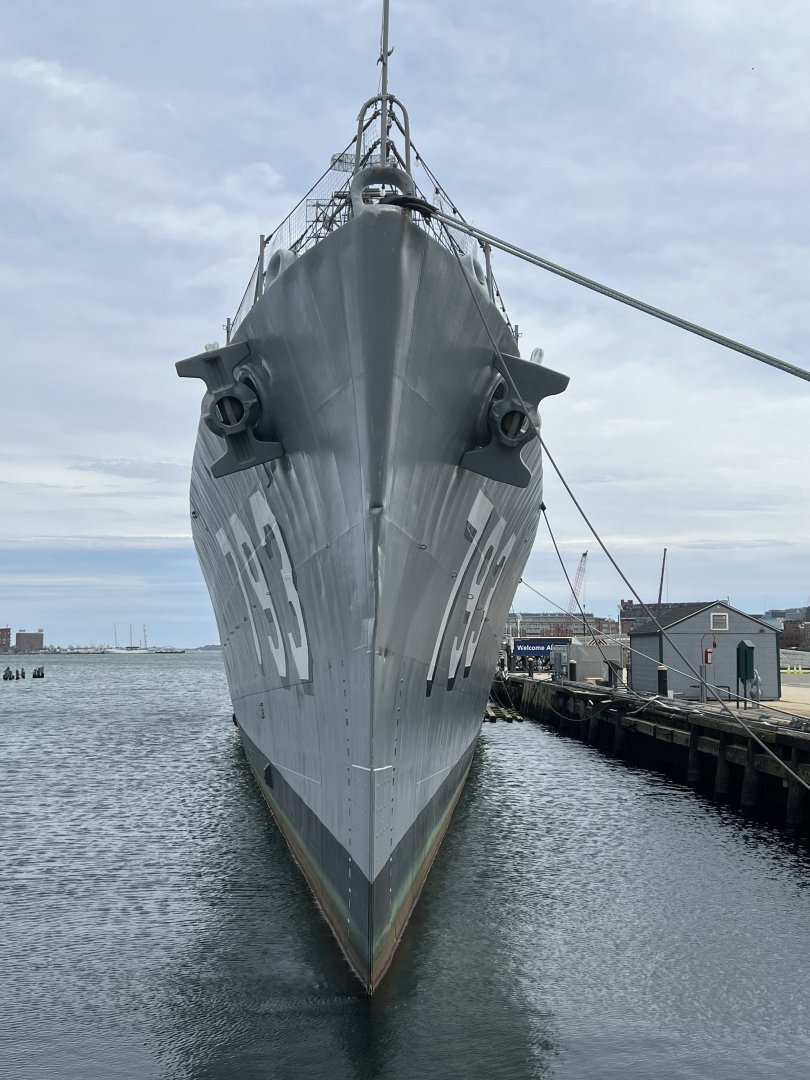
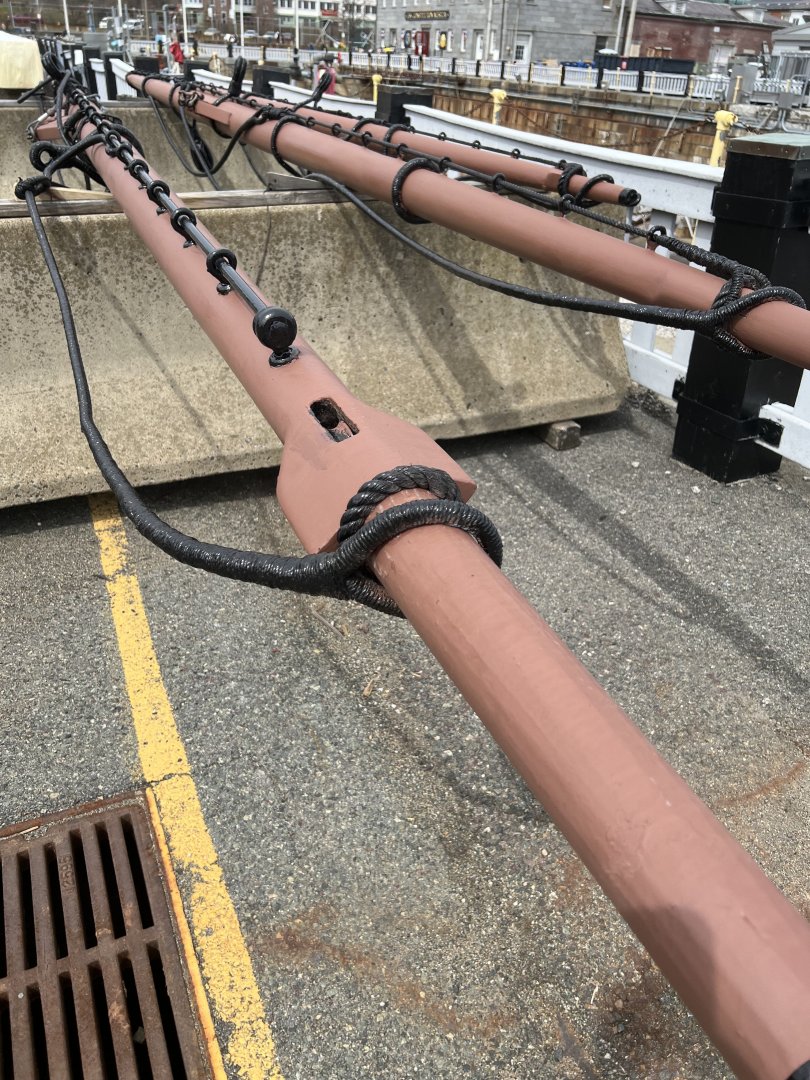
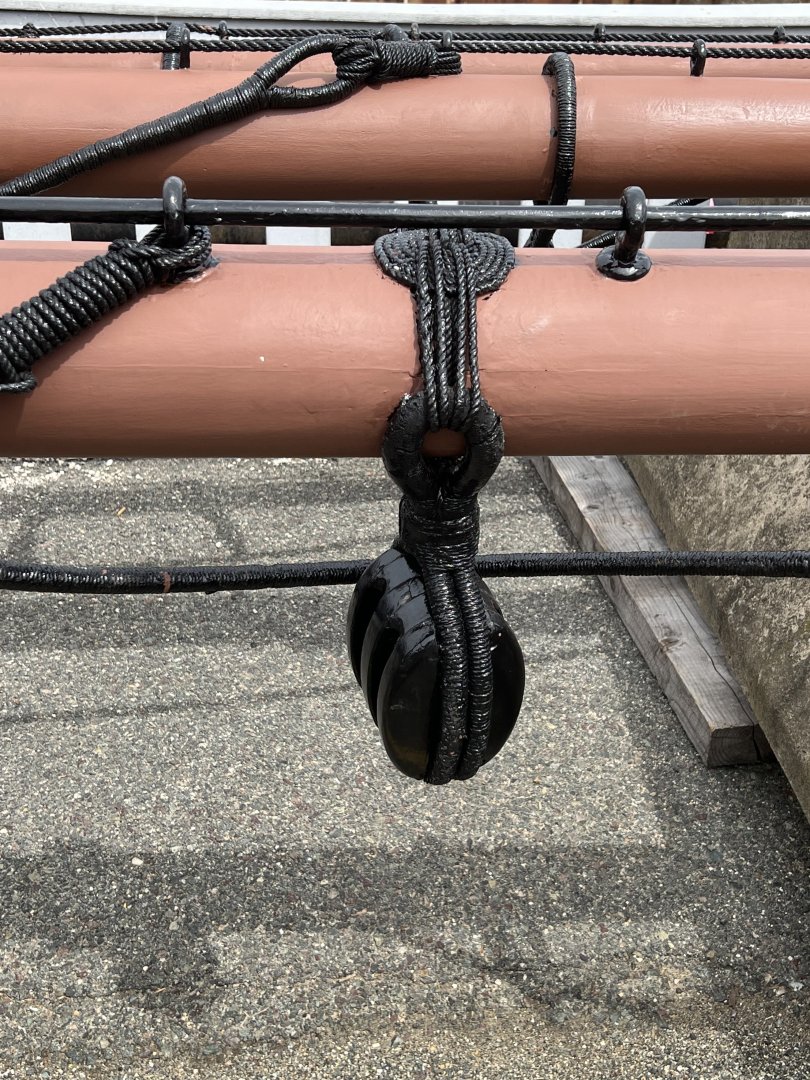
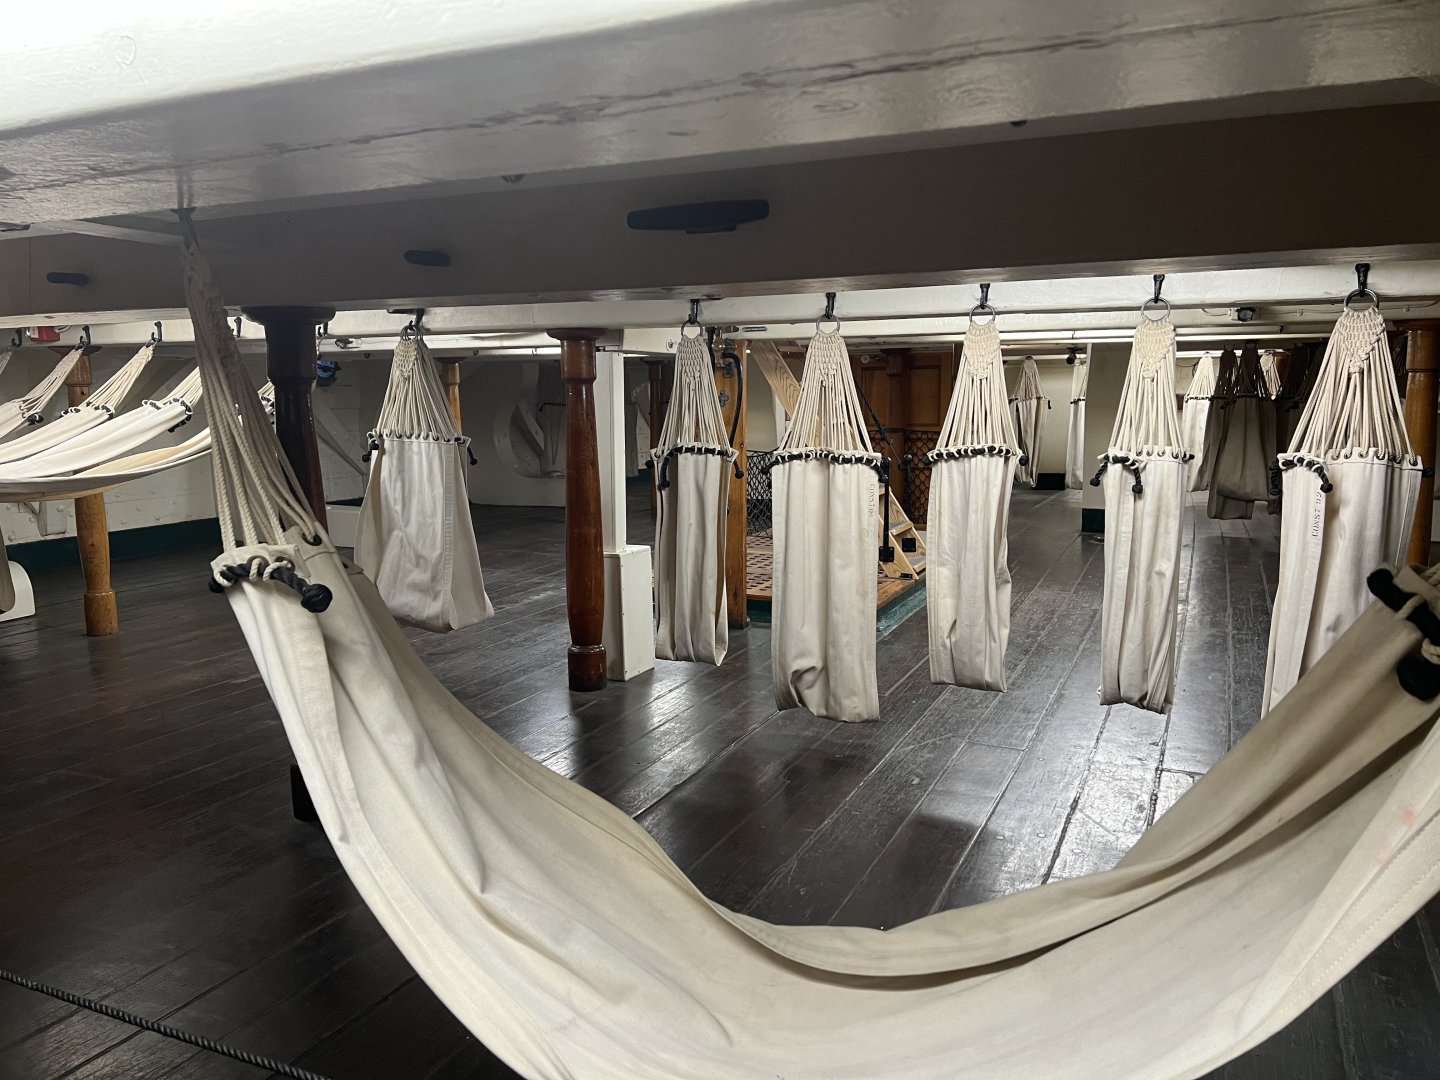
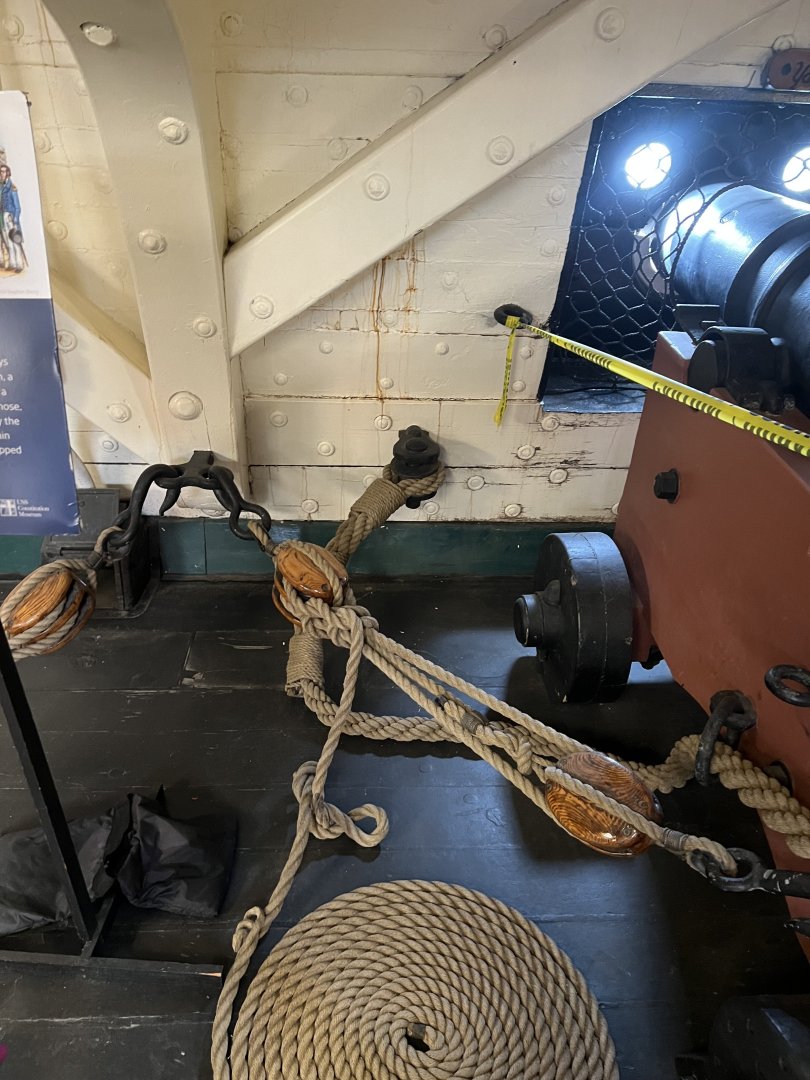
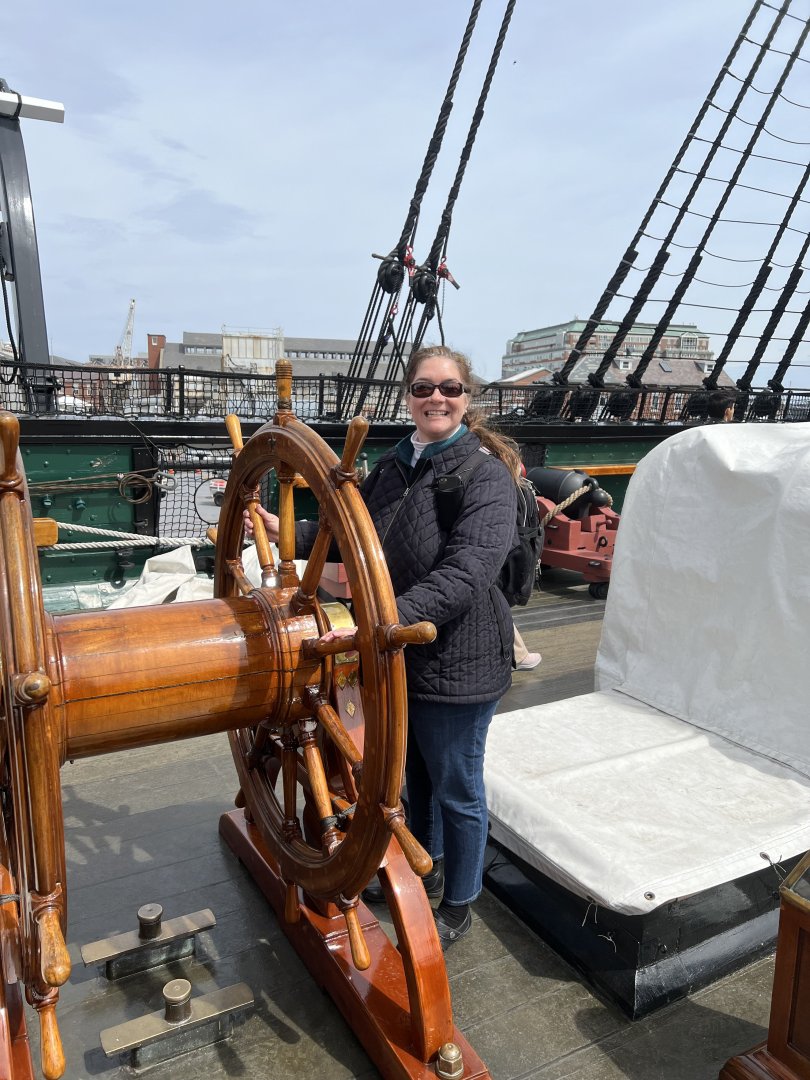
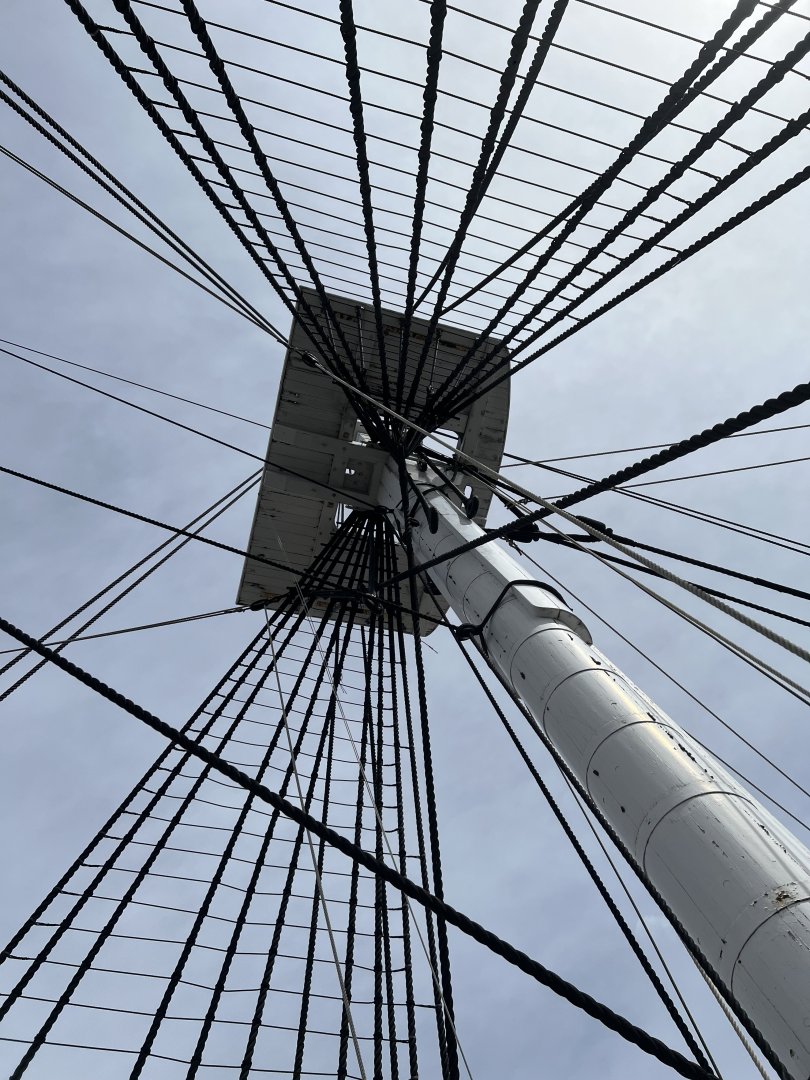
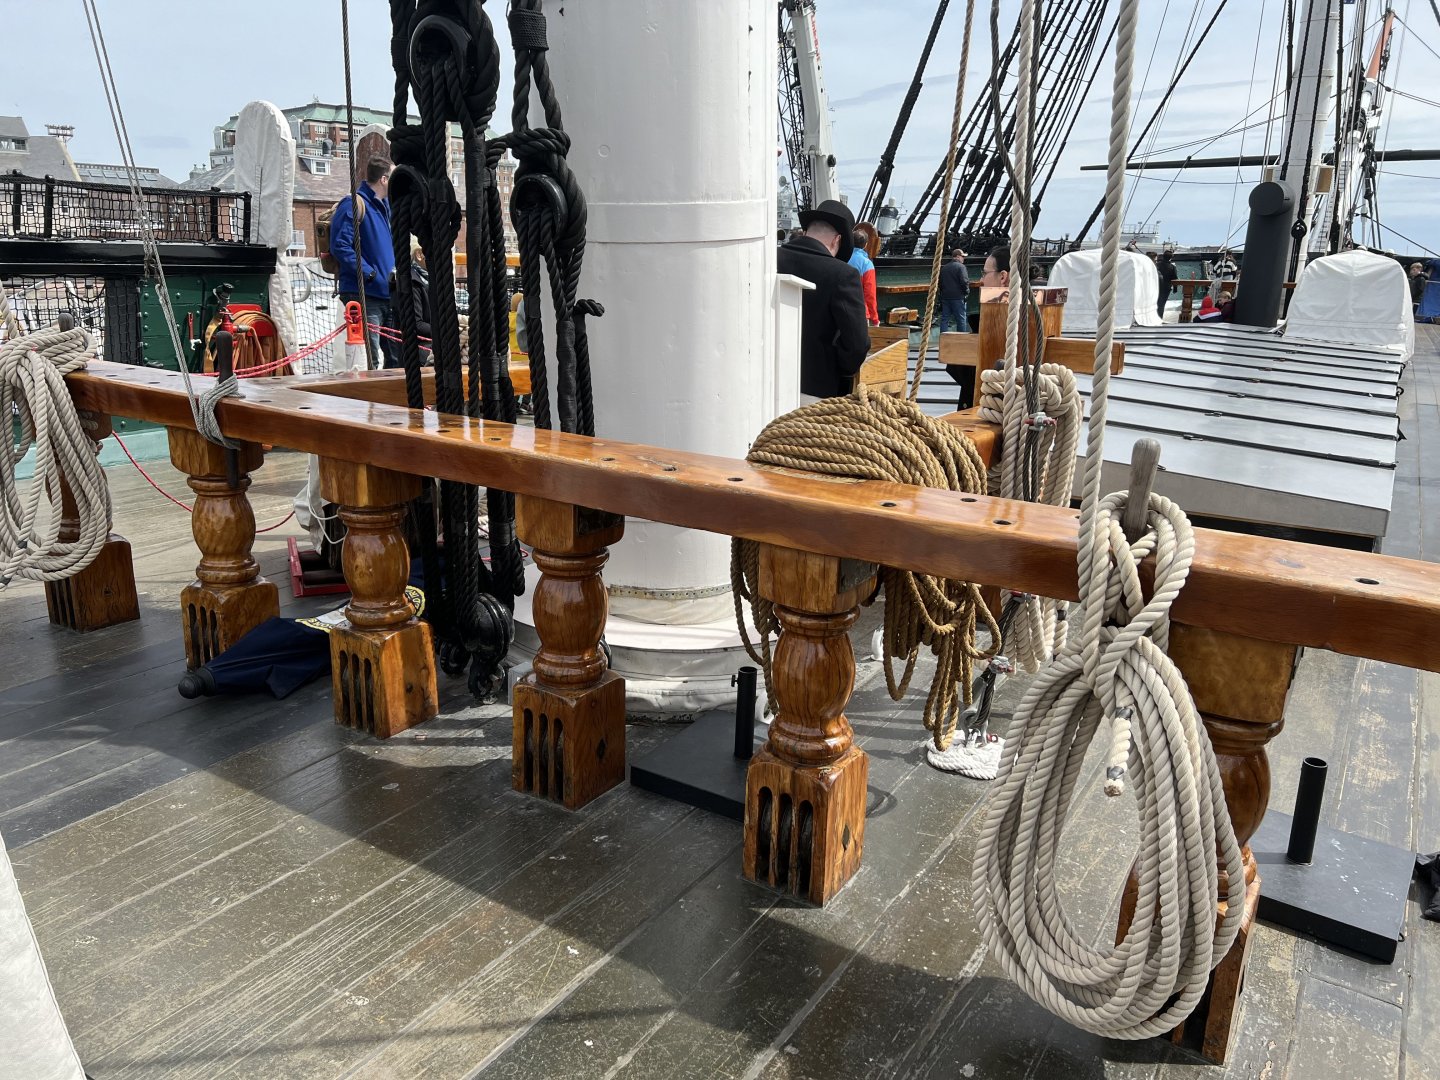
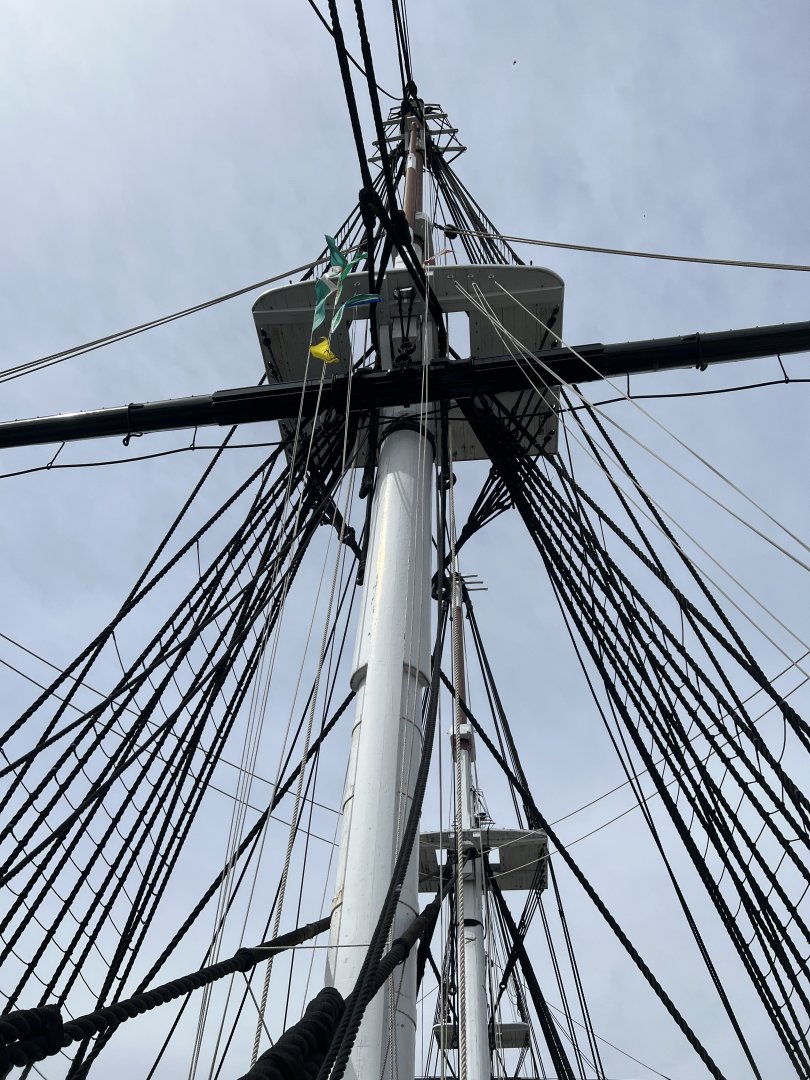
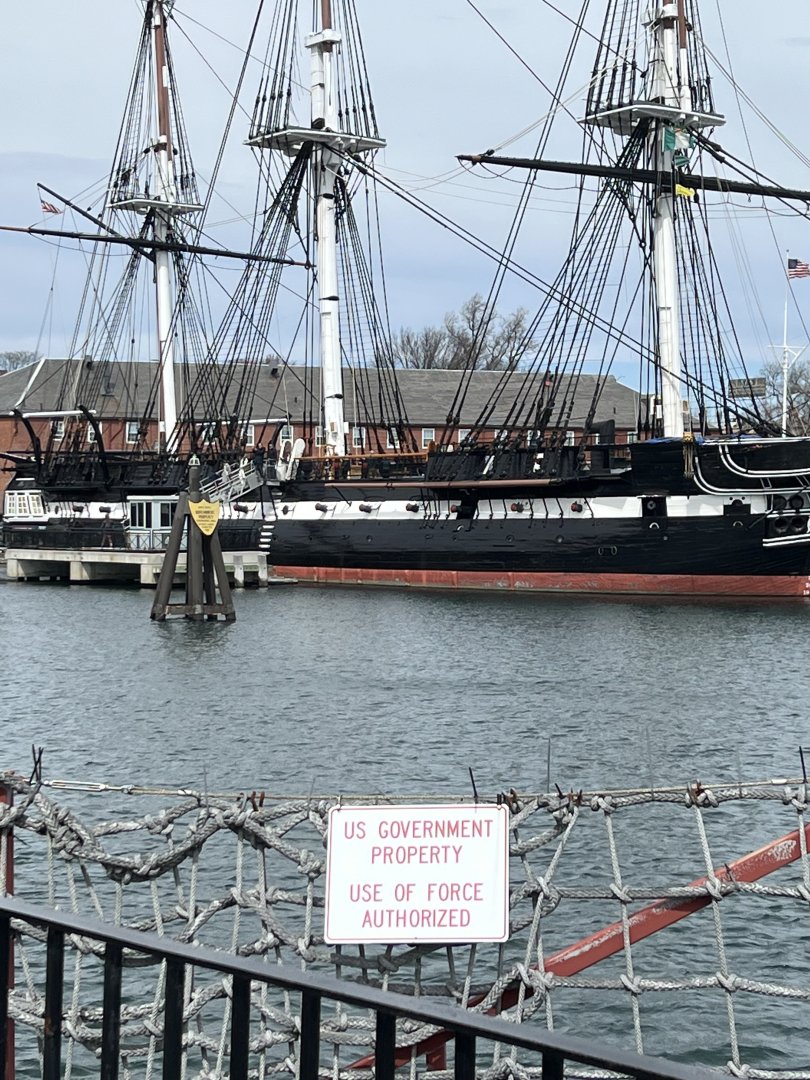
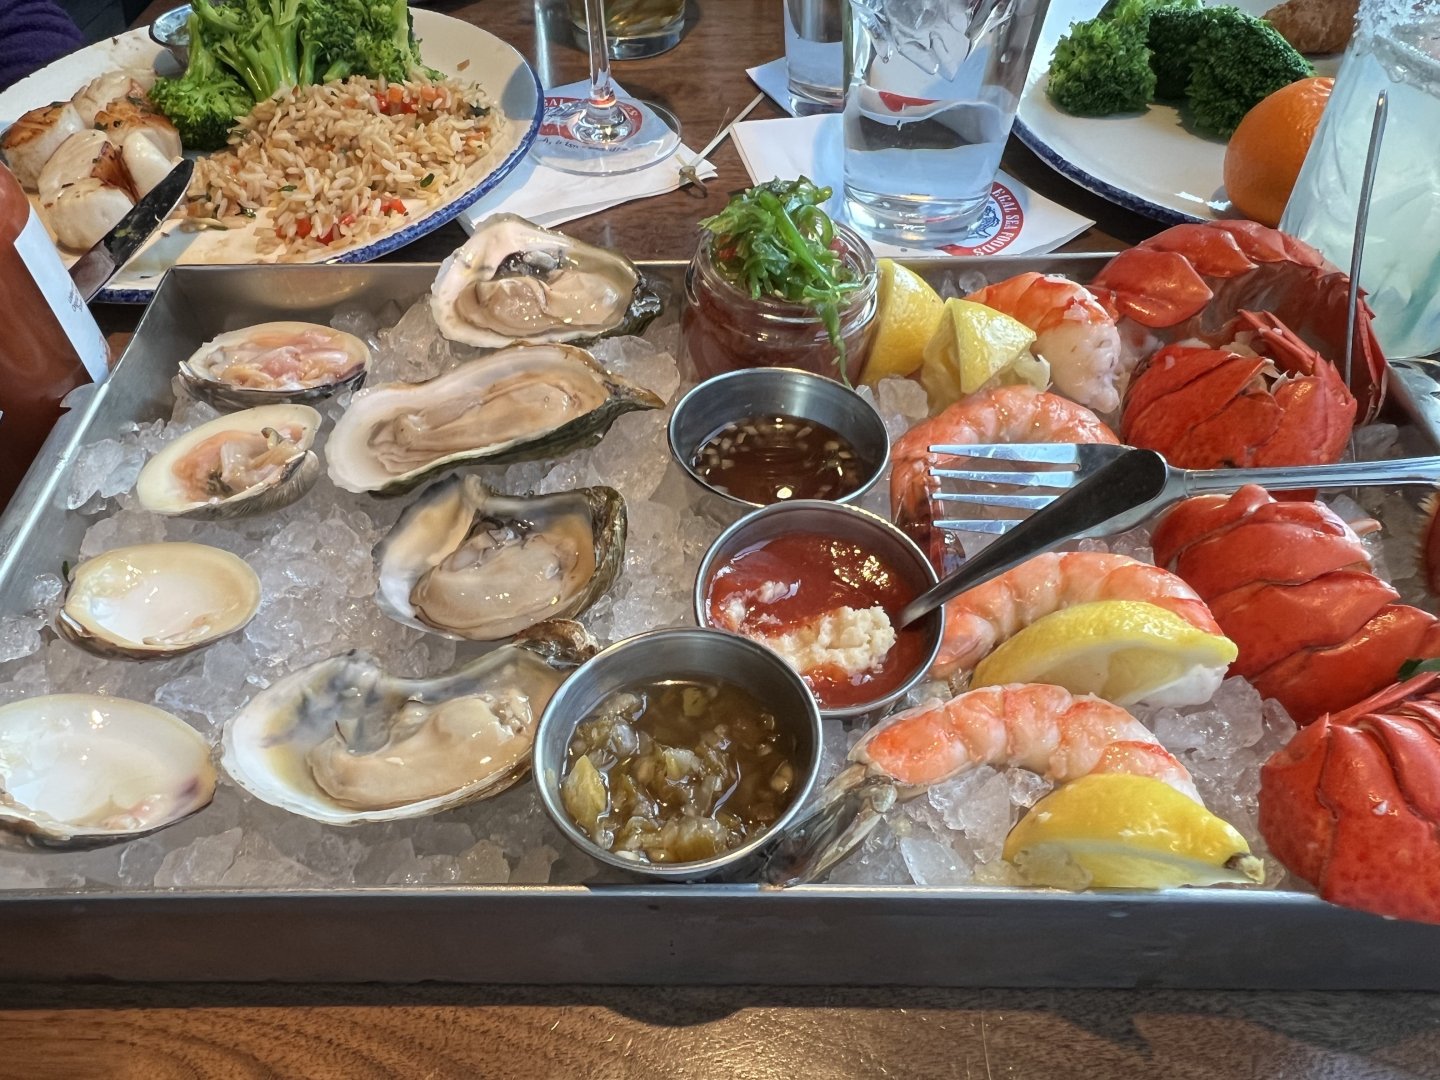
More pics from last year’s Easter Break trip - includes Mystic Seaport with the Charles Morgan and the USS Constitution. At Mystic - the shipwright allowed me into the large shed to view a mast he was working on - I believe it was for the Mayflower II. We had a great conversation about shipbuilding. Turns out he was from Paoli - a small suburb of Philly about 20 minutes from where I live. He was a Pharma executive who quit to become an apprentice shipwright at a New England school that specializes in that. He now does it full time. How cool! The Constitution visit was amazing. Such a feeling of history. Unfortunately the state rooms were closed for renovations - meaning a return trip will be planned soon! The Constitution is the only active duty US Warship to have sunk another ship (that the public is aware of). @JSGerson@GGibson@Der Alte Rentner


-
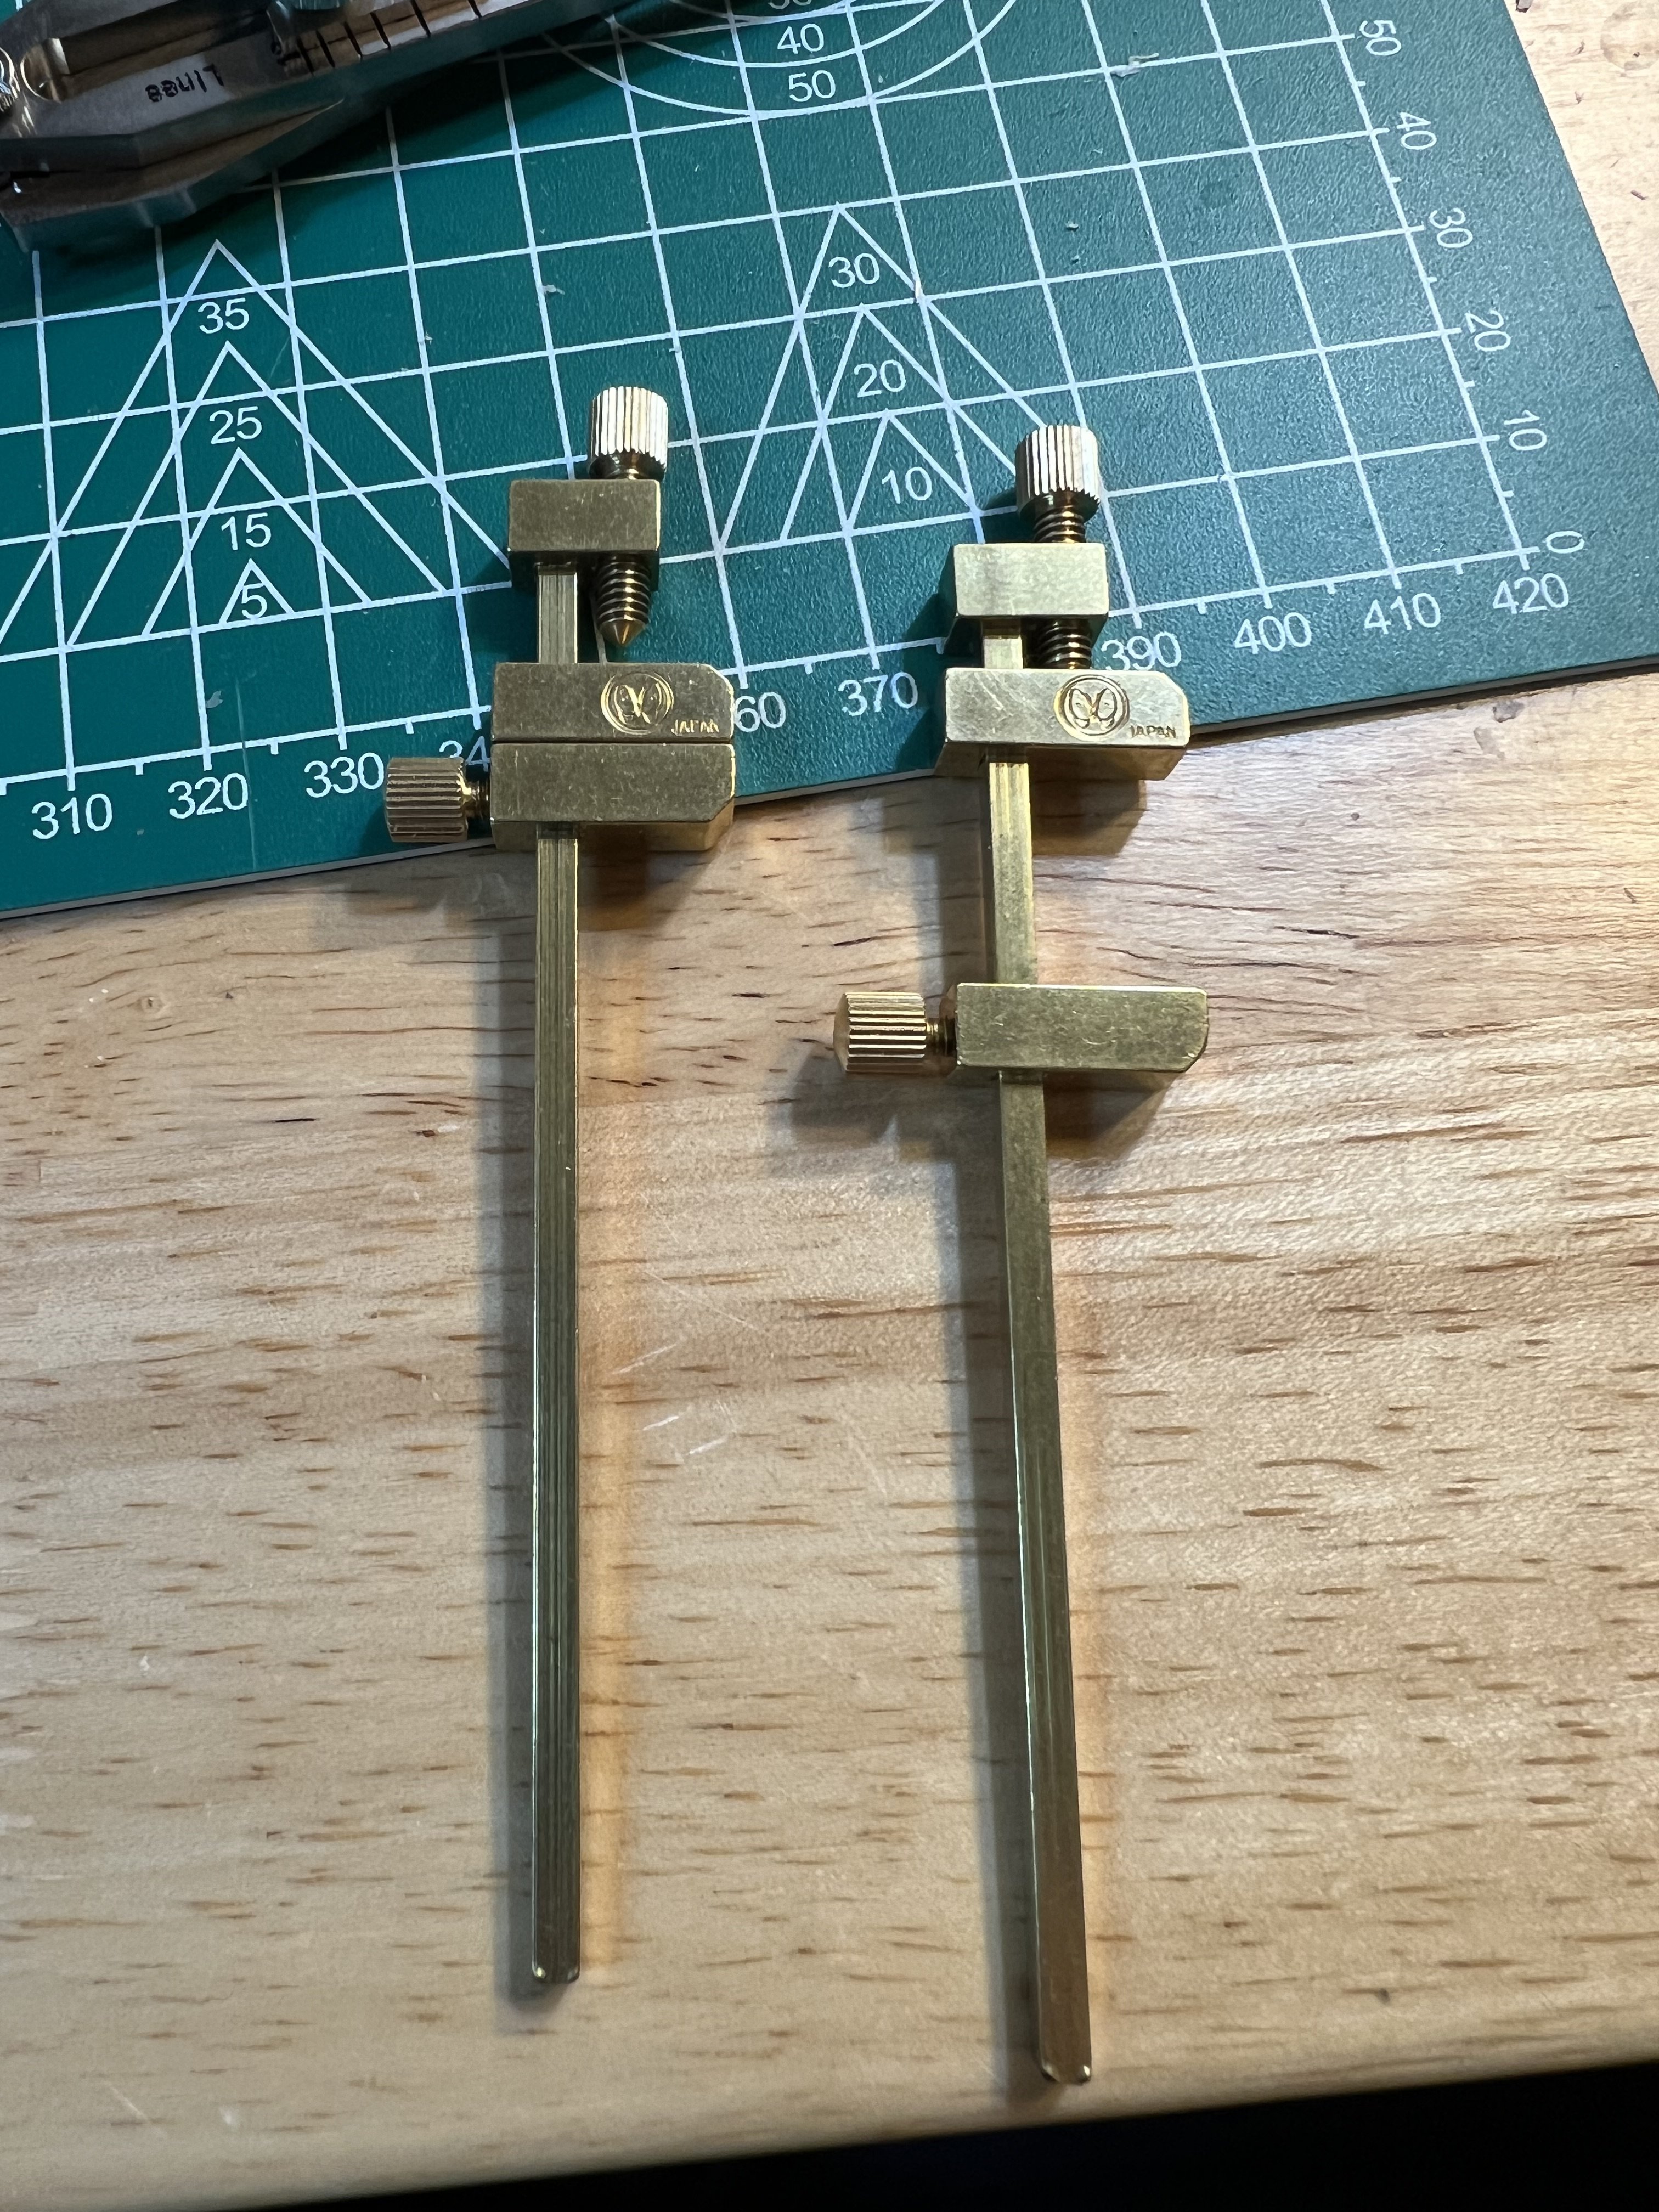
The clamps each weigh 3/4 of an Oz. They are very well made and are for delicate holds. The bottom slider determines the fit - top screws down to provide the clamp pressure. I don’t think they are meant to clamp a stubborn object. Question - for your bowsprit tenon - did you cut it out of the bowsprit? I was thinking of fitting a plug, shaping the angle and then gluing the plug to the Bowsprit. Seems easier but not sure how sturdy it would be. That tenon doesn’t look very sturdy either though.