-
Posts
66 -
Joined
-
Last visited
About KJackson
- Birthday 03/20/1993
Profile Information
-
Location
Australia
Recent Profile Visitors
-
 Dray reacted to a post in a topic:
HM Bark Endeavour by KJackson - OcCre - 1:54
-
 Dray reacted to a post in a topic:
HM Bark Endeavour by KJackson - OcCre - 1:54
-
 billocrates reacted to a post in a topic:
The Hayling Hoy 1760 by Seventynet - FINISHED - 1:48 scale - First fully framed model
-
 elrojo99 reacted to a post in a topic:
HM Bark Endeavour by KJackson - OcCre - 1:54
-
 elrojo99 reacted to a post in a topic:
HM Bark Endeavour by KJackson - OcCre - 1:54
-
 elrojo99 reacted to a post in a topic:
HM Bark Endeavour by KJackson - OcCre - 1:54
-
 GrandpaPhil reacted to a post in a topic:
HM Bark Endeavour by KJackson - OcCre - 1:54
-
 Dave_E reacted to a post in a topic:
HM Bark Endeavour by KJackson - OcCre - 1:54
-
 Dave_E reacted to a post in a topic:
HM Bark Endeavour by KJackson - OcCre - 1:54
-
 Gregory reacted to a post in a topic:
HM Bark Endeavour by KJackson - OcCre - 1:54
-
Thanks, Gregory and Steve - I see the stealers - thanks, Gregory. My knowledge is theoretical only at this point and I haven't done them in practice! To Steve's point, I'm very glad this will be the first (and hidden!) layer of planking. I'm going to try my hardest to make it look good purely so I can get better at planking from a technical point of view. At the end of the day I'm treating it as a dressed rehearsal for the final event.
-
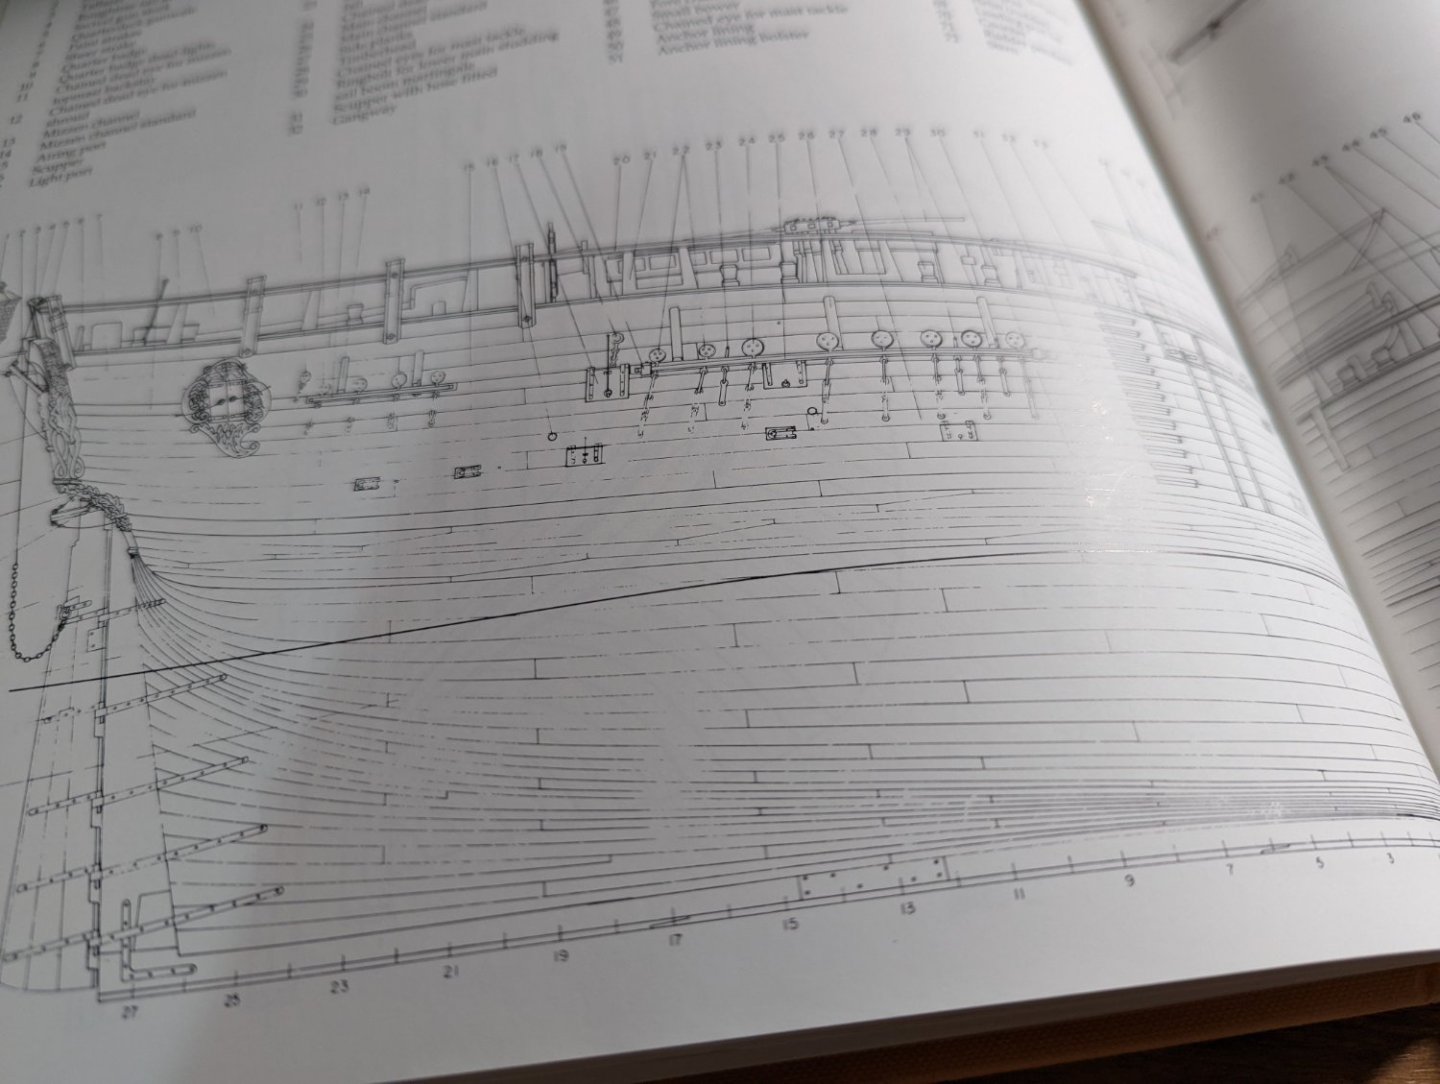
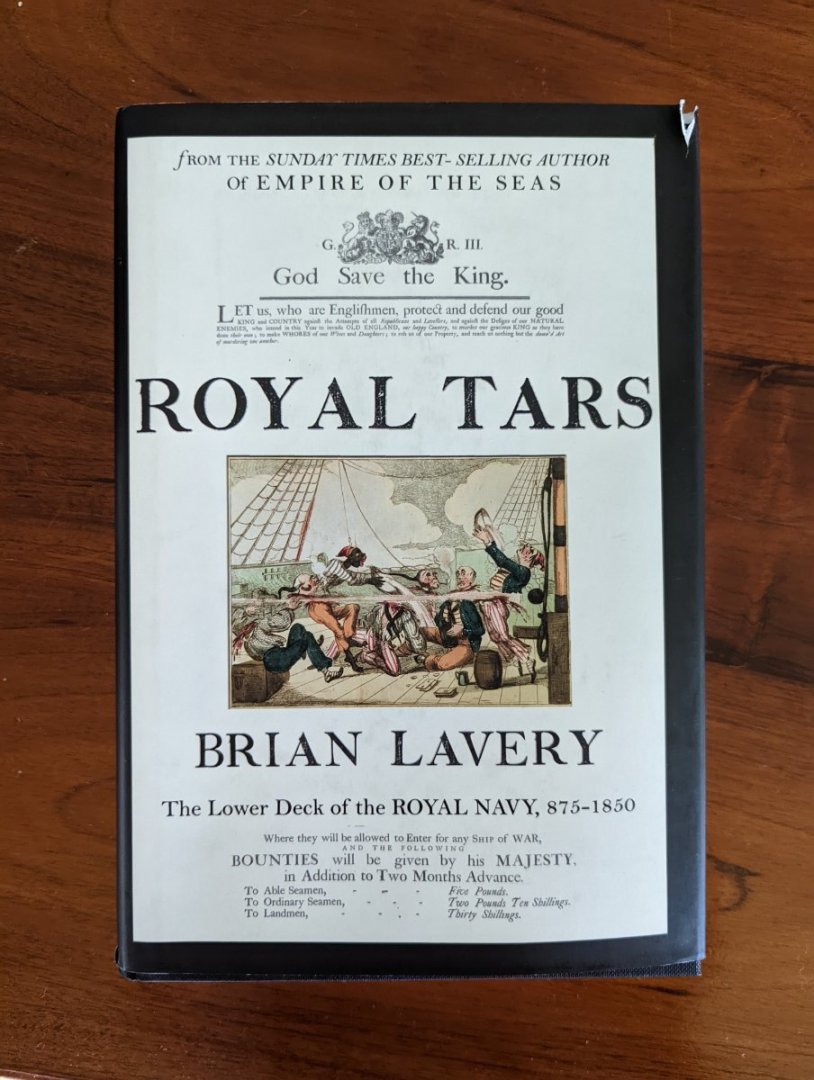
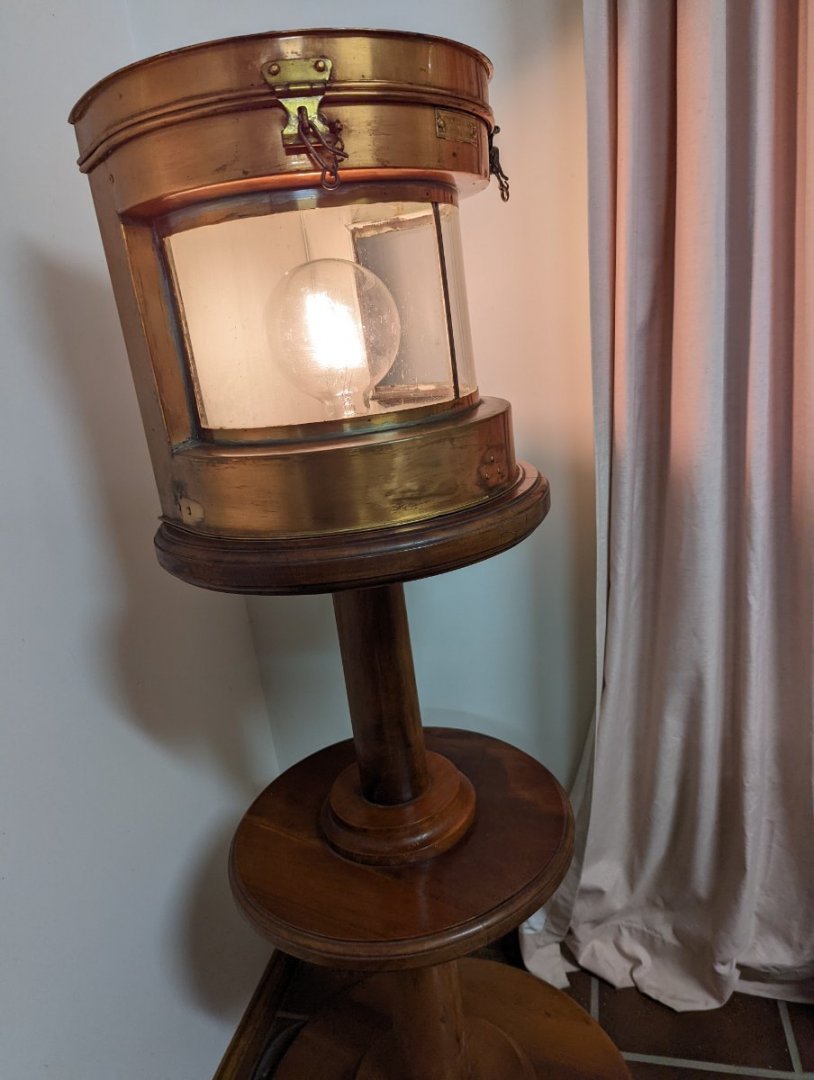
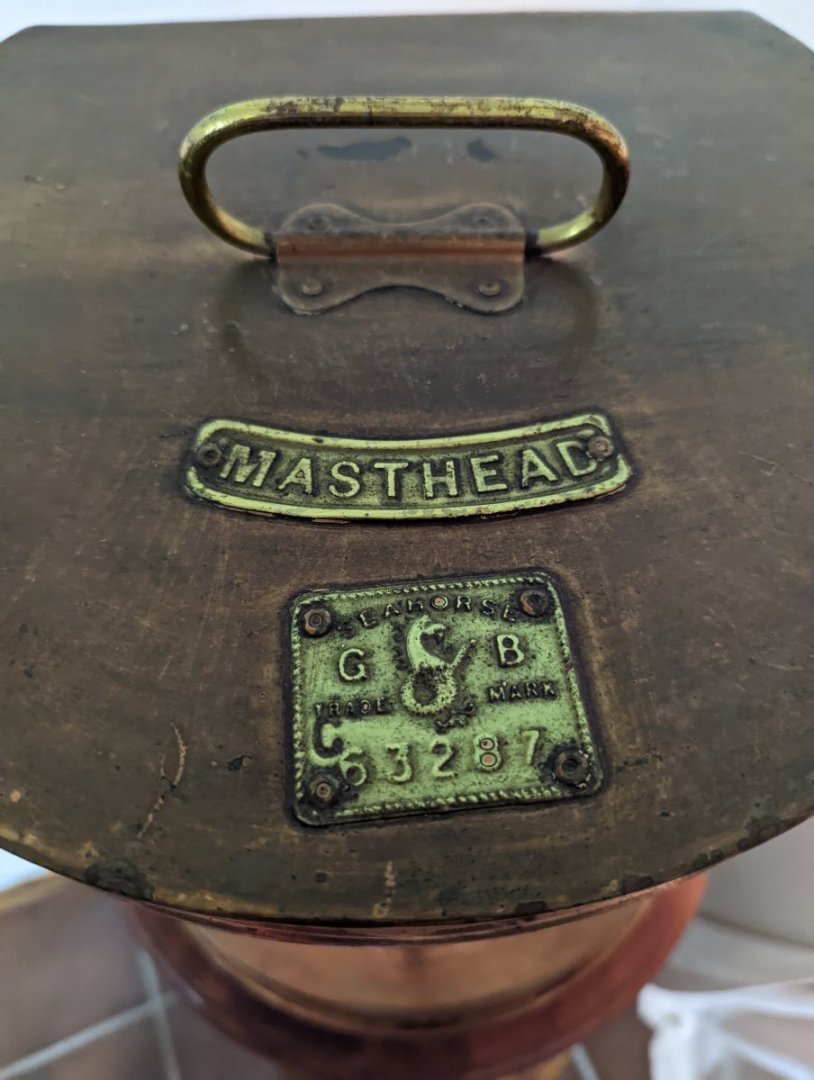
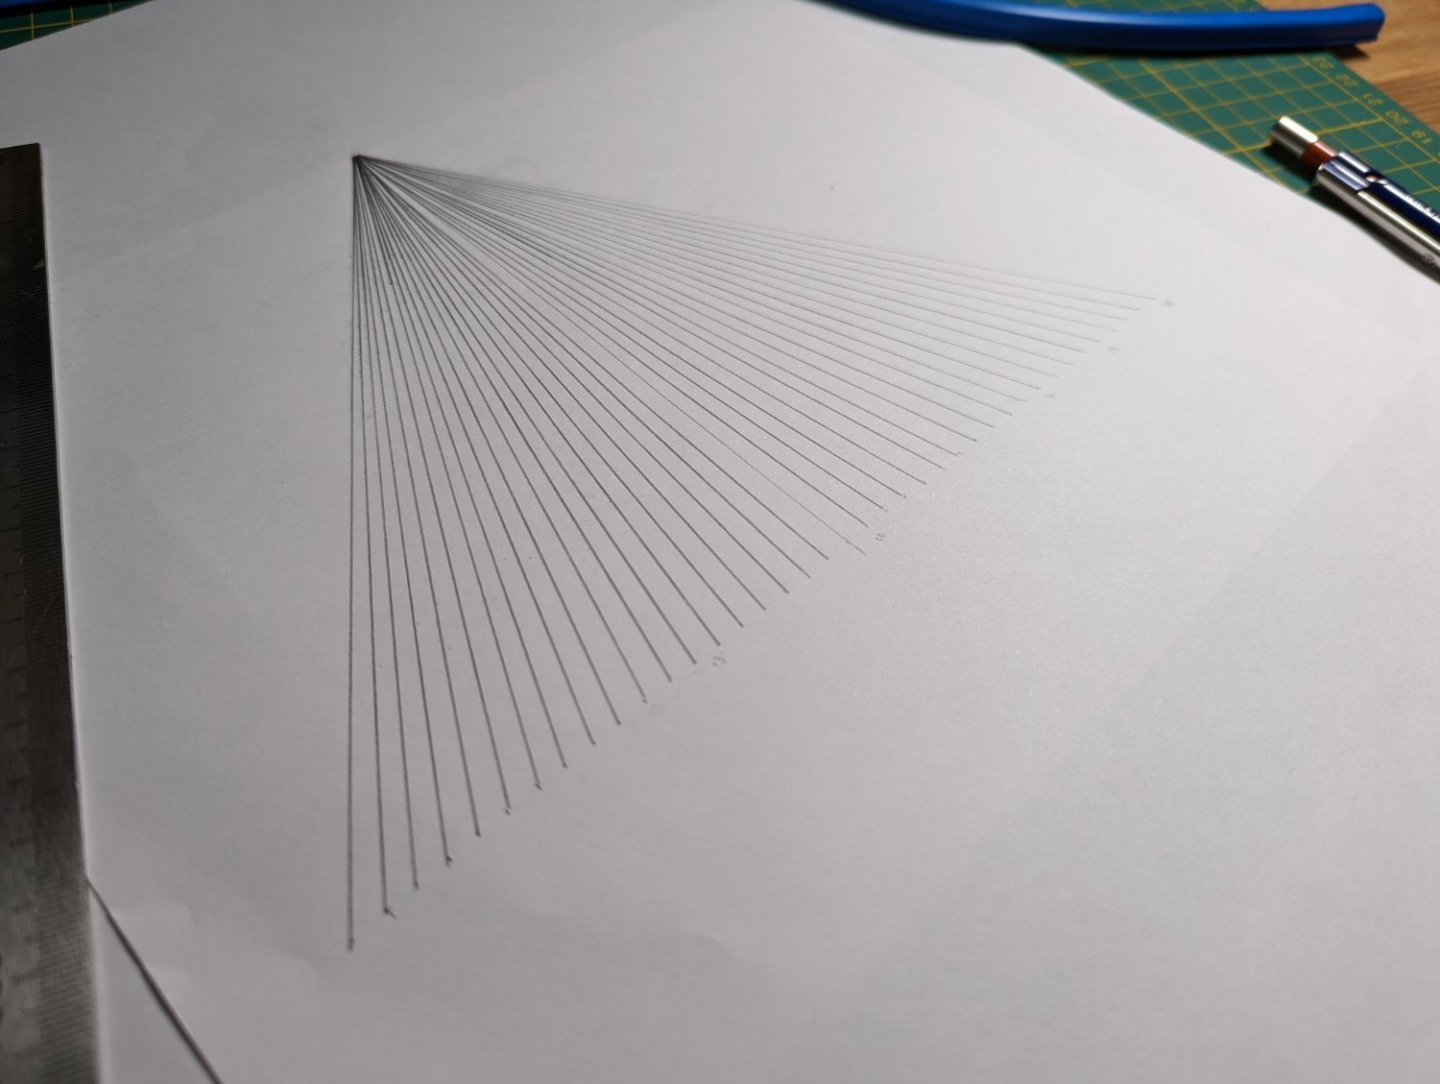
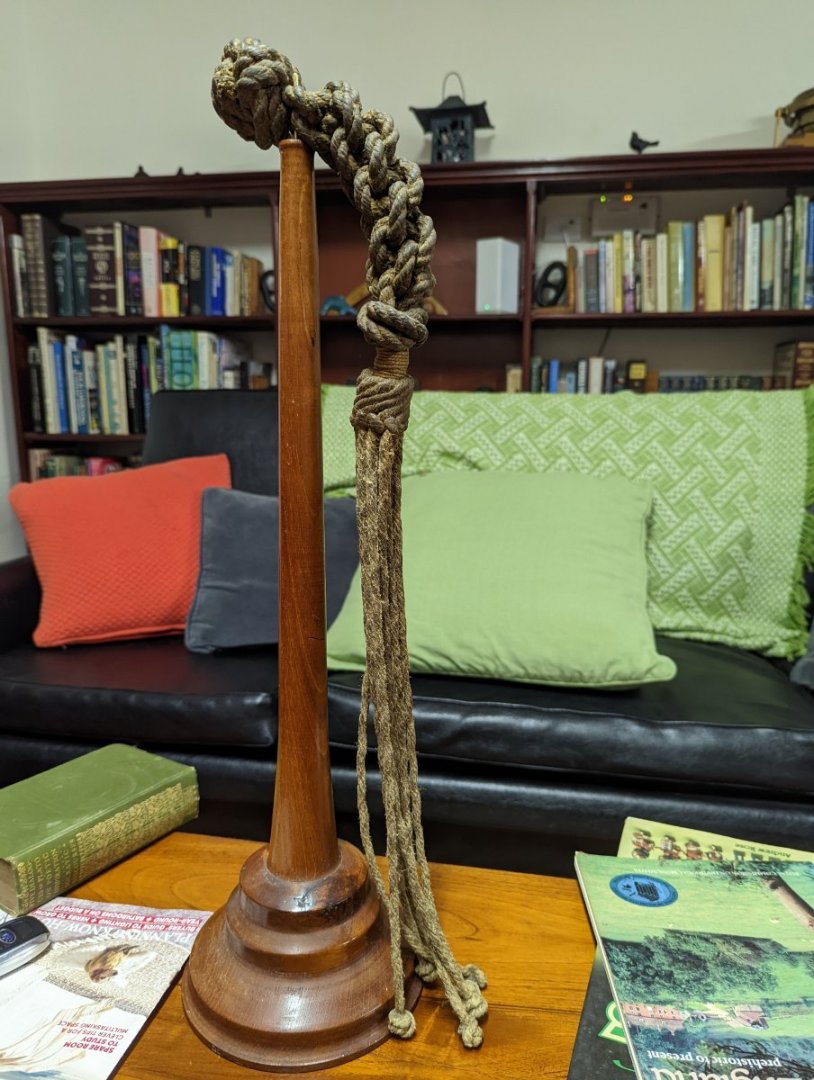
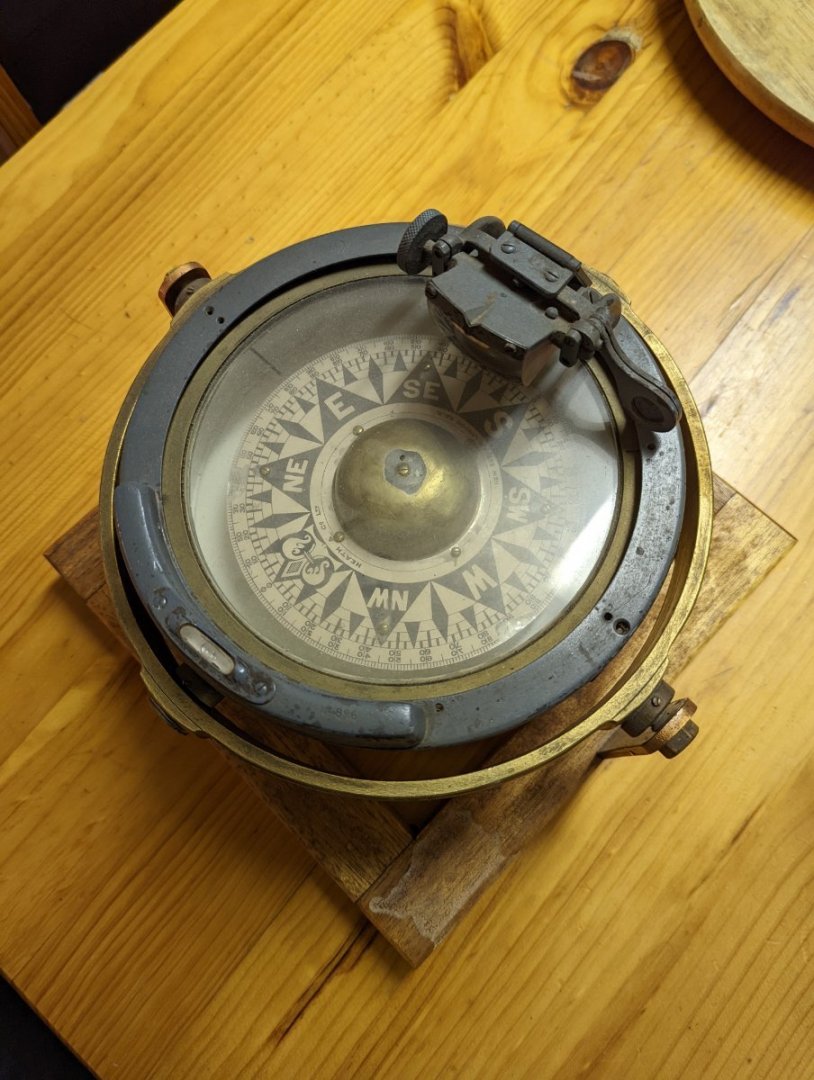
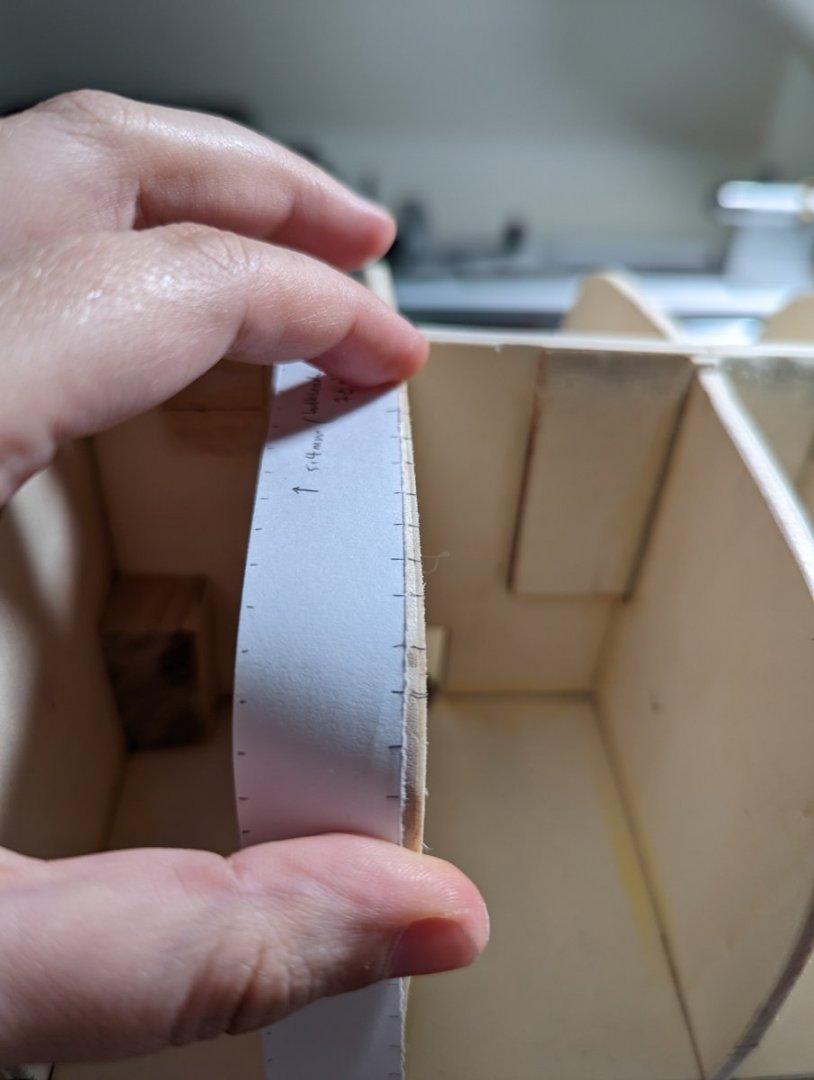
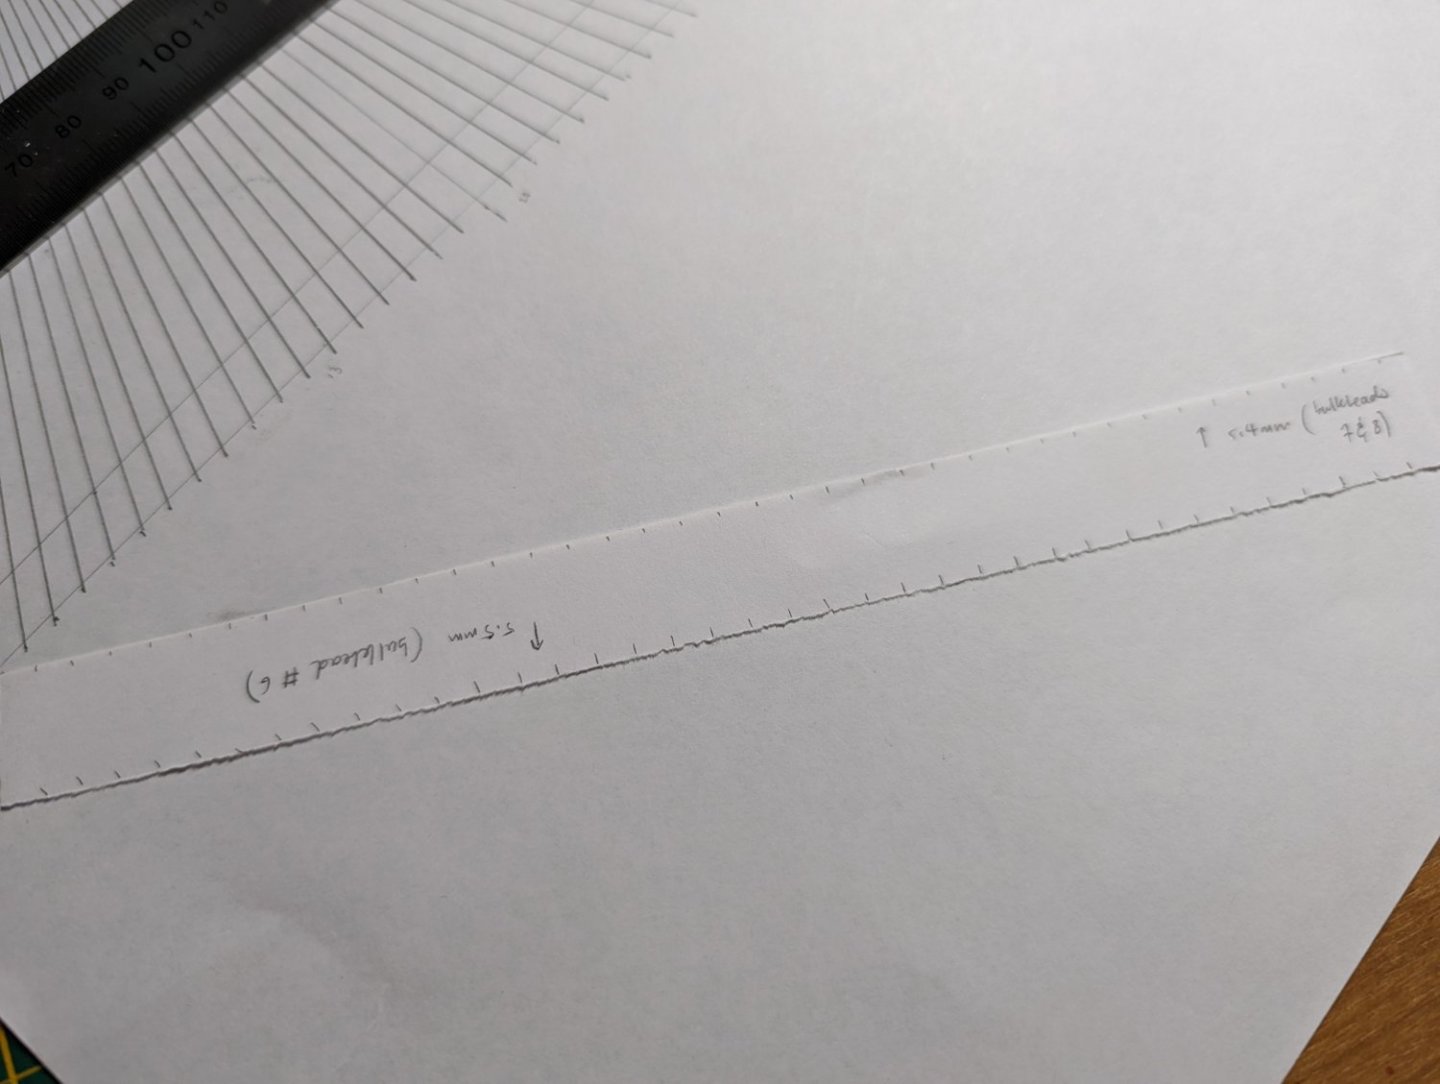
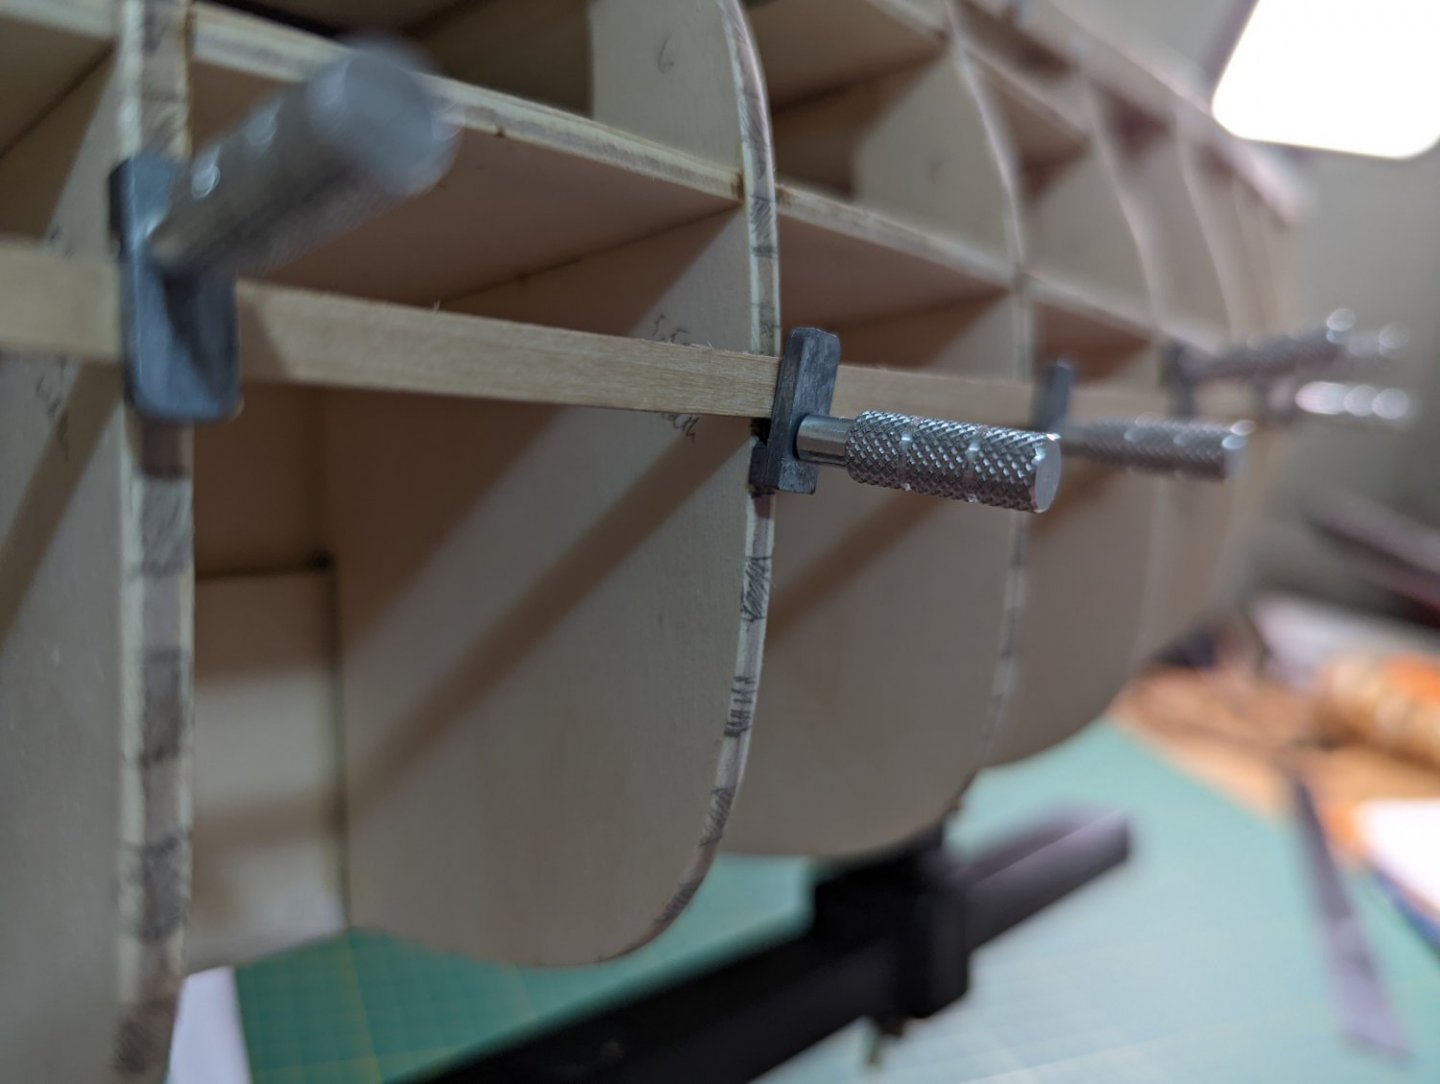
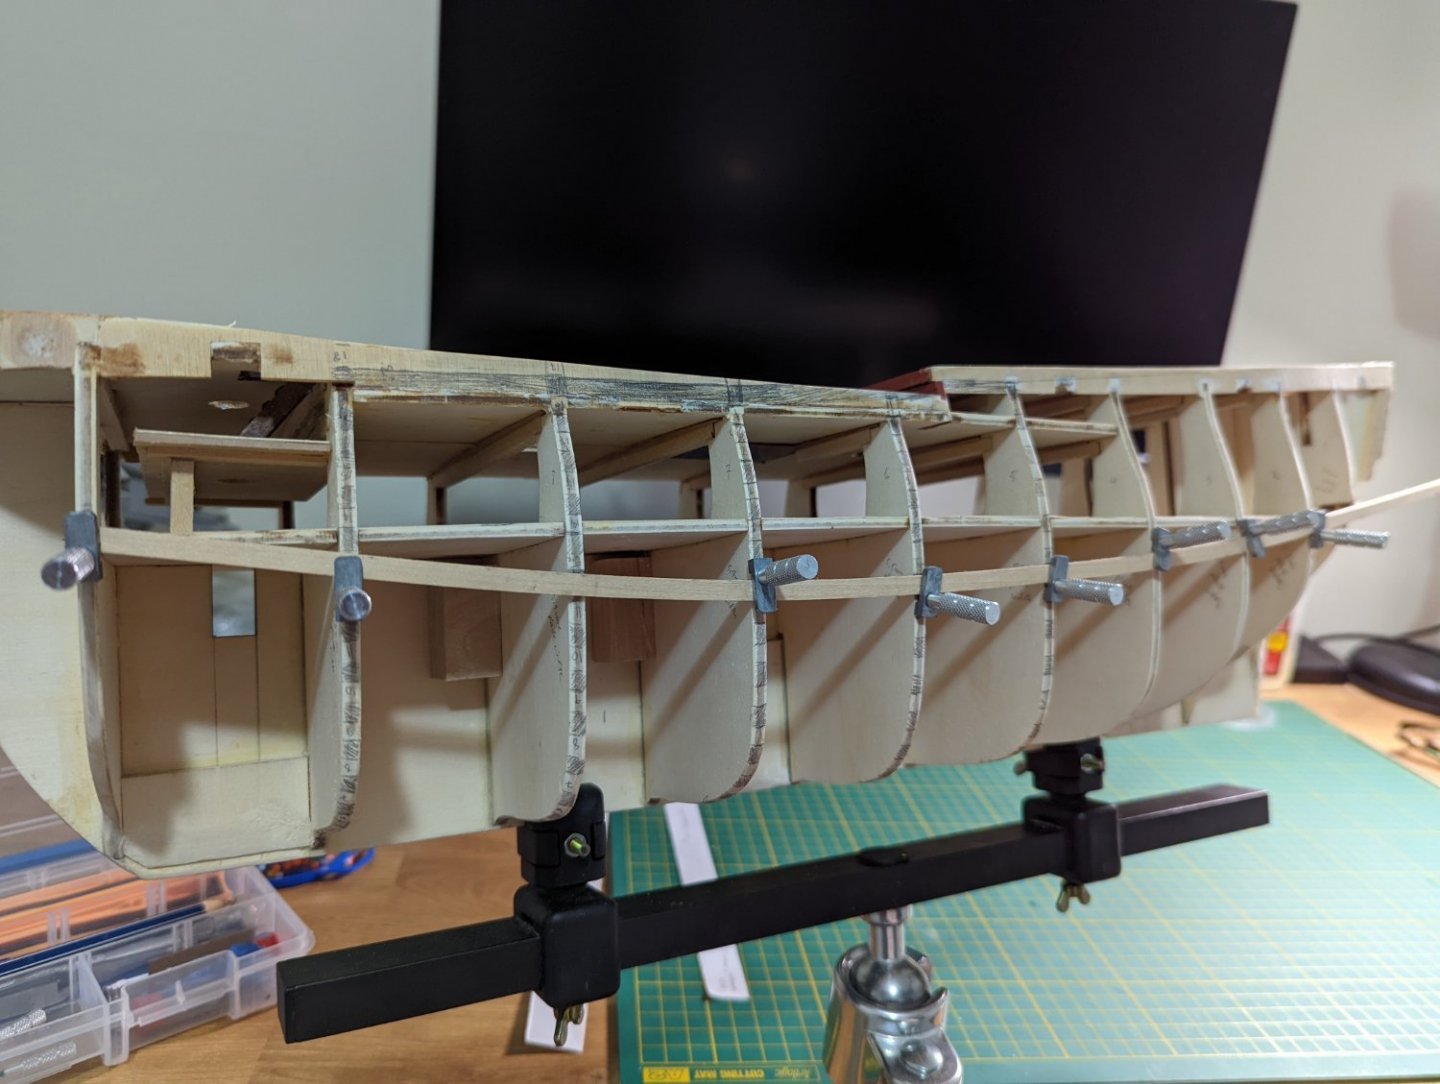
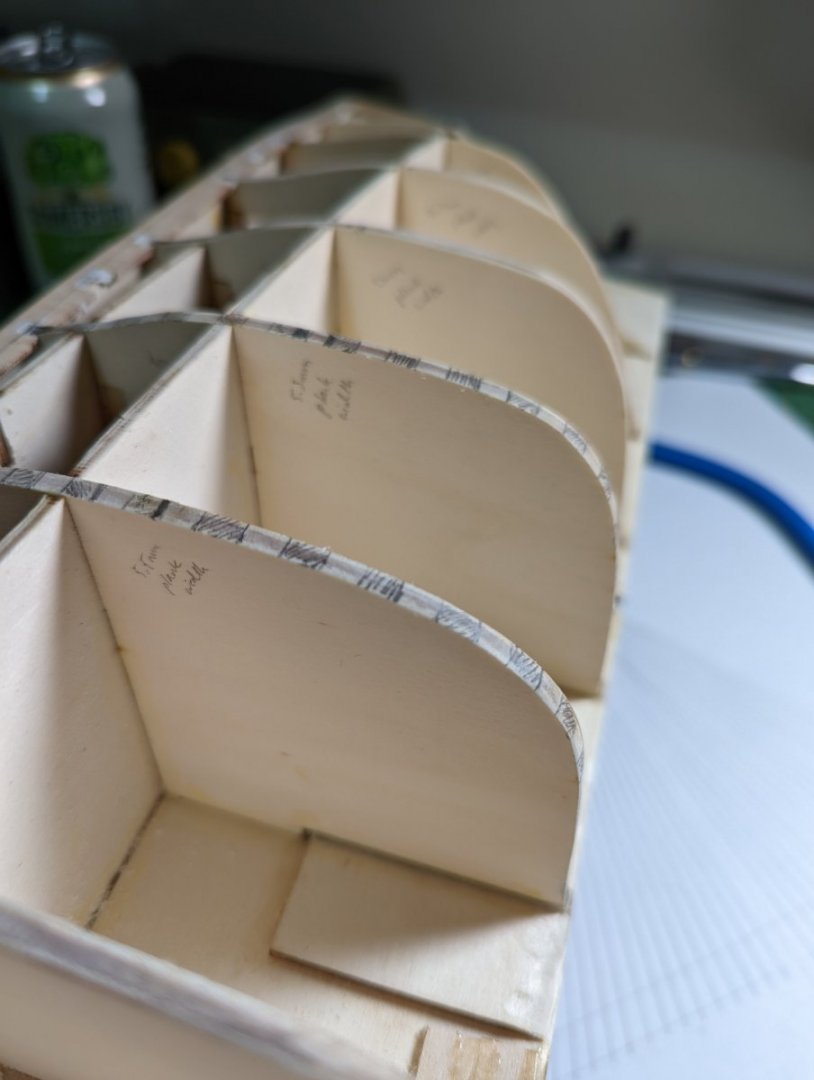
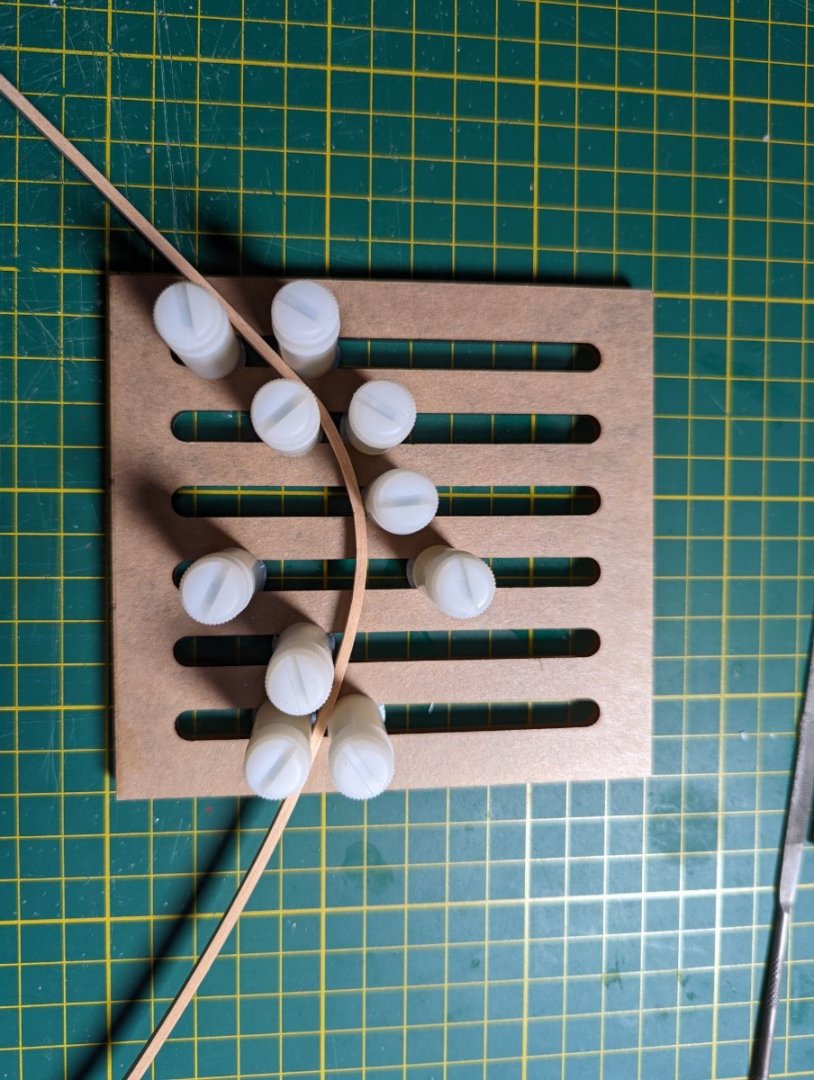
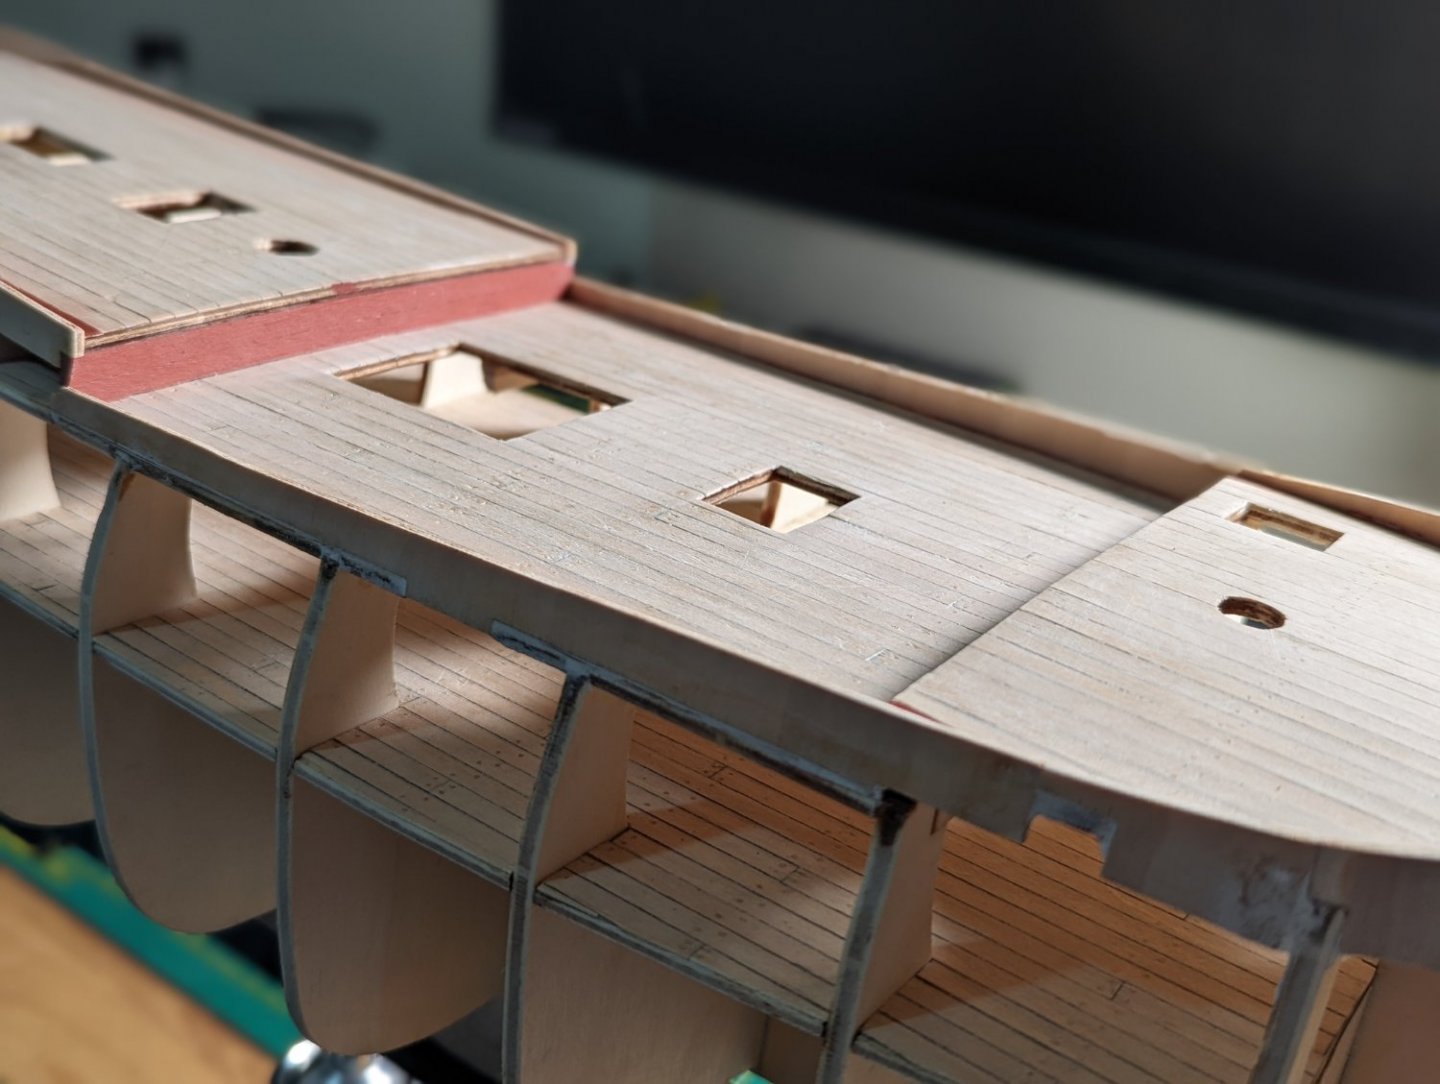
LINING OFF THE HULL Last week between work rearing its ugly head and a getaway trip with friends, I didn't get to my model. What I did do was reading and research in preparation for the hull planking. I used Marquardt's drawing of the external hull to count the total number of planks needed for the ship - 38 for those from the quarter deck and 35 for those from the upper and forecastle deck. I then measured the distance from top of bulwark to keel on each bulkhead to figure out the required taper. This ranged from 5.5mm at its widest to 4.6mm at its narrowest (before the bow). I followed Chuck's planking instructions and drew up a planking fan and transferred each measure onto the bulkhead in question using a marked strip. This helps me plan what the planking will look like. Please note that this is the first time I've tried this approach; my previous ship was all "plank and taper as I go and hope it all works out". So keep this in mind as reading! I get the second layer of planking so this one has a good bit of leniency in case things go skewiff. However, it's fun to try more advanced techniques. I toyed with cutting the planks to 120mm lengths on the first layer. After playing around, however, I decided to just do full strips as this will help with the overall smoothness of this layer before the final planking. I previously bought some screw plank clamps for my first model which I employed to clamp the first plank to the hull: the line of the wale. And that's it for the night! I haven't even done the starboard side yet! I'm trying to take this slow and methodically as I know good set up will help with the final result. AN ODD COINCIDENCE... I went on holiday with friends last week and the farmhouse we stayed in was evidently the home of a similar historic maritime hobbyist. On display included a fully fledged cat o' nine tails, ship's compass and light. The cat was quite ominous in person! They also had a great library which included a very cool book on the lower decks by Brian Lavery. This author, on my inspection, has written not one but several interesting books on model ship construction for ships of the 17th to 19th centuries.... to one day add to my growing collection!
-
 KJackson reacted to a post in a topic:
HMB ENDEAVOUR by Peter6172 - FINISHED - Artesania Latina - 1/65
-
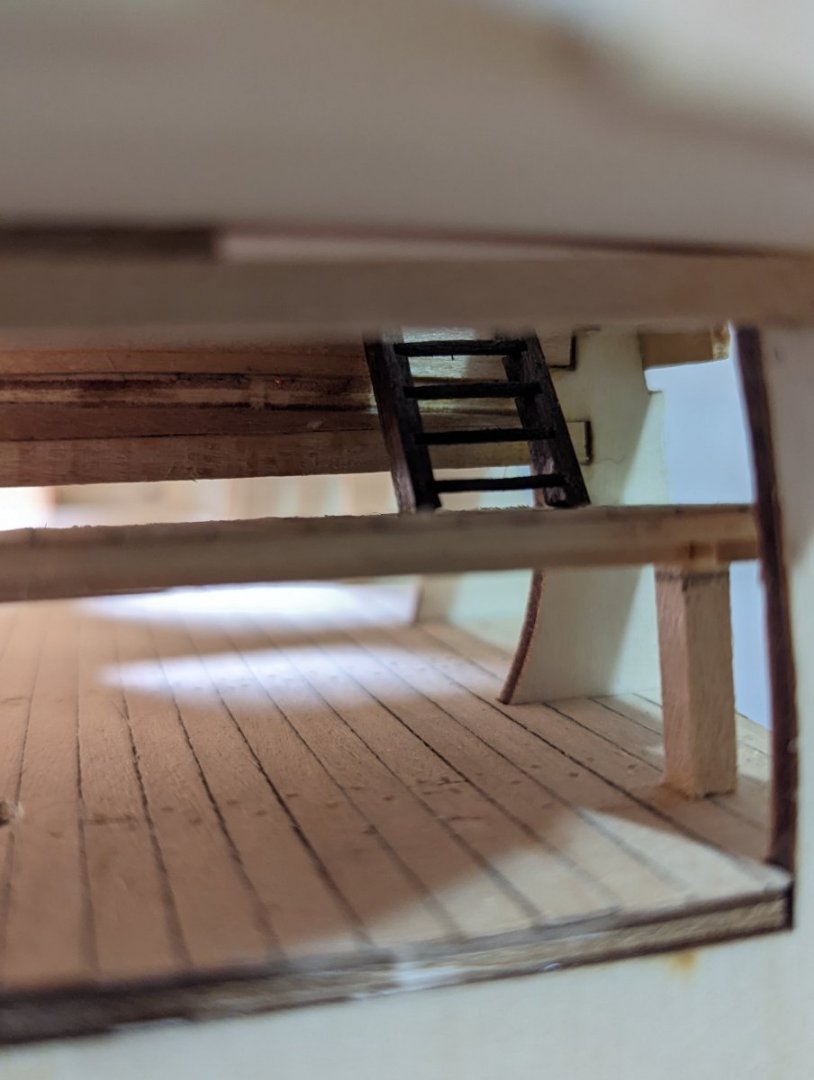
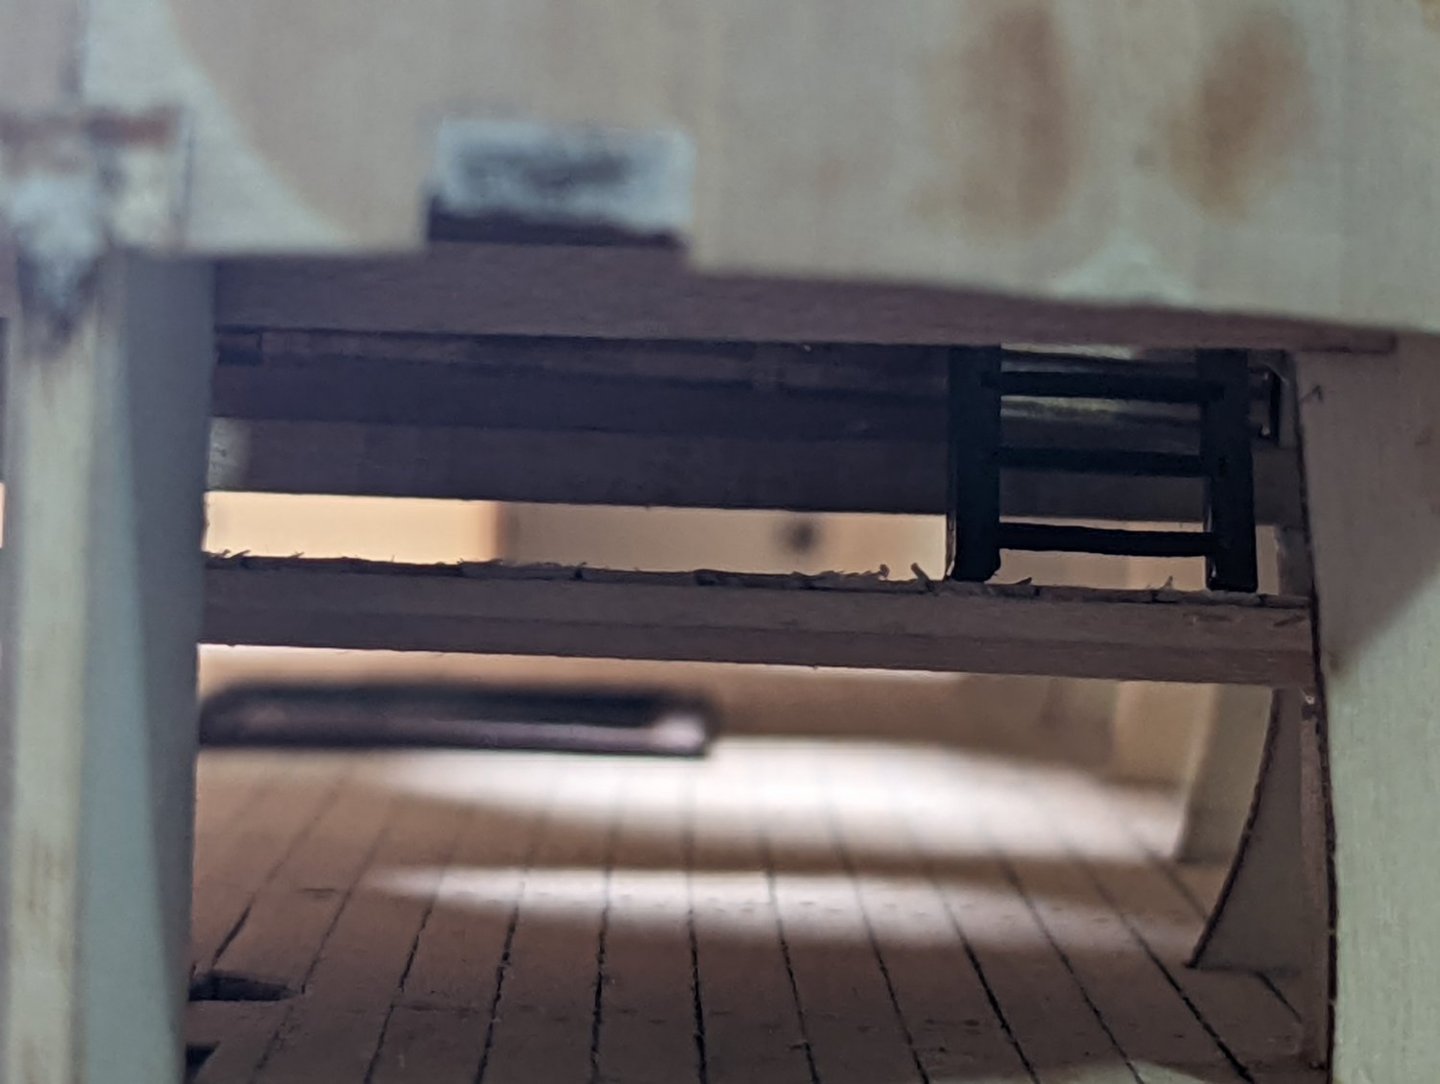
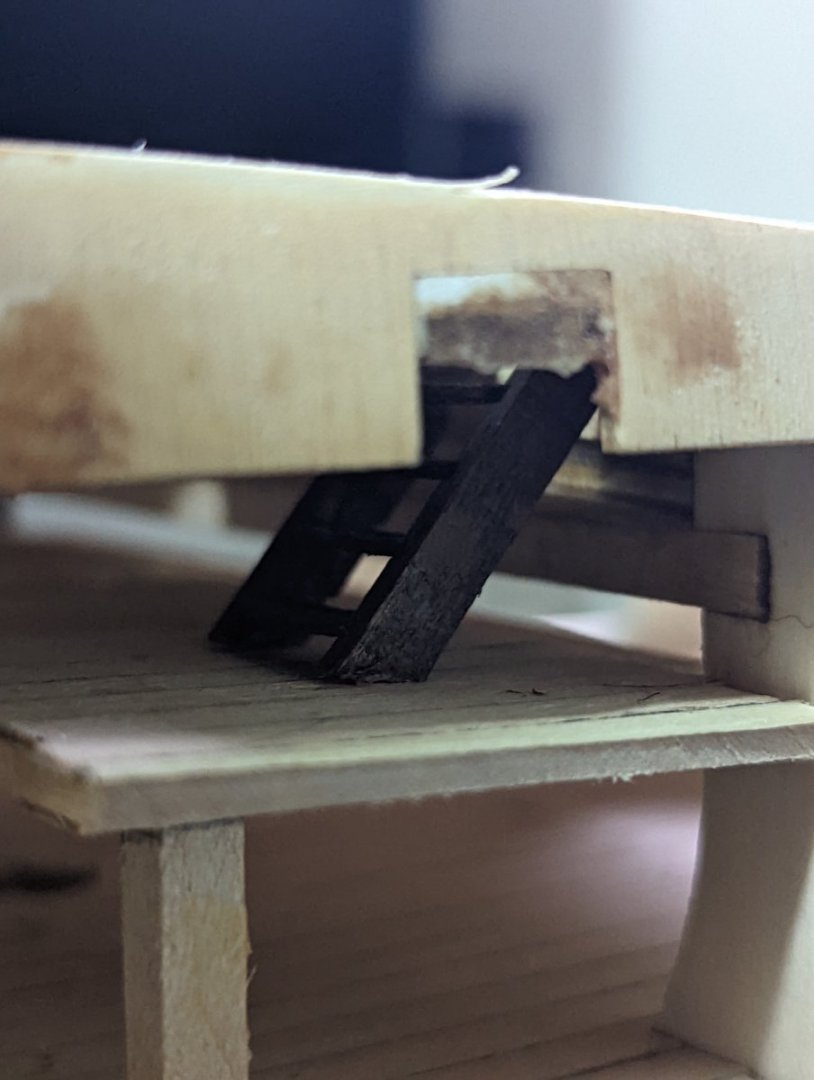
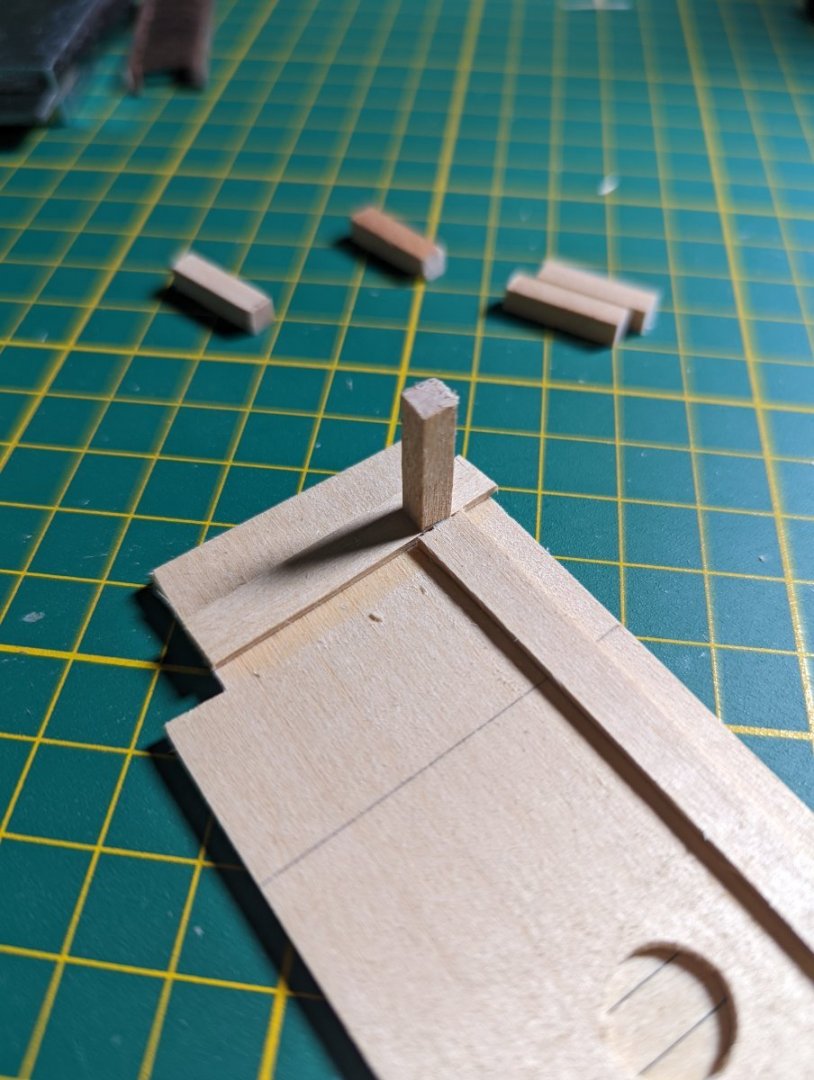
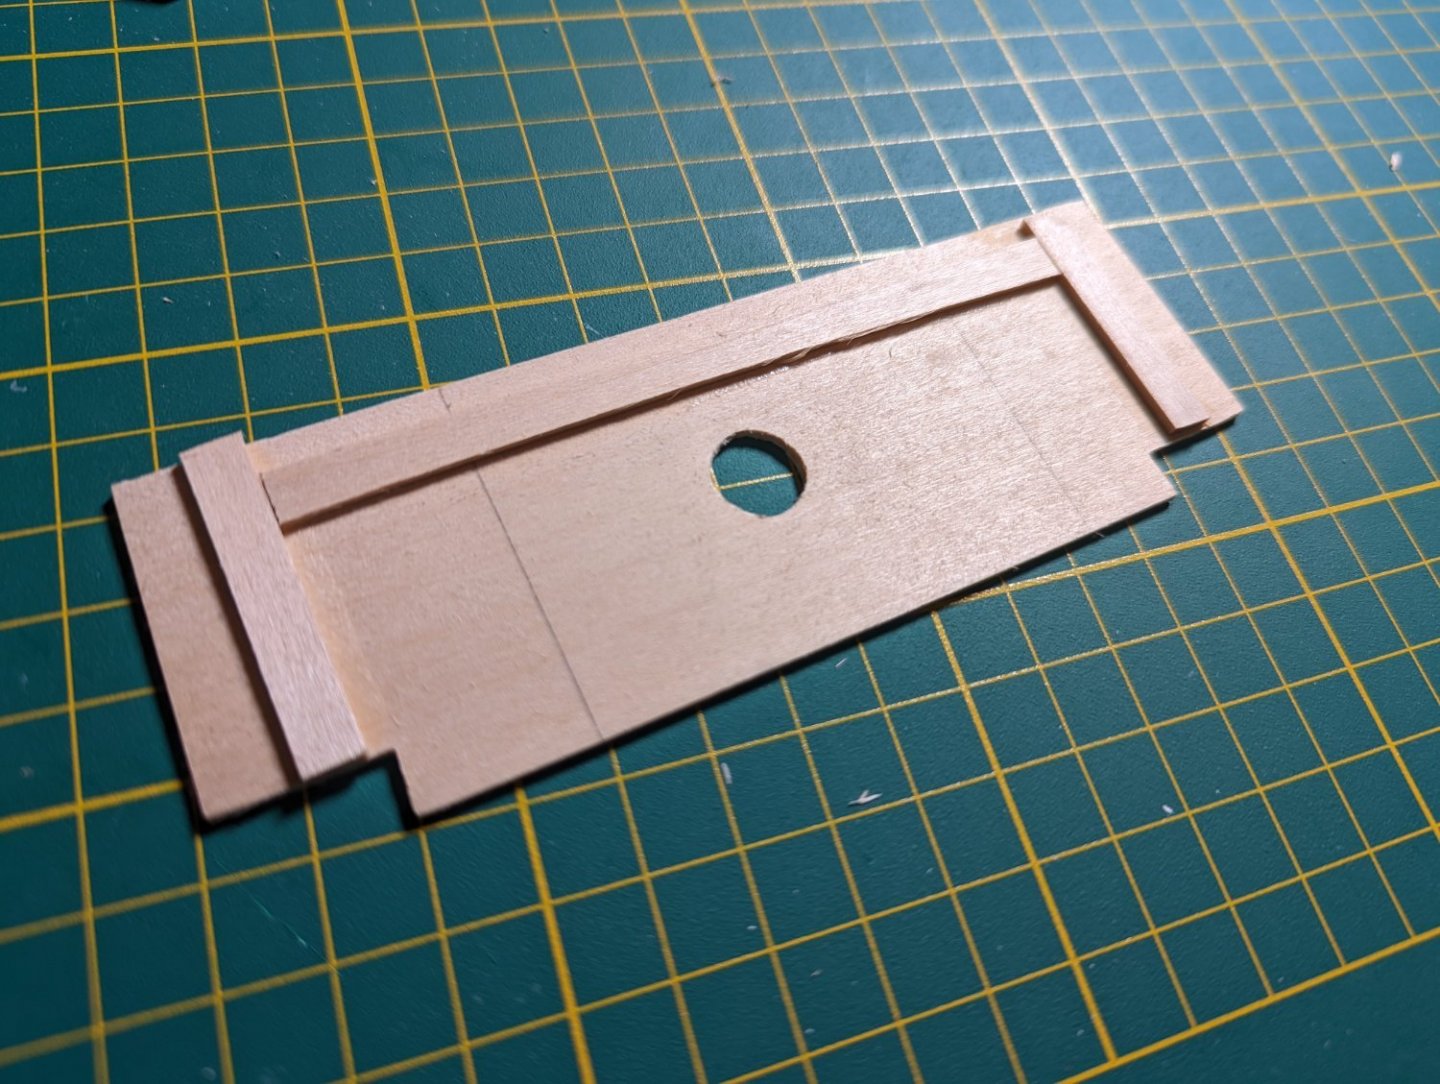
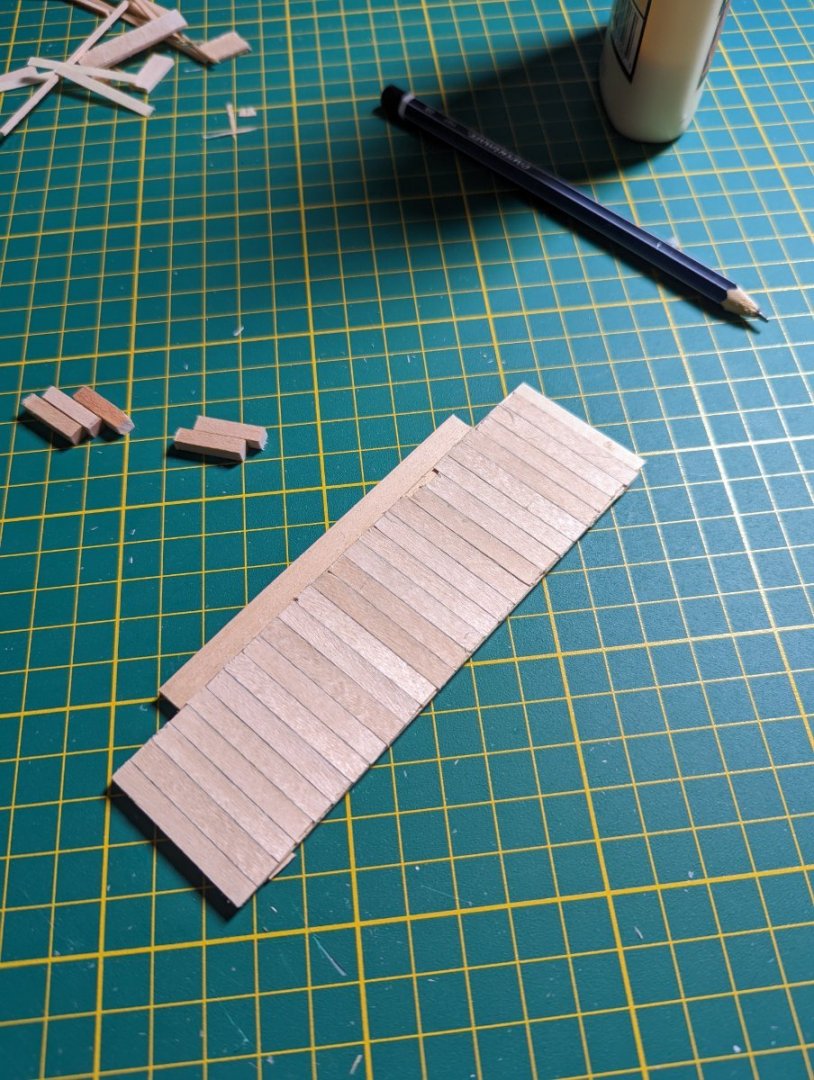
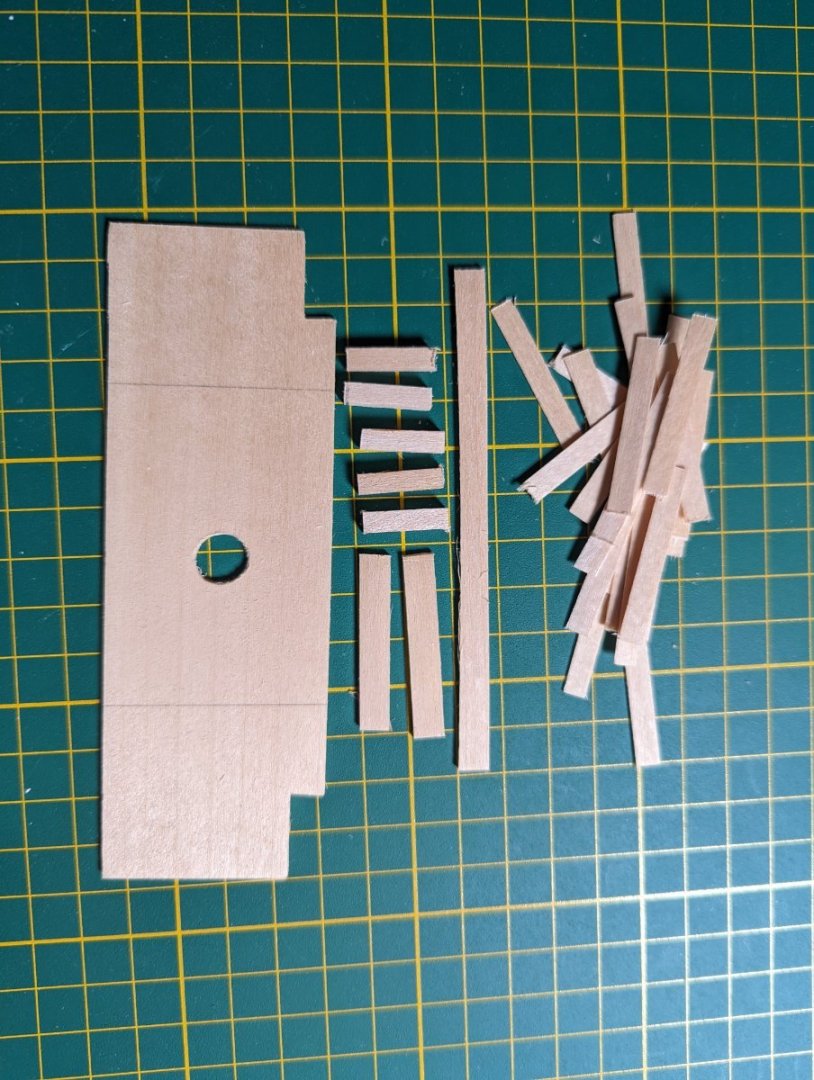
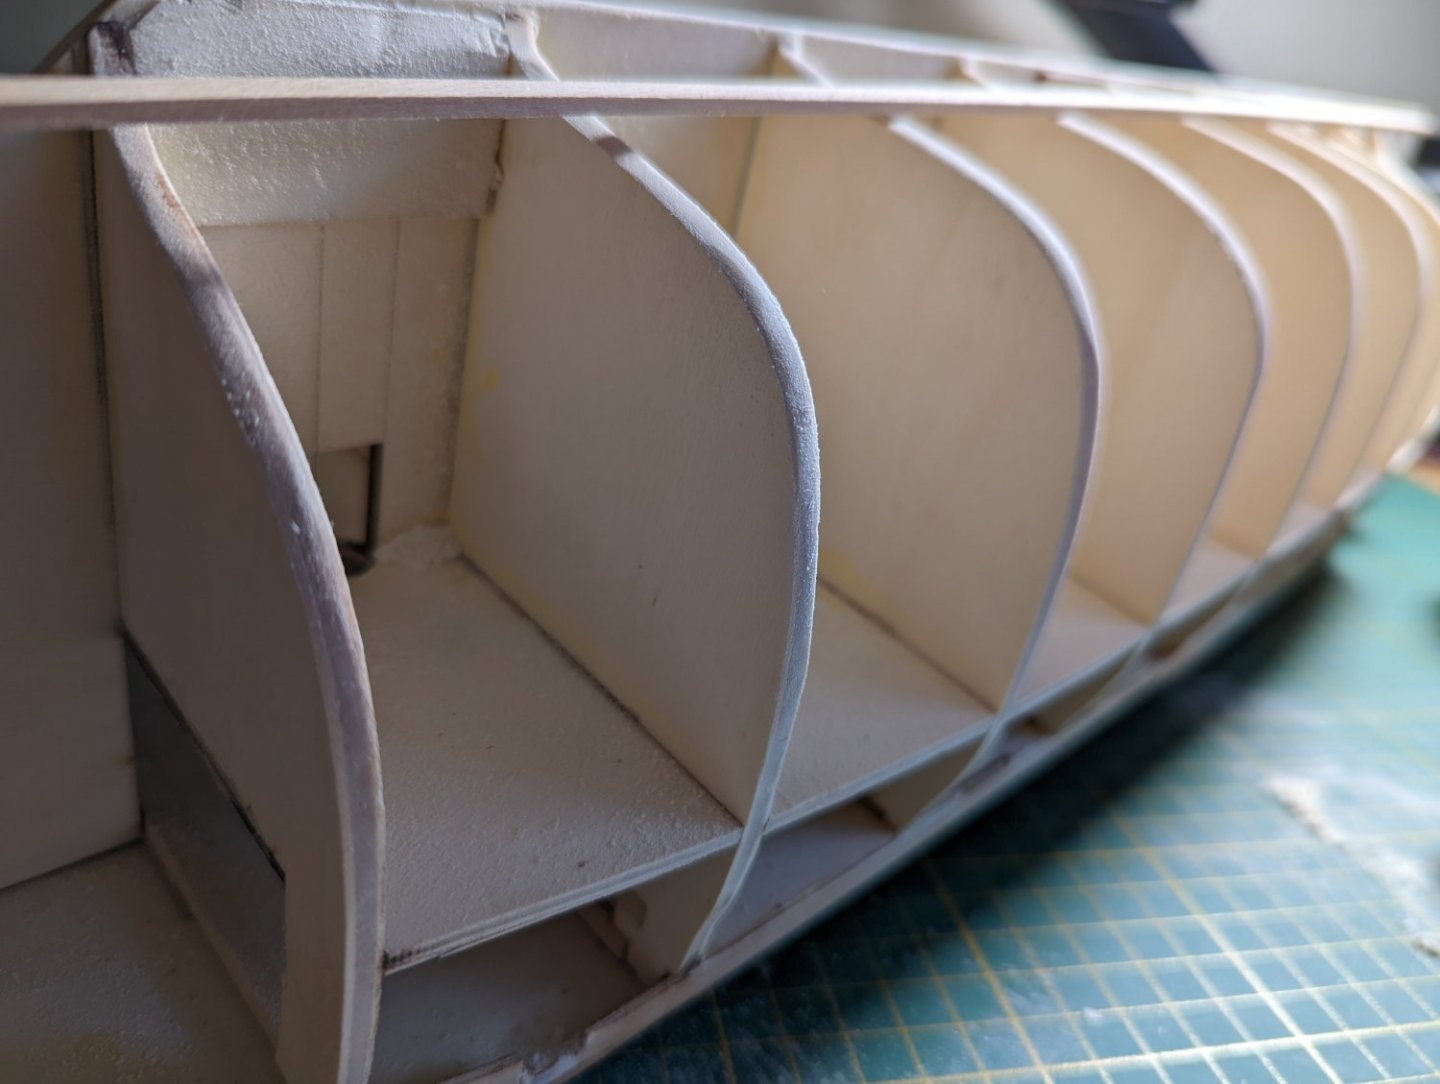
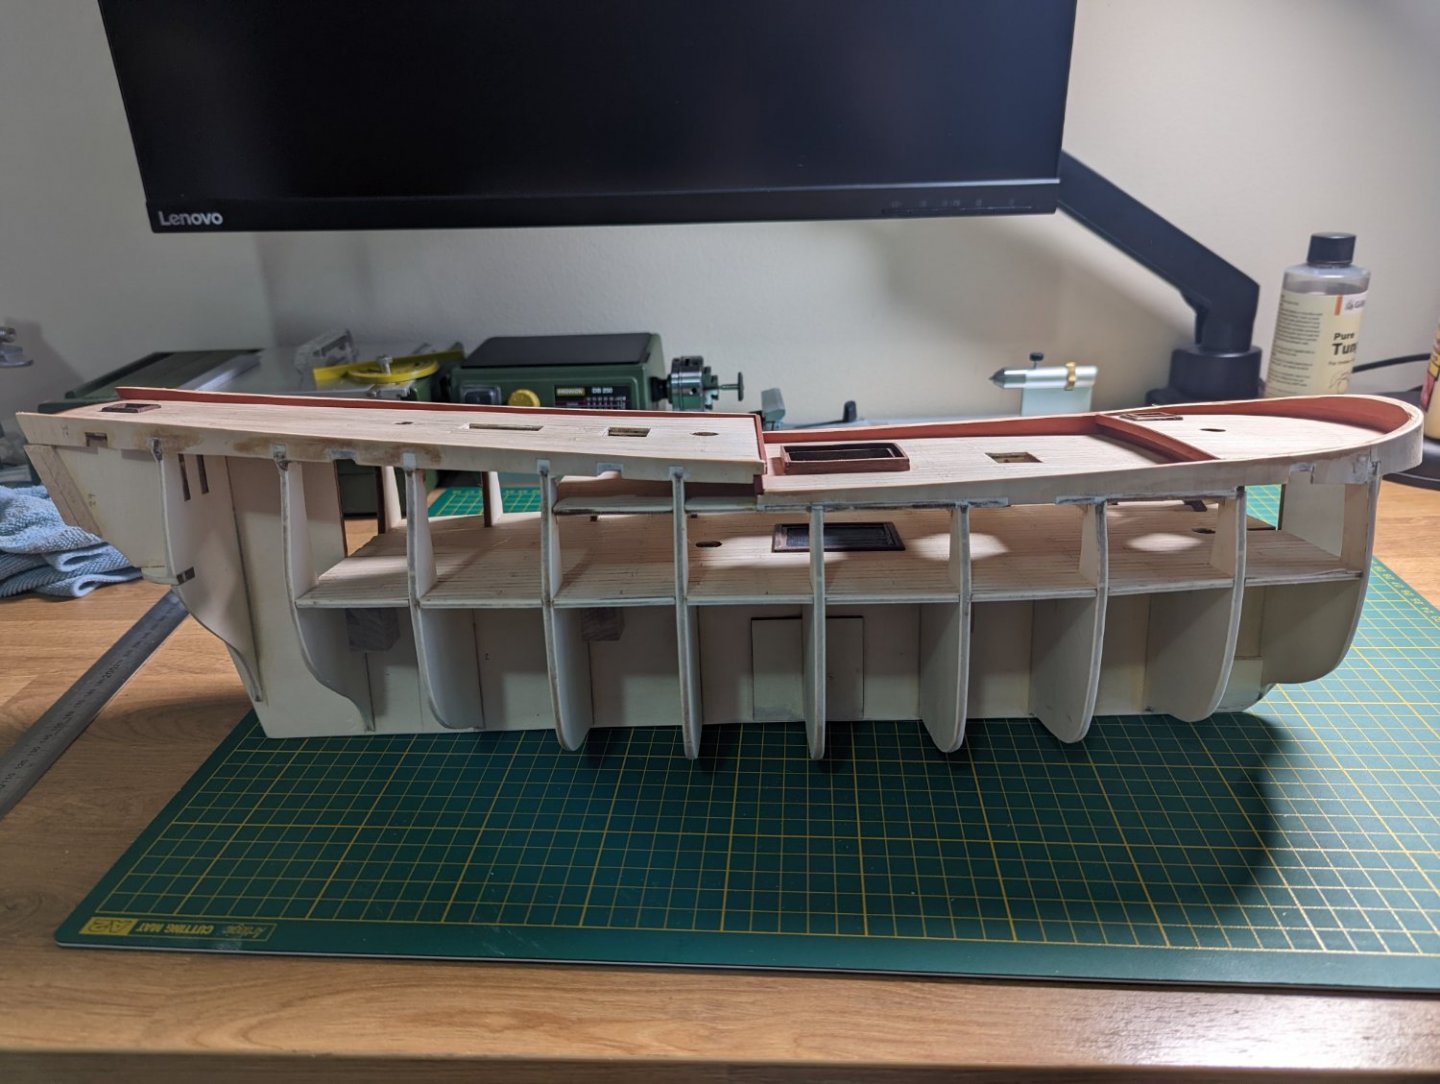
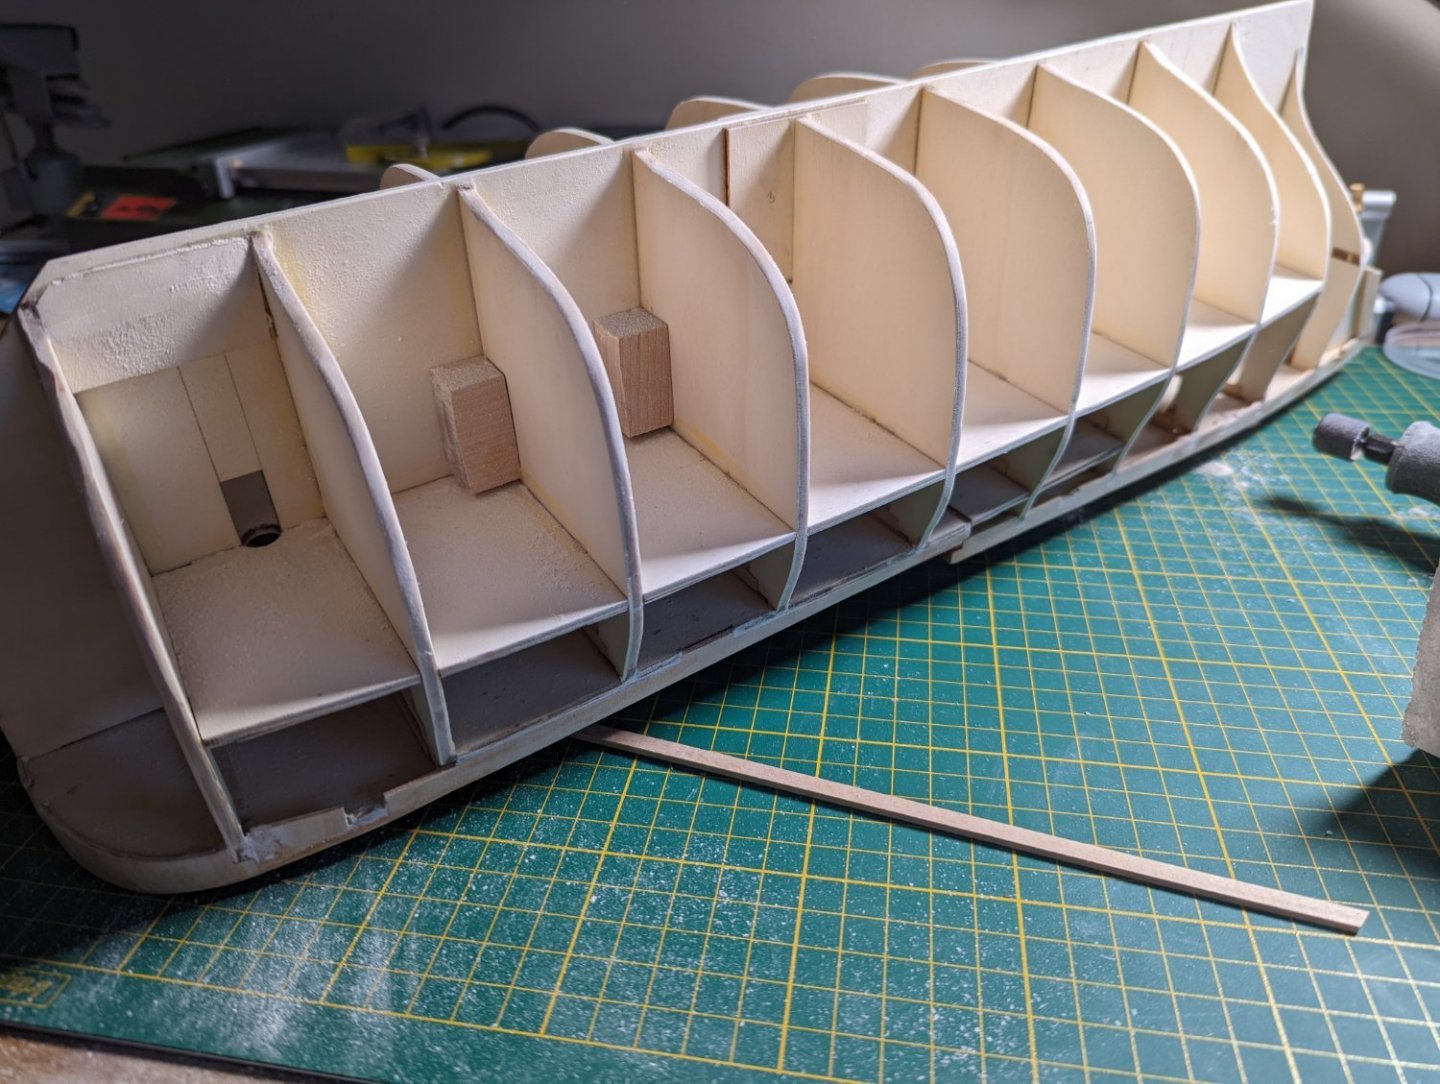
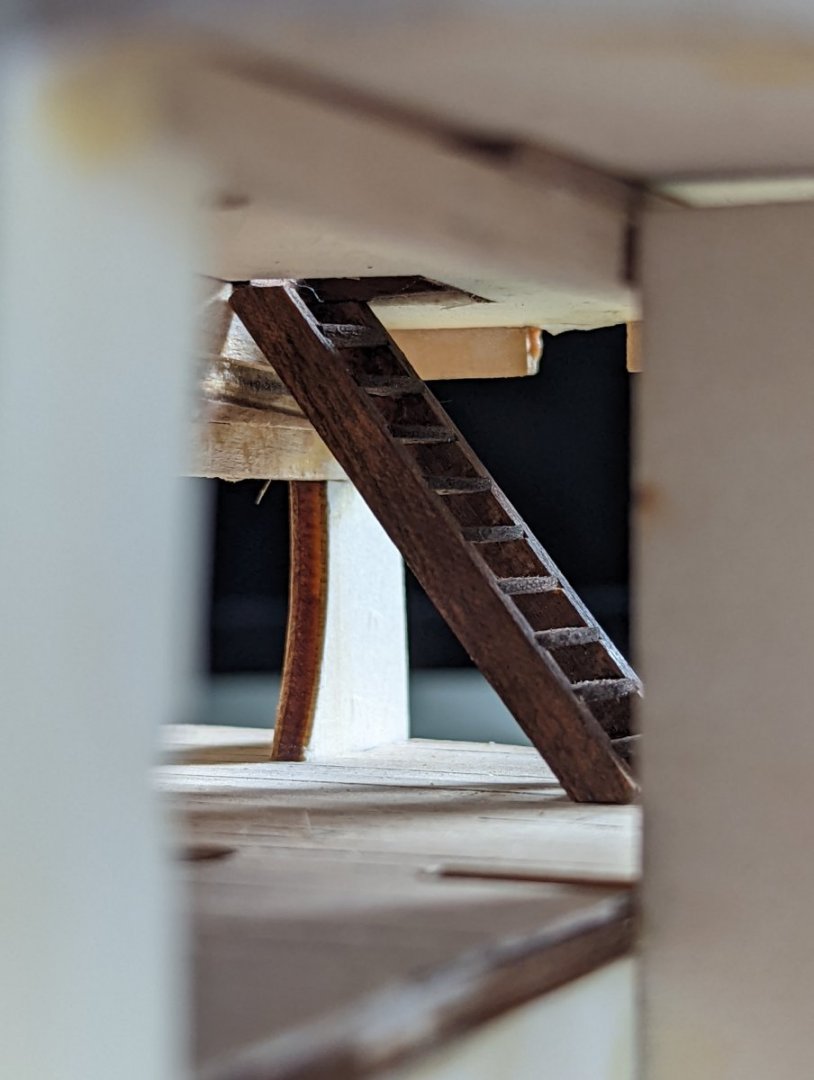
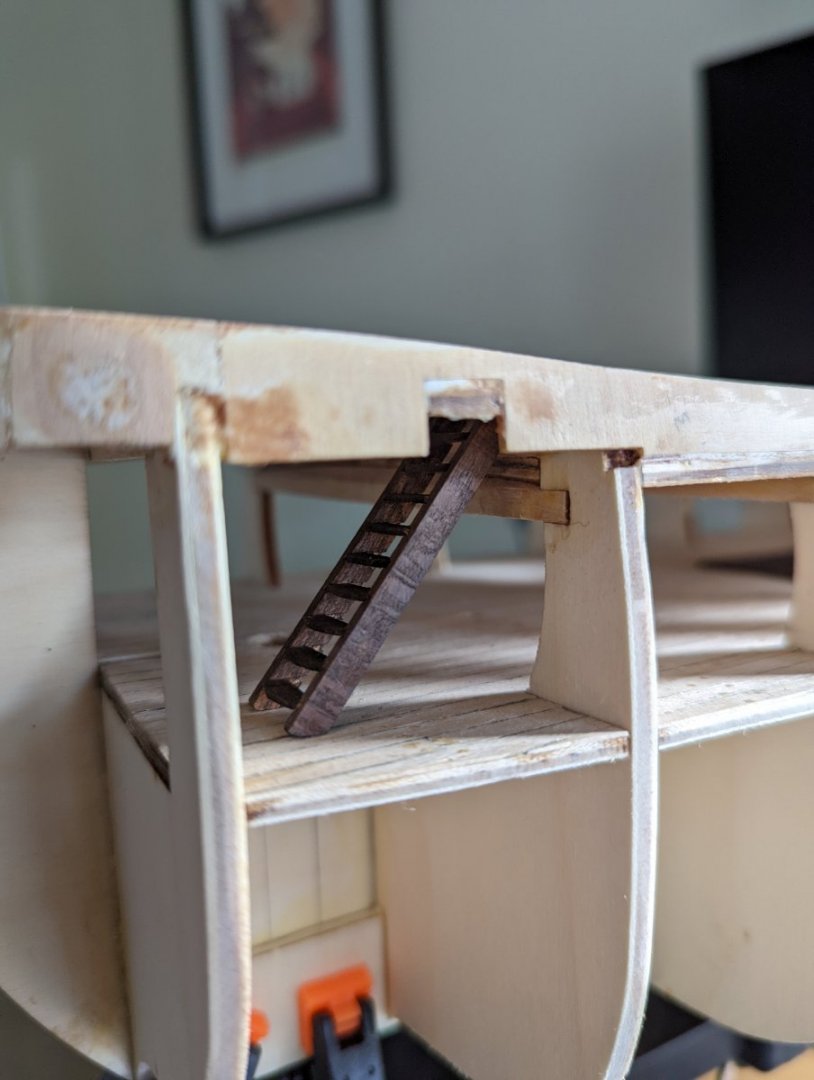
ADDING A TWEEN DECK UNDER THE FORECASTLE DECK I amended the forecastle hatchway stairs to drop down to a scratch built tween deck (I think tween deck is right?) between the lower and forecastle decks. To do this I rigged up a deck platform from spare 5mm boxwood sheet. I added some support beams underneath and two feet to which the deck is attached. To keep these feet in place, I used cut nails and Titebond glue. I planked the tween deck, making sure to cut out the foremast hole. I installed it in place and added the trimmed ladder. Et voila! Now when I peer down the forecastle hatchway I'll see the deck. Thanks for the idea, Steve!
-
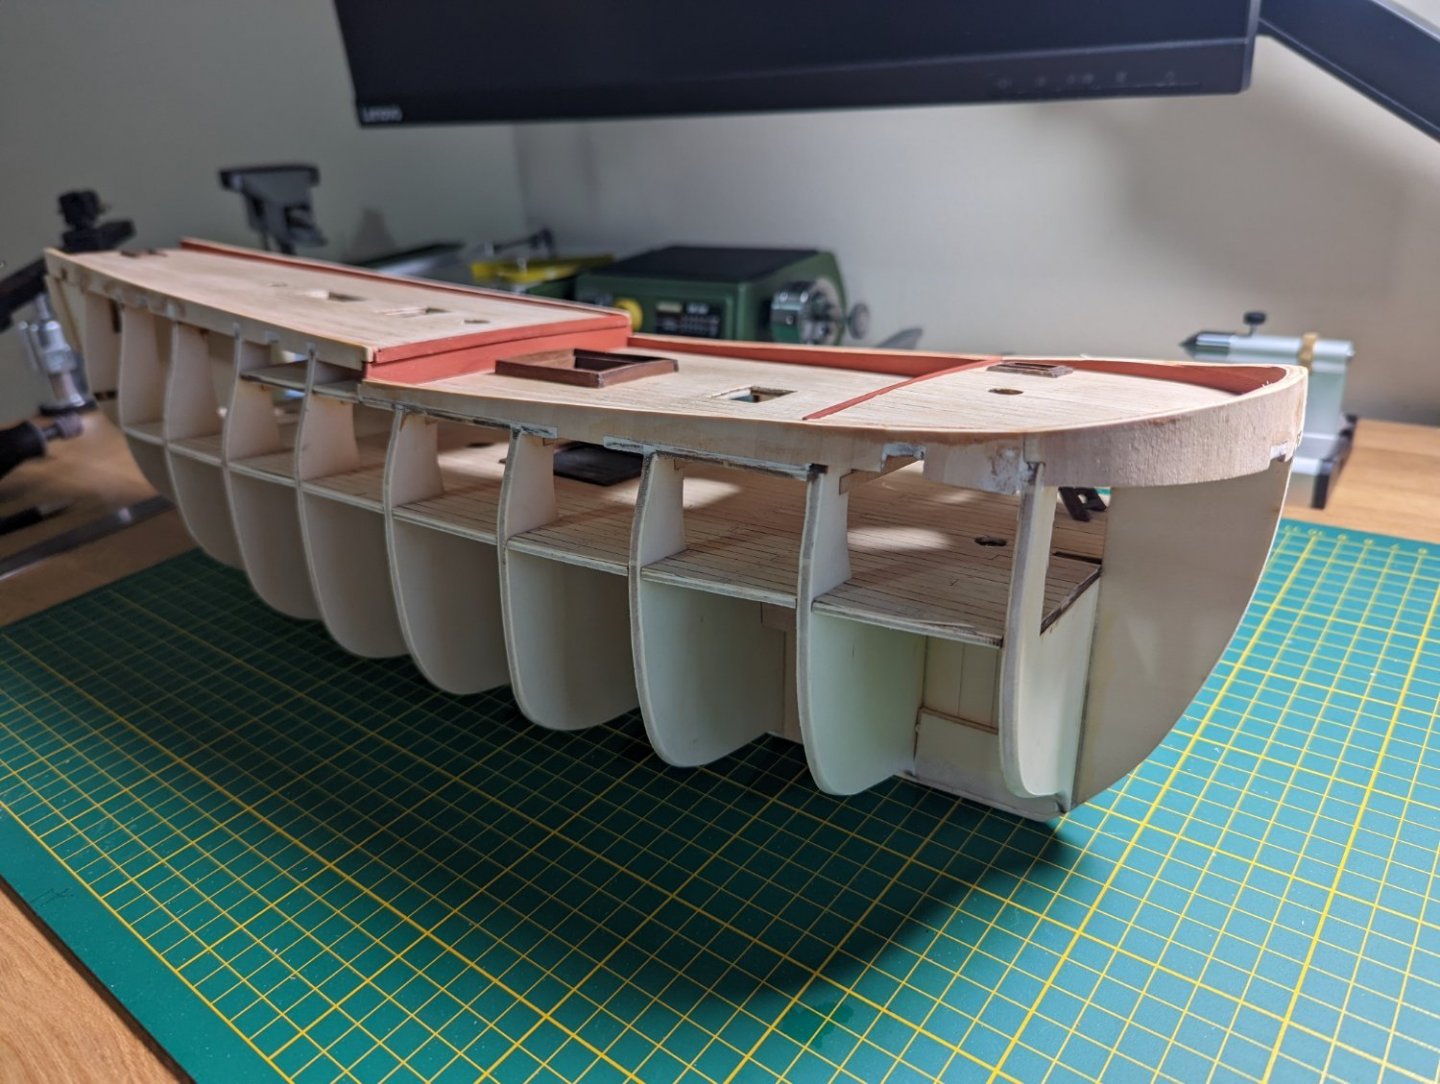
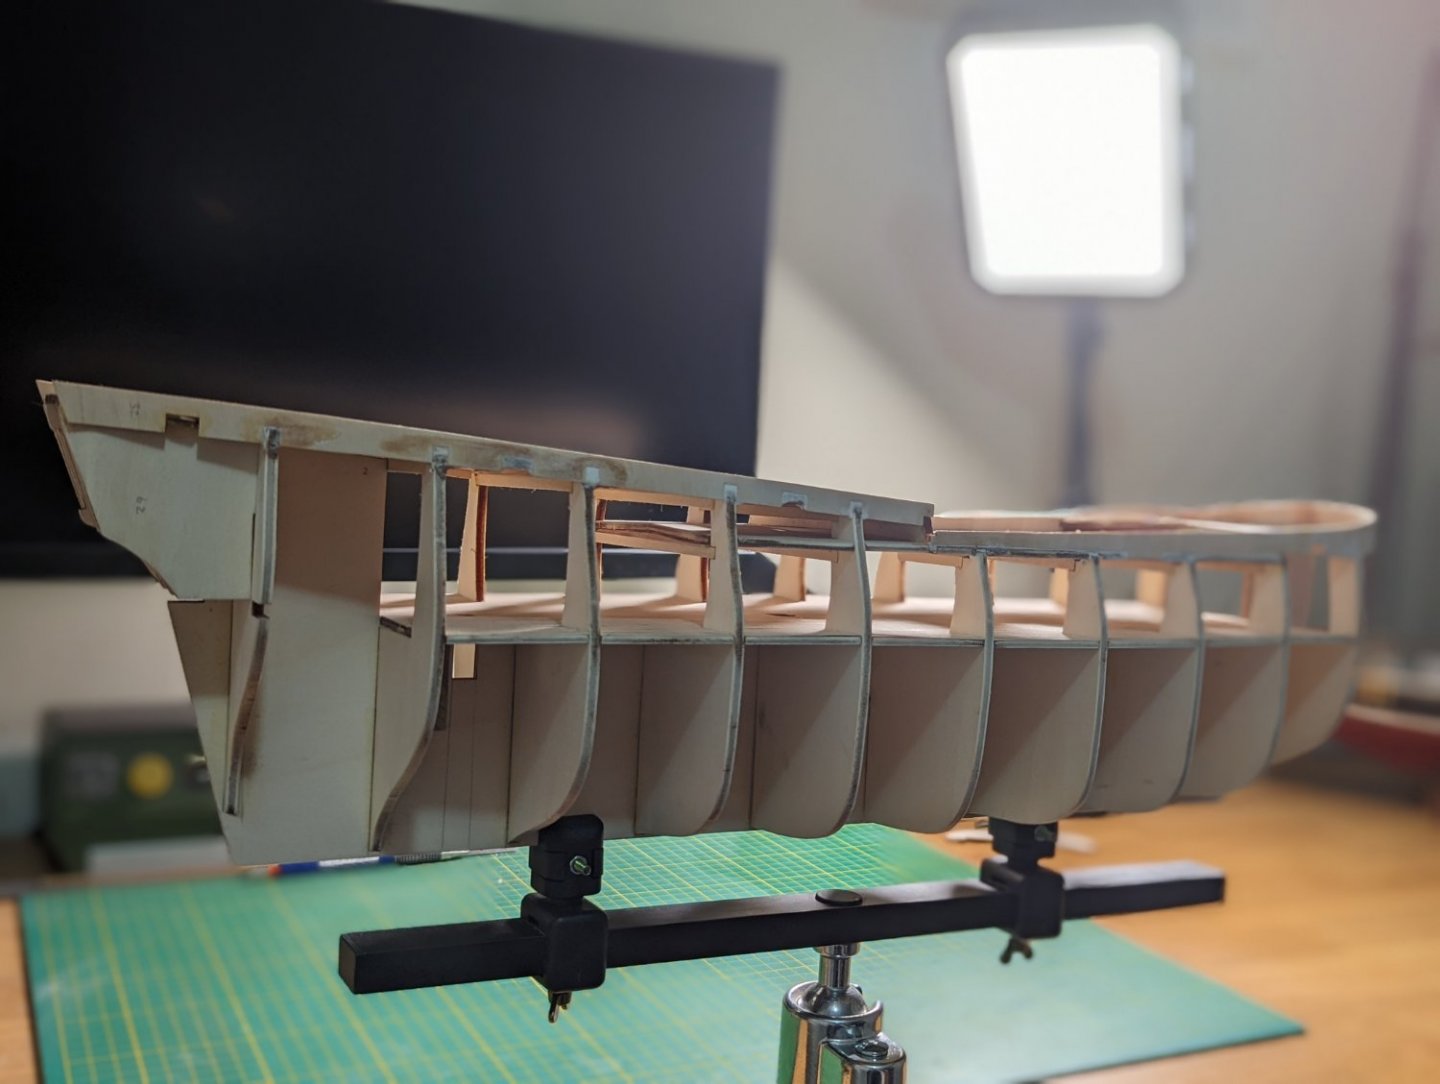
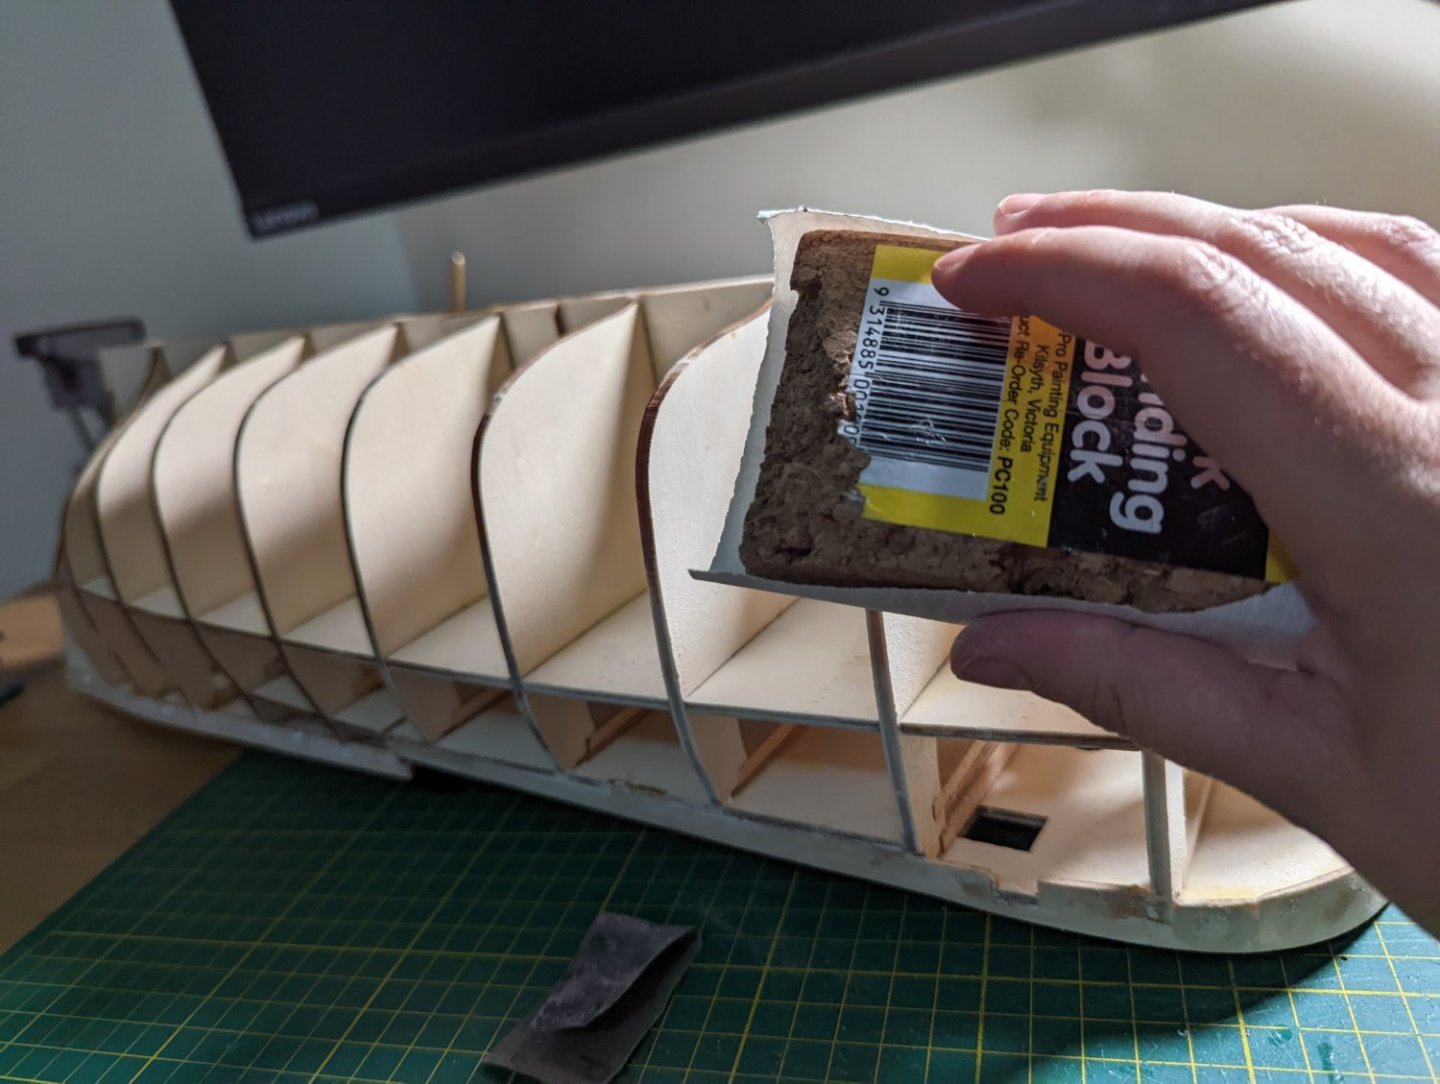
STARTING FAIRING THE HULL By far and away my least favourite part of building - due entirely to the sheer amount of sawdust this creates - I started fairing the hull this afternoon. Everything in the study is now covered in a thin layer of sawdust and the Admiral has called me to their Cabin for a sure dressing down! The mess aside, with the help of my Dremel and a sanding block I took to this process with zeal. I'm sufficiently happy with where I've landed for the day.... but much like anything good, I'll revisit over the following days. I want to double check and ensure smoothness, particularly on that bow, as good preparation here will make or break the final product. The buff bow on this bark mean that the instructions call for a filler block to be sanded down to the bow and no first layer of planking used... I wonder whether it'd be tenable to plank the whole first layer. I've linked a post from another OcCre Endeavour build (from kiwiron) that shows what I'm talking about. Here, you can see the first planking layer ends before the bow. Example hull planking from Kiwiron's Endeavour build Will wait and see what approach is best for this kit after some research. I will also look to drill and add some holes in the keel to support the stand supports. I'm still doing some background research on the best steel rods or screws to use for this, but this will be a separate post.
-
Gosh, it is VERY tempting to follow suit, Steven and add that extra layer of decking before I close the hull up. Given I'm waiting on Chuck's gratings to arrive from overseas there's no pressure to push on with planking the hull.... Again, I'm going to steal from that amazing build of yours! Many thanks!
-
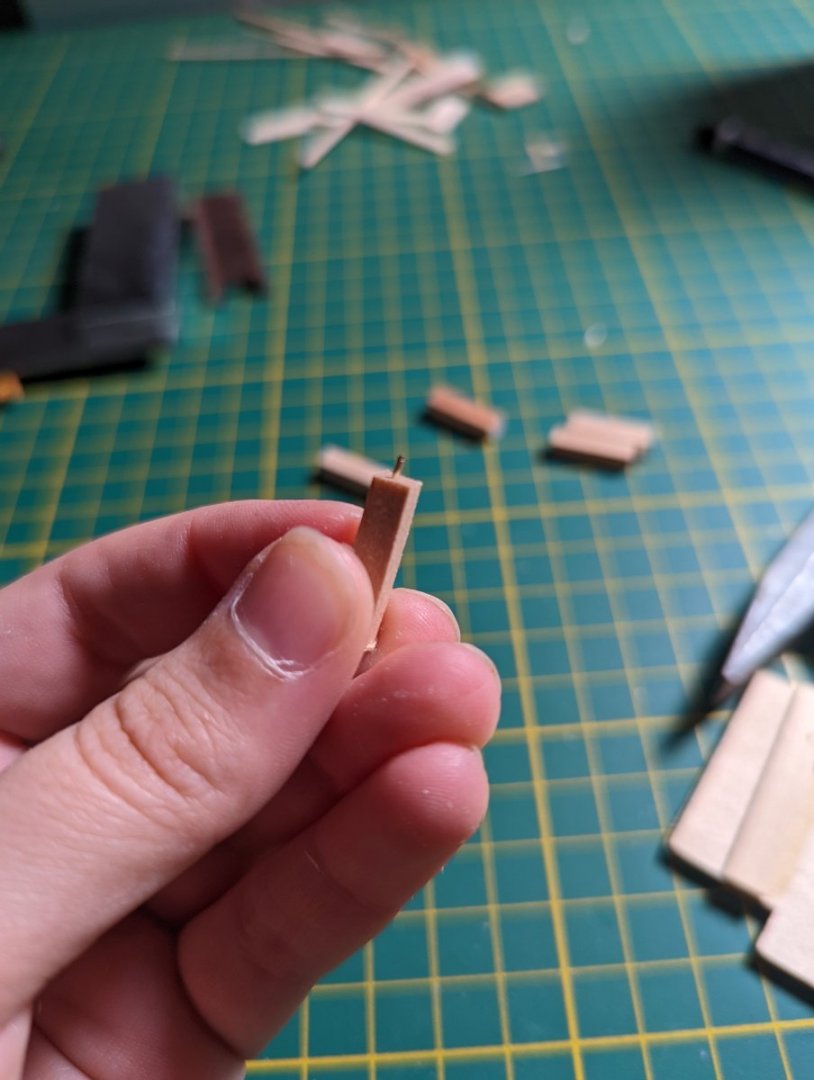
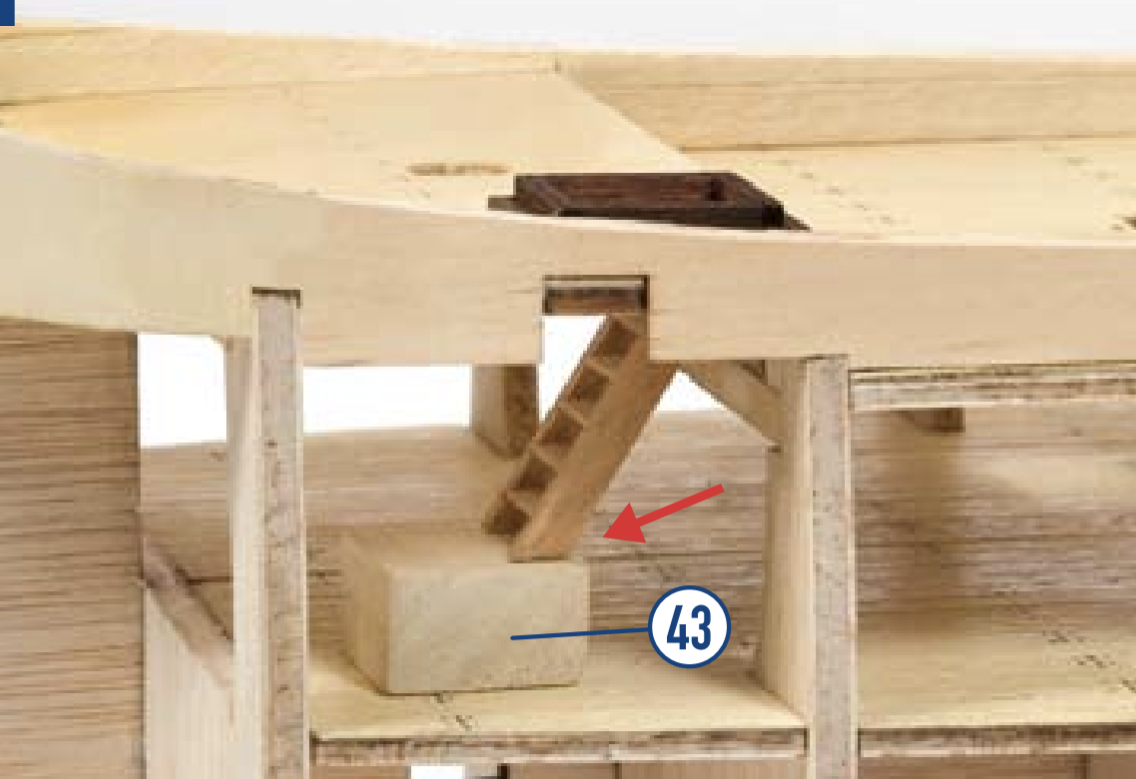
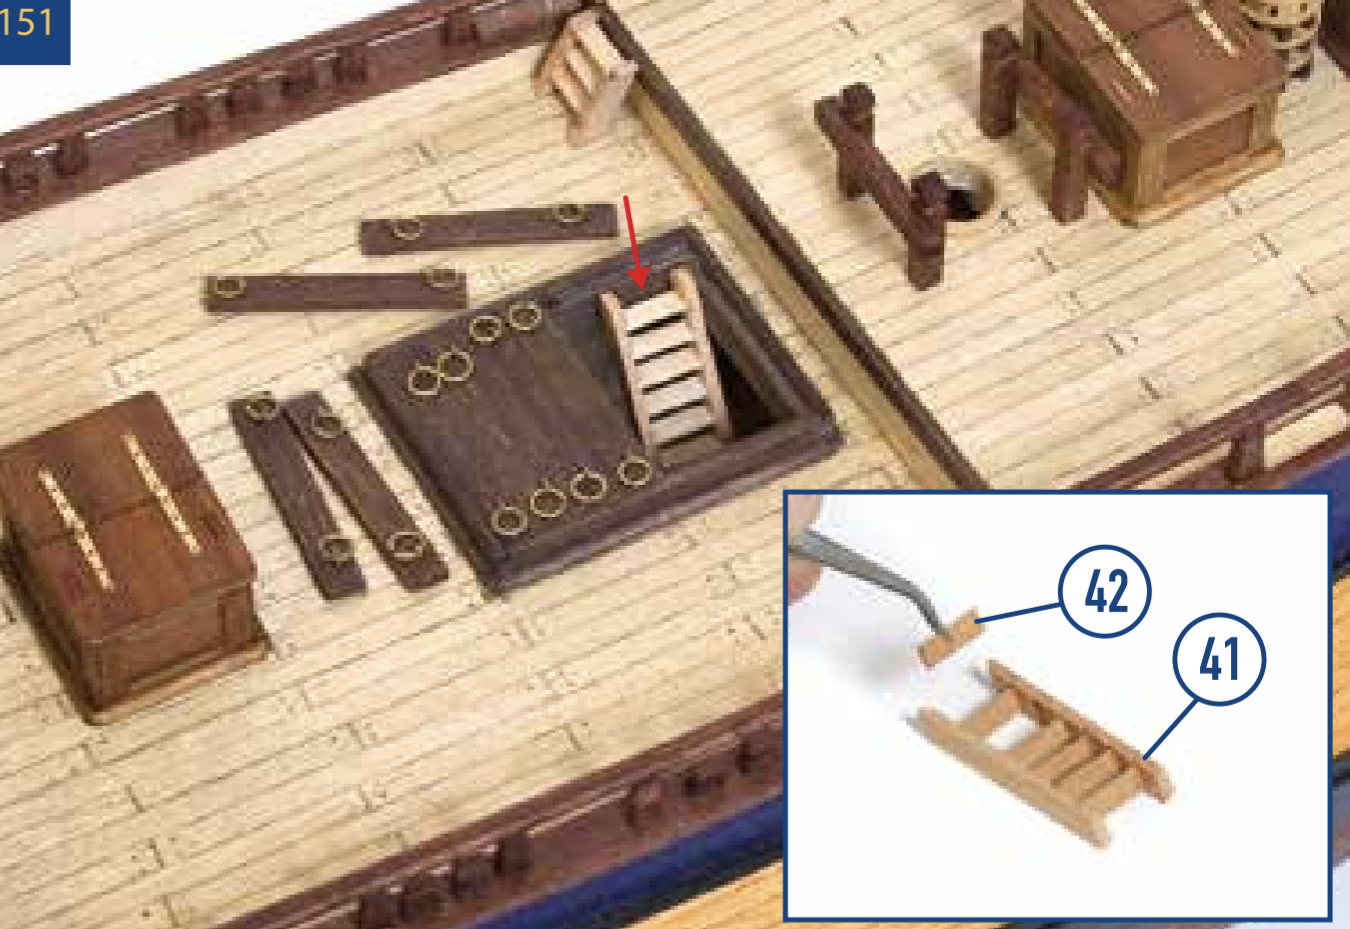
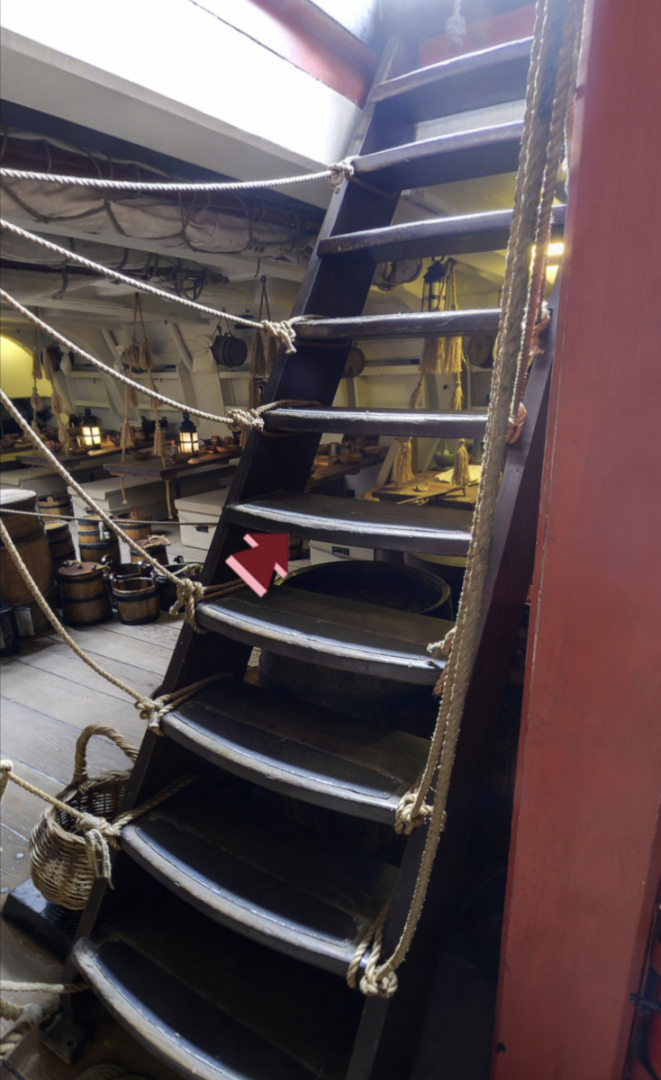
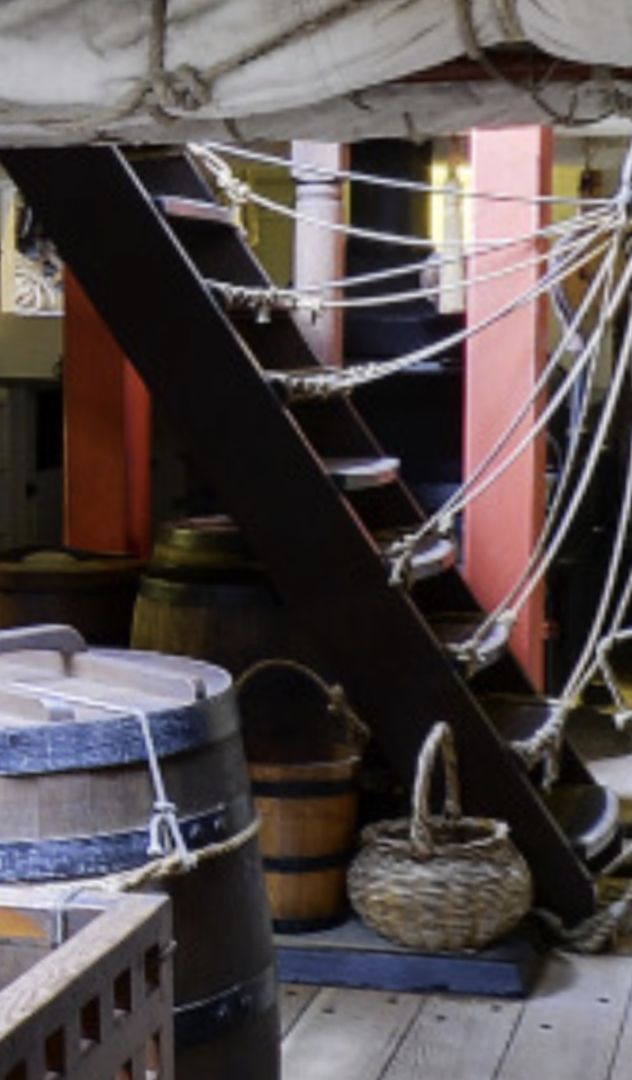
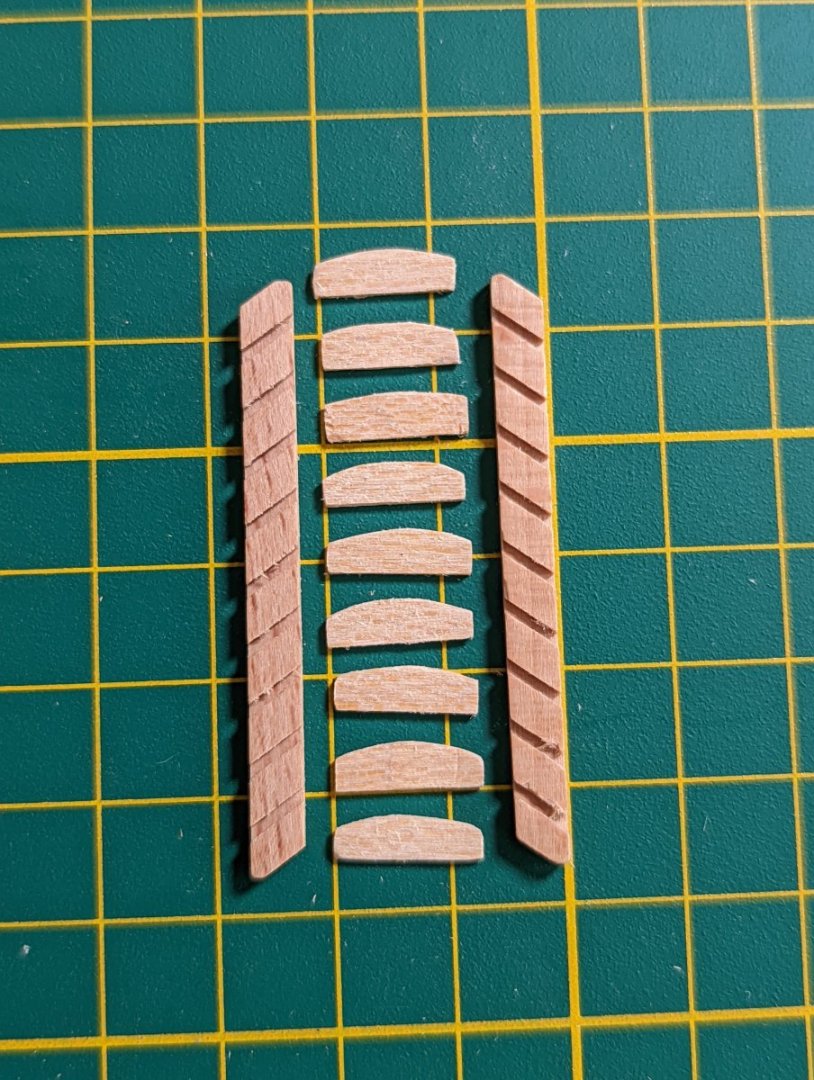
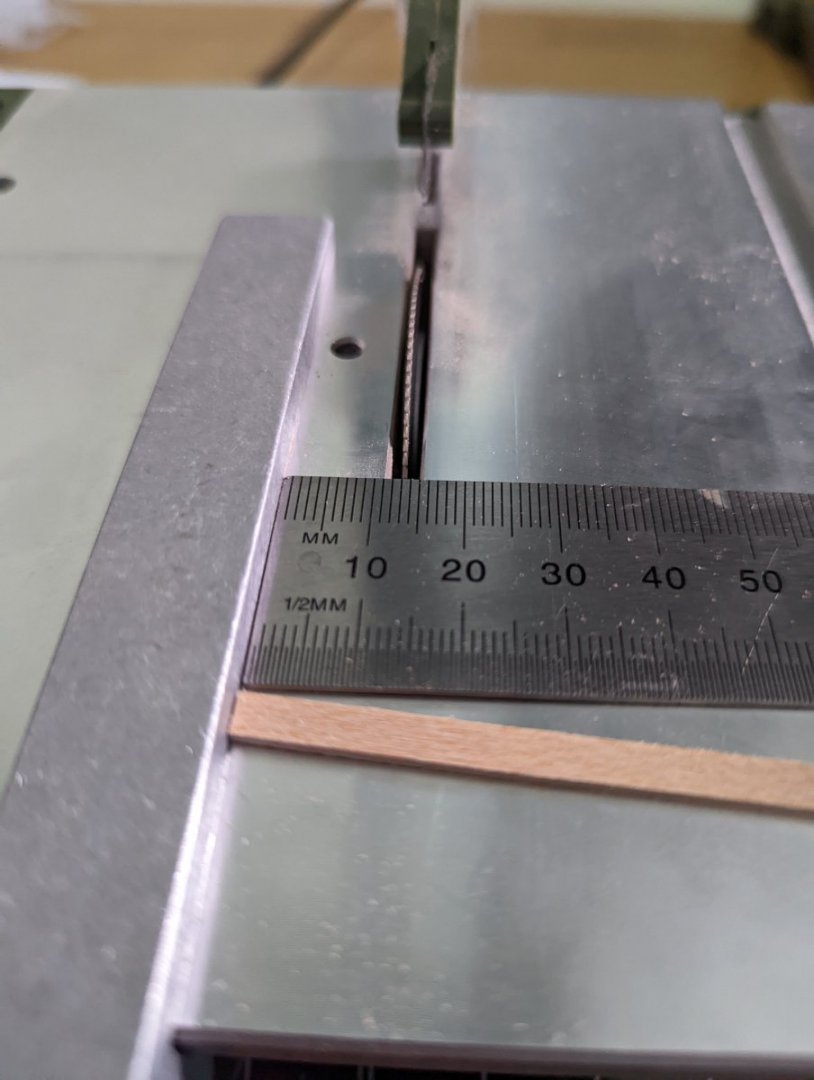
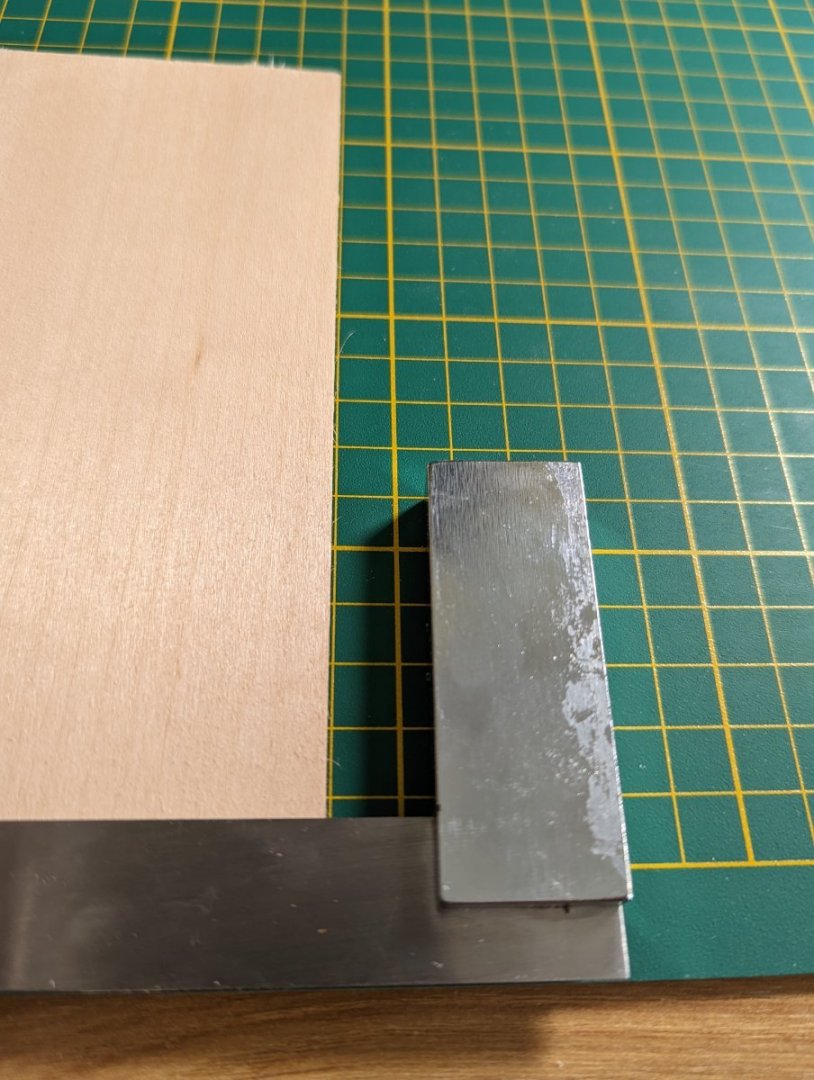
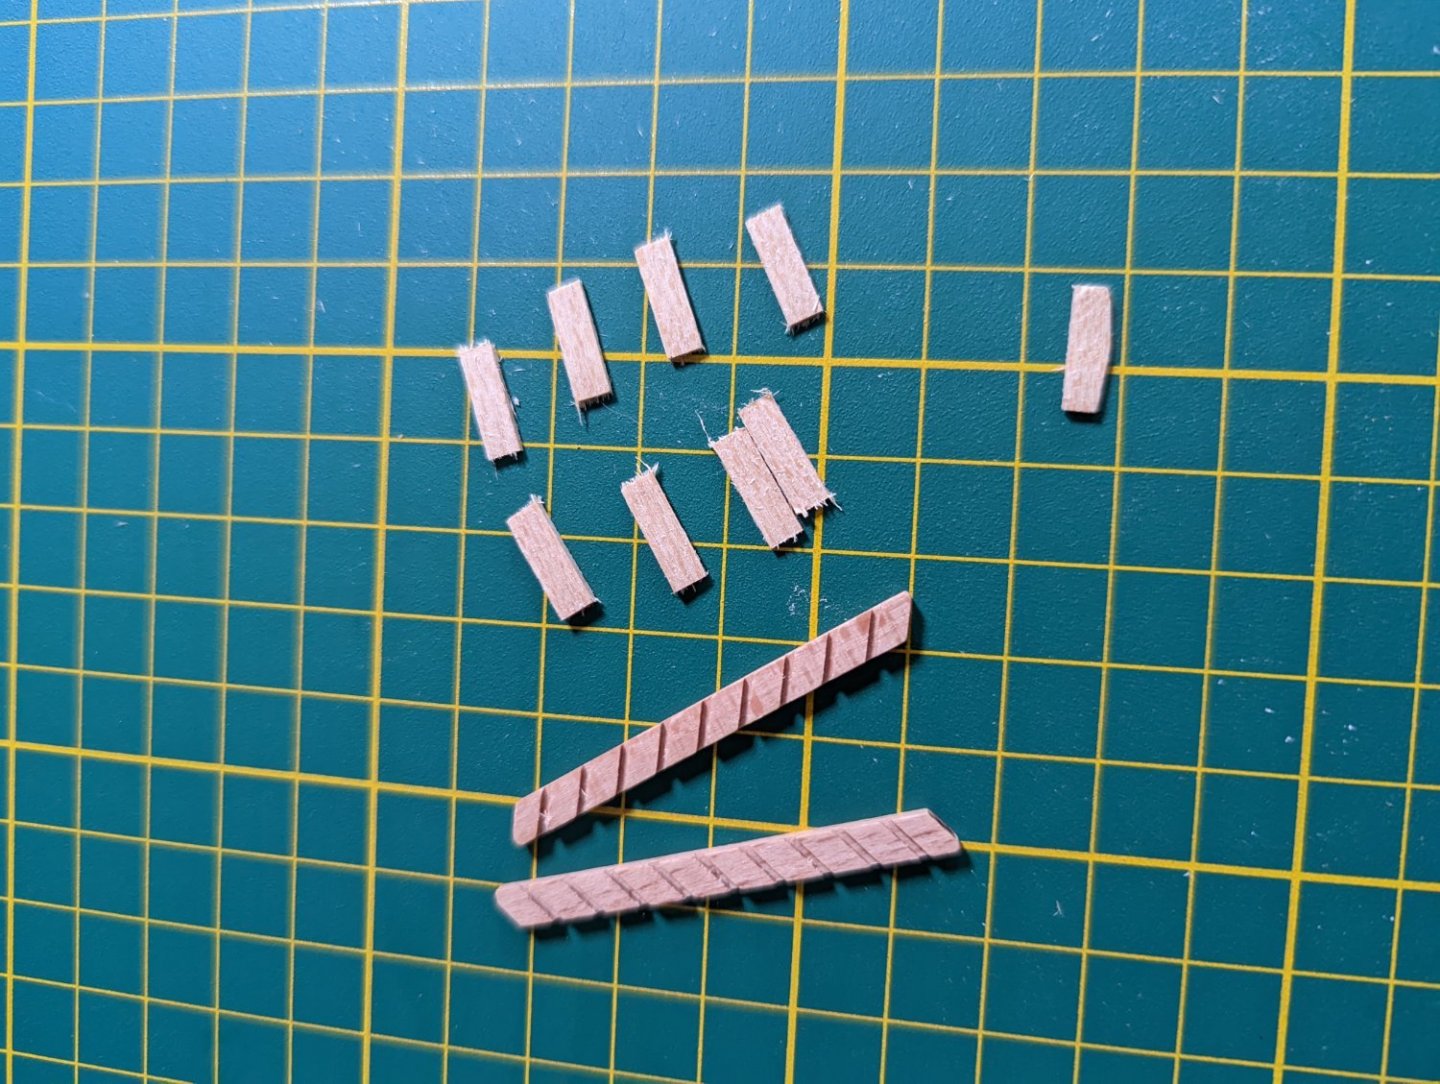
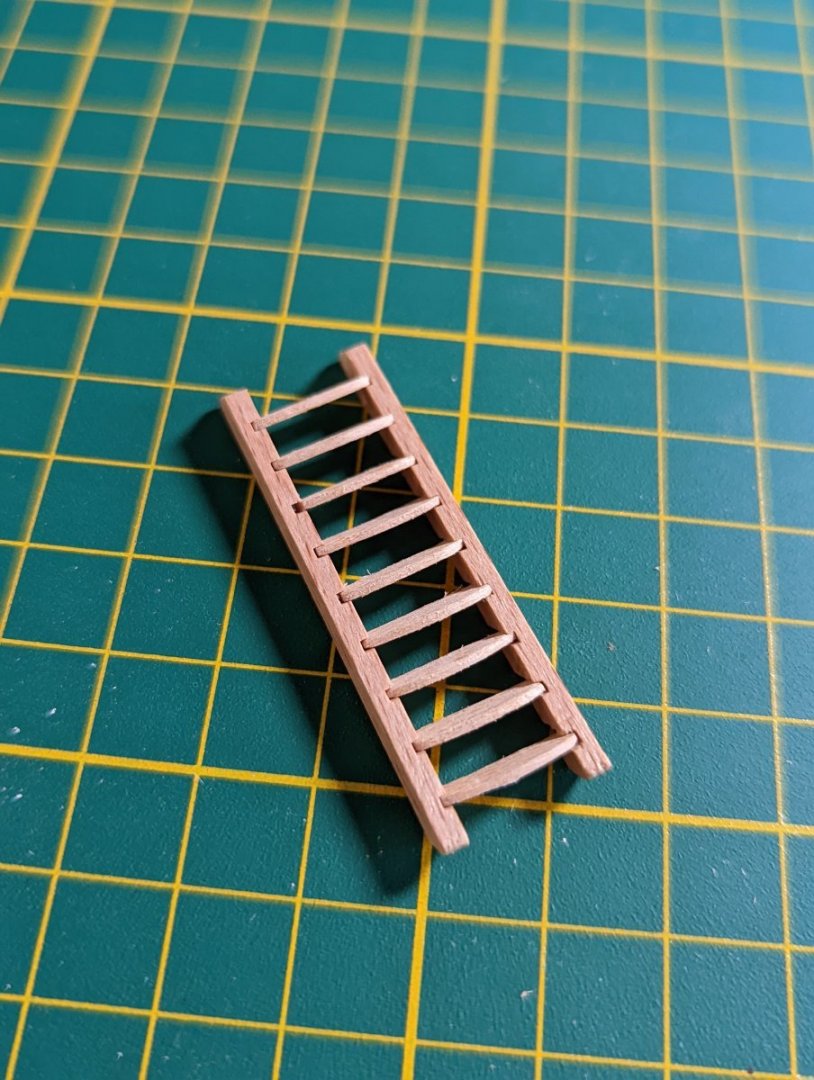
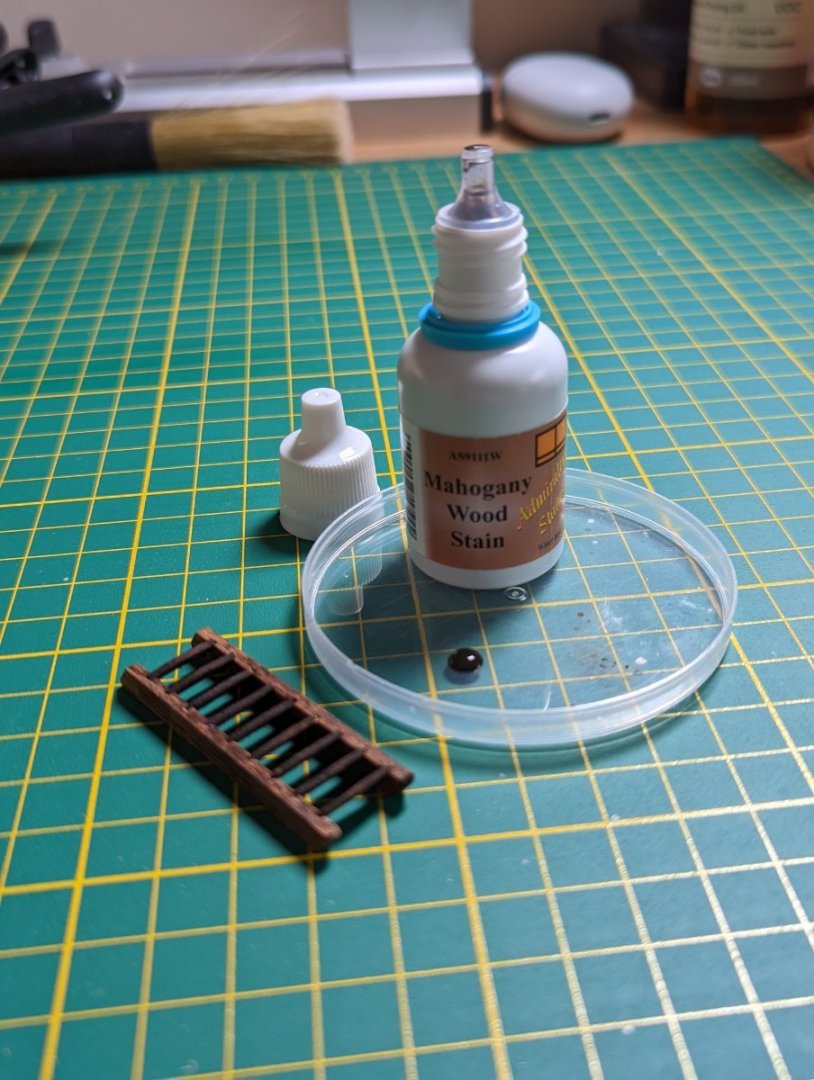
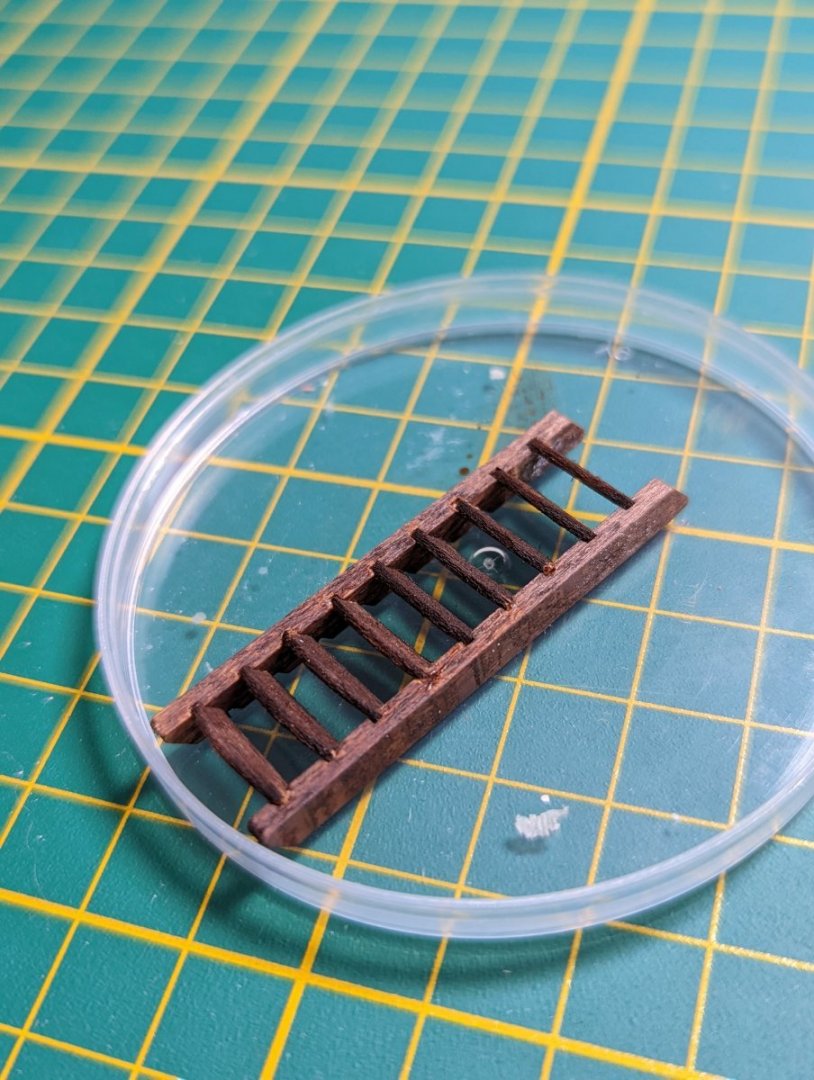
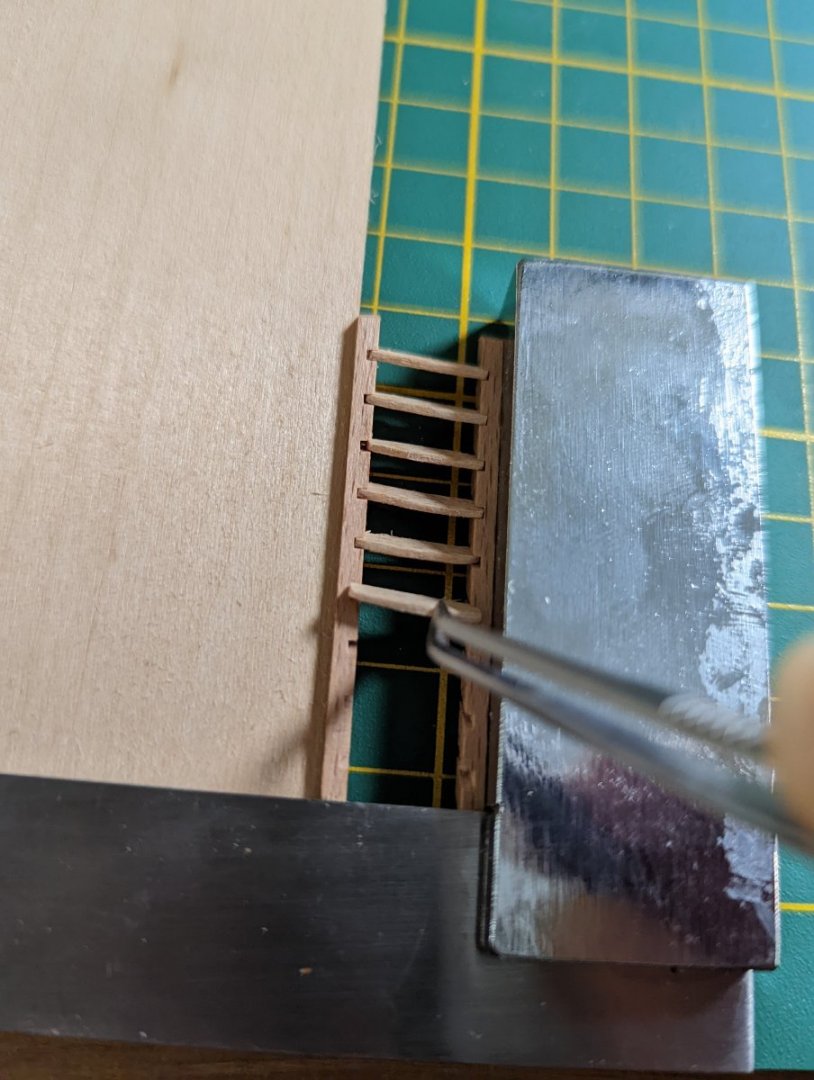
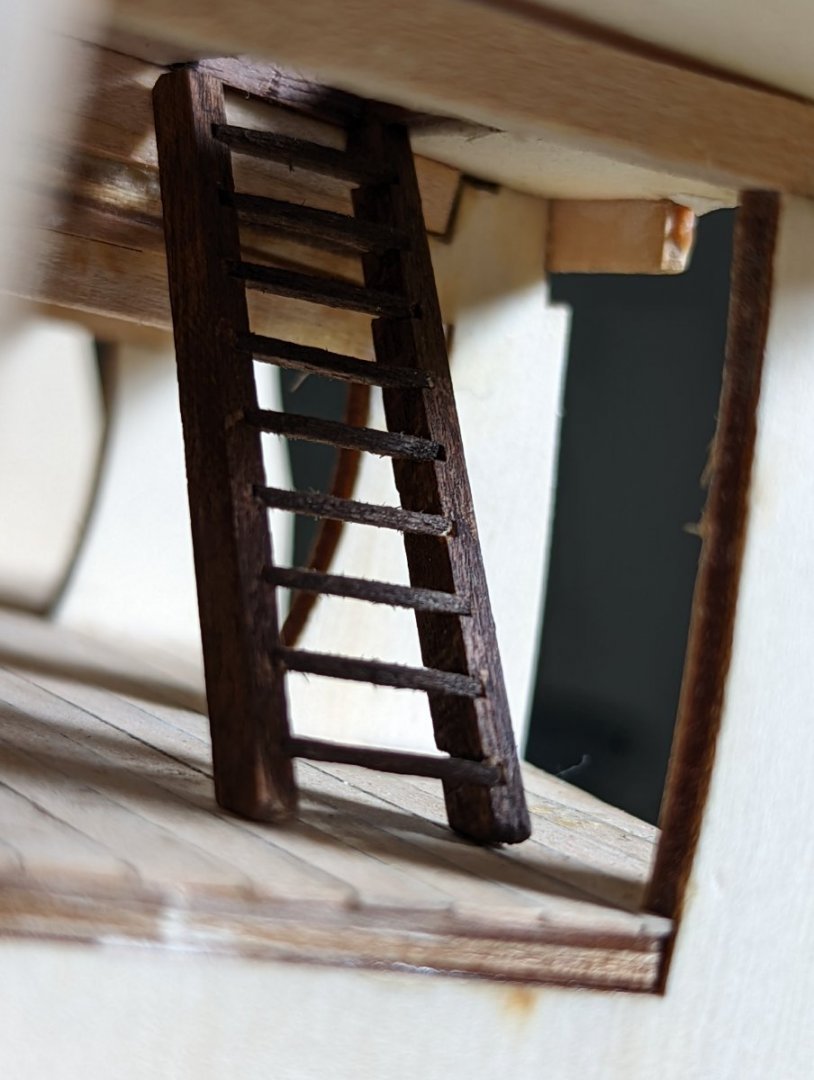
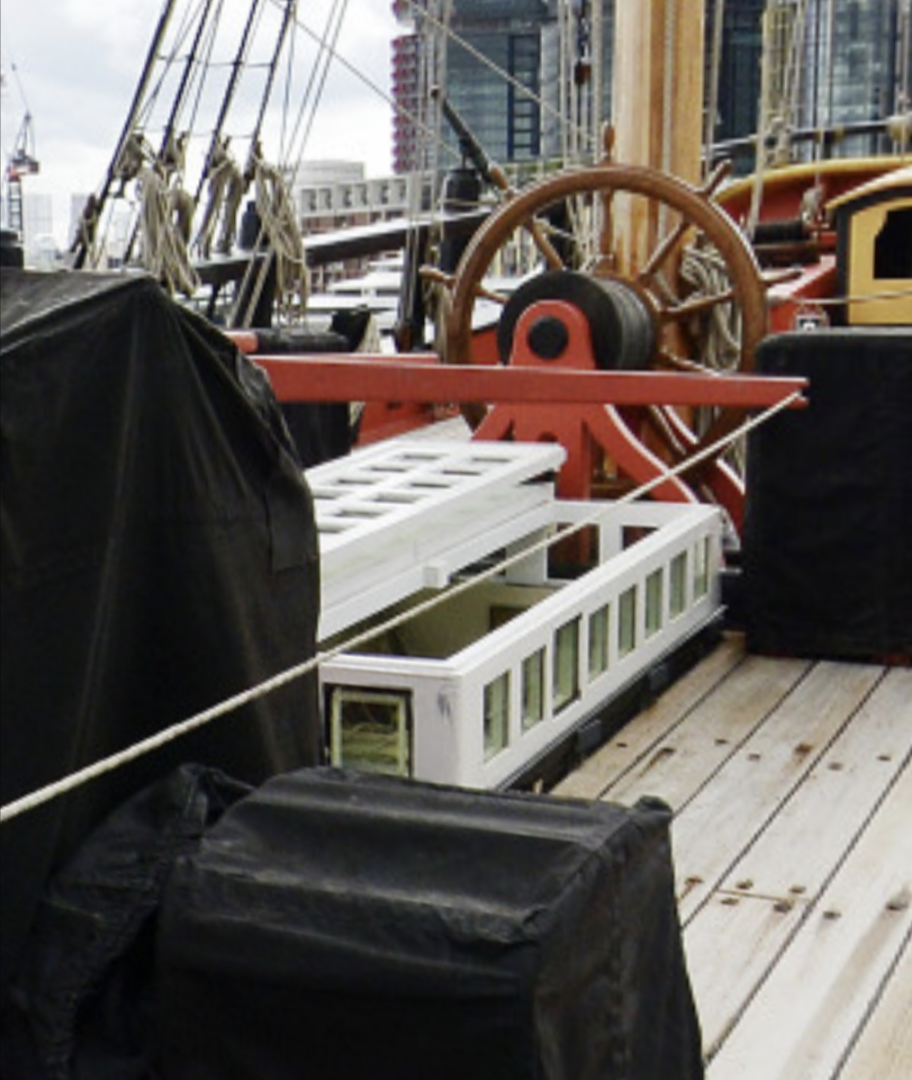
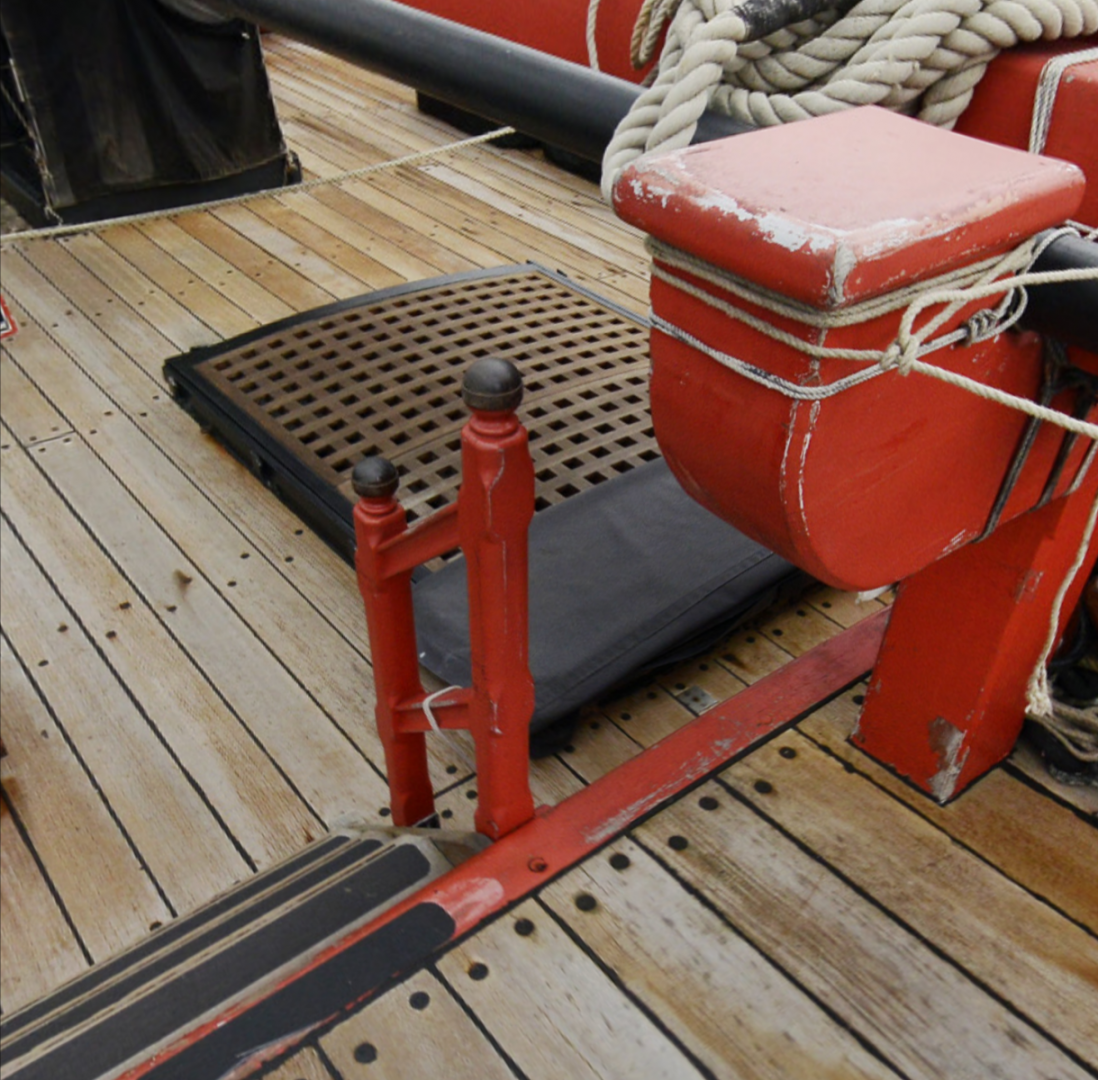
MAKING STAIRS The OcCre instructions call for stairs leading down from the forecastle hatchway. Much later in the build I'll be building more stairs. The kit suggests to build stairs down from the main hatchway, which I won't follow. The OcCre kit has the stairs only go down halfway to the lower deck, before they recommend you install a lump of wood (part 43) to meet the floor. I figure if you're going to go to the trouble of making stairs, you may as well finish the job. I'll deviate from the kit instructions slightly. I checked out what the stairs look like on the replica. A couple of notes from me - the steps themselves are rounded towards the front (mental note) and the stairs throughout are dark wood painted (also noted). There are also some rope rails which I won't include as they won't be visible. I read up from The Anatomy of Nelson's Ships on how best to make stairs, but then I checked the parts that came prefabricated with the kit, and was pleasantly surprised. I used my table saw to cut steps 12mm wide. I filed down each step to show the curved front, and used a quick jig of square edges to keep the whole construction straight during dry install. A brush of Titebond on each side and I left to dry. I used a mahogany wood stain from Admiralty paints to darken the wood. I'm going to be honest - the finish on this is not ideal, especially when compared to using real mahogony for the hatchways so recently. Given these stairs will be so imperceptible under the gratings of the forecastle hatchway, I'll leave this as is. However, for the stairs between the quarter and upper deck (much more visible), I'll swap out and scratch build using mahogony instead of the kit supplied wood and stain. A few pics of the stairs installed. For all that and the below view (further eclipsed by a grating) is all we'll see of these stairs once the hull is closed. Most importantly, I had a tonne of fun building these. This sort of miniature careful assembly is my favourite part of the build process. It makes me excited in the future (once I have more experience) to try building a ship that includes these neat internal hull details and furnishings. Kristyn
-
 KJackson reacted to a post in a topic:
HMS Indefatigable 1794 (prototype) by James H - Vanguard Models - 1:64
-
 KJackson reacted to a post in a topic:
HMS Indefatigable 1794 (prototype) by James H - Vanguard Models - 1:64
-
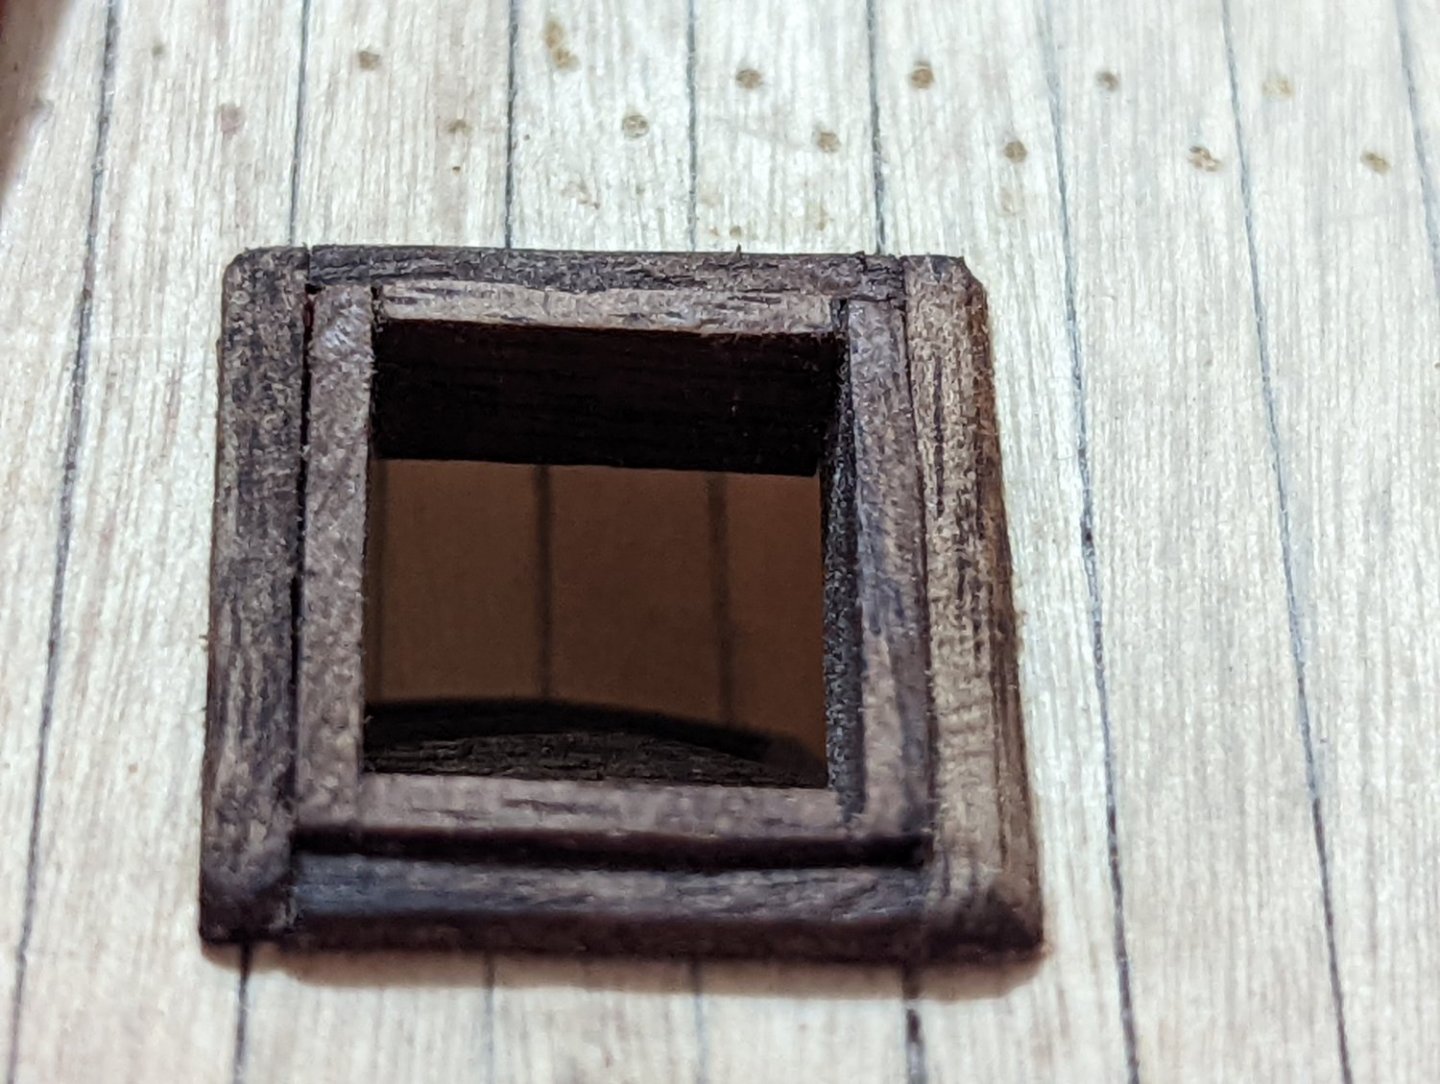
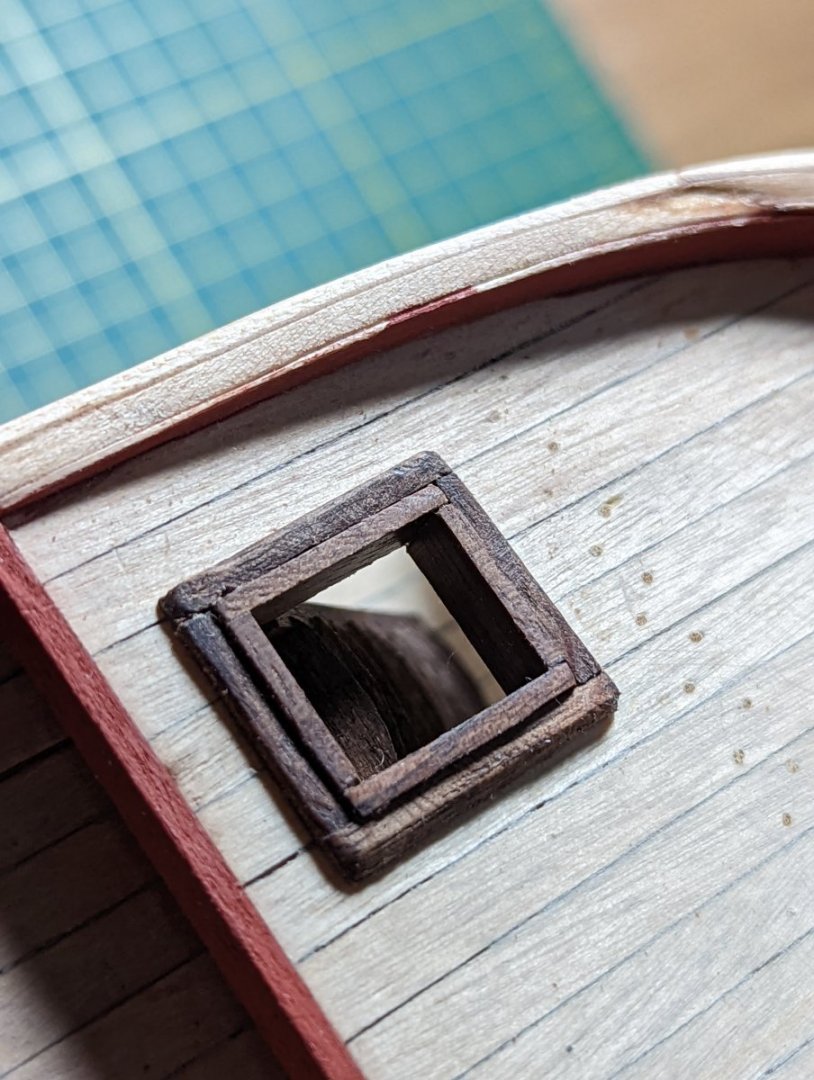
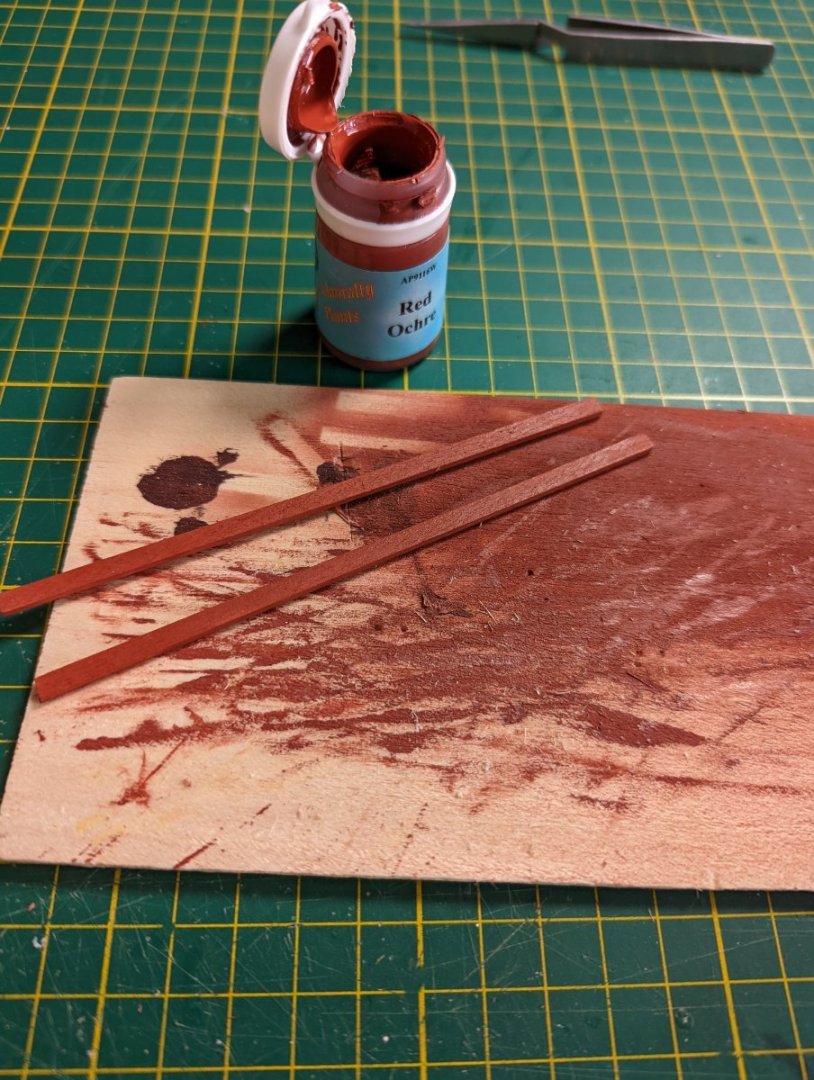
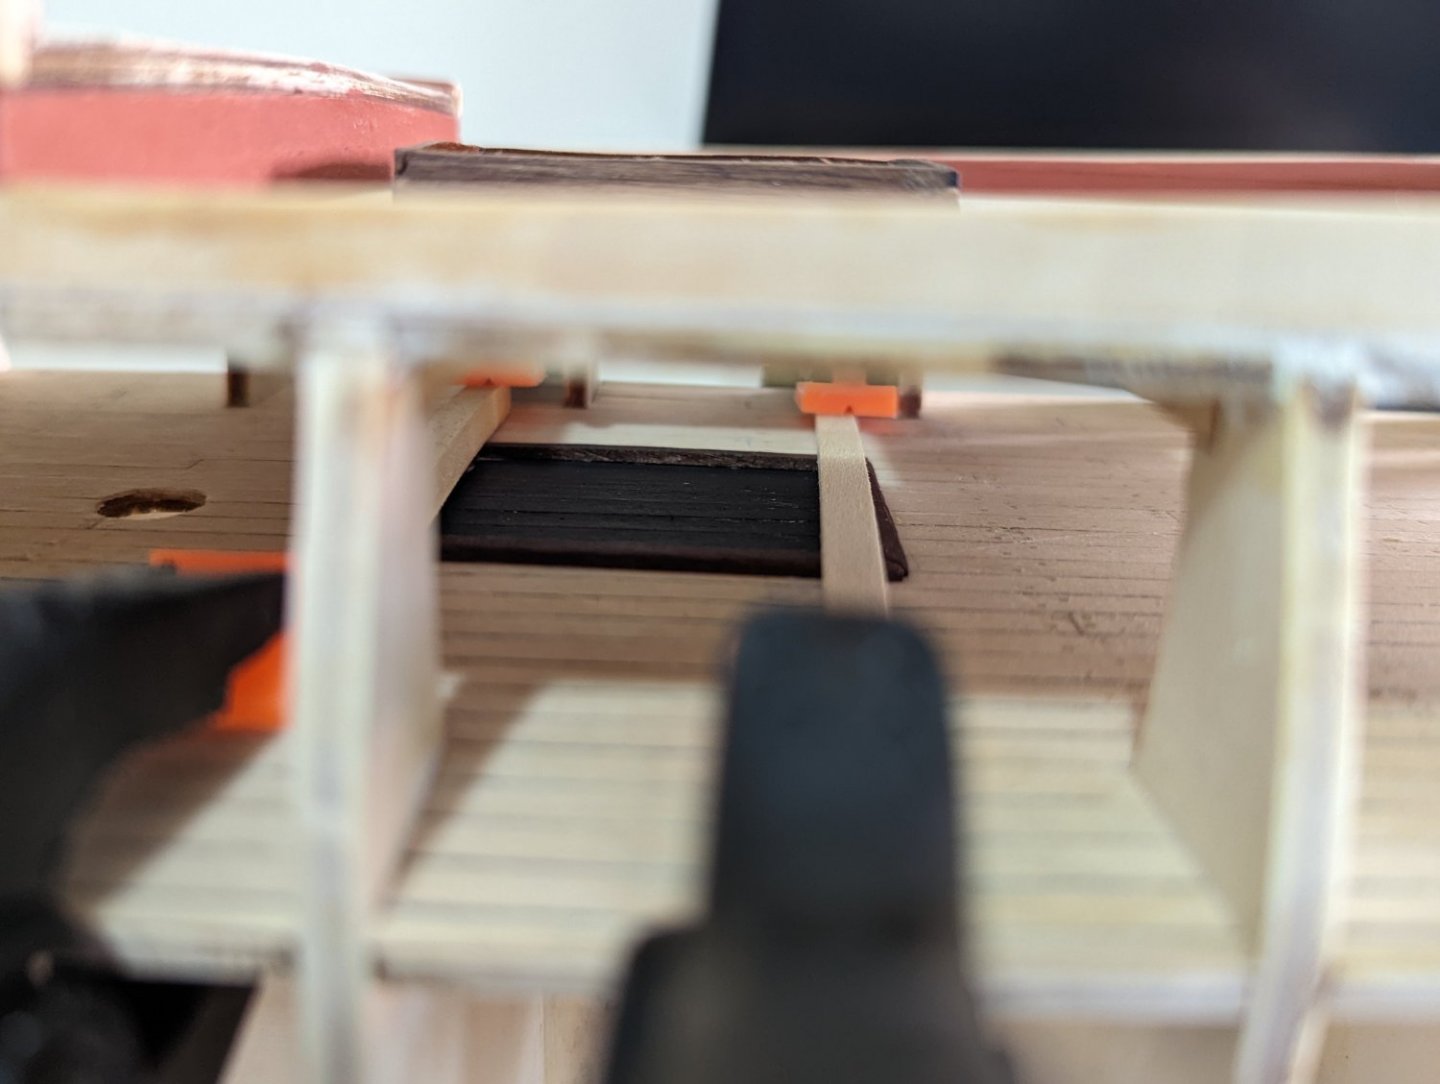
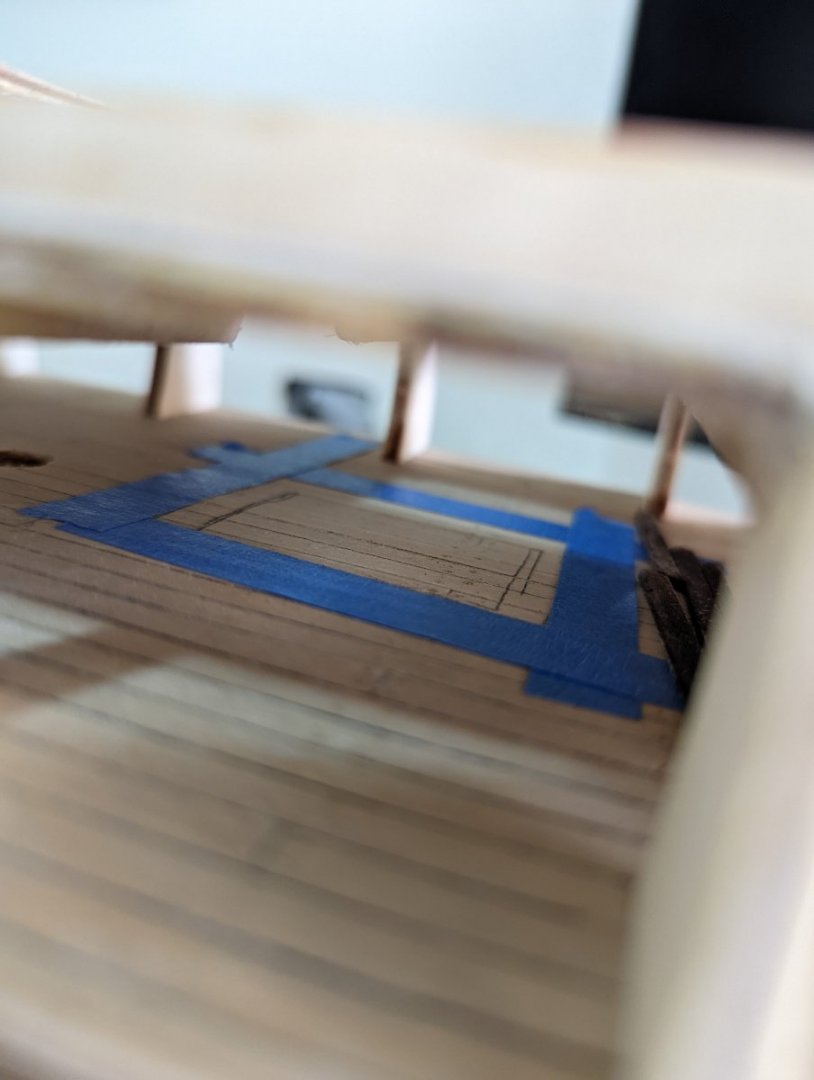
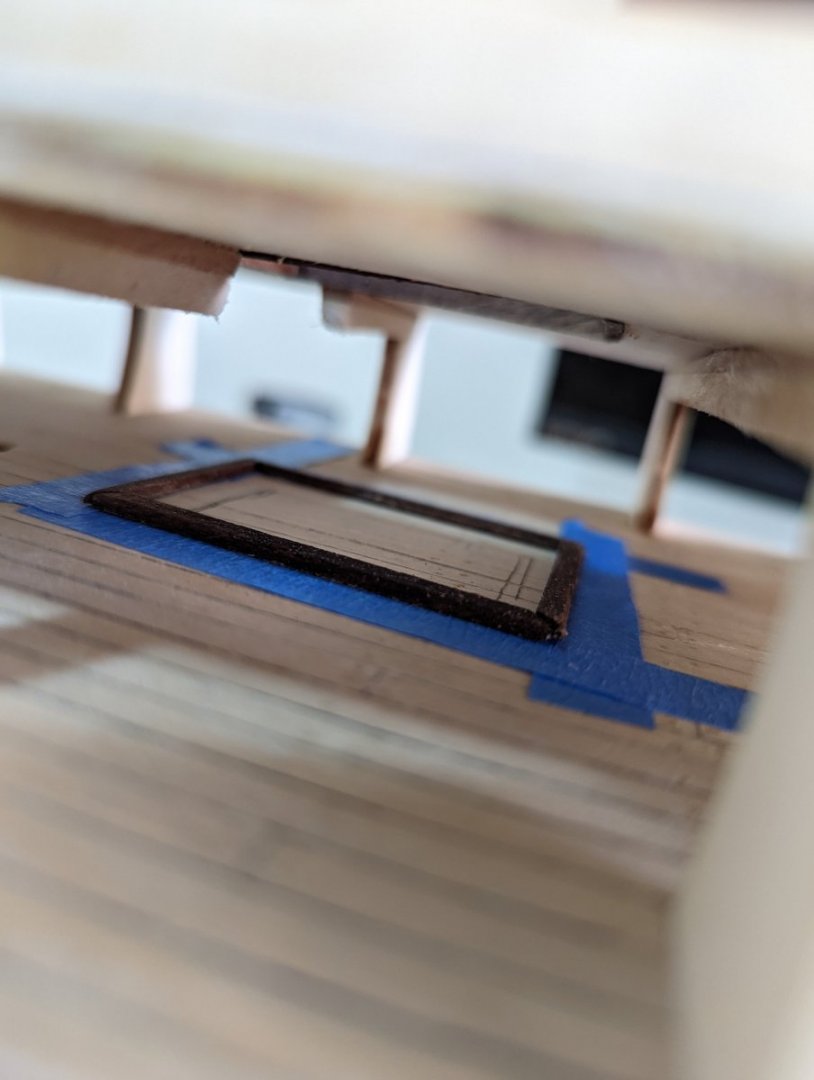
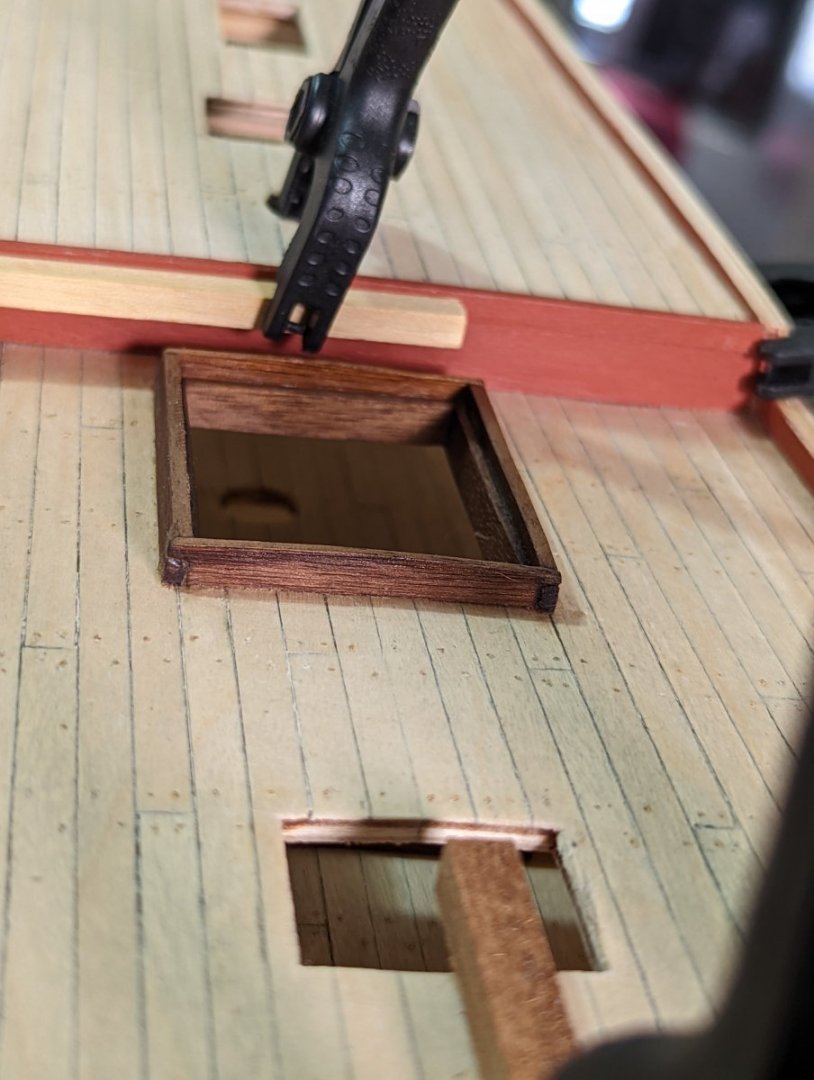
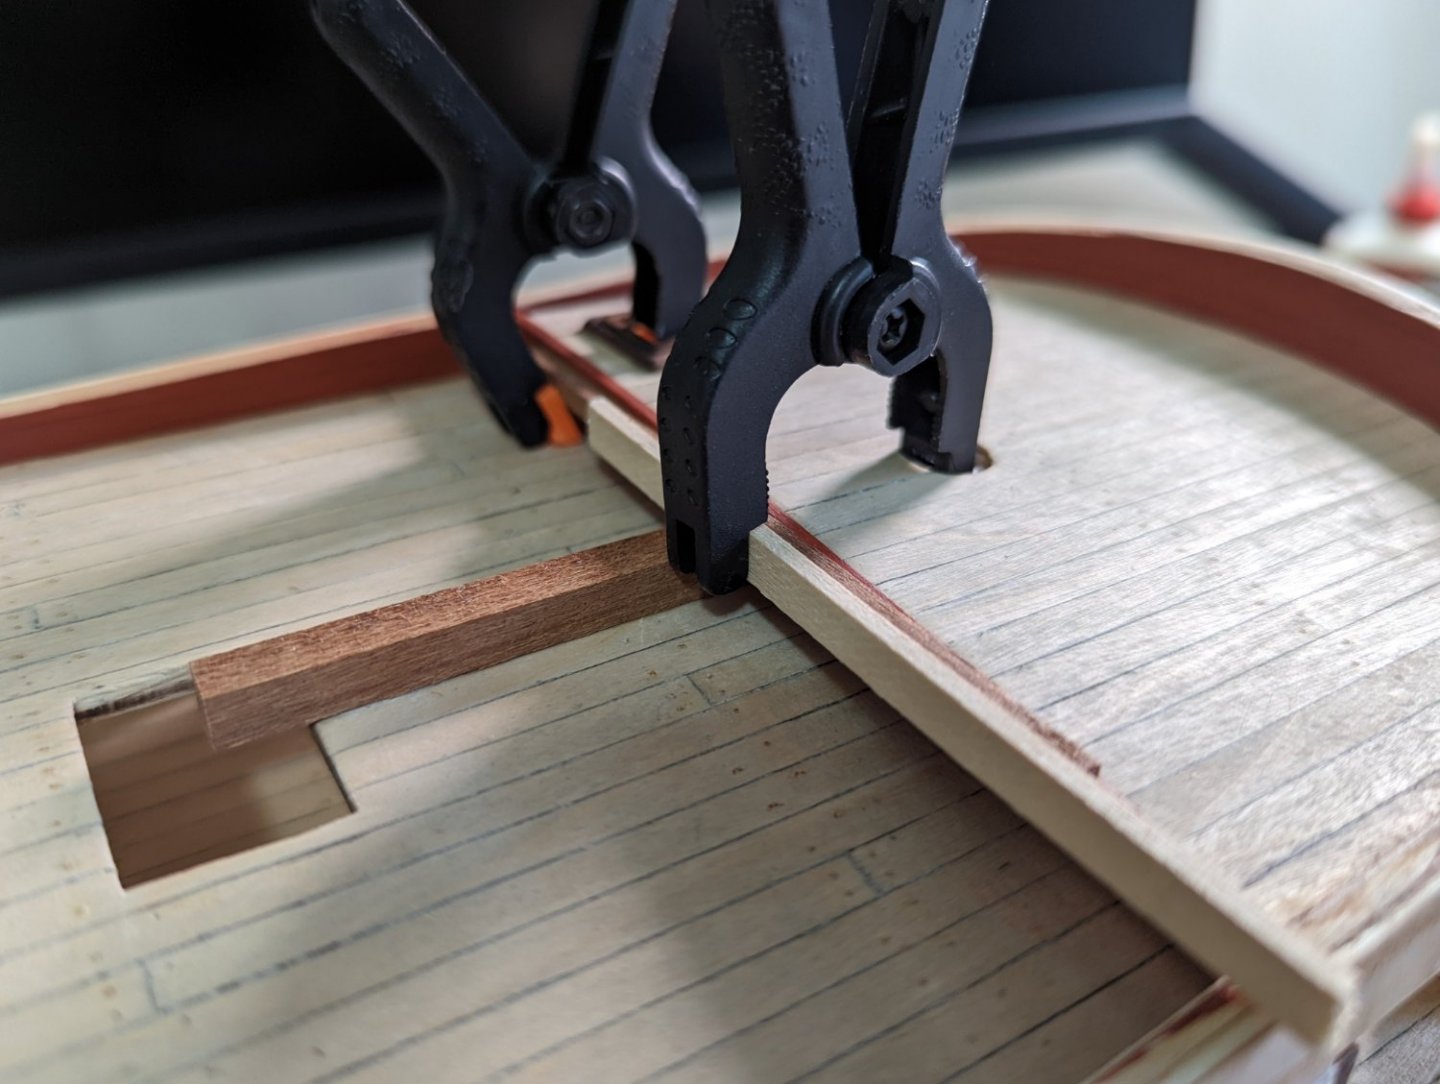
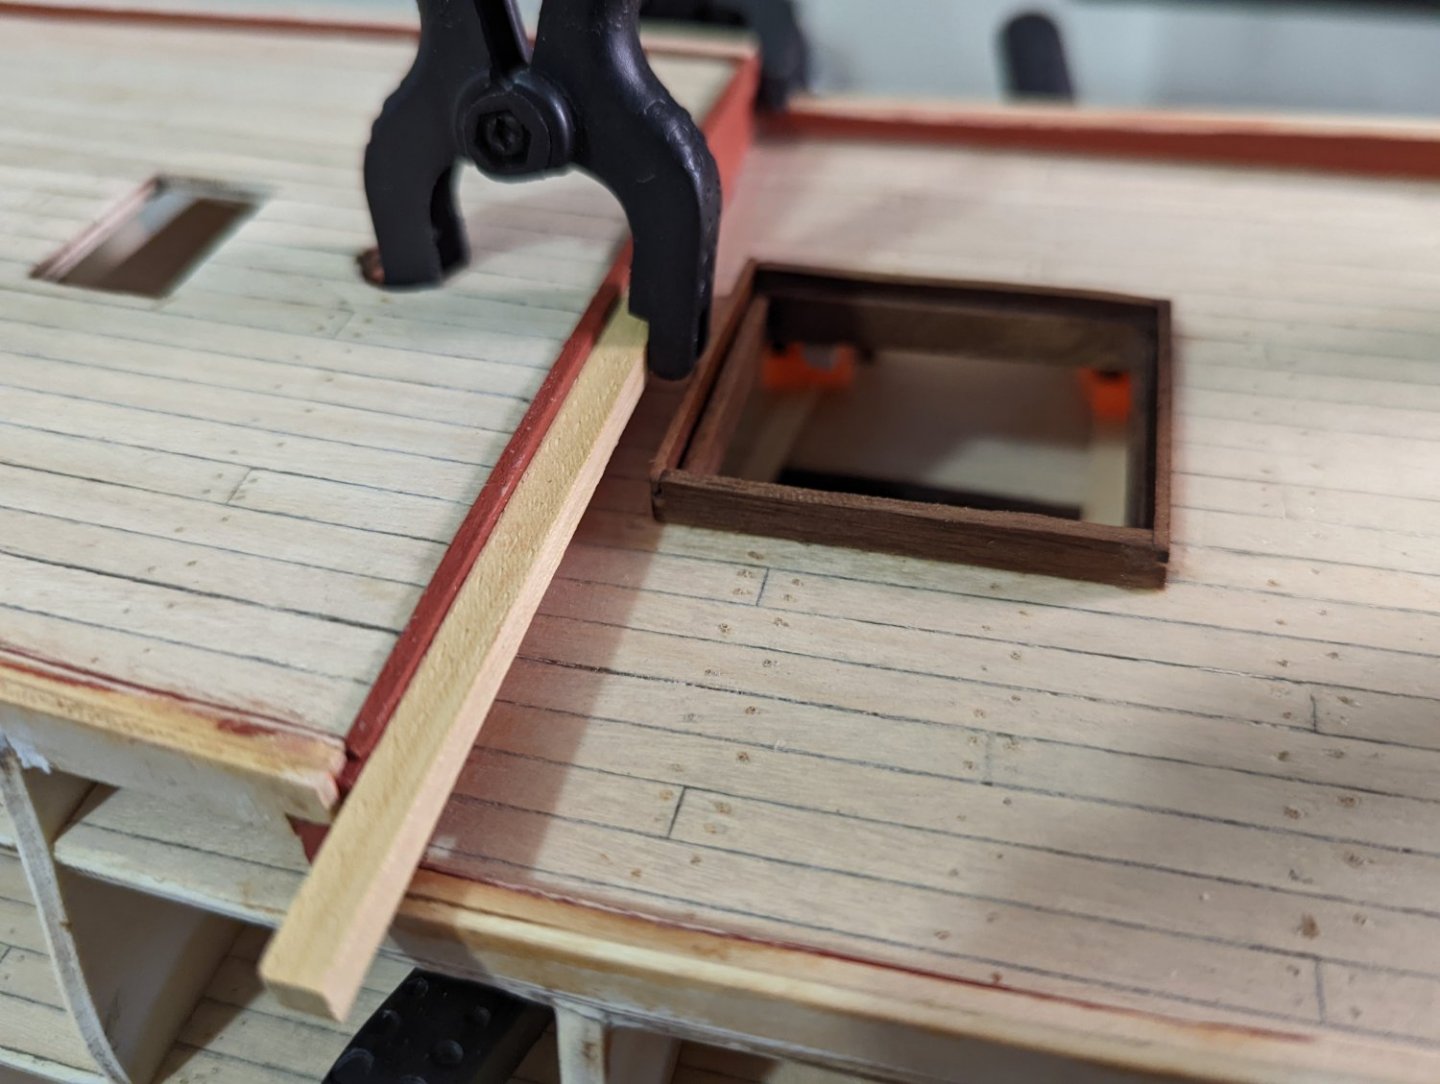
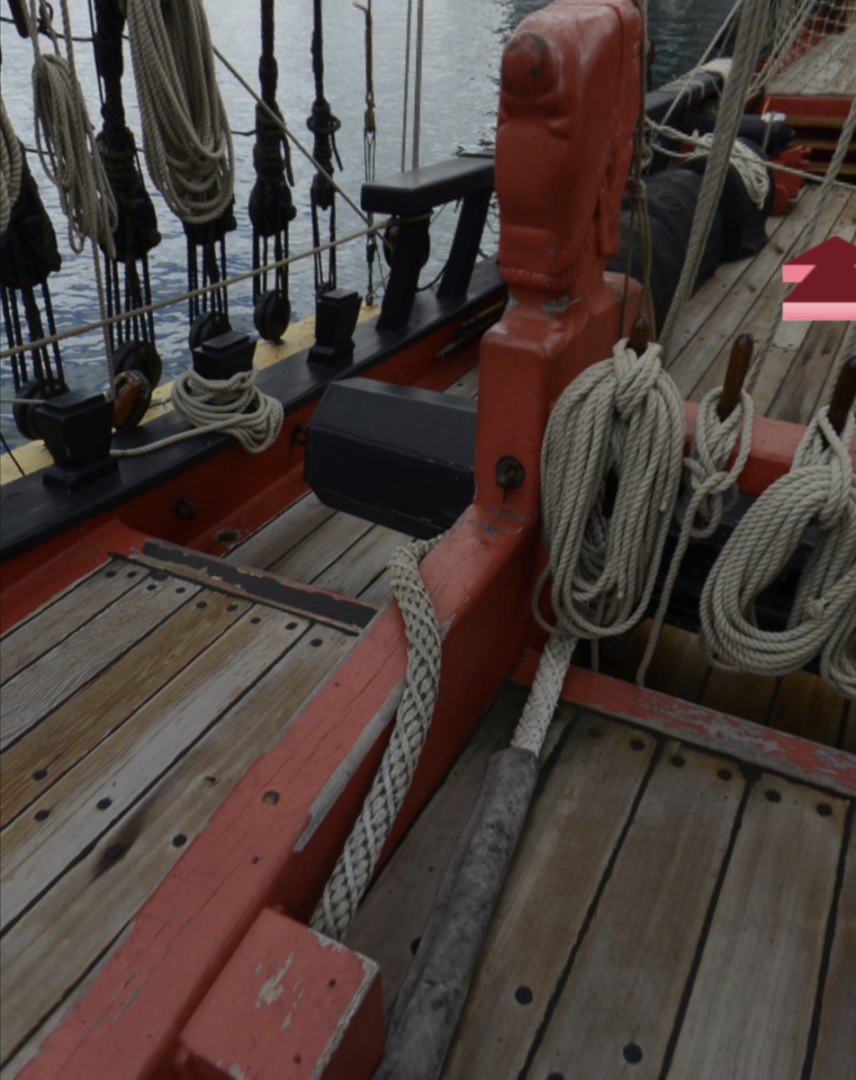
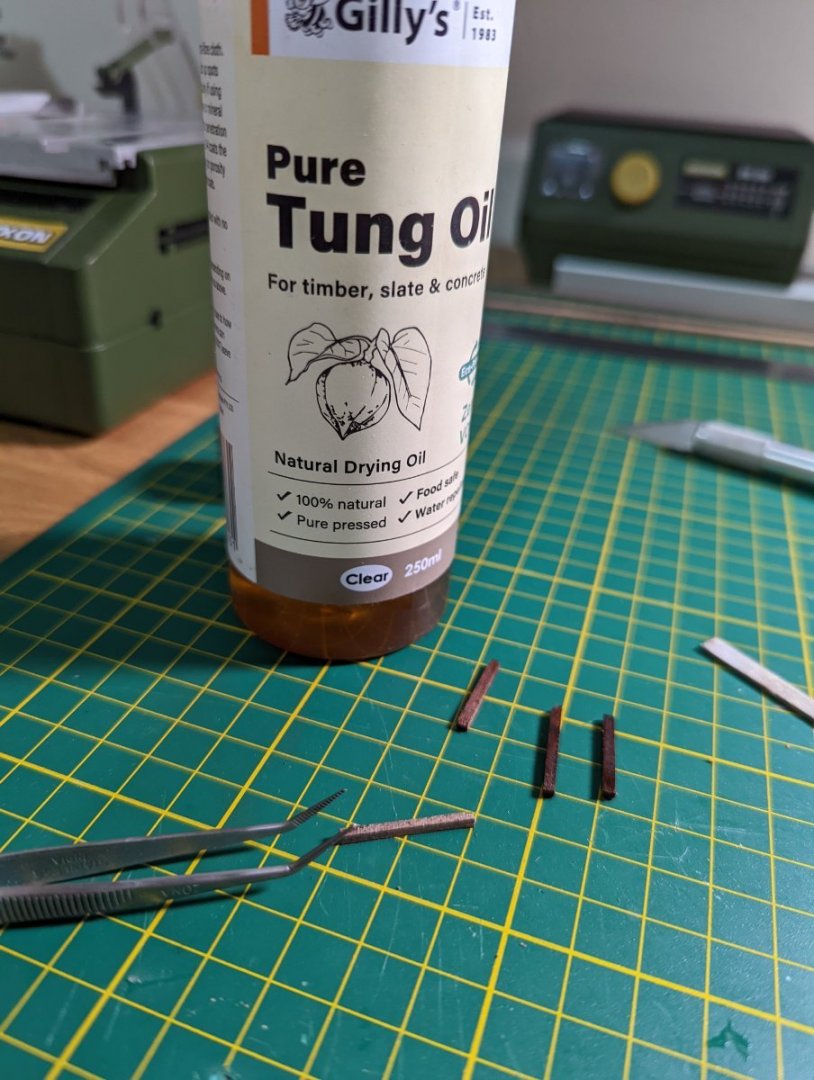
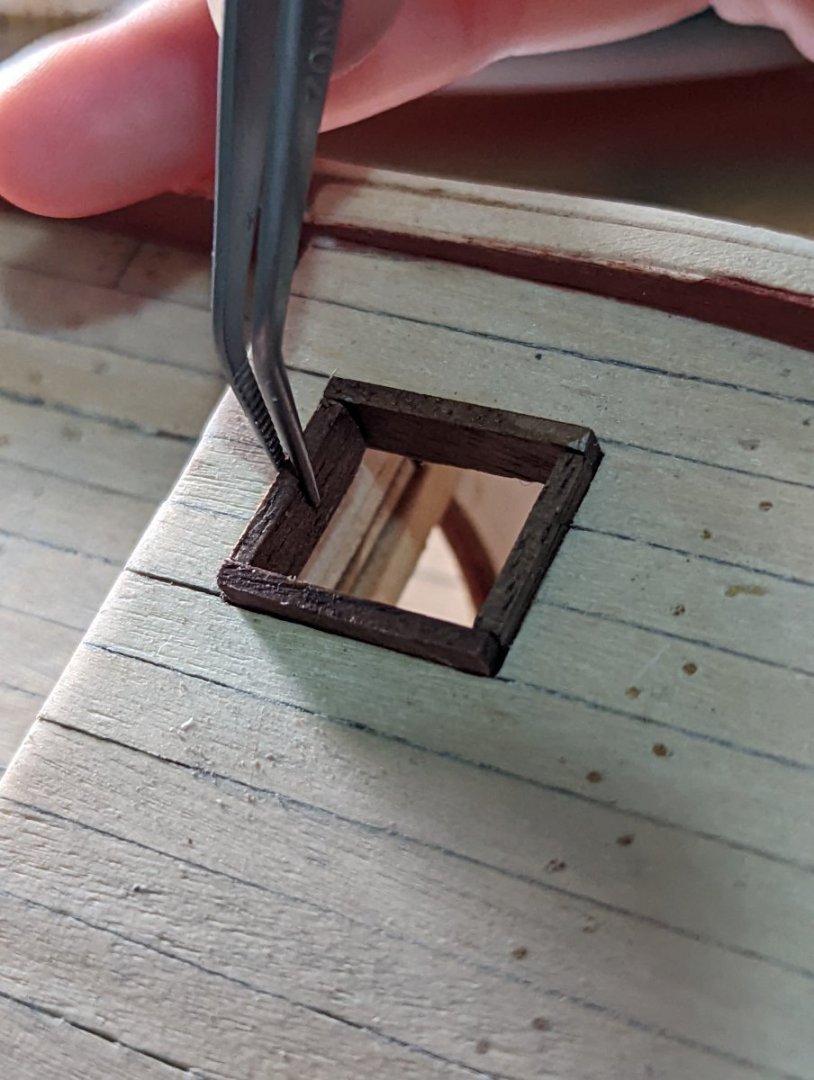
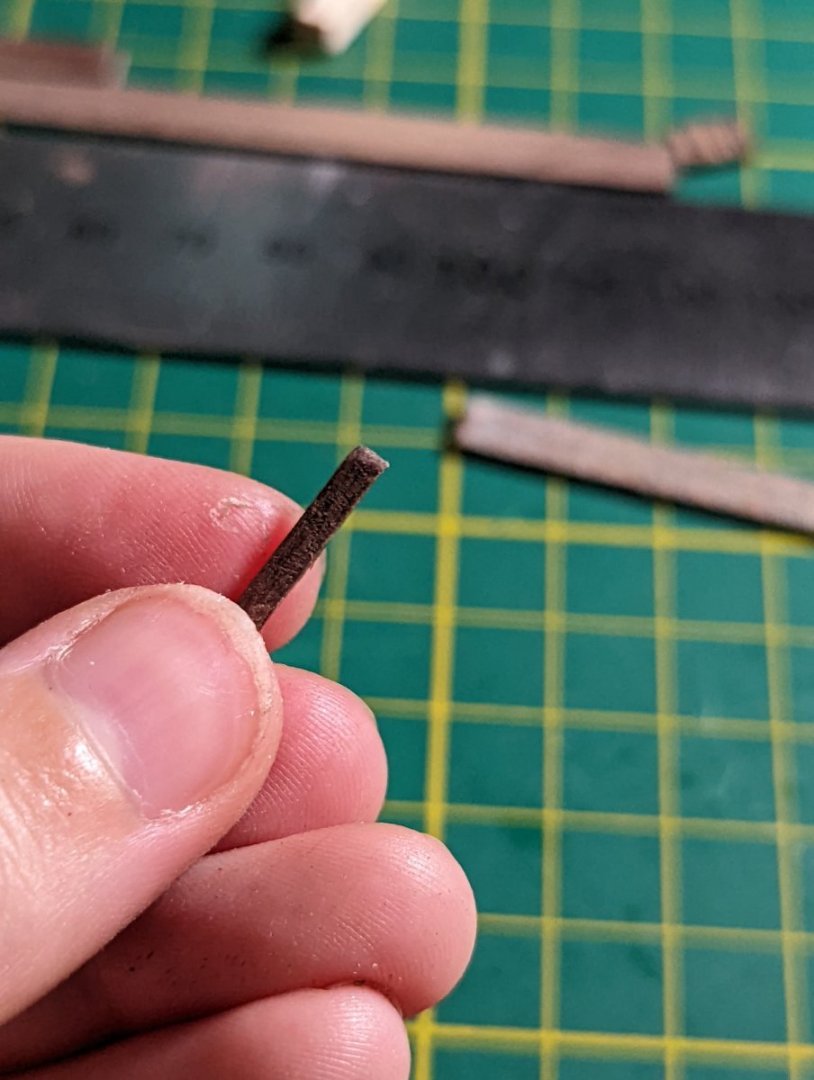
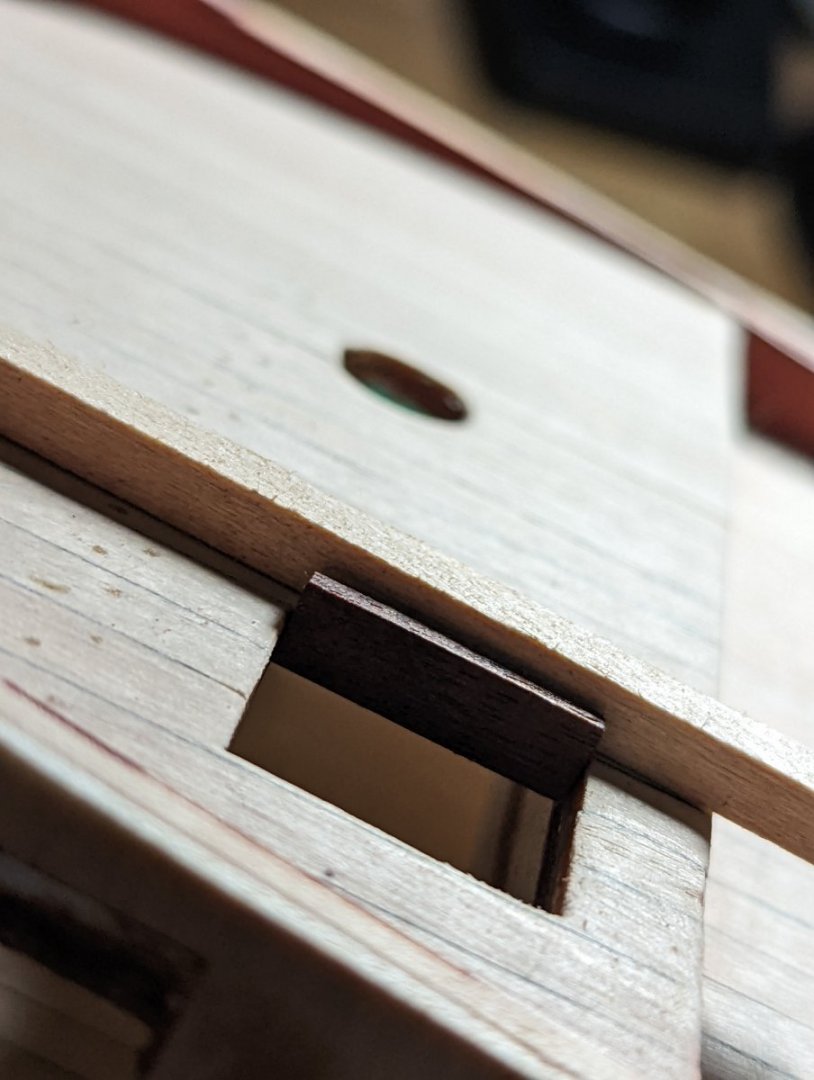
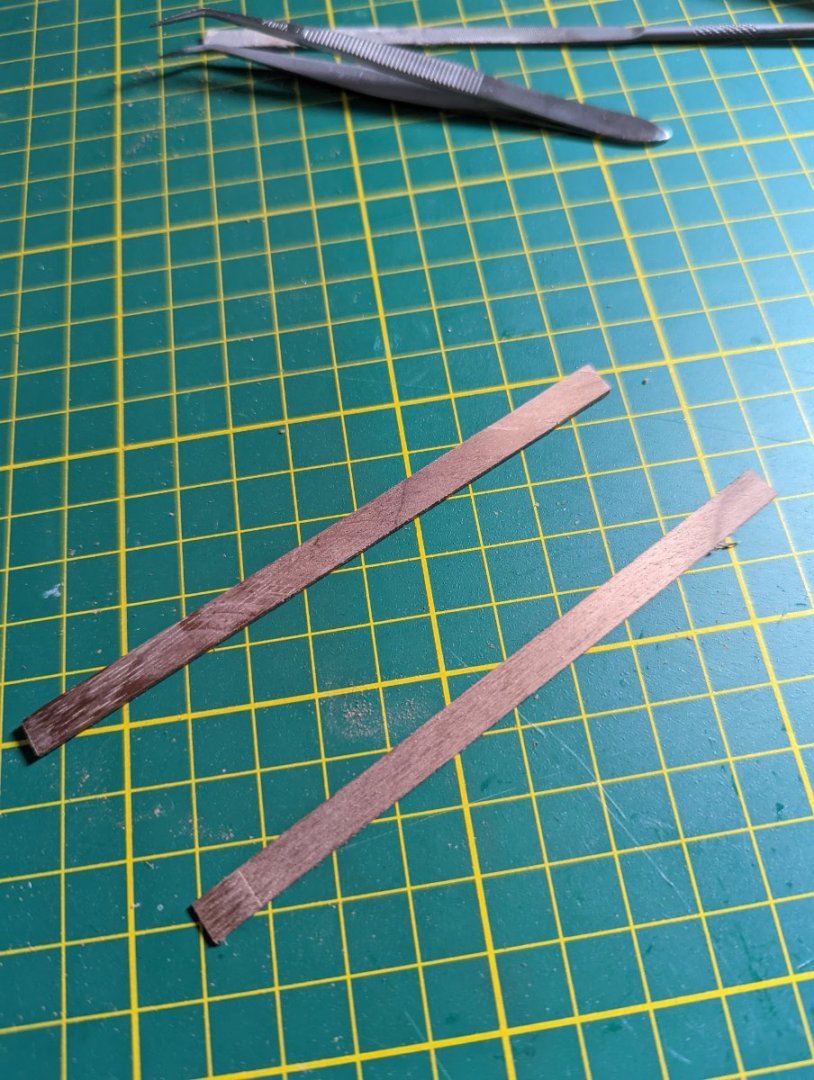
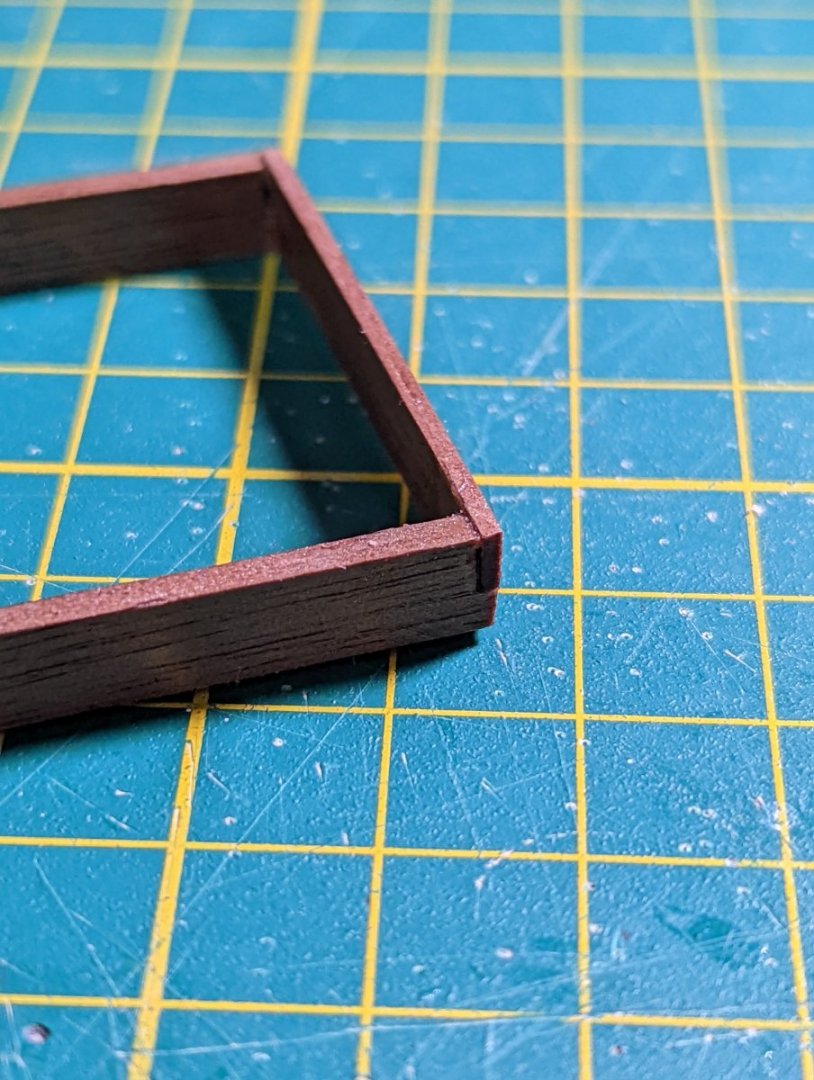
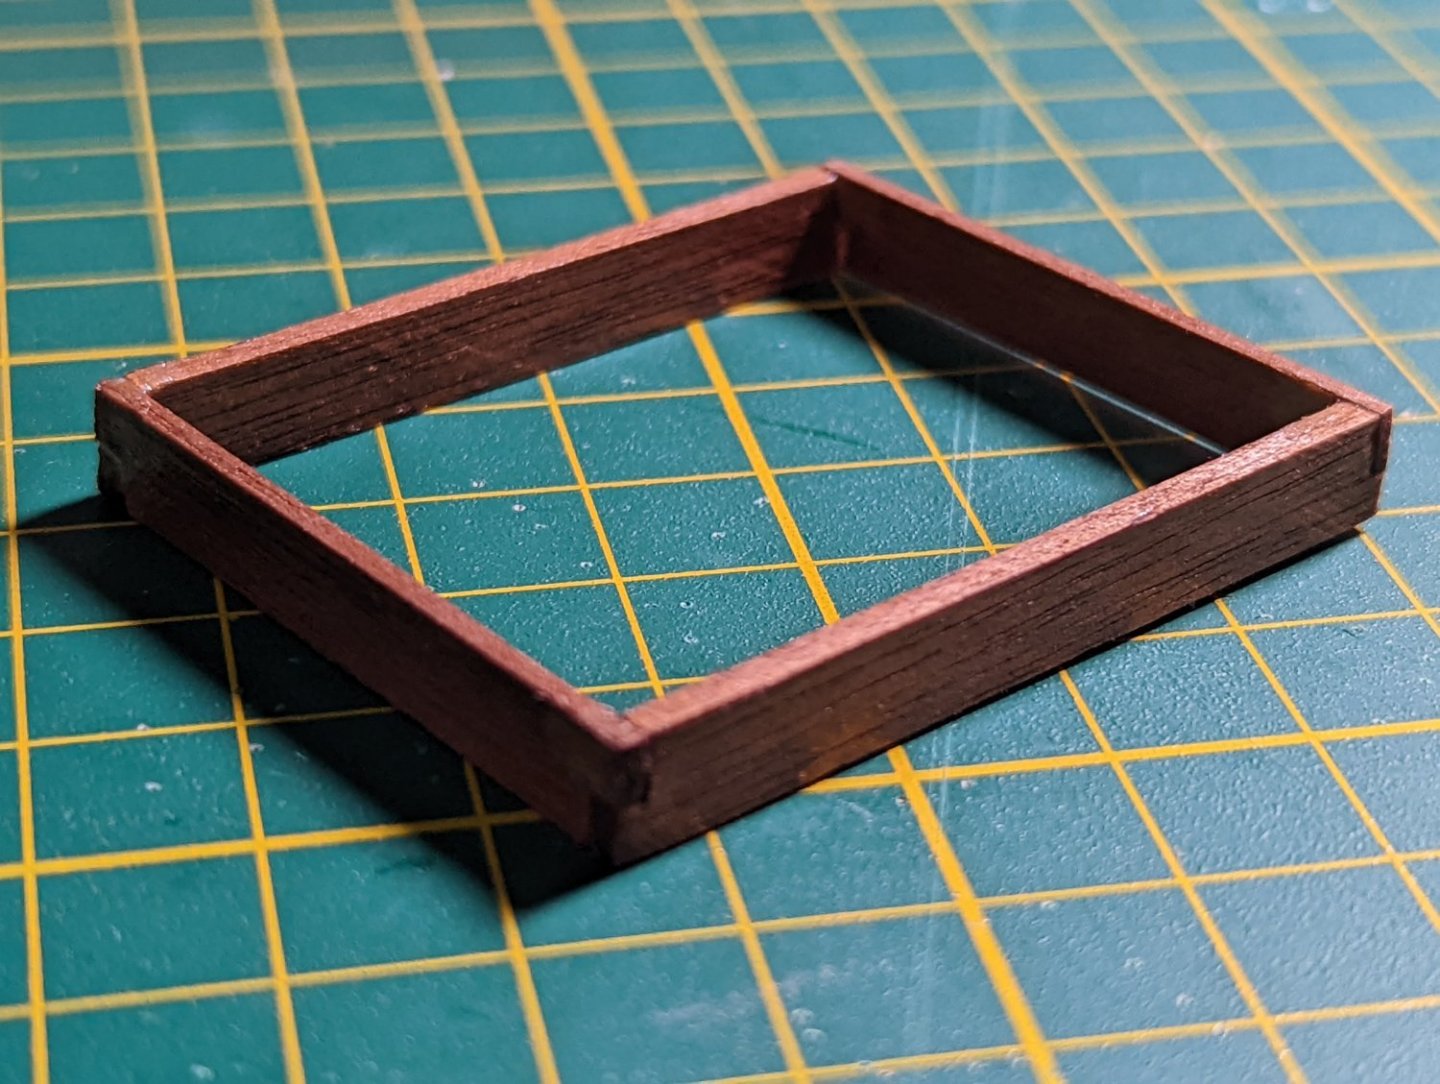
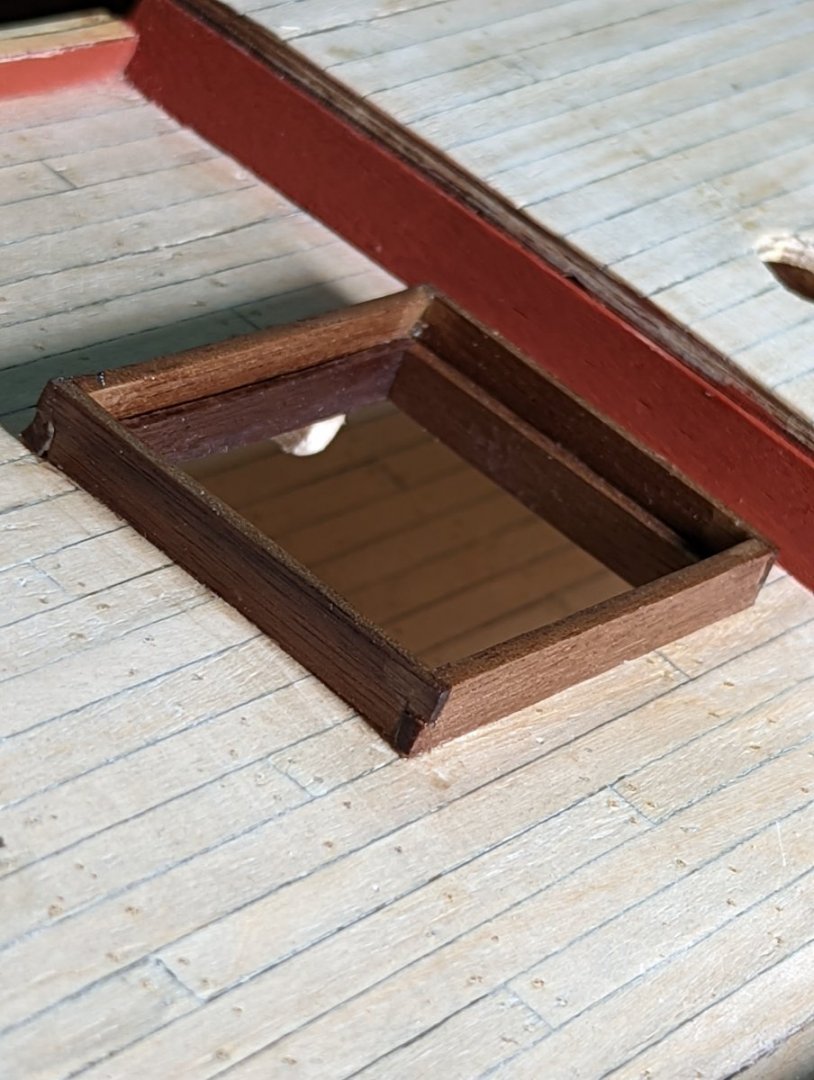
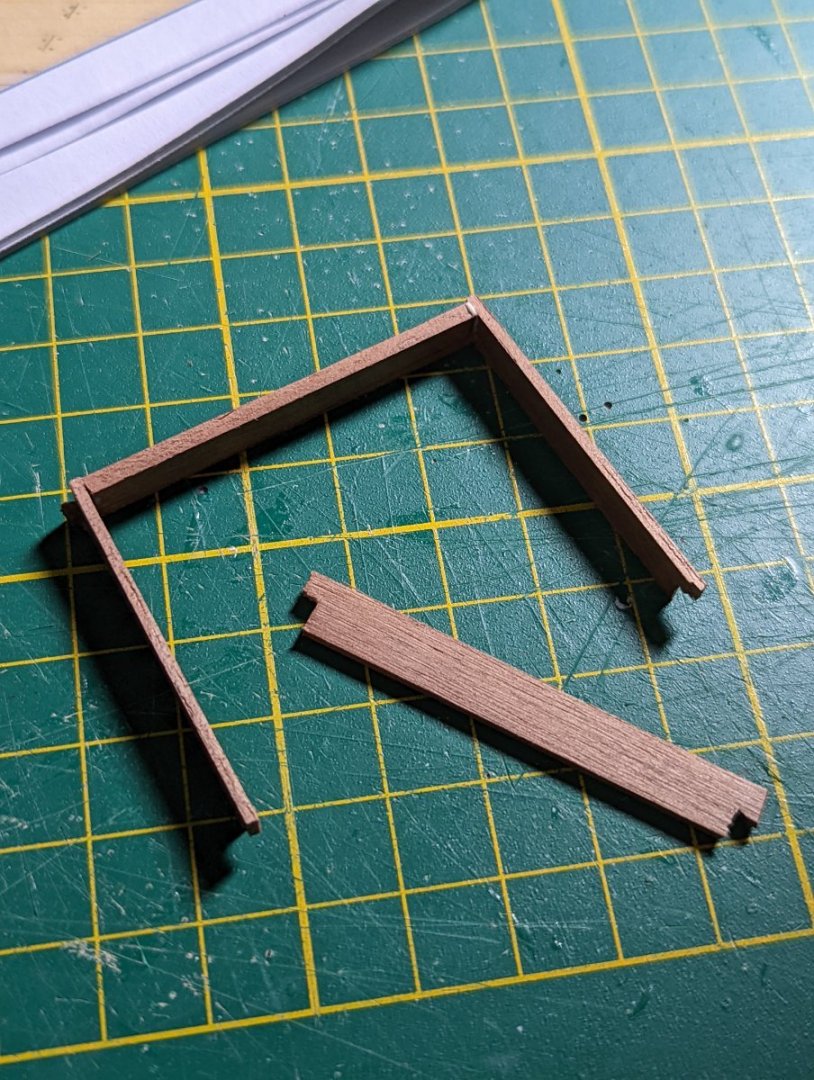
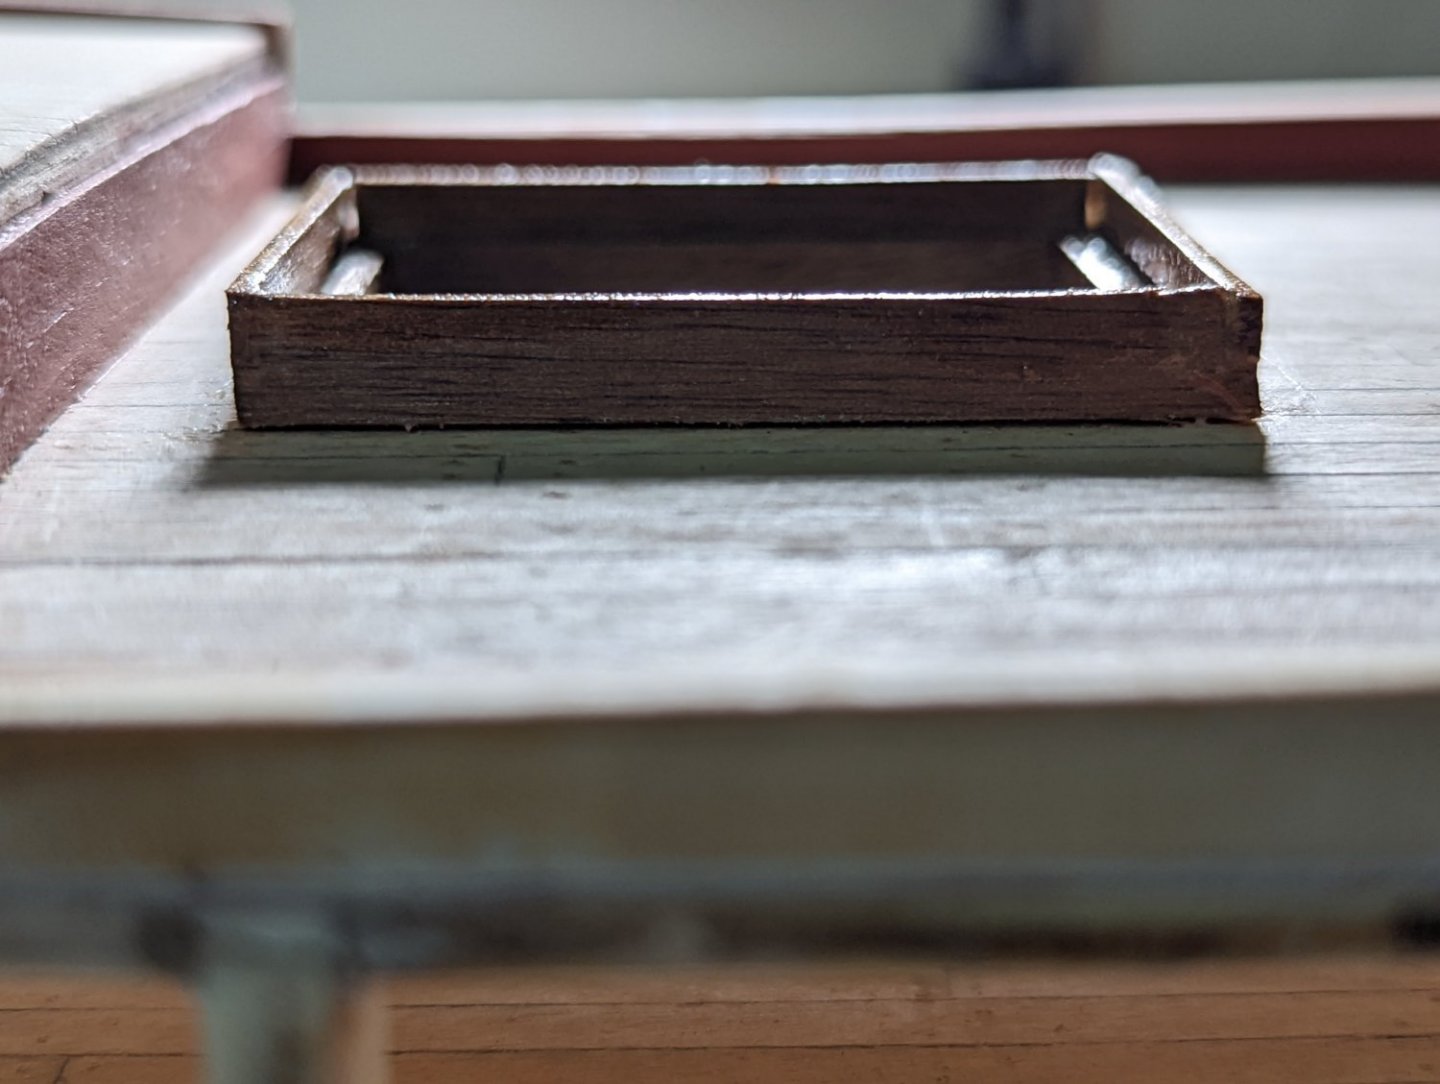
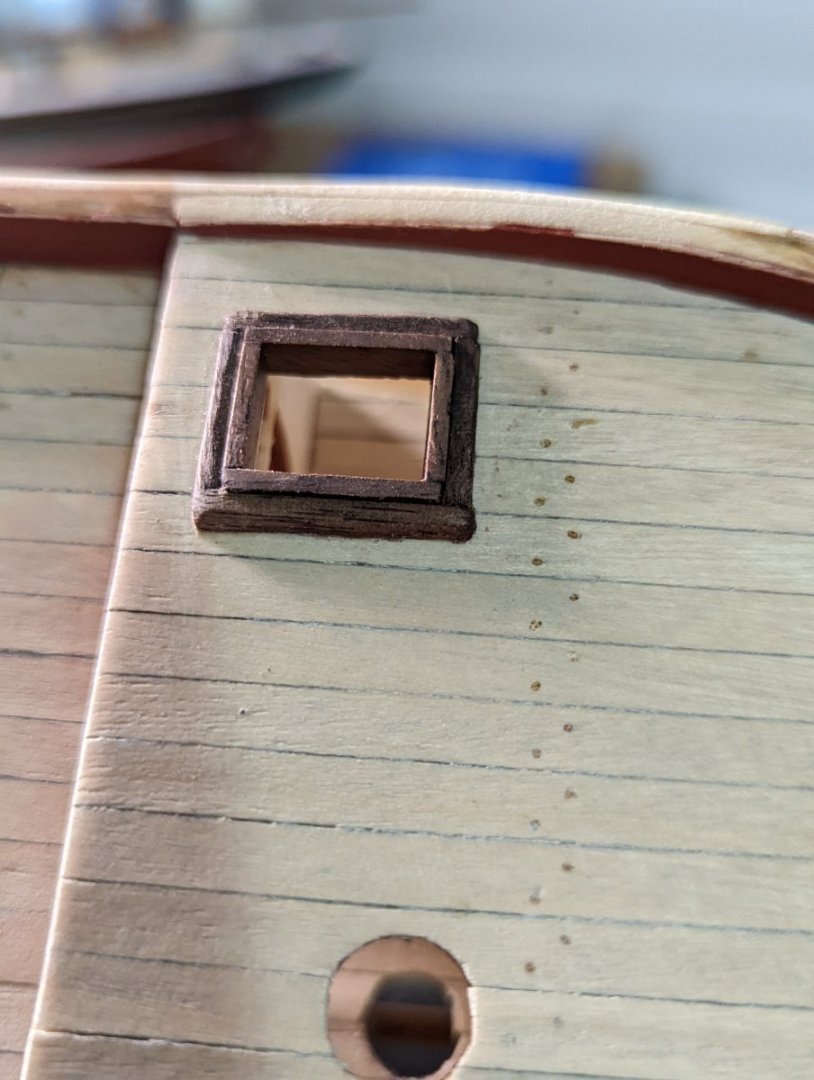
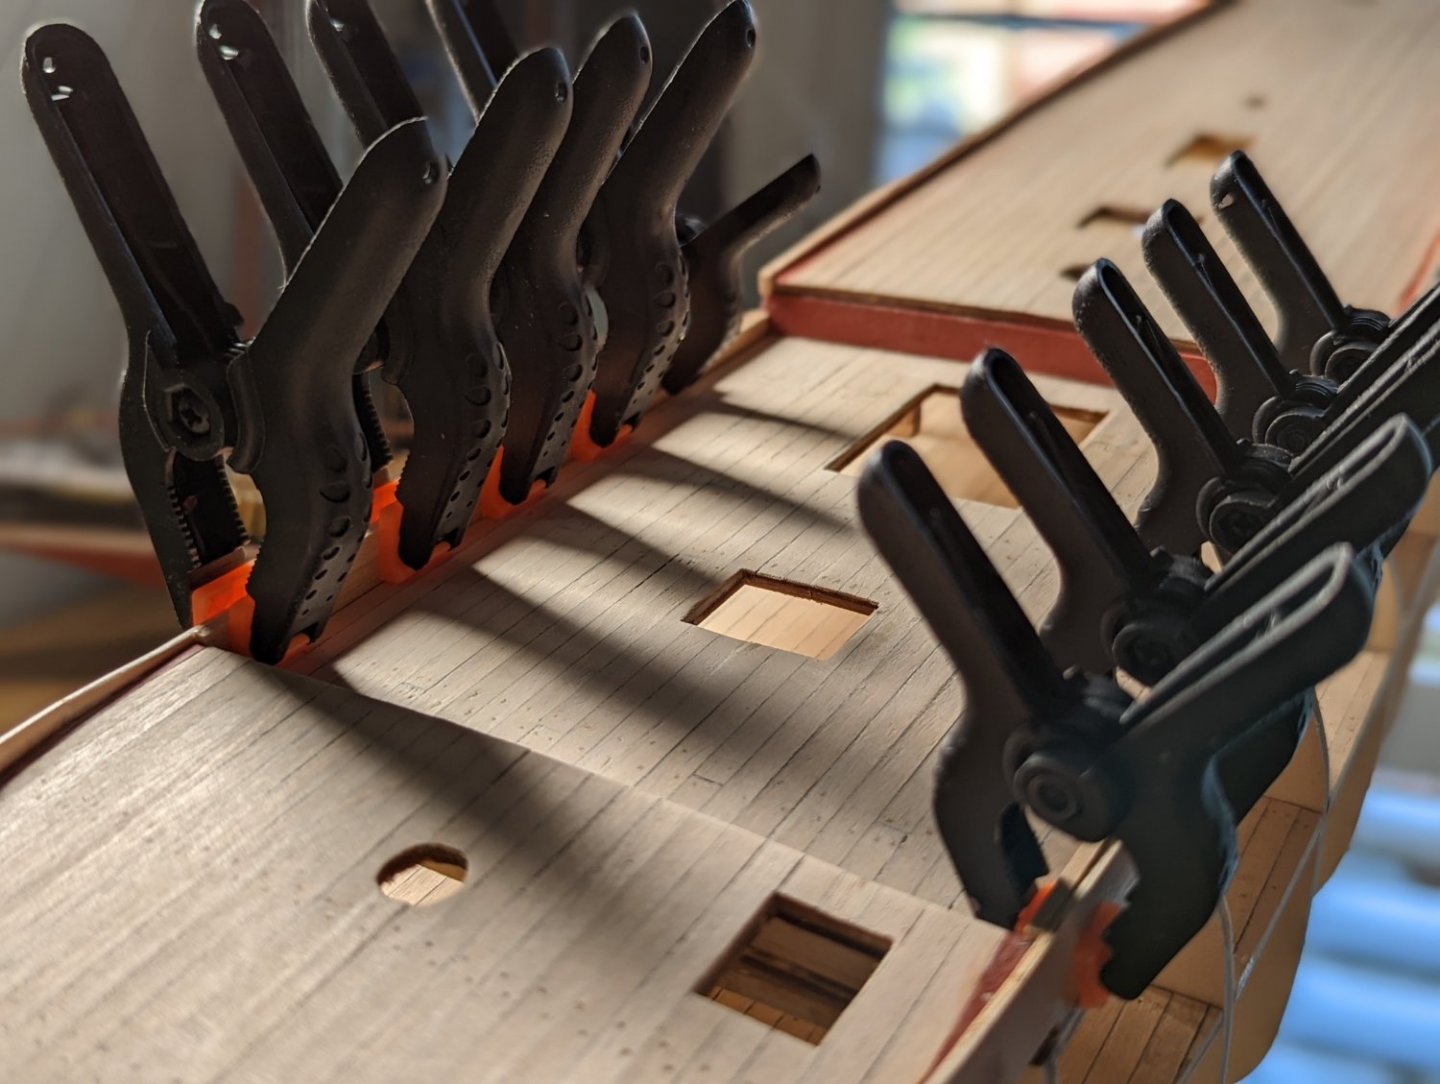
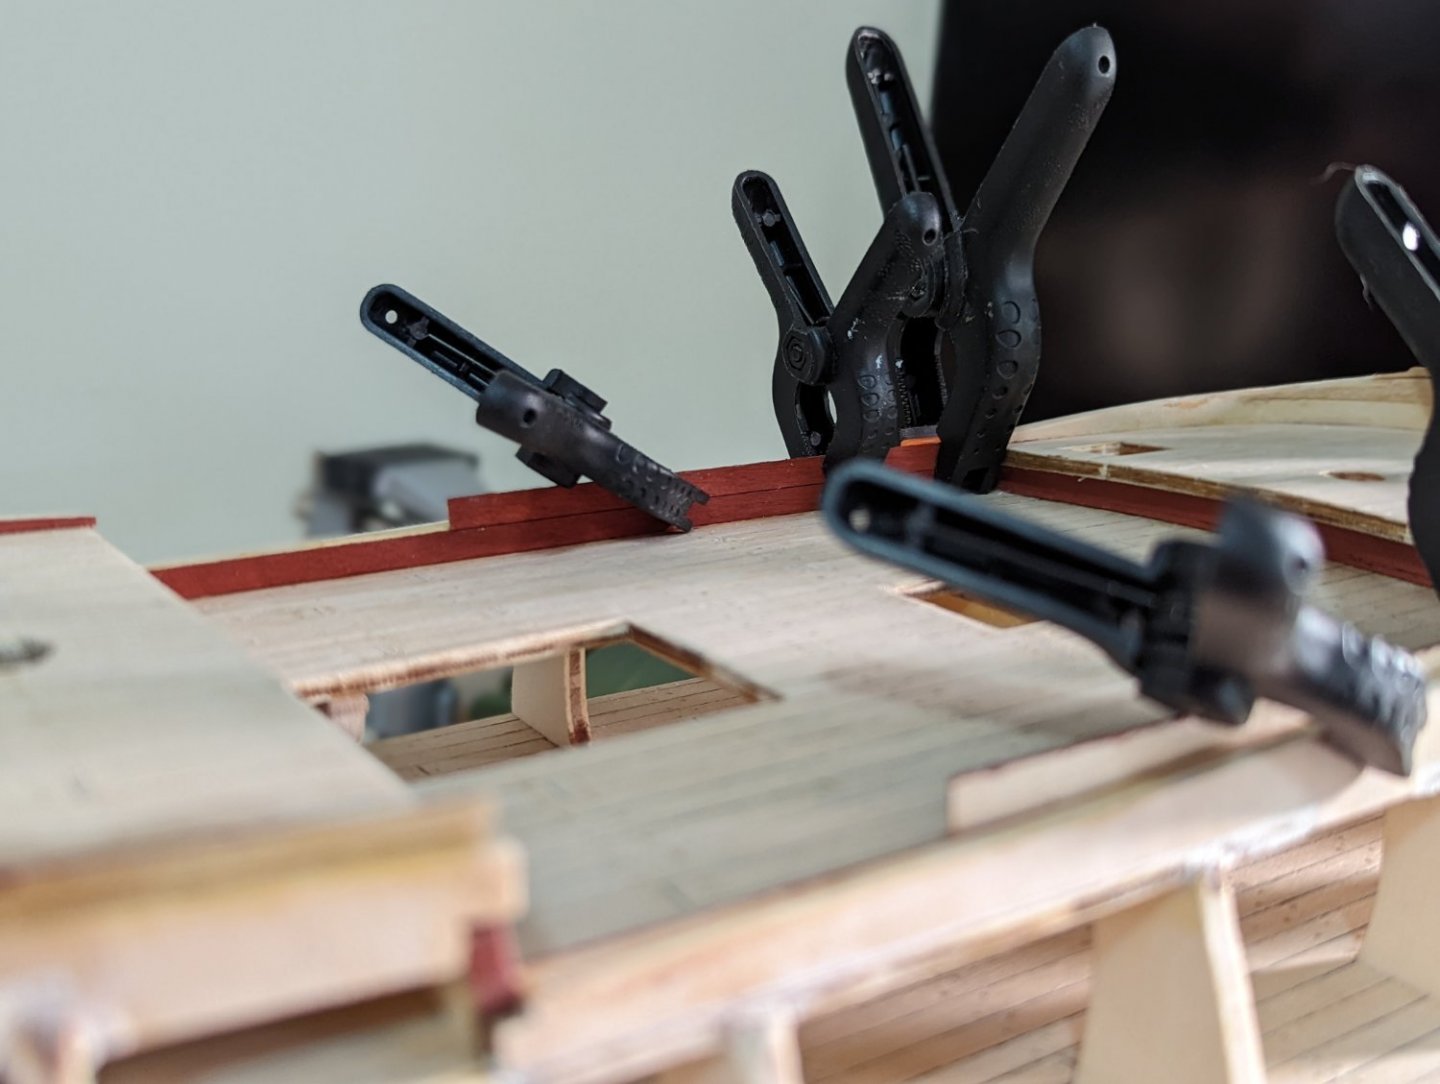
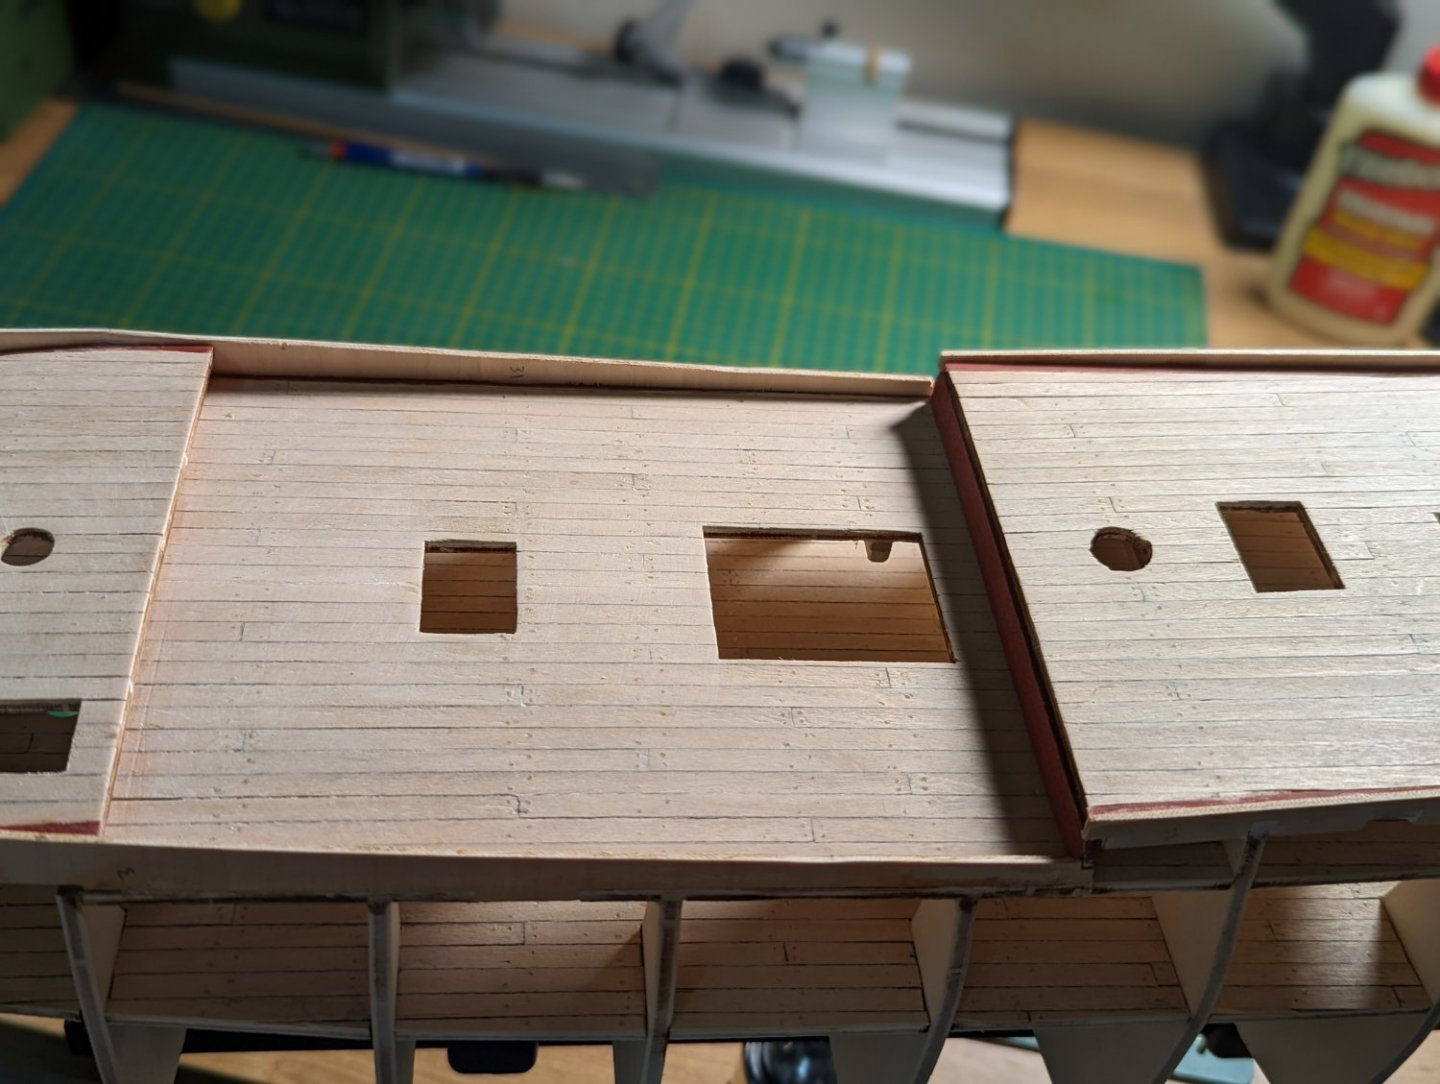
INSTALLING THE LOWER DECK MAIN HATCHWAY Off the back of our discussions, this morning I fitted the hatchway on the lower deck. I measured this hatchway the same dimensions as the one on the upper deck, at 50x40mm. Before fitting I checked out what these look like below decks in the Endeavour replica. I must be throwing the web stats for their virtual tour out of whack the number of times I've accessed this! I kept this hatchway shallower than the one on the main deck, electing 45° mitre joints for the outer wall and a simple square butt for the inner. The inner wall I used 0.5mm scrap mahogony strips, which I then dipped in Tung oil (after this photo). I measured the inner part of this hatchway and follow Steven's approach for a false hatchway, I masked it off and painted the inside black. I clamped the outer wall down with some scrap wood so it would dry flat. While waiting for it to dry I painted the caps on the forecastle and quarter deck walls following the Endeavour replica's scheme. The cap for the quarter deck required some notches to be cut in each side so the beam could sit in place against the inner bulkwarks. When I installed this beam, it made a satisfying "click" into place. I then clamped everything judiciously, using thick scrap wood to push the beams snug against their respective deck.
-
 KJackson reacted to a post in a topic:
HM Bark Endeavour by KJackson - OcCre - 1:54
-
 KJackson reacted to a post in a topic:
Golden Hind by Rock_From_Korea - 1:48
-
 KJackson reacted to a post in a topic:
Golden Hind by Rock_From_Korea - 1:48
-
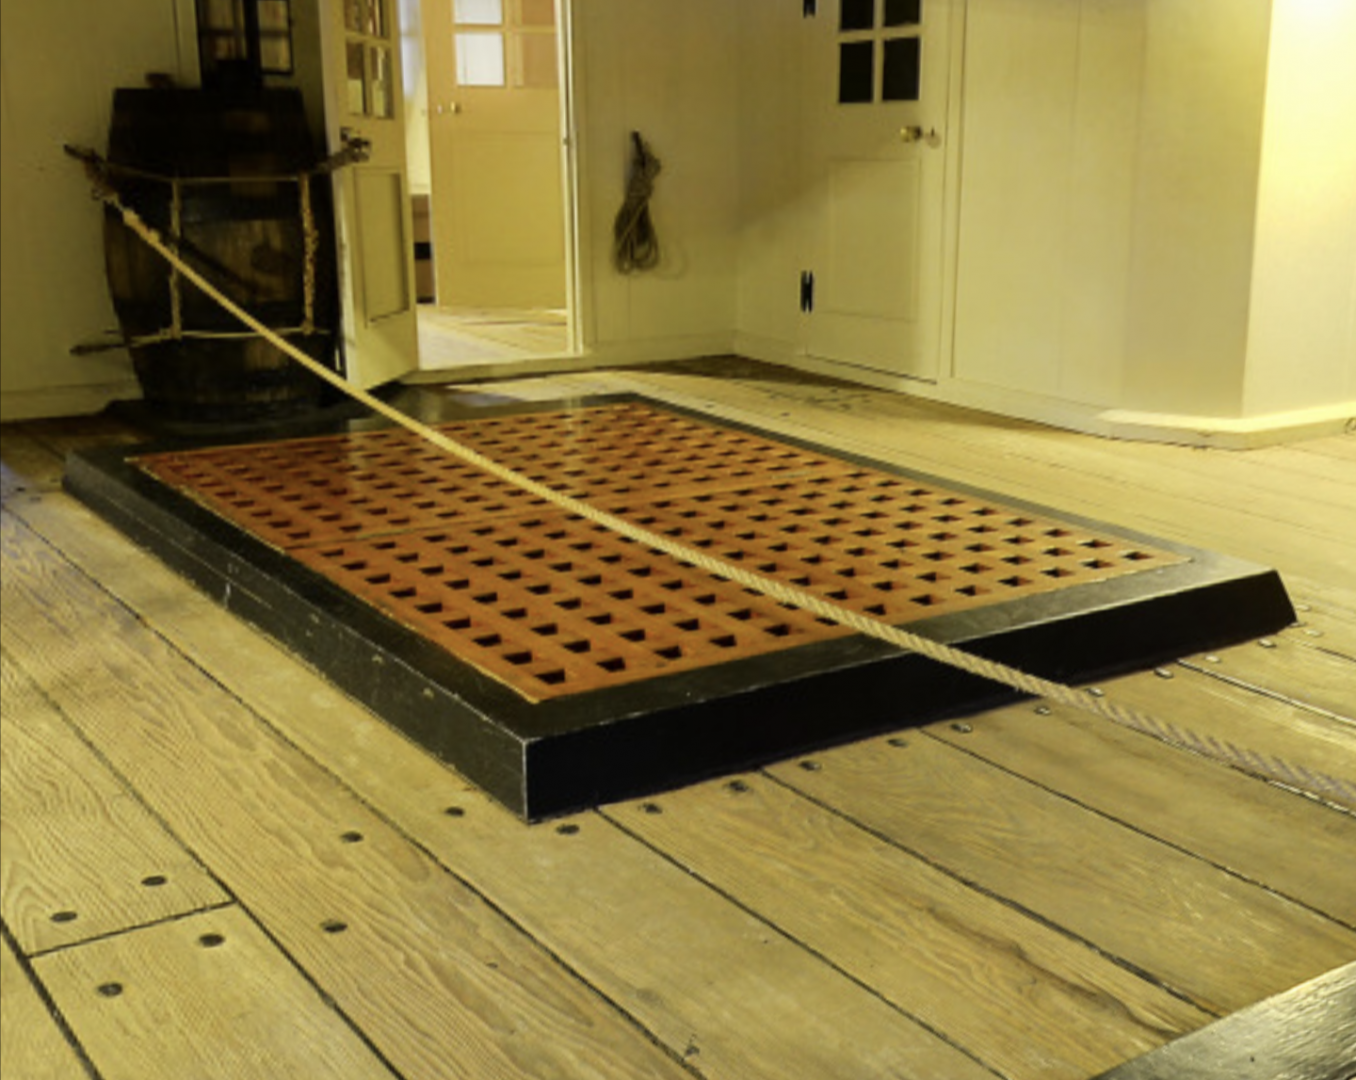
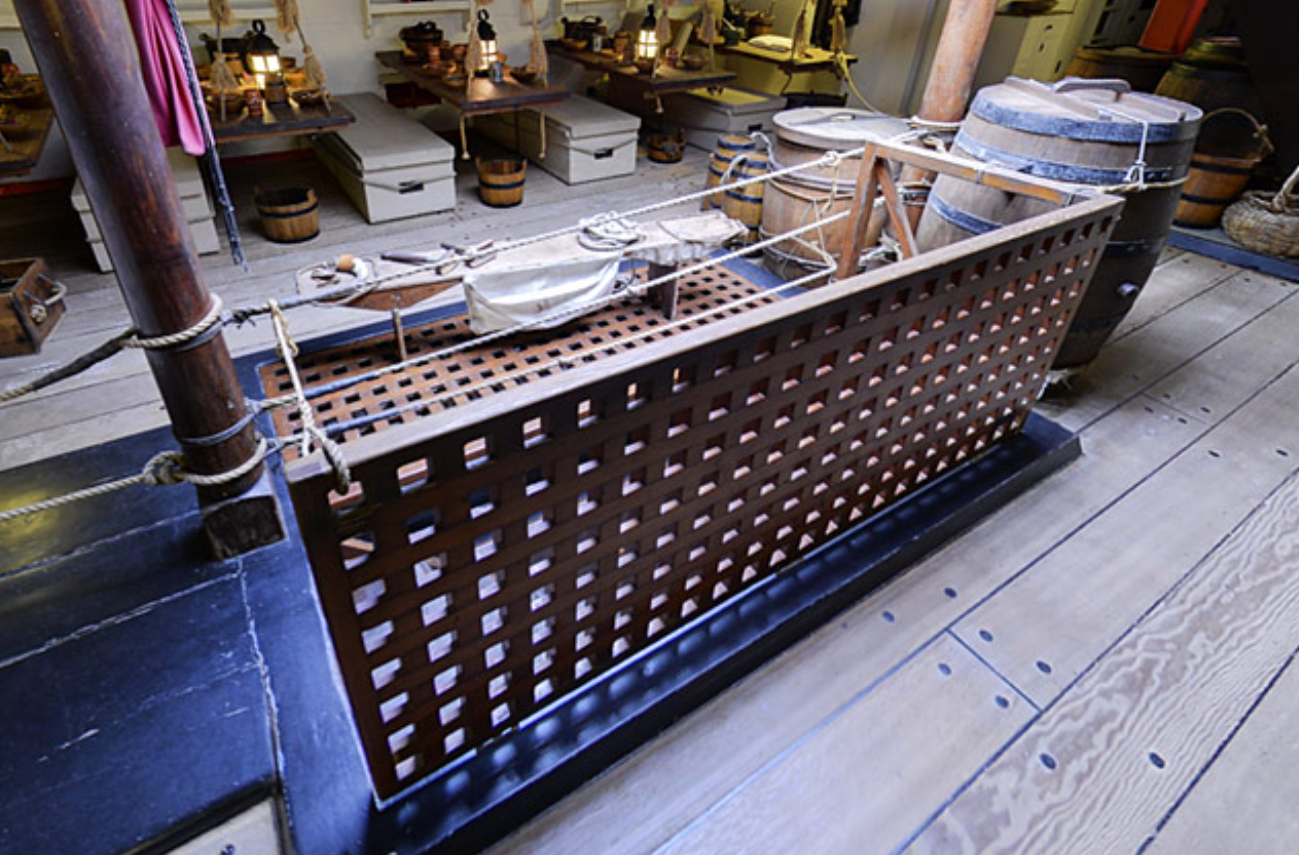
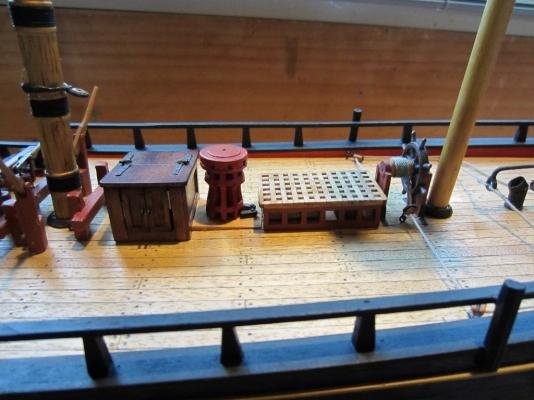
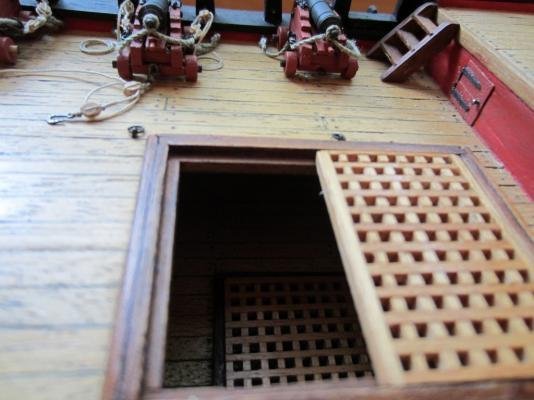
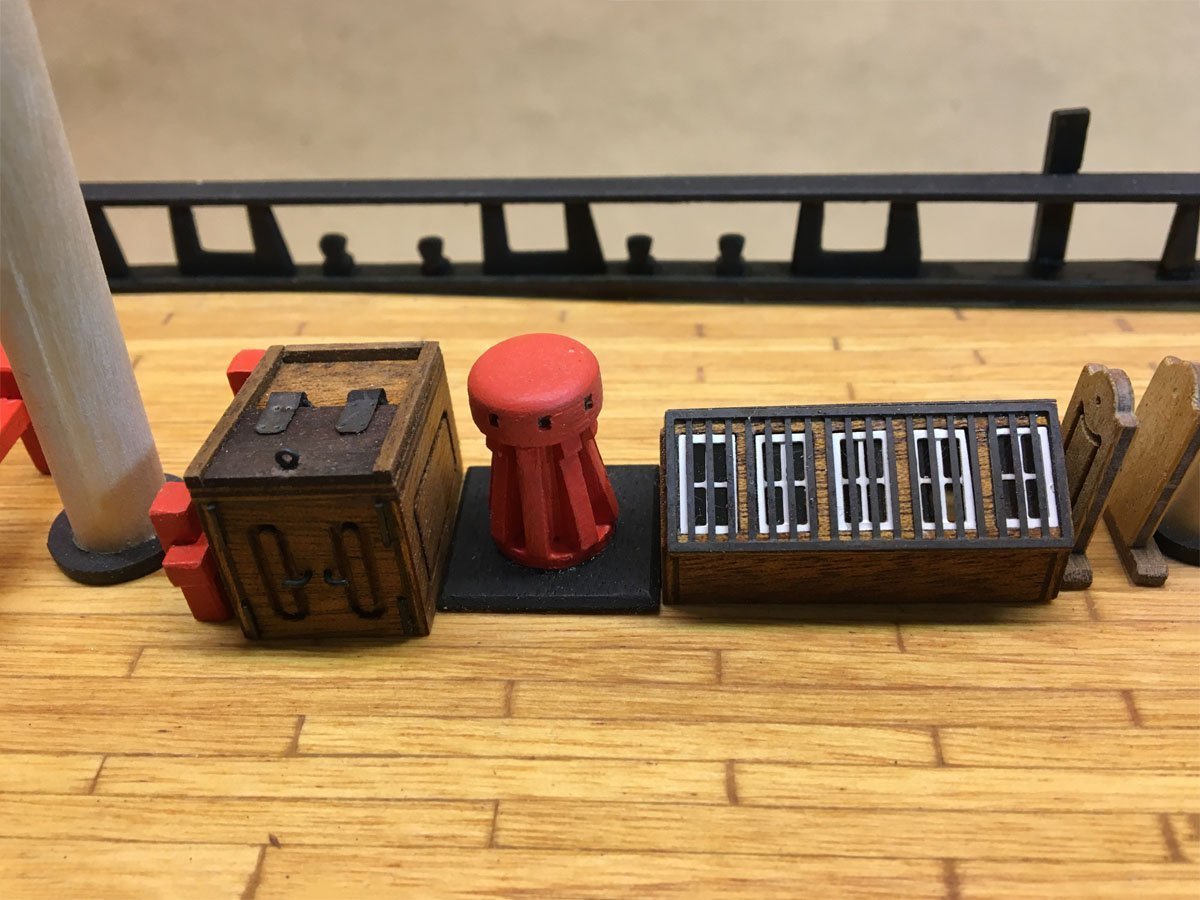
Thanks, Steve! This collection is a very good selection of example hatch coverings. Now excuse me as I shamelessly steal some of the photos from your build... I like the main hatch in your Endeavour build, and now you mention it I think it's because it's not entirely closed. Not only does this add a bit of variety for the eye, but for me this means I'll be able to better show off those treenails I was so chuffed about on the lower deck and the lower hatchway. When you installed the lower hatchway what did you do to the lower deck to prepare? In the OcCre kit, the lower deck sits directly on the bulkheads. Did you cut the bulkhead away where this lower hatchway sits? Or because it's so far down, I guess no one would be able to see through that second layer of gratings... And yep, I get your point on the skylight. Quick peruse sees a lot of variation on the Endeavour models in MSW. By comparison your build and the replica (last two photos) show a grating style cover. Kristyn
-
 KJackson reacted to a post in a topic:
HM Bark Endeavour by KJackson - OcCre - 1:54
-
HATCH GRATINGS As I mentioned at the start of this build, one of the reasons I am enamored with this hobby is not only the build but the research. I'm taking a moment to pause and check my assumptions on the hatchways. The OcCre kit recommends that the hatchways are covered with hatch boards and rings... which is the same as recommended in Marquardt's book. I'm really hesitant on this because, to be honest, I find a lot of rings installed in this fashion seem oversized. So I'm deviating for the main hatchway - instead opting for a hatch grating. I like visualising my Endeavour "smooth sailing" in the warm waters up and down the Eastern Australian coast, where it'd be warm and relaxed and hatchways would be open to the fresh air and sun. The replica has gratings installed and so too do some of my inspiration builds on here (like Steve's Endeavour). Anyway, this is a long winded way of saying I've ordered some 1.19mm cherry gratings (inc camber) from Syren. With the jig, I can push these gratings as wide as 2mm. Some research and this seems reasonable scale wise for the 1:54 I'm working to. So I'll be pausing on adding the covers until they arrive from overseas! So onwards in the meantime.
-
 KJackson reacted to a post in a topic:
Friesland by popash42 - Mamoli - scale 1:75
-
 KJackson reacted to a post in a topic:
Golden Hind by Rock_From_Korea - 1:48
-
 KJackson reacted to a post in a topic:
Golden Hind by Rock_From_Korea - 1:48
-
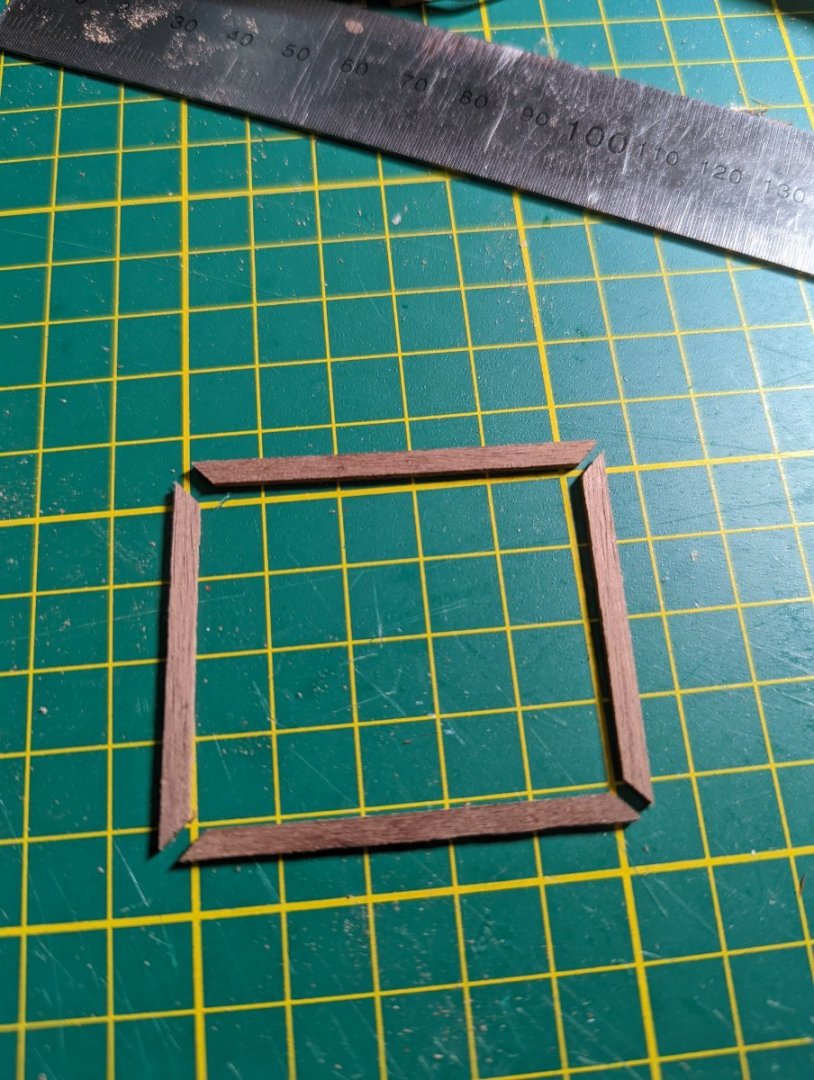
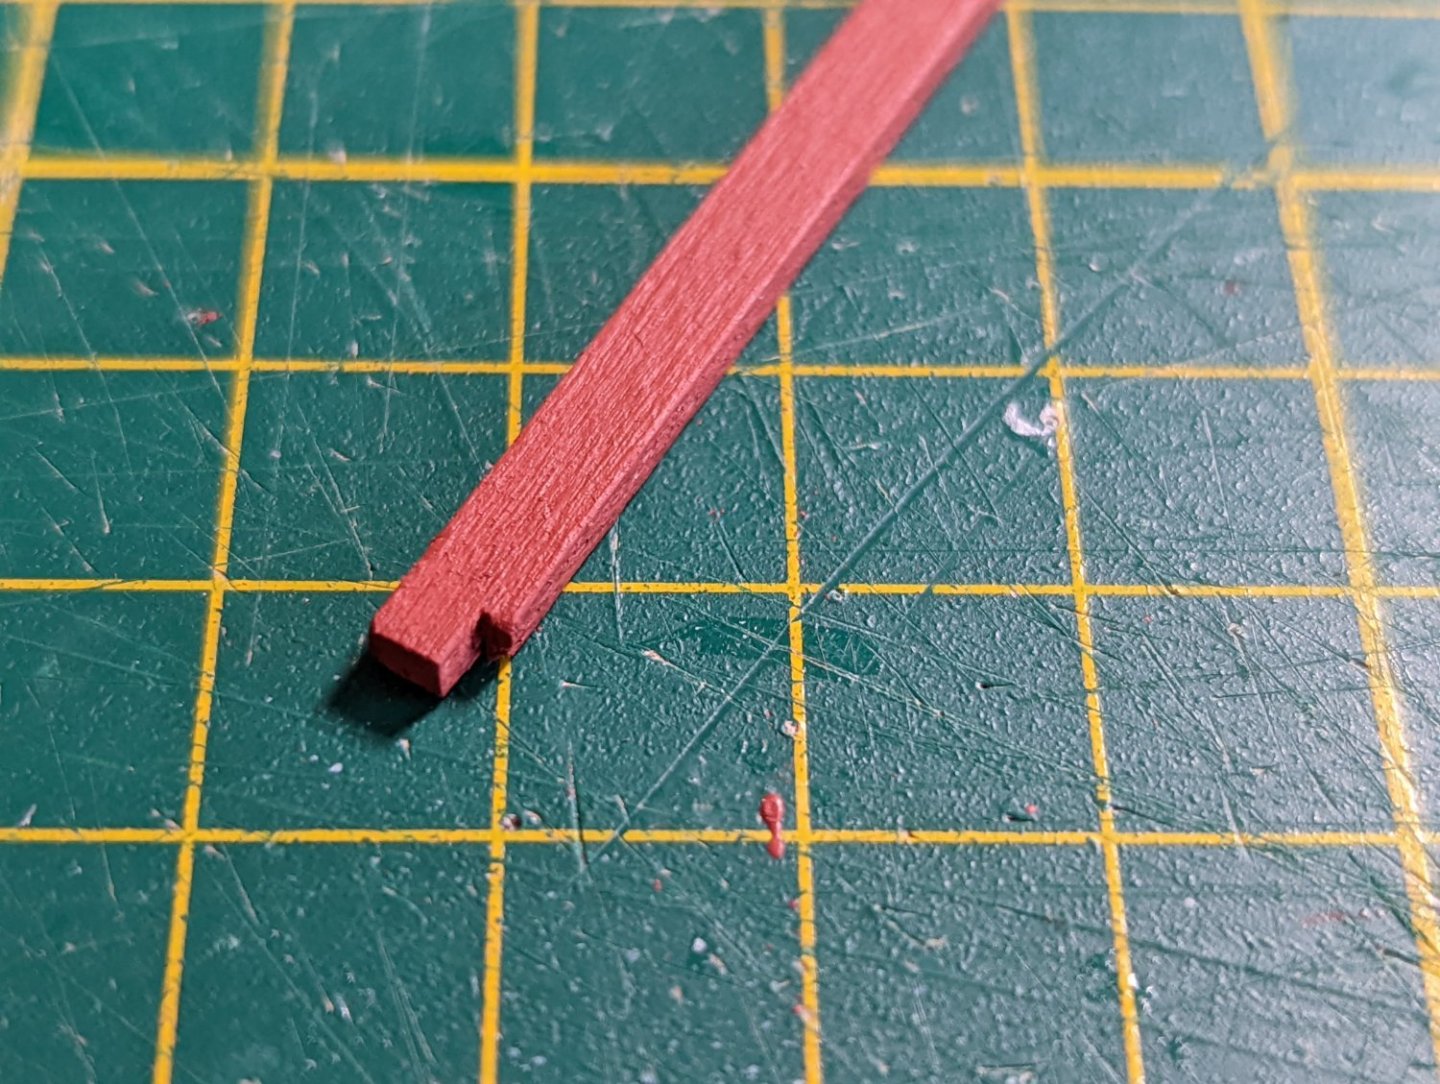
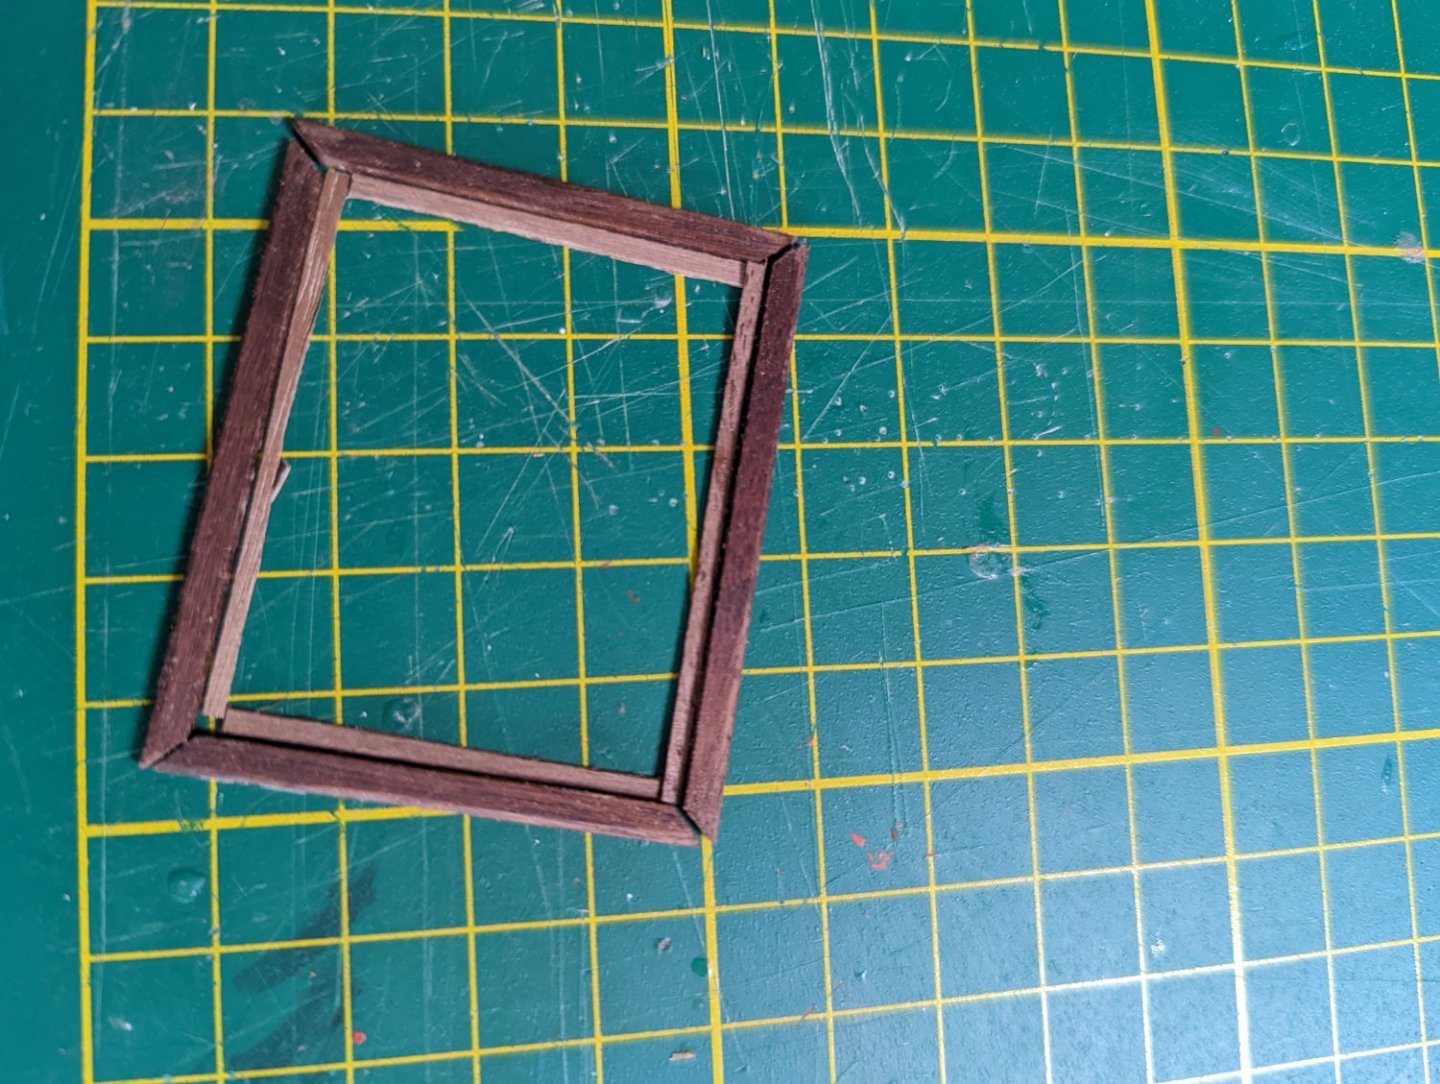
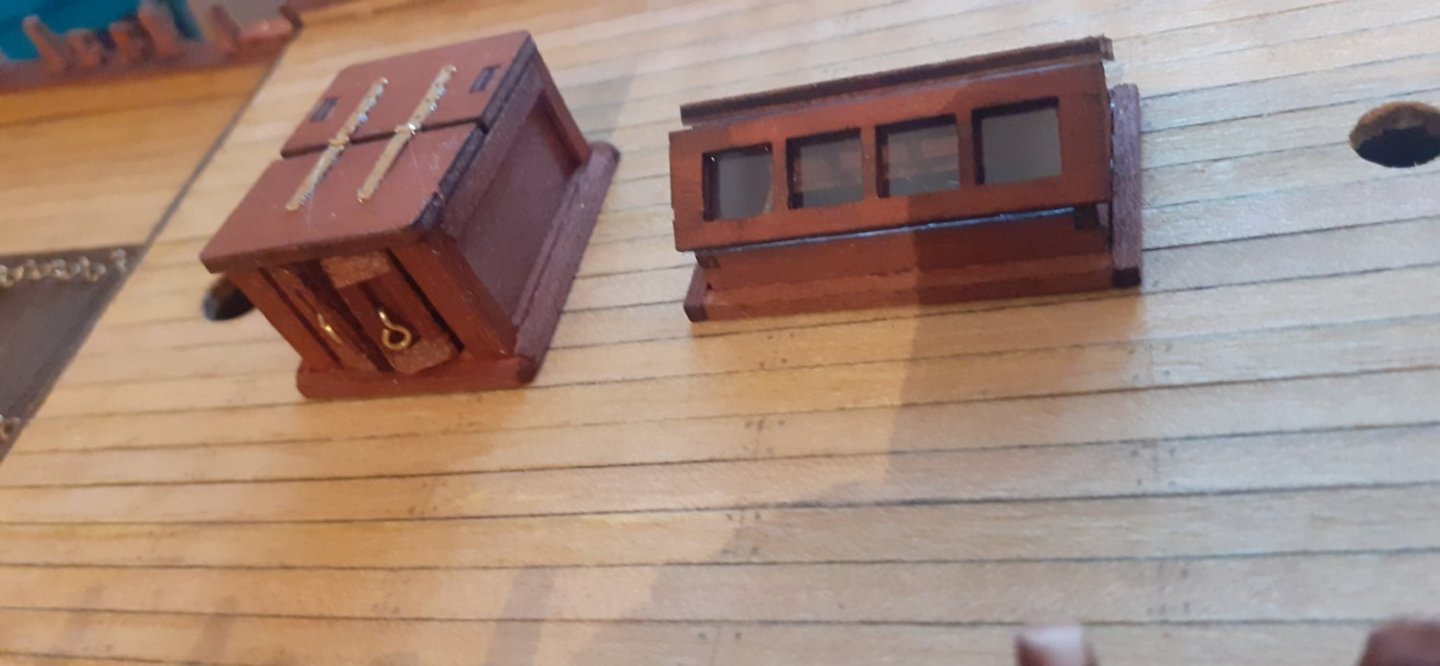
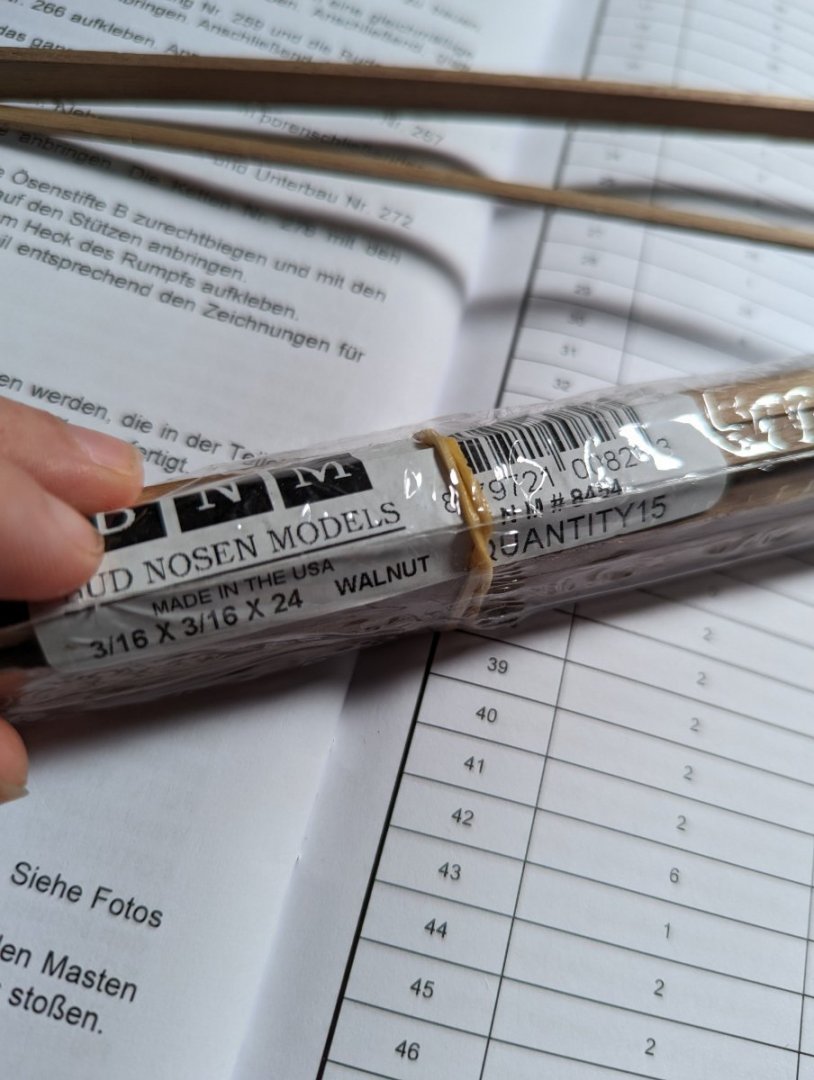
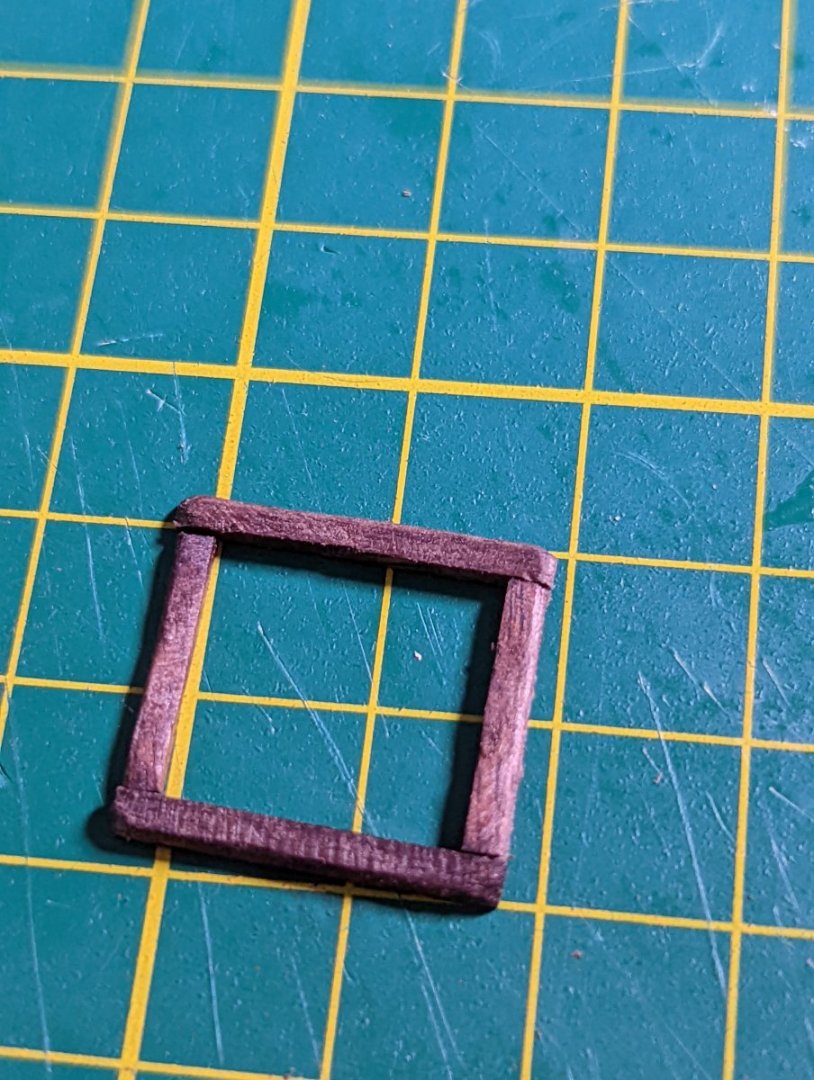
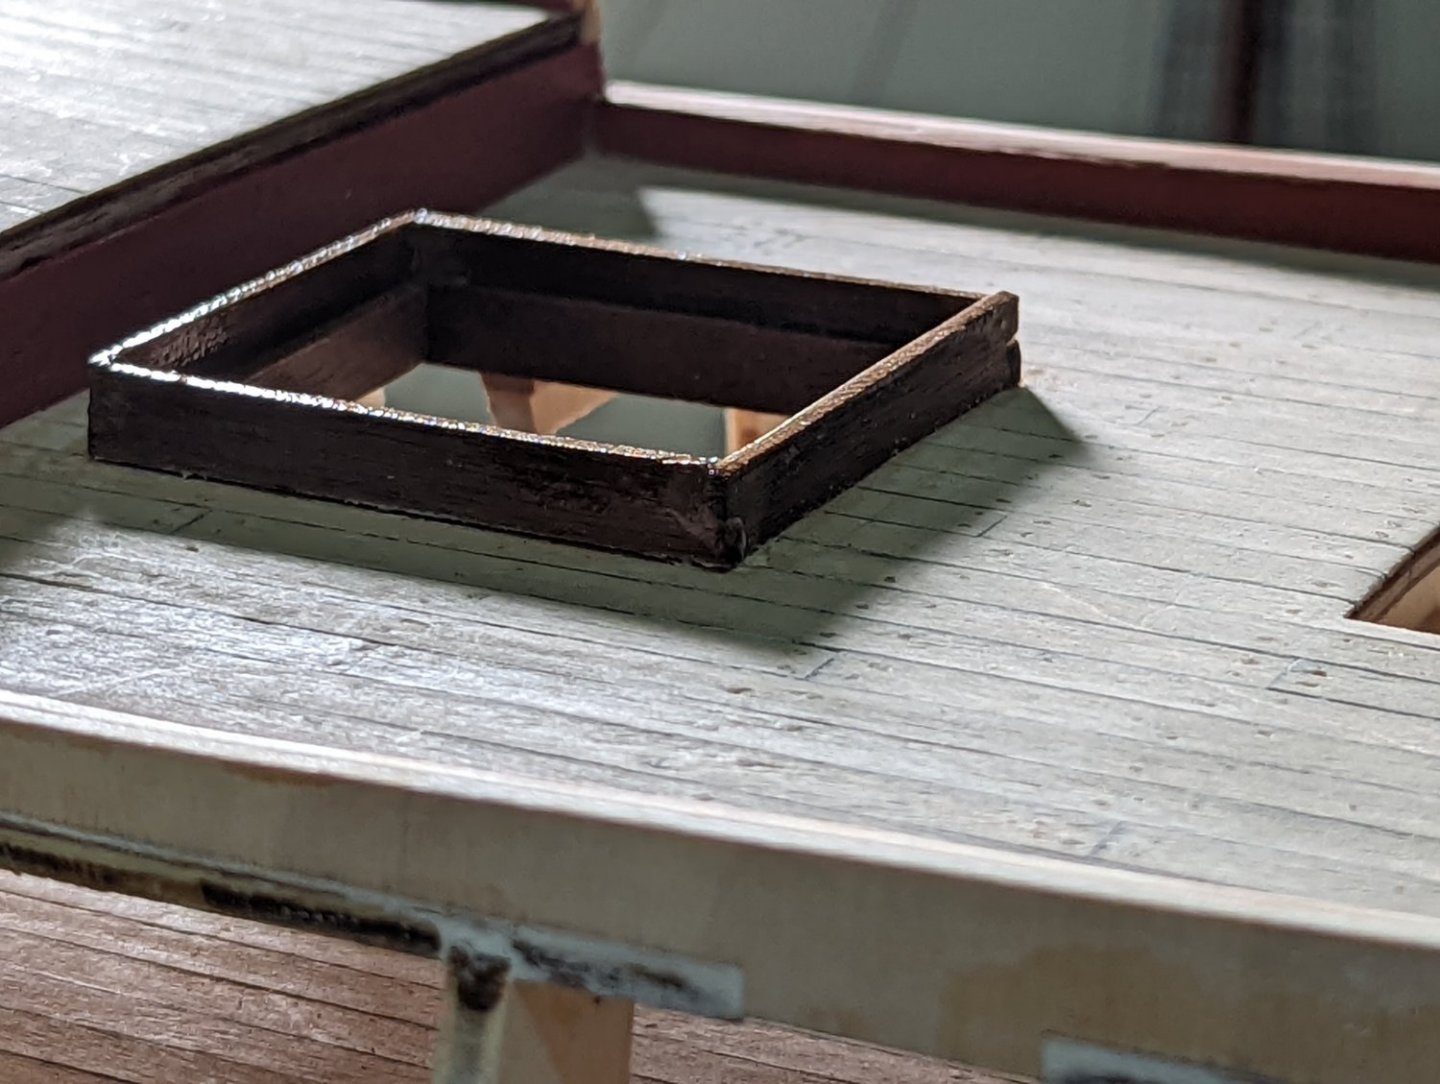
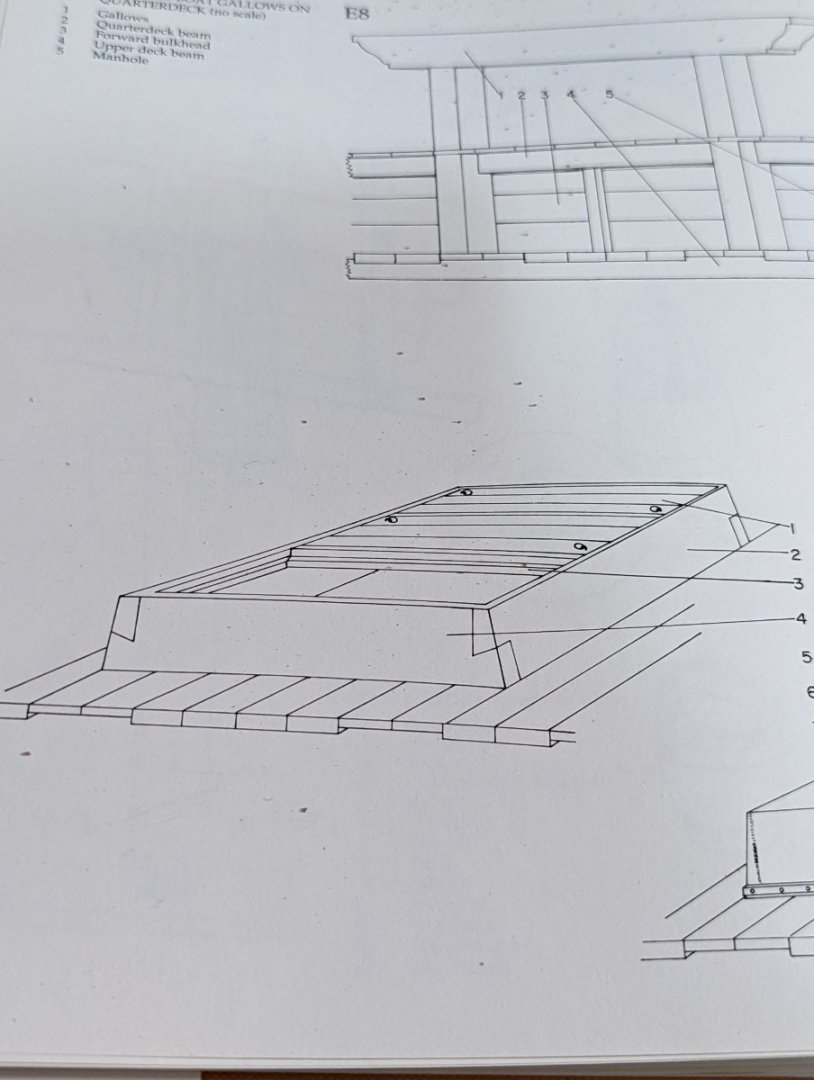
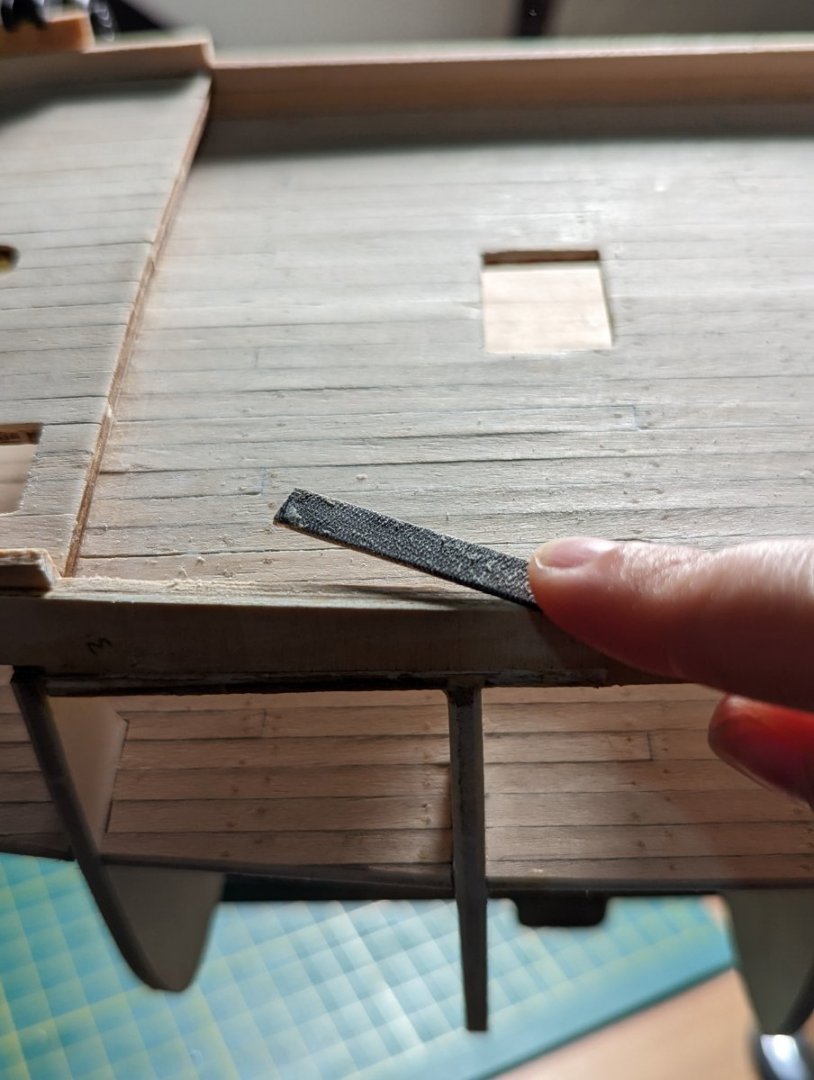
BUILDING HATCHWAYS After finishing the inner bulwarks, I installed the helm port, main and forecastle hatchways. The OcCre kit provides limewood for these hatches that are painted with a walnut stain. I substituted the kit provided wood for walnut from Bus Nosen I have in my spares drawer. I had to mill down some of the strips to their relative sizes, giving the table saw a nice workout. To make the walnut stand out, I dipped each piece in Tung oil before drying with a towel. I elected for a basic butt (square) for the forecastle hatch and helmport, and bevelled the edges slightly. When installing on the deck, I made sure to push each piece up against a scrap piece of squared wood. I opted for a half lap joint (I think?) for the main hatchway. I did this because I found the kit instructions for the main hatchways deviated from Marquardt's rendition. Marquardt's shows a single, slightly tapered hatch with no bevelling - I opted to follow his interpretation. I put the main hatchway together on my cutting mat before installing it on the deck. I'm planning to file it down so it's not as high and follows the slight camber of the deck. I need to wait for tomorrow to do this so the glue had the opportunity to cure. Next time I'll install some more walnut and think on the main hatchway gratings or covers. Kristyn
-
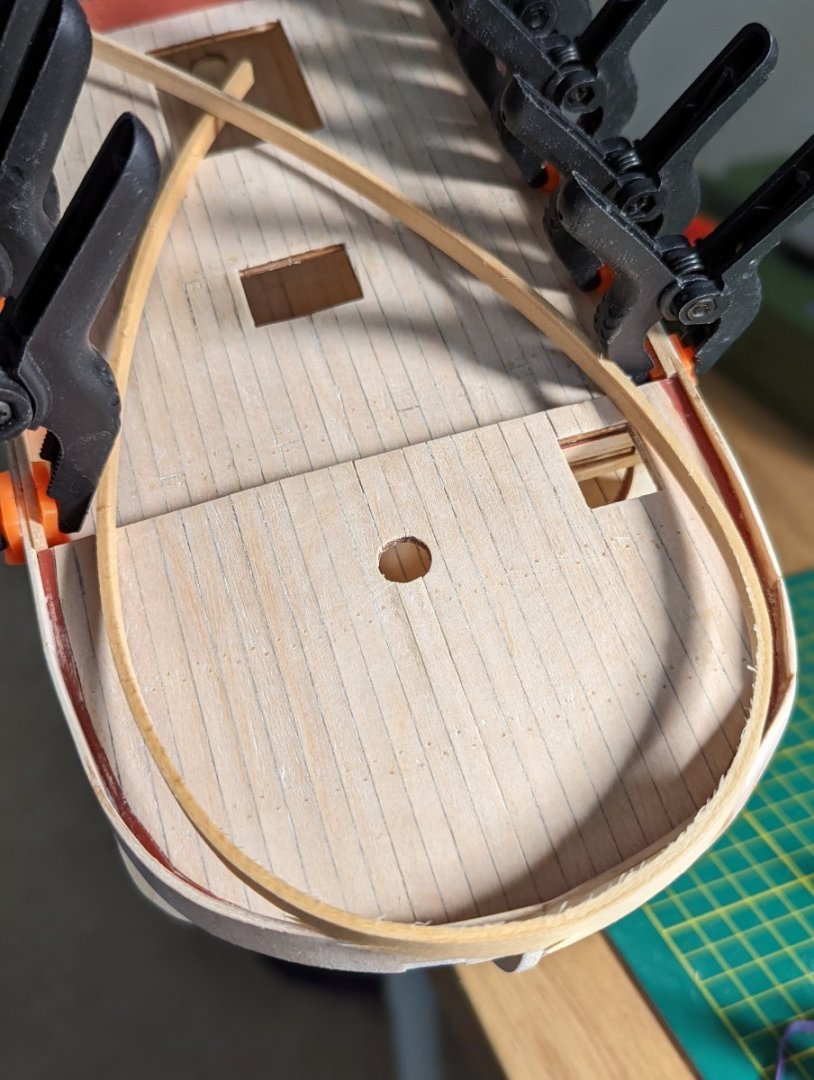
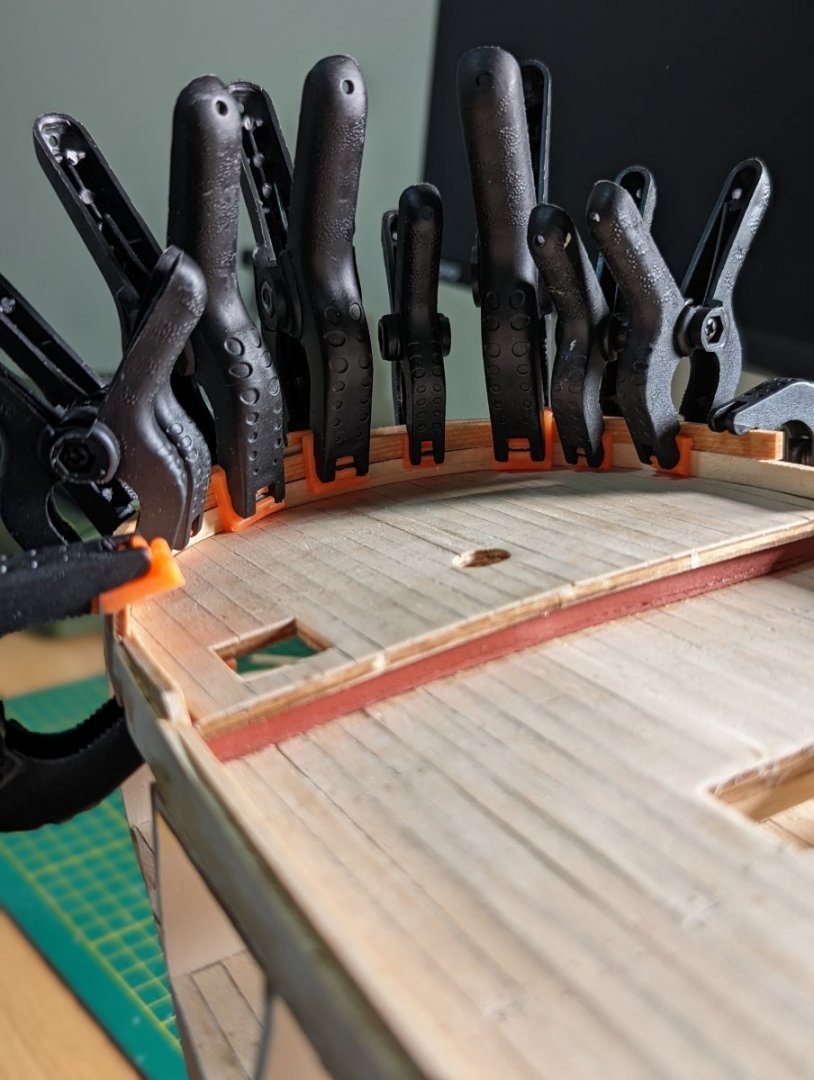
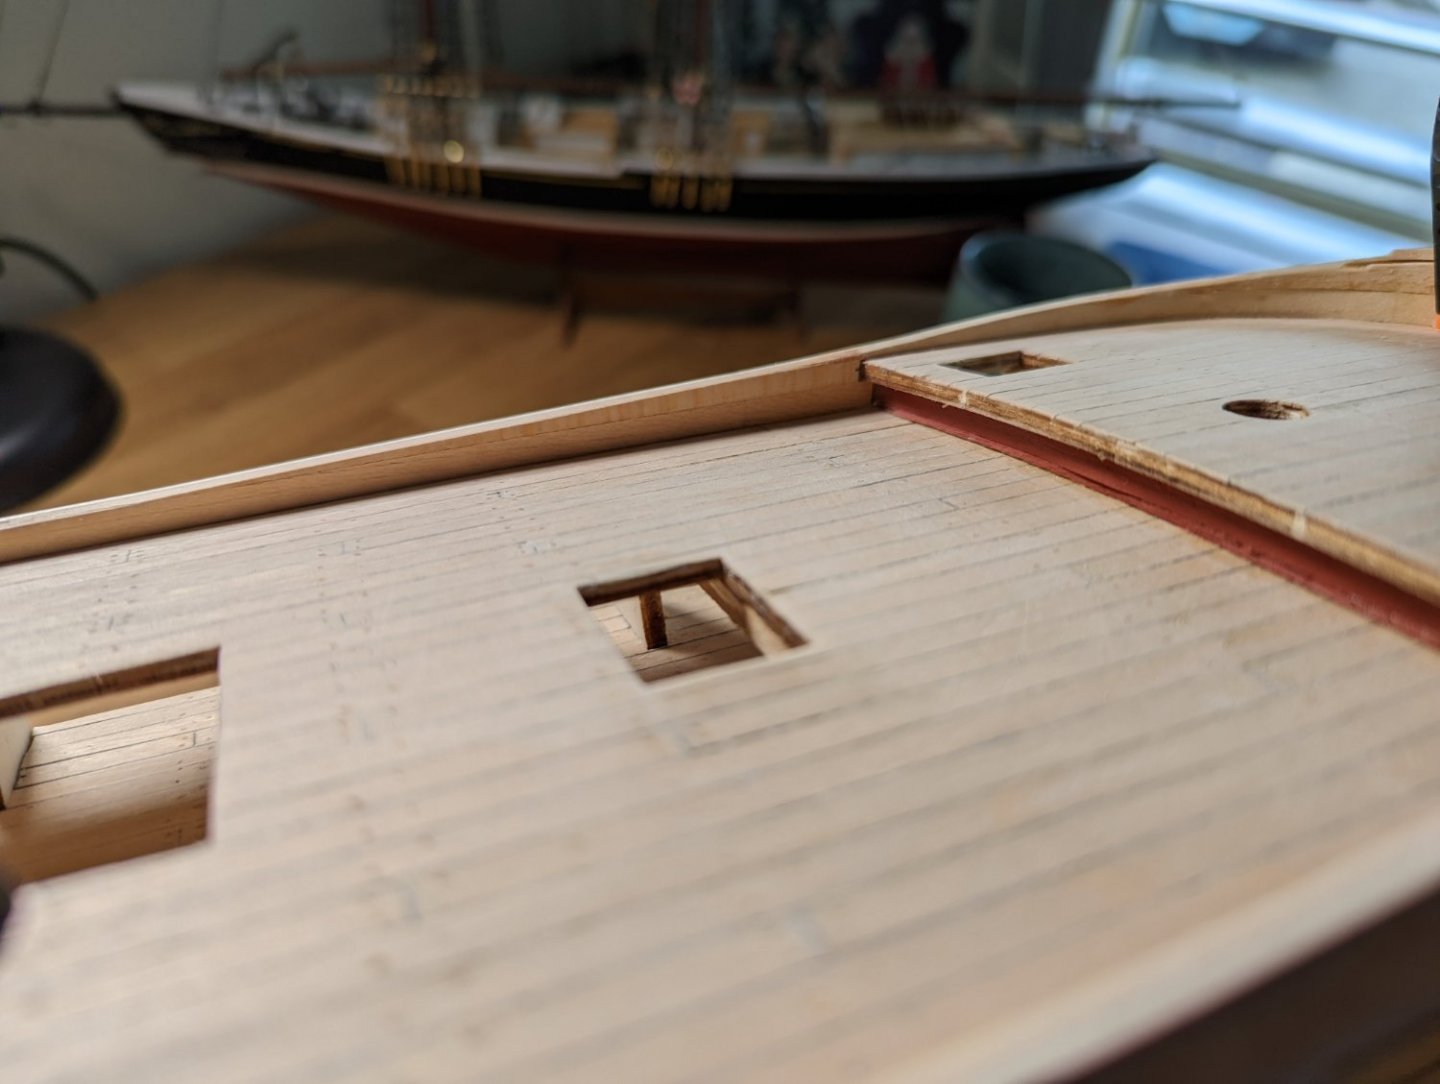
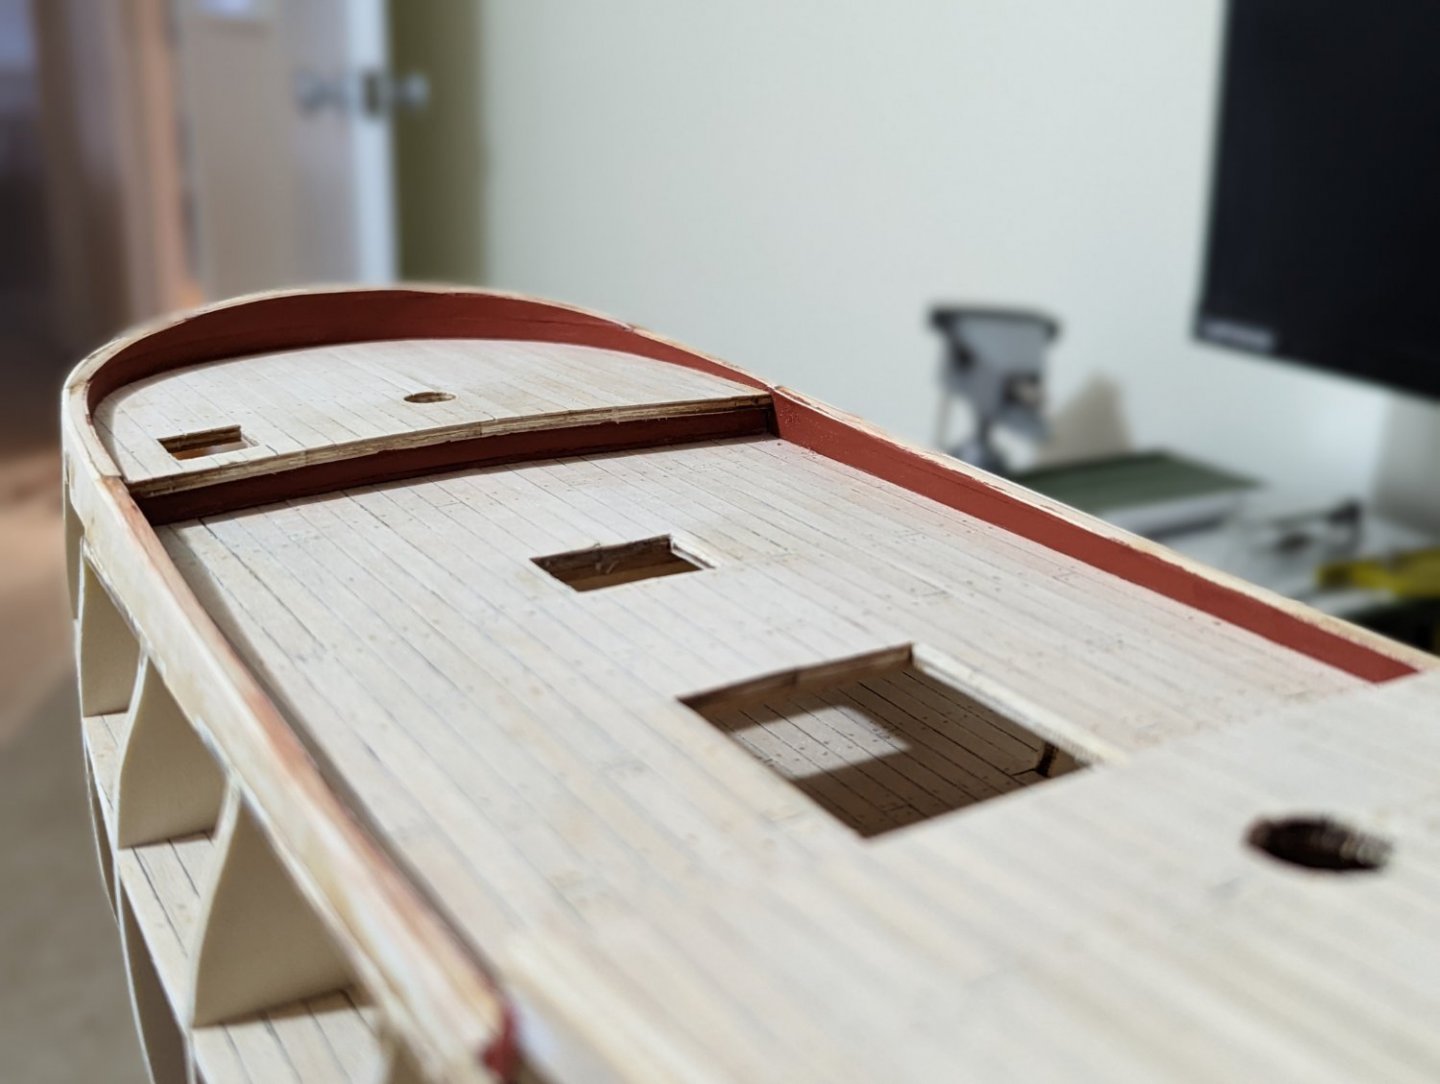
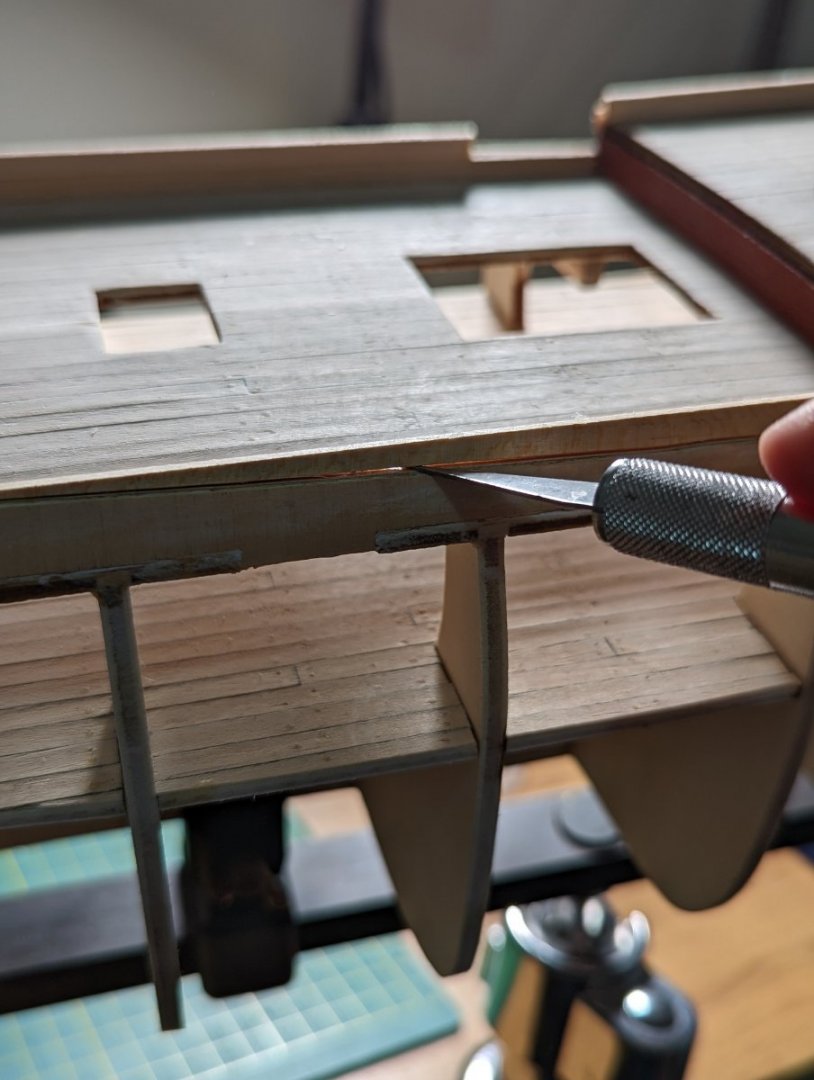
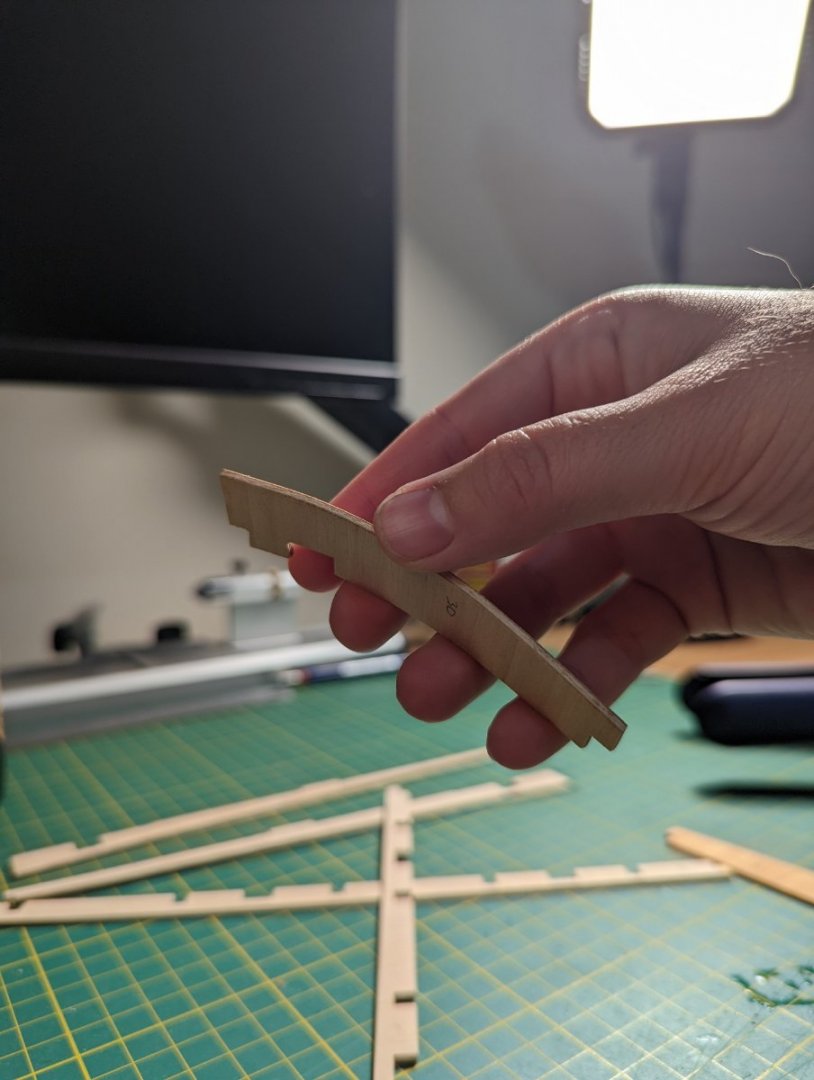
Thanks, Steve - I have some push pins I've acquired from a hobby store I intend to use once I get to planking the hull. FINISHING THE INNER BULWARKS Today I finished cladding the inner bulwarks, first a 2mm thick cladding, and finally a red painted 0.6mm cladding. The bow inner bulwark 2mm cladding needed bending, and the whole exercise took time and patient clamping. I soaked the 2mm thick cladding and intended to use my plank bender to let them dry in shape... But the bender was a little small and I found it just as effective to clamp them wet in place against the bow curve to dry. This method ensured the curve was exact. Once dried, I then glued into place. I've read glueing down a wet plank can lead to gaps (noting that wet wood is expanded and shrinks back when dry), so didn't glue in place until the plank was bone dry. At each stage of cladding, I scored along the top of the bulwark with a scalpel to take the top off, then filed and sanded the top down to be even. Once the first cladding was completed, I painted and clad the thinner 0.6mm wood, following the same process. The final result: I can see planking the hull coming up soon! Very excited to be reaching this stage!
-
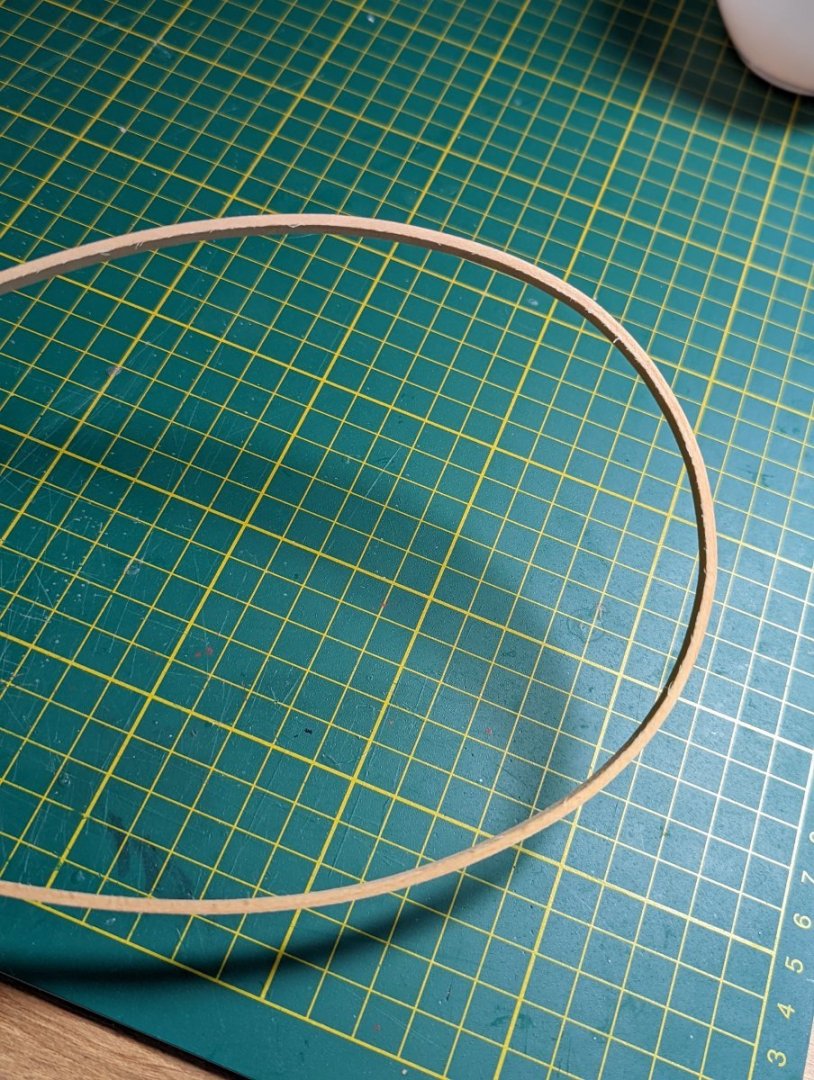
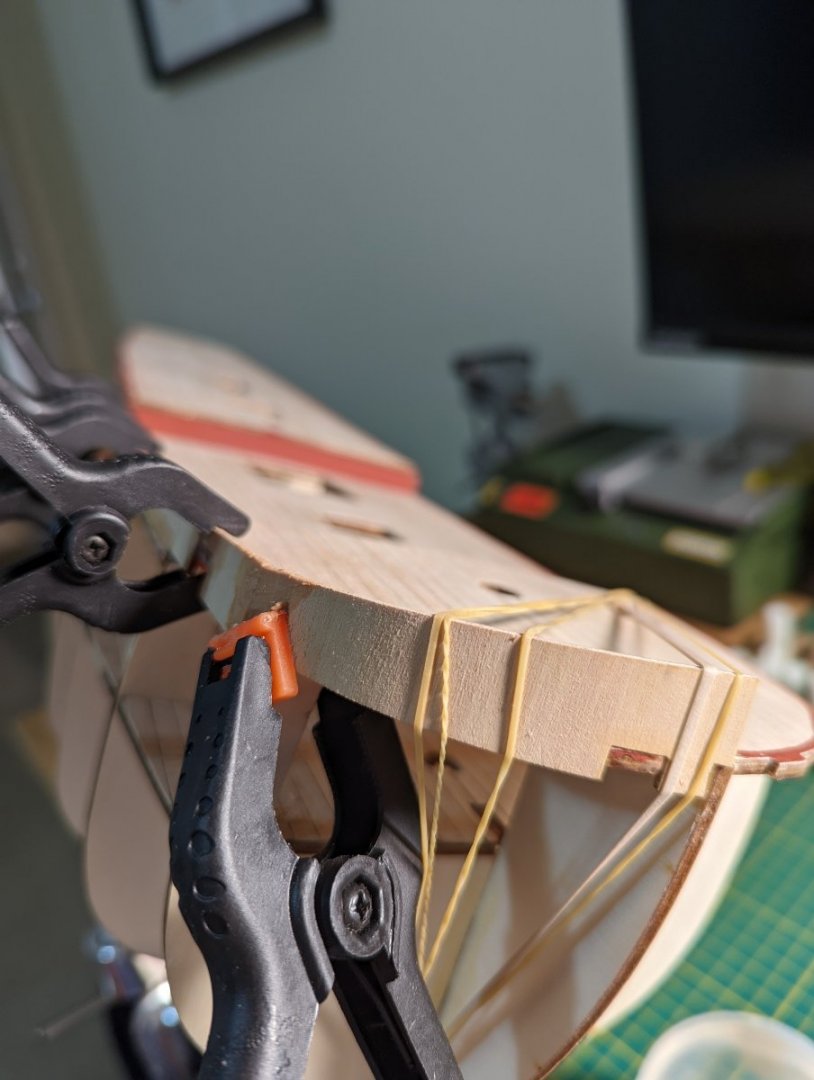
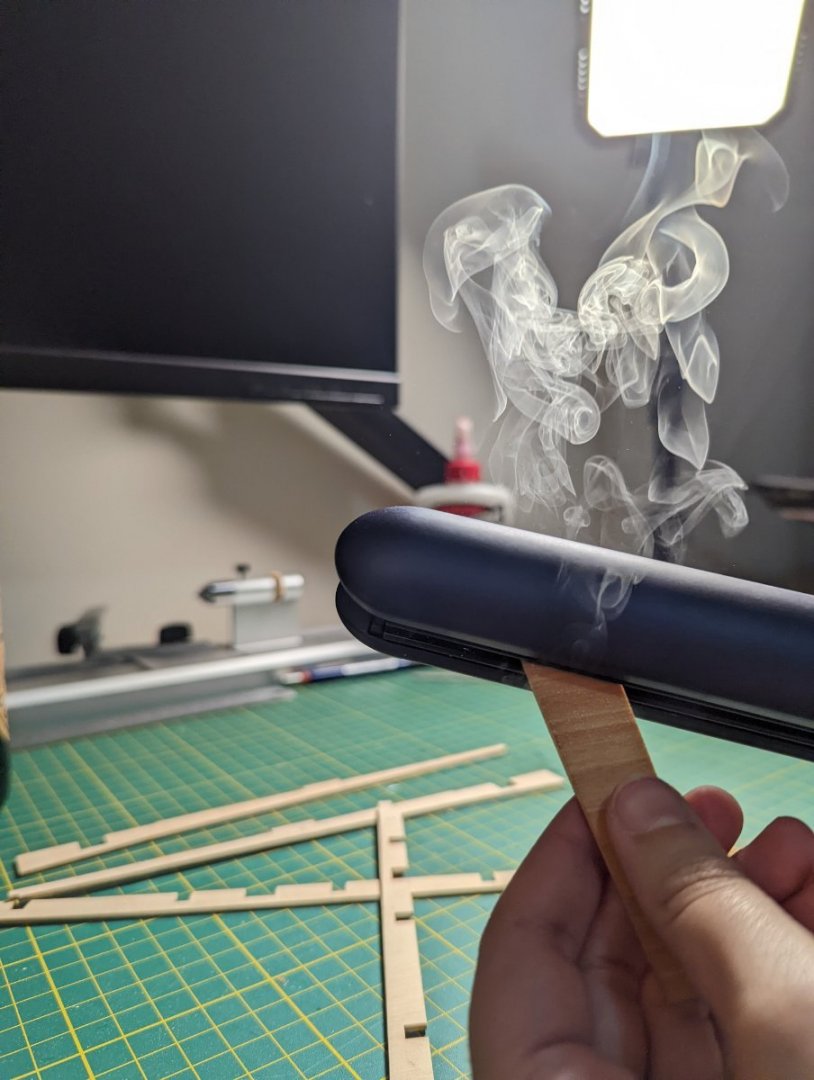
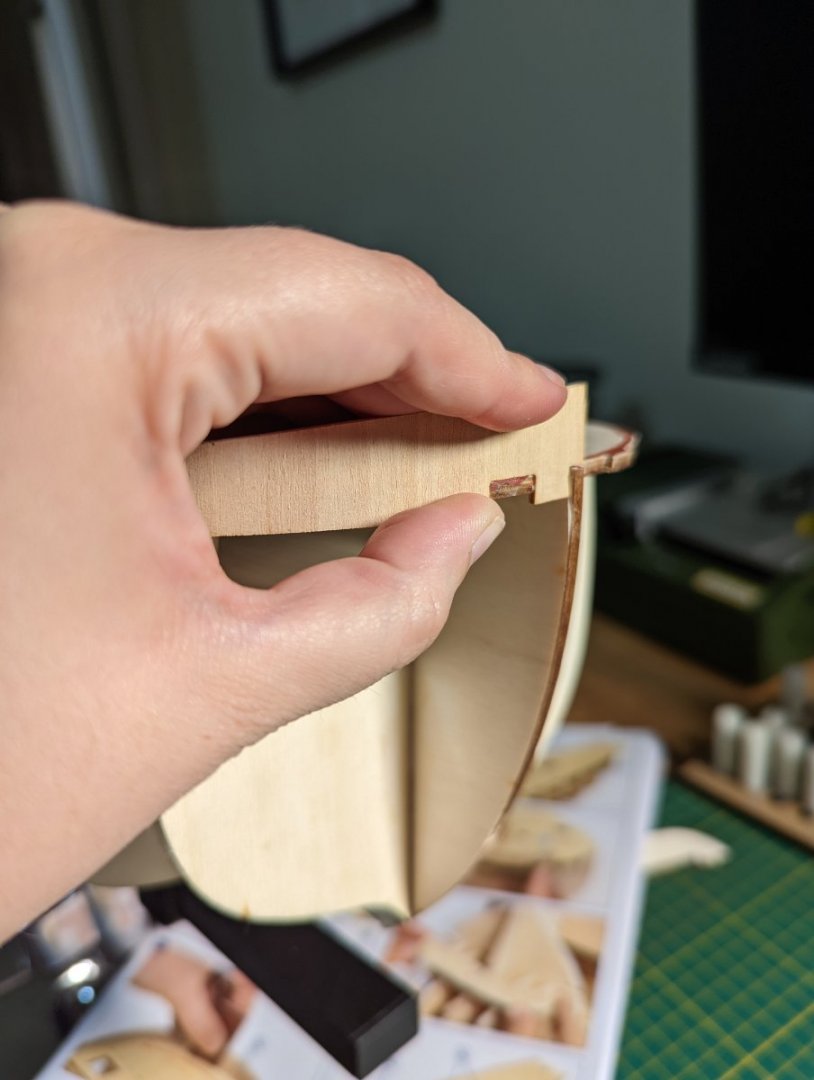
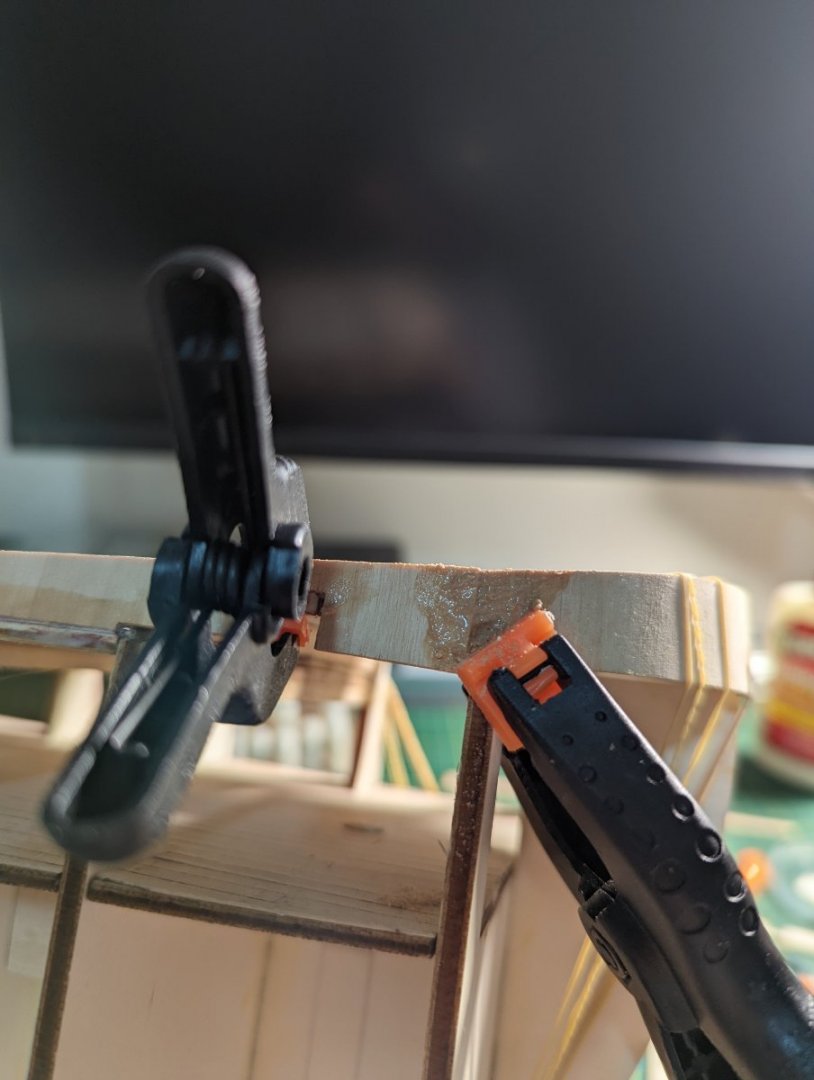
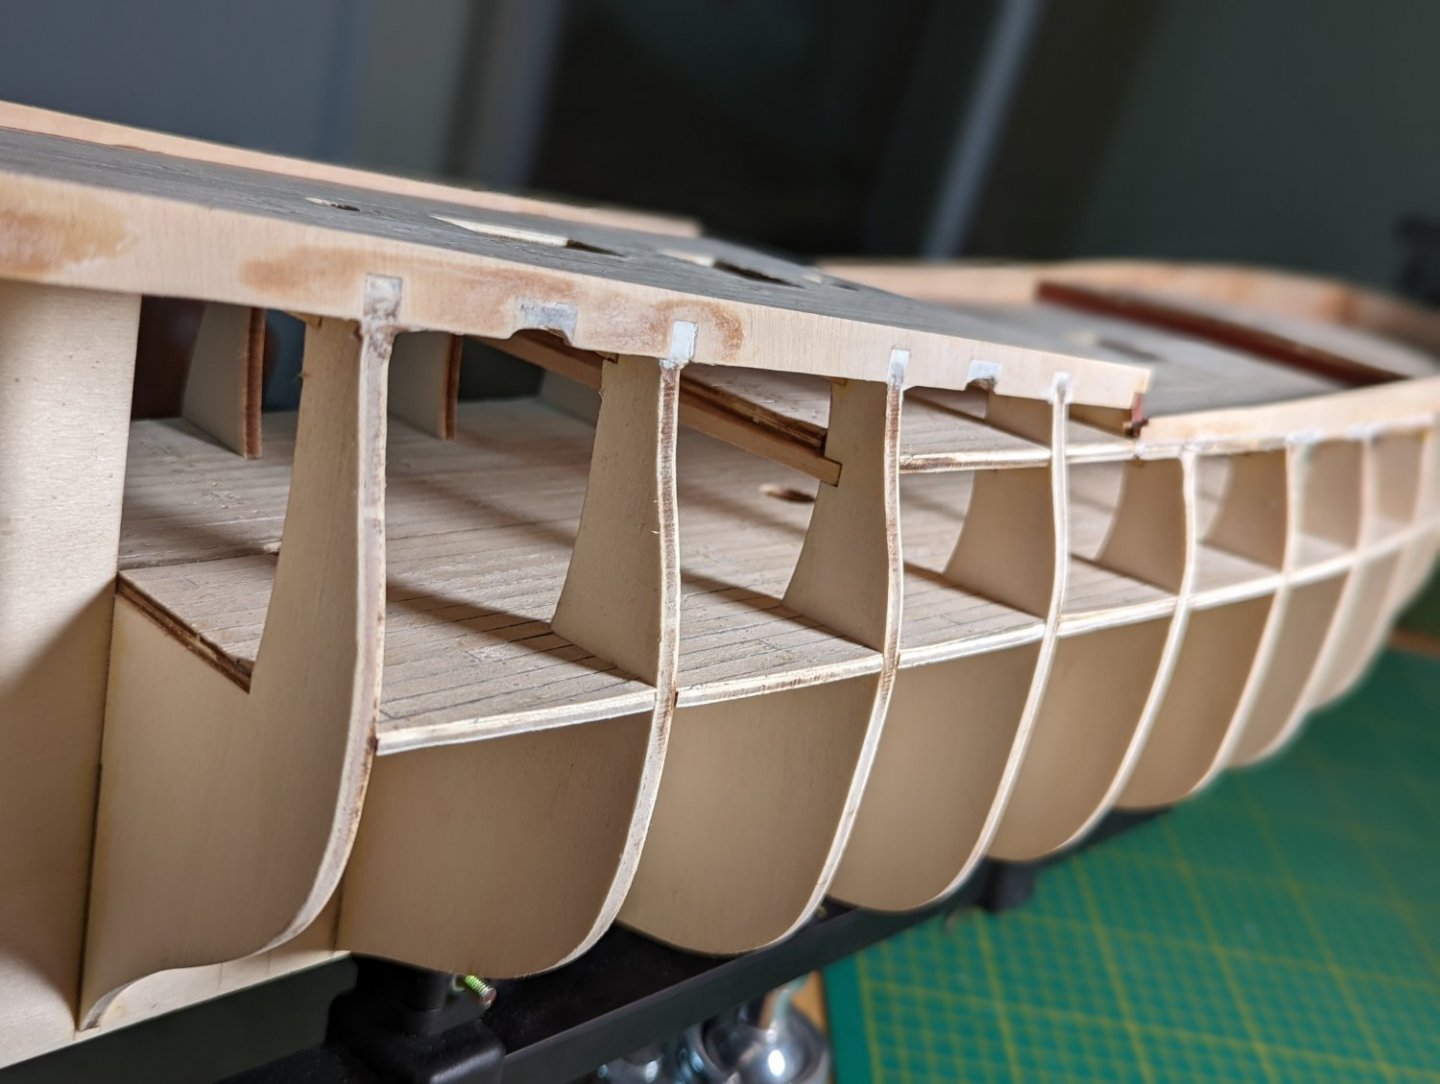
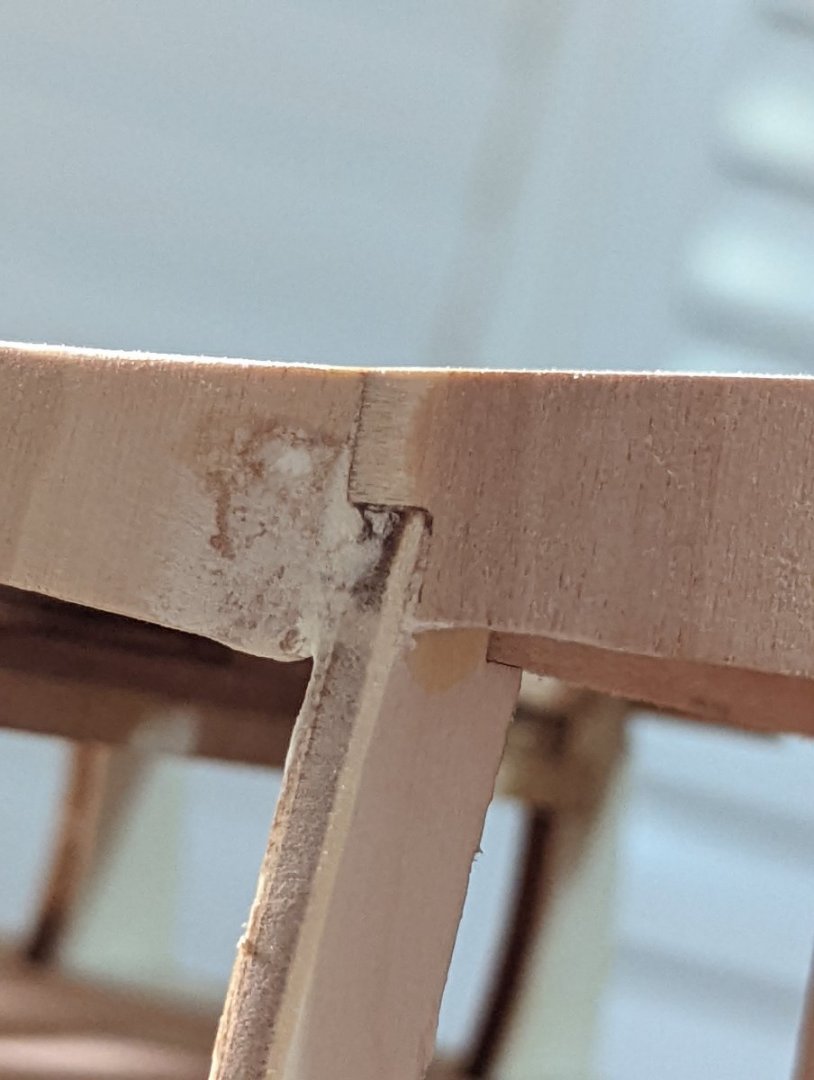
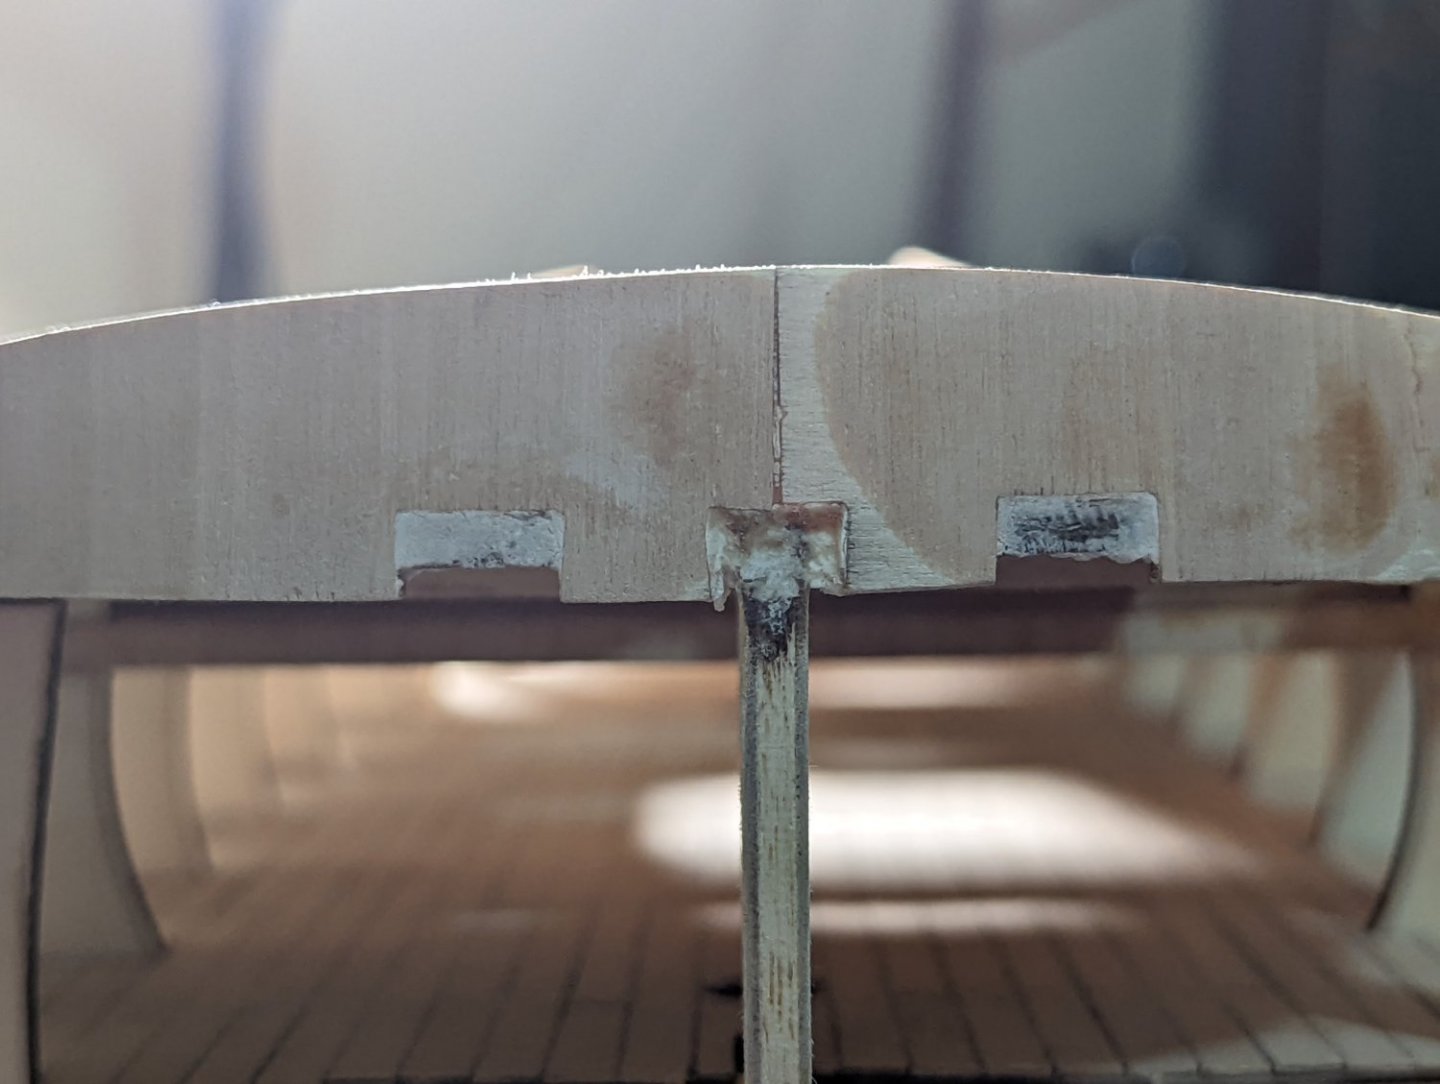
FITTING THE OUTER BULWARKS I've spent the last few days slowly fitting the outer bulwarks of the Endeavour. This was a job of patience as I left each section to dry for a day at a time before sanding down. The bulwarks that wrapped around the bow needed to be bent. I've tried a lot of methods, but have found some good success using a hair straightner. All I need to do is soak the wood for about an half hour before drying the pieces and bending them between the tongs. I used a lot of clamps and elastic bands to ensure as tight a fit to the decks and bulkhead tops as possible. I found the fit between the bow bulwarks and the upper deck bulwarks as quite loose, so I applied a mix between sawdust and Titebond and Model Lite filler to smooth over these gaps. Before sanding the joins: After sanding the joins: The visible filler is no issue as the bulwarks will be planked over and painted, the most important thing is that they're smooth as a baby's behind. I took the opportunity while sanding down the filler to remove the laser cut charcoal edge on the frame. These will of course be sanded significantly more when fairing the hull prior to planking. Next is onto cladding the inside of the bulwarks! Kristyn ⛵
-
Ah, thank you so much Gregory! I'm still stumbling over the terminology and appreciate the clarification. It can be hard to look up terms when you're not sure what you're looking for. Your description is really helpful and I'll commit it to memory ☺️ On the topic of terminology ... You wouldn't happen to know what the "wall" demarcating between the upper deck and either the forecastle or quarter deck is called? On the Endeavour the wall is just aft of the main hatch. Kristyn
-
I can only imagine! Amazing work - very clean.
- 197 replies
-
- Whaling Bark
- Charles W Morgan
-
(and 1 more)
Tagged with:
About us
Modelshipworld - Advancing Ship Modeling through Research
SSL Secured
Your security is important for us so this Website is SSL-Secured
NRG Mailing Address
Nautical Research Guild
237 South Lincoln Street
Westmont IL, 60559-1917
Model Ship World ® and the MSW logo are Registered Trademarks, and belong to the Nautical Research Guild (United States Patent and Trademark Office: No. 6,929,264 & No. 6,929,274, registered Dec. 20, 2022)
Helpful Links
About the NRG
If you enjoy building ship models that are historically accurate as well as beautiful, then The Nautical Research Guild (NRG) is just right for you.
The Guild is a non-profit educational organization whose mission is to “Advance Ship Modeling Through Research”. We provide support to our members in their efforts to raise the quality of their model ships.
The Nautical Research Guild has published our world-renowned quarterly magazine, The Nautical Research Journal, since 1955. The pages of the Journal are full of articles by accomplished ship modelers who show you how they create those exquisite details on their models, and by maritime historians who show you the correct details to build. The Journal is available in both print and digital editions. Go to the NRG web site (www.thenrg.org) to download a complimentary digital copy of the Journal. The NRG also publishes plan sets, books and compilations of back issues of the Journal and the former Ships in Scale and Model Ship Builder magazines.


