
Twokidsnosleep
-
Posts
223 -
Joined
-
Last visited
Recent Profile Visitors
397 profile views


-
 Canute reacted to a post in a topic:
replacing plastic mast and spars
Canute reacted to a post in a topic:
replacing plastic mast and spars
-
mtaylor reacted to a post in a topic:
replacing plastic mast and spars
-
Frank Burroughs reacted to a post in a topic:
replacing plastic mast and spars
-
GrandpaPhil reacted to a post in a topic:
replacing plastic mast and spars
-
Scottish Guy reacted to a post in a topic:
replacing plastic mast and spars
-
Nirvana reacted to a post in a topic:
replacing plastic mast and spars
-
Keith Black reacted to a post in a topic:
replacing plastic mast and spars
-
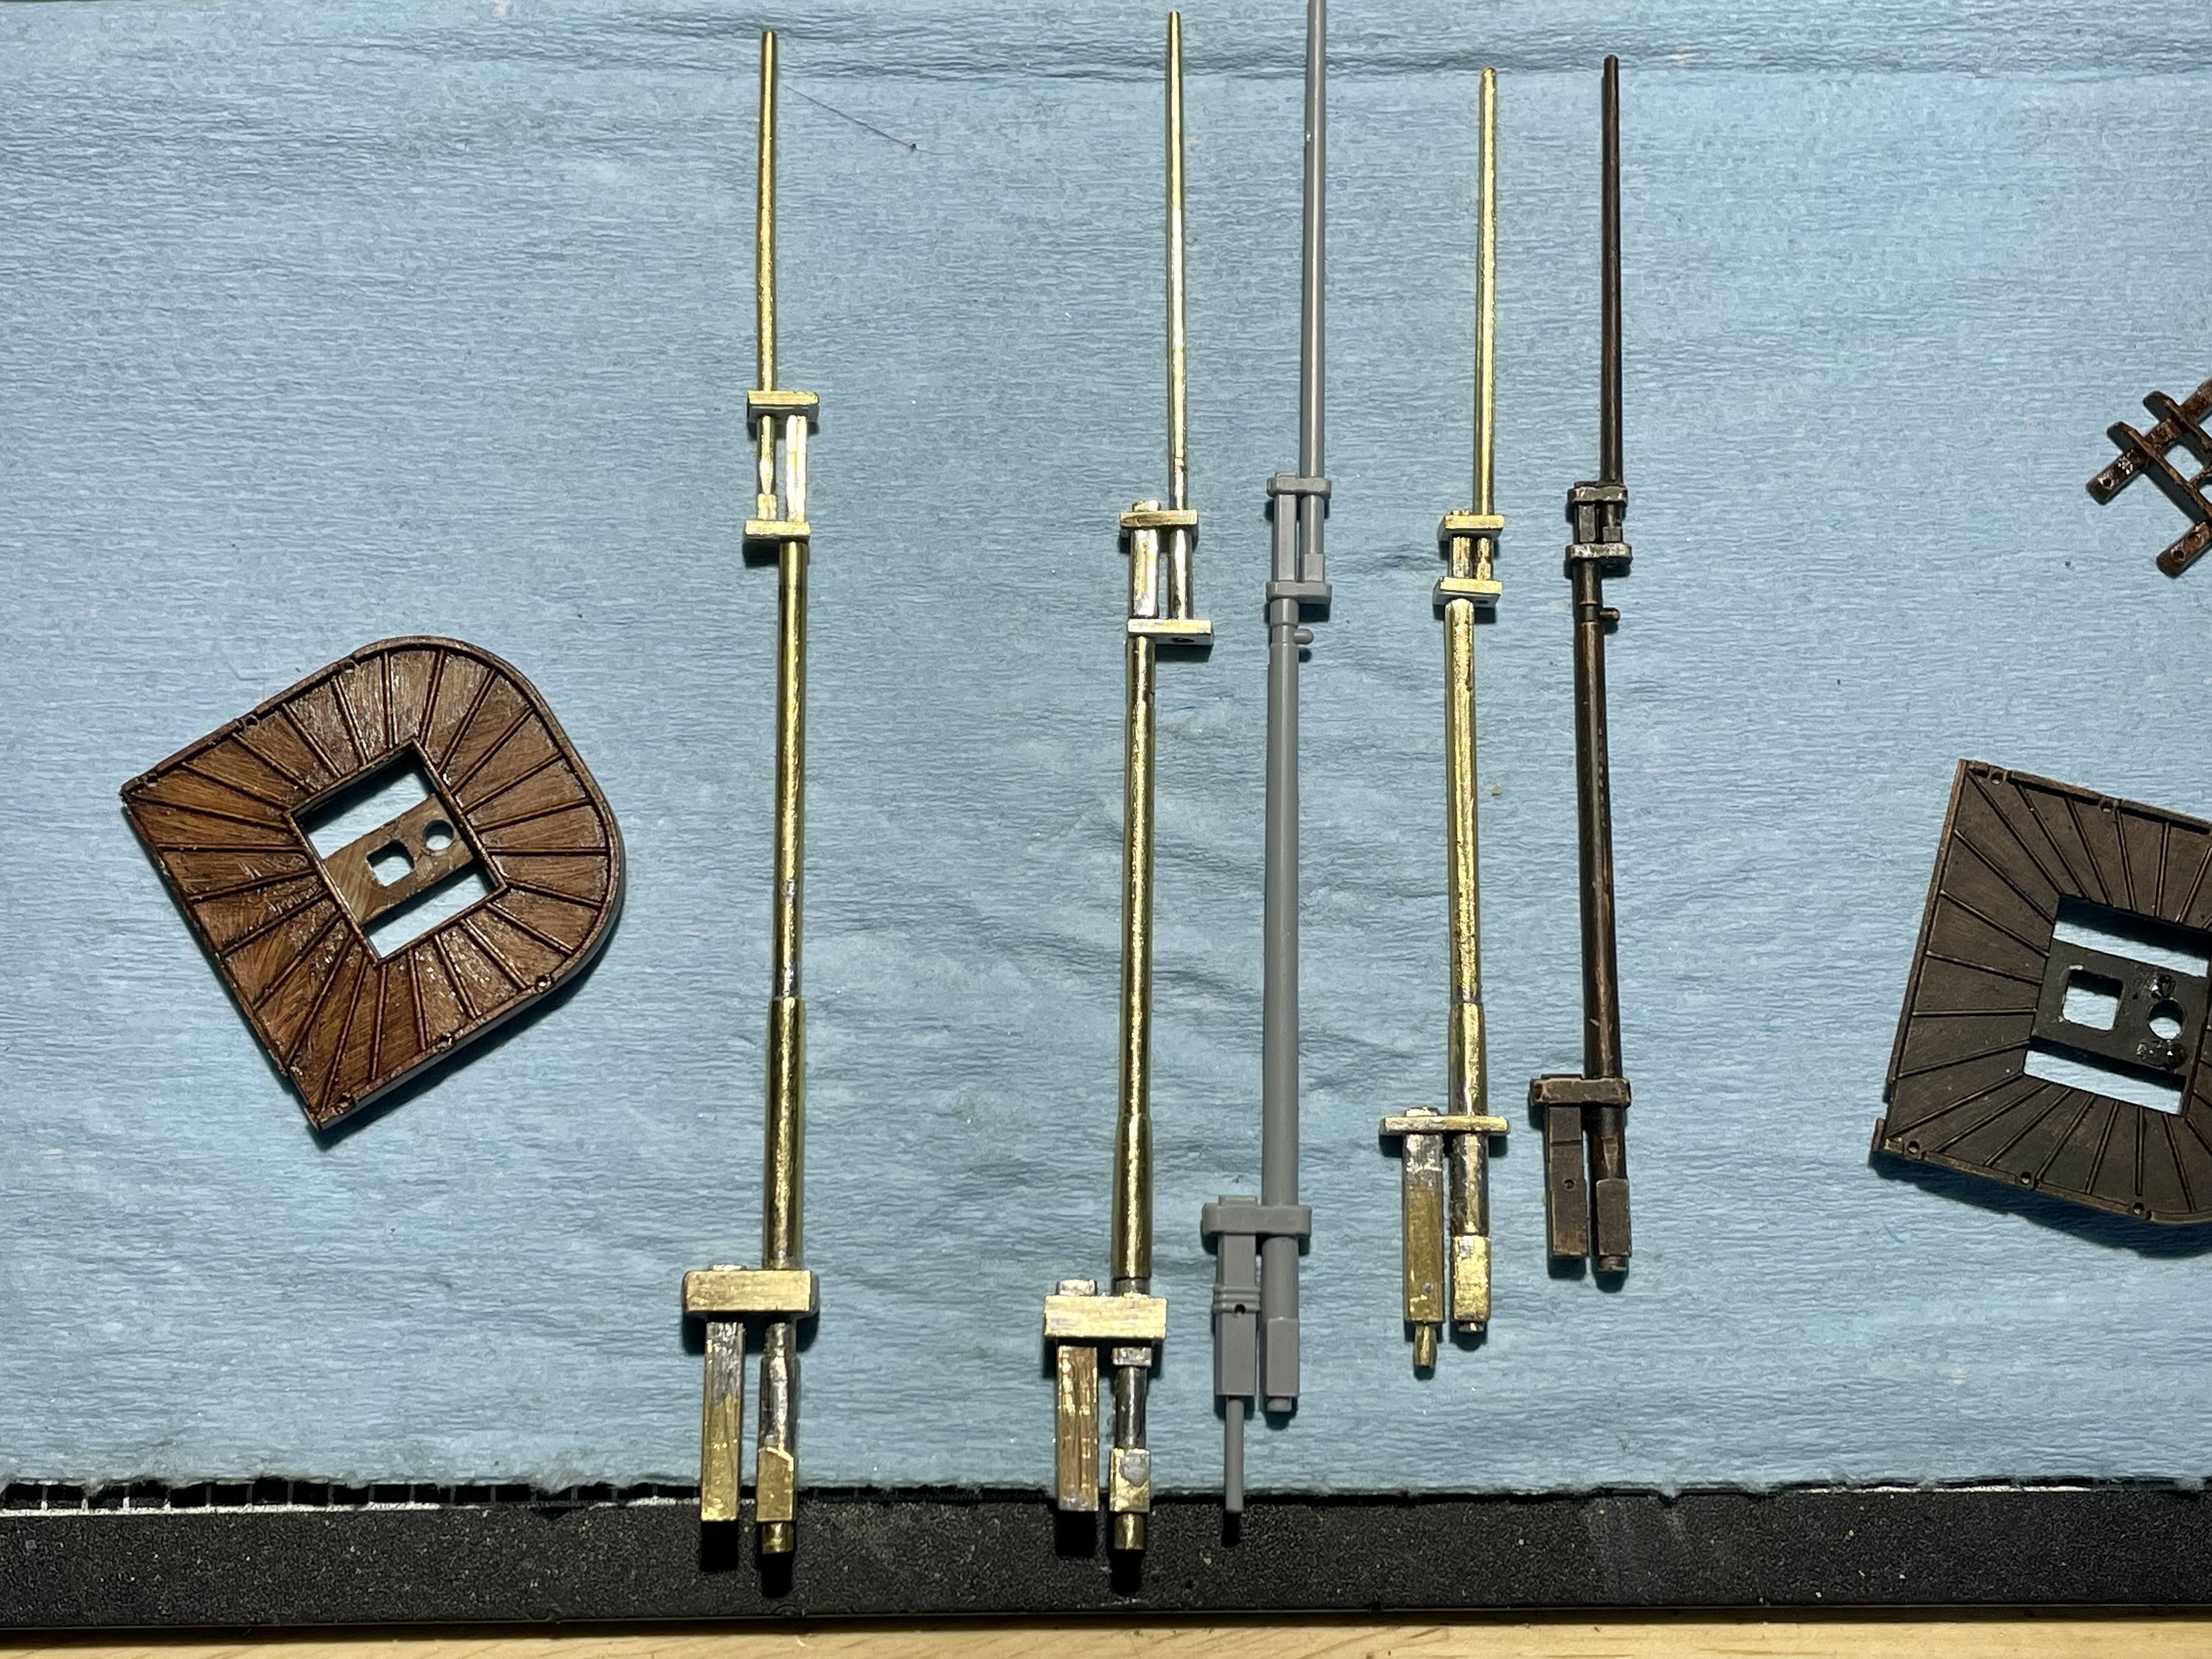
replacing plastic mast and spars
Twokidsnosleep replied to Frank Burroughs's topic in Plastic model kits
It can be done. I wish I used longer solid rods telescoping deeper.
-
Twokidsnosleep reacted to a post in a topic:
Roar Ege by Scottish Guy - Billing Boats - 1:25
-
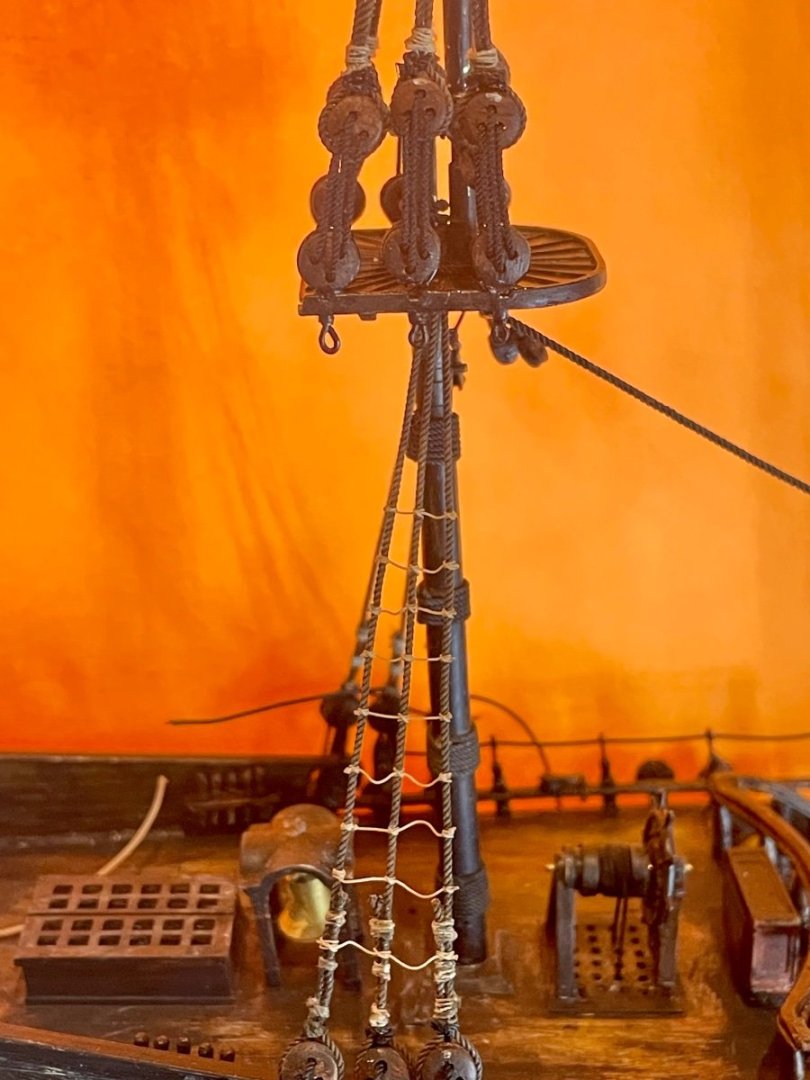
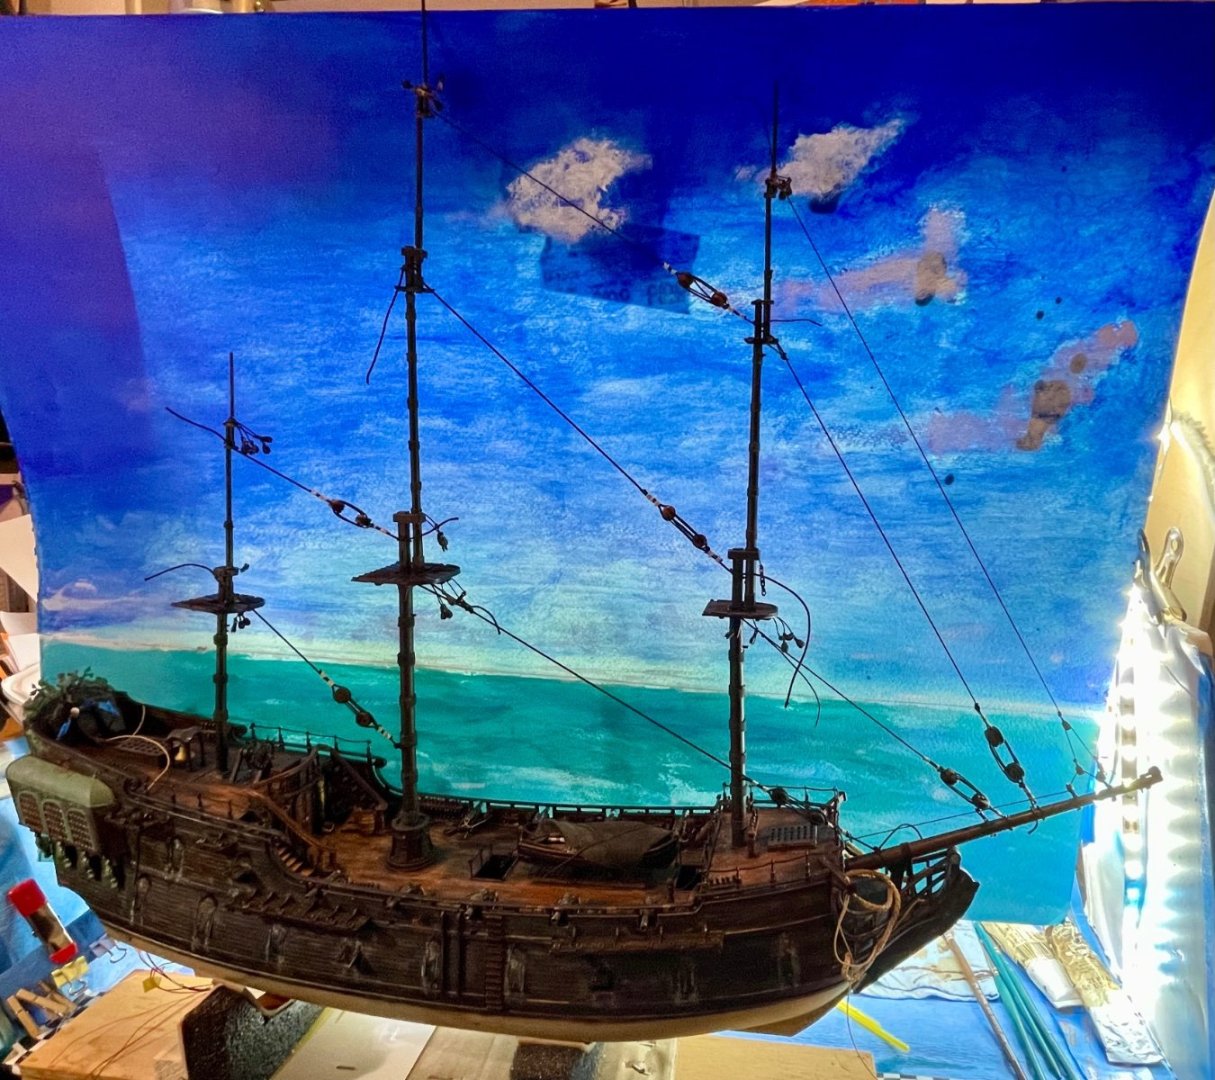
It’s been a minute since working on the Pearl …other projects and life🙄 I have the Mizzen mast rat line ladders all done now. You get into a rhythm of tying these clove hitch knots I used the plastic kit parts as a guide to make the same arrangement of lines and measure as I went along
-
Twokidsnosleep reacted to a post in a topic:
What Wax To Use On Rigging Line
-
I was thinking that I prefer to paint figures that are 1/32 scale like the WingNut wings WWI stuff. I can’t seem to get my paint and details as smoothy smooth at 1/72 scale. Of course then the Pearl would be absolutely enormous! In 1/32😱
-
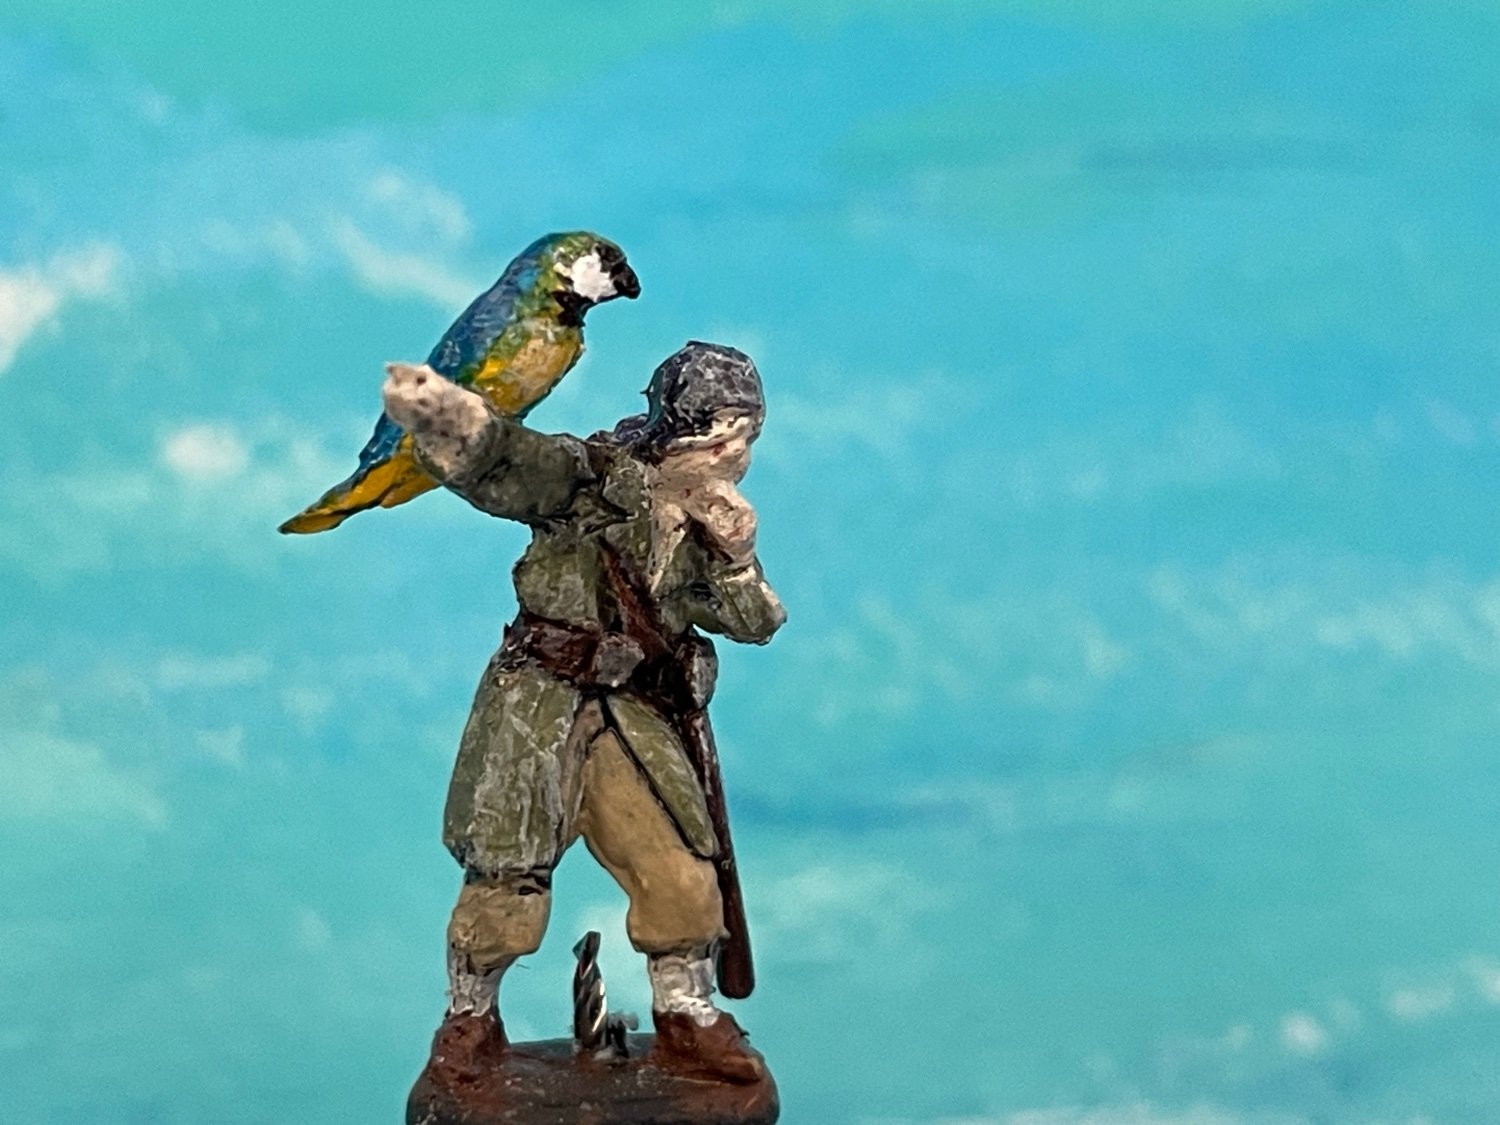
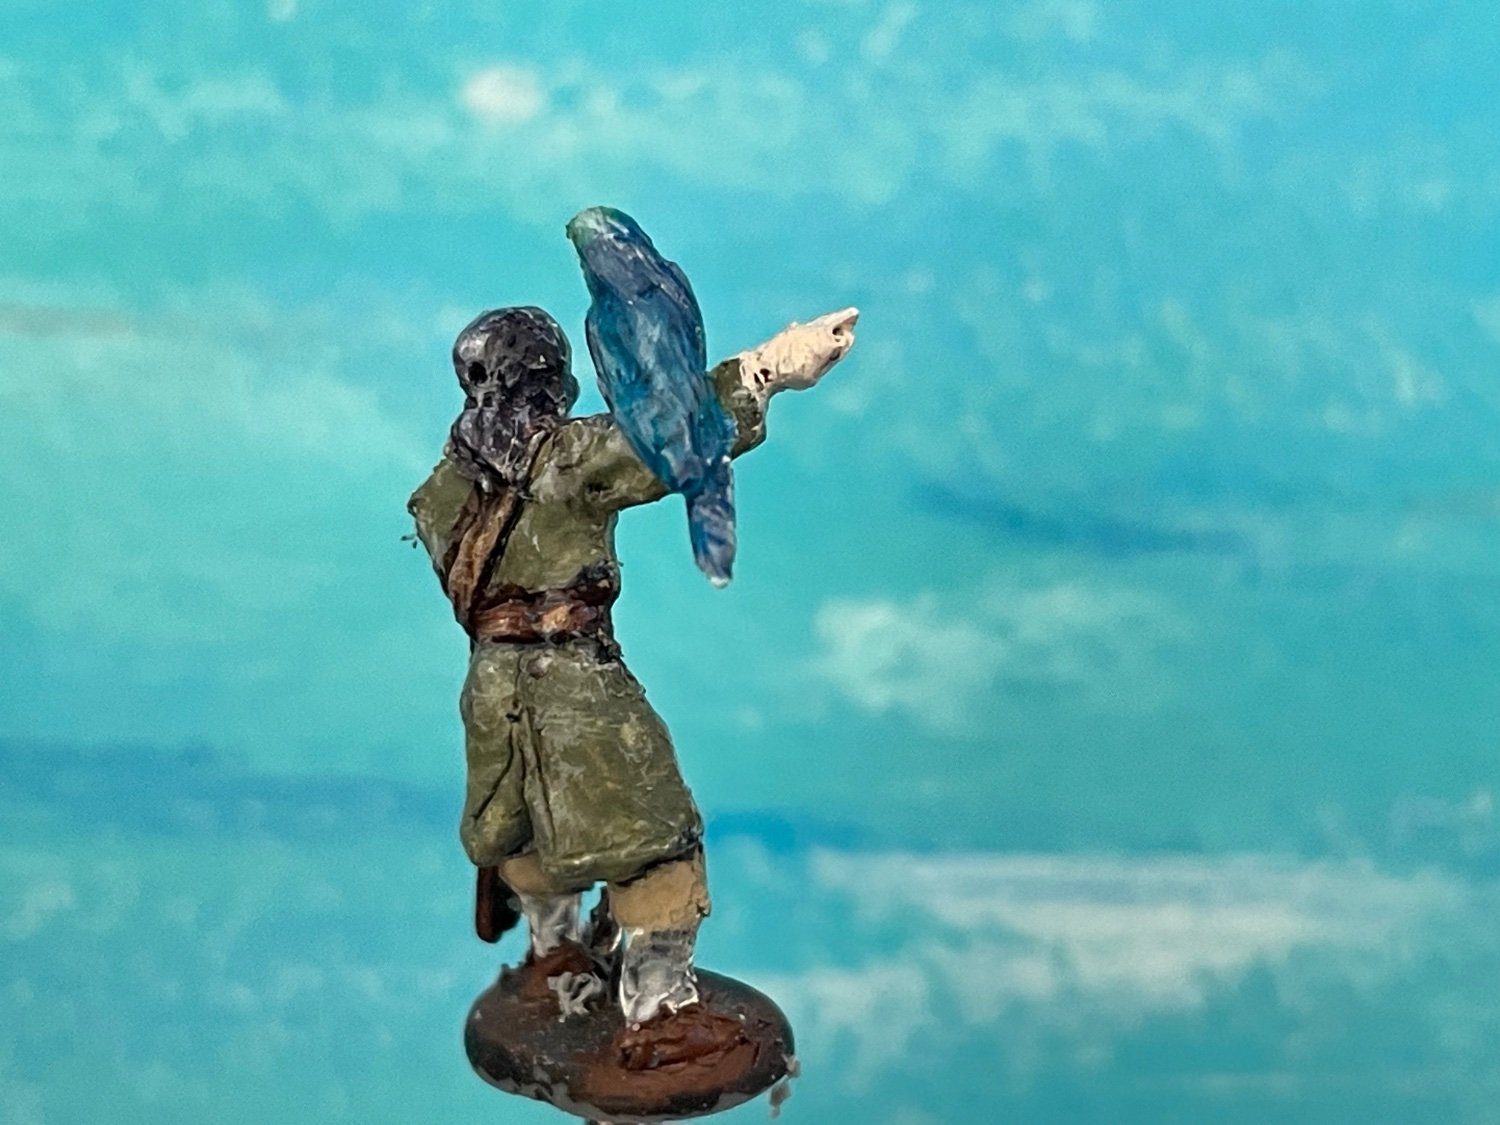
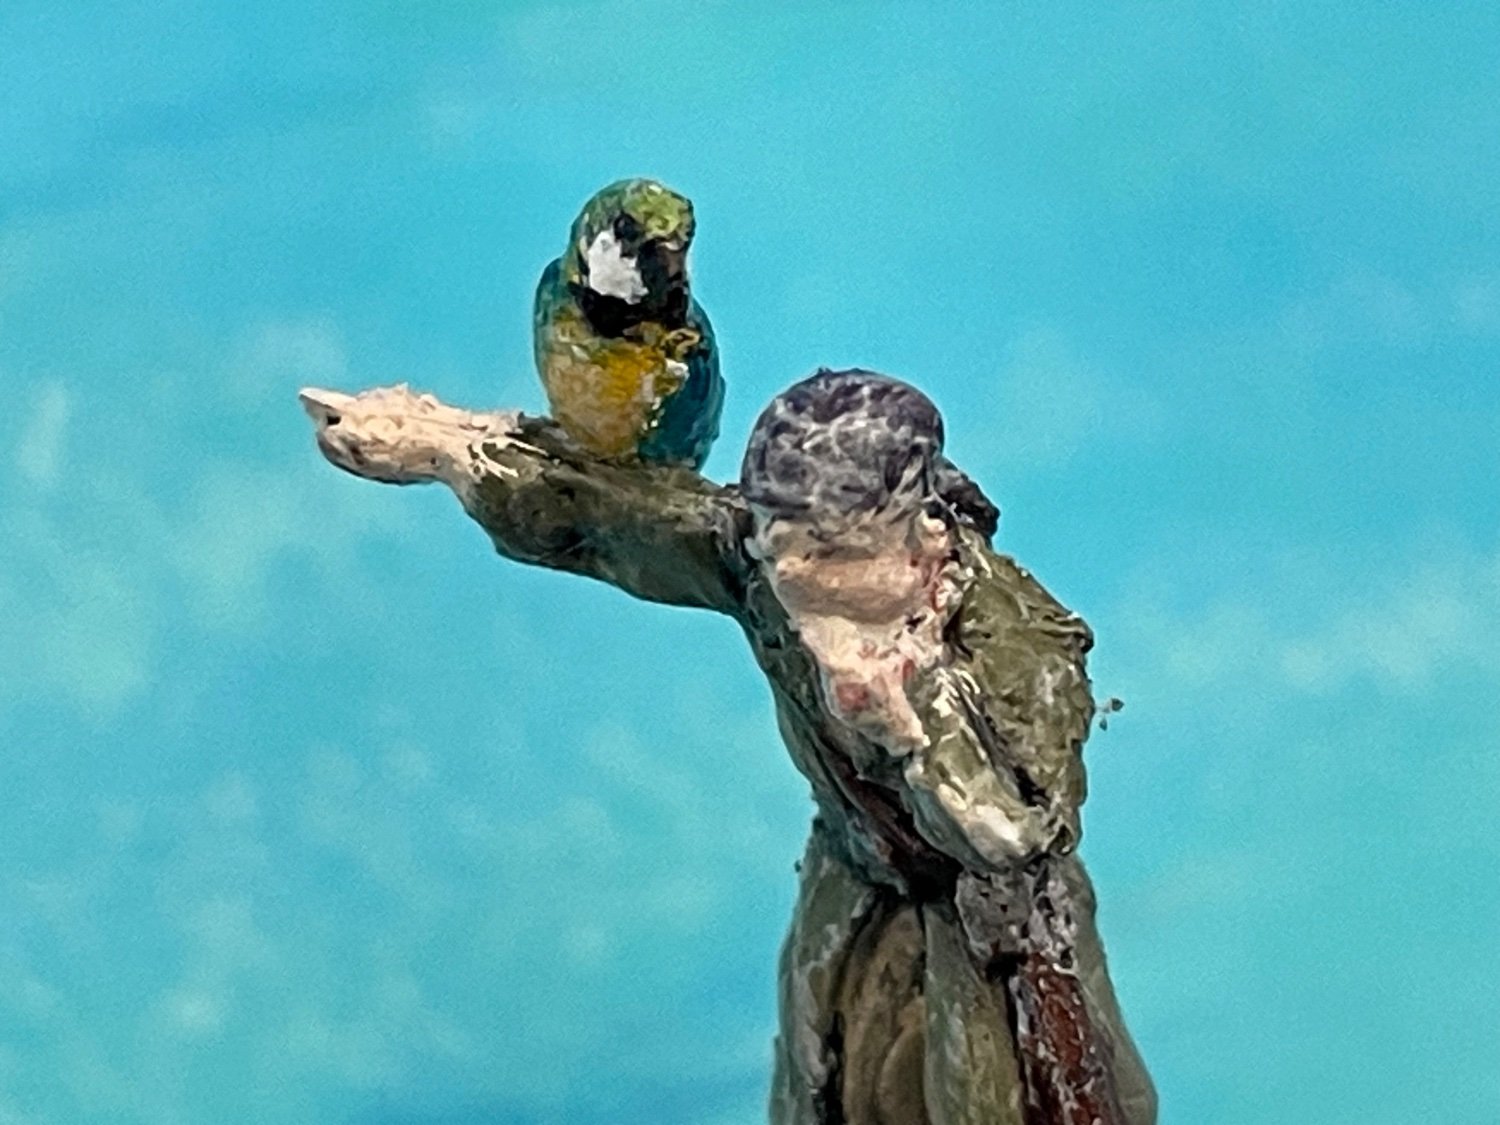
Cotton and his bird “Chips and Salsa” Some detail painting on Cotton to do, the flesh oil paint is still wet


-
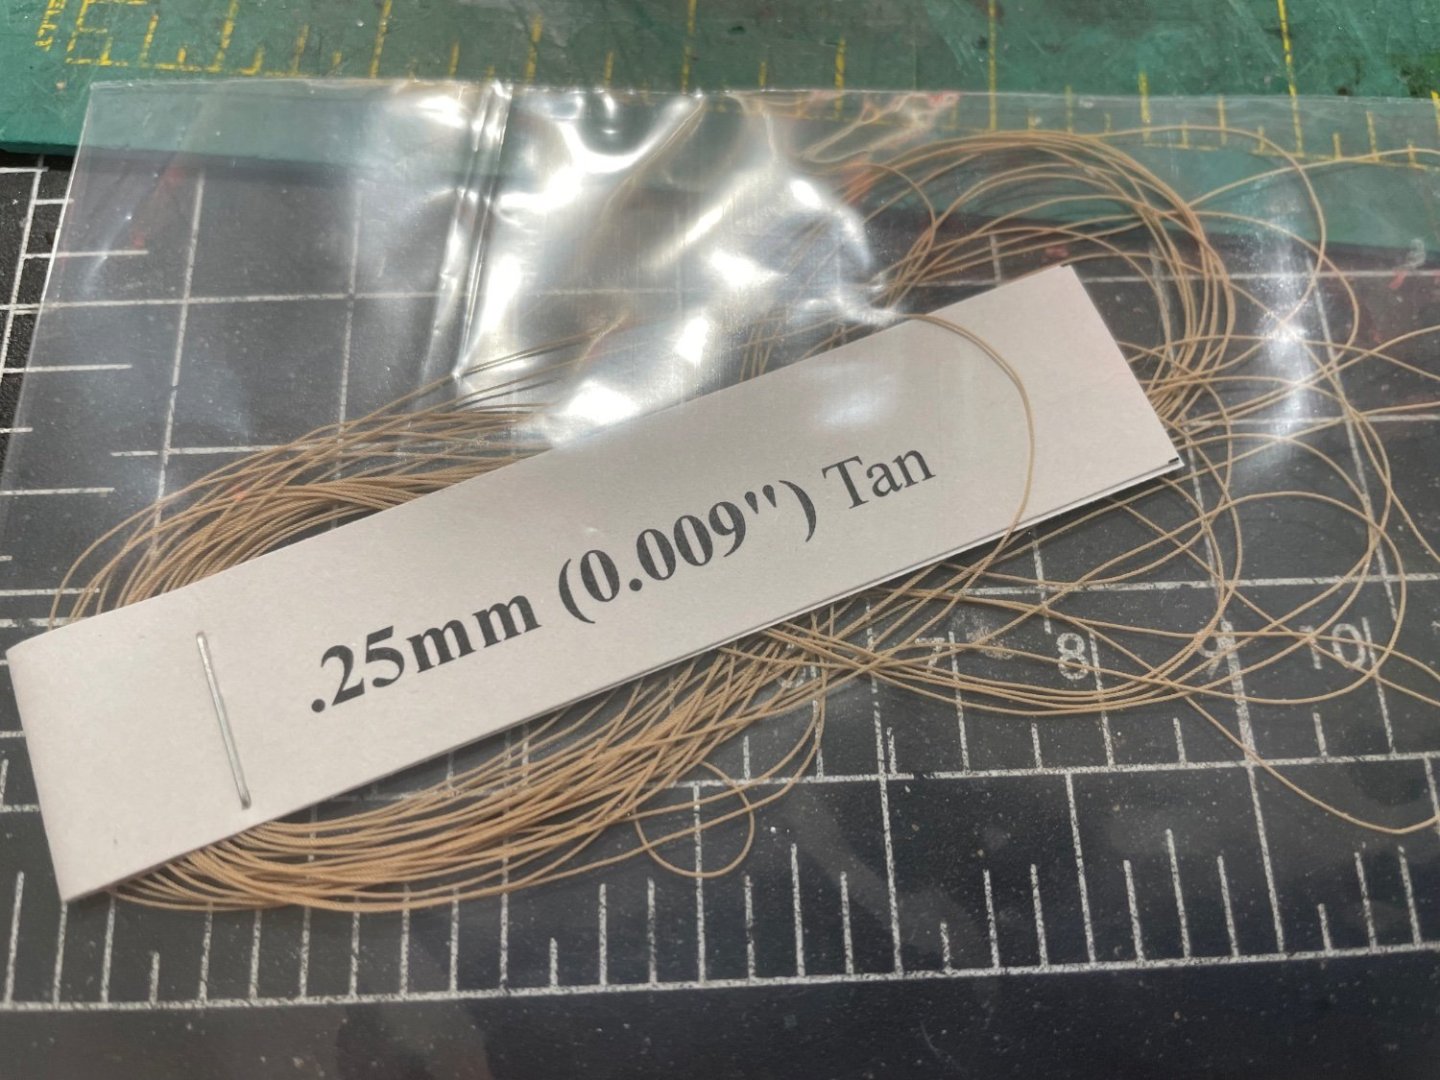
Maybe a bit too thin of ‘ROS’ rope, but I think it will work. I thought I ordered 0.4mm but apparently nope I muffed it. Tying clove hitch knots here This is a 0.5mm tan rope at the top ….and looks a bit thick.

-
Here is a little video of a staining technique changing the shrouds from a light tan to dirty brown The black was too black, the brown I had dark and wrong diameter and the tan too light….so I decided to stain them
-
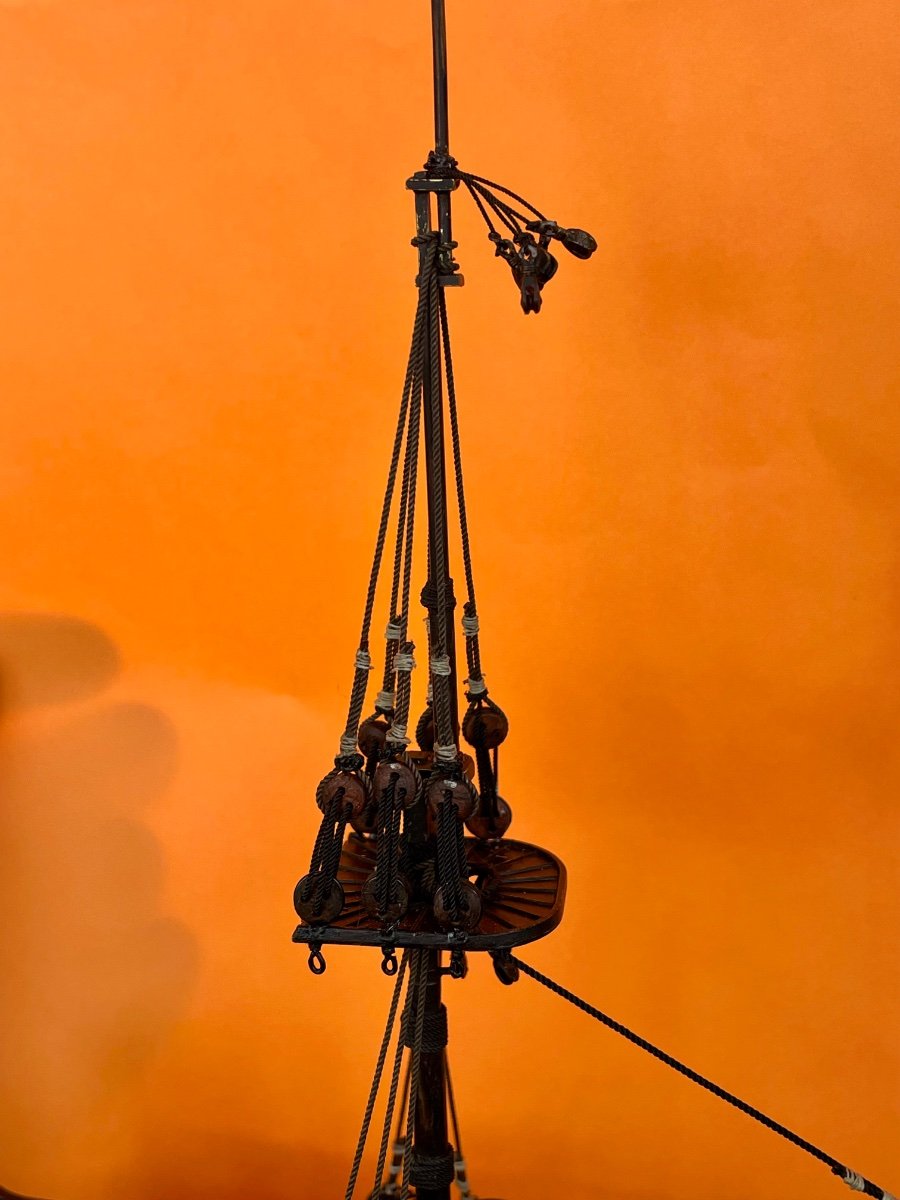
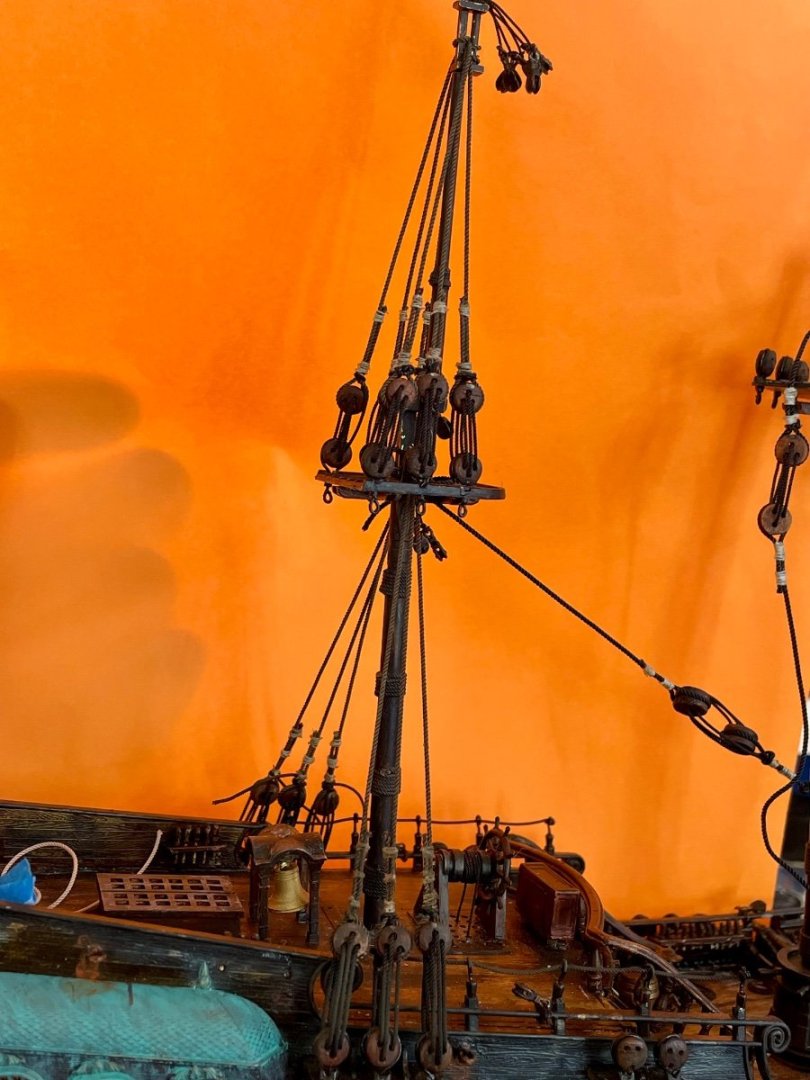
The upper mizzen mask shrouds and dead eyes are done. Awaiting the other ropes to do rat lines There is a large degree of asymmetry and randomness in all of these and hoping that transfers to realism.

-
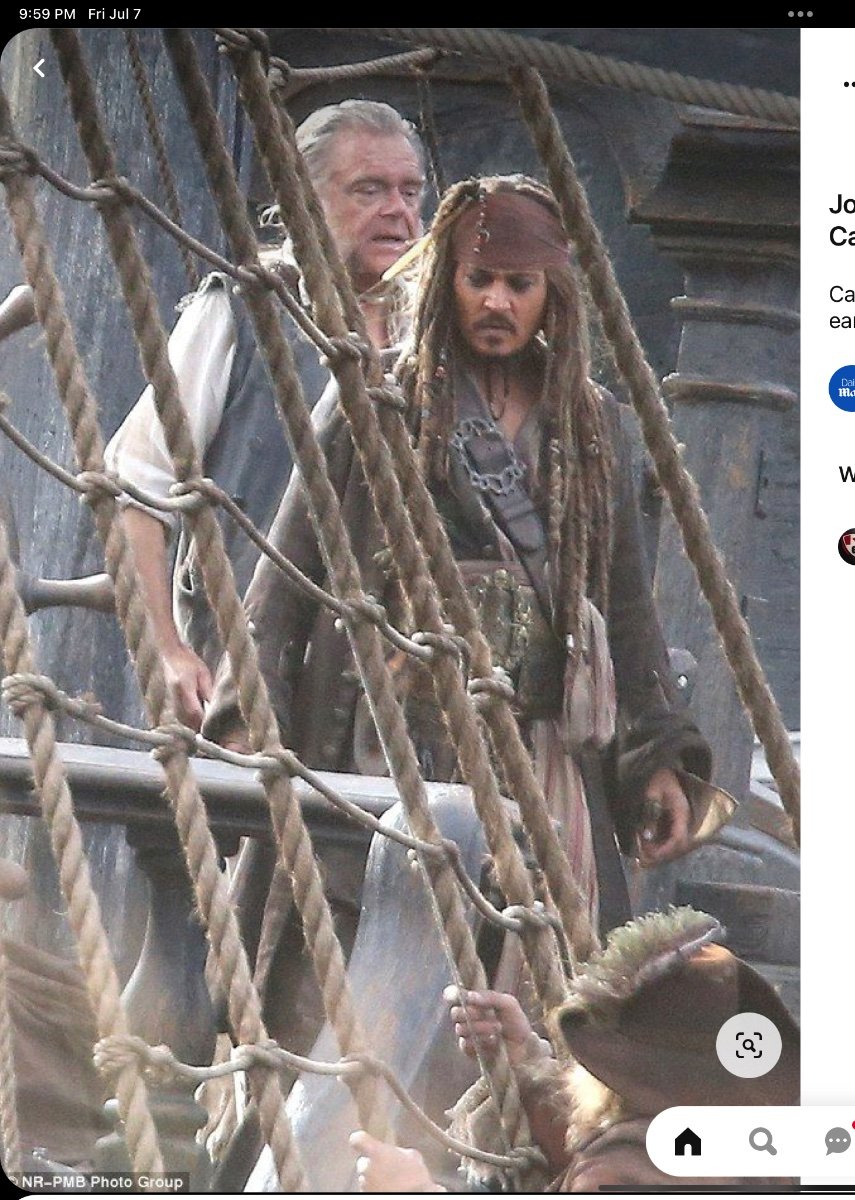
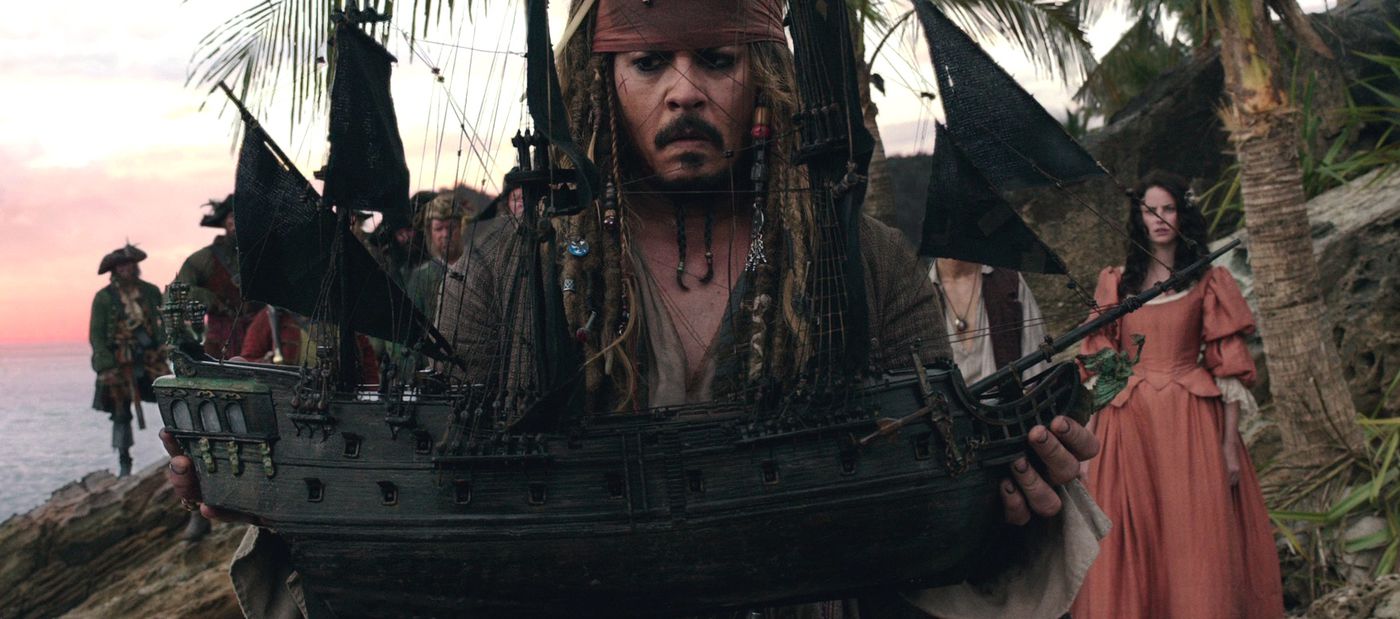
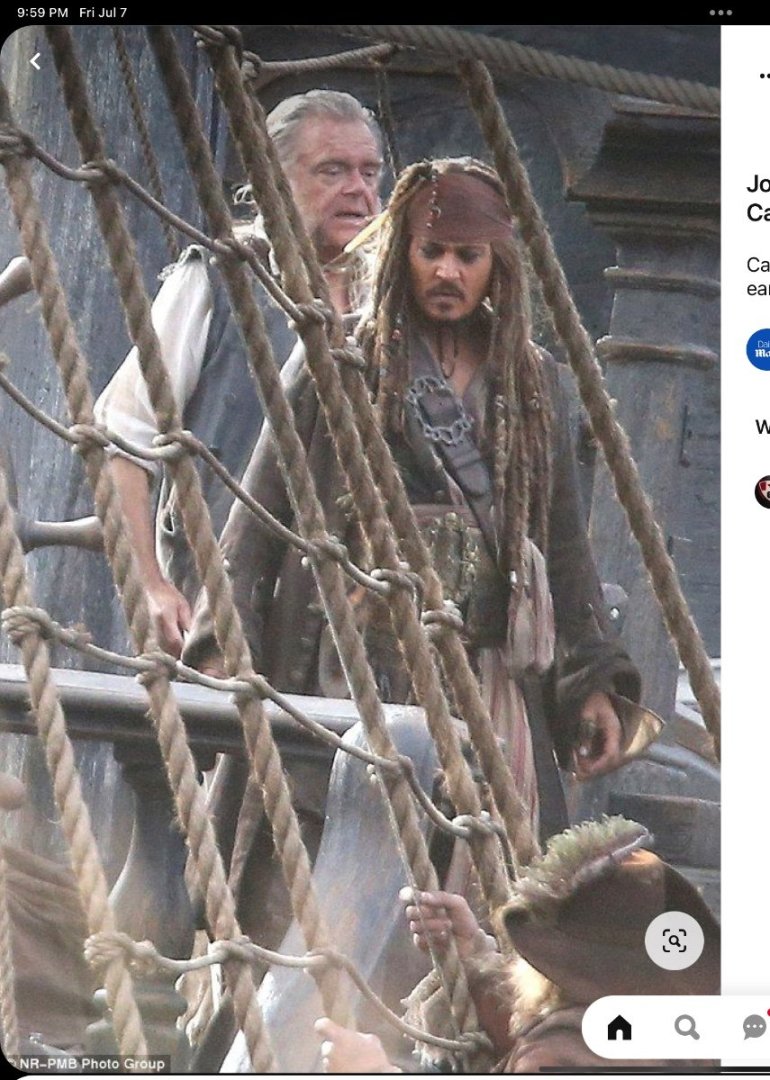
Thanks Tim i am trying to be truer to the movie prop ship which was black, but the years of wear and tear show much more wood and wear I will do blacker sails just not jet black deck and sides Been staining the tan rope with AK pigments…will show that in a bit. Does give them a nice grungy used look and takes away the shiny new toy look.
-
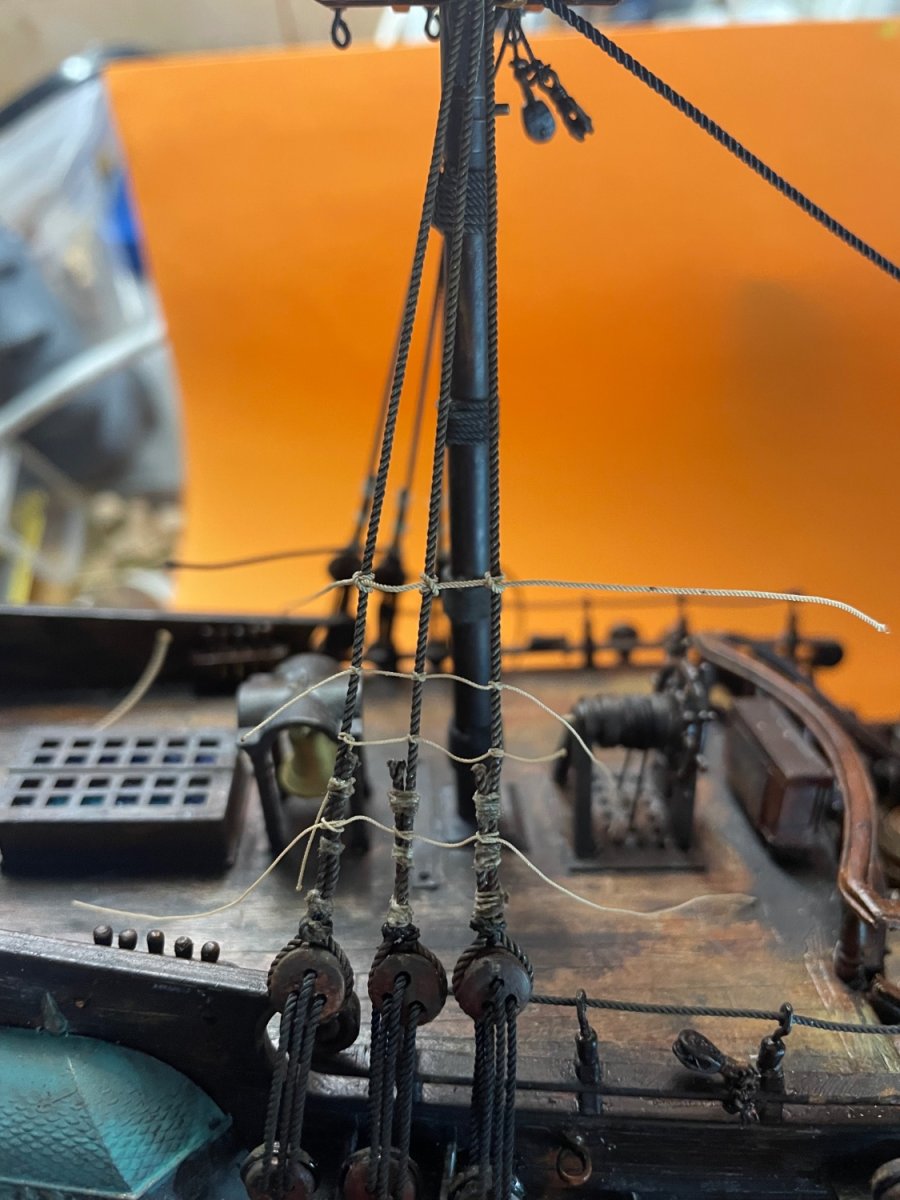
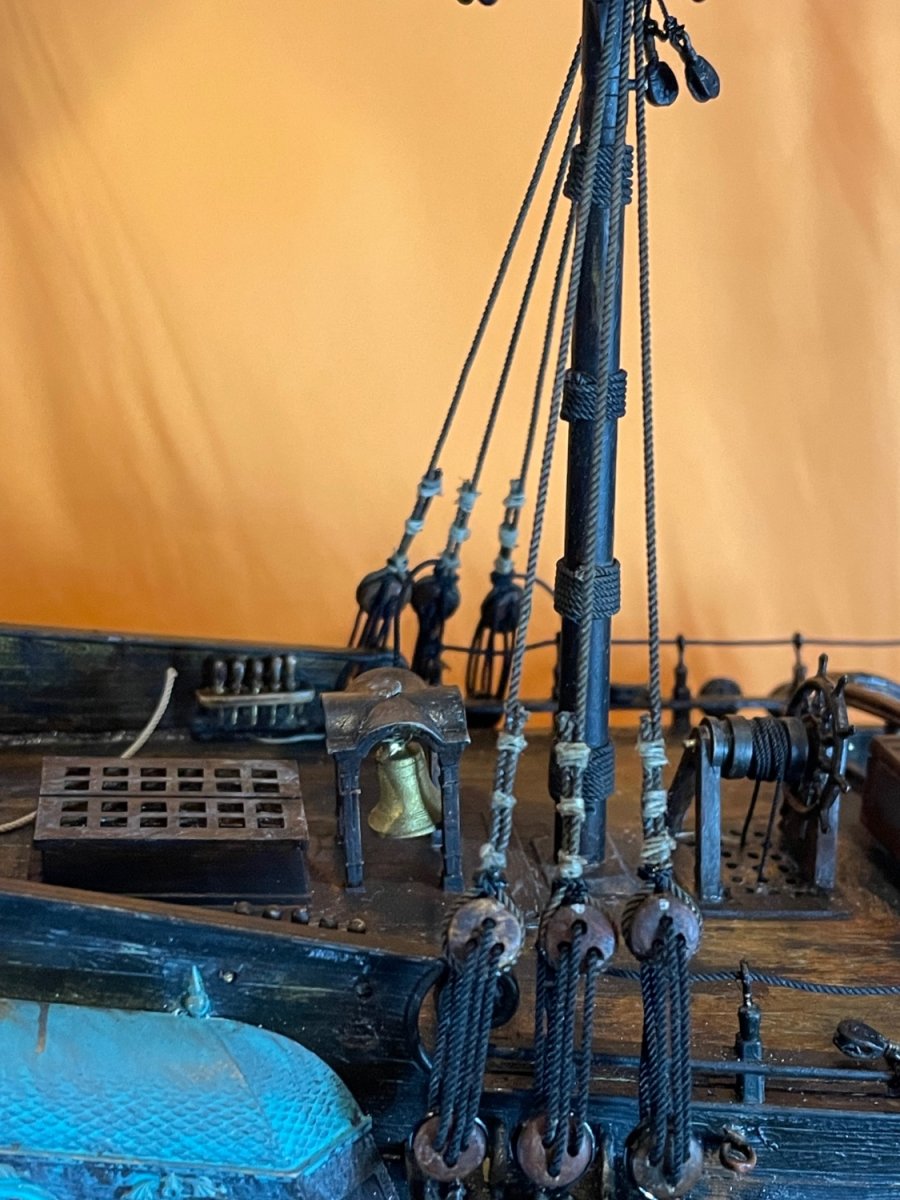
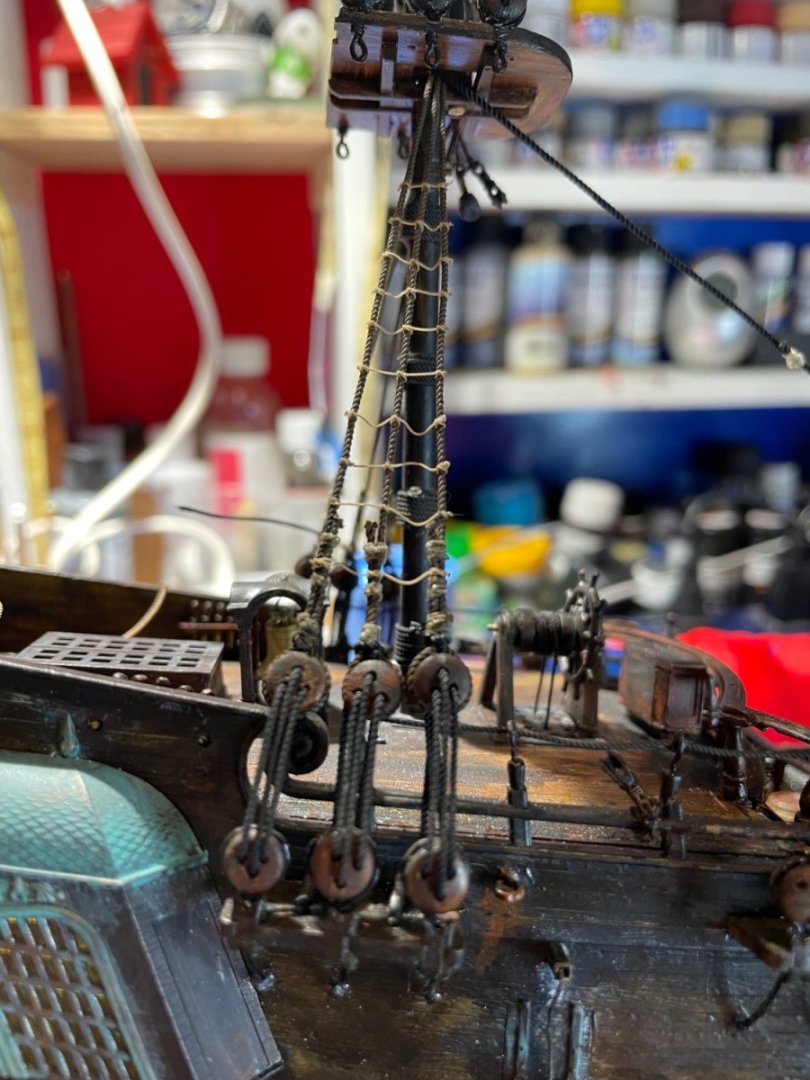
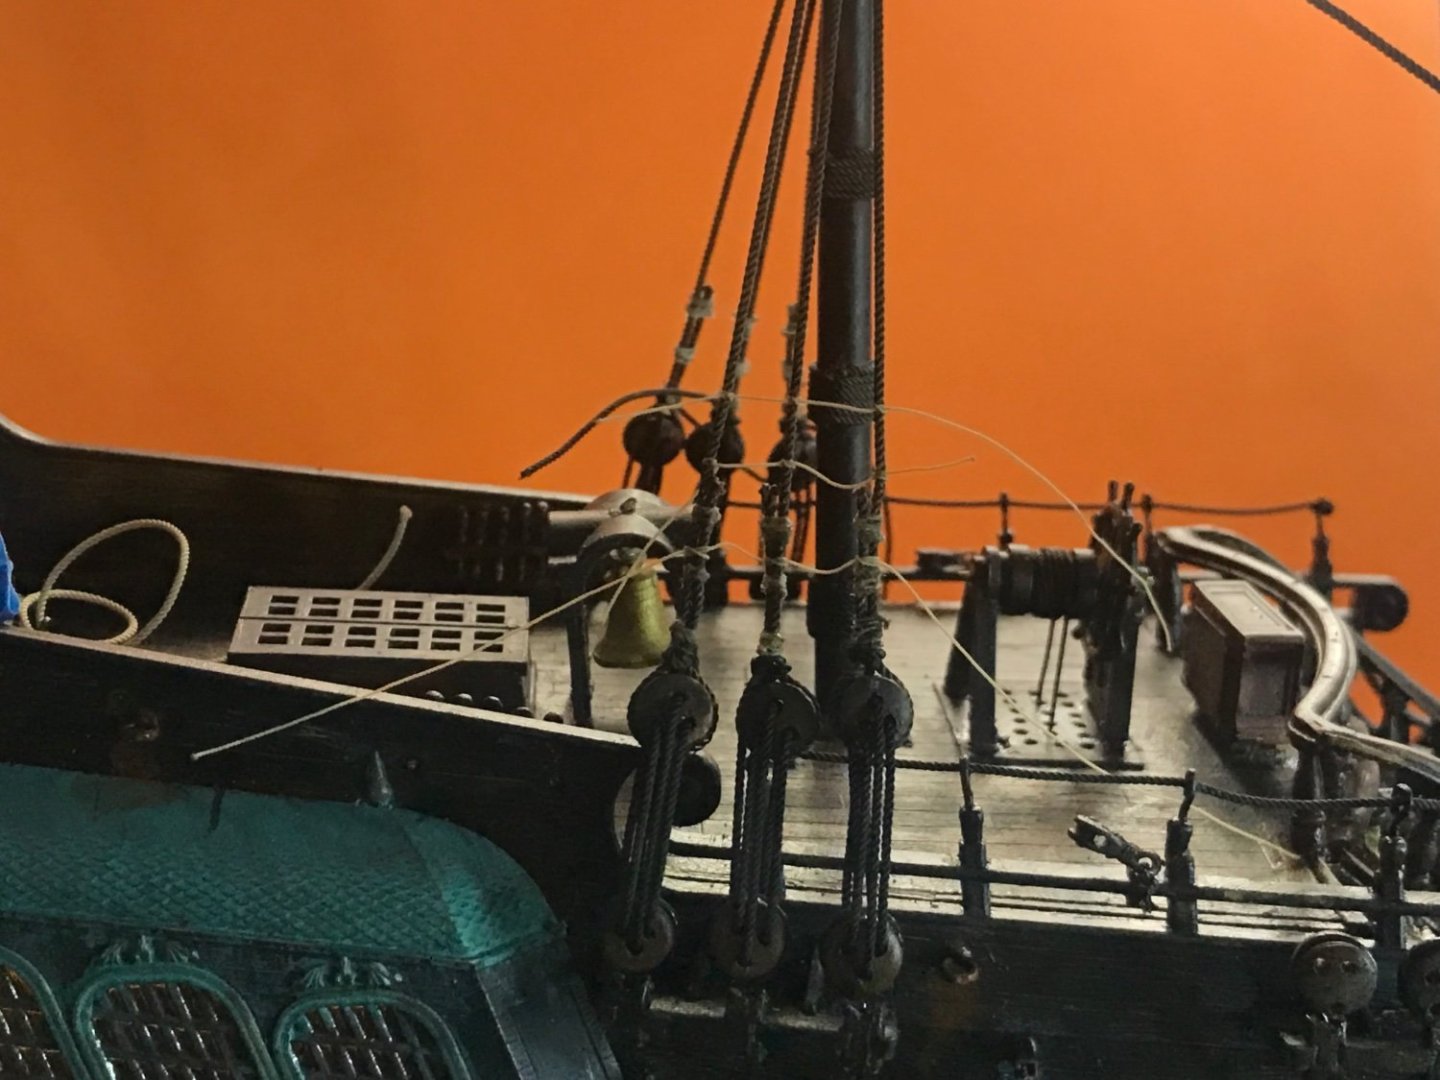
Mizzen mast’s lower shrouds are done. Wow this is tough, picky work tying these ropes, very time consuming. I stained the tan ropes a dirty brown like the film ship had g

-
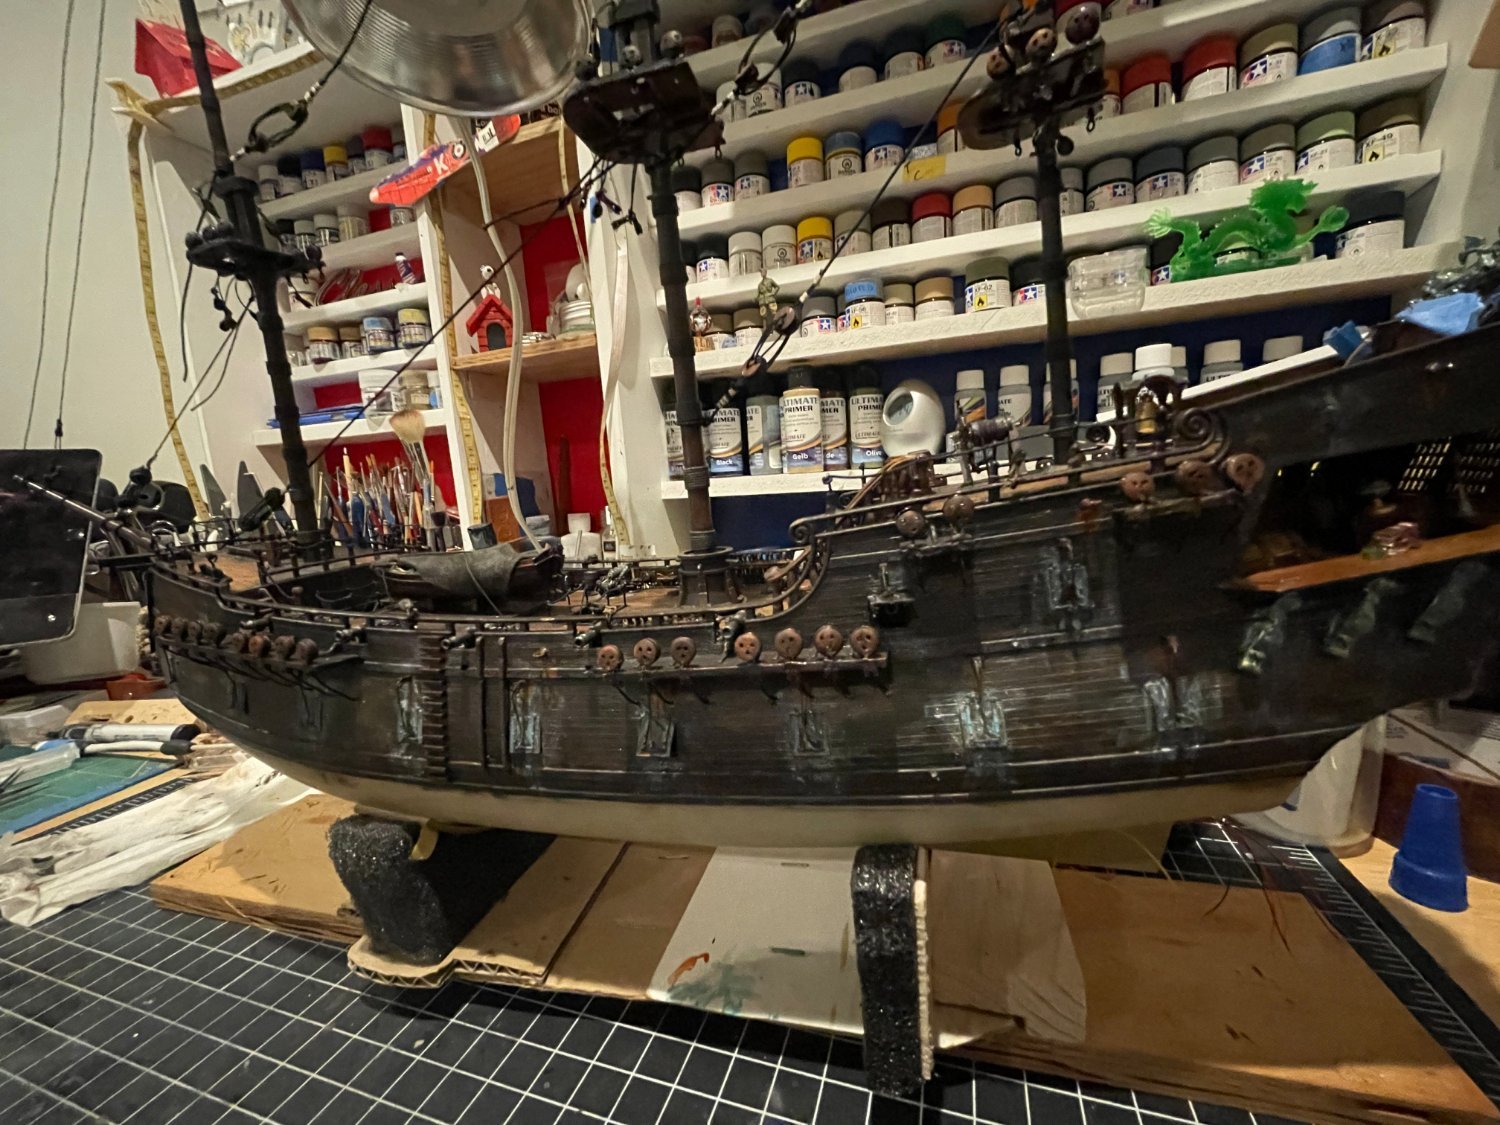
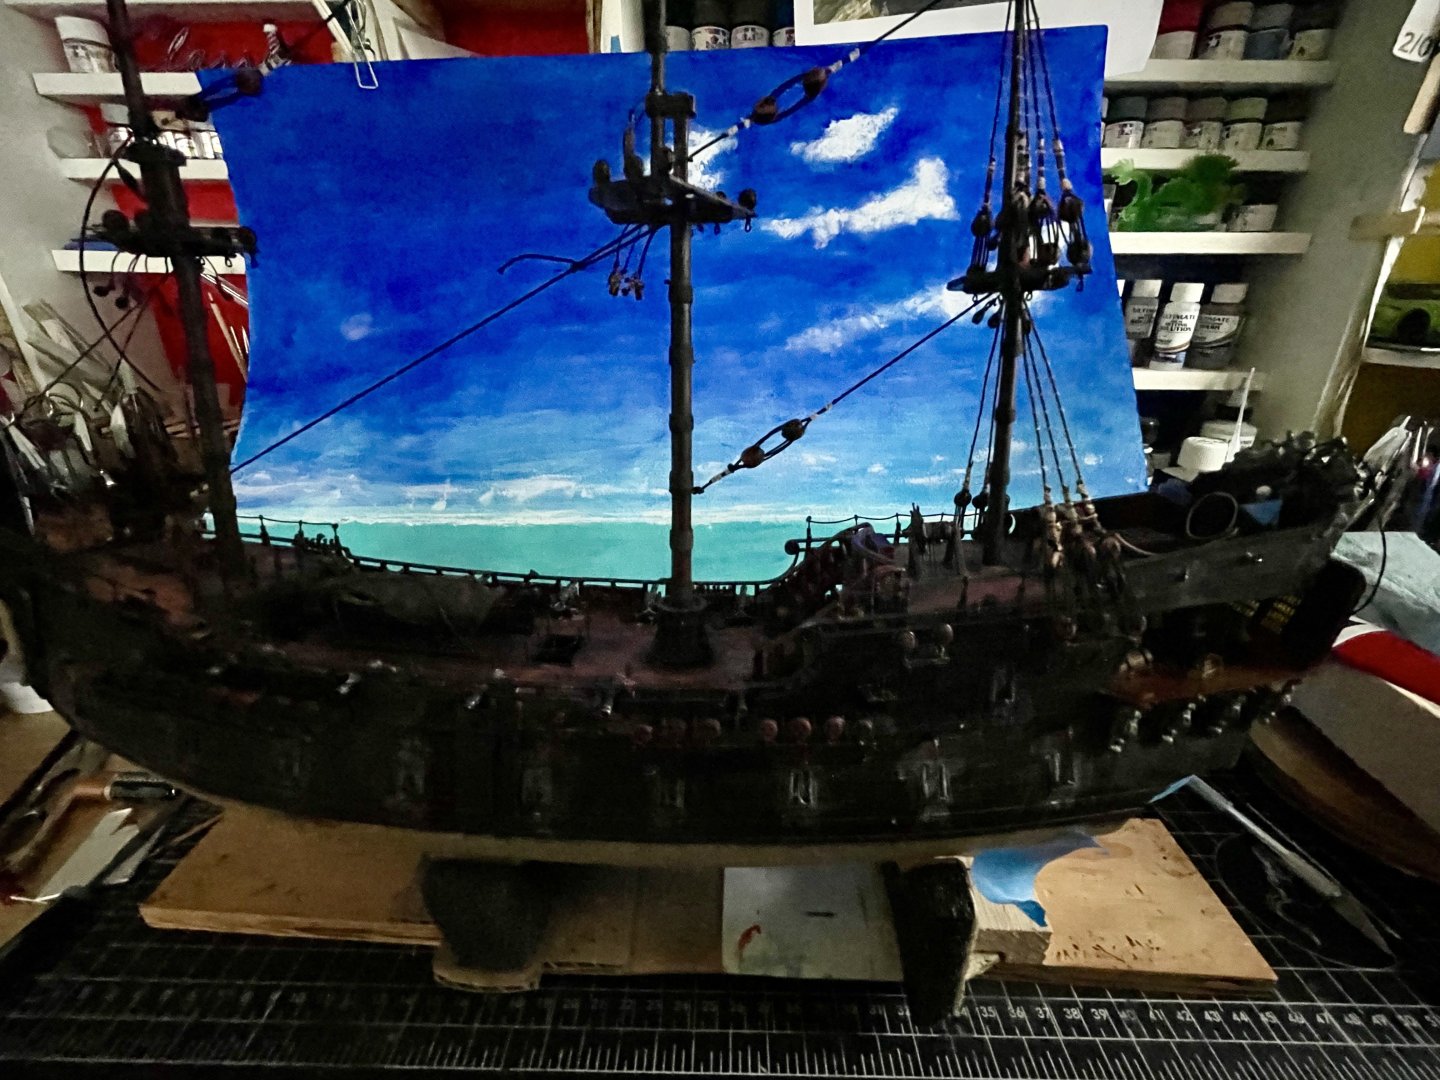
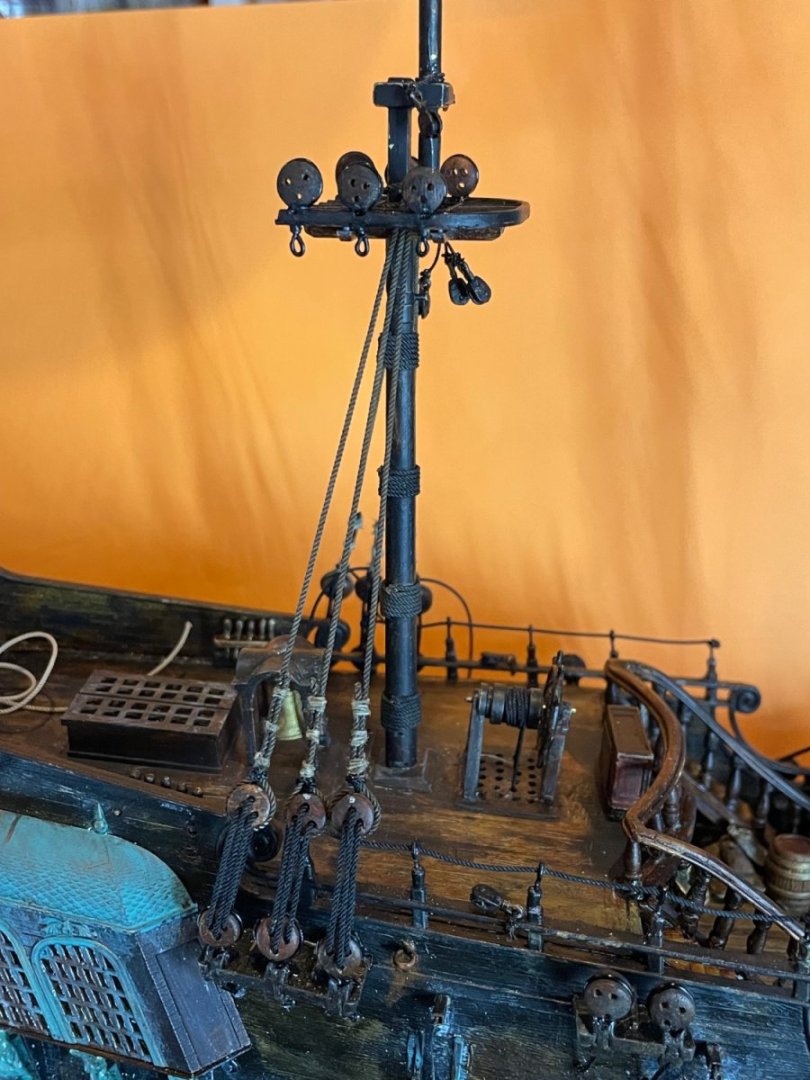
Here she sits on my desk. I have all the lower port deadeyes installed and secured and am mentally planning the next steps Did all the standing rigging, none in their final state and can be altered or removed if needed Thinking it is the shrouds that should get started now?? I was going to do back to front starting with the mizzen mast Here we go testing out 0.8mm ropes of scale rope for shrouds on the Mizzen mast. I tried a black 0.7 and it is too small, better suited for threading the deadeyes and the rat lines. So this is a tan 0.8 that I will stain darker. I am just getting the length and evenness of the shroud lines dialed in here. Yes these lines are temporary and just tied off of the lower deadeyes


-
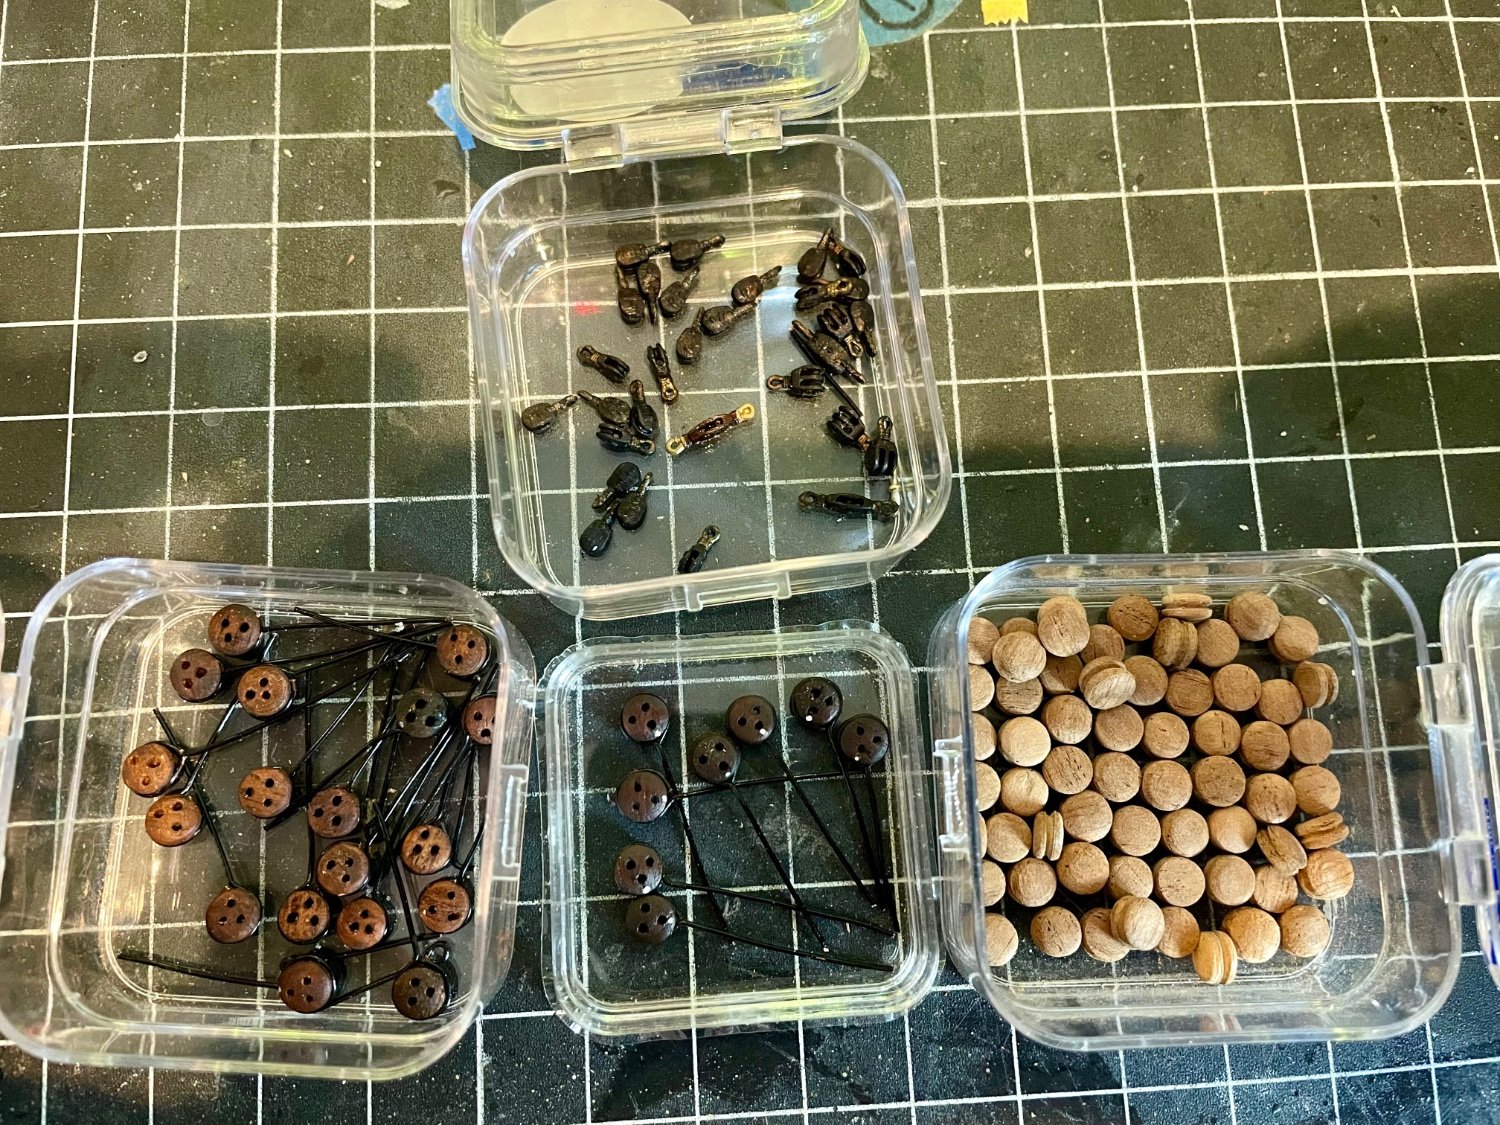
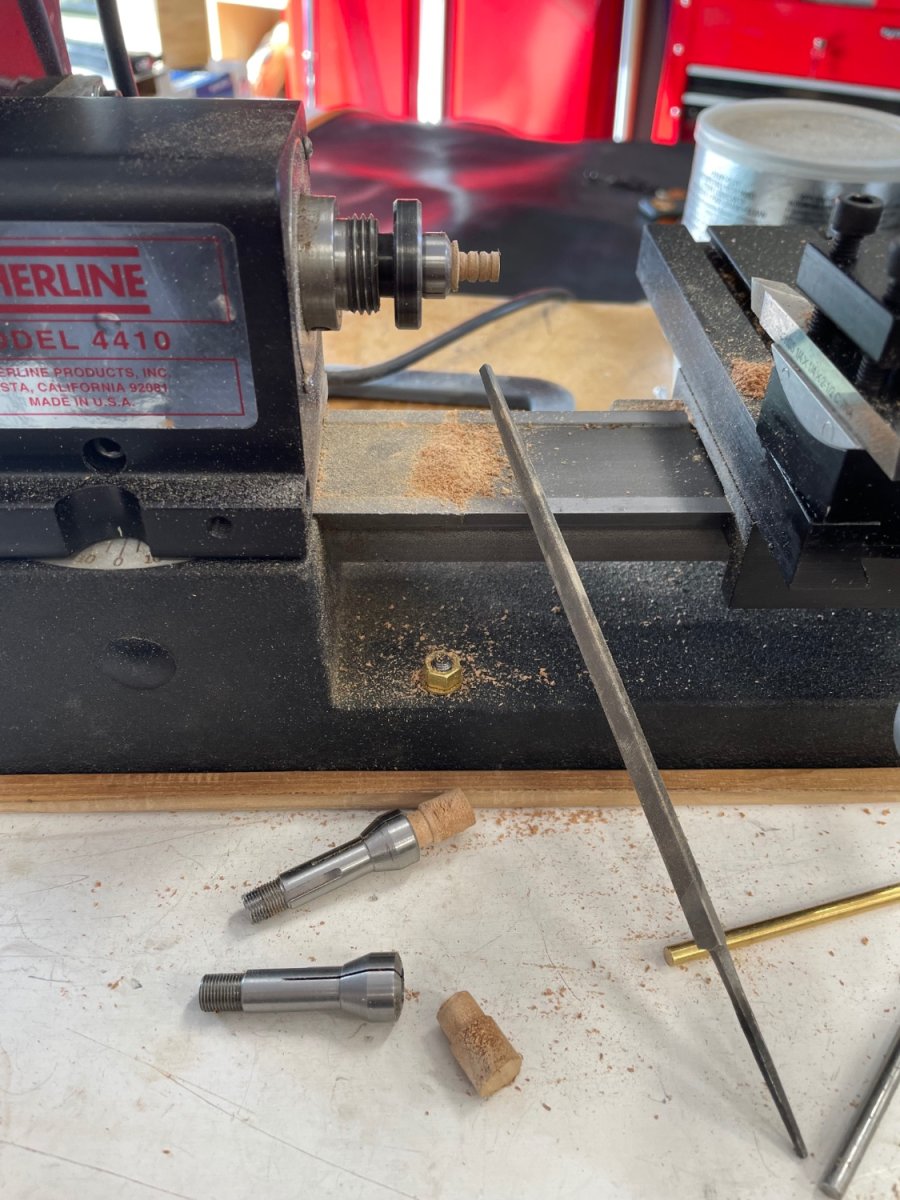
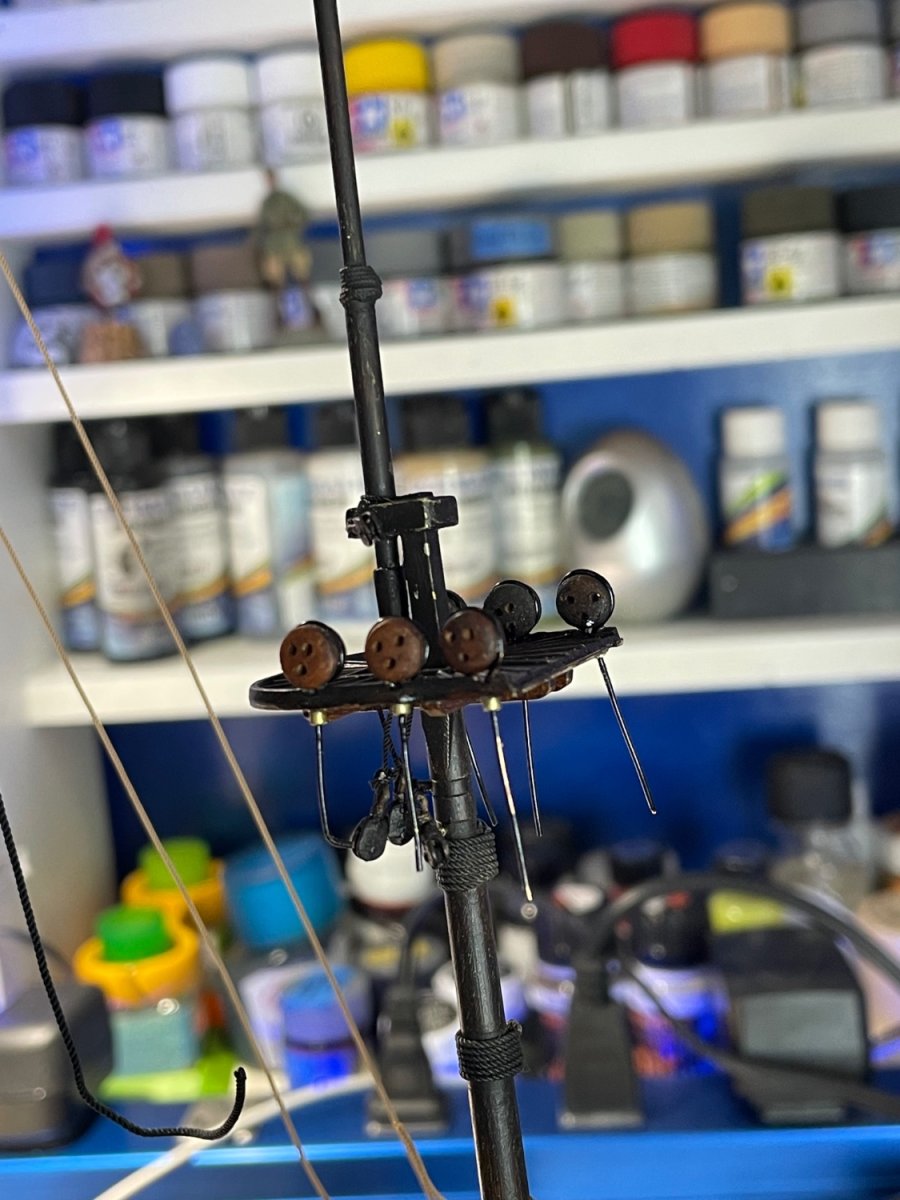
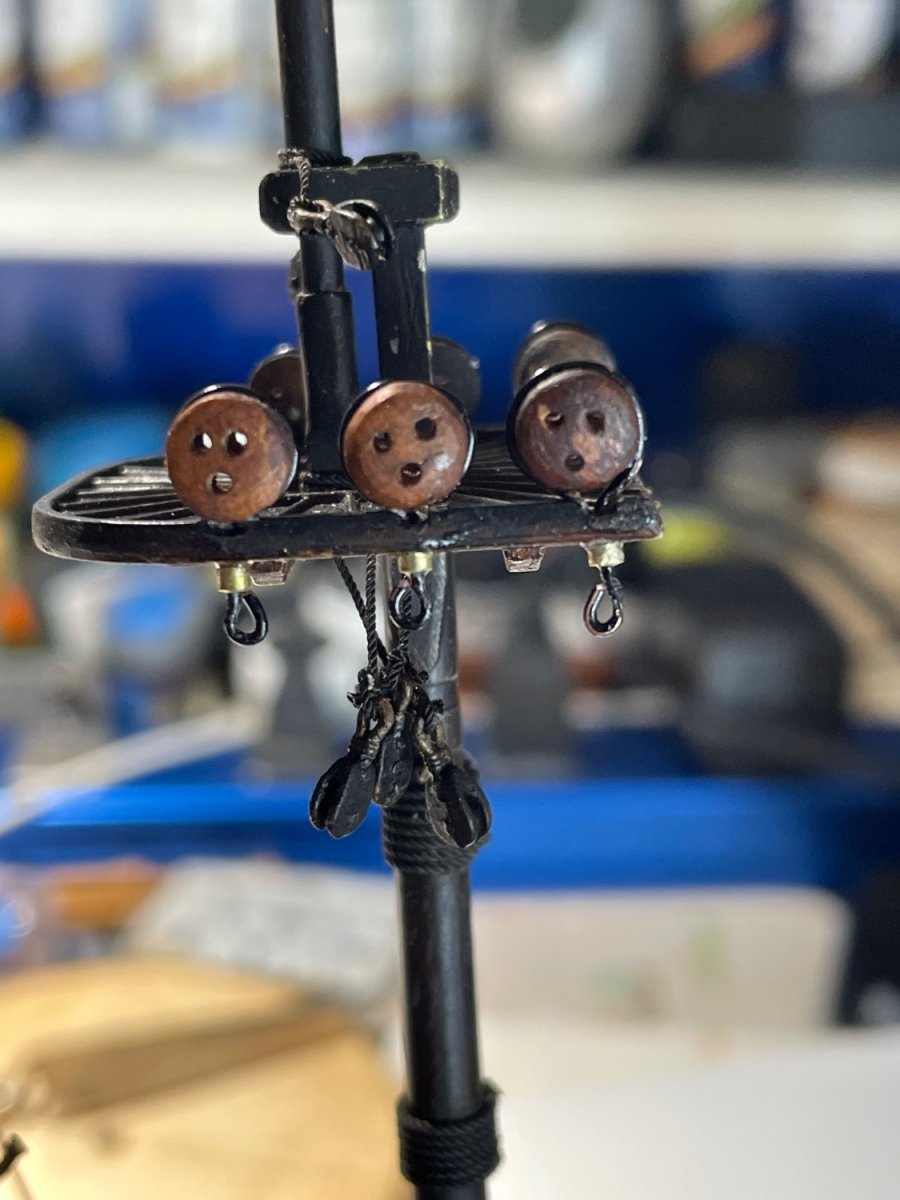
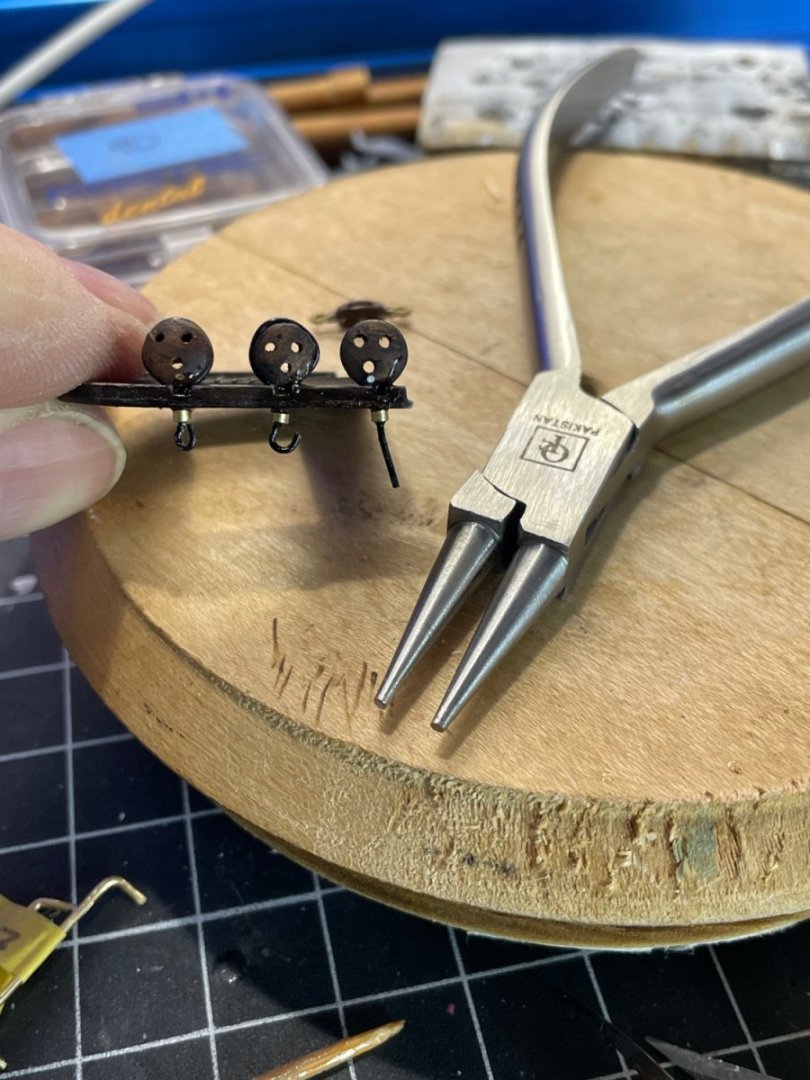
More deadeyes were made. Hopefully the last of them


-
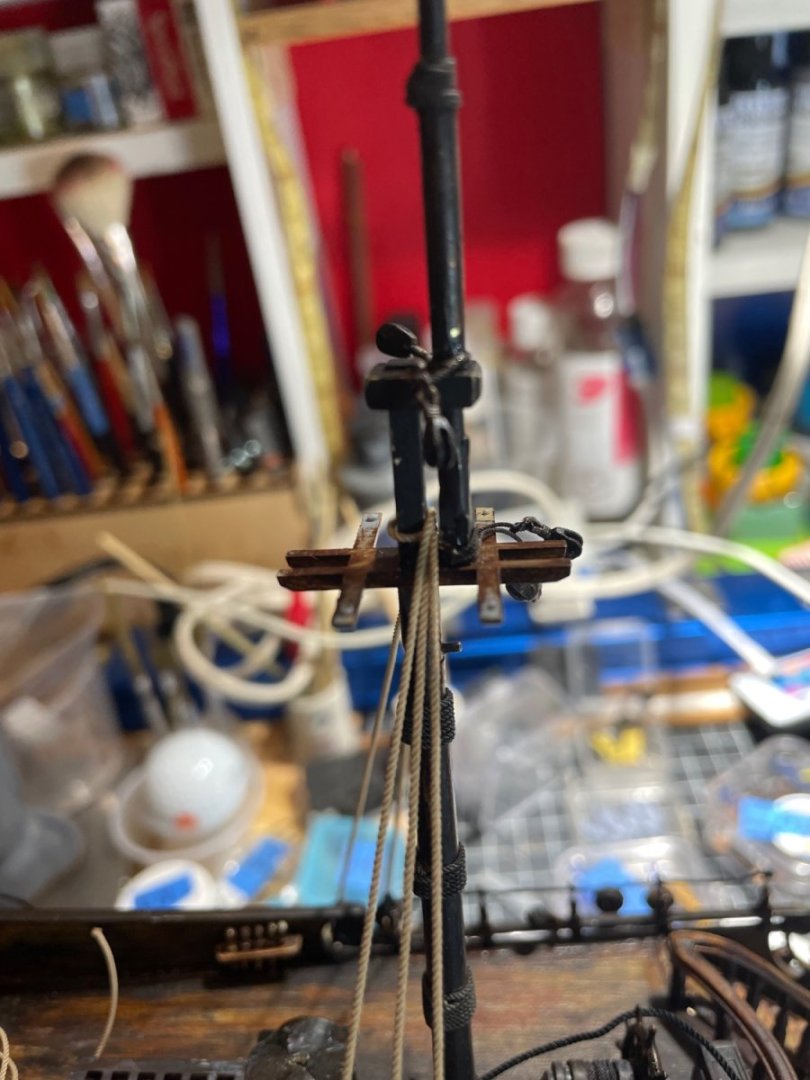
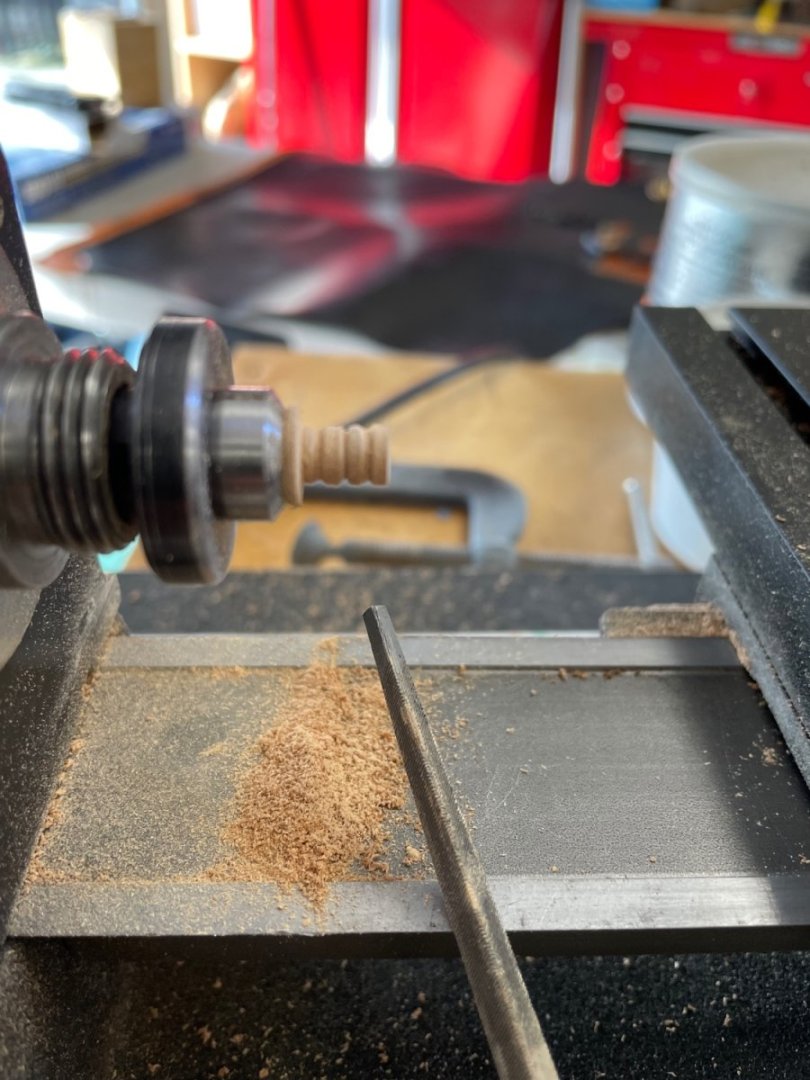
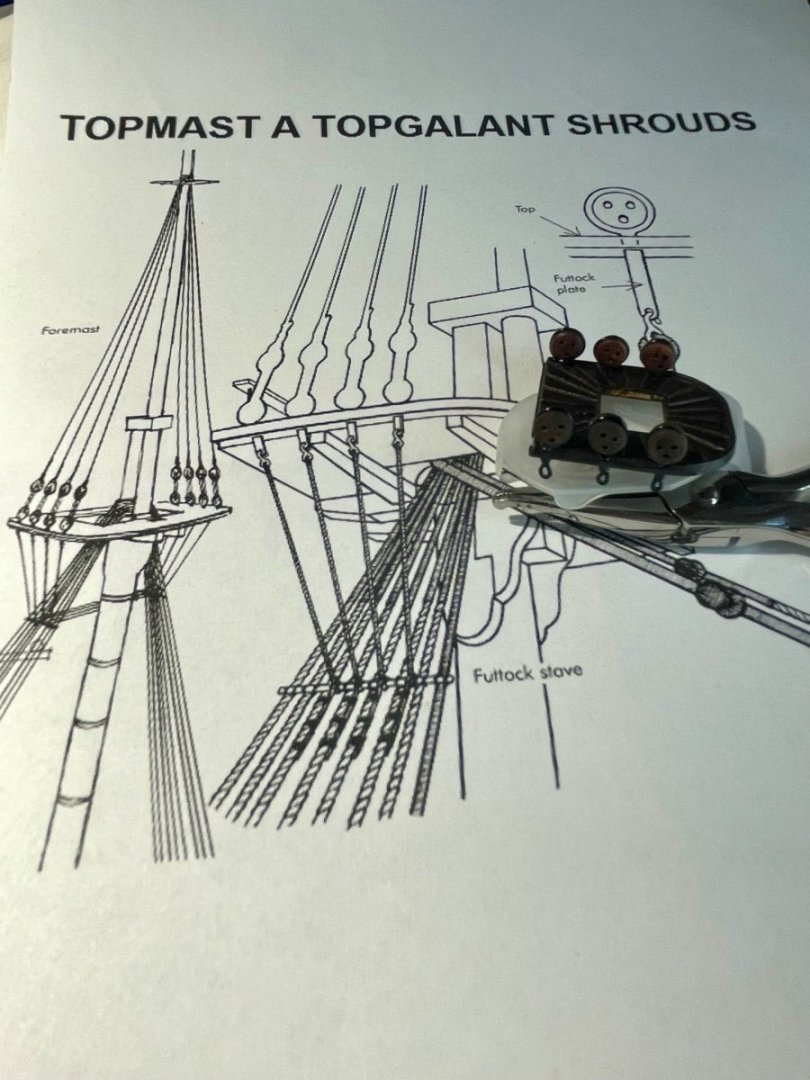
I am getting the upper deadeyes put in so I can add the upper shrouds I followed this diagram; added a black wire and a brass collar, then made the wire round to accept a rope Of course I hade to untie most of the standing rigging ropes that I have shown previously the three stages I have a kagillion dead eyes to drill and stain now for the lower shrouds


-
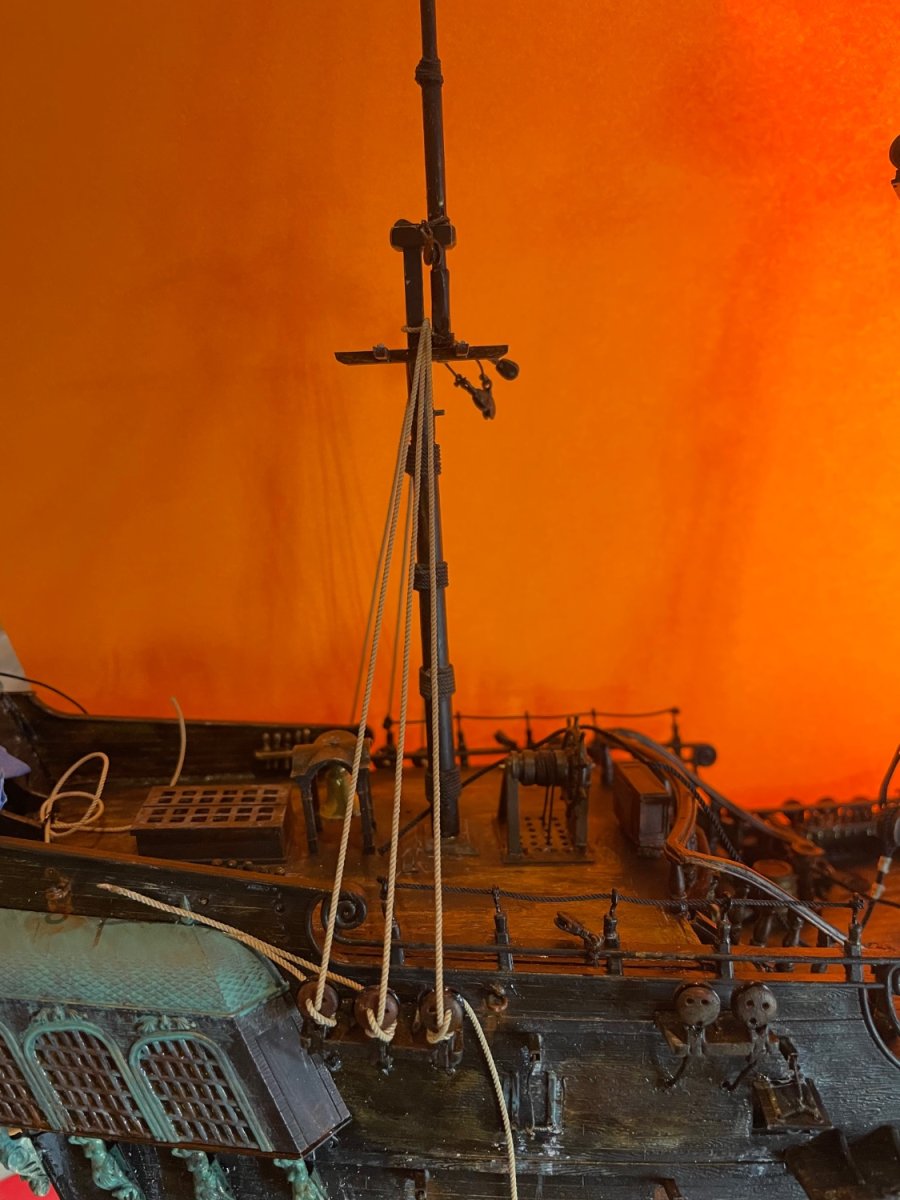
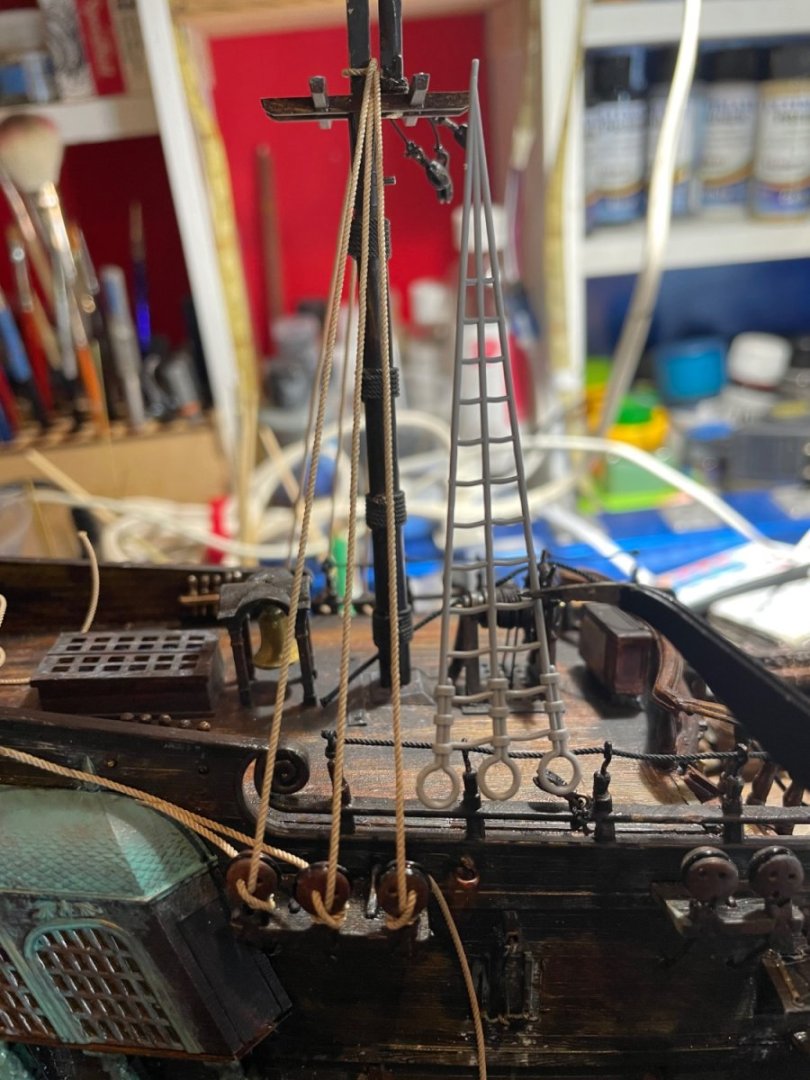
Some research vs instruction conflict for the rigging patterns. I removed a line and re-oriented the lines on the bowsprit as I had an extra line that left no room for others Before: After:
-
Woodwork/Model making workshop. Scale 1:1
Twokidsnosleep replied to Charter33's topic in Non-ship/categorised builds
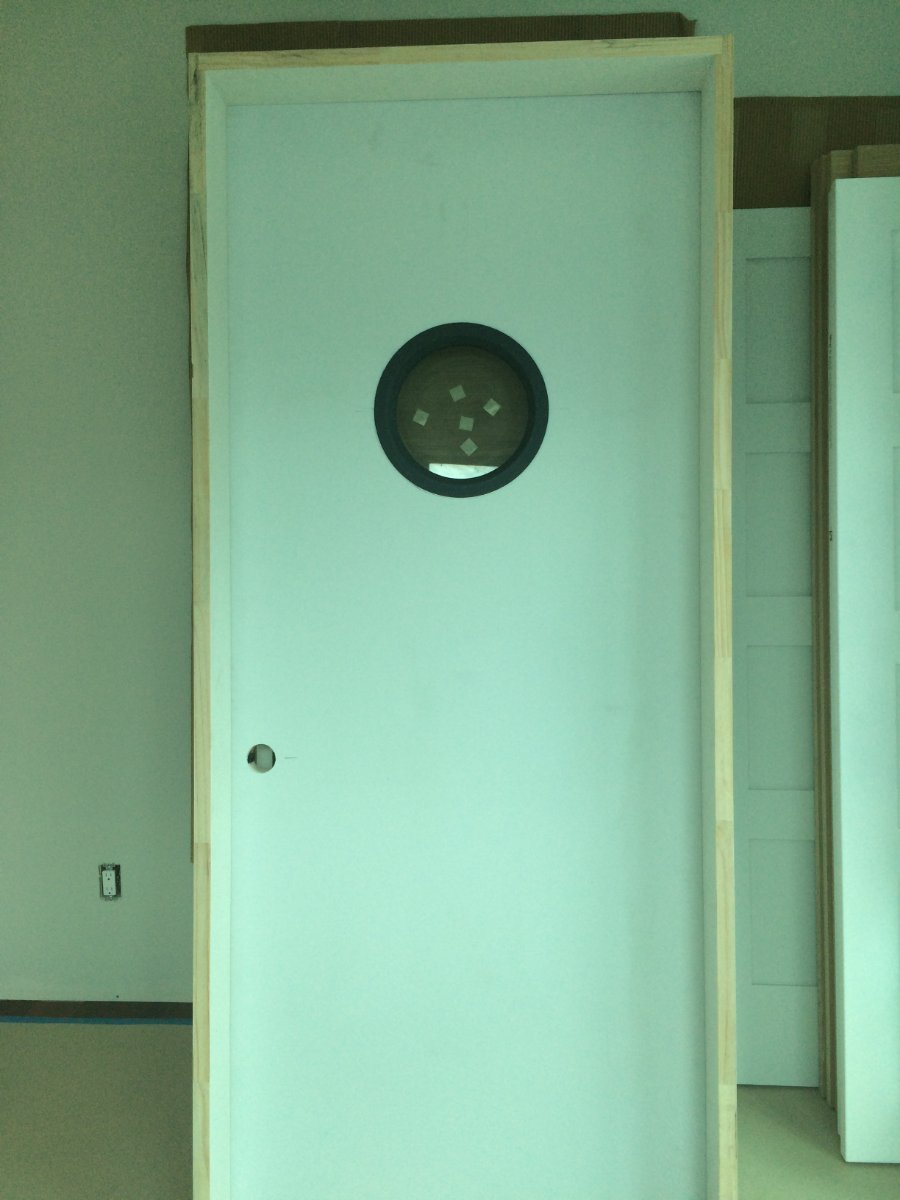
You know, the ceiling joists kinda make it look like a ships' framing😉 I love the porthole window as well. Excellent design features, really look forward to seeing it develop and finish off 😎 I did a porthole window in the door of my house attached workshop...now taken over as the dog's room😒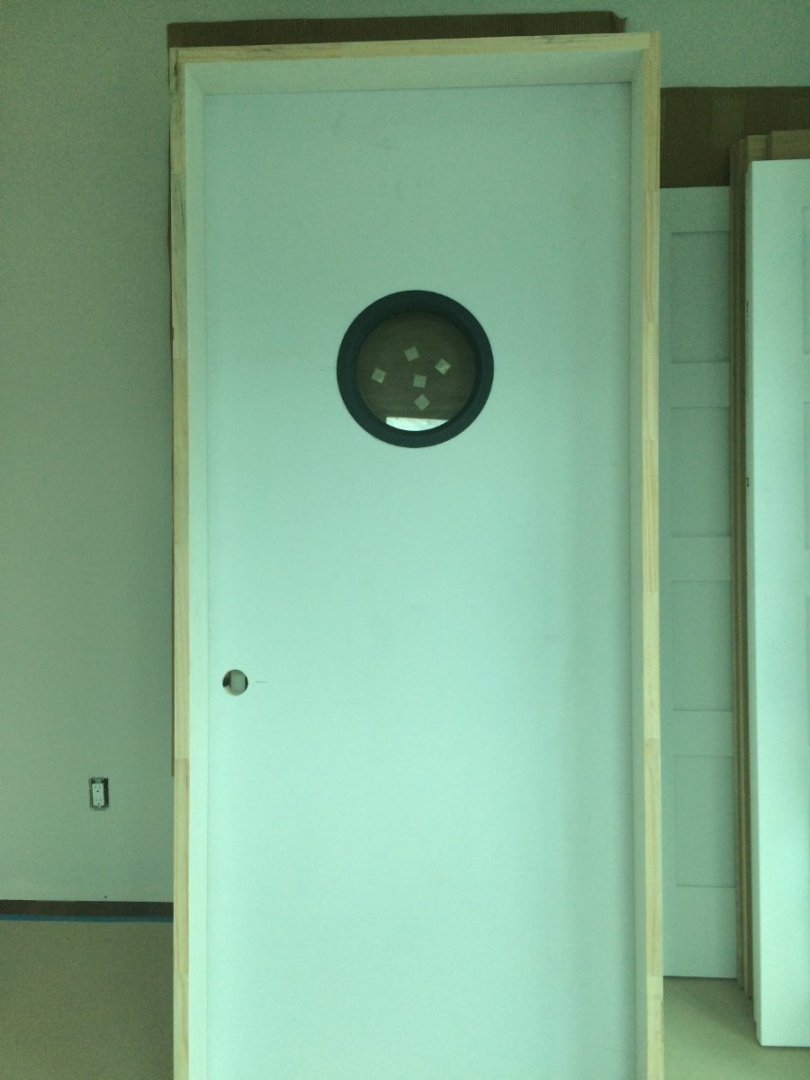
-
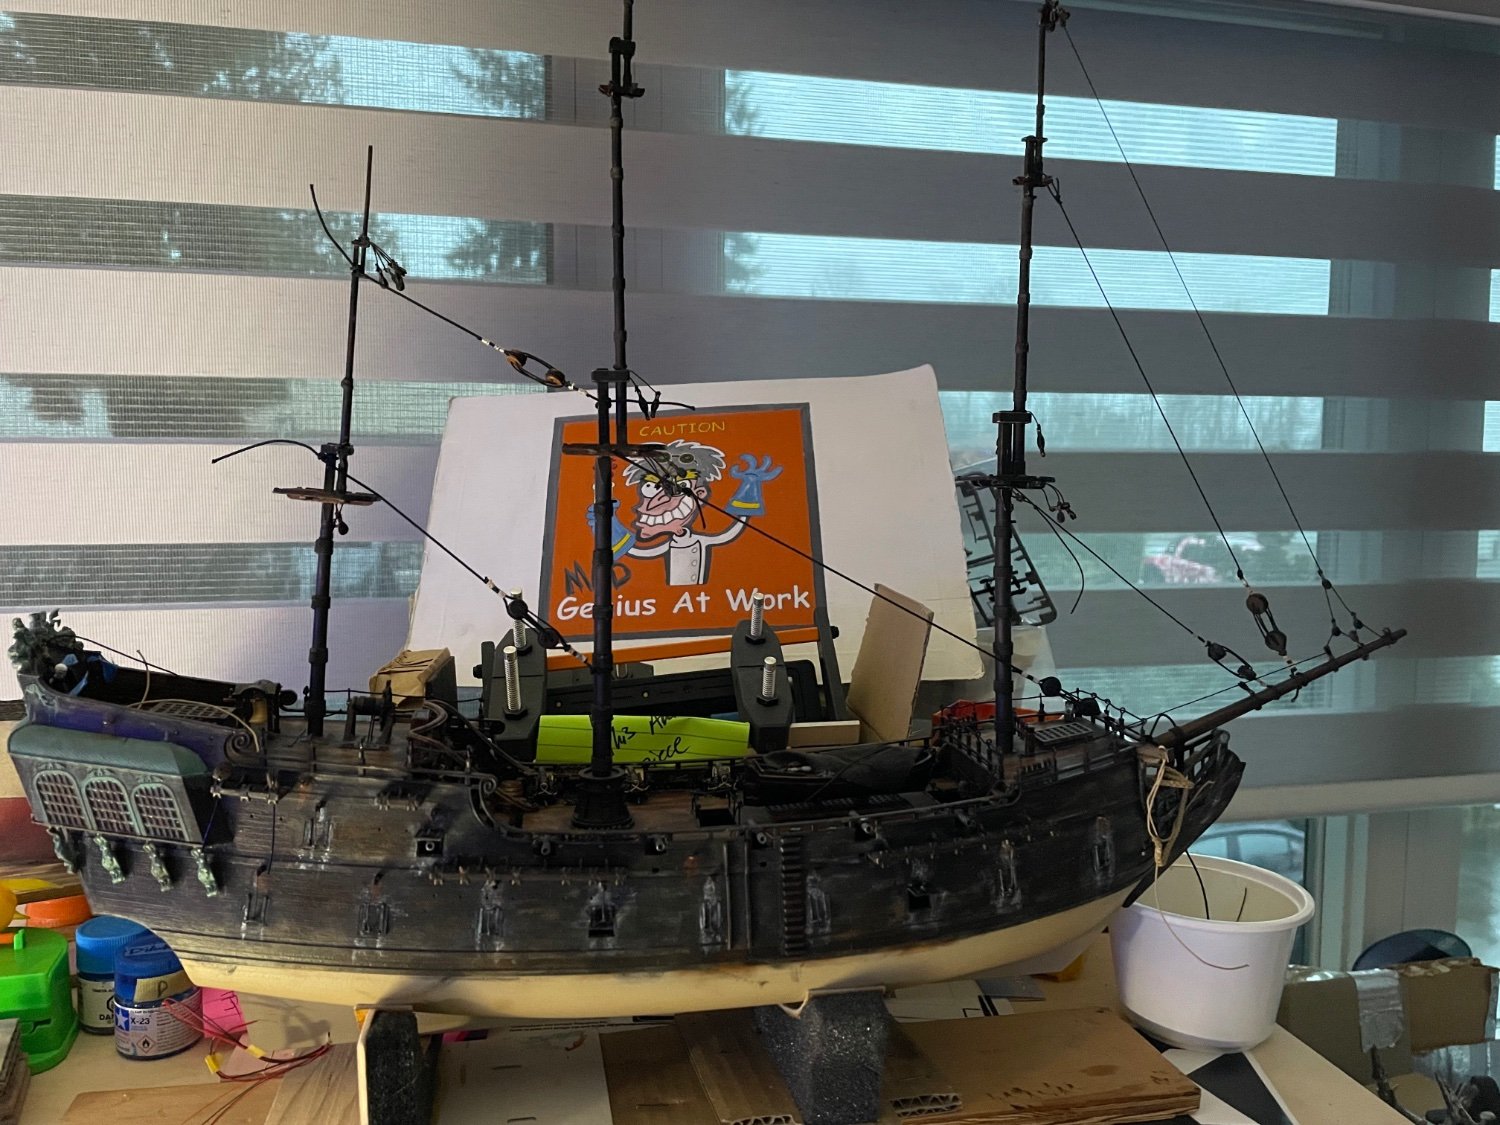
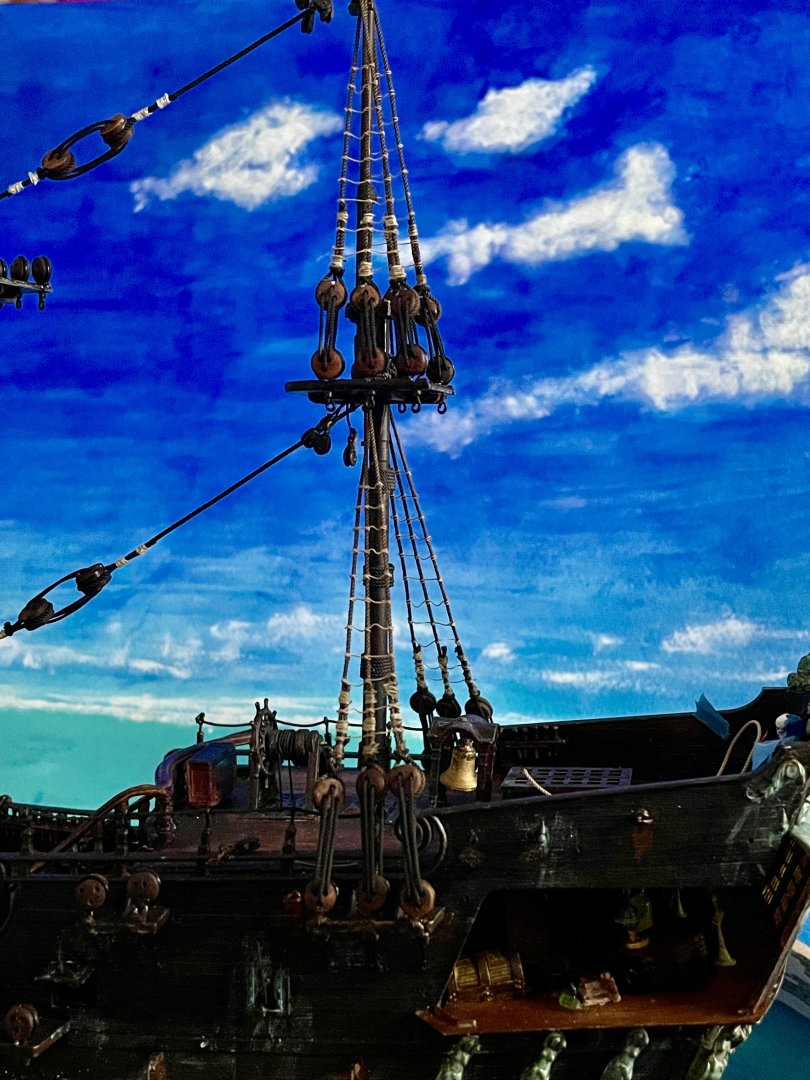
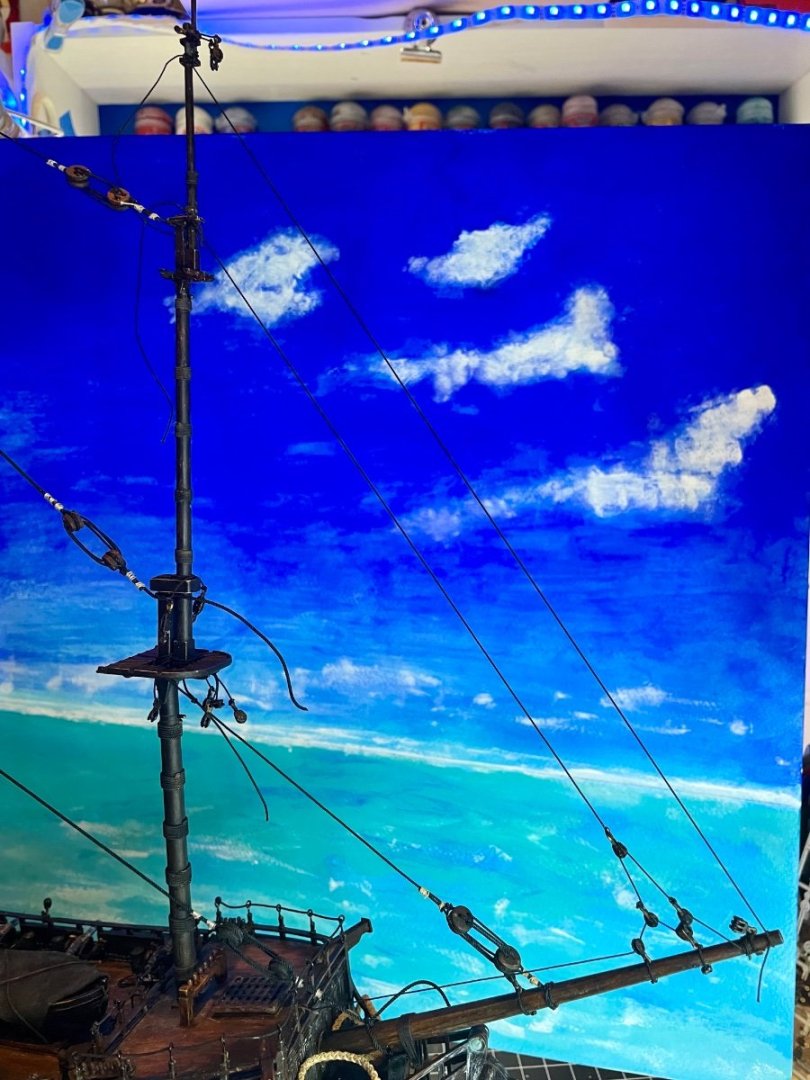
Rigging is proceeding, ship has all her masts installed now