tj456
-
Posts
65 -
Joined
-
Last visited
Content Type
Profiles
Forums
Gallery
Events
Everything posted by tj456
-
Mayflower by tj456 - 1/19 scale
tj456 replied to tj456's topic in - Build logs for subjects built 1501 - 1750
The forward deadeyes are in. This was slow work but now that all the pieces are built things should go faster.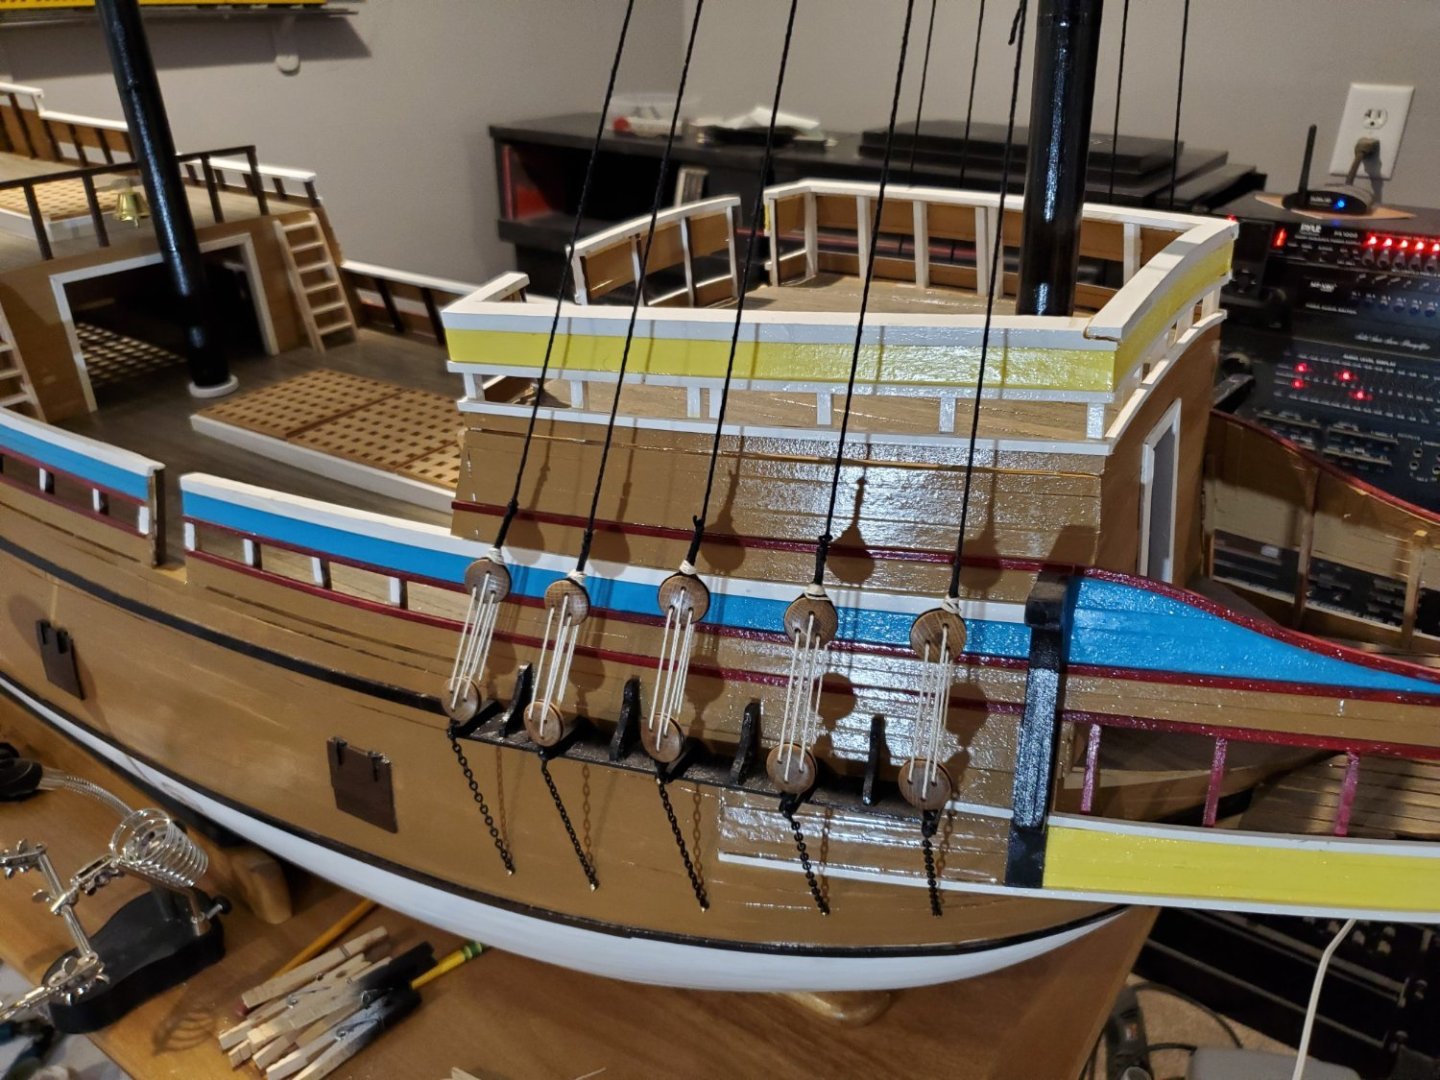
-
Mayflower by tj456 - 1/19 scale
tj456 replied to tj456's topic in - Build logs for subjects built 1501 - 1750
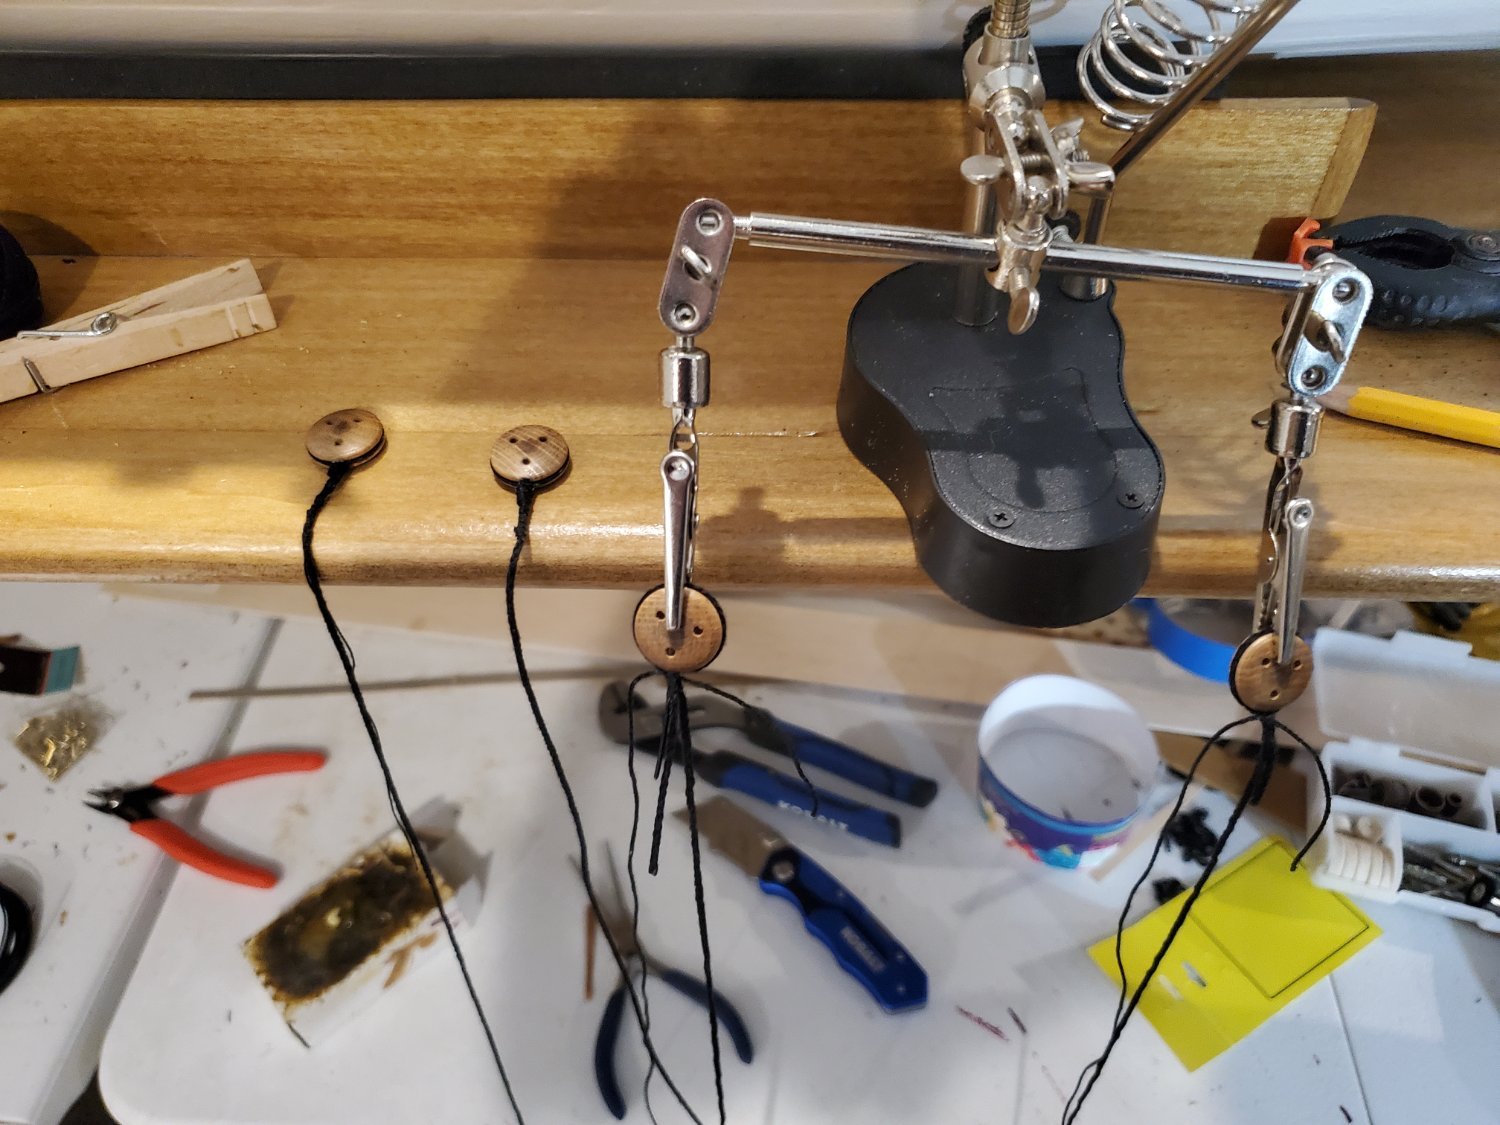
I'm experimenting with different ways to make deadeyes. On the left is one using thick rope bound with thin rope. Next over I put used an 18 gauge wire for going around the deadeye and thin rope to bind the thick rope to the assembly. The 2 in the clamps I drilled a hole to mount the 18 gauge wire and used the thick rope to go around the deadeye and bound everything together with the thin rope. I think this is the option I'll use. It seems to be the easiest to build and looks pretty good too.
-
Mayflower by tj456 - 1/19 scale
tj456 replied to tj456's topic in - Build logs for subjects built 1501 - 1750
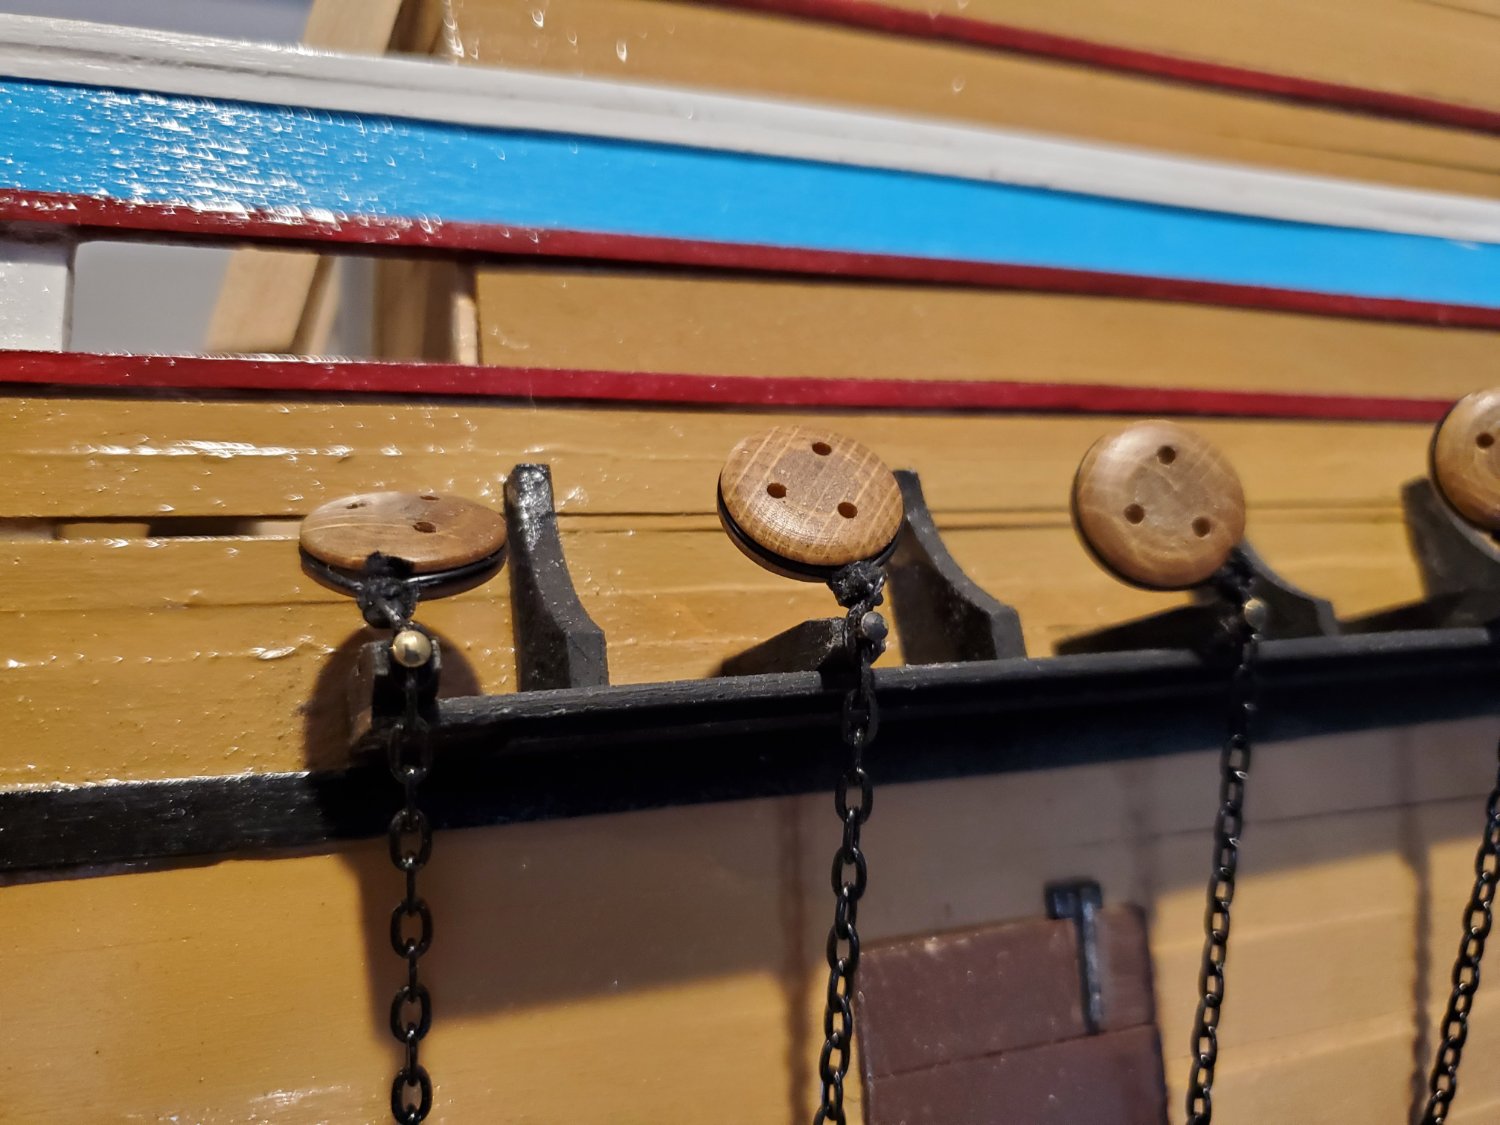
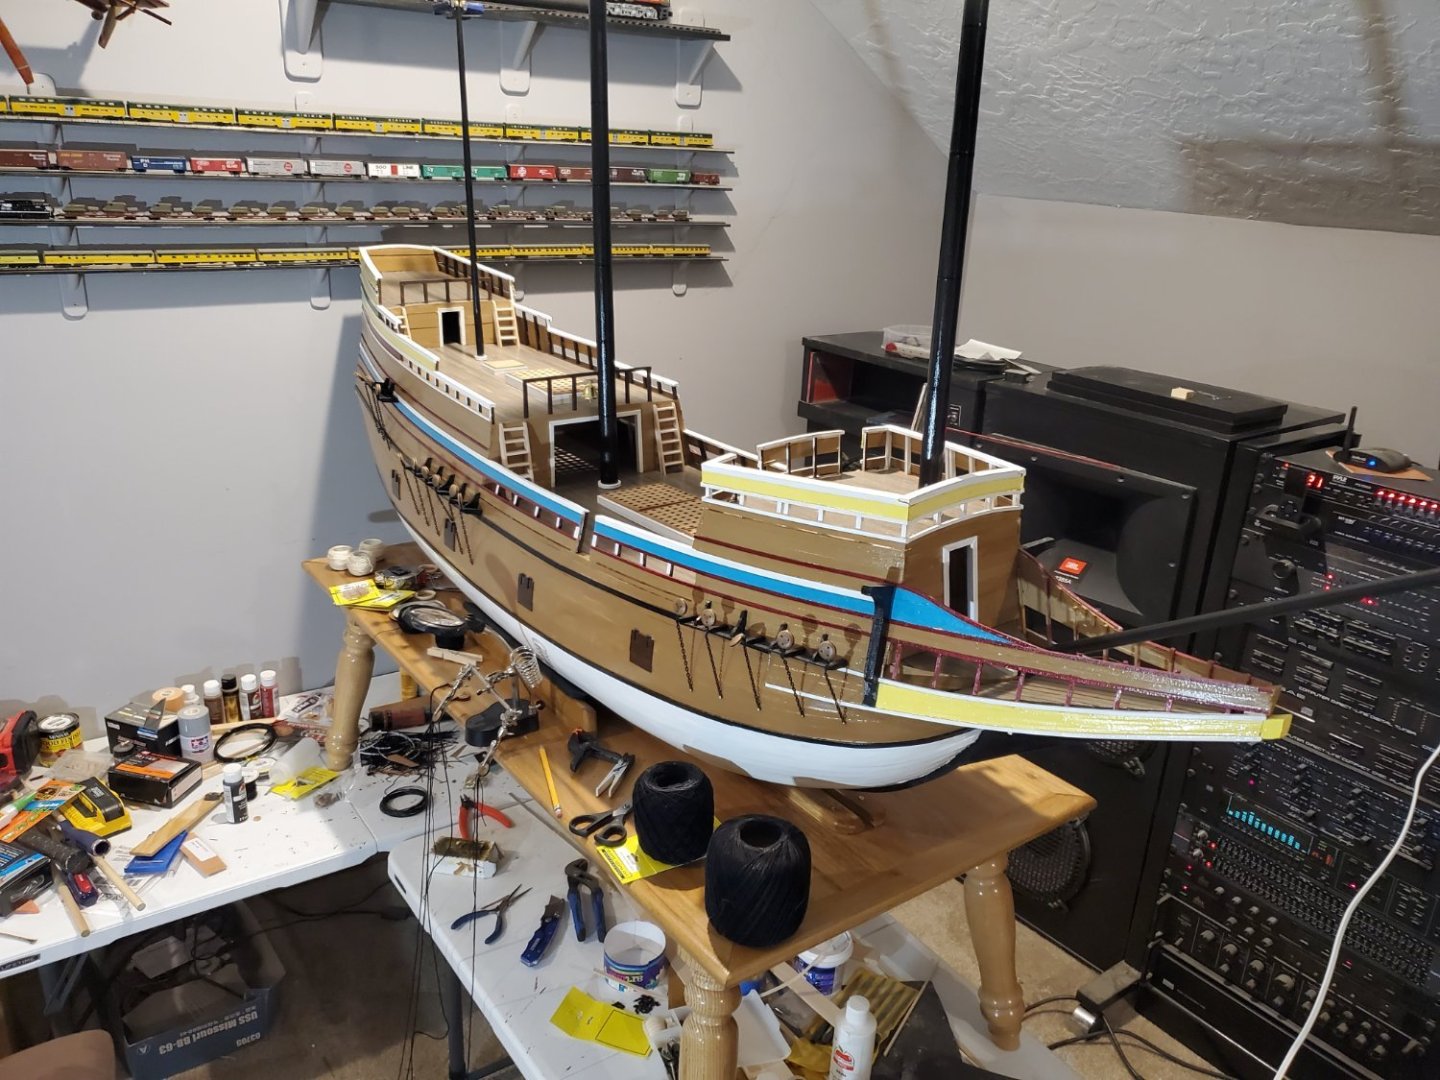
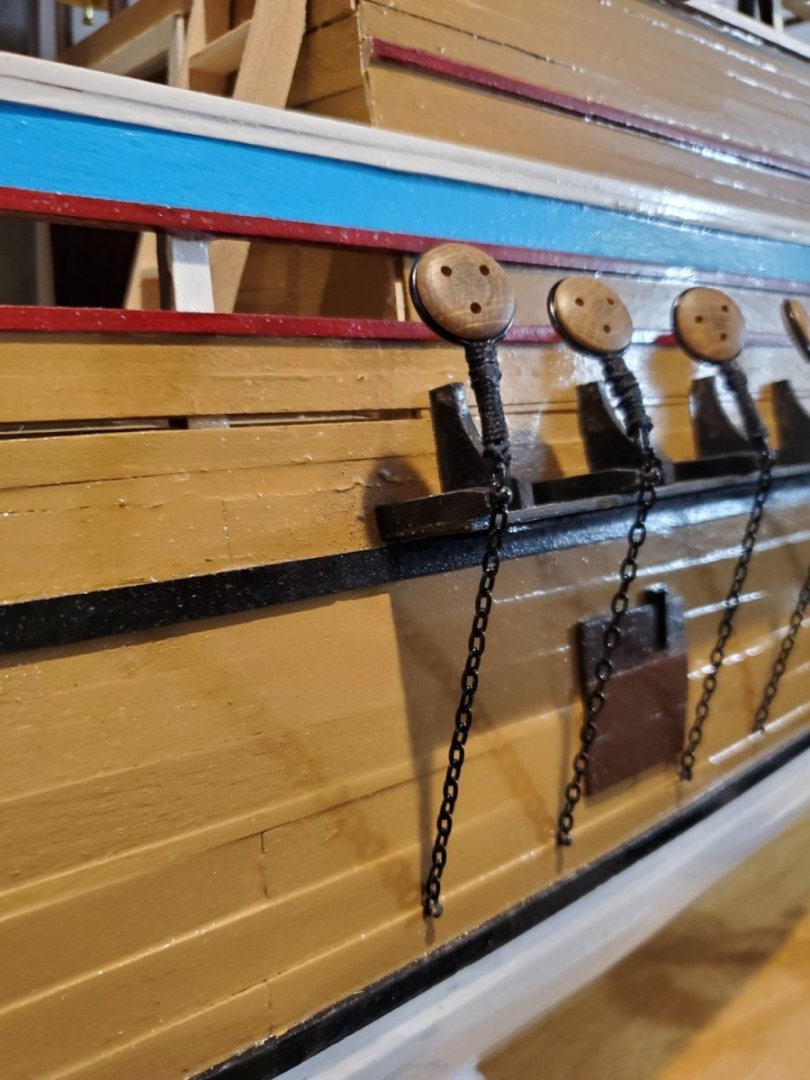
I finally finished all 28 deadeyes mounted to the ship. I've also repositioned the ship so I can work on both sides for rigging.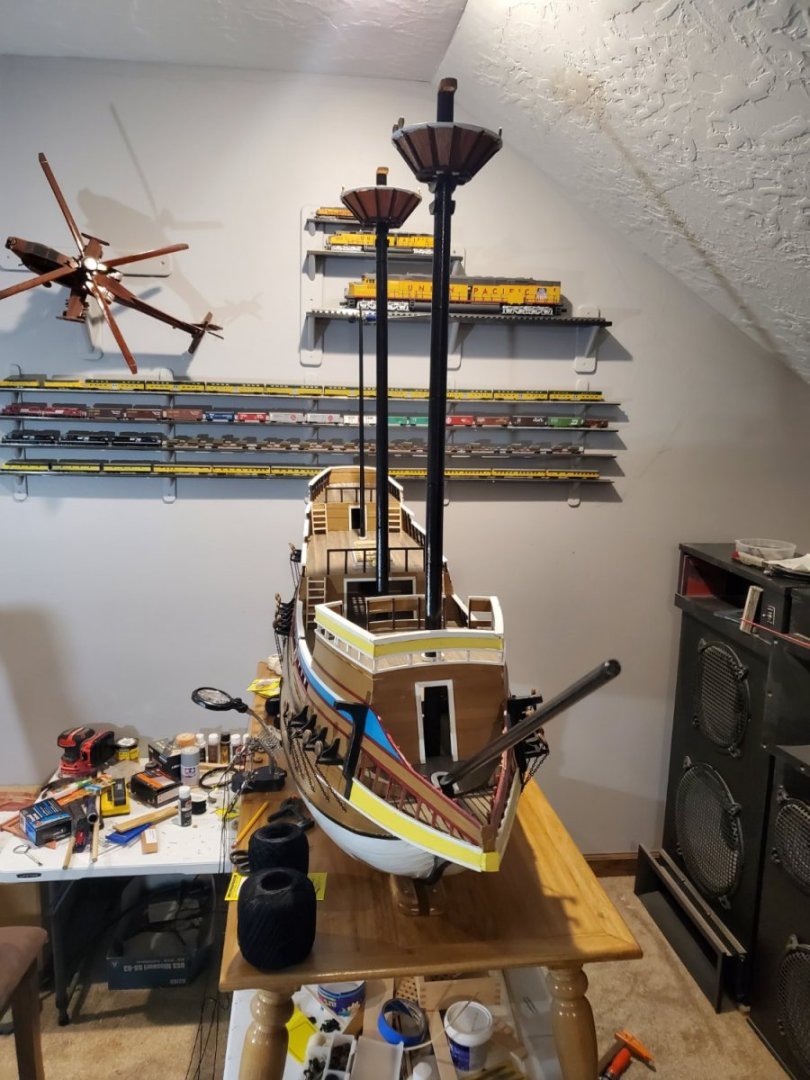
-
Mayflower by tj456 - 1/19 scale
tj456 replied to tj456's topic in - Build logs for subjects built 1501 - 1750
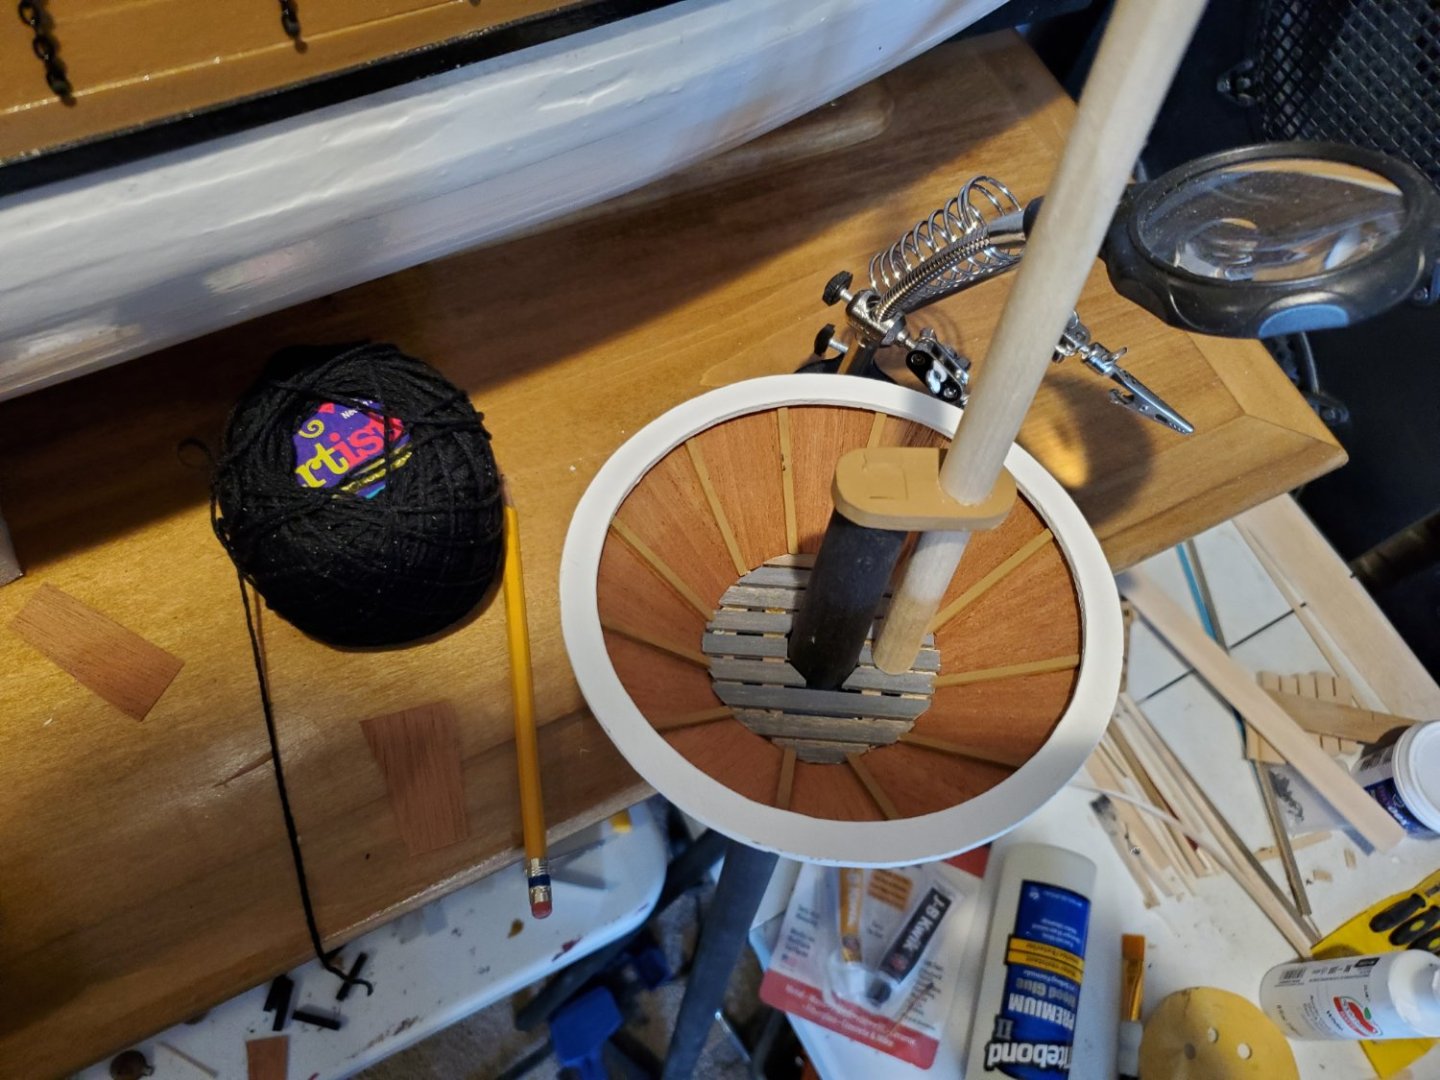
Here's the main master crow's nest. I'm a couple of weeks from rat lines and any advice would be appreciated. There's several ways I can think of proceeding but I'd like to hear from someone who's actually done it. Thanks in advance.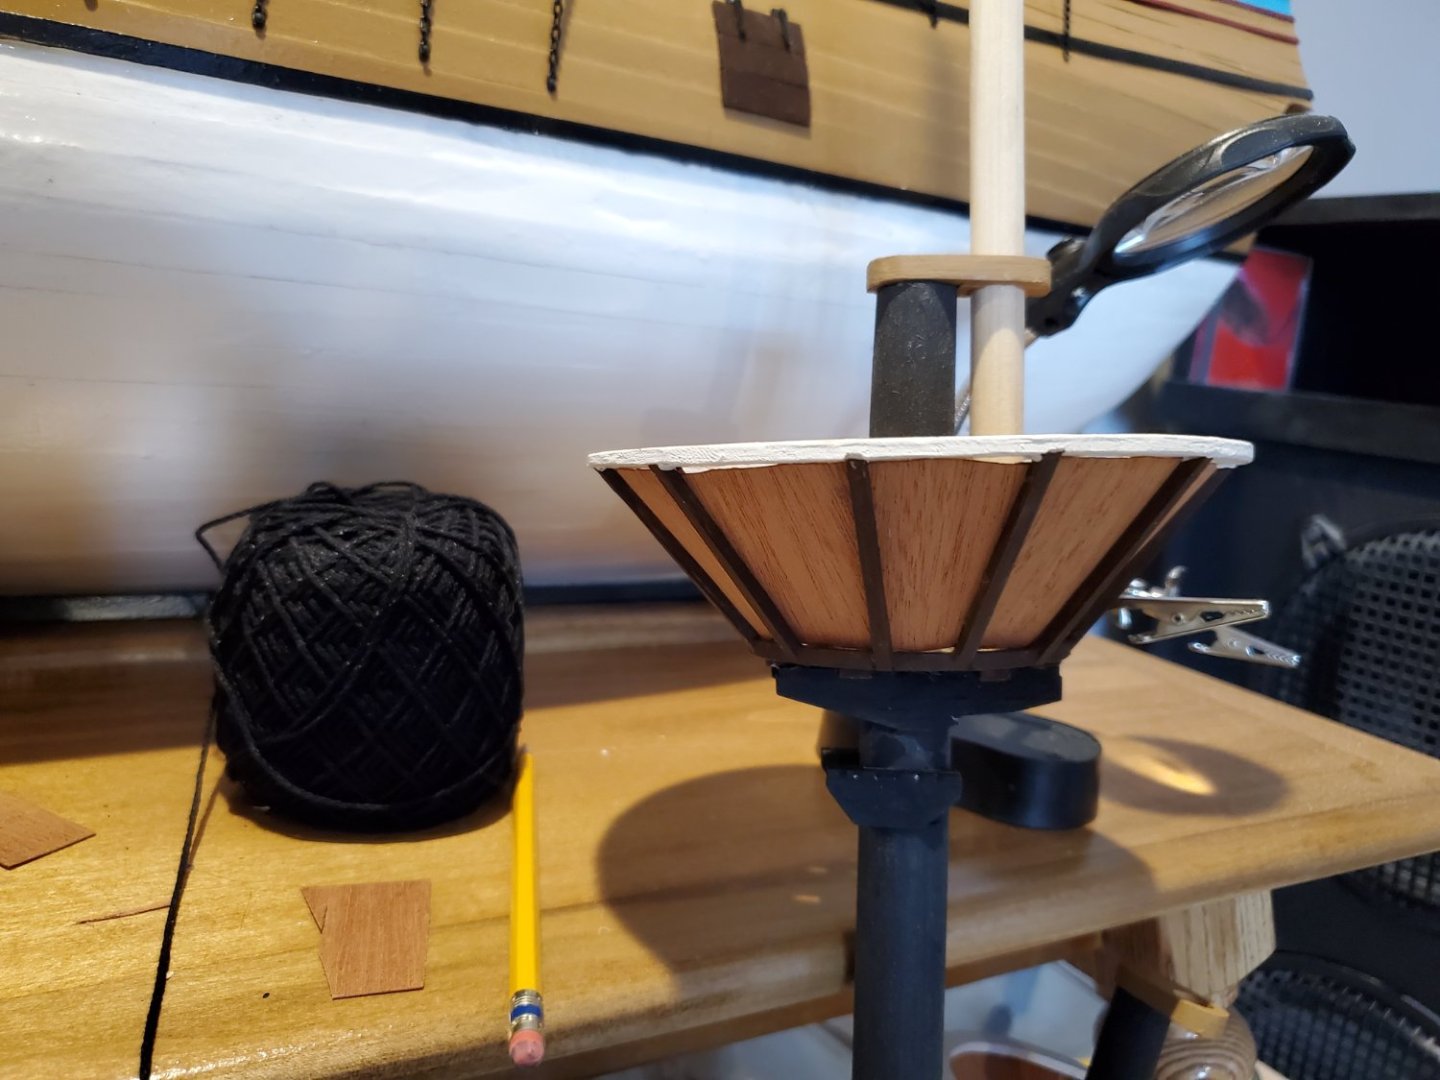
-
Mayflower by tj456 - 1/19 scale
tj456 replied to tj456's topic in - Build logs for subjects built 1501 - 1750
I rebuilt the deadeyes. I tried to make triangular ones but they just didn't look nice, so I'm going with the round ones. It may not be historically correct but I don't care as this is for display.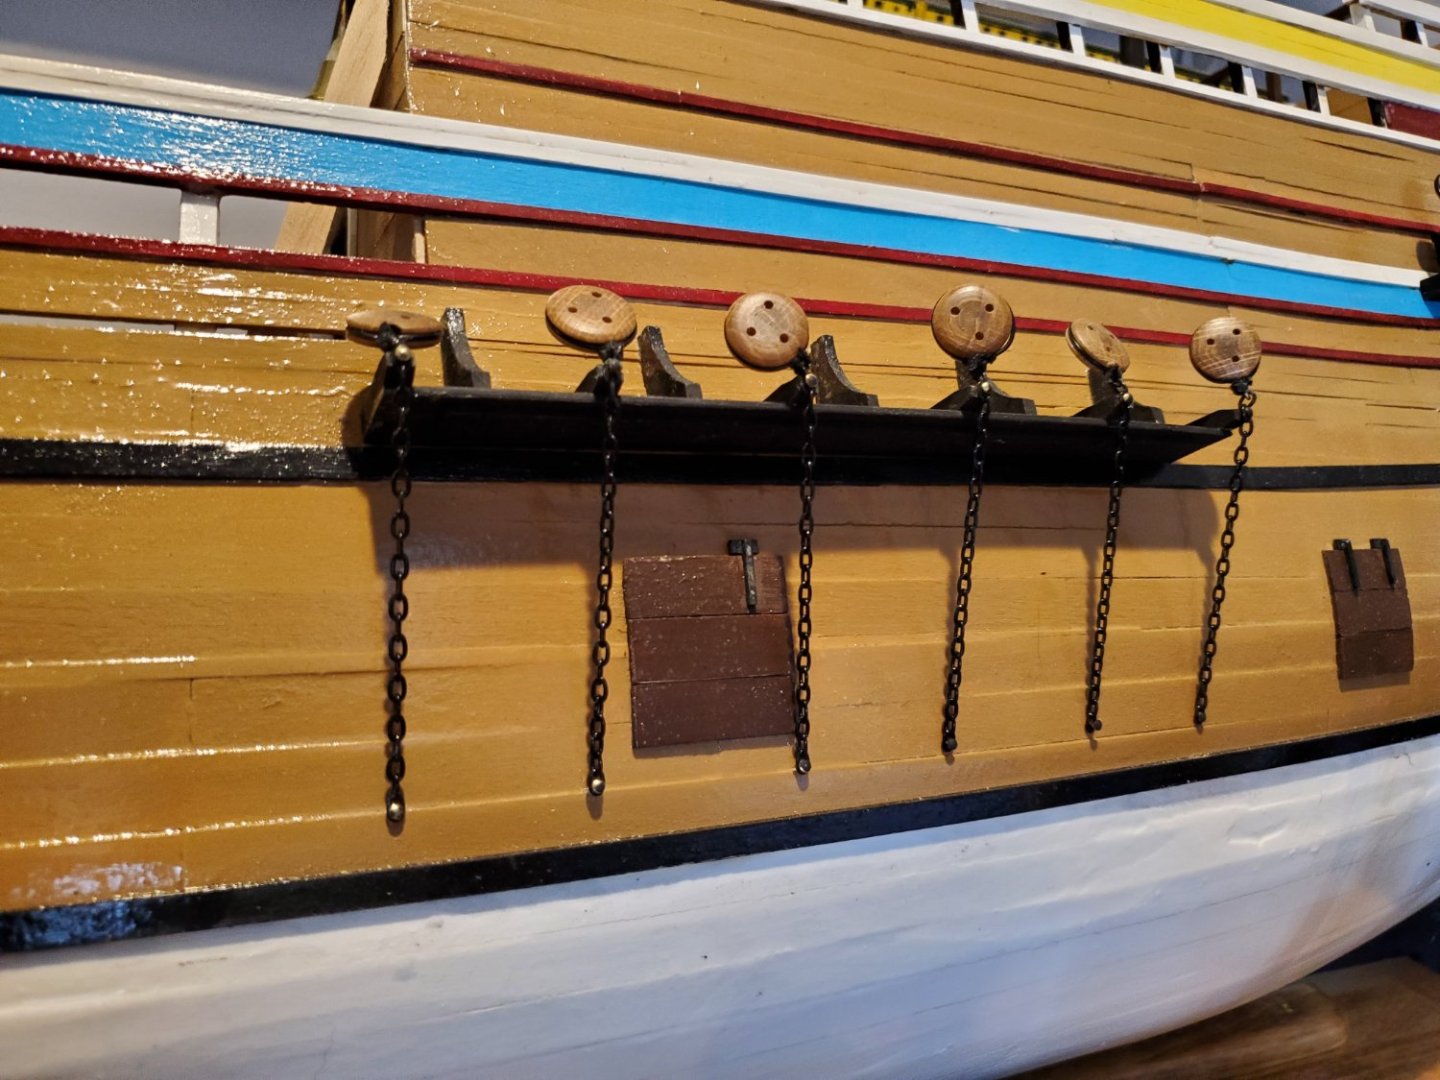

-
Mayflower by tj456 - 1/19 scale
tj456 replied to tj456's topic in - Build logs for subjects built 1501 - 1750
Too high above the channel? Please explain. Also every ship I've seen has round or oval deadeyes. The ones on the Constitution in Boston are almost round and the size of a person's head. -
Mayflower by tj456 - 1/19 scale
tj456 replied to tj456's topic in - Build logs for subjects built 1501 - 1750
It's been slow work. Deadeyes are hard to make, and now half of the 28 are done and in.
-
Mayflower by tj456 - 1/19 scale
tj456 replied to tj456's topic in - Build logs for subjects built 1501 - 1750
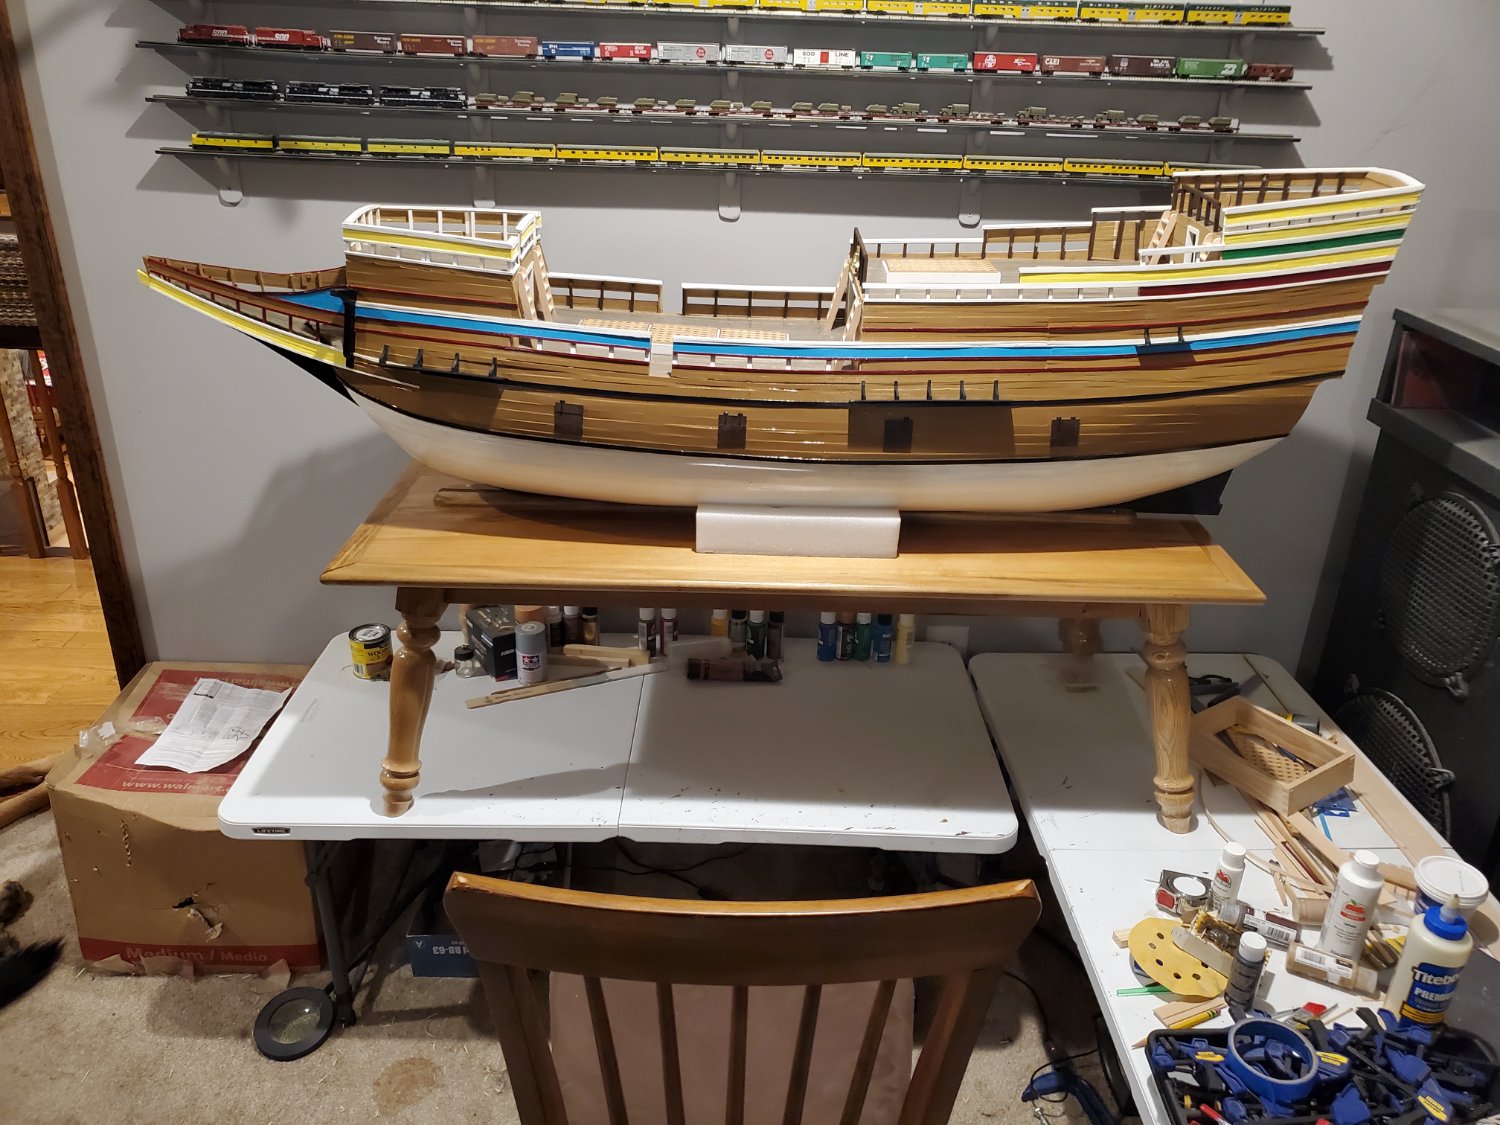
Here's the model on the stand I made. The white styrofoam is of course temporary until I make proper cradles. I've been busy the last 2 weeks clearcoating the model for protection.
-
Mayflower by tj456 - 1/19 scale
tj456 replied to tj456's topic in - Build logs for subjects built 1501 - 1750
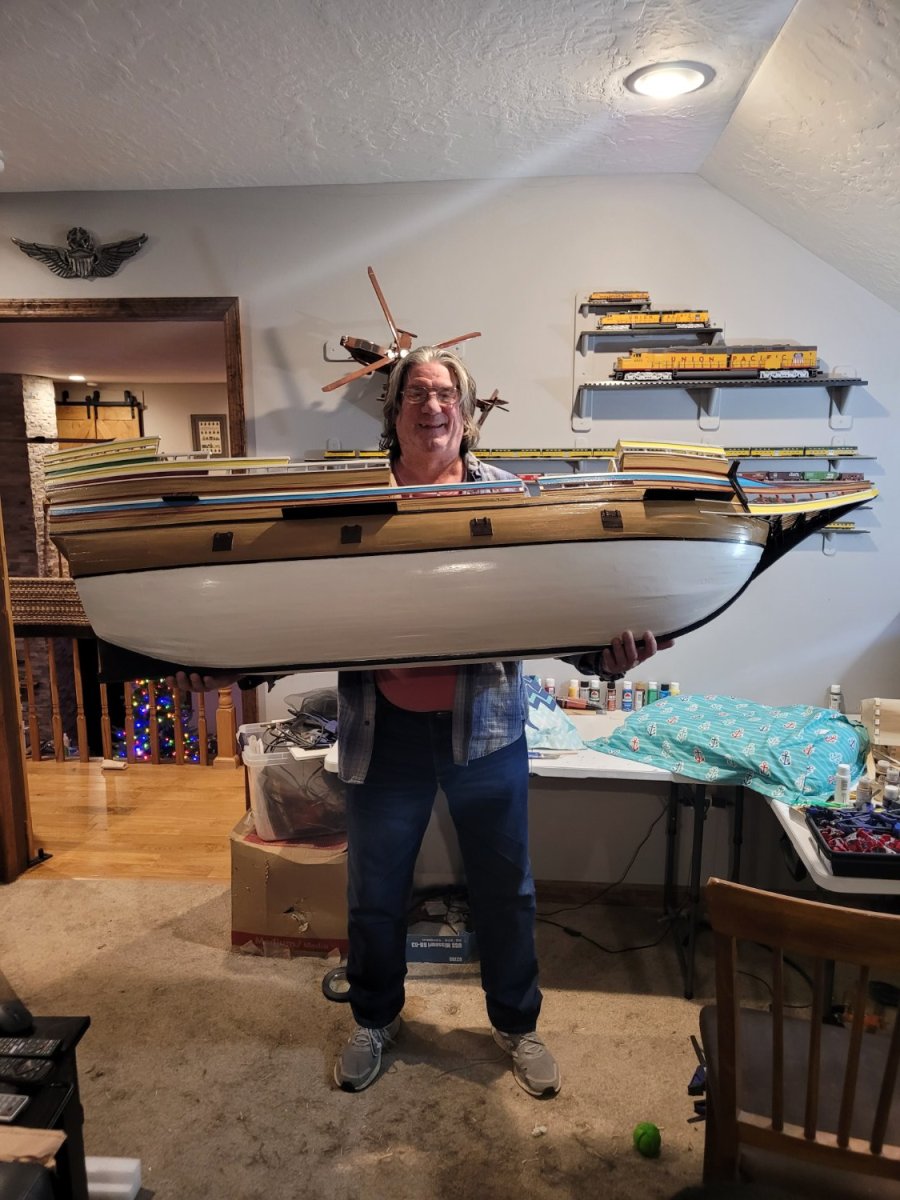
Here's a picture of the finished hull. I'm 6'1" which should give you an idea of the size.
-
Mayflower by tj456 - 1/19 scale
tj456 replied to tj456's topic in - Build logs for subjects built 1501 - 1750
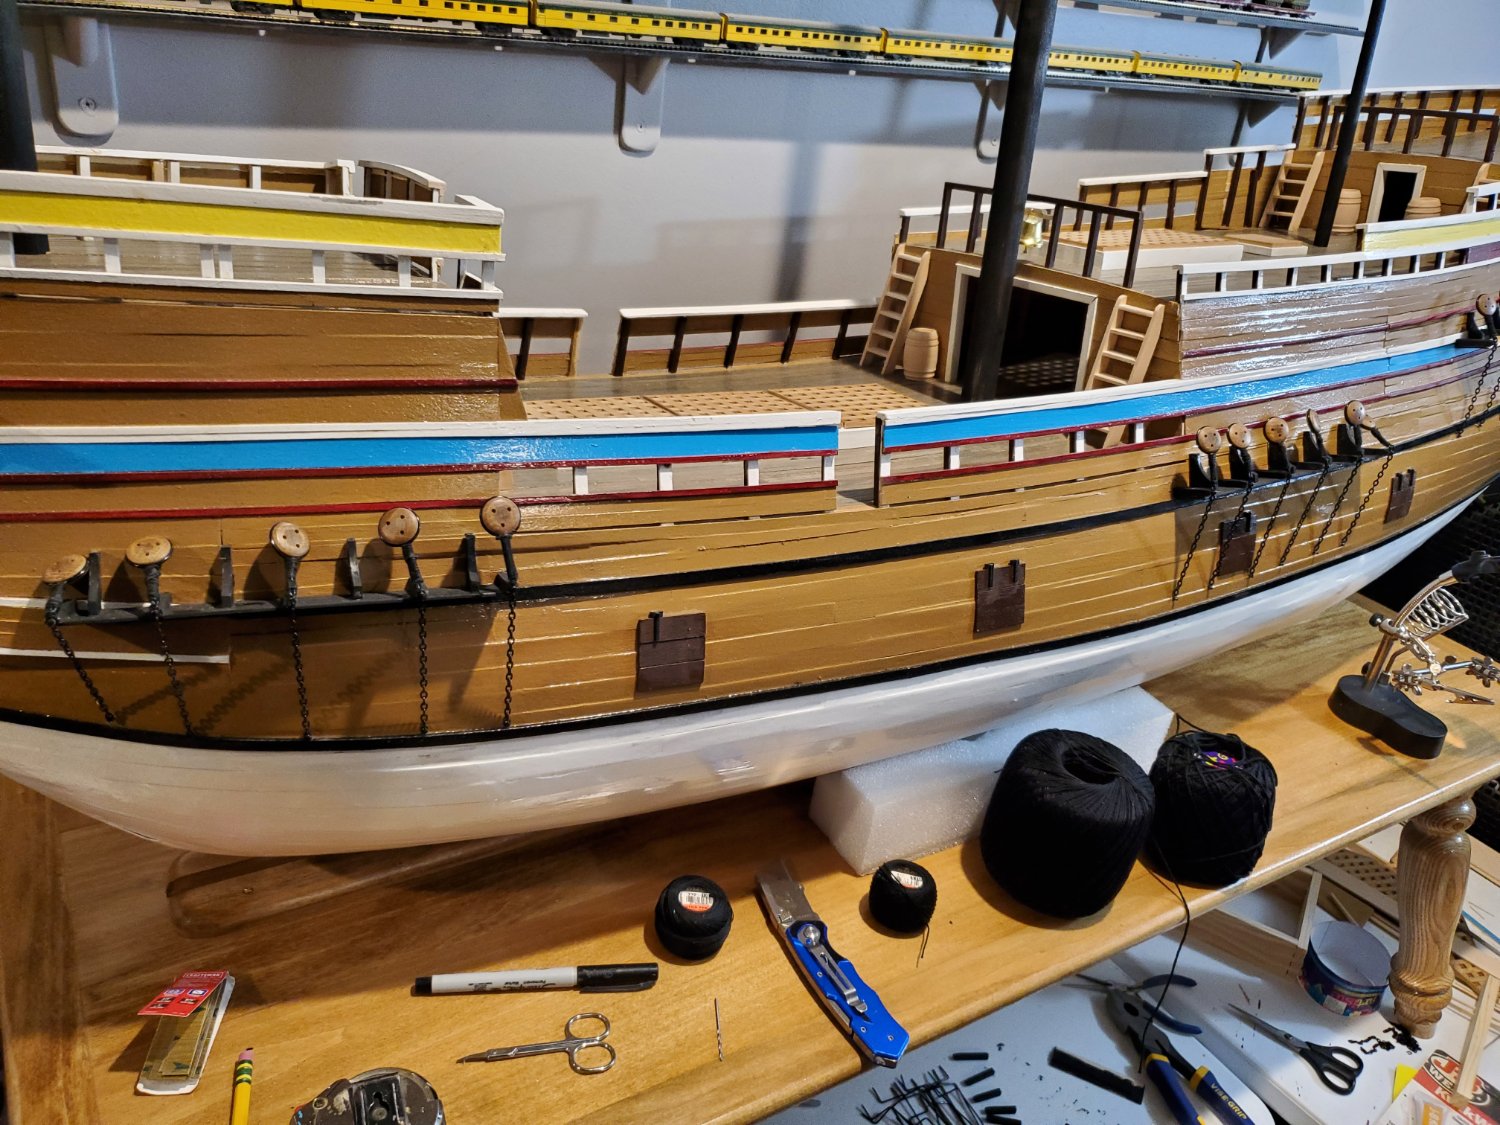
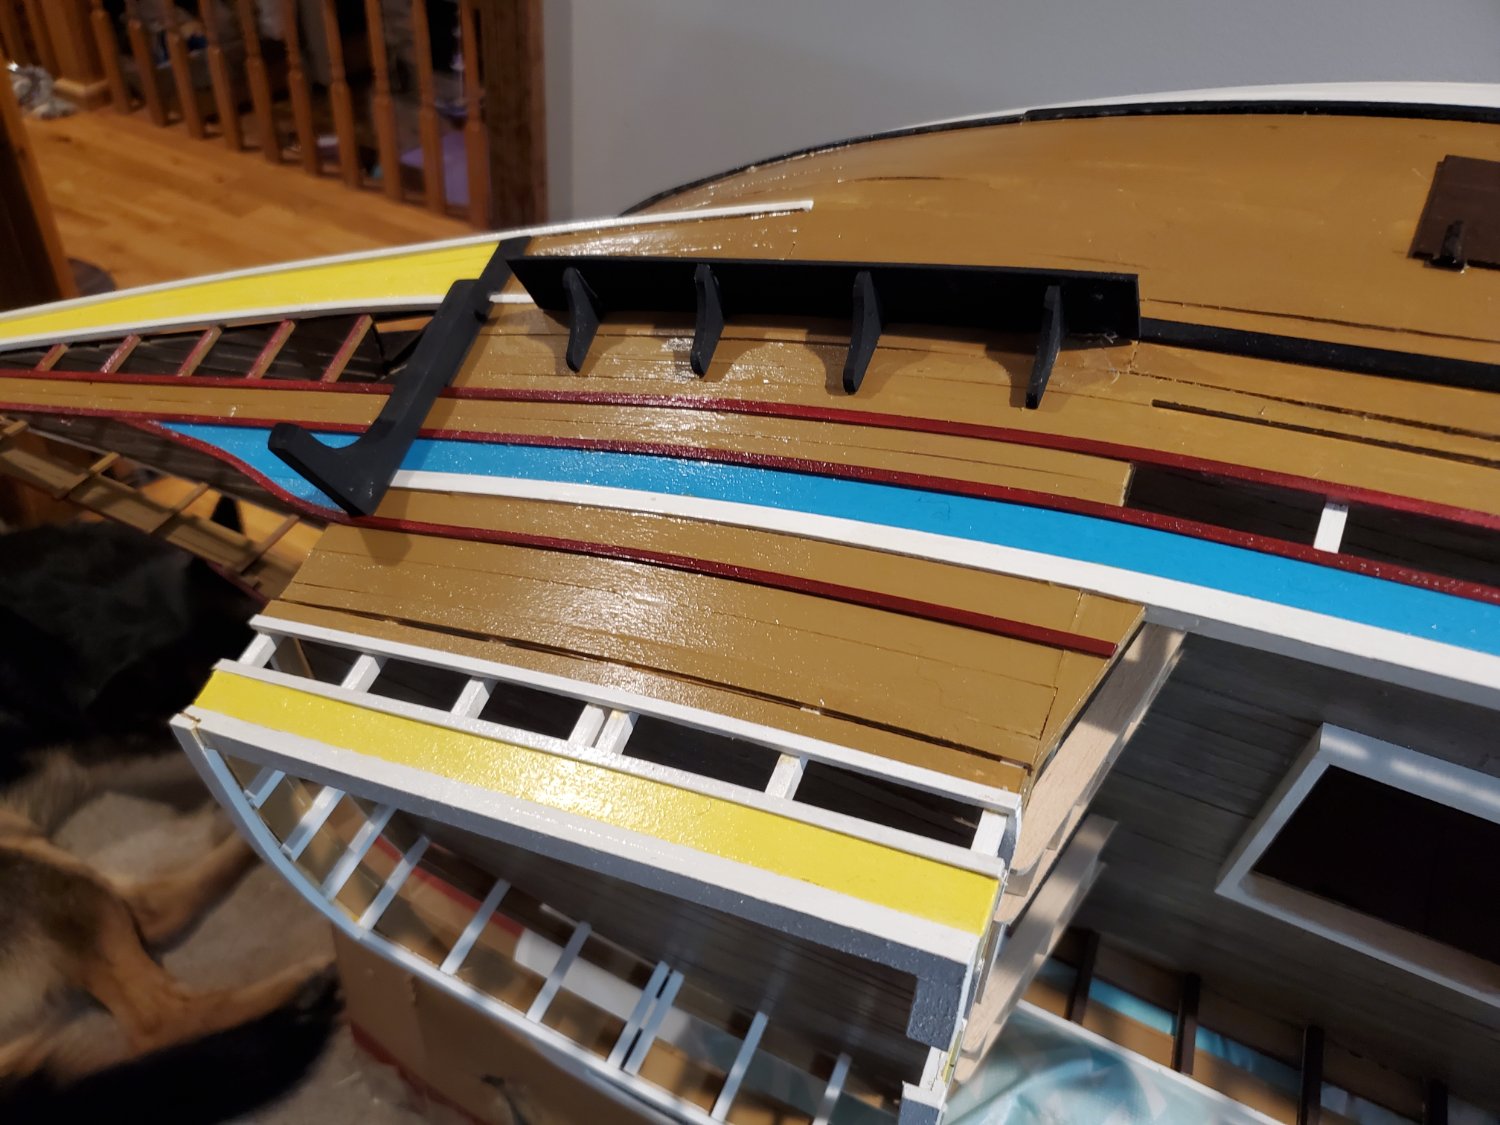
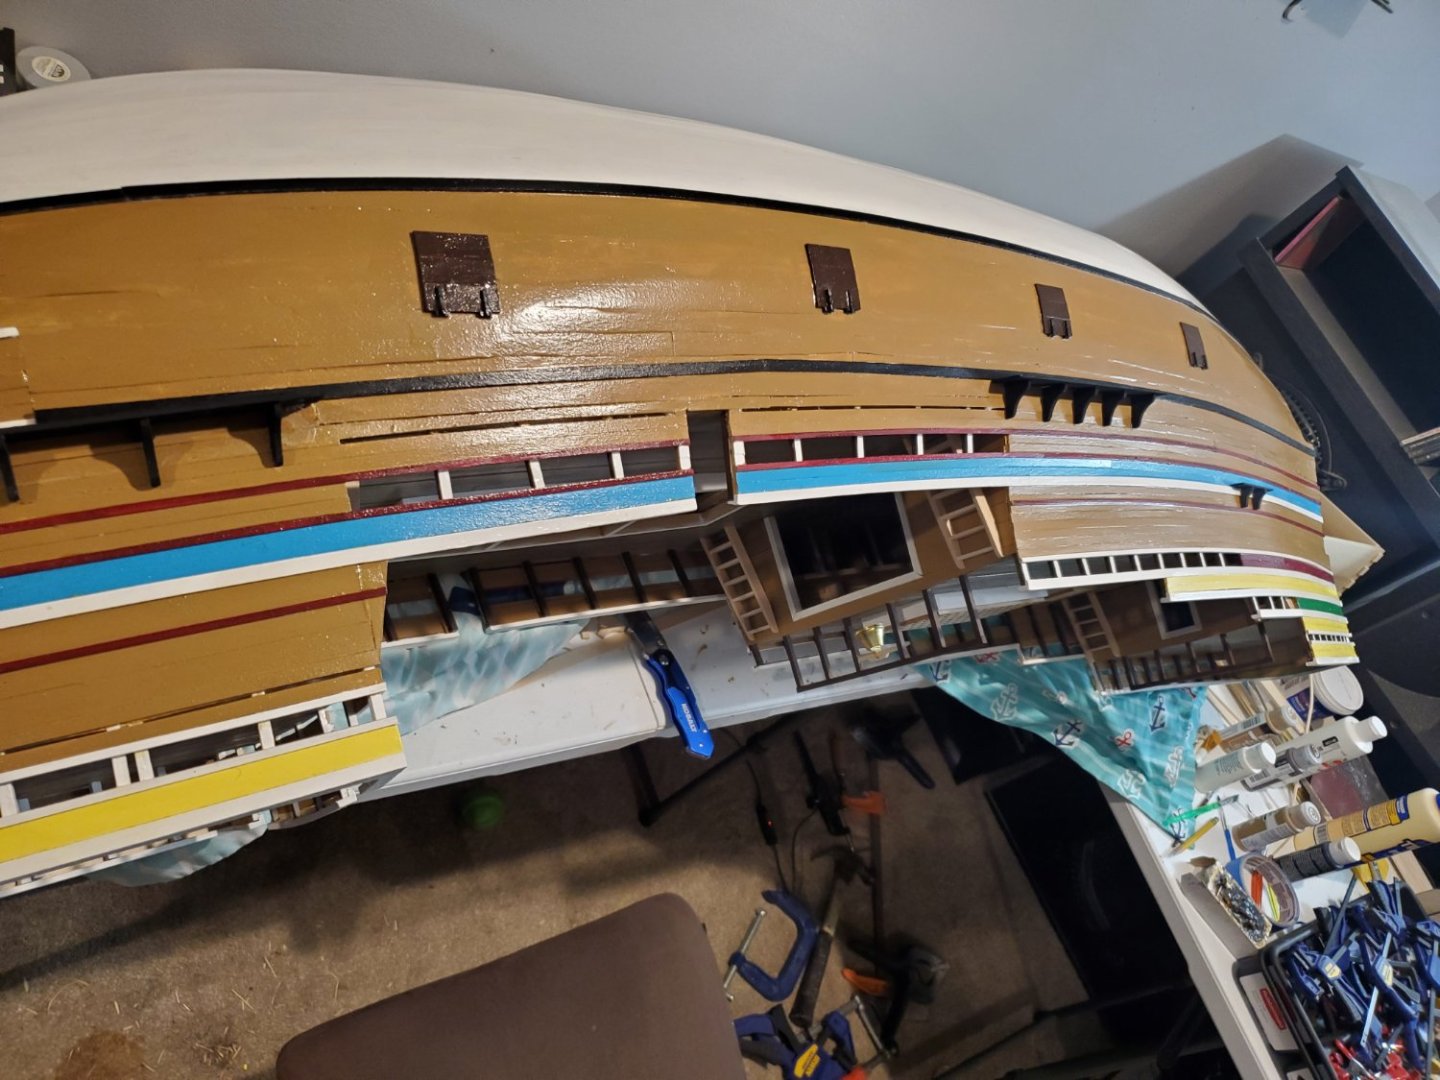
Final touches on the starboard side. Channels and a cathead. I'm also in the process of applying multiple clearcoats to protect the paint.
-
Mayflower by tj456 - 1/19 scale
tj456 replied to tj456's topic in - Build logs for subjects built 1501 - 1750
Starboard side done.
-
Mayflower by tj456 - 1/19 scale
tj456 replied to tj456's topic in - Build logs for subjects built 1501 - 1750
Final spackle and sanding. Painters tape removed and gun port locations roughed in. Starboard side done.

-
Mayflower by tj456 - 1/19 scale
tj456 replied to tj456's topic in - Build logs for subjects built 1501 - 1750
Final spackle and sanding. Painters tape removed and gun port locations roughed in.

-
Mayflower by tj456 - 1/19 scale
tj456 replied to tj456's topic in - Build logs for subjects built 1501 - 1750
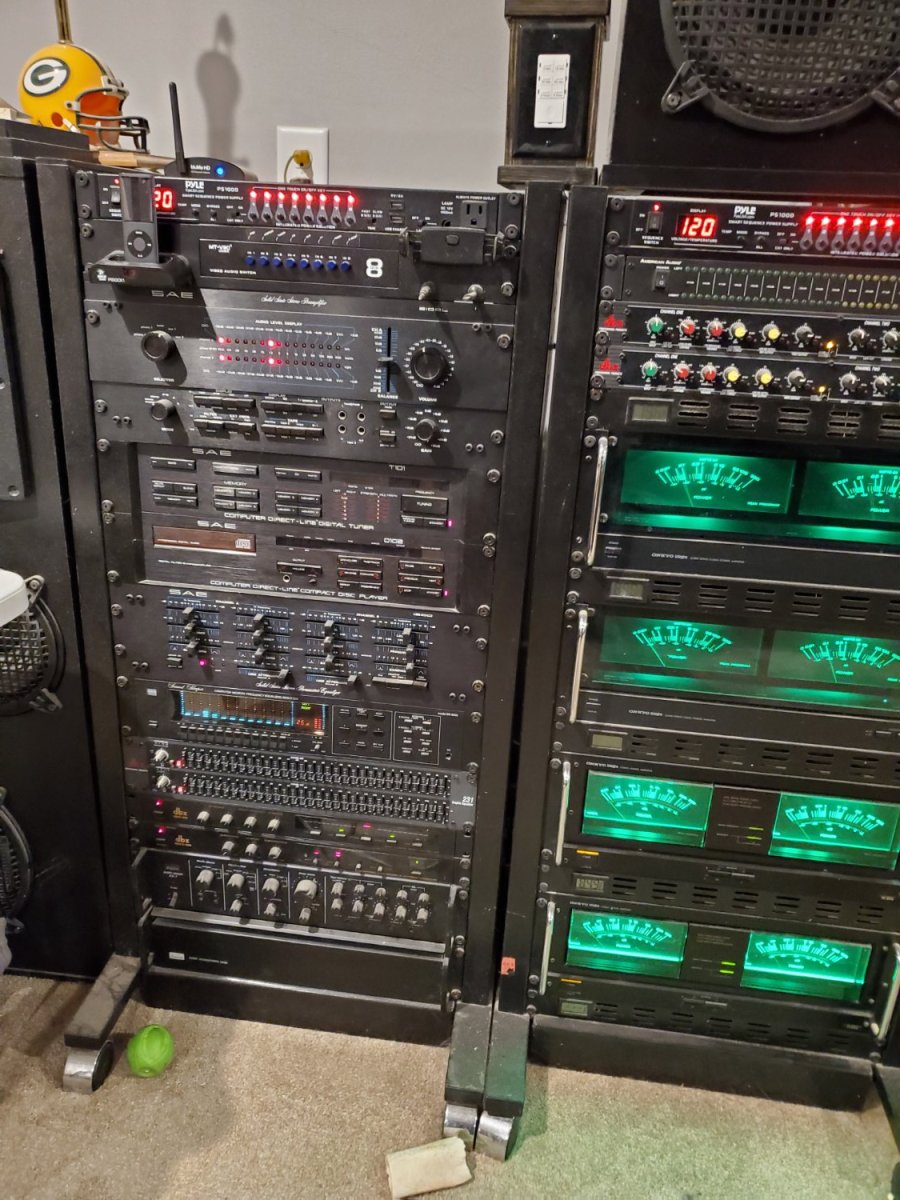
Off topic but both Dave and Yves commented. This is my sound system. Over 800 watts per channel and quad amped. The speakers are all JBL concert speakers. Yes this baby rocks!
-
Mayflower by tj456 - 1/19 scale
tj456 replied to tj456's topic in - Build logs for subjects built 1501 - 1750
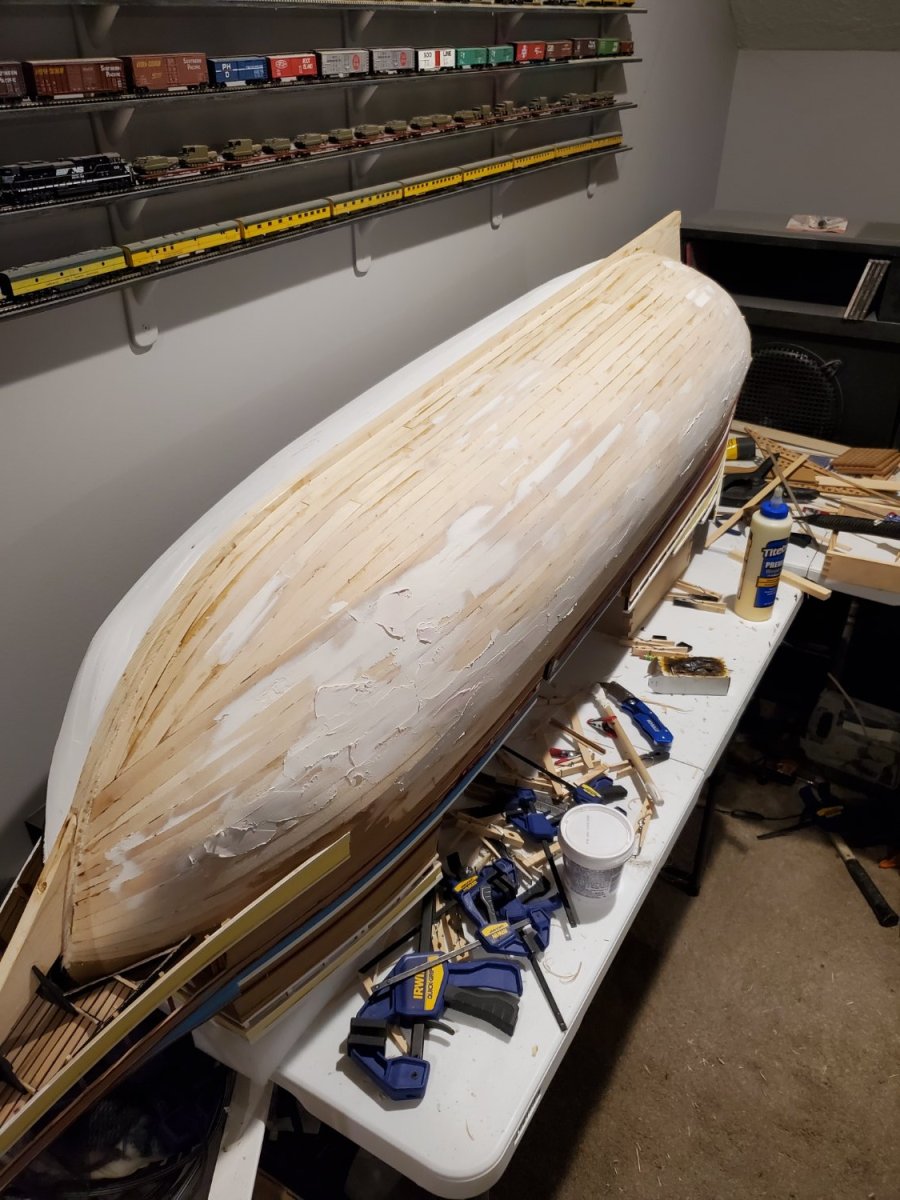
Here's the starboard side planked. The 2nd iteration of spackle is drying. The spackle hides my worst errors and when sanded properly still allows the planking lines to show like a real ship.
-
Mayflower by tj456 - 1/19 scale
tj456 replied to tj456's topic in - Build logs for subjects built 1501 - 1750
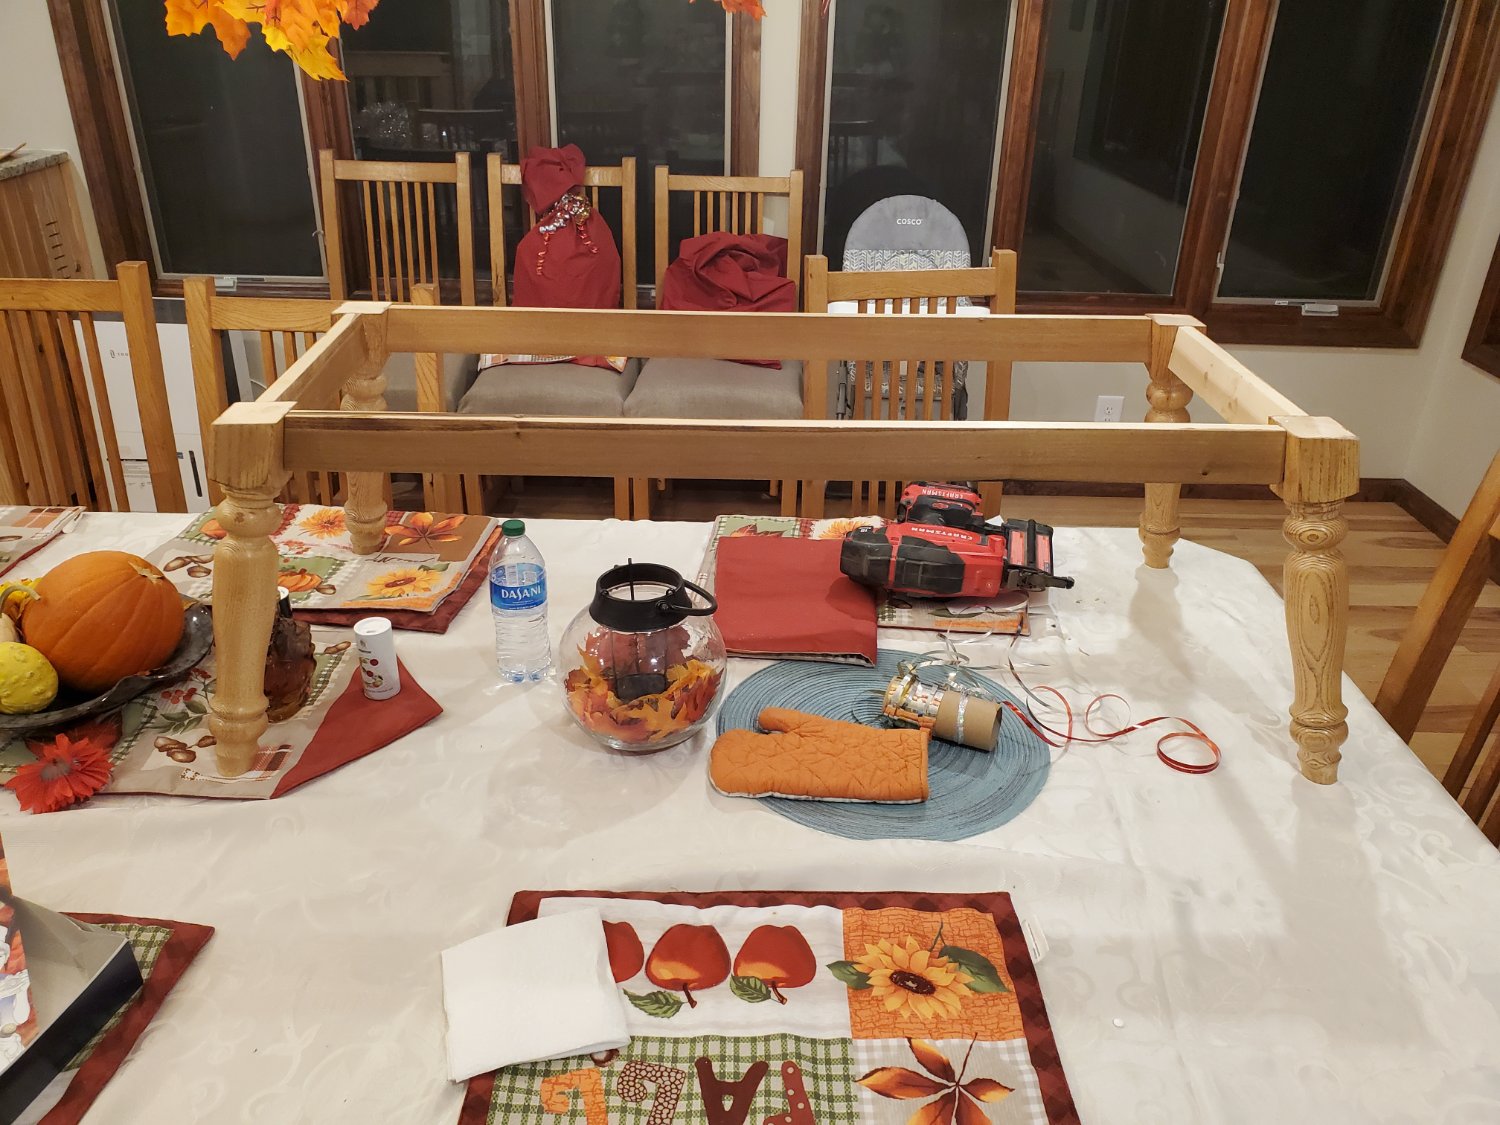
The stand so far. Hahaha. Yes she was worried about her tablecloth but I told her it was prestained and just glue drying
-
Mayflower by tj456 - 1/19 scale
tj456 replied to tj456's topic in - Build logs for subjects built 1501 - 1750
The stand so far. Hahaha. Yes she was worried about her tablecloth but I told her it was prestained and just glue drying
-
Mayflower by tj456 - 1/19 scale
tj456 replied to tj456's topic in - Build logs for subjects built 1501 - 1750
The stand so far.
-
Mayflower by tj456 - 1/19 scale
tj456 replied to tj456's topic in - Build logs for subjects built 1501 - 1750

-
Mayflower by tj456 - 1/19 scale
tj456 replied to tj456's topic in - Build logs for subjects built 1501 - 1750
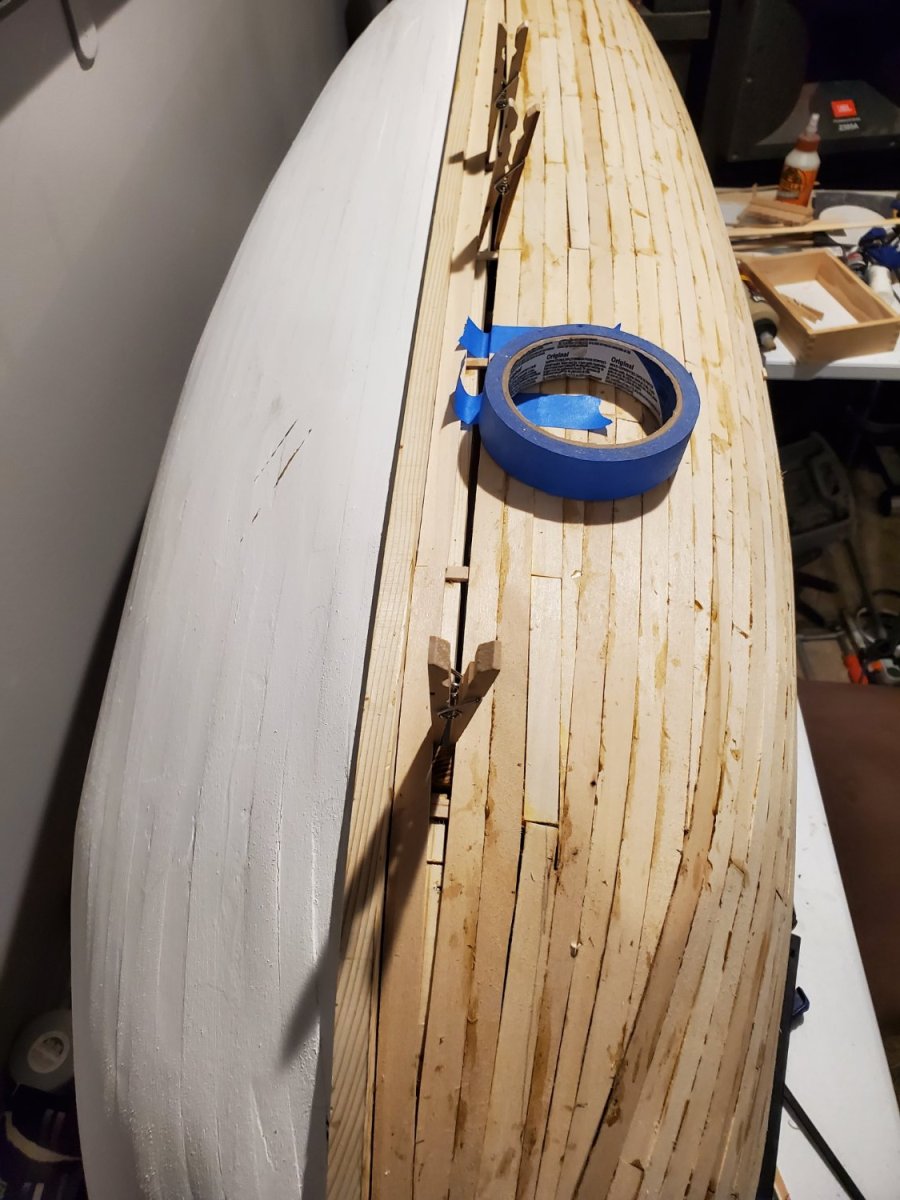
Almost done.... that last plank is always the hardest. -
Mayflower by tj456 - 1/19 scale
tj456 replied to tj456's topic in - Build logs for subjects built 1501 - 1750
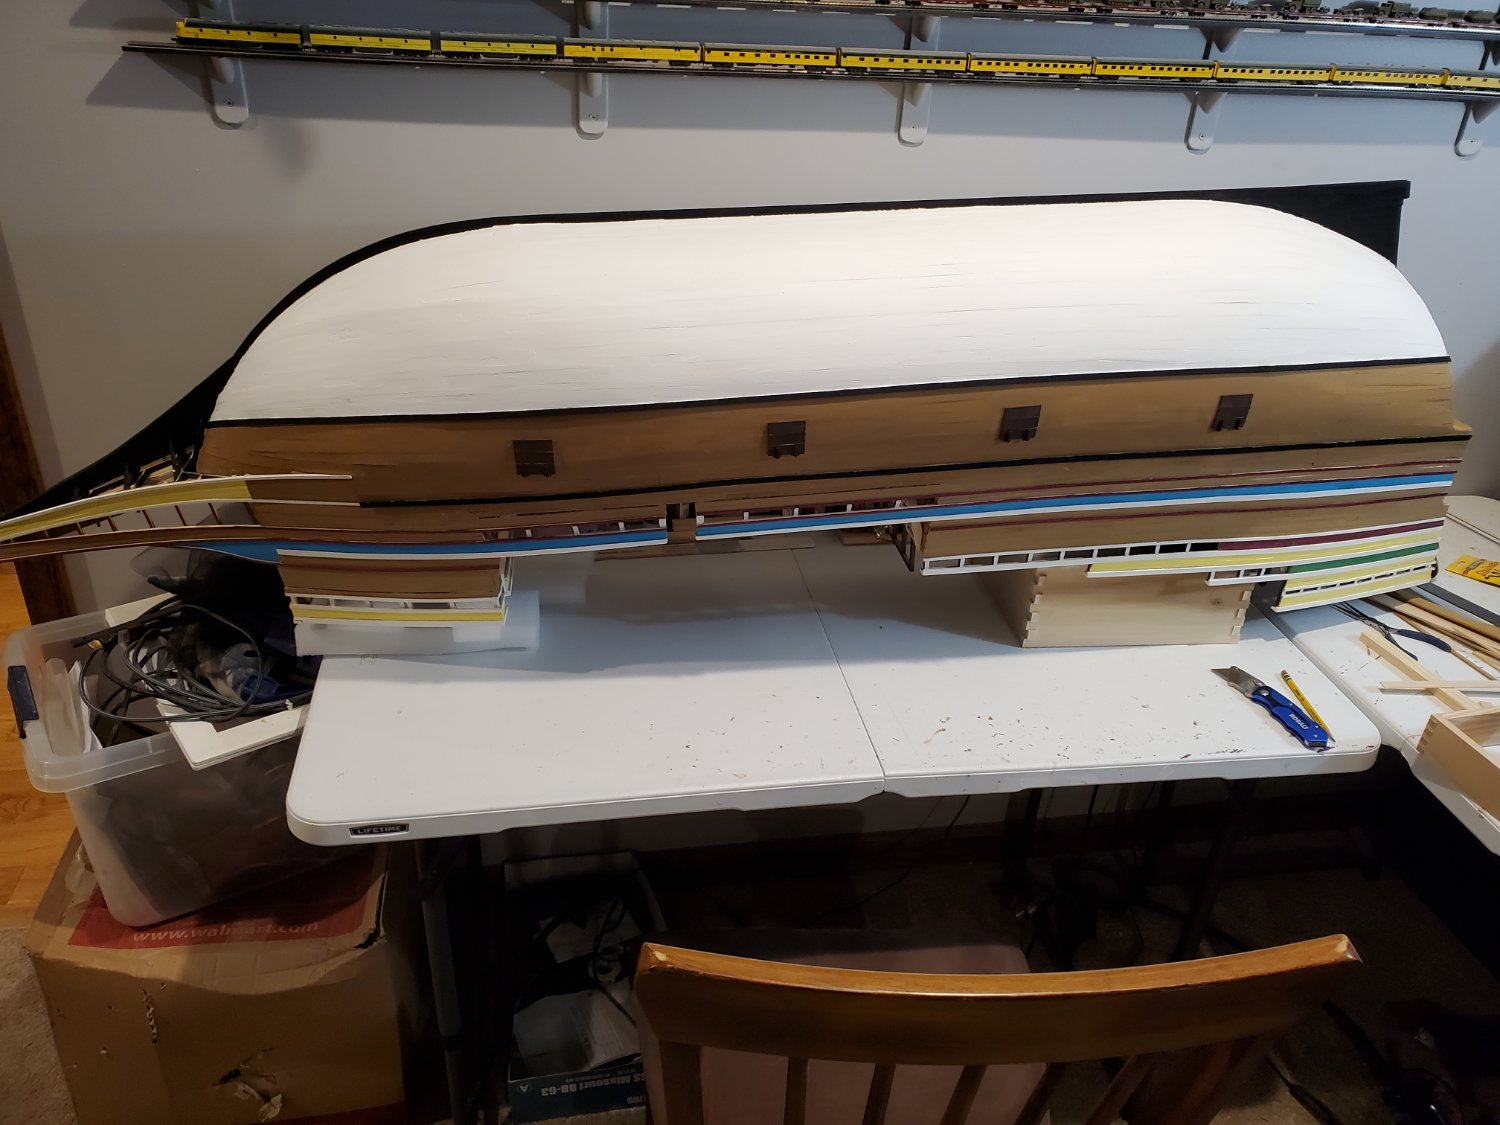
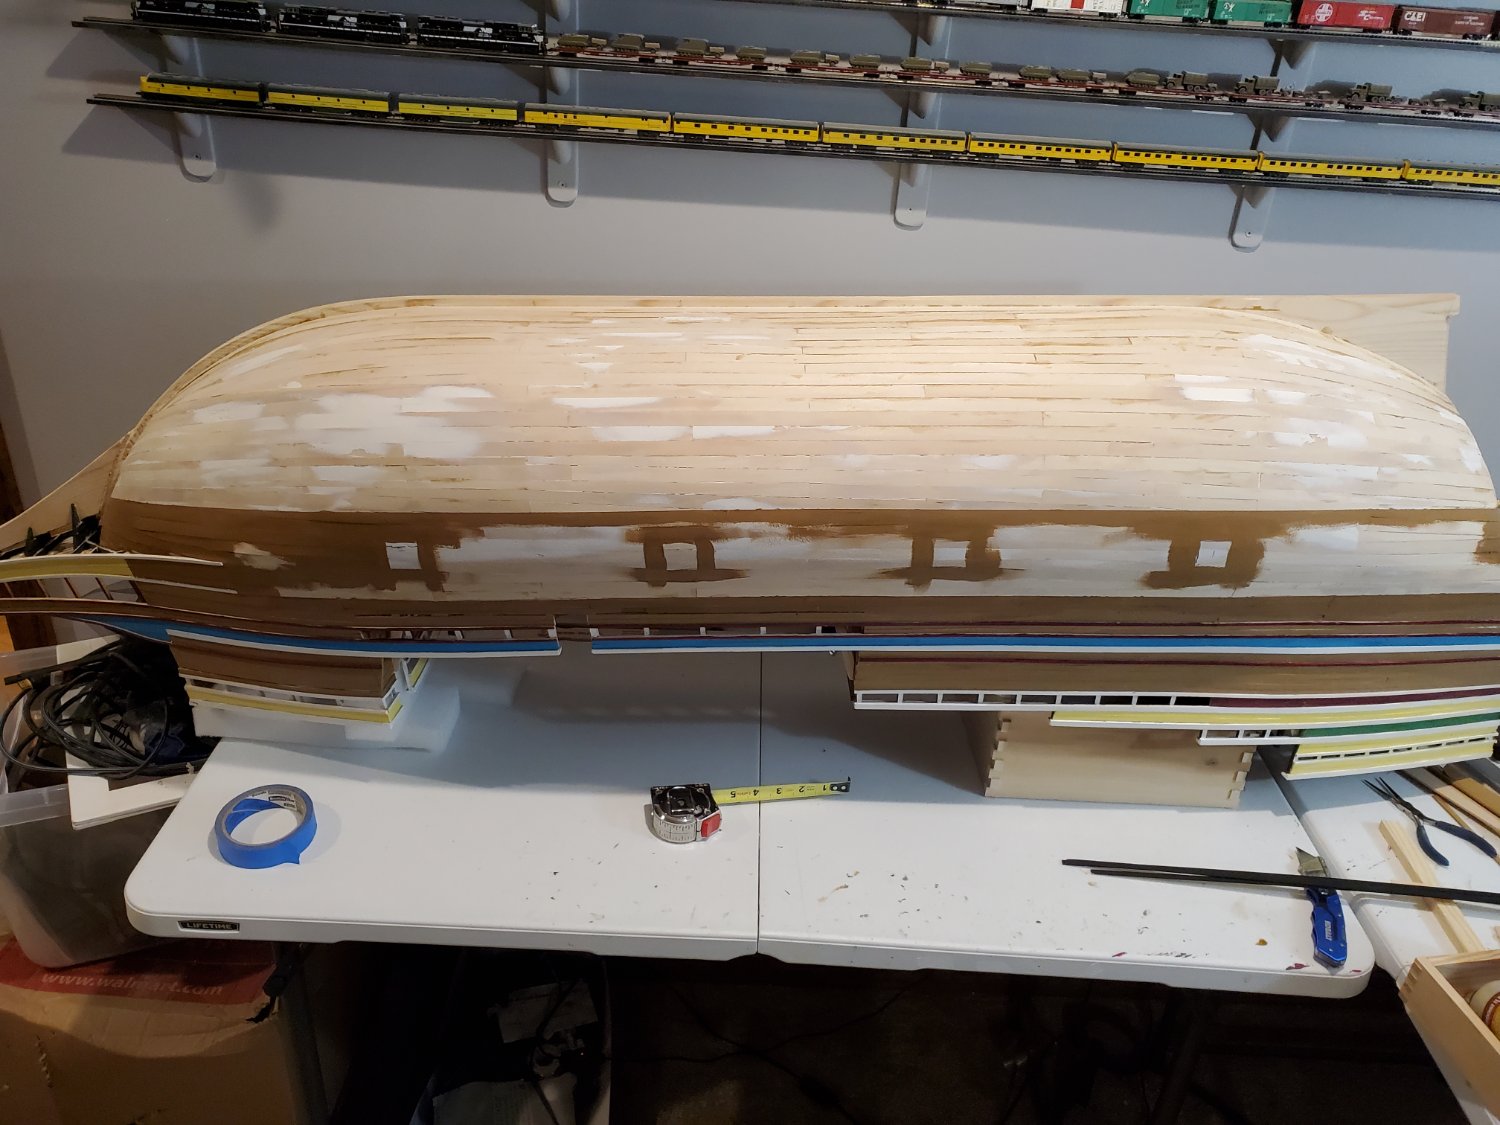
Now that the topside is done it's planking time. It's almost time to flip the hull up side down ... luckily I kept some Styrofoam and foam rubber to cushion the hull. Unlike the port side I'm going to completely plank this side before painting and detailing. The black lines will be 1/16 x 1/4 strips so the paint lines should be nice and crisp. I've also started on the stand which due to the height of the model will only be about 17 inches high.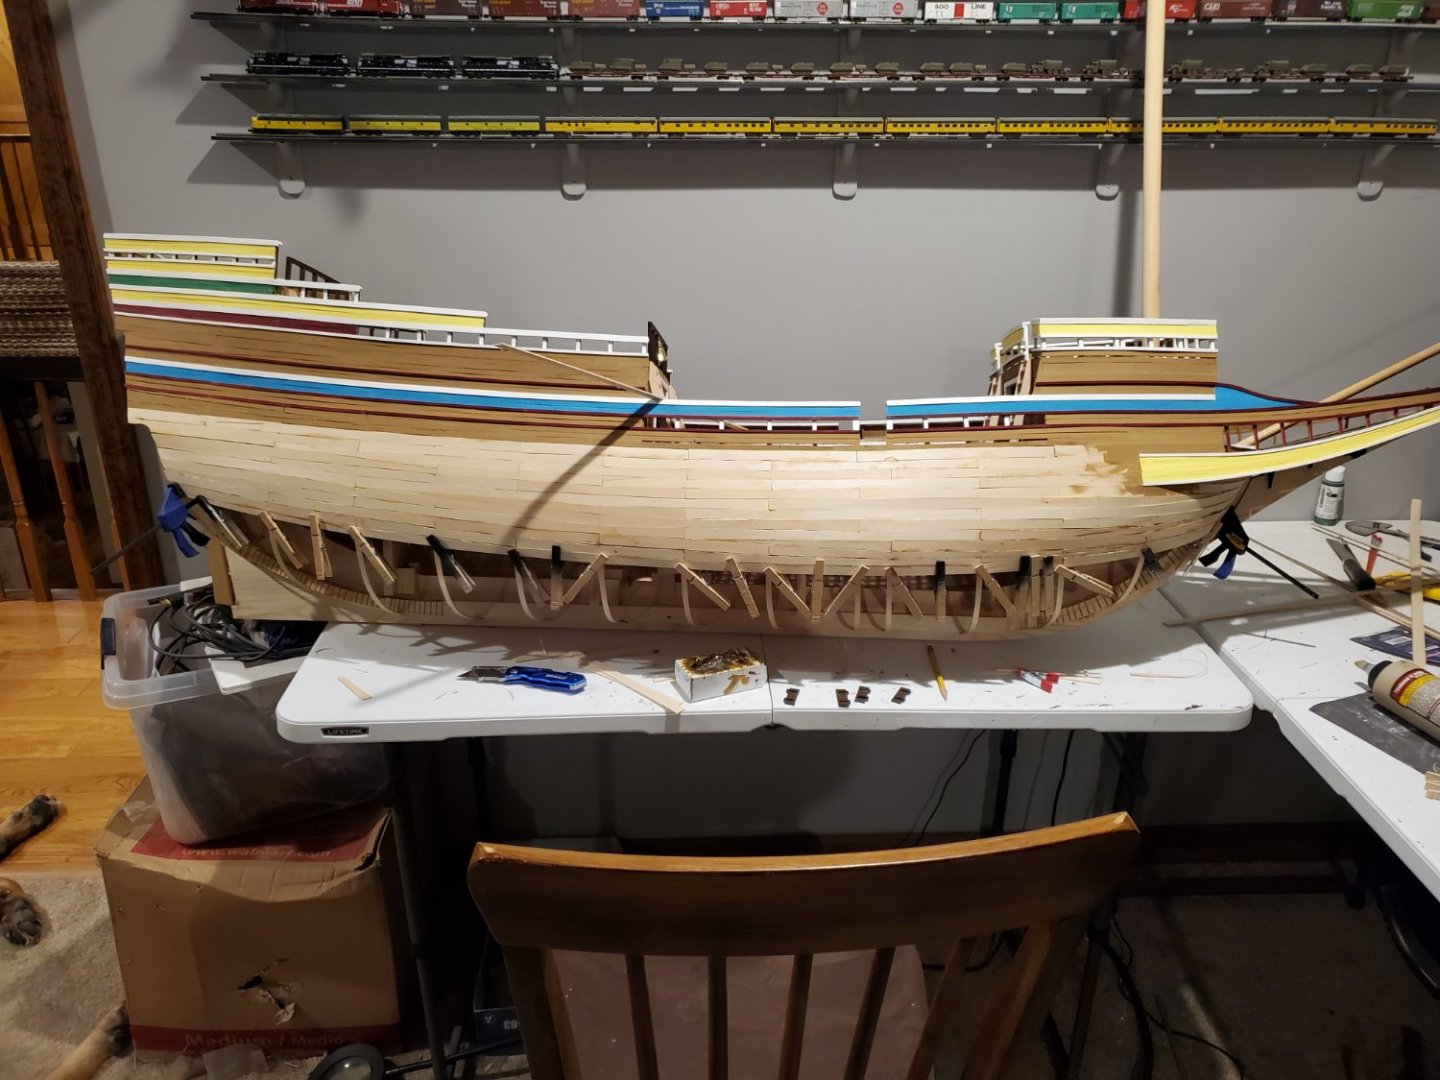
-
Mayflower by tj456 - 1/19 scale
tj456 replied to tj456's topic in - Build logs for subjects built 1501 - 1750
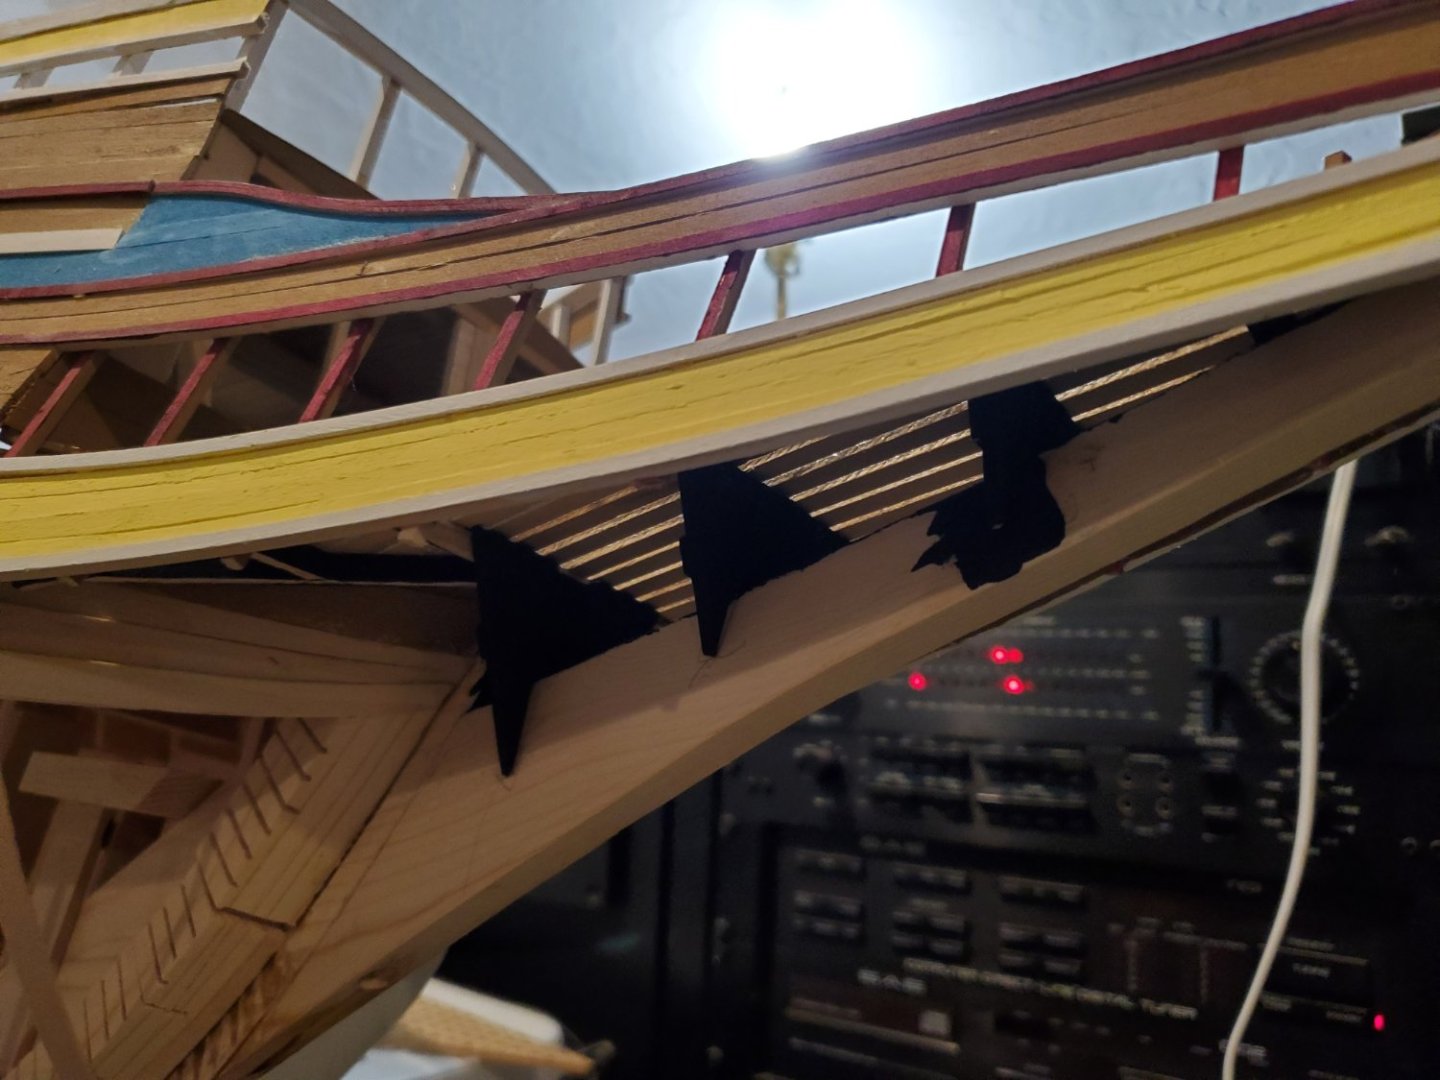
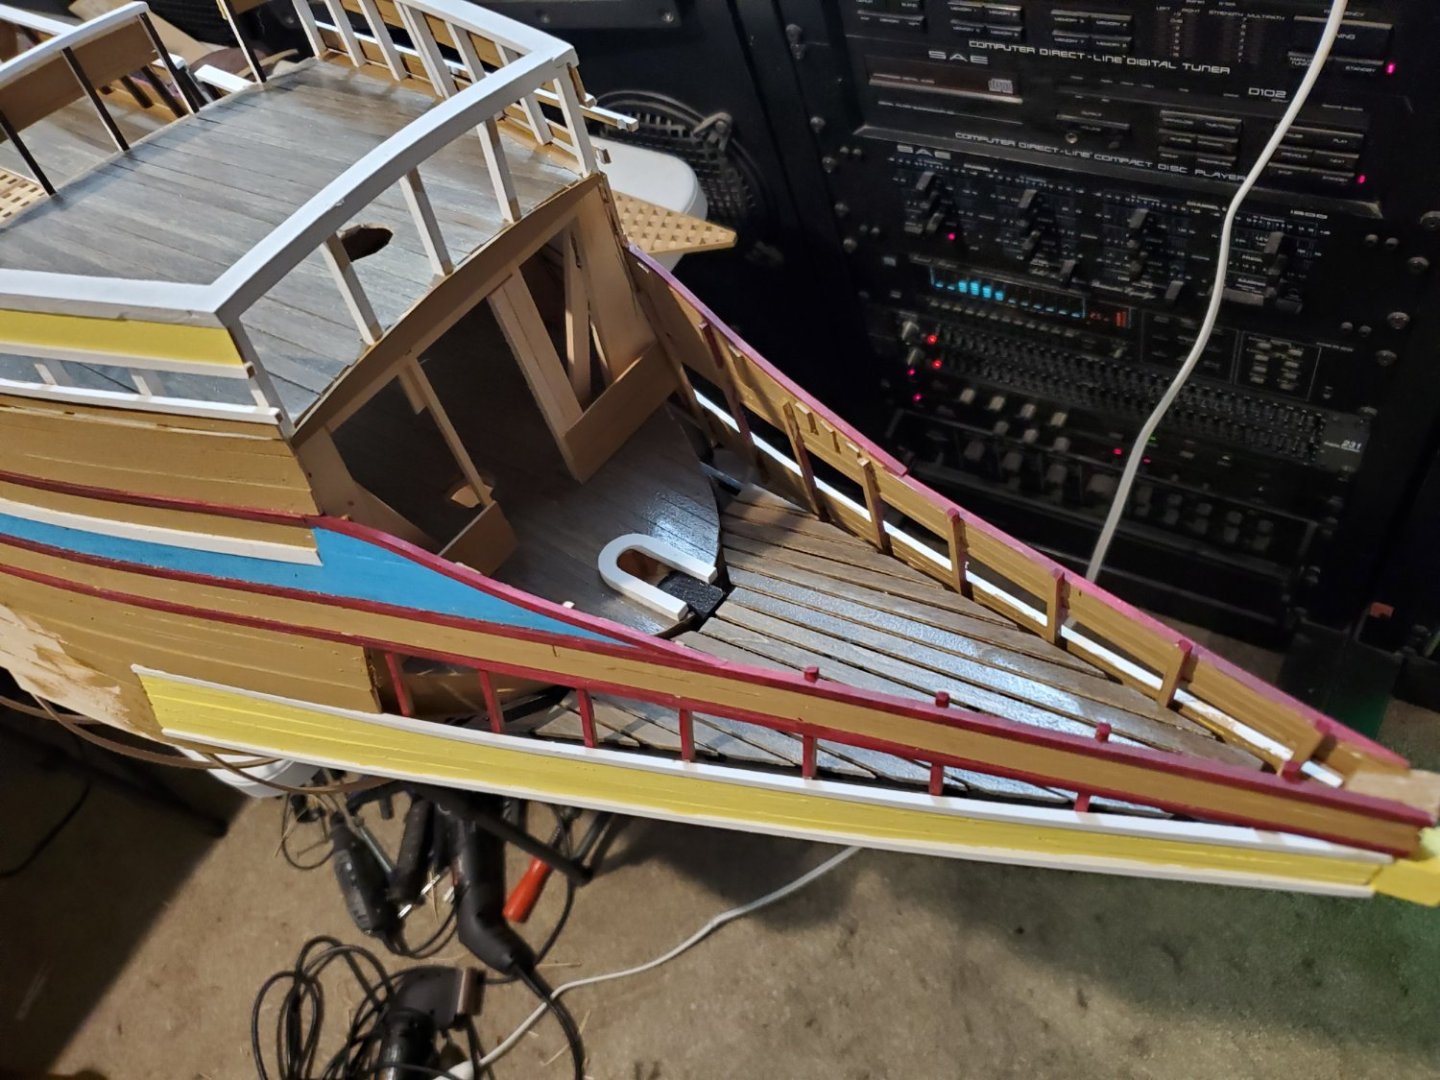
Here's a view showing the rear of the forecastle.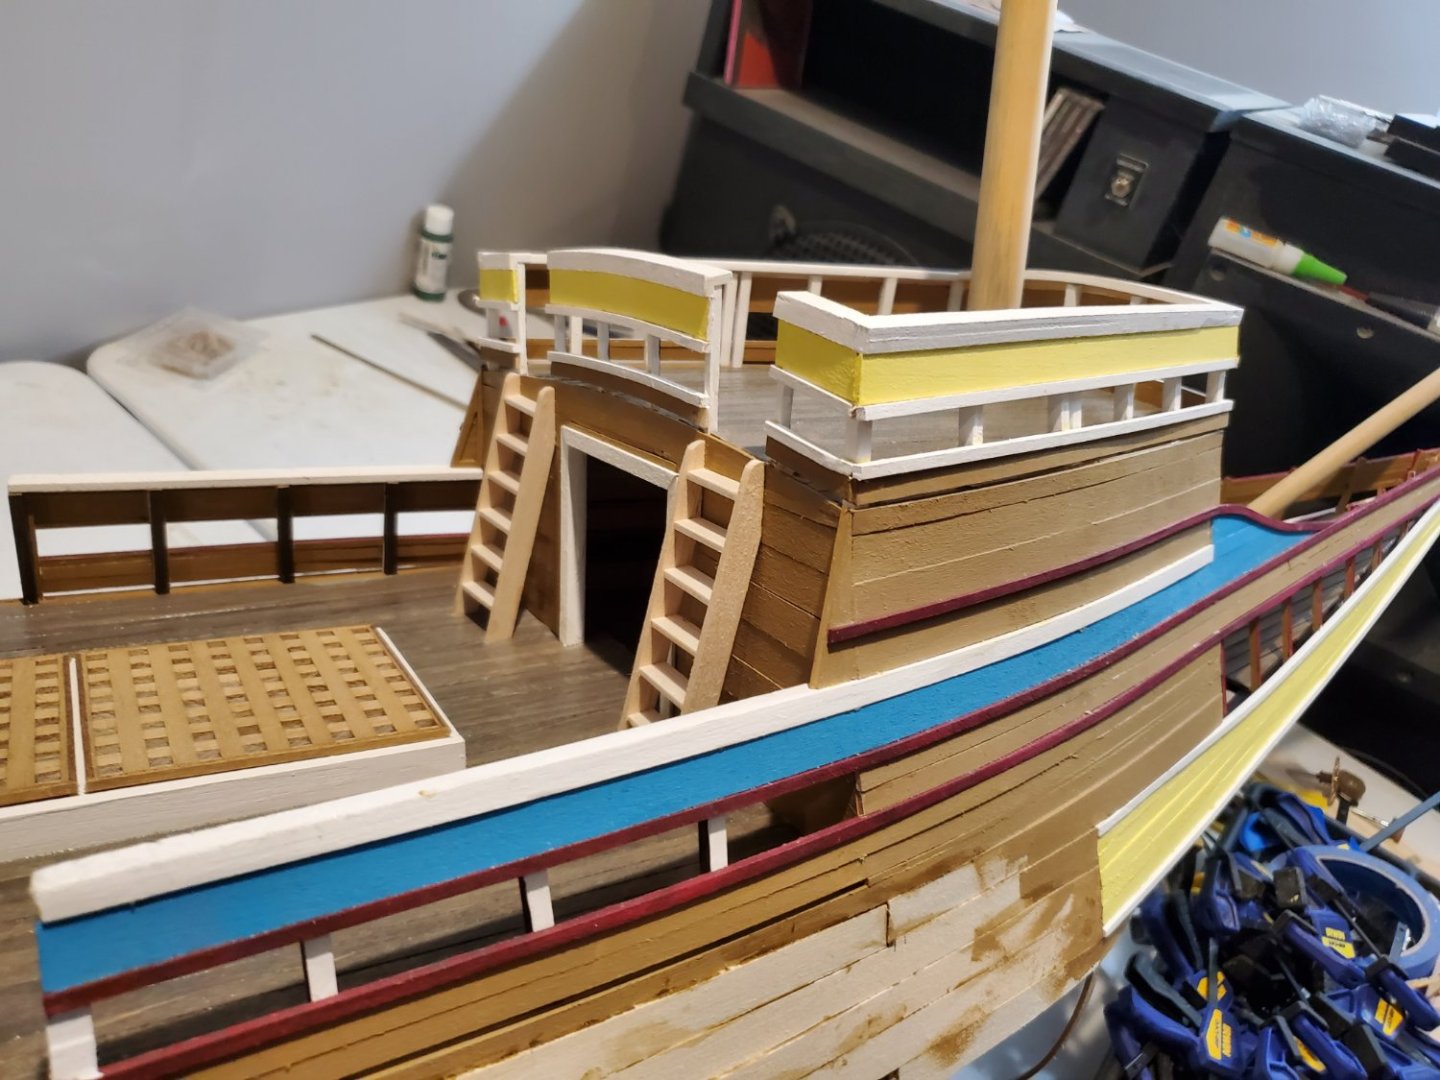
-
Mayflower by tj456 - 1/19 scale
tj456 replied to tj456's topic in - Build logs for subjects built 1501 - 1750
The bow section is complete! Forecastle is also complete! The bowsprit and foremast are temporary at this point.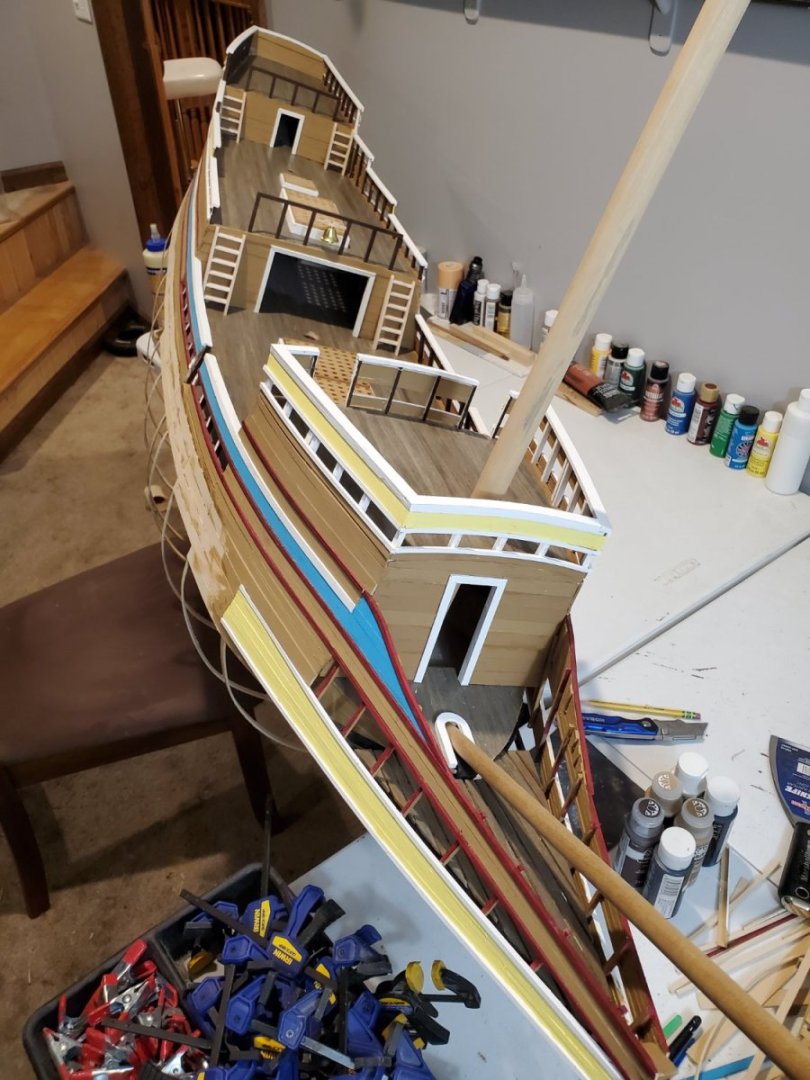
-
Mayflower by tj456 - 1/19 scale
tj456 replied to tj456's topic in - Build logs for subjects built 1501 - 1750
The prow is done and now working on finishing the forecastle.
-
Mayflower by tj456 - 1/19 scale
tj456 replied to tj456's topic in - Build logs for subjects built 1501 - 1750
One more picture. This is before planking and paint.