Brumby
-
Posts
3 -
Joined
-
Last visited
-
 Balclutha75 reacted to a post in a topic:
Viking Drakkar by Brumby - Disarmodel - 1:48
Balclutha75 reacted to a post in a topic:
Viking Drakkar by Brumby - Disarmodel - 1:48
-
Knocklouder reacted to a post in a topic:
Viking Drakkar by Brumby - Disarmodel - 1:48
-
ccoyle reacted to a post in a topic:
Viking Drakkar by Brumby - Disarmodel - 1:48
-
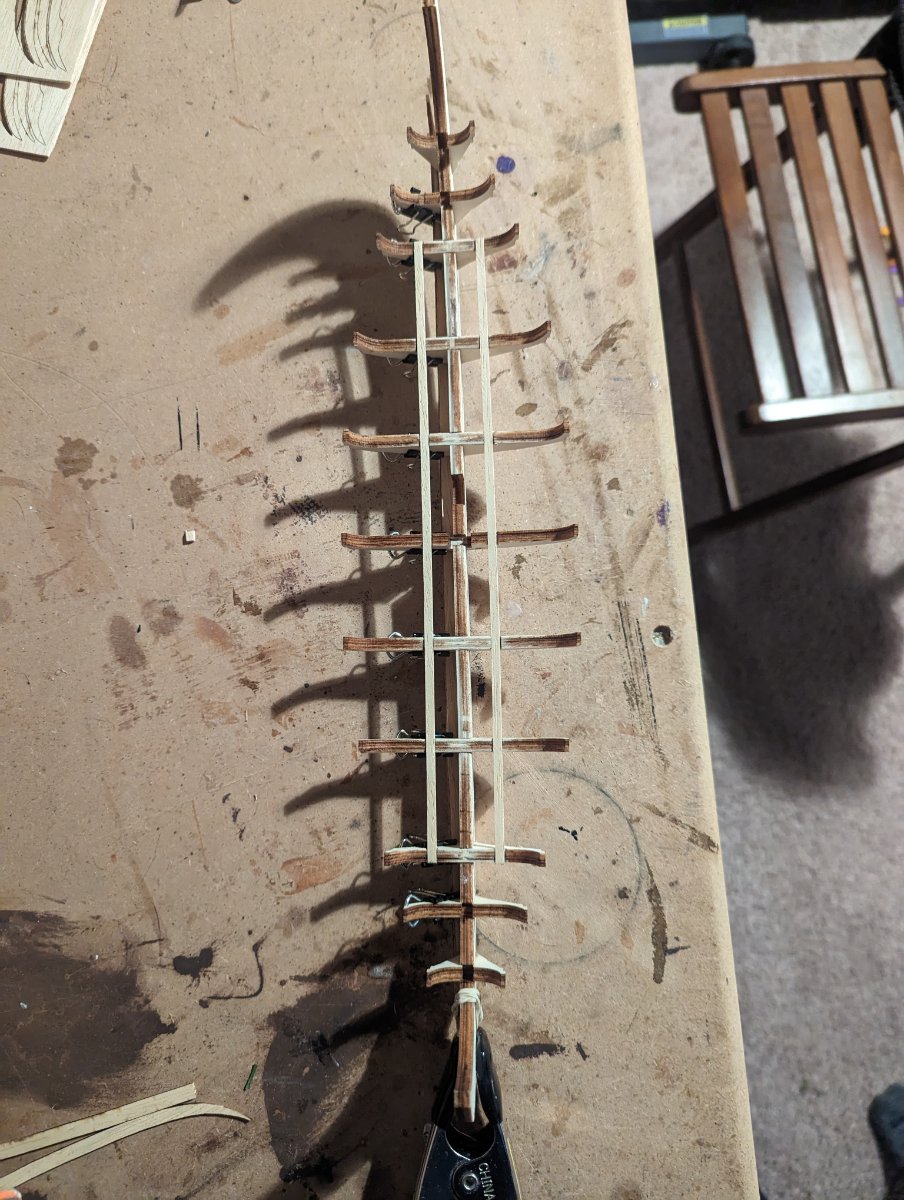
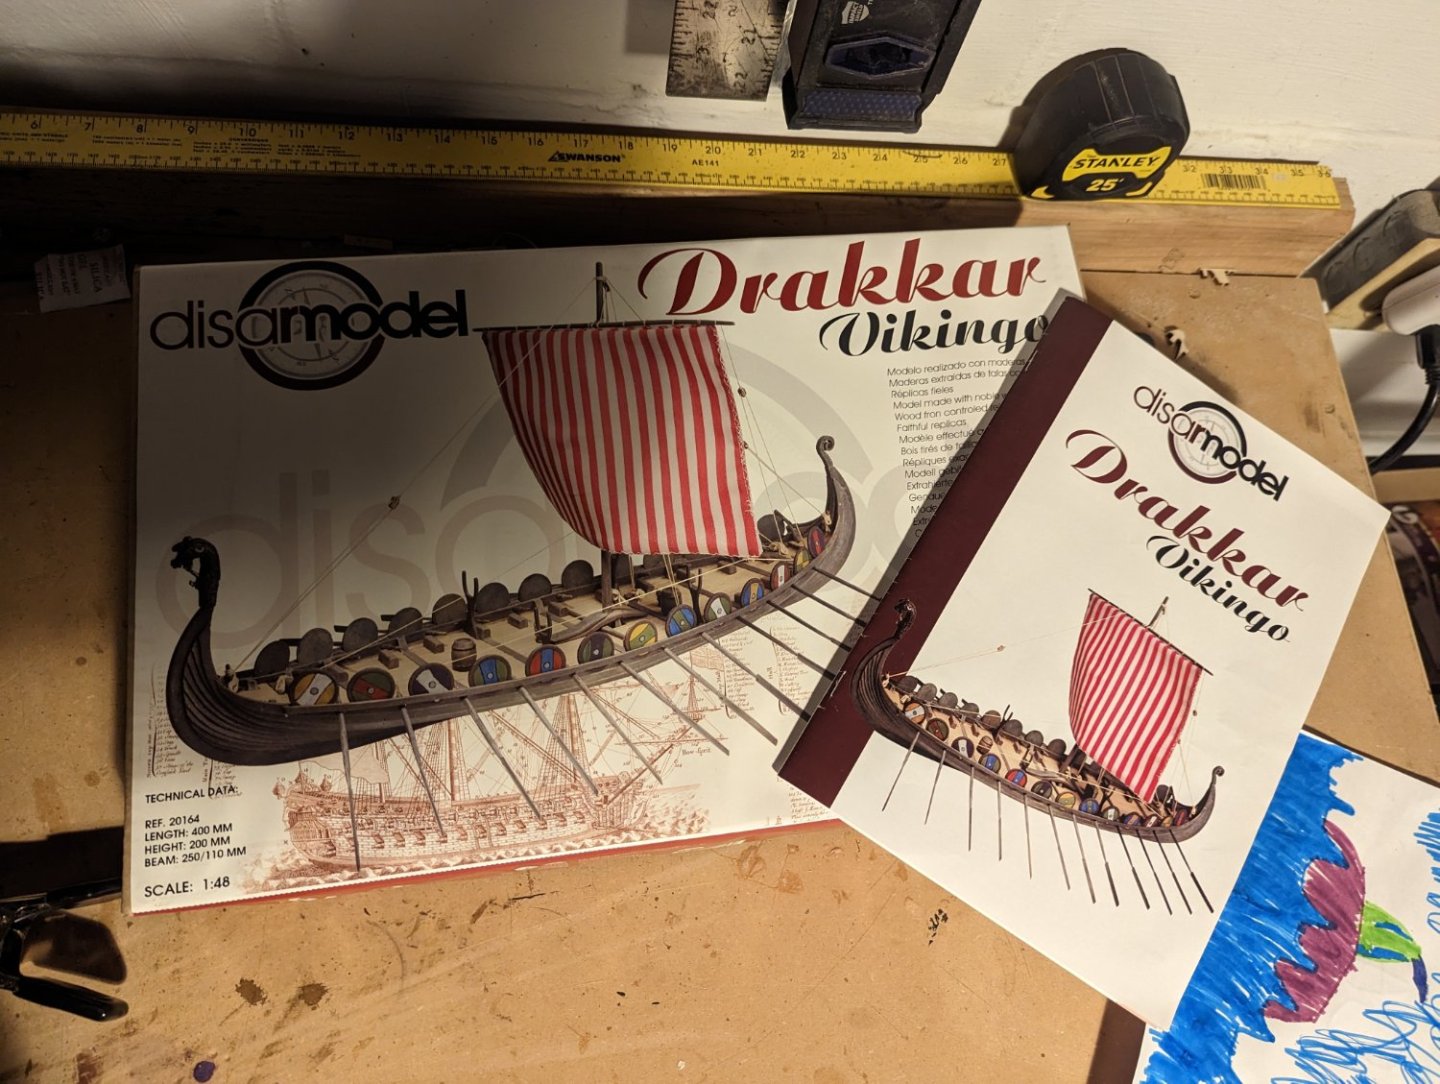
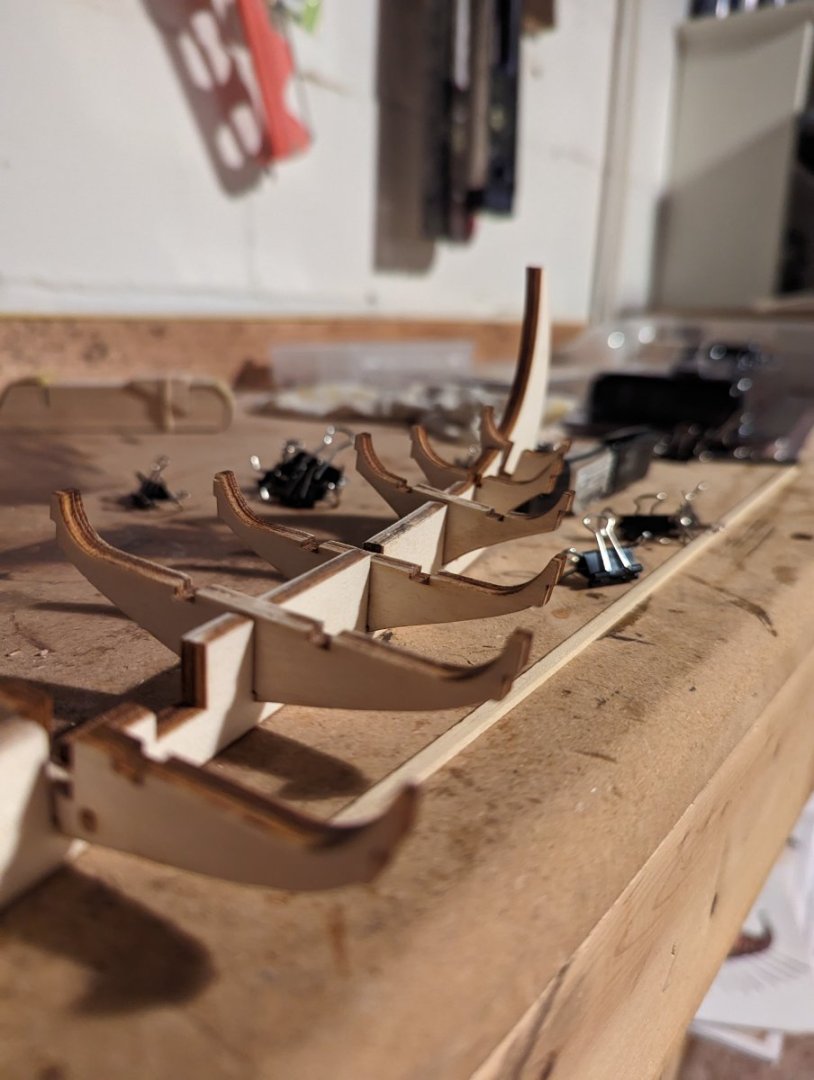
Hello! I have myself a Viking ship model and thought I'd put together a build log. Its my second undertaking in wooden models, having recently wrapped up my first build on Occre's Polaris. I got the Drakkar as a birthday gift and was very excited to pop it open and have a look. Flipping through the instructions provided by Disar, I realized that Occre was really holding my hand through my first model. So while I'm excited to share the progress I make on this build, I also think that I'm much more on my own with this build and fully expect to seek input from the community when I inevitably get myself into trouble! I got the keel and bulkheads out of the rather thick board with only a little difficulty. As I was dry fitting the pieces, I noticed a couple of things... First, all of the bulkheads were smooth. Several Viking ship build logs I've seen here, notably Amati, a few of the bulkheads are notched to help guide the layering of the hull boards. Since mine doesn't have that, I'll have to commit a little extra effort to measuring and lining things up. Second, the top of most of the bulkheads were not level with the keel. This kit does not have a false deck, the deck boards are laid directly on the bulkheads and keel. I thought it very important that it all be level together, so I sanded or filled notches in various bulkheads until they were all level with the keel. And here lies my first mistake! By making the tops all level, I'd now misaligned the bottoms of the bulkheads, to which the garboard strake is meant to attach. So I've got some fairing repair ahead of me. But I have had some good luck. As I was preparing to start this build, my wife told me I had to fill my own stocking for the upcoming Christmas holiday. A perfect excuse to go grab a few new tools! Just a few small things but most notably a right-angle clamp that helped get the bulkheads into place. And that's where I am now... I have a lot of planning, measuring, and marking to do on my hull pieces before anything else gets fastened. I'll let you know when there is more progress.

-
BobG reacted to a post in a topic:
Polaris by ibozev - FINISHED - OcCre - 1:50
-
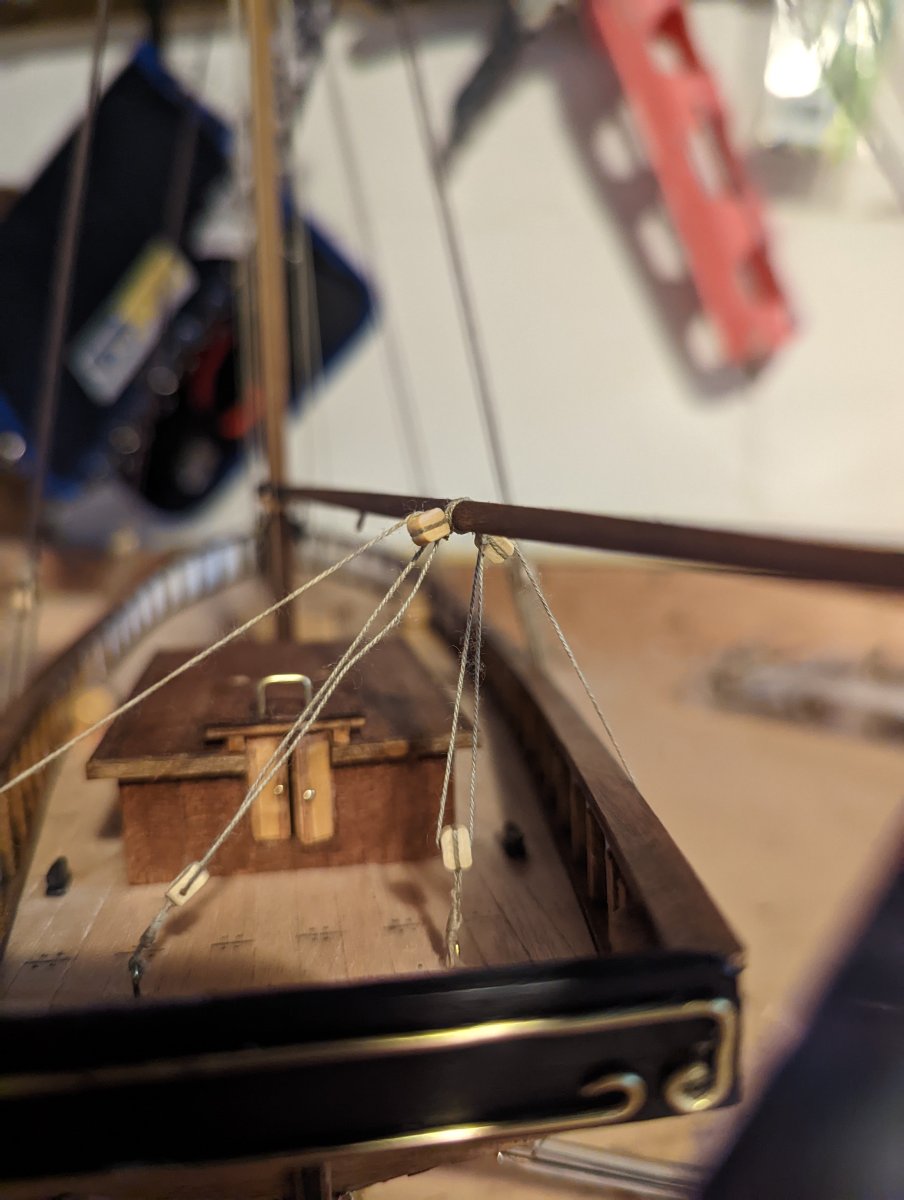
First, I apologize for my novice vocabulary, I'm still pretty new at this. And you make a great point... I should have known the braces must be taut, otherwise the wind would blow the boom all over the place. So, with that in mind, perhaps I'll think about a cleat on each gunwale (or maybe the deck) that would allow for the boom to be drawn to either side. I need about five hands to take a great photo of what I'm thinking but hopefully this one gets the idea across. Thanks!

-
Ilia, I've been lurking in your blog for months, as I work my way through Polaris too. I'm impressed with your meticulous work... I feel I'm being extremely cautious in my work but it's easy to see you're on another level. Thank you for being my guide! I initially glued my gaffs and boom but they had a very weak connection and snapped off the first time I tried to work them. So I glued again and they snapped off again. Now they're hoisted with just the rigging and they look great, except for the glue stains. So if you haven't already, I recommend skipping the glue. Since you seem to be braver about going off-script than me, I have a question for you. My next task is rigging the boom to the deck and the instructions have a pretty taut setup. I think it would be fun to allow the boom to swing a little... but leaving some slack in the sheet looks messy (and the gaff rigging up high isn't as tight as it could be). Any thoughts on if this is worthwhile and, if so, how to store/secure the sheet so it doesn't look like a jumbled knot?