bizibilder
-
Posts
68 -
Joined
-
Last visited
Content Type
Profiles
Forums
Gallery
Events
Everything posted by bizibilder
-
The plans used in Longridges book are available again in the UK: Here Mostly drawn to 1/96 scale but the frame drawings are full size for 1/48 scale. (Worth a look at Sarik Hobbies - Who now carry all the plans from the now defunct Model and Allied Publications in the UK - they also have plans for several other scale sailing ships - usual disclaimer, I have nothing to do with them apart from being a satisfied customer.)
-
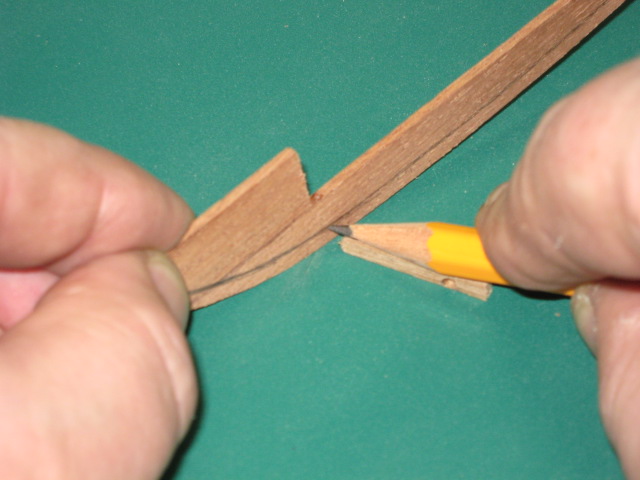
Finding the center of a dowel
bizibilder replied to KenW's topic in Modeling tools and Workshop Equipment
Just find something with a thickness about half the diameter of the dowel (Wood, metal, card or plastic will do). Place it on a bench with the end of the dowel against it. Draw a line across the end of the dowel using the guide. Repeat, rotating the dowel about a third of a turn each time (no need to be too accurate). You will have three lines drawn on the end of the dowel either marking the centre (if your guide was exactly half the diameter) or a small triangle that will allow you to estimate the centre quite easily and accurately enough for model work. No need for special tools! -
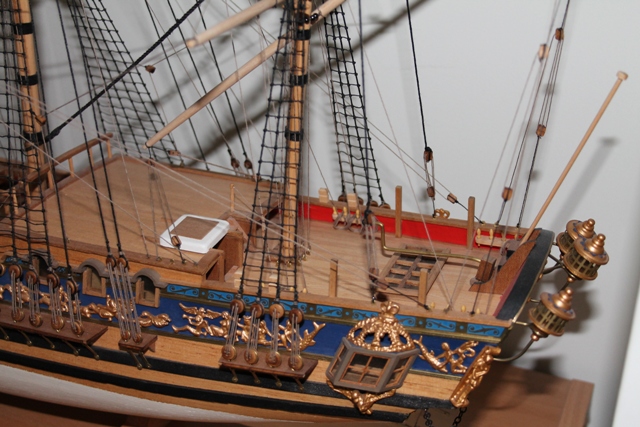
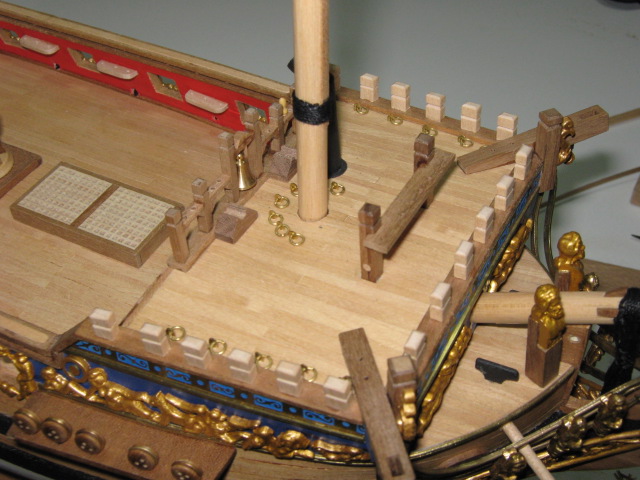
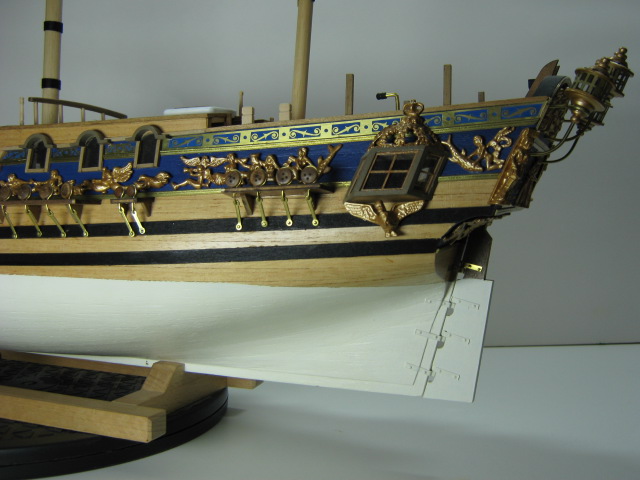
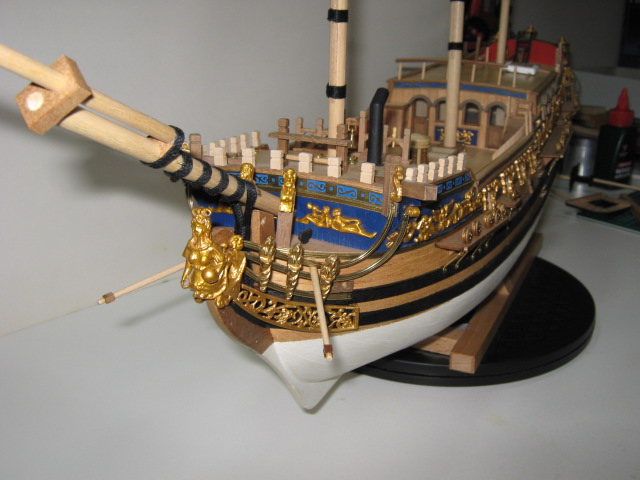
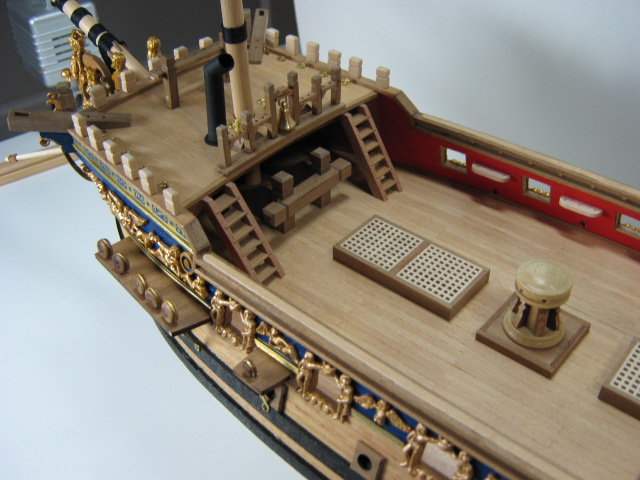
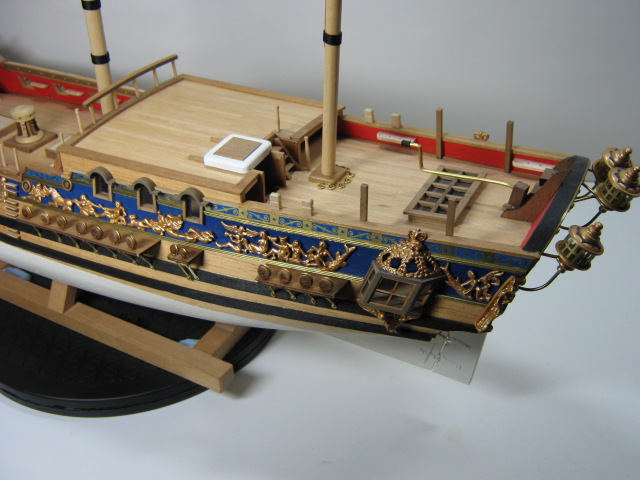
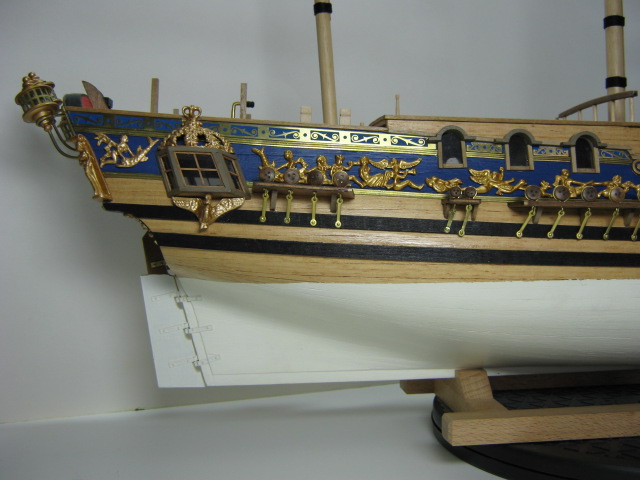
AS I recall (It was quite a few years ago!) I simply washed the brass decoration in washing up liquid and dried it then painted it with Gold enamel - all over. it was stuck in place with a tiny dab of 5 minute epoxy. I seem to remember I did a side at a time in one "go" after making sure that everything was prepared and checked for fit. Some of the decoration was thinned down by filing before fitting as I seem to remember some pieces were quite thick. The "curved" pieces at the stern were simply filed to fit on the back as bending the castings was unlikely to be successful. I believe the current version of the kit has some of the decoration in laser cut timber rather than brass castings/ etchings but someone else would have to confirm that for you.
-
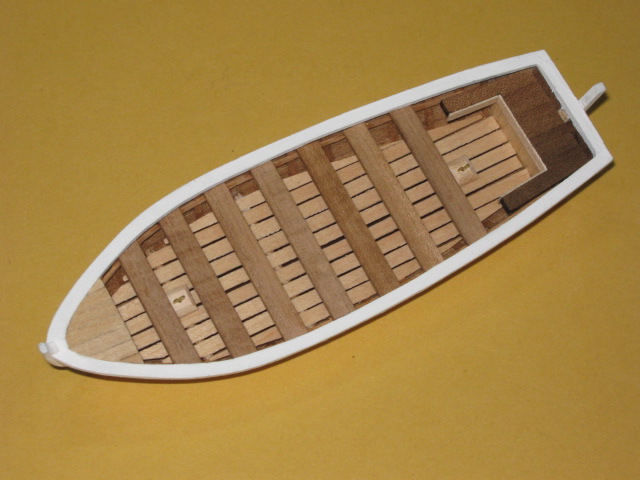
Decks are glued and the marks are (roughly) where the top of the first plank will be - these need to be checked and remarked before any glue is applied! Please PM if you need anything.
-
hss vs carbon steel drill bits
bizibilder replied to Kurt Johnson's topic in Modeling tools and Workshop Equipment
It really doesn't matter which you use. The major difference between HSS and carbon steel as far as we are concerned is that carbon steel can, if heated sufficiently, lose its sharp edge and can revert to its original "soft" state. However it would have to be taken to "blue" at around 300°C for this to happen. HSS can be run red hot and will still hold its edge. It is unlikely that in modelling - even with our small power tools - we would manage that unless we really abused our tools. If you are burning the timber with a drill bit something is wrong and you may well be in a situation where carbon steel tools would be damaged. Properly hardened and tempered carbon steel is actually harder than HSS - unless allowed to heat up and therefore become soft again. In the US carbon steel suitable for toolmaking is sold as "drill rod" and in the UK it is known as "silver steel". It is worth noting that carbon steel tools will probably be much cheaper than the equivalent HSS. -
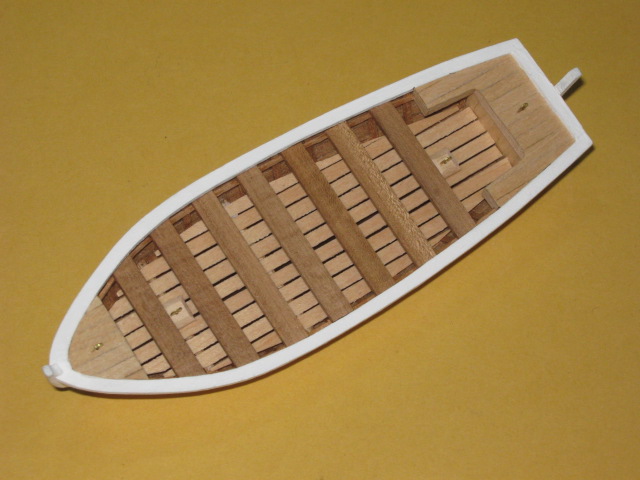
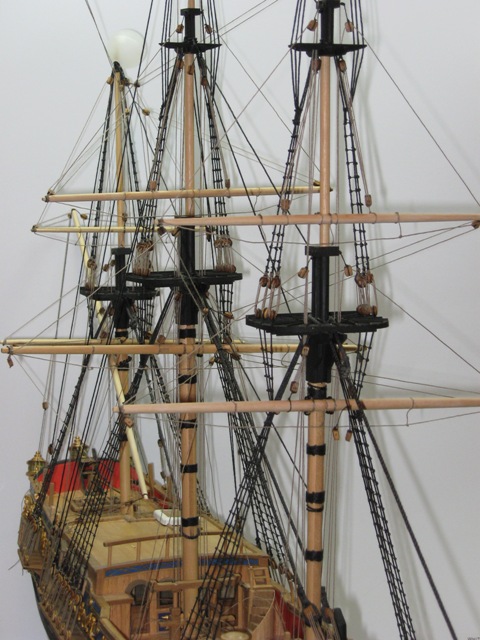
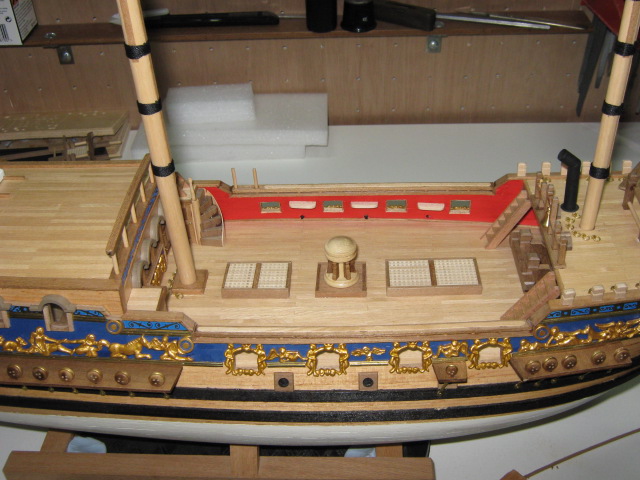
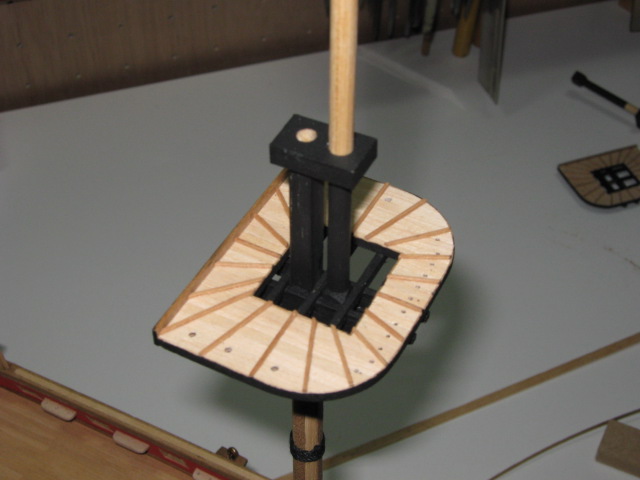
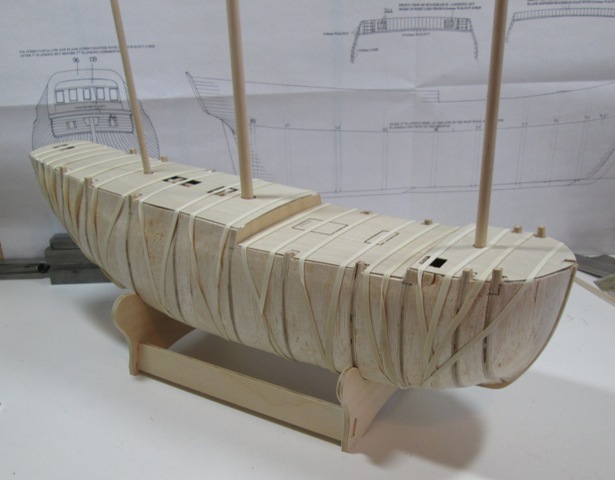
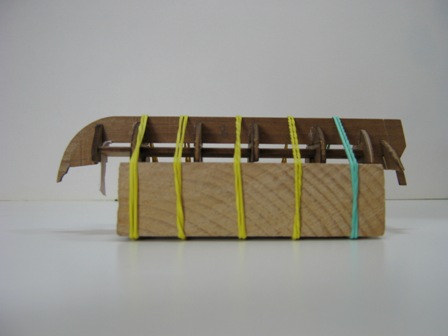
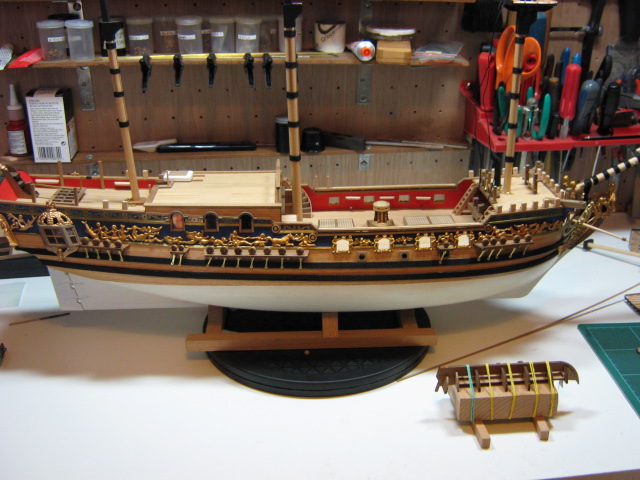
A little more progress - Glueing the underdecks into place. First a check with the masts shows them to be true and parallel - Then lots of rubber bands! having the hull blocked in really pays as you can do this quite easily. Hopefully I can start the first planking soon.
-
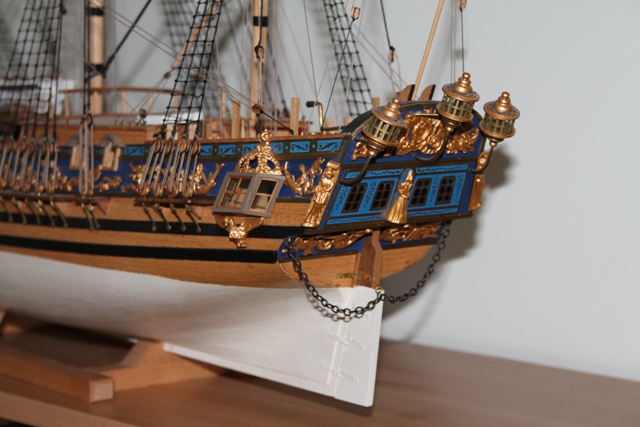
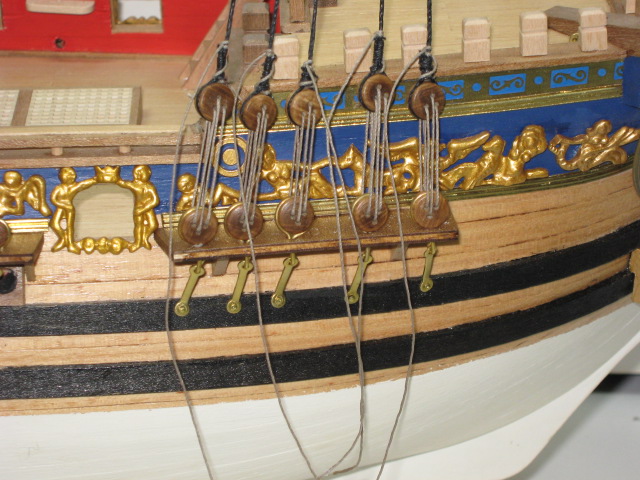
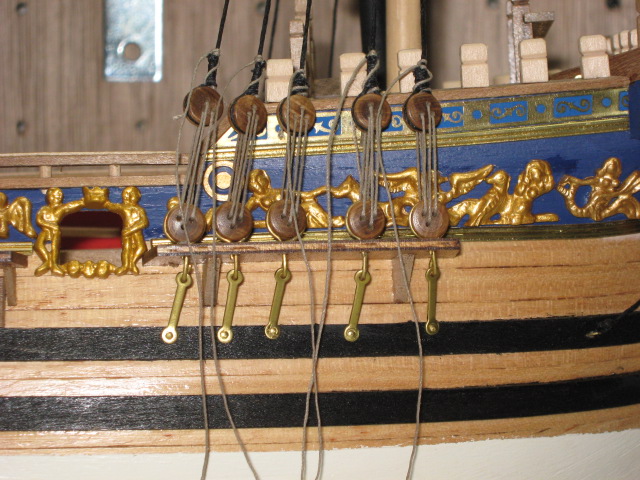
The brass etch is, I believe, from older kits (mine had it and the kit was bought 15 or so years ago). The blue is the "resist" coating used so that the relief can be etched into the brass. The easiest way to remove it is with fine "wet and dry" abrasive paper used wet (very wet!) wrapped round a block of wood. Do this before you cut out the pieces so you get rid of all the "blue". If you wish you can then use a very fine abrasive paper or even polish the brass to get the finish you require. Cut the pieces out with either snips or strong scissors - this may lead to a little curling. If this happens turn the curled pieces over and gently tap them flat with a light hammer. Paint the "background" of the pieces - quite roughly if you like - and then repeat the abrasive routine to get rid of the excess paint. This will leave you with nice clean edges to the paintwork. I have appended a couple of pictures of my finished brasswork: The wooden parts are either laser cut or milled and are the more recent offering with the kits as far as I am aware.

-
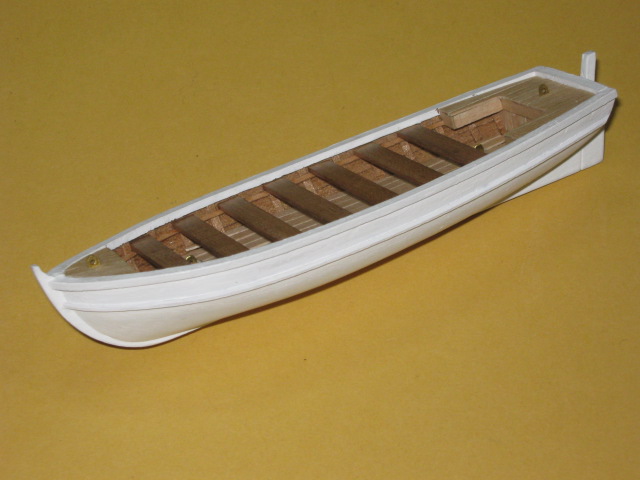
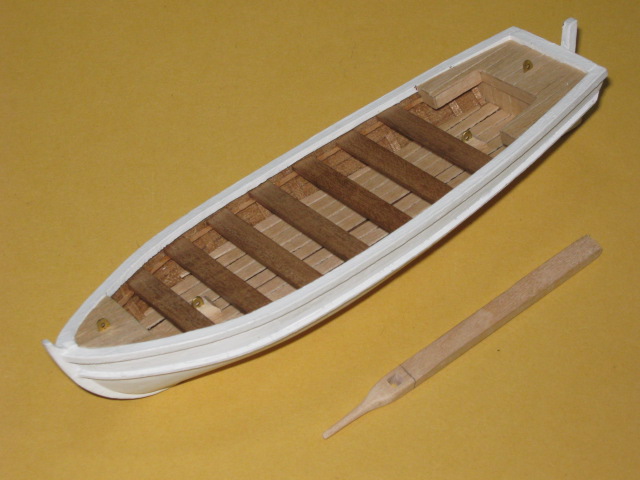
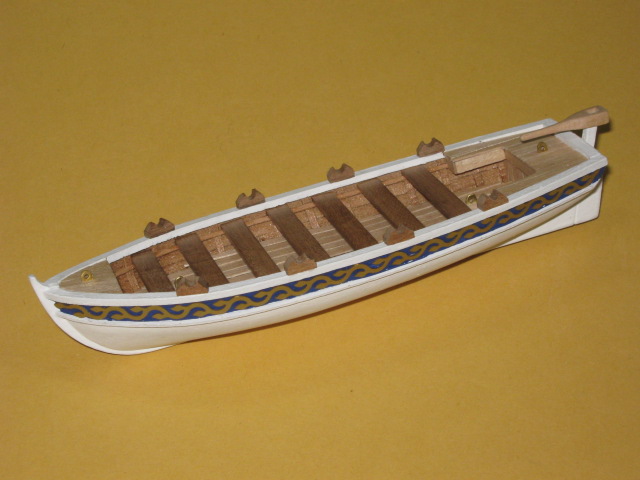
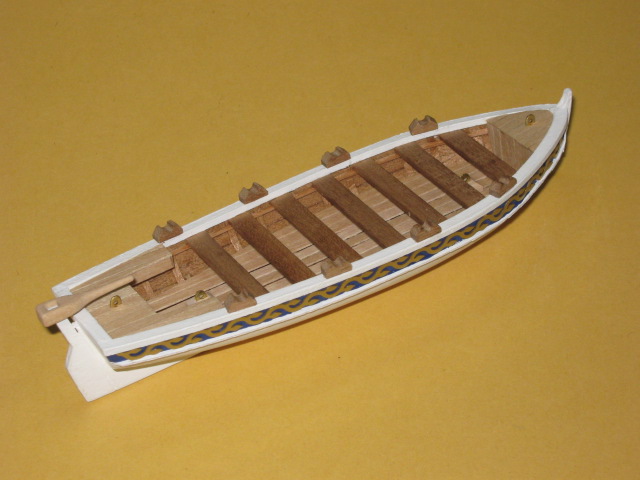
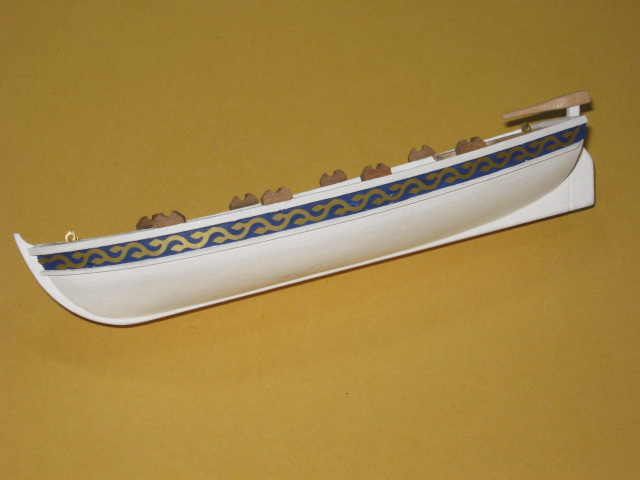
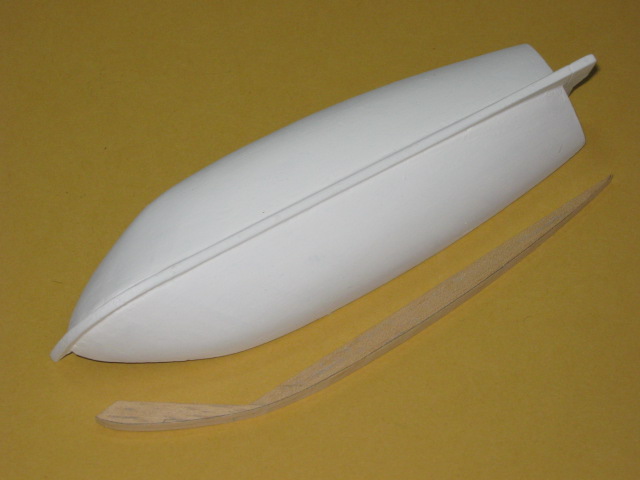
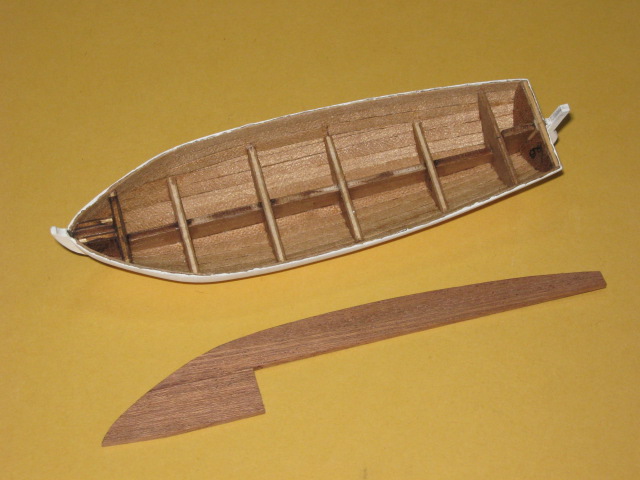
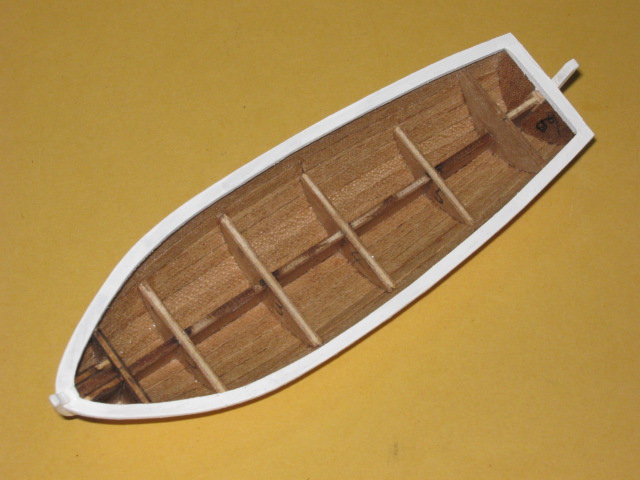
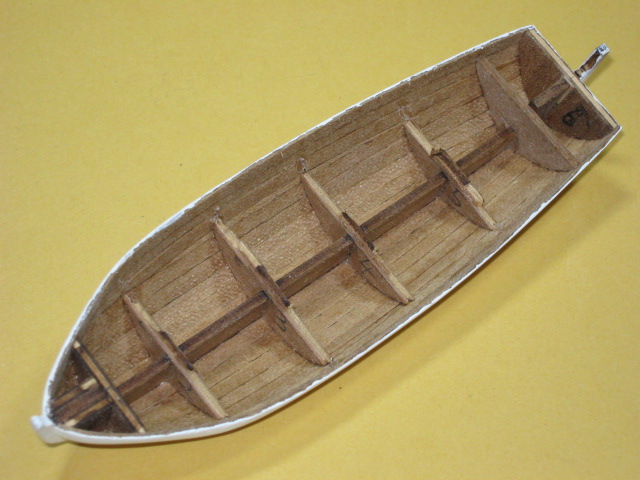
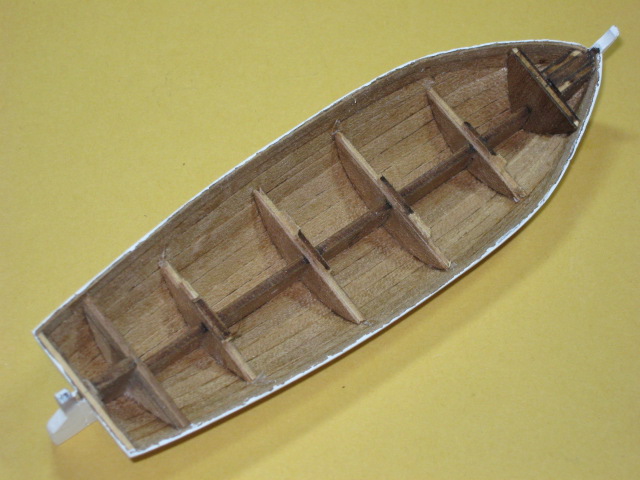
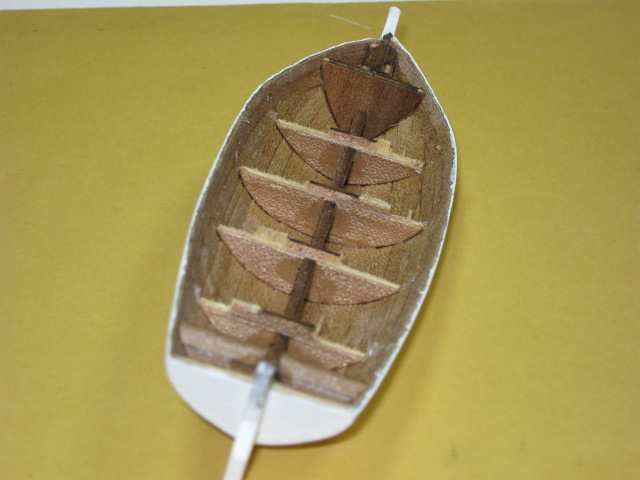
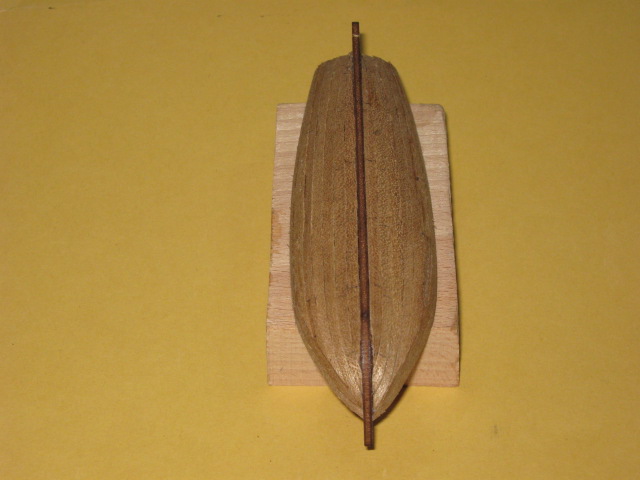
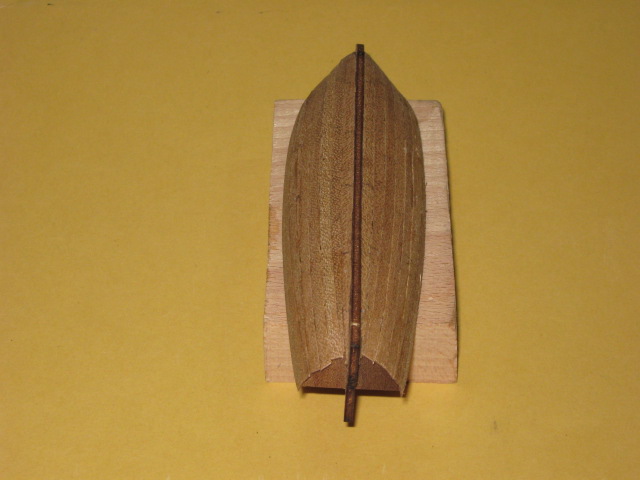
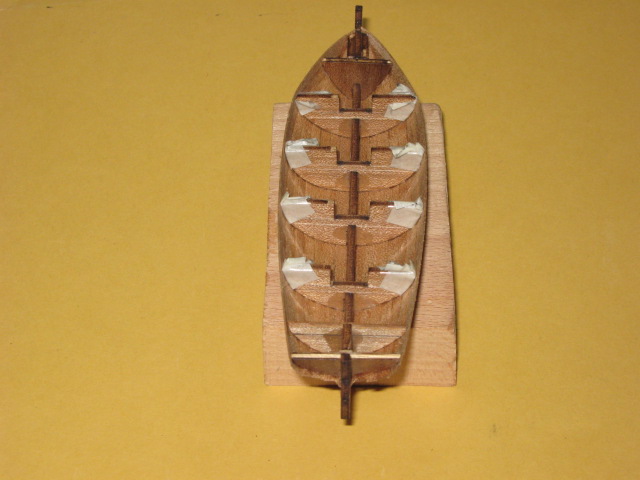
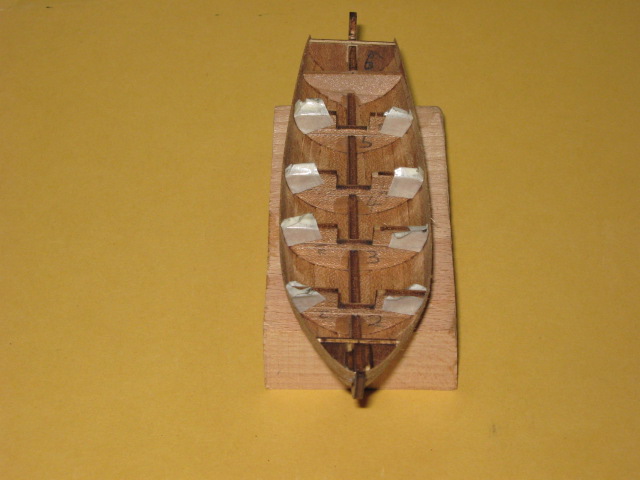
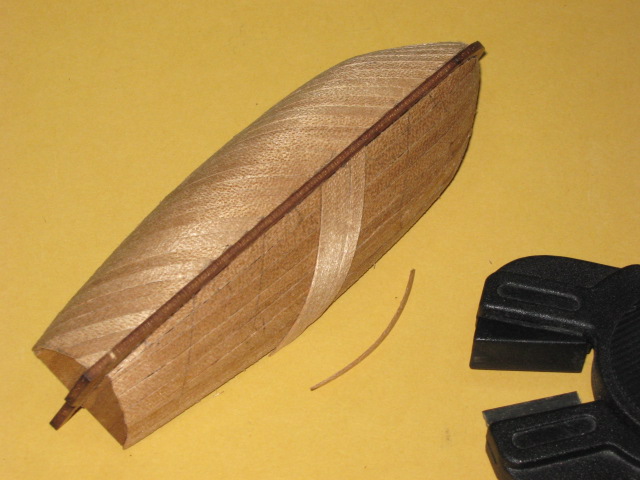
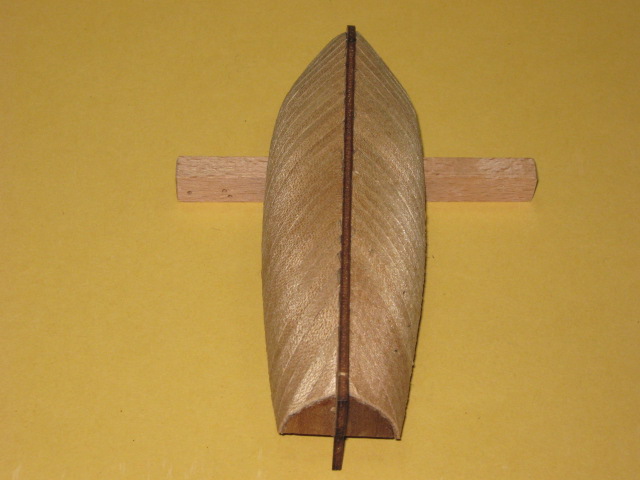
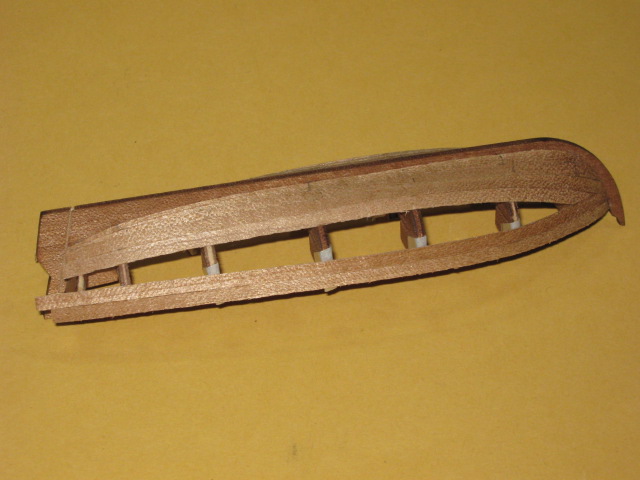
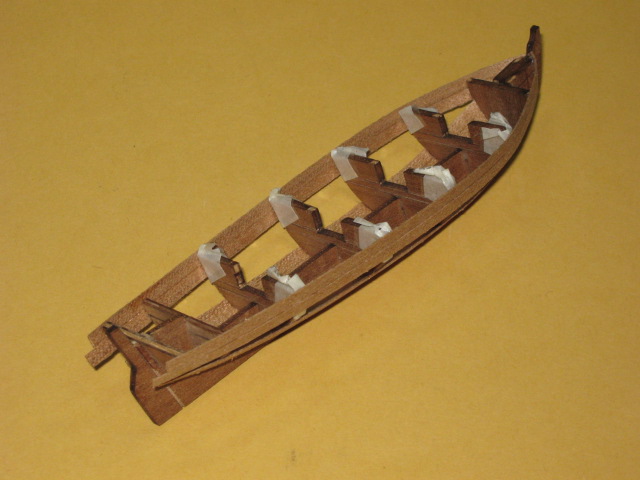
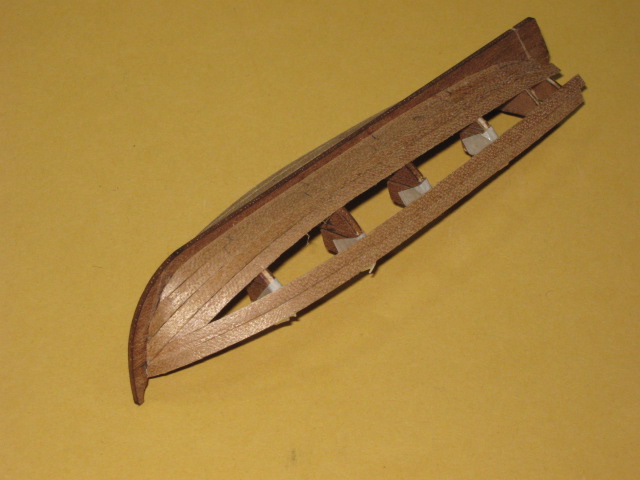
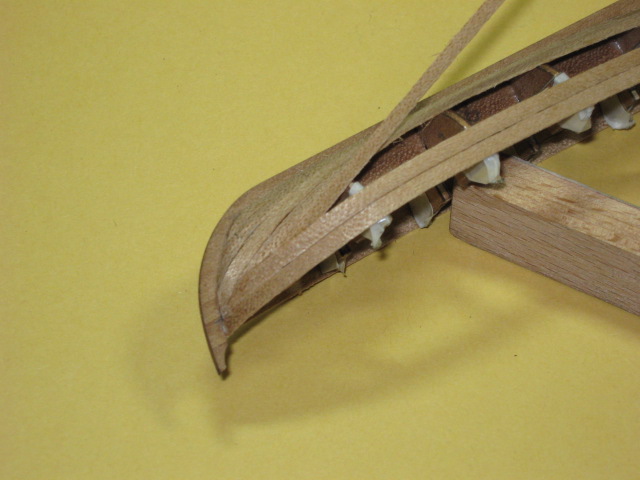
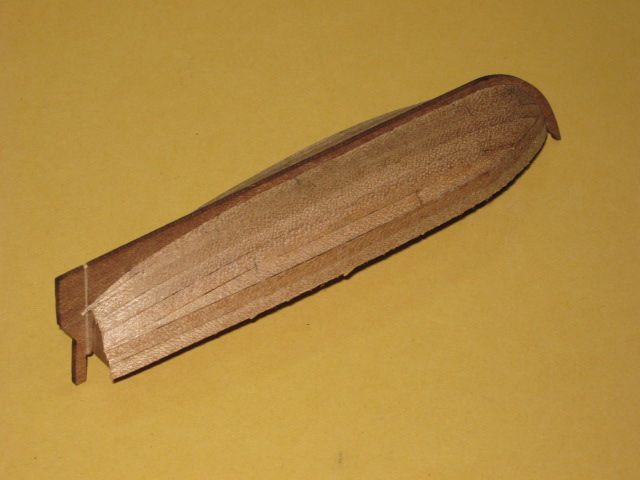
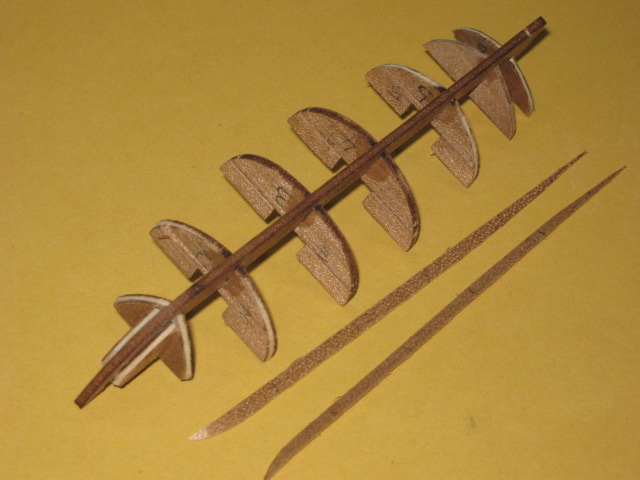
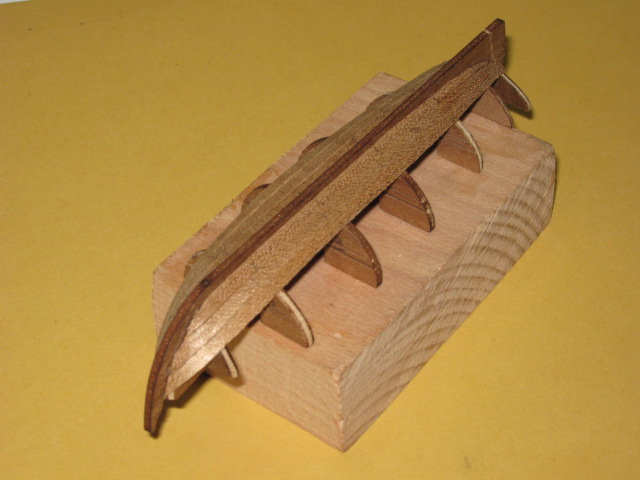
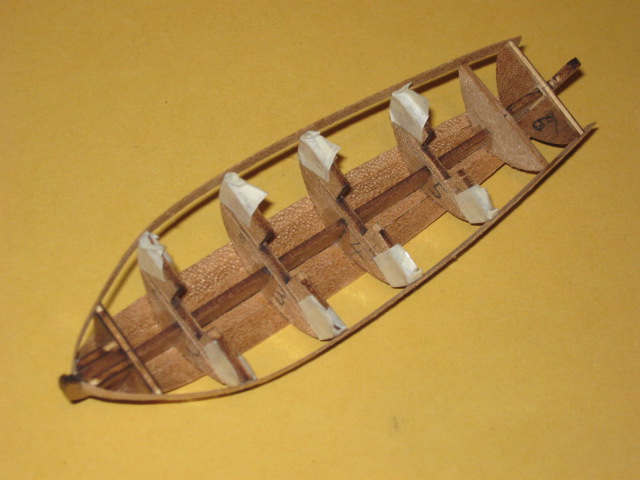
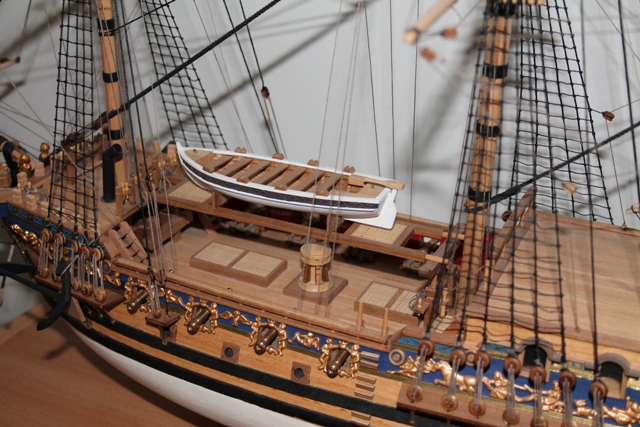
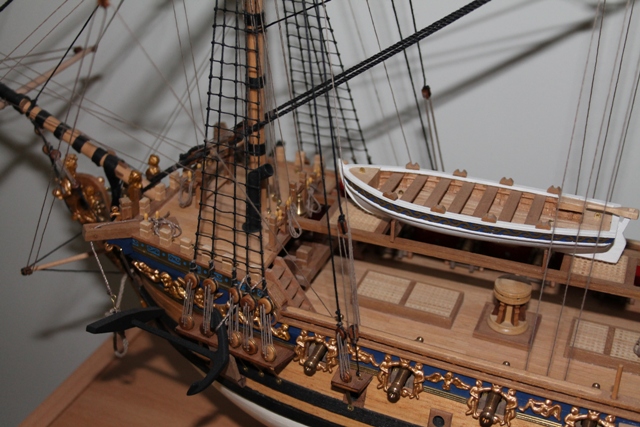
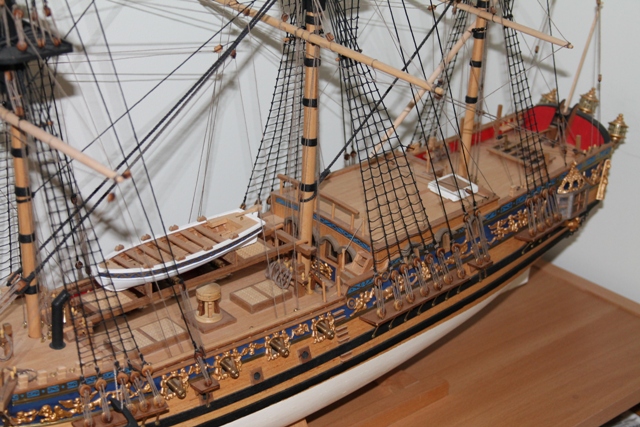
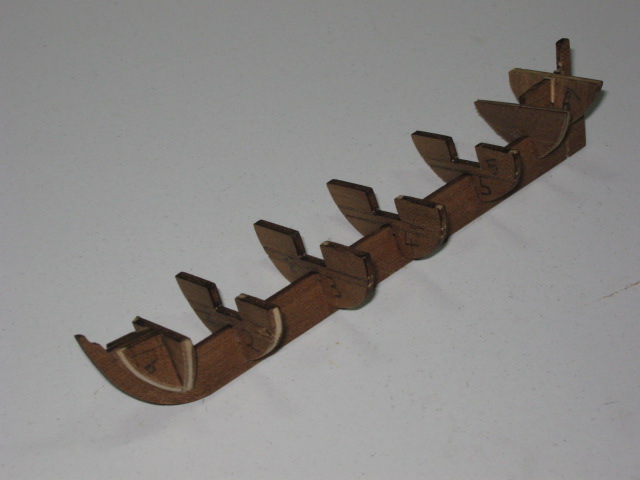
And the ships boat (hopefully more or less in order):
- 22 replies
-
- 1
-

-
- royal caroline
- panart
- (and 1 more)
-
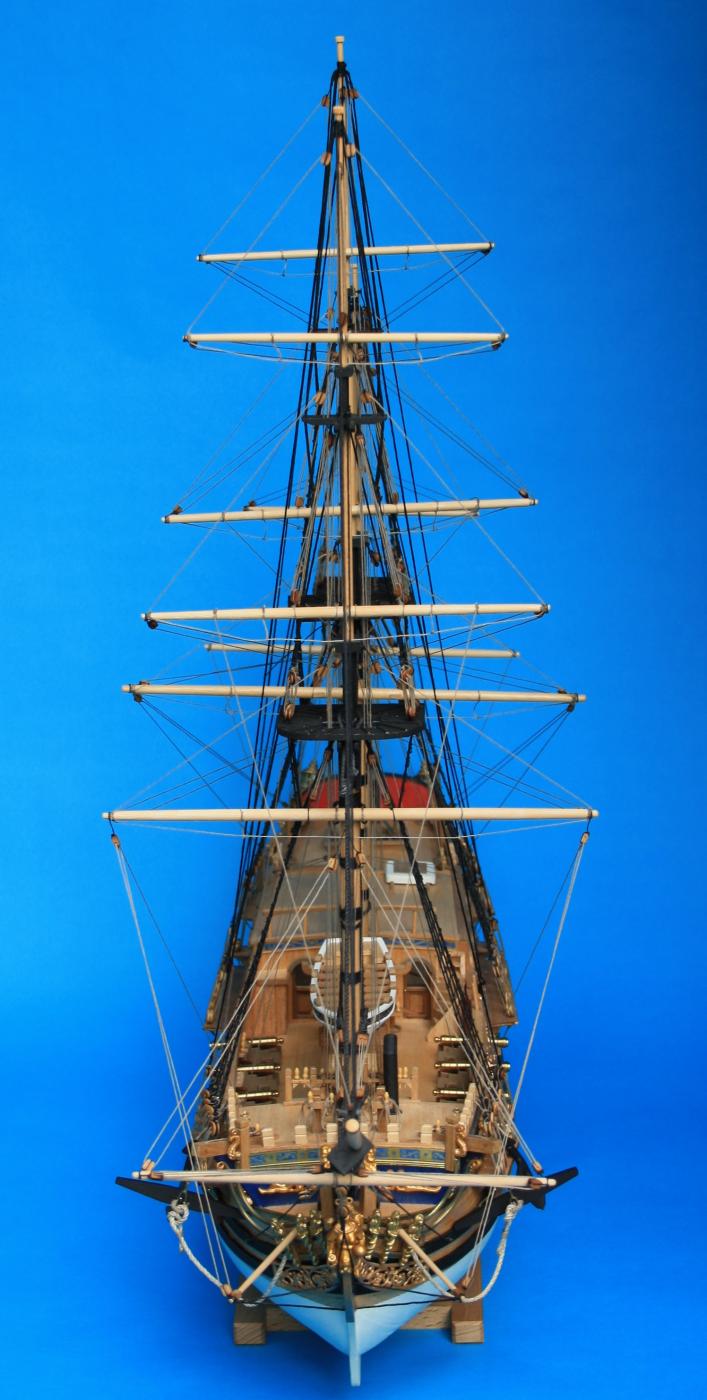
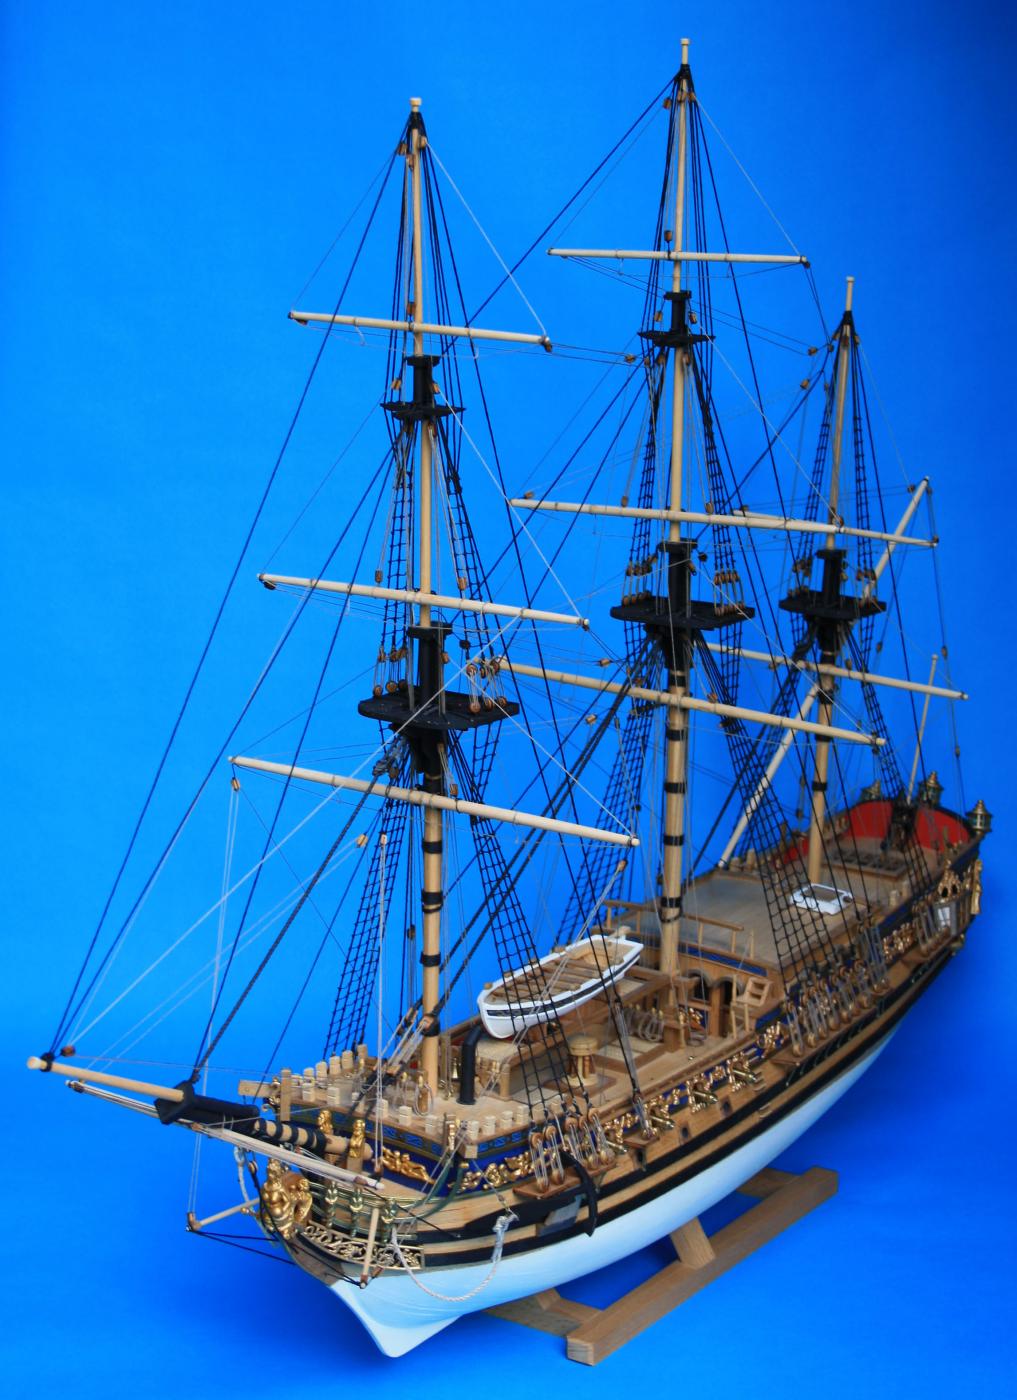
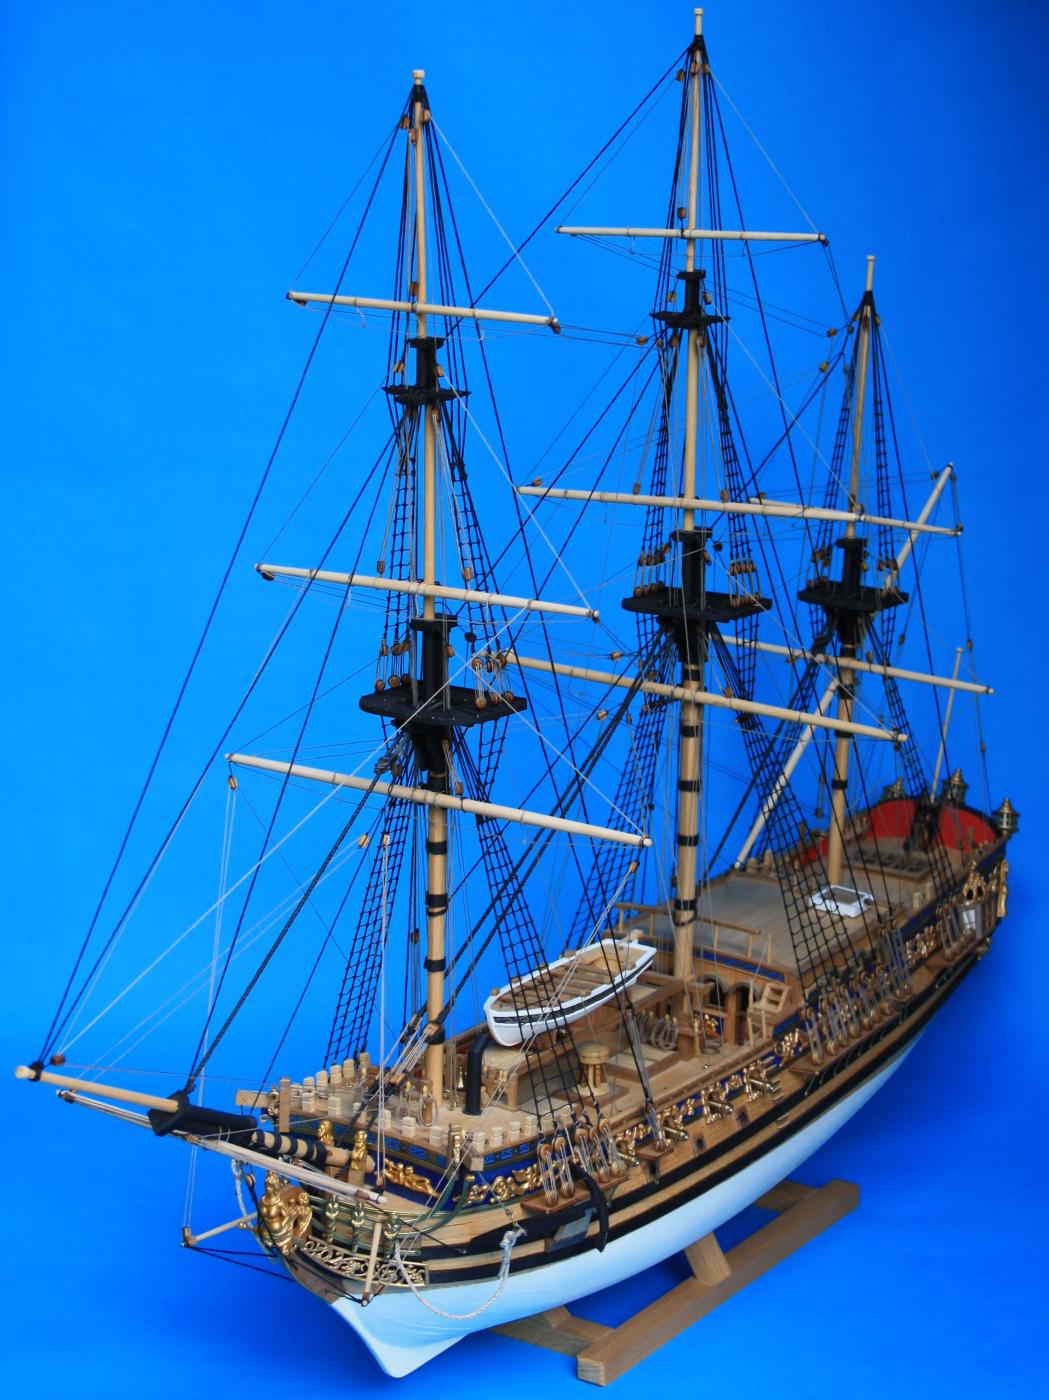
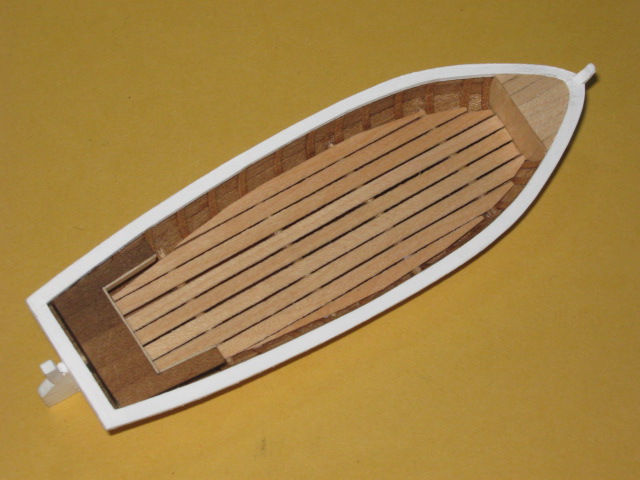
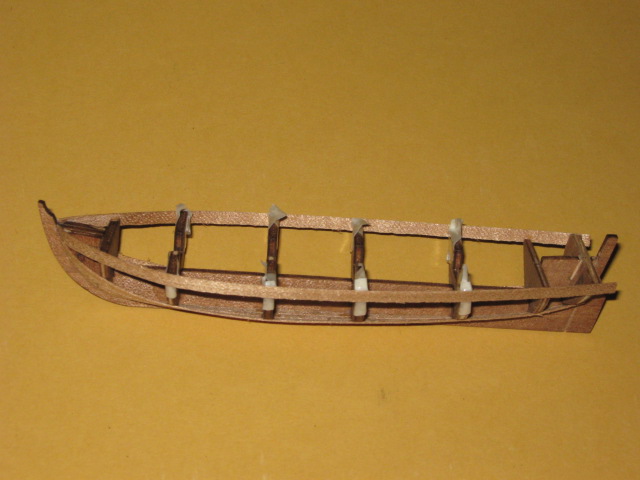
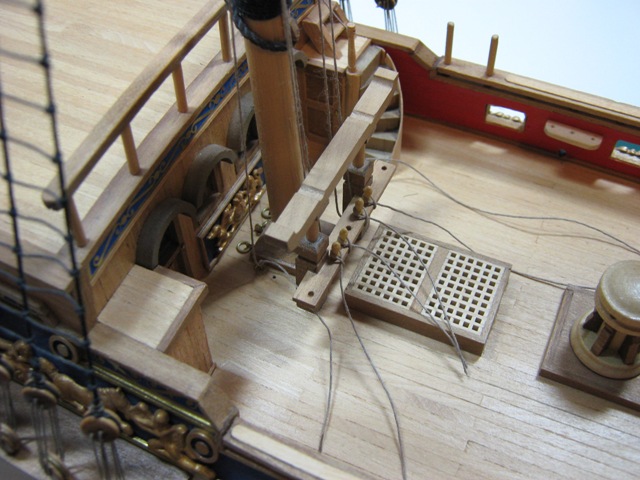
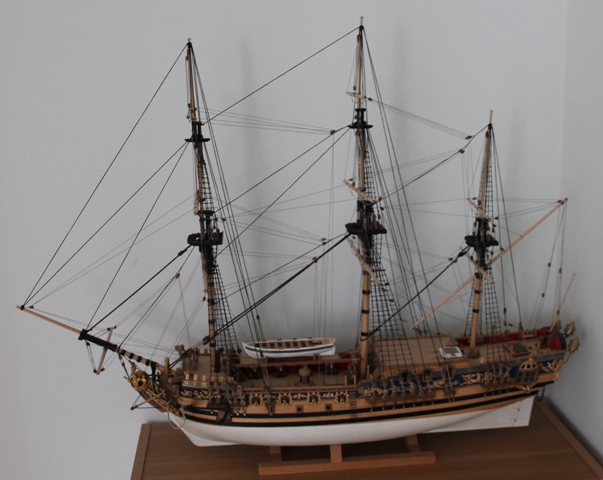
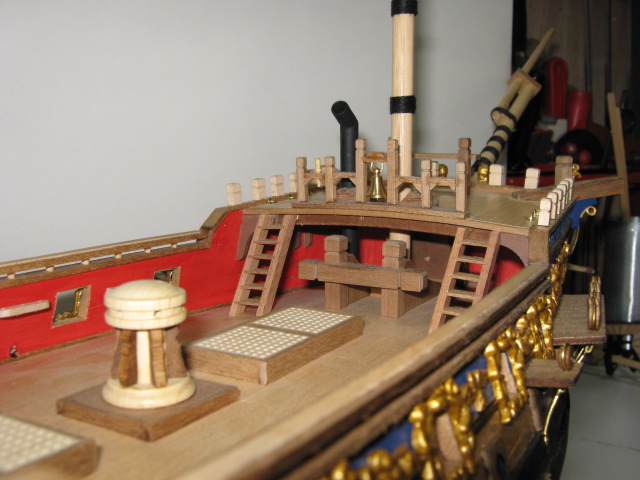
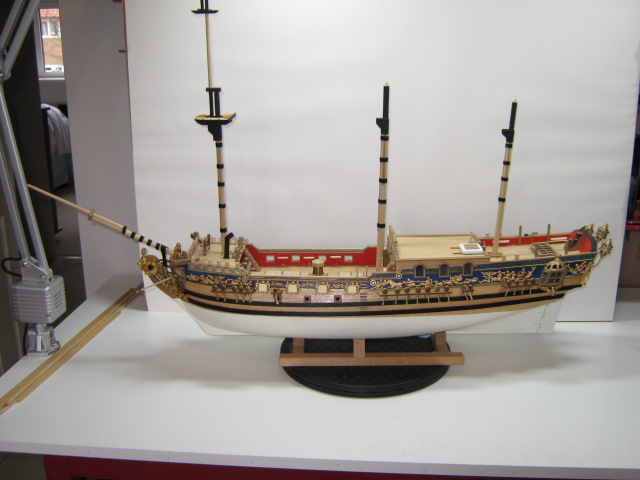
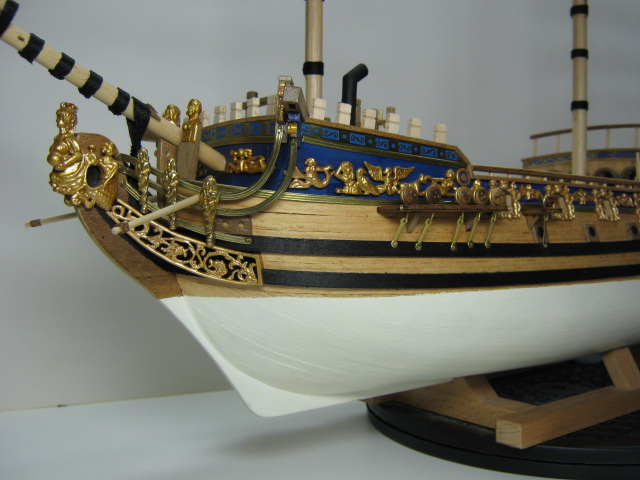
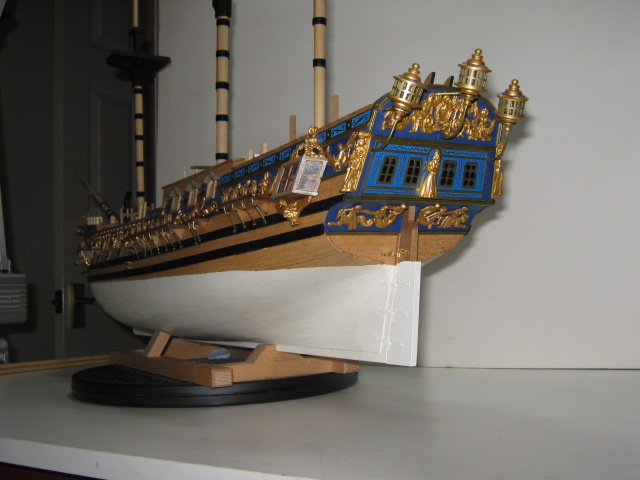
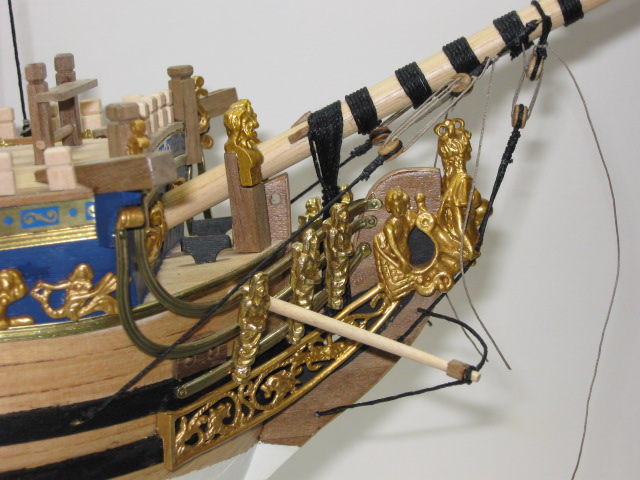
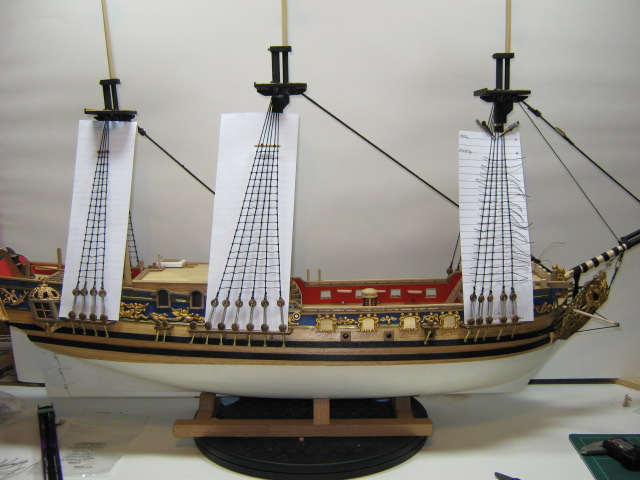
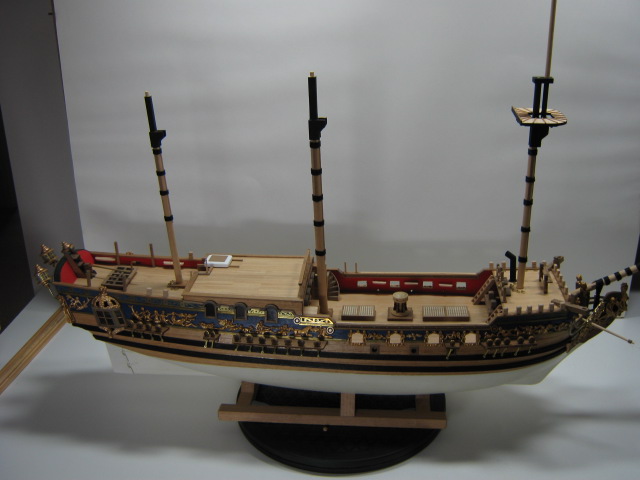
That's about it I think - The next batch will be the ships boat and then a few of the finished model (These pics seem to be dated 2009)
- 22 replies
-
- 4
-
-
- royal caroline
- panart
- (and 1 more)
-
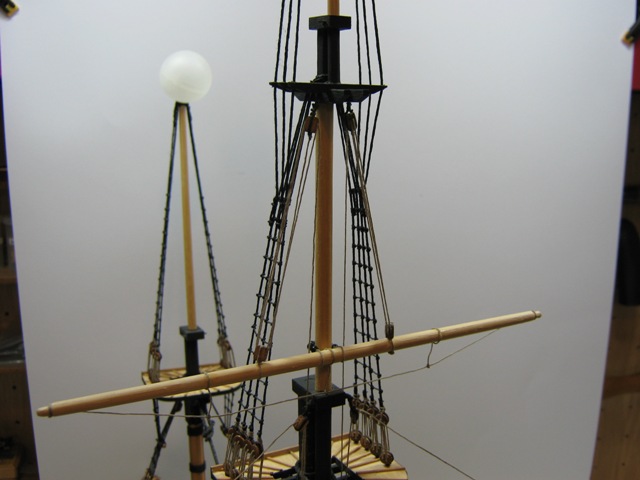
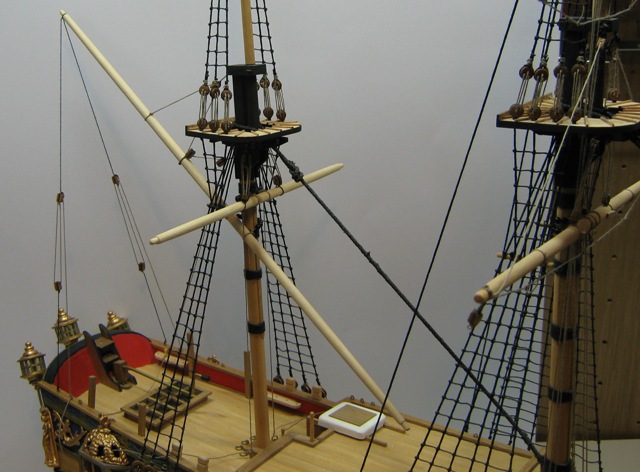
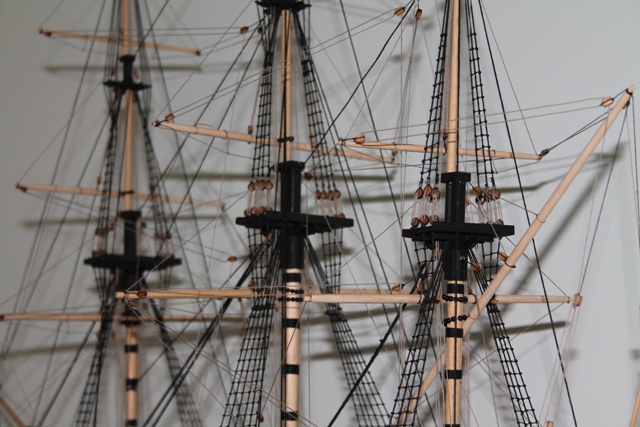
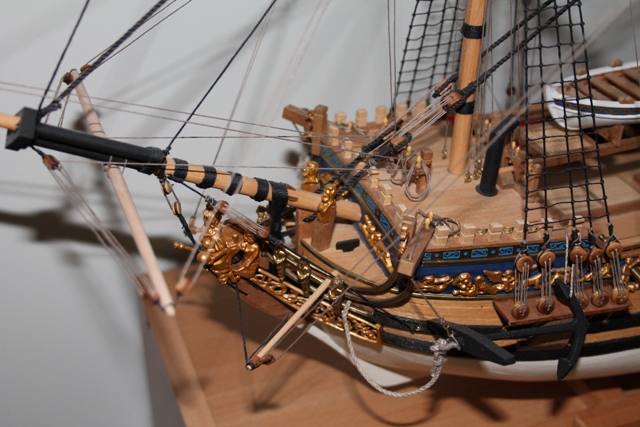
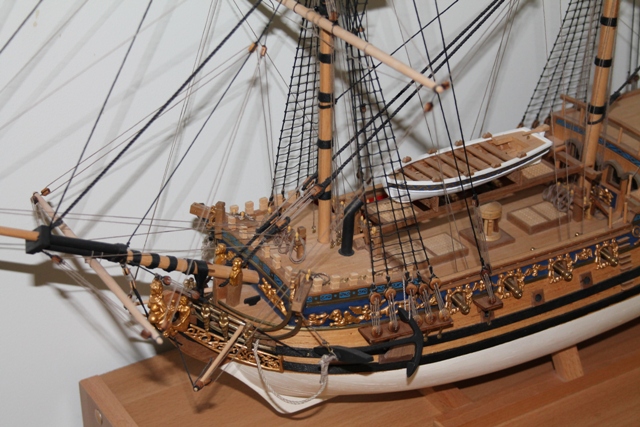
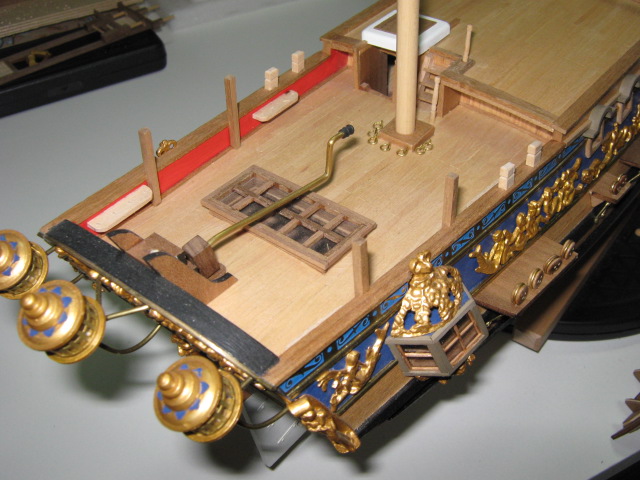
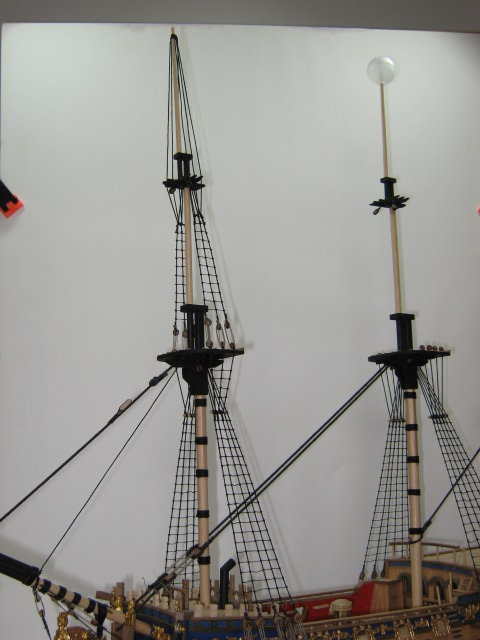
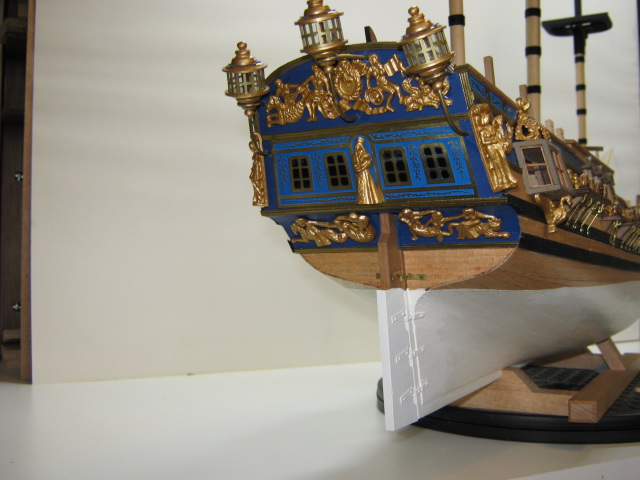
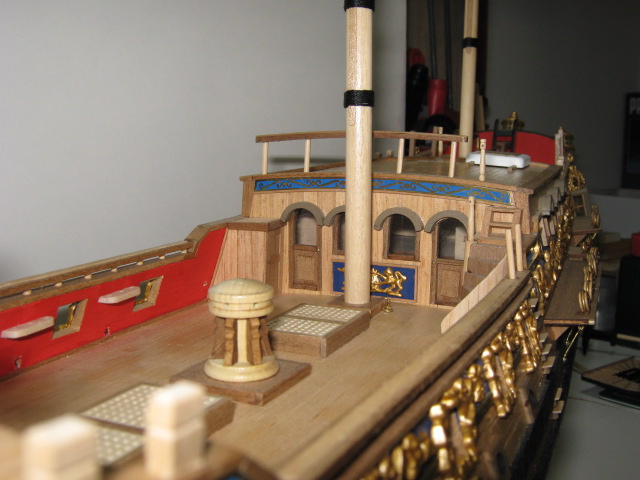
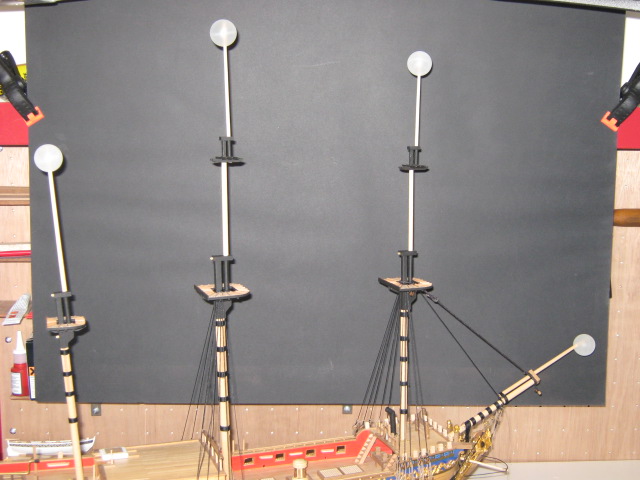
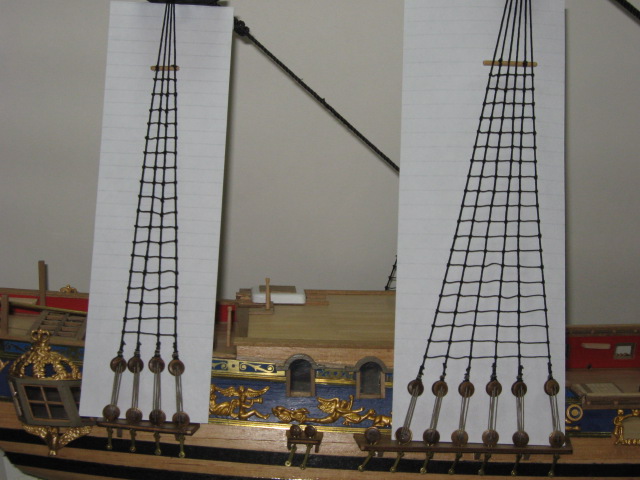
Those little spheres on the ends of the "pointy bits" are the balls from roll-on anti perspirent bottles. Simply drill a hole in them and drop them over the masts and bowsprit to help protect my eyes! Well worth it, as i remember!!
- 22 replies
-
- 3
-
-
- royal caroline
- panart
- (and 1 more)
-
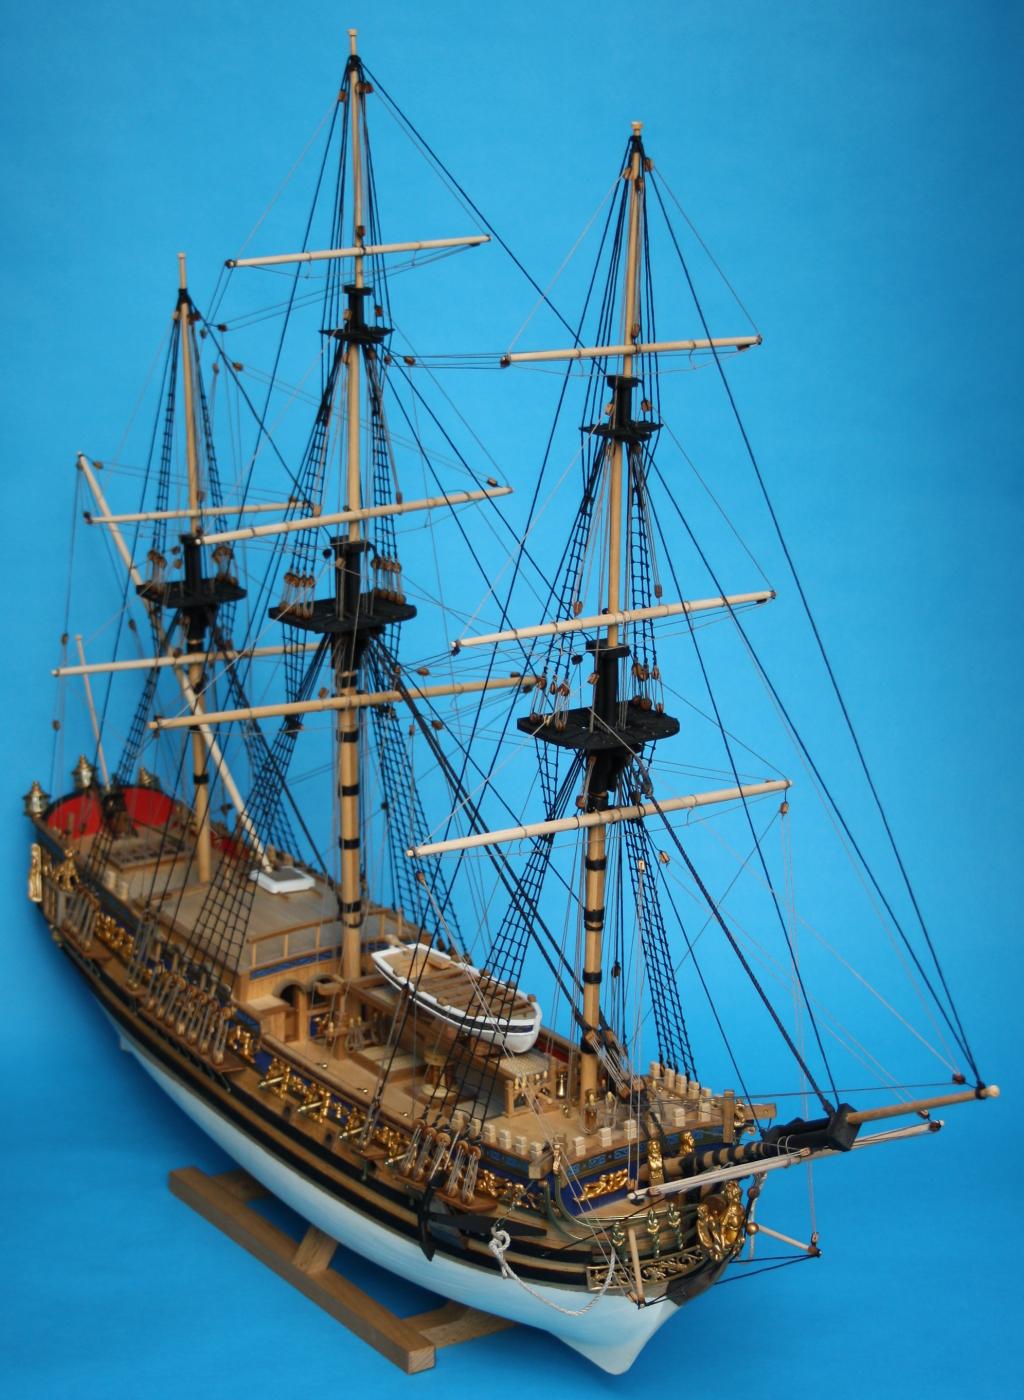
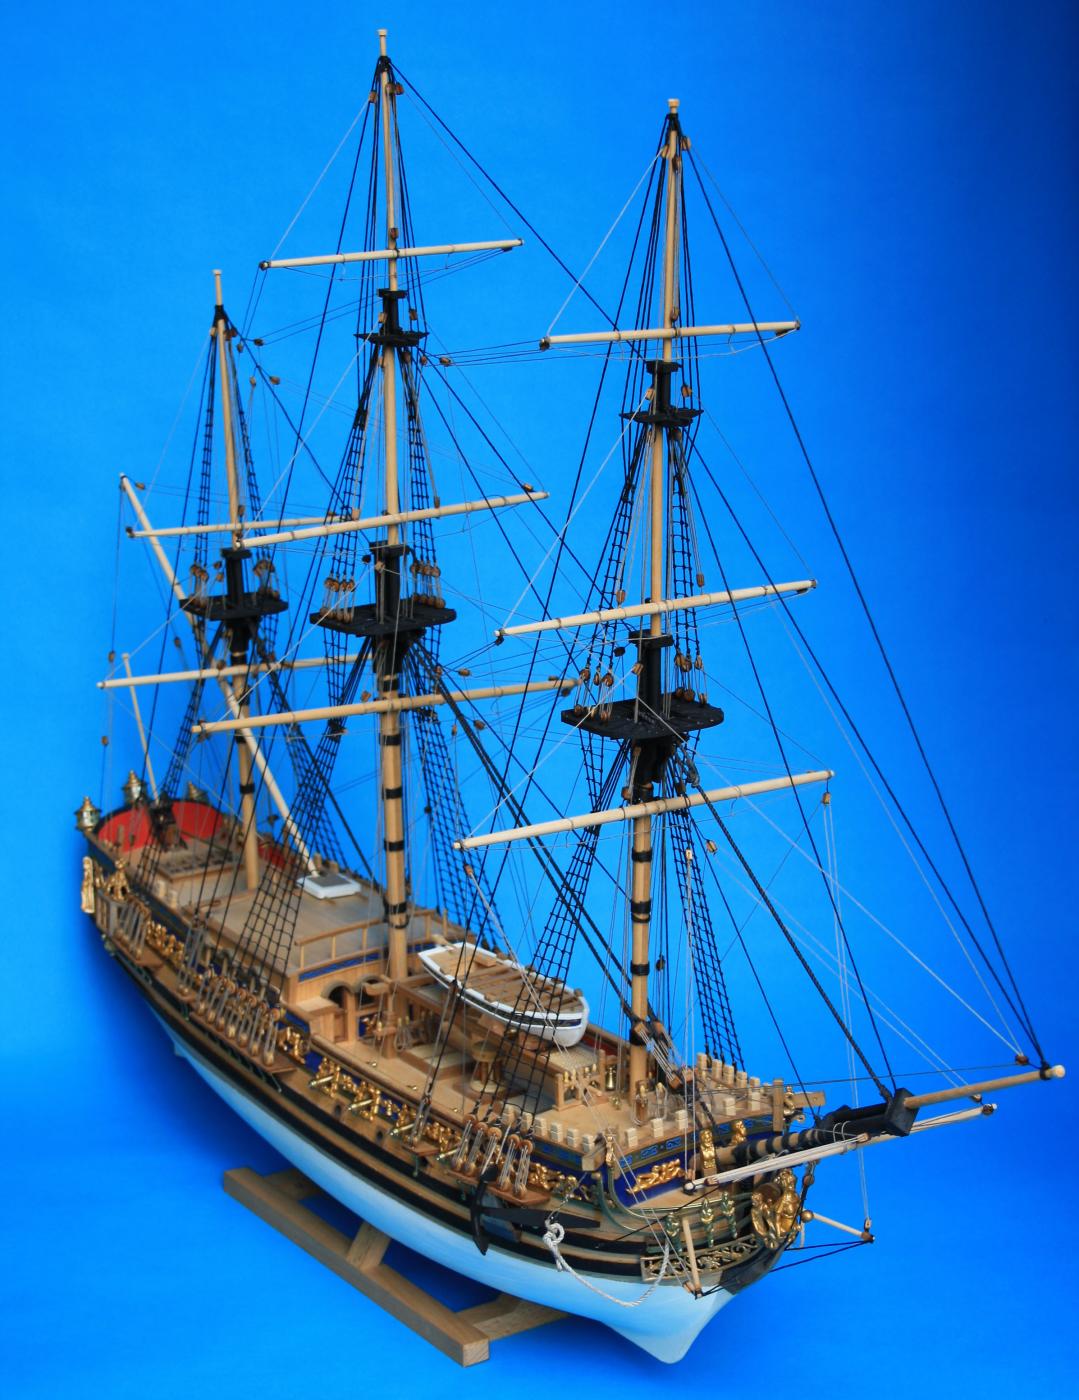
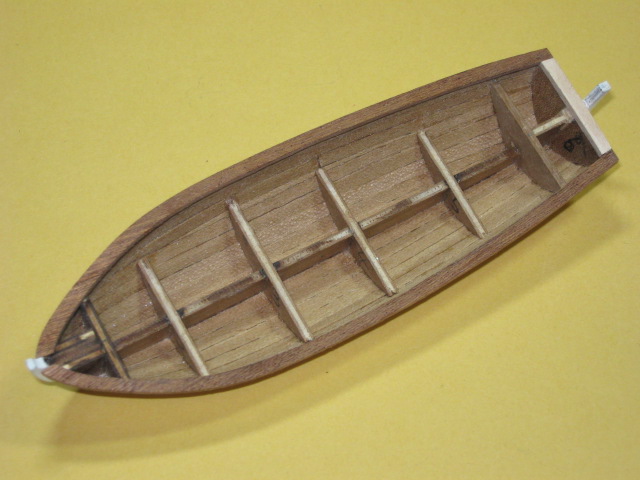
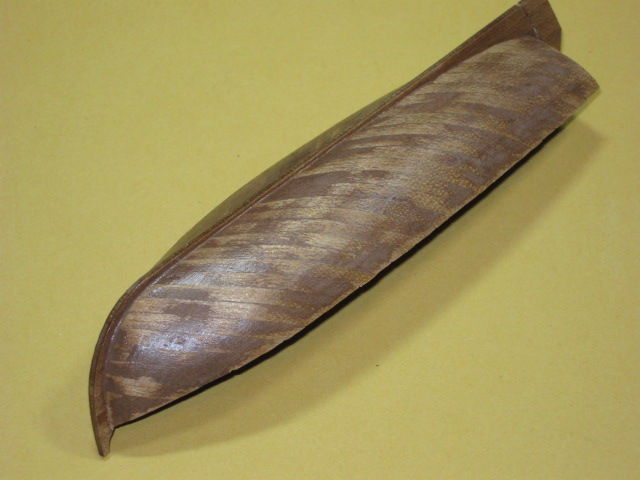
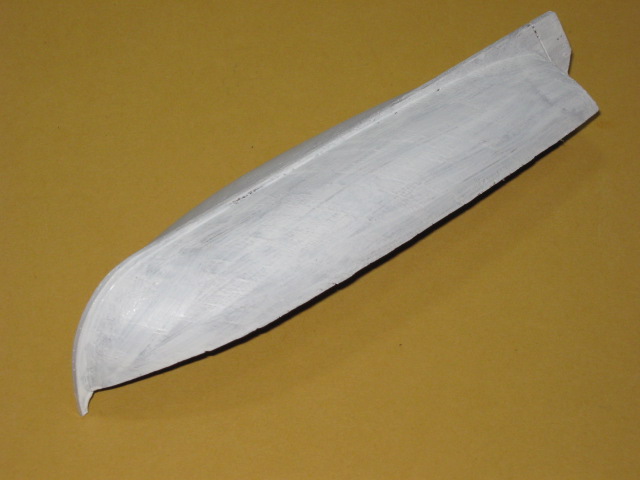
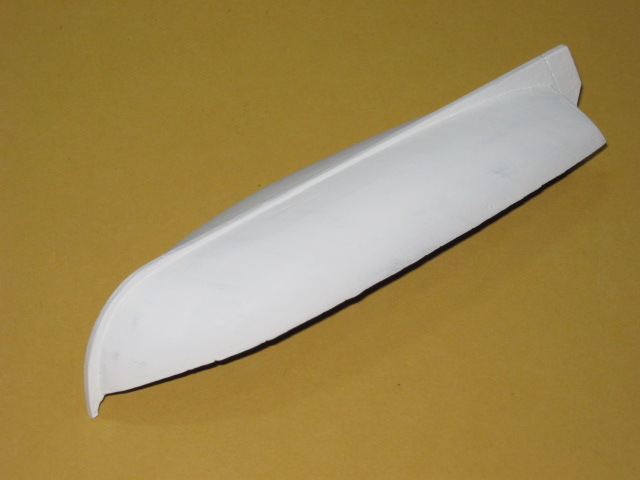
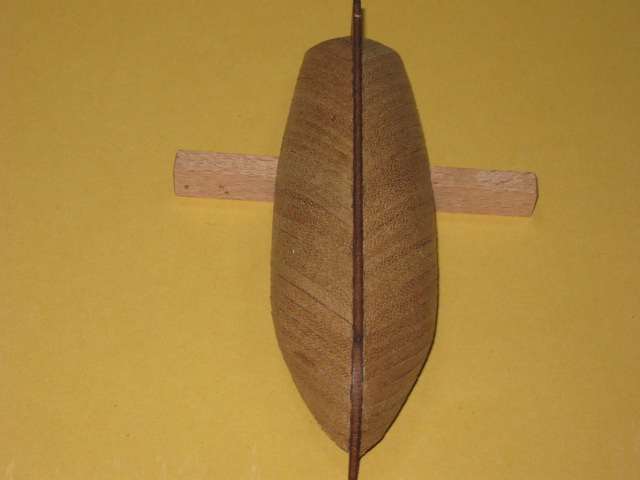
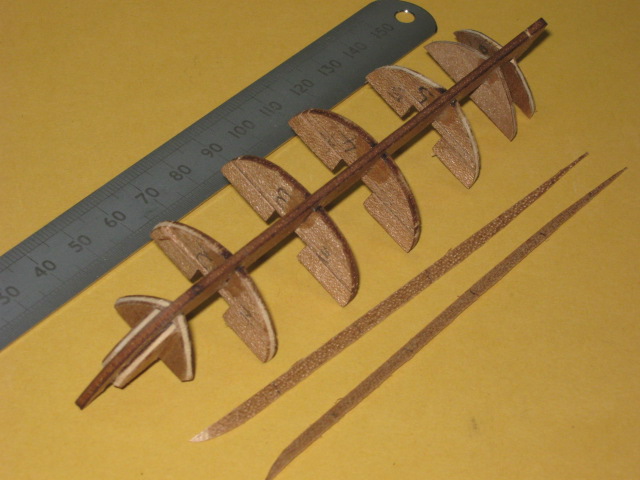
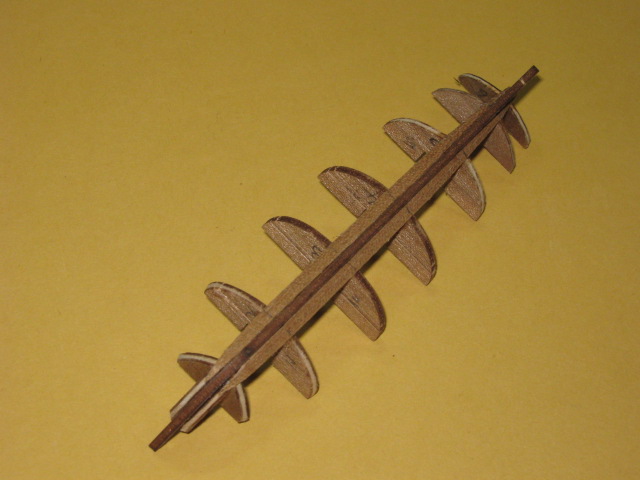
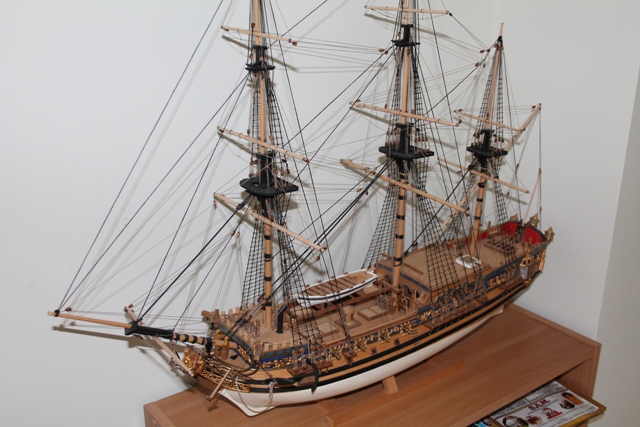
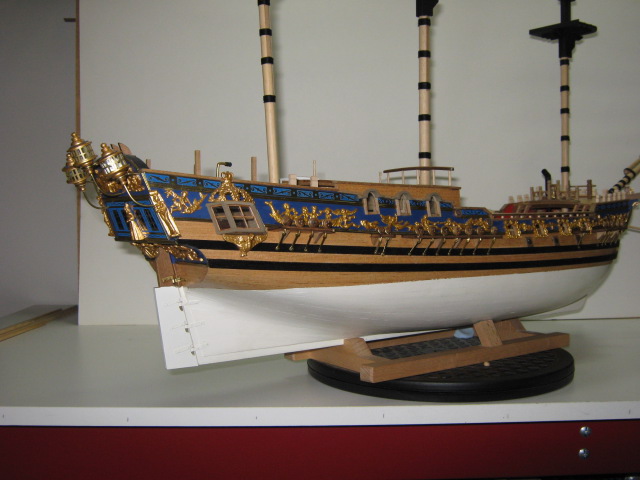
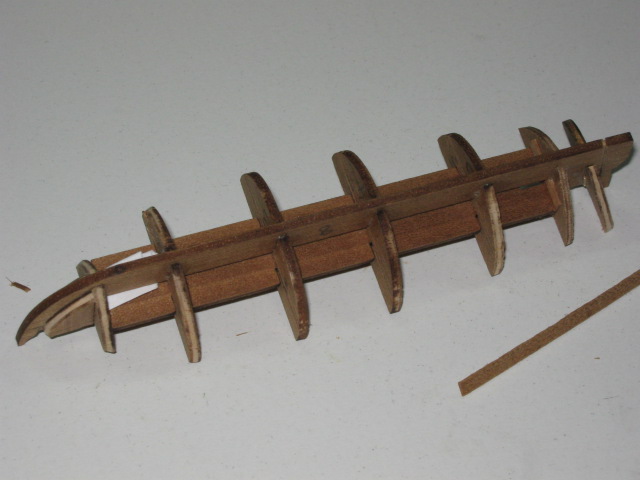
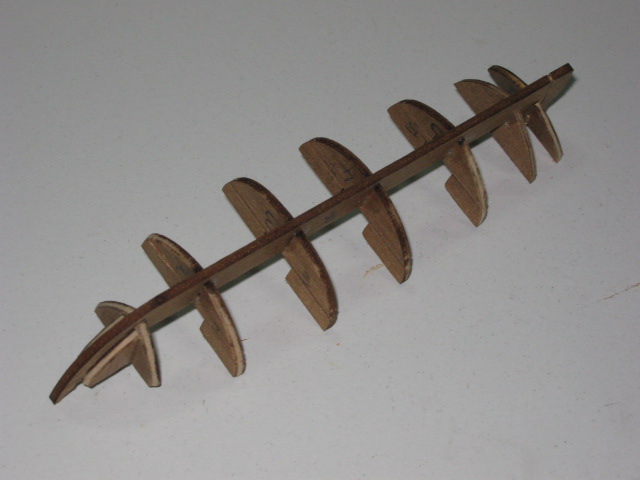
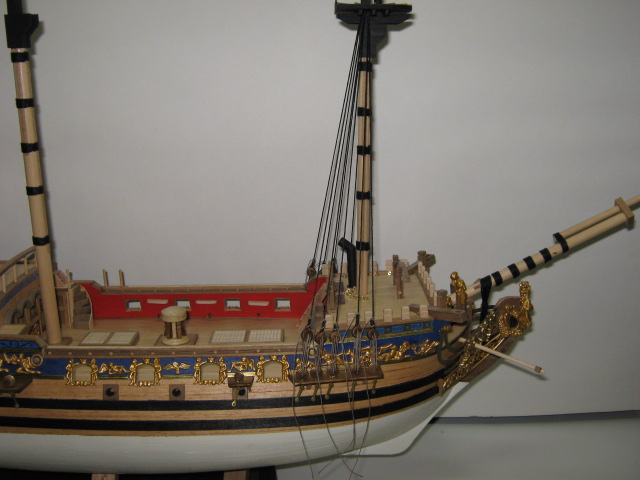
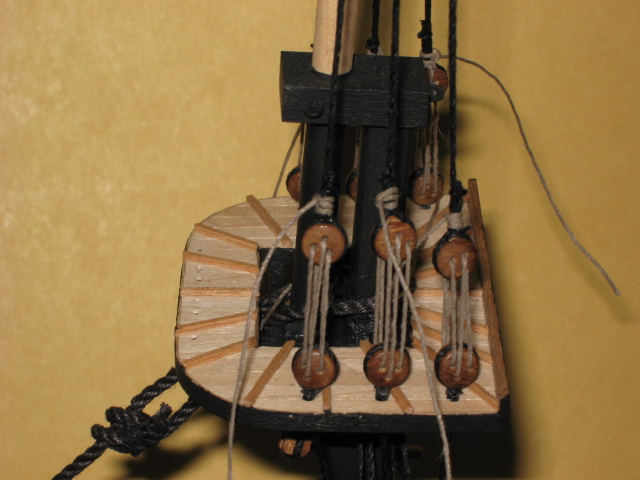
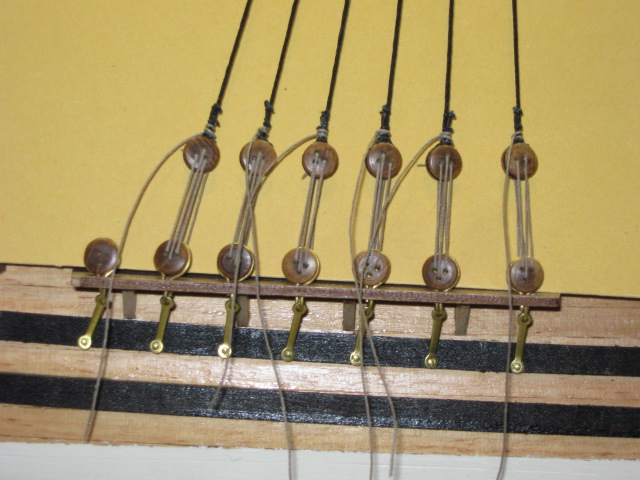
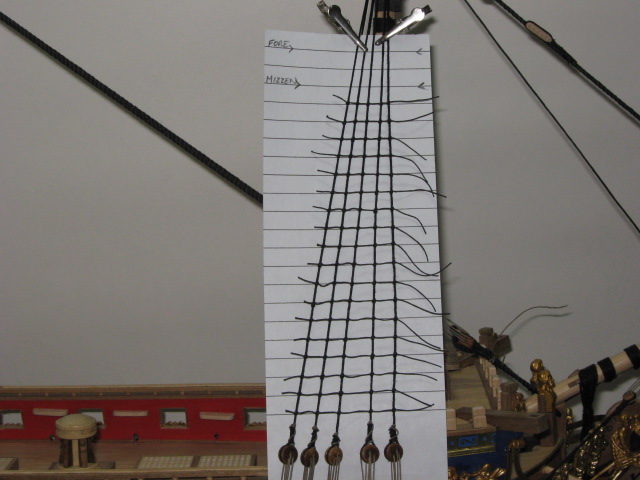
I was searching an old collection of dvd's when i came across a set of pictures from my "Royal Caroline" build - The original log was lost in the great crash a few years ago. So here they are, including quite a bit of detail about the building of the kit supplied ships boat: (Not sure how many I can fit in so i'll do five at a time.


- 22 replies
-
- 6
-
-
- royal caroline
- panart
- (and 1 more)
-
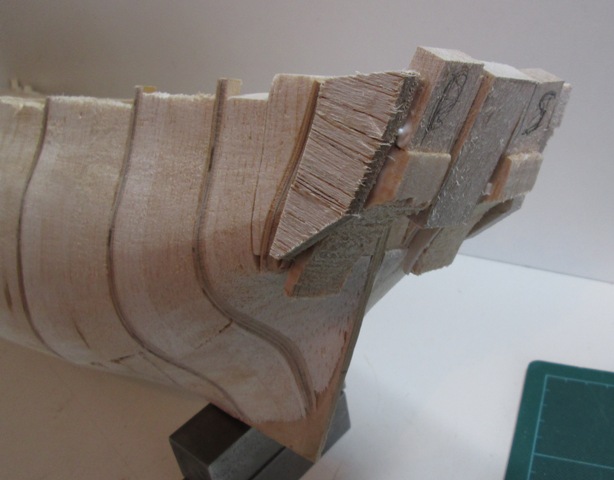
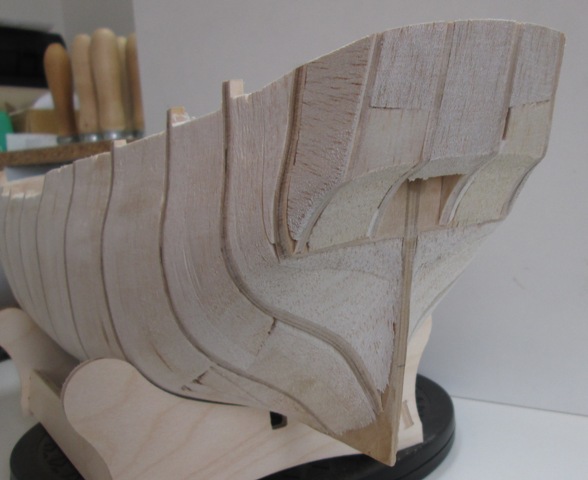
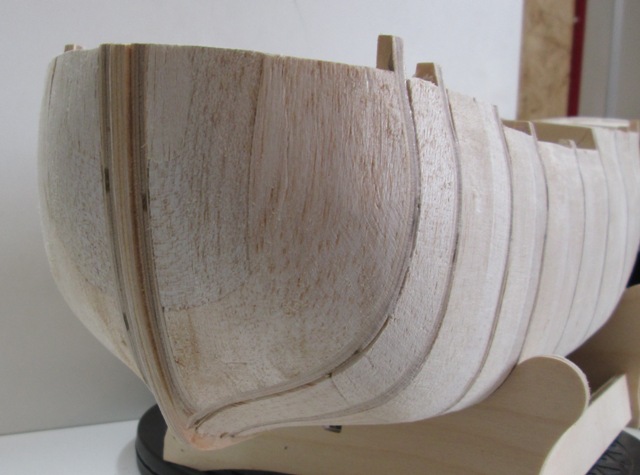
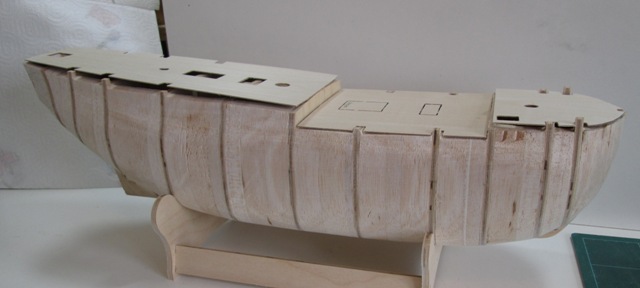
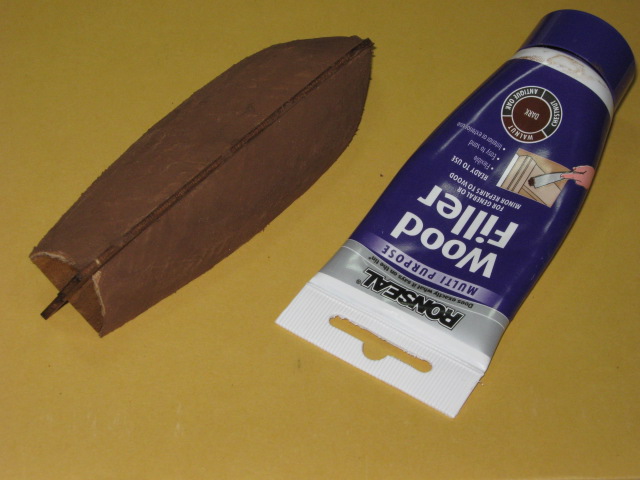
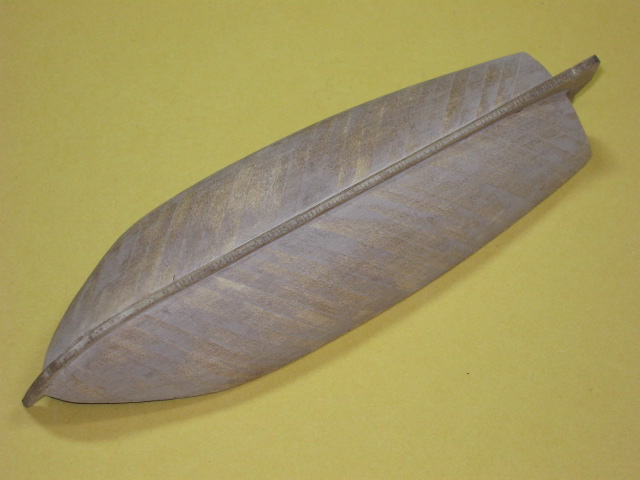
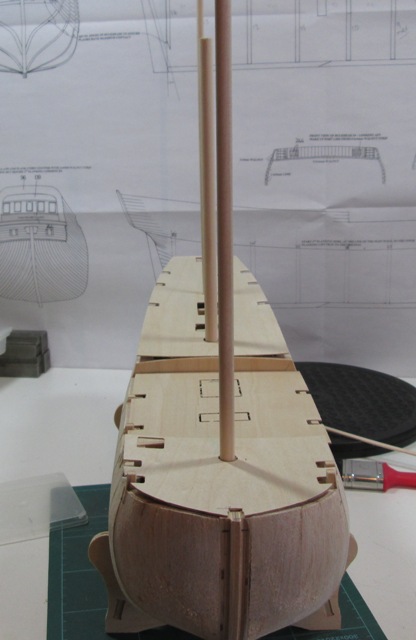
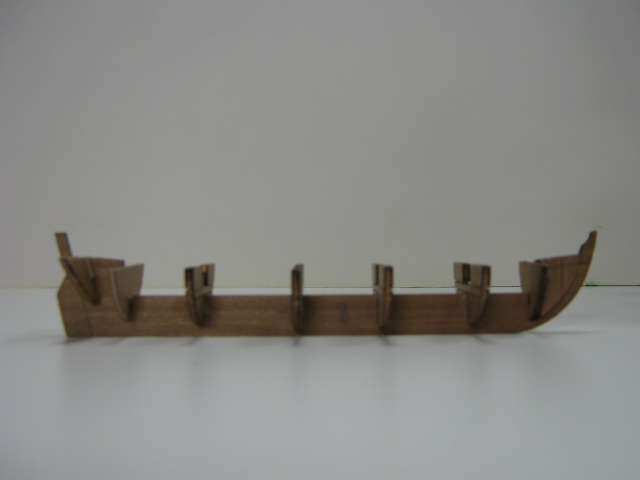
Nearly there now! I have finished (I hope!) the blocking in of the hull. Eventually I decided to block in the stern as it will be "solid" on the model - no inside details. The whole thing has been sanded to shape and set aside for a day or so - then a critical eye and a touch more here and there with the sanding block has produced a hull that is the right shape. The next stage is to practice a bit of plank bending I previously used a plank nipper but this time I will try boiling the planks and maybe a bit of heat /drying from a hair dryer - My first practice plank seems to be getting to be about the right shape. The blocked in stern: Sanded to shape: The final bow shape: And the decks propped in place to give an idea of the finished article: I've just realised that this has taken me eleven months so far - I suspect folks with more time could get to this stage in a couple of weeks of evenings !