marktiedens
-
Posts
1,737 -
Joined
-
Last visited
Content Type
Profiles
Forums
Gallery
Events
Everything posted by marktiedens
-
Thank you OC. Mark
-
Thank you all again. I plan to fight it as much as I can. Mark
-
Thanks for your thoughts - very much appreciated. If all the kind thoughts here could heal, I would be well tomorrow. Mark
-
Thanks for your kind thoughts - much appreciated. Mark
-
Thank you all for your kind thoughts - they are very much appreciated. Mark
-
Hello friends - I am saddened to say this build is being terminated. I have got a terminal illness & don`t have the will or energy to continue. Not sure how much time I have left, so I will look in at your projects from time to time. Mark
-
Yep,some parts of this kit are a bit frustrating. You`re doing a fine job,though. Hang in there. Mark
-
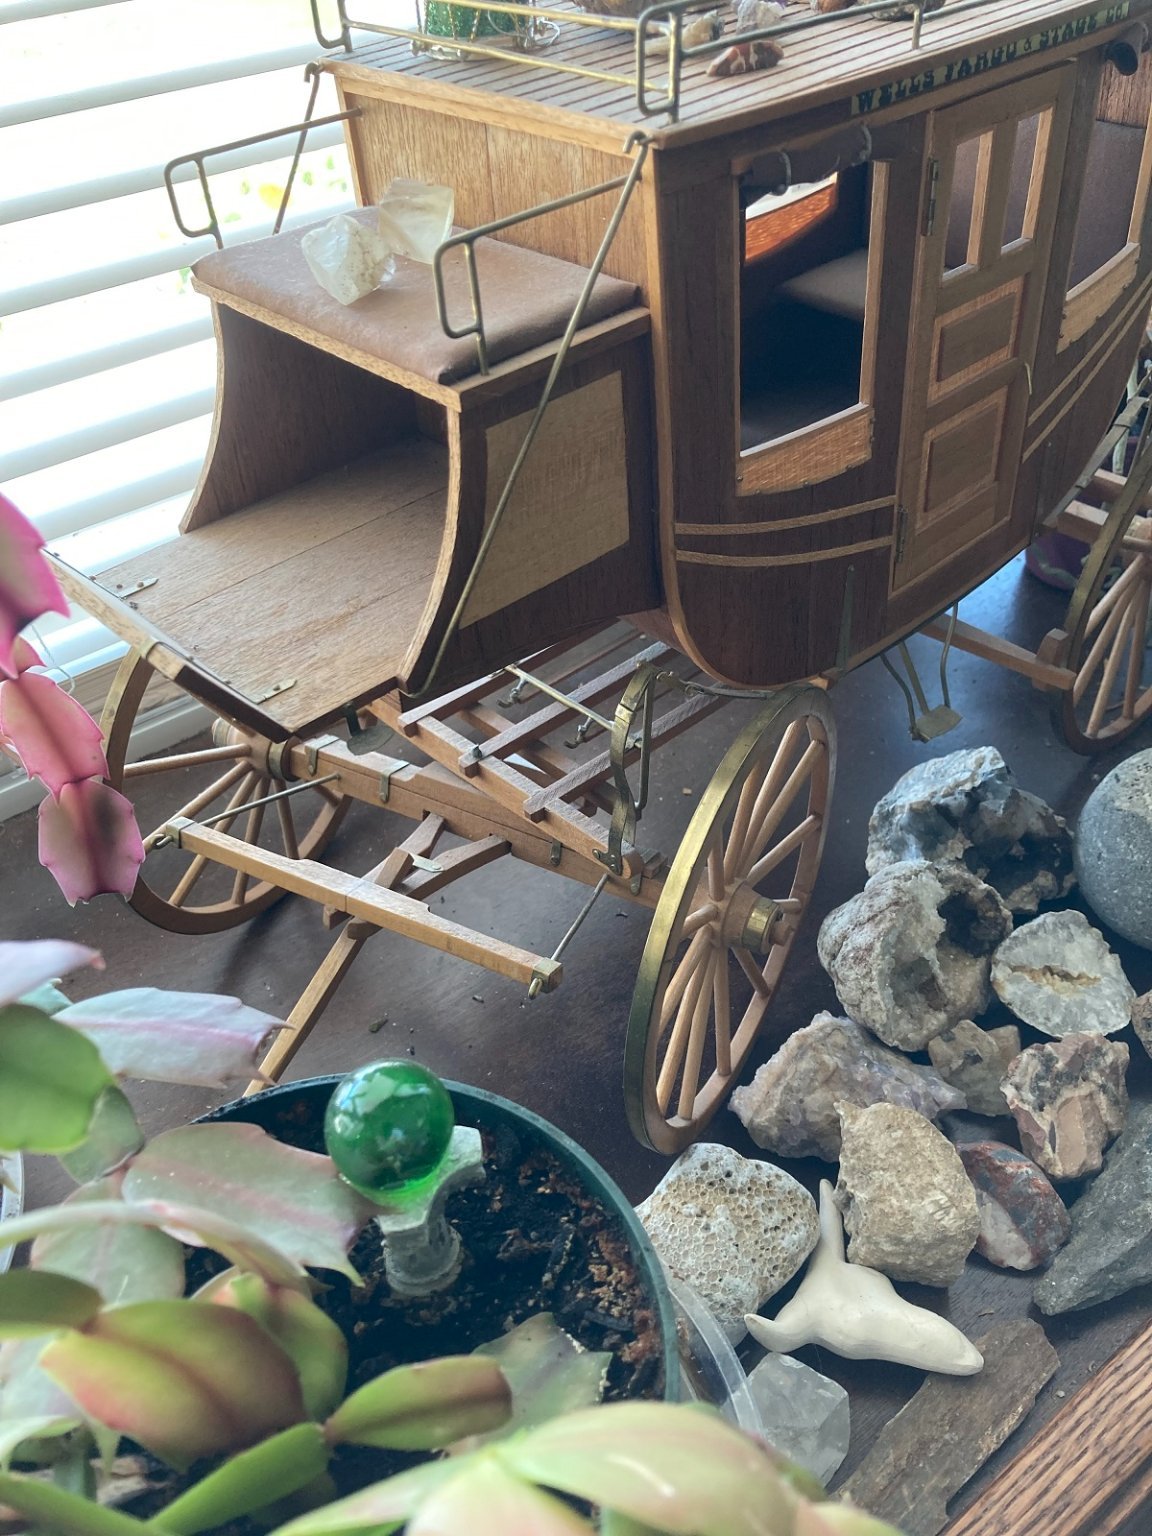
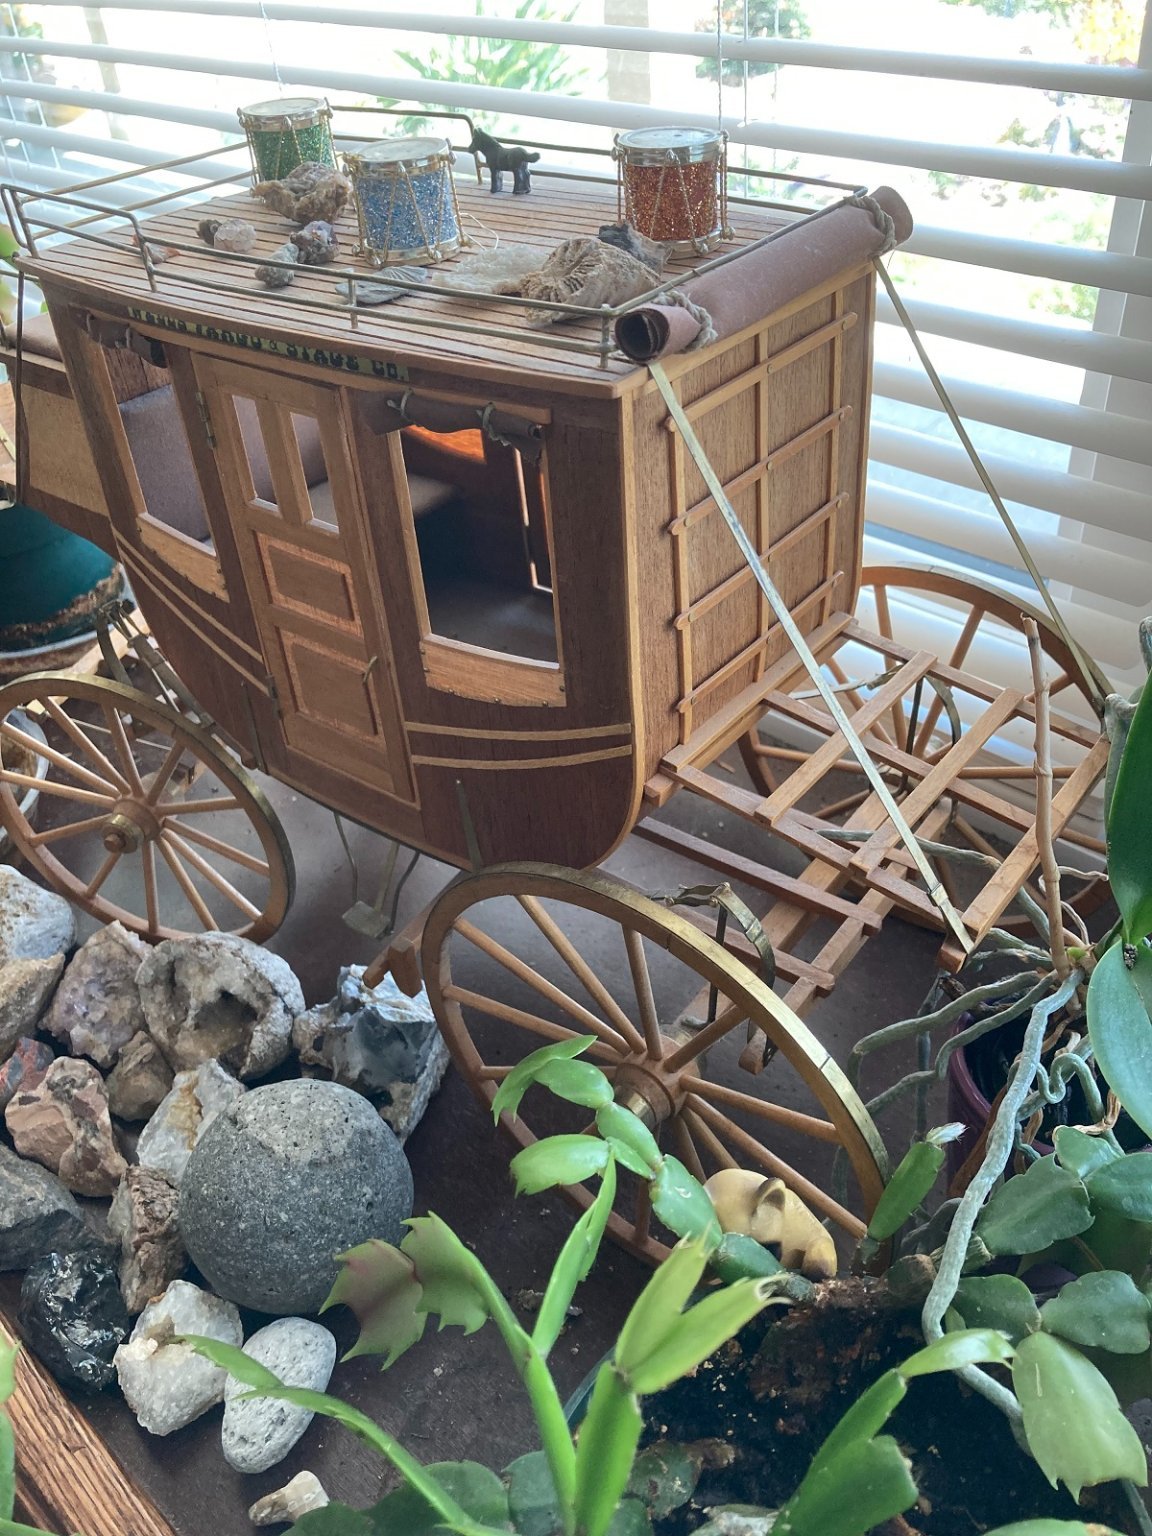
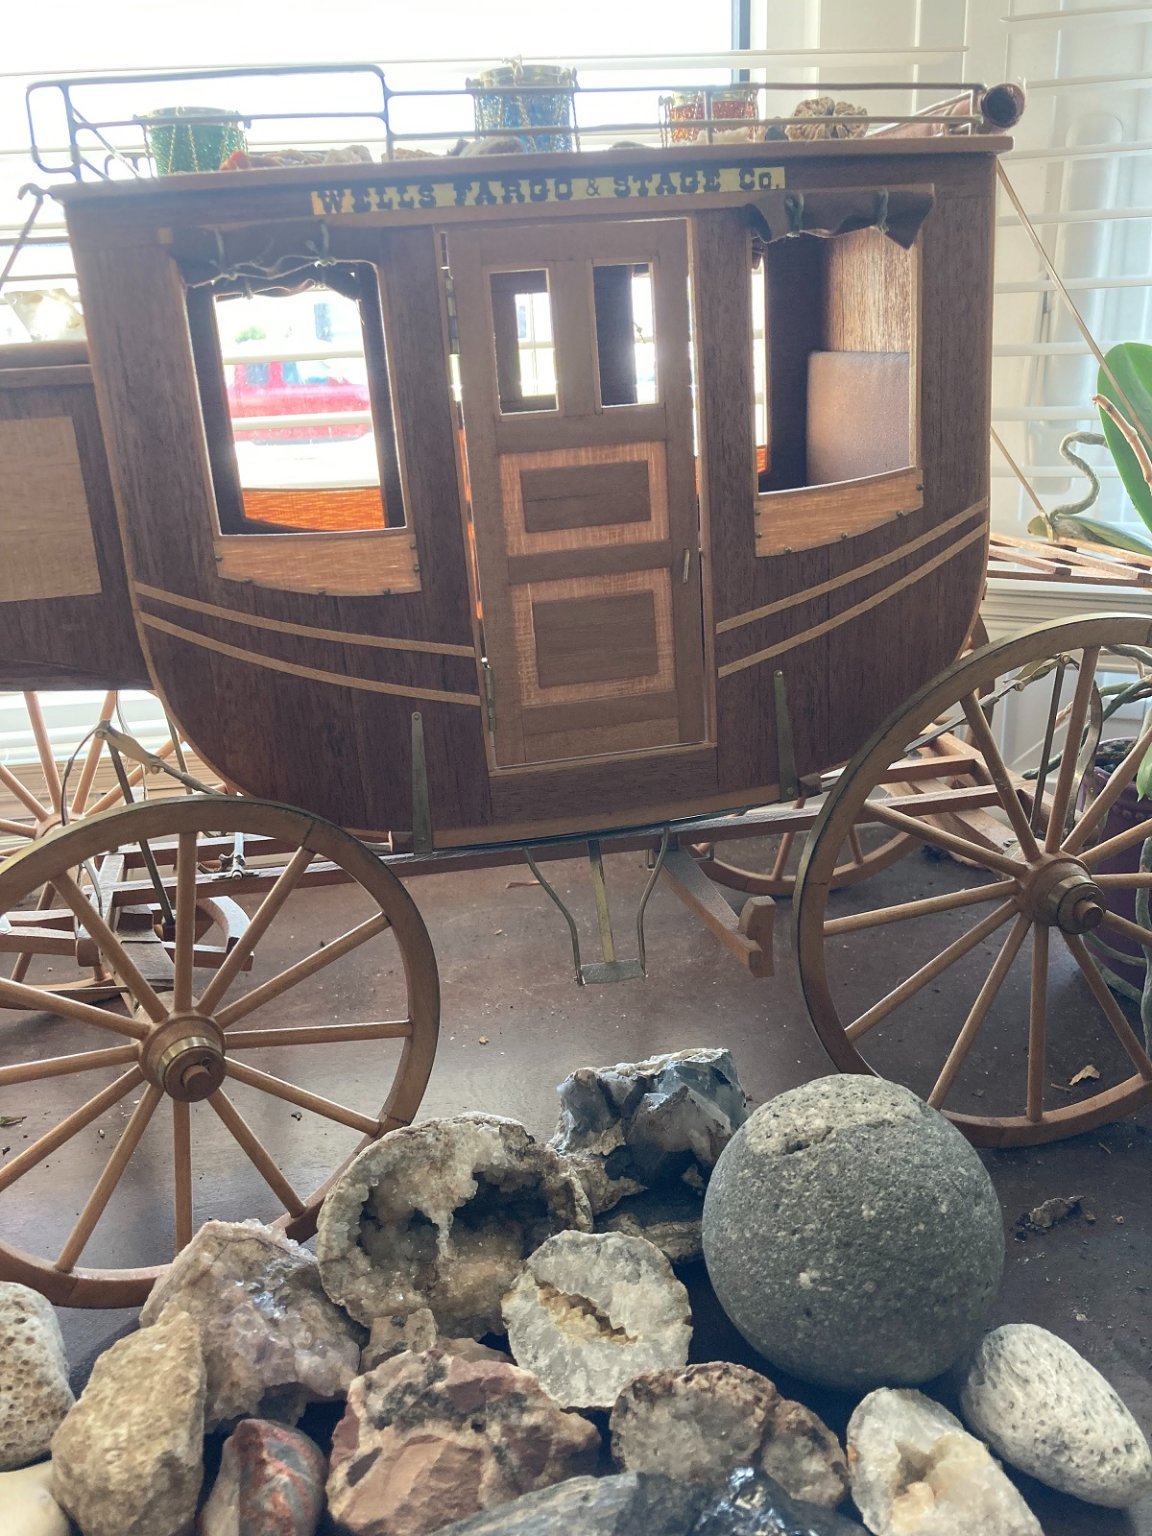
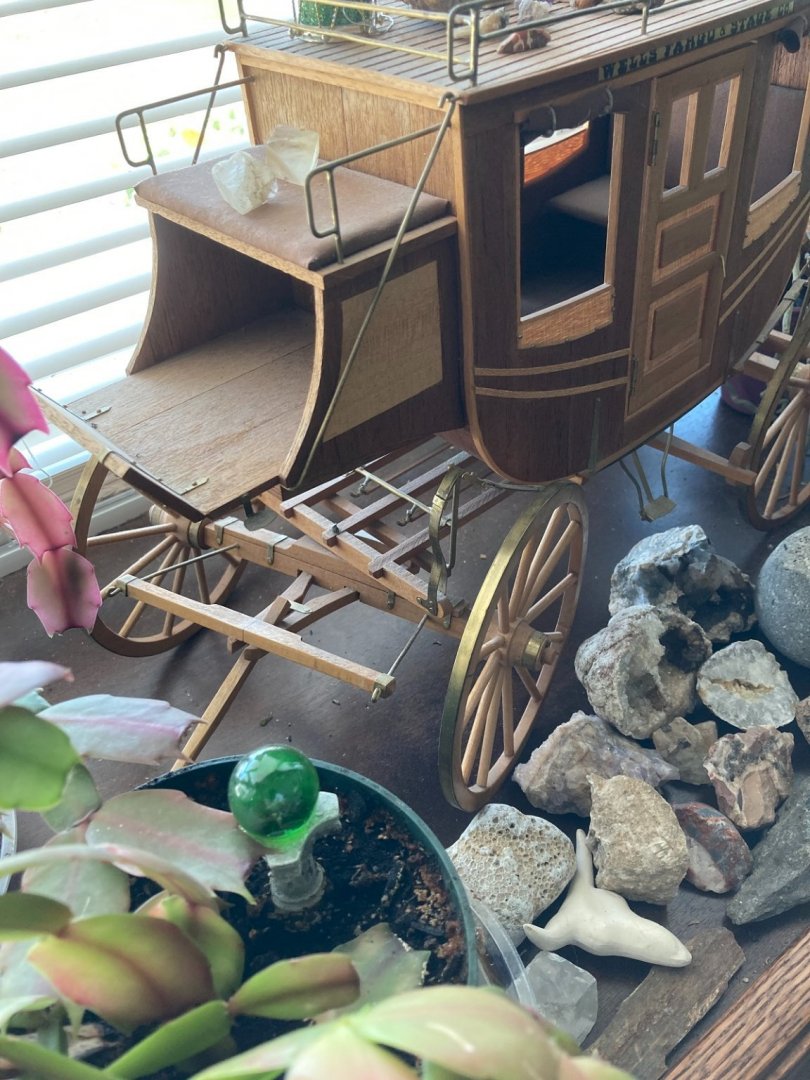
Hi Kevin - as promised,here are some pics of my stage coach. Looking at your pics, it`s obvious they made a lot changes to the kit since I built mine. Mark


- 148 replies
-
- 11
-

-
I built this kit a number of years ago & it appears they have redesigned the kit at some time. Your build photos look almost totally different from what I remember! The chassis looks about the same, but the coach work is almost totally different. I don`t have it anymore - built it for my Sister`s husband, who used to work for Wells Fargo. I will see if I can get some pictures if you would like to see it. Mark
-
Thanks Edward. Mark
-
Hi - another small update. All the channels are glued in place along with the fiddly PE support brackets. Extra brackets are supplied in the kit, but none are shown on the mizzen channels on the plans, so I did not add them. The extras may have been provided because the way they needed bending to fit it would be very easy to break them (don`t ask me how I know). Need to make up a bunch of chainplates next. Thanks for looking in. Mark


-
This is really, really nice. Congratulations on a great build! Mark
- 1,039 replies
-
- 1
-

-
- ballahoo
- caldercraft
- (and 2 more)
-
I have a 1/48 Monogram B24J sitting in the closet waiting to be built SOME day. Mark
-
Very nice - watch out for rocks & tree stumps! Mark
-
My vote goes to the vintage one - the newer one looks like a cross between a horse & lion. You would think a newer design would be better, not worse! Mark
-
I must have got the odd one - my kit was in a green box just like in the first post, but all the decorations were in trays - no blister packs, no etched decks or planking. That was back in the late 80`s if I remember right. Mark Mark
- 35 replies
-
- 2
-
-
- Mantua
- Sovereign of the Seas
- (and 1 more)
-
Cleaning Brass Casting Residue
marktiedens replied to Jonathan_219's topic in Metal Work, Soldering and Metal Fittings
I believe the Mantua kits actually use bronze for their castings - at least the older kits. Don`t know about the newer kits. As far as cleaning them, you might try a buffer wheel in a Dremel tool if you have one. They use the lost wax method of casting, so the residue may be some of the wax that has hardened. You might also try applying some heat to them - like a hair drier or very hot water - to see if the residue softens up. Mark -
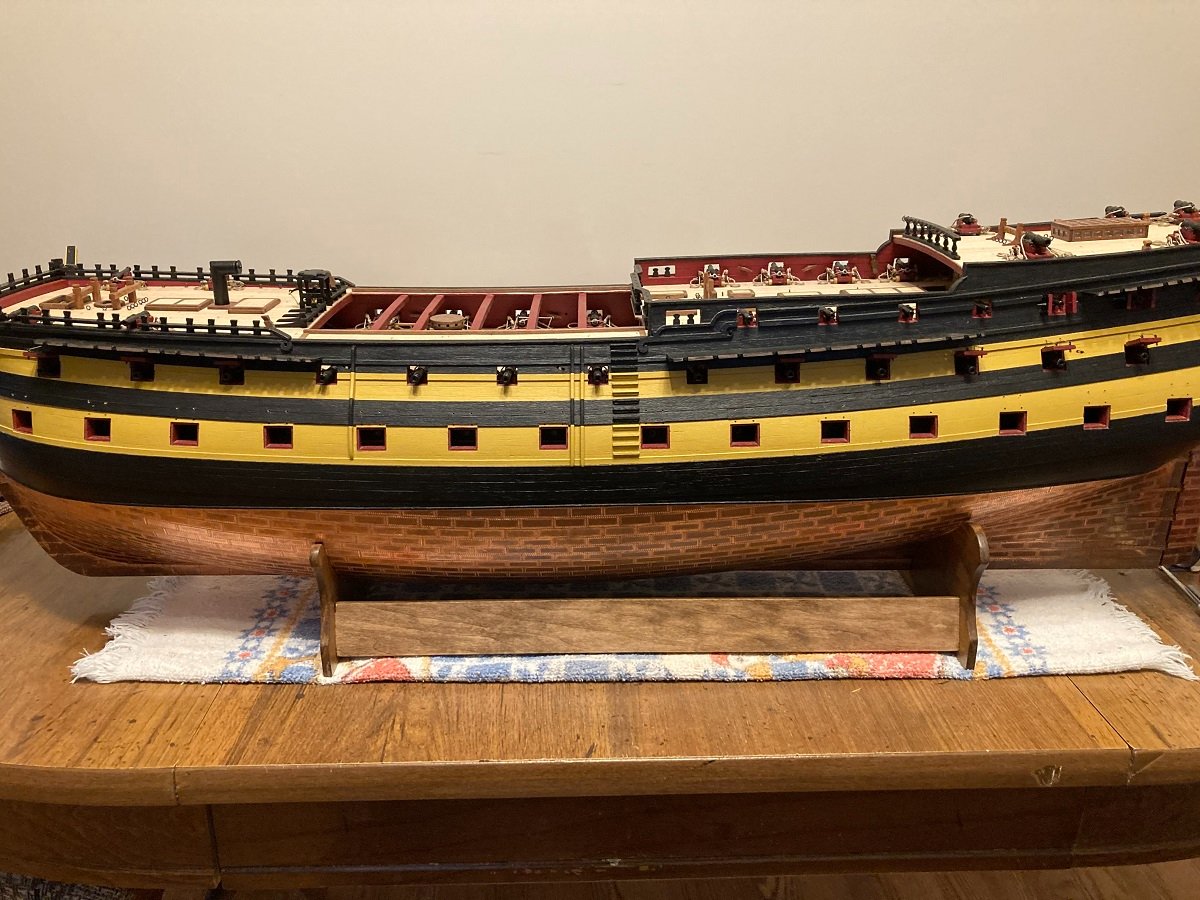
Looks like you have the older version - I did this one a number of years ago & it builds into an impressive model despite the inaccuracies. I`ll be watching also. I wish that book was available back then. Mark
- 35 replies
-
- 2
-
-
- Mantua
- Sovereign of the Seas
- (and 1 more)
-
Thanks guys. I already have pins in the channels - just haven`t glued them in place yet. Now, I am doing some minor house maintenance, so progress is still slow. Mark
-
Thanks Mike. Mark
-
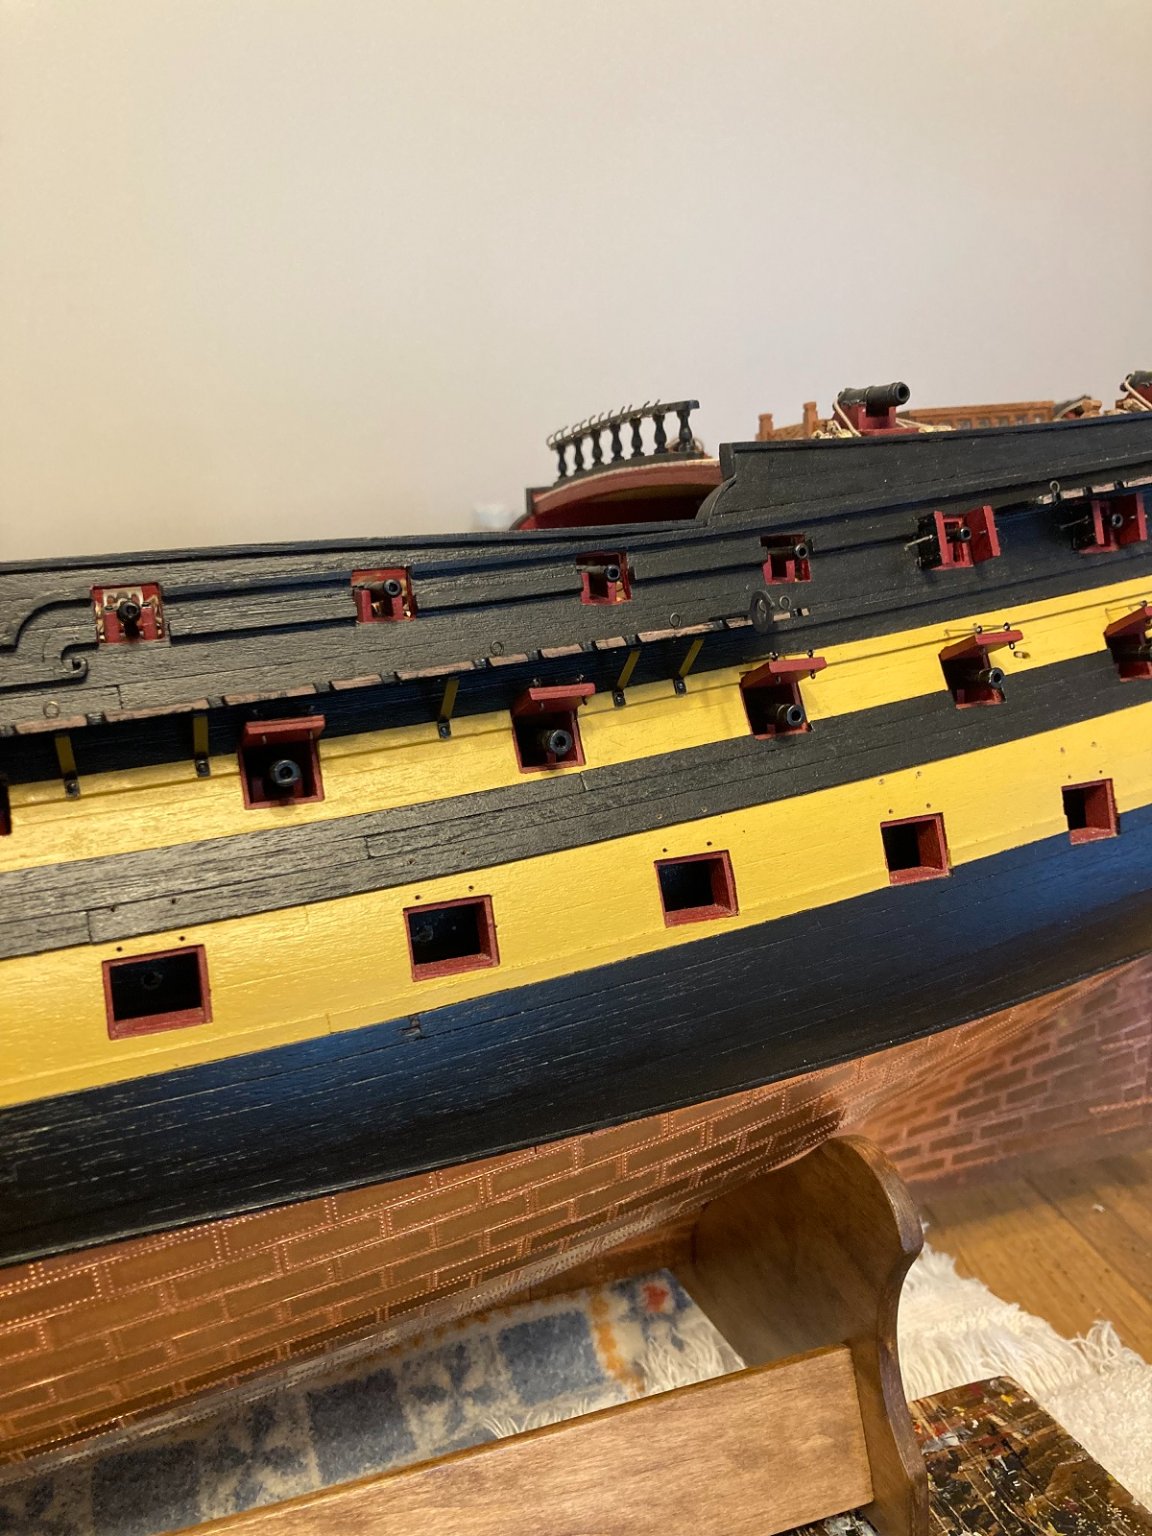
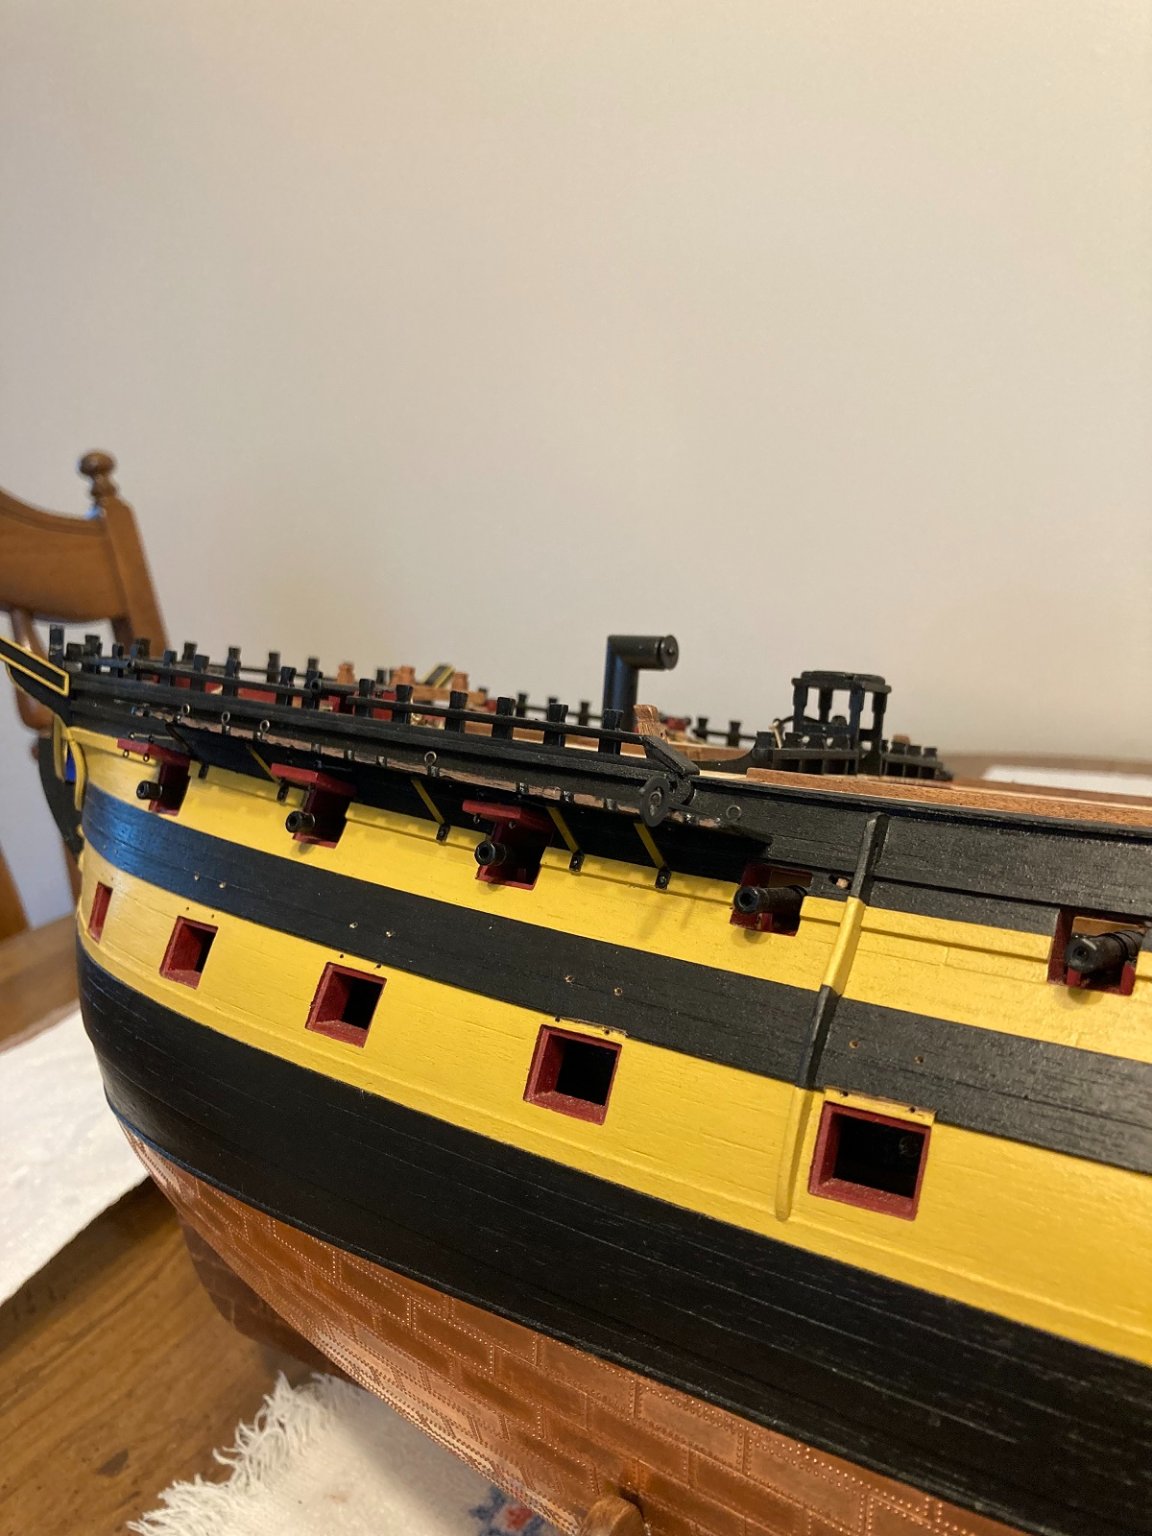
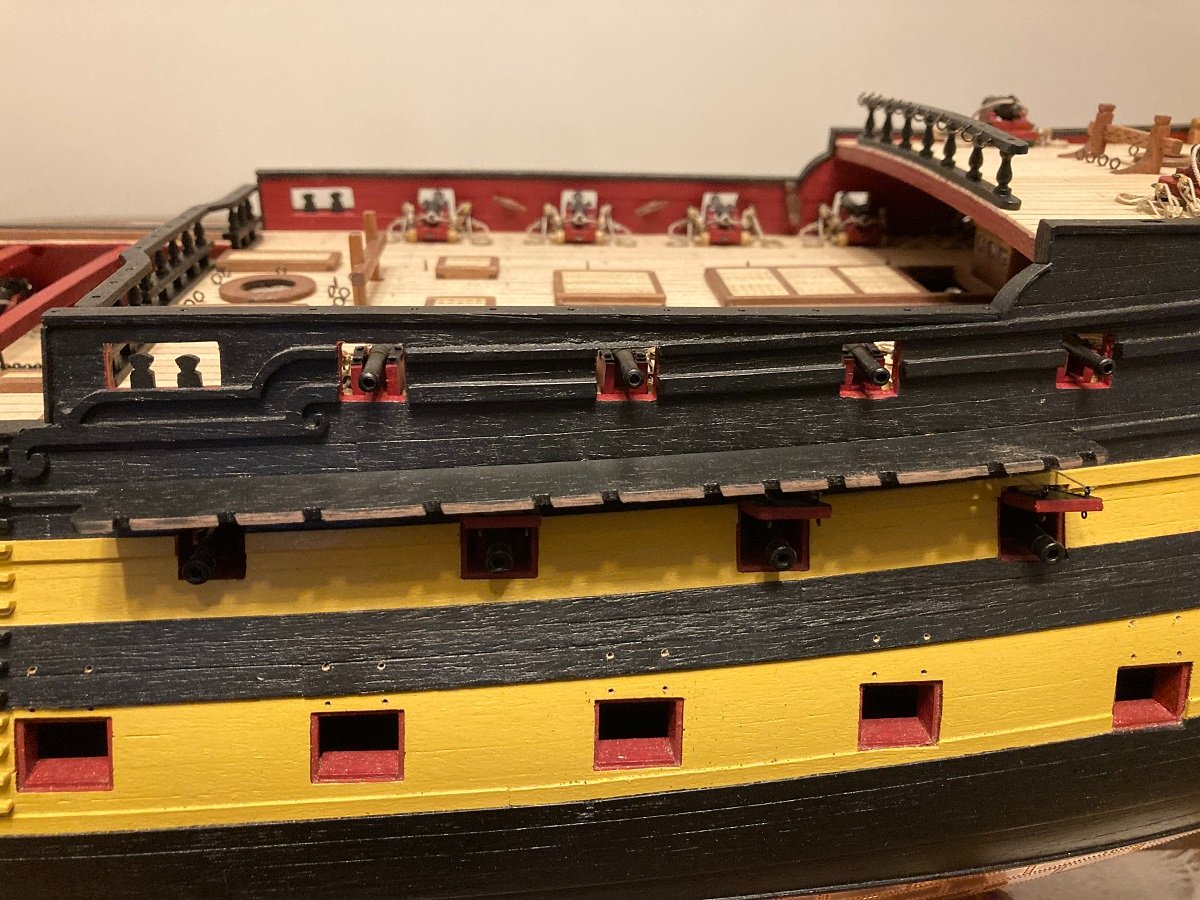
Hi all - moving along at a snail`s pace, the upper gunport lids were glued in place & the ropes added. Then, I thought it would be a good time to fit the channels. After double checking the plans, I discovered that I glued the moulding above the upper gun deck ports too low & there wasn`t room to mount them below the moulding as the plans showed . So, after assembling one chainplate,I saw I could mount the channels above the moulding & still be ok. the channels are not glued on yet & I haven`t got to the starboard side yet. I still have to blacken the channel brackets & some other brass parts before I glue the channels on. Still trying to figure out how I got that moulding so far off. Mark
-
Thank you Sjors. Things are improving s l o w l y. Mark
-
Thanks for your comments Harbour Dog. If you are looking for a good place to start, a cross section would actually be a good place to get started,as you would not have to deal with all the intricacies at the bow & stern. Mark
-
Thanks Frank - progress is being made. Mark