


marktiedens
-
Posts
1,737 -
Joined
-
Last visited
Content Type
Profiles
Forums
Gallery
Events
Posts posted by marktiedens
-
-
-
Hi,the box I have is 870mm long by 365mm wide by 85mm tall.
/Mark
-
Frank,
My thought process is not always correct,but I didn`t want to try installing them after the rigging. My thought is since they are made of metal they would better survive a bump or two even though the posts are wood & only 1.5 by 1.5mm. If they were wood I may have waited until at least some of the rigging was done. I think I would be more likely to snag some of the rigging trying to get my hands around the shrouds & other lines. Thanks for your nice comment also.
/Mark
-
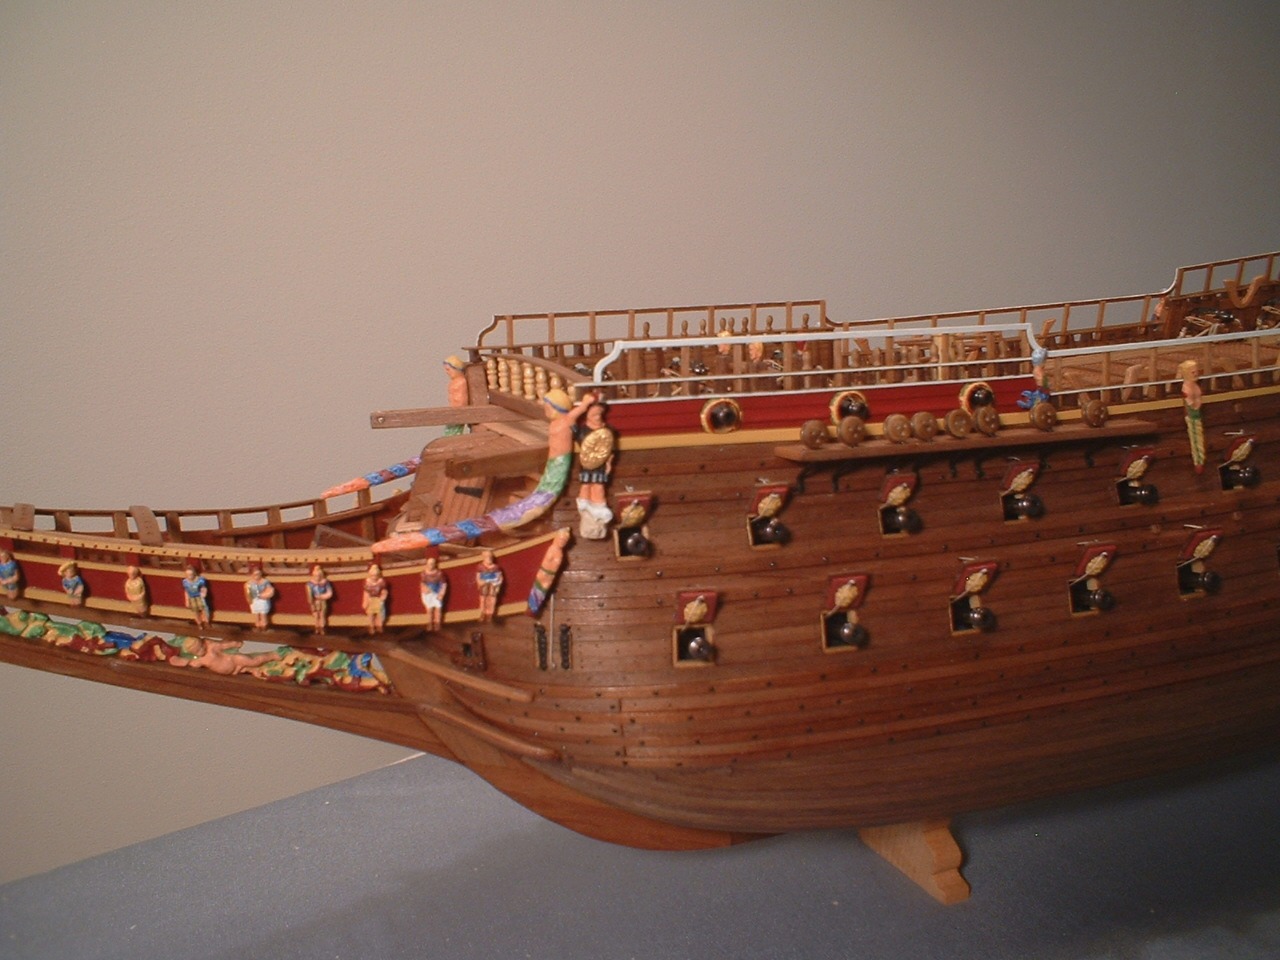
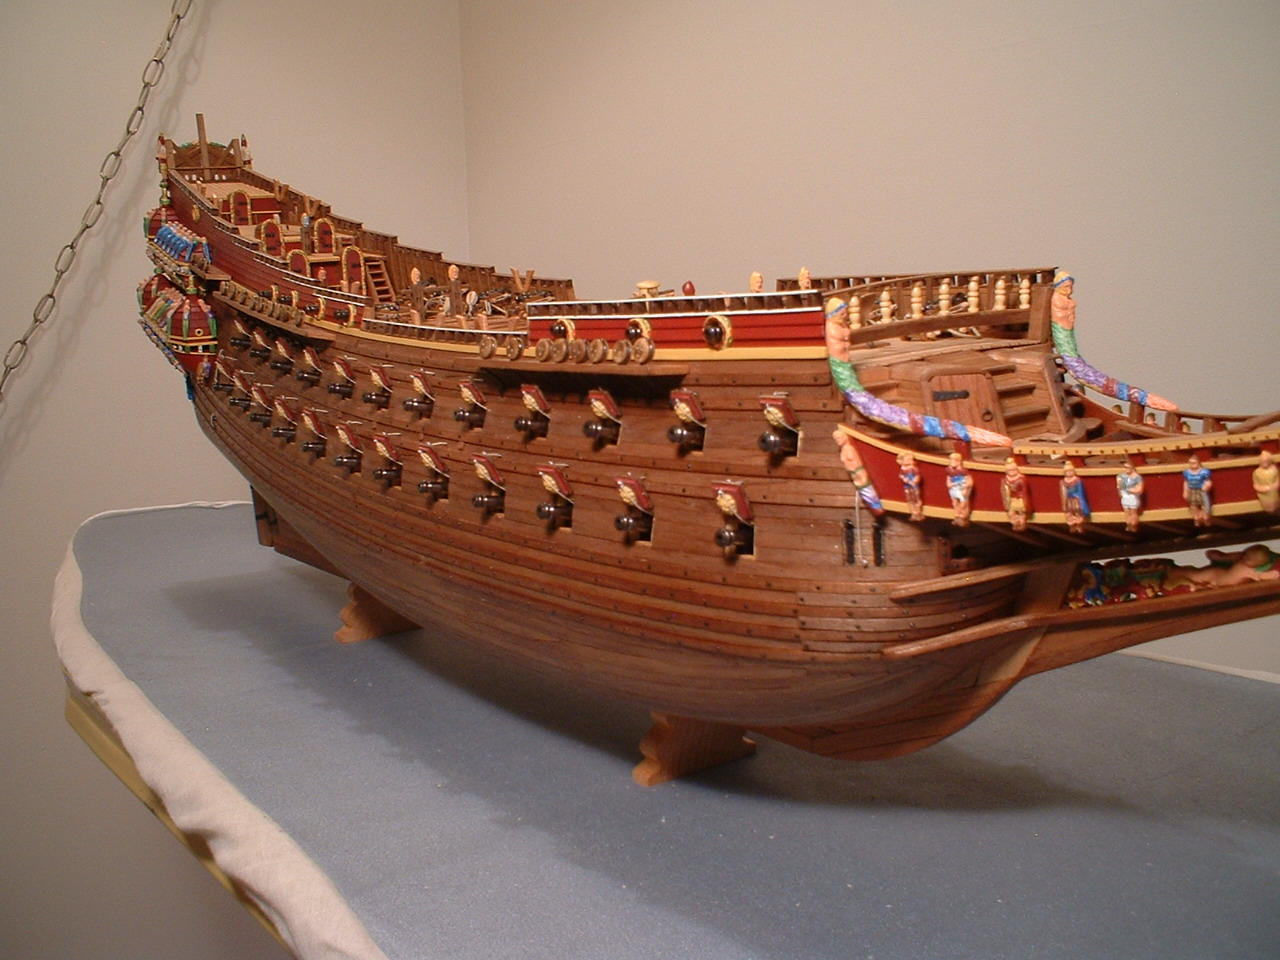
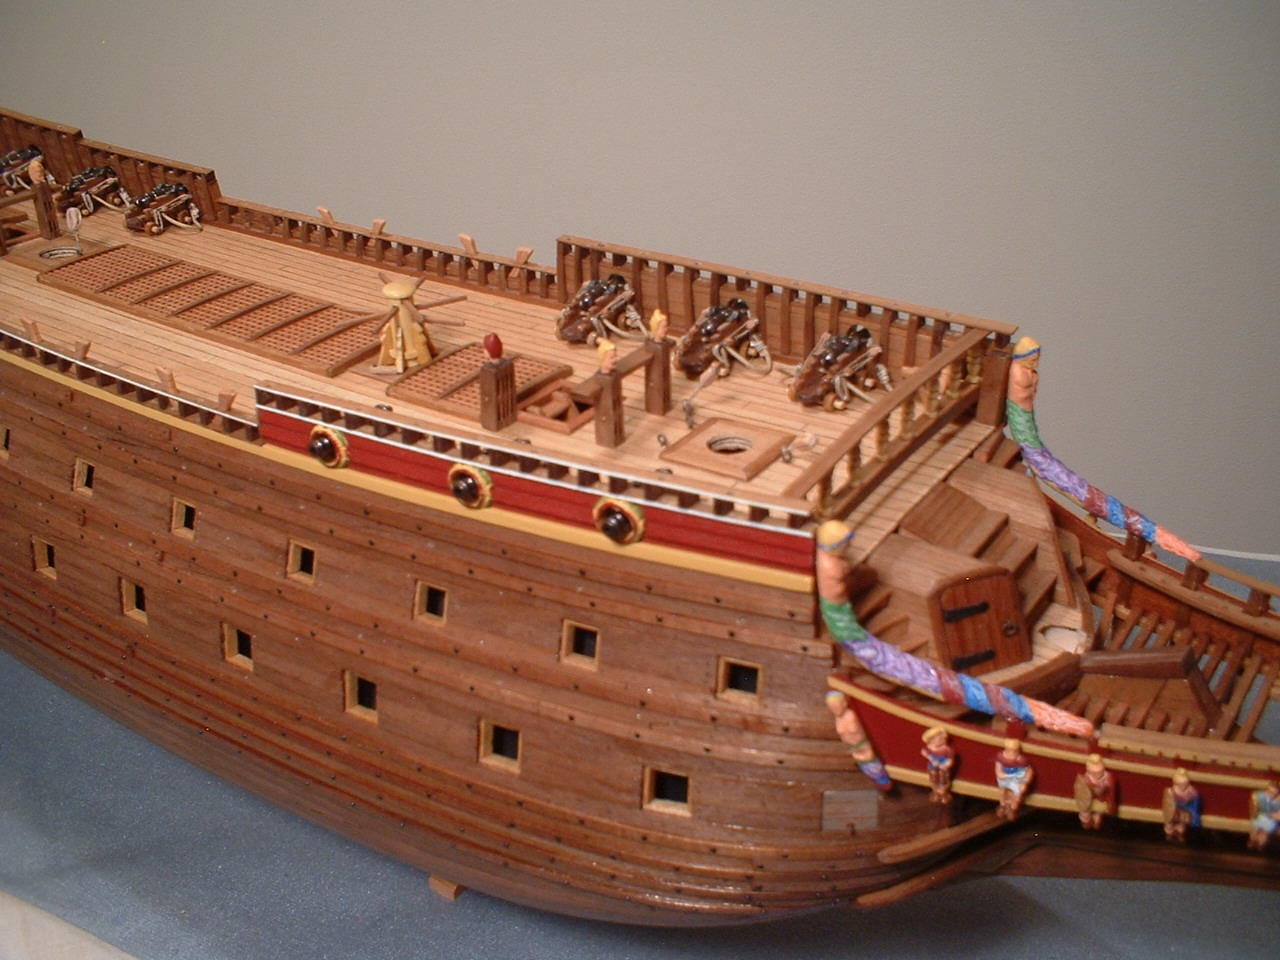
Alittle progress - made the odd looking pulleys that mount to the front of the mizzen chain whale.
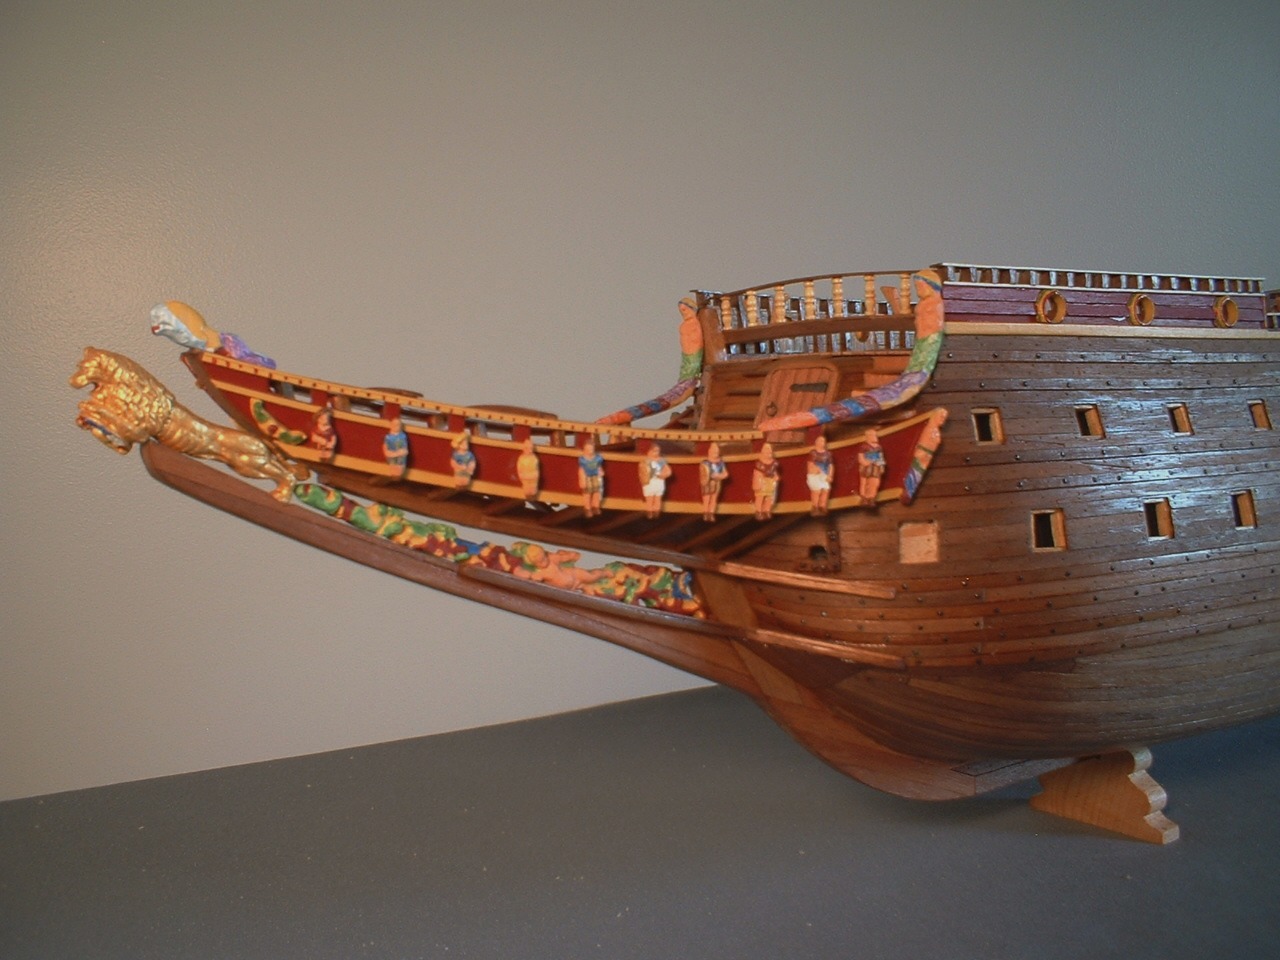
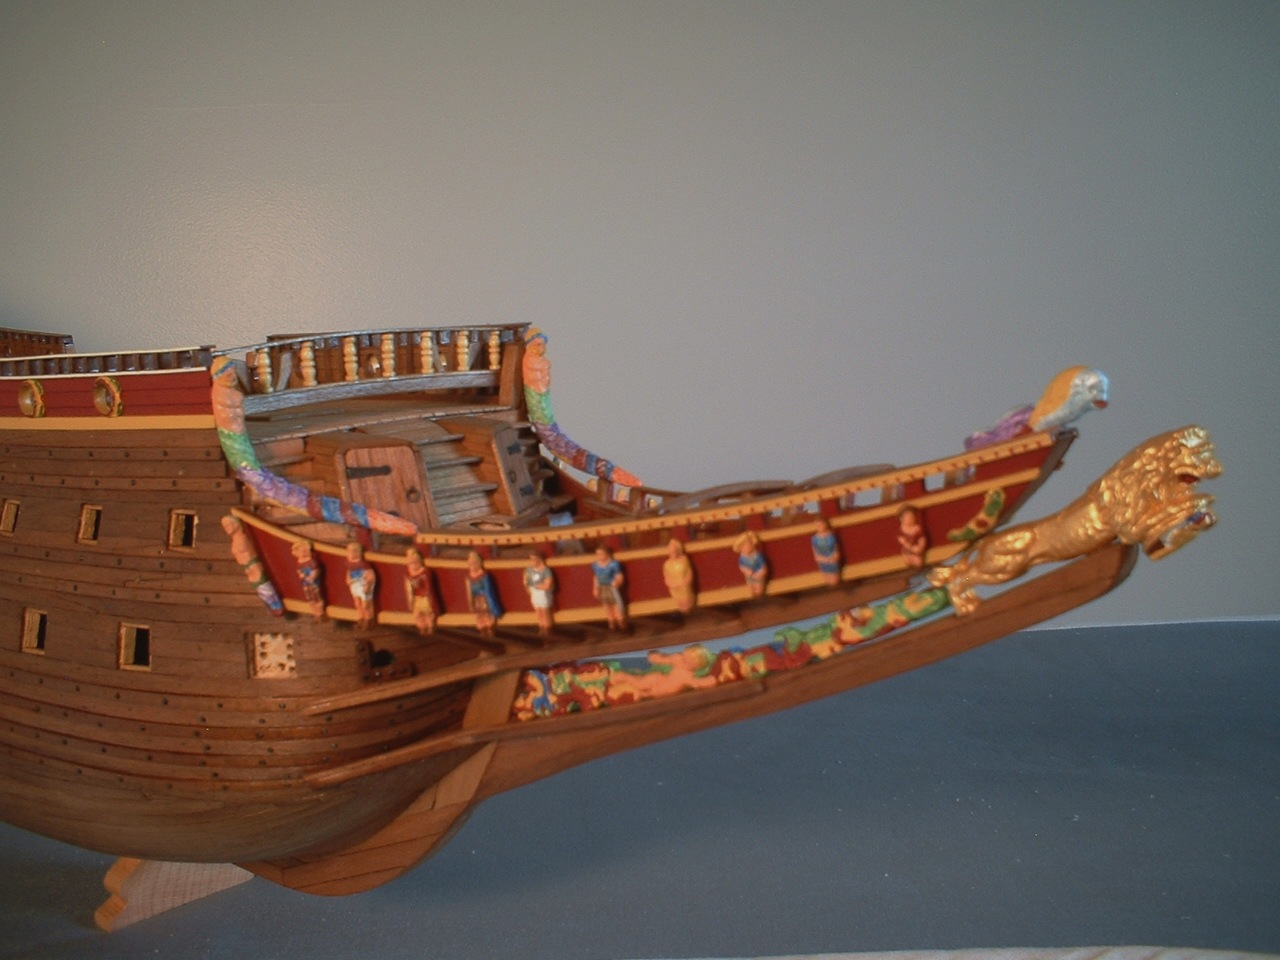
Also installed the catheads - I`m not going to try and make the little guy in the cage that sits under the catheads. Also made & installed the upper hand rail - I made them from some .8 by 1.5mm brass bar bought from my local hobby shop. Now I will have to be careful not to break them off
 . Also got the rest of the figures installed.
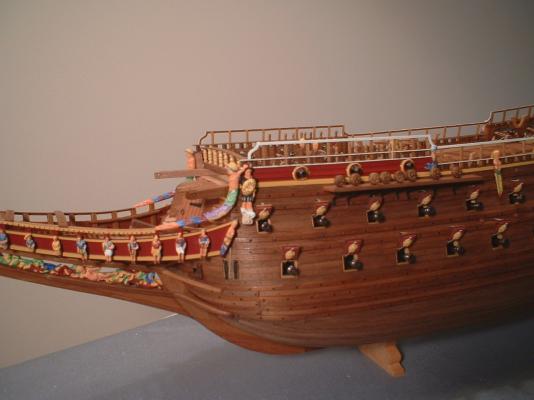
/Mark
-
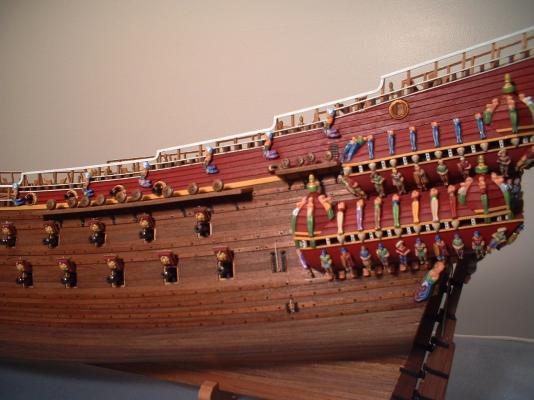
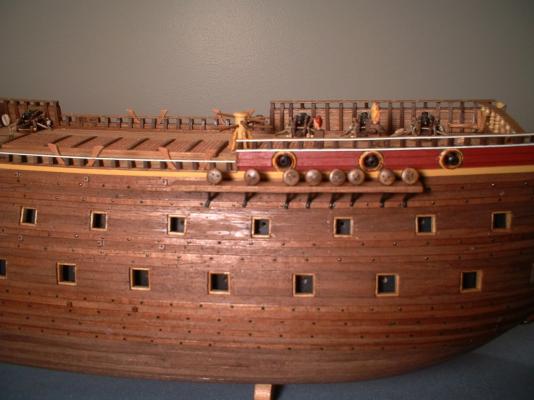
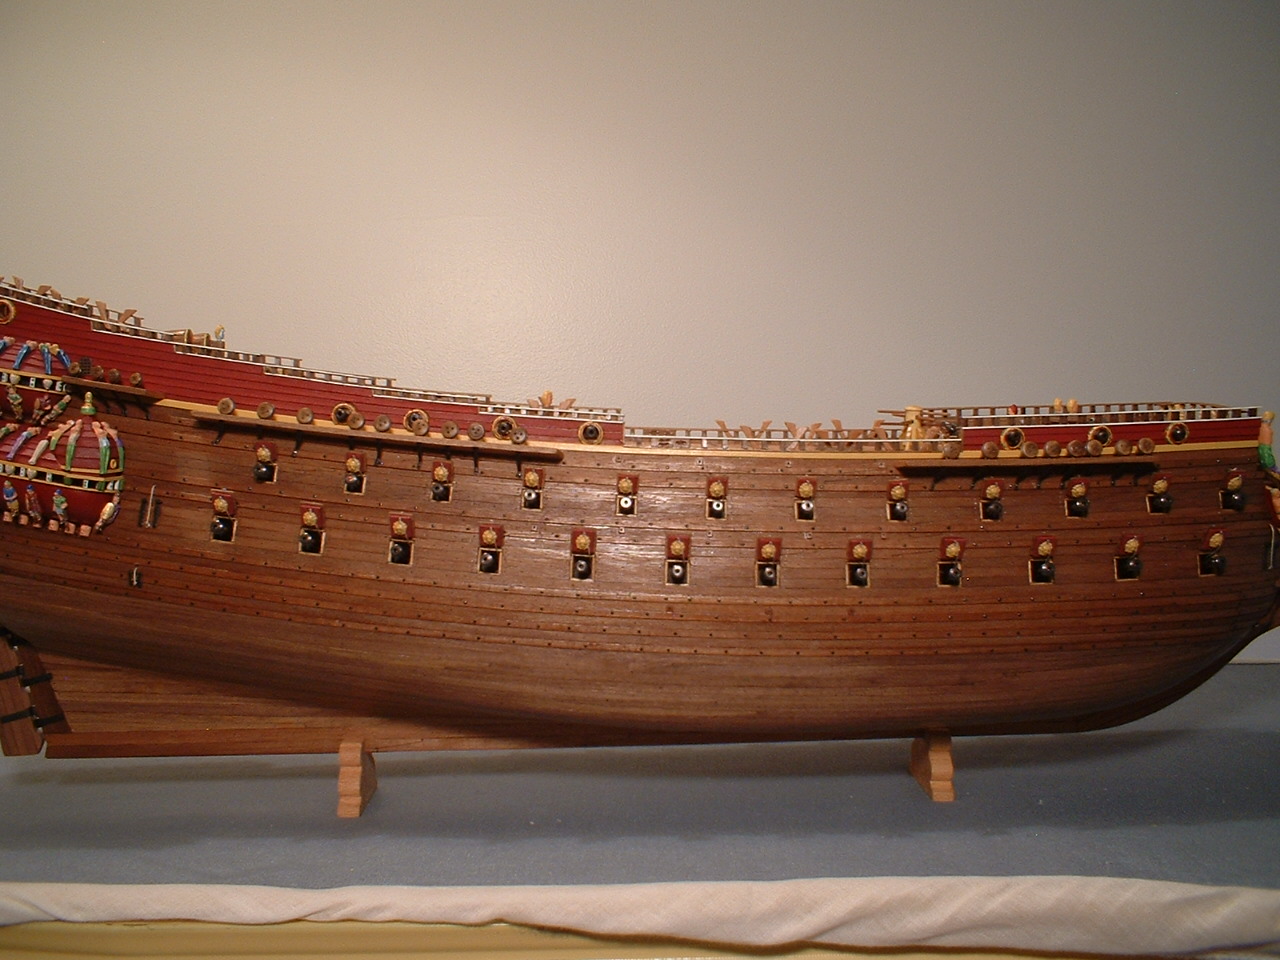
Thanks Frank. Although some people don`t like the look of walnut I think it looks pretty good on this particular ship.
 Also my low tech camera doesn`t really show the true colors - the browns always seem to be a little on the red side. Maybe it`s my light source
  .
./Mark
-
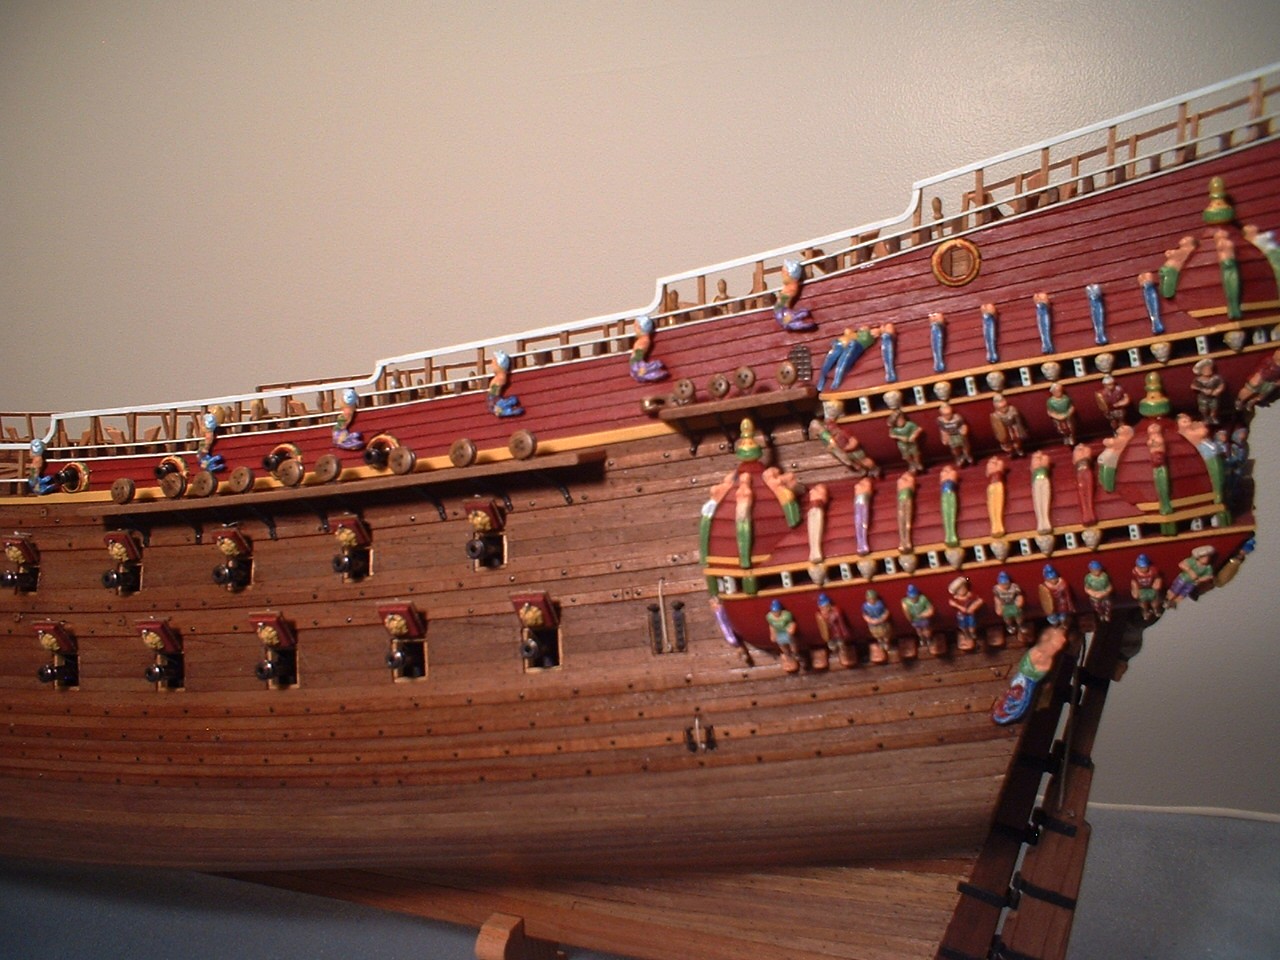
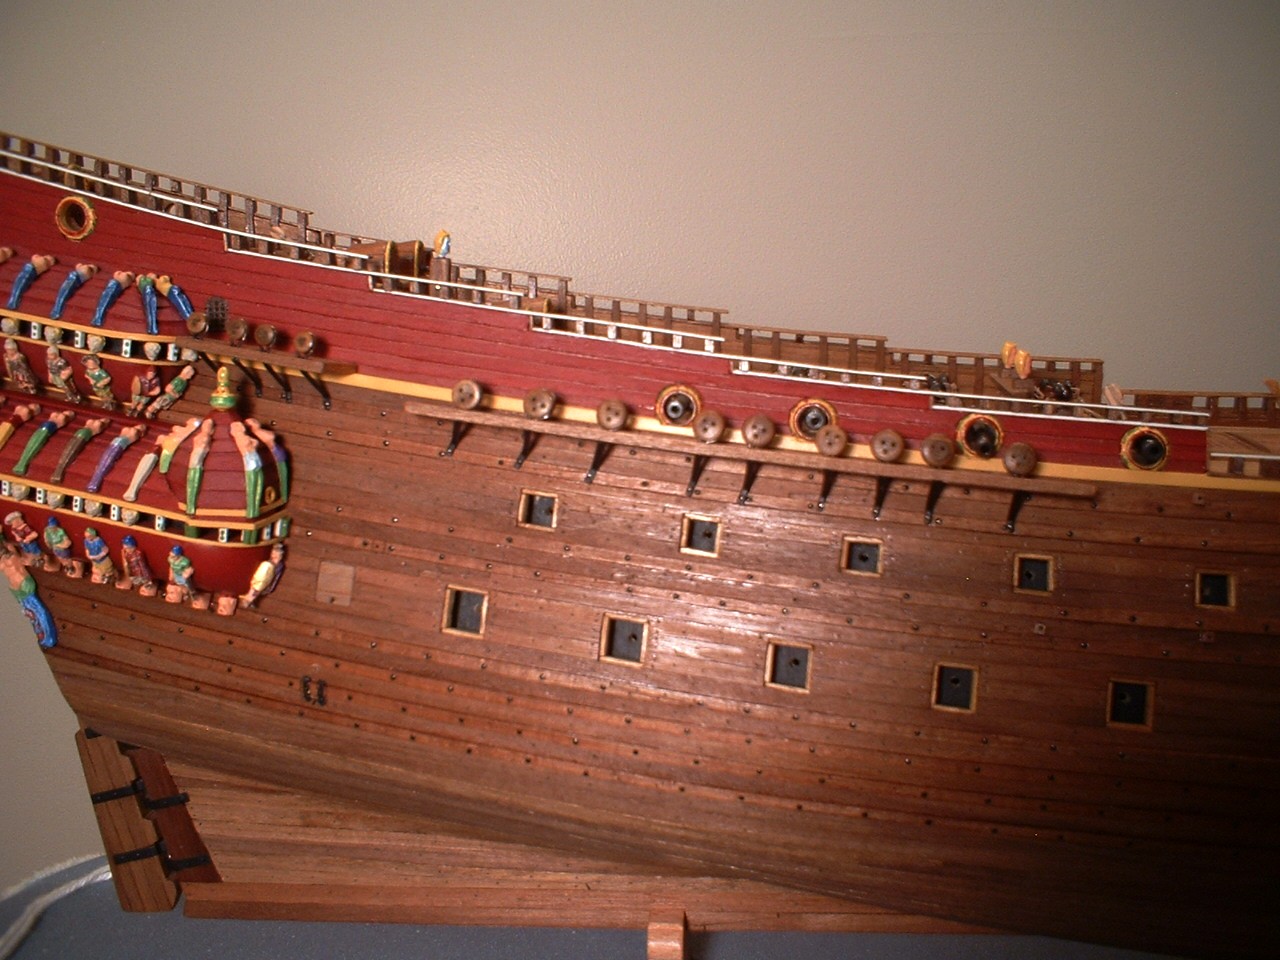
Thanks Edwin. I see that I also have a few more figures to paint & install - almost forgot about the little sea monsters that go on at the breaks of the railings.
/Mark
-
-
-
Thanks Michael. The chainplates are fastened close to where they should be but the chain whales should actually be mounted on top of the whales instead of above them, but it would make them too close to the chainplate fastening point so I mounted them above.
/Mark
-
Thank you very much Edwin. Yes,we all benefit from other people`s tricks & tips.
/Mark
-
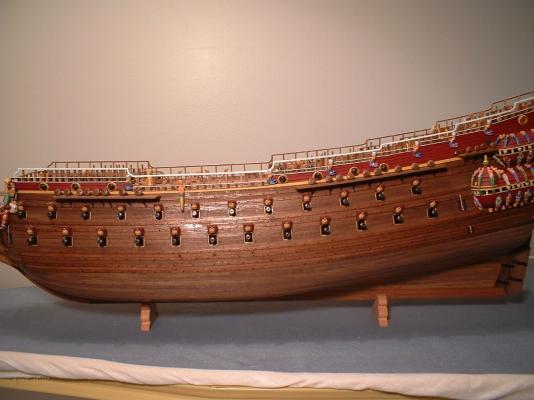
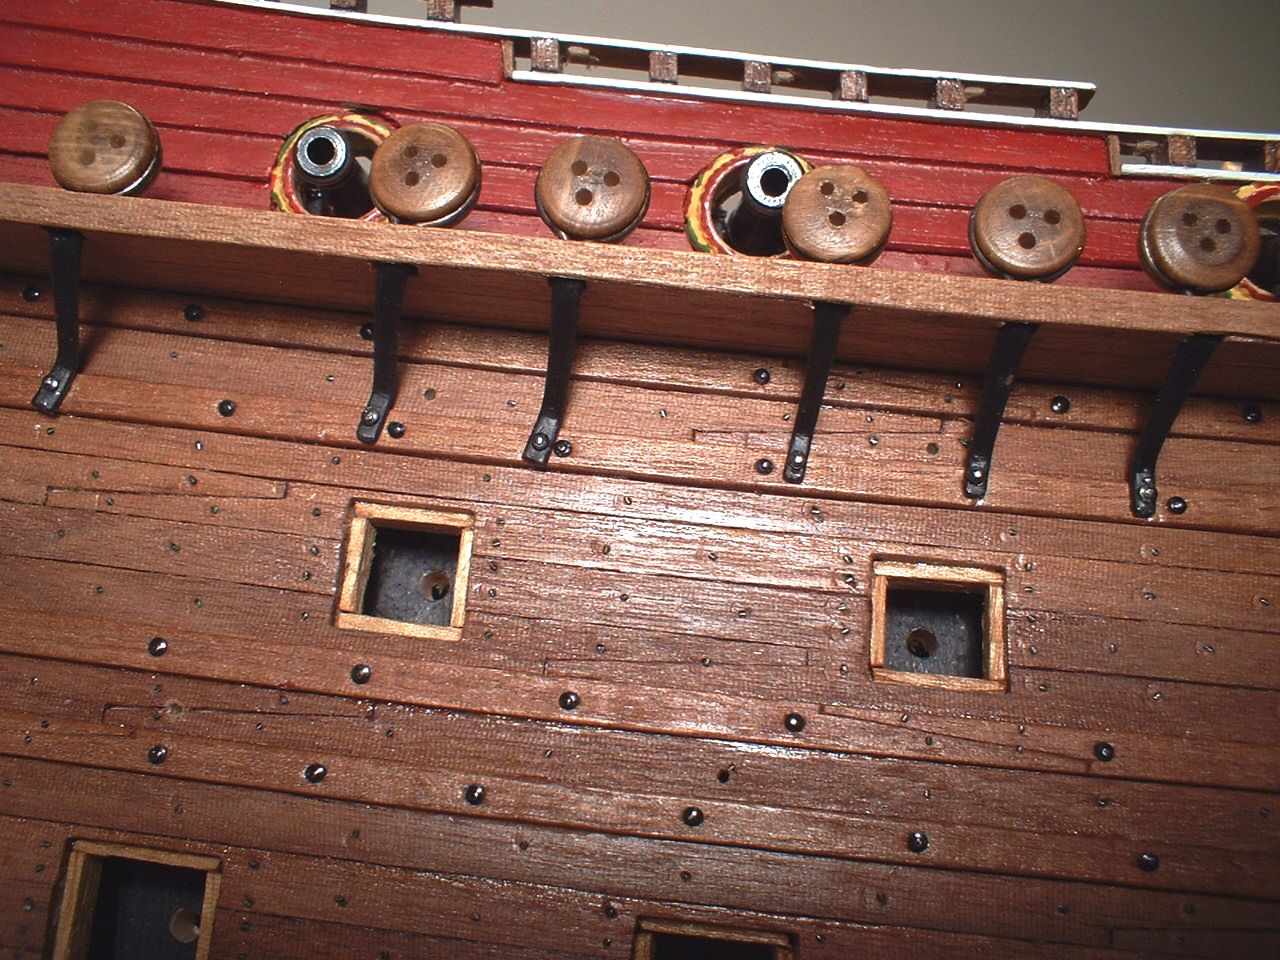
A little more progress - chainplates mounted. The kit deadeye strops were made from wire bot the strops on the real ship are flat bars so I modified them. I filled the gap with epoxy & then filed it smooth to look like a flat bar. I must thank Michael (md1400cs) for this idea. I think they came out pretty good.
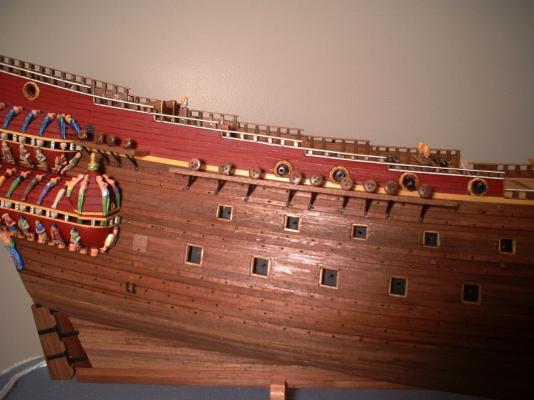

Thanks for all the looks & likes / Mark
-
Hi Josh - I used a small hand plane to turn the square into an octagon & then files & sandpaper to make them round. A little time consuming but it works pretty well. You can also turn them down on a lathe if you have access to one. It may not work to well in a lathe if they are warped very much.
/Mark
-
Hi Frank. Another pictorial reference I have used is Clayton`s scratch built Vasa web sight. It may not be 100% correct in light of the latest findings but it is pretty close.
https://sites.google.com/site/clayton707/swedishwarshipwasa
/Mark
-
I have also built this kit & made plenty of mistakes - chainplates at the wrong angles for one. I didn`t even rig the guns
. Yours looks very nice to me. I have a few pictures in the gallery if you`re curious./Mark
- GLakie and Dimitris71
-
 2
2
-
Thanks Frank.I tend to be over critical of my work.
/Mark
-
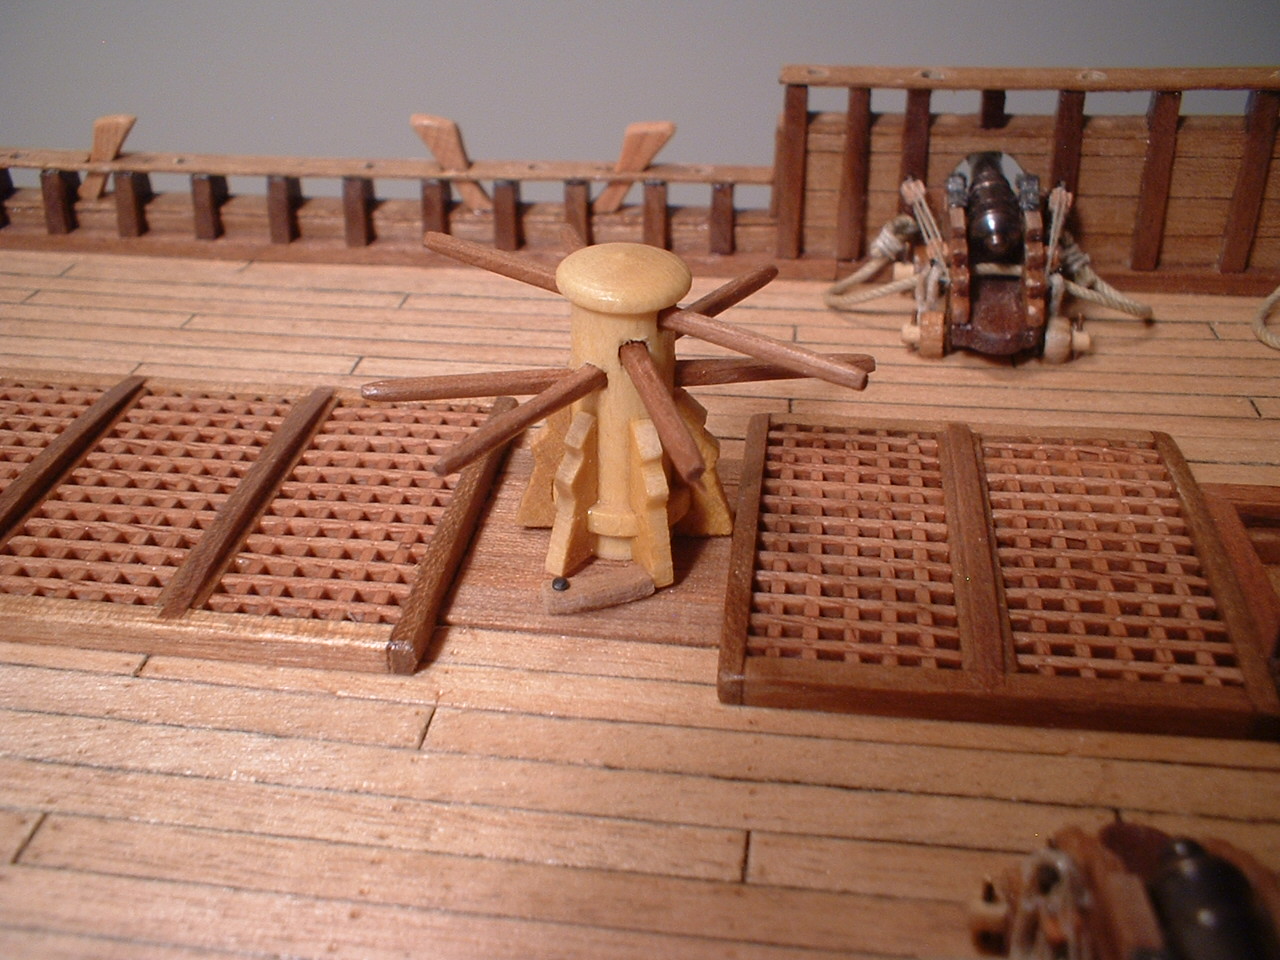
Nice work Frank. I have always done the shrouds before fastening the yards but your way may be a little easier.I am now trying to decide whether to add belaying pins to the crossbars between the bitts next to the main & fore masts. Someone on the Vasa forum said these crossbars did not have belaying pins. I don`t know how they would belay the lines without them
./Mark
-
Thank you very much Mike.
/Mark
-
-
-
Thank you very much Edwin.
/Mark
-
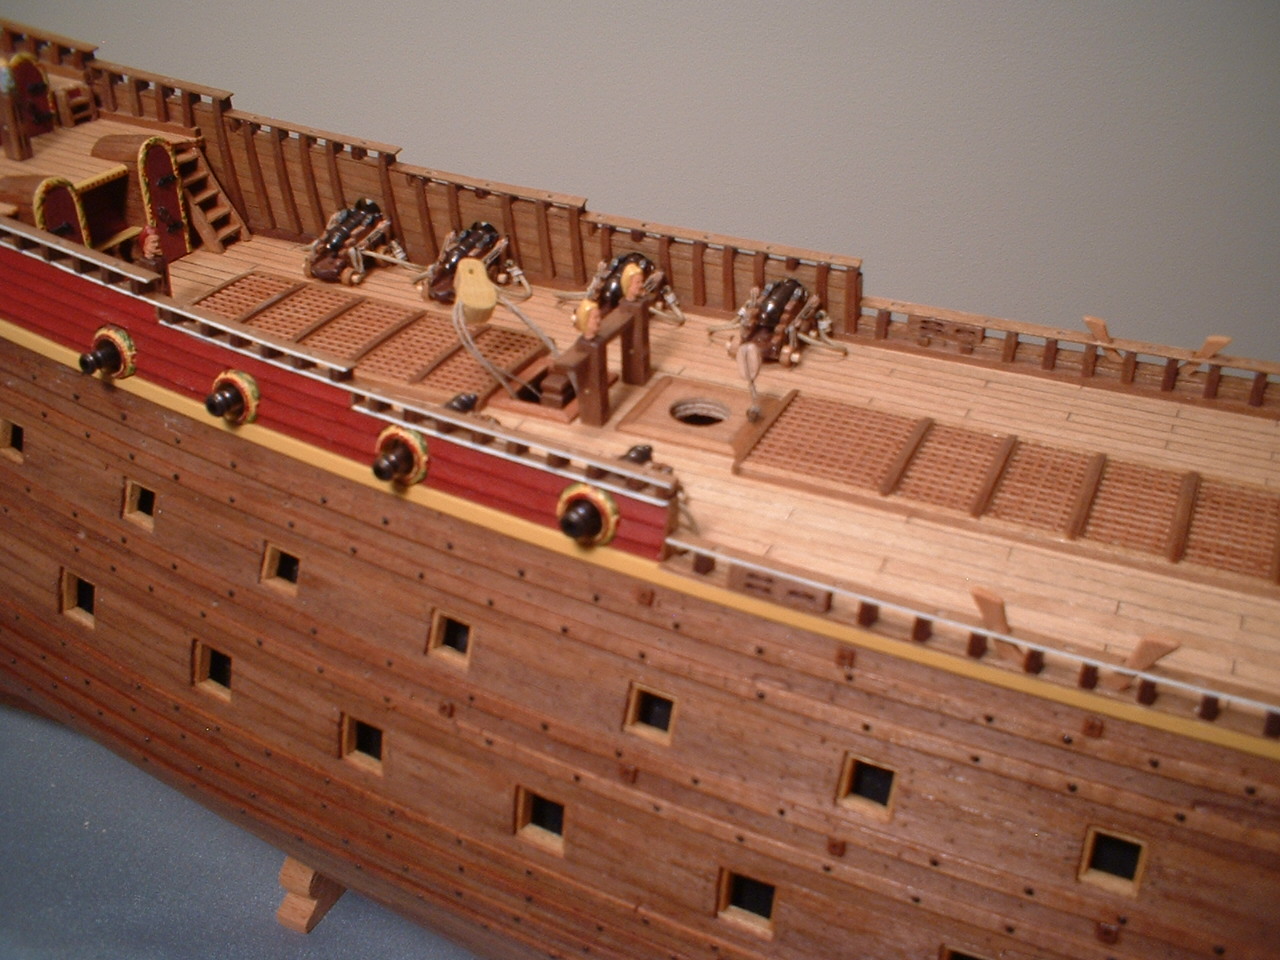
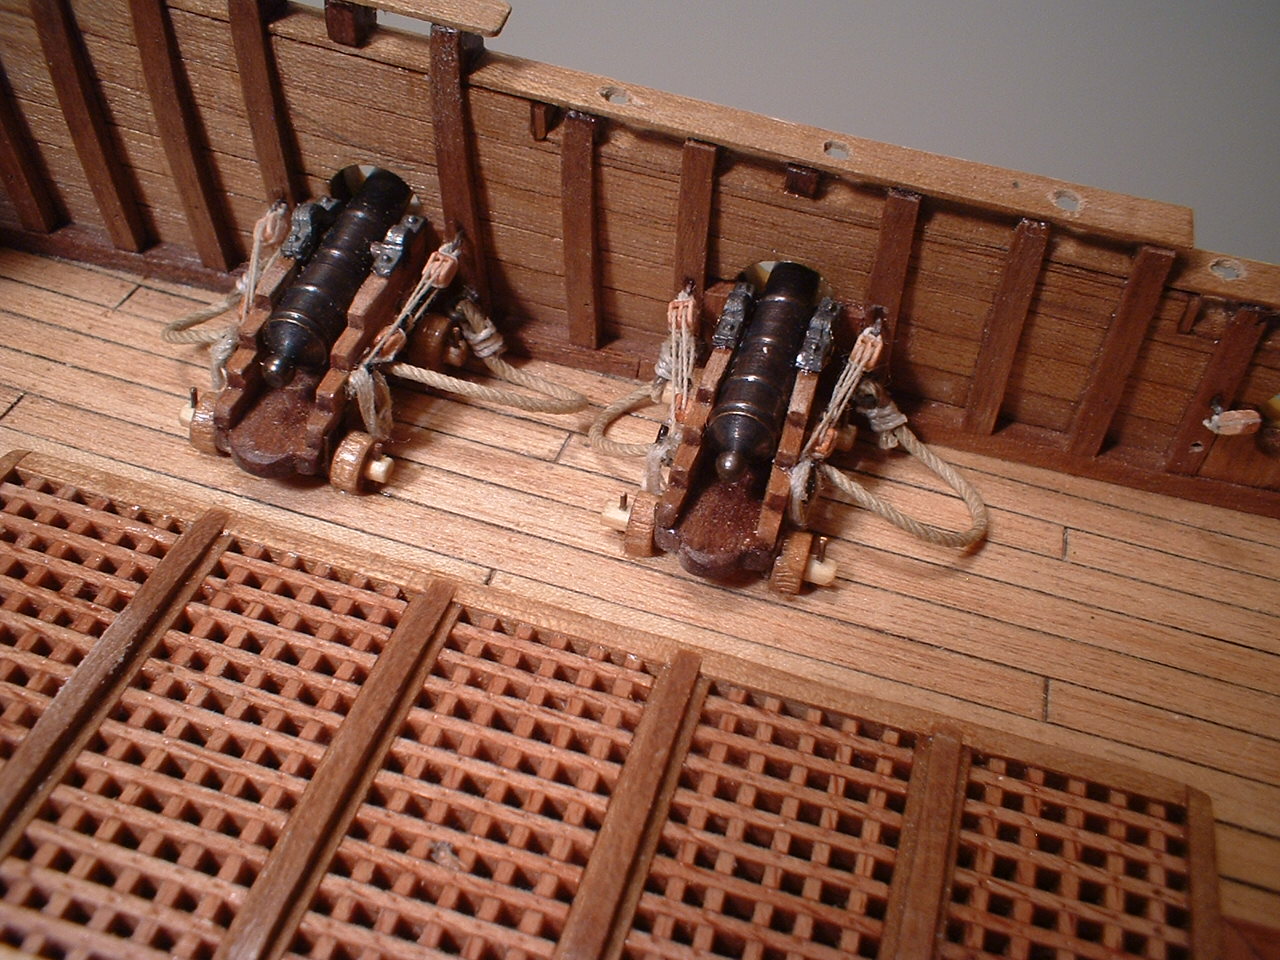
A small update - started rigging the guns.I am using Chuck`s nice little 2mm blocks. The blocks are really nice but also really small - I don`t know how he makes them so small and yet so nicely shaped. They are a bit difficult to handle but I am slowly getting them done.

/Mark
-
-
-


Wasa by marktiedens - FINISHED - Corel - scale 1:75 (Vasa)
in - Kit build logs for subjects built from 1501 - 1750
Posted
Hi everyone,a little update. I thought I would tackle the mast tops next.First I built some new platforms out of some 2 by 6mm strips. Then I cot out the lowest wide rail out of a sheet of basswood. Then the hard part - I made the brackets using an x-acto knife & some files,80 of them to be exact . The upper rails were then made from the same brass bar that I used for the hand rail. After some fine tuning I got one assembled. The top on the left side of the second picture is the kit version. I`m pretty happy how mine turned out. Now I just need to make five more for the other masts.
/Mark