jnarro
-
Posts
22 -
Joined
-
Last visited
Recent Profile Visitors
385 profile views

-
 FrankWouts reacted to a post in a topic:
Royal Louis 1780 by Ulises Victoria - FINISHED - Mamoli - Scale 1/90 - French 126-gun ship
FrankWouts reacted to a post in a topic:
Royal Louis 1780 by Ulises Victoria - FINISHED - Mamoli - Scale 1/90 - French 126-gun ship
-
 Good point Ulises, I will do some testing, tommorrow I will post more pics with the finish applied to the decks Cheers
 -
msberkman reacted to a post in a topic:
Mayflower 1620 by jnarro - Model Shipways - 5/32" scale
-
JAJAJJAAJJAJAJAJJAA right 20015 is a little far away! for the tree nails of the first deck I worked I indeed used wood glue but I found that the toothpick turned out in a darker color when I cut and flushed the surface, maybe because of the water of the wood glue or maybe the toothpicks brand, so that{s why i used gel CA and worked preety well., I stained the decks by tomorrow I will post a couple of images. Cheers!!!!!!
-
jnarro reacted to a post in a topic:
Mayflower 1620 by jnarro - Model Shipways - 5/32" scale
-
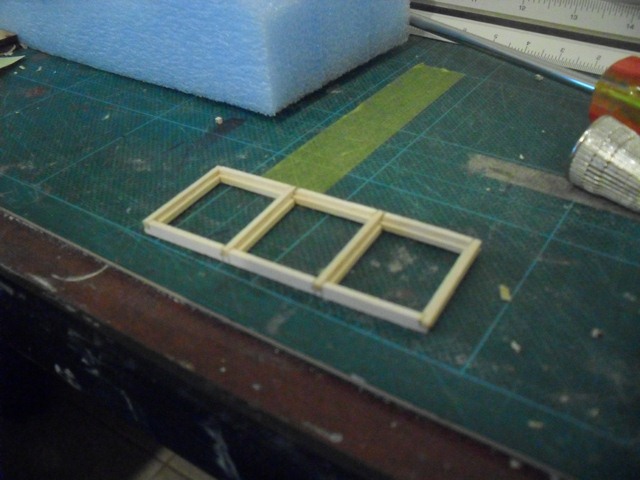
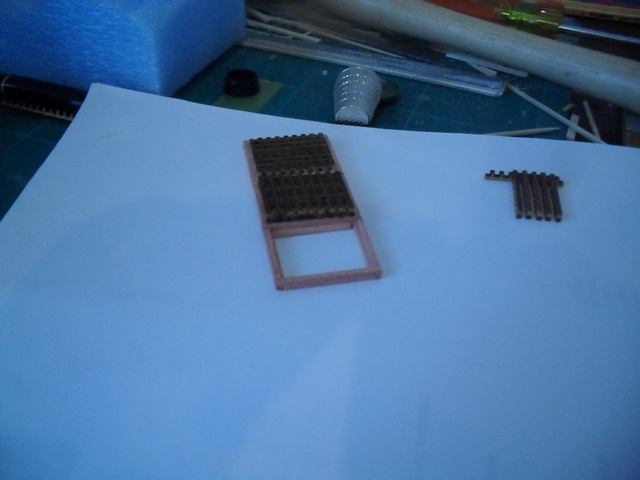
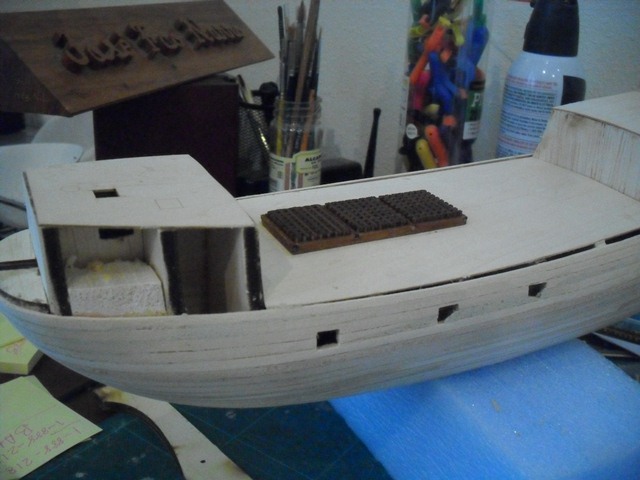
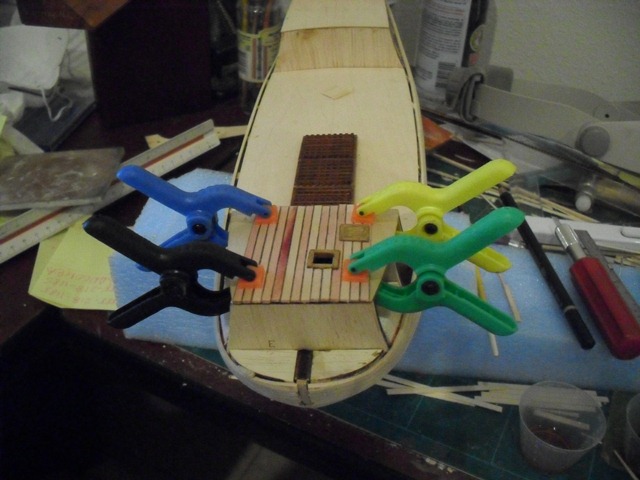
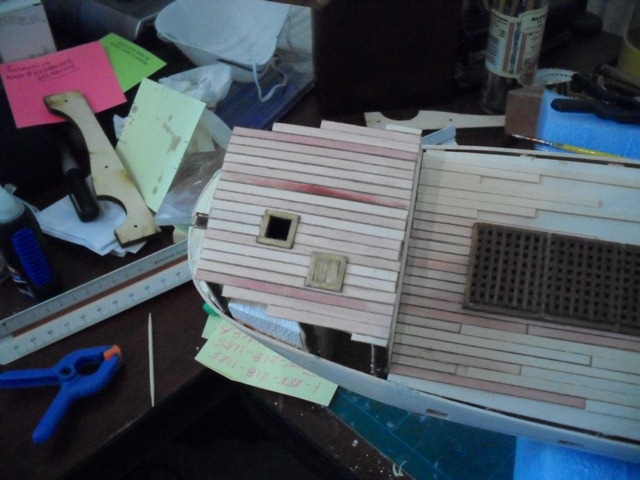
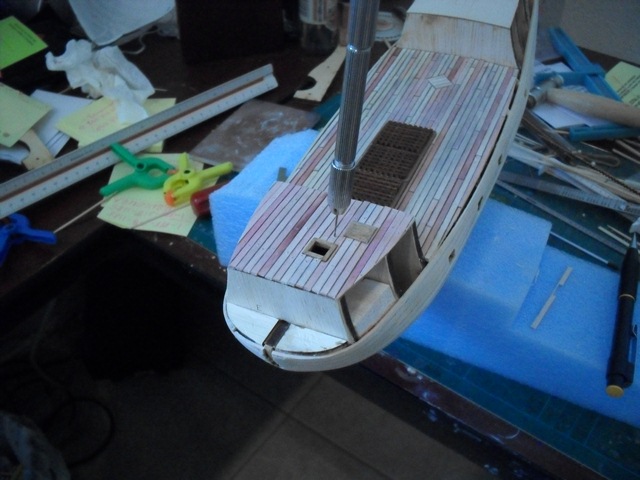
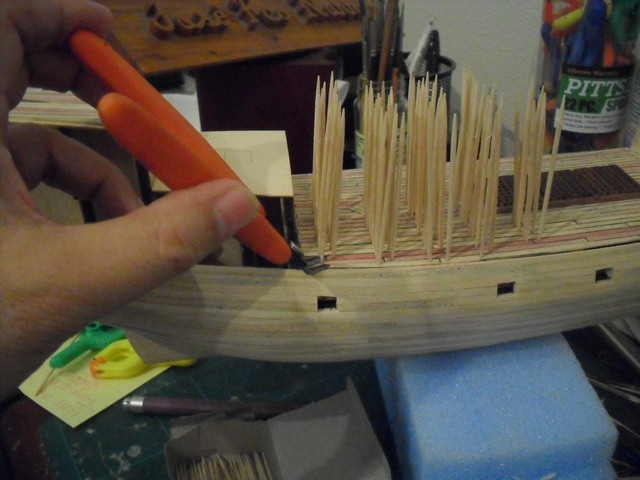
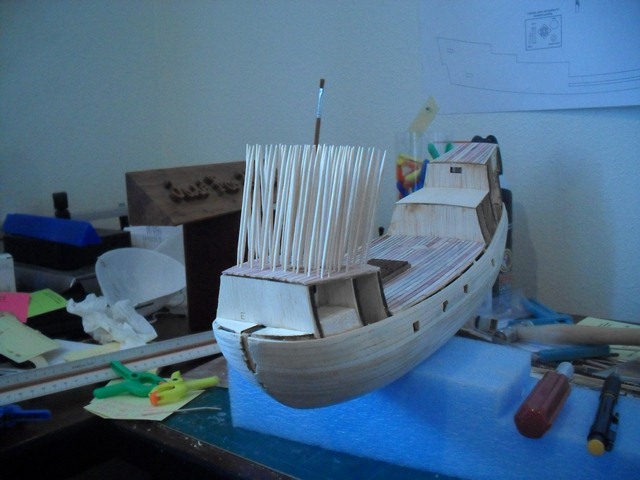
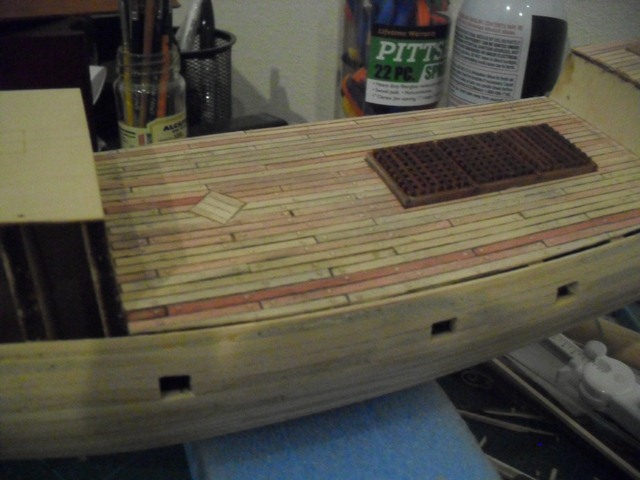
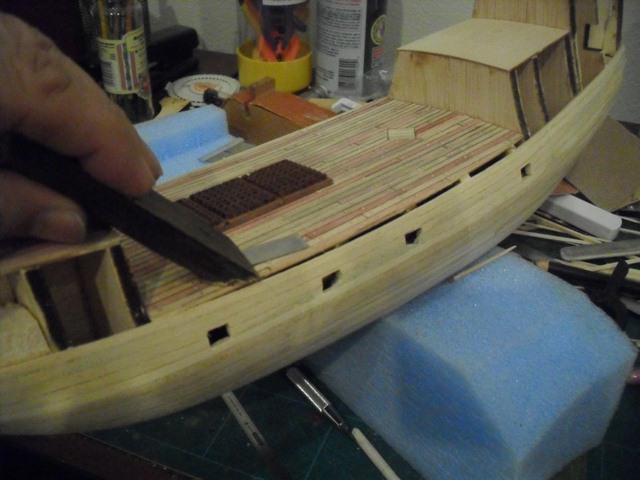
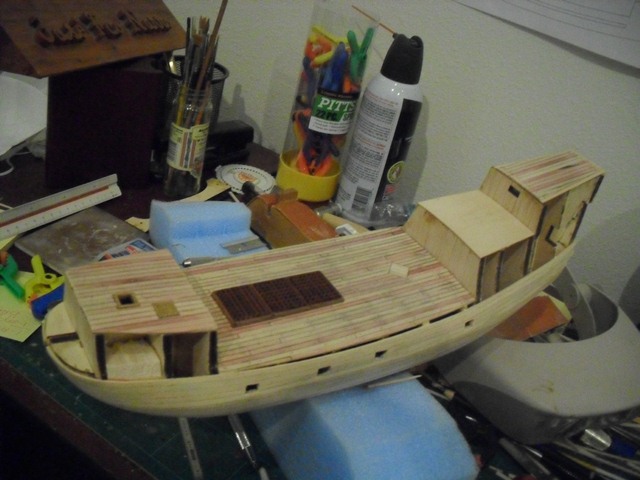
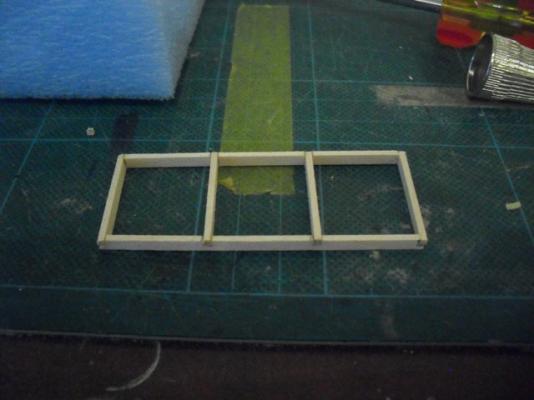
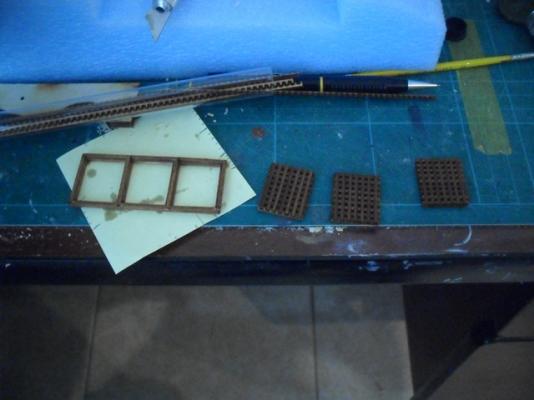
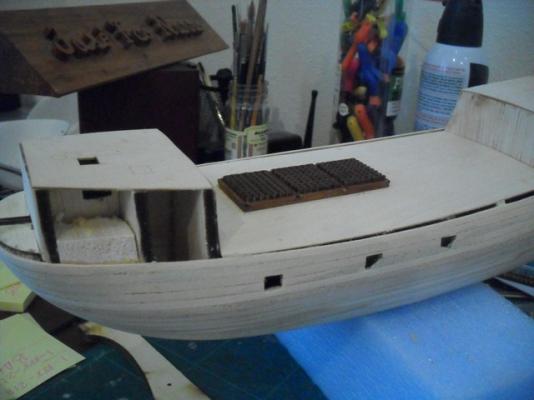
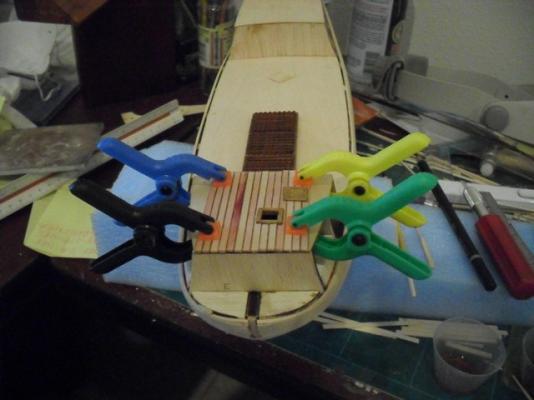
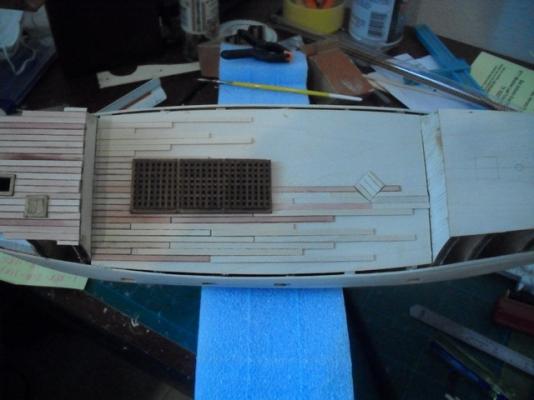
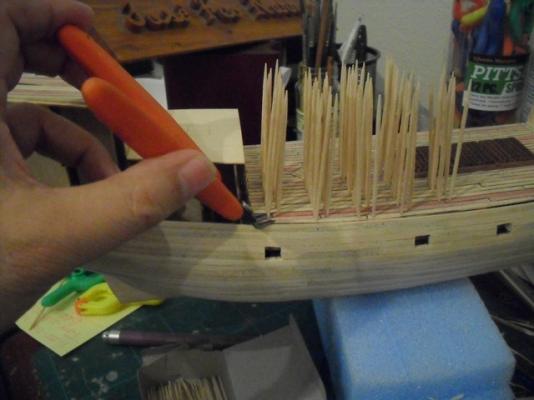
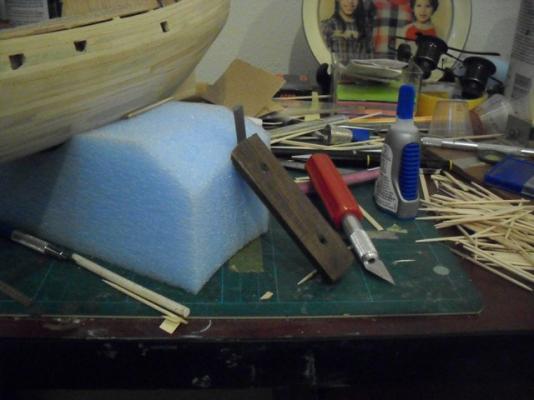
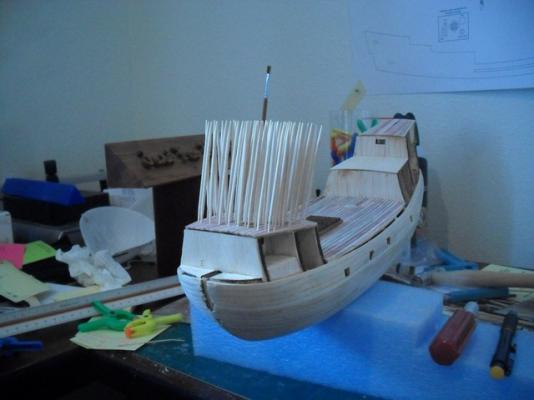
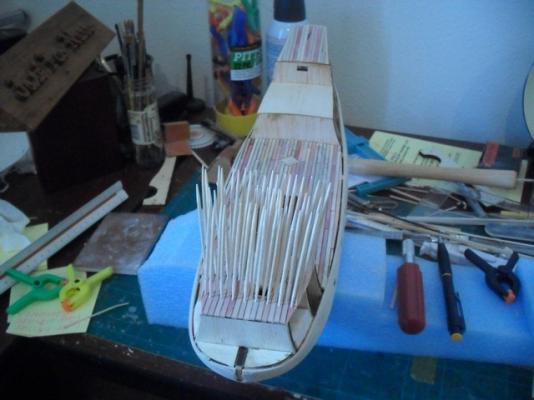
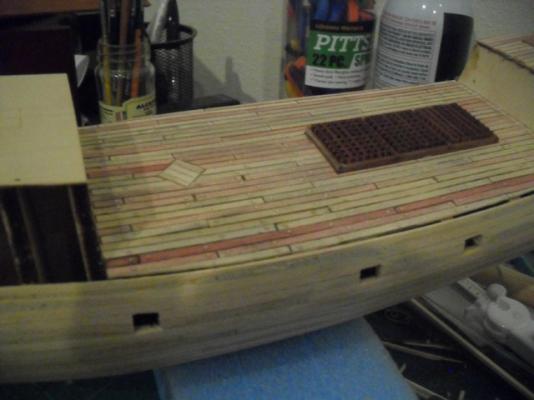
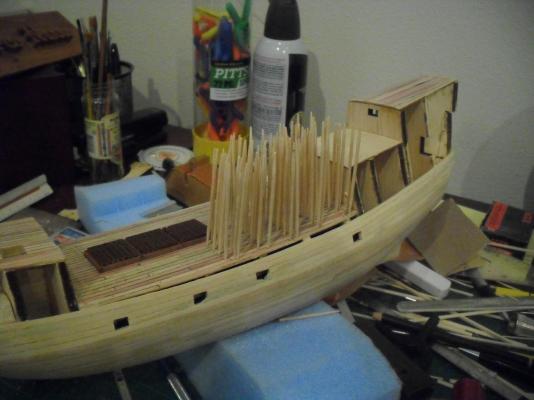
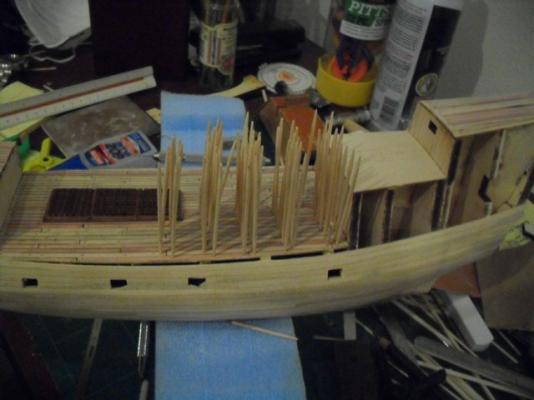
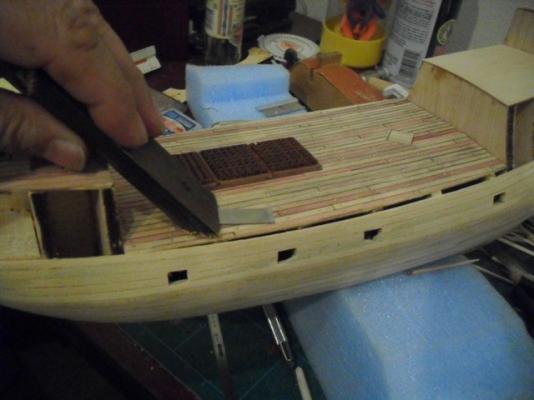
First af all, a Merry Christmas and a very very Happy 20015 for everyone!!!! For a couple of weeks I´ve been working on the decks of the ship, and following the nice instruction booklet. The first step is the building, staining and gluing the hatches, before planking. This is the main hatch: Once the glue dried, I started with the planking, slightly staining with ink several of the planks in order to weather the decks. The tree nails is something new to me, so I aked my Friend Ulises Victoria and following his advice proceeded to make the holes and insert the thootpicks with a tiny drop of CA, that was a simple step, but my problem was how to cut the toothpicks, so I decided to use my Xuron pliers and a hand made tool with a piece of wood and a chiseling blade for trimming the nails. Then I started to glue the toothpicks and cut and trimming until I finished with the three decks for this first step. After this I proceeded to lightly sand the decks with a fine sandpaper in preparation for the stain, which will be my next post. Thank you so much. Cheers


-
Ulises Victoria reacted to a post in a topic:
Royal Louis 1780 by Ulises Victoria - FINISHED - Mamoli - Scale 1/90 - French 126-gun ship
-
Hi Ulises, dear friend, what can I say? I am learning a lot watching your log, your work and craftmanship is astounding, my little Mayflower looks like a row boat compared with your monster. Cheers!!!
- 786 replies
-
- 1
-
-
- Royal Louis
- Finished
- (and 1 more)
-
GuntherMT reacted to a post in a topic:
Mayflower 1620 by jnarro - Model Shipways - 5/32" scale
-
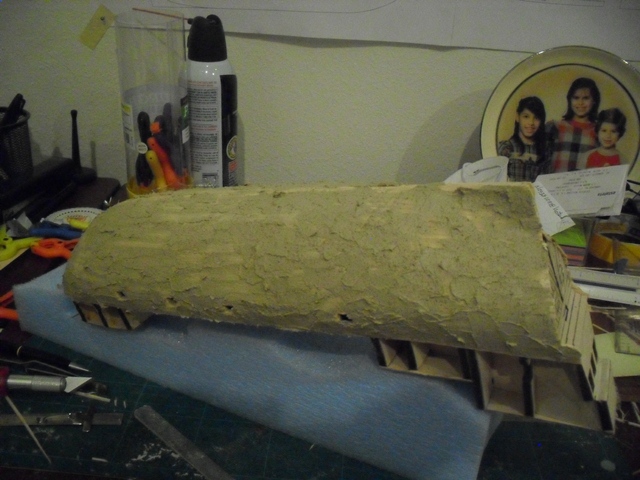
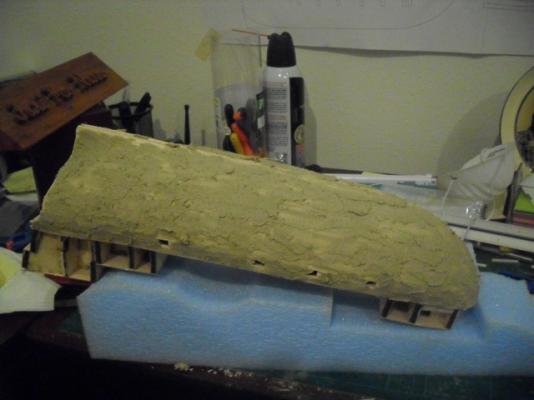
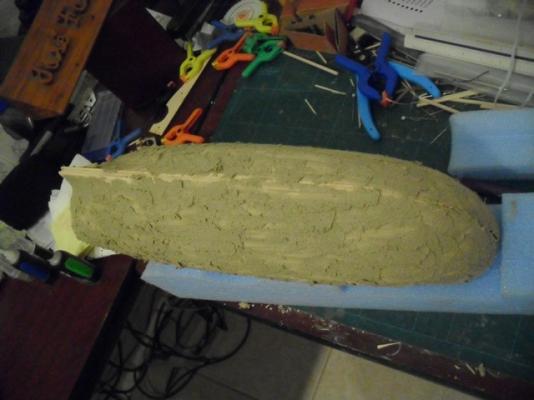
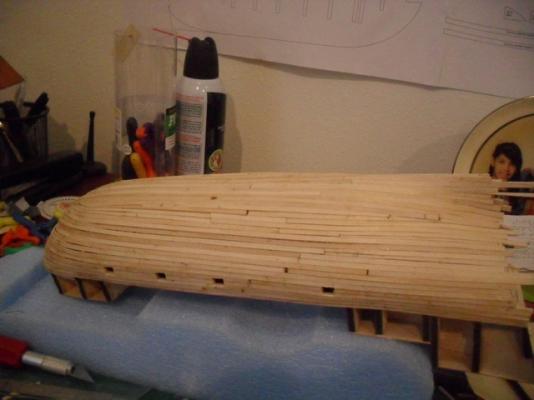
I could´nt wait more time so I started the sanding and filling of the hull. First i used a mediumg grit wood dandpaper to take all the roughness of the planks Later I apllied a layer of Elmer´s wood filler max, and let it dry all night, this is gonna be fun tomorrow! The filler color is horrible, but it makes a pretty solid fills. In the mornig the filler was dry, and ready for the rest of the sanding, a lot of powder talc like is produced by this filler and a lot of sanding so I used my Rockwell SoniCrafter to sand most of the filling. The second step was sanding with a mediumg grit sandpaper, and finnaly a fine one to finish the sanding and have a smooth surface. The Bow and the Stern need stil some trimming and filling!! The rest of the Hull is now cleaned and very smooth waiting for the second plank layer This is it until this morning!! Cheers

-
jburchfield1@wowway.com reacted to a post in a topic:
Mayflower 1620 by jnarro - Model Shipways - 5/32" scale
-
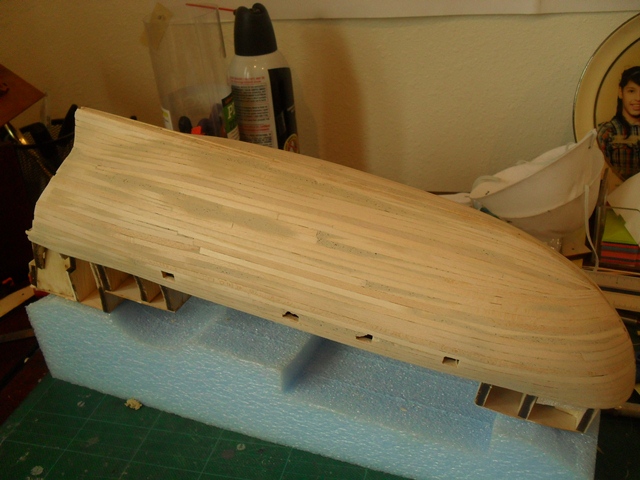
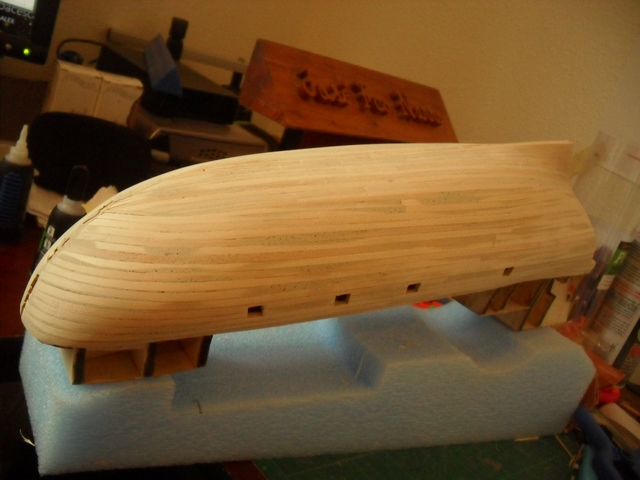
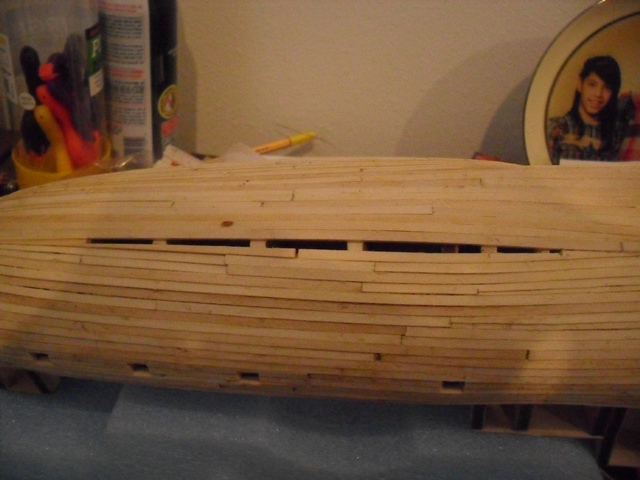
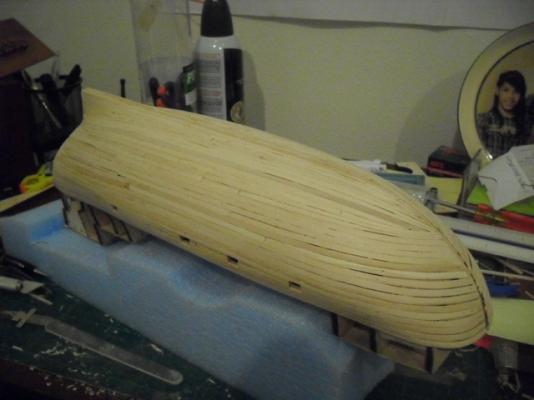
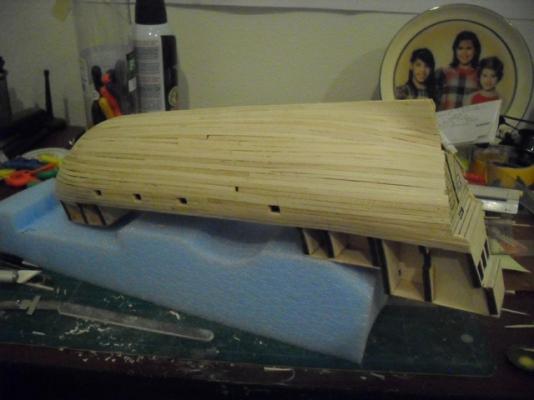
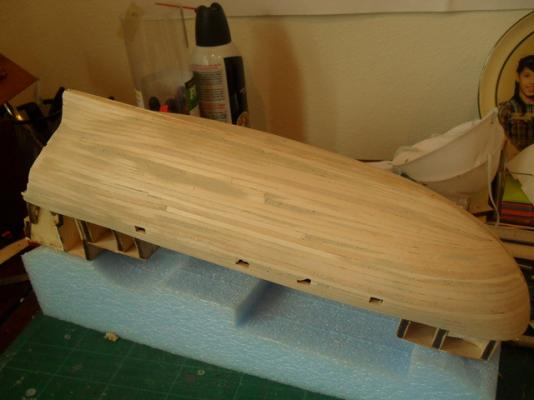
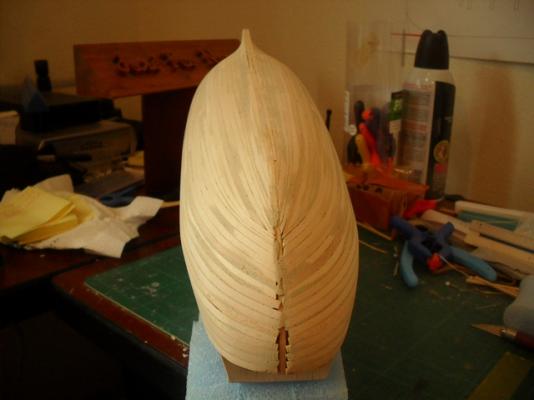
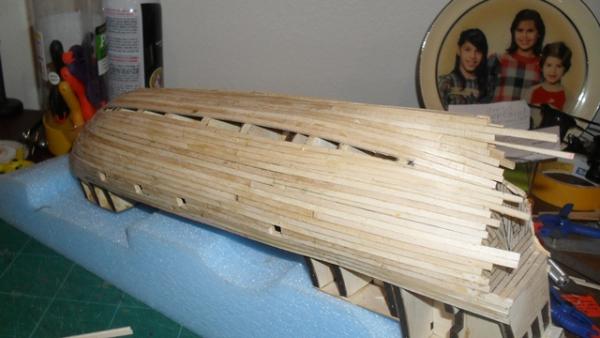
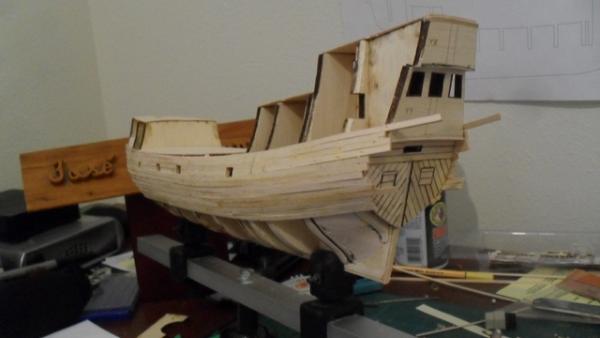
Finnally the never ending first planking layer story was accomplished, so I can prepare the hull for the next steps on the building of the Mayflower. At list I was able to keep both sides of the hull with the same number and width of the planks so this is a stone mark for me in my learning process of building a wooden ship. I will attach some images of the last planks glued. The stern view waiting for the las planks and a proper trimming once the glue dry completely The last insert for the hull Hull Completed Next step a first sanding with a medium grade sand paper to take out the roughtness, the second step will be to apply the wood filler and then a fine sanding to have a smooth surface, that{s my next job, with my little Mayflower. Any comment will be welcomed of course!!!


-
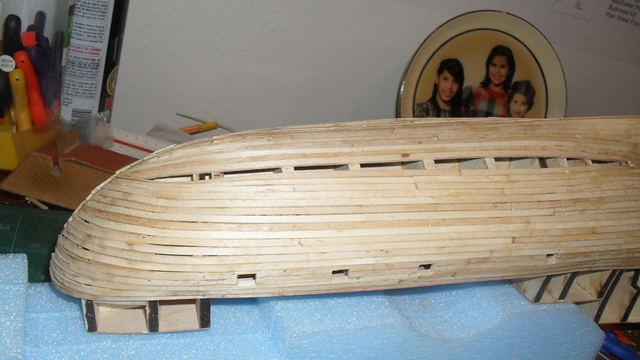
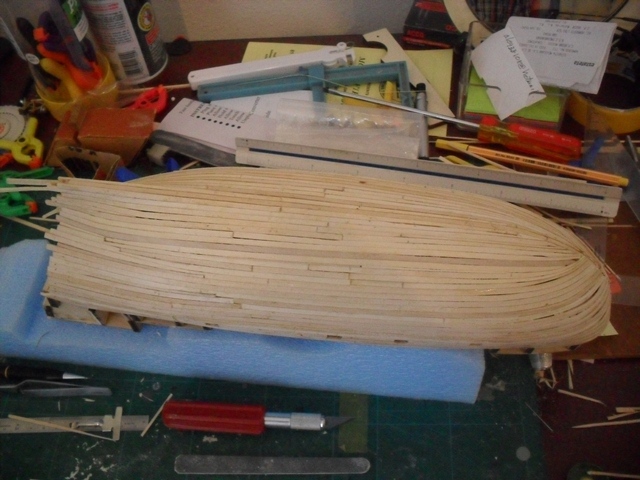
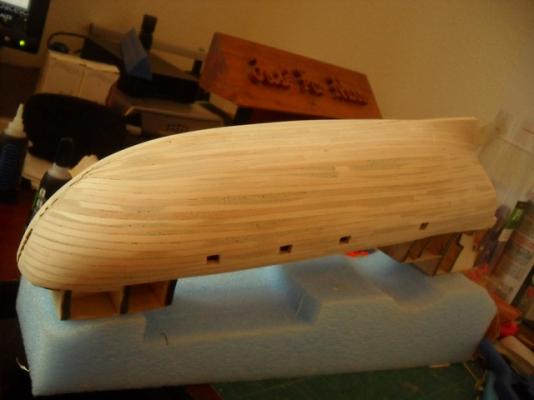
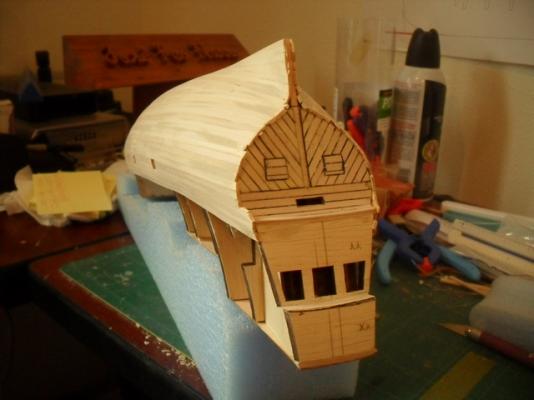
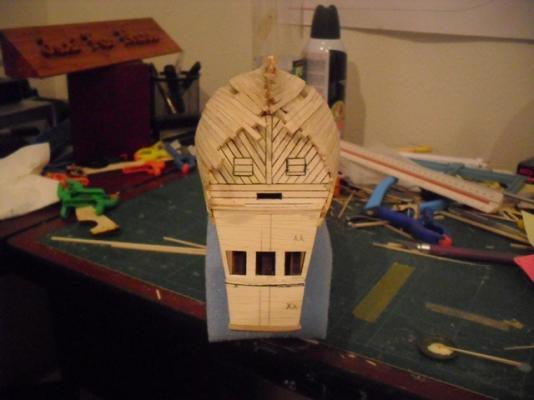
Still working in the first plank layer for the hull, I am almost there, I´m posting a couple of images taken today in the morning, before church. Of course a sanding and wood filler will needed in order to let the Hull ready for the second Plank layer. Regards!!

-
jnarro reacted to a post in a topic:
Mayflower 1620 by jnarro - Model Shipways - 5/32" scale
-
GuntherMT reacted to a post in a topic:
Mayflower 1620 by jnarro - Model Shipways - 5/32" scale
-
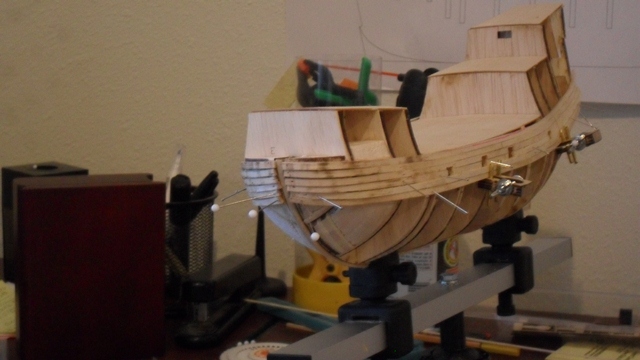
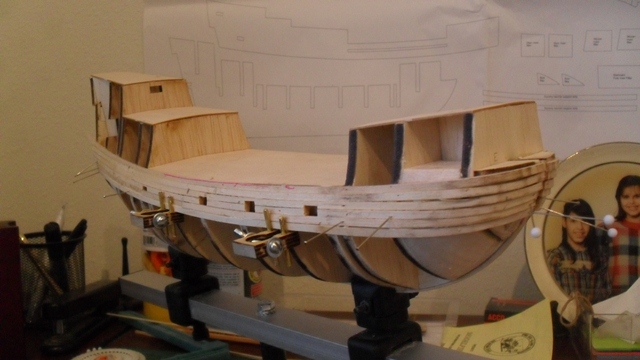
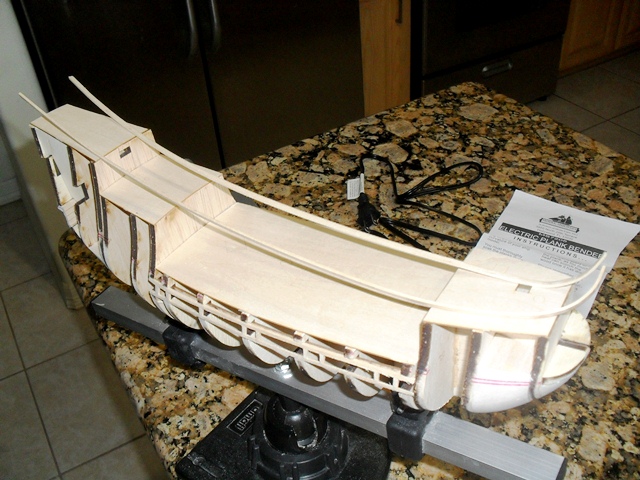
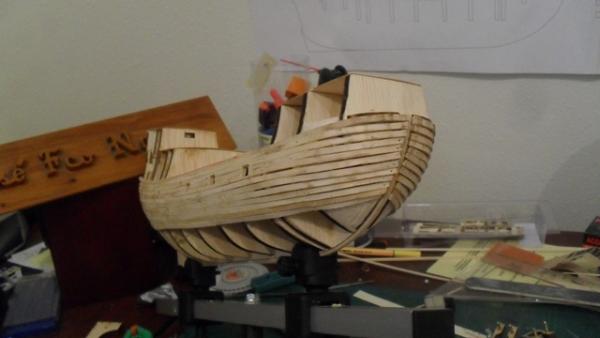
I started the planking of the Hull in full, the first 6 rows both sides, the bending tools are veru useful and easy to use but...watch with the burning danger, so I have this thre pictures of today´s work

-
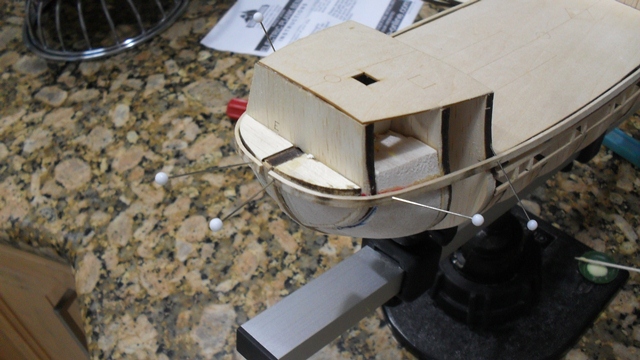
After a careful check I let the planks overnight, just to see if any movement appeared after applying the heat, so today after work every thing appeared correct so I proceeded to glue both planks to the hull. Everything appears aligned in both, the Bow and Stern I will let it dry overnight, and tomorrow will start to plan a more faster way to plank this beauty. Thank you for check this project Cheers!!!!!!


-
Finally the Plank bender from ModelExpo arrived so time for planking the hull!!!! Actually is easier than I thought, and quite fast, so I started with the two upper planks in order to really check the alignment, after soak both planks for about 2 hrs (a movie) I started the operation so important for me. I had to fix with some tape the bender and worked the plank as a video that I found in youtube.

-
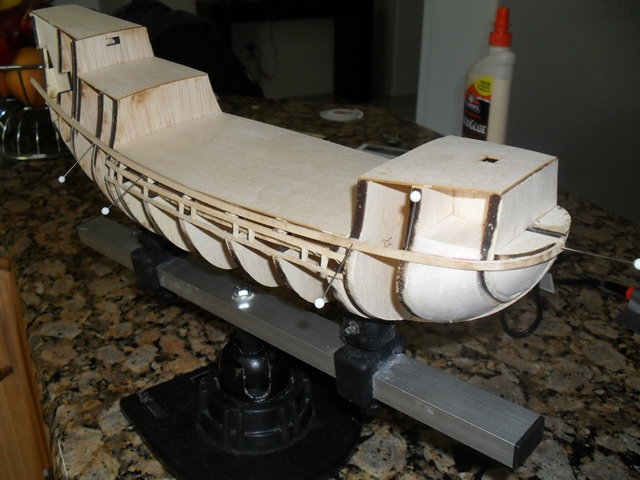
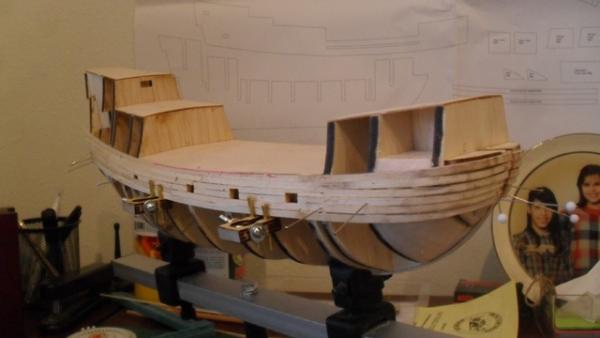
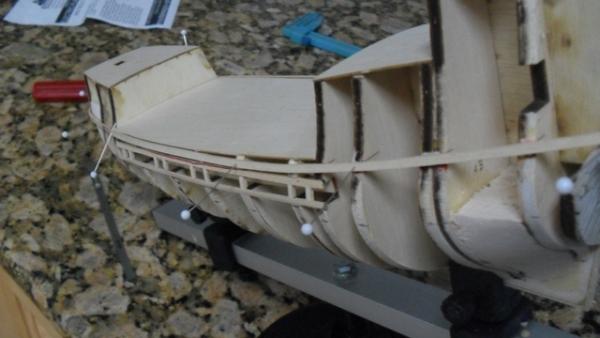
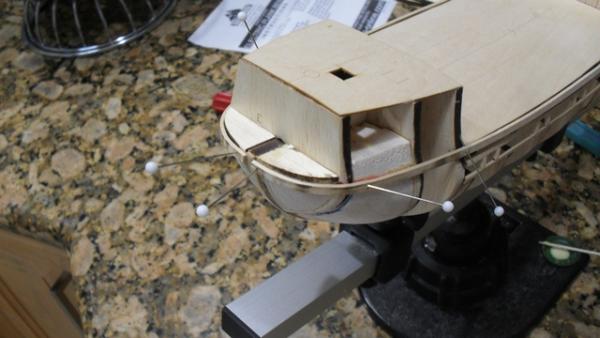
Actually not, I just placed them with a couple of pins just to se how they fit but that´s a thing that I need to do before I pinned them (temporarly) in order to mark the first plank on both sides. Thank you for your comment!!!
-
Thank you so much Captain!!!!!
-
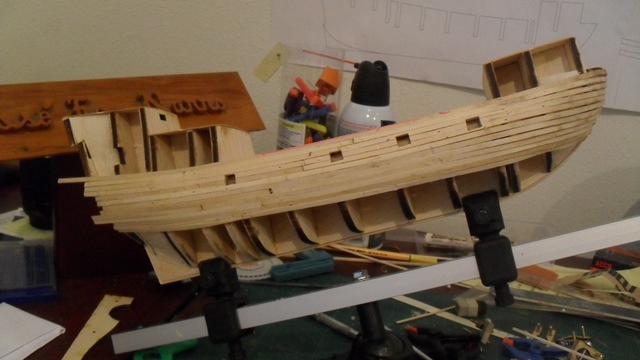
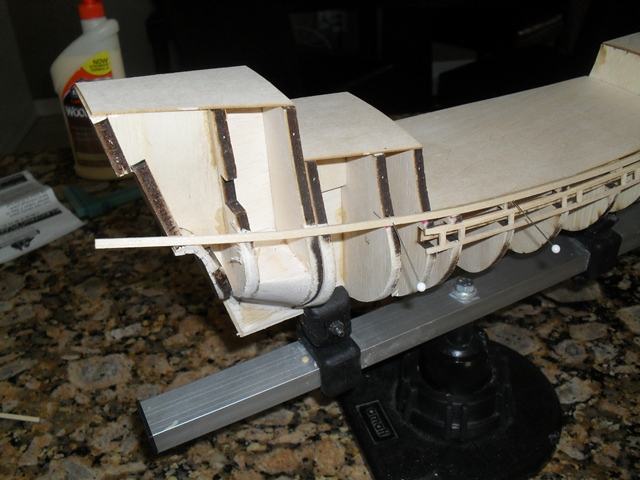
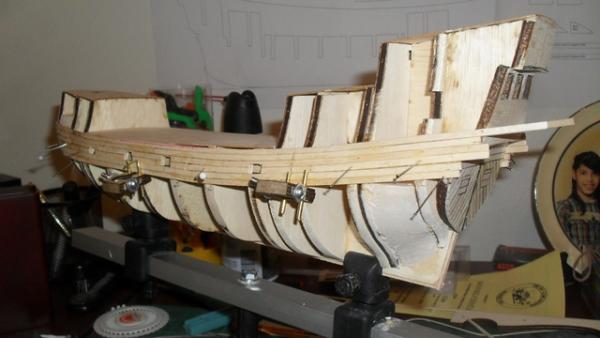
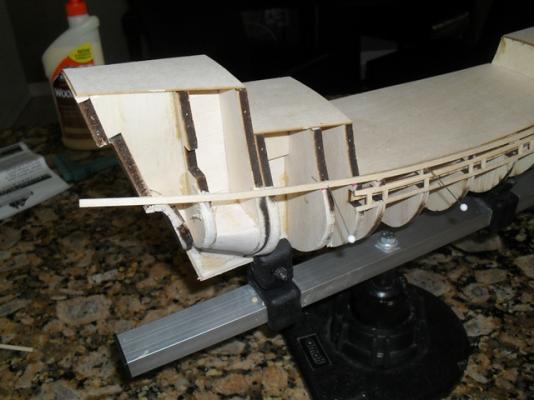
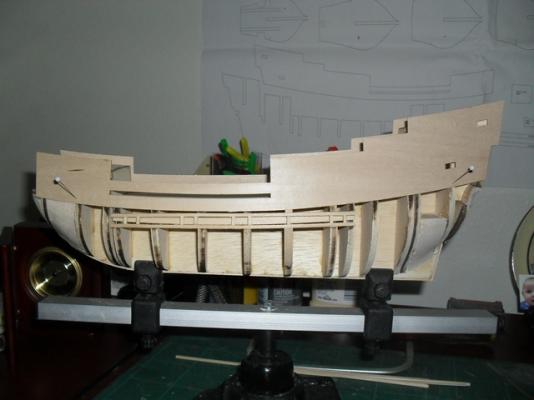
In preparation for the first layer of planking for the hull, the bulwark has to be temporary attached in order to draw the first reference marks. You may note that the bottom line of the port side bulwark is about 2mm lower than the port side, I measured both sides and I can´t find a defect in the actual building of the structure so I have to think how to fix this problem in order to have the planking correct.
-
Ulises Victoria reacted to a post in a topic:
Mayflower 1620 by jnarro - Model Shipways - 5/32" scale
-
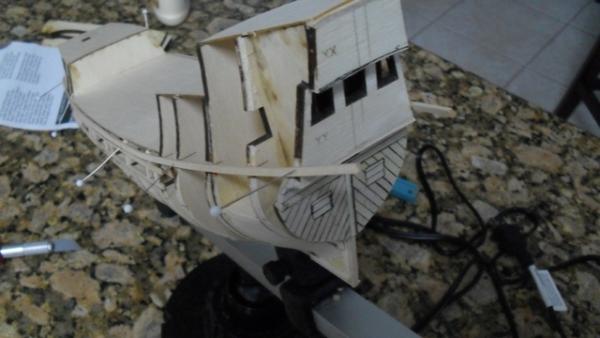
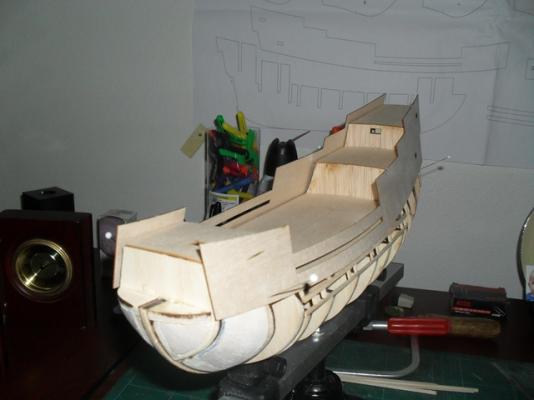
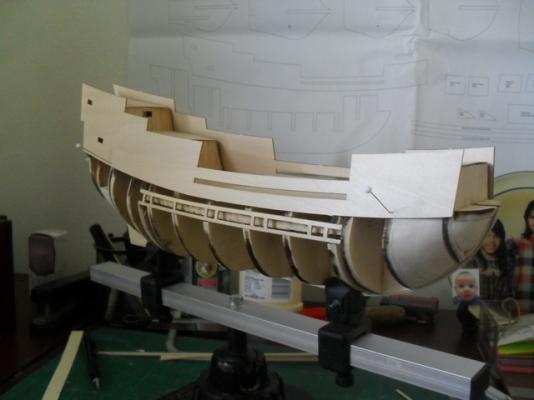
Ulises, thanks I finished yesterday with the false decks, next will be to work on the stern and the curved joint that has me horrified but I will work on it anyway!!! Hello Midshipman, of course you can follow, feel free to make any comment when you see anything that doesn´t look right, and yes the Mayflower has 8 cannons in spite of being a Wine Merchant Vessel, is quite pretty not so large and the plans and instruction sheets are superb, check that for the Rattlesnake, any choice will be OK, the matter is that is a lot of fun!!!! Cheers!!!
-
jnarro reacted to a post in a topic:
Mayflower 1620 by jnarro - Model Shipways - 5/32" scale
-
jnarro reacted to a post in a topic:
Mayflower 1620 by jnarro - Model Shipways - 5/32" scale