


babiskark
-
Posts
36 -
Joined
-
Last visited
Content Type
Profiles
Forums
Gallery
Events
Everything posted by babiskark
-
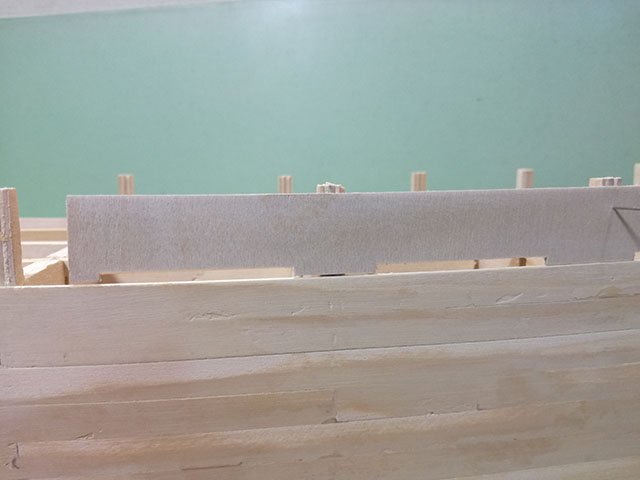
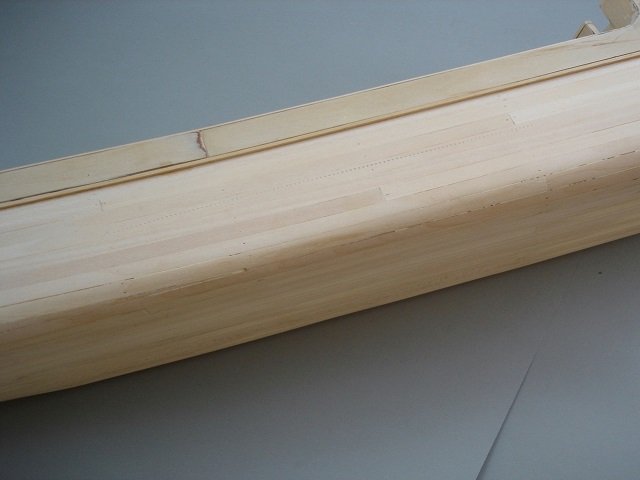
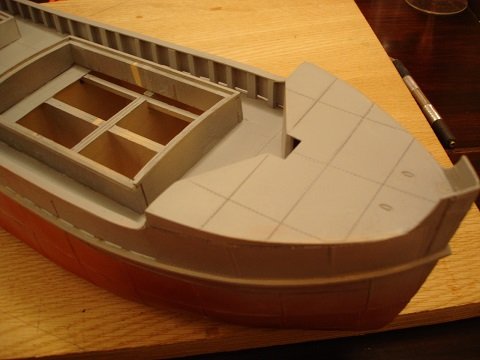
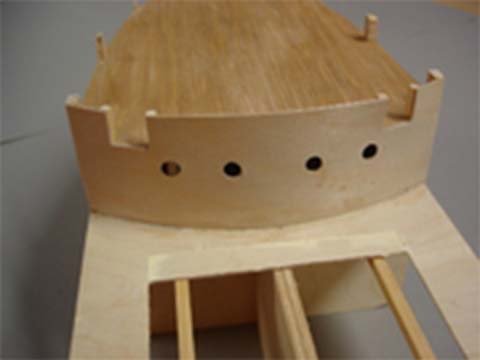
Hello from Athens-Greece. After the bow & stern shaping, I glued the front side of engine room, using CA glue. Next step: hulls planking. In the next pictures, you can see the position of the first strip (at the deck height) is displayed so that lateral top sides of hull can be positioned. When the planking was completed, the strip No29 (wale) was glued and then top sides No 25-27. Thank you.

-
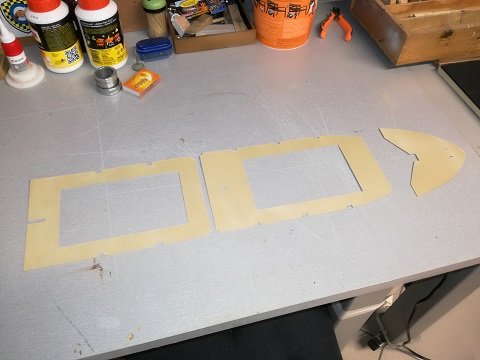
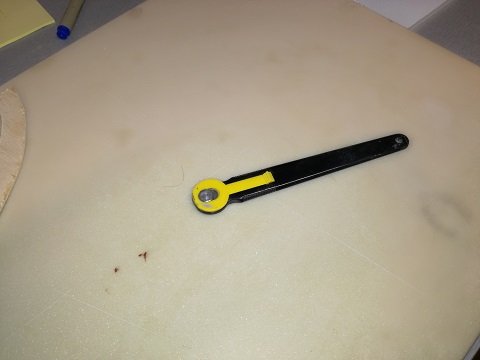
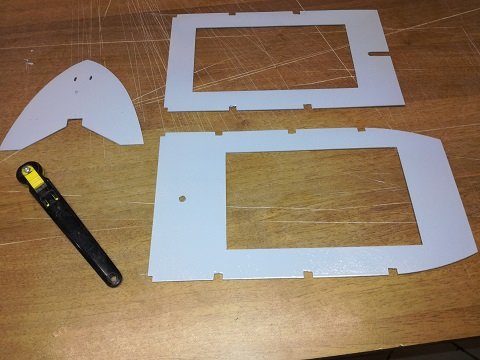
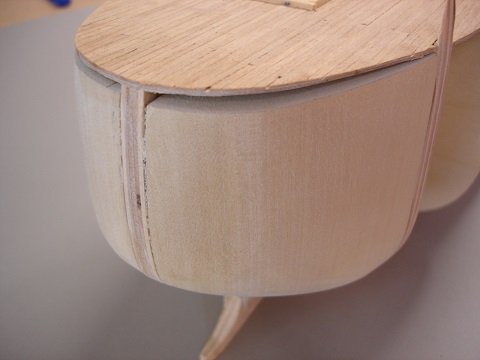
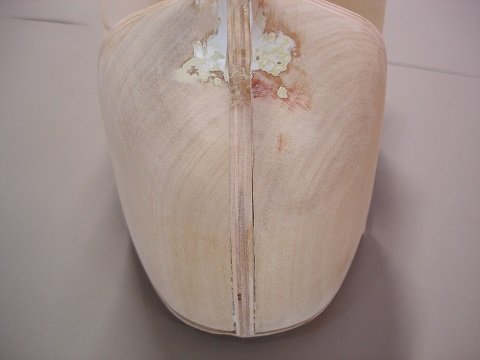
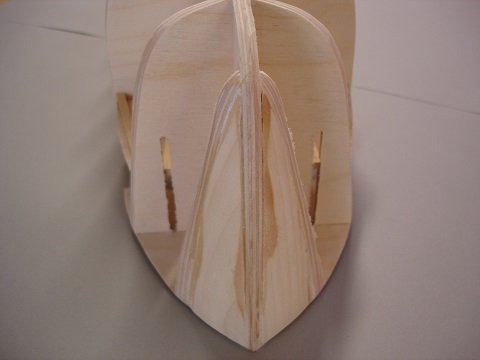
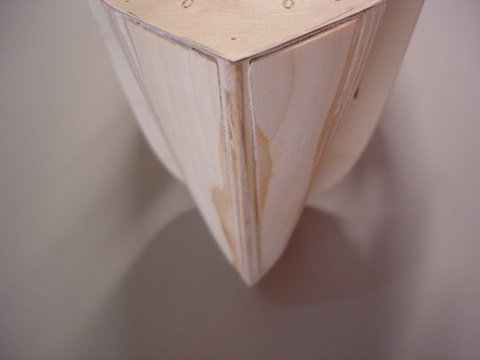
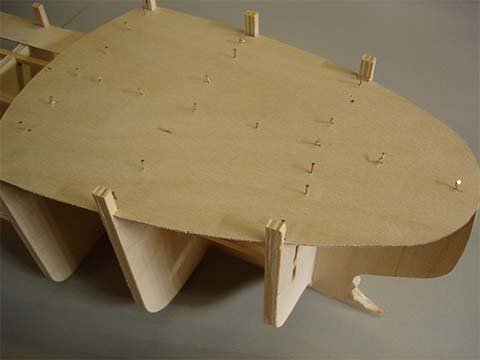
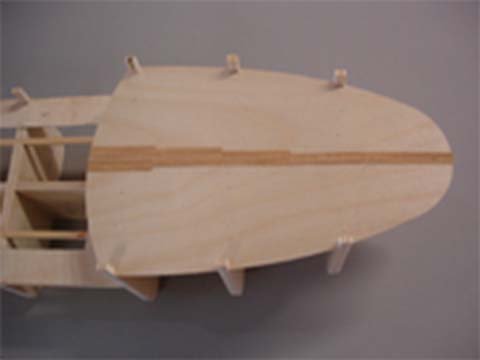
Hello from Athens-Greece. Steve, I am sorry for the delay. Thank you for your comment. I think it is a nice kit. It is something different...wooden ship without many masting and rigging Before I continue the presentation, I have to point out this: before gluing the main & forward decks (previous post), it is better to create the decks rivets, using a rivet maker like this one in photo. First step is to spray the decks with surfacer primer and sanding the decks. After that, you may create the rivets. I think this way it's easier & you will have the decks ready for paint after the hull's planking. The next thing to I had to do is to prepare the keel for planking.There four solid wood blocks (limewood in English, we call it flamouri) in the kit . Using the view and bird eye plans as a guide and rasp and sandpapers as a tools, shaped the front and aft parts of hull.
-
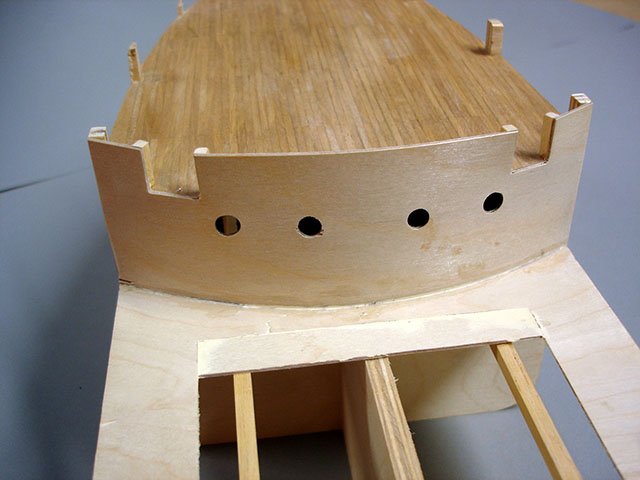
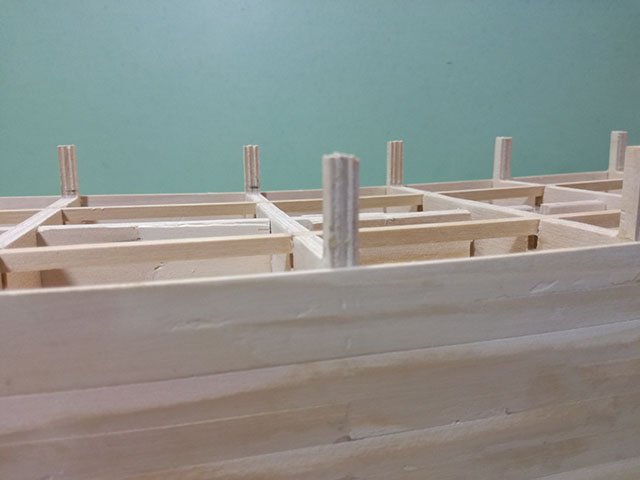
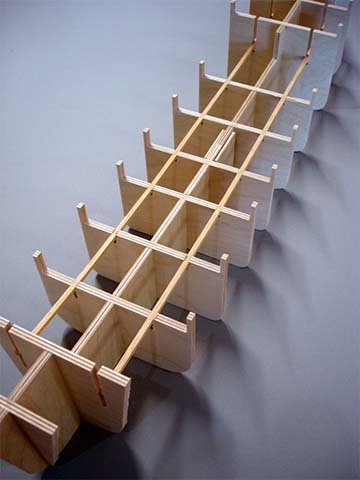
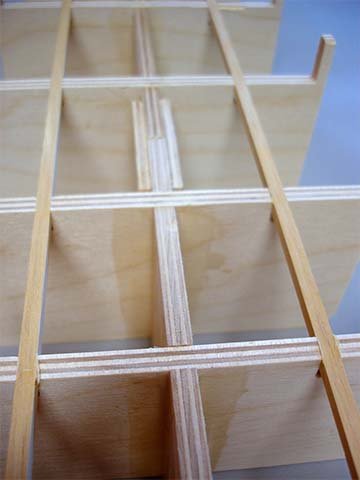
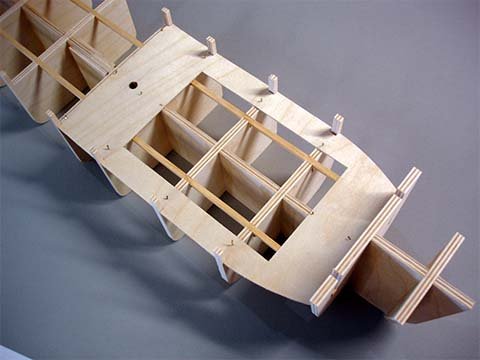
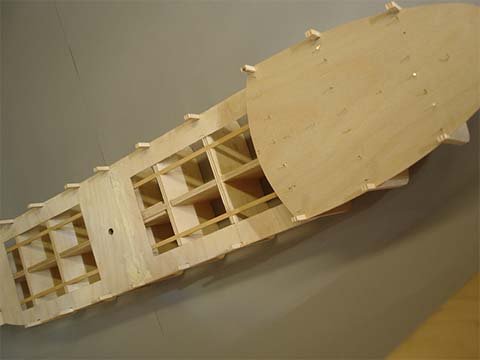
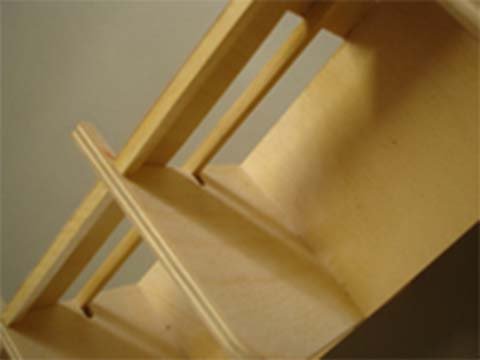
Hello from Athens. ccoyle thank's for your comment. The construction began with complex of keel and frames. Before the deck was glued, the reinforcements (4x4mm strips) were placed. Decks were glued, using white glue & "temporary" nails. The union of the two halves of "loading decks" was sealed by putty. Directly below decks and between frames, glued reinforcements (4x4mm strips). At this point, planked the aft deck strips & placed the front side of engine room (plywood 1mm thickness). to be continued. Thank you.
-
Hi Antony. Nice work. Your clamps....are imazing!!!
-
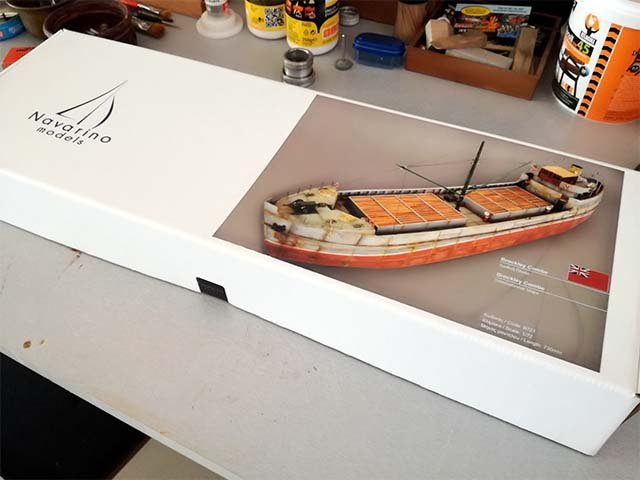
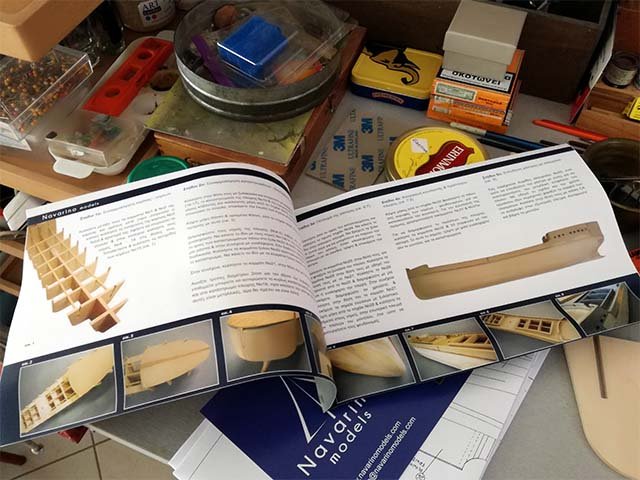
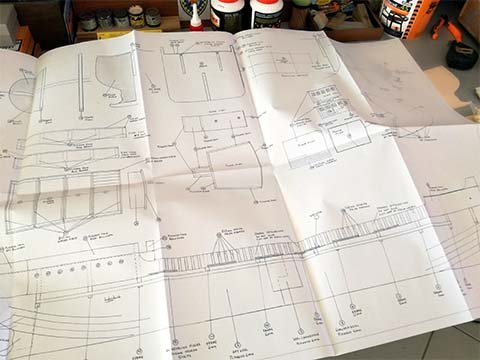
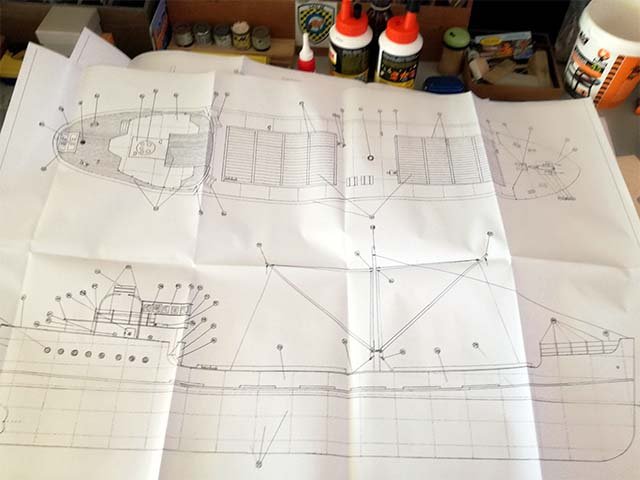
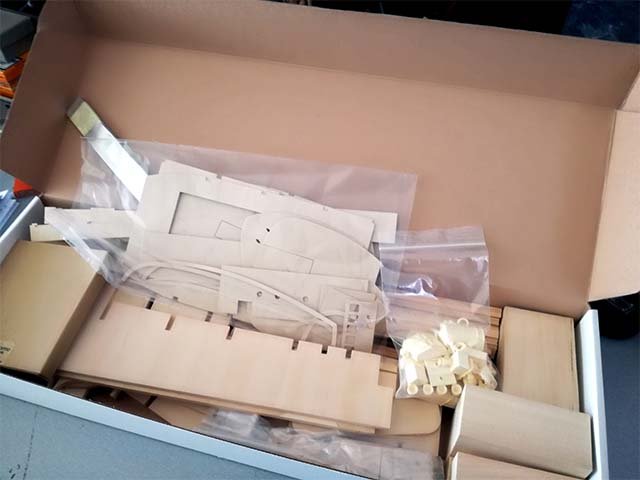
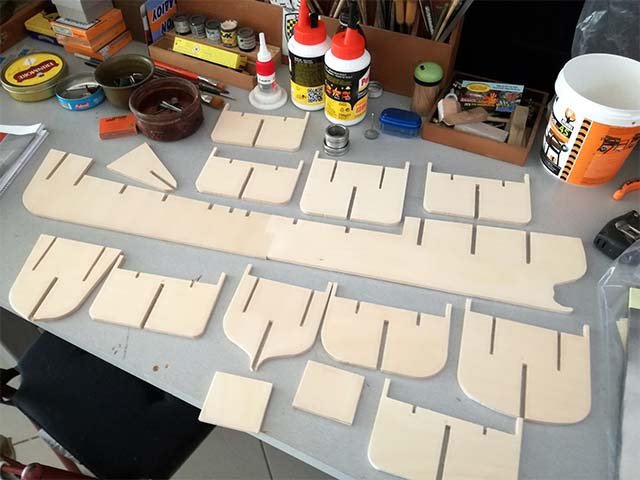
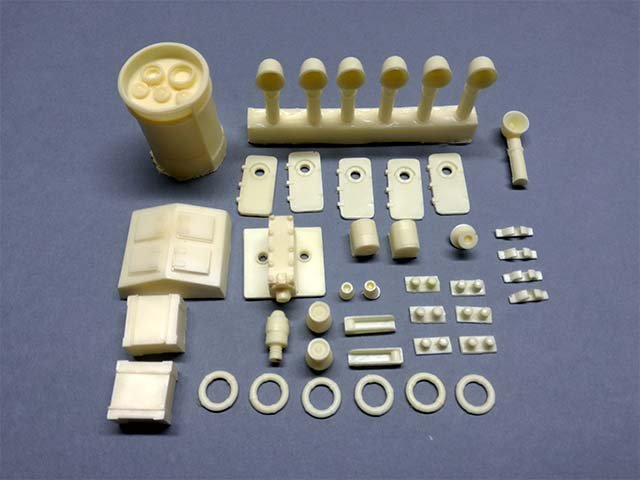
Good morning to everyone from Athens-Greece. My name is Babis and before I start the presentation of my effort, I would like to thank you for the hosting. I build wooden ship models for the last 25-30 years and for my opinion, our hobby is one of the best of the kind!!! Brockley Combe, is a small British cargo ship built by Hill Charles & Sons-Bristol City shipyard. It was 52.6m at length and was powered diesel. Sank at the shores of Normandy, at Channel Islands on December 15, 1953 after it was cut in half. It’s a typical example of a small dry load cargo ship. Ships like this, make transportations even at our days, in many seas of our planet. The specific kit, is made from Greek company named Navarino models.com in 1:72 scale. The completed model is 730mm in length. Opening the box, I find colored manual and two sheets of detailed plans. The kit includes, keel and frames of 6mm birch plywood, false decks of 1mm birch plywood, limewood strips for planking and all the necessary wooden strips for other parts of construction. Many of fittings, like cargo winch, windlass, smokestack and skylight are made of resin. But the most interesting item (for my opinion) are the aluminium sheets (6/10 mm thickness) for the hull's metal cladding.

-
Hi , my name is Babis Karkatsoullis, "babiskark" in forum and I want to restart the build log of HMS VICTORY cross section in 1/32. I think the best way is "start a new topic". Please confirm the method. Thank you for your time. Best regards.
-
Hi Toni , amazing build log. I am new in forum , and I think I have to learn many, many things and techniques. Thank you . Babiskark
-
Goodmorning Panagiotis, very nice work. Really nice. Babiskark
-
Hi Antony , I'm at work. I will answer this afternoon . I wish you a nice week (full of building) Babiskark Oh! I'm just seen your progress!!!!!
- 209 replies
-
- 1
-

-
- finished
- cross section
- (and 1 more)
-
Good morning sir. What a piece of work!!! I will observe wiht out comments. Thank you Babiskark
-
Goodmorning Antony, your " cross section" looking good.....very good. It will help me out a lot. I will watch with particular interest. Regards Babis
- 209 replies
-
- 1
-
-
- finished
- cross section
- (and 1 more)