ArthurB
-
Posts
6 -
Joined
-
Last visited
Recent Profile Visitors
339 profile views


-
 mtaylor reacted to a post in a topic:
How to prevent copper plates from peeling?
mtaylor reacted to a post in a topic:
How to prevent copper plates from peeling?
-
Canute reacted to a post in a topic:
How to prevent copper plates from peeling?
-
 Thanks for the feedback, all. It was the self-sticking copper tape which came with the model. I had first coated the hull with one layer of paint. I can't recall if I sanded the paint before applying the plates... it was quite a while ago I did that part. It's been sitting on my shelf for probably a year before I took it down again. To apply them, I simply peeled off the backing by hand after cutting them to size, then stuck them on by hand and "smoothed" them down with the end of my x-acto knife after putting on 2 or 3 plates. I think the problem was removing the backing, where it might have messed up the adhesive. Most of them are fine - it's mainly the ones right near the back where hull curves into the keel (if that makes sense... I'm not too good with my terms yet ), and 1 or 2 of the top row. I think I'll try Tom's suggestion and try to apply a drop of CA with a piece of wire to the offending plates. Thanks again for all the suggestions!
 -
mtaylor reacted to a post in a topic:
How to prevent copper plates from peeling?
-
Hi all, I've recently finished coppering the hull of my Phantom build. For the most part it turned out okay for a first attempt (I'm happy with it ), but a dozen or so of the plates are starting to coming loose. I was thinking of applying a couple layers of Polycrylic, but I'm not sure if that would actually work to hold the plates down. I know this would prevent the plates from weathering, but for this build that is not a big concern. I could try to replace the problem plates, but I would likely have to take up a lot of the "good" plates to fix them and maintain the overlapping flow. Any suggestions for the best way to fix this (and to prevent it from happening on future builds!)? Thanks in advance, Arthur
-
Jaxboat reacted to a post in a topic:
How to fix glue blotches?
-
How to fix glue blotches?
ArthurB replied to ArthurB's topic in Painting, finishing and weathering products and techniques
Good suggestion about the pre-staining, Chris. I've actually done that with the stanchions I'm working on - I calculated how many full strips of wood I'll need to make all of the stanchions and stained them first so I don't make a mess trying to do it after attaching them. Of course I'll need to re-do the tops once I've cut them to size and sanded them, but at least the rest of the lengths are all a consistent colour with no blotches. I hadn't even thought of trying that for the main planking, tho, but it sounds like the way to go! I'll post some pictures once I get to that phase, which will probably be in a week or two. Thanks! Arthur -
How to fix glue blotches?
ArthurB replied to ArthurB's topic in Painting, finishing and weathering products and techniques
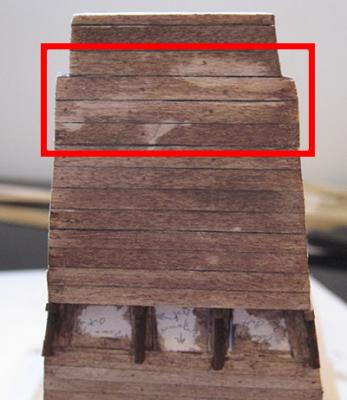
Thanks for the replies! I went with giving the area a good sanding and then re-stained it. It evened things out a much better. It's still not perfect - it almost looks like the Patriots logo in the worst spot - so I will probably go back and try again to clean it up. I've definitely learned my lesson and will be much more careful when gluing the rest of the planks on so I don't run into the same issue when staining the rest of the ship! Arthur
-
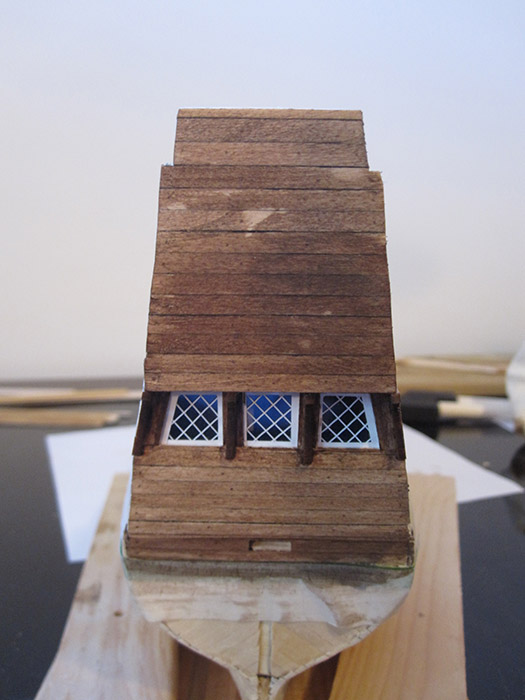
Hi, I am new to staining and, after staining the stern on my current build - the Mayflower - there is some pretty noticeable blotching. I am thinking this is from the CA glue I used to install the planks. I am trying to be extra careful with the glue, but a bit had leaked through in those spots and I think I wiped it to get rid of the extra. I thought I had sanded it enough prior to staining, but apparently not... I did use the pre-stain wood conditioner and am using water-based stain: Minwax Colonial Walnut Wood-Sheen. What would be the easiest way to fix this? Sand it all right down to the raw wood again and then re-stain? Or tear up the planks and re-do them, being more careful with the glue? Also, what's the best way to ensure this doesn't happen when I start planking the rest of the hull (other than not wiping any excess glue away... )? Thanks!
-
Hi Adam, Just wanted to drop a line and say thanks for your great build log! I'm currently building the Mayflower as well - I just attached the bulwark templates this evening - and I must say your log has been an invaluable resource, full of lots of helpful tips and tricks (thanks for the idea of using wood putty for the treenails)! Keep up the good work! Arthur