3sheets10
-
Posts
72 -
Joined
-
Last visited
Content Type
Profiles
Forums
Gallery
Events
Everything posted by 3sheets10
-
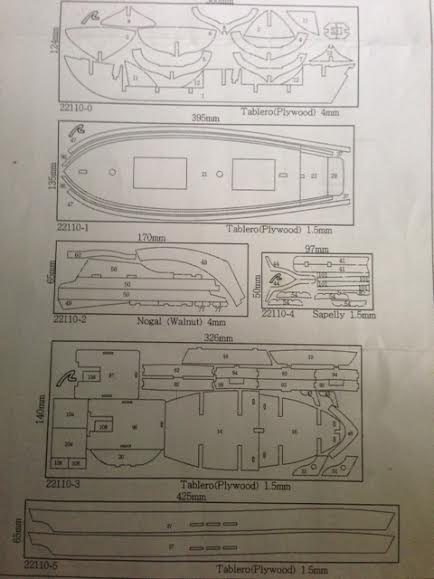
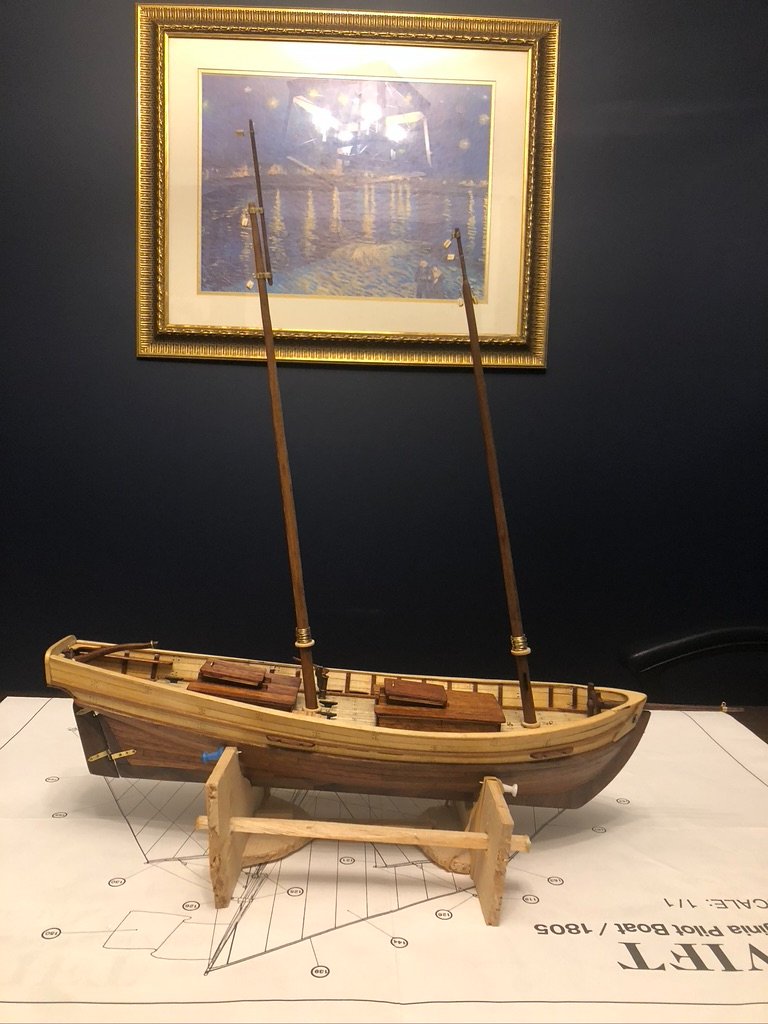
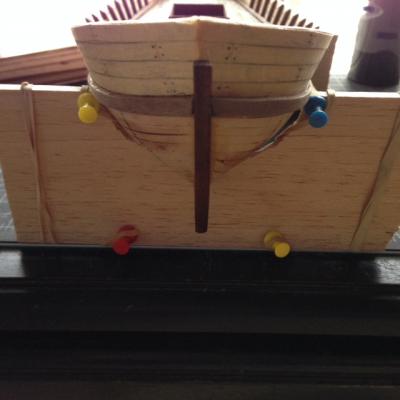
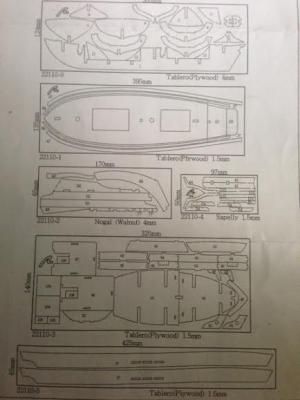
 Stepping masts - Not as easy as it looked at first review. Had to get creative when figuring out how to set the masts at the same angle. With limited tools to work with, I used a power drill and a hand dremel tool to shape the masts, using the included blueprint for diameter reference. I think they came out alright.
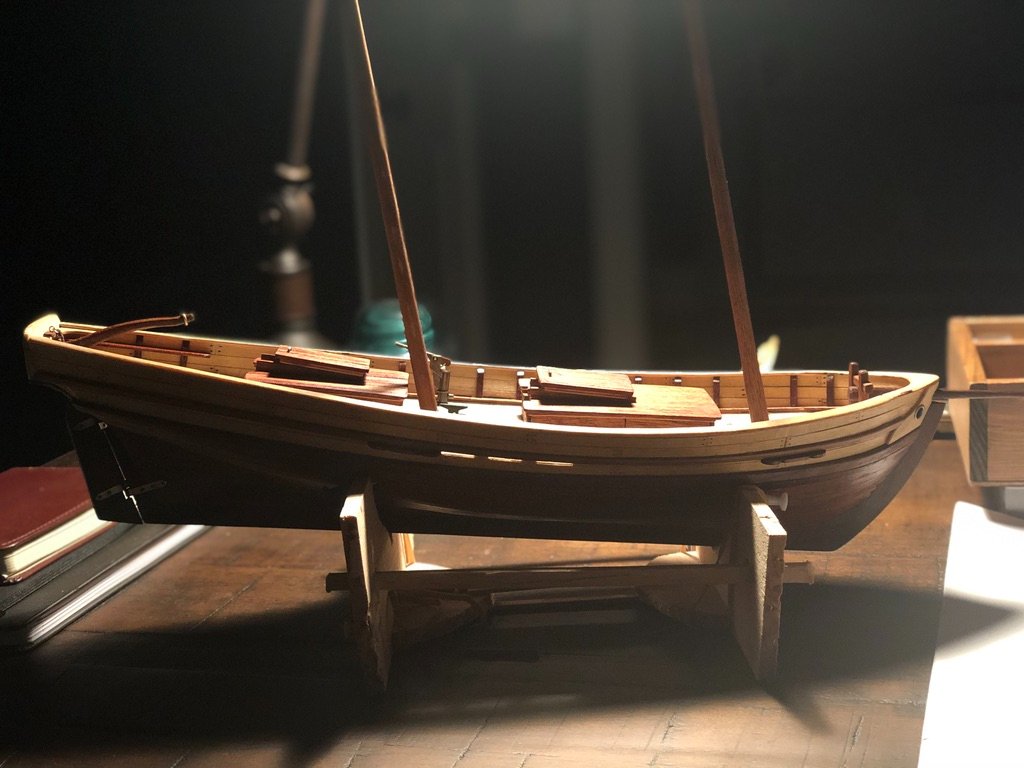
- 114 replies
-
- 4
-

-
- swift
- artesania latina
- (and 1 more)
-
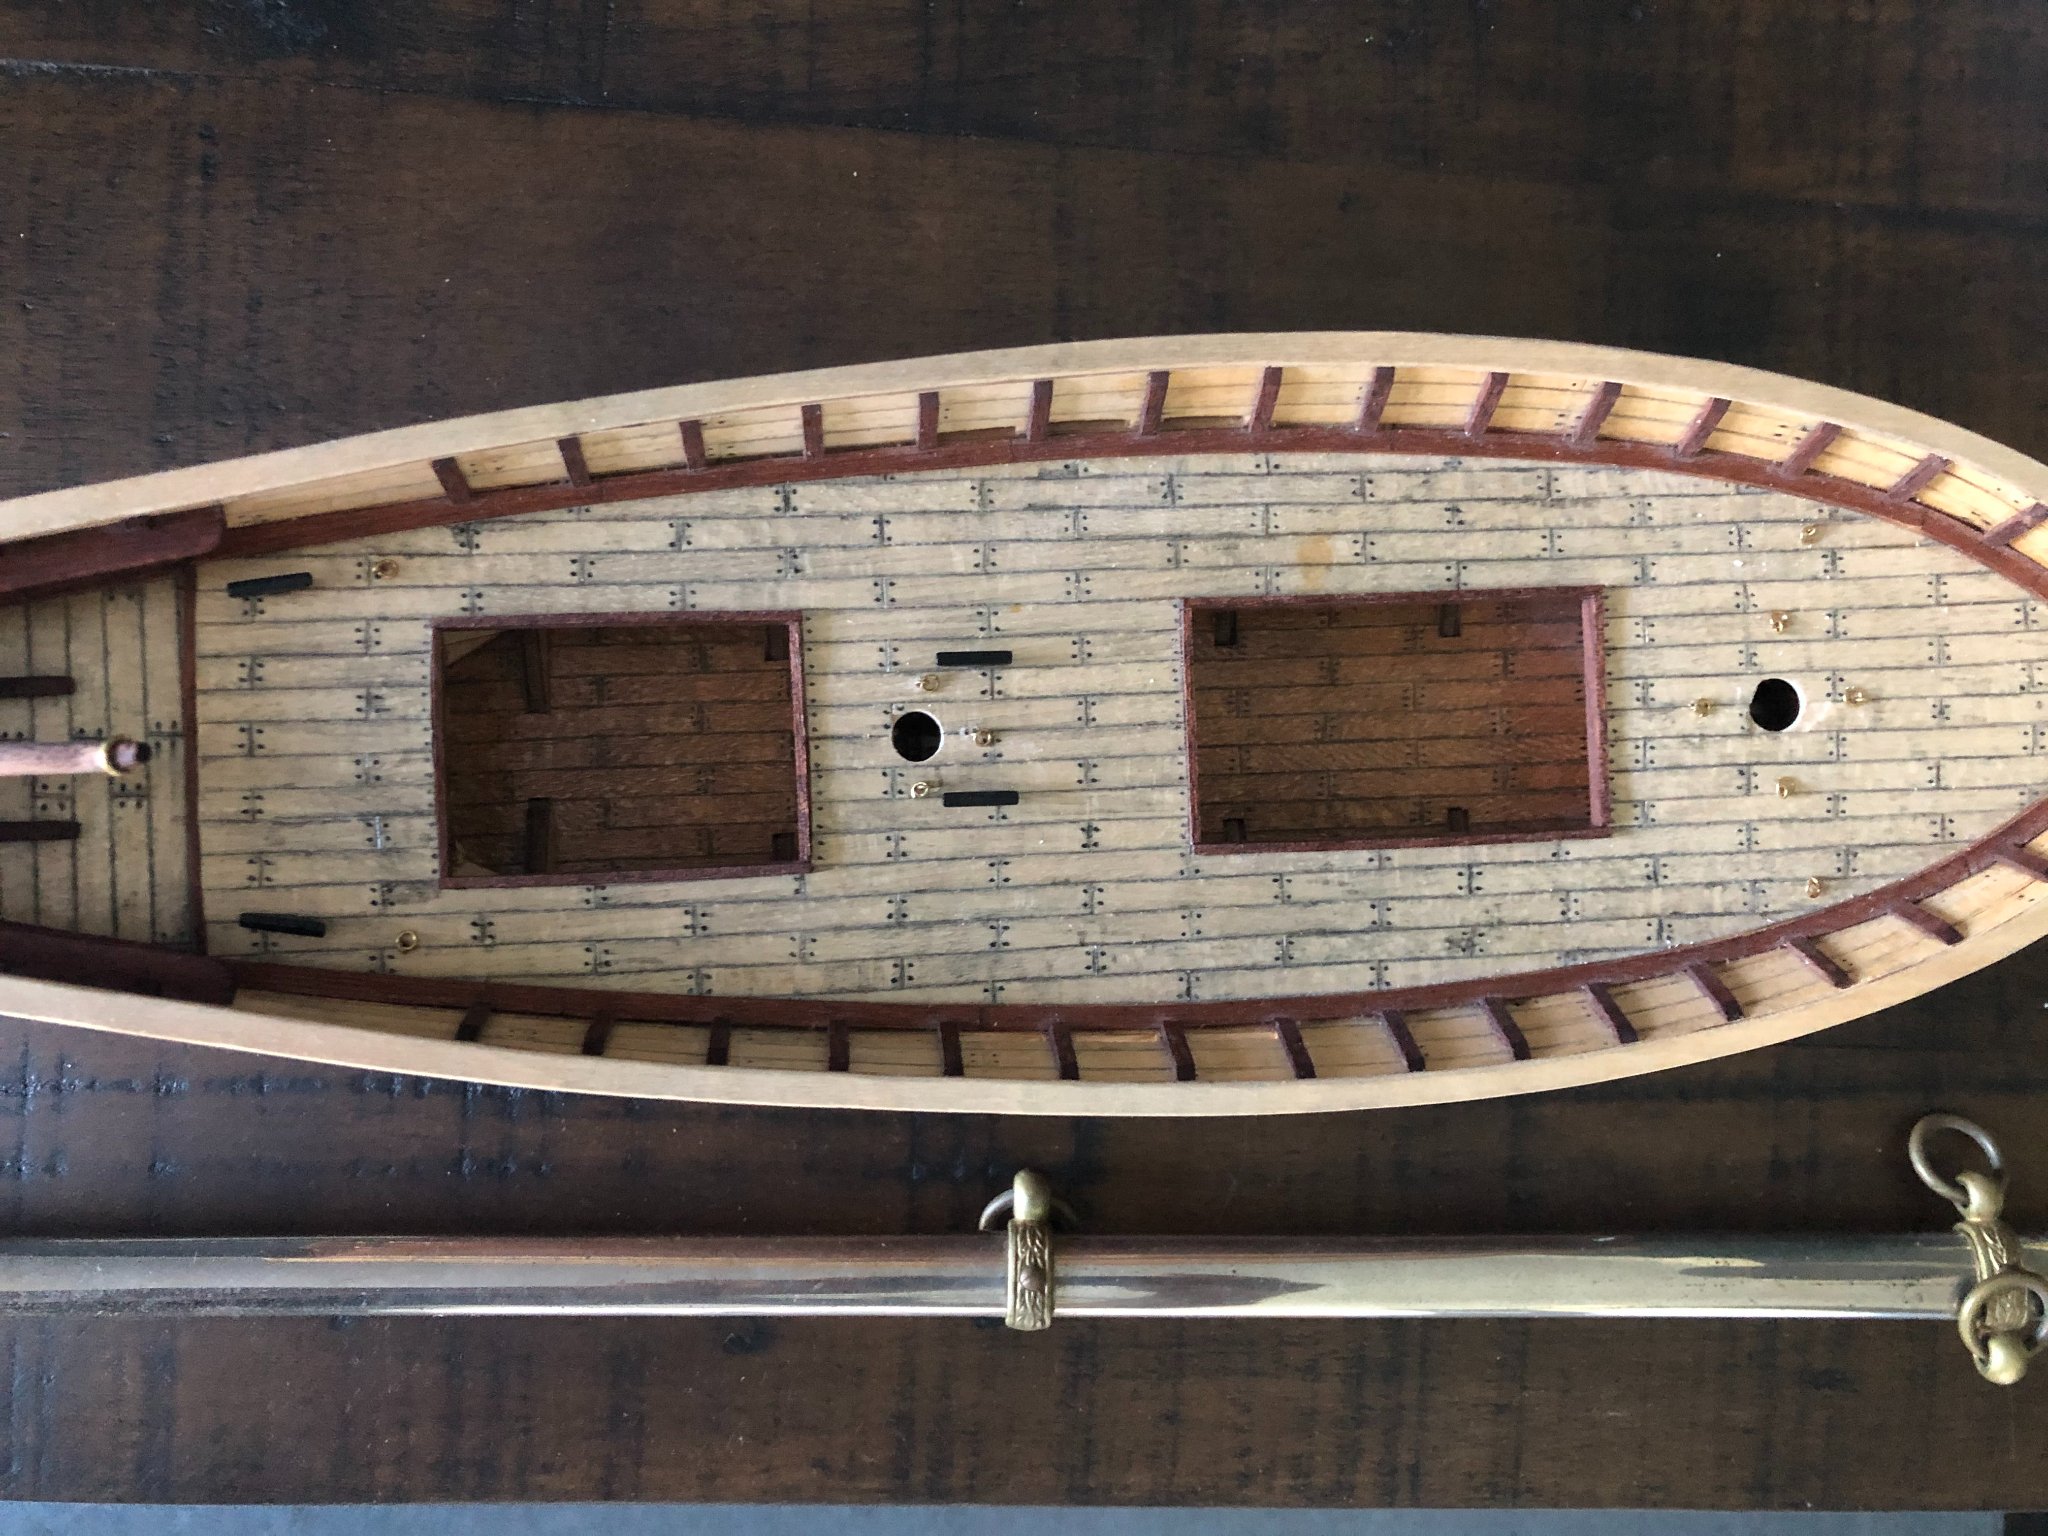
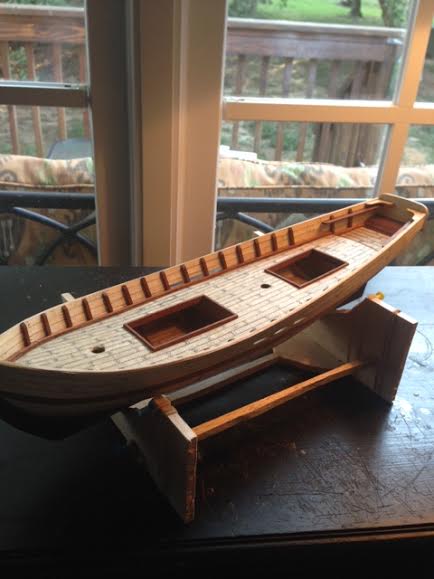
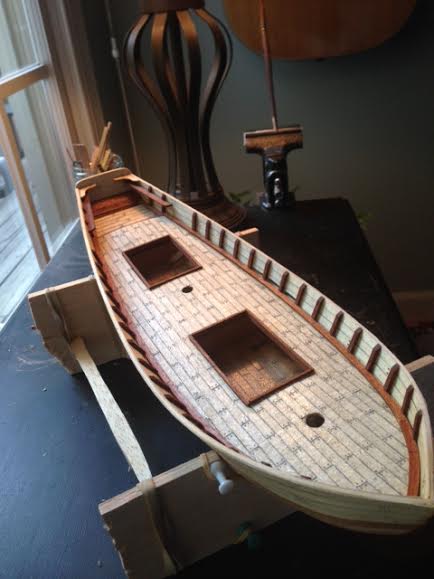
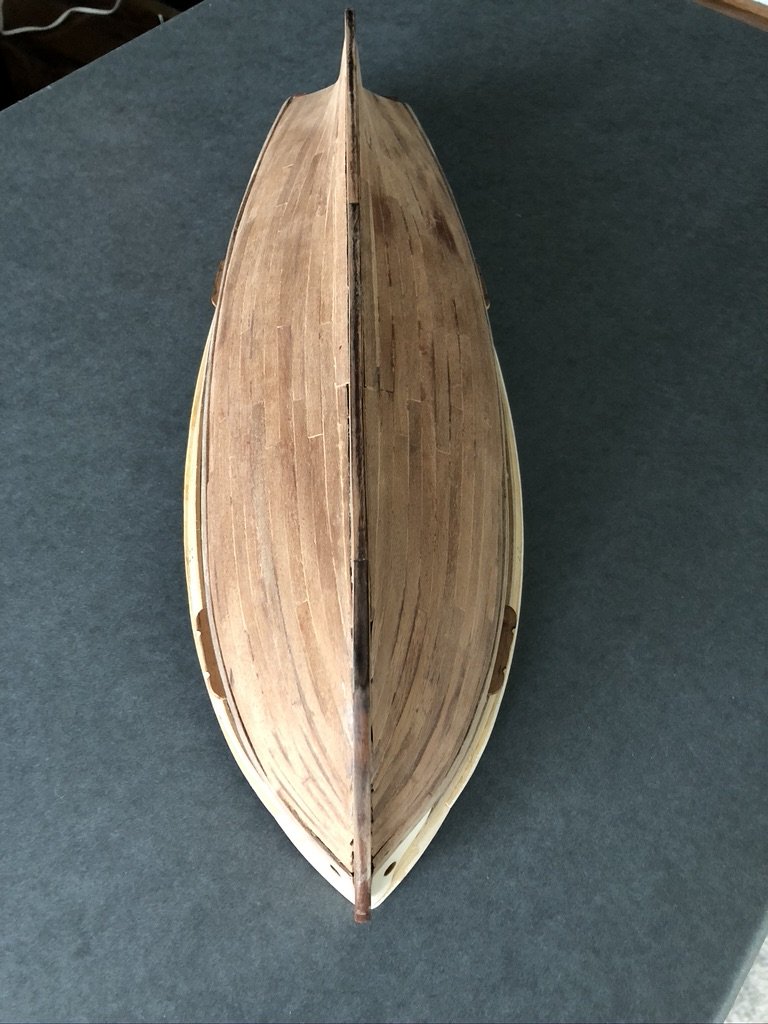
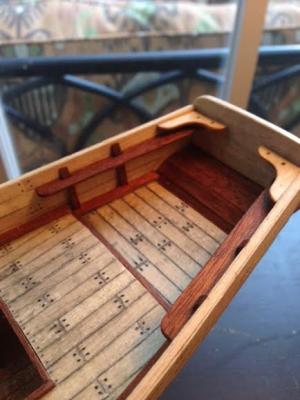
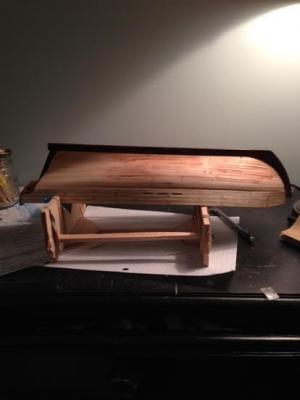
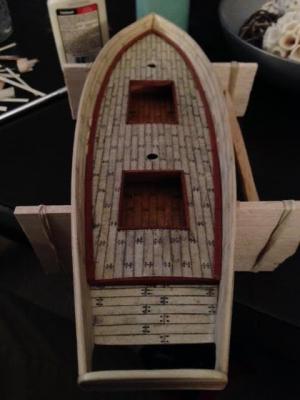
Update to this build: after finally finishing planking, I stained it with a teak wood oil, applying 3 coats until desired finish. I was then able to turn my attention to the deck and work up from there!


-
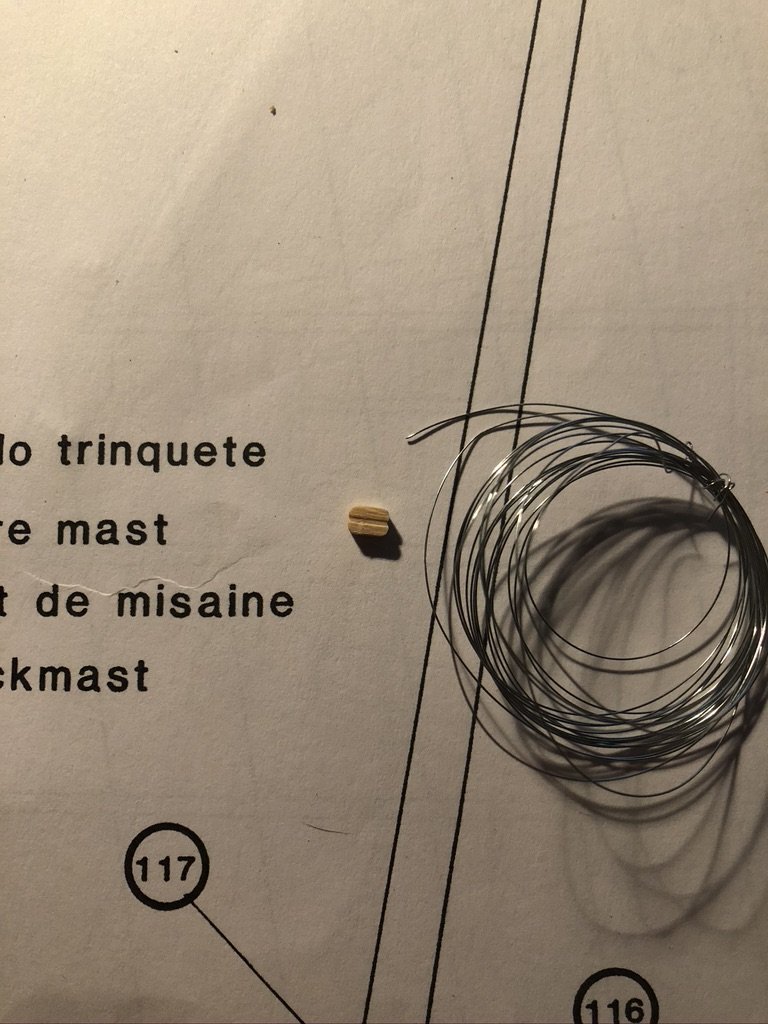
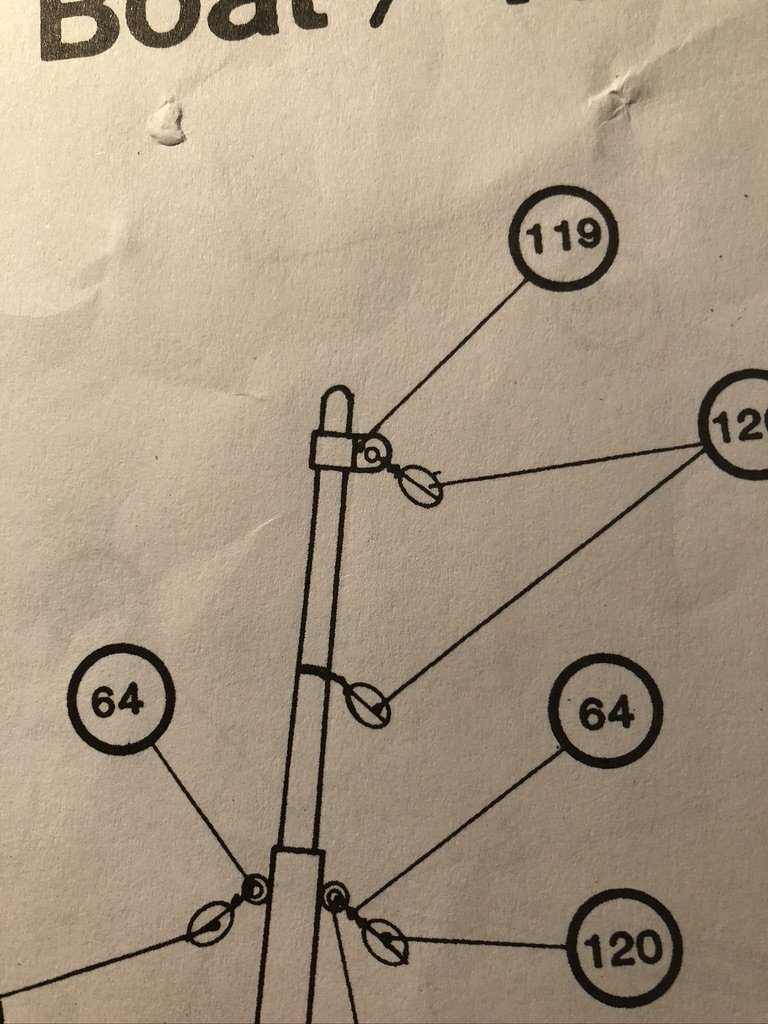
Does anyone have any advice or material on using wire to rig blocks to the mast? I have tried using the supplied wire and it is brittle and a challenge to wrap and secure the wire to the block. Any help is welcome!
-
It is 2020 and my last post was 6 years ago....since then, I would like to report that I have finally finished the second planking of the hull!
- 114 replies
-
- 3
-
-
- swift
- artesania latina
- (and 1 more)
-
Hello John, Just finished looking through your build! It looks great so far! It is obvious that you are taking your time and doing everything very cleanly, something that took me awhile to learn and understand and I still struggle with it (I need a big learning curve I suppose). You have a lot of talented people commenting on your work so far, you are in good hands. I look forward to following the rest of your build! Tyler
-
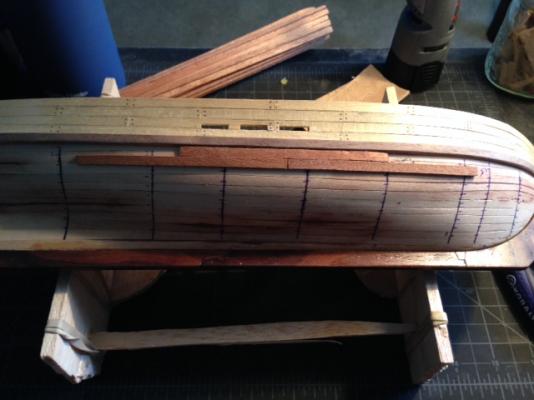
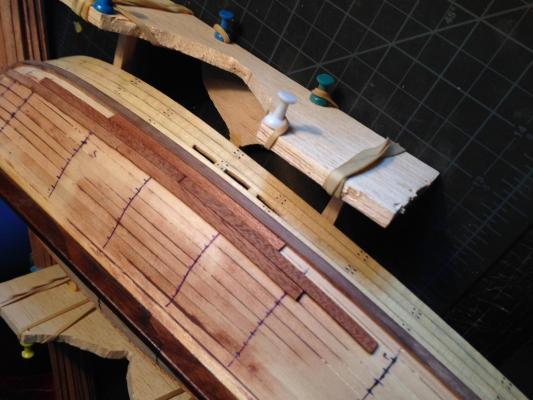
Alright, I have finally found some time to get moving on my build and started off on an easy task of fixing the stern knees to the boat. I have also received a great set of wood planks for my second hull planking, so I am finally moving along on this step. To prepare for this part of the build, I decided to put the rubbing strakes in first to set a boundary for the hull planks. Because the hull planks I purchased are thicker than the kit's second planking, I decided to make the rubbing strake thicker so that they stand out from the hull planking. I did this by sticking 2 now useless kit planks to one side of the rubbing strake strips then fixing it to the port and starboard sides of the boat. It came out nicely, but there are some tidiness issues that I will have to address later. I have decided to use smaller planks rather than long strips. I think it is going to add a nice feature to the end result. After doing some research and looking at some of the planking patterns shown on this site, I went for it. Because I was moving to fast and wanted to start this step, I made mistake. I messed up the beginning pattern, so I had to make an adjustment, but I do not think it will affect the end result, maybe just more measuring than intended throughout this process.


- 114 replies
-
- 3
-
-
- swift
- artesania latina
- (and 1 more)
-
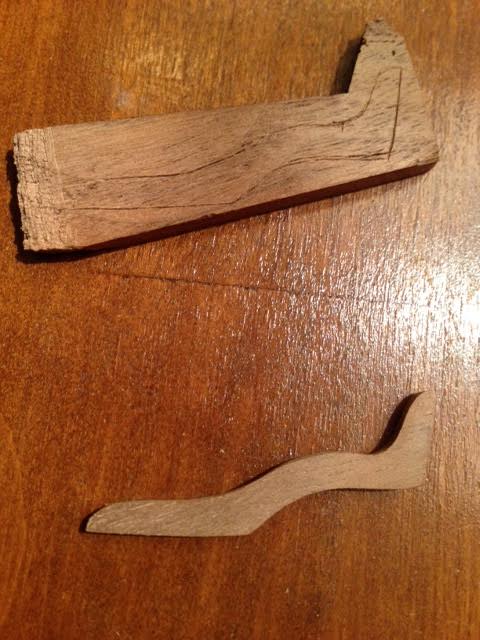
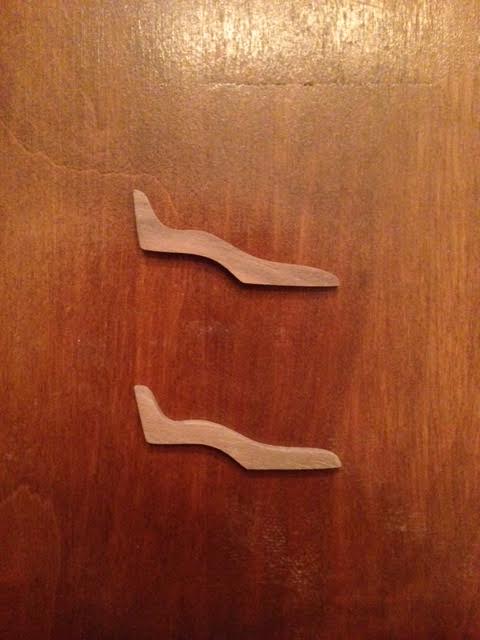
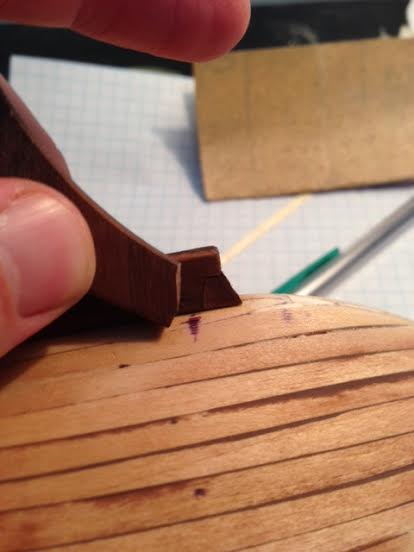
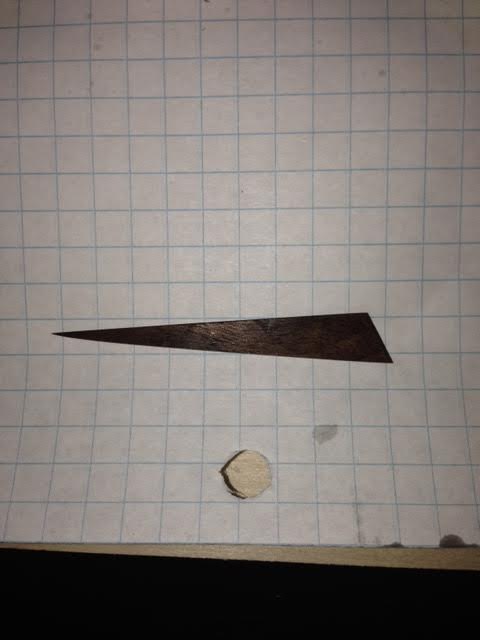
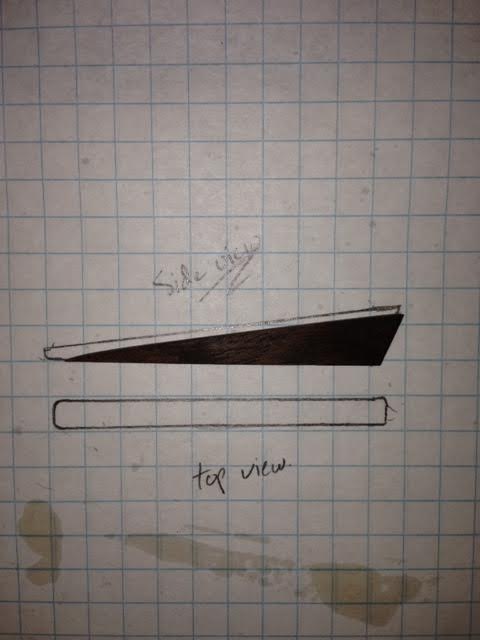
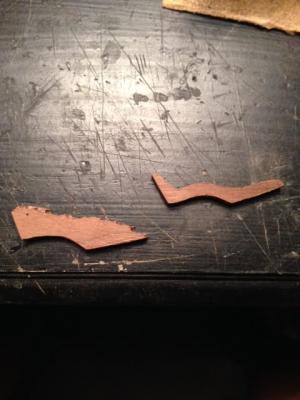
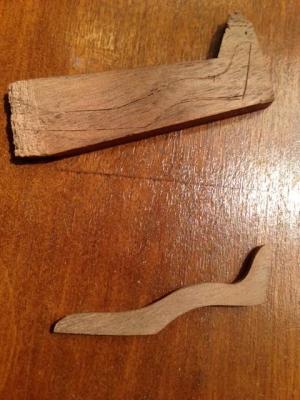
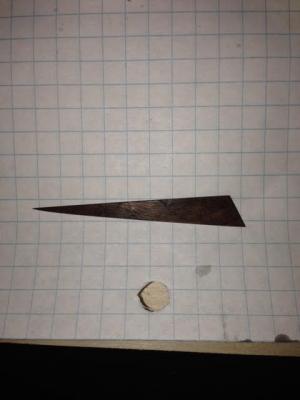
I decided to use some extra Walnut to build the stern knees. I used some card stock to get the profile of the stern set up and after an extensive amount of sanding and measuring and checking and rechecking, I got something that I can work with. I am happy with how they turned out. More photos of the finished result to come.

- 114 replies
-
- 2
-
-
- swift
- artesania latina
- (and 1 more)
-
Dee Dee, Excellent job so far! This is a cool little build. I was cruising around the kit builds and came across your's and was very impressed with your planking. Very clean and neat work. I cannot wait to see how your build turns out! Tyler
-
Thanks TMC! I know what you mean about missing the build. I put it away for awhile and finally got the itch to start working on it again. I am just waiting to get the planking in for the hull and will be back at it! I really just need to look through everyone's builds and I get inspired to start work again. I am thinking about making some card stock cut outs with the one good knee I have left based off of your recommendations as well as fit my own cleats. I just need to collect the supplies for it. Quick question: I want to paint some of the metal pieces that came with the kit black. What do you all use on your builds to make this happen?
-
Hello Brett, Your build is looking great so far! I really enjoy that natural grain planking you just completed! Quick question, what was you experience planking with strips that are less than boat length? At what length did you cut them and how did you set up the pattern of how they would lay? I am trying to decide if I want to do that with my Swift build and I saw your hull and really like the look. Tyler
-
Does anyone know where the side cleats (#45 in the instructions) are located in the laser cut wood samples? The instructions state that they are made of sapelly wood, but I can not find them on that sheet. Has anyone came across this issue as well?
-
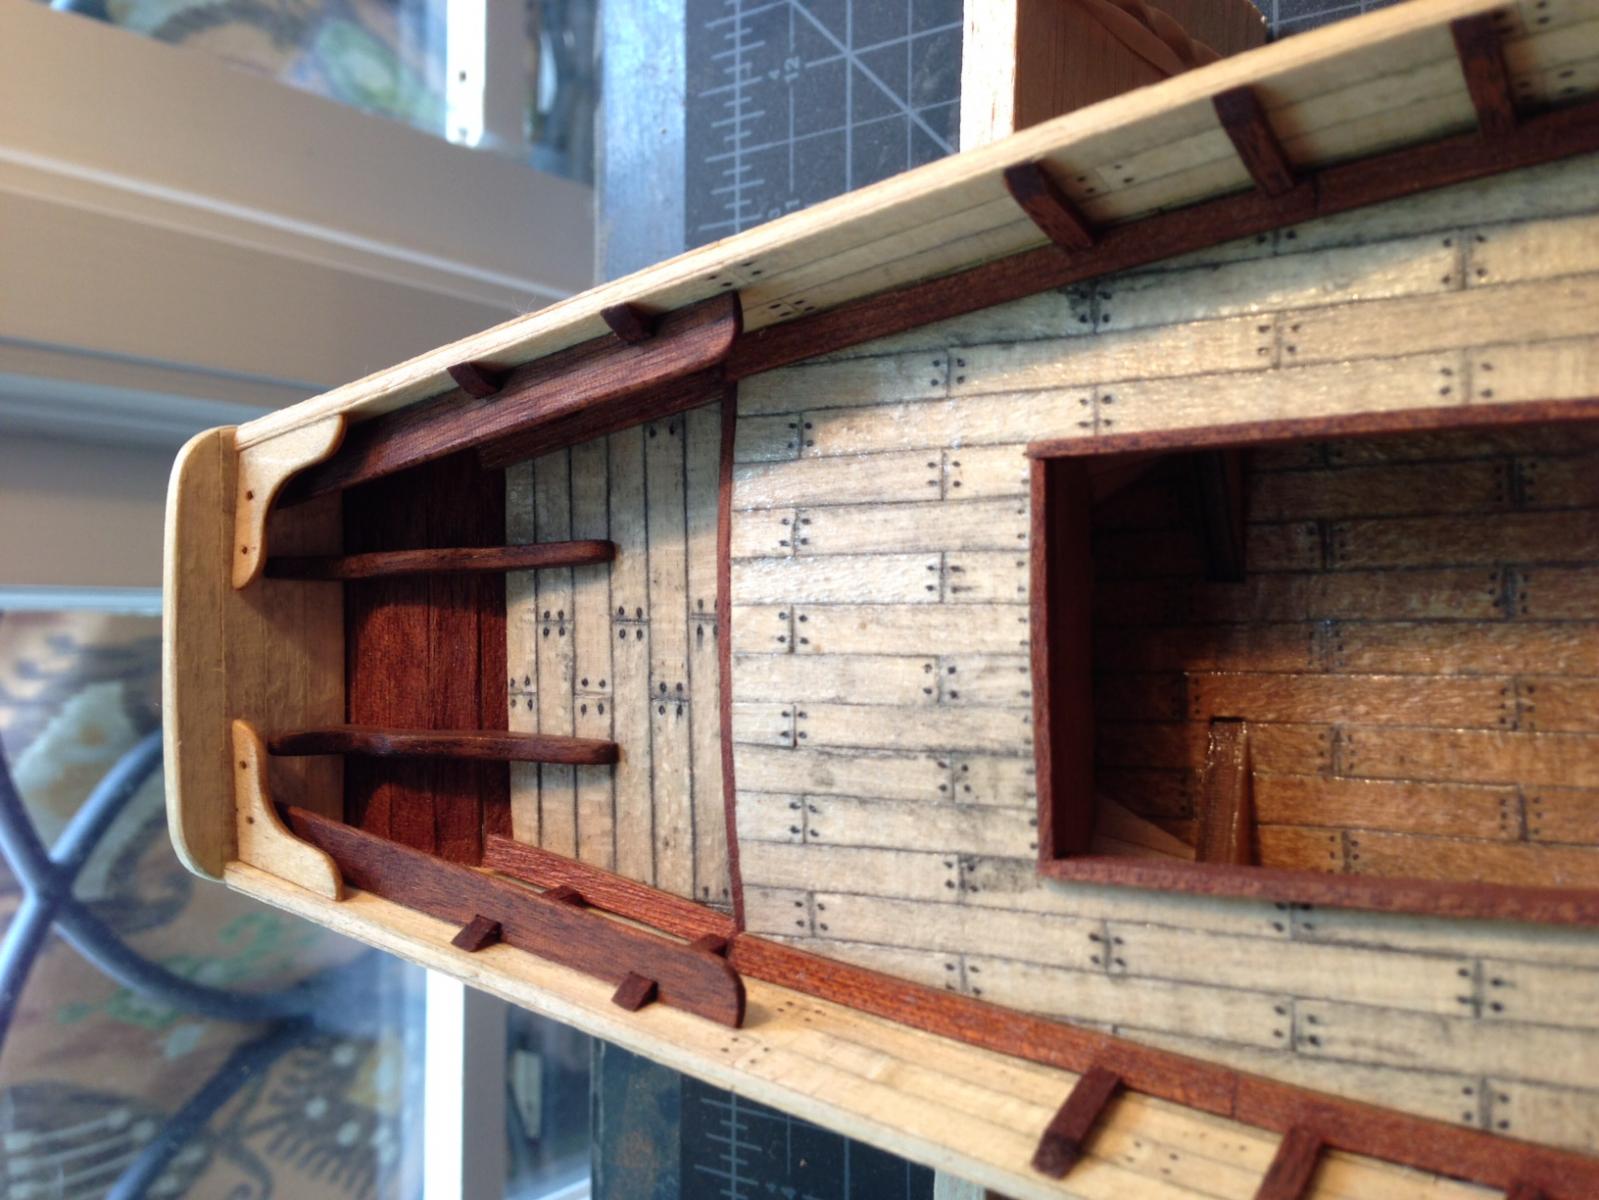
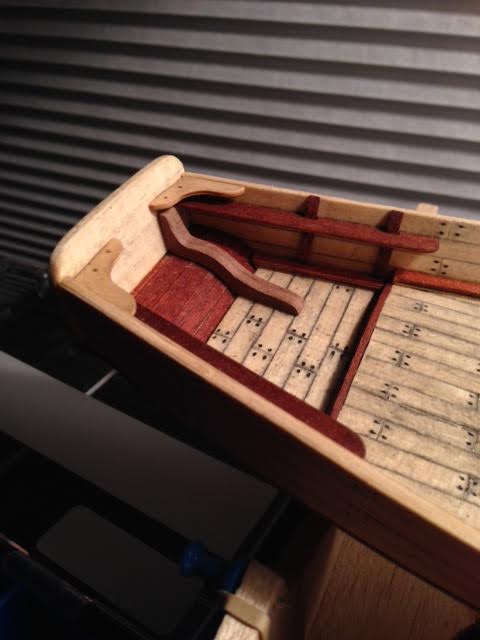
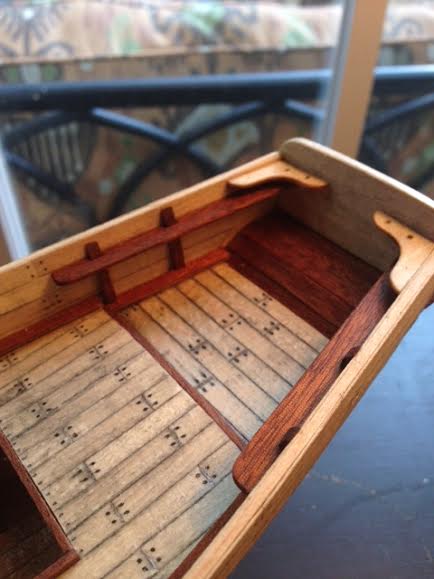
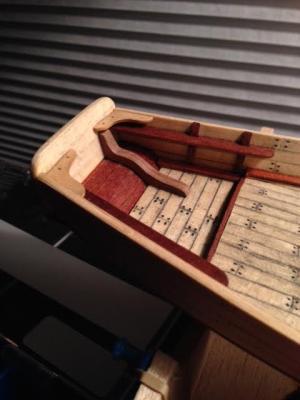
Ok..........I'm here! It has been awhile! In the mean time, I have completed a couple of things not too major, but I will go ahead and share them. I went ahead of the instructions and added the 'futtock timbers' to the bulwarks. I also installed the stern thwarts and the stern pin racks. I happened to brake on of the stern brackets, which I really looked forward to putting in, but I may try to make something work. Next up second round of planking which I am ordering tomorrow and will begin next week!


- 114 replies
-
- 3
-
-
- swift
- artesania latina
- (and 1 more)
-
Has it really been a month since I last posted....... I am back at it again after a small break. I am ready to install the second planking. I have installed the wale and the garboard planks and am in the process of measuring everything out. I do not think I will have enough plank strips to complete the second hull planking. Where is the best place to get more that match the standard strips that come with the kit? Of course, any advice to making this step as clean as possible is always welcome. I have been studying up these past couple days and cannot wait to try my hand at this process.
-
Great work Gabe! I am really glade you posted this log. You did some excellent stuff. It is fun to see what other people are doing with their Swift builds. I hope my build cleans up like your's. .
-
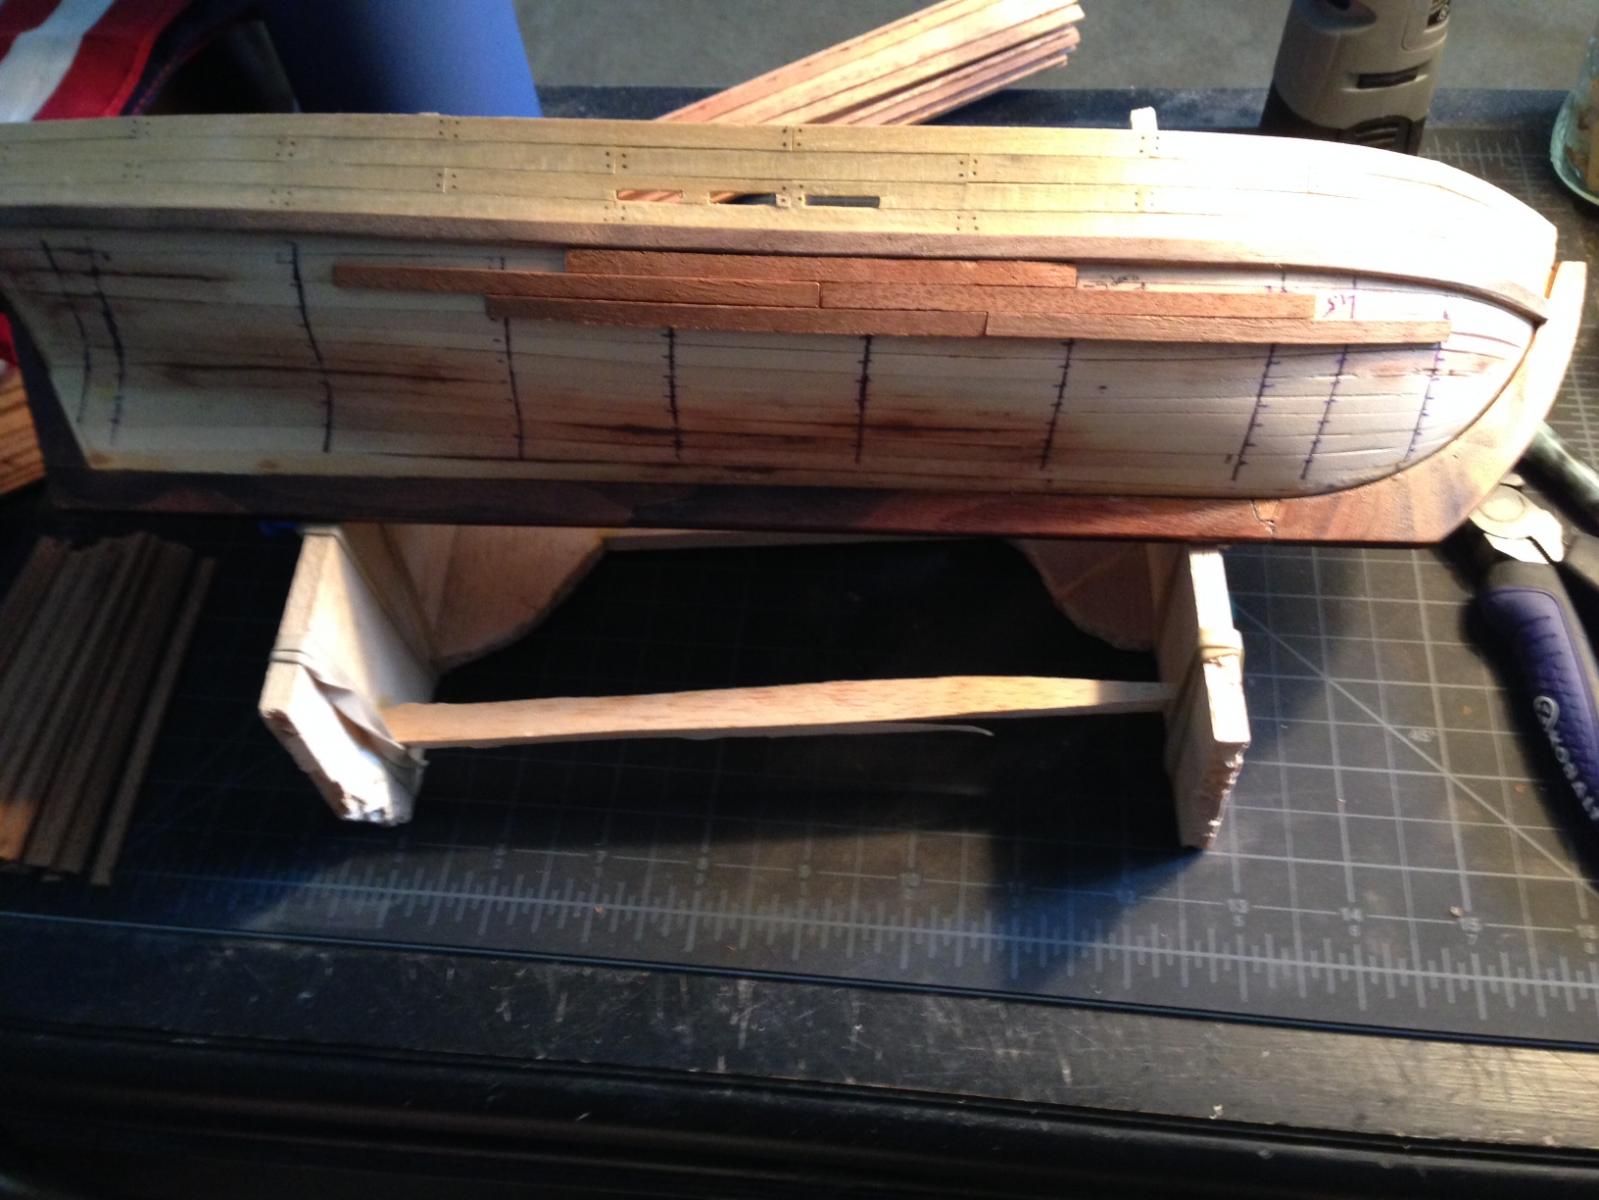
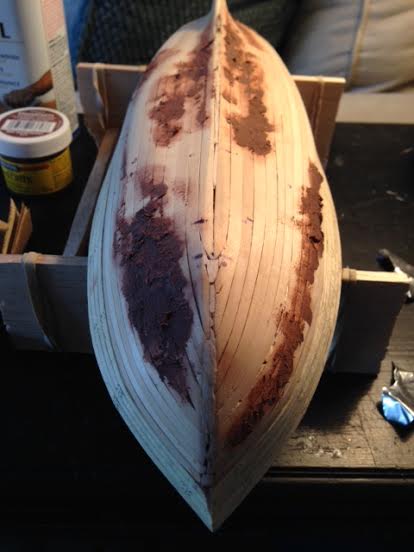
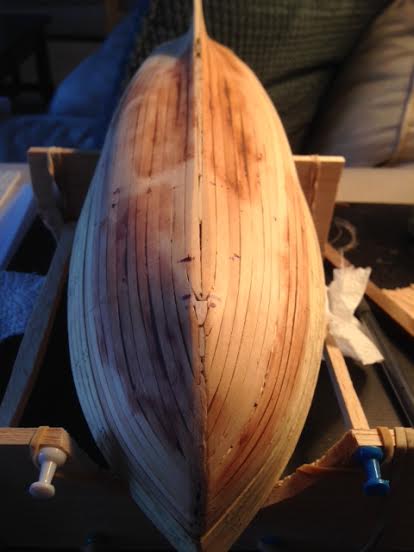
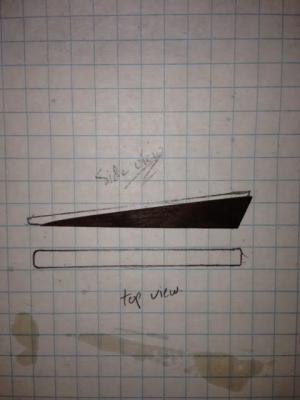
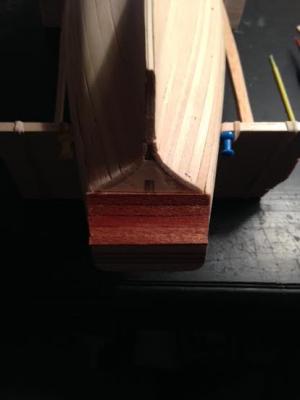
As I am getting closer to the second planking, I have done a couple of things, maybe to postpone this task, but nevertheless, good steps to take in preparation. I tried my hand at wood putty. I filled in some areas in the hull that may have been an issue during the second planking. I also fitted the keel. What a task...............and a learning experience. To prep the fit, I sanded a flat area along the path that the keel would lay and worked endlessly to shape the stem piece to the bow by sanding the inside curve of the keel and test fitting over and over again. Eventually, I was able to get the stem piece to fit around the bow, not perfectly, but close enough. I steamed and re-steamed the keel to get it straight, but it was still somewhat warped. I decided that I could work it into place as I am attaching it. Well, as it happens, this is not the way to go. After a fight with the stem piece, I finally got it into place. It is some what off, but I think I recovered well. Now on to the second planking


- 114 replies
-
- 3
-
-
- swift
- artesania latina
- (and 1 more)
-
Thanks TMC! I thought it would be a nice little touch that would be a fun challenge for me. I appreciate that quality about this hobby as well. I am constantly trying to think of ways to add little differences in my build. Your build of the Swift is for sure the best example of making a build unique. That is for sure!
- 114 replies
-
- 1
-
-
- swift
- artesania latina
- (and 1 more)
-
Welcome to MSW Josh! It is good to see a fellow North Carolinian join the group! Your build looks great so far. Keep up the good work and good luck!
- 23 replies
-
- 1
-
-
- model shipways
- Willie L Bennett
- (and 1 more)
-
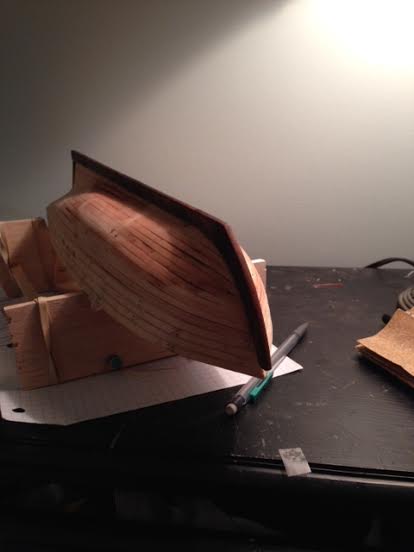
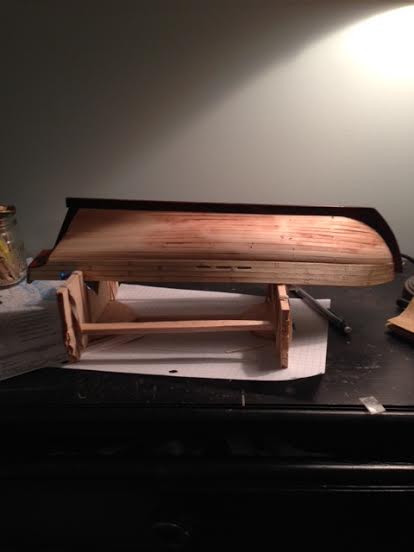
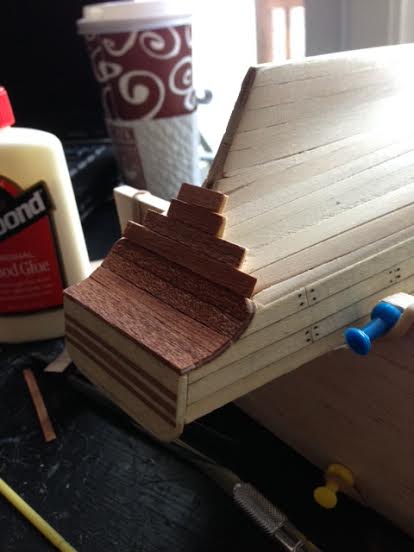
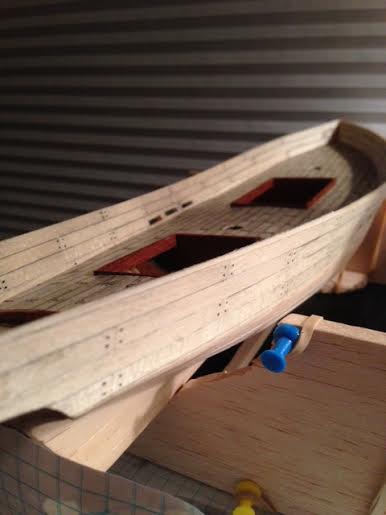
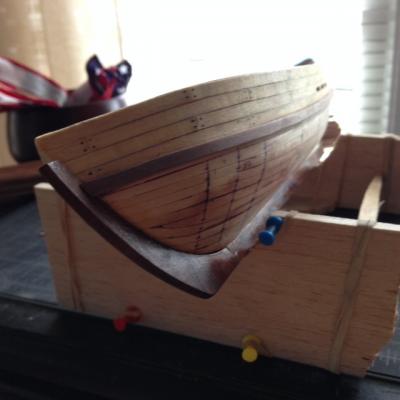
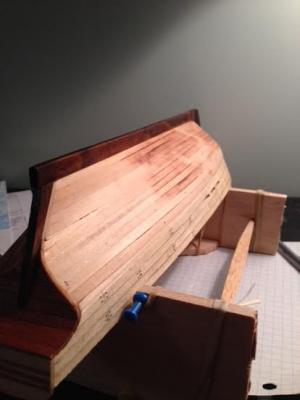
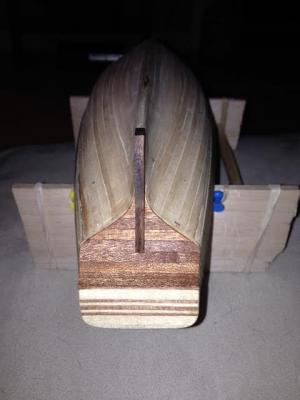
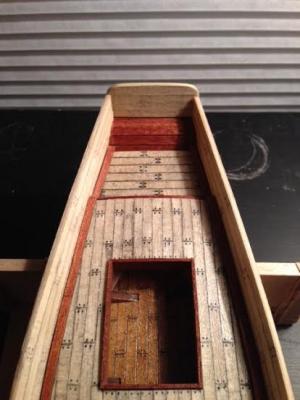
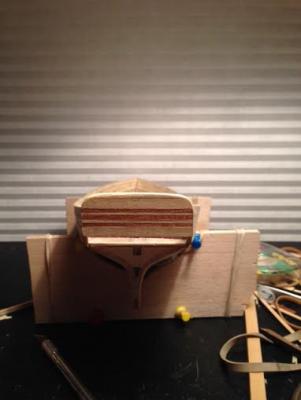
To be honest TMC, I cannot answer that with full confidence, but I believe it is. I really like the light and dark contrast of the wood and I saw it on a couple of builds and it really caught my eye, so that was the goal for my build. I finished planking the stern area and I am really happy with the way it came out! After playing with the stern piece for about two hours, with sanding and fitting it into place, I decided to attach it. I think it turned out well.
- 114 replies
-
- 3
-
-
- swift
- artesania latina
- (and 1 more)
-
I am getting close to working on the keel, but I want to finish the stern area first. Quick question: The way I decided to do the planking (see above post) for the stern area under the transom added some bulk to the area. Should I carry this thickness the entire length of the stern?

- 114 replies
-
- 1
-
-
- swift
- artesania latina
- (and 1 more)
-
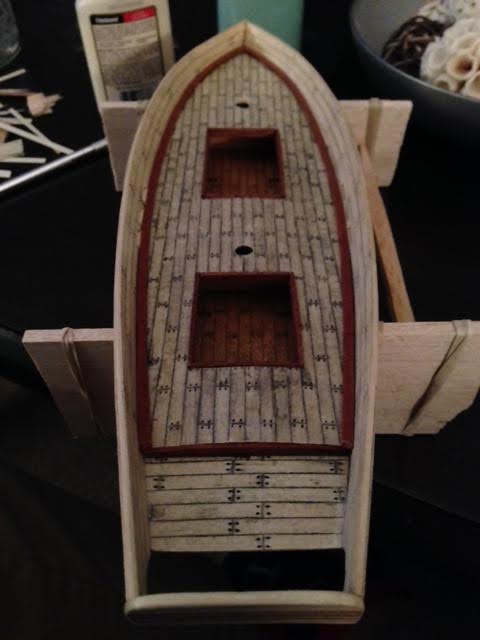
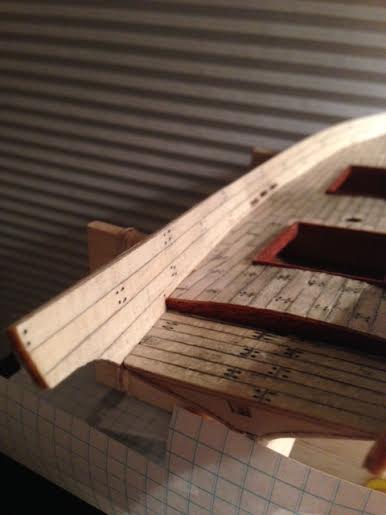
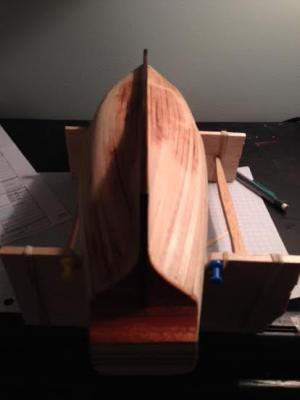
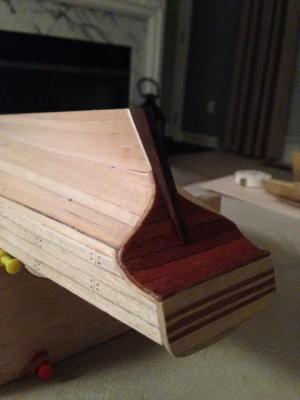
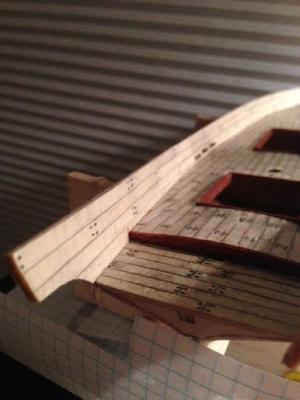
I finally decided what I wanted to do with the stern. I sandwiched a piece of lighter veneer strips between the mahogany stripes to add some support to the area. Then I placed the planks on in a way that satisfied my sensitive paranoia for straight lines and evenness with this project (if that makes any sense). At times, that paranoia becomes an annoyance, but it does help keep everything looking balanced.
- 114 replies
-
- 1
-
-
- swift
- artesania latina
- (and 1 more)
-
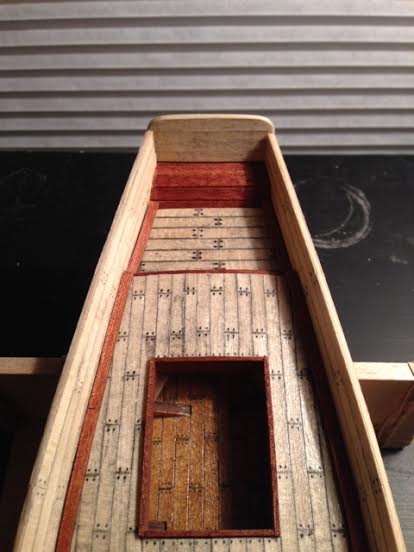
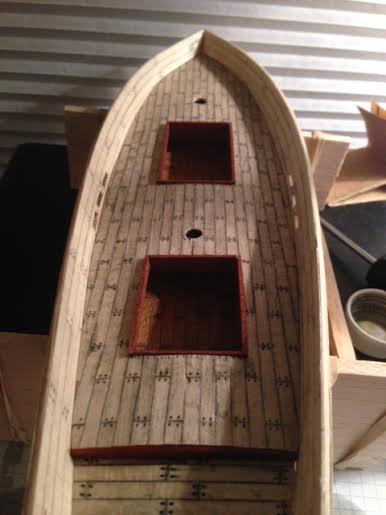
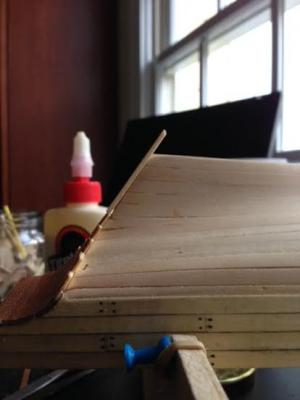
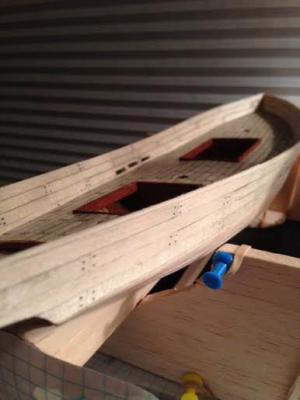
I agree TMC. I spend most of my time, when pondering the next step, checking out the lines of the boat. I am automatically attracted to the lines of any ship. It just seems to catch my eye first. Well I attempted to plank the area where the rudder hole will go, first trying an elaborate plan of cutting limewood planks to the width of the space and covering them with mahogany strips to have to look of mahogany, but some durability. It did not come out as well as I hoped, so I remover that and put in just the veneer sheet and that was better, but a little uneven, so I am going to have another go of it tonight and hopefully straighten it out, and put a second layer for some support. I did successfully attach the stringers and I think it turned out to be a very nice feature.
-
That is great advice Bug! Thank you for that. Most of the damage came from me trying to remove the upper stern and then again trying to strip the wood that was broken from that. I will keep that in mind. I really like the raw, weathered look on this wood. I saw it on other builds and was instantly drawn to it. Something about the Swift makes me think of a hard working ship. I have one question: I want to start attaching the planks that arc up to the upper stern, but I cannot decipher from the build instructions or any other Swift builds what wood I should use. The instructions say use the mahogany stripes, but I am not sure if that means the planking wood (what you would use to make the combs) or the sheet wood that is used to make the second hull, or maybe I should use both. Does anyone know what I should use here or have some advice?
-
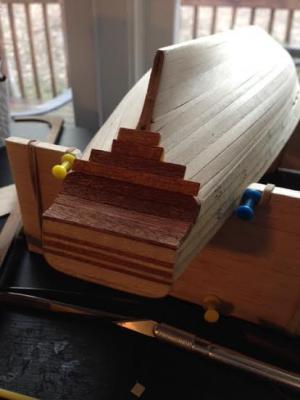
Thank you Gentlemen! I have not messed with the stem or the keel in awhile in an effort to get some other things done on the main deck. I planked the bulwarks and glued the combs and the stern step in place . I also planked the upper stern. Then it was the first take on fitting the upper stern. I was certain it was even when I glued it on and as soon as I moved my rubber bands and fingers out of the way, it was the slightest bit uneven and I could not stop staring at it at every angle. I tried removing it, but it did not come without damage. I repaired the broken areas and tried again. Take 2 was a better result so I went with it. I am about to attach the stringers, but I do not know what to do with them. I am still up in the air with that. Aesthetic decisions are getting more difficult as the build goes on.


- 114 replies
-
- 1
-
-
- swift
- artesania latina
- (and 1 more)
-
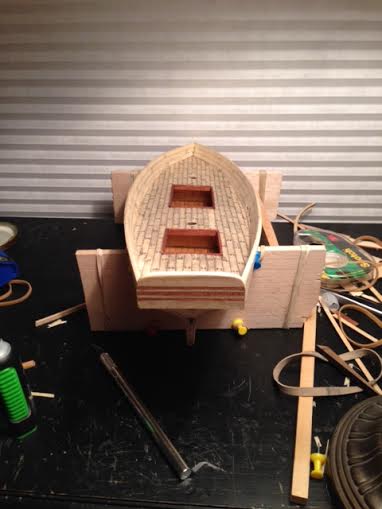
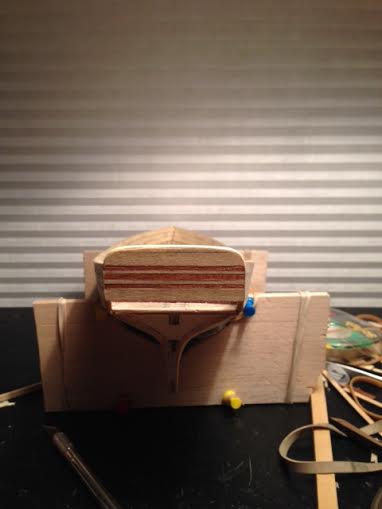
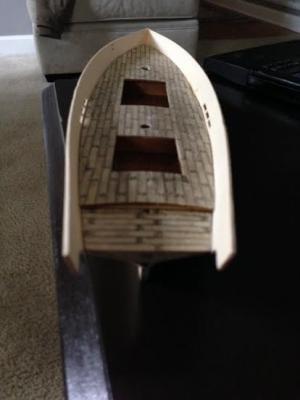
I have now fit the bulwarks on. I am really happy with the shape throughout the boat. After splitting a bulwark trying to get the shape right and having to cut another one, I made it a my mission to get that right. The only thing that did not turn out the way I would have wanted is the straightness of the bow. During my effort to shape the bow so it would fit right, I think I took too much out on the starboard side and was forced to bring the port side a little over to cover the gap. I do not think this will be an issue seeing as I will be covering it up with the keel and the bow spirit. To fit the bulwarks, I used CA glue and help it in place until it dried. To secure the bow, I used medical tape and strapped it across the bow to pull the two bulwarks together.


- 114 replies
-
- 2
-
-
- swift
- artesania latina
- (and 1 more)
-
Great advice guys, thank you very much! I really have no idea where I would be without the advice offered by everyone on my page and who have done this before. Let the spice flow! @TMC: Your modifications to the Swift are outstanding. I appreciate your creativity and the way you work through developing these changes. @Bug: I am with you! I only refer to the instructions to make sure I am following the build in a somewhat chronological order, but mostly just read build logs. @Nenad M: Fight the good fight my friend. It is a tough process, but I agree with TMC, it is really satisfying when you start seeing the lines of the hull clean up and you get that smooth feel. It is really impressive. I have been slowly working through the things you all have been talking about. I think I am getting to a point where I can pull everything together. -I have been sanding the excess material form the hull for the keel fitting. I think I am where I want to be with that. I basically took some sand paper to the hull and sanded away the excess until I passed the lines I drew. It took awhile but I am glad I did it this way so I did not remove more than I should have. -I am working on getting the stem to fit the bow.....this is tough. I am not sure if this was the best way to do it, but to me it was the only way with the tool and skills I have at this moment, but I sanded the bow flat so the stem could lay flat. I am close, but there are a couple spots that are keeping it from sitting flat. The area that worries me the most is the spot where the top of the bow and the stem do not touch. What do you guys think would be the best way to remedy this? -Lastly, I am getting ready to fit the bulwarks. I am shaping them at this moment. And to answer your question TMC, I have planked the deck. I put a gloss on it to protect it. I am just hoping it will not make it difficult to work on the deck when it comes time.


- 114 replies
-
- 2
-
-
- swift
- artesania latina
- (and 1 more)