-
Posts
184 -
Joined
-
Last visited
Content Type
Profiles
Forums
Gallery
Events
Everything posted by ChadB
-
Hey Patrick, I'll be following along on this one! I served on the USS Barry (DDG-52) and had a friend on the Curtis Wilbur back in 99-03. We both worked on the AN/SPY-1D radar- those things that look like giant stop signs under the bridge lol. It looks like a fantastic kit! Chad
- 52 replies
-
- Curtis Wilbur
- I Love Kit
-
(and 1 more)
Tagged with:
-

Brig Eagle 1814 by bdgiantman2 - 1/48
ChadB replied to bdgiantman2's topic in - Build logs for subjects built 1801 - 1850
Hey Brian, Looks like a good start! I am pretty sure I have the drawings of my transom at home that I can share with you if it would help. Even if I don't I could take some measurements to help you out! I don't think I'd want to go through the process of trying to figure that all out again... Chad -
Nice looking jig and a very good start to your frames! You will find that the tolerances for your frames shouldn't be a huge issue on this build since the frames are all mostly square. I think as long as you can't see the black lines of the edge of the frame drawing then you have left enough. It can't be said enough though- if in doubt leave more! Chad
-

Brig Eagle 1814 by ChadB
ChadB replied to ChadB's topic in - Build logs for subjects built 1801 - 1850
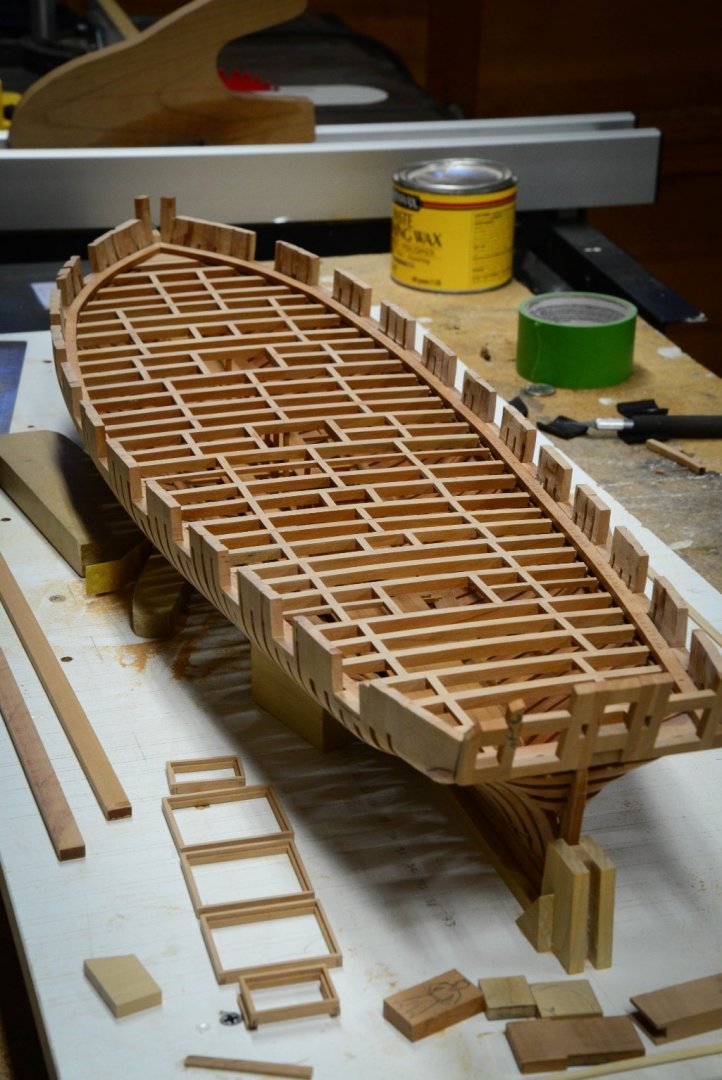
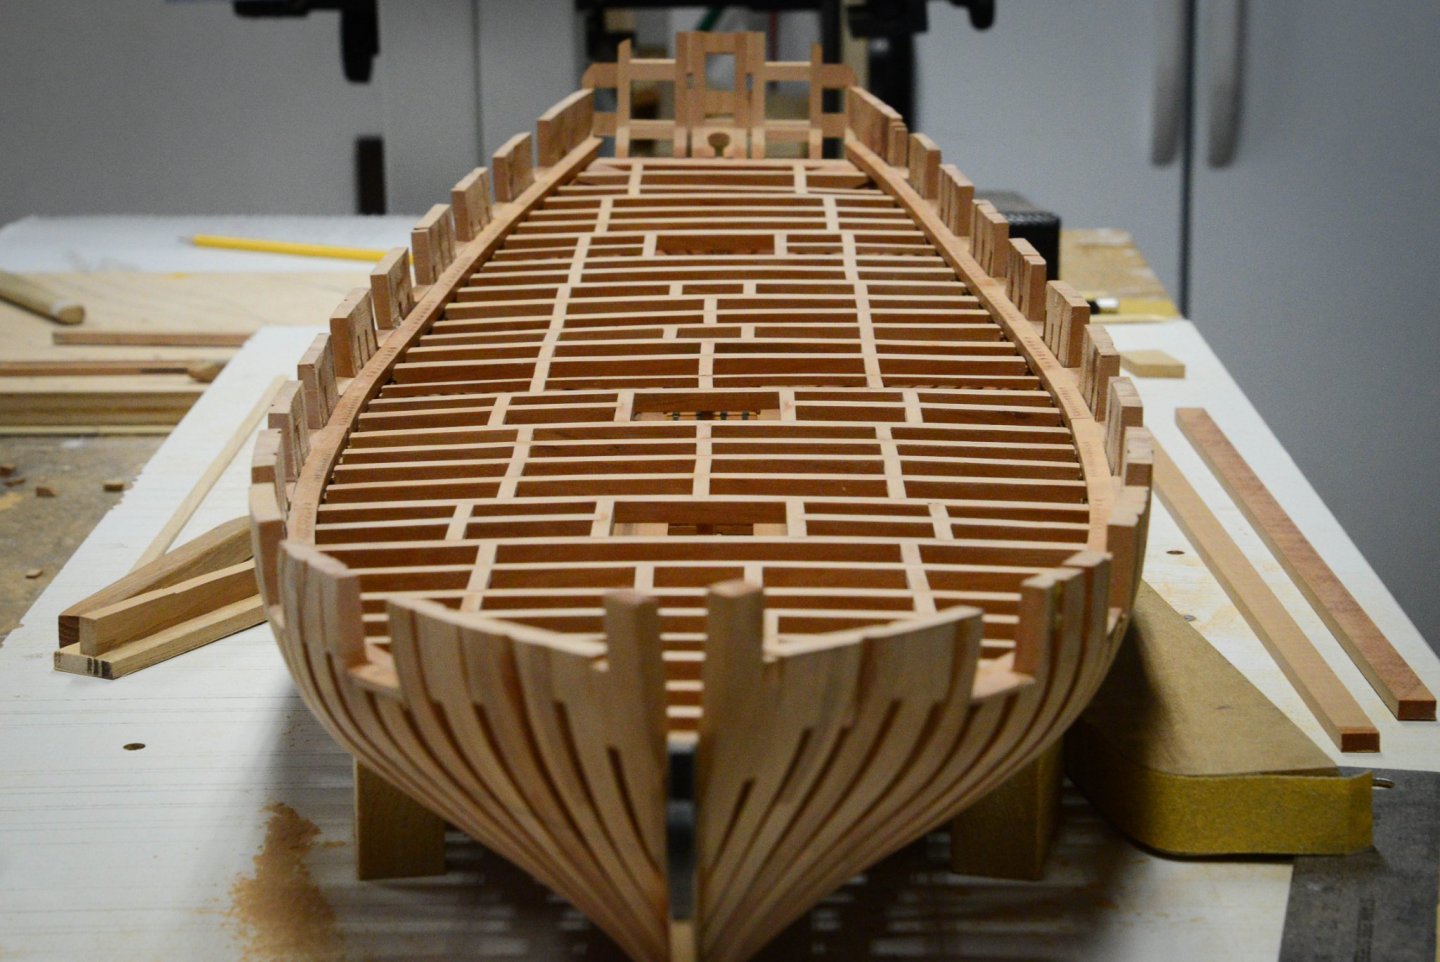
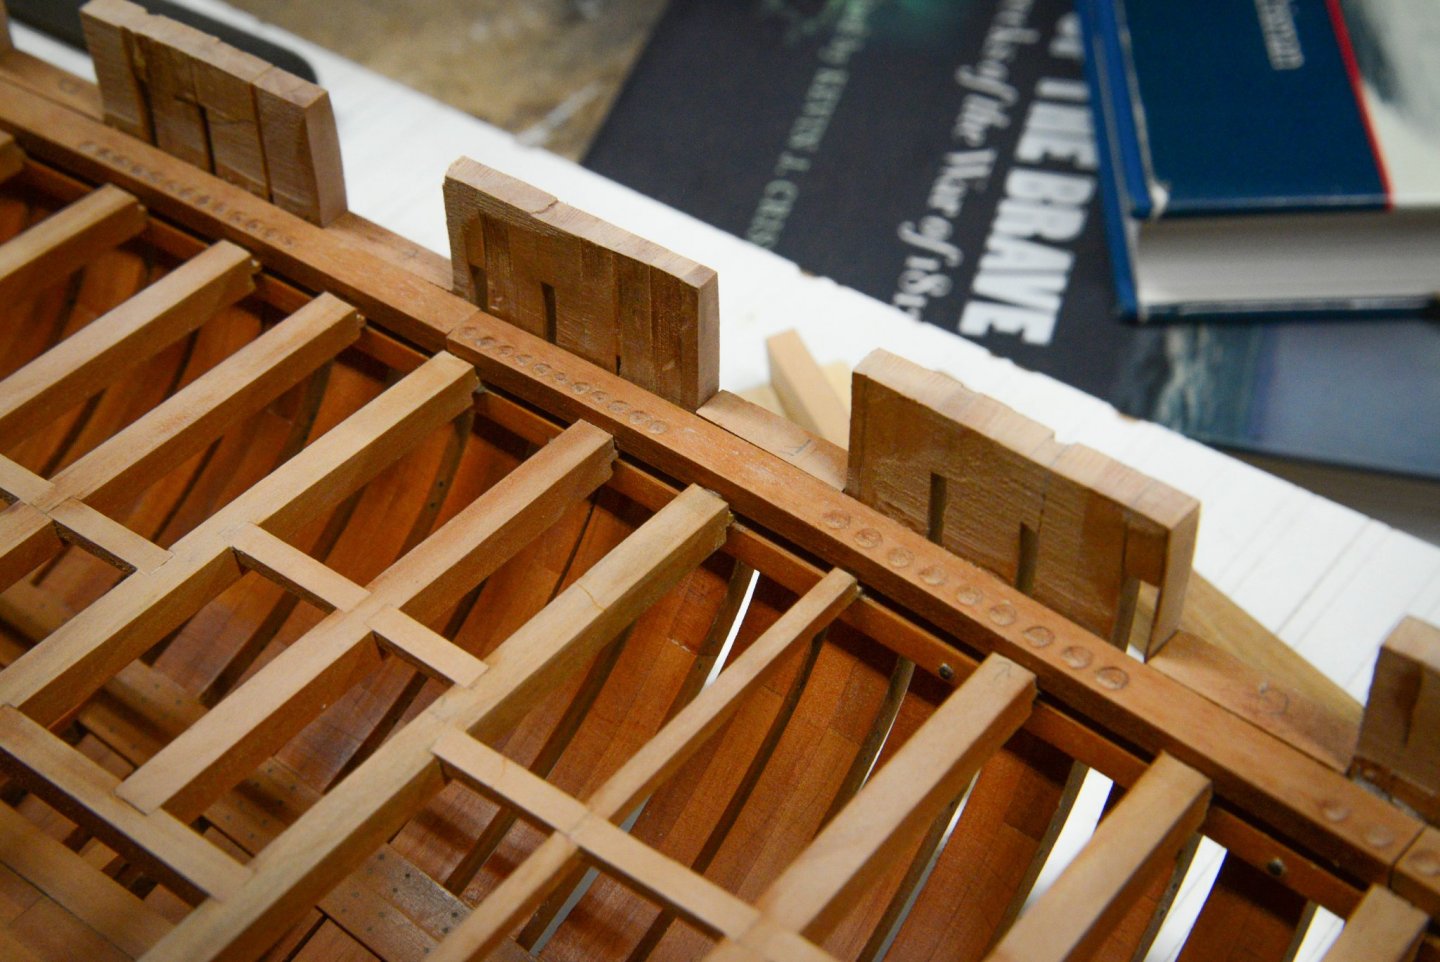
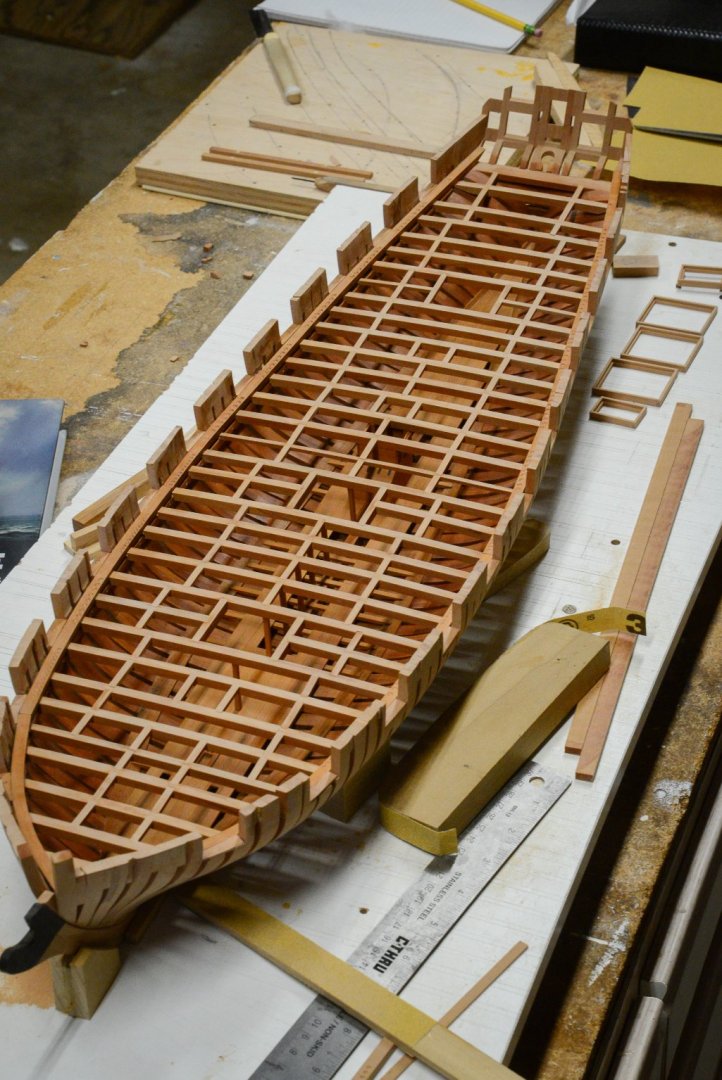
Johann, Joe, John- thanks for the kind words! Not a huge update, but an update nonetheless. Waterways have been installed- they ended up being more of a pain in the butt than expected because of the need to drill out the cannonball divots and making them neat. I feel that similar to treenails, it would be easy to make them look incredibly sloppy if not lined up and even. I think I got it where I'm happy with it considering I don't have a mill. In the end I also am not a fan of cutting down the deck beam ends into a tab to fit between the clamp an waterway like I did. The idea is to make things easier but I don't know if it accomplished that and also made some of my beams a bit less sturdy. In the future I would notch the clamp and waterway as was done in the original ship. I also cut down my frame tops. When I made my frames I didn't leave enough wiggle room on top so a few were a bit under the correct height for the rail. My solution was to cut them all down 5mm below the rail height which is why they look a bit low. I will add a 5mm cap along the top that will just get covered up by planking and I figure make things a little more rigid anyway. Thanks for looking in! Chad -

Brig Eagle 1814 by ChadB
ChadB replied to ChadB's topic in - Build logs for subjects built 1801 - 1850
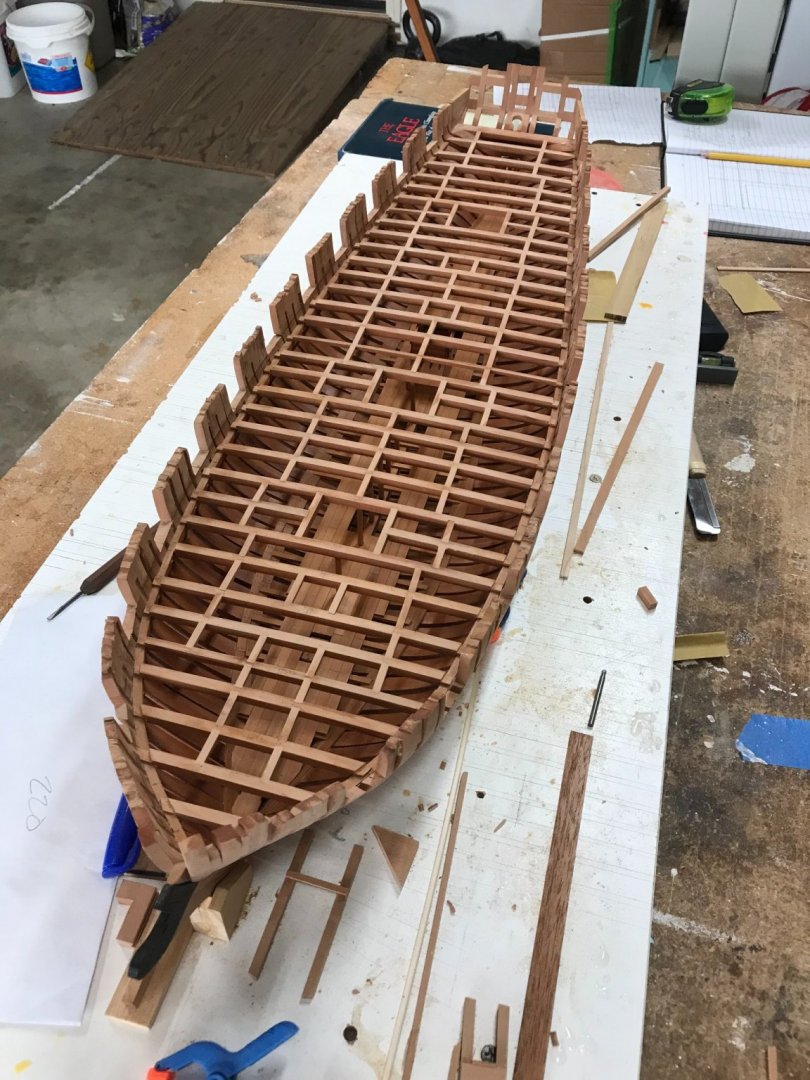
Schooners- thanks for checking in! Sorry I am just seeing your message now as I have been off the forums pretty much since my last update and nose down in decking or just enjoying the summer! Now that the rain has arrived back in the PNW I will most likely be getting back to work! JpR62, stuglo- thanks for the kind words and for checking in! Not a huge update and kind of a boring photo from my phone but deck framing has been completed. I am currently working on waterways. -Chad -
I've toyed around with the idea of doing this for quite some time and would love to do it when my kids are older and moving on with their lives (right now I want to give them all the time I can). I've slowly started tooling up for it and have been milling my own wood now, but want to get better because if I ever did it I'd want it to be the quality of the days of HobbyMill. I also have the added of benefit of having Gilmer Woods 20 mins from my house which would let me handpick the product. The major downside is that so far my back-of-the-napkin figures show that it probably leans more towards a labor of love more so than a profitable business. I wouldn't be looking to quit my day job but the time put in is time not modeling. Chad
-
Congrats! Your full build isn't too far behind! Chad
- 93 replies
-
- Triton
- first attempt
-
(and 1 more)
Tagged with:
-
Looks great! In my opinion, the quality of your work has grown quite a bit throughout your cross section and full build! Chad
- 93 replies
-
- Triton
- first attempt
-
(and 1 more)
Tagged with:
-

Brig Eagle 1814 by ChadB
ChadB replied to ChadB's topic in - Build logs for subjects built 1801 - 1850
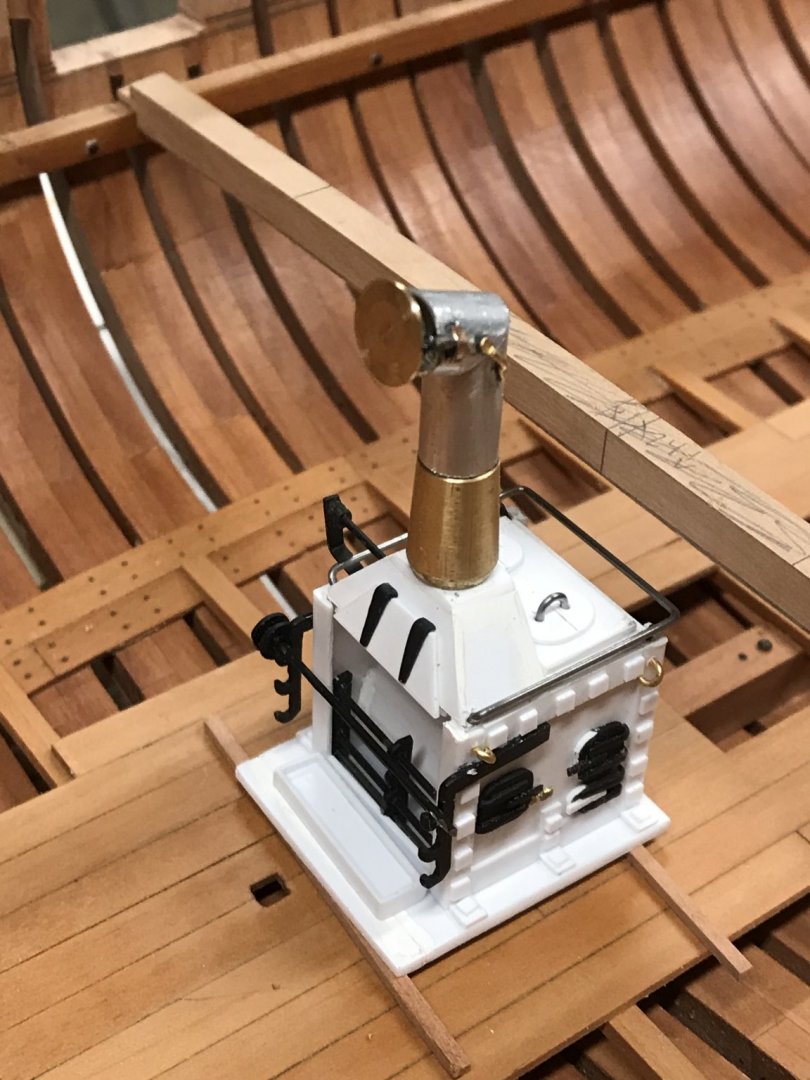
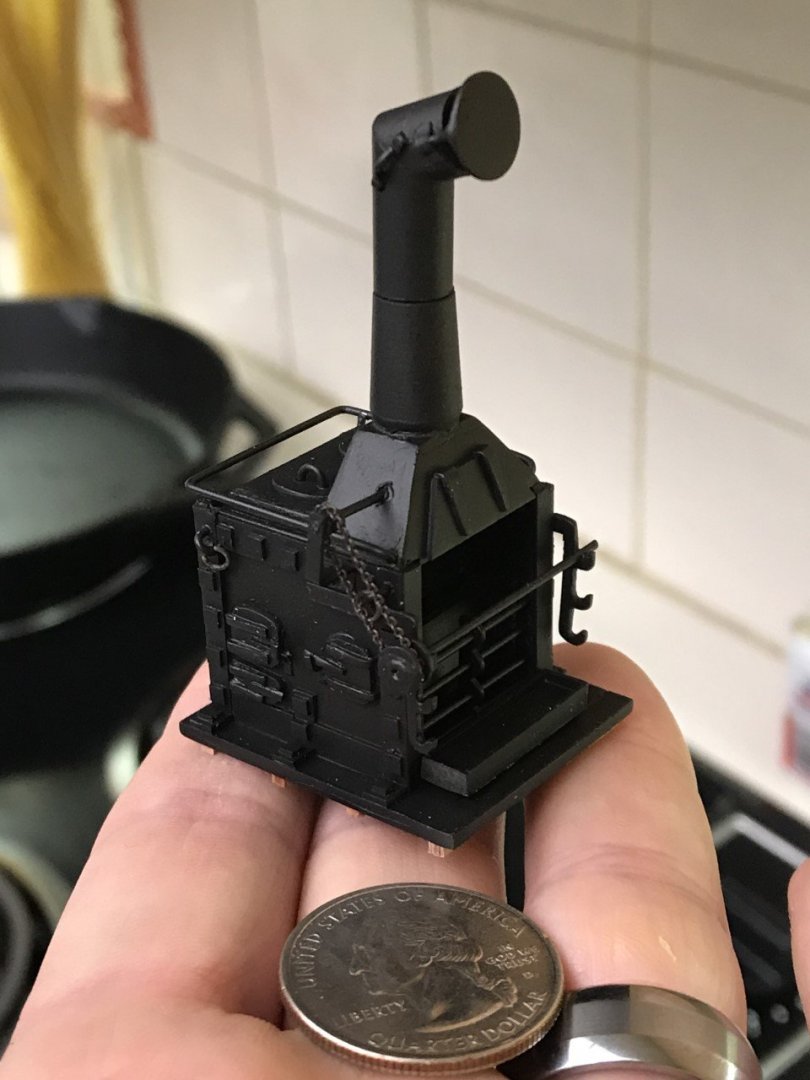
Thanks guys. I have a good friend who does ships and plastic models who turned me on to evergreen plastics when I was lamenting how much of a pain making the stove was going to be. It was a great material for some of the smaller details. I ended up using just about everything under the sun- plastic, aluminum, brass, copper, piano wire, HO train axles, and scale chain. Here is a photo before airbrushing that shows the hodgepodge (the black is plastic parts cannibalized from the first stove)! Chad -

Brig Eagle 1814 by ChadB
ChadB replied to ChadB's topic in - Build logs for subjects built 1801 - 1850
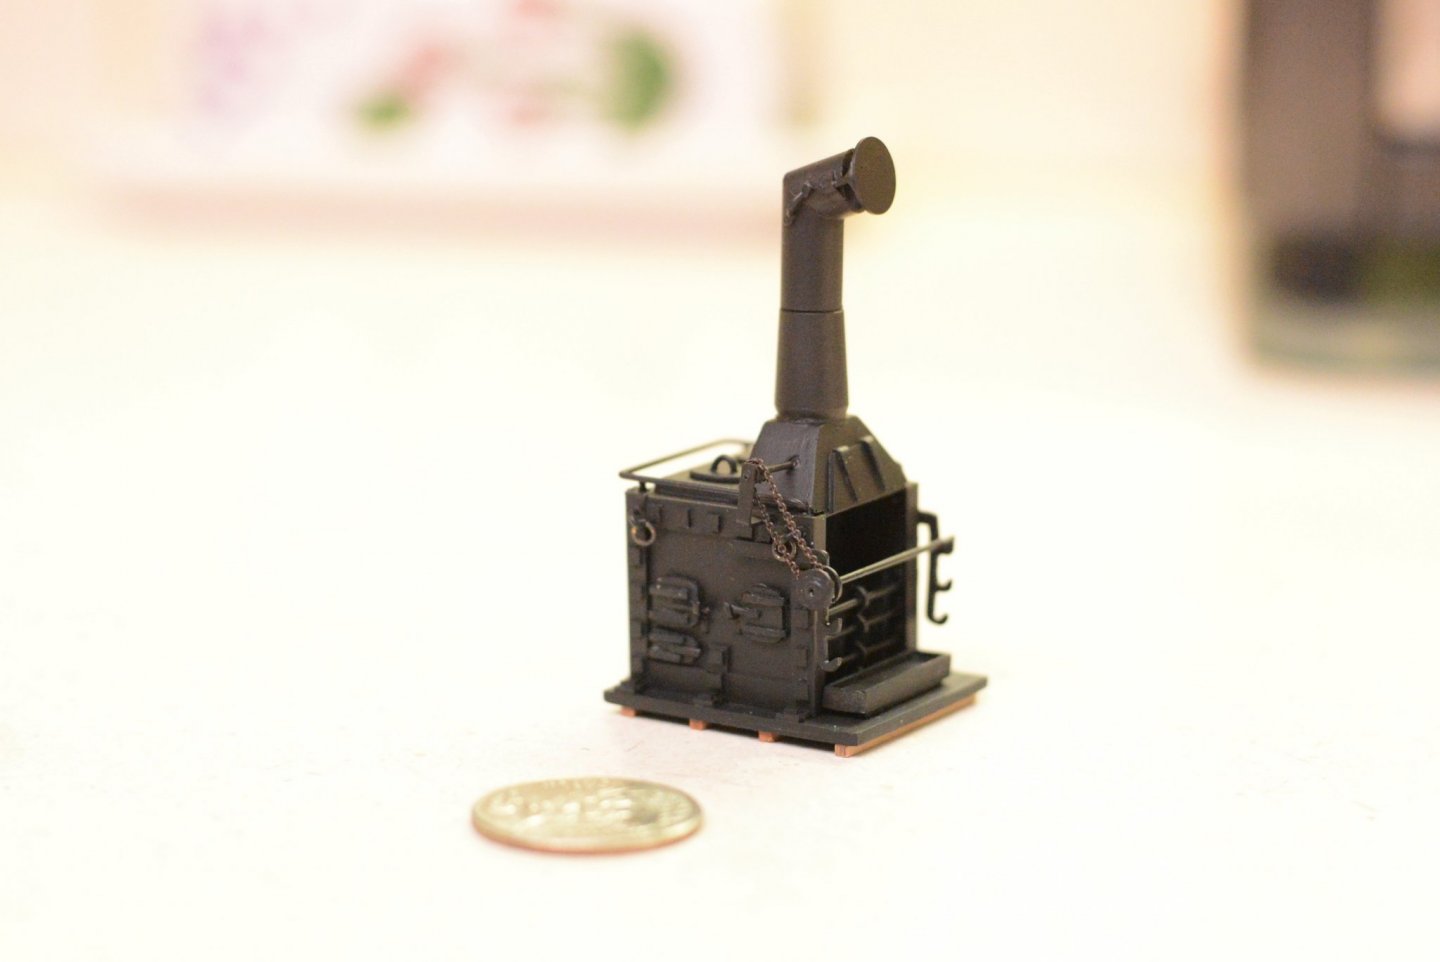
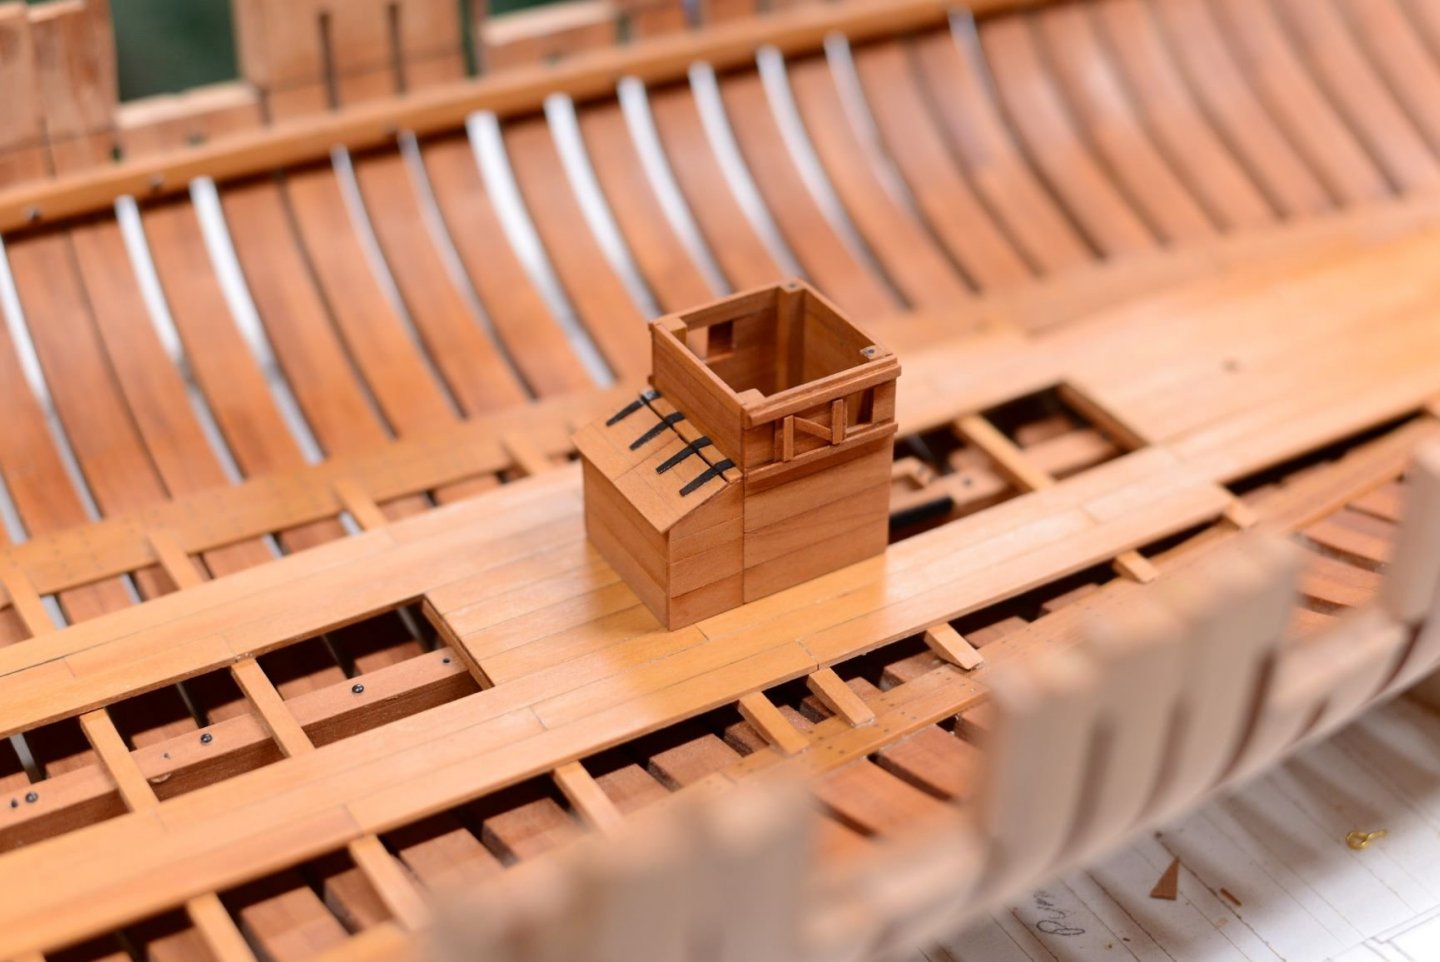
Not a huge update but a couple small projects that took quite a bit of time. Finished the pump well and shot locker and the Brodie Stove. I did quite bit of research on the well and shot locker and really never nailed down anything better than this. I'm happy with it and my kids thought it was awesome that the little sliding windows actually worked. The Brodie stove is actually my second one- the first I completed and then realized that it was too big. I had gotten lazy and pretty much copied the size directly from TFFM books. Second go around followed scale best I could (the stove on the Eagle was the one pulled out of the Alert- the first capture of the war by the Essex) and added a bit more detail I was able to find on a model from the Royal Museums Greenwich**. The stove will go somewhere safe until it's ready to go in. Next up is deck beams and some metalwork for the outside of the hull. Chad ** https://collections.rmg.co.uk/collections/objects/37331.html -
They look great! You're definitely in the home stretch now!
- 93 replies
-
- Triton
- first attempt
-
(and 1 more)
Tagged with:
-

ancre La Belle 1684 by Nenseth - 1:36 scale
ChadB replied to Nenseth's topic in - Build logs for subjects built 1501 - 1750
I'm surprised you do not have "From a Watery grave: The Discovery and Excavation of La Salle's Shipwreck, La Belle." It's a fantastic book with boatloads of information on the ship, artifacts, and history of the expedition. It's written by the gentleman who oversaw the excavation. https://www.amazon.com/Watery-Grave-Discovery-Excavation-Shipwreck/dp/1585444316 -
I had missed one of your updates until Phil posted there was a gun barrel in there somewhere. Did you cut out your moulding and then scrape it or vice versa?The ends look a little soft which is why I was asking. I found it useful scrape it down in one long section and then cut cut it so you can discard the ends where you don't add as much pressure. Either way, it's an art! Great job so far! Chad
- 93 replies
-
- Triton
- first attempt
-
(and 1 more)
Tagged with:
About us
Modelshipworld - Advancing Ship Modeling through Research
SSL Secured
Your security is important for us so this Website is SSL-Secured
NRG Mailing Address
Nautical Research Guild
237 South Lincoln Street
Westmont IL, 60559-1917
Model Ship World ® and the MSW logo are Registered Trademarks, and belong to the Nautical Research Guild (United States Patent and Trademark Office: No. 6,929,264 & No. 6,929,274, registered Dec. 20, 2022)
Helpful Links
About the NRG
If you enjoy building ship models that are historically accurate as well as beautiful, then The Nautical Research Guild (NRG) is just right for you.
The Guild is a non-profit educational organization whose mission is to “Advance Ship Modeling Through Research”. We provide support to our members in their efforts to raise the quality of their model ships.
The Nautical Research Guild has published our world-renowned quarterly magazine, The Nautical Research Journal, since 1955. The pages of the Journal are full of articles by accomplished ship modelers who show you how they create those exquisite details on their models, and by maritime historians who show you the correct details to build. The Journal is available in both print and digital editions. Go to the NRG web site (www.thenrg.org) to download a complimentary digital copy of the Journal. The NRG also publishes plan sets, books and compilations of back issues of the Journal and the former Ships in Scale and Model Ship Builder magazines.


