-
Posts
57 -
Joined
-
Last visited
Content Type
Profiles
Forums
Gallery
Events
Everything posted by JamesT1
-
Gary/Allan many thanks for the information... Just had a look at Vanguard models site... . so Allan in a moment common sense ( I wimped out) and bought the carriages for the 24lbrs.... mainly because they have all the brass fittings with them I'll save the scratch building for another day some very nice things on the site so bookmarked for some future moments of weakness Many thanks for your help and information much appreciated Jim
-
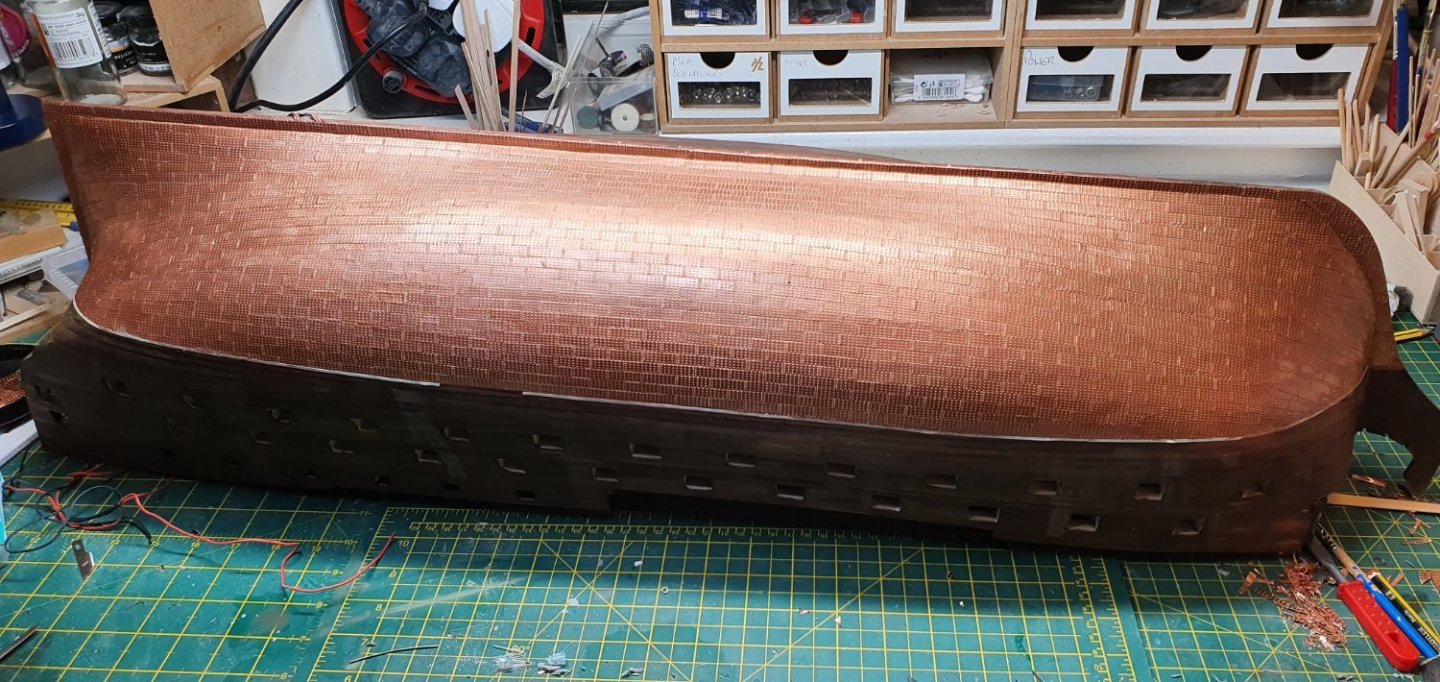
Many thanks for the comments guys.... Tom I agree about laying the plates in the same manner as the planks,,, this is my first try at this and I believe I improved as it progressed..... I have Diana impatiently waiting in her box.... and when I do that then I may give that method a try... Yves,,,, good luck with your Bellona..... I have found the plates enjoyable however it is very repetitive as you may have guessed... I found it easier working on it for a couple of days,,,4 - 5 hrs per day then leaving it for a couple of days,,, Jim
-
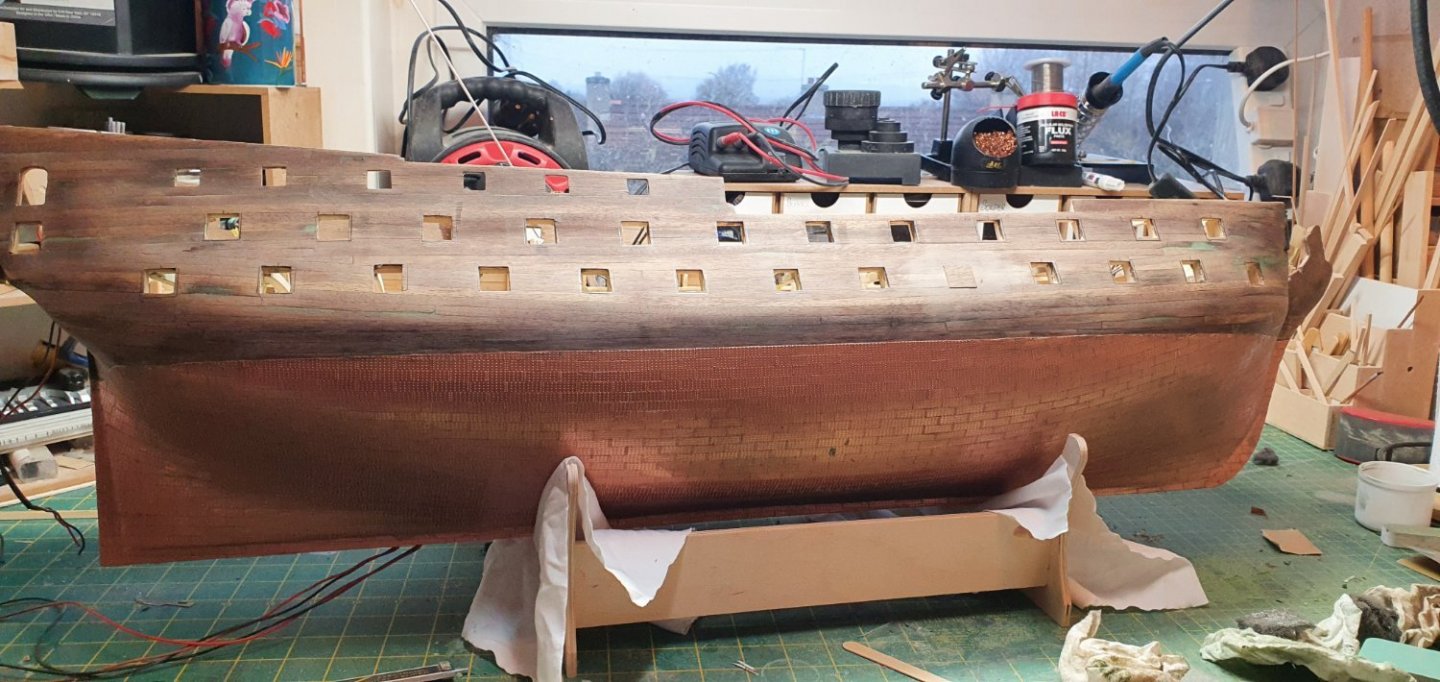
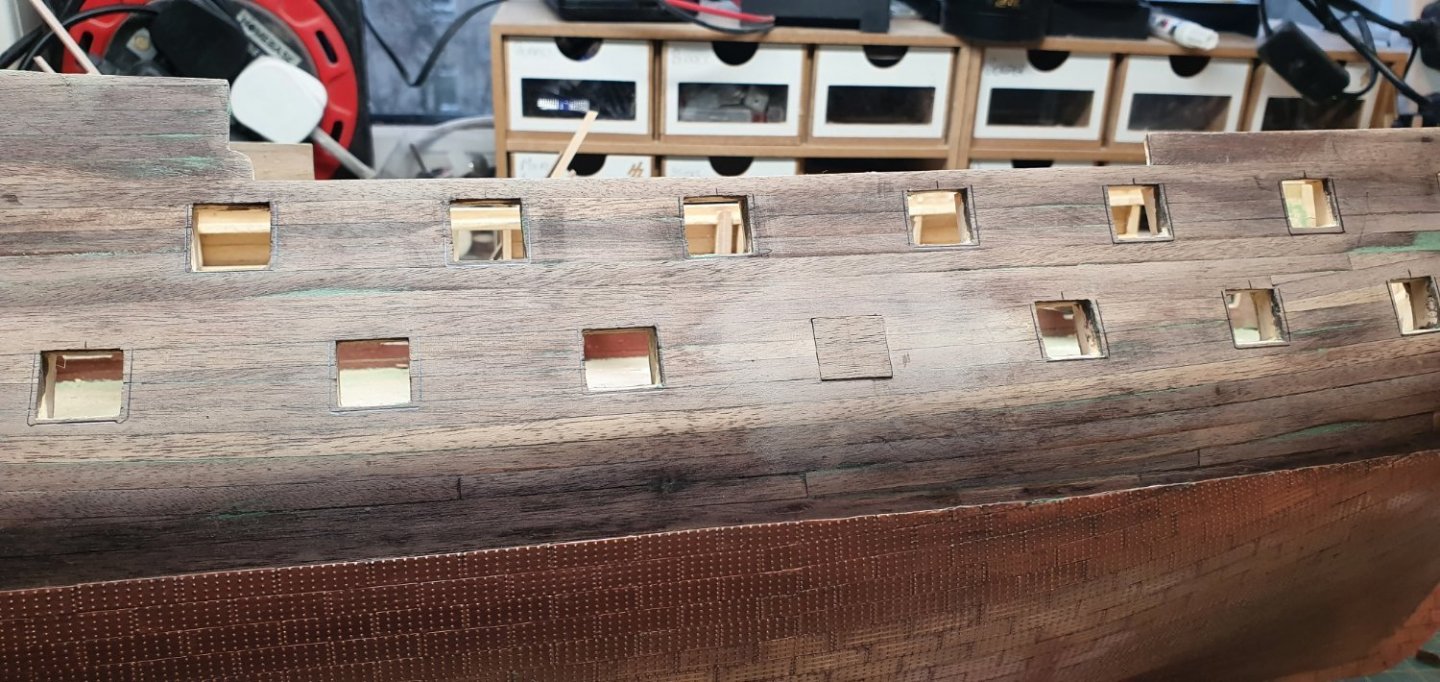
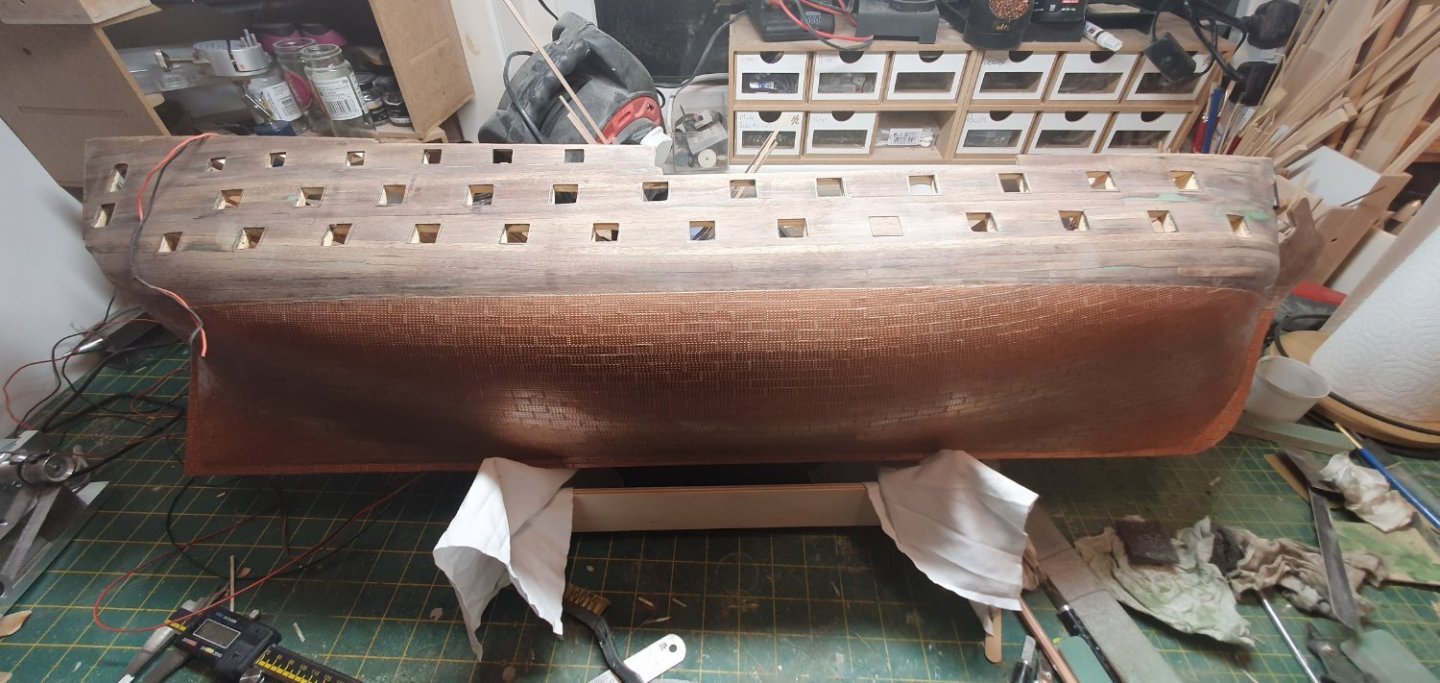
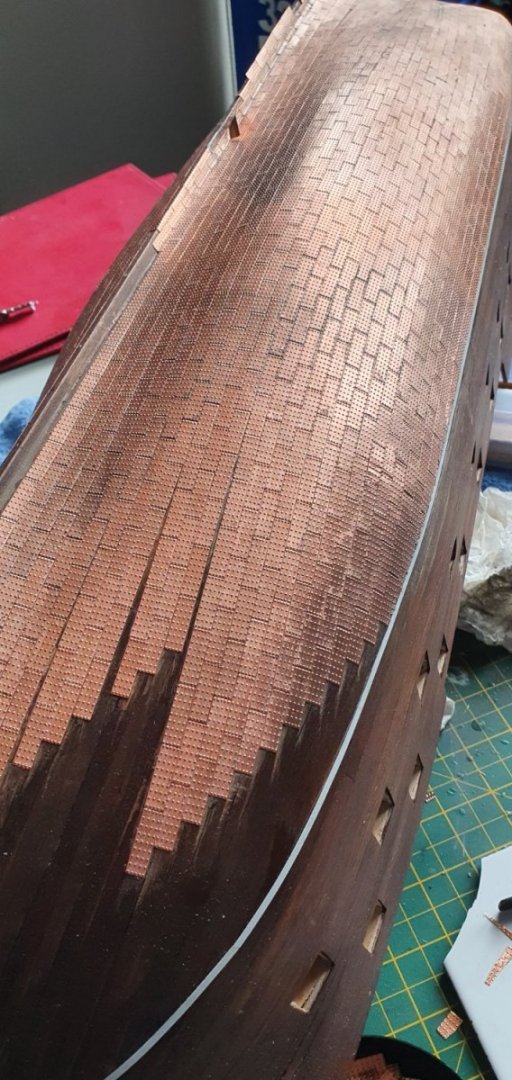
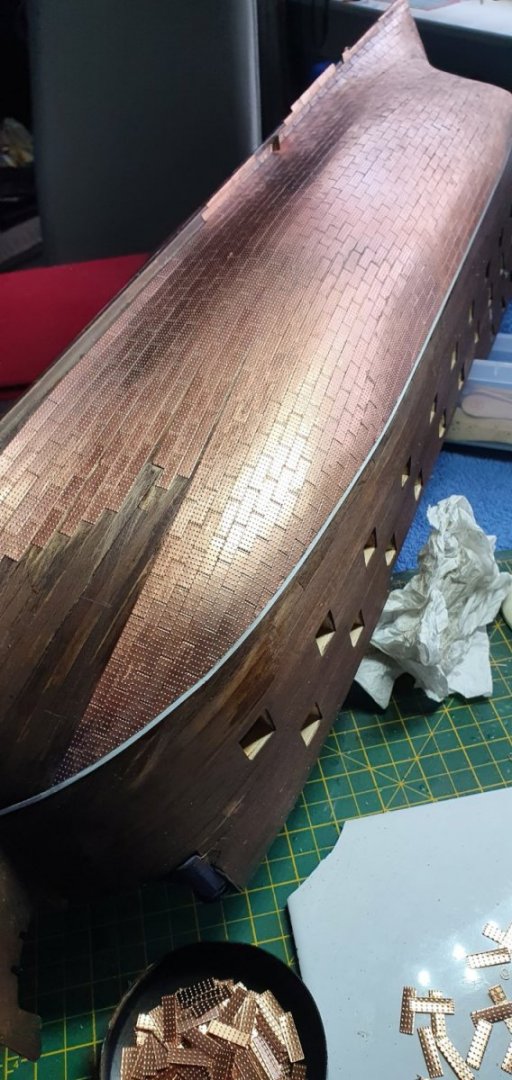
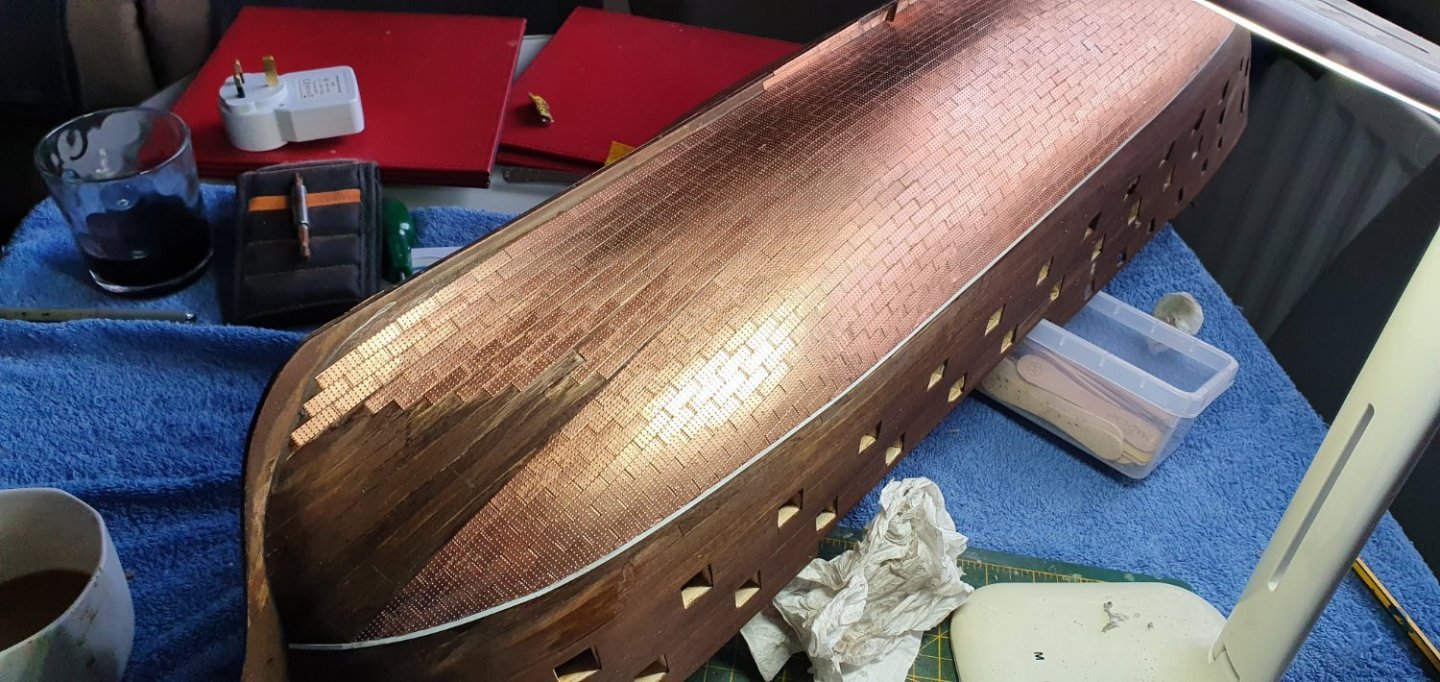
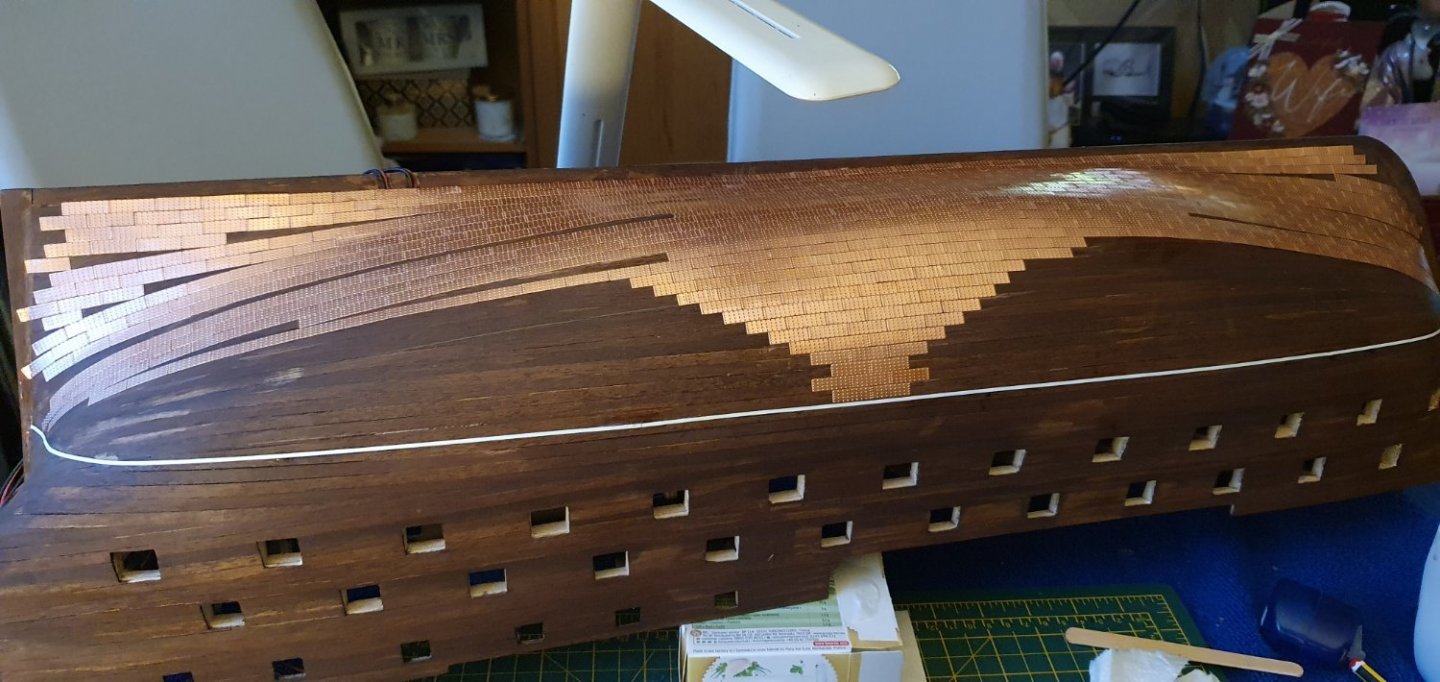
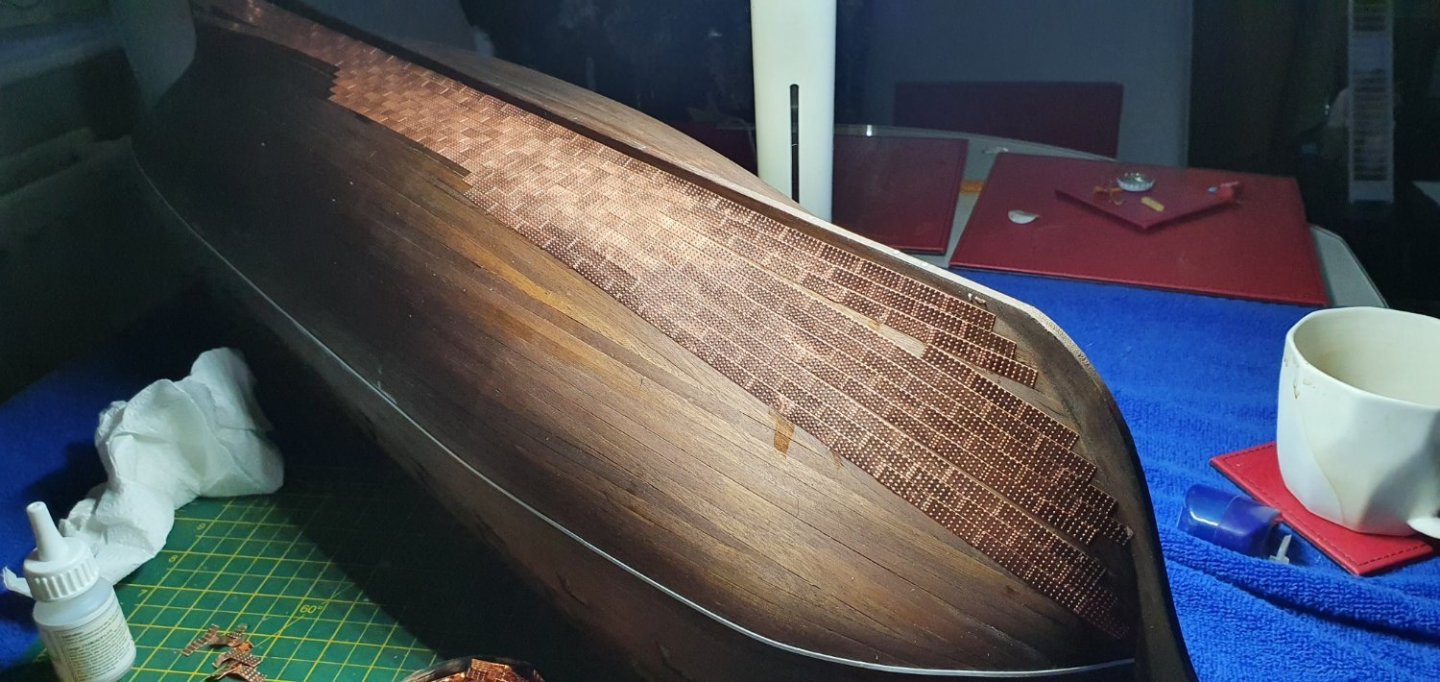
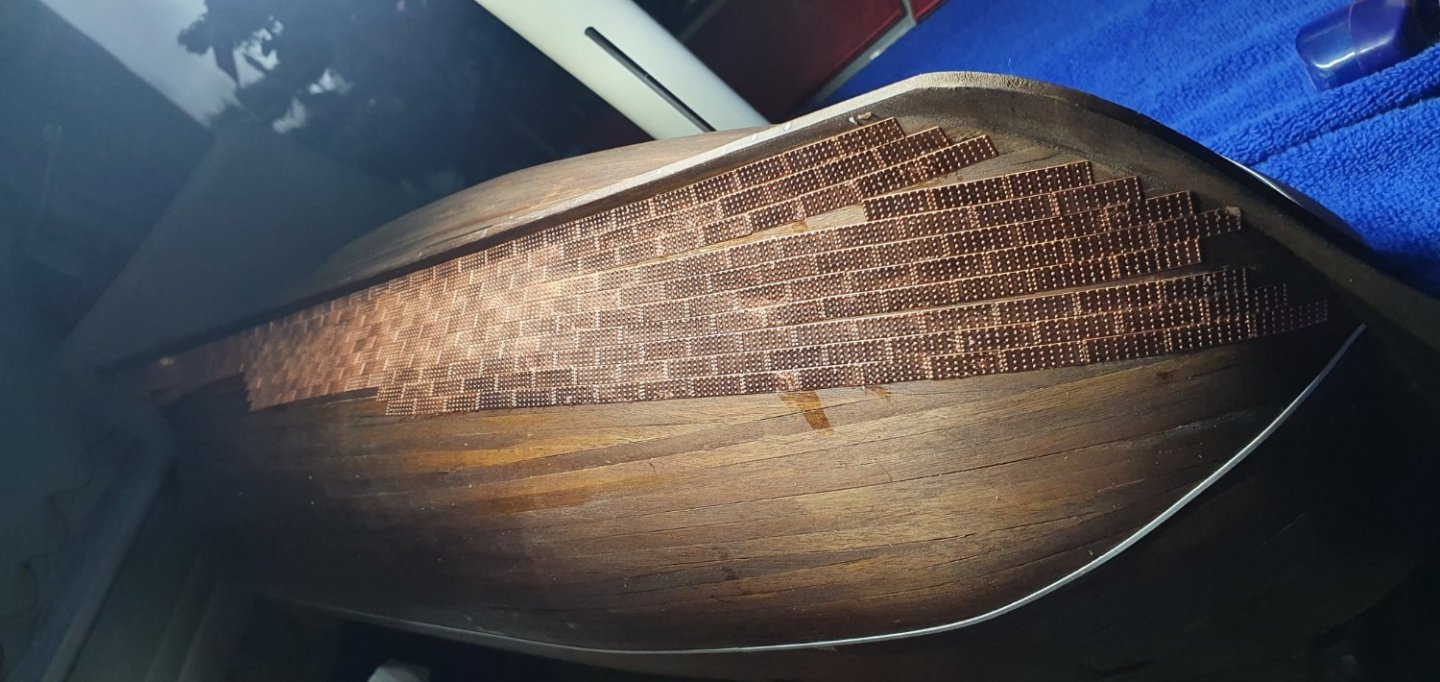
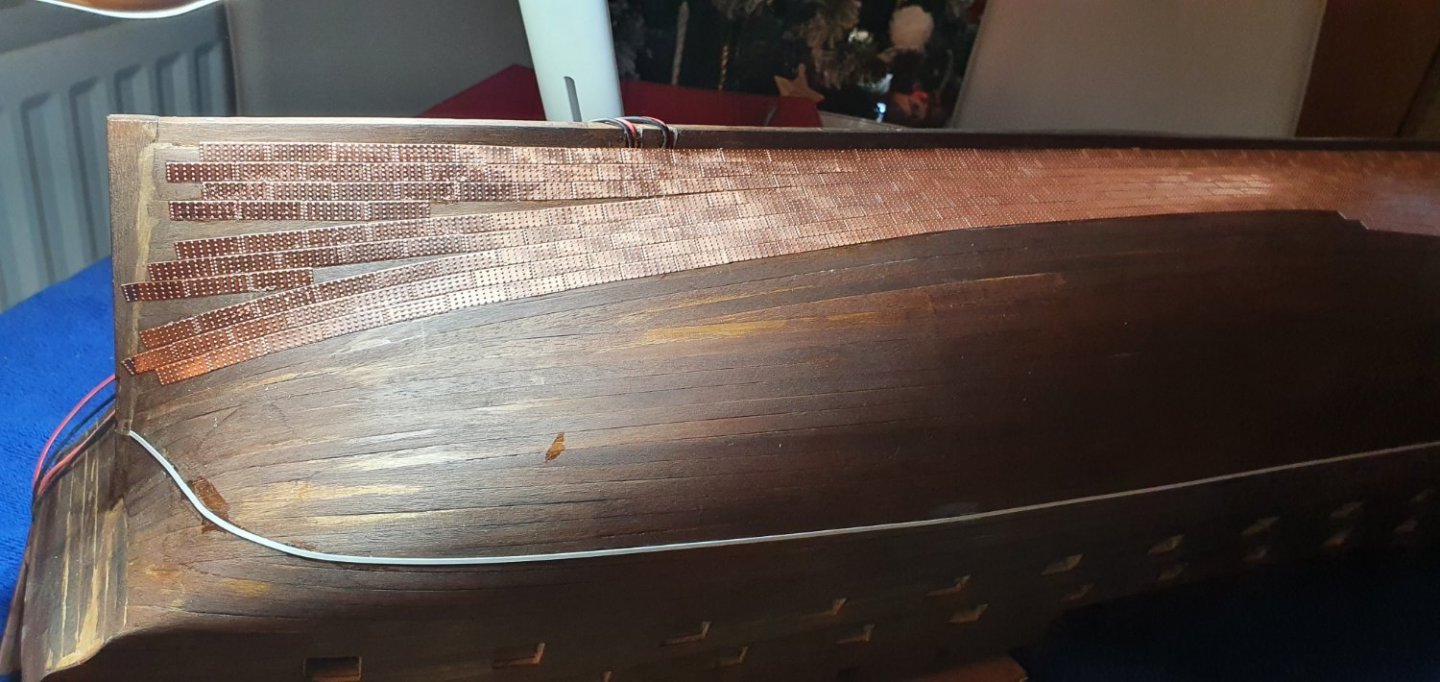
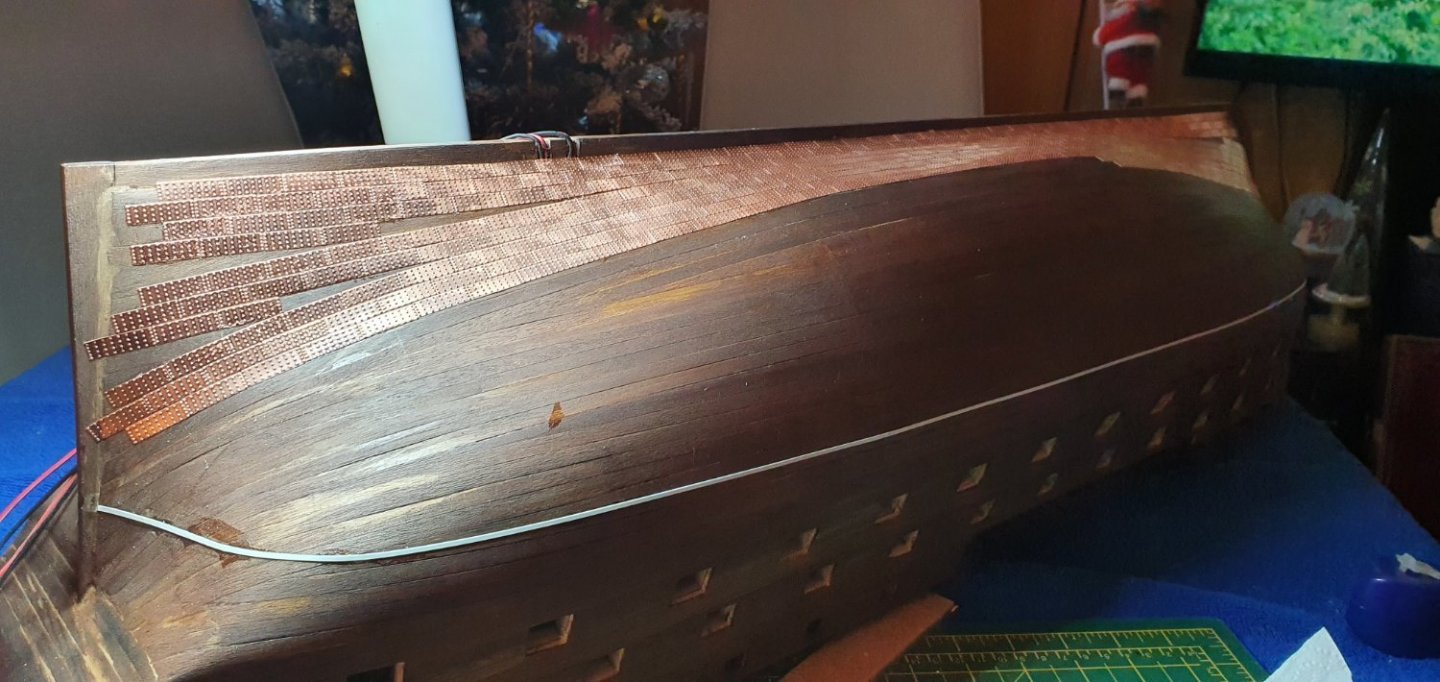
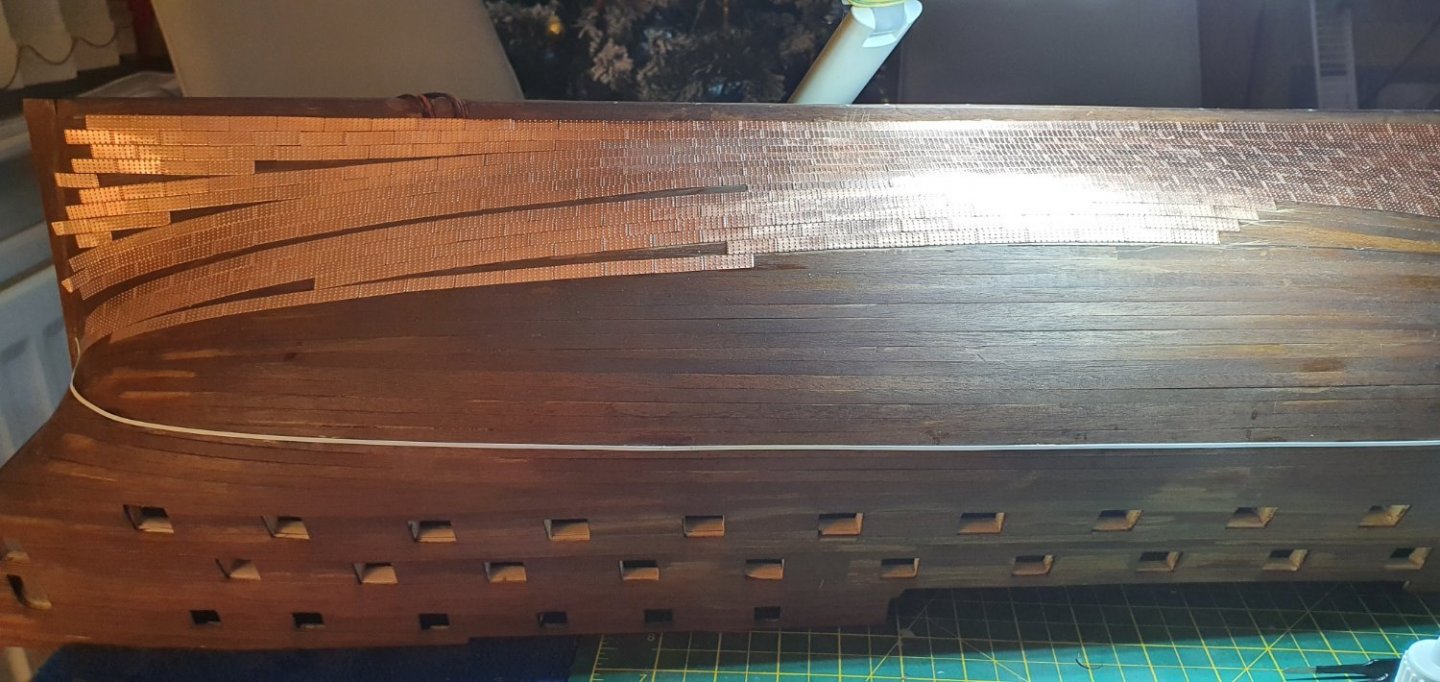
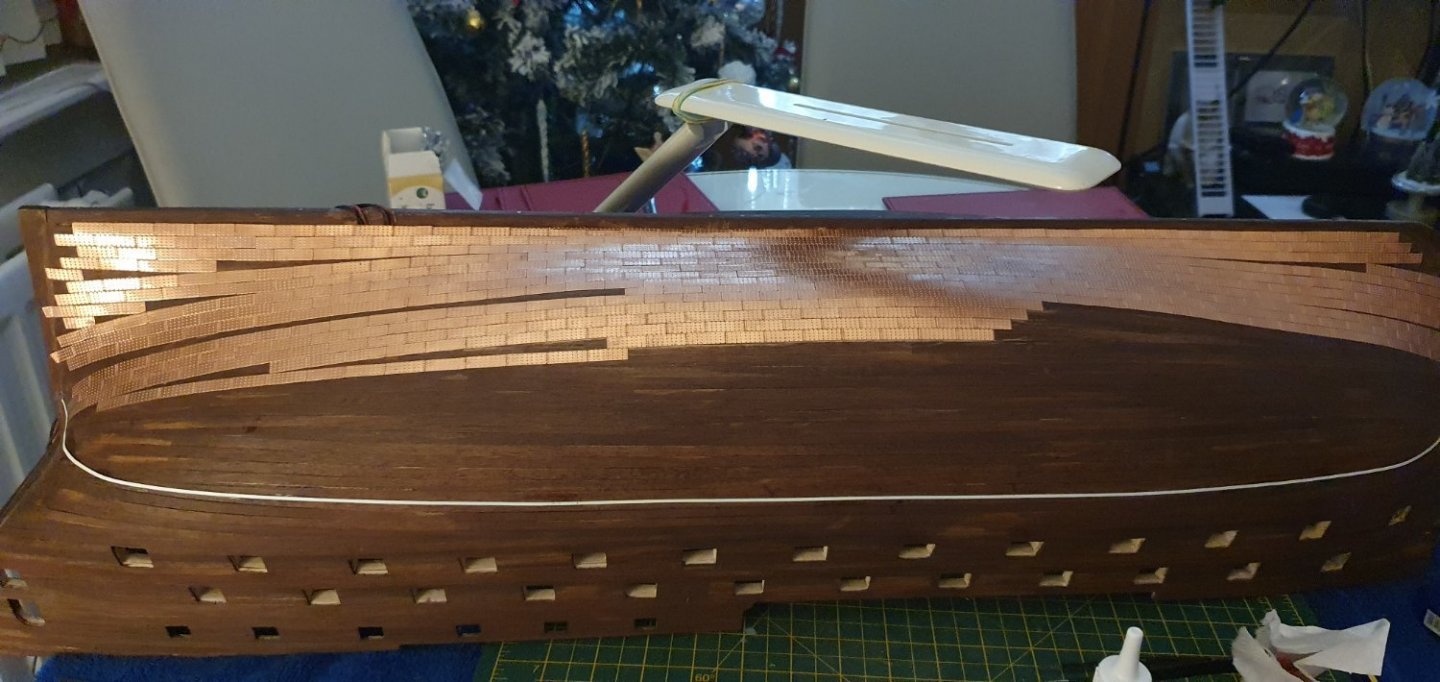
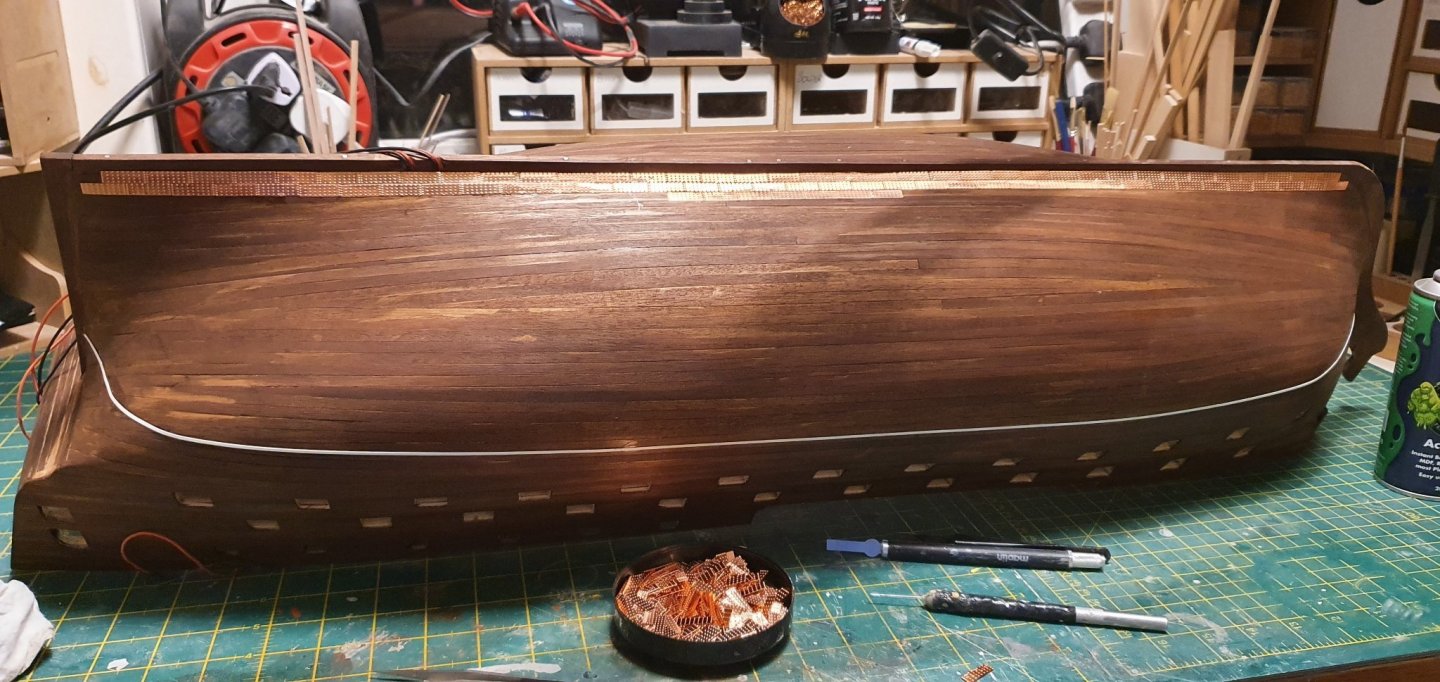
After completing the port side I decided to try a different way os laying the copper plates for the Starboard side,, however I think I may have been a wee bit over enthusiastic and made an error... Working from the centre and up from the keel I laid them in layers, however at the waterline I laid then straight, resulting in a mismatch, circled in red.. I believe I should have just followed the natural curve of the plates up to the waterline... so a wee bit of repairs to be done
-
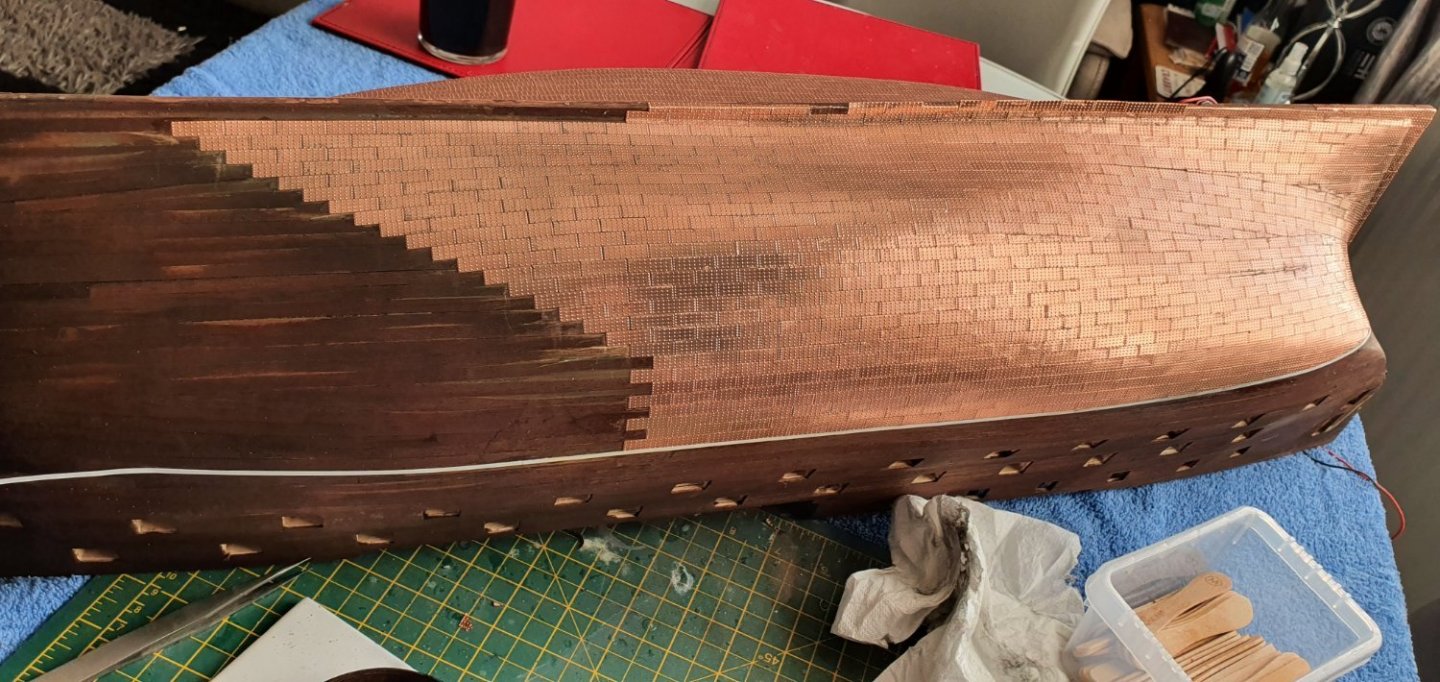
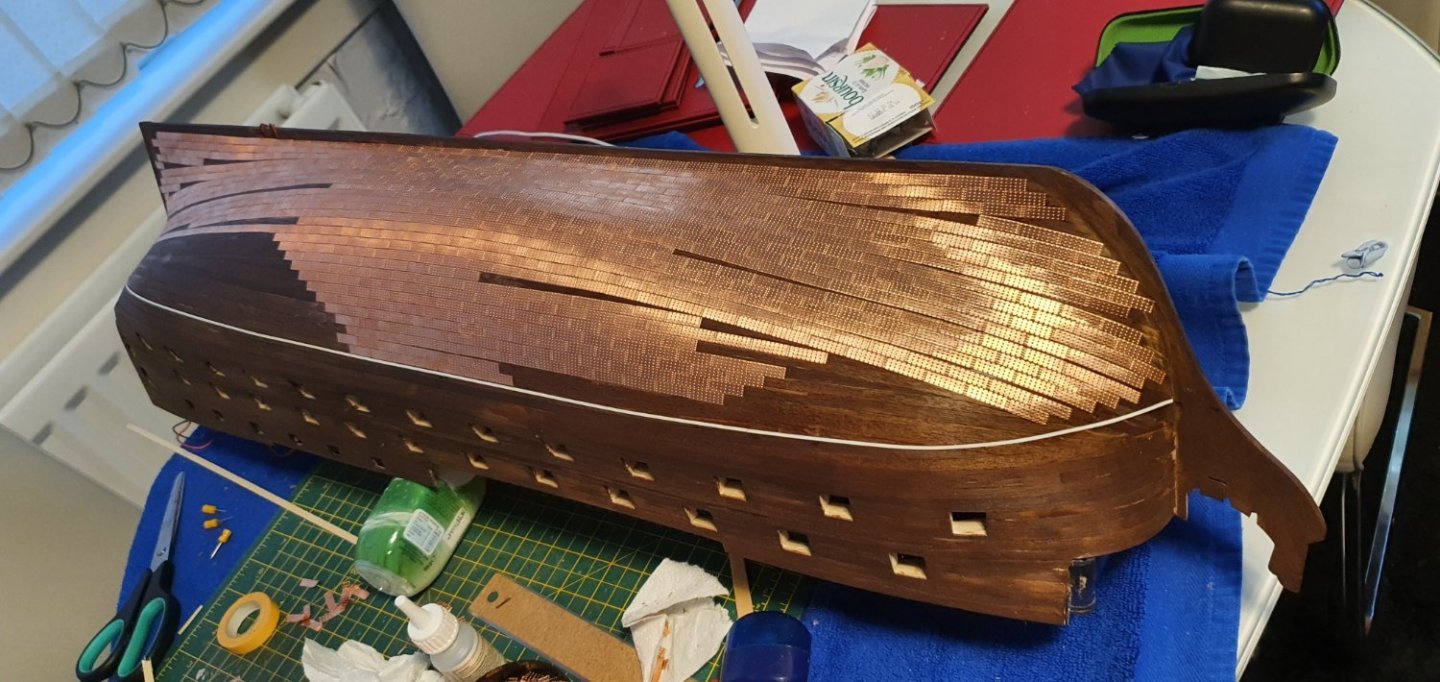
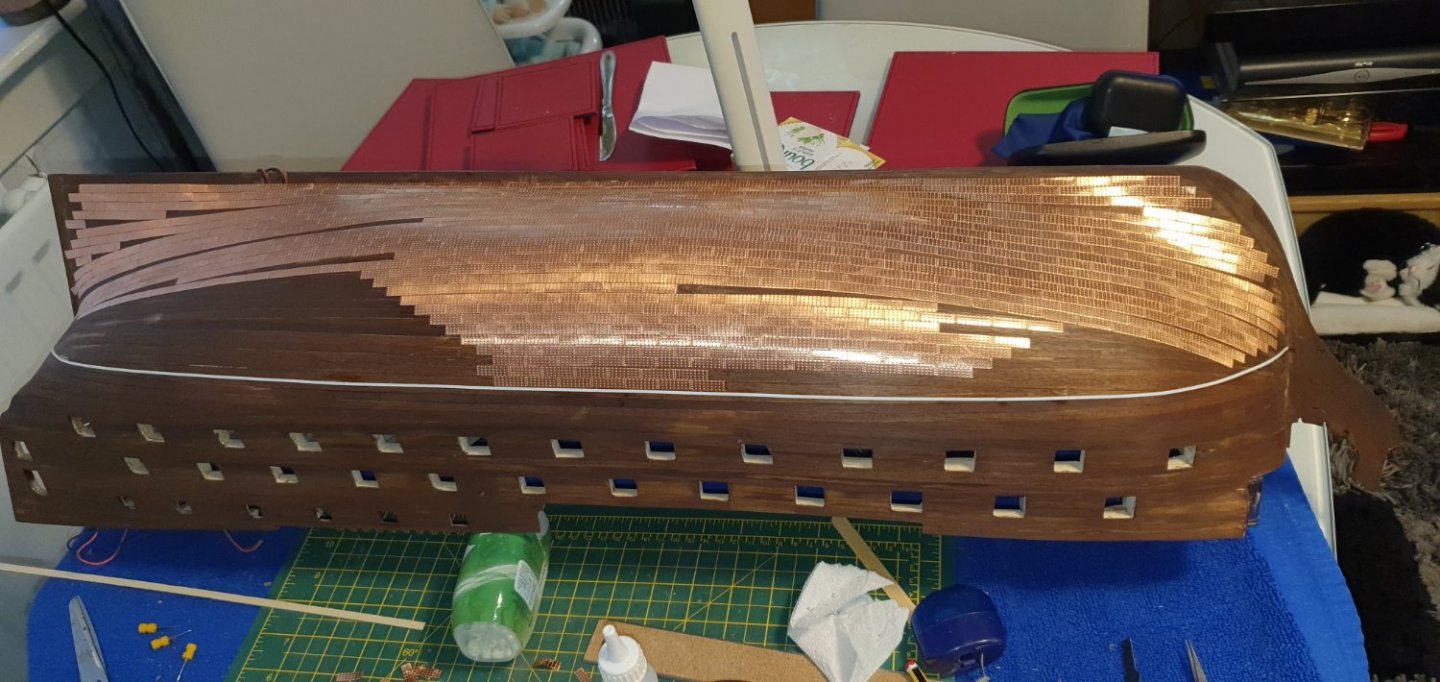
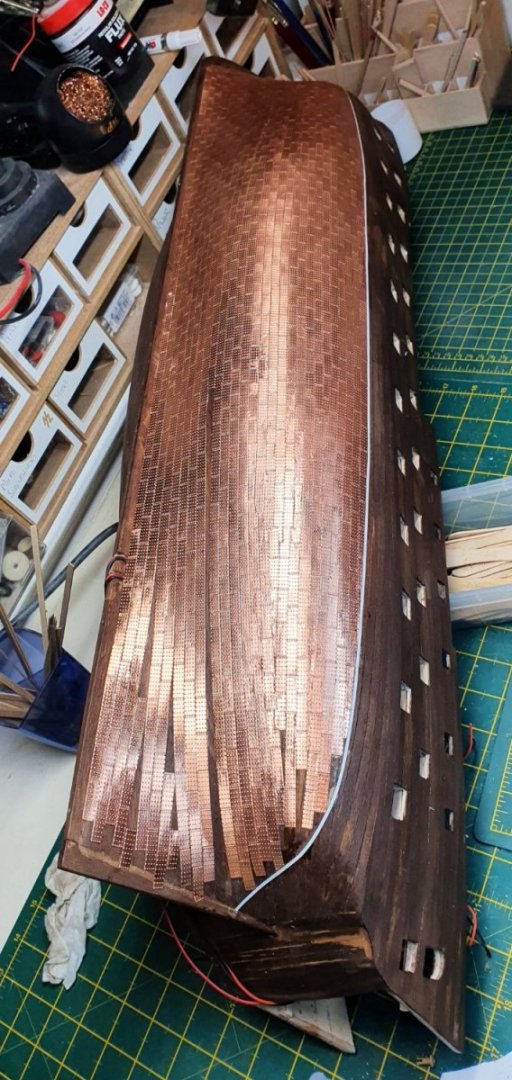
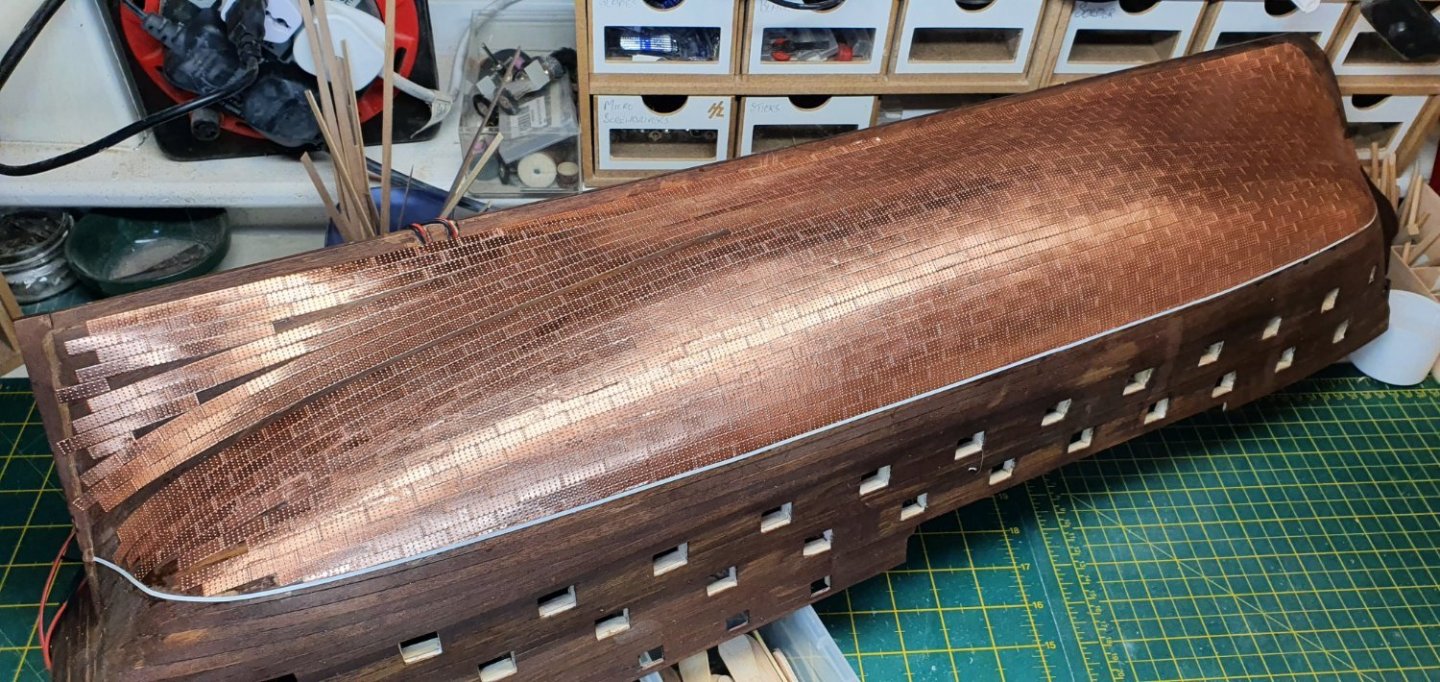
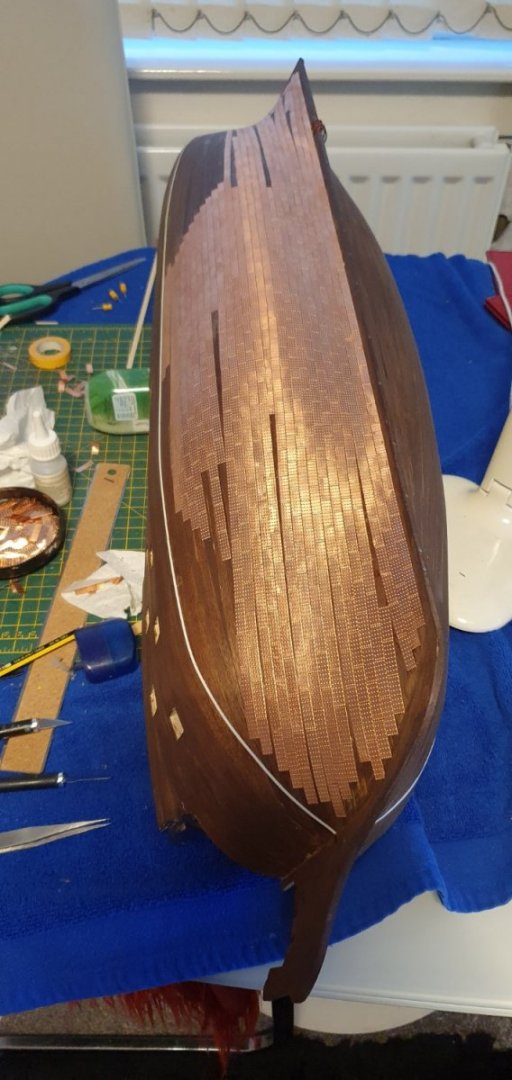
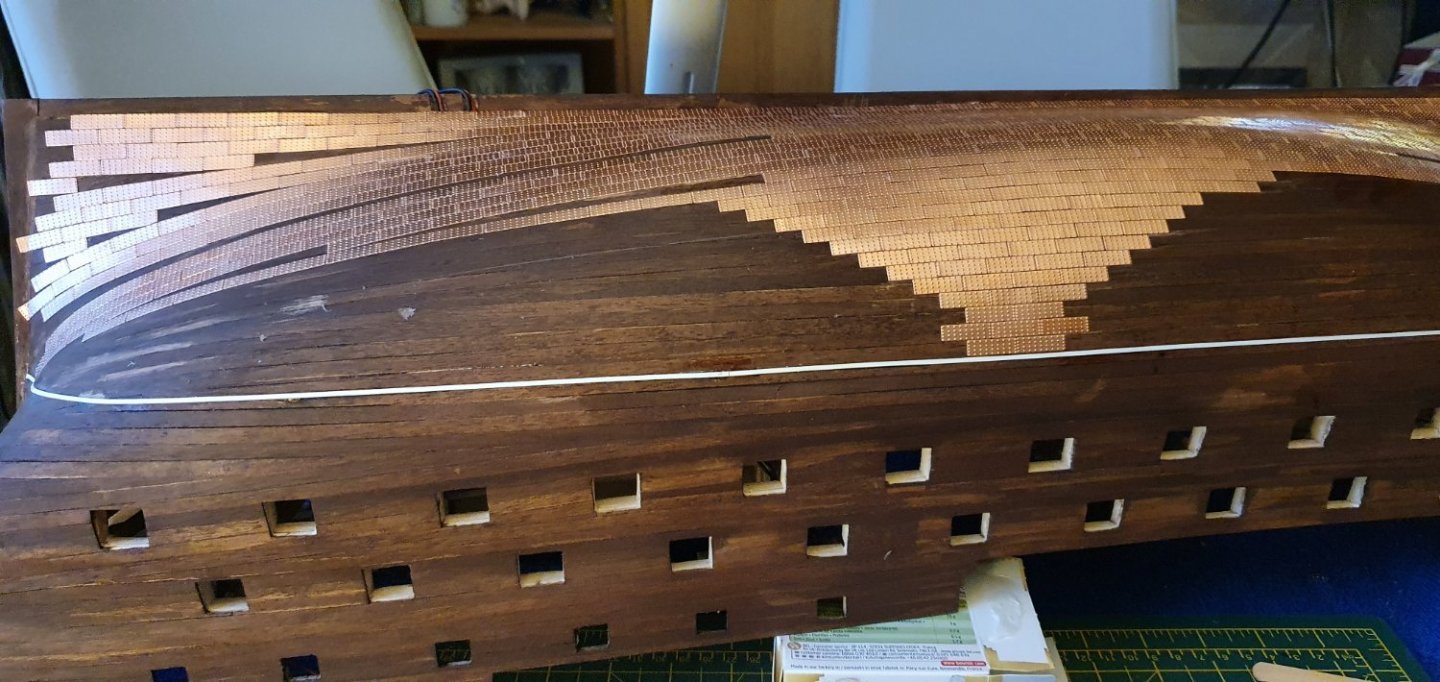
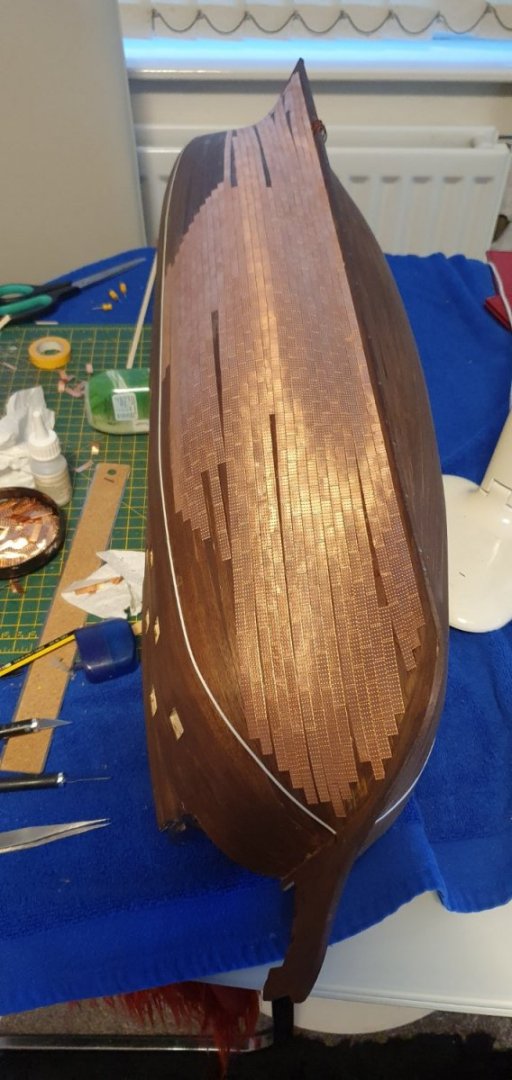
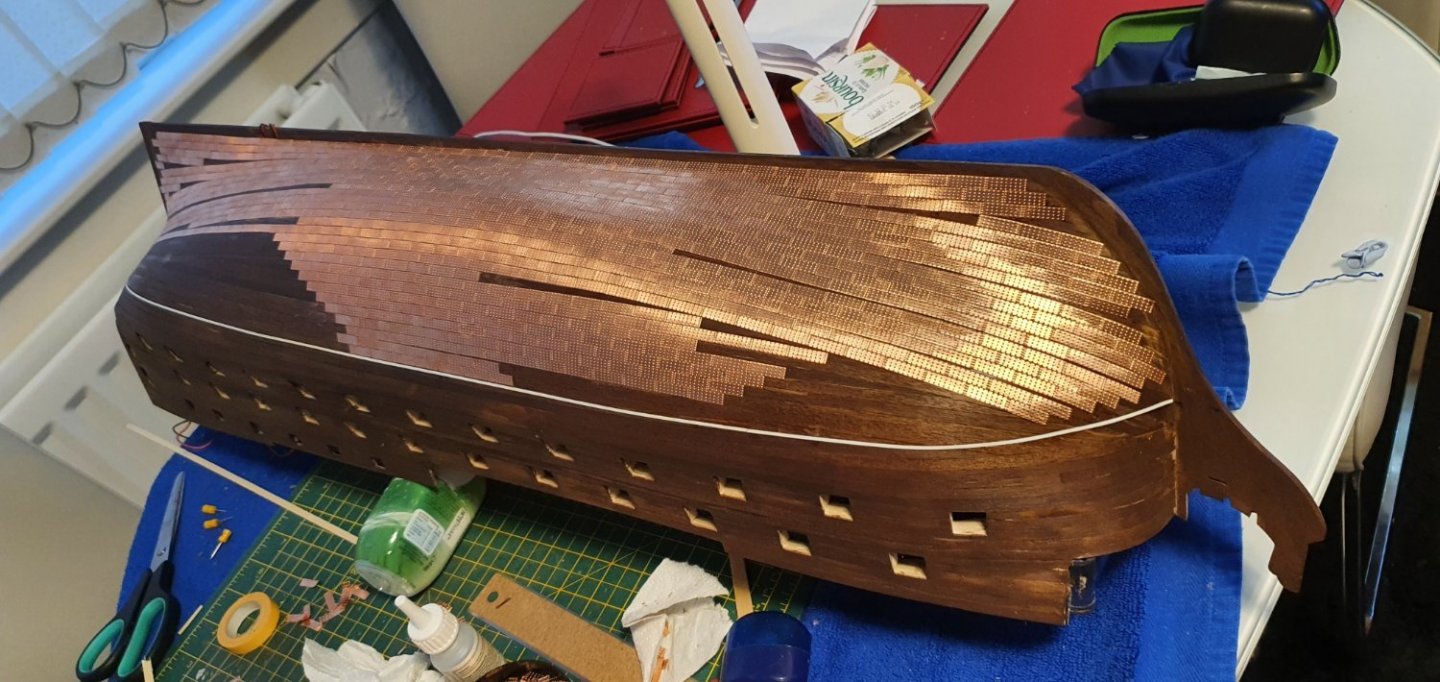
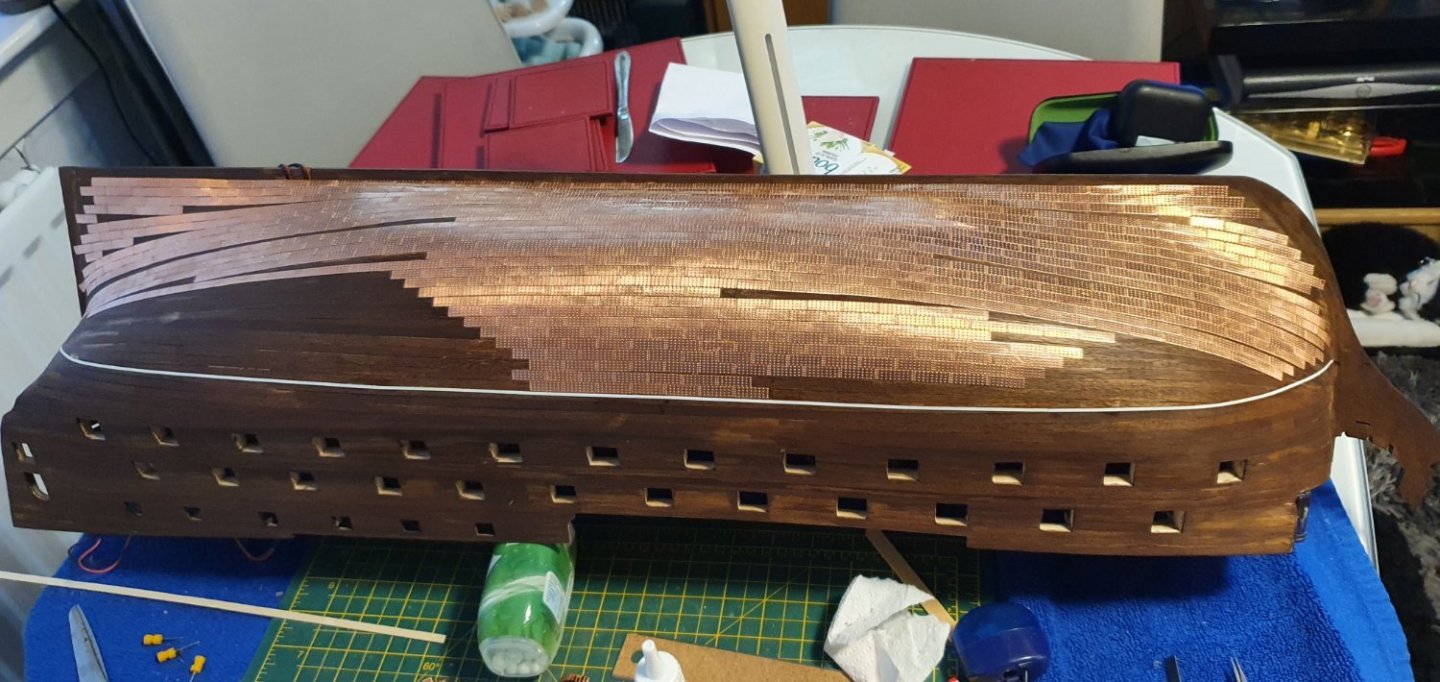
Well I've reached the half way stage at last,,,,,.. filling in the gore lines appears to last forever.... especially getting to the narrow strips... for the other half I'm thinking of doing it a slightly different way in trimming the full plates slightly on the ends where required to try and get as many full runs as possible
-
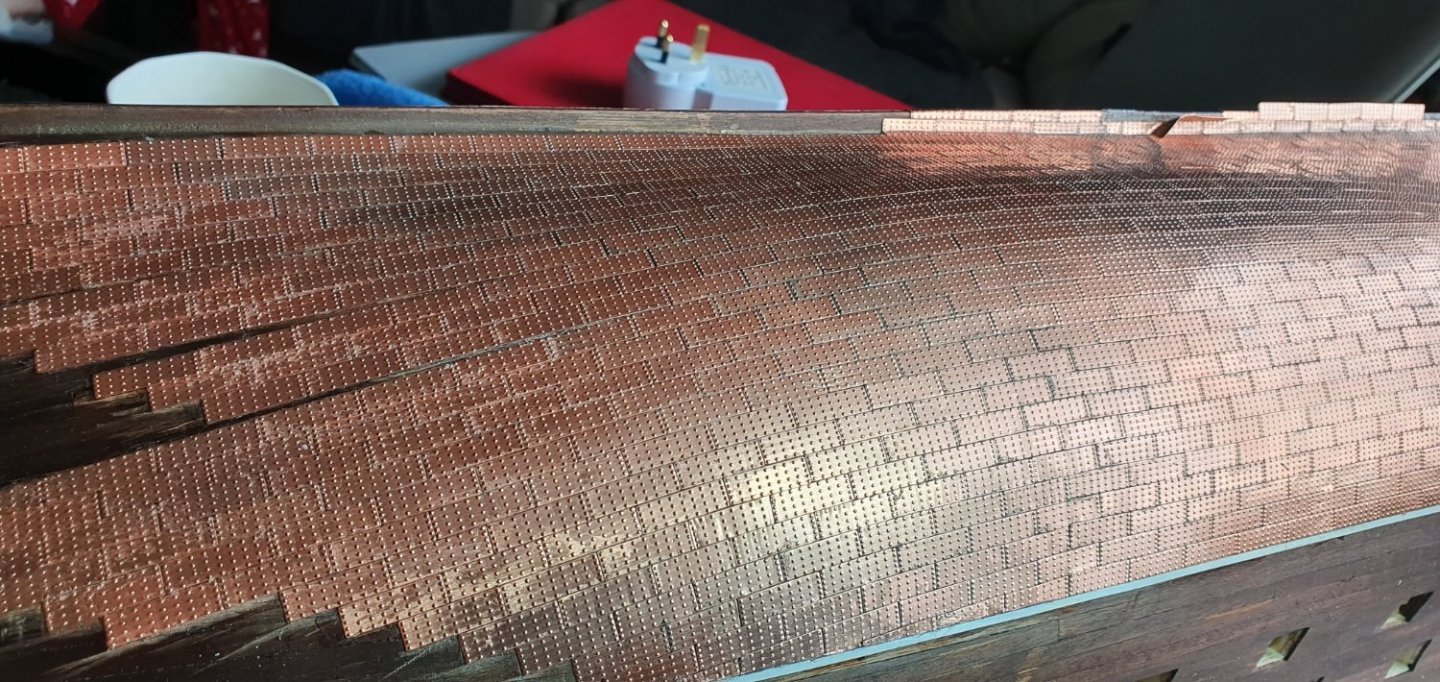
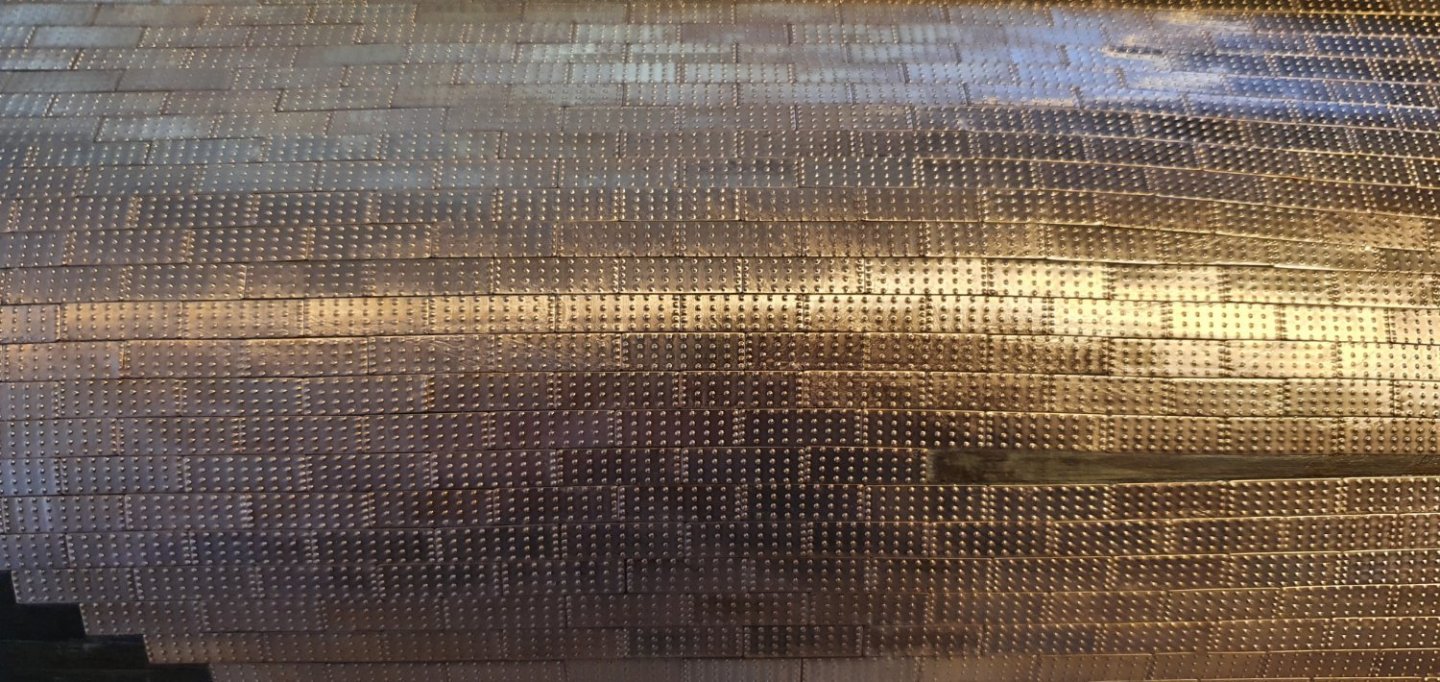
Good Morning all I hope you all had a very nice Christmas Many thanks for the information on the copper plates.... for the Agamemnon I think I'm too far along to change how the plates are being laid... I had looked at others who had overlapped the plates... I don't know what it was but something looked a wee bit off in the 64 scale.... it may have been a combination of the overlap and the rivets that didn't look quite right to me ( it may have been as you are saying they are a wee bit over scale) but as I normally build in 35th and 24th scale I thought it was just how I was looking at things,,, I currently have Diana impatiently waiting in her box so this is one area that will receive more attention with her.... maybe with Allan's copper tape or with Mikes idea of slightly hammering the plates first.... Allan if you use the copper tape method would you make small indentations in the tape to simulate the nail heads and give the impression of their presence Jeff/Henrik,,, I had noticed the small gaps being left by the rounded corners of the plates plus some small errors on my part,,, my plan for this is to give the area a wash in copper coloured paint to try and make them less obvious,,,, One thing I am thinking about is lightly sanding the plates once they are on the ship to reduce the size and prominence of the rivets, however as the copper is very thin it would be a easy to overdo this and ruin it..... I will put together a small test section and try it,,, do you know of anyone who has tried this in their models and what the effect was Many thanks for the information and help Have a Happy New Year All Jim
-
Slow progress on the coppering,,, this is 2 days work...... After some errors in the early stages I'm finding it better if I work on 2 rows together working from the central point, to try and get the natural curve with the hull.... What I think is working for me is I use a spare plank piece to get the curve from the central sections and draw a line about 2 inches long then use that as the guide to start the 2 rows..... end result will tell I suppose Normally I'm in the model room working away whilst my wife is watching her soaps on TV...... yesterday I suggested I sit at the table doing the coppering (as its not a real messy job) and keep her company whilst she's watching them,,,,,,, I don't know what part she regretted more after all the comments I was making about all the stupid things they put into these programmes..... I'm now barred from the room during these times.... I wonder if that means I can go to the pub whilst she's watching them and I'm not working on a model
-
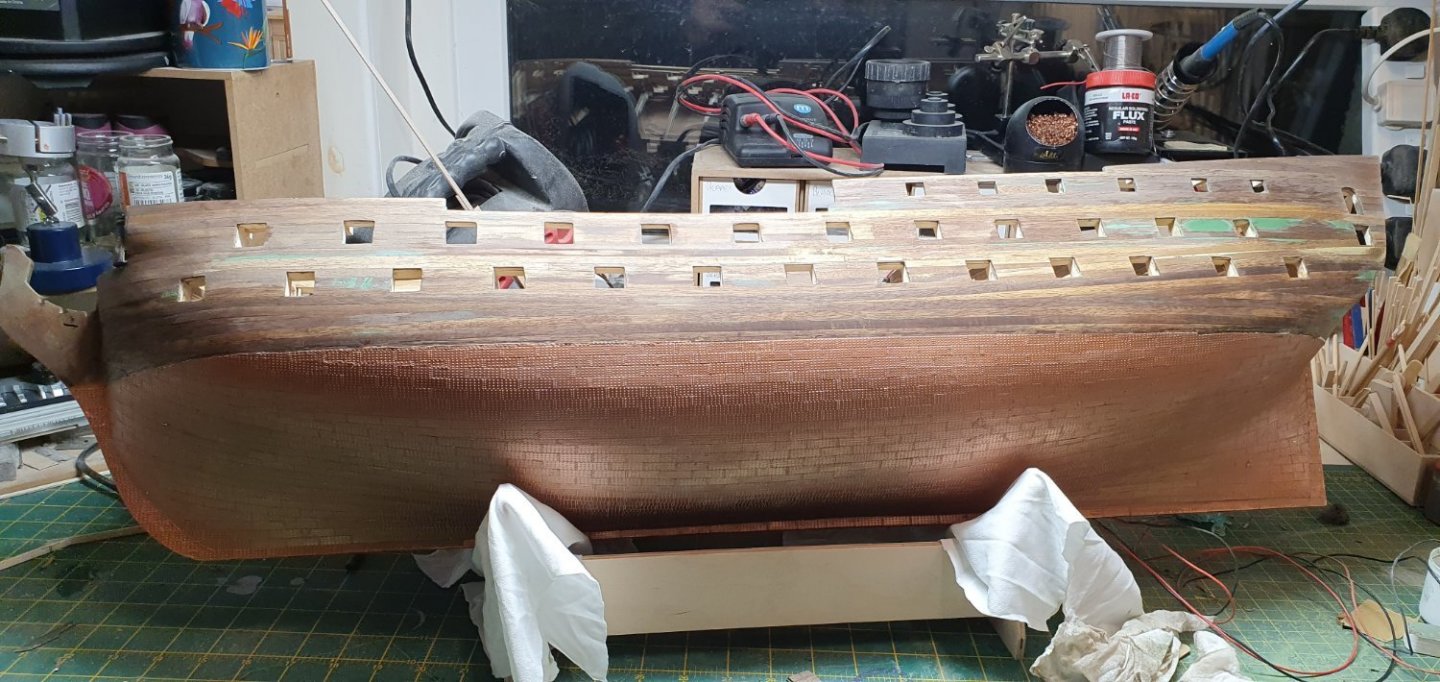
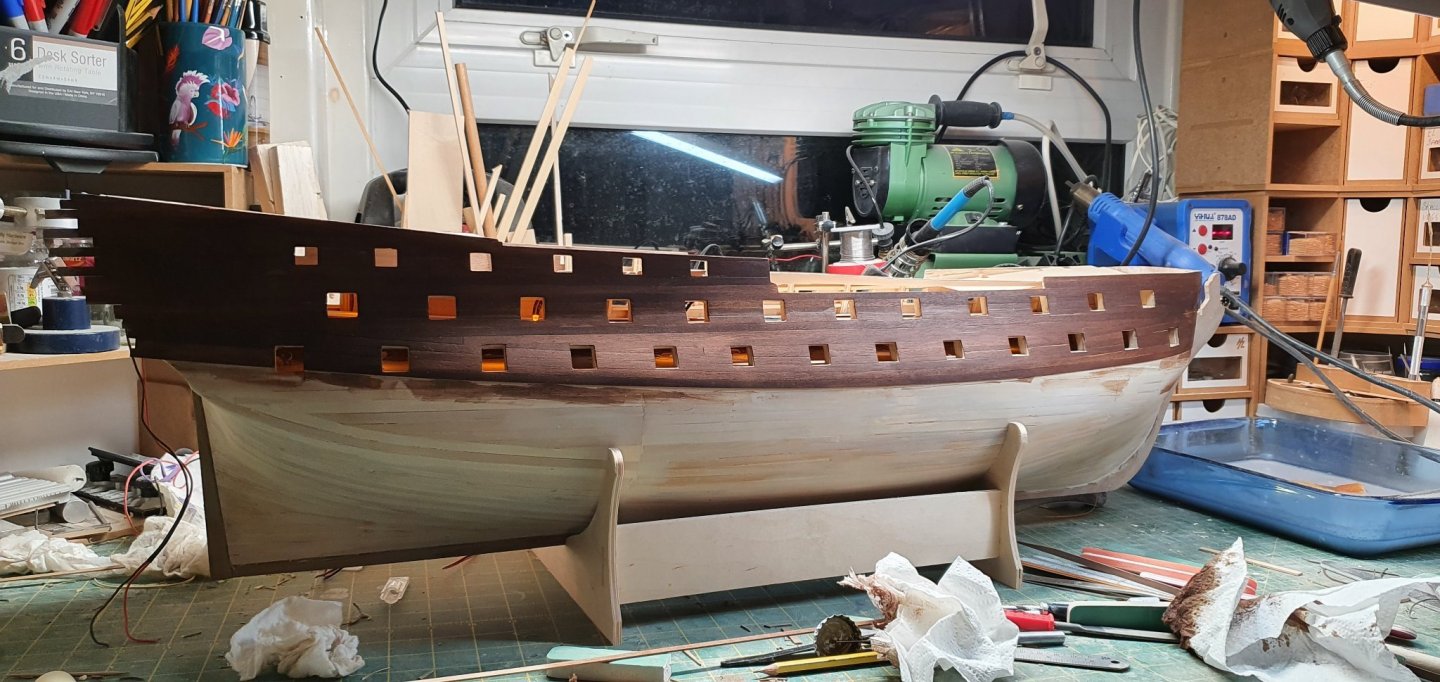
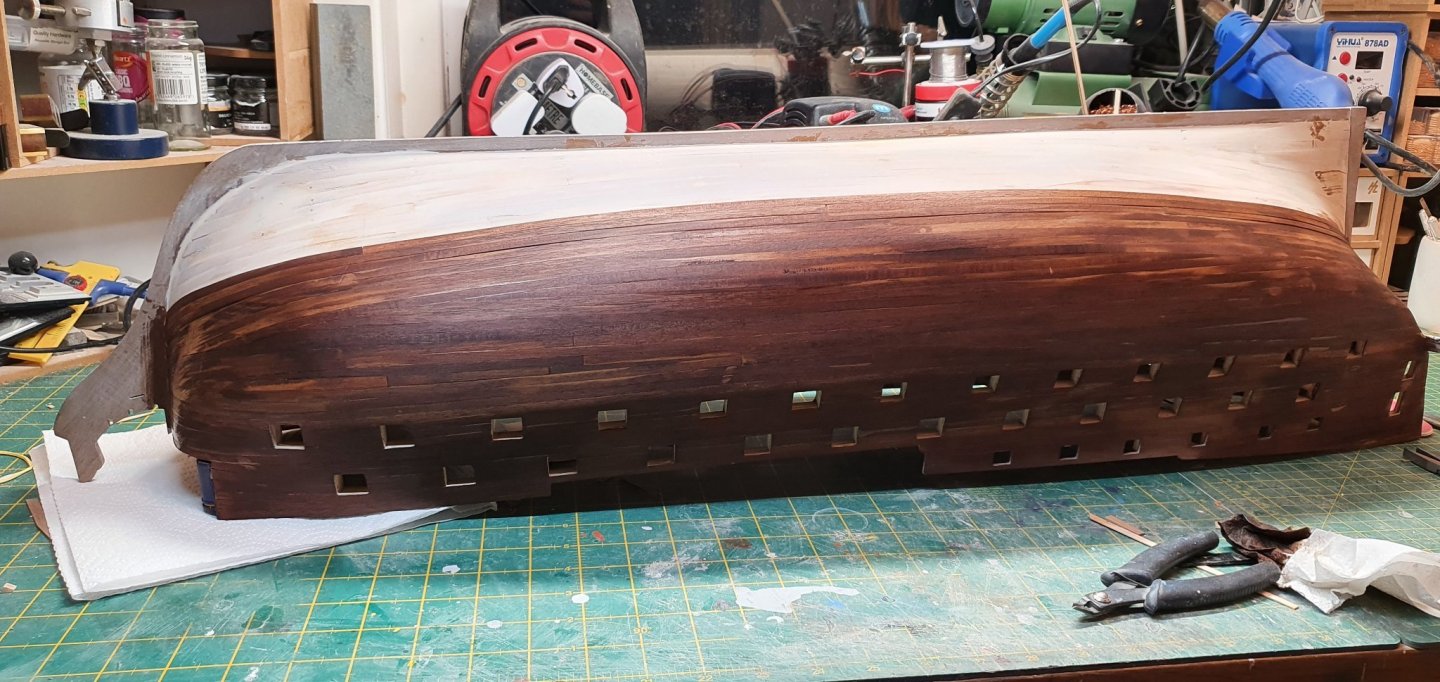
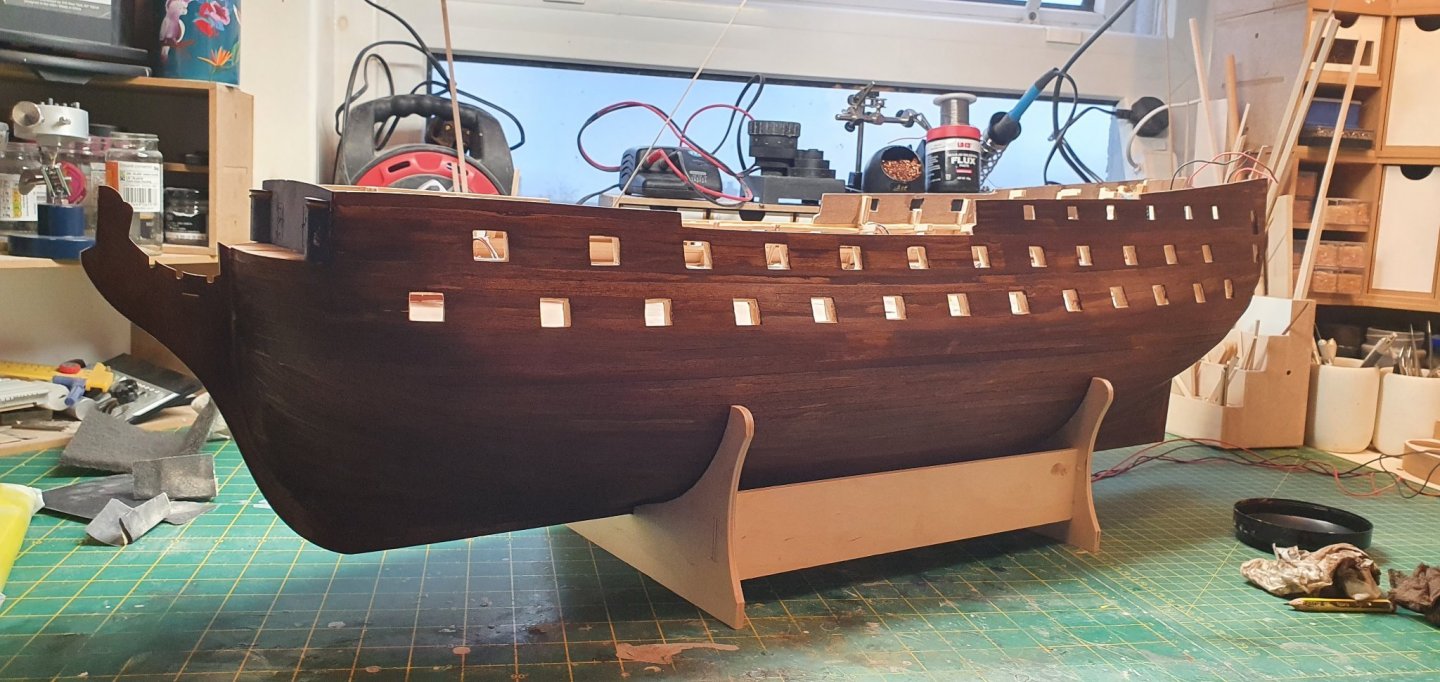
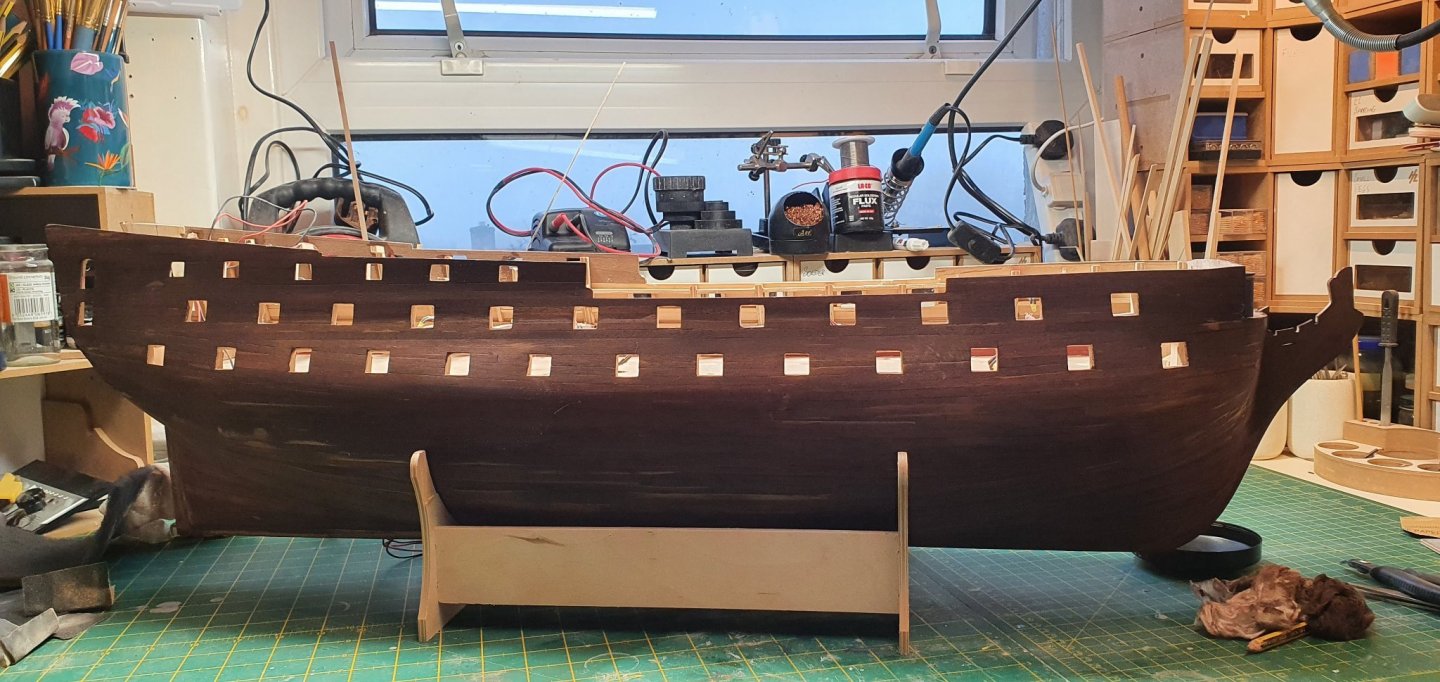
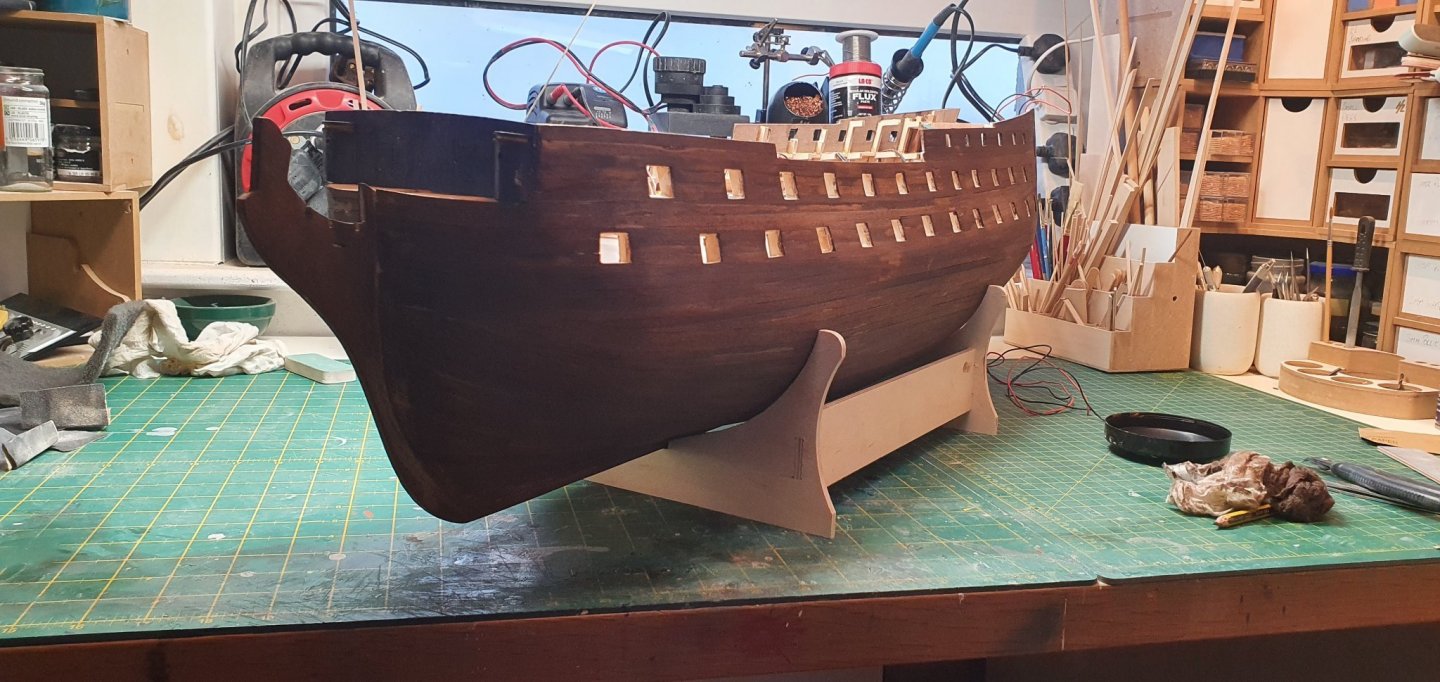
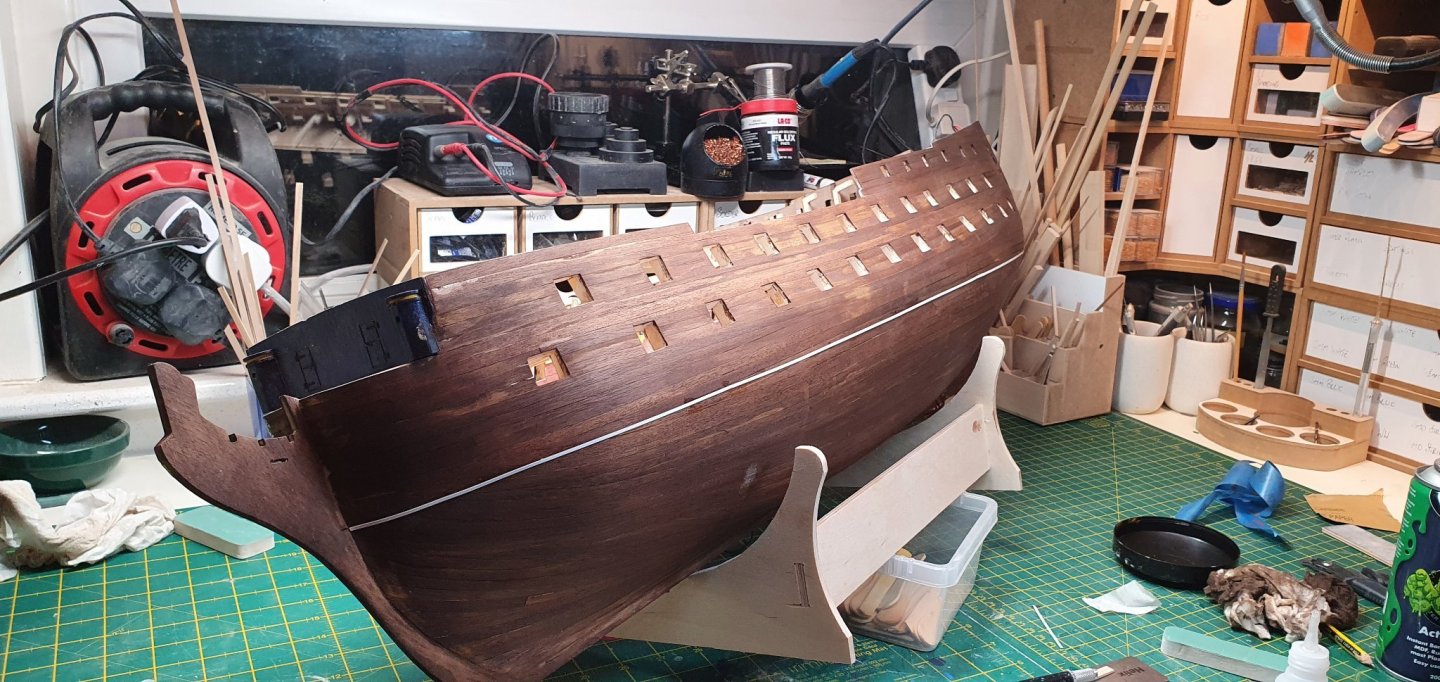
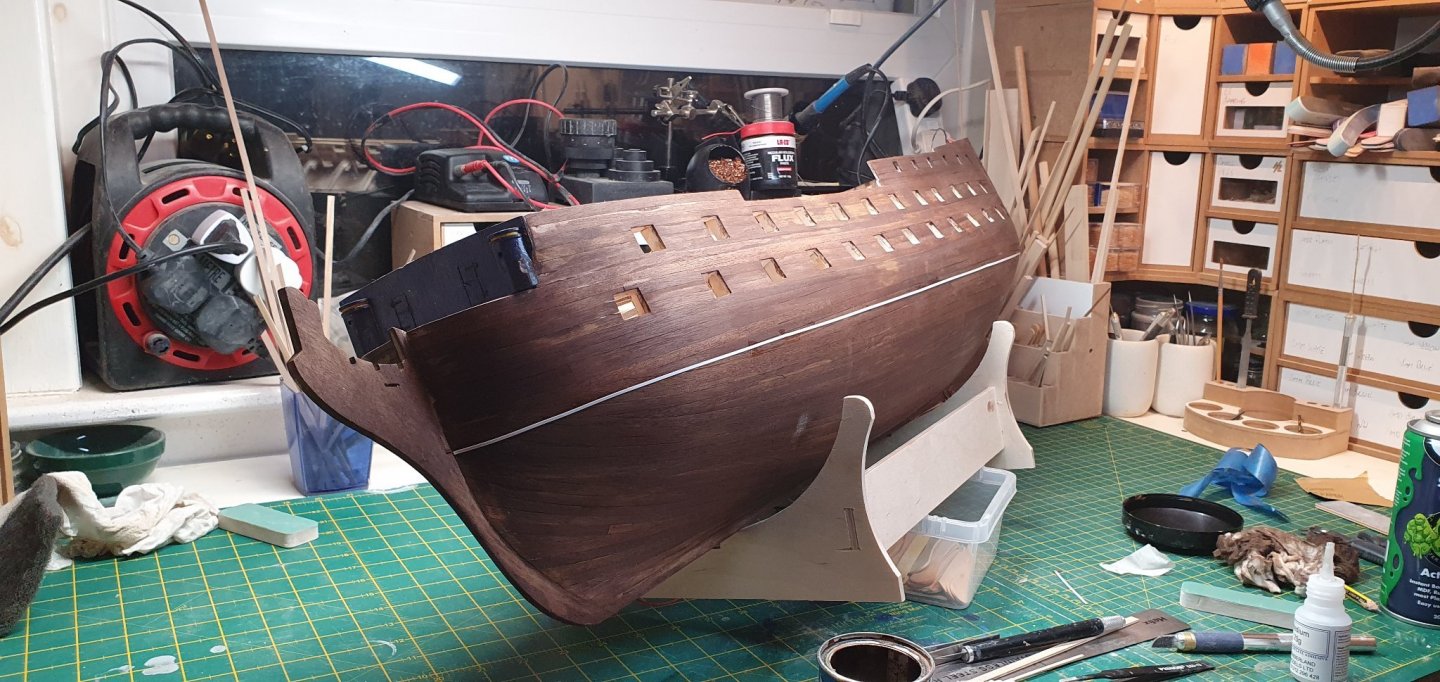
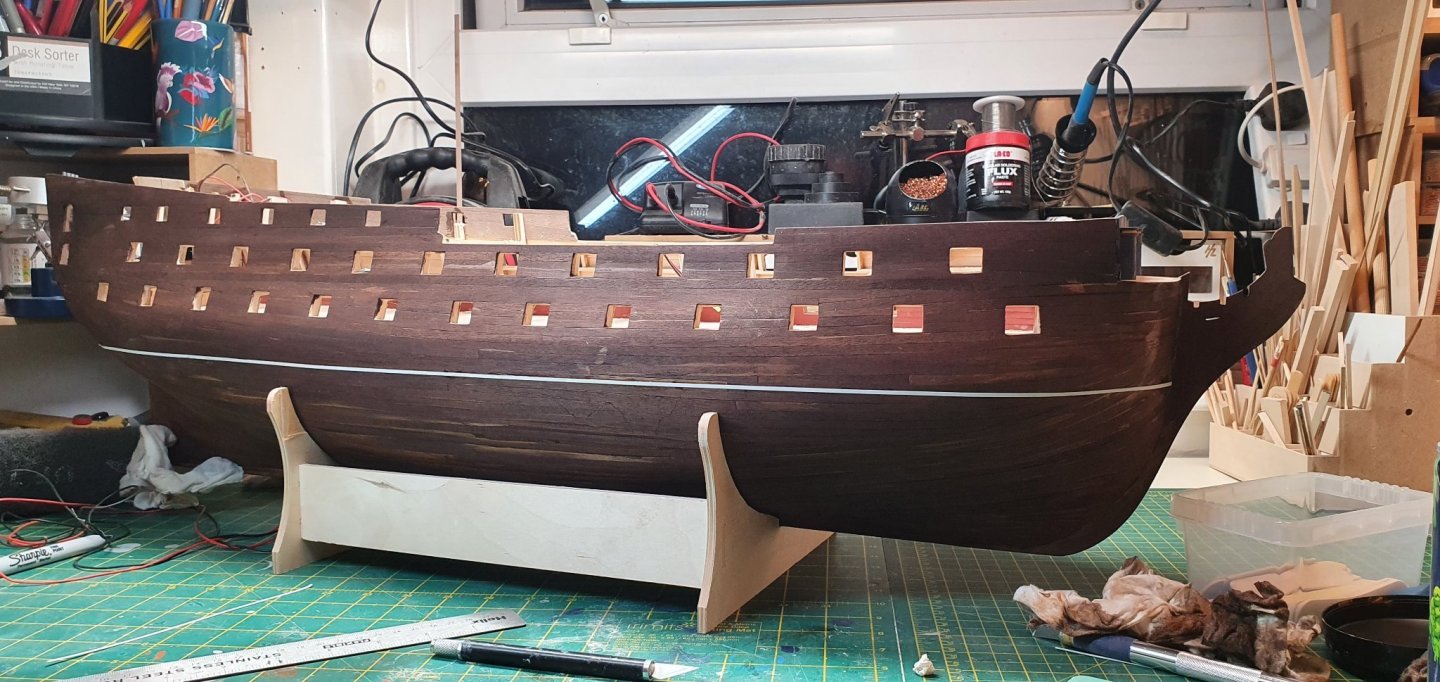
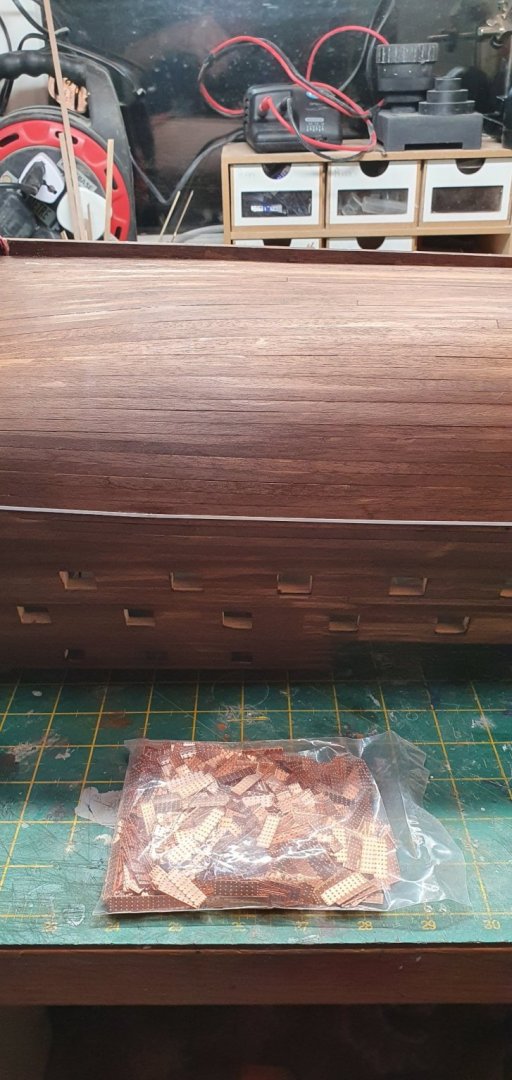
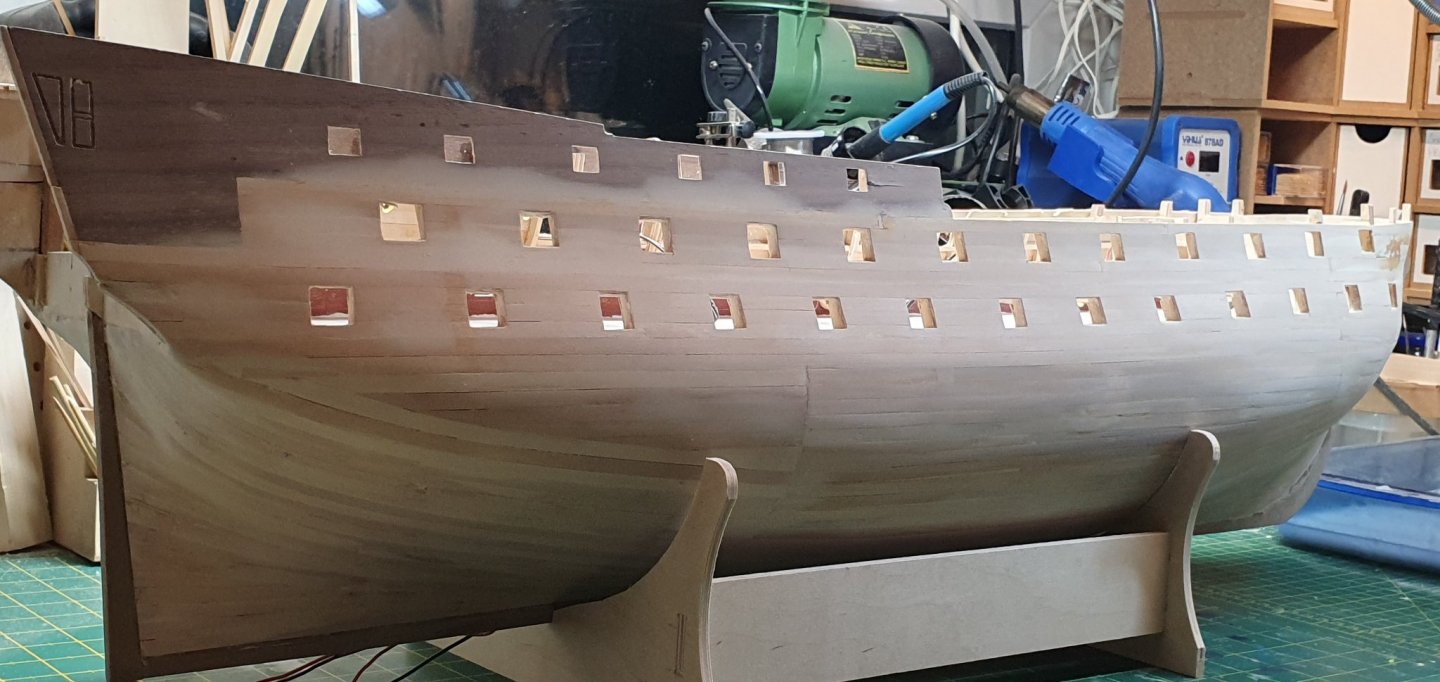
Planking all complete,,,( I hope)... after sanding it down I put a stain onto it,,, I'm hoping this will help when it comes to painting,,, water line marked up and started the 5 minutes job of putting on the copper plates..... I've been wrestling with the notion of weathering her, however as this is by first build and I've never had to dirty up a wooden model I'm more and more leaning towards keeping her fairly clean,,,, she will also be sitting in a basic dry dock when finished
-

Swan Class by Stuglo - FINISHED - 1:48
JamesT1 replied to stuglo's topic in - Build logs for subjects built 1751 - 1800
Excellent job on the Wales,,, and I agree with Mark,,, Personal artistic flair should also be incorporated in models,,,, after all it is yours and should be one of a kind -
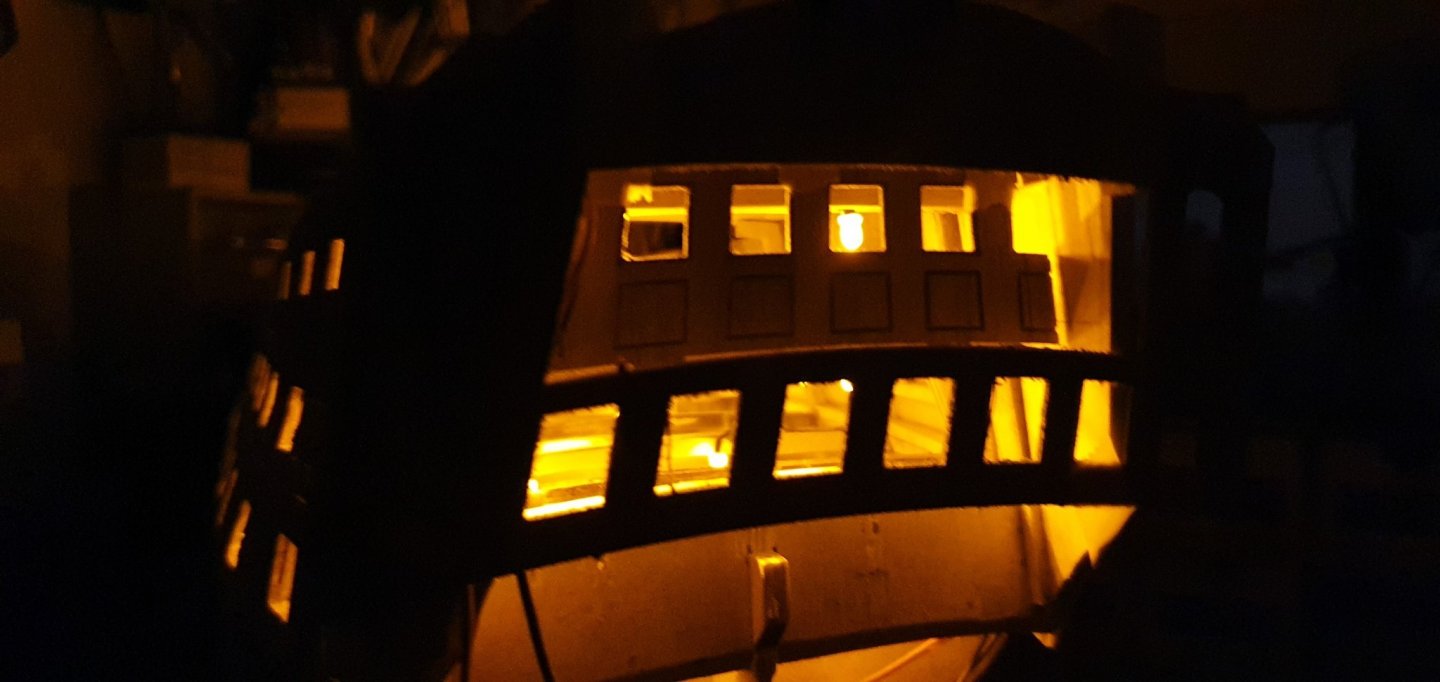
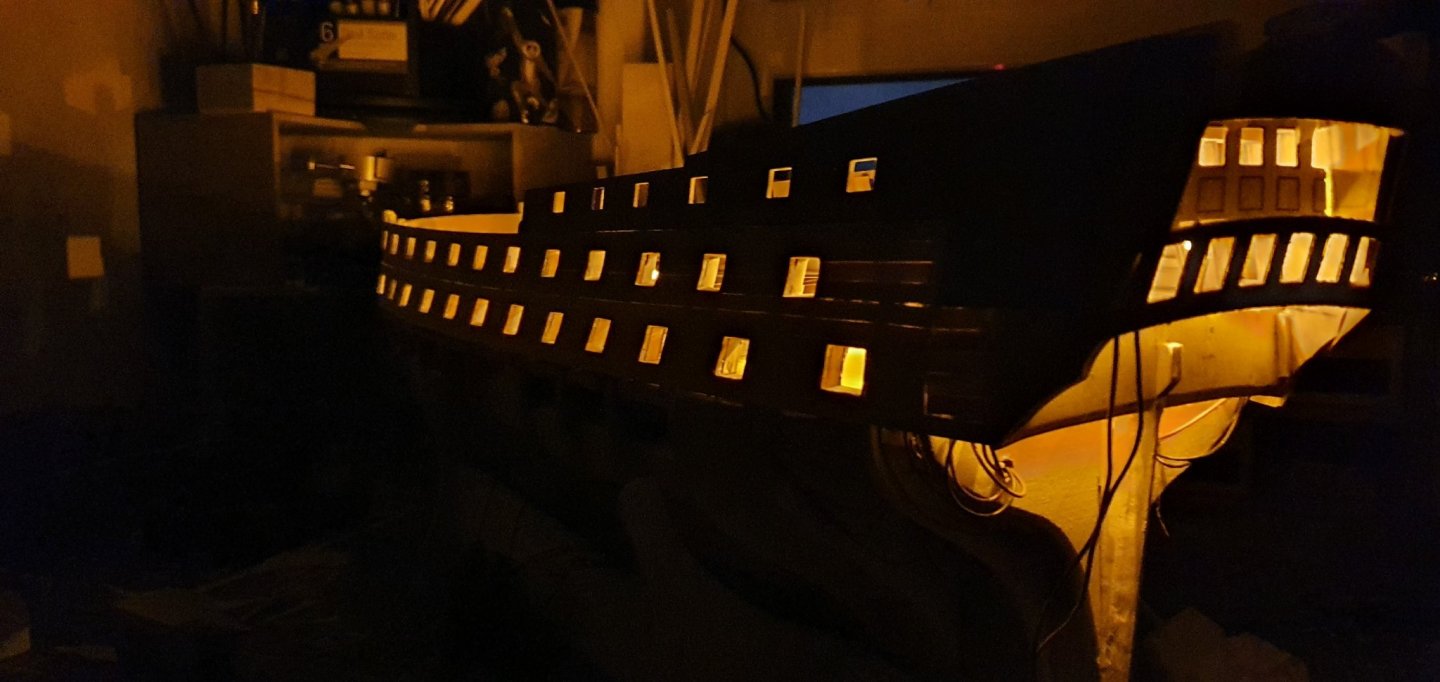
Many thanks Mark I'm currently working on HMS Agamemnon 1781... I've put led lights into it and am currently scratch building the cabins at the stern.... my plan is to have open doors leading to the Quarter Galleries so the light shines through... I can see the galleries level with the upper gun deck having a toilet on each side,,,, but didn't think the Captain would require 2 so I thought it may have had another use Many thanks Jim
-
Good evening all On a 64gun Third Rate ship of the line was the Quarter Galleries only for officer toilets or were they used for other things....... Cheers Jim
-
Hi Allan Sorry senile moment... I meant 1781.... haven't a clue where I got 1876 from... that was a couple of years before I was born.... Many thanks for all the other very useful information Jim
-
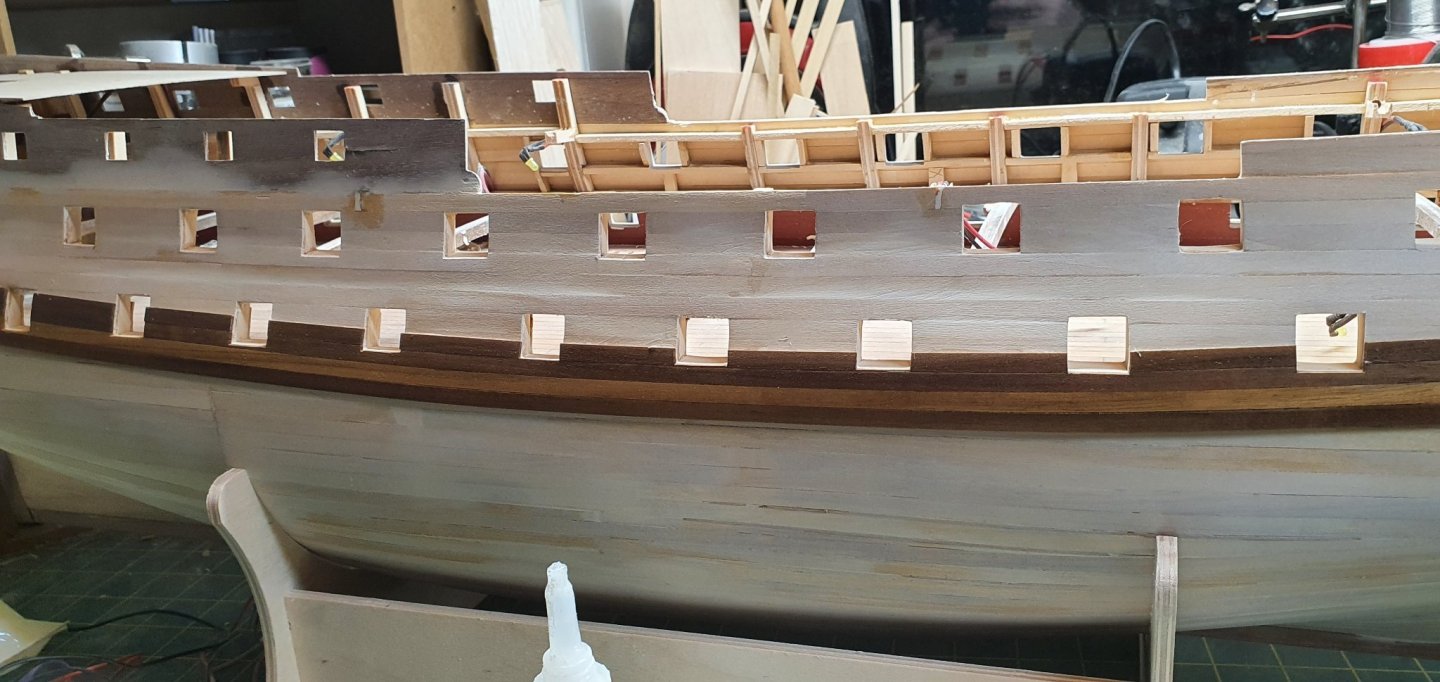
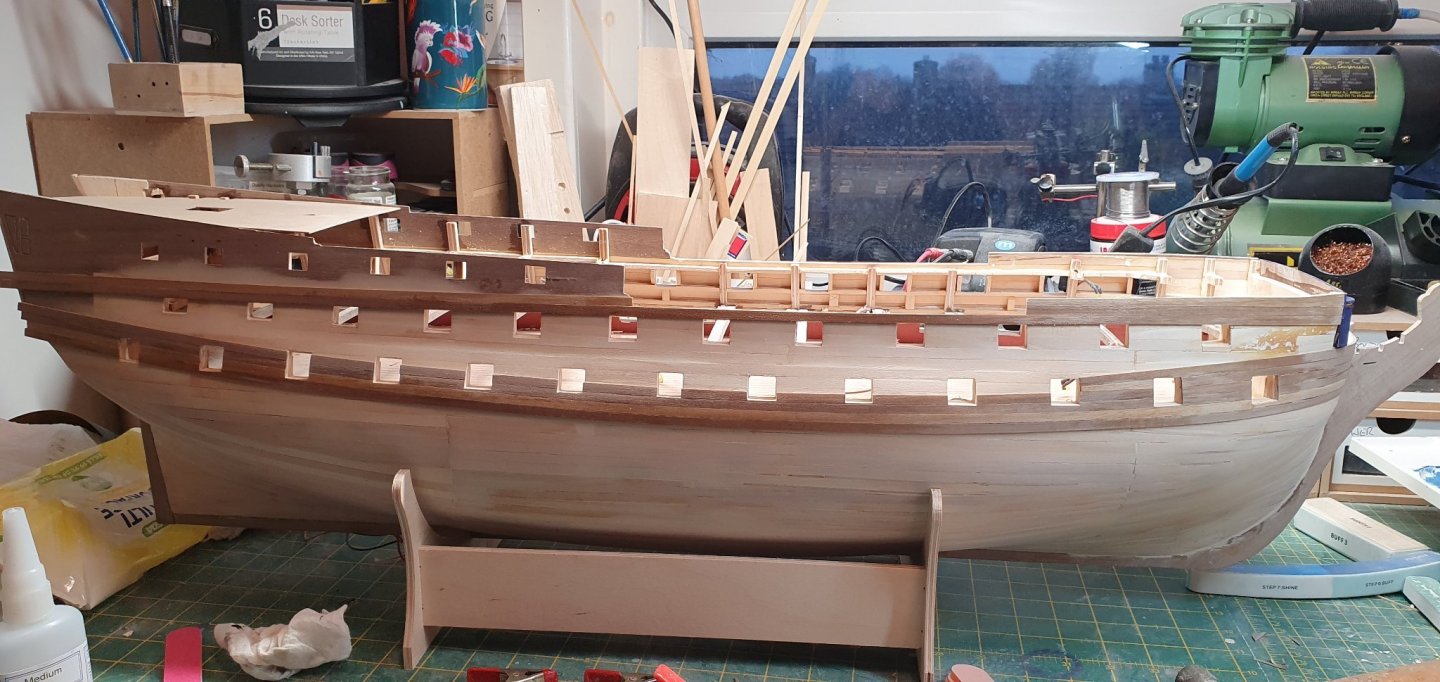
Good evening all can anyone tell me if the two lines I have indicated in red are the upper and lower limits of the main wale on HMS Agamemnon 1876 Many thanks Jim
-
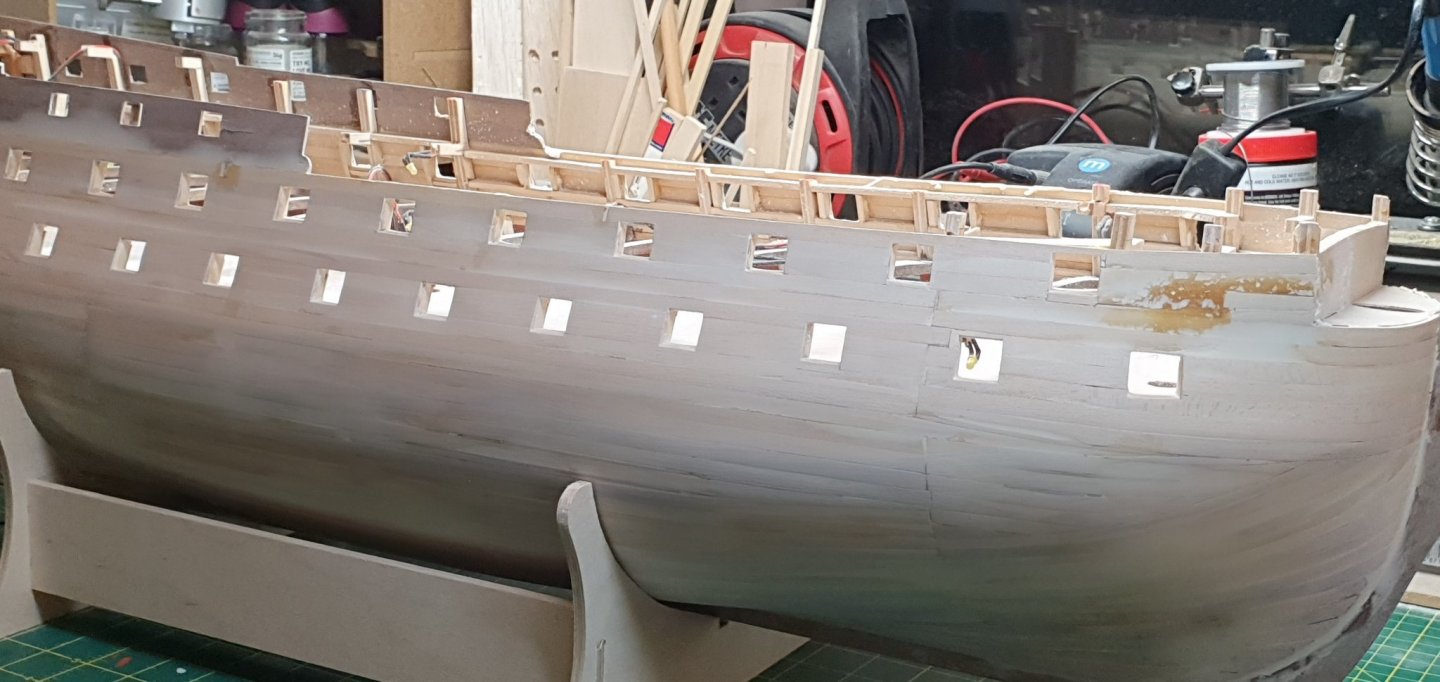
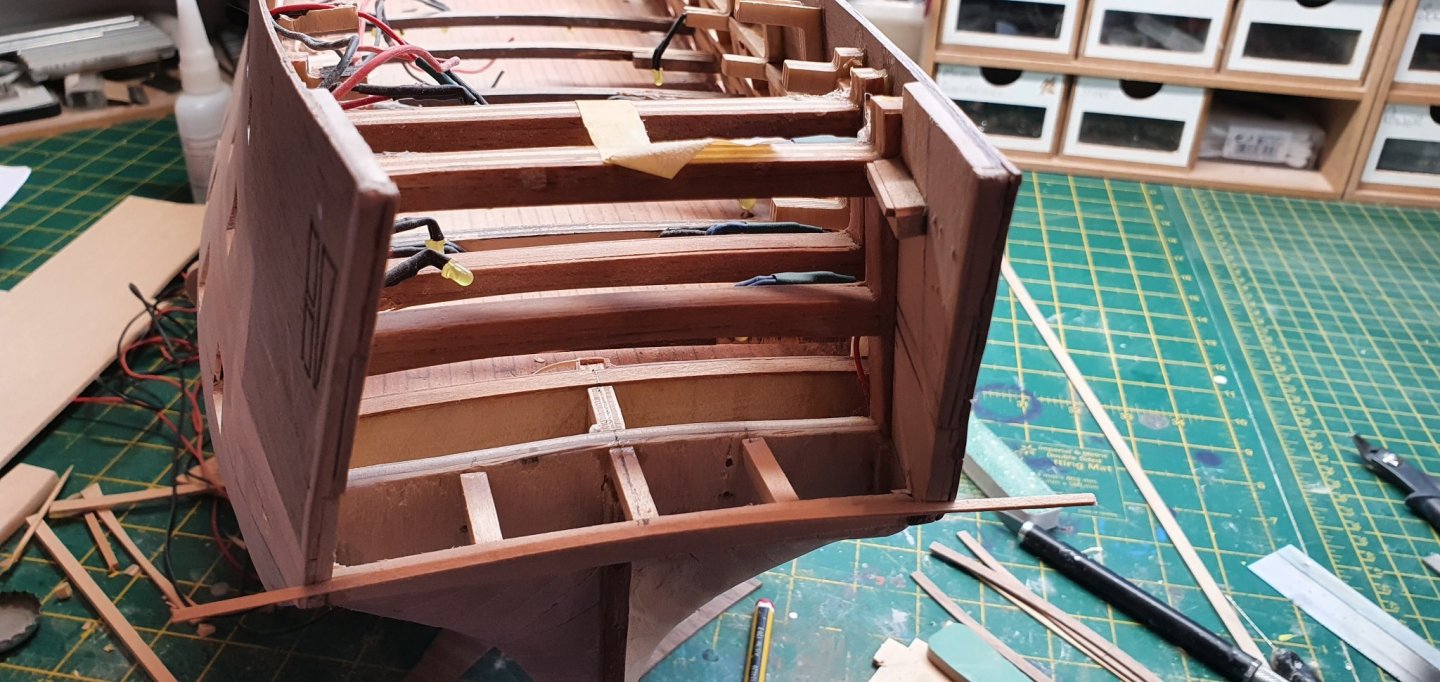
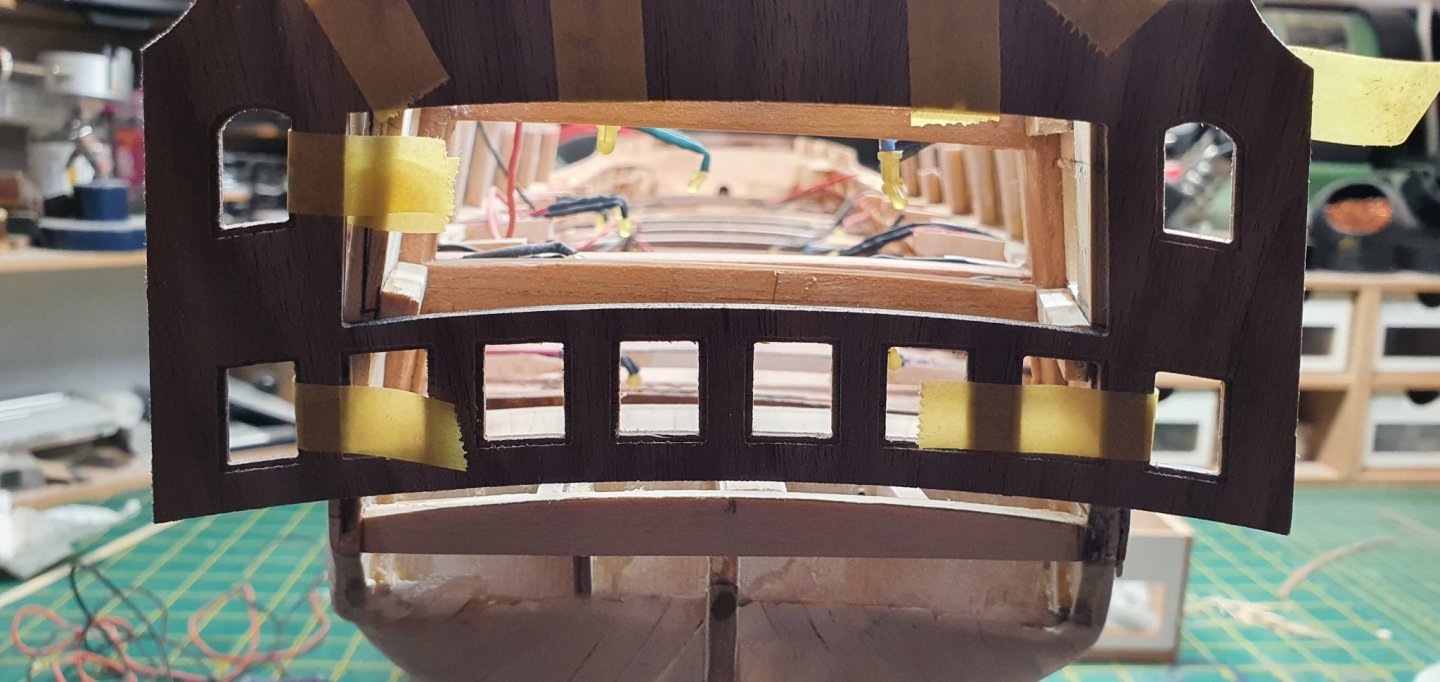
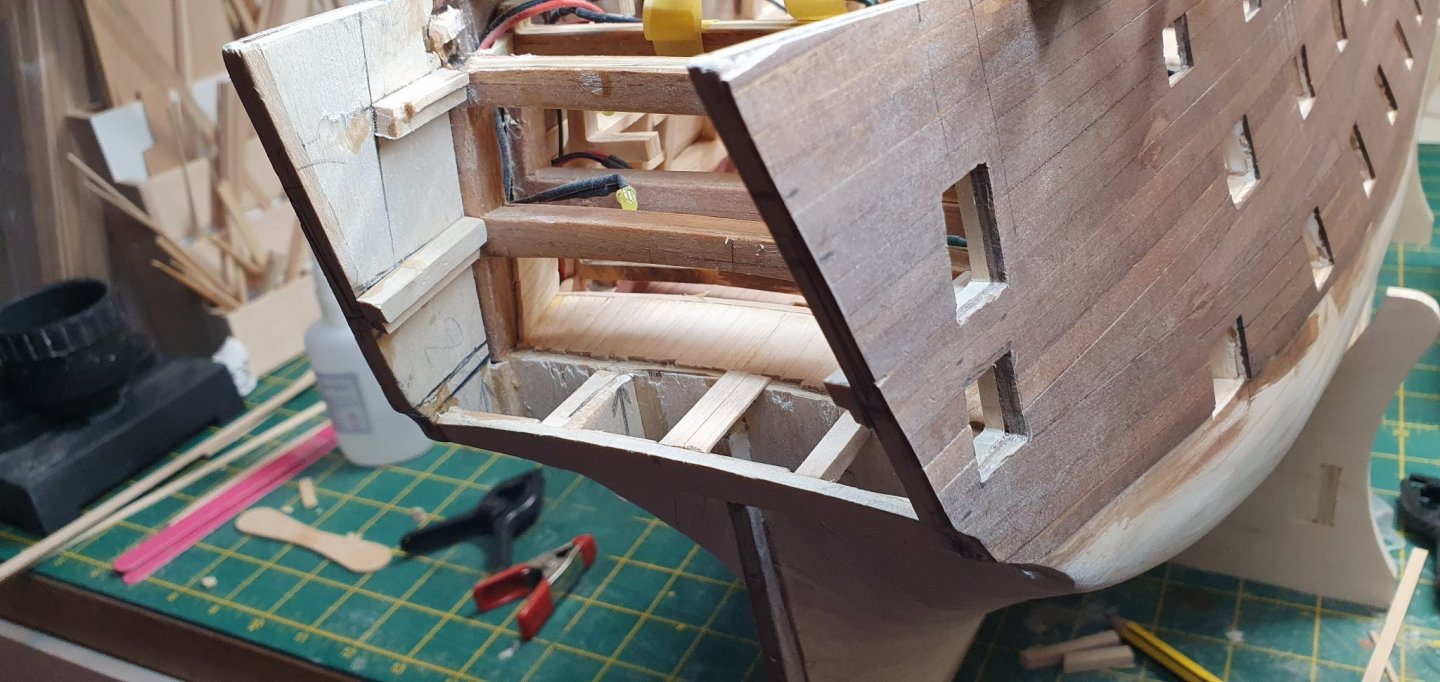
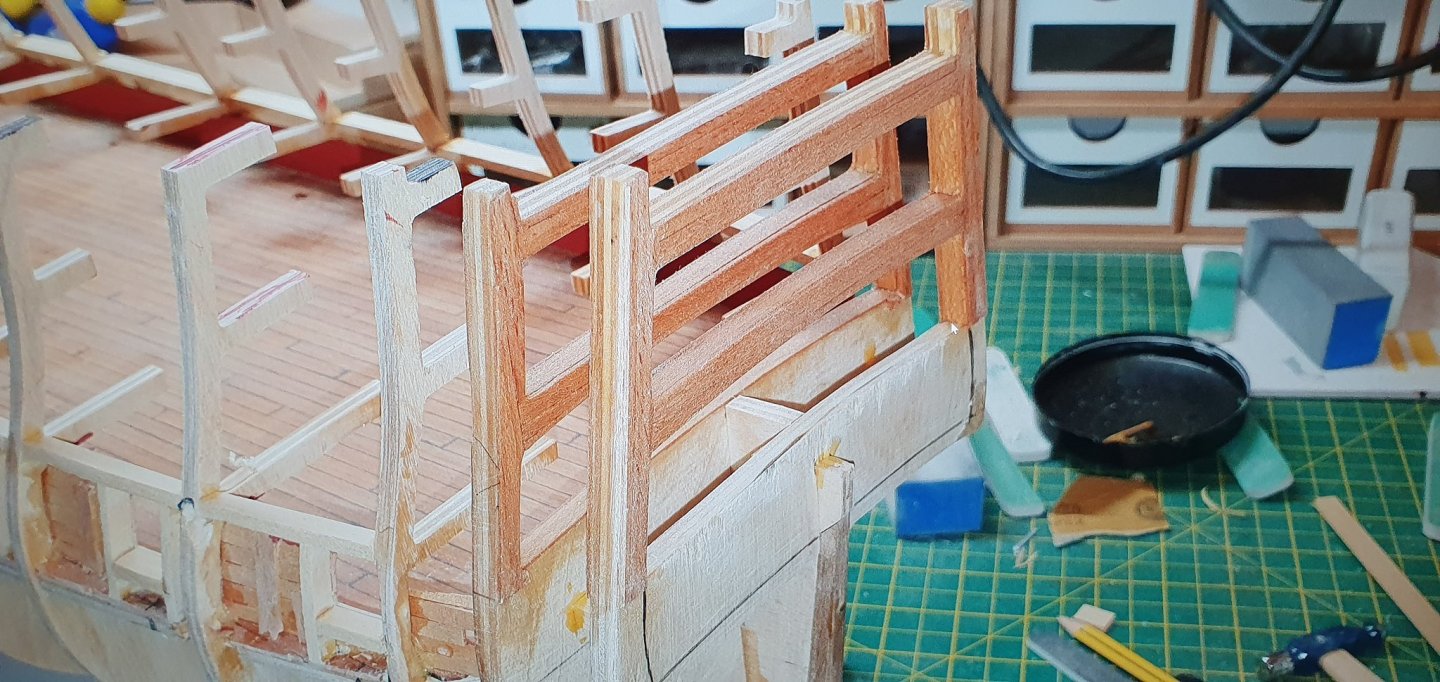
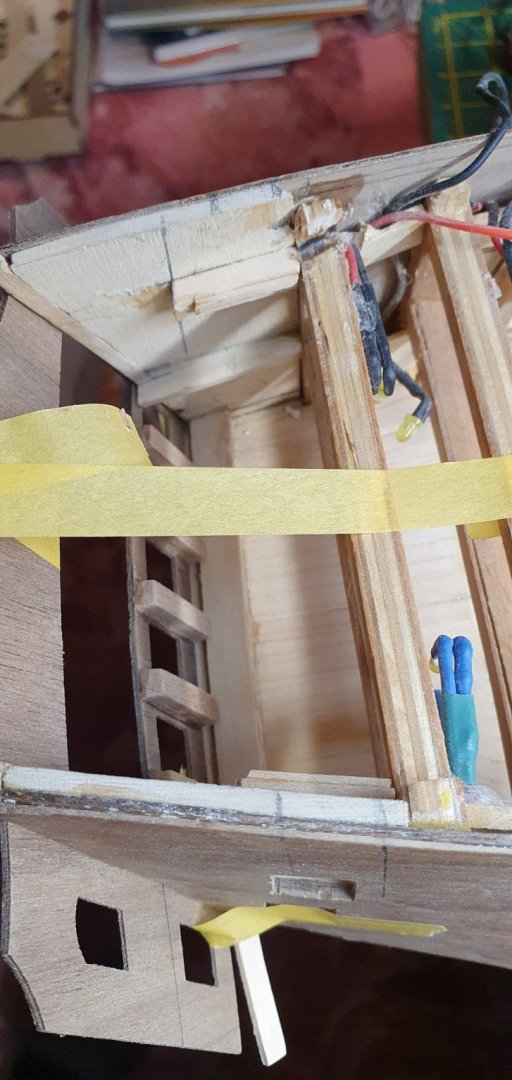
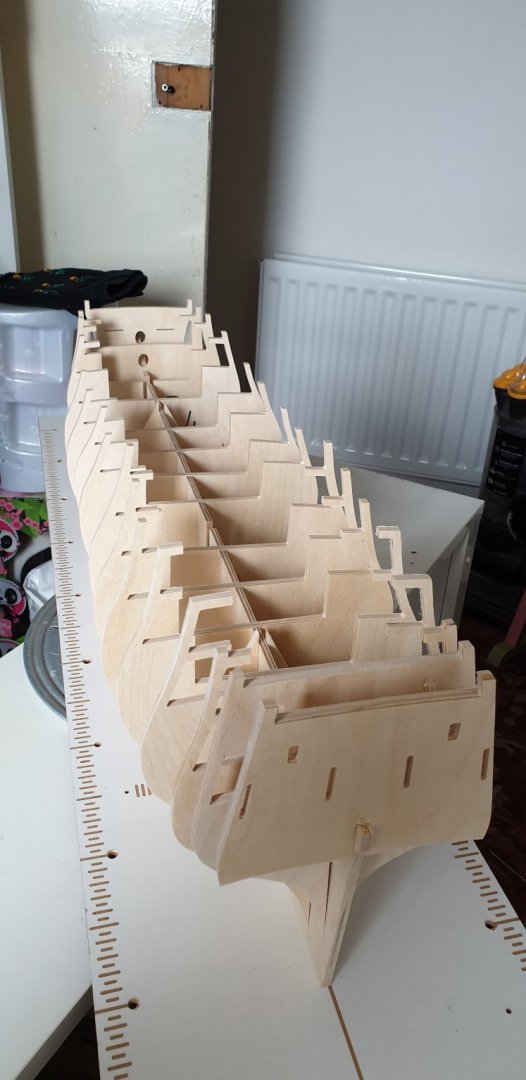
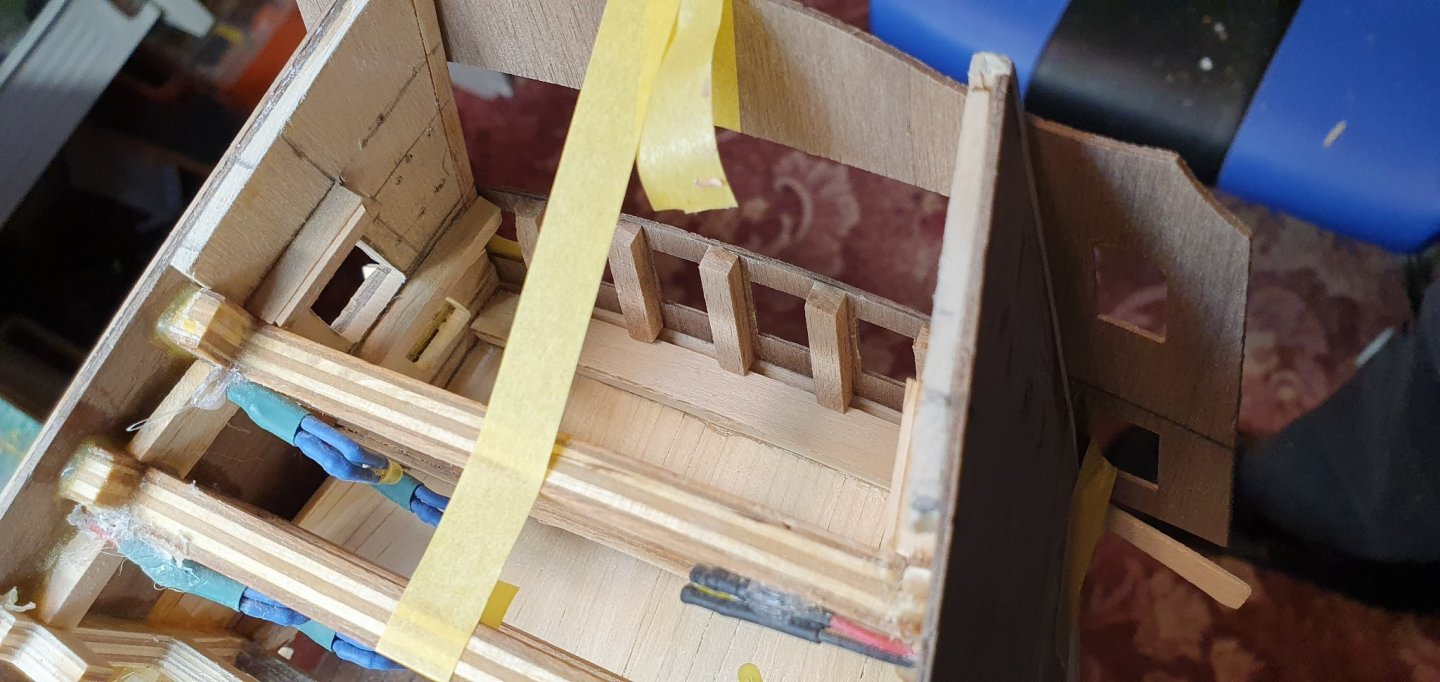
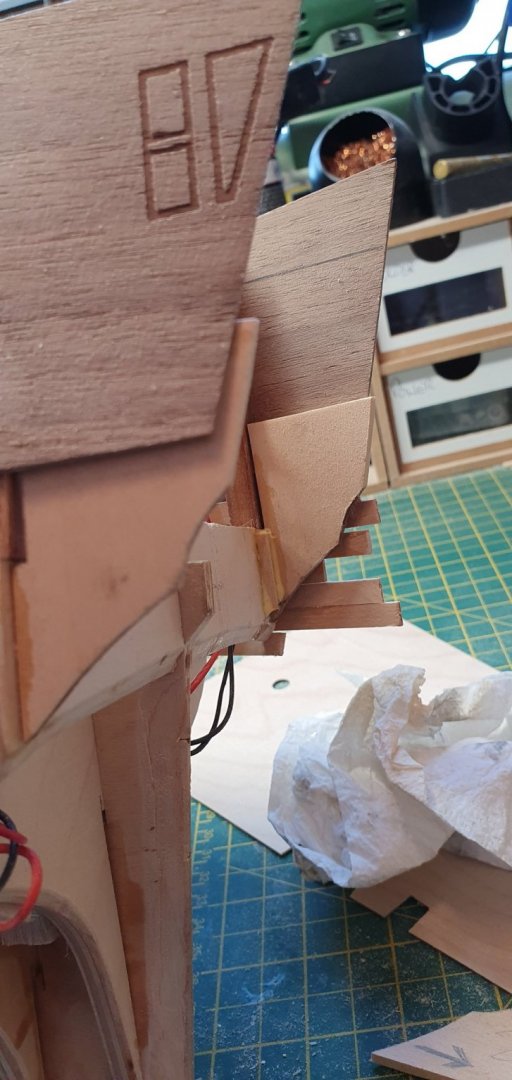
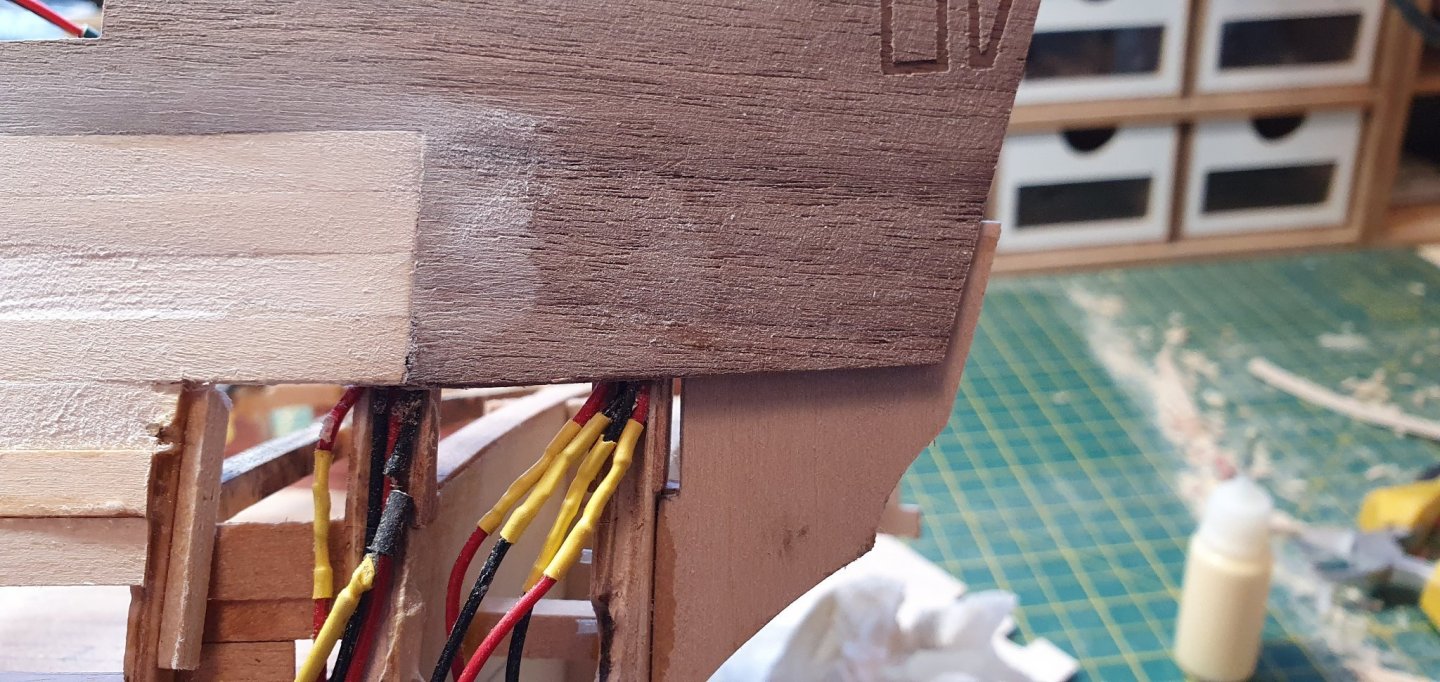
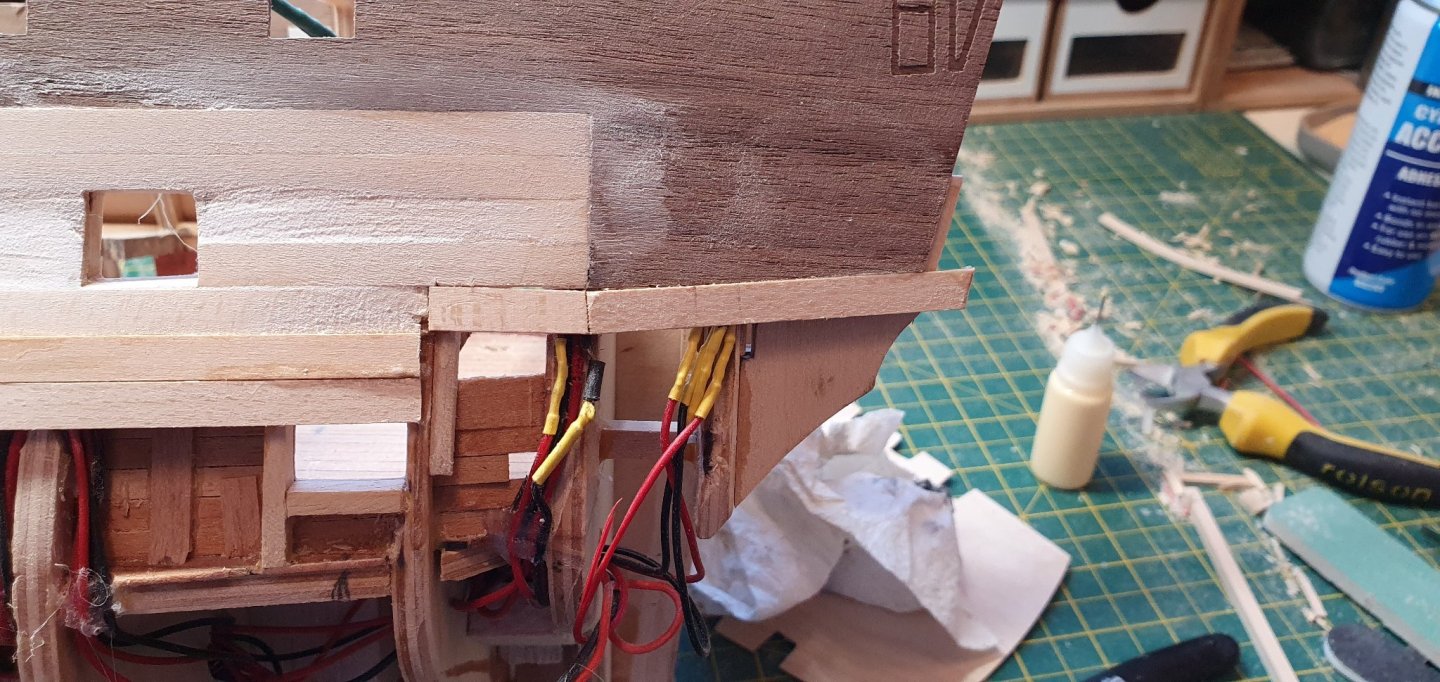
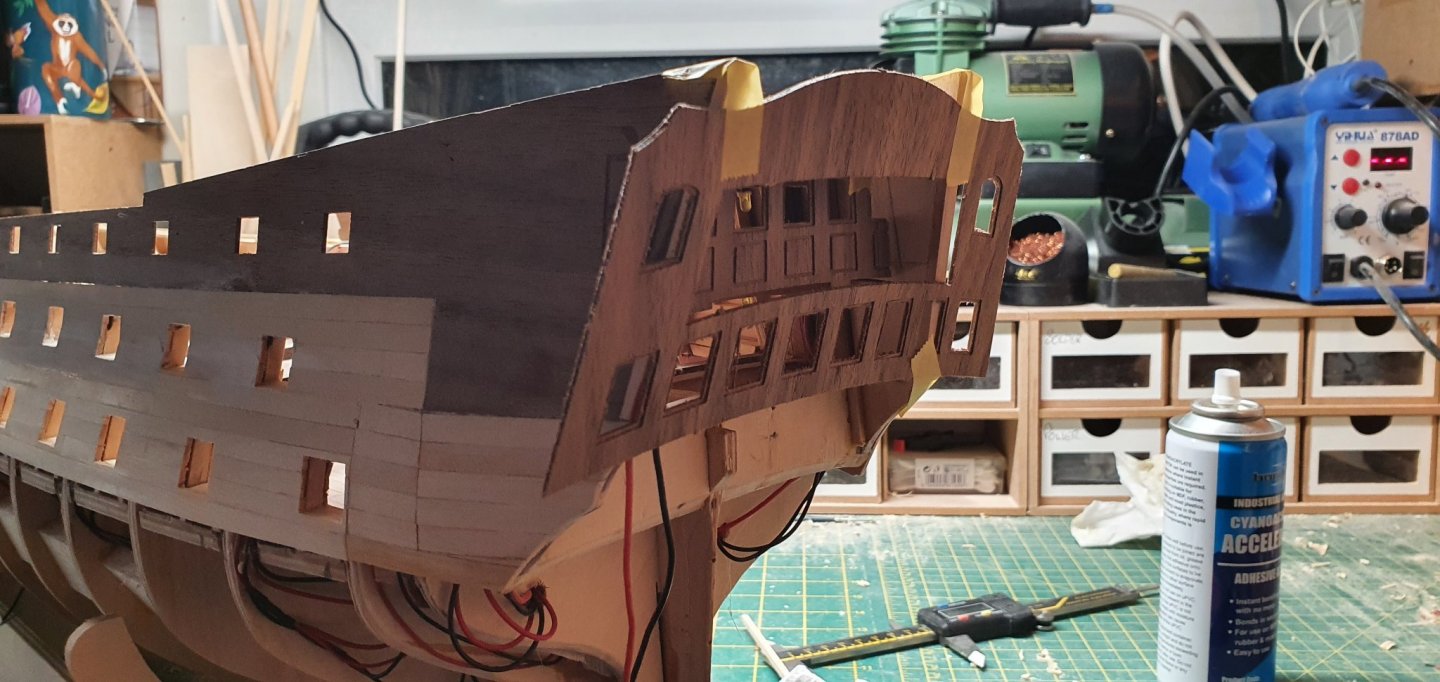
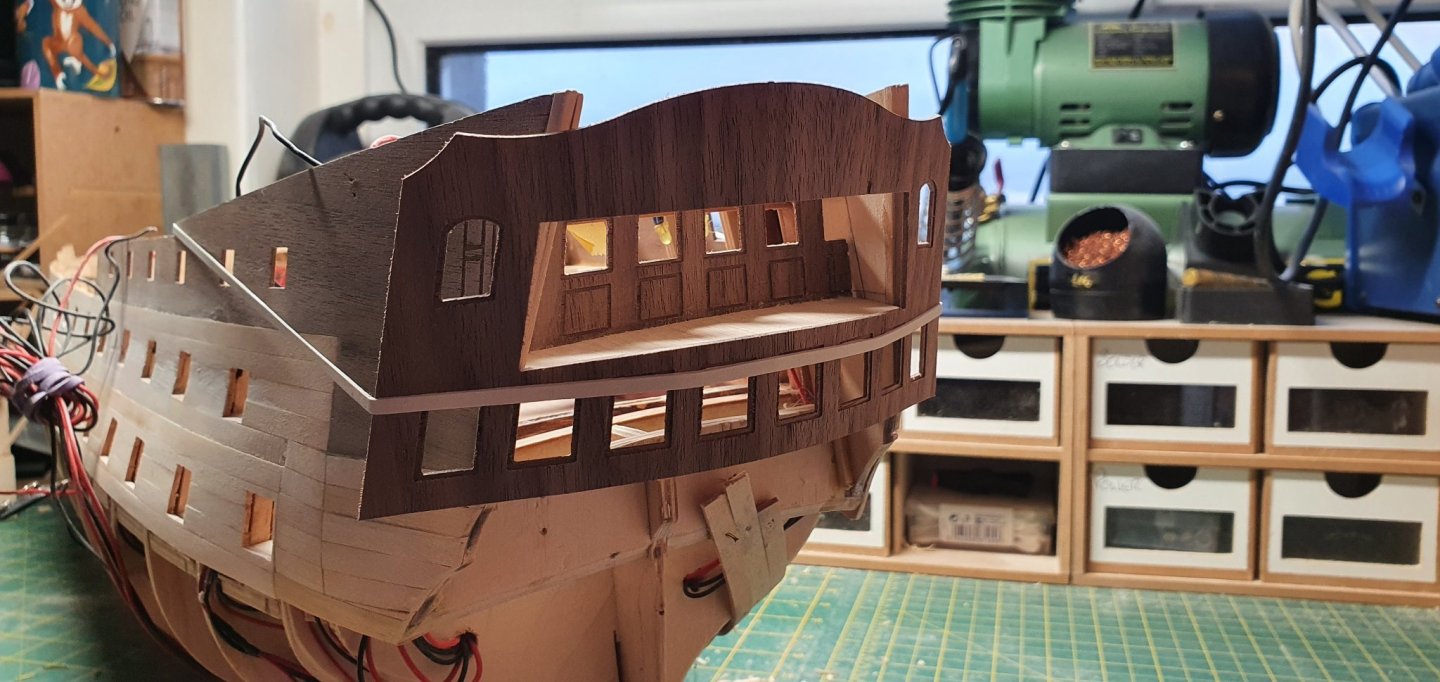
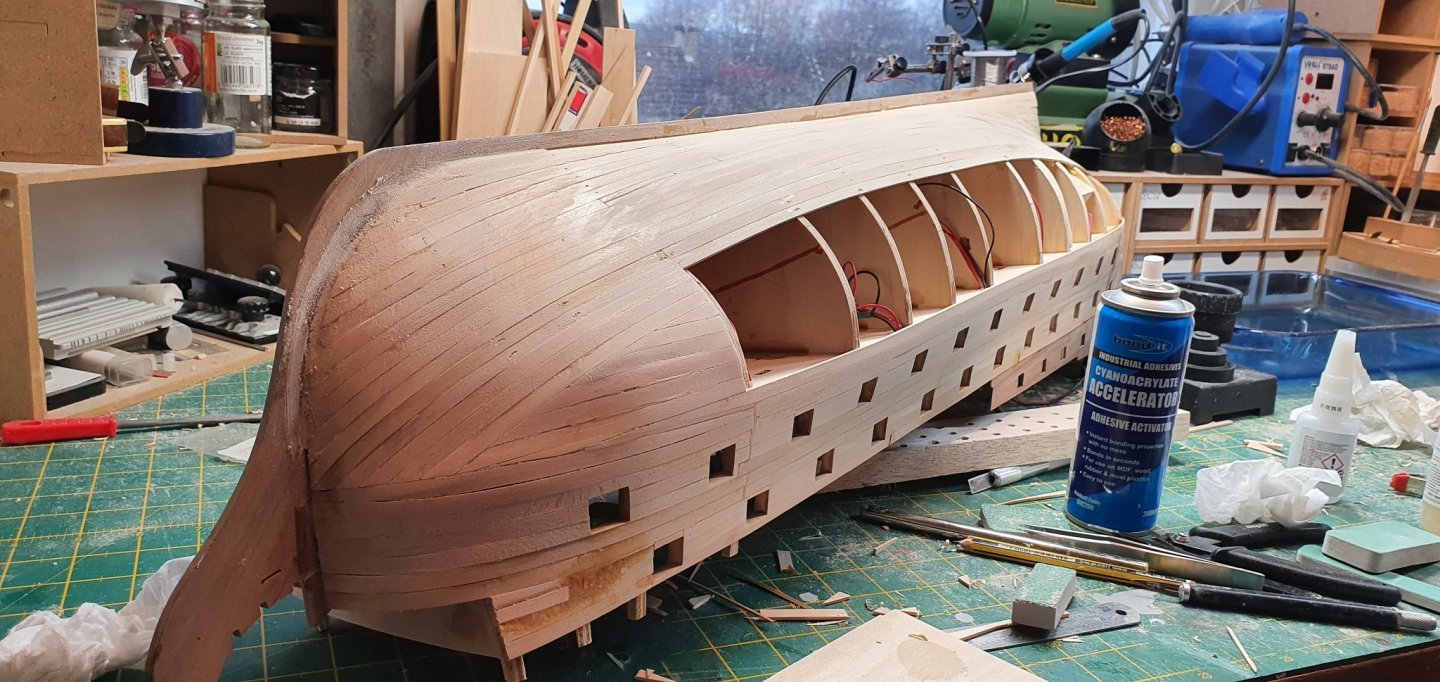
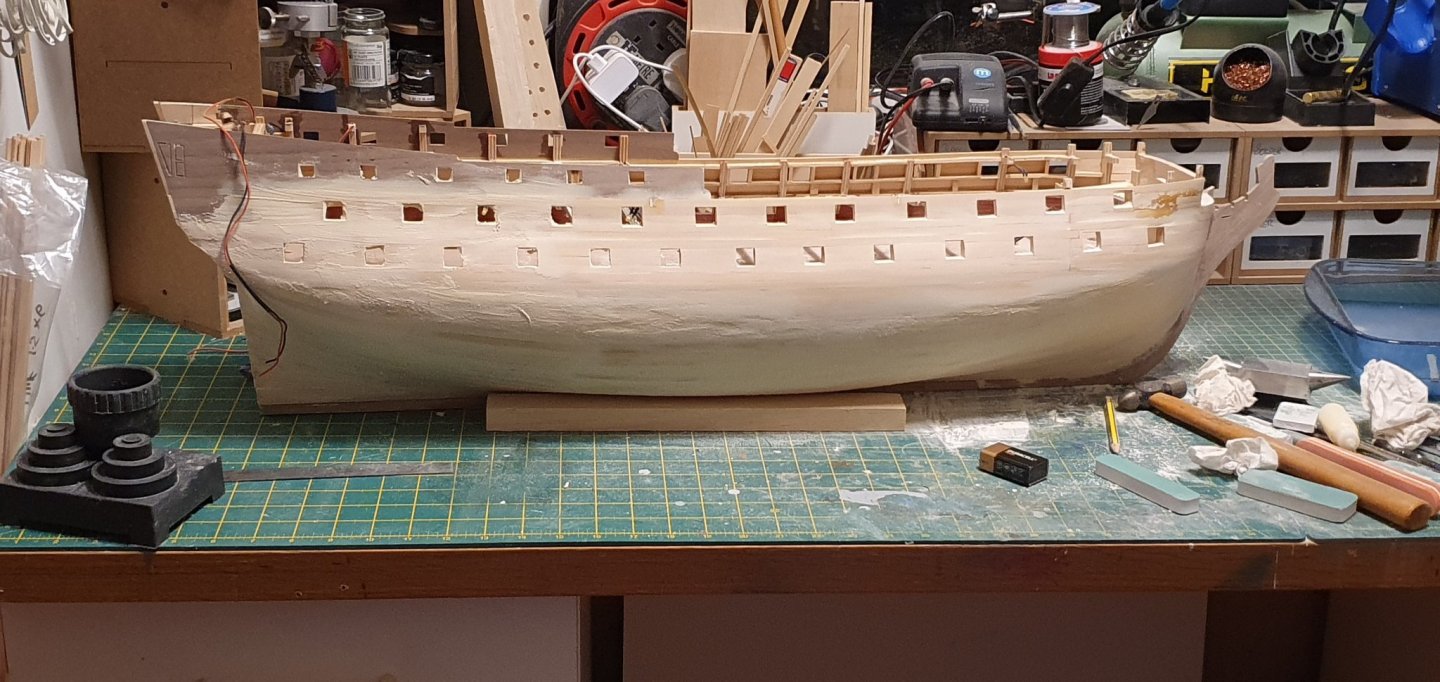
Earlier in the build I had decided to leave off part 27 and 28... The Stern Counters.. this is to help when it is time to build the cabin interiors,,,, I had also cut out the bulkheads for this at that time.... Leaving off part 28 the outer stern counters was probably a mistake... as a previous post said I had an issue with the placement of the bulwark patterns,, parts 61 and 62 in the kit... I hadn't realised part 28 is used for locating the bulwark patterns,,, it turn out the bulwarks are now about 3mm too far forward and about the same too high..... not the end of the world..... so lesson learned ( apart from cutting through the light wires when trying to adjust),,, a bad day that day.... 1st planking completed.... filling done and sanding mostly completed,,,,, a wee bit more to do... then onto main wale and 2nd planking
About us
Modelshipworld - Advancing Ship Modeling through Research
SSL Secured
Your security is important for us so this Website is SSL-Secured
NRG Mailing Address
Nautical Research Guild
237 South Lincoln Street
Westmont IL, 60559-1917
Model Ship World ® and the MSW logo are Registered Trademarks, and belong to the Nautical Research Guild (United States Patent and Trademark Office: No. 6,929,264 & No. 6,929,274, registered Dec. 20, 2022)
Helpful Links
About the NRG
If you enjoy building ship models that are historically accurate as well as beautiful, then The Nautical Research Guild (NRG) is just right for you.
The Guild is a non-profit educational organization whose mission is to “Advance Ship Modeling Through Research”. We provide support to our members in their efforts to raise the quality of their model ships.
The Nautical Research Guild has published our world-renowned quarterly magazine, The Nautical Research Journal, since 1955. The pages of the Journal are full of articles by accomplished ship modelers who show you how they create those exquisite details on their models, and by maritime historians who show you the correct details to build. The Journal is available in both print and digital editions. Go to the NRG web site (www.thenrg.org) to download a complimentary digital copy of the Journal. The NRG also publishes plan sets, books and compilations of back issues of the Journal and the former Ships in Scale and Model Ship Builder magazines.


