SpencerC
-
Posts
211 -
Joined
-
Last visited
Content Type
Profiles
Forums
Gallery
Events
Everything posted by SpencerC
-

Batavia by *Hans* - FINISHED
SpencerC replied to *Hans*'s topic in - Build logs for subjects built 1501 - 1750
Beautiful work, hans -
Is this a virtual ship or something?
-
Cutty Sark by Nenad
SpencerC replied to NenadM's topic in - Build logs for subjects built 1851 - 1900
And nenad, this is looking GREAT. You've made so much progress -
Cutty Sark by Nenad
SpencerC replied to NenadM's topic in - Build logs for subjects built 1851 - 1900
How can I get these decals in gold? How'd u get these I can't find em anywhere. Our scales r really similar -
Hey guys so I tried finding this on google but nothing came up. I want to make frames like this guy did in the link included at the bottom of this post. I have no idea how you would take your paper plans and turn them into single frames on the computer. Thanks everyone http://m.instructables.com/id/Build-a-Plank-on-Frame-Model-Ship/
-
Cutty Sark by Nenad
SpencerC replied to NenadM's topic in - Build logs for subjects built 1851 - 1900
What do you mean by you thought you lost the stern stem piece -
Oh cool sounds good. You should use filters they work great on these kinds of ships.
-
I lost track of my post so forgive me if you already responded to this. But are you not painting this?
-
Gotta be quick!
-
I have the best method. Tried and true works every time. Take some medium CA (gap filling) and with a glue tip extender put a healthy amount of glue into the gap, then sand over it until a ton of sawdust cover the gap and glue, wait for the glue to dry then blow on the hull to remove the excess dust. The gap will be filled with a seamless "wood filler". If there is a slight bump just sand it down. It works so well for me everytime that it is the only method I trust. Now, of the gap is too large take one of your planks and turn if sideways and insert it into the gap. Then use an xacto blade to trim the excess. Sand it down and you're good to go.
-
Yes, after this build I plan on starting my royal albert from zero (scratch build) and spend the next several months on that beautiful ship. I've been itching to work on her lately but I must get the cutty done.
-
How awesome would it be If in the instructions it showed a picture of the CS nose first in a small bowl of water and its like "now soak the bow in about 4 inches of water until the glue loosens.." Haha. But hey what kinda glue did u use? It may be better to use the specific glues debonder.. Like for CA it's isopropyl alcohol.
- 70 replies
-
- 1
-

-
- cutty sark
- constructo
- (and 1 more)
-
Well that's not an option. I do have to rush.
-
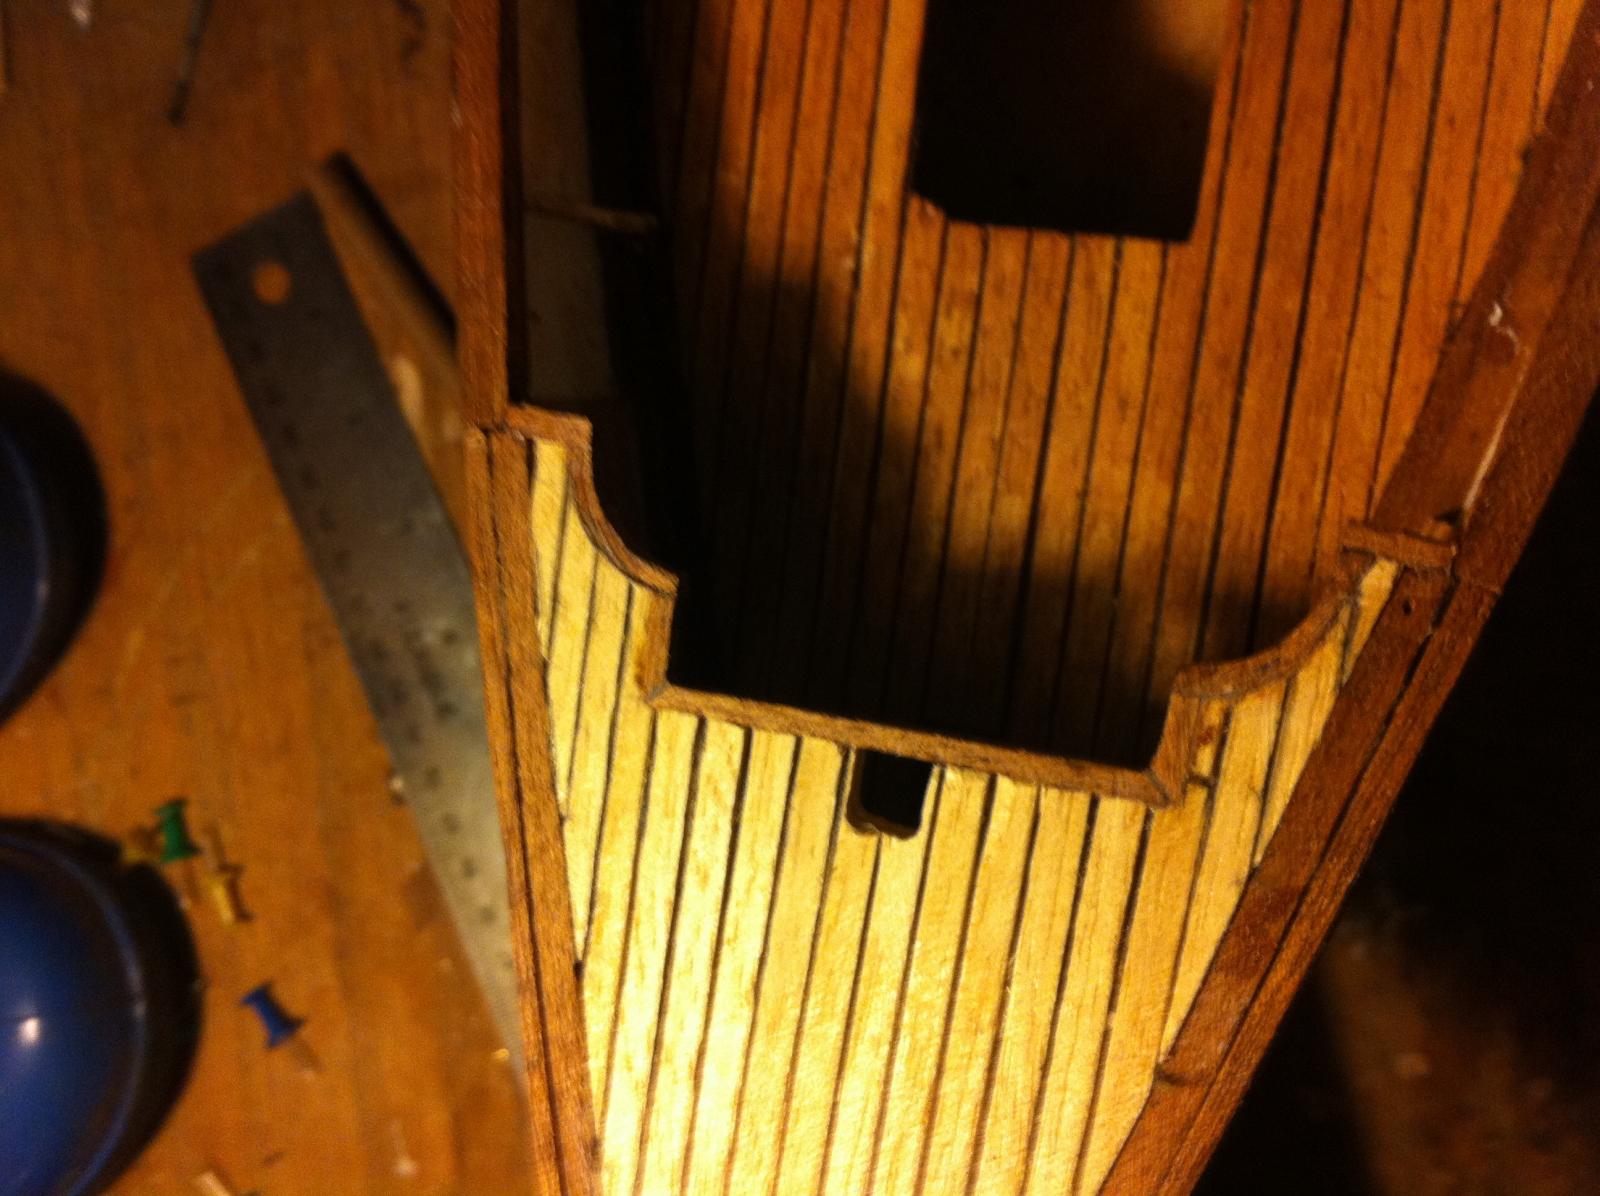
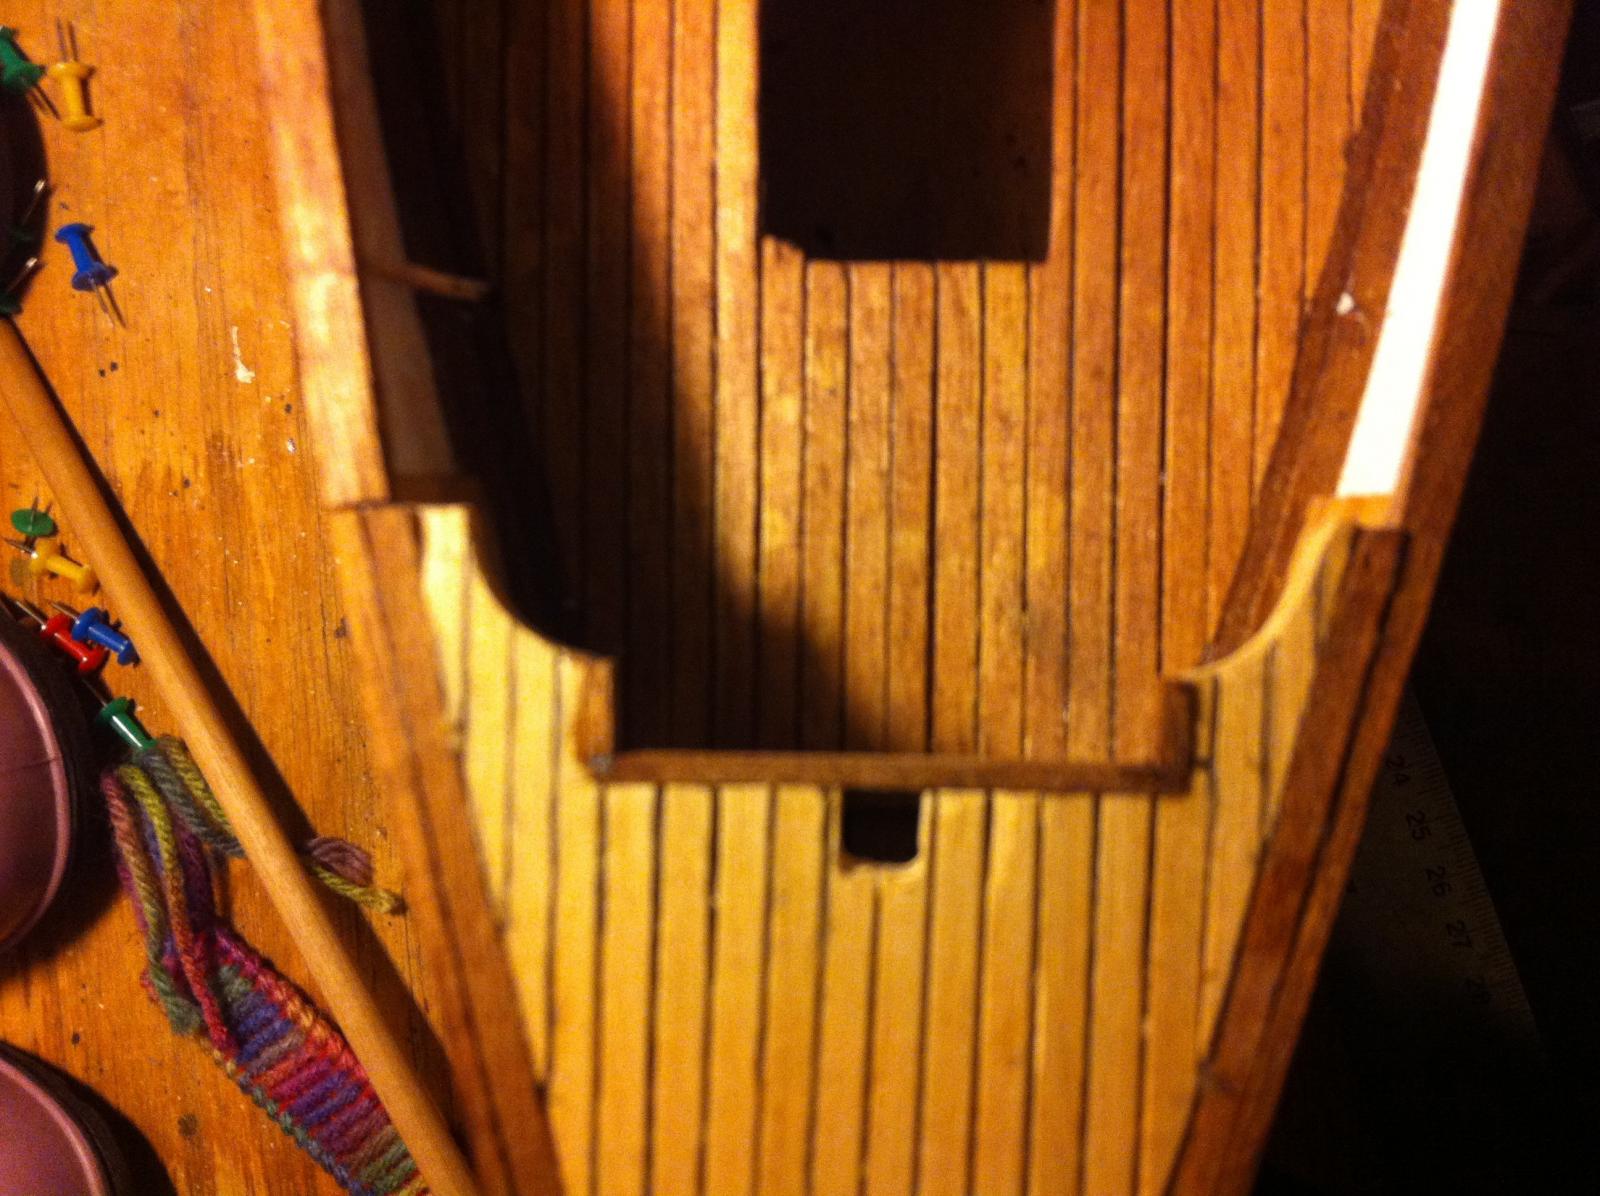
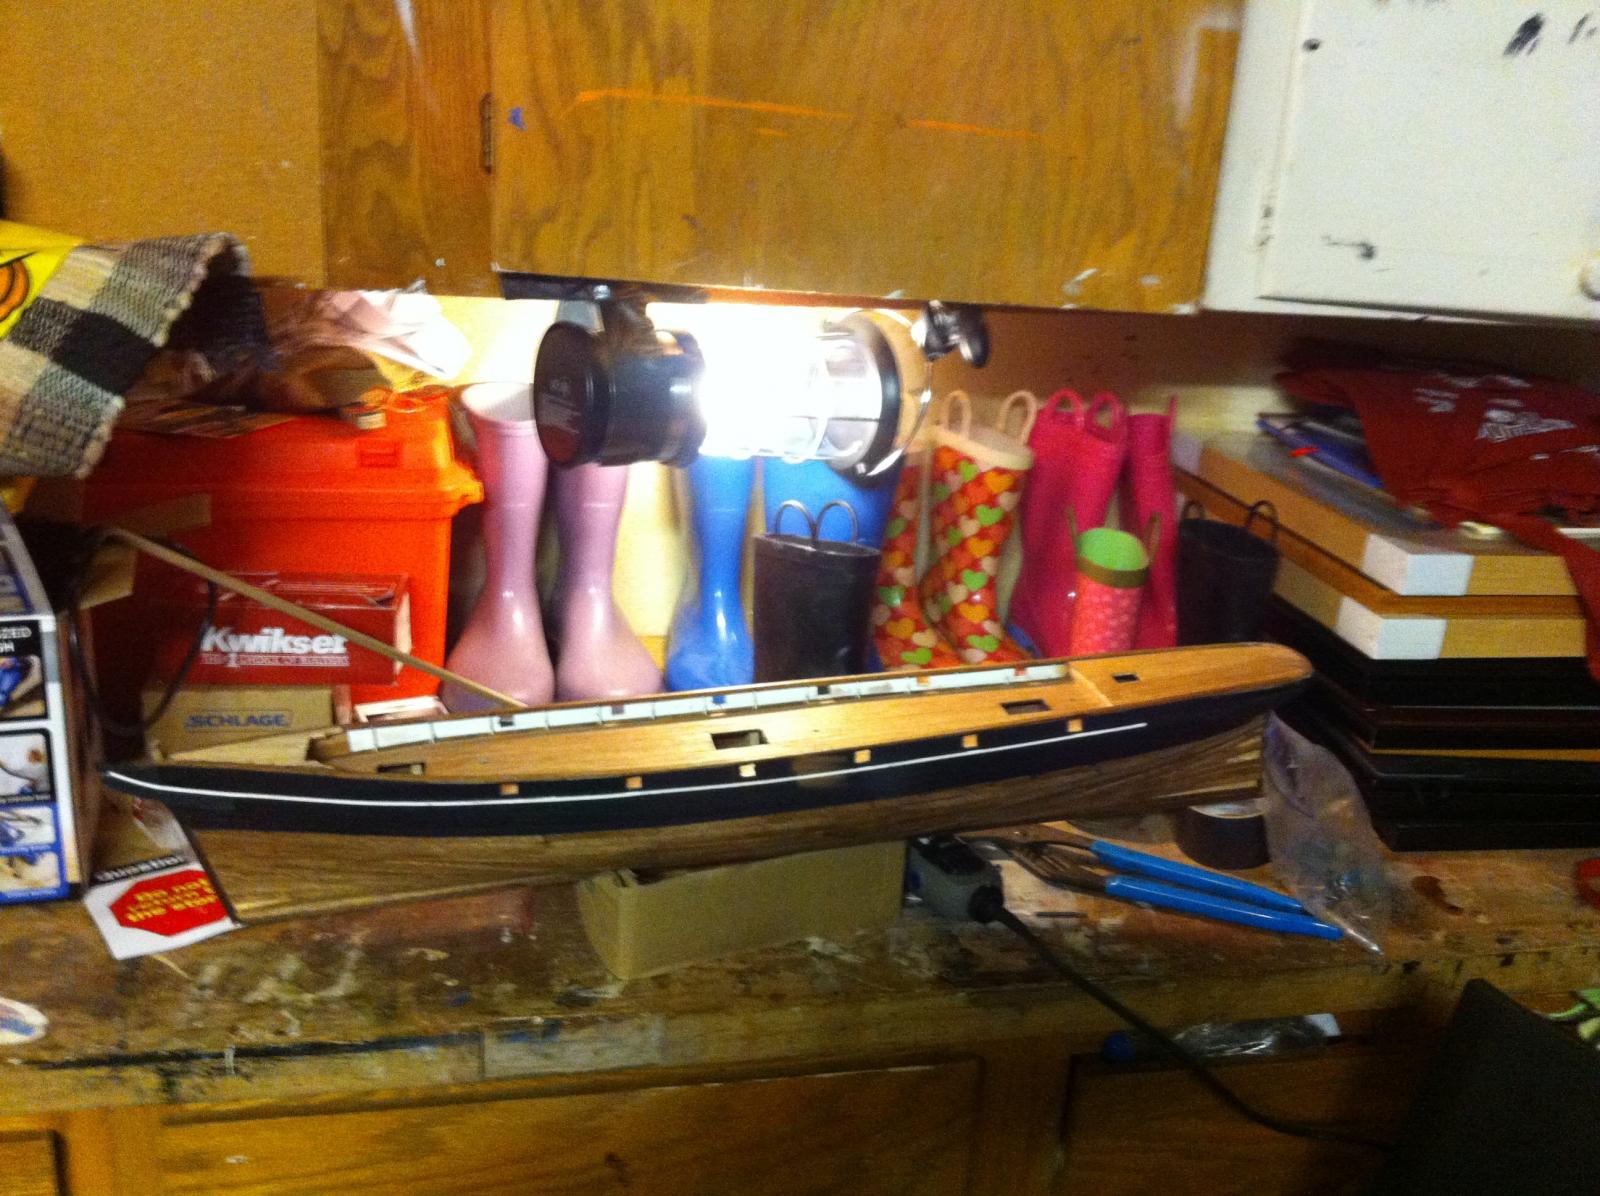
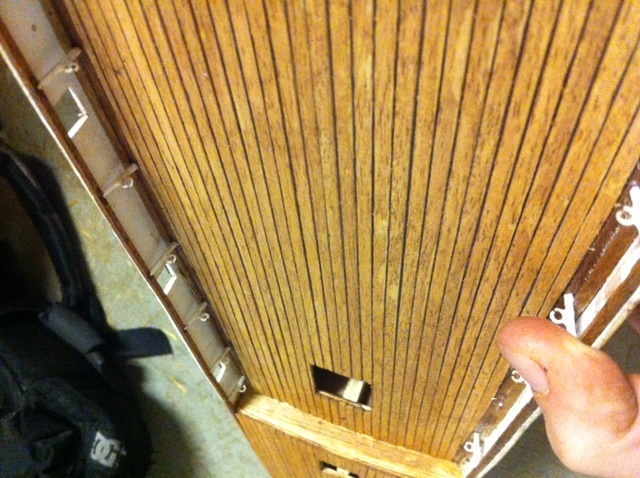
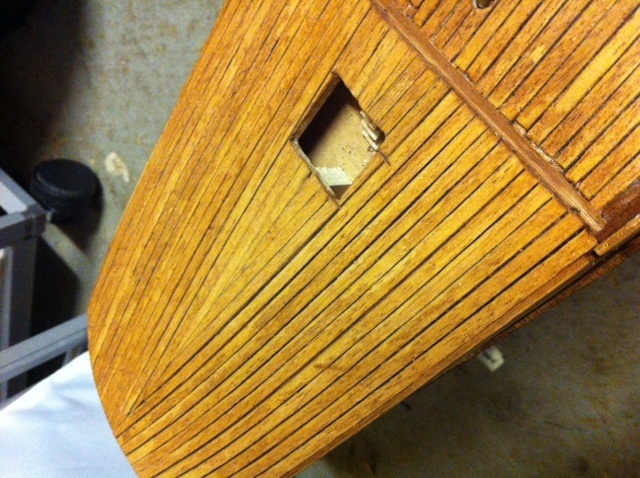
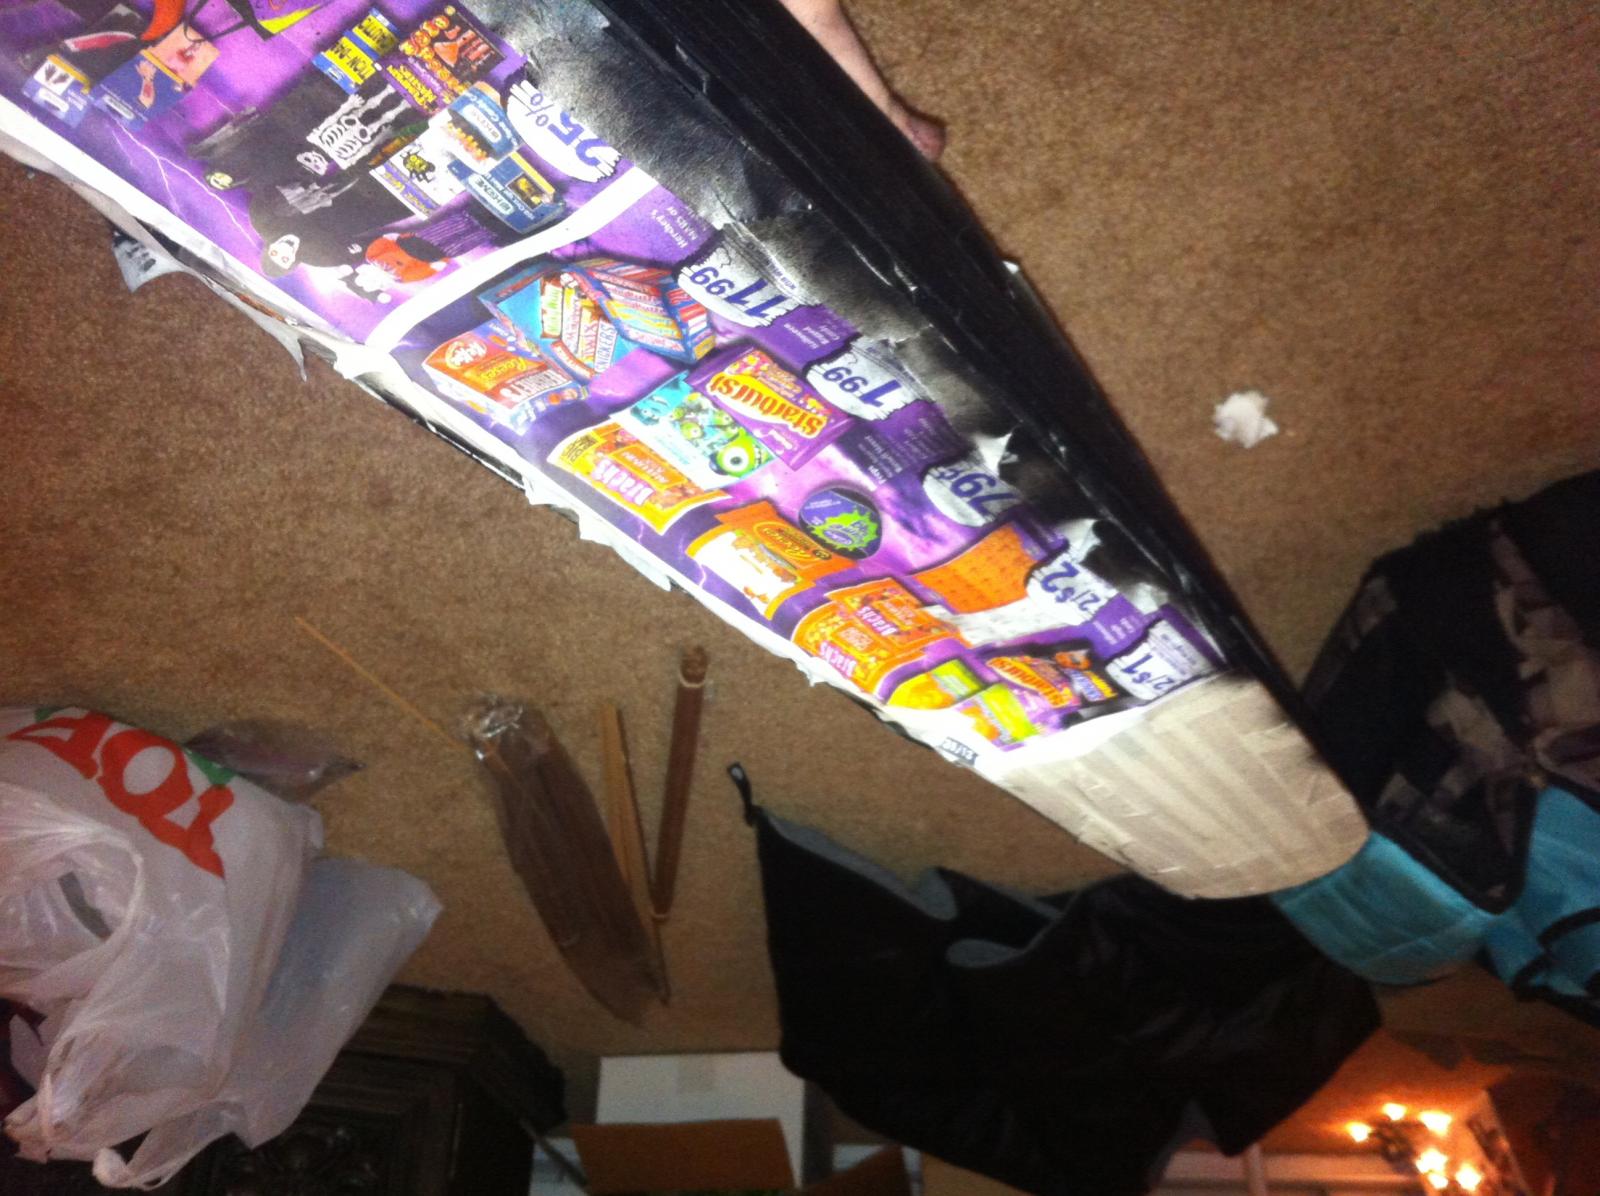
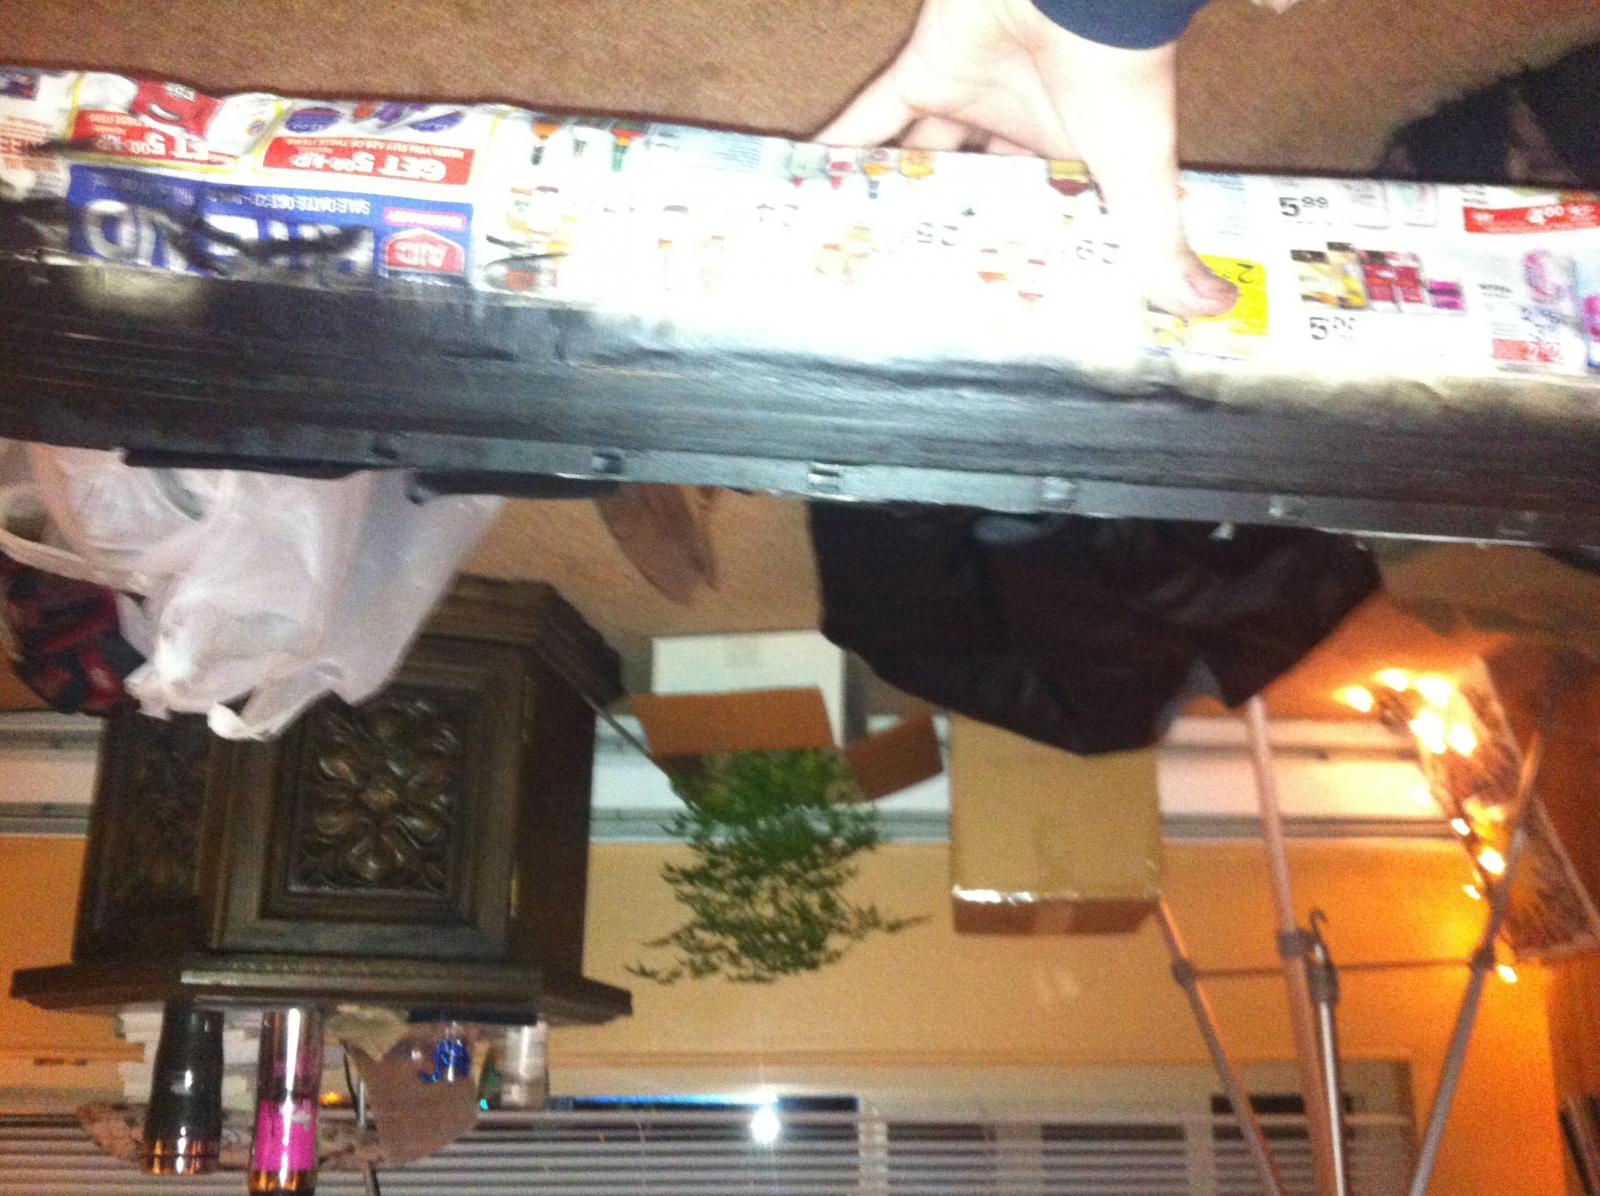
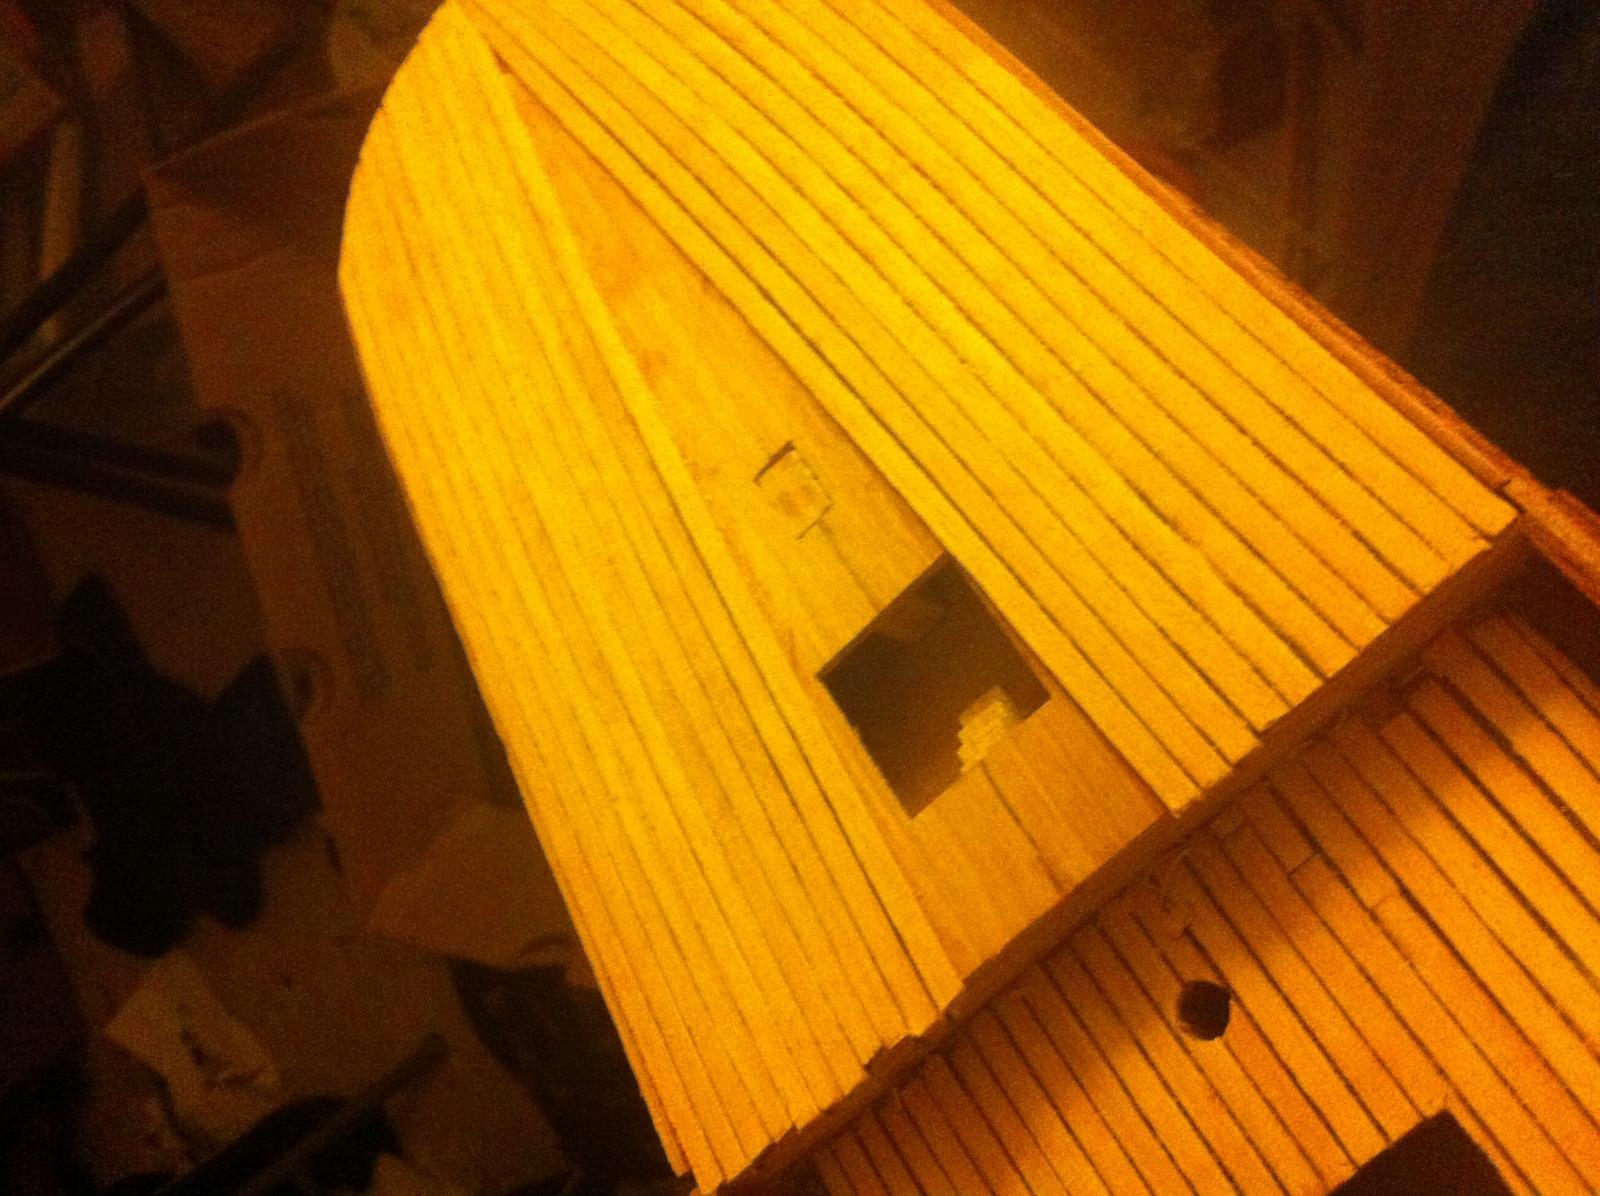
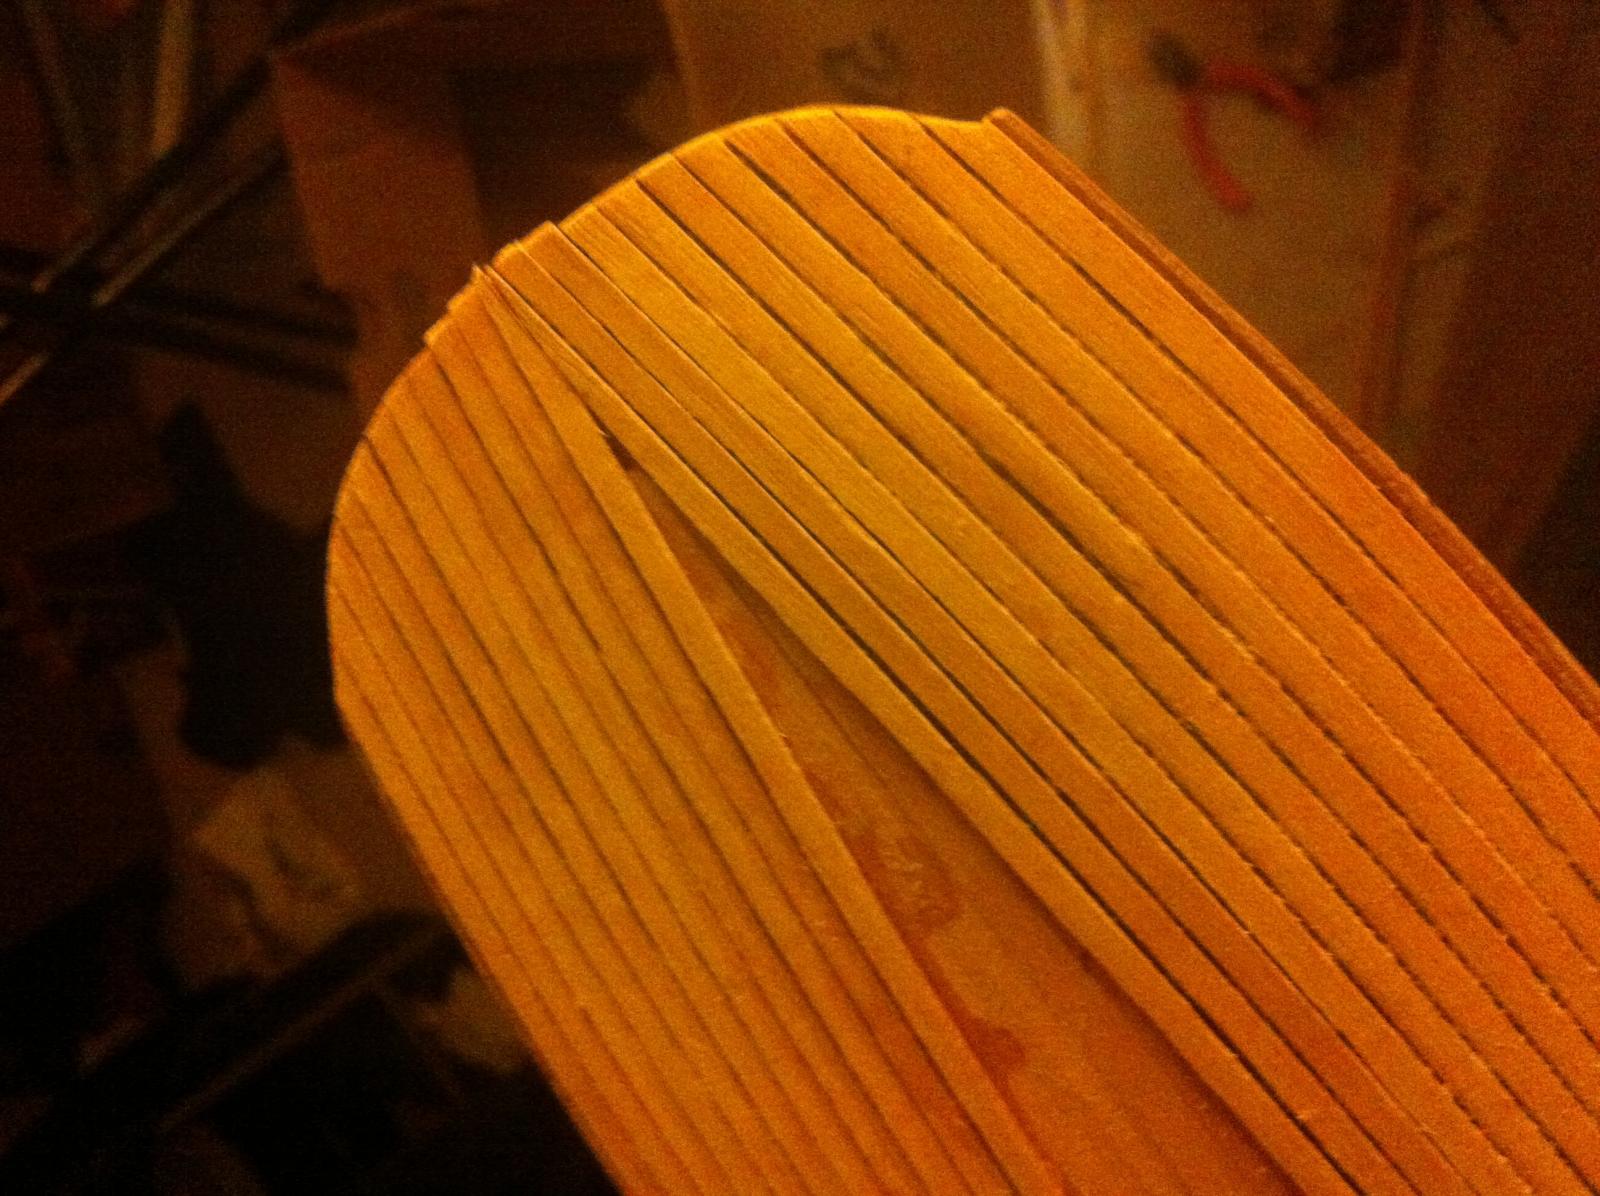
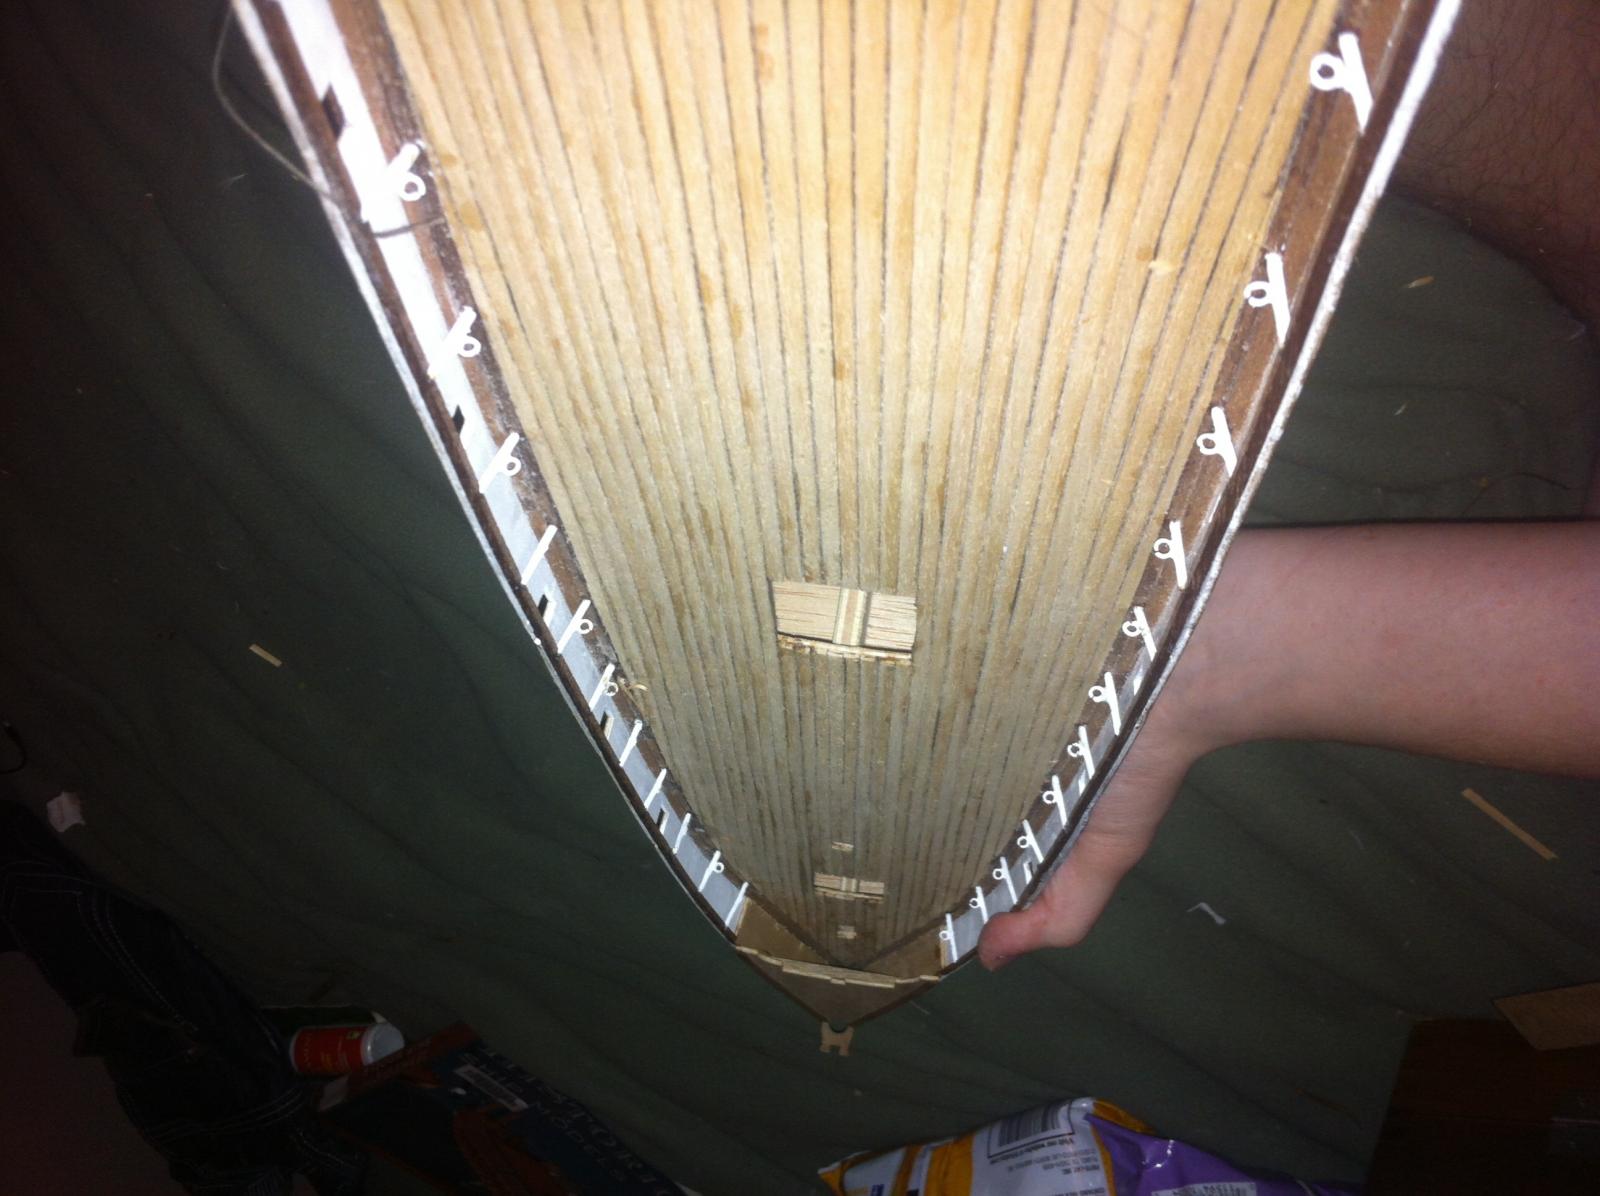
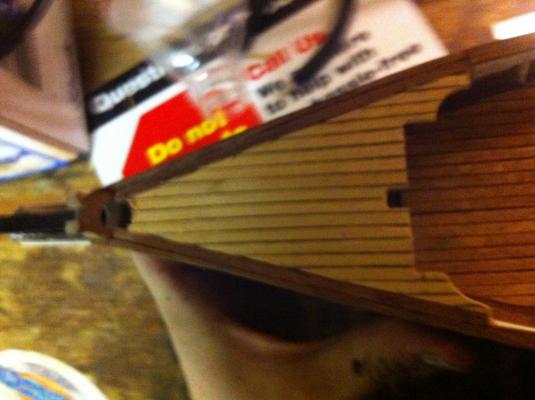
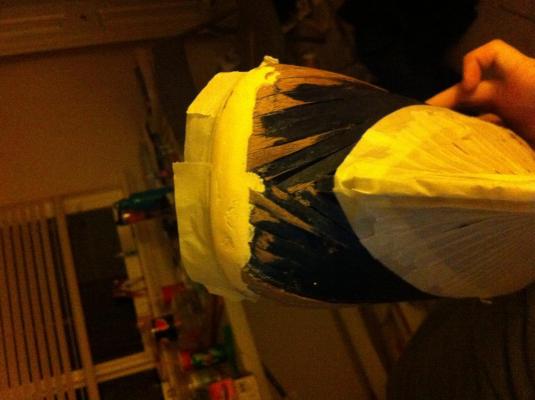
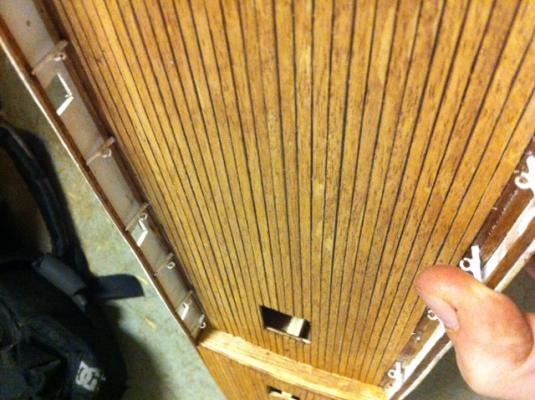
Sorry if the pictures are all topsey turvey. Yes I am blowing through this kit. It has to be done by Christmas to give to my mother. I don't have a whole lot of money so this is her big gift. Yes I will put stealers in when I run into a brick wall such as needing more paint or a new knife or something to do another part of the ship. And yes they are one continuous length but time permitting I will be going through with a knife and a pencil making the horizontal cuts and possibly adding the nails. I don't think she will really care or notice, I believe she will only see the overall ship. Also, sadly I don't THINK I will have time for the masts but at the rate I'm going who knows. I have gotten so much done in just the past week and I'm really proud of how much I've gotten done. I was being so lazy for a while there and now I'm paying or it. So the masts may possibly be cut off stubs. Here's what I have done now. And the last picture there is my work station at my parents house. It's a really cool little workbench in the garage with a couple power outlets and I rigged a camping lantern up under the cupboard for some more direct light. Sadly I can't use this all the time, only on the weekends when I come over


-
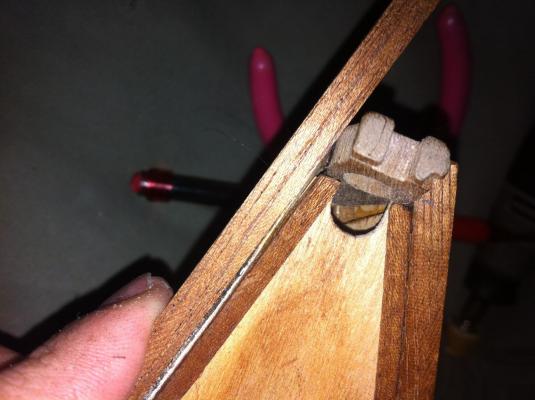
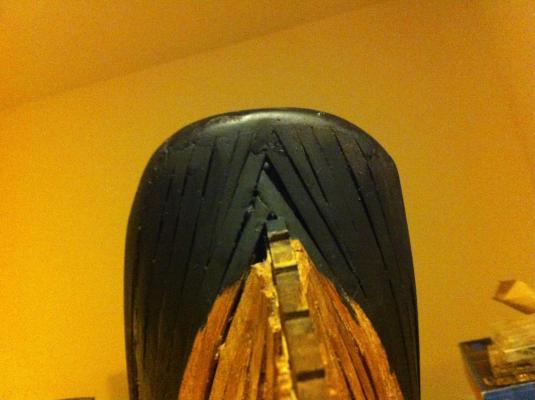
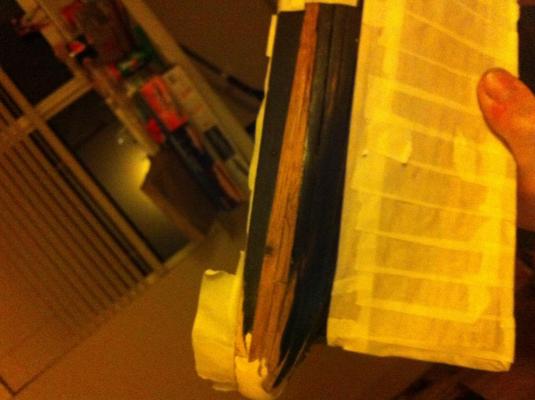
Oh here's the pics of the railing. The first one demonstrates the gap before I sanded it at an angle. The railing on the left shows the gap

-
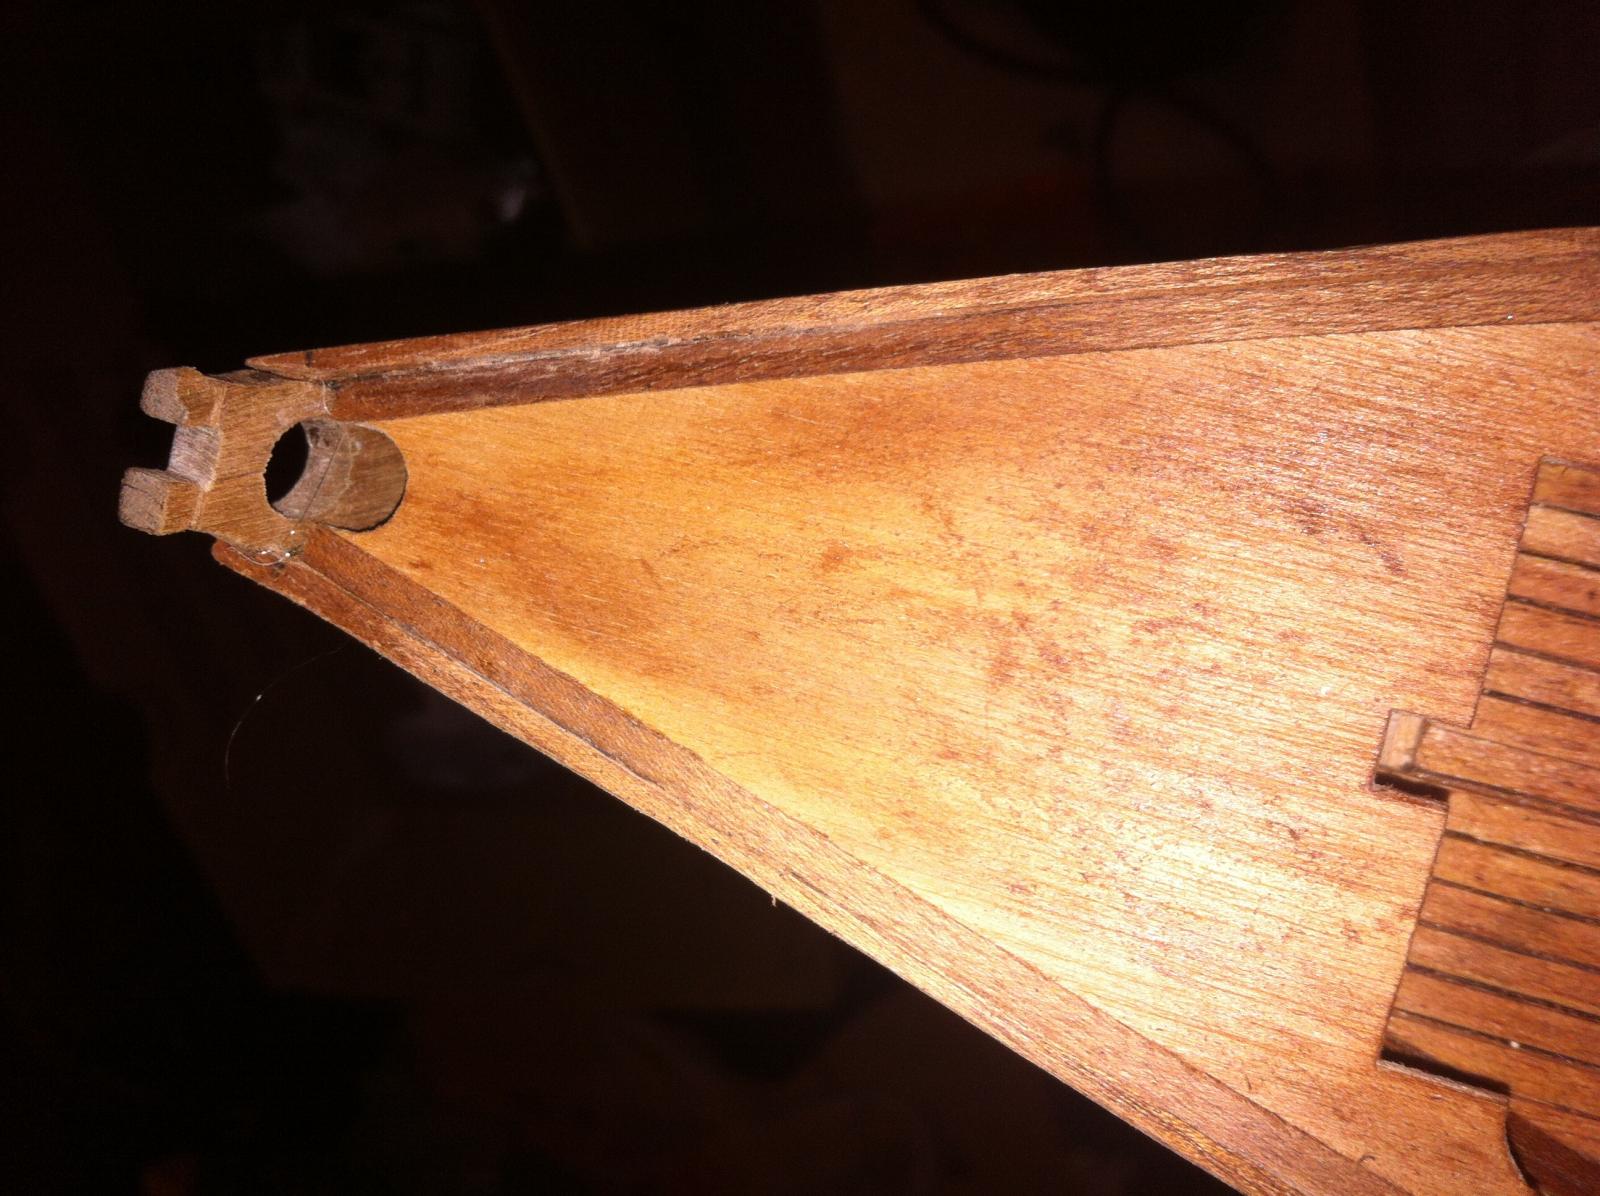
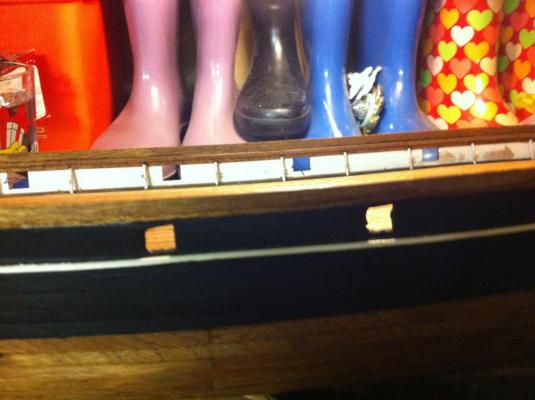
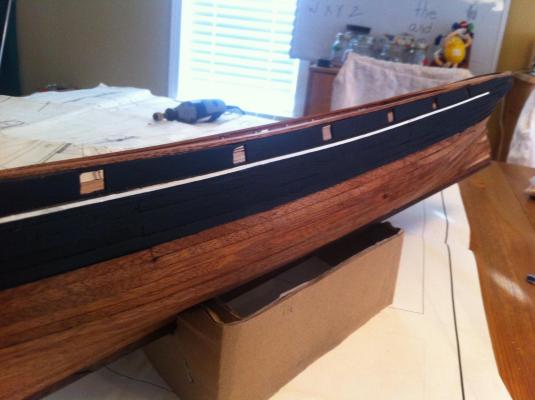
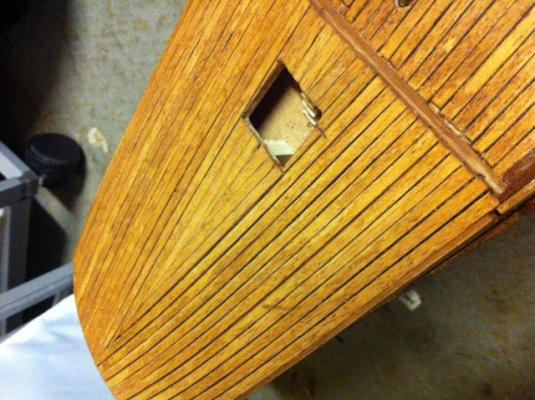
Ok so I've done alot, I painted the dead eyes and rubbing strakes. I then filed the dead eyes down so it would transition from the hull to the stem smoothly. I also glued the rest of the railing on that goes above the stanchions. They wouldn't rest against the bowsprit chuck uniformly so I filed down the end of them at an angle so they fit perfect. I was quite proud of that. Before i placed the deadeyes i glued the step into place and painted it. Oh and I guess I shoulda mentioned I first puttied and painted the stern. That looks great also. Enjoy the pictures please leave some critique.


-
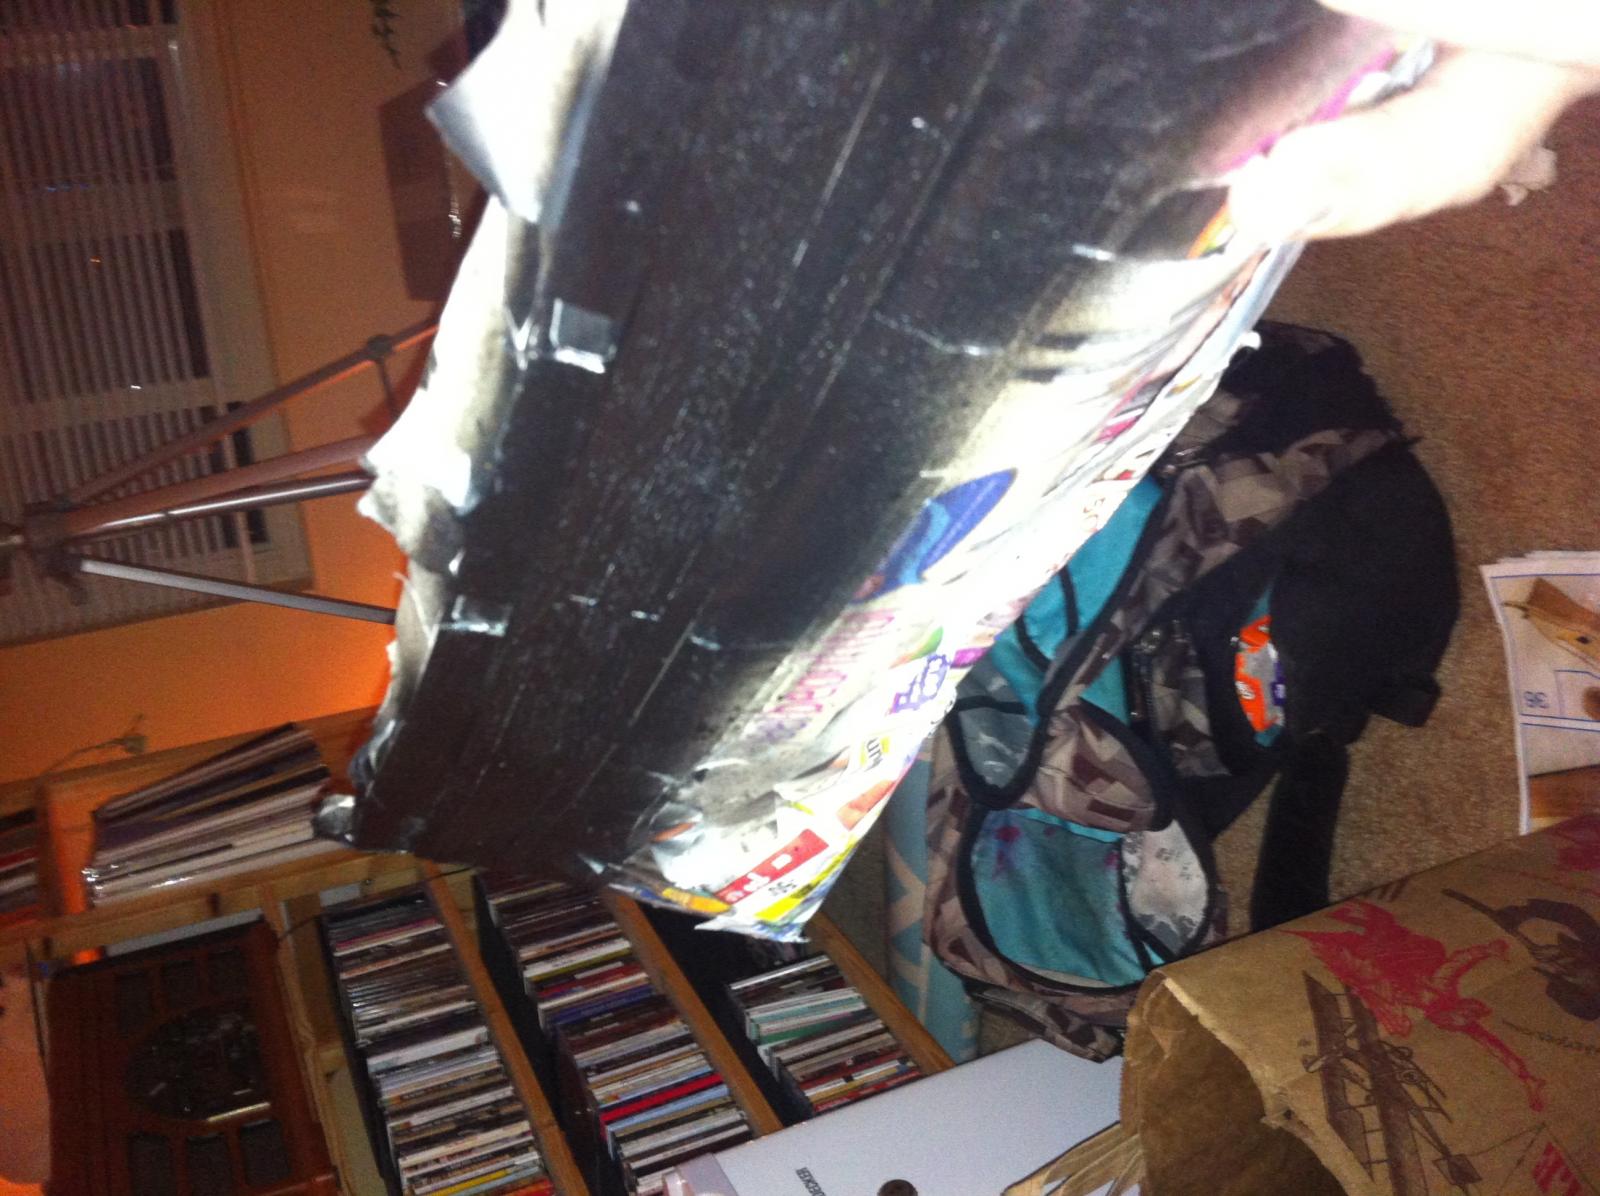
Ok so I have done a wash over the decks to make it a few shades darker, I think it turned out rather nice all things considered, and once the dek furniture is on it will break up the look of it as well. Also I have painted above the waterline, a black color and then a flat/dull clear coat. I then put on the railing and realized I had a couple more gaps to fill at the stern and also that the stern needed to be puttied. So I filled some gaps and puttied it up. Unfortunately I am on the road at the moment and don't have all my pictures w me but here is what I do have, more soon.


-
At first I was like "that caulking looks terrible, look at all the bubbles that pop up" but then on the next picture where it's scraped, I was like O.O it looks AMAZING. I am definitely going that route in my next build
-
Cutty Sark by Nenad
SpencerC replied to NenadM's topic in - Build logs for subjects built 1851 - 1900
Uh oh nenad in that third picture it looks like its a little unsymmetrical. My scratch build is a little unsymmetrical too (ariel clipper) though so don't worry. -
The water looks great
-
I love the stairs but you should sand the outside and inside edges to round it out. Also on the second to last picture, the very outside-most railing; you should bevel the part that is slanted from the lower part of the railing to the upper part so that it is flush.
- 73 replies
-
- 1
-
-
- prince
- constructo
- (and 1 more)
-
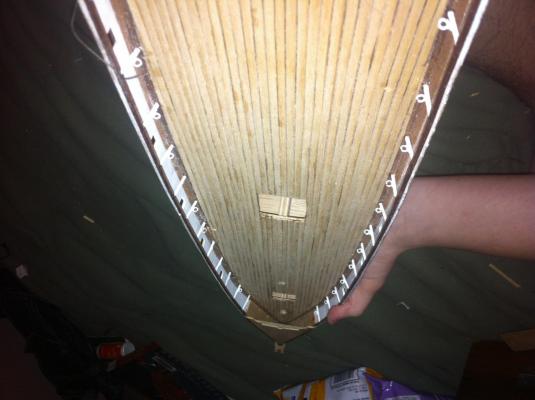
Ok finally another update. A small one. Got both sides done. A couple rings came off while transporting the ship so ill have to glue those back in place but I'm so sick of doing that I'm going to do it later, it can wait. In order to proceed with putting the railing on I need to get the poop deck (or is it the quarter deck?) planked. I'm almost done planking it. It's harder than I thought it would be. Mostly because of the way I'm bending the planks to make this certain design of how they will intersect w each other, and the string caulking. I will never do caulking this way again. Ugh. Enjoy


-
So you're not painting the pieces prior to putting them all together?
-
I suppose I could ... so I'm really out of options then?