-
Posts
635 -
Joined
-
Last visited
Content Type
Profiles
Forums
Gallery
Events
Everything posted by Thanasis
-
Hi Newton. Have you tried searching the web by the option of your browser "Images" and the words "Santa Maria crows nest"... Thx
-
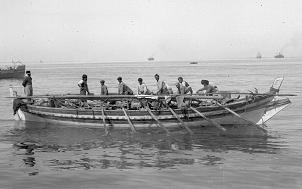
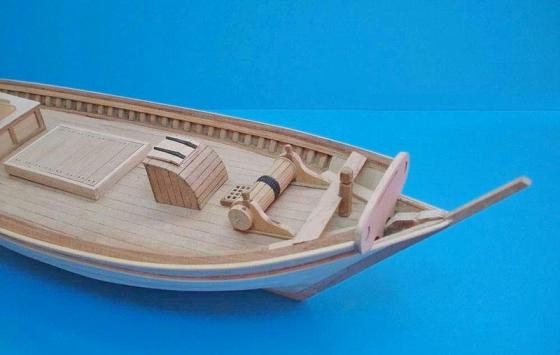
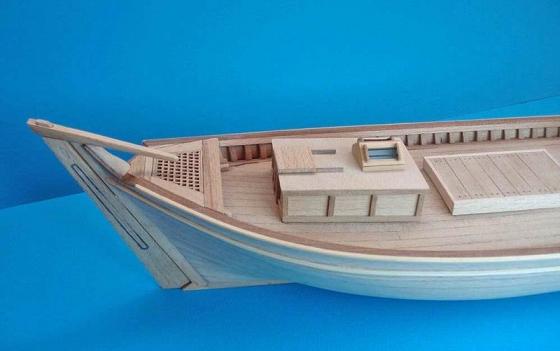
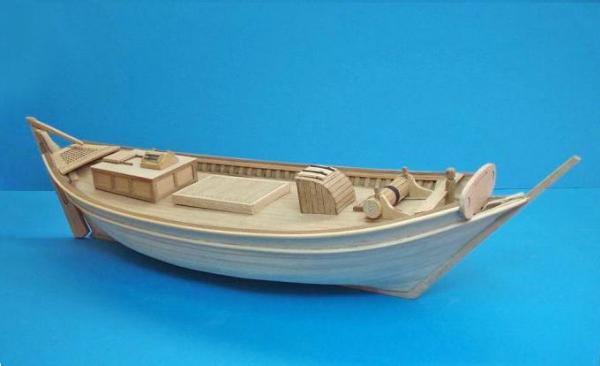
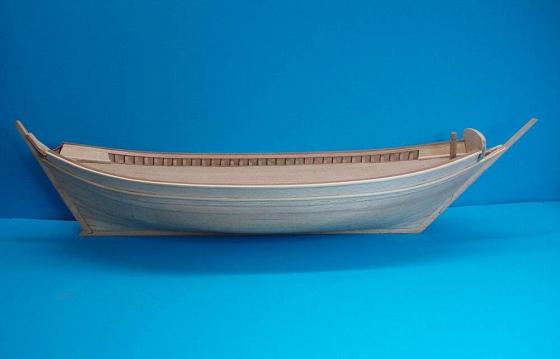
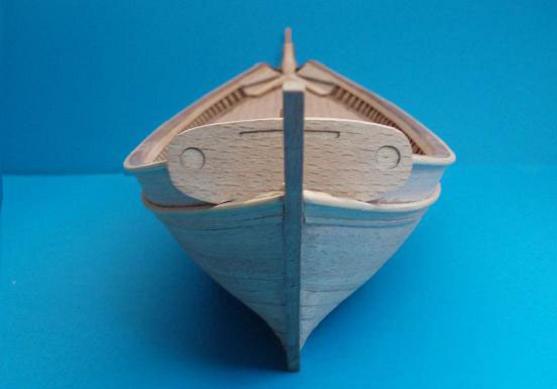
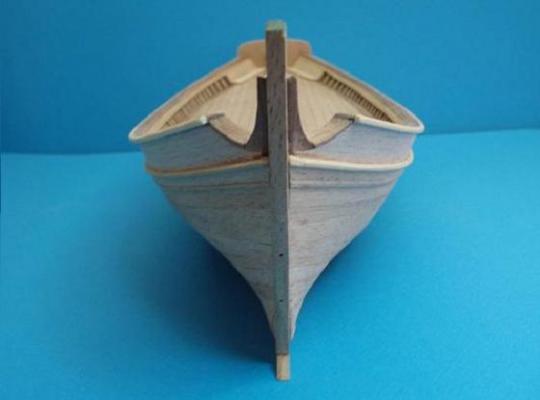
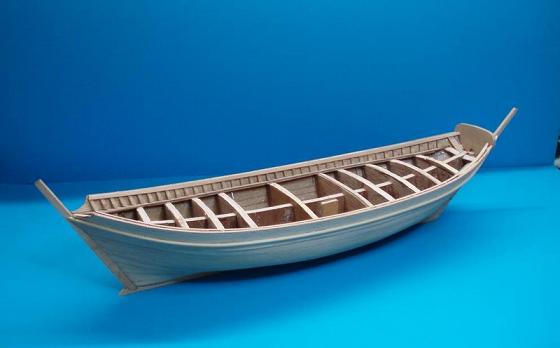
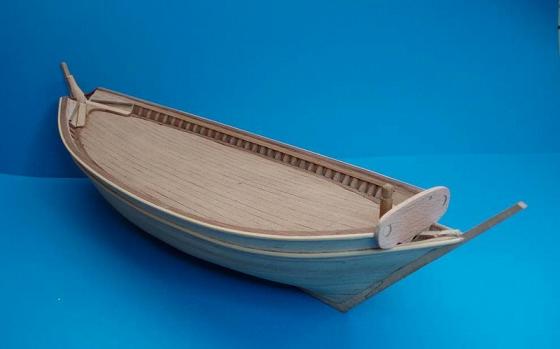
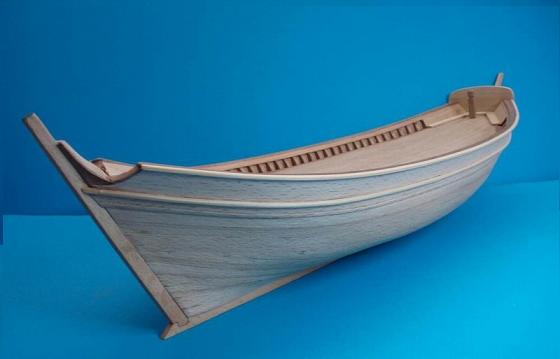
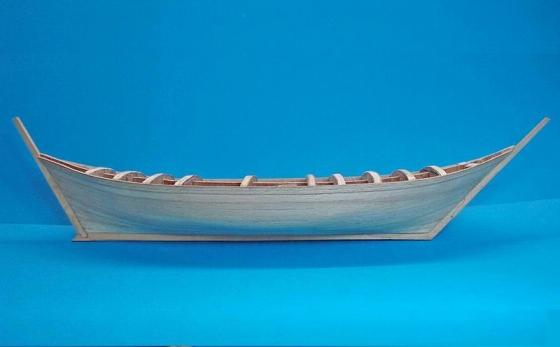
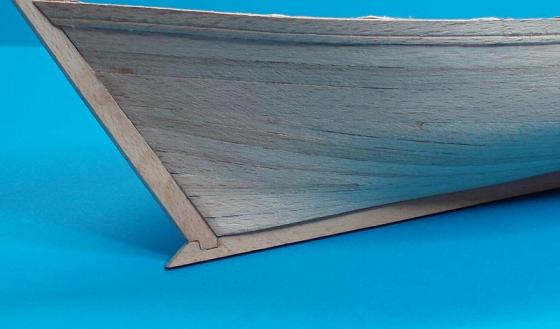
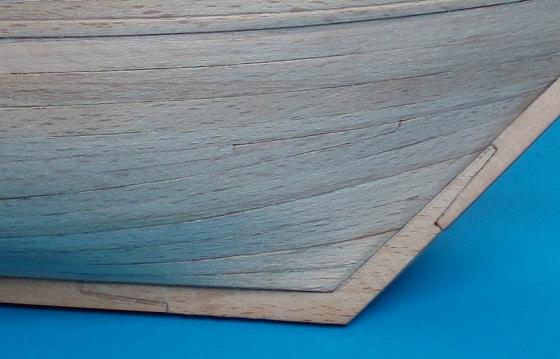
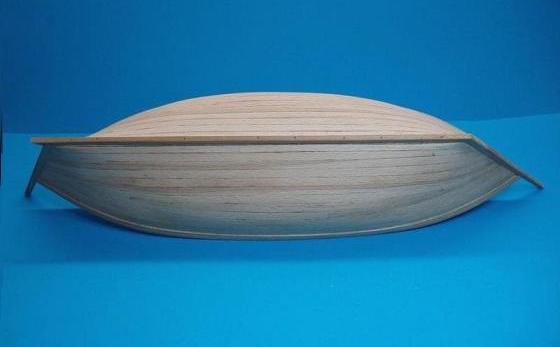
I guess you're right, since as far I know, the "Greek Trata" (τράτα) was used only for fishing. But we're certainly sharing the shape of the hull and the name modifications... I'll be here... Thx
- 150 replies
-
- TRAJTA
- fishing and cargo boat
-
(and 2 more)
Tagged with:
-
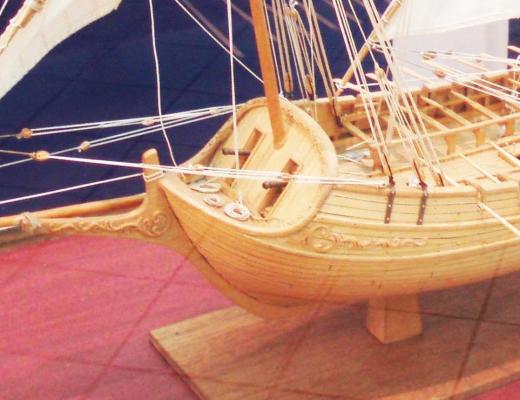
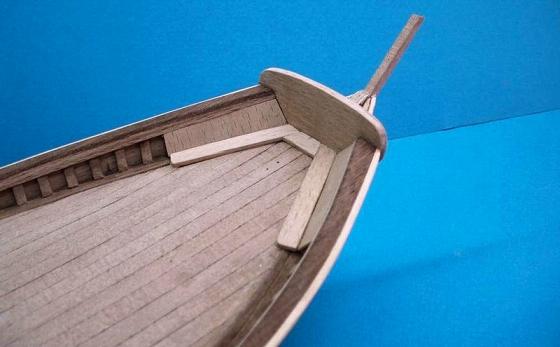
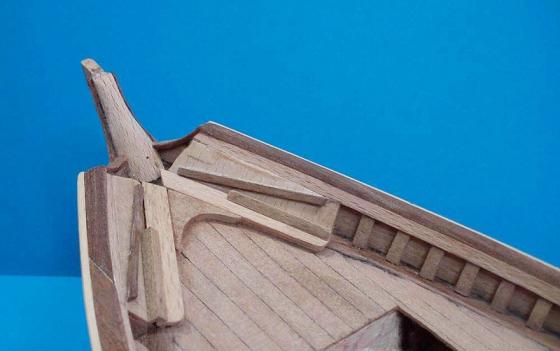
Hello MarisStella. Thank you for this interesting story of "Trajta". Well, I didn't see it but among the other nations which are claiming the "trata" as their traditional vessel, you can list the Greece as well.... We call it as "Trata", and has been served by our fishermen in many sizes with or without sails. Unfortunately there isn't any provided kit, so the modelers here have to make it from scratch. I'll follow your built log with interesting.. Thx
- 150 replies
-
- TRAJTA
- fishing and cargo boat
-
(and 2 more)
Tagged with:
-

Bracera (Brazzera) by Albuk
Thanasis replied to Albuk's topic in - Kit build logs for subjects built from 1851 - 1900
Hi Alex. You're doing beautiful work on your model and I like that you don't stay on what is provided with the kit.. As about the colored glasses, consider whether you can use part of a colored ballpoint pen (from the crystal tube) or from the curved side of a colored lighter. Keep up the good work Thx -
Hi Robert. Sorry but it's been a long time ago that I built the model and I haven't kept the manual neither the model... But just now I remembered a friend of mine that he had built the same model and he had post photos of her construction in another forum (I think here as well but in MSW 1.0) Take a look at his photos in the below link and I hope you find some answers. http://shipmodeling.net/photopost/showgallery.php?cat=643 Thx
-
Hi Robert. I wish you to have a nice journey making this model. See the drawing from the book "Planking model ships" by Richard Mansir, to see how the planks should be in sequence...This is what I meant, when I wrote you for "some cuts close to the edges". I suggest to follow David's method with card templates. Thanks
-
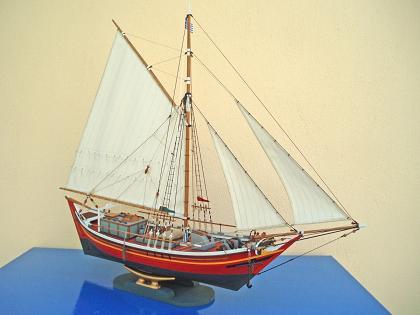
Hi Robert. I have built the Greek Galliot but unfortunately I haven't kept photos from her construction. Reading in the manual to leave the planks " lie naturally", it means that you should do so, but after you have curved them in a form close to the shape of the hull. You might also need to make some cuts close to the edges to bring the planks close. Because of the painting, you can't see what I have done to my model, I place a photo of another Galliot (from scratch-not mine) and I think you'll get the idea... Thanks
-
In previous MSW.com, a member with the name “Zarko” painter and modeller, (he might watching us here as well…) had presented an interesting method. According to him, he used to apply over the model, a thin coat of “asphalt”, a product for car chassis protection. It is provided as a thick liquid, which after it has been dried, it's wiped and what remains gives the sense of wood surface. I haven't tried it, I just post his method for further experimenting… Thanks
-
Hi Wayne. I wish you a nice trip with this project... My two cents. I had never built a ship in bottle kit, so I have no experience about the easiness of a supplied bottle. But having been dealing with ordinary bottles, I would firstly check the clearness and worry less about the diameter of its neck. Looking at the photo, the bottle in front of the manual, I would like to know how much of the text I could read, on a part of it being placed inside the bottle...Then I could figure how much of my work, could be visible. Certainly all the above make no sense, if you want to use the kit as it is, including the old bottle. Thanks
- 15 replies
-
- bottle
- constitution
-
(and 1 more)
Tagged with:
-
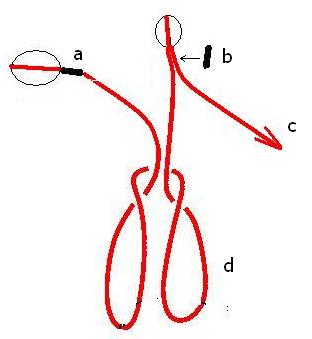
Hi Hamilton. In my below suggestion (this is what I do…) you will need at least one false (zip) seizing. You seize one block at the end of a thread (a), you make a cow hitch knot (d), through which you pass the bowsprit, you make a loop and adjust the false seizing (b.) and the second block. By pulling the free end of the thread (c.) you bring together the two blocks while you fasten them on the bowsprit. You finish with a drop of glue at the false seizing. Thanks
-
About the Greek "Π" (P) shape of the bended wire at the base of a mast... I have also used nylon thread on wooden mast, after I had stiffen the edges and glued them in holes on the deck. Nylon thread, because of its elastic nature, gives also some tightening, when keeps the mast in the upper position and after you have glue it on the deck, with the mast in an angle... Thanks
-
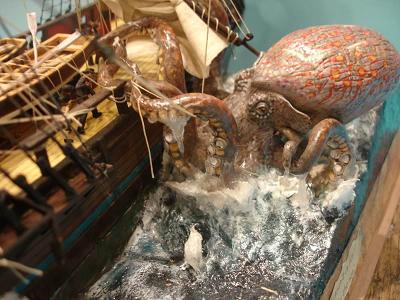
Well, a similar talk about the color of the creature, had been made in that Greek modeler's build log... So, it had been said that since the octopus (here kraken probably would be also a member of Cephalopoda Greek plural κεφαλόποδα (kephalópoda); "head-feet") has the advanced ability to change colors for camouflage as well as to express emotional conditions, then its color, while it's attacking the ship, should be expressing at least anger... I don't know whether he had made any research before he paint his creature as in photo, but certainly it's up to any one, to create and present his work as he thinks better. Thanks
-
Hi. As a former "ships in bottles" modeller, I have already taken another seat... A Greek modeler has been inspired by the same print and made a small diorama, using clay for the monster... Here you have to deal with something more complex . I would try something from rubber but first I would visit a fishing shop to see what I could do modifying some fishing rules or octopus plastic replicas. Thanks
-
I had answer the second part of your question in the previous MSW... I think the below sketch should help you. Thanks
-
Many thanks Russ, I really appreciate your comment. I'm sorry but I'm afraid I might disappoint you. As I have told you, I haven't kept many (any other) photos. After the woodwork, what followed is the painting and the rigging and because it's a simple model, I never thought that these short stages would be interesting... Thanks
-
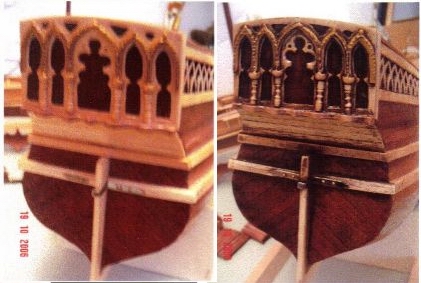
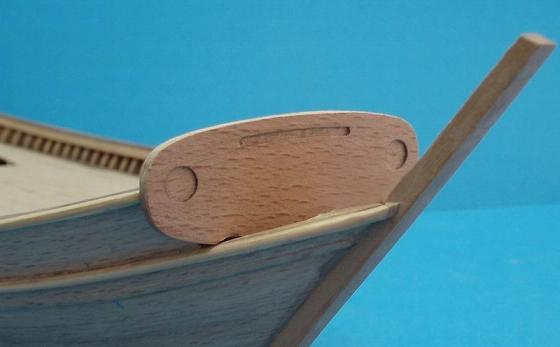
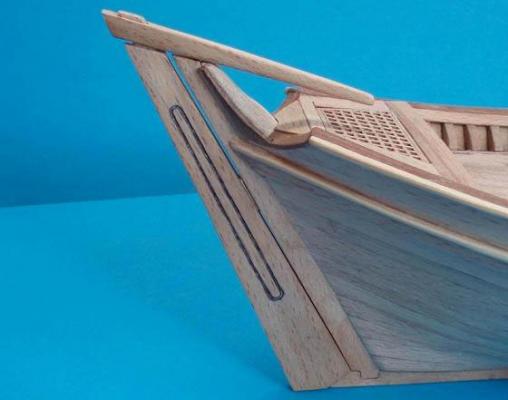
The counter was made by a proper shaped piece of wood on which, a second thin sheet of wood at the same shape, was glued. By making the decoration cuts on the sheet of wood, I avoided the wood carving on which I don't have a good name... "Cheating" again...the carving on the rudder made by a ballpoint, that was passed some times, around a metallic form.
About us
Modelshipworld - Advancing Ship Modeling through Research
SSL Secured
Your security is important for us so this Website is SSL-Secured
NRG Mailing Address
Nautical Research Guild
237 South Lincoln Street
Westmont IL, 60559-1917
Model Ship World ® and the MSW logo are Registered Trademarks, and belong to the Nautical Research Guild (United States Patent and Trademark Office: No. 6,929,264 & No. 6,929,274, registered Dec. 20, 2022)
Helpful Links
About the NRG
If you enjoy building ship models that are historically accurate as well as beautiful, then The Nautical Research Guild (NRG) is just right for you.
The Guild is a non-profit educational organization whose mission is to “Advance Ship Modeling Through Research”. We provide support to our members in their efforts to raise the quality of their model ships.
The Nautical Research Guild has published our world-renowned quarterly magazine, The Nautical Research Journal, since 1955. The pages of the Journal are full of articles by accomplished ship modelers who show you how they create those exquisite details on their models, and by maritime historians who show you the correct details to build. The Journal is available in both print and digital editions. Go to the NRG web site (www.thenrg.org) to download a complimentary digital copy of the Journal. The NRG also publishes plan sets, books and compilations of back issues of the Journal and the former Ships in Scale and Model Ship Builder magazines.


