


Adrieke
-
Posts
1,625 -
Joined
-
Last visited
Content Type
Profiles
Forums
Gallery
Events
Posts posted by Adrieke
-
-
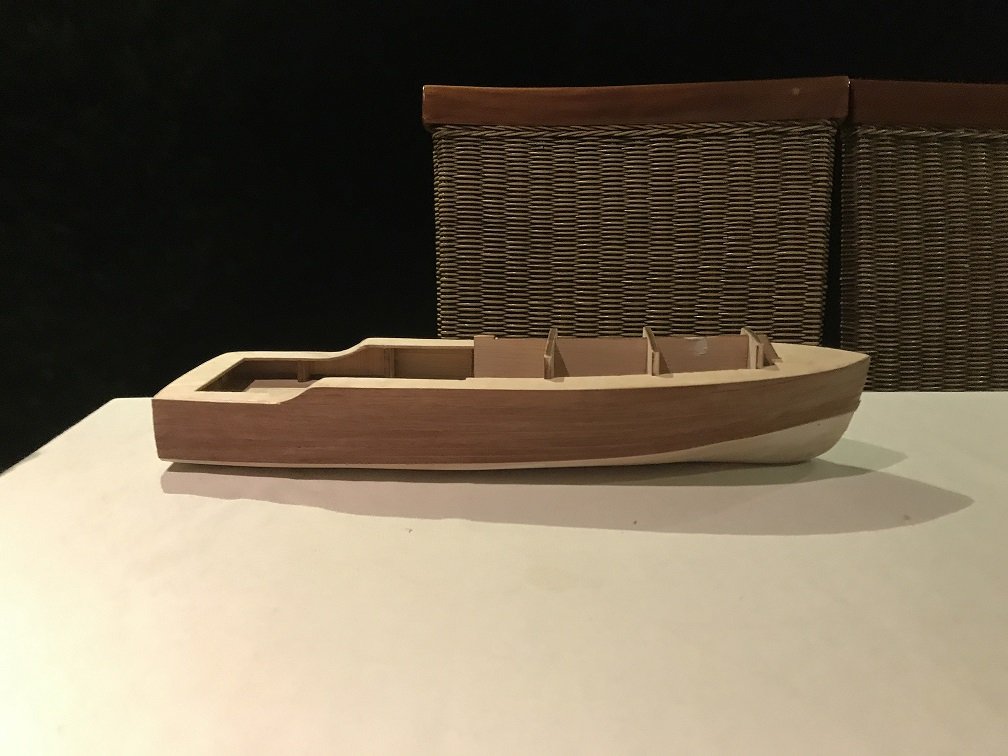
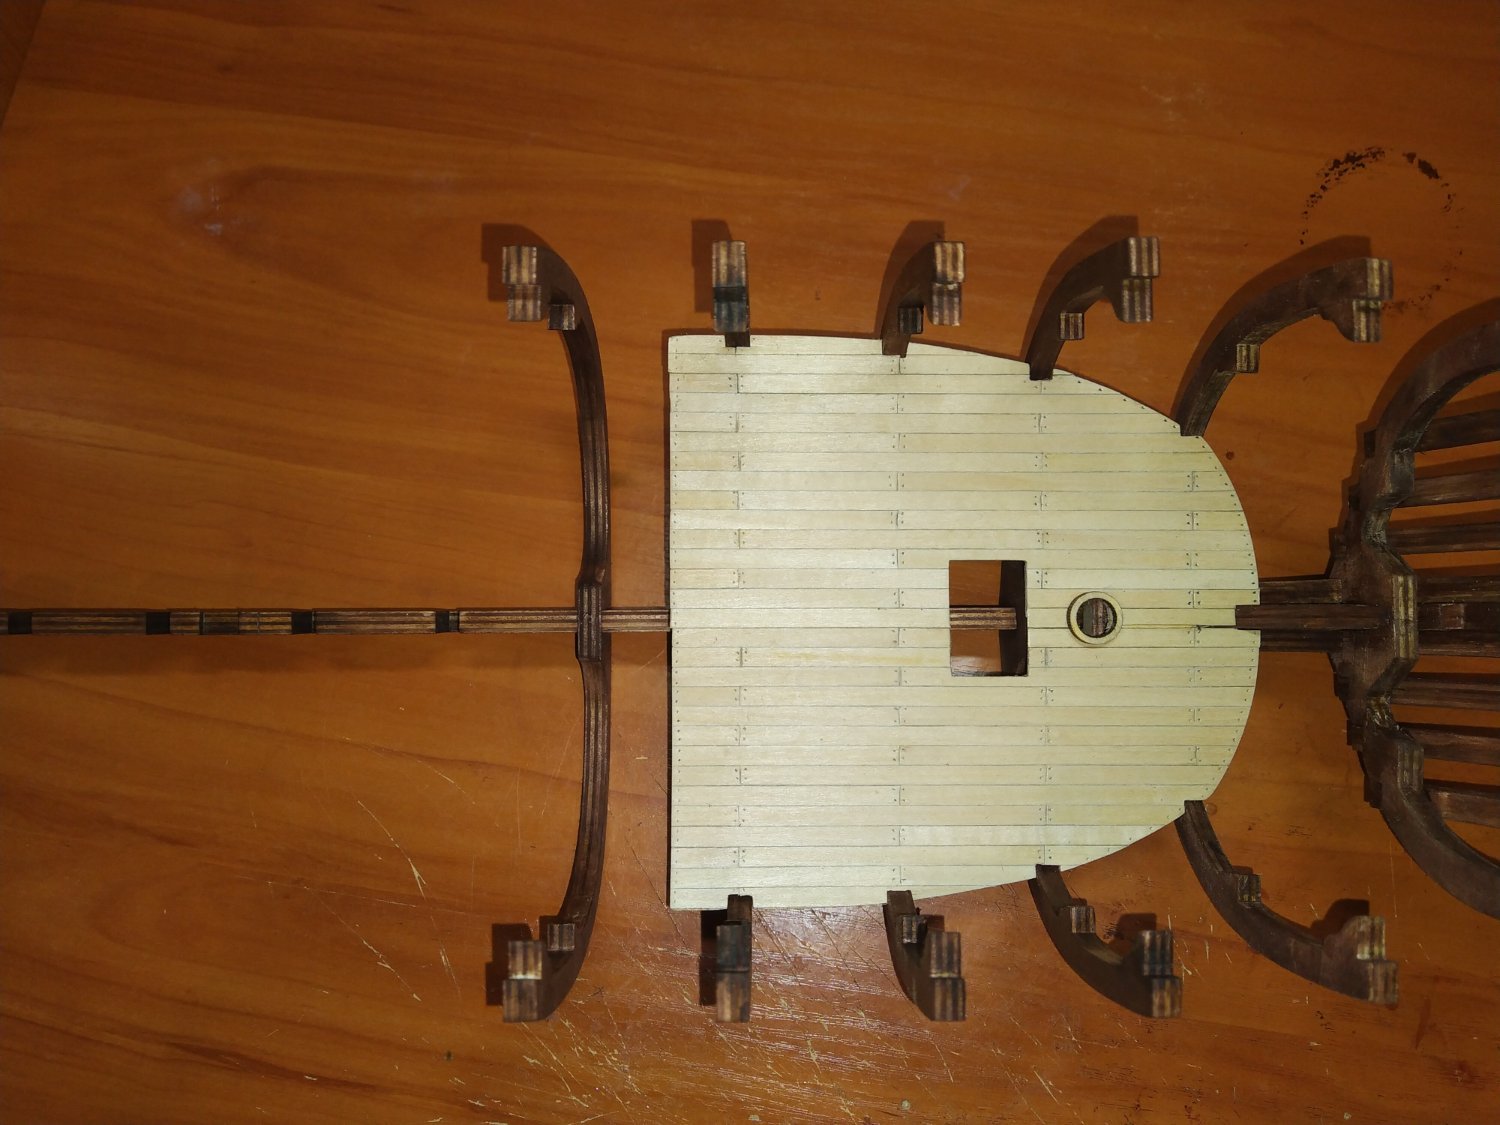
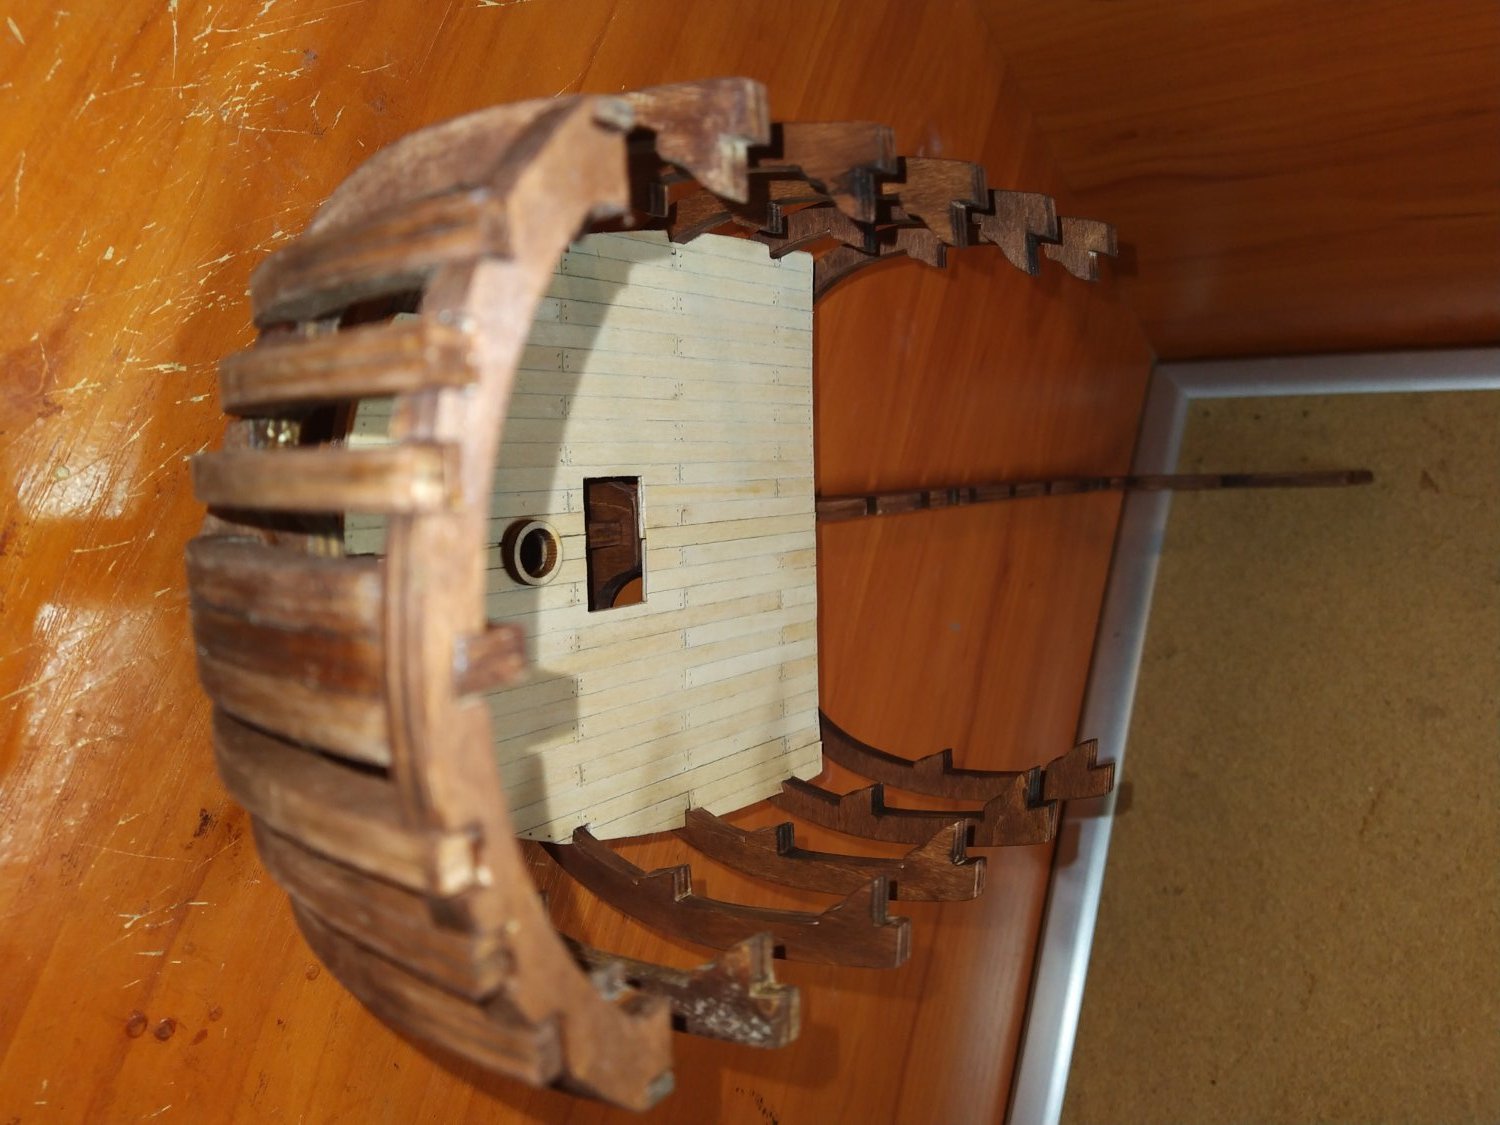
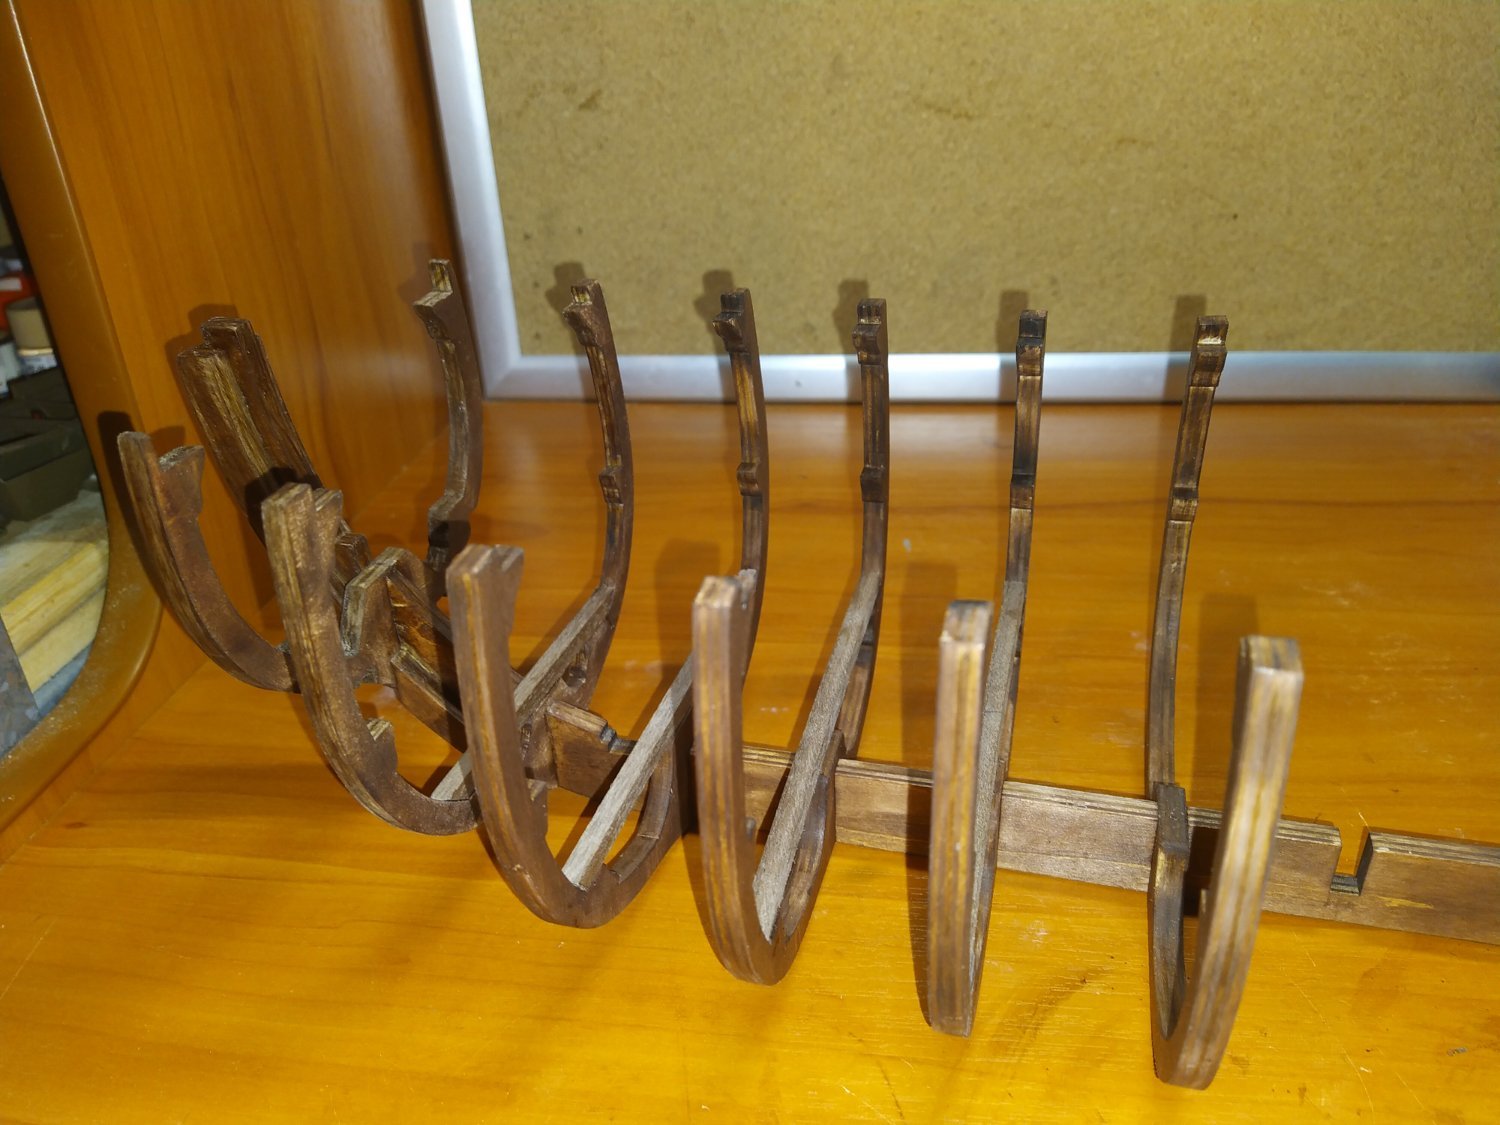
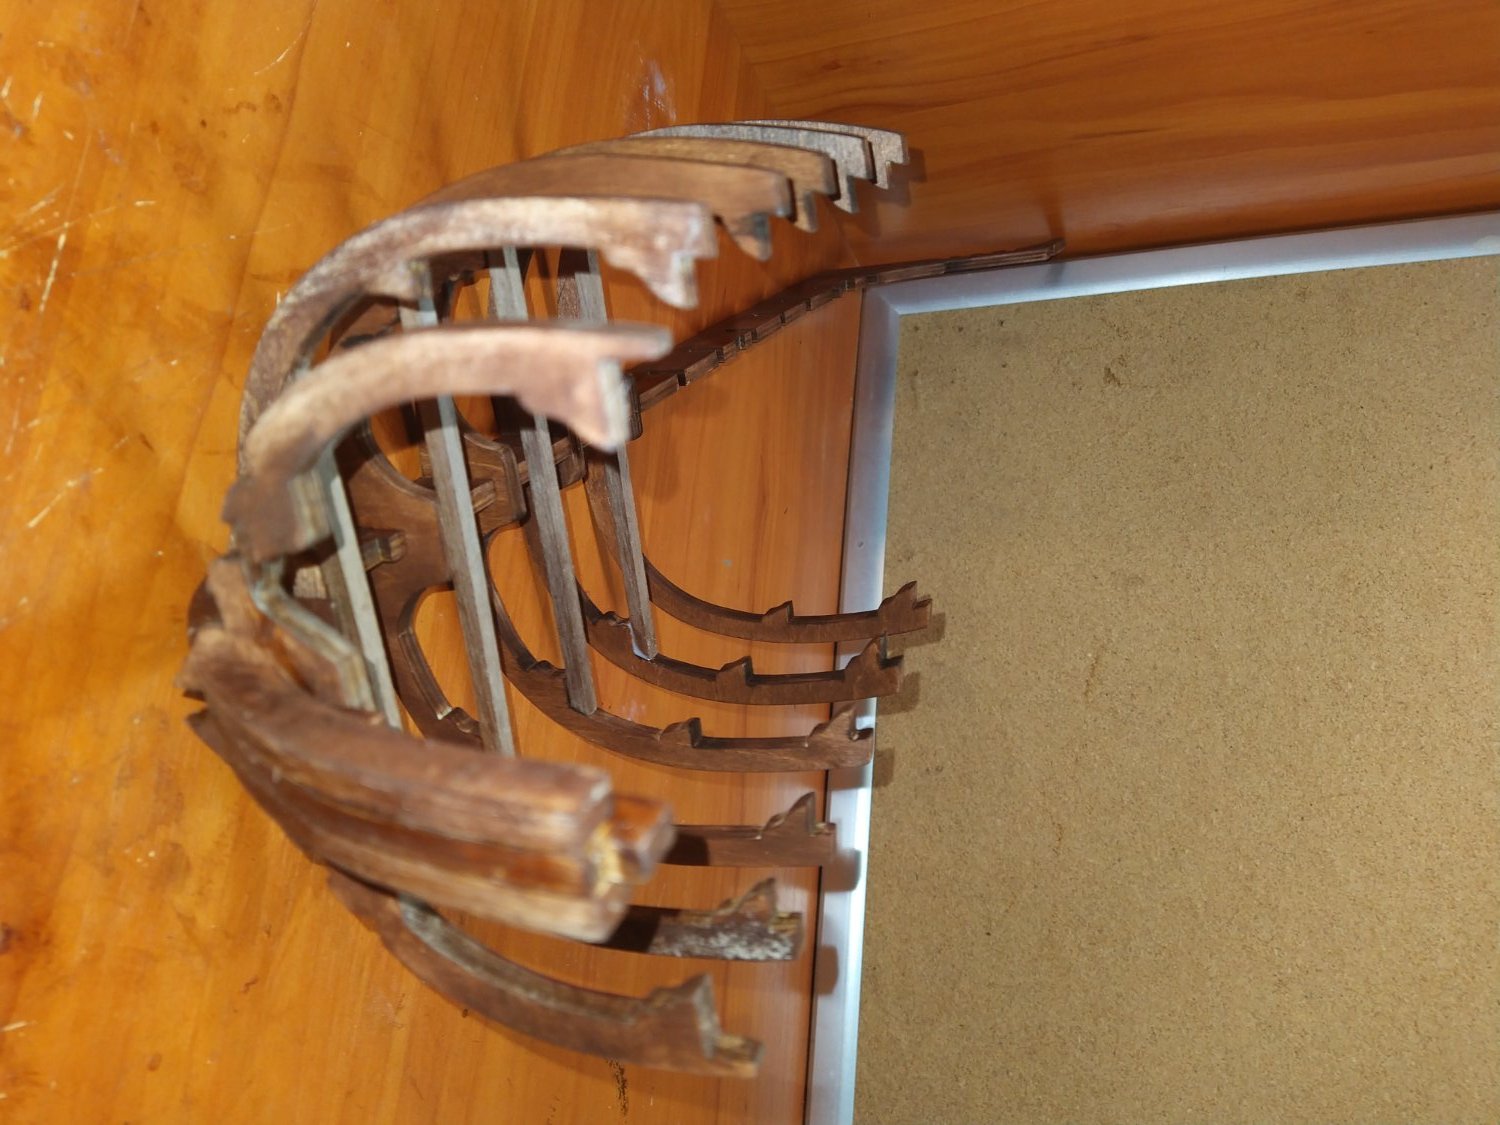
Step/Photo 3
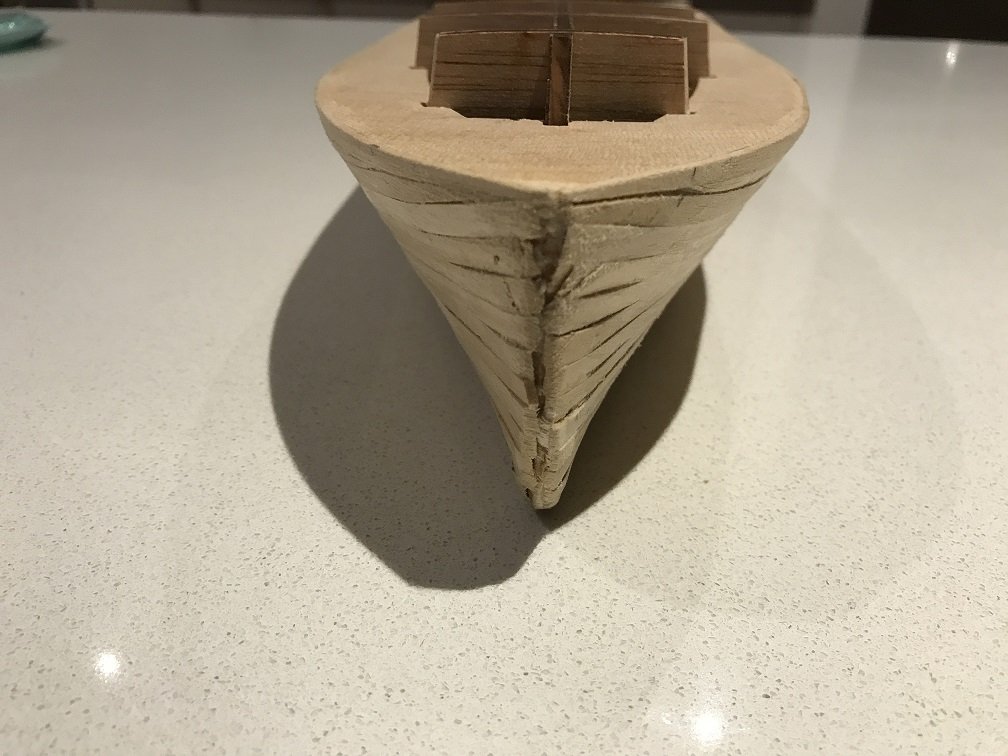
I planked the two parts leaving room for the middle plank that I added after the two parts where glued in place, leaving no visible gap.


- Jack-in-the-Blue and Dave_E
-
 2
2
-
-
-
hello Carl , the model is about 45 cm long
hi Scott , yes its been awhile
hey Piet nice to see you again too
")
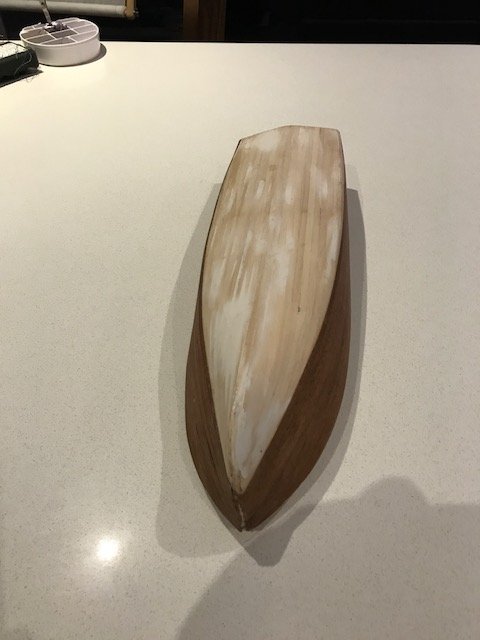
this week not much progress, still working on the second layer. I struggled a bit with the angle at the stern but got it done on one side , hopefully the other side will be easier.
- Piet, GrandpaPhil, cog and 2 others
-
5
-
Thanks Carl and Grant
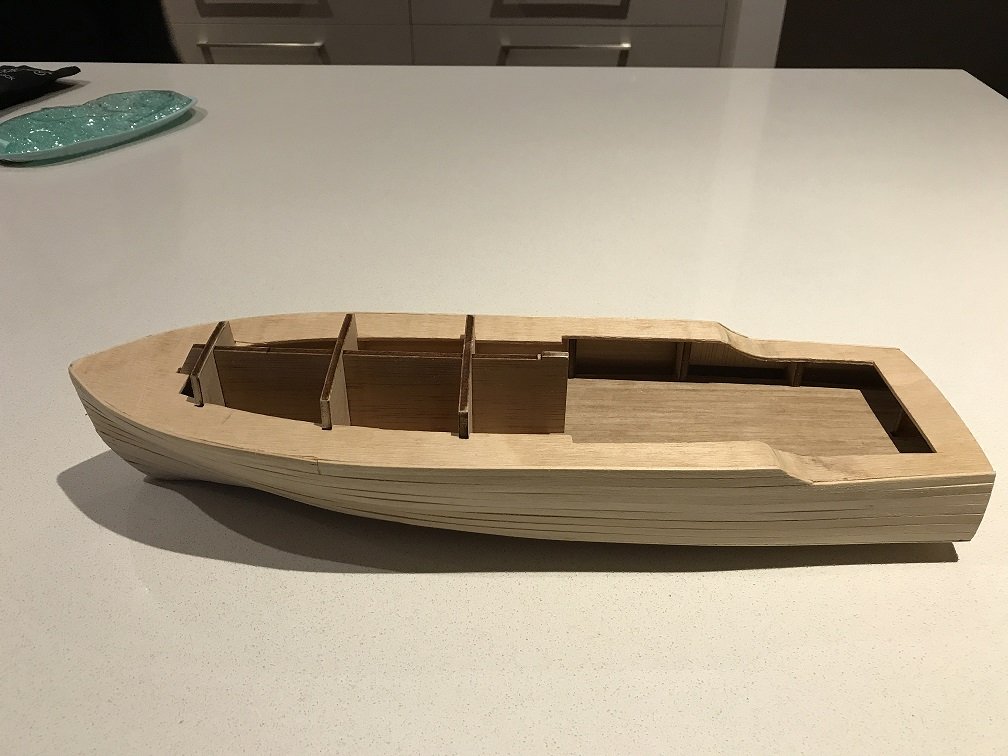
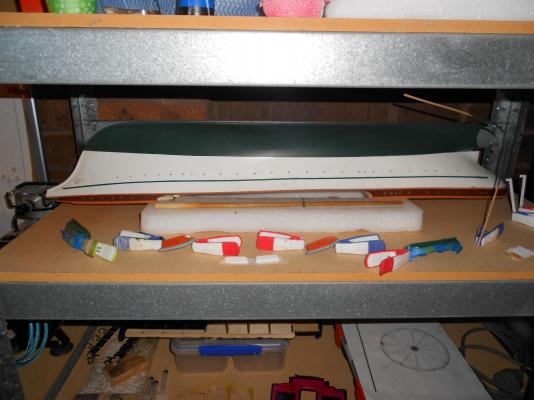
as promised an update on where I am at :
I had a look at what the real Pilar looks like and If possible adapt my build to it. I am a bit confused though as I found pictures of it renovated where they removed most of the air intakes.
- popeye the sailor, Piet, cog and 2 others
-
5
-
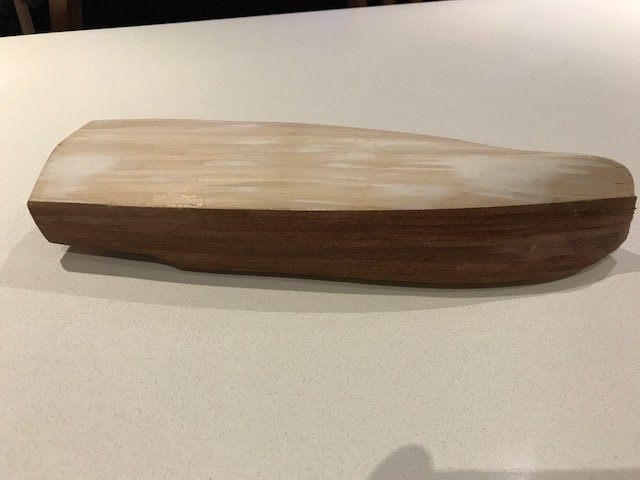
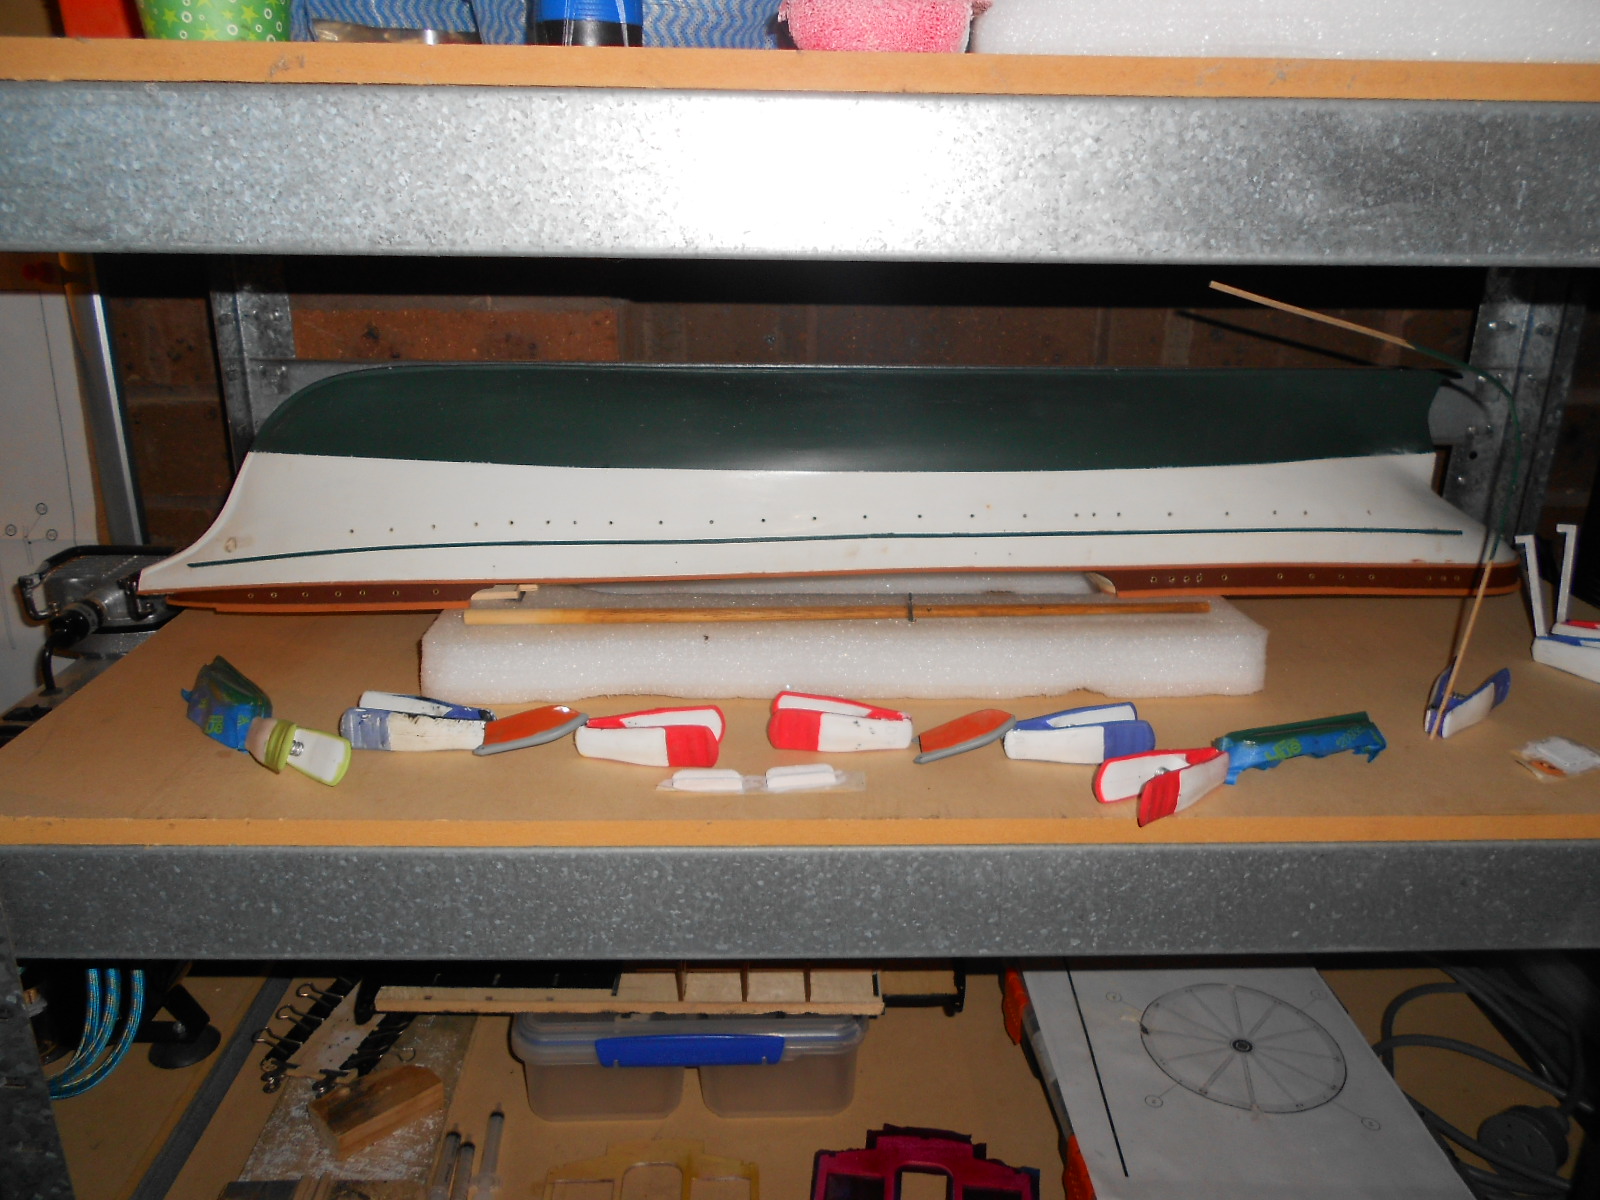
Its been awhile but I am finally back to building.
I recently moved and I don't have a workplace anymore at the moment, just a foldable table setup outside.
that's why I got this kit which don't require as much room and I can pack away after I am done building for the day.
So far I have already finished the first planking. I didn't take to many pics but I ll add them in the next post.
-
thanks for the advice guys. I don't have a sanding belt Augie. might be the next tool I buy but no budget at the moment so I ll have to do it by hand
-
WEEK 37 - 41
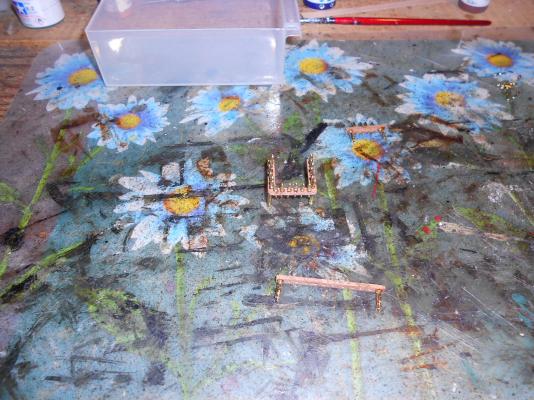
all the parts for 12 undercarriages for the cannons on the middle deck and also some of the cannons themselves
I am trying to decide if I am going to paint the undercarriages or not. from what I can tell from images they weren't in the movie
however I really like the look of the 'endeavour' cannon which is painted bright red , but I don't think it would fit in
I might have to watch one of the movies to have a better look at them
- trippwj, zoly99sask and Piet
-
3
-
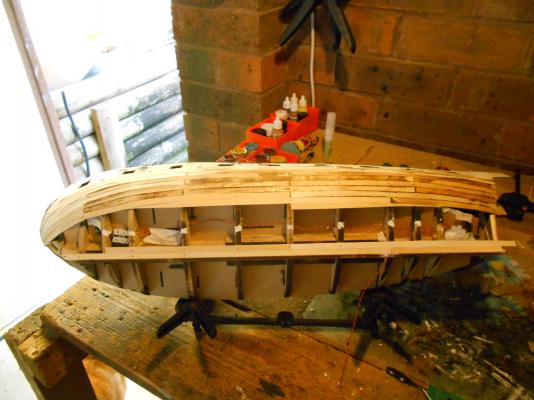
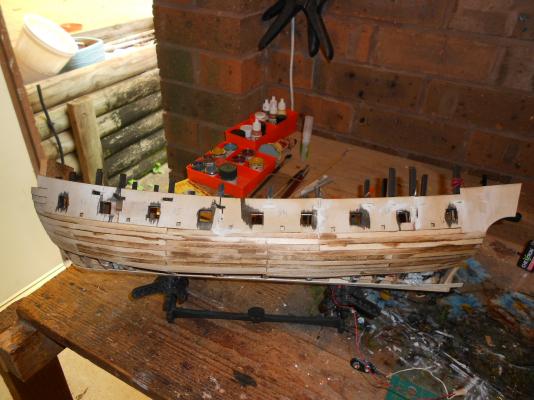
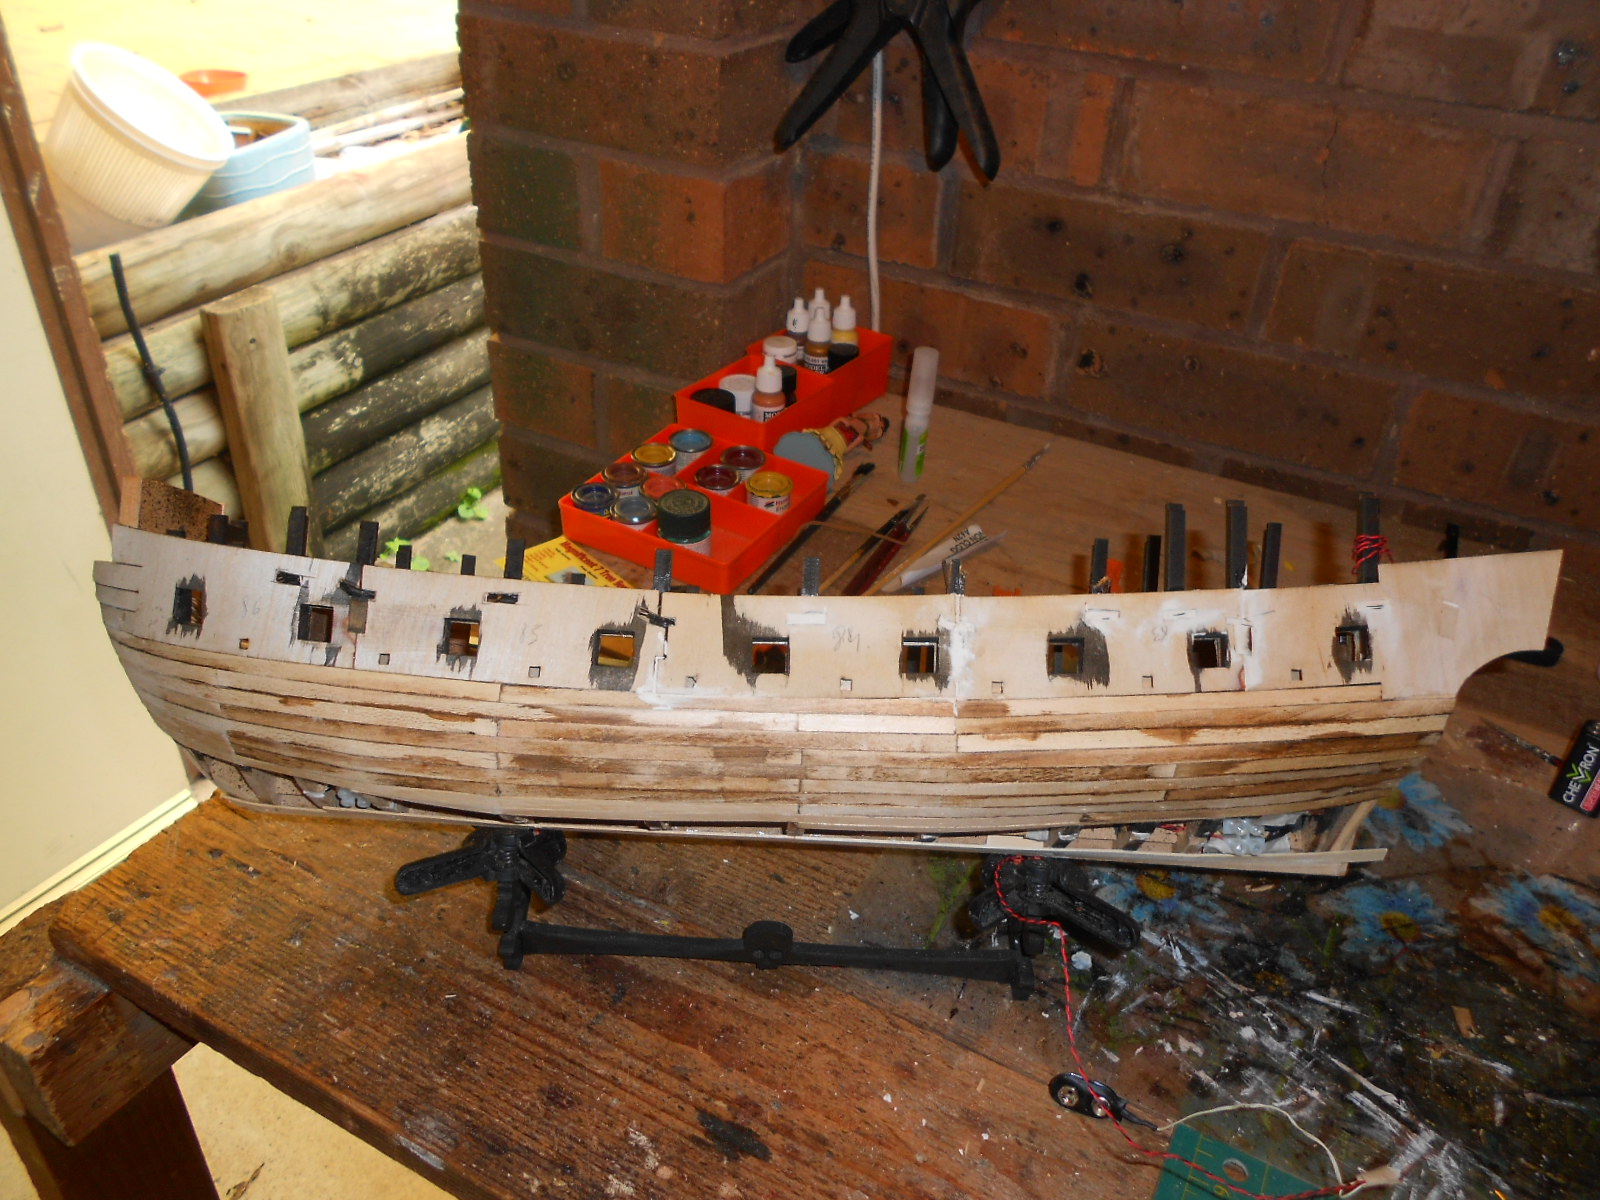
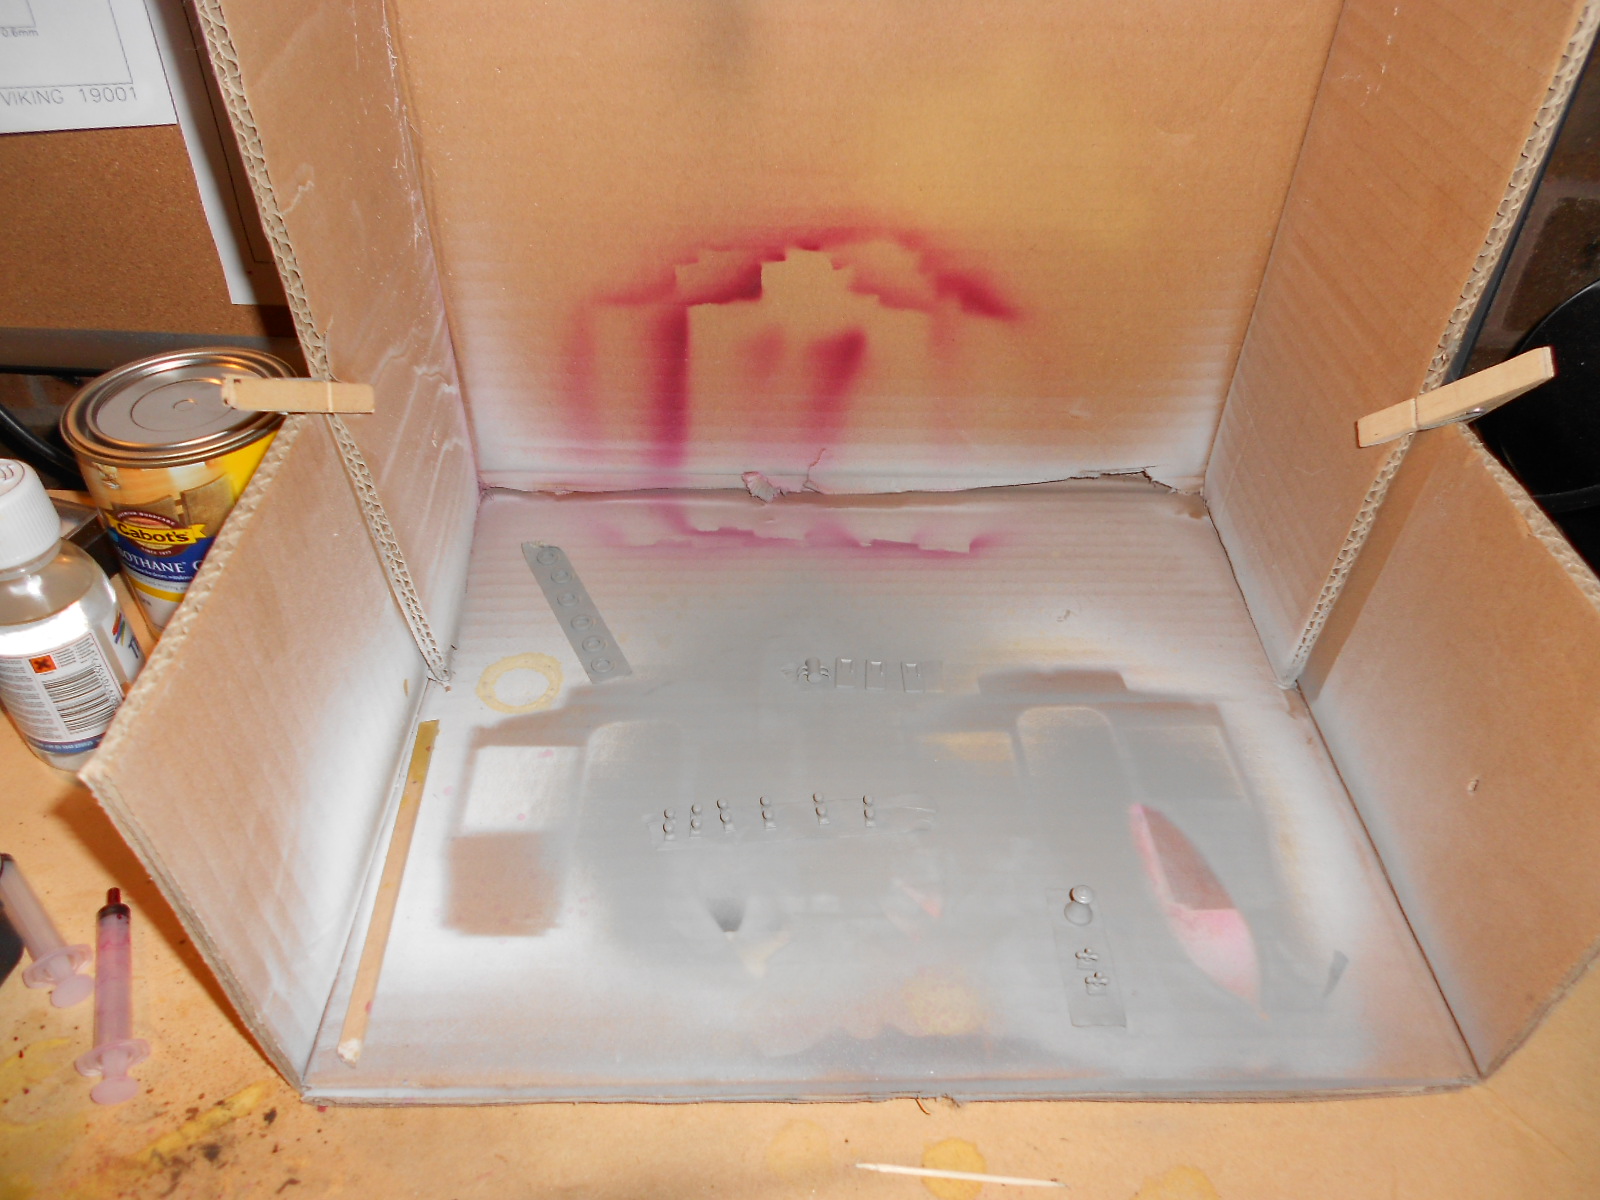
WEEK 35 - 36 First layer of planks. this has taken me a fair bit of work and with all the manipulations some of the barrels and crates from the first deck came loose. after I have finished sanding and filling the hull I will try to place them back.
I haven't taken any pictures yet after I finished just a few in progress pictures that shows the wiring in the lower part off the hull
I stained some of the planks on the inside as they will be visible from the other side
- mtaylor, Piet, zoly99sask and 2 others
-
5
-
WEEK 32 - 34 all the parts for the gratings on the lower deck. I have them all assembled which wasn't easy. the edges are laser cut in mdf and when removing the burn stains I broke several of them. luckily I got them all back together without it showing. I haven't glued them on yet.
-
-
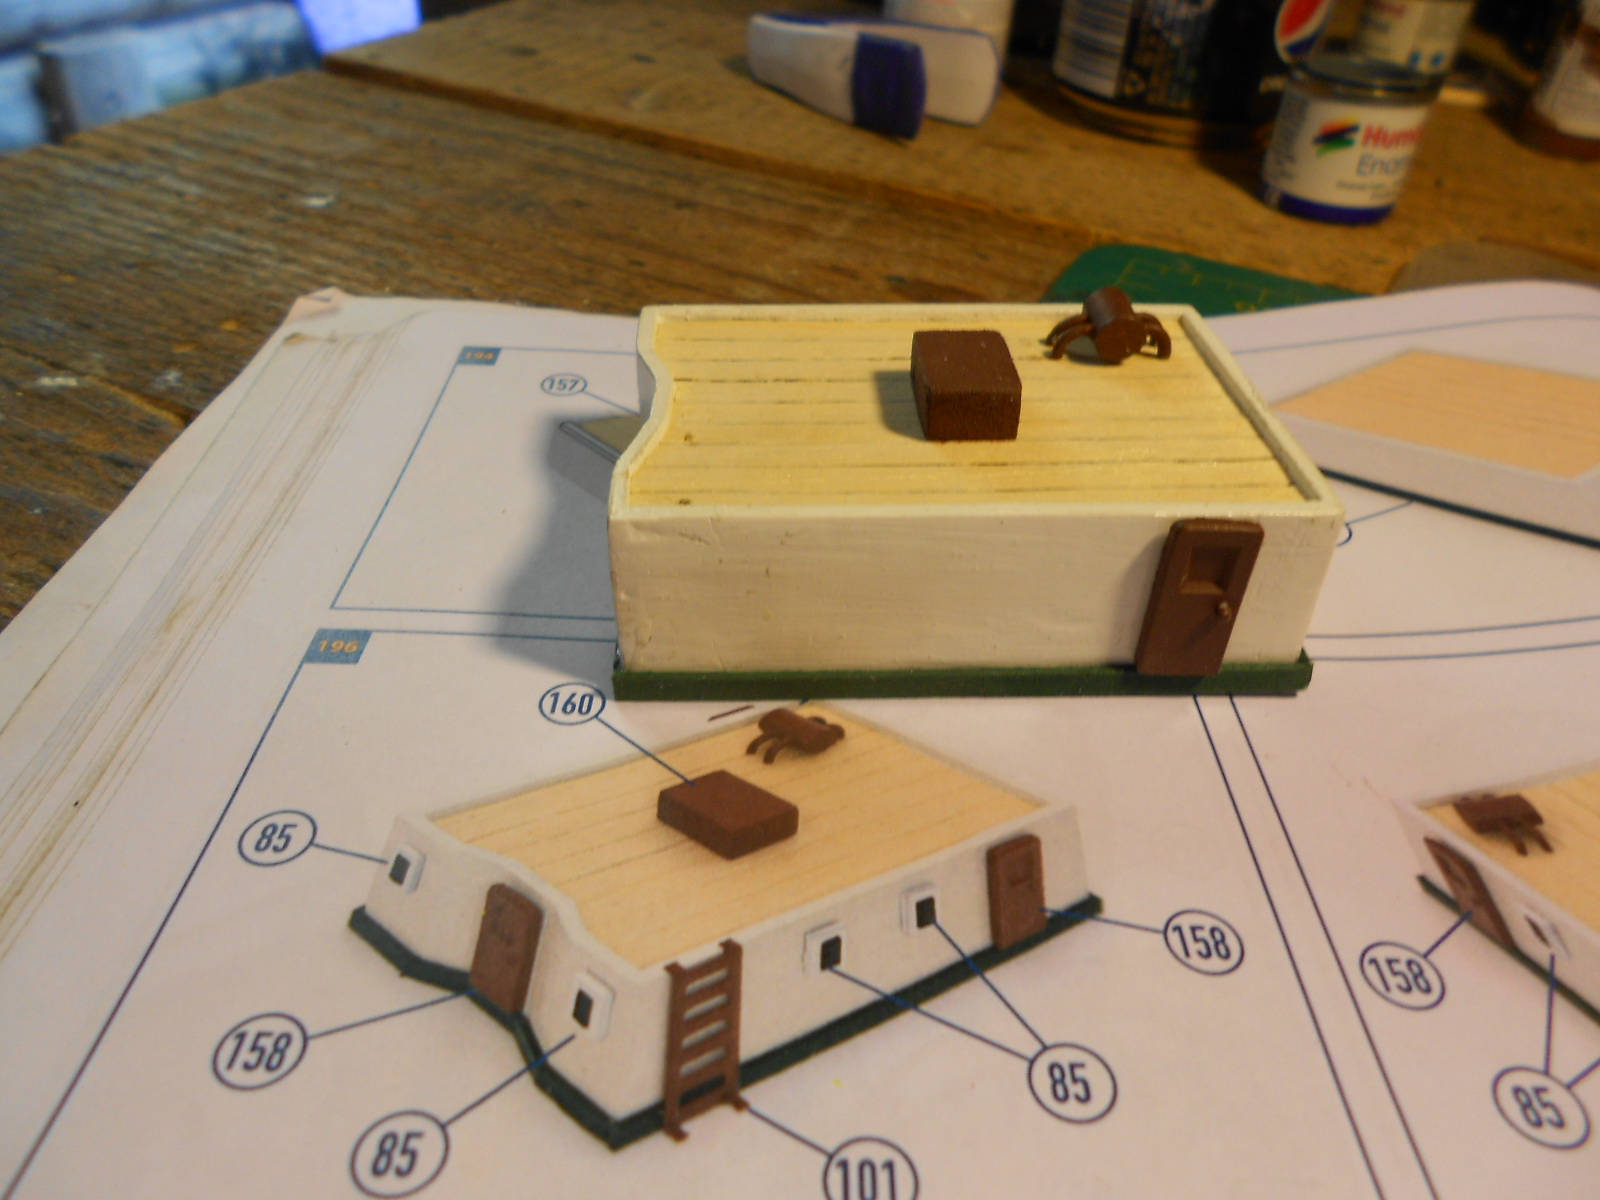
little or no progress and I have a dilemma
the picture shows the instructions for the little structure where the doors need to be fixed above the green border
however in real this would mean the doors will go all the way to the top which would be impossible in real
so I can either shorten the doors (they are metal so wont be easy) or I cut slots in the green border so they sit lower
haven't decided yet

- popeye the sailor, msberkman, Piet and 1 other
-
4
-
well done David looks awesome
-
-
-
-
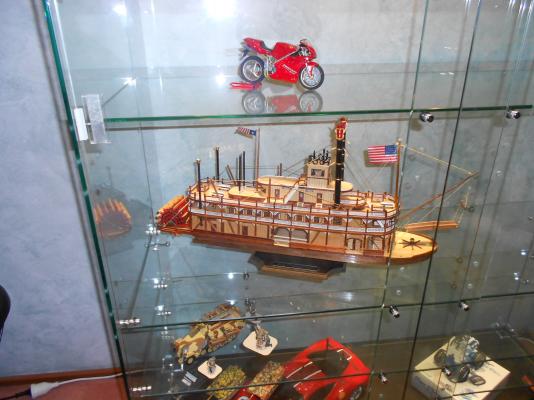
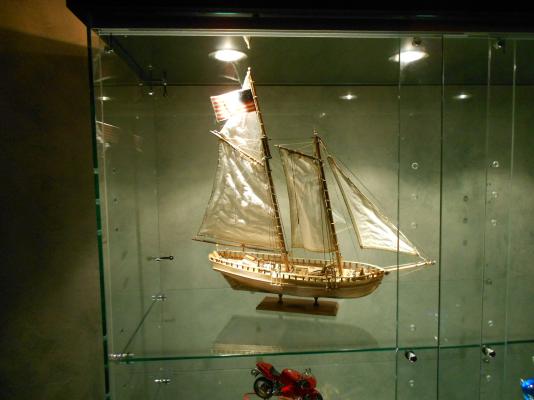
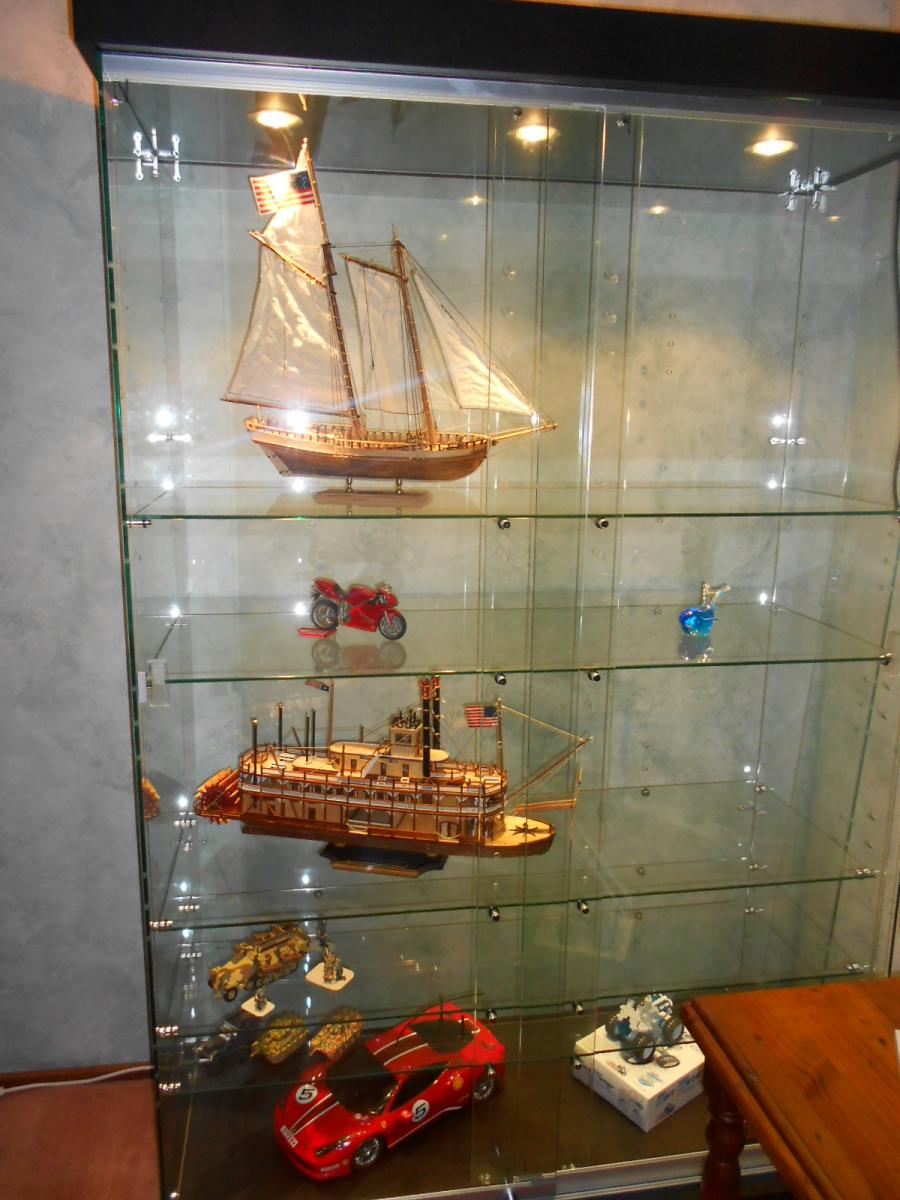
about a month ago I received my display cabinet
this will be home for the KOM, the Virginia , my current and some of my future builds

- msberkman, shipcarpenter, shihawk and 12 others
-
15
-
Finally I am back to building on the GF
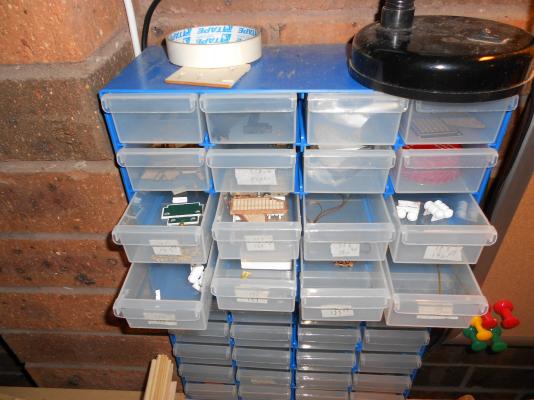
while I am slowly working on finishing the hull I have prepared a whole lot of the deck fittings
I have stored them in containers with the manual numbering on them so I can easily retrieve when needed
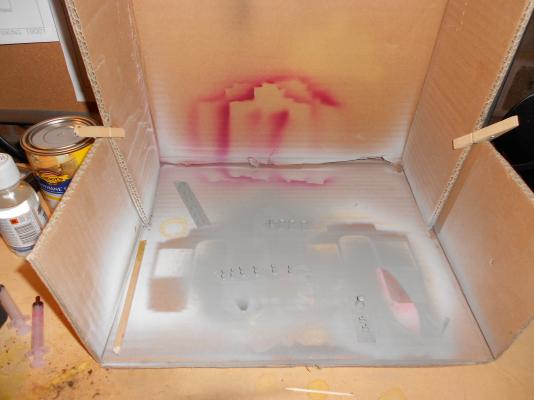
this weekend I spend mostly painting
-
wow snoepert you are going great and at a fast pace
-
hello Greg
good to see someone else building this model
about the replacement they l send it with the next instalment.
also be ware that although I didn't apply for it I got send the extra binder ($14.99) and had to send it back and keep emailing them and still waiting on rectifying that error
-
thanks Mobbsie. I don't think I ll have any issues repairing but we ll wait and see
thanks John. I ll give it a go recording and see where I get
-
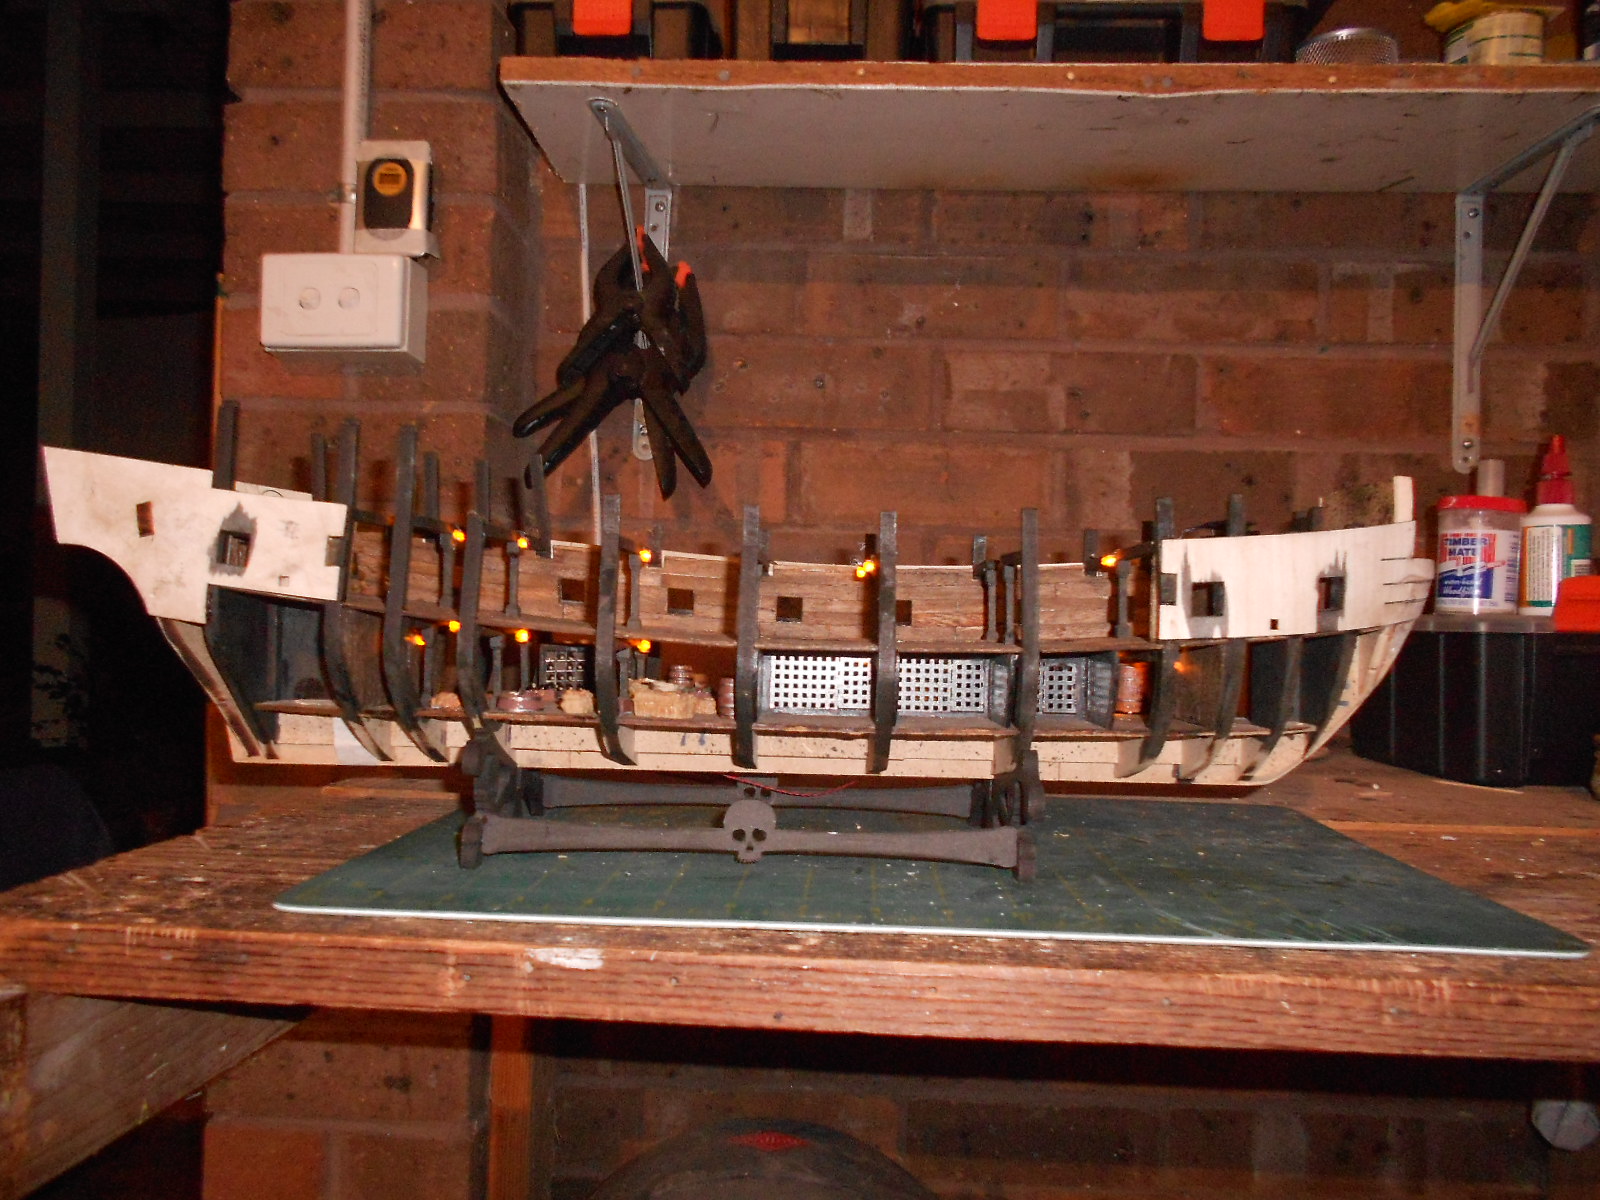
I finished all the lights so I thought I ll take a pictures with all 20 of them on
unfortunately you cant see the flickering in picture , I might have to do a video and post it

- yvesvidal, chevygrunt, edmay and 5 others
-
8
-
lol sorry
google the following : shroud pair youtube
you should get a link to 3 videos : on how to tie the shroud pairs
I would put the links in but I just cant do them from IE 11
-
no worries


HMS Bounty by Adrieke - Artesania Latina - 1:48
in - Kit build logs for subjects built from 1751 - 1800
Posted
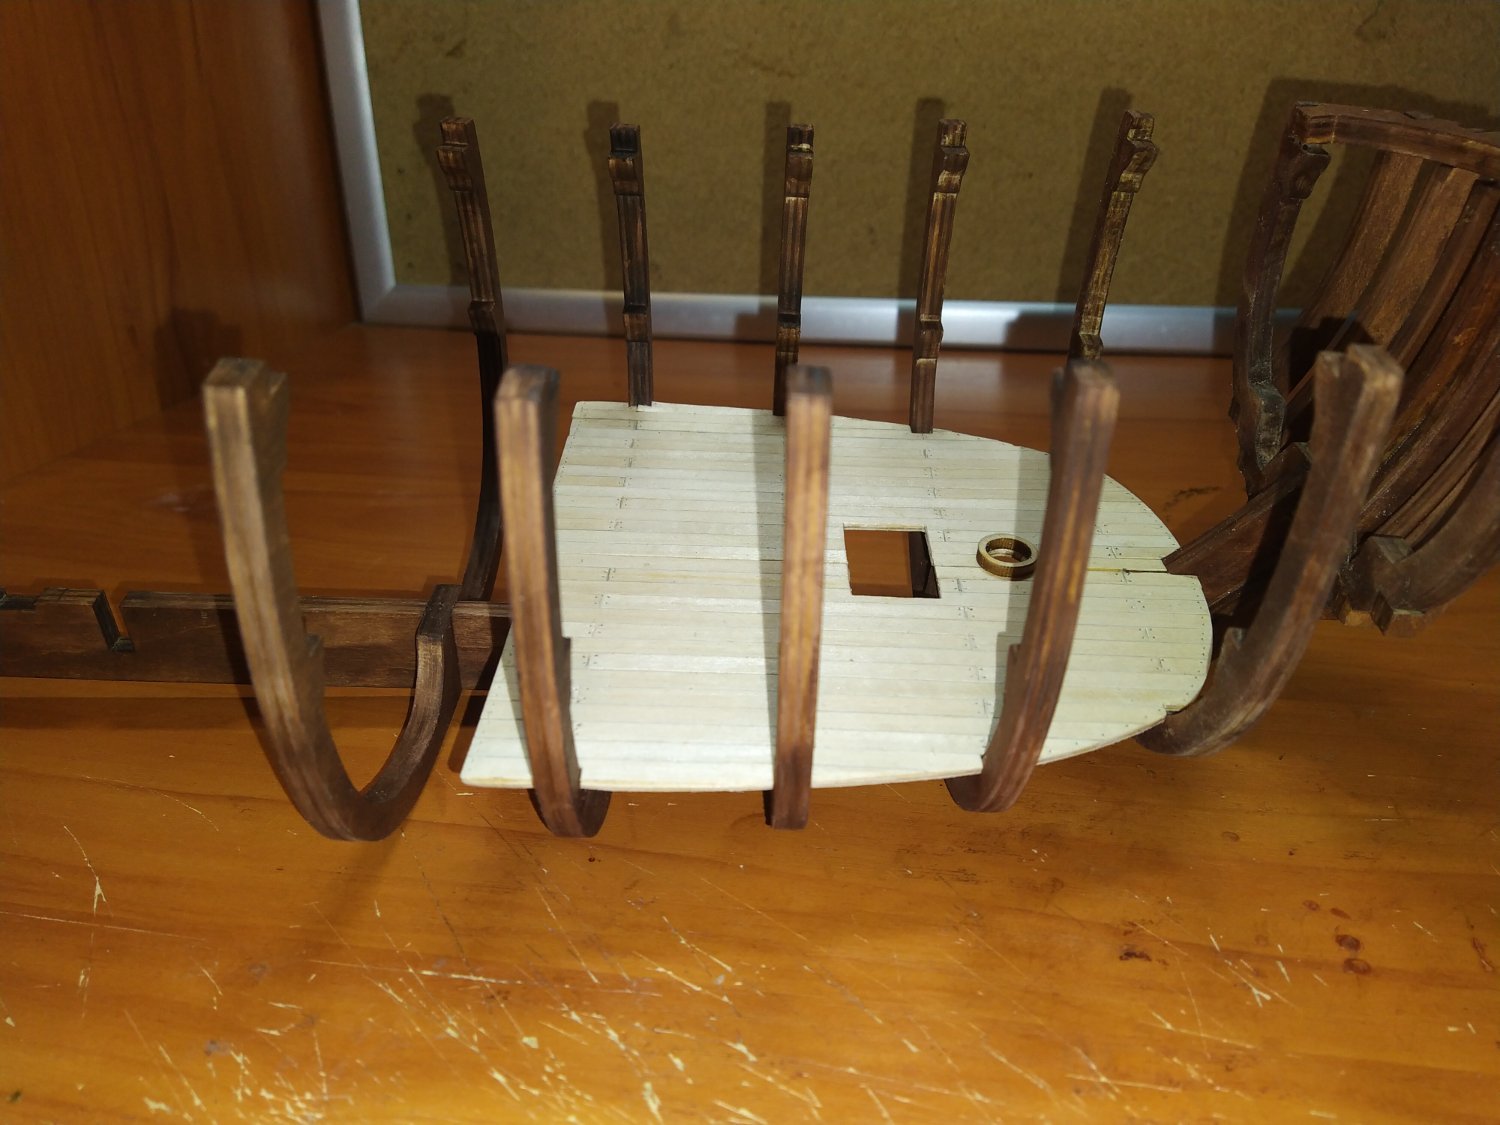
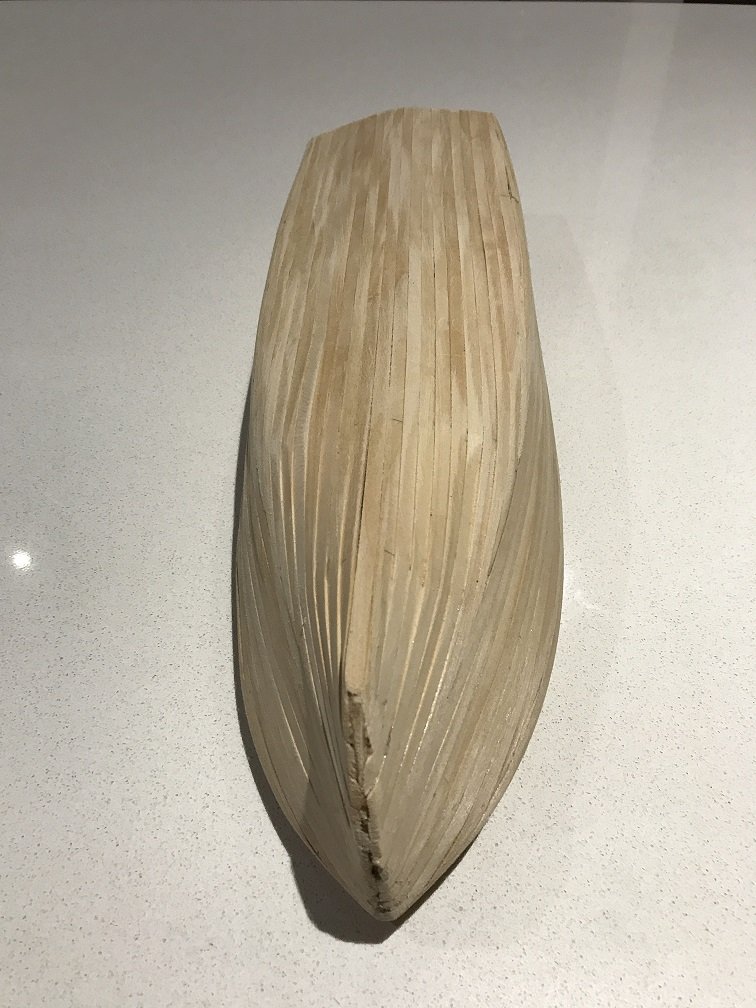
Step/Photo 4
I do have to make the single pillar chock. Instructions do not include how to shape it from the 5x5 walnut wood