


DelF
-
Posts
1,398 -
Joined
-
Last visited
Content Type
Profiles
Forums
Gallery
Events
Posts posted by DelF
-
-
Hi Edward
I'll let you know. I'm just waiting for some supplies of paint and thinners then I'll get started in earnest. So far I'm going through the usual stages in the learning curve starting with unconscious ignorance (I really didn't realise how much I didn't know) and I'm now floundering in conscious ignorance - starting to realise just how much there is I don't know! Being an impatient sort I cut through the confusion by simply buying an airbrush and compressor that had attracted a couple of good recommendations, plugging it in and trying it. So it was with some relief today that I found that it worked and seemed to work quite well. I'm sure I've got a lot still to learn, but I'm going to have fun getting to grips with a new skill.
Derek
- VTHokiEE and Edwardkenway
-
 2
2
-
3 hours ago, Vane said:
I would recommend to look into plastic forums to get better tips because its a world of its own.
Thanks Vane. Looking at youtube I was surprised to see how popular plastic modelling still is - probably more so than wood. It's just a pity that so many of the presenters are long-winded and haven't a clue how to make good videos. There are some good ones and some of the awful ones are still worth watching as they may contain useful information, but it can be quite hard to sort the wheat from the chaff.
Derek
-
3 hours ago, VTHokiEE said:
about how long does cleaning the brush take when you're all done?
Bear in mind I've just watched a few youtube videos and cleaned my airbrush once, so I'm no expert! Based on that limited knowledge, it takes less than a minute to do a quick clean between different coloured paints and 5 to 10 minutes to do a more thorough clean after you've finished a session. Not onerous but apparently essential to avoid problems with clogging, especially as nozzles are so fine. Typically 0.2 to 0.5mm. Vane says in the previous post that it takes time to get used to using an airbrush, so I aim to get as much practice in as I can. I already think I made the right decision though, to try airbrushing.
Derek
- VTHokiEE and Edwardkenway
-
2
-
Well, so far so good with the new airbrush. In the end I went for this cheap(ish) airbrush/compressor combo from Amazon. I started off with zero knowledge and the best of intentions (go ultra cheap and don't buy a compressor first off) but soon got seduced by all the shiny expensive gear you can get - £200 airbrushes and compressors with big tanks and so on. Fortunately I was brought back to earth through watching and reading a lot on the web, much of it from plastic modelling fora. In the end the much more modest gear I went for got reasonable reviews and I took the plunge:
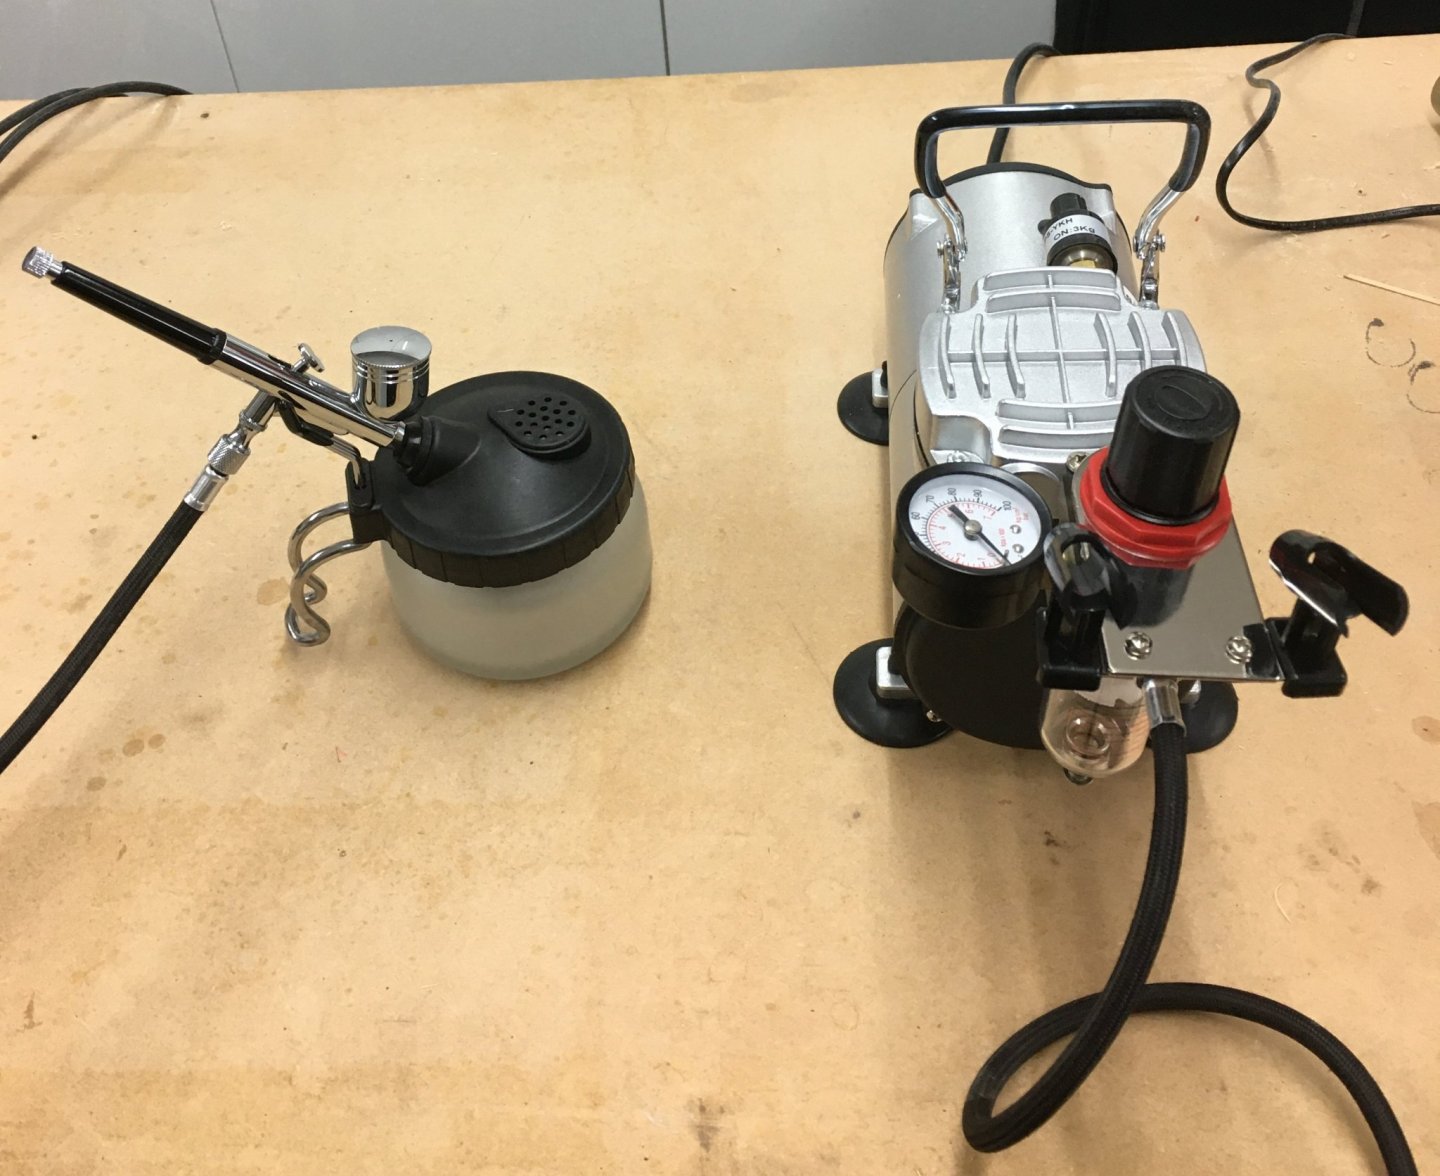
In use, the compressor tucks away on a shelf beneath my workbench, and the hose is plenty long enough to use comfortably on the bench. The machine is much quieter than I expected, and the airbrush itself seems well-made and comfortable to hold. Here's my first attempt - one of Speedy's swivel guns:
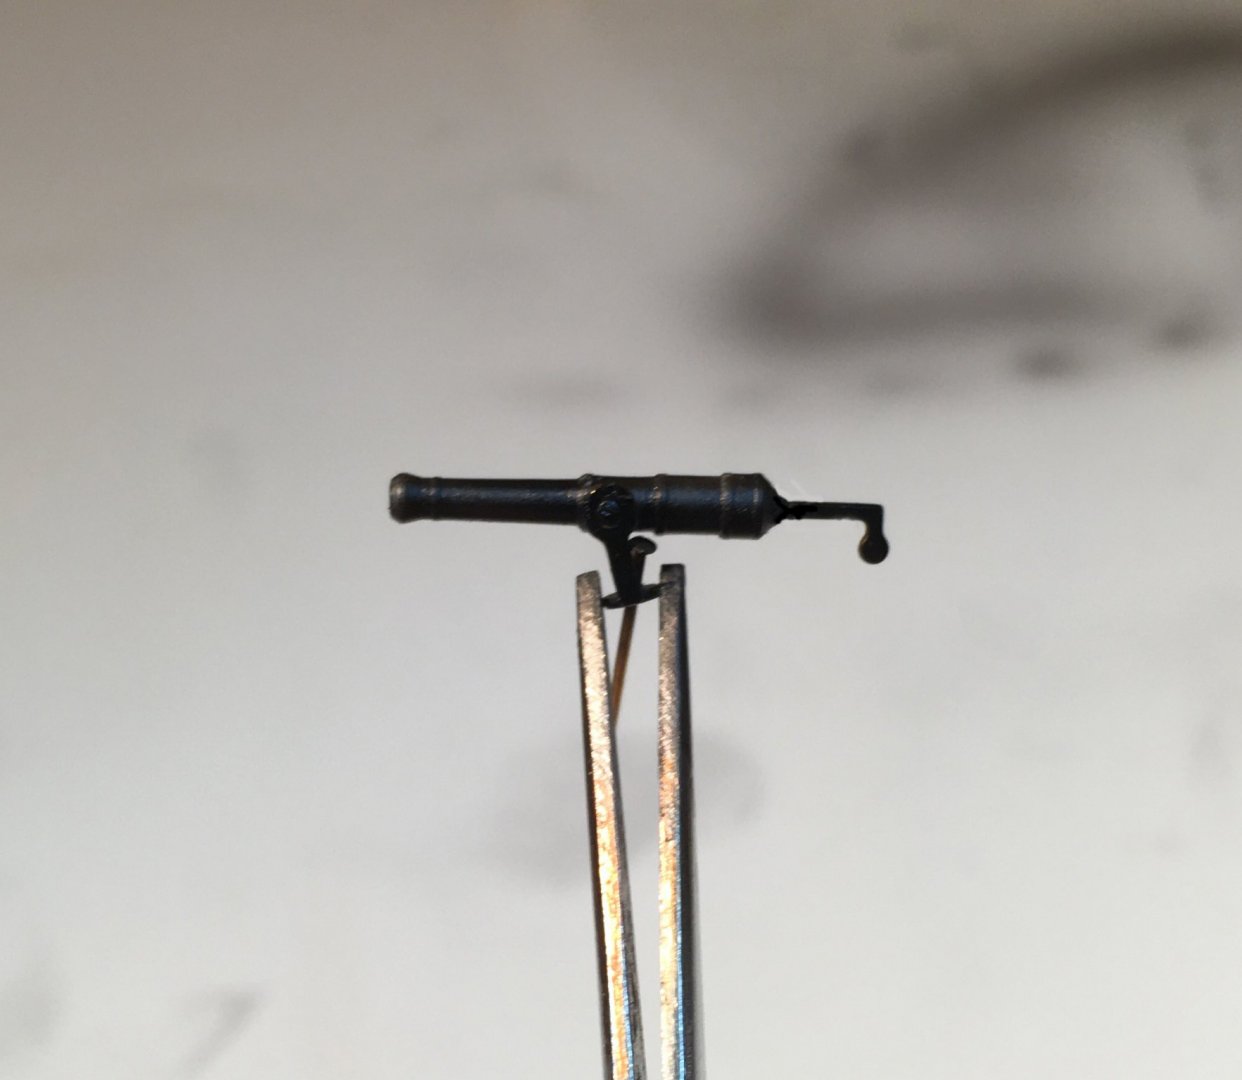
I was so keen to get started I used ordinary black not dull metal black, so I may have to redo. Nevertheless I was quite pleased for a first attempt.
Now I'll just have to resist the temptation to start plastic kit modelling like Vane and so many other forum members!
Derek
- glbarlow, ccoyle, Ryland Craze and 7 others
-
10
-
-
Coming along nicely!
On 6/2/2020 at 11:05 PM, VTHokiEE said:It took me a a few coats to get the supports painted reasonably well
What paint do you use? I find Admiralty acrylics cover well with one or at most two coats.
Derek
-
Just don't get your builds mixed up or else you might end up with Lady Speedy or Speedy Isabella. Now there's a thought...
Derek
- Edwardkenway, glbarlow and Richard44
-
3
-
-
Thanks! My airbrush arrived today and I’m looking forward to trying it out tomorrow. No doubt I’ll be coming to the forum for tips and advice 🤔
-
I started my Royal Caroline before I joined MSW. I have learned so much from this forum I'm sure my model would have been better if I'd joined earlier. I'm sure your model will be better as well.
-
-
More diversions
Having finished the deck and looking ahead in the manual, I realised there are literally hundreds more components needed to complete the hull - ring bolts, pin racks, swivel guns and so on. I'd already concluded after trying to blacken the PE components on the cannon that there are too many small items to use treatments like Brass Black with any success. Unless you do them in very small batches which would take forever. Which leaves painting. Using a brush either puts too much paint on or takes a long time or both, so I've decided to have a go at airbrushing. I've never used an airbrush, but looking at other people's logs it's clearly a useful technique to have. I've been researching on the forum and the Web more generally, and I've decided to go cheap initially, at least until I've learnt the basics. In another topic I saw that Glenn uses a Badger airbrush, a brand that seems to get good reviews so I'll probably go for that, together with a decent compressor. Watch this space.
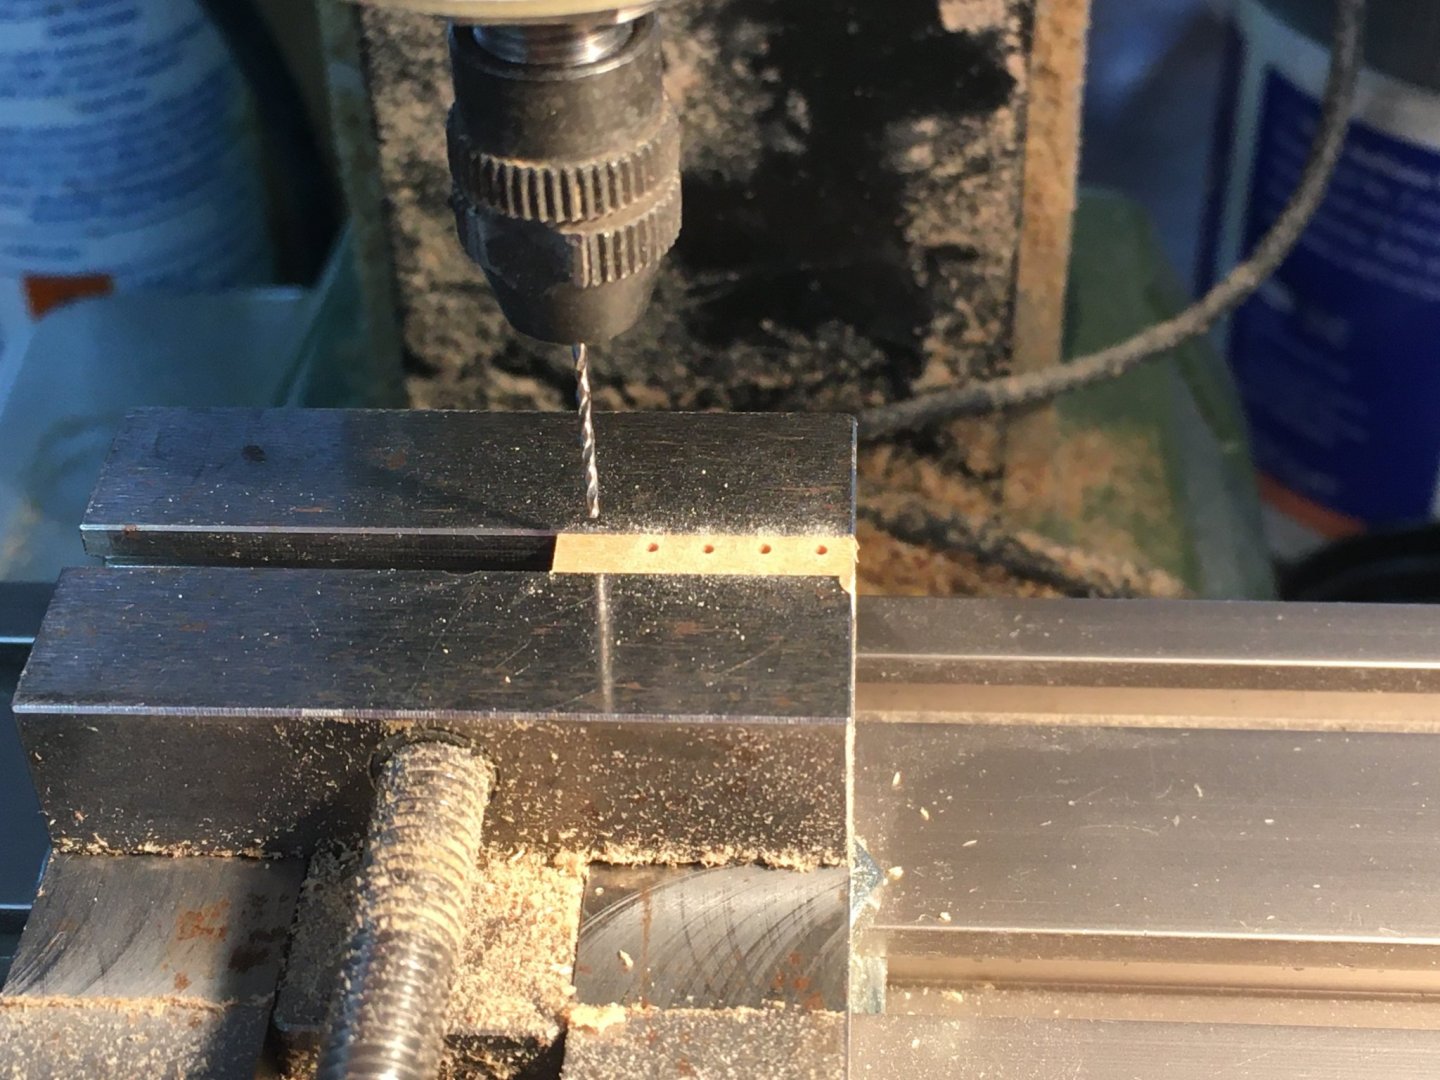
The belaying pin racks are laser cut from 1.5mm pearwood, and in the manual they're shown painted red to match the bulwarks. I thought I'd go off piste again and make my own out of spare boxwood. Cutting them out and drilling the holes probably took little longer than sanding the laser char and painting the supplied racks. I'm mentioning it partly because it's a good way to illustrate another useful feature of milling machines - the ability to drill very accurate, precisely positioned holes. The drill bit here is 0.6mm and the holes exactly 3.4mm apart:
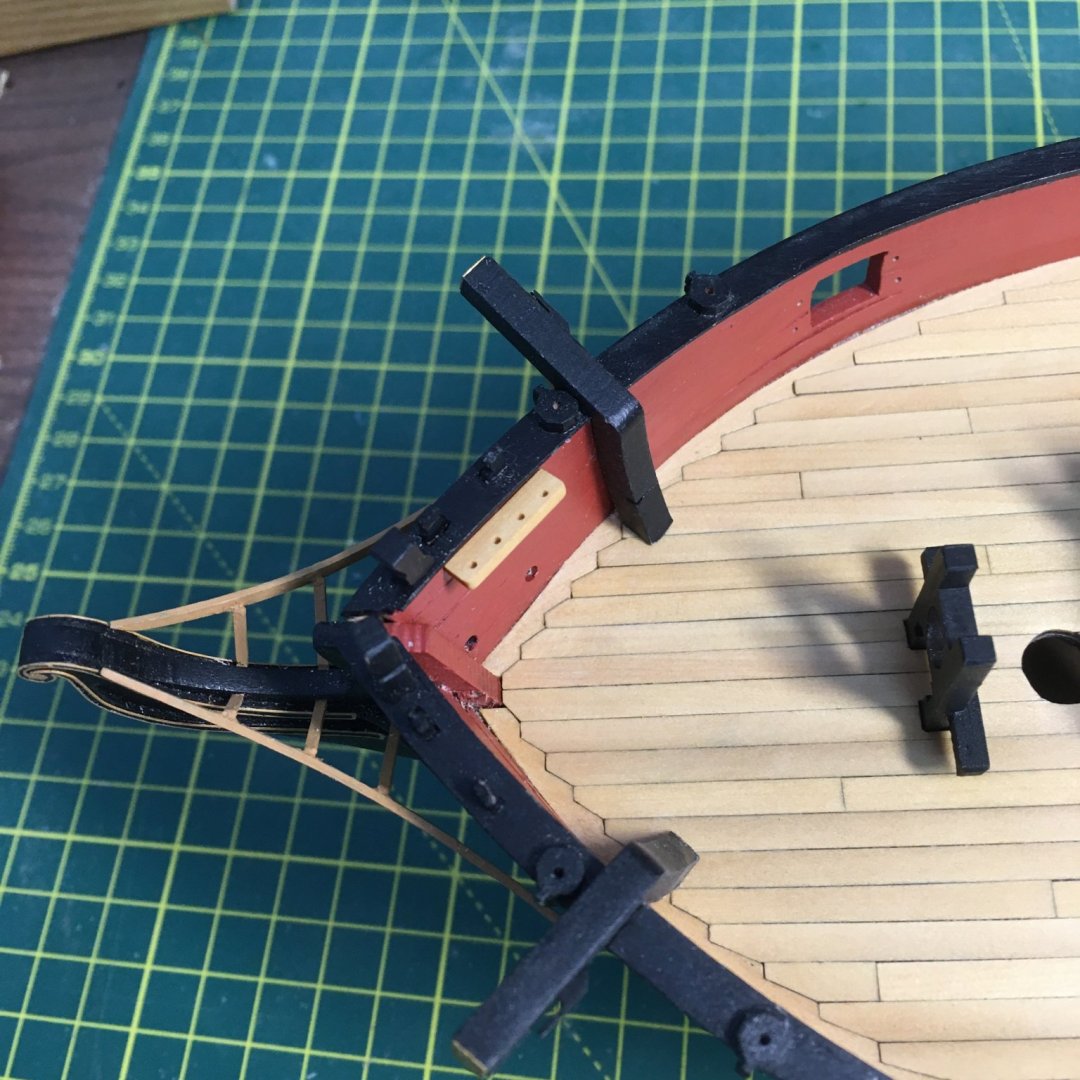
Here's the first one fitted:
Back to the garden for a spot of sunbathing, I think.
Derek
-
1 hour ago, glbarlow said:
Having the mill how did you learn how to use it? Should I hop across the pond and come to your house for lessons:-)
Entirely self-taught Glenn - plus as many youtube videos as I could get my hands on and a lot of practice. I could point you at a few if you decide to take the plunge. I should have mentioned that the x-y-z movements on the Proxxon are accurate to 0.01mm/0.0004". It really is a quality, precision tool. And when the blasted virus is history you are more than welcome to visit - provided you bring your camera and I'll trade milling lessons for photography tips. You'll have seen I'm sadly lacking in the latter!
Derek
- Edwardkenway and glbarlow
-
2
-
-
-
Just me, but I didn’t paint Speedy’s cathead yellow ochre. I prefer the bare brass.
Derek
-
I'm not sure why airbrushing is recommended. Paint is fine if applied carefully (I use Admiralty Paints dull metal black for ironwork), otherwise I use a blackening solution such as Casey's Metal Black. BTW, I think your paintwork looks fine.
Derek
-
26 minutes ago, VTHokiEE said:
do you have the MF 70? or the larger one, FF 230 I believe?
I've got the MF 70. Ideal for our scale of work.
14 minutes ago, ErnieL said:You fine blokes are working very hard to make me spend my money
To misquote George Best, I spend most of my money on wine, whiskey, and ship modelling; the rest I just waste.
Derek
- Edwardkenway, ErnieL and VTHokiEE
-
3
-
3 hours ago, ErnieL said:
Last weekend, the War Department called me ‘numpty of the year’ for reducing a hamburger roll to charcoal powder.
Love it! I'm glad to see I'm not (quite) the world's worst cook. My approach has always been that if I do things badly enough in the kitchen I won't be asked to do them again. Doesn't always work, but in the main I'm only trusted to do veg prep and washing up (and even that requires a great deal of Senior Management supervision).
Derek
-
Glenn
The Proxxon is great, especially for fine, detailed work. The limitation is size, with the widest end mill being 3 mm. Doesn't stop you doing wider cuts, it just takes longer. Have a look at Marsalv's work on this forum - he shows great ingenuity in getting the most from his Proxxon mill.
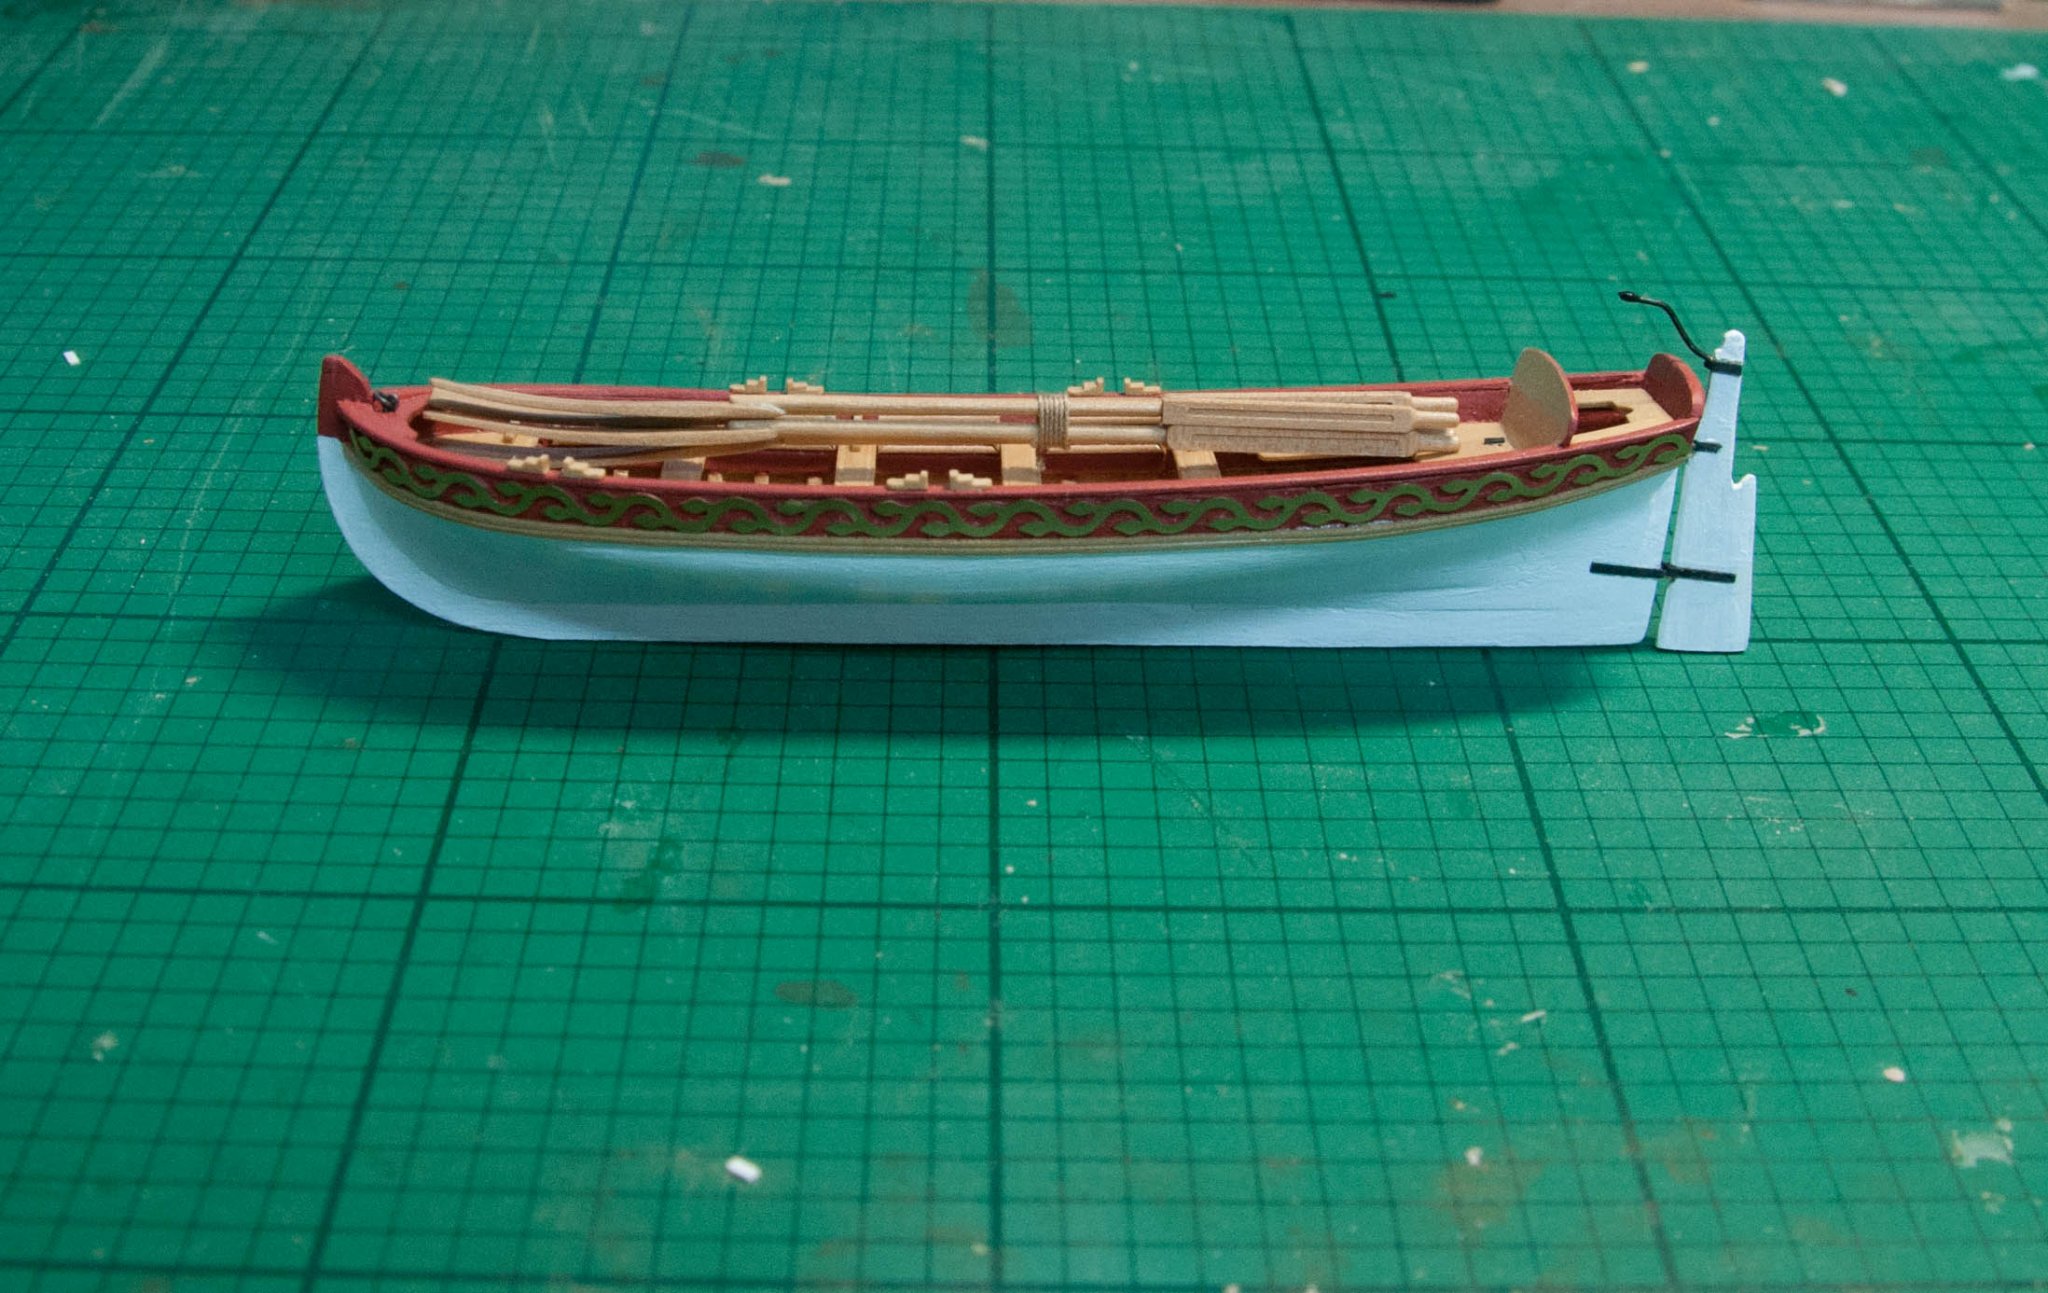
Here's a couple of examples from my Royal Caroline. The first is the launch, where the mill made the rowlocks and the grooves on the oars handles:

The second picture shows my first attempt at using the rotary table you can get as an optional extra. If you look at the fluting on the uprights, they were made using the table to turn the upright a precise number of degrees to make the flutes evenly spaced. Most of the other details on this fitting were also made with the mill, including the slots for the sheaves in the base and the shapes in the cross beam. You'll be pleased to know I replaced the belaying pins in the final model with more realistic ones (referring back to an earlier Speedy discussion!).
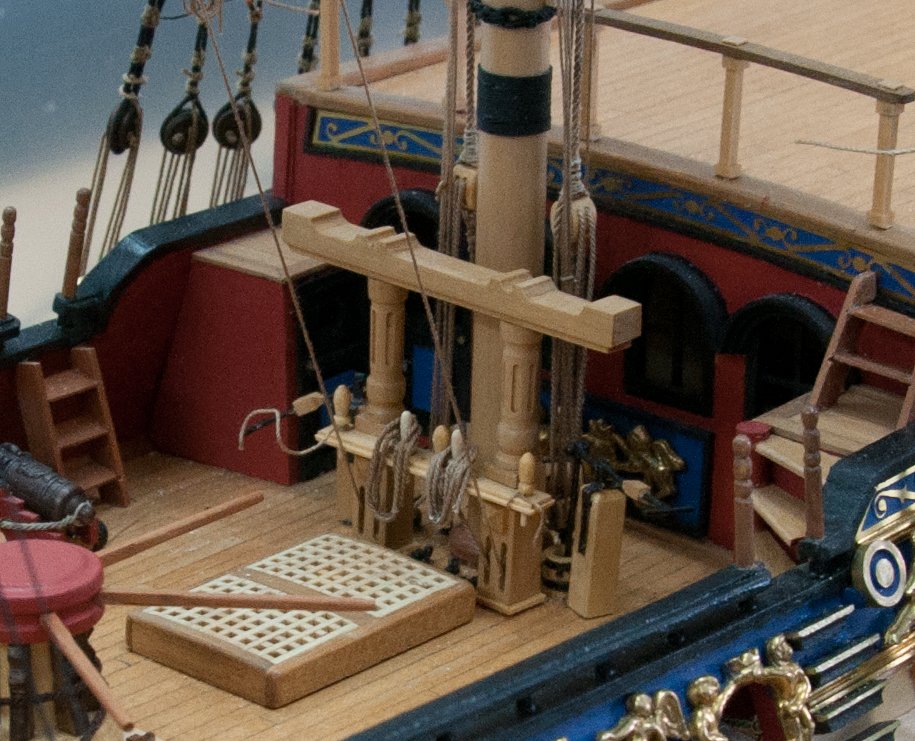
Similarly, a lot of the detail here in the bitts and the belfry was wrought by the micro-mill.
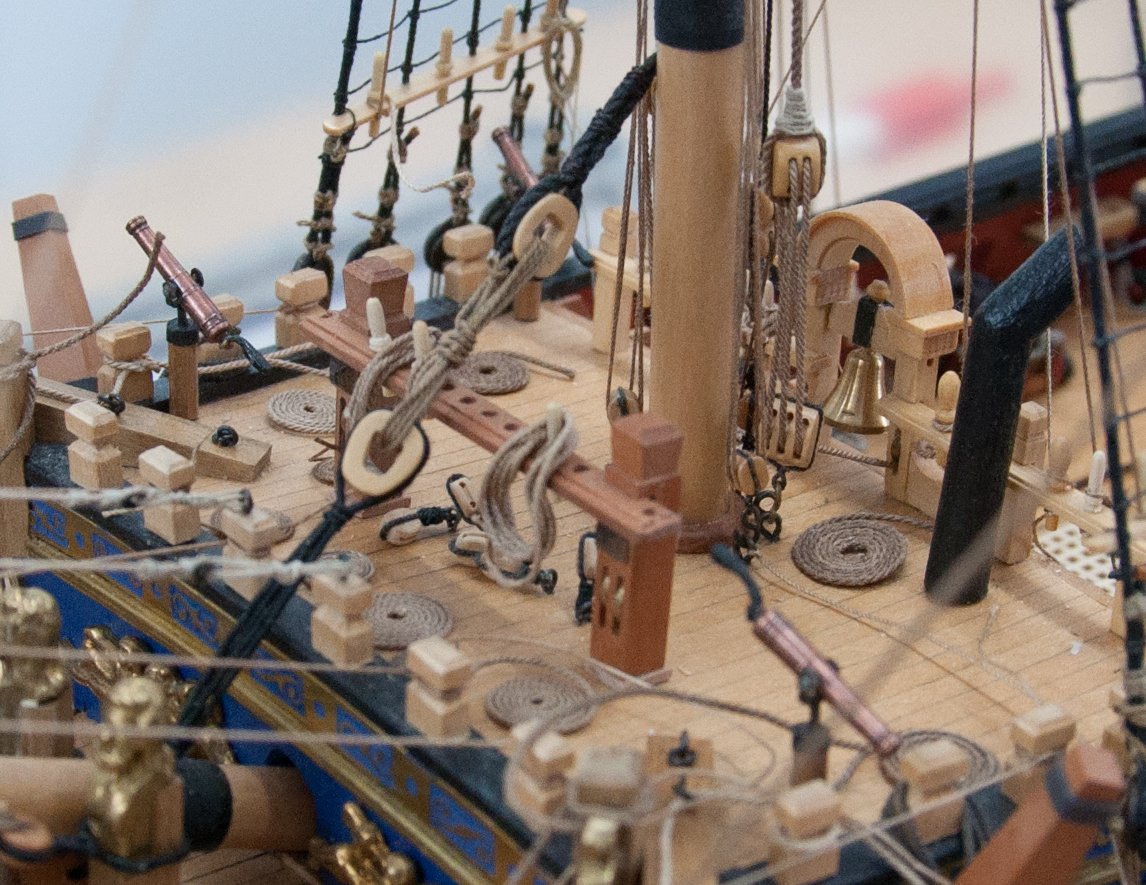
As another example, I made all my own deadeyes for the model and used the rotary table to make sure the three holes were correctly spaced and positioned. The possibilities are endless, and I get a lot of enjoyment figuring out jigs and methods for getting the most from my tools.
Of course, people can and do make great models without mills and lathes and Byrnes saws, but for me power tools just get things done faster and more accurately.
Derek
- Ryland Craze, VTHokiEE, egkb and 3 others
-
6
-
Another little diversion this morning.
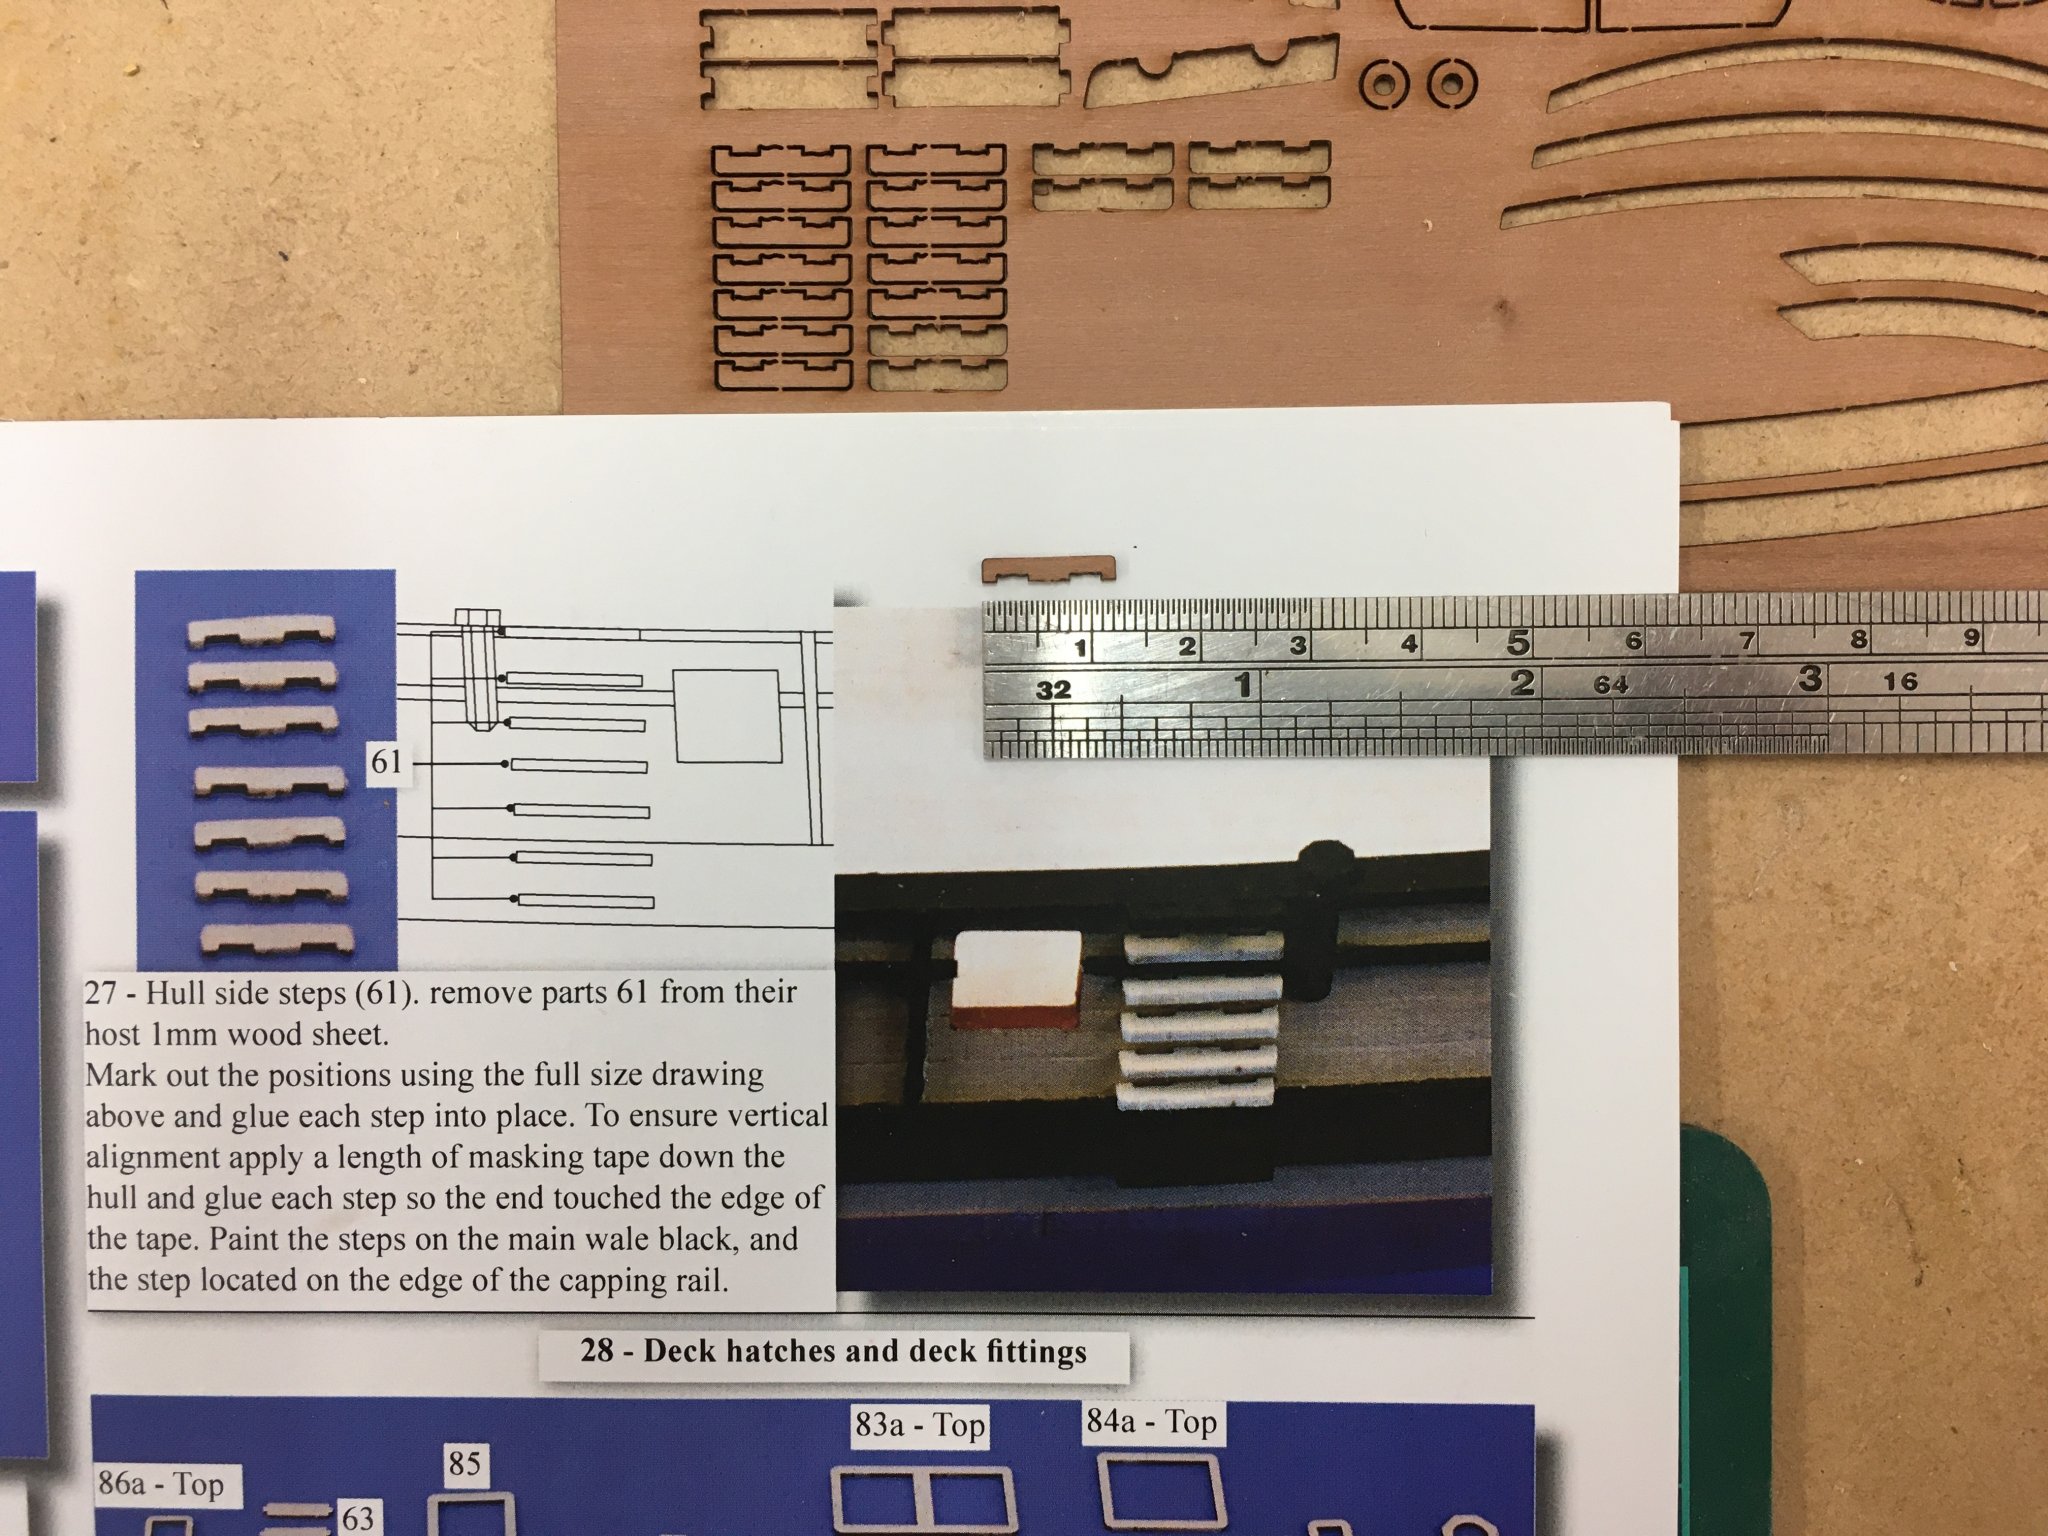
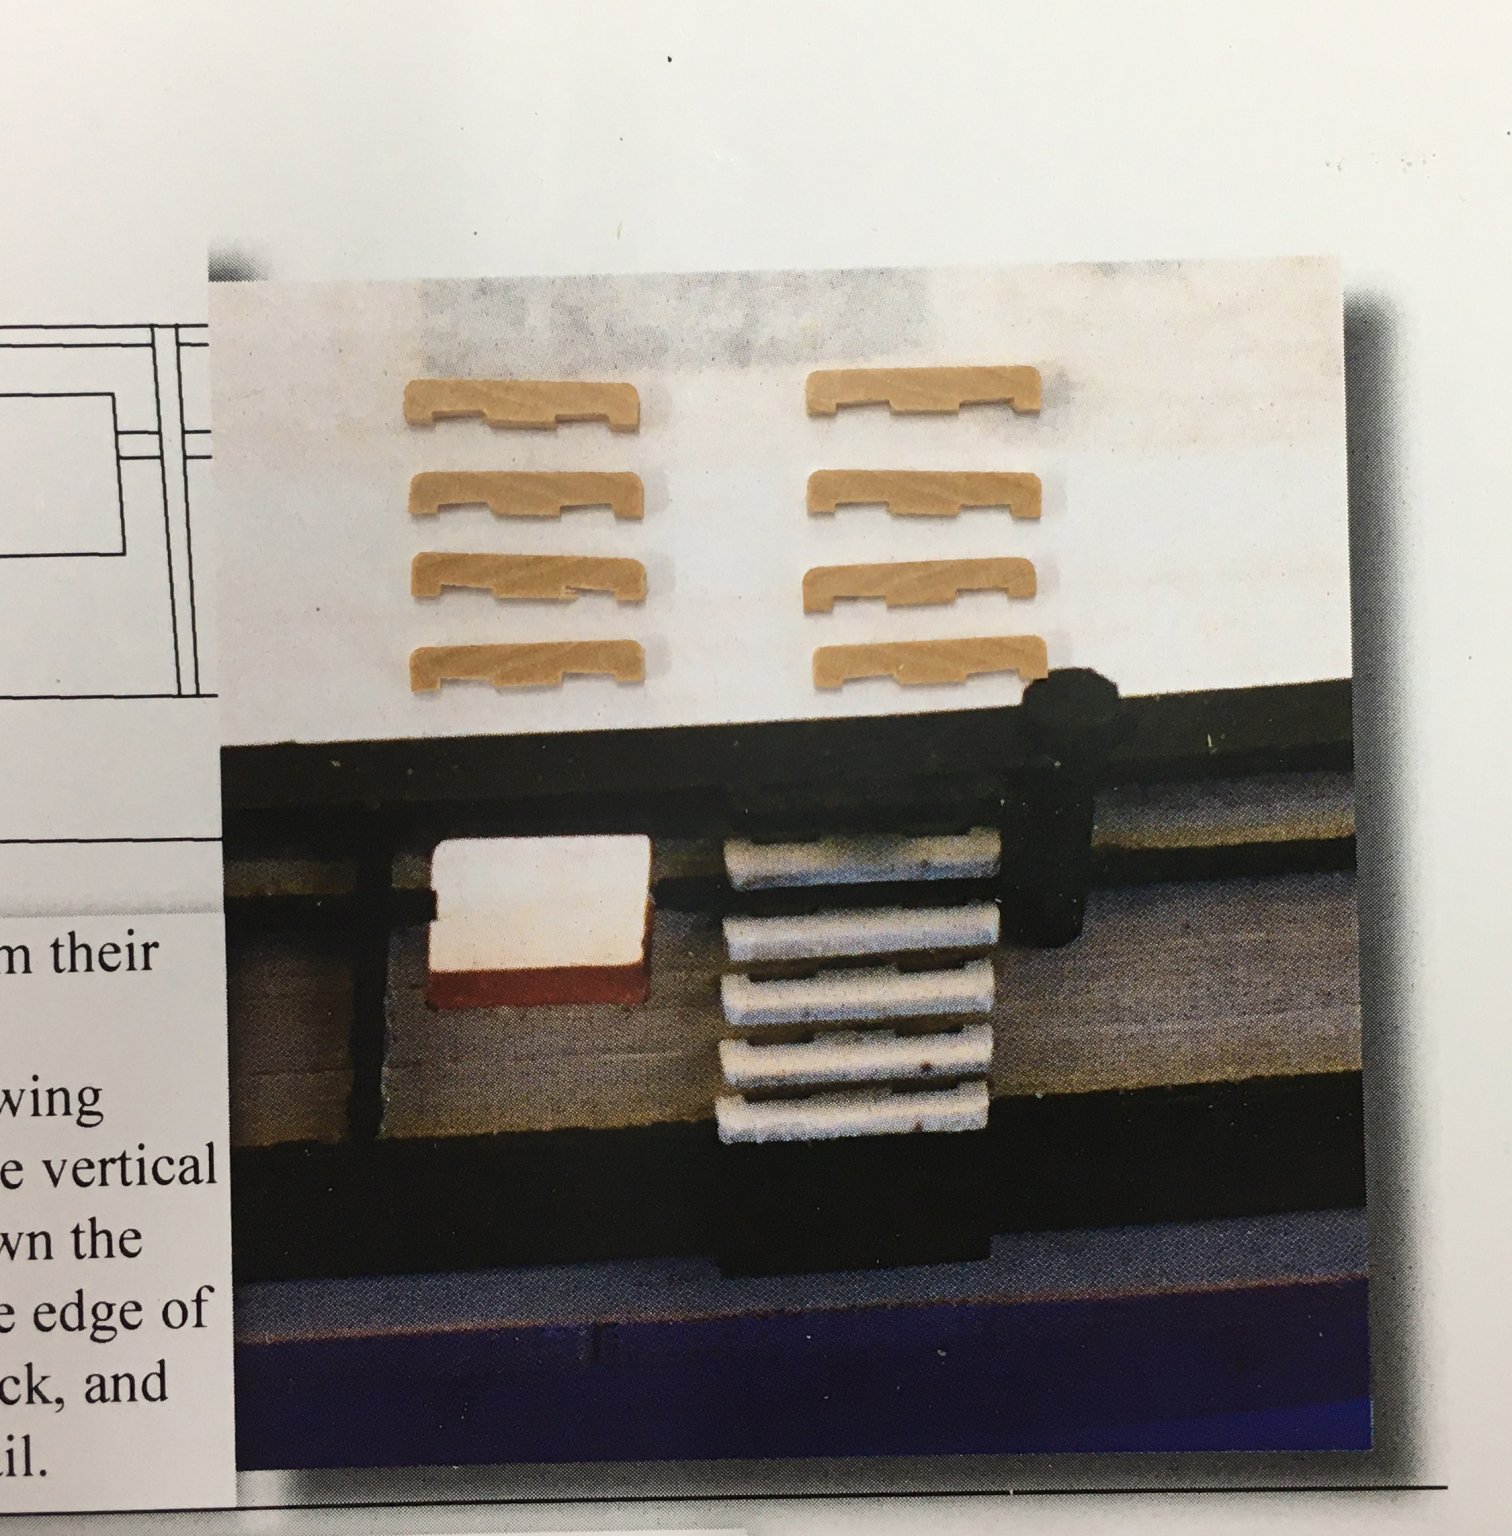
I was looking to fit the boarding steps that go both sides of the hull. These come as laser-etched components on a 1mm sheet of pearwood.

Nothing wrong with them, but as some will be unpainted I'd prefer them to match the boxwood hull. I decided to use the supplied steps in the six positions that will be painted (on the wales and cap rail), but make eight of my own for the bare ones. I used the salami slicing method, which has worked for me in the past for things like gun carriages, and thought others might be interested in the technique.
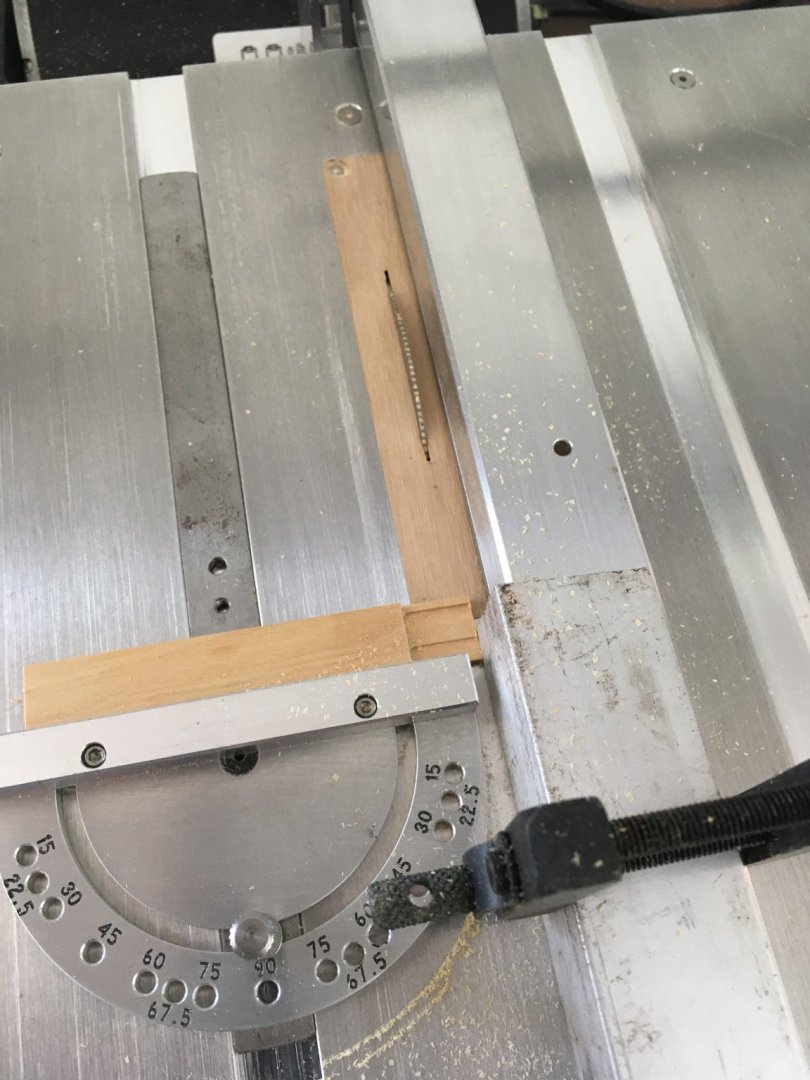
The steps are 12.5mm wide by 2.3 mm deep, so I started by trimming a boxwood offcut to 12.5mm, then reducing part of it to 2.3mm on the bigger of my two mills (technically it's a mini-mill, but it's big enough for me).
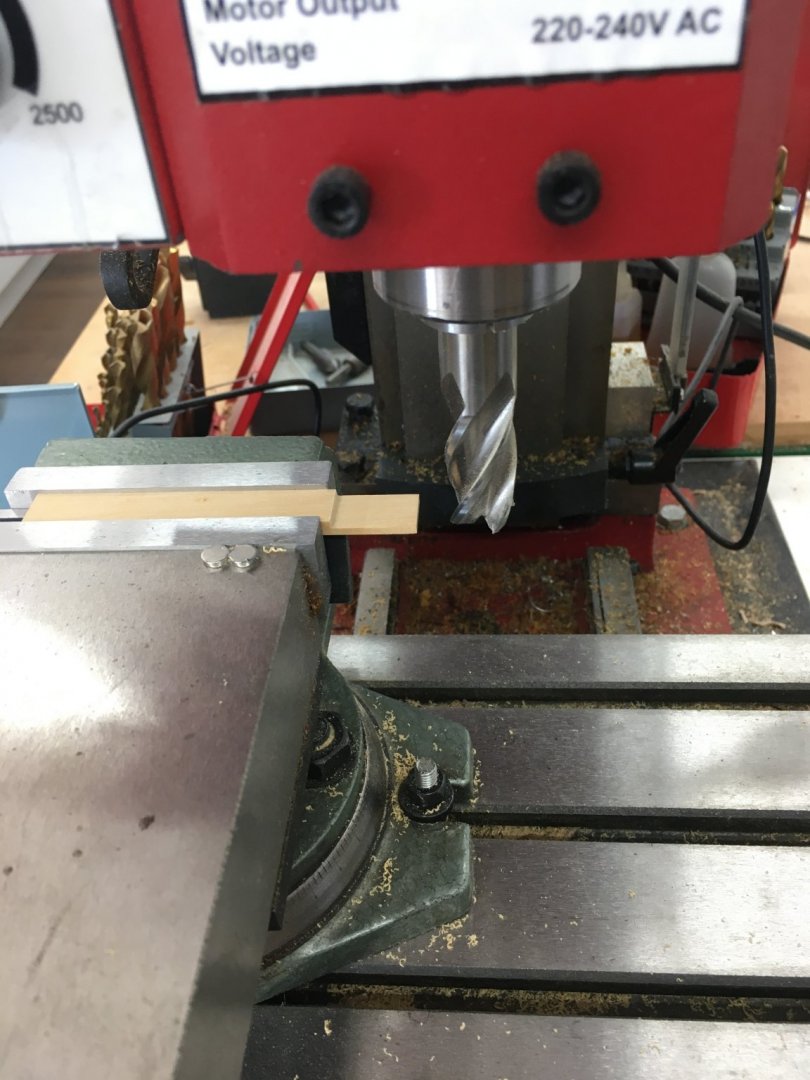
Next I milled two 3.0 X 0.6mm grooves on my Proxxon micro mill.

Incidentally, I sometimes see adverse comments about Proxxon tools on the forum. These usually take the form of "they're too expensive" or more commonly "they're not Bridgeport/Sherline/etc therefore they must be rubbish". All I can say is, look at the superlative quality of the work of people like Marsalv and Blue Ensign who use these tools extensively. Rant over.
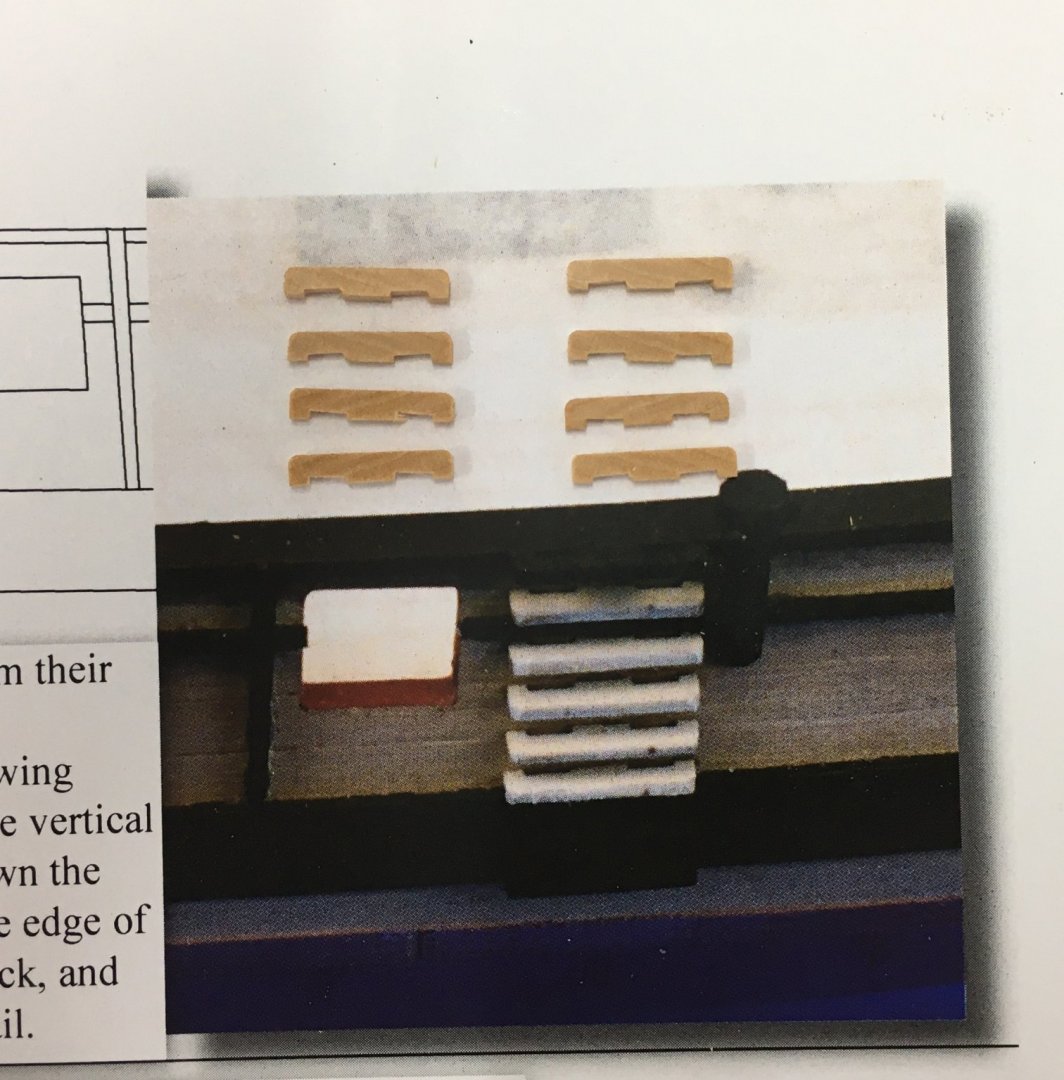
After rounding off the corners with a file I had the profile I wanted:
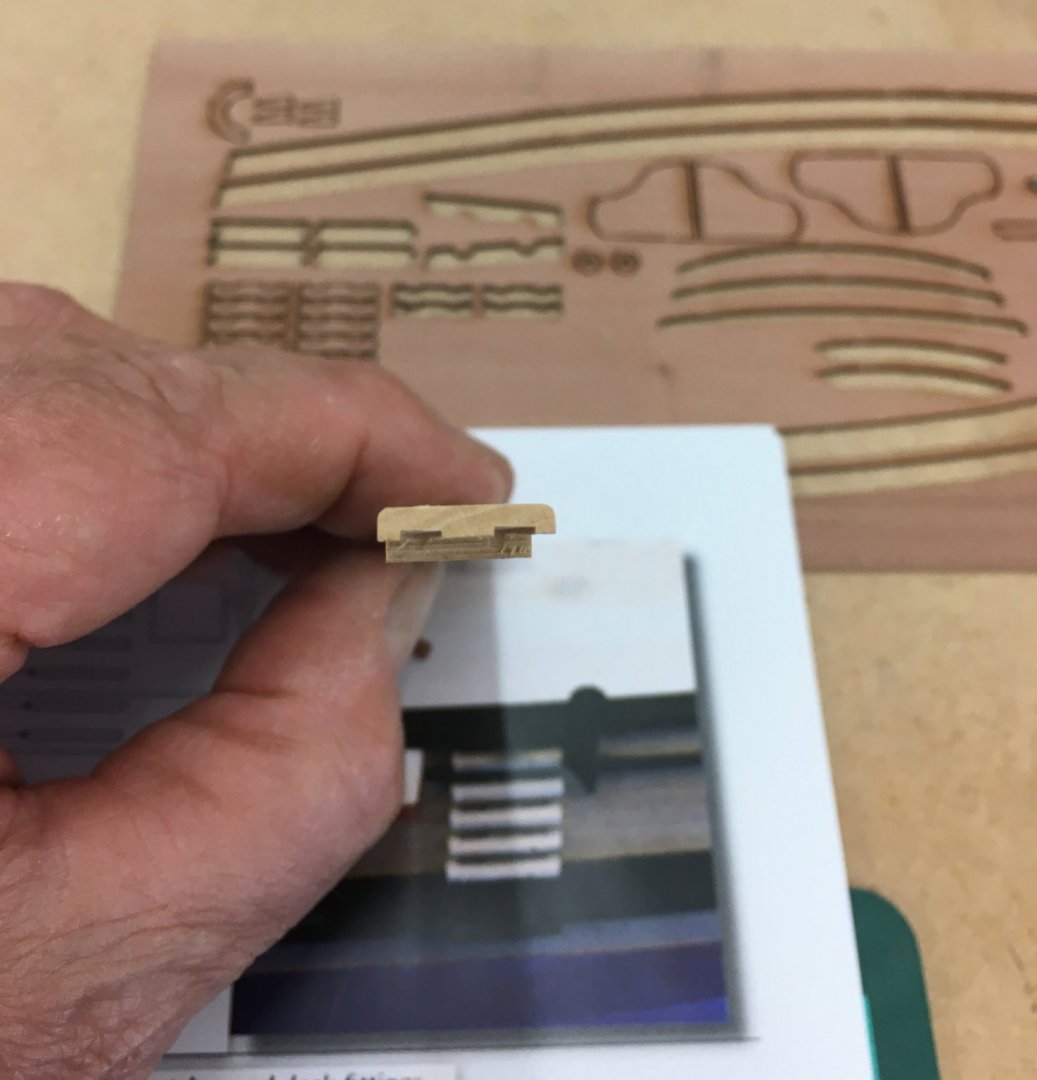
Well, not quite. I realised after the event that I hadn't mounted the wood in the vice quite square so the grooves are at a slight angle. To be honest it won't show, but it illustrates that all tools are only as good as the numpty using them.
Next it was back to the Byrnes saw to do the salami slicing. I set up a stop on the fence so that I could do repeat cuts, and it took less than a minute to do all eight steps.
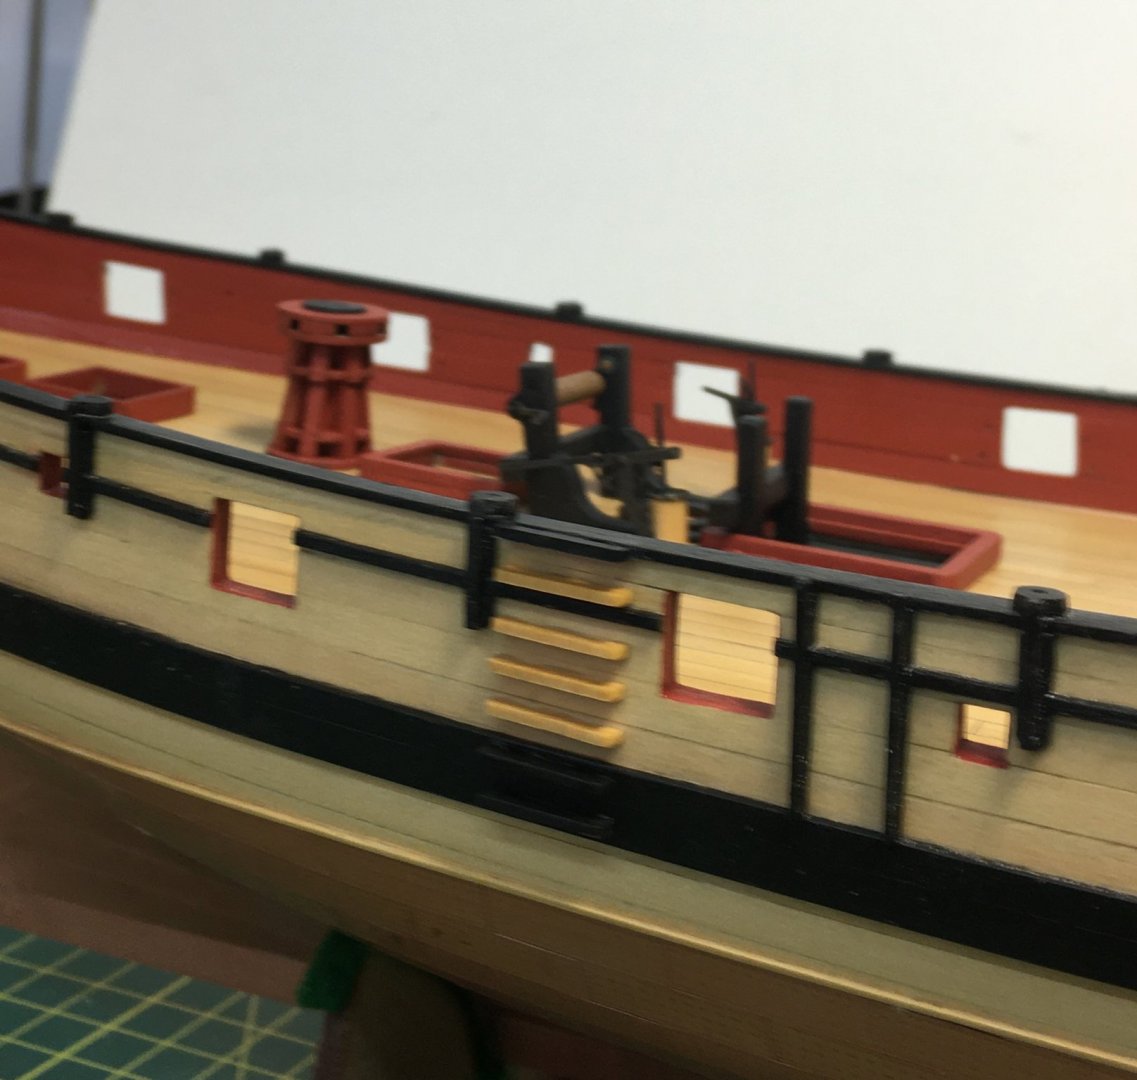
Here they are fitted and painted/shellaced (apologies for the blurry picture):
Another method that would have worked equally well (and wasted less wood) is to start with 1mm strips of boxwood, cut eight pieces each 12.5mm X 2.3mm and glue them together into a solid block (like a loaf of bread with PVA between each pair of slices). Make the grooves and round the corners using whatever method suits - for example using a table saw to make the grooves. Then soak the block in denatured alcohol to loosen the glue. I think I first found this method in The Fully Framed Model and used it to make parrels. As I say, this method works fine but I find it messier.
Hope you enjoyed the step-by-step guide (groan!).
Derek
- Ryland Craze, VTHokiEE, JpR62 and 5 others
-
8
-
-
Looks better than my model did at the same stage - should make a very good base for your second planking. Well done.
Derek
-


HM Cutter Cheerful 1806 by glbarlow - 1:48 - FINISHED
in - Build logs for subjects built 1801 - 1850
Posted
I hope that's a typo! Or are you secretly into a different sort of model building 🤪??