coffeebeans
-
Posts
69 -
Joined
-
Last visited
Content Type
Profiles
Forums
Gallery
Events
Everything posted by coffeebeans
-
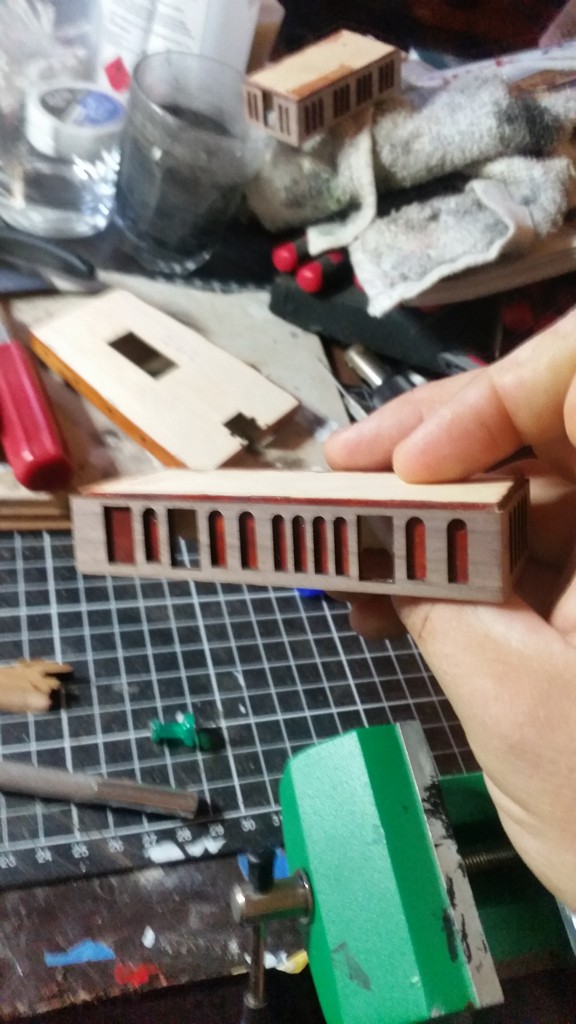
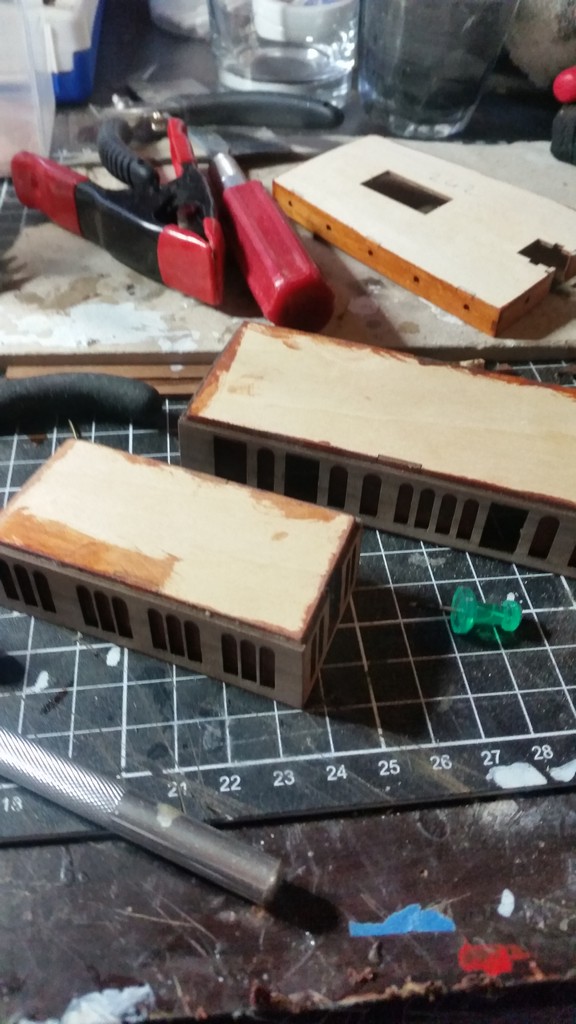
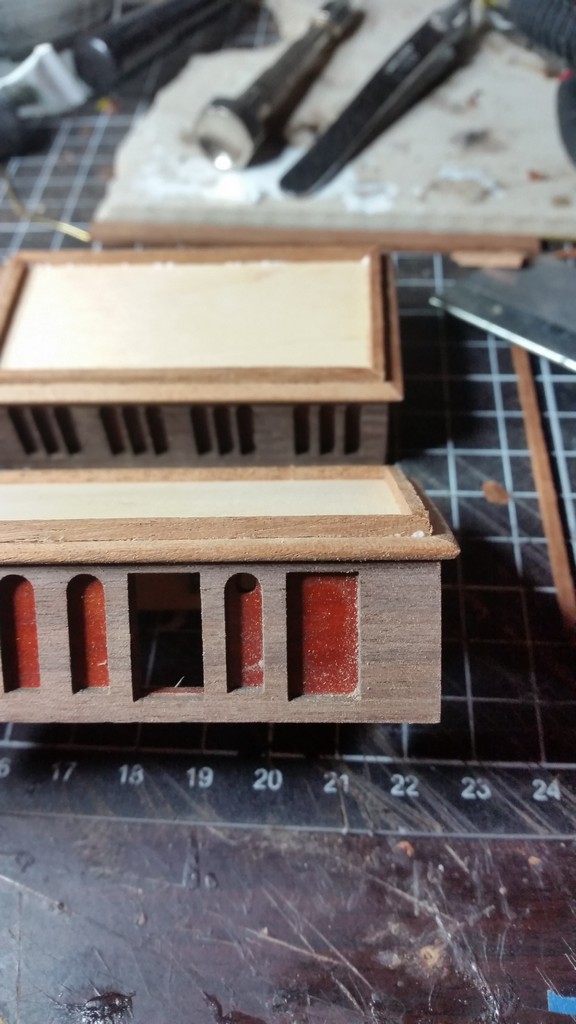
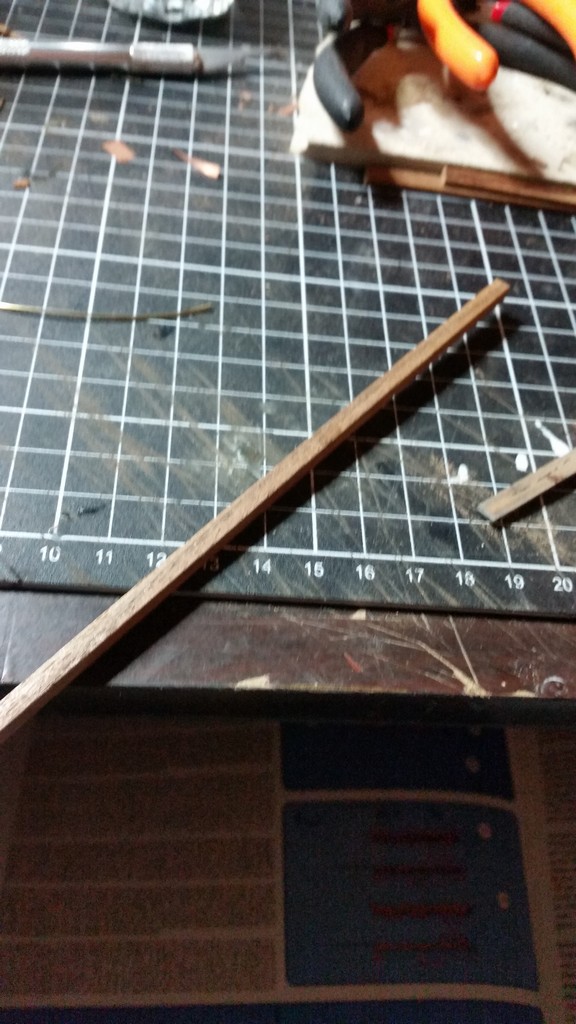
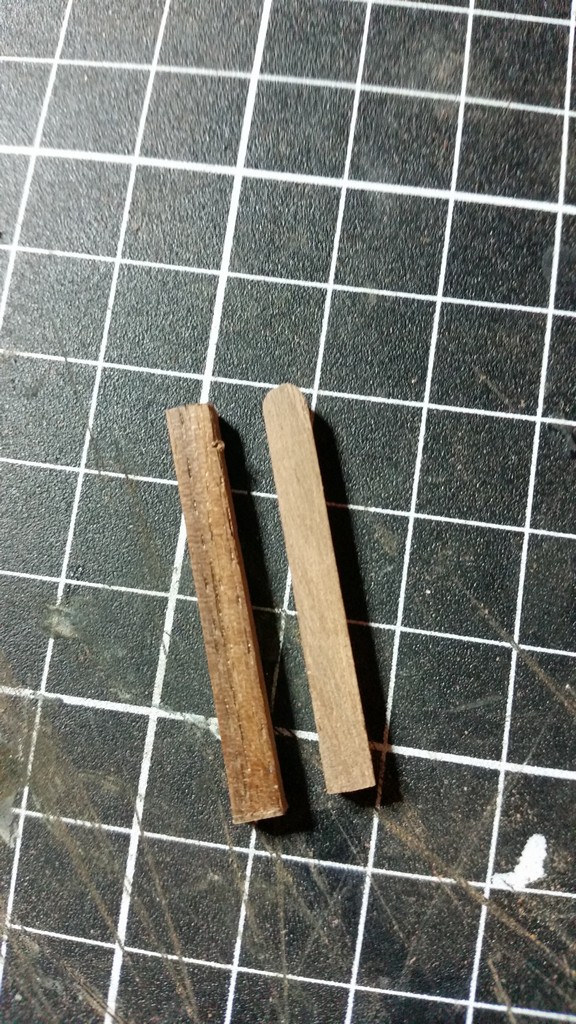
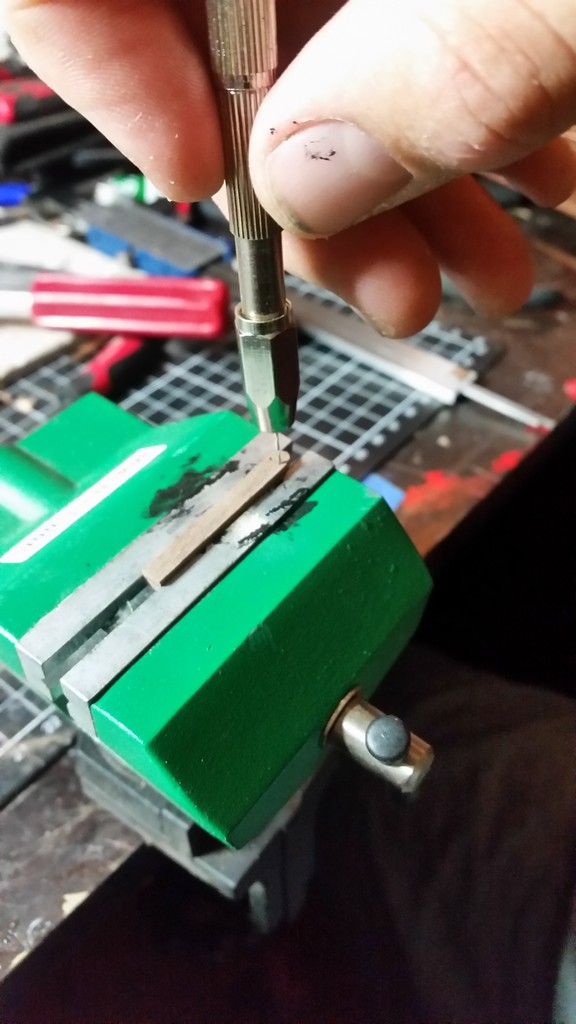
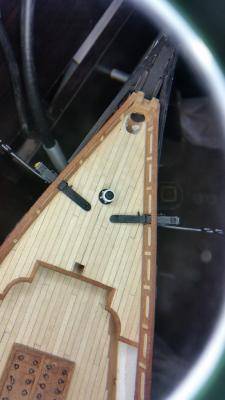
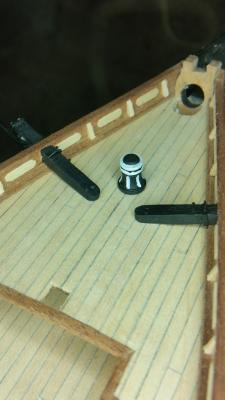
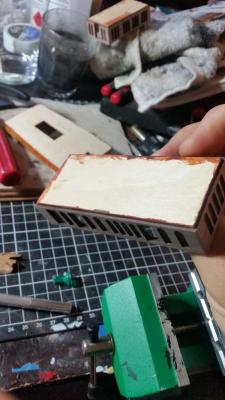
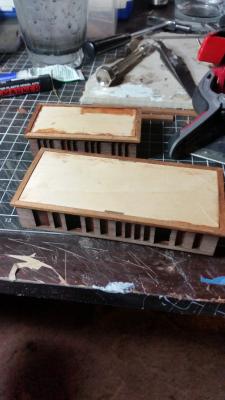
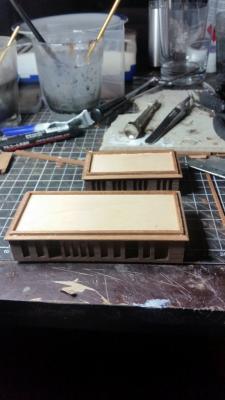
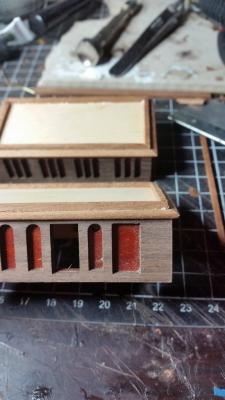
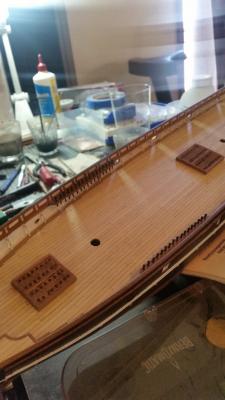
 Just finishing work on the catheads, also paint and placement of the capstan. for the deadeyes i foresaw a bit of a problem with fitment. if i fitted them now the rigging will become quite a pain in the... So for now im just drilling the holes to suit and waiting until i start the rigging. next of the list are the 'wardrooms', the pre lasered parts that came with the kit wernt really up to scratch, the walnut arches crumbled at the slightest touch of the exact-o blade. also the variety of timbers they have asked to use are pretty clashing to me, so i have stained the lasered ply a redish jarrah color and will cover the darker timbers in a thinned stain/varnish. All i could really do was re enforce the rear side with watered down pva and hope it held together


- 121 replies
-
- 4
-

-
- cutty sark
- artesania latina
- (and 1 more)
-
Yeah getting better every day, it does give me some time to build so that's an upside Happy holidays to you also Luca
- 121 replies
-
- 1
-
-
- cutty sark
- artesania latina
- (and 1 more)
-
Thanks George, I picked her up after seeing my partners grandfather's model of the ship, I loved the shape and look and still do.
- 121 replies
-
- 1
-
-
- cutty sark
- artesania latina
- (and 1 more)
-
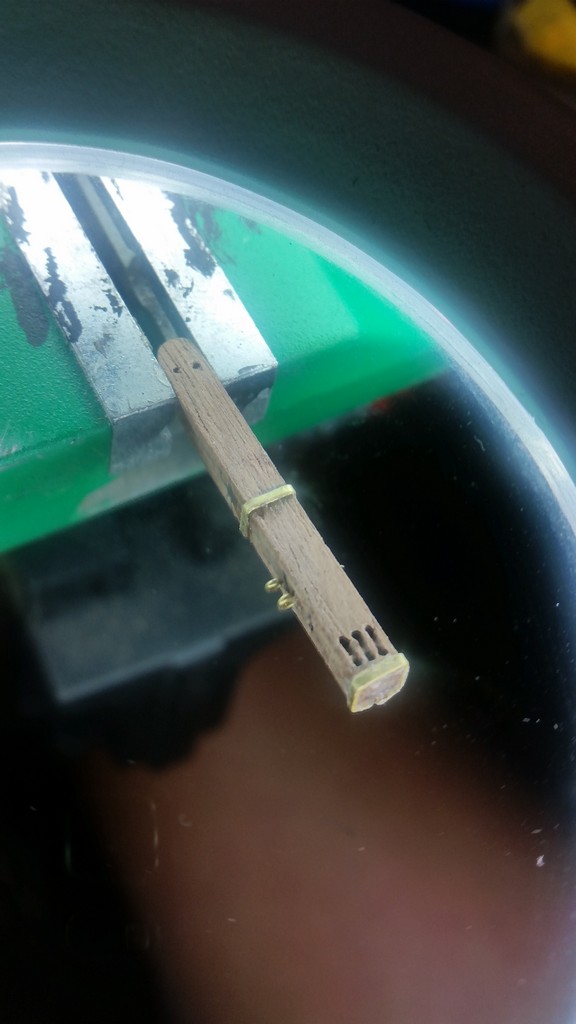
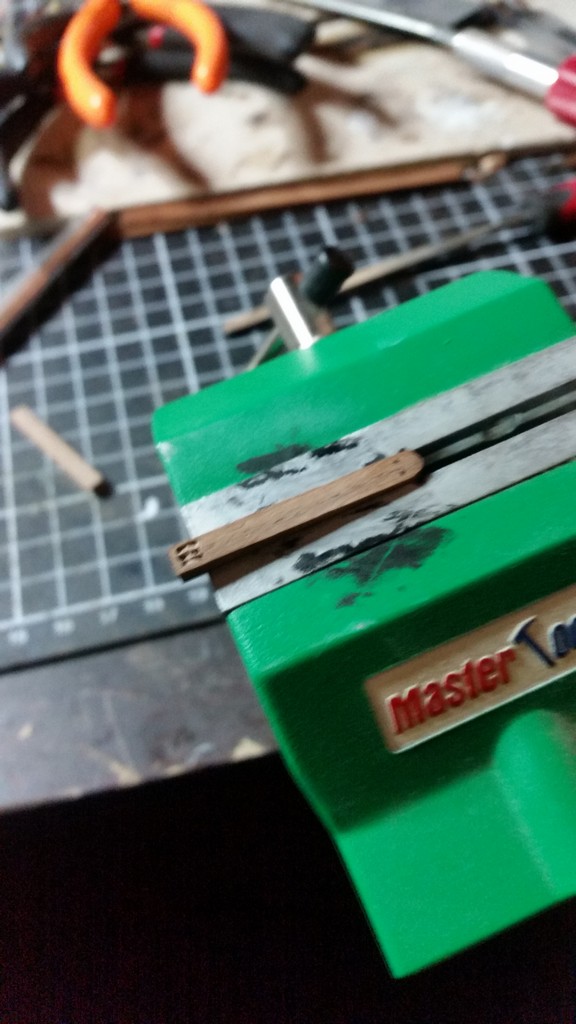
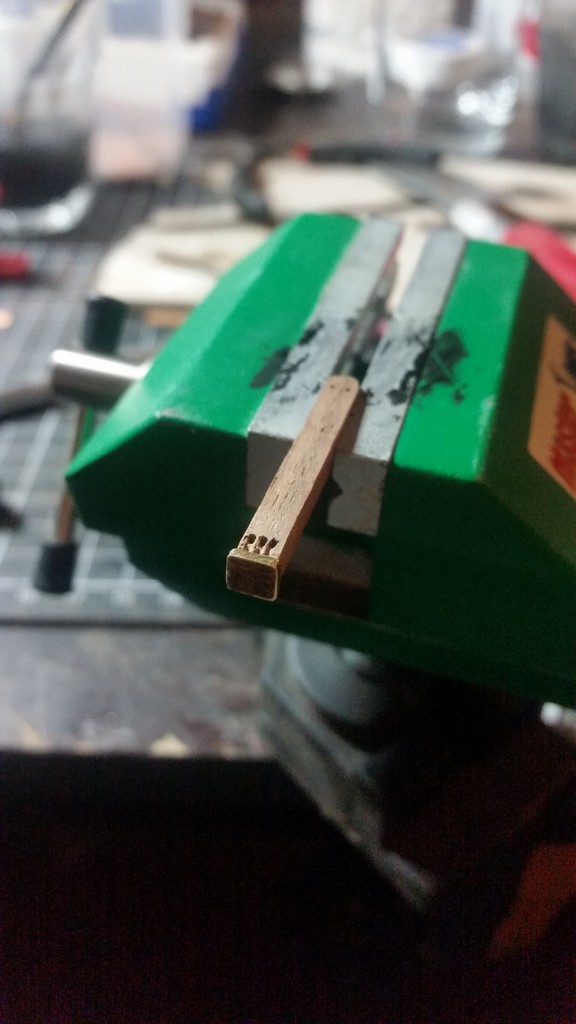
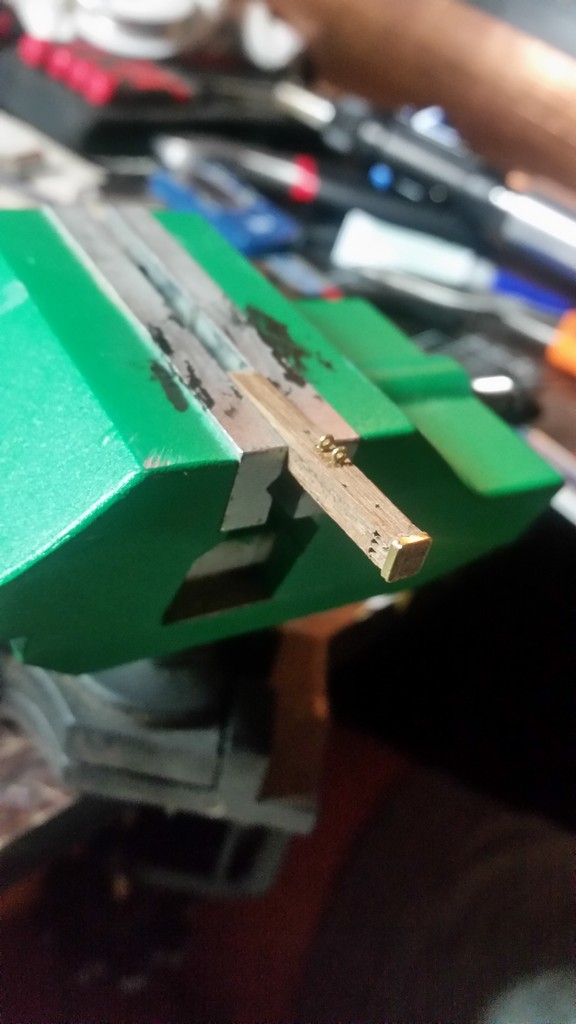
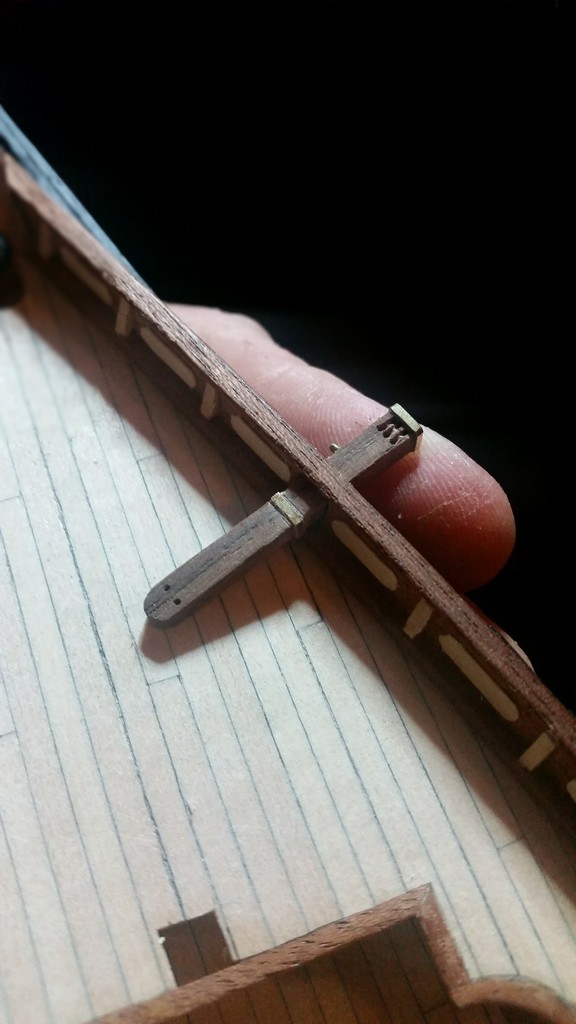
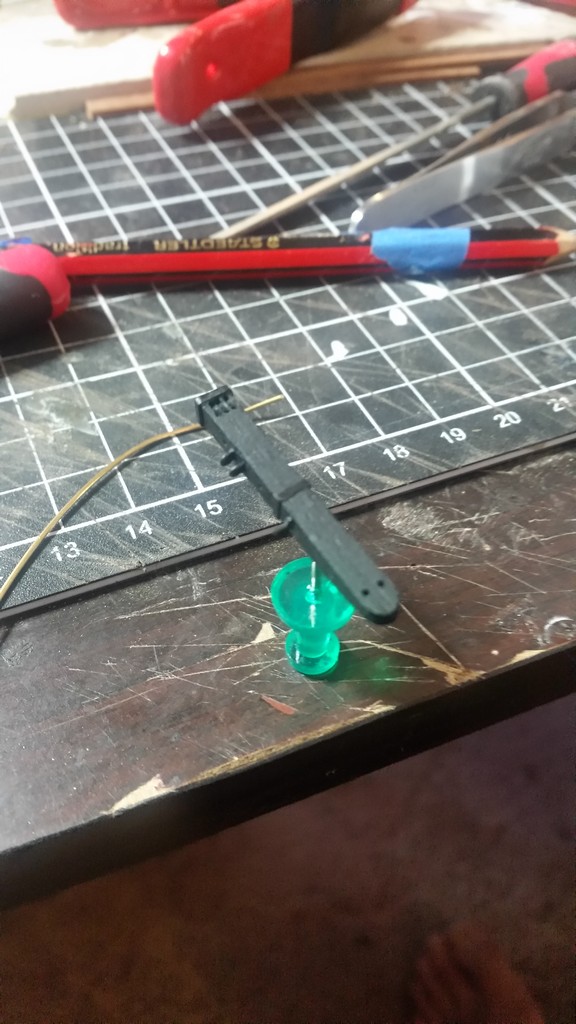
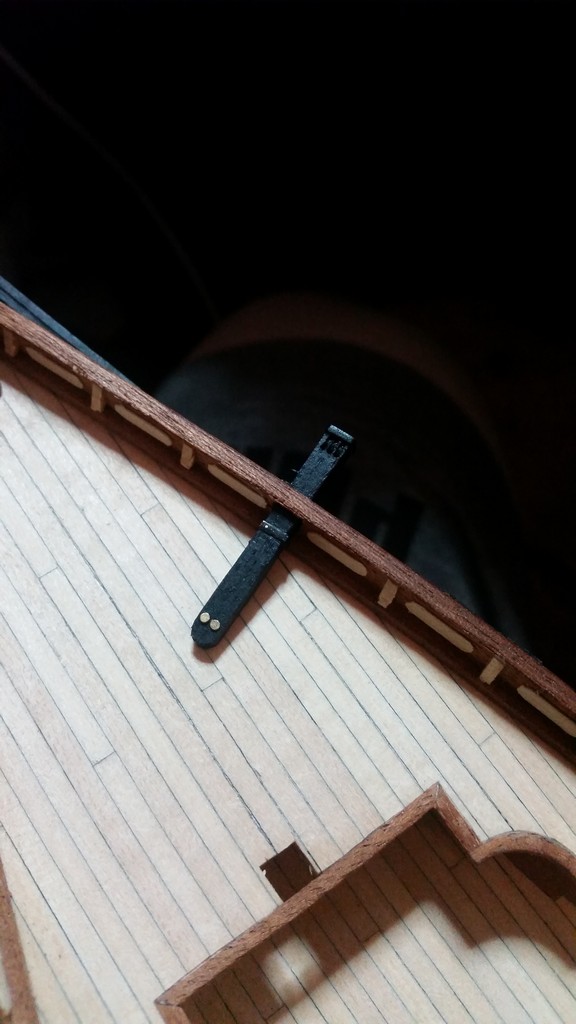
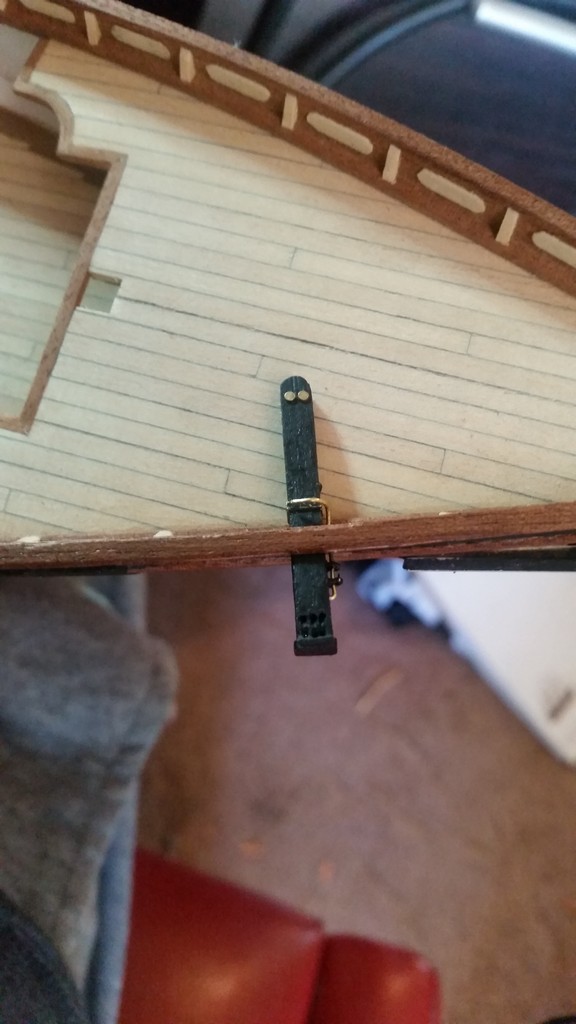
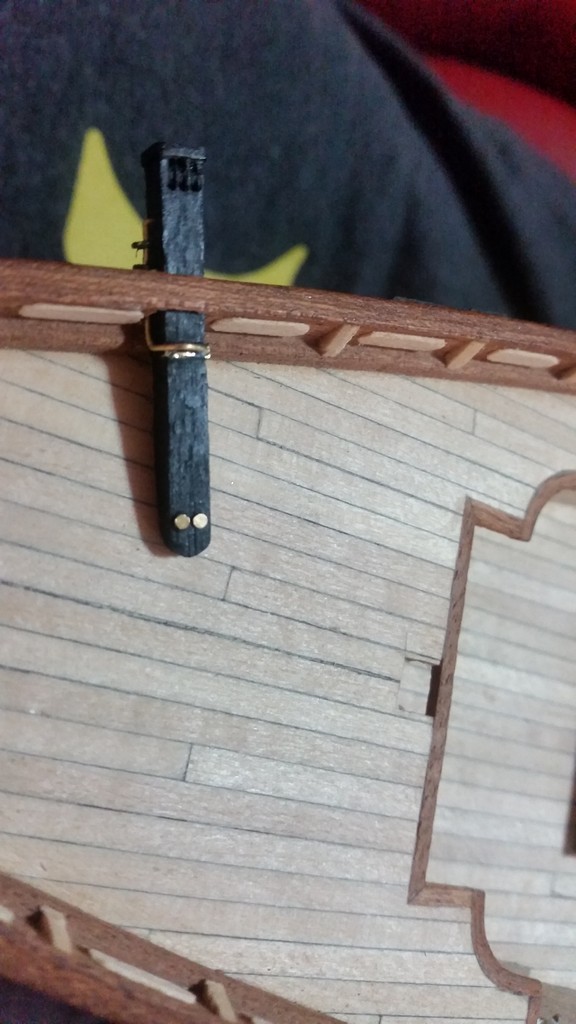
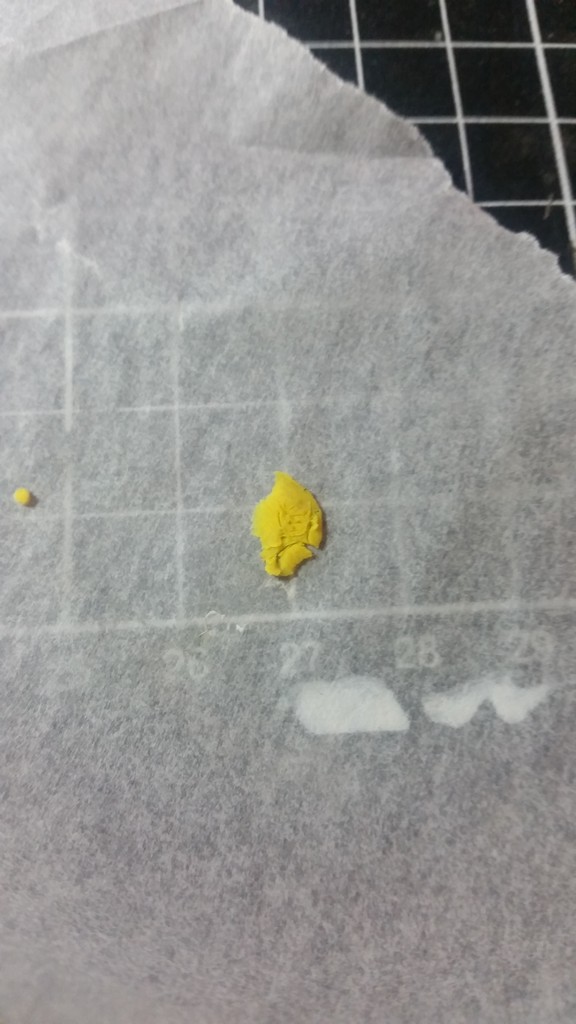
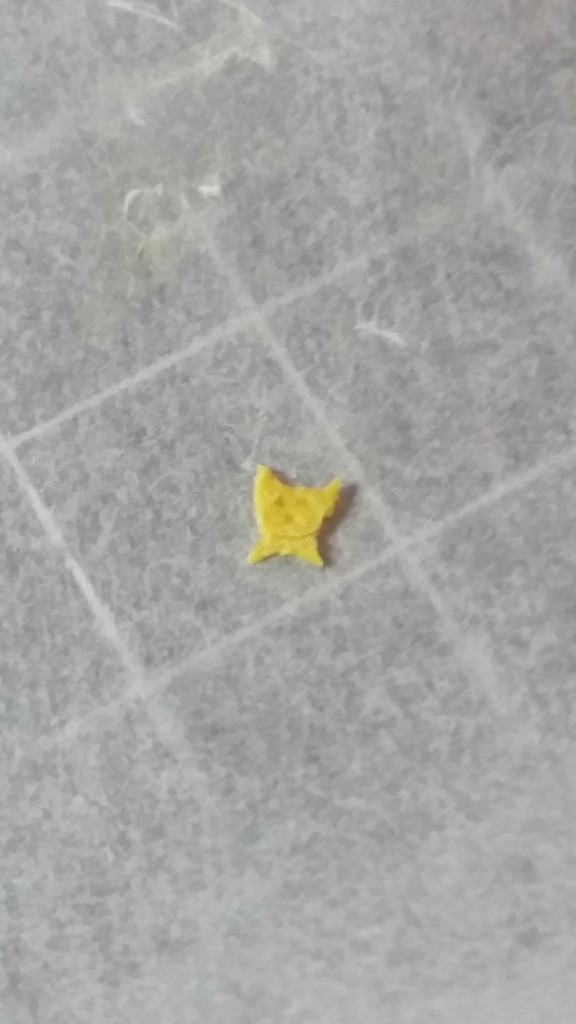
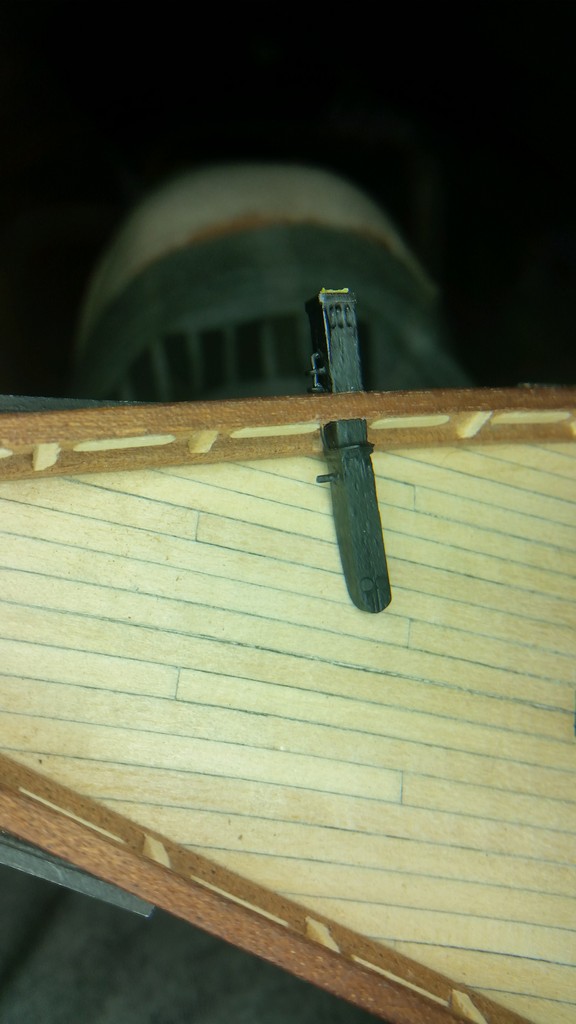
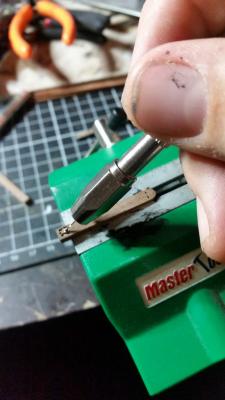
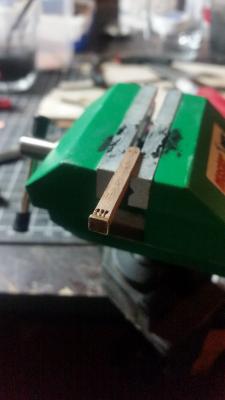
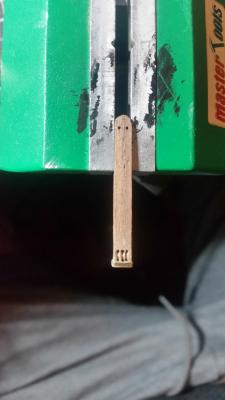
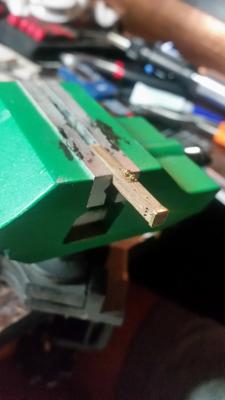
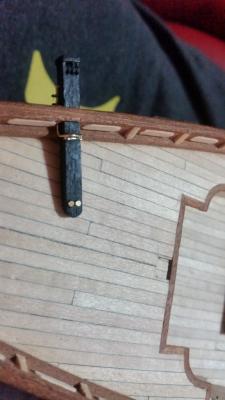
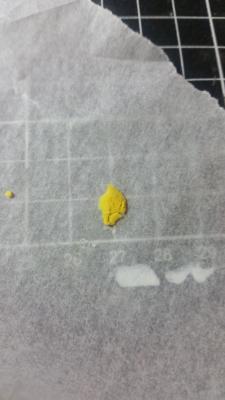
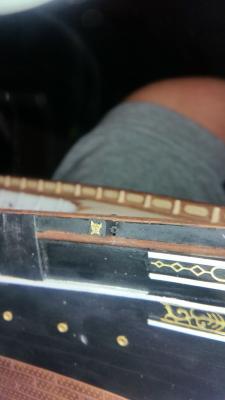
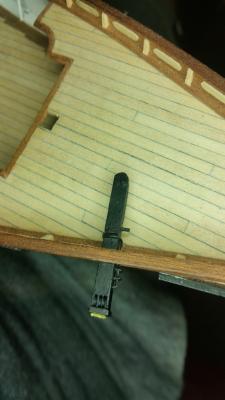
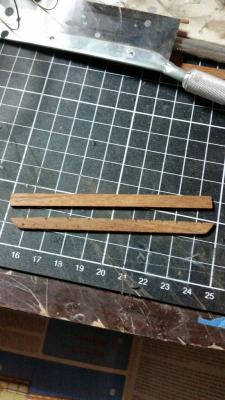
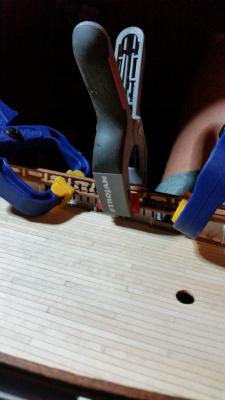
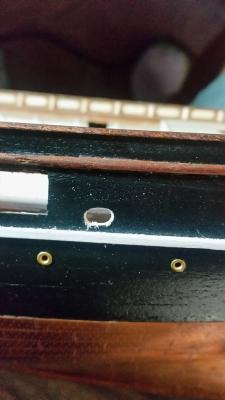
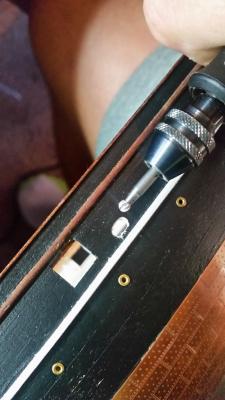
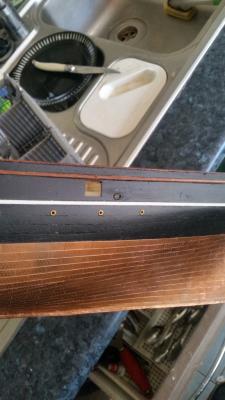
for something a little diffrent i thought id tackle one of the catheads and FINALY figured out hot to get better shots of my work with an iluminated magnifying glass! as shown in the later pictures starting with walnut 4x4 blanks i cut and shaped one to size then for the pulley holes the instructions stated 2 lots were drilled where my other more reputable book said 3, so i went with 3. i then added a brass band at the end with ca glue, then sanded it back, and also a couple brass eyelets for the release rod a hole was now cut into the railing to accommodate this dry fitting, painting and fitting then took place for the cathead figure i use some bakable modeling clay and cut a rough cats head and here it is with all parts assembled


- 121 replies
-
- 5
-
-
- cutty sark
- artesania latina
- (and 1 more)
-
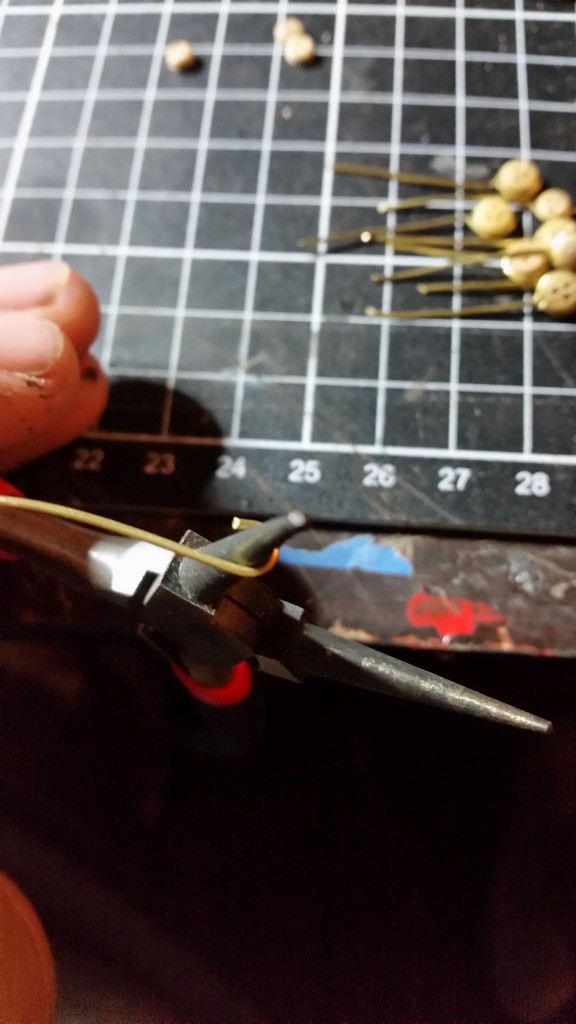
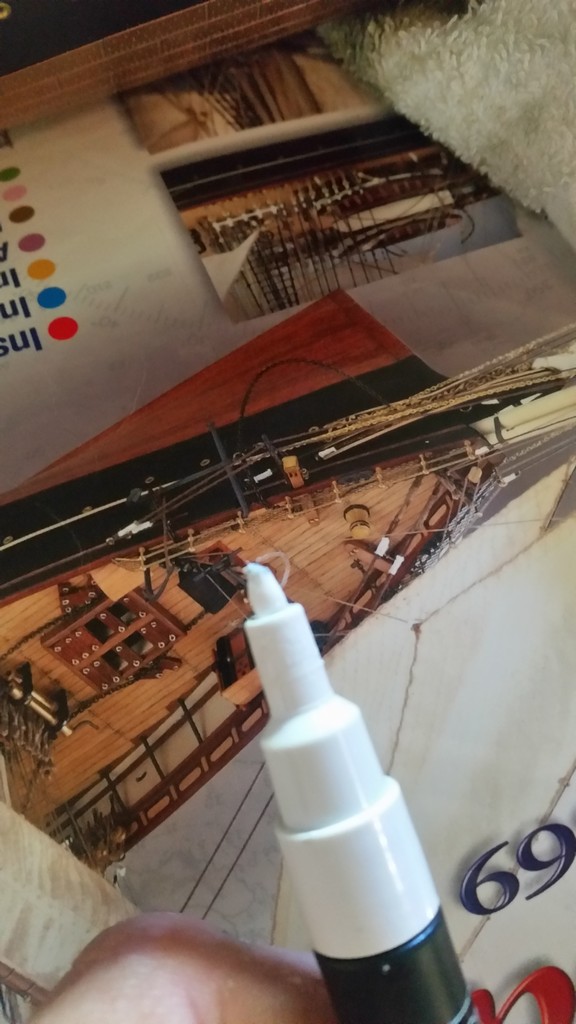
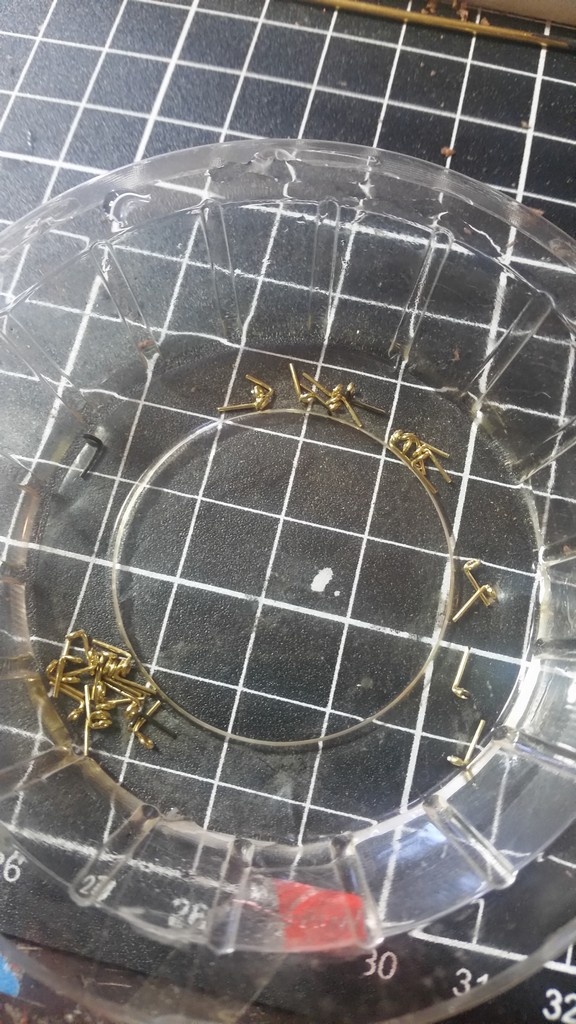
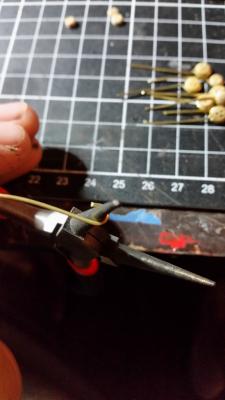
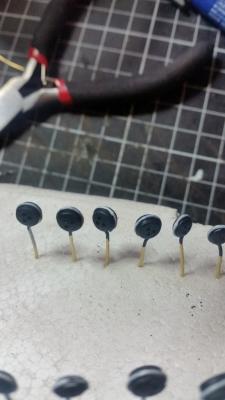
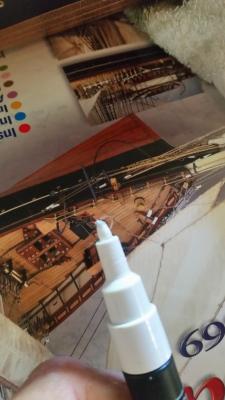
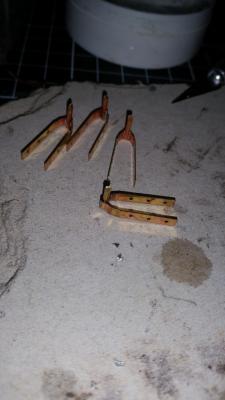
for a few of the other cutty builds i have seen some attempts at the dead-eye strap/clamps, it looks a bit much for me so im going to have to compromise but not by much here are the front two chainwales in place ready for deadeyes for the forming of the brass wire i used some jewlers pliers to bend to a workable circumfrence then using the kits pre made deadeye blocks i just inserted them and completed the loop with pliers and cut to length then for a coat of black paint on the lot followed by a white acrylic modeling marker ran over the brass itself, sort of representing the white straps used on the cutty. a better representation of this would have to be Bob's build on page 48 he has a prototype of what it should realy look like


- 121 replies
-
- 1
-
-
- cutty sark
- artesania latina
- (and 1 more)
-
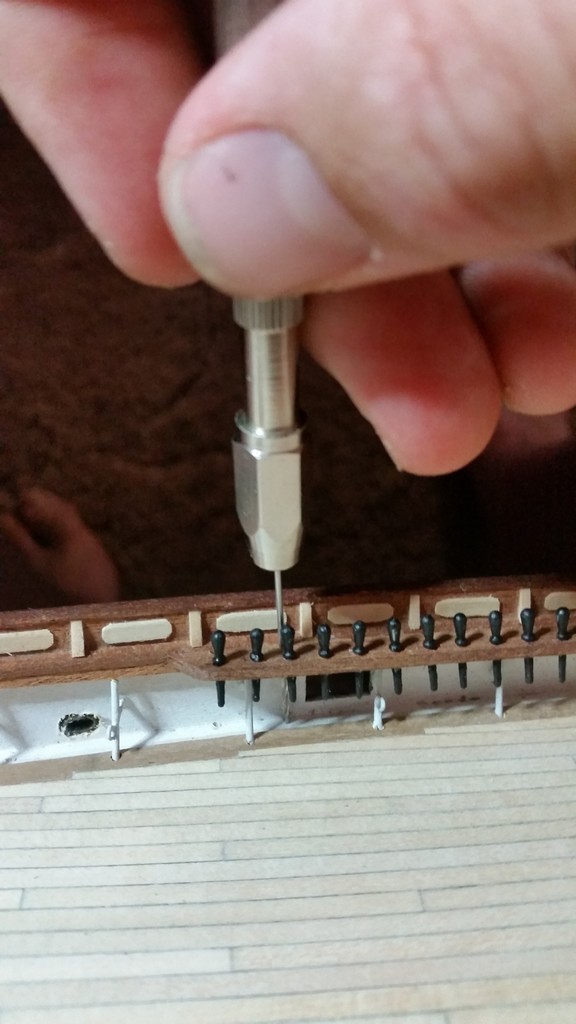
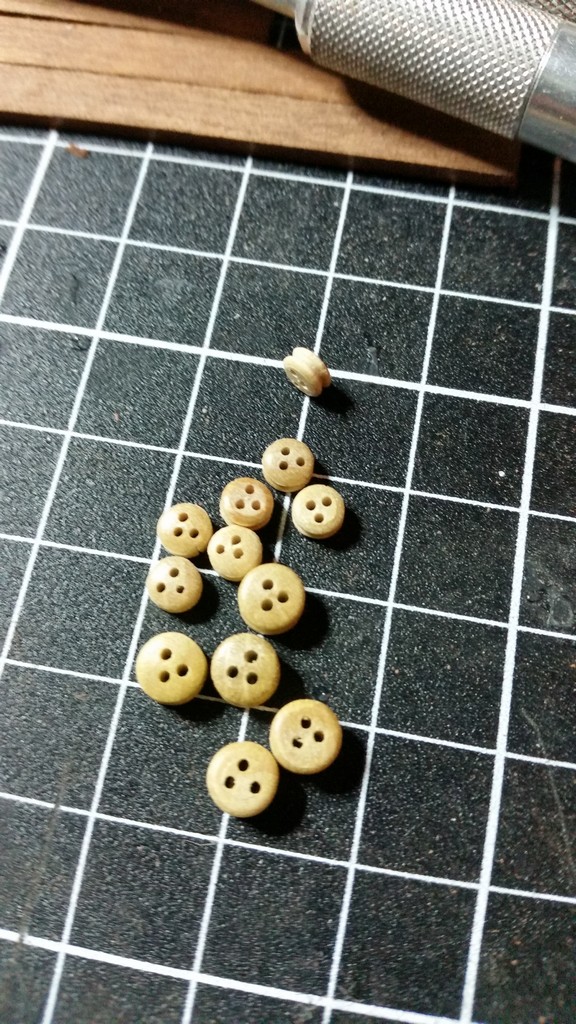
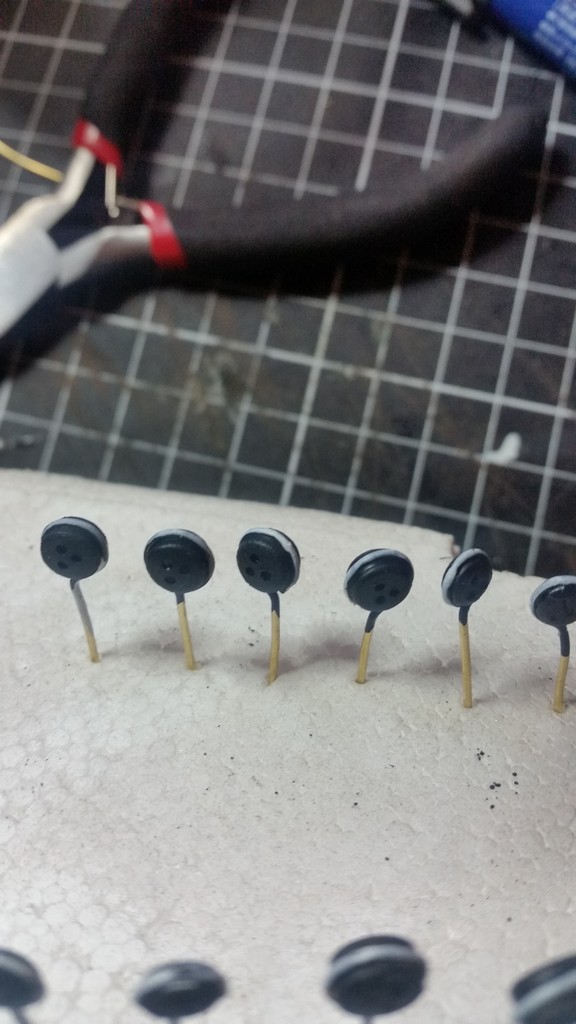
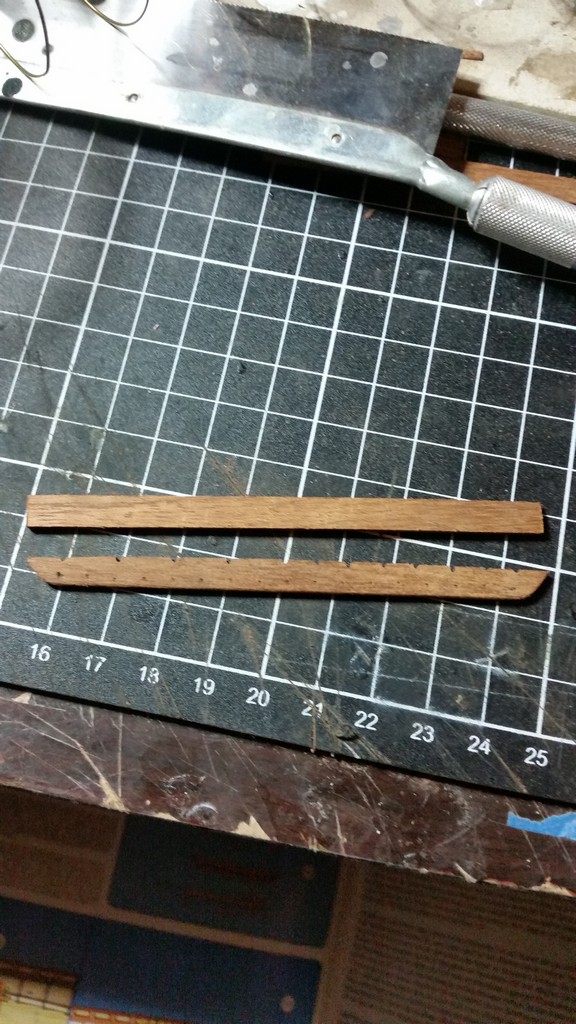
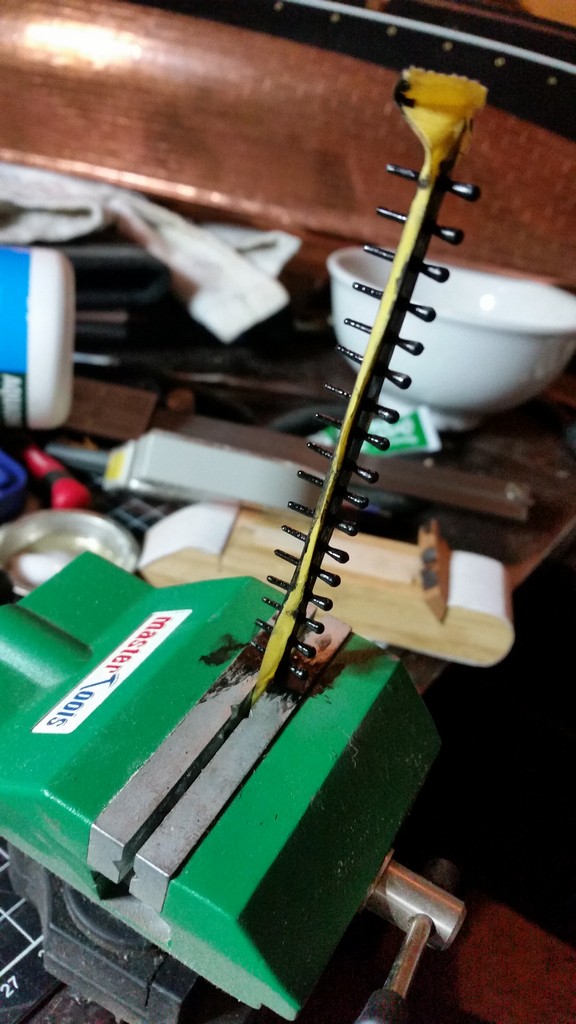
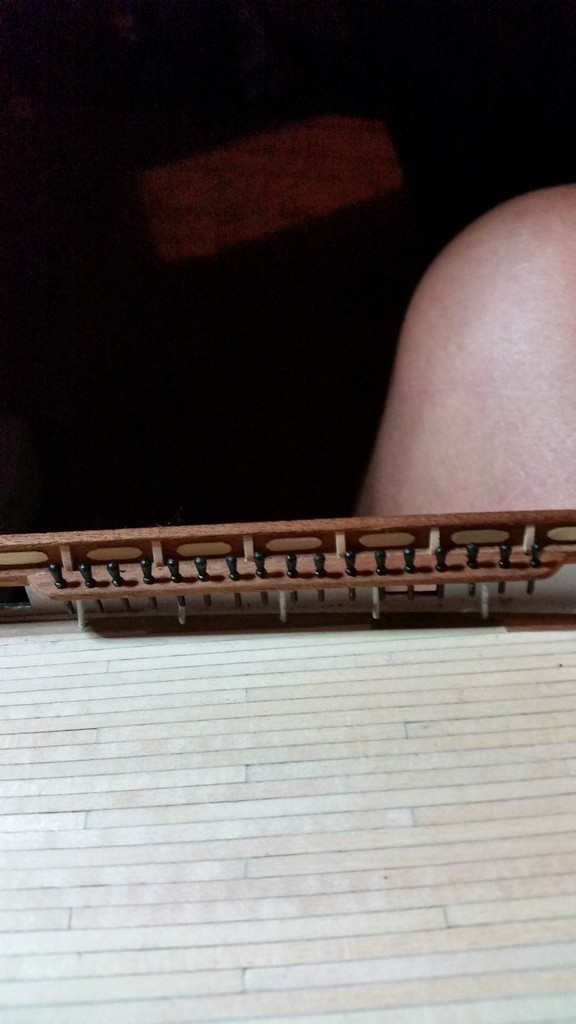
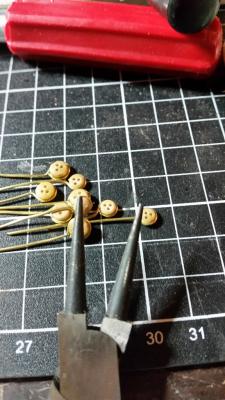
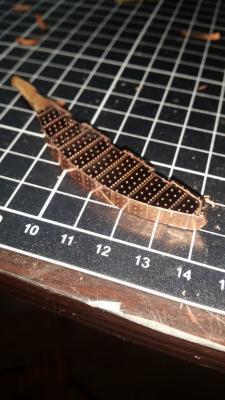
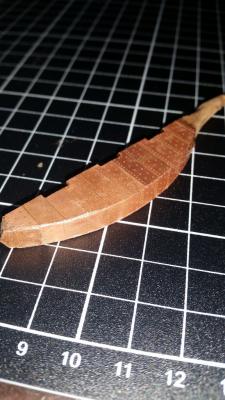
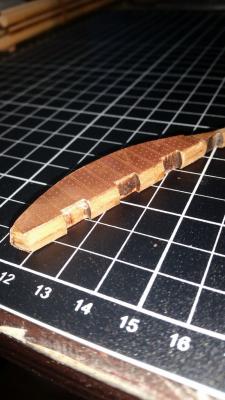
now for the chainwales, starting off with these 'sapeli' blanks i sanded the back side to the curve if the ship then added the deadeye chain holes and pins. to make painting the pins easier i masked the pre holed plank and put the pins in dry for a coat of matte black

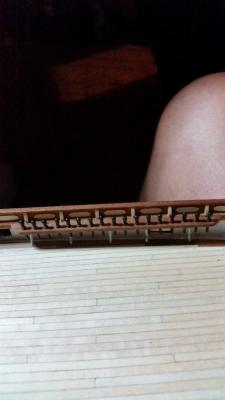
-
just a couple of the metal fittings added also
-
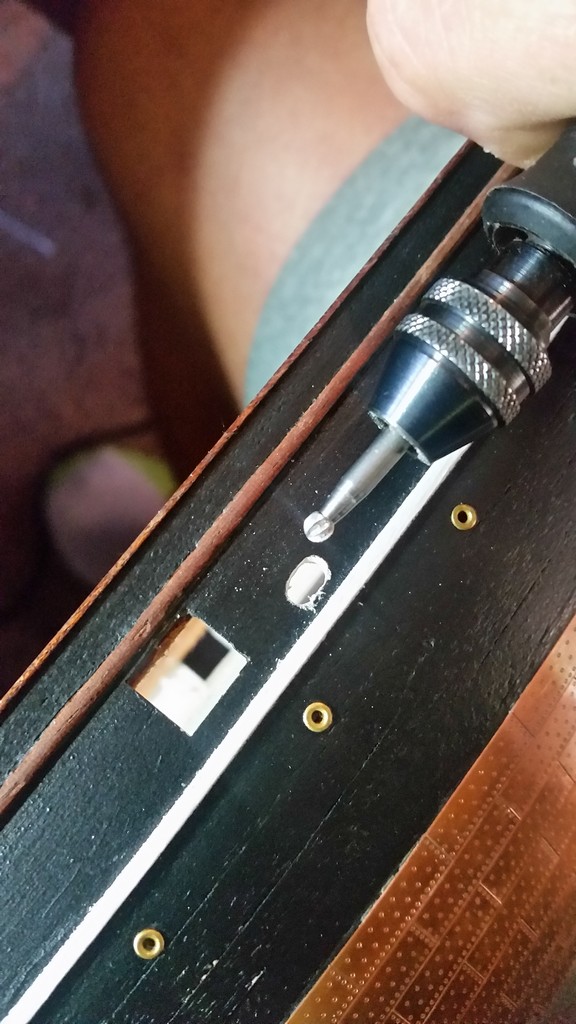
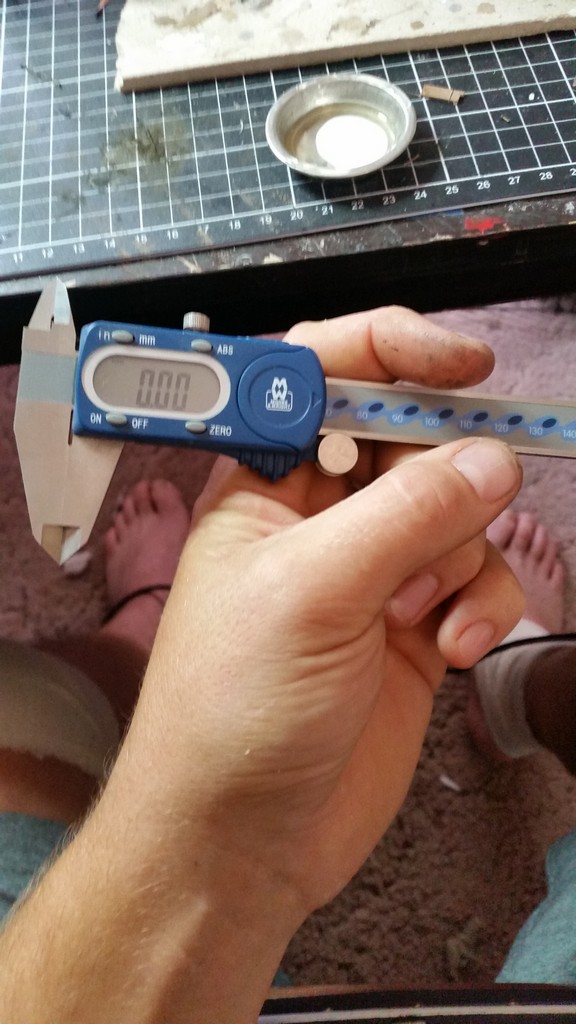
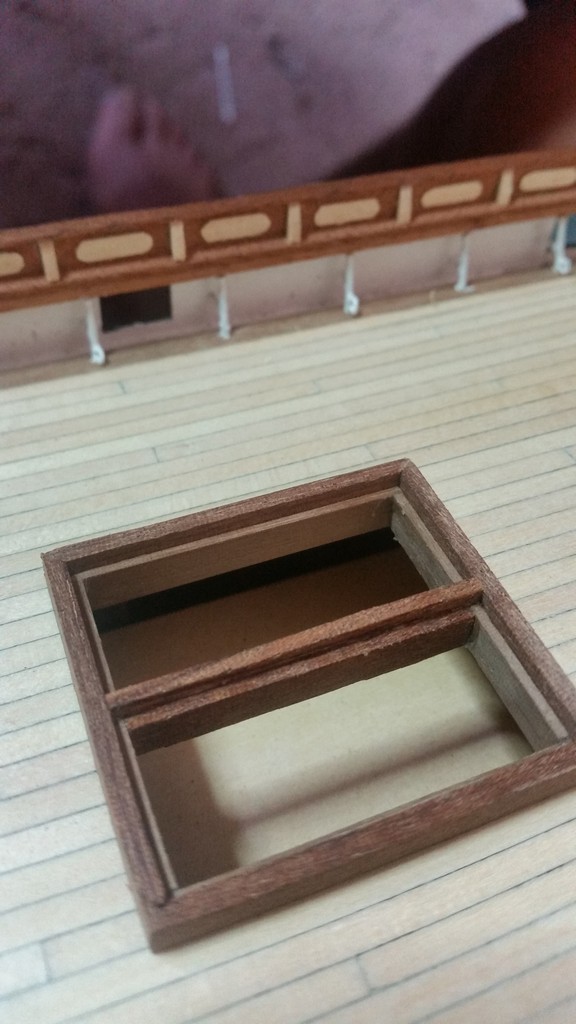
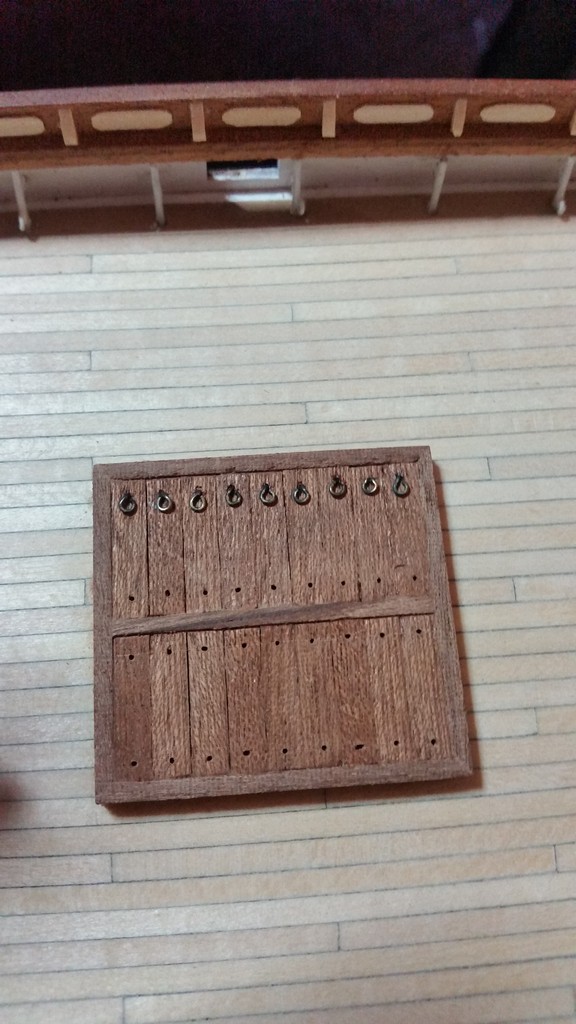
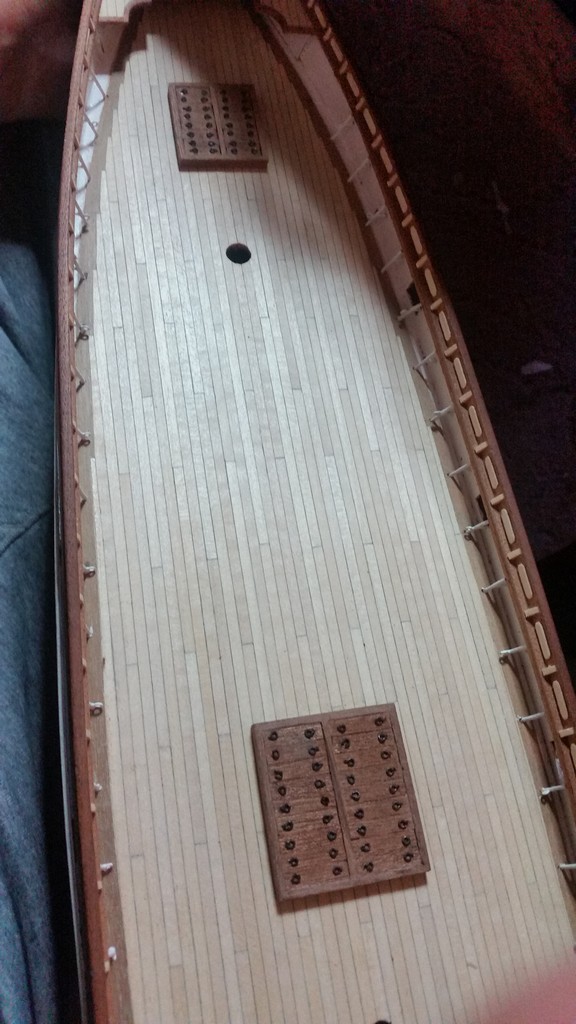
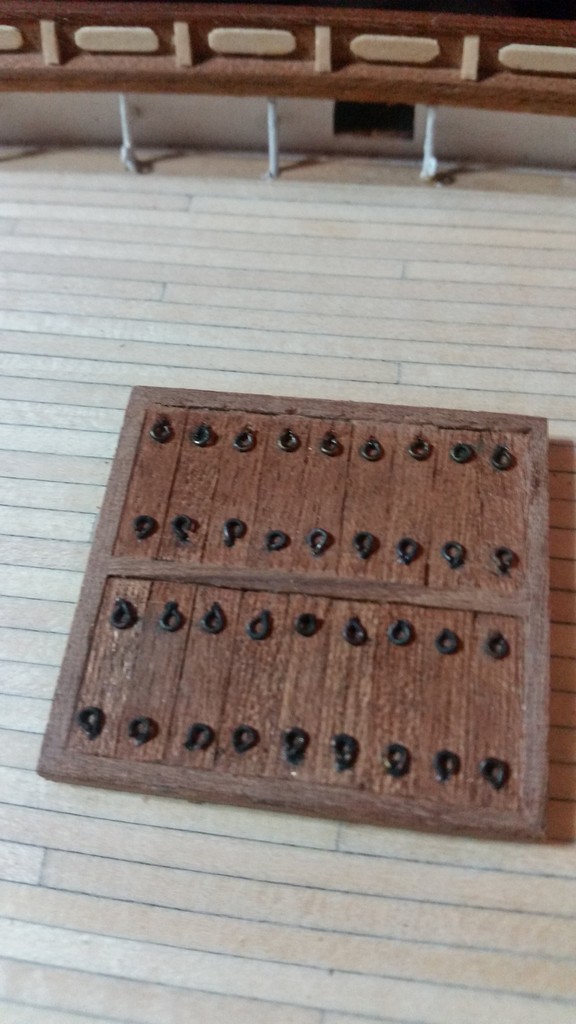
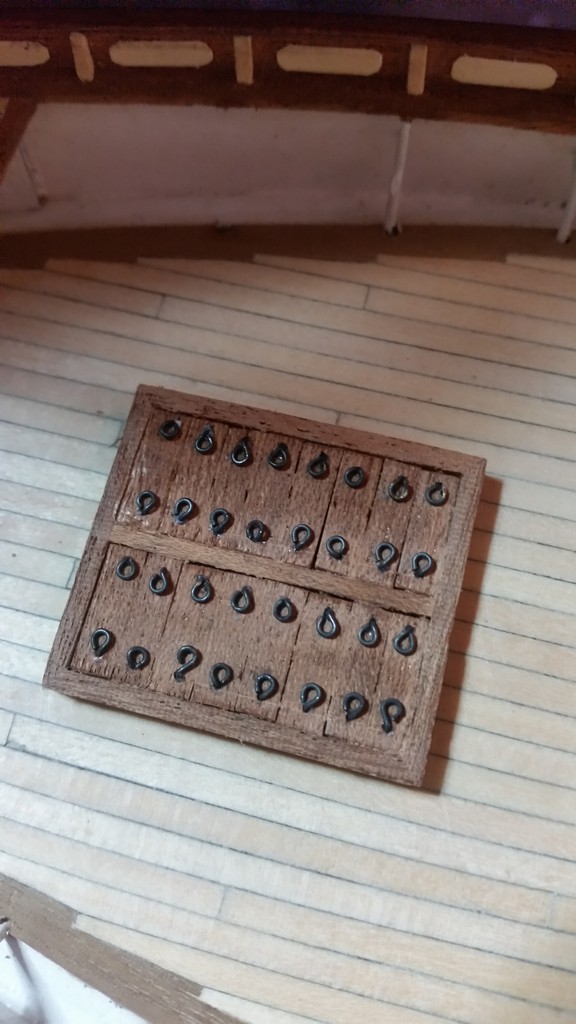
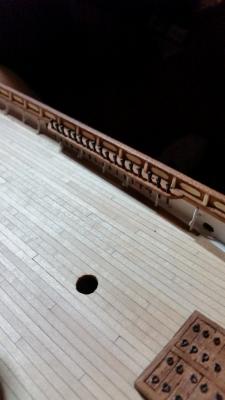
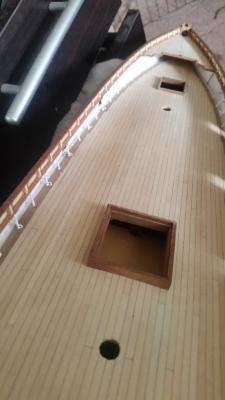
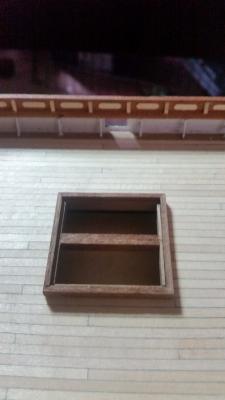
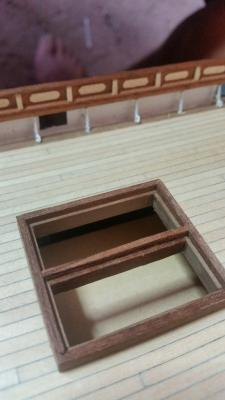
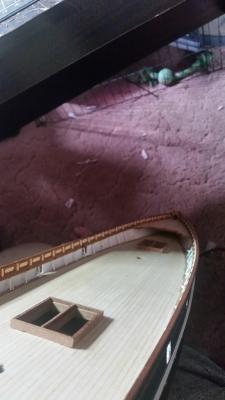
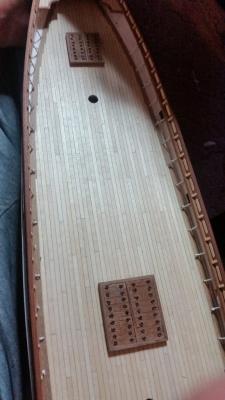
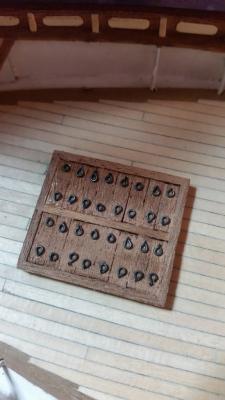
Next to go were the hatchways, thank god back to some timber work! just following the instructions the hatch ways seemed to be protuding quite a bit so i sanded them down to just above the covers height also this tool i picked up for measuring is a must have, i dont know what i did with out it for multiple common parts This is my method of blackening the handels of the hatch covers. it involves cleaning for about 10 mins with either a diluted acid or metho, then washing the parts with water, then dunking in the blackening liquid and siring. i am pretty new to the whole thing and still haven't found the sweet spot but im sure ill pick it up


- 121 replies
-
- 4
-
-
- cutty sark
- artesania latina
- (and 1 more)
-
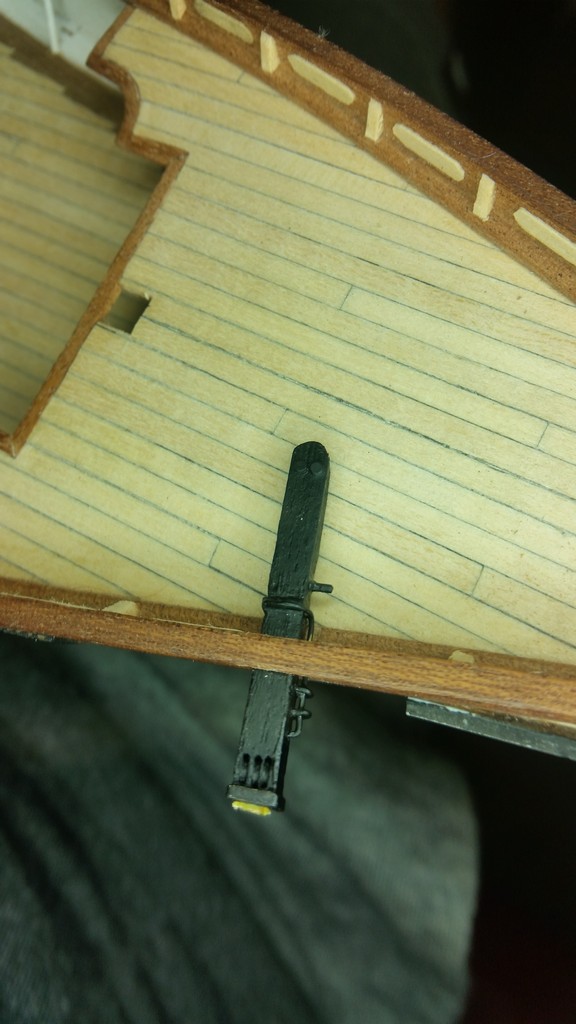
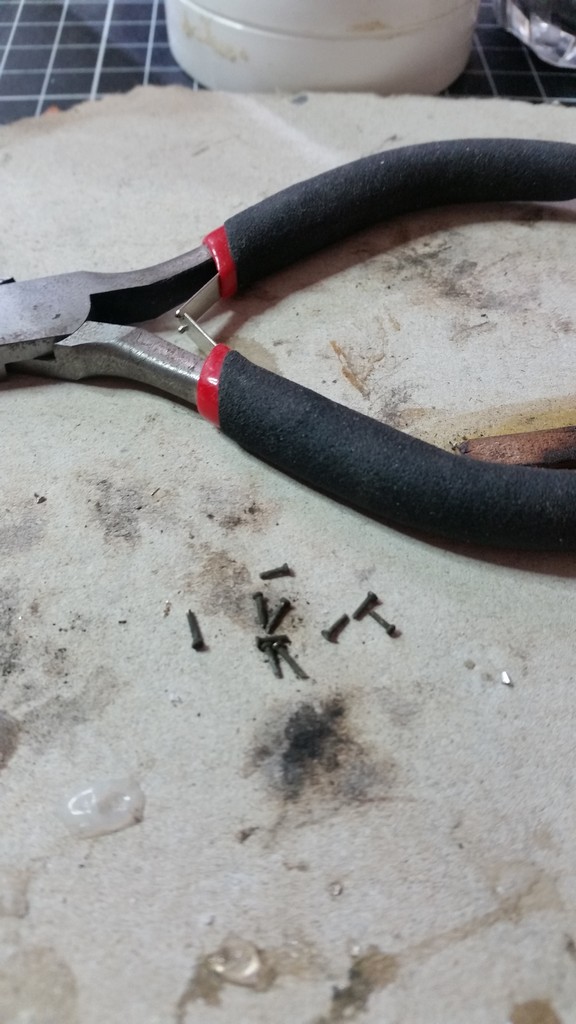
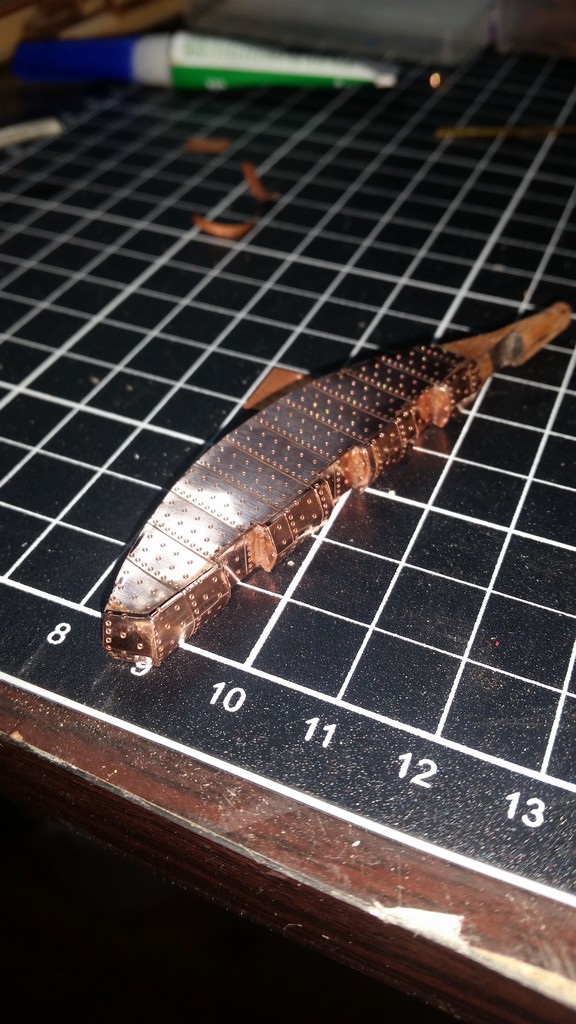
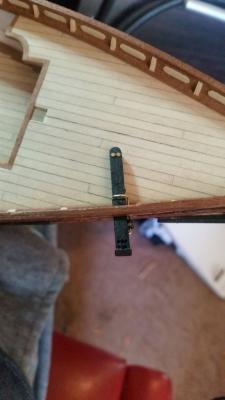
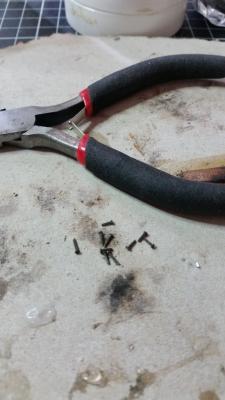
G'day all, small halt in construction due to a few end of year surgeries and recovery but back to it with a bit of a back log seeing as i didn't have access to a computer at that time. first off the list the rudder was to be completed. Using blackened and niped short nails i pilot holed through the timber and used a dab of ca gel to hold the pins in place also added was the ring at the rudder breach


- 121 replies
-
- 2
-
-
- cutty sark
- artesania latina
- (and 1 more)
-
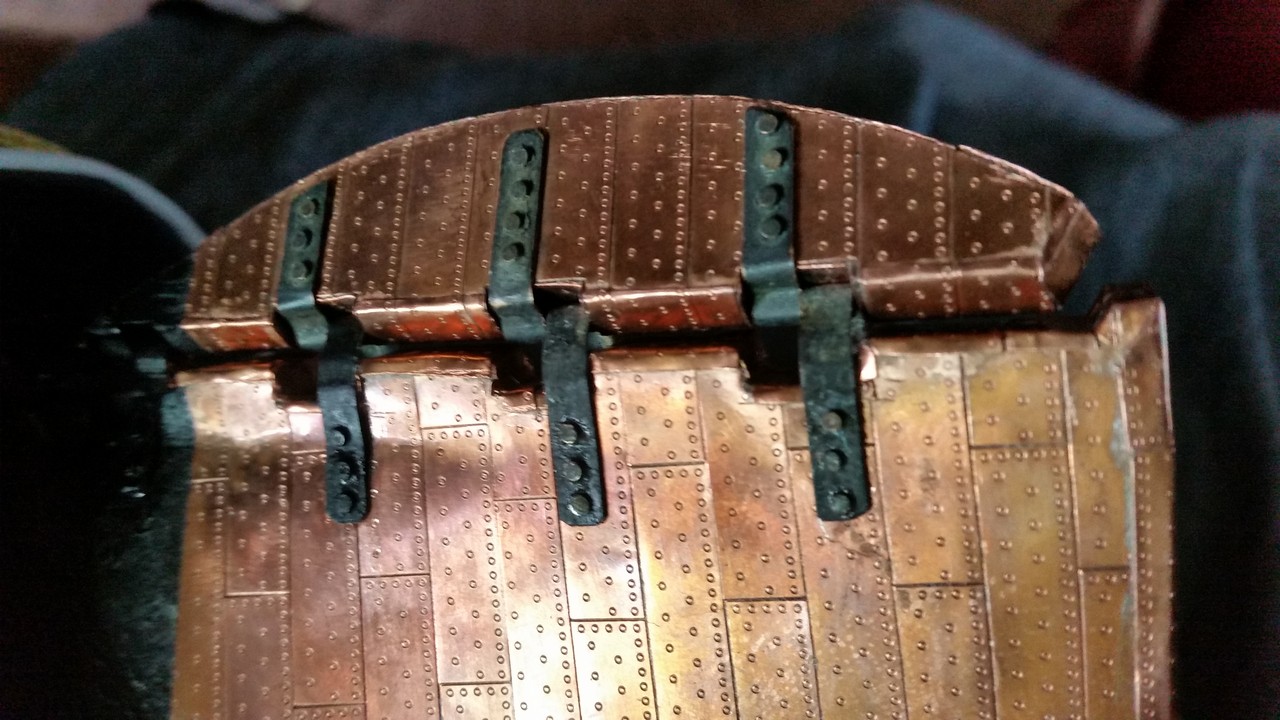
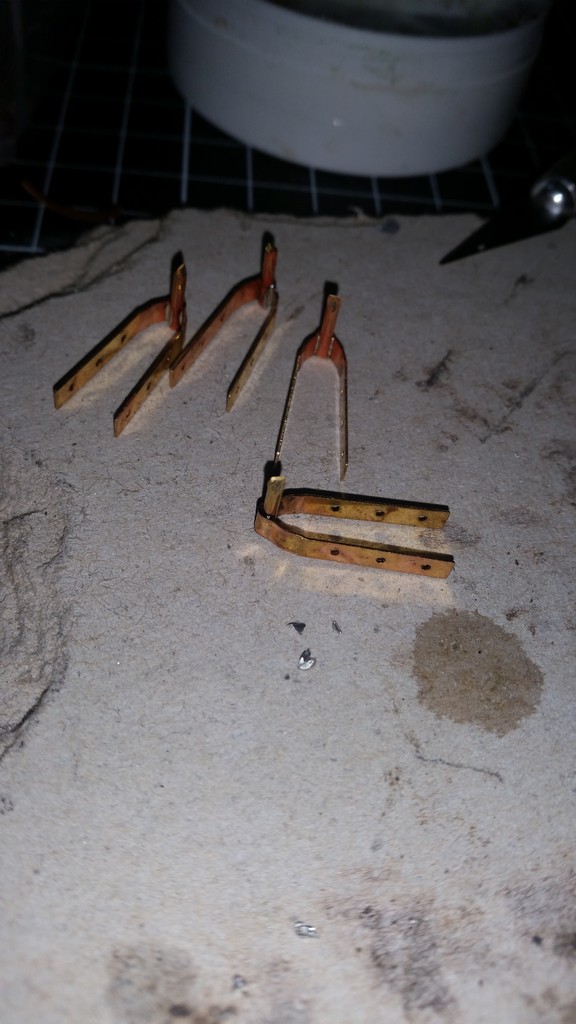
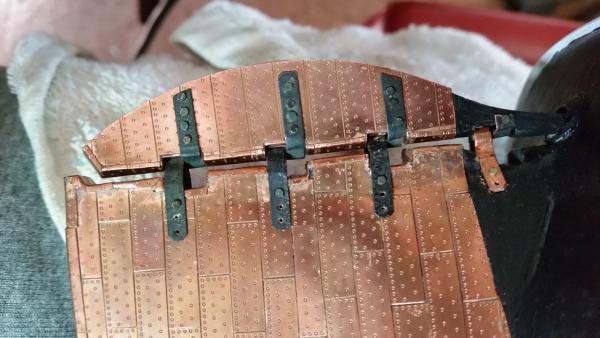
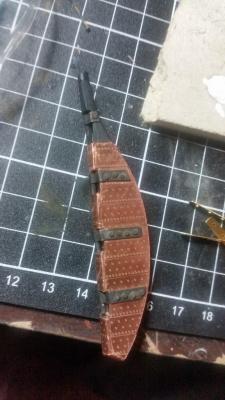
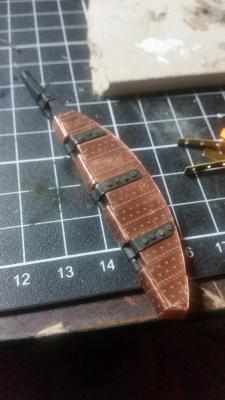
only a little bit of progress, hinges have been blackened and nailed in place
- 121 replies
-
- 4
-
-
- cutty sark
- artesania latina
- (and 1 more)
-
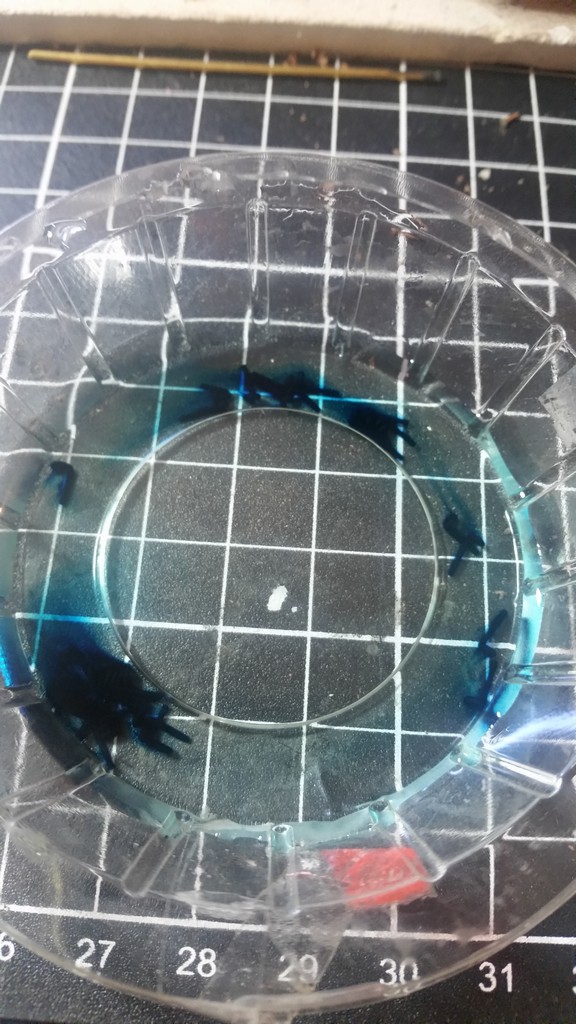
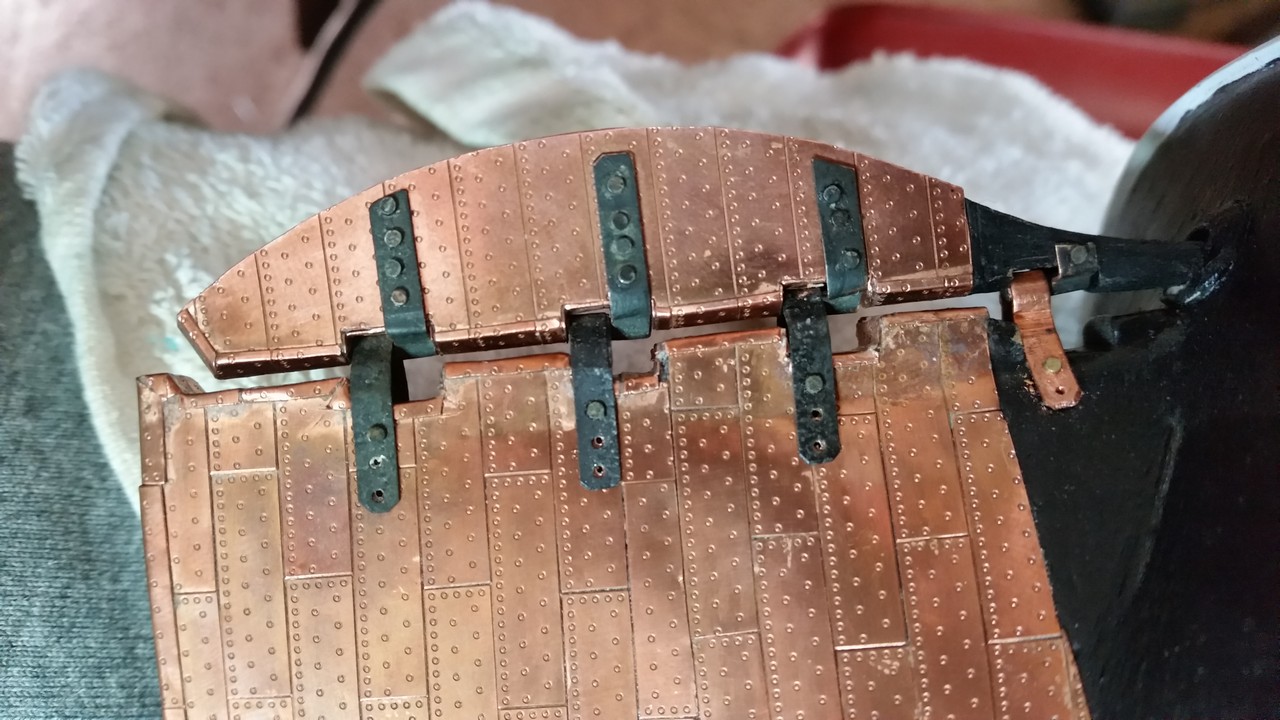
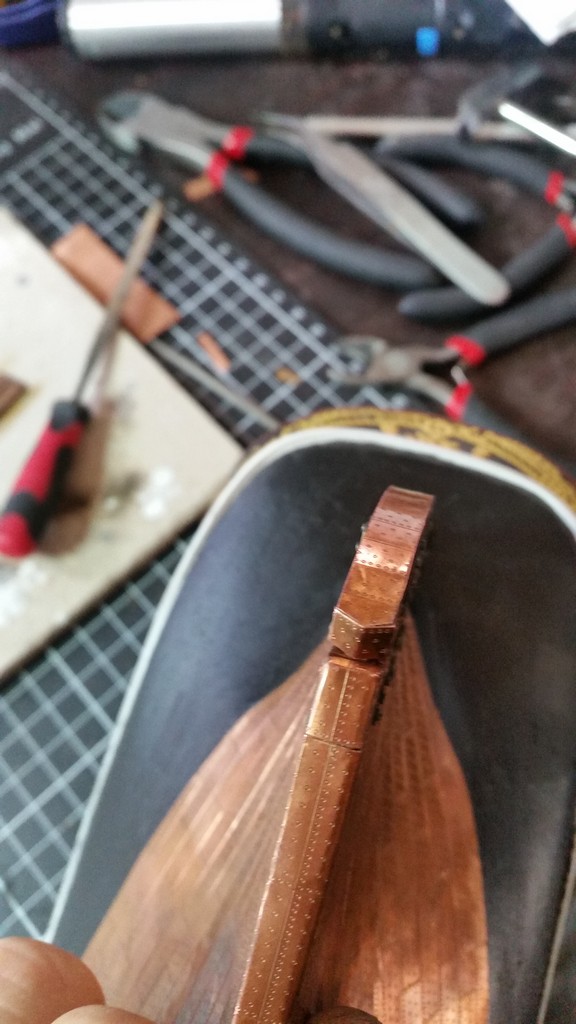
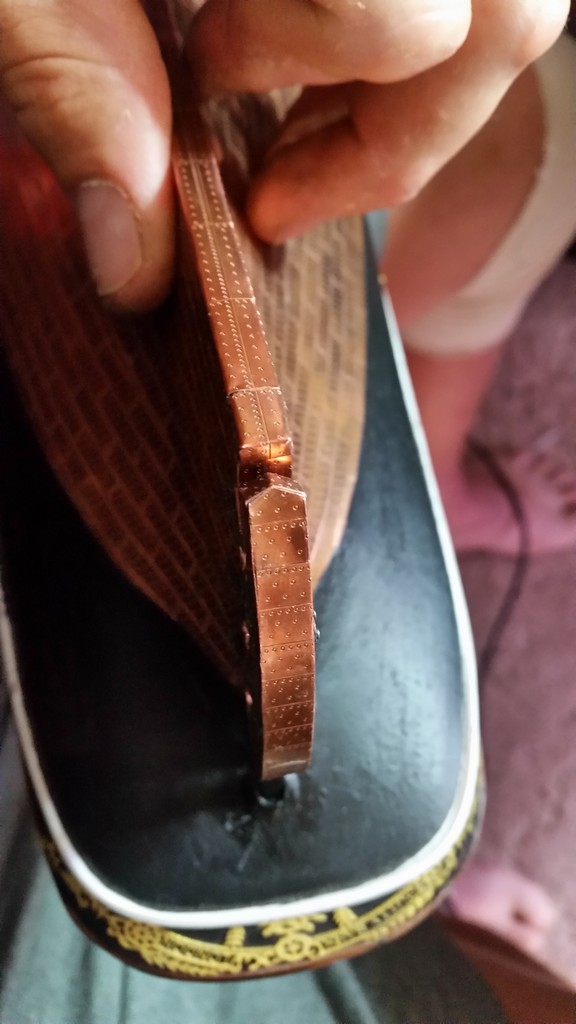
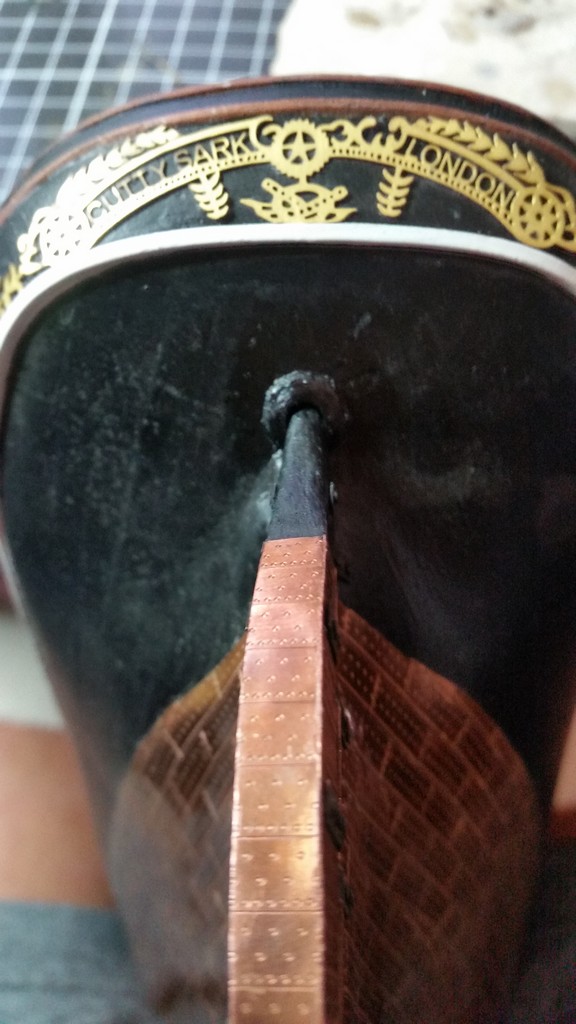
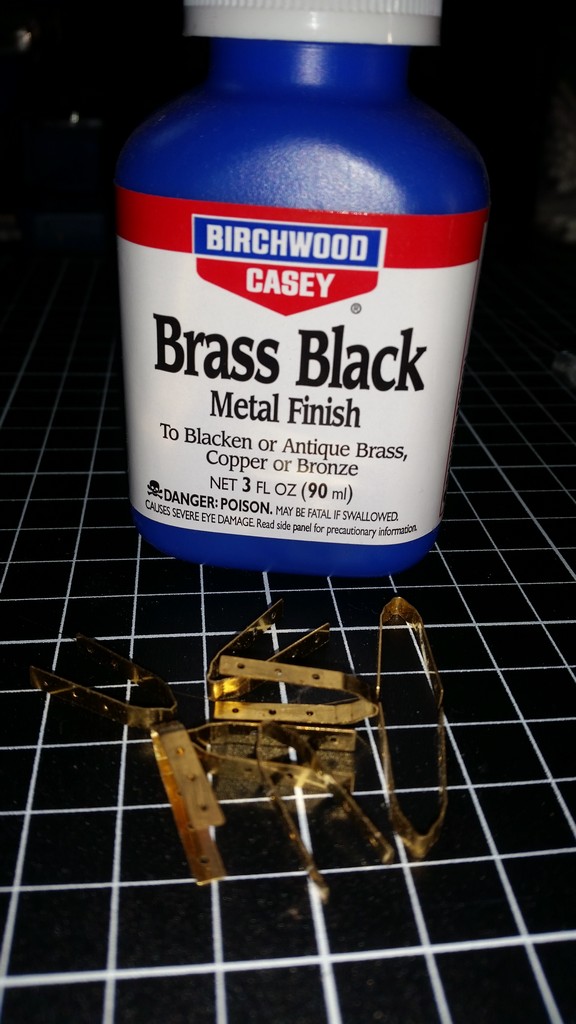
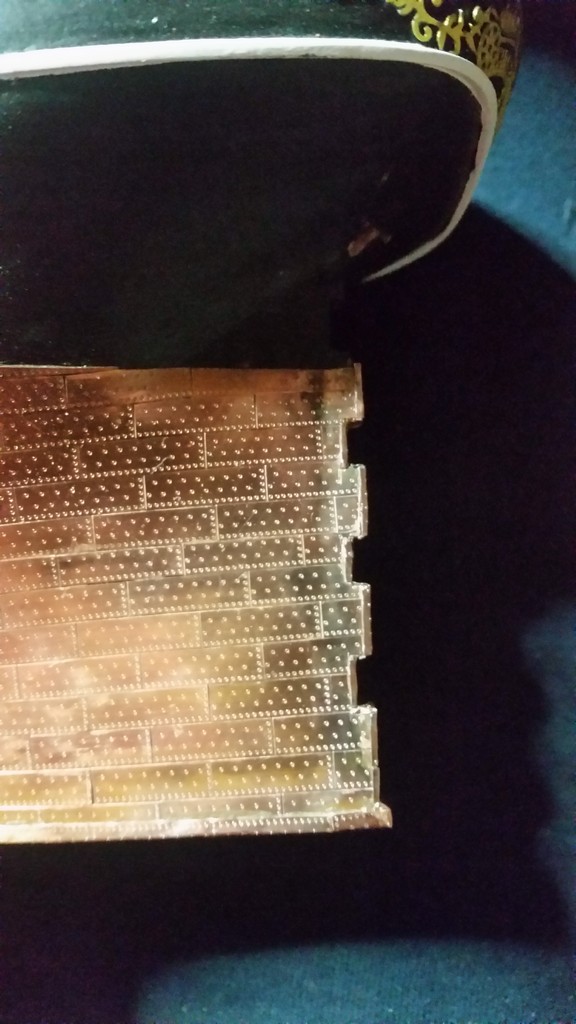
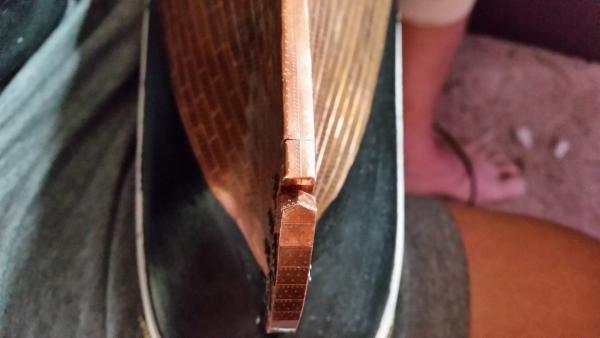
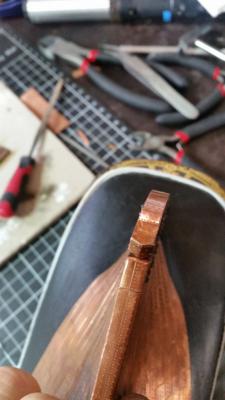
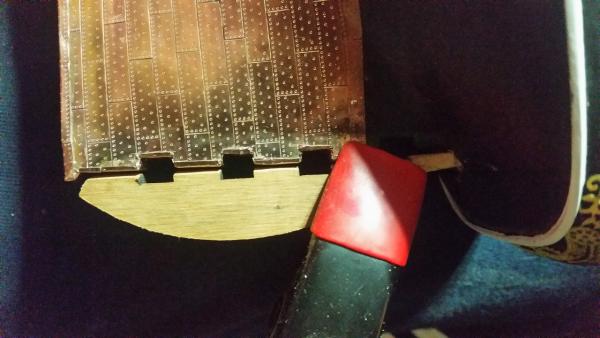
Thats it for me tonight, hopefuly thats the last copper plate i see in a while... the rudder is ready for the hinges and mounting but first im going to have a go at blackening the brass, hopefuly there are no hiccups.

- 121 replies
-
- 1
-
-
- cutty sark
- artesania latina
- (and 1 more)
-
Great build, looks like you're steaming ahead! I had a small break from my cutty and slowly copper plated it in that time and your build went right under my radar. Will be watching your progress Luca
-
Very nice deck work! good to see another member of the cutty fleet. Luca
-
Gday Peter, another member of the cutty fleet here ready to watch your build. Luca
-
Cutty Sark by Nenad
coffeebeans replied to NenadM's topic in - Build logs for subjects built 1851 - 1900
Gday Nenad, She's looking great! I must get one of those dentist picks for my tool colection, Also does that type of copper you have used get a patina at all or are you going for her current Greenwich state shes in now? Luca -
Good job on the rudder and the beer can hinges are great! There seems to be a heap more cutty builds on here since i had a break, good to see! Luca
-
Your masts and yards are amazing! Are you planning on displaying sails unfurled or tied up? Im still undecided on my cutter build Luca
-
Cutty Sark by Keith B
coffeebeans replied to Keith B's topic in - Build logs for subjects built 1851 - 1900
looking great so far, I wish i thought of copper tape rather than the tile torture i put myself through :S Good to see another cutty build aswel! its going to be good to be able to discuss the intricacies when i get bogged down -
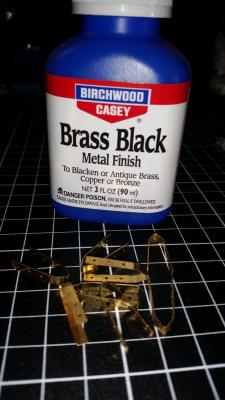
little bit of work on the rudder tonight, hopefully ill finish coppering it and solder up the hinges. For brass blackening i found this from an Australian hunting site, also i know people say diluted hydrochloric acid is good for cleaning the brass before hand but im not quite sure what ratio water to acid or if i should bother using it at all, Thoughts?
- 121 replies
-
- 1
-
-
- cutty sark
- artesania latina
- (and 1 more)
-
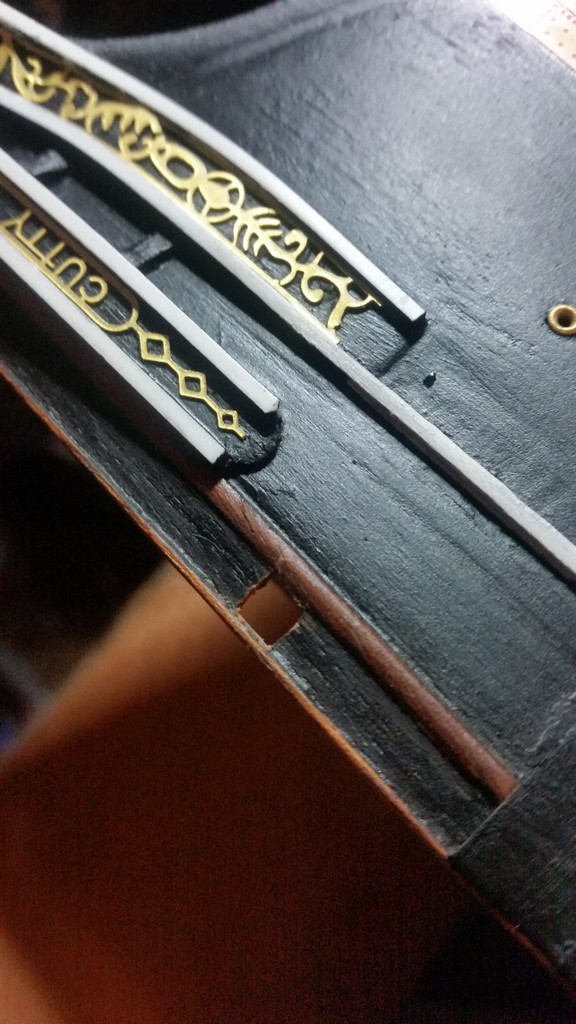
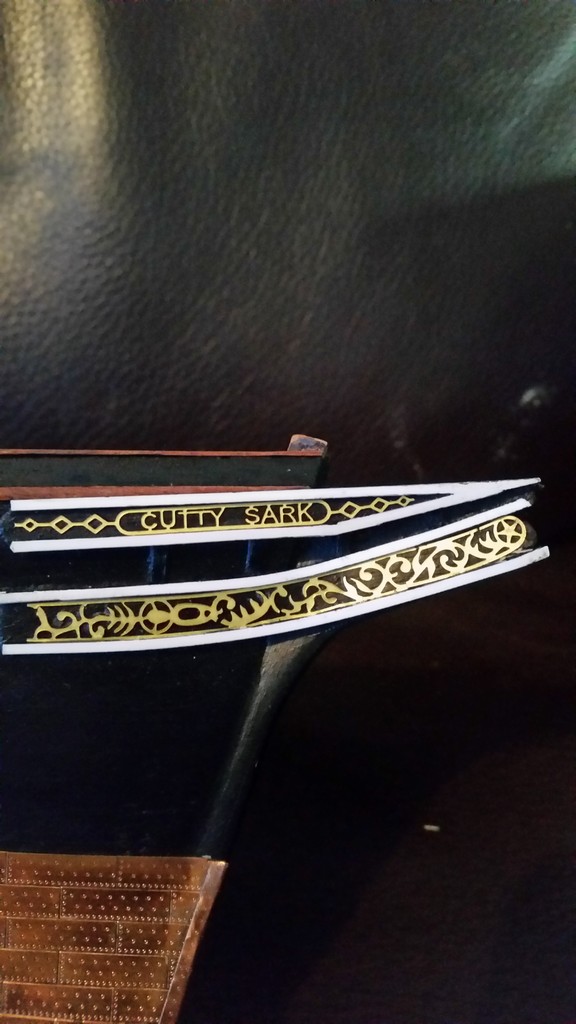
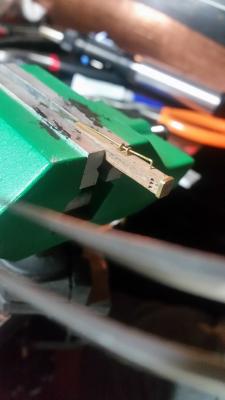
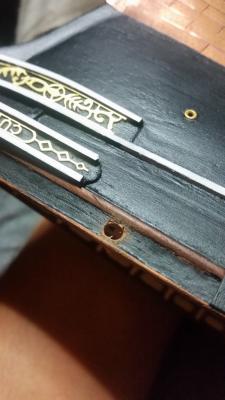
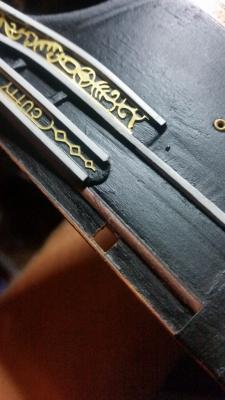
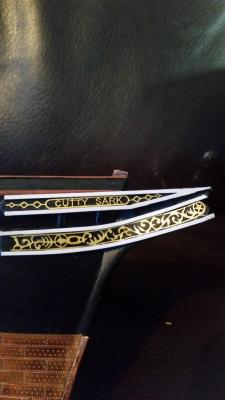
thanks guys, i have been looking at your builds closely too and seeing heaps of great stuff. Here you go nenad, they were just the photo etched brass pieces from the kit but i might modify the rear to come out a bit, also still not finished painting and trimming the styrene strips yet , im going to just go over it with some gold and black when i get around to it
- 121 replies
-
- 3
-
-
- cutty sark
- artesania latina
- (and 1 more)
-
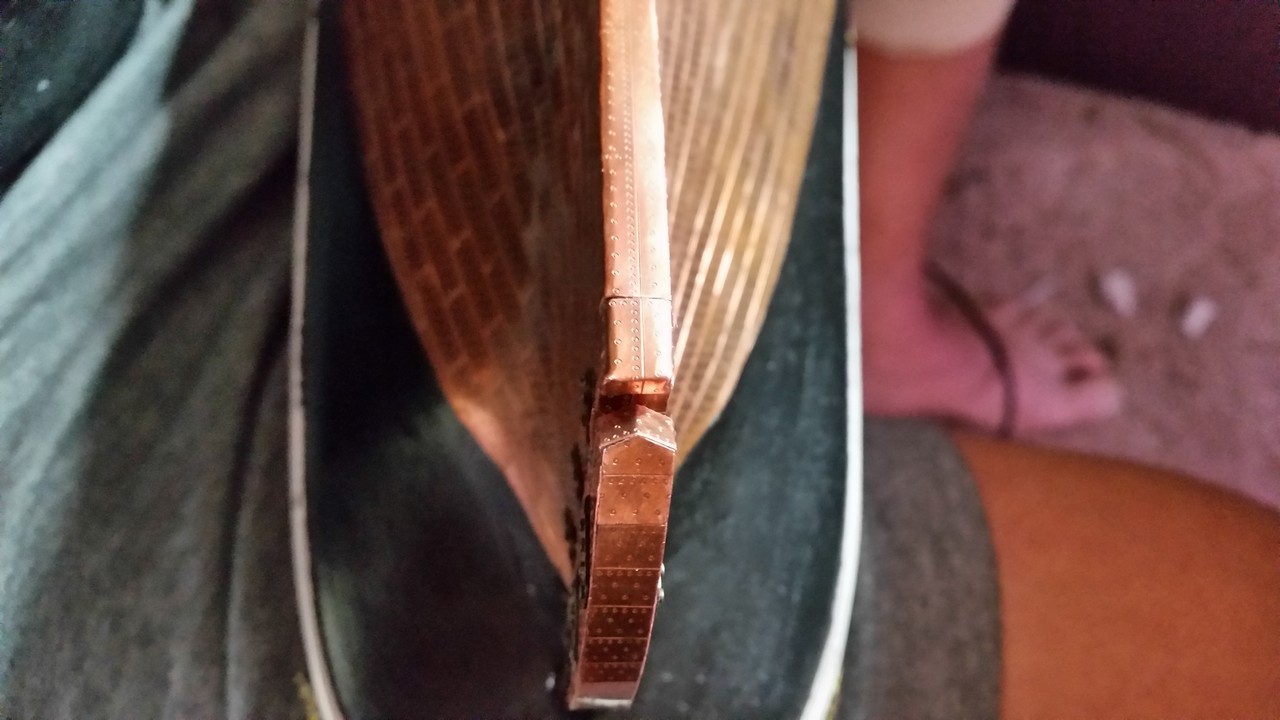
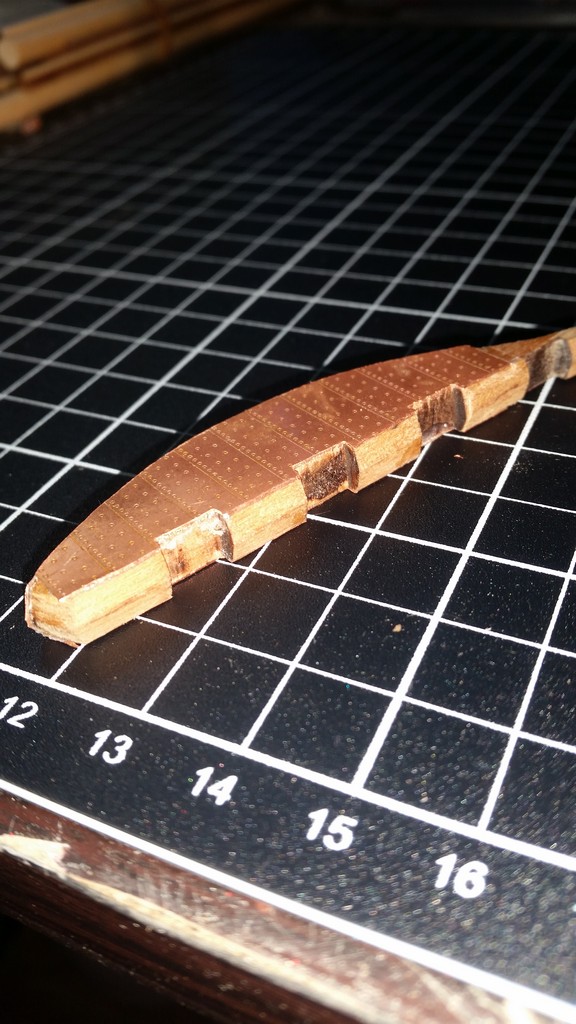
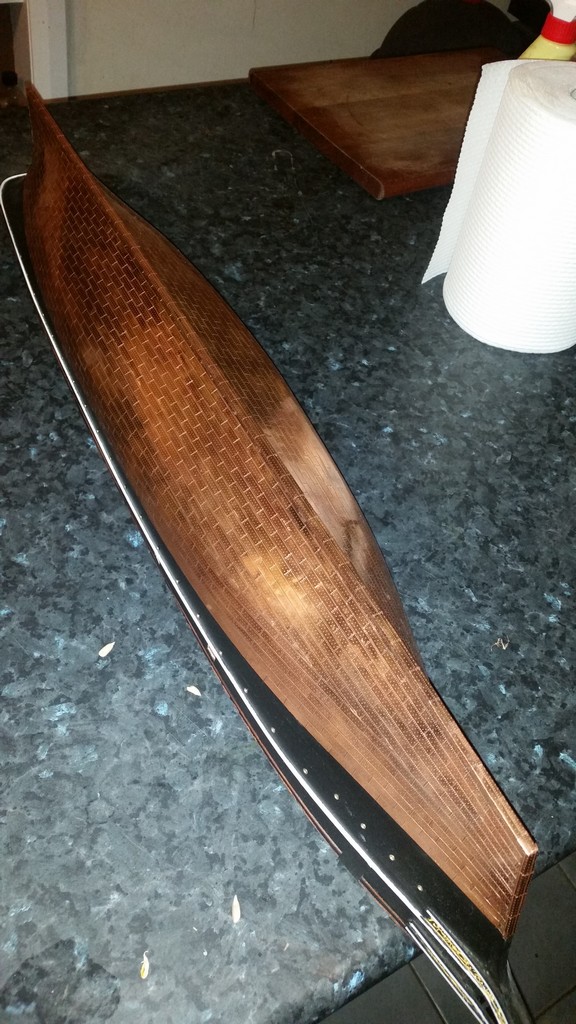
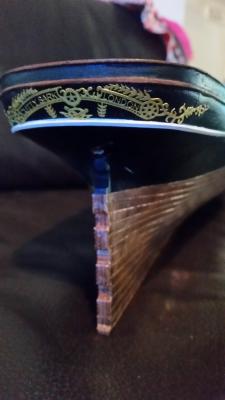
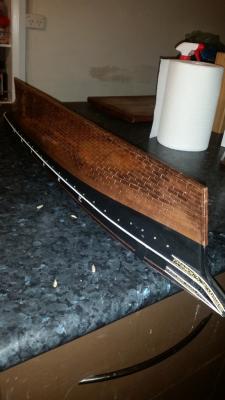
Hello everyone, I've had a little break on my build while coppering but did bits and pieces here and there but its FINALY nearing completion! Along the way I had a few hiccups... one being after the majority of plates being fixed finding out the nail orientation was upside down :S also just the general laying out of the plates was a bit frustrating and probably not ideal. anyway work on the plates is nearly complete, appart from the rudder which im currently working on now, Its been a while since ive worked with timber :S


- 121 replies
-
- 4
-
-
- cutty sark
- artesania latina
- (and 1 more)
-
Wow! Beautiful clean timber work. I can only hope to get this good at the craft. Keep up the good work Luca
-
Hey Bob, looking real good. I really like the amati copper plates you have used, so much so I got some for my ship because of this log. Just a quick question on what your thoughts are on the overall kit, the timbers they use and their fittings. I am looking out for a nice kit to follow on to after my build and am wondering about amati. Thanks Luca
-
Looking good Bob. I'm glad you are ahead of me, I will be poaching a few techniques from you that's for sure
-
Thanks Al and Bob, yeah I know it isn't a clipper, was just wondering if we followed the same sort of guidelines. I think I will just do the two waterline rows then come up from the keel as suggested. Just wondering Bob, did you end up doing a row at the waterline, or sheared the last plates to the waterlines horizontal level? I have looked through your log but it's hard to spot. Thanks Luca