gil middleton
-
Posts
308 -
Joined
-
Last visited


-
 mtaylor reacted to a post in a topic:
HMS Victory by gil middleton - FINISHED - Caldercraft - 1:72
mtaylor reacted to a post in a topic:
HMS Victory by gil middleton - FINISHED - Caldercraft - 1:72
-
Jerry, I remember you and your Victory well. I believe we exchanged a few ideas along the way. Cheers, Gil
- 753 replies
-
- 1
-
-
- finished
- caldercraft
- (and 1 more)
-
mtaylor reacted to a post in a topic:
HMS Victory by gil middleton - FINISHED - Caldercraft - 1:72
-
dafi reacted to a post in a topic:
HMS Victory by gil middleton - FINISHED - Caldercraft - 1:72
-
Nirvana reacted to a post in a topic:
HMS Victory by gil middleton - FINISHED - Caldercraft - 1:72
-
Patrick, Many thanks for your kind remarks. In 1999, my wife and I took our boat from Seattle through the Panama Canal, up the east coast, through the Erie Canal, Great Lakes, Caribbean, South America and back to Seattle over three years. St. Michael was one of our very favorite places. Had I known you were there, I would have looked you up. However, modelling became serious after our return. I've discovered that we have modelling friends in almost every town in the country and then some. One of the delightful unintended consequences of ship modelling. Warm regards, Gil Middleton
- 753 replies
-
- 2
-
-
- finished
- caldercraft
- (and 1 more)
-
Patrick Haw reacted to a post in a topic:
HMS Victory by gil middleton - FINISHED - Caldercraft - 1:72
-
mort stoll reacted to a post in a topic:
HMS Victory by gil middleton - FINISHED - Caldercraft - 1:72
-
AON reacted to a post in a topic:
HMS Victory by gil middleton - FINISHED - Caldercraft - 1:72
-
gjdale reacted to a post in a topic:
HMS Victory by gil middleton - FINISHED - Caldercraft - 1:72
-
Bob Fraser reacted to a post in a topic:
HMS Victory by gil middleton - FINISHED - Caldercraft - 1:72
-
Tom, Thanks so much for your kind remarks. I was surprised since it has been around nine years since I finished the model of HMS Victory. At 88, my modelling days are over since we haven't the space for a dedicated room to work in, although I did a smaller scale of a Dragon class sail boat. I've always felt the Dragon had the most beautiful lines. What I enjoyed most with the Victory was researching the original rigging through numerous sources. Perhaps you already have it but I found a reprint of "The Elements and Practice of Rigging and Seamanship" by David Steel written in 1794, by Ecco printing. It gave the details of nearly every line, splice and hitch aboard a ship of the line in the Royal Navy. An example, the 27" circumference (about 9" diameter) of the Anchor rode. I think I found it through Amazon. Needless to say, the kit did not supply lines of proper scale. I became a regular at the fabric store sourcing thread to match the scale of the original. Again, many thanks. It's nice to know the model is of interest to others and may be of help to those who haven't been to sea. Warm regards, Gil Middleton
- 753 replies
-
- 6
-
-
- finished
- caldercraft
- (and 1 more)
-
Ian_Grant reacted to a post in a topic:
HMS Victory by gil middleton - FINISHED - Caldercraft - 1:72
-
Hi Gil, I'm also building the Victory of Caldecraft and I'm not ashamed to say that I take a lot of ideas from your post on the Model Ship World forum. Yours is a spectacular job, the best in my opinion. I have come to have to color the hull in its characteristic yellow and black bands. I wanted to ask you what paints you used and if you can tell me the brand Thank you -
Hey Gill
I have another question would you know if the door entry on the model is a tad smaller then the
gun ports width wise, reason I ask is in the instructions on my Victory kit which is a model space
parts build kit the entry way width wise is the same width as a gun port that can't right what you think even if yours and mind are different scale the accuracy would be wrong, I getting close to that part of the build is why I'm asking now
-
Spider, So very nice to hear from you. Your "Victory" is coming along beautifully, getting better at each step. You are rather unusual. Most ship modelers love the work on the hull but are indifferent towards the rigging. You and I seem to think that the rigging is the best part. However, based on your knot/rope board, you could teach me a lot about marlinspike. Good luck with your build. I hope my model helps or inspires you to come up with a better rigging plan. Warm regards, Gil Kevin, Hearing from old modelling friends makes my day. I'll go back and get caught up on the "Victorys" in progress. Jerry, Glad to hear that you're alive and still kicking. Hard to keep those old geezers down. Floyd, I've missed the PSSM meetings. It's been a year of recovery following surgery in the neck to repair a nerve injury, with loss of strength in the left arm (left handed). Now back to about 80%. You are always so kind in your observations. I haven't started another major project because I'd probably miss seeing the end result Perhaps more small sailboats, skiffs or racing shells are in order. I'll think about it while cruising the Gulf Islands this summer. Cheers, Gil
- 753 replies
-
- 5
-
-
- finished
- caldercraft
- (and 1 more)
-
Many thanks Art, but you're way ahead of me. I built my first model at age 70 and have been learning ever since. You're day sailor is a gem. As you have already discovered, there is endless encouragement and friendly advice on this forum for any ship build. Another benefit is I've made many friends whom I've never met. And perhaps the most important advice, enjoy the ride. Cheers, Gil
- 60 replies
-
- 1
-
-
- dragon class
- billing boats
- (and 2 more)
-
John and Per, Thanks for your comments. I think we all agree that Dragons are a special breed. Popeye, Thanks, and my apologies for not photographing from above the mast. At my age, one isn't supposed to climb ladders. The next project? One that doesn't require ladders. Kevin, I looked at your Bismark and ended up reading the entire log. Beautiful work. To take on a project that large, we'd have to remodel our condo, which would make for a very expensive model. Cheers, Gil
-
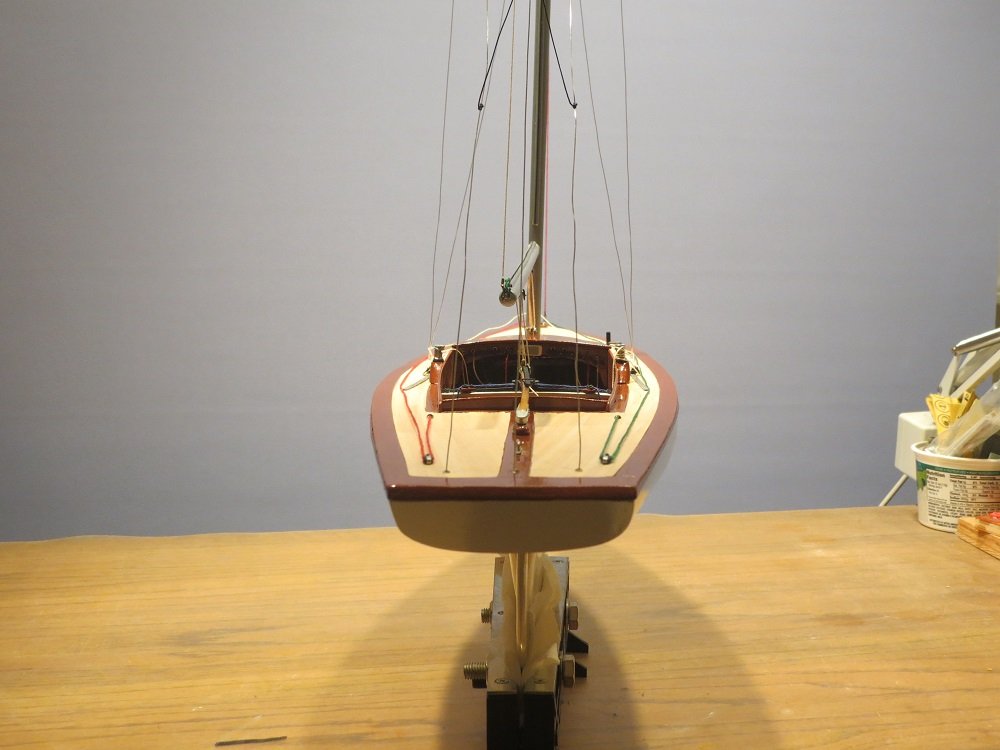
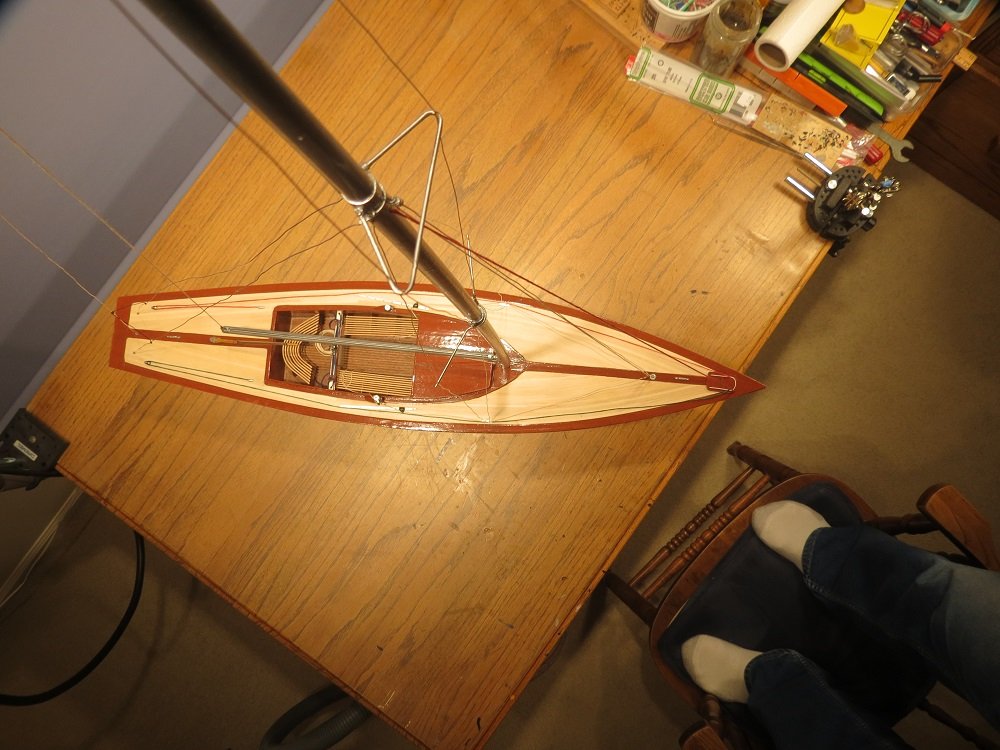
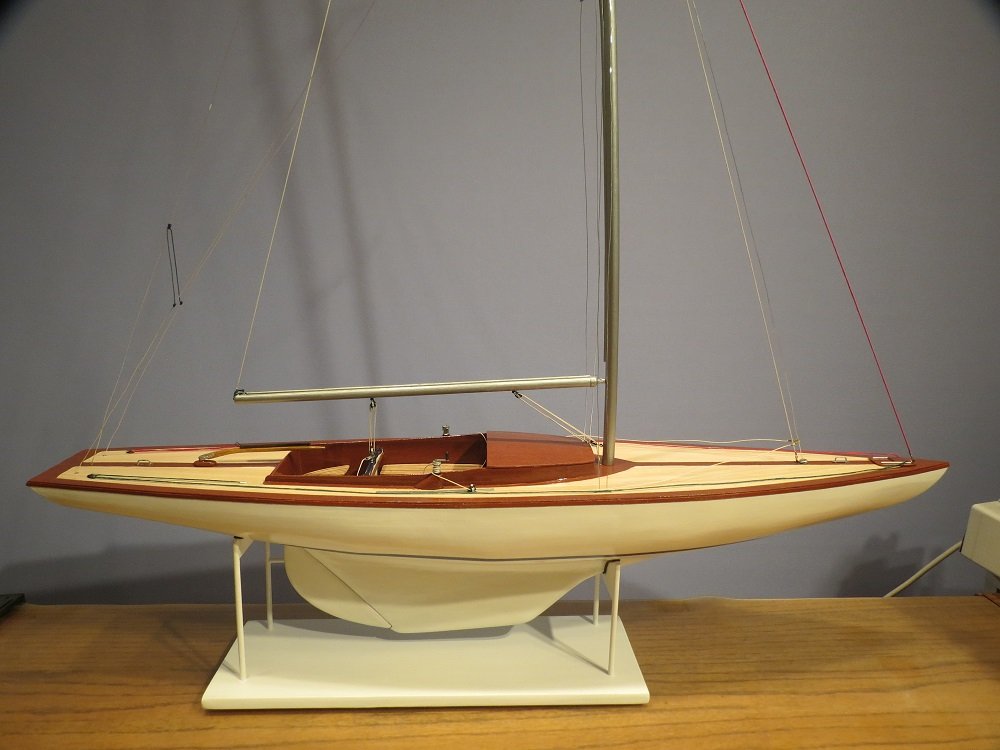
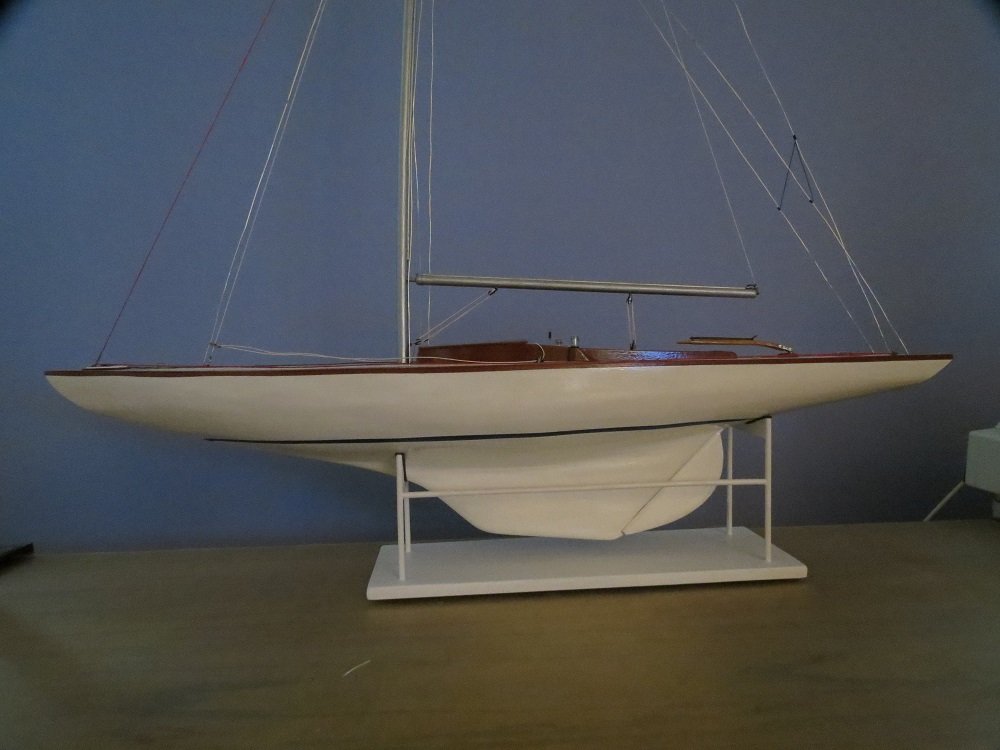
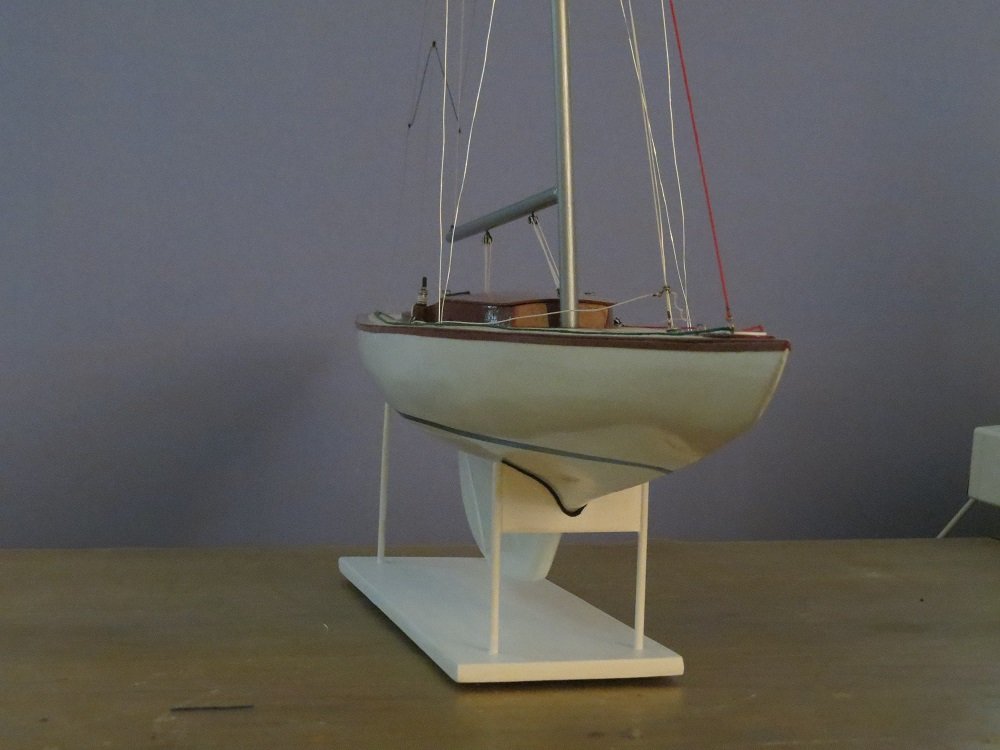
Thus ends a fun little project. Just as enjoyable as a much larger build and good therapy during recovery. As in real boating, there is as much satisfaction in harbor hopping in a small boat as an ocean passage. It keeps the dreams alive anticipating the next voyage or the next model. In my mind, the Dragon is still one of the most beautiful boats ever designed, and now I've had the pleasure of working on one. Cheers, Gil


- 60 replies
-
- 13
-
-
- dragon class
- billing boats
- (and 2 more)
-
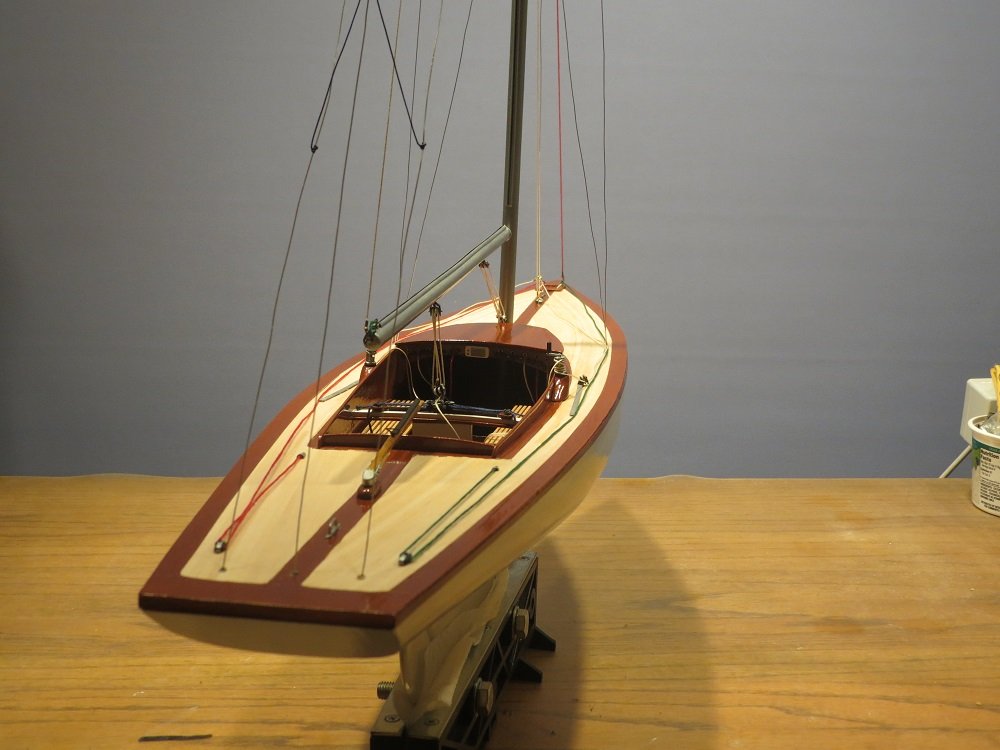
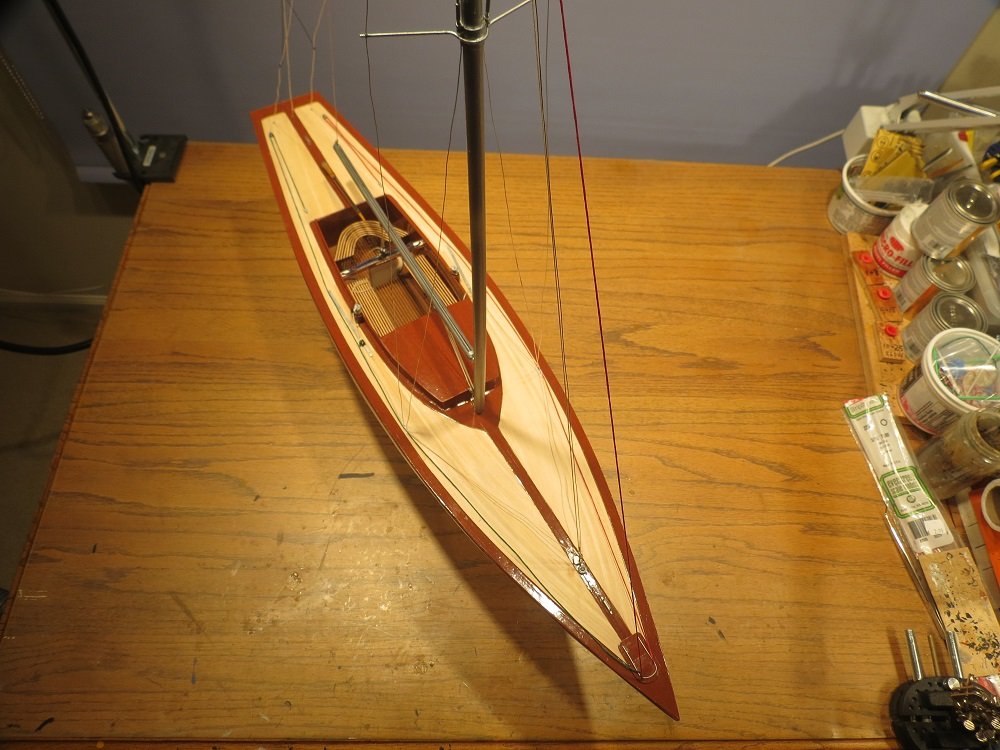
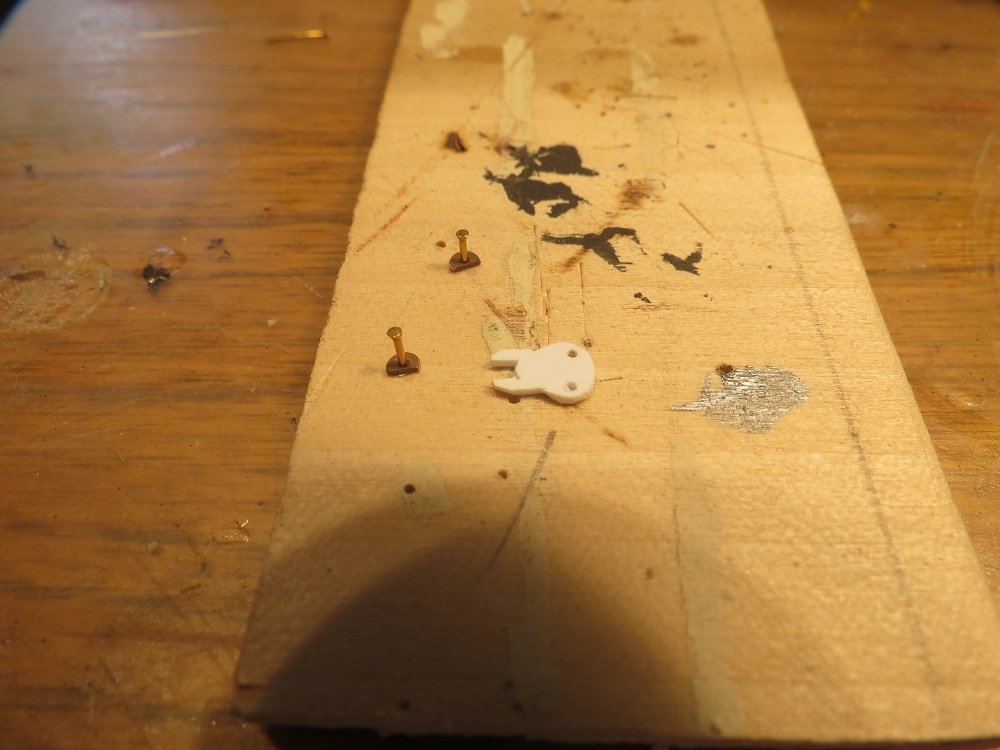
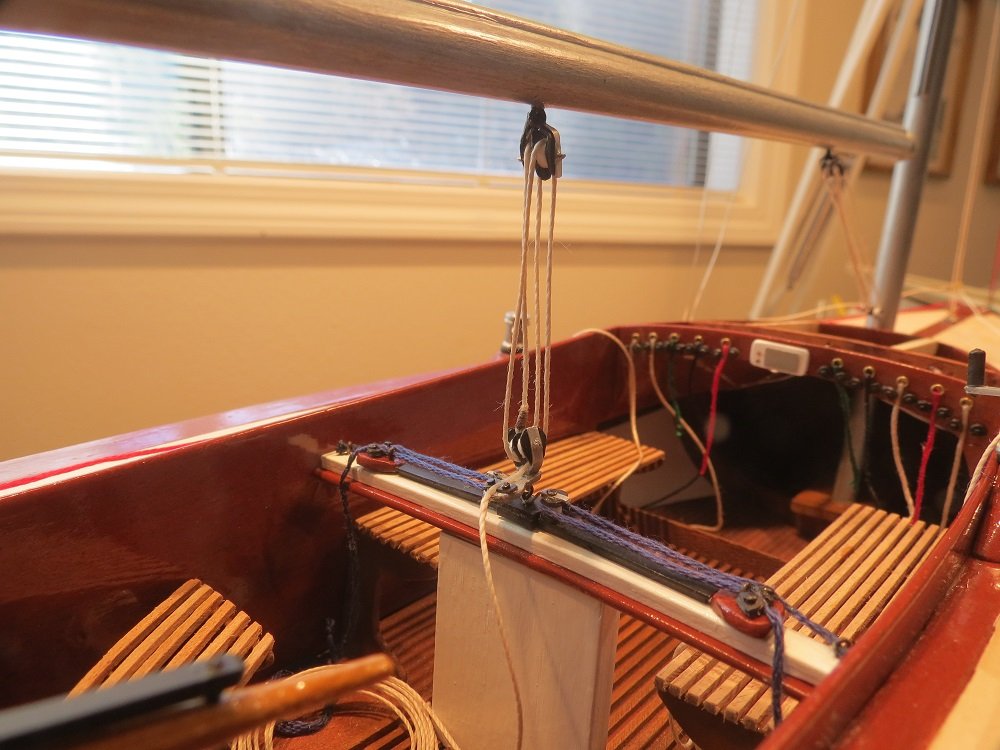
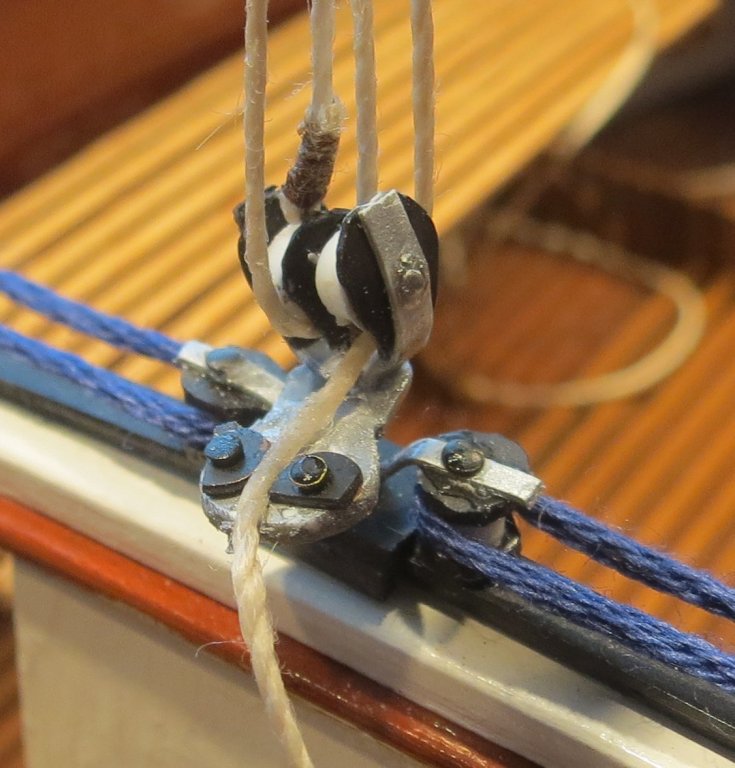
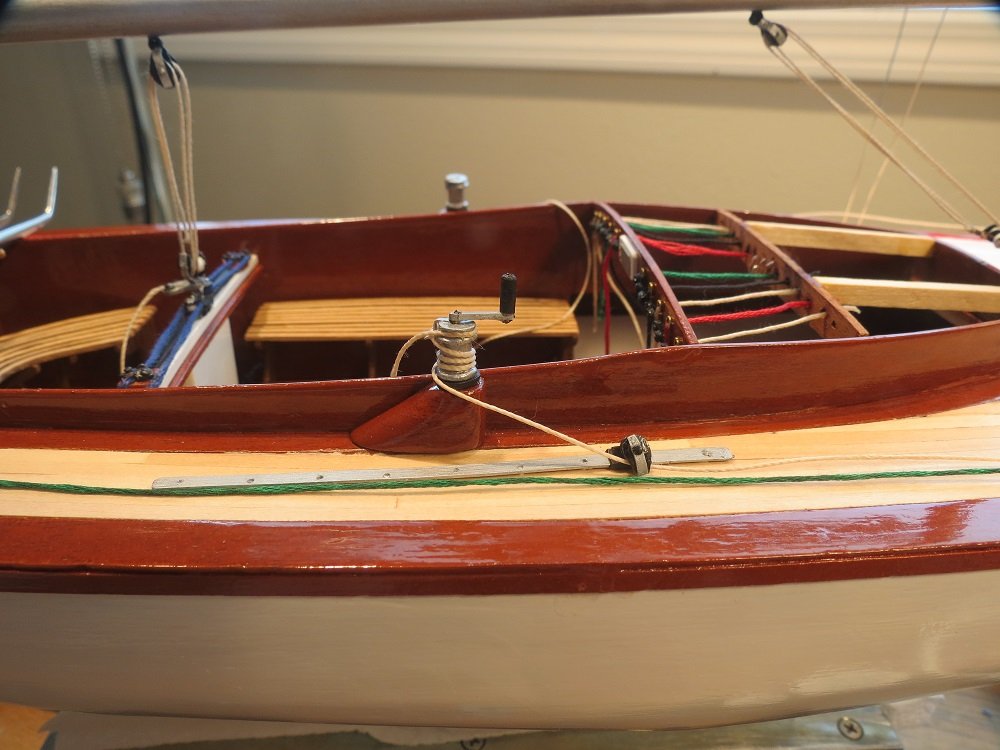
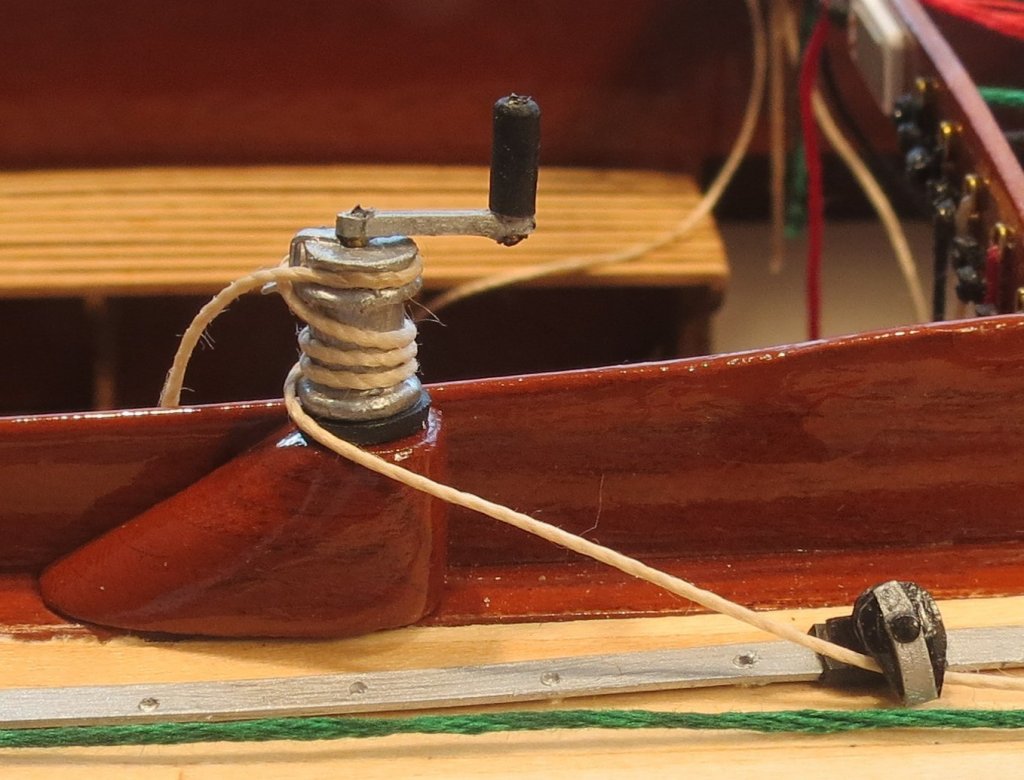
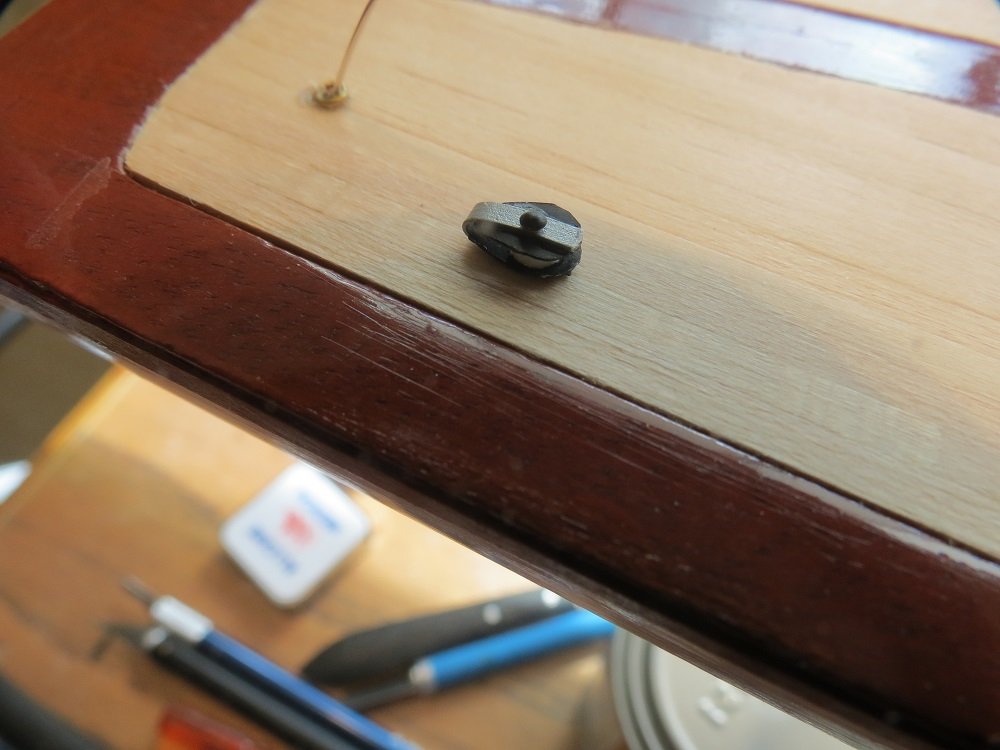
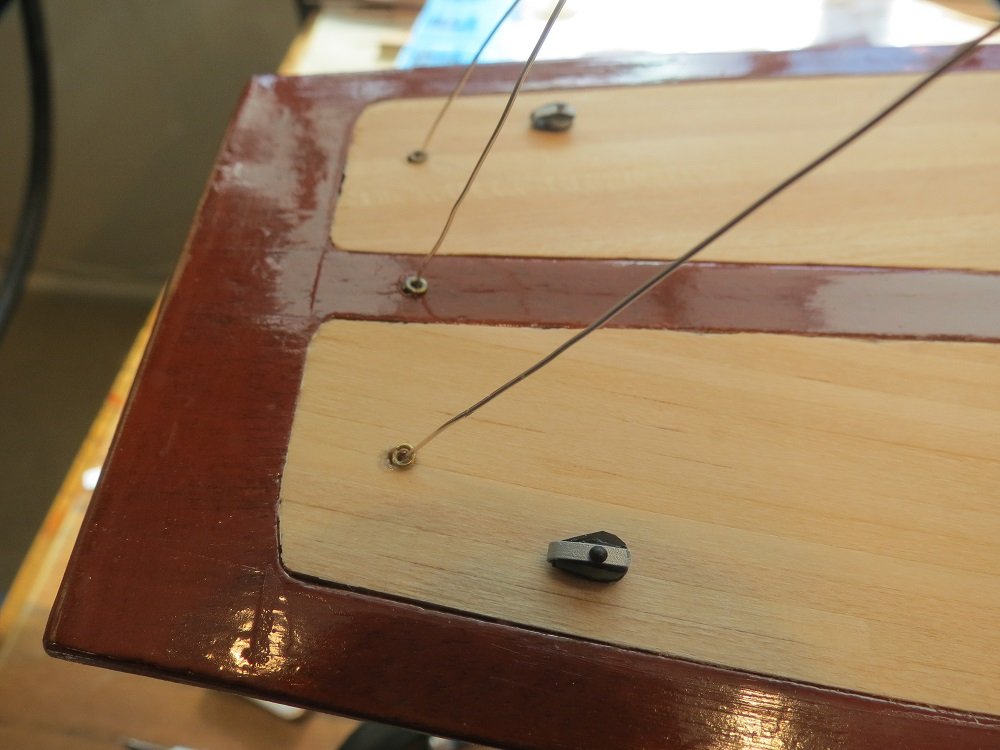
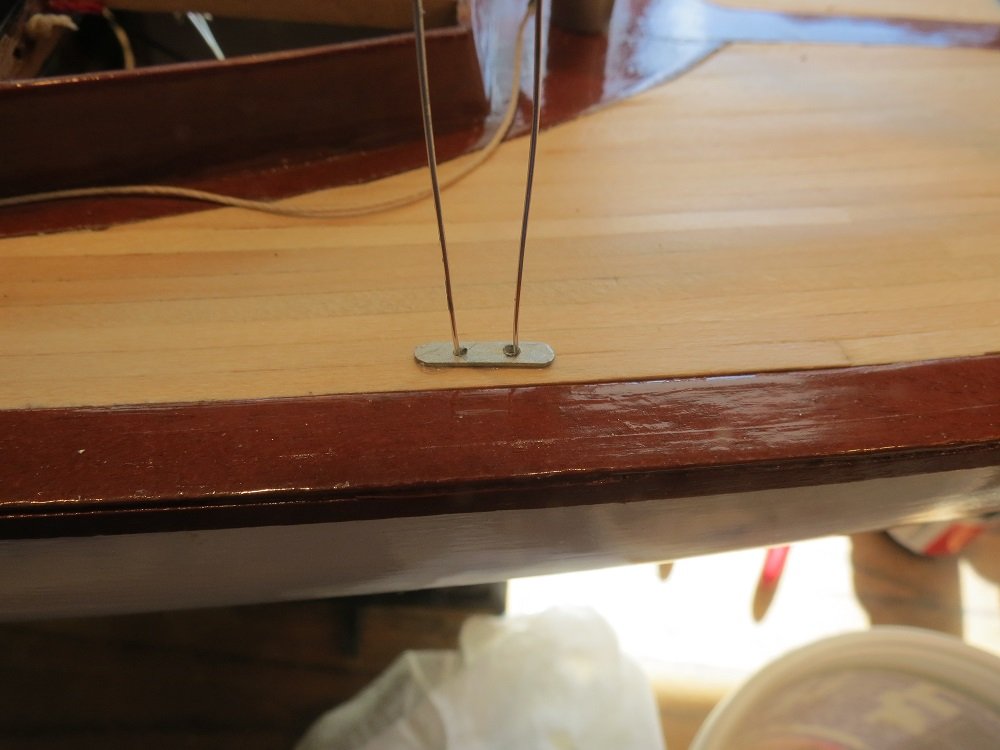
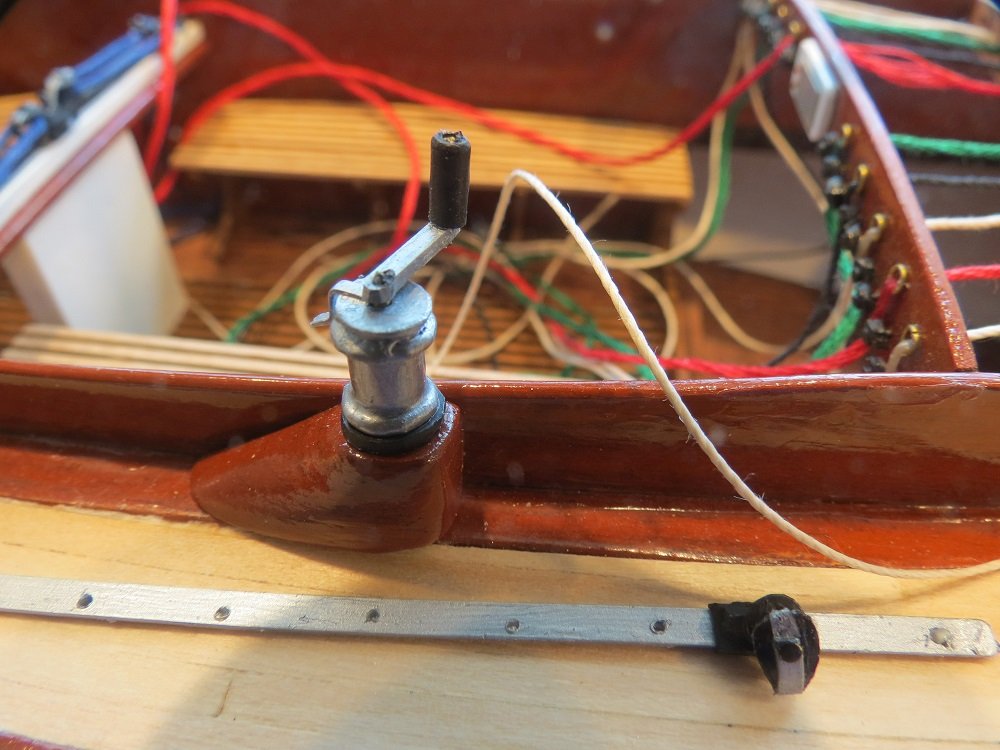
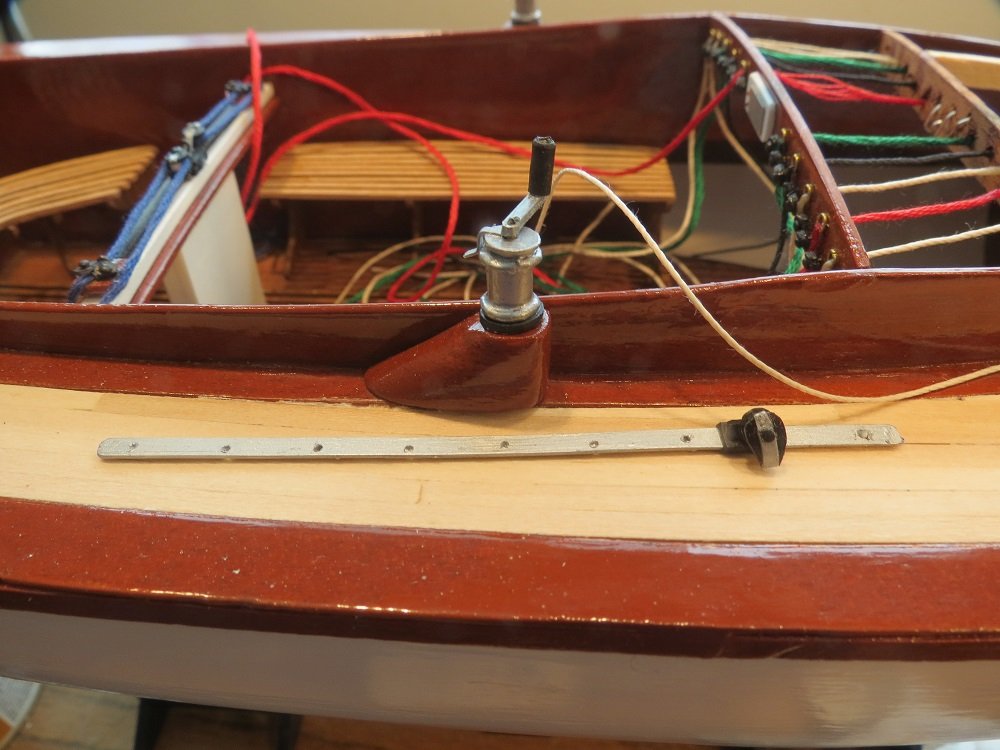
Just a few more photos of the details. The base for the jam cleat on the main traveler. Main sheet traveler. Jam c;eats. Jam cleats close up. Boom vang (to hold the boom down and shape the main sail when on a reach or down wind) Main outhaul Jib sheets and halyard. Self tailing winch with jib sheet and close up
- 60 replies
-
- 9
-
-
- dragon class
- billing boats
- (and 2 more)
-
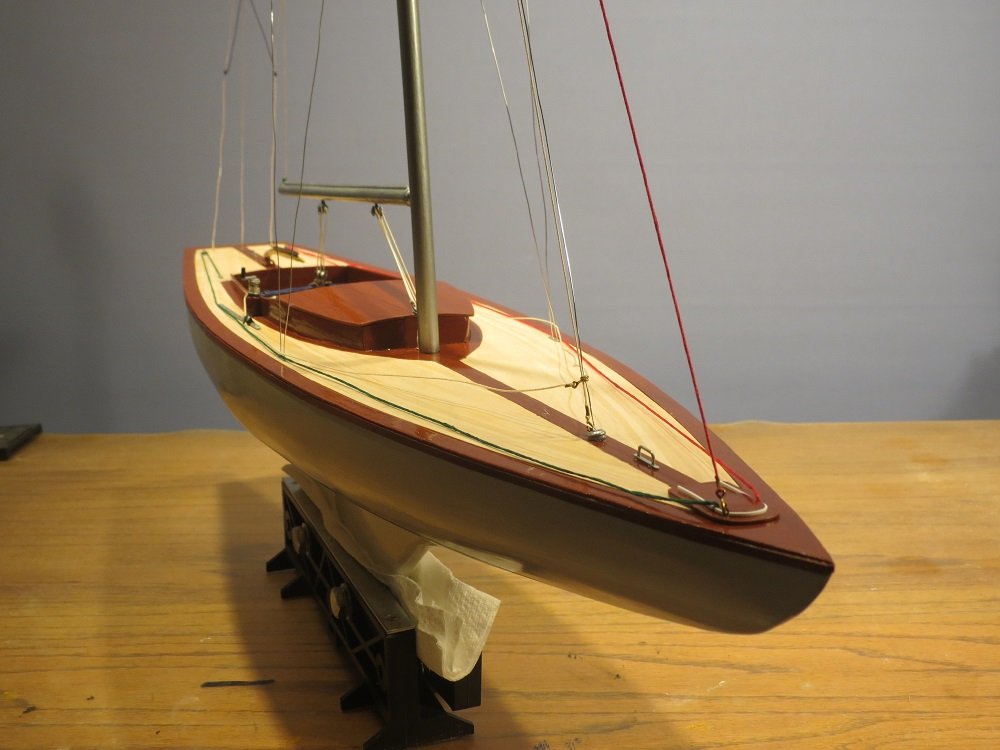
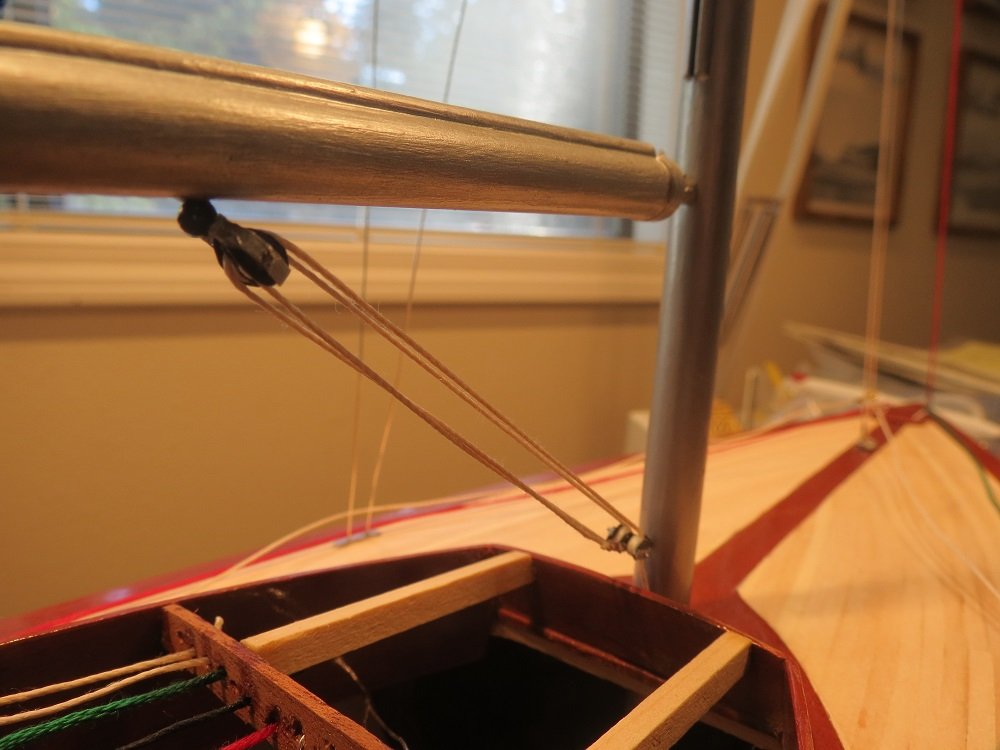
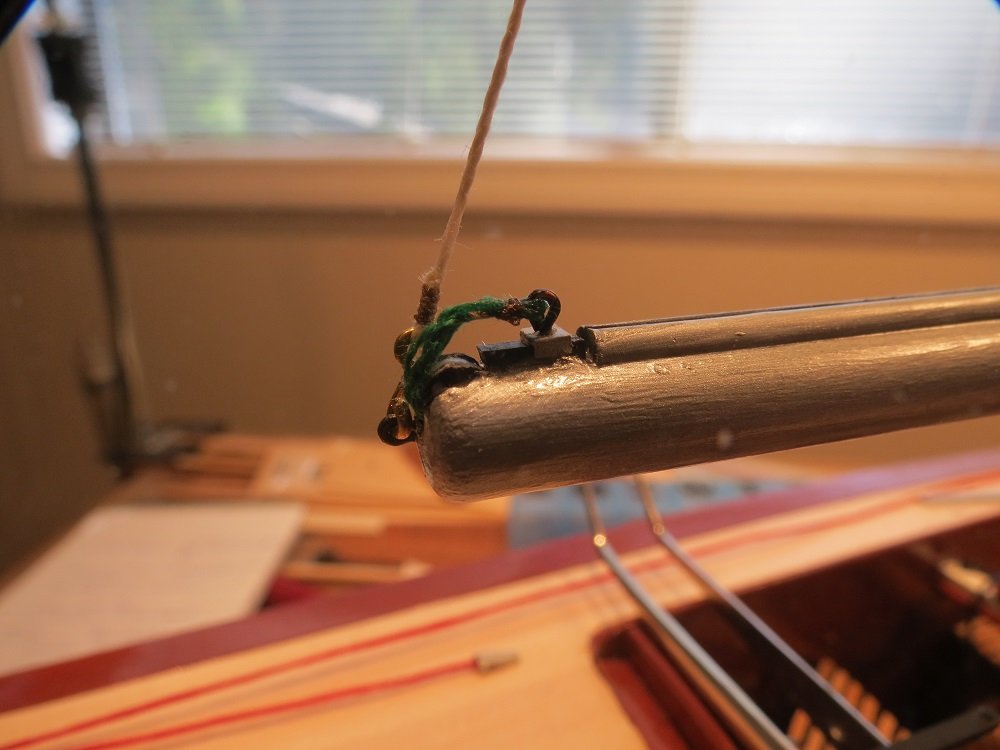
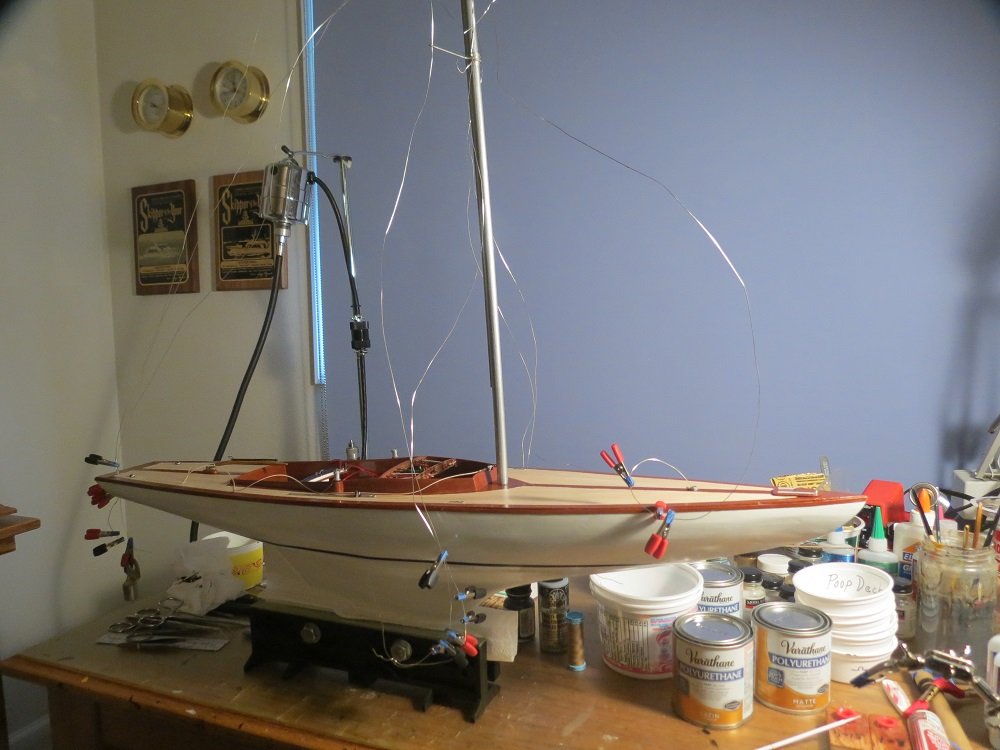
Thanks Kevin and Popeye. Kevin, I'm not sure what is on the horizon. I may wait a bit to see what recovery occurs. Glad I hadn't started another "Victory" size project, which you would understand better than most. Popeye, I am no expert on rod rigging, but apparently there is slightly less wind drag compared to multi-strand wire. The rod is held by a "rod head" (a cap on the rod to prevent it from pulling out of a fitting) or a dimple from the fitting into the rod. The top end is fixed to the mast while to bottom end passes through the deck to a turnbuckle below deck for adjustment. Above the spreaders, a turnbuckle is exposed. Needless to say, rod rigging requires significant specialized equipment including a press. A bit different than when we used to splice our own wire rigging. On the model, I used 24g "German" wire, a soft flexible wire. Below deck, the wire was simply attached to a beam, while at the mast I tried soldering. The soldering didn't hold so I drilled through the mast and twisted the wire to create a button, adding C/A glue, or took a turn around a fitting. On the aft deck where there was no access, I rigged the wire to pass through the hole and then flair out to prevent it from pulling back. Again, more than one wants to know. Overall I think it was worth the bother since other models of Dragons I've seen were either hull only or rigged with thread which didn't look authentic. Details, details. Cheers, Gil
- 60 replies
-
- 3
-
-
- dragon class
- billing boats
- (and 2 more)
-
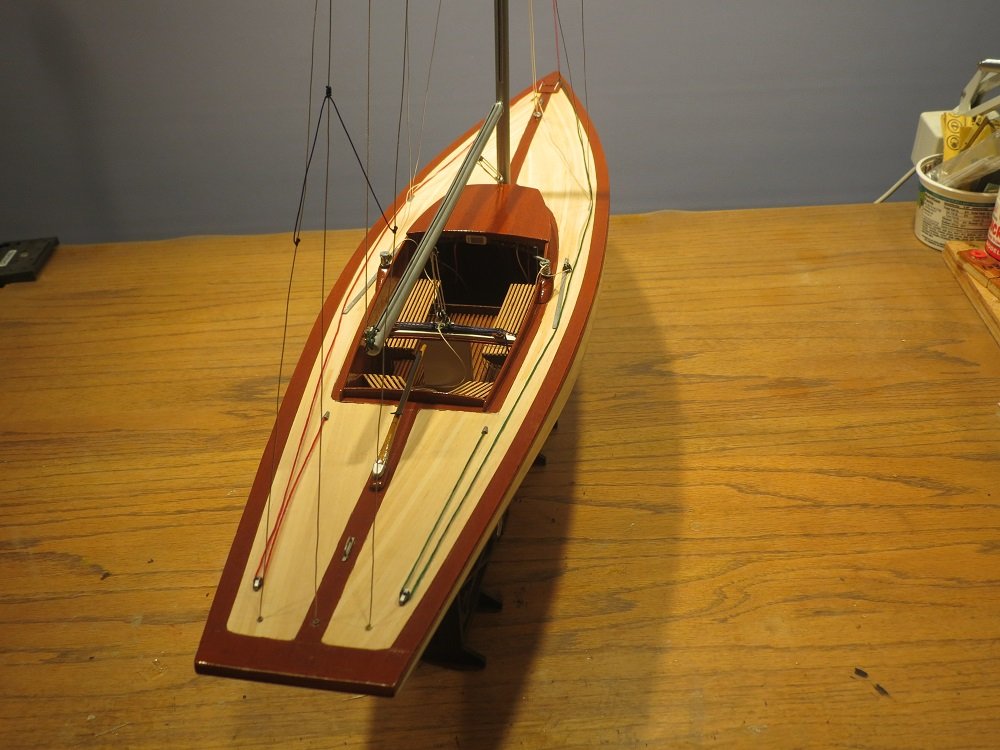
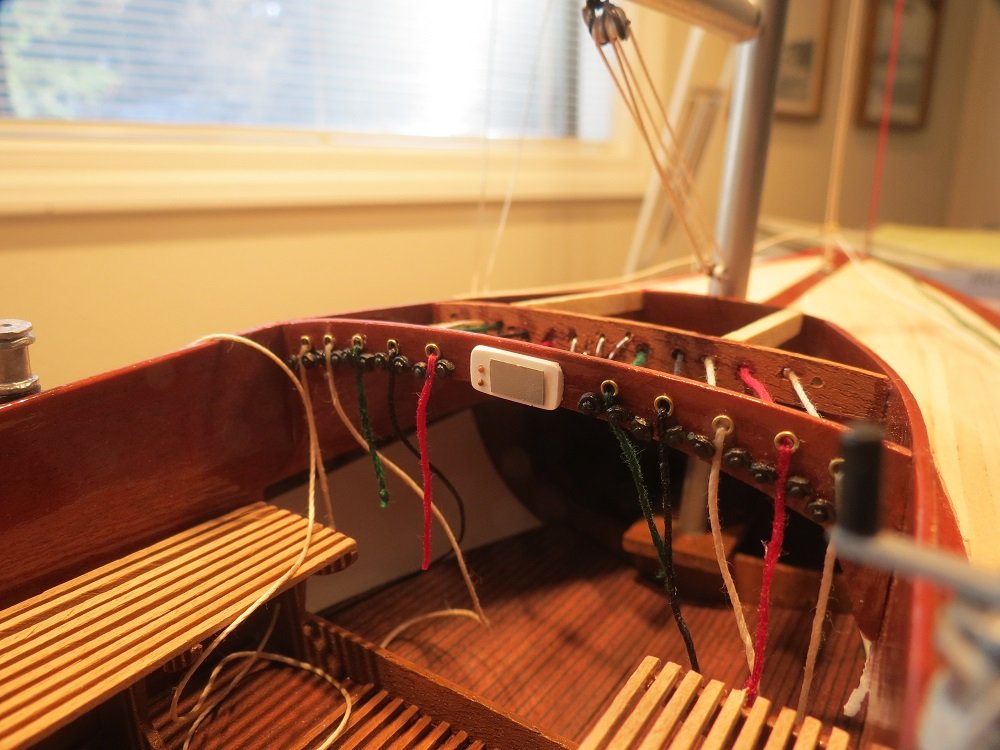
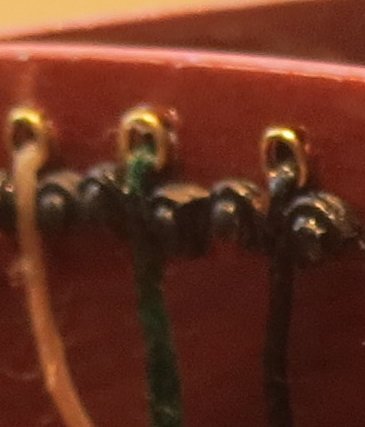
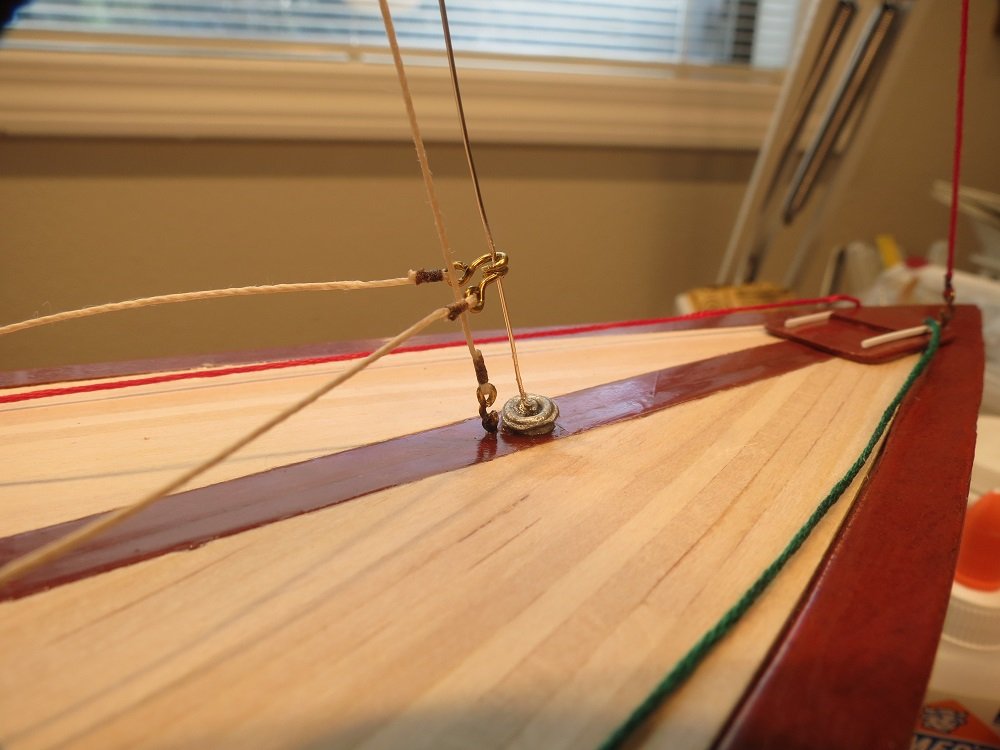
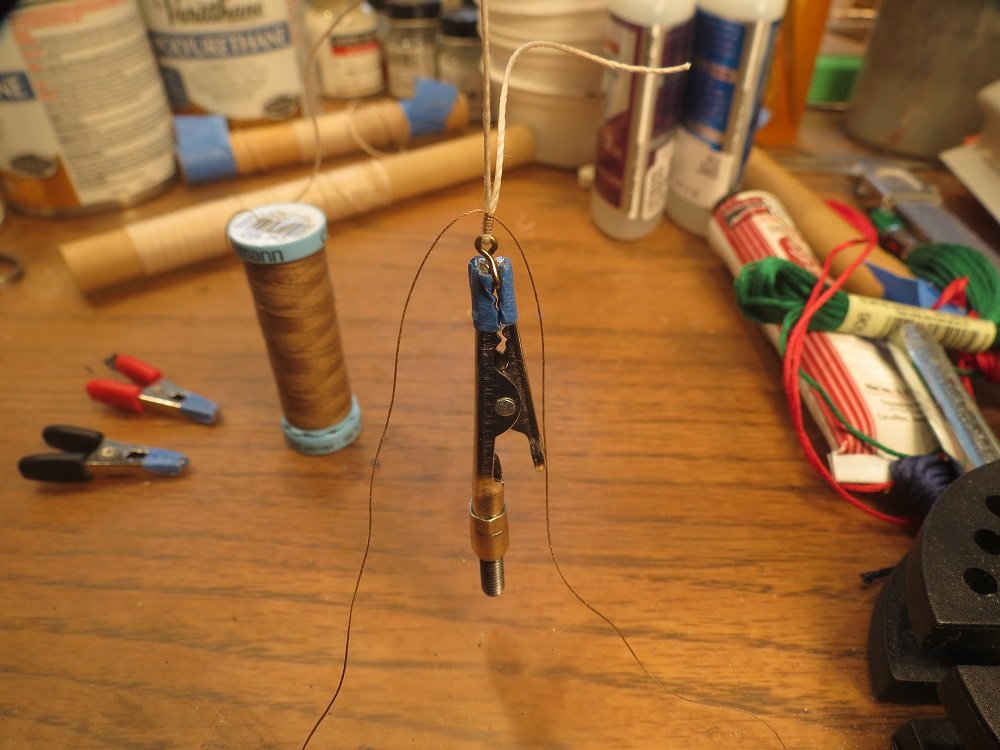
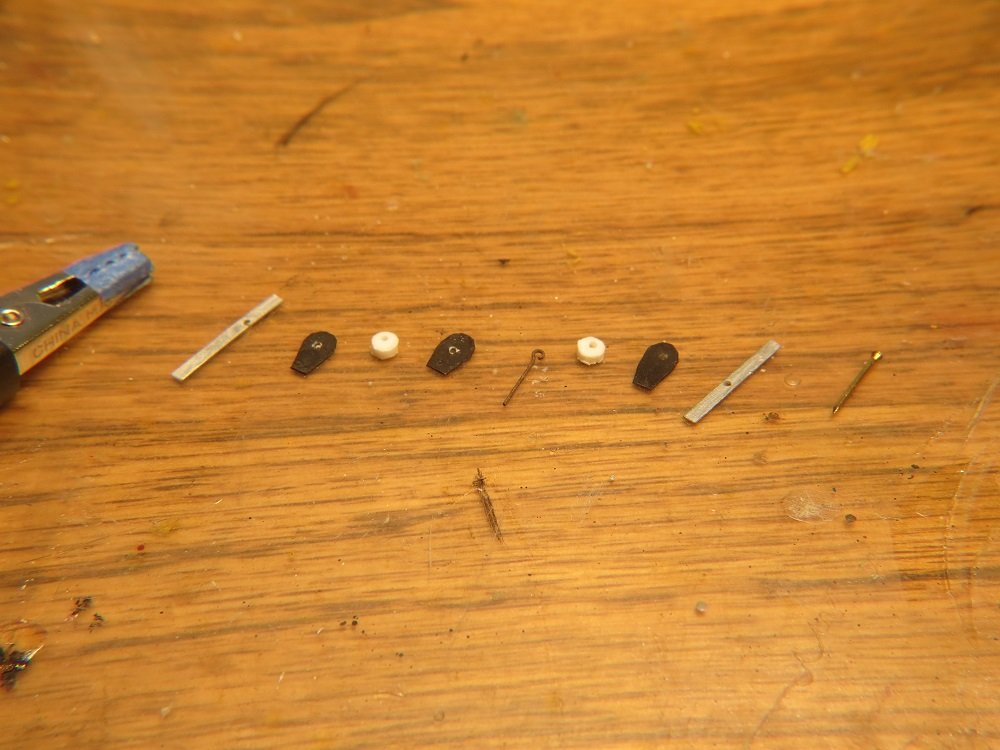
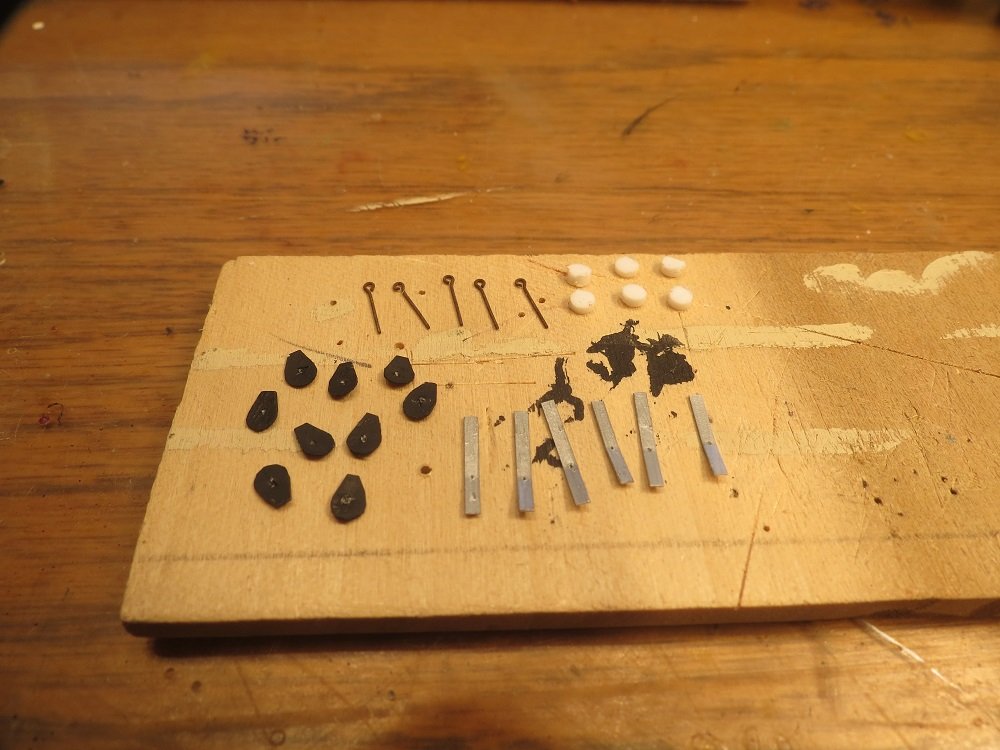
Floyd and Per, It was an exceptional meeting. How many model clubs have a launching party with a concert violinist as the main attraction? Shelley was amazing and greatly appreciated. The current mini-project is down to the final details. It is hoped that the reader will be tolerant of the rough finish. A neck injury has rendered the left arm (left handed) as nearly useless. In time I may be able to upgrade the details. Frank, I enjoyed looking at your build and was amazed at the metal finish you achieved using aluminum scraps, 1000 grit sandpaper (or emory paper) and polish. Who knew an old hard drive could have a second life as a cleat or fairlead? It was a teaching moment for me and raised the bar. A few more details: Rigging the jib sheets. Making blocks. Very rough because of the difficulty holding the pieces with a bum arm. Rod rigging Cheek block aft deck Back stay (center) Adjustable back stays port and starboard. Shrouds, adjustment below deck. Self tailing winch. Jib sheet track and block

- 60 replies
-
- 5
-
-
- dragon class
- billing boats
- (and 2 more)
-
Thanks Dave, After following your "Bluenose" I have high expectations for the Skippercraft. It reminds me of the Flatties (Geary 18's) we sailed as kids. Many were home built using plywood sheets. Gil
- 60 replies
-
- 3
-
-
- dragon class
- billing boats
- (and 2 more)
-
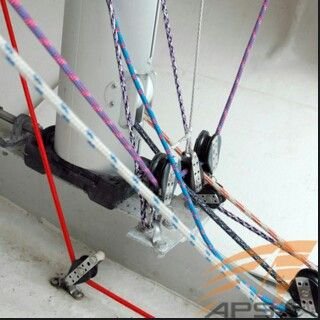
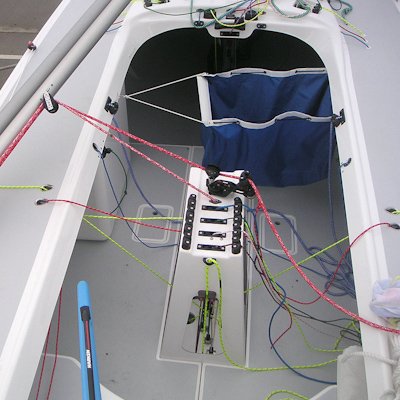
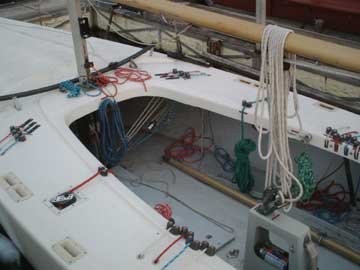
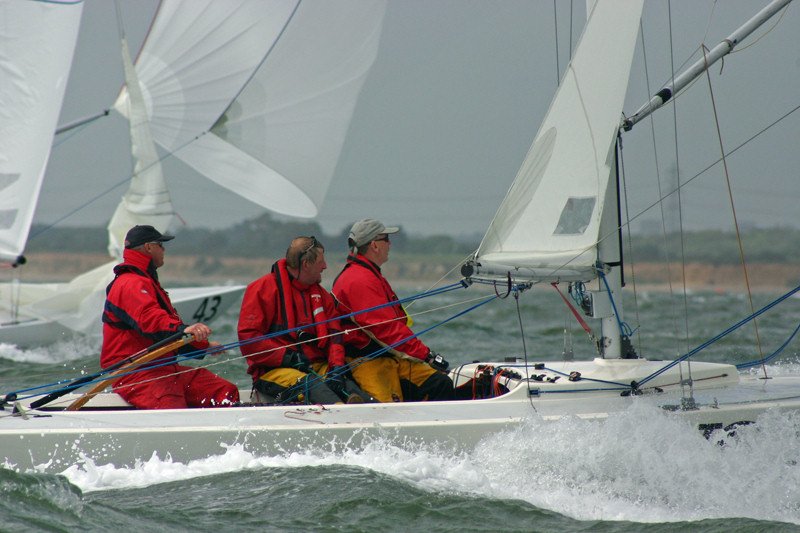
Per, You are more of a Dragon (Drakbat) expert than I. I've sailed in several racing dinghies, 27' keel boat, Soling, and Cal 40 but only admired Dragons. Like you, life got in the way. When I started my practice, I couldn't afford anything larger than a dinghy, and when I could, it had to handle several kids. Popeye. I think that colored lines have perhaps become rather standard in small sail boats. When you go to a boat chandlery, one sees dacron lines and newer high tech lines such as Spectra and Dyneema in red, green blue, purple, white black and gray. When I raced our Lightning and Cal 40, our lines were color coded. Not for training, but for instant recognition. Of course my oldest son was red/green color blind. "Nice brown lines Dad." The following photos are from Etchells 22 boats, a 30' boat very similar to Dragons. Not only do they show colored lines, but also how different and customized the rigging can be. Cheers, Gil

- 60 replies
-
- 3
-
-
- dragon class
- billing boats
- (and 2 more)