

puckotred
-
Posts
430 -
Joined
-
Last visited
Content Type
Profiles
Forums
Gallery
Events
Posts posted by puckotred
-
-
Sorry for the delay, but I'm doing 4 different builds...
I have begun the planking...
A nice mess on the kitchen table, first two planks:
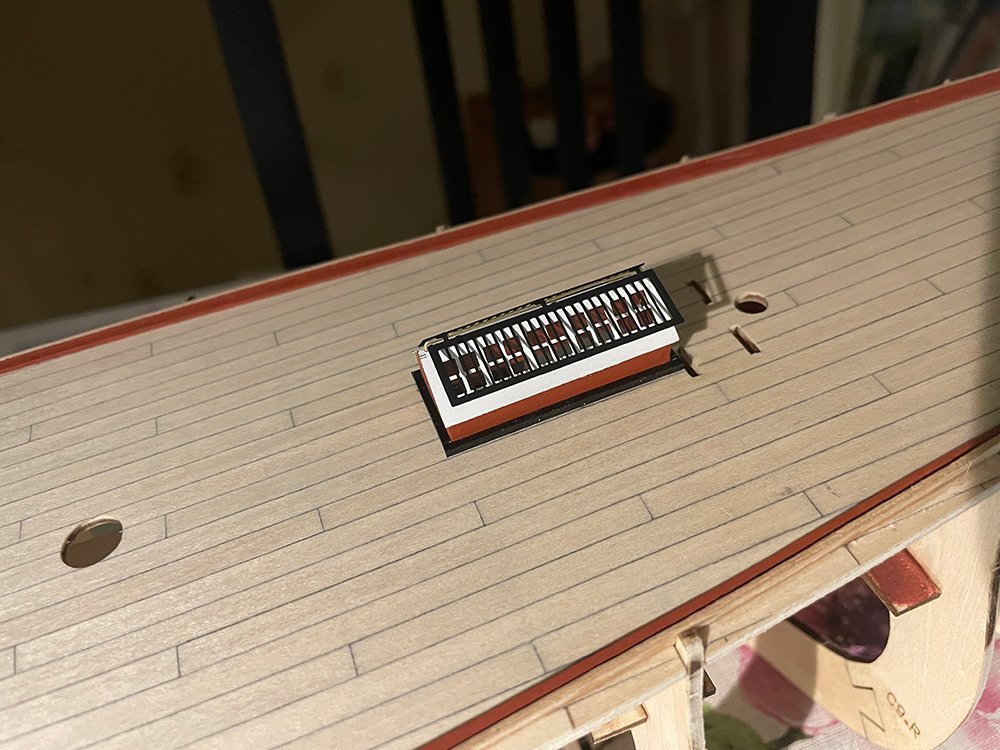
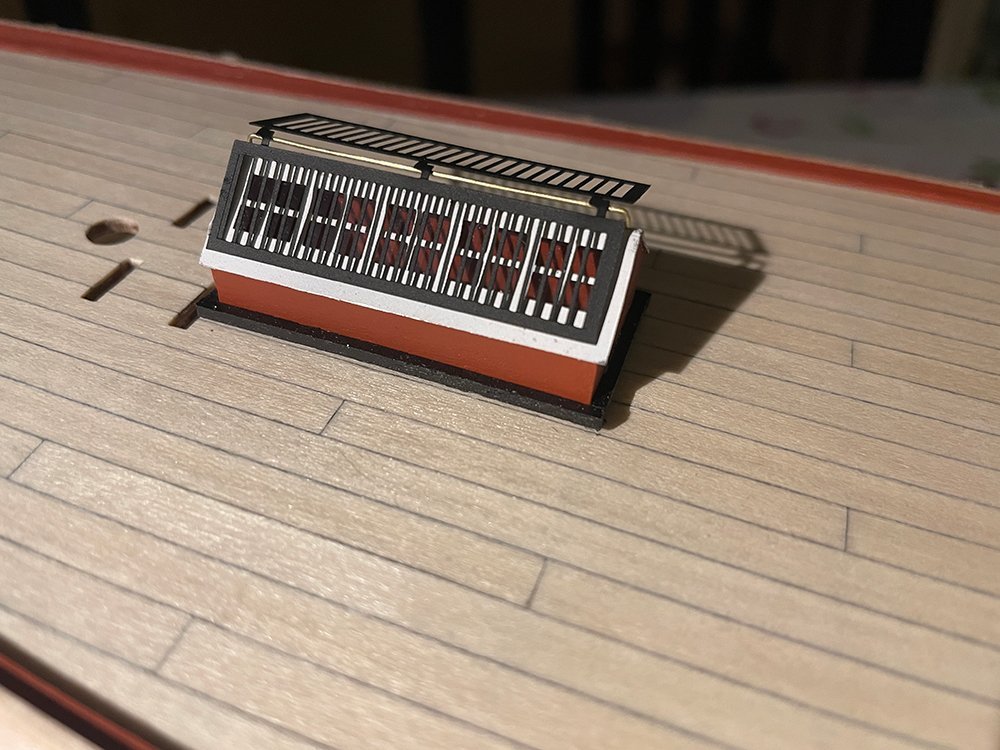
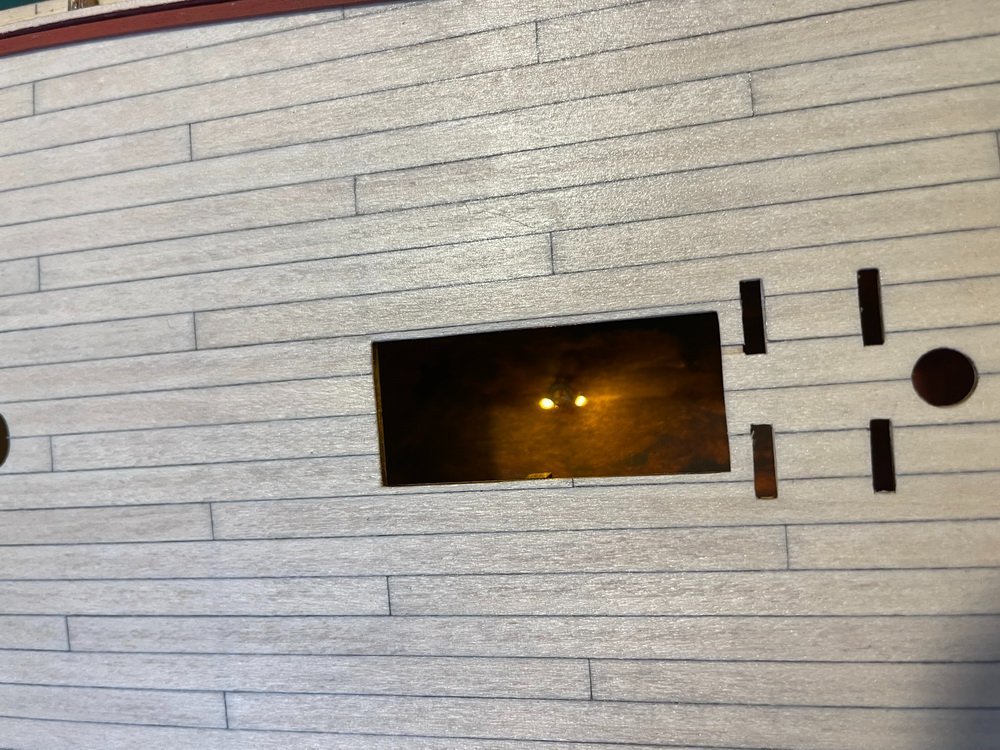
While the planks was drying after bending them I did the skylight:
As planking is boring to do and watch next update will probably take a while.
But I'll be back when something interesting happens.
-
-
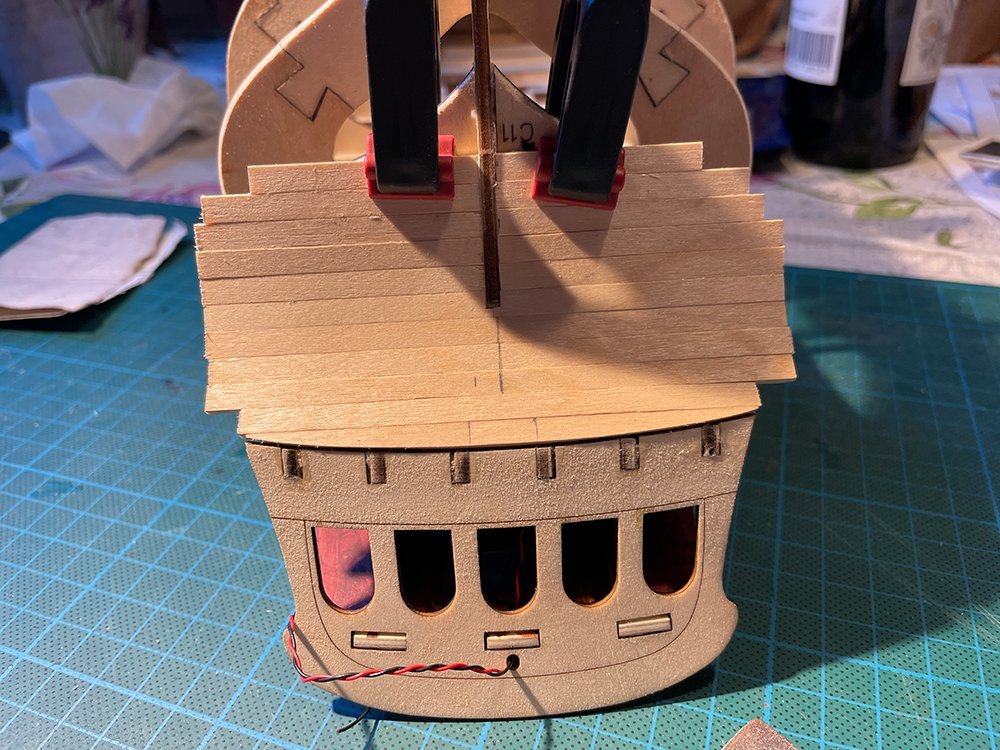
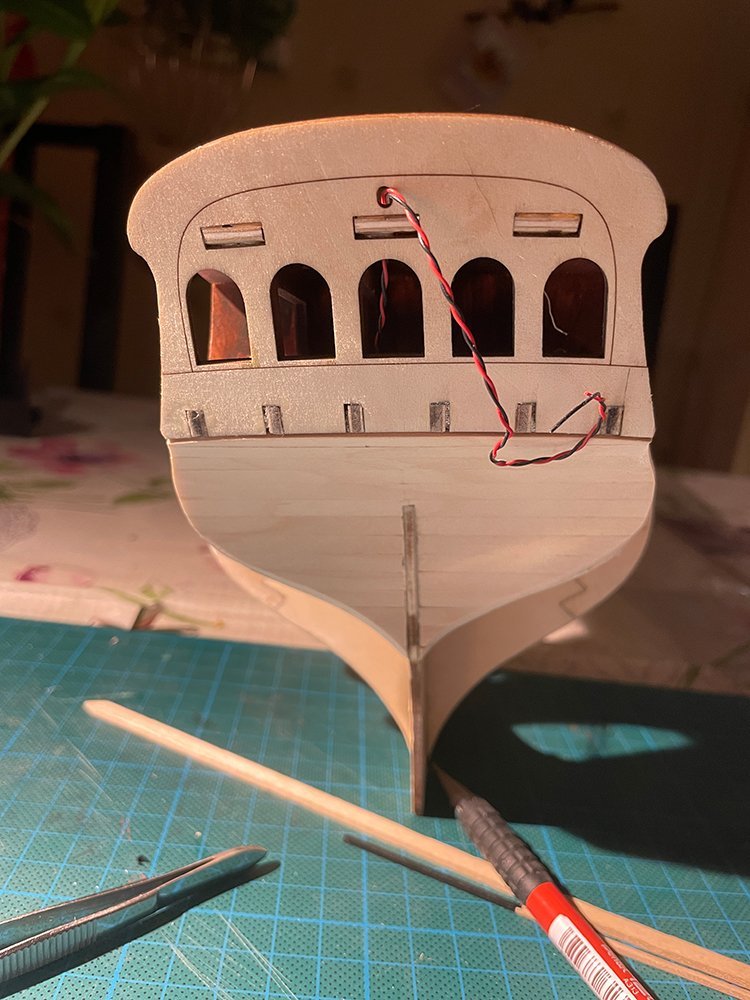
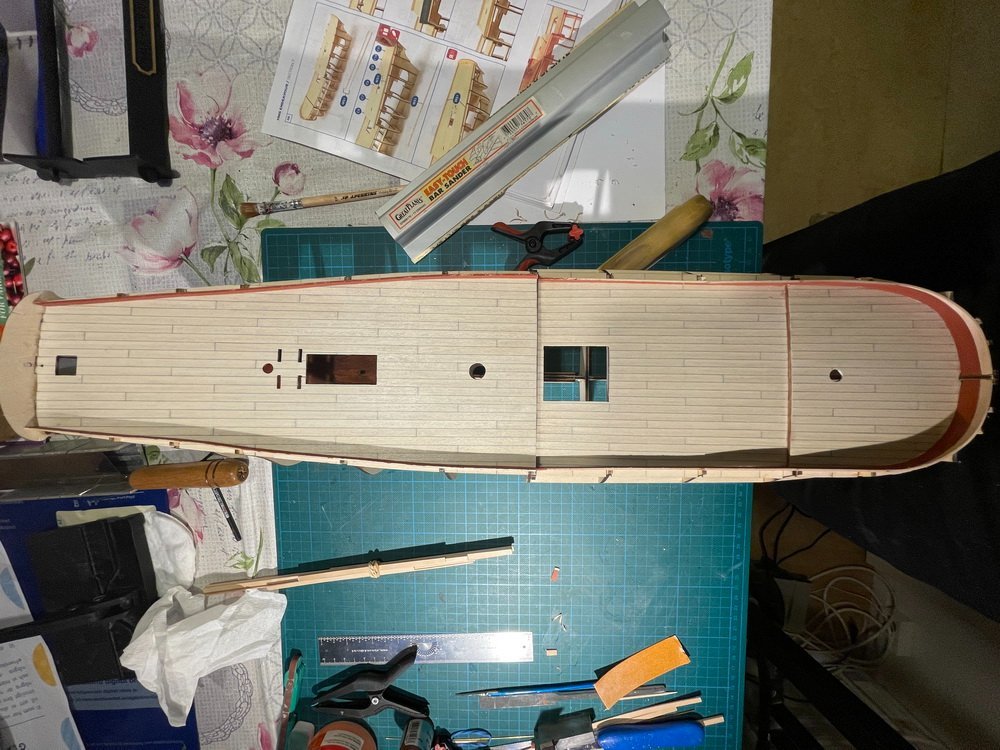
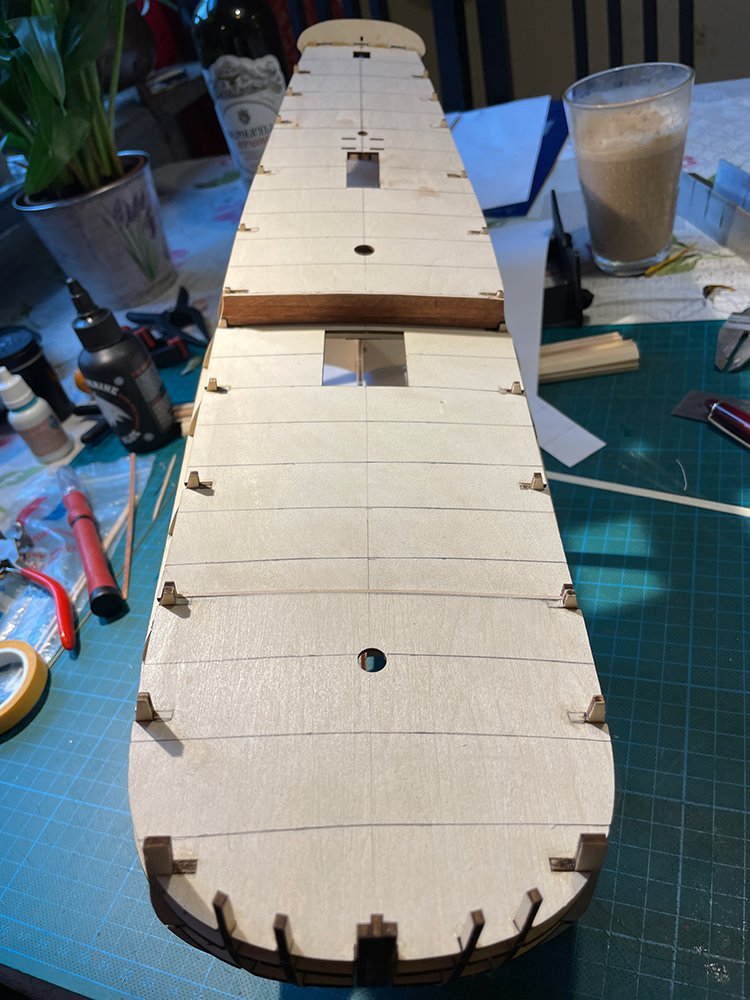
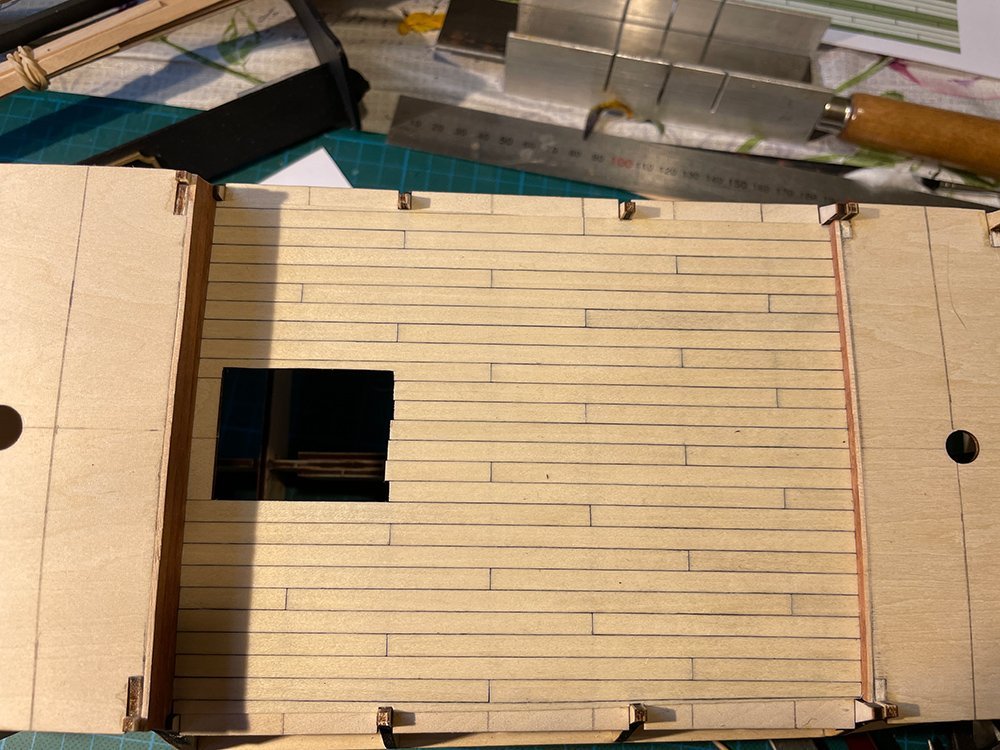
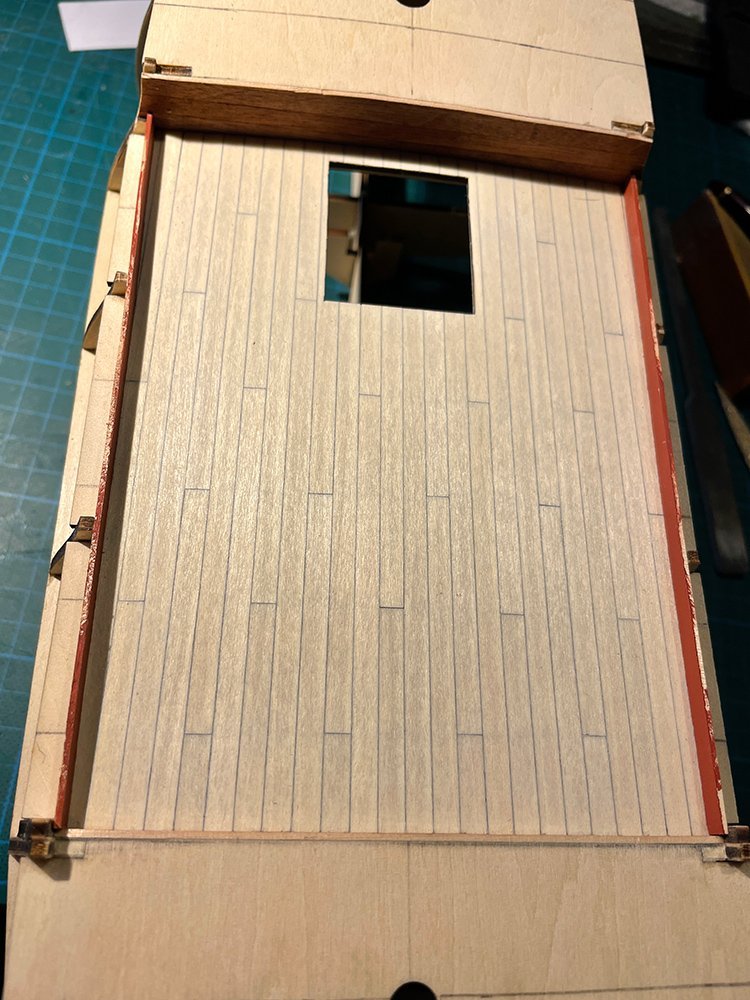
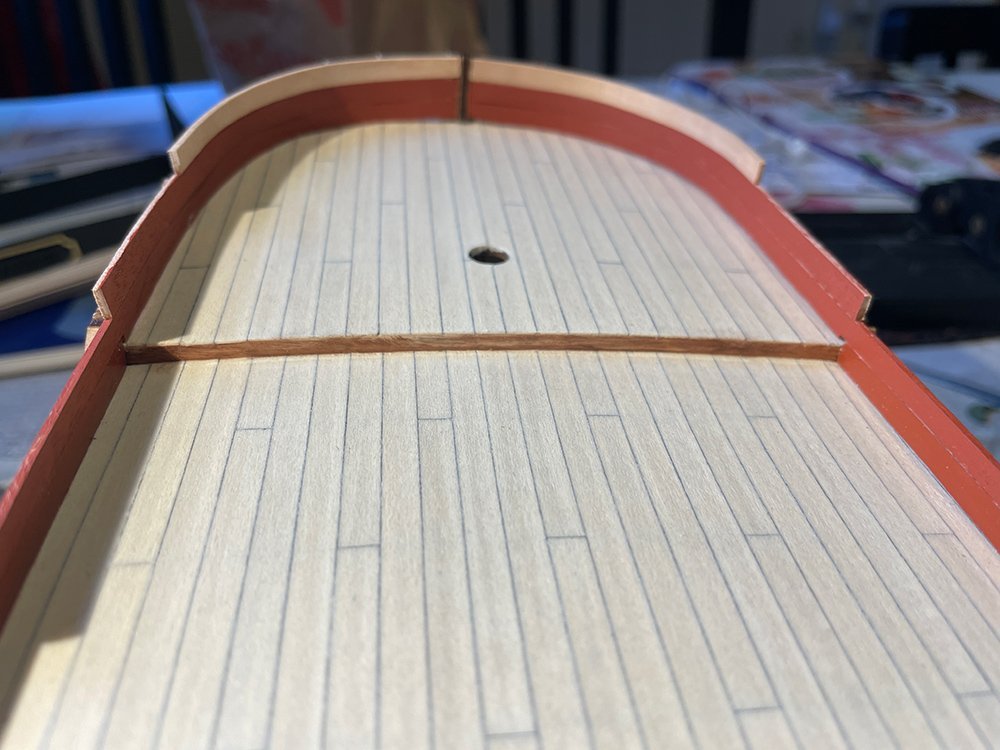
Finished deck planking yesterday:
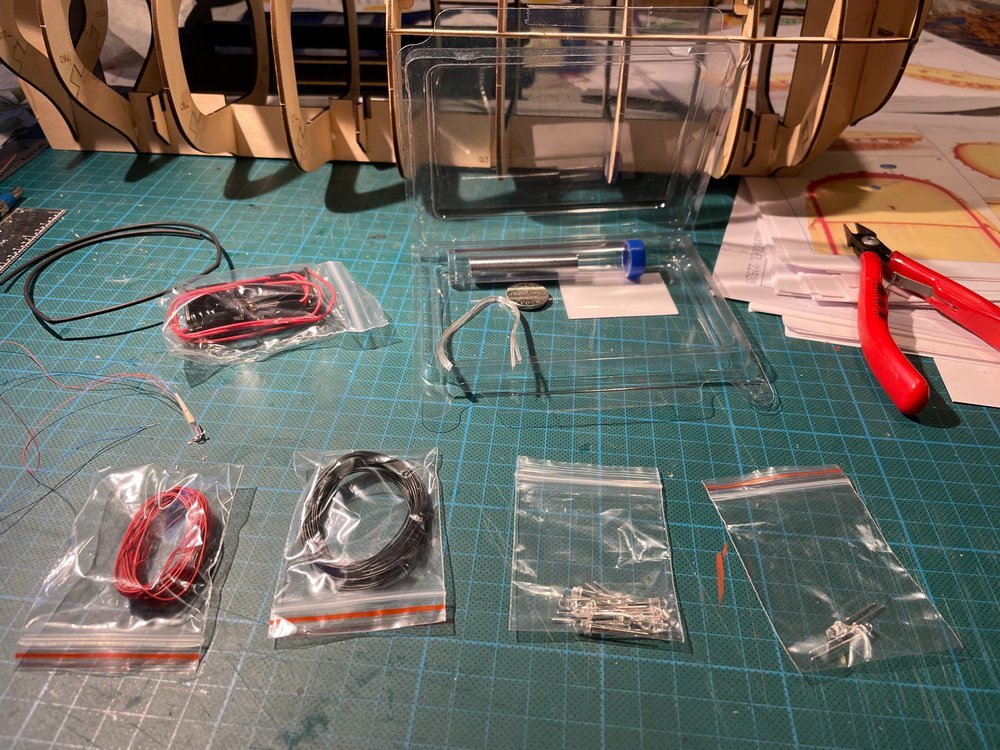
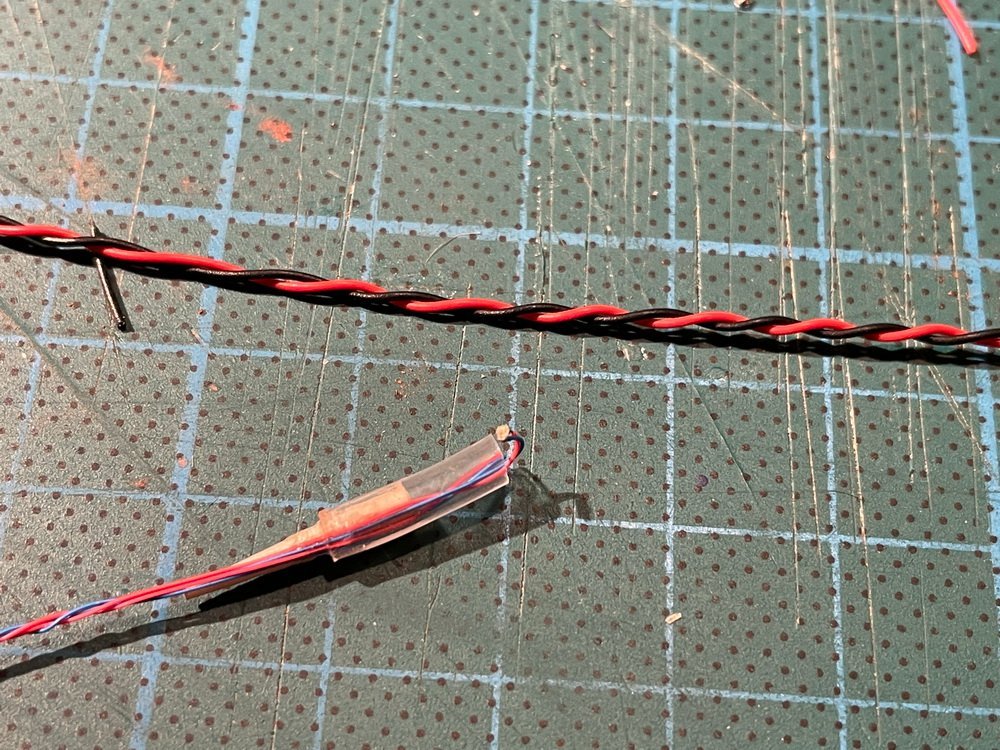
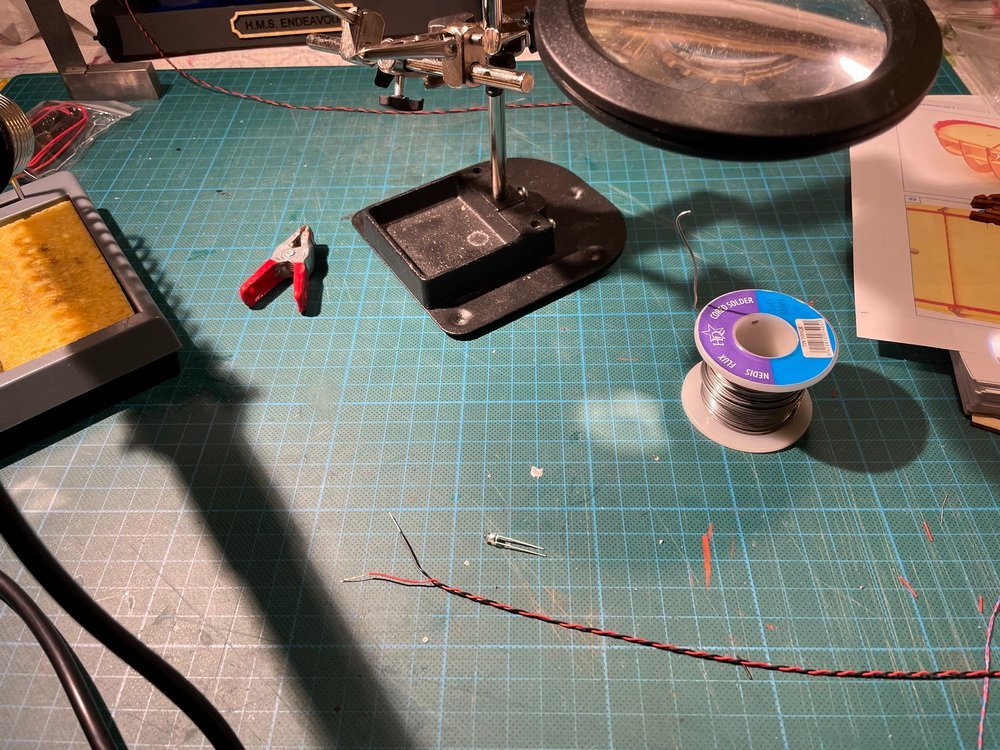
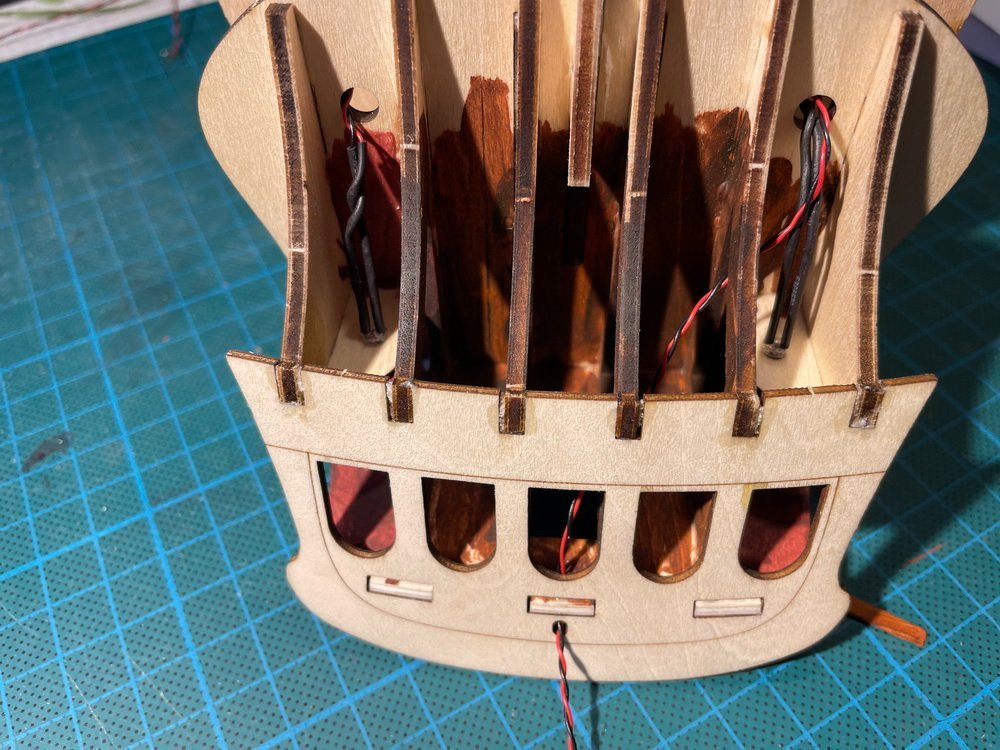
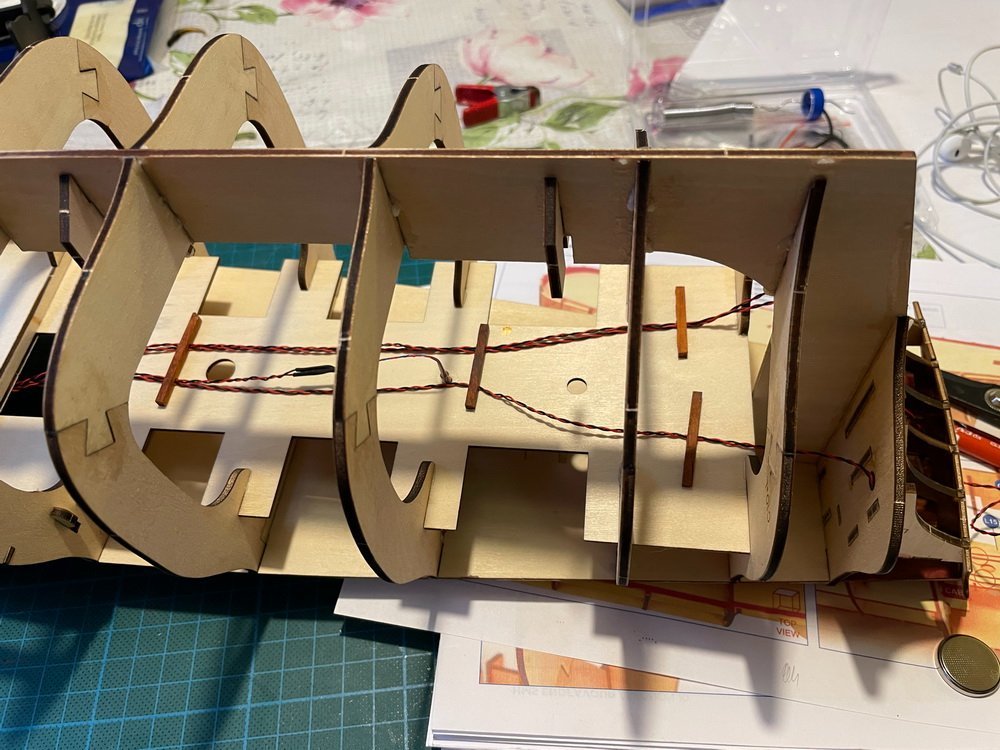
Today it was time for wiring:
 ++
++
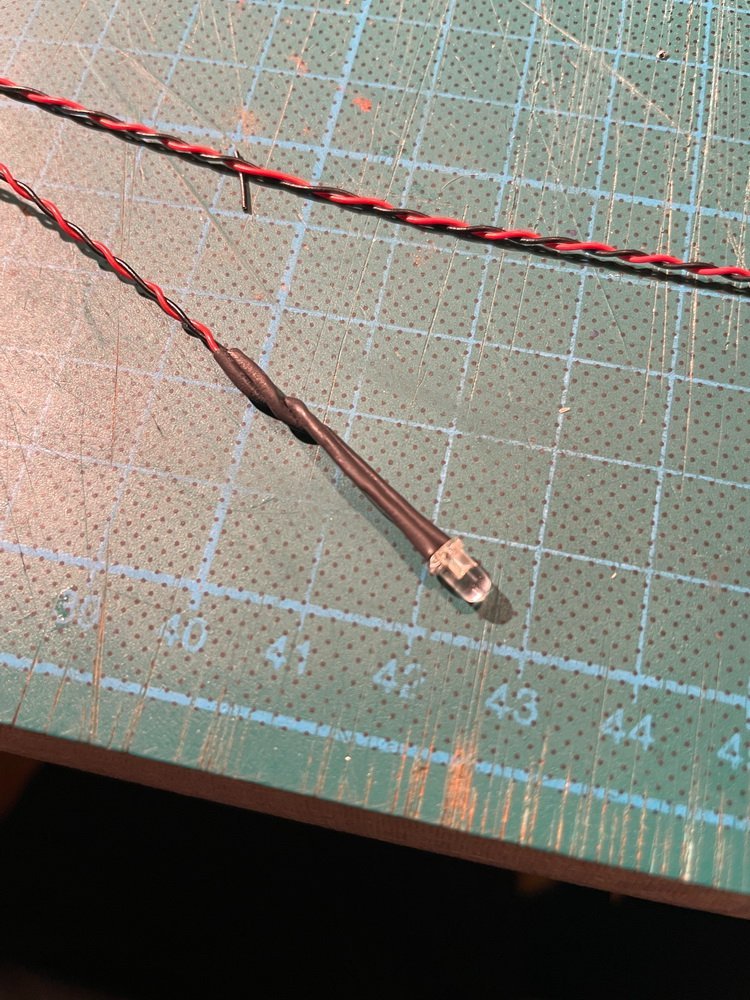
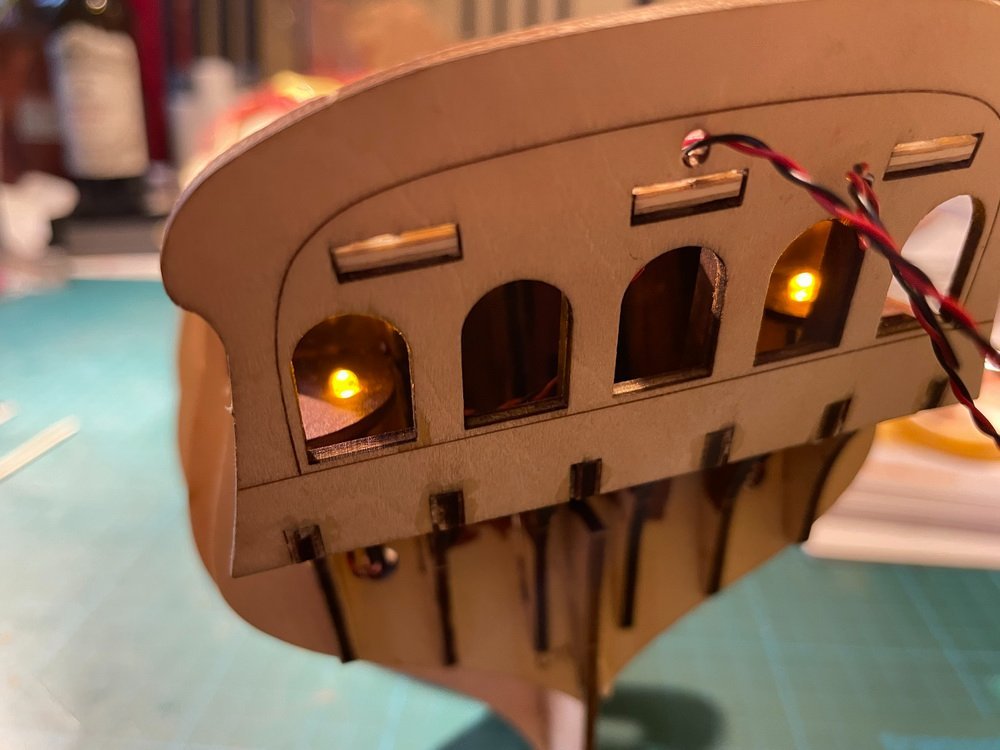
Only four static LEDs included, two already used in the nameplate but I found some micro LEDs I could use below the skylight.
The normal LED
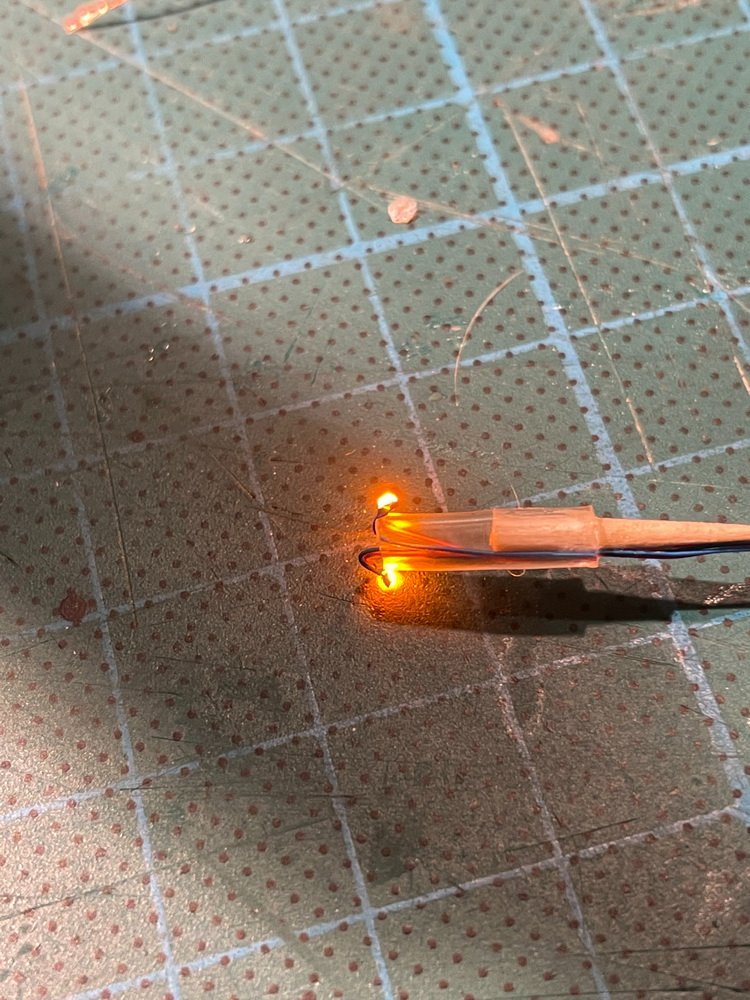
The micro LEDs work. I used two, don't know why...
The wiring for the stern. The loose wire will go to the lantern wit a flickering LED at the end of the build.
Testing
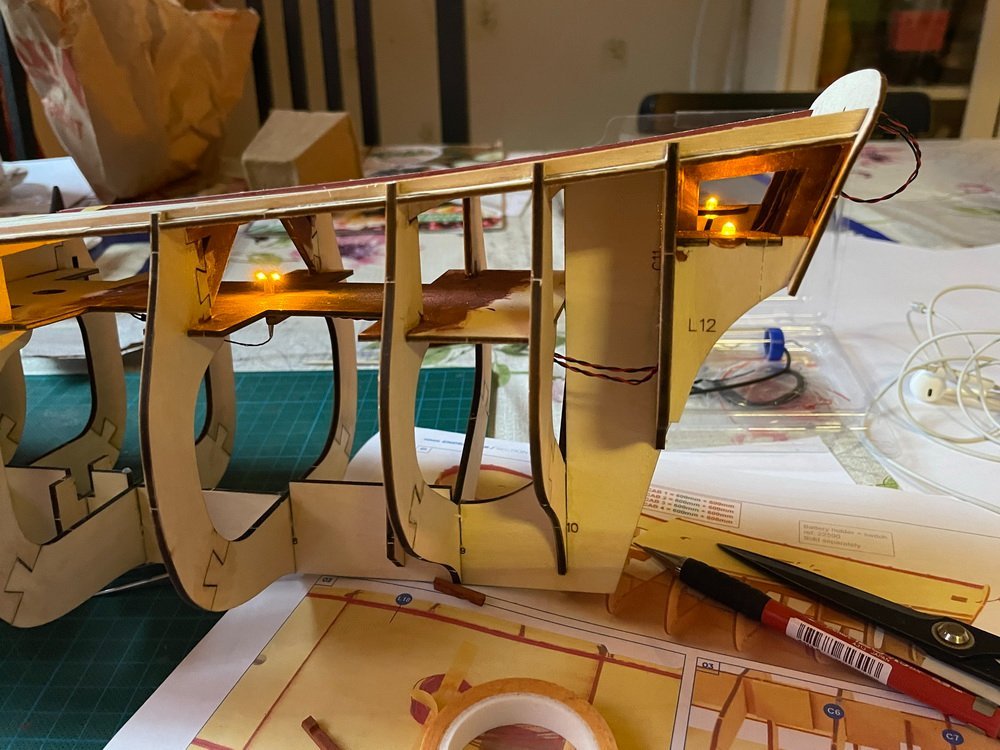
Hopefully the LEDs and the wires will stay in place throughout the build...
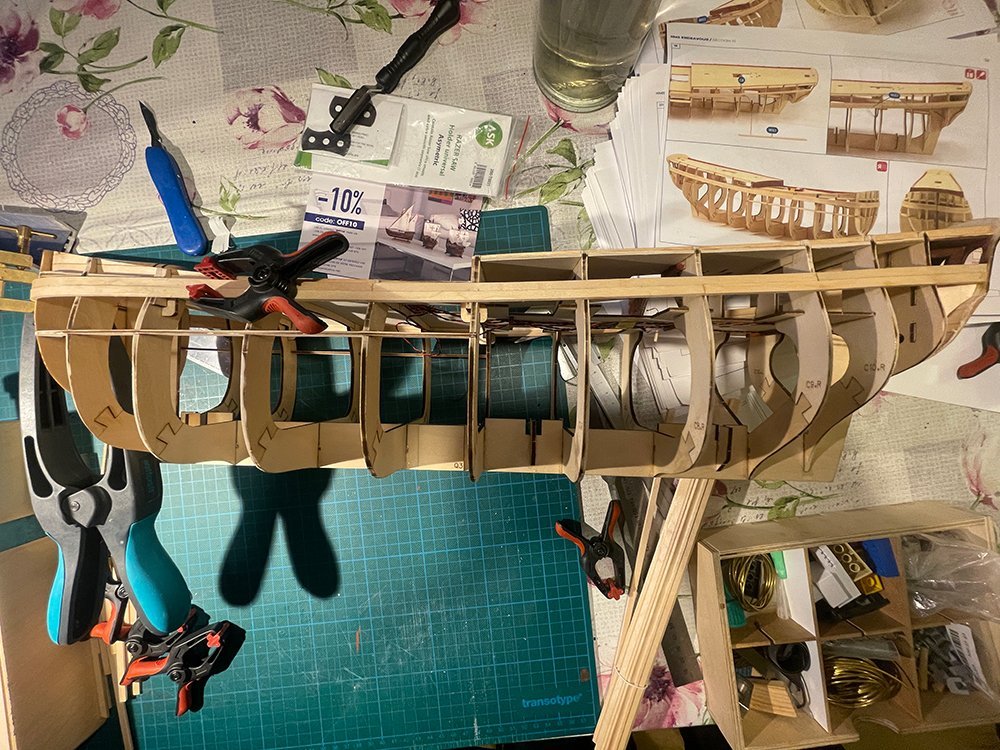
Next up is faring the frames and hull planking. First single planked hull for me, and as I suck at planking hulls we'll see how that turns out...

- BenD and Prowler901
-
 2
2
-
-
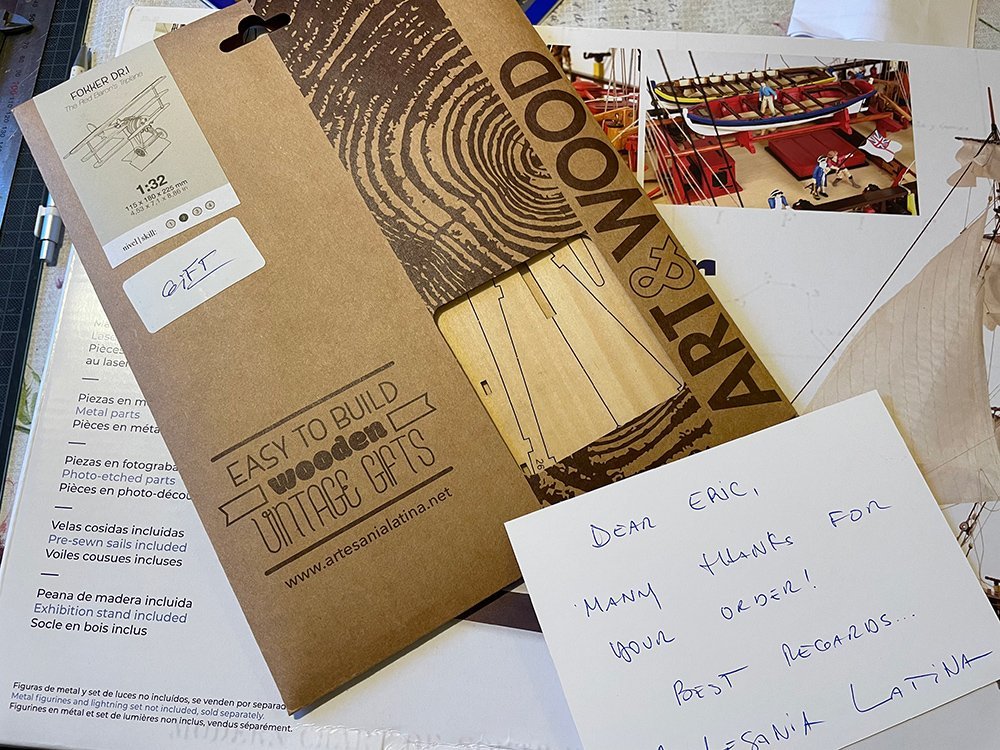
Got this kit in November last year with the optional LED lighting set.
Needed a break from rigging R.C. and was as usual just dry fitting the frames and the next I knew I was building the damn thing...
Whats in the box can be seen here in James H's review.
There was a nice surprise in my box. Thank you Artesania Latina!!!
I didn't take any pictures of assembling the frames, decks or the stand.
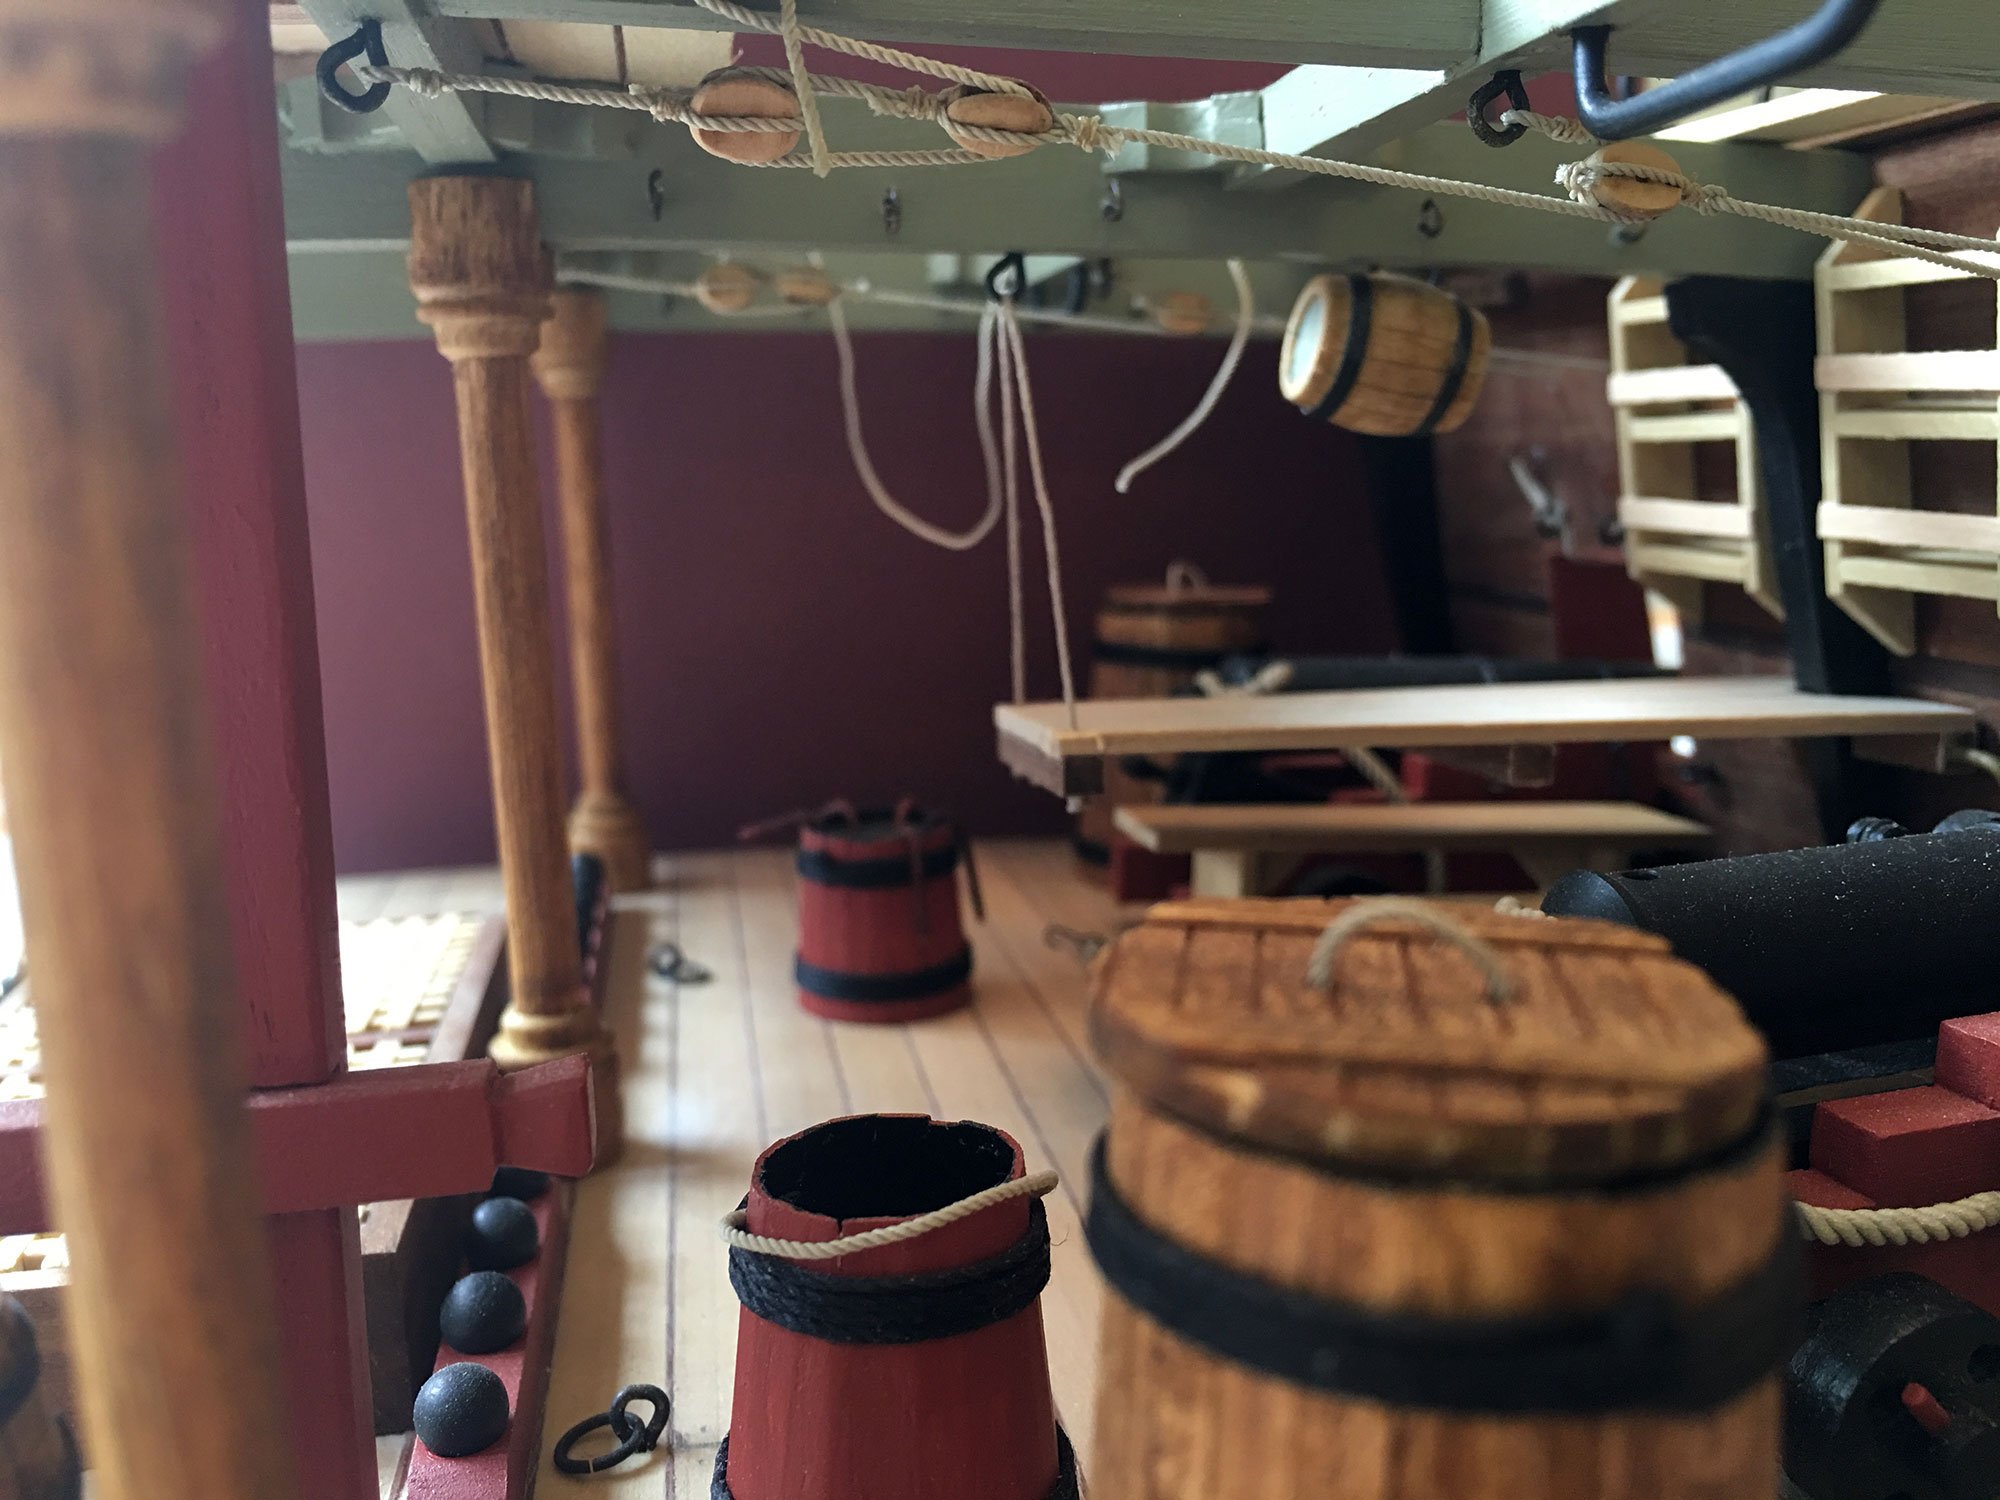
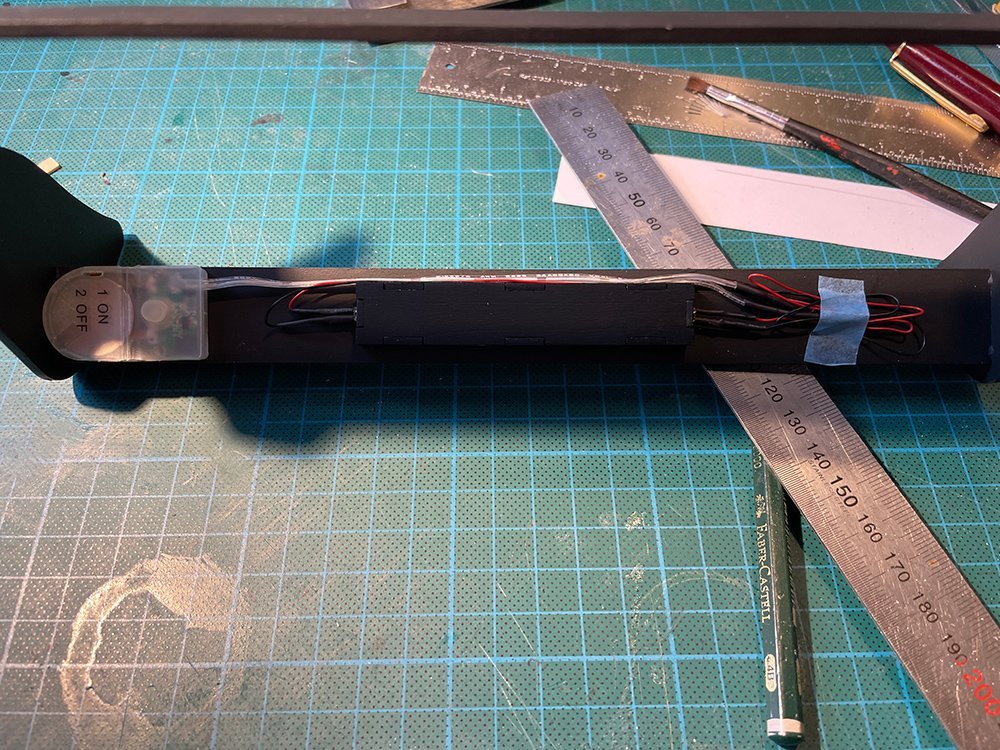
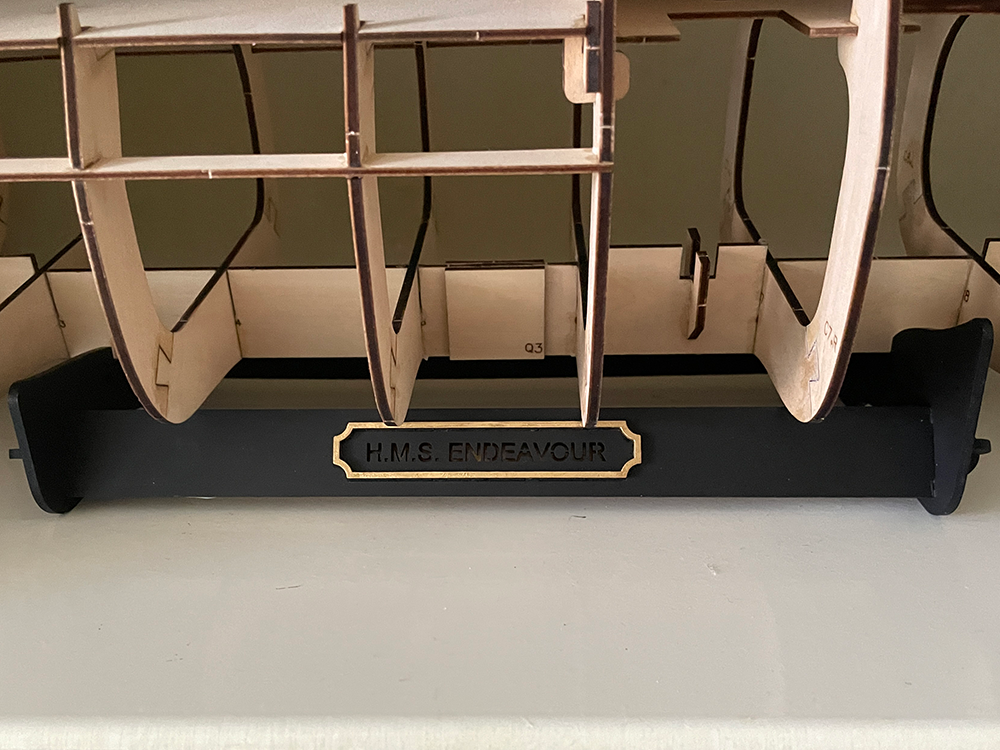
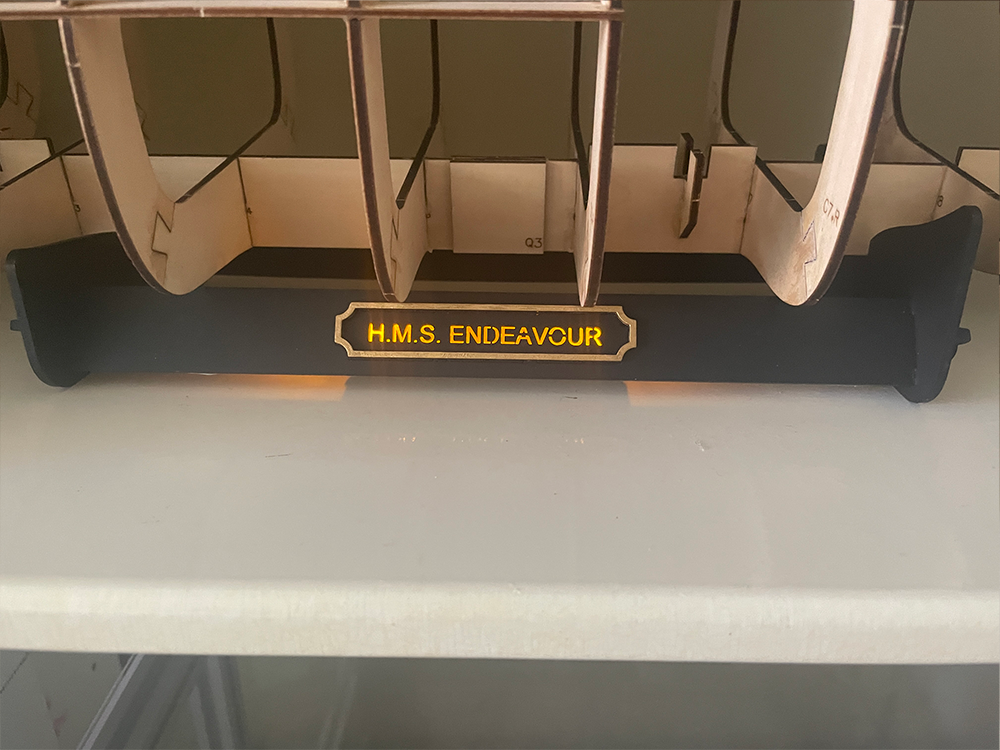
The stand with the light works very well, even in daylight:


Backside of the name plate:
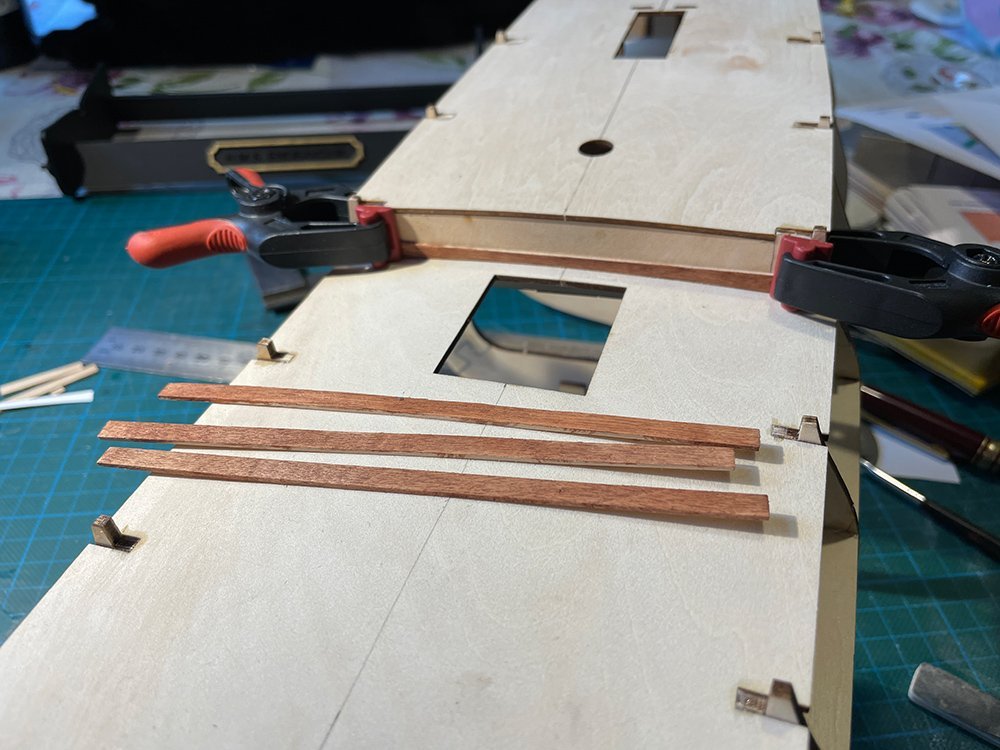
Yesterday I got started on the bulwarks.
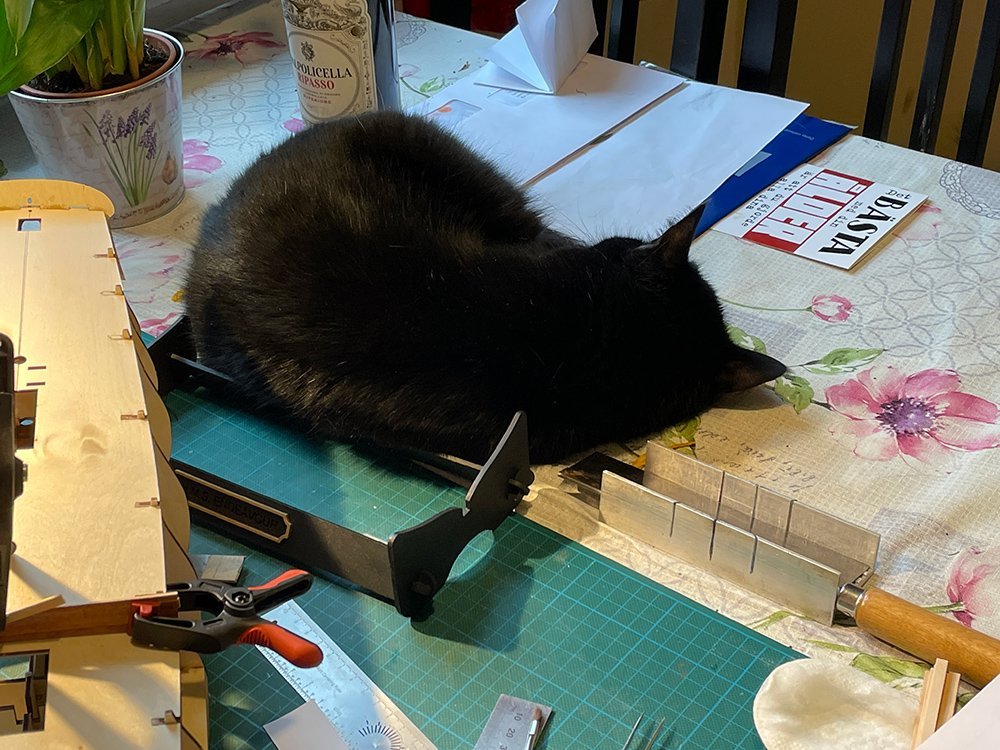
And this black monster helps me with getting hairs just about everywhere on the ship...
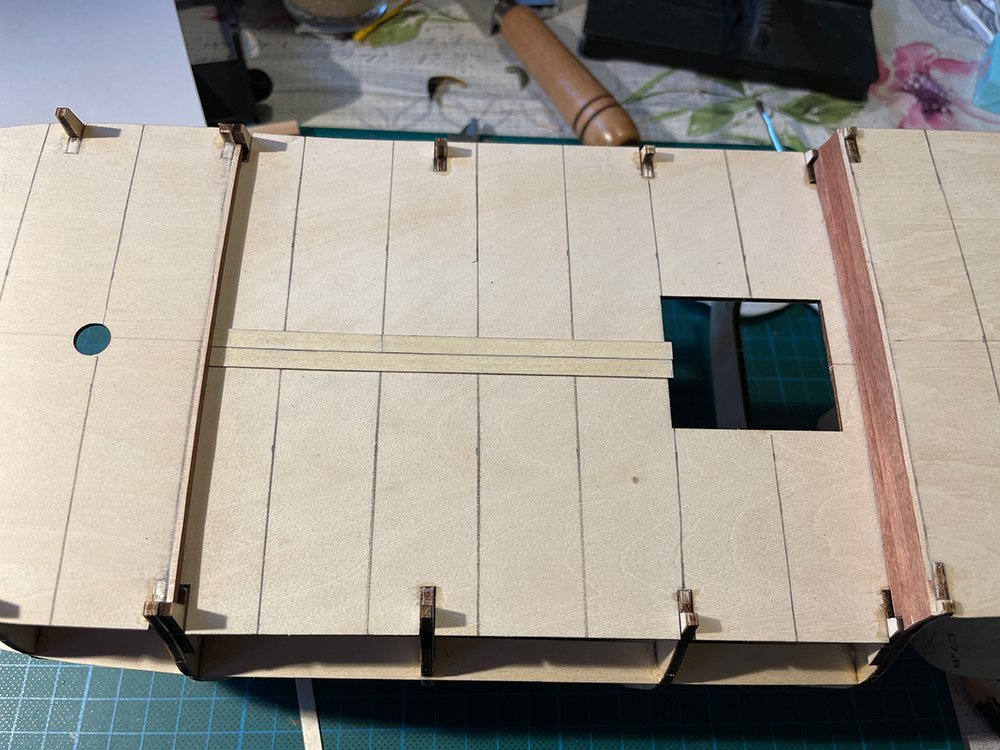
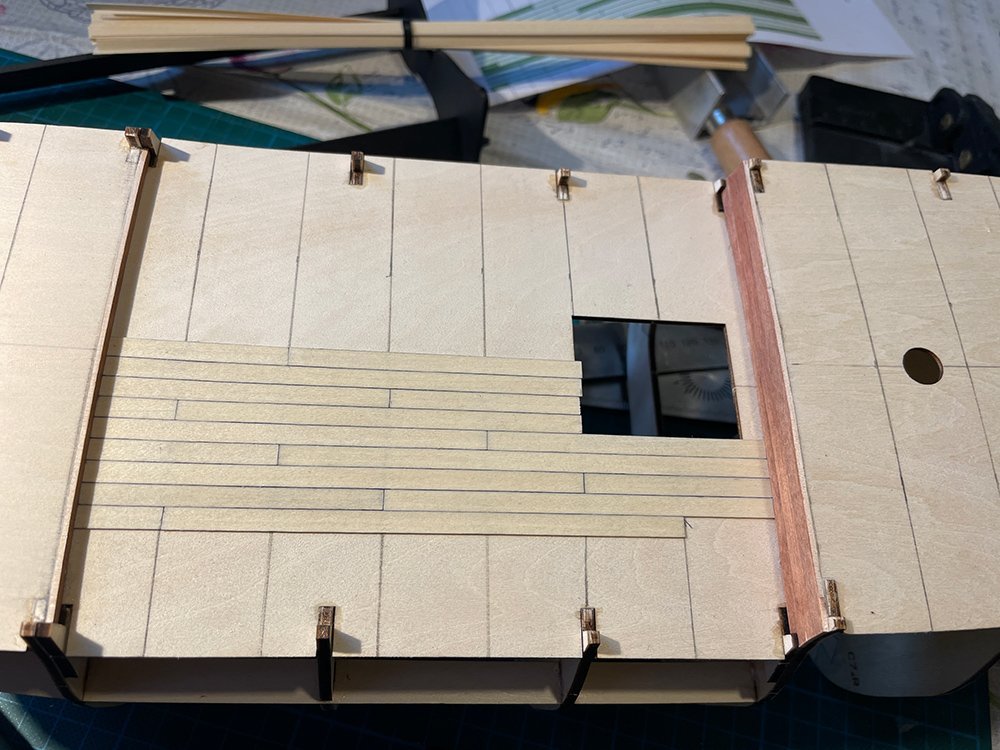
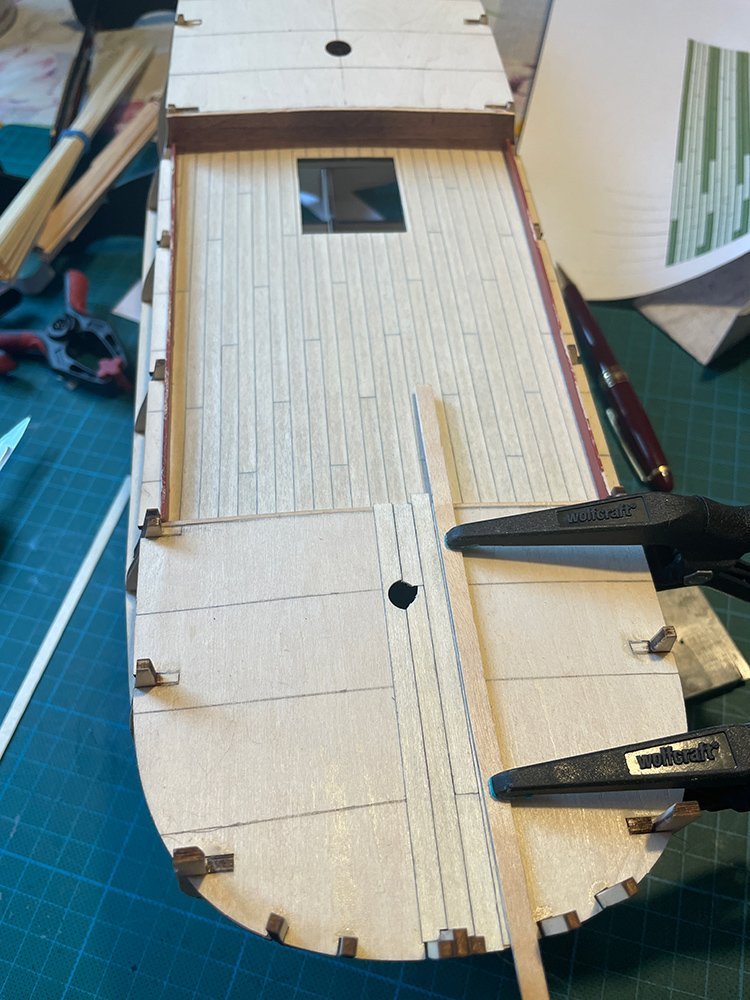
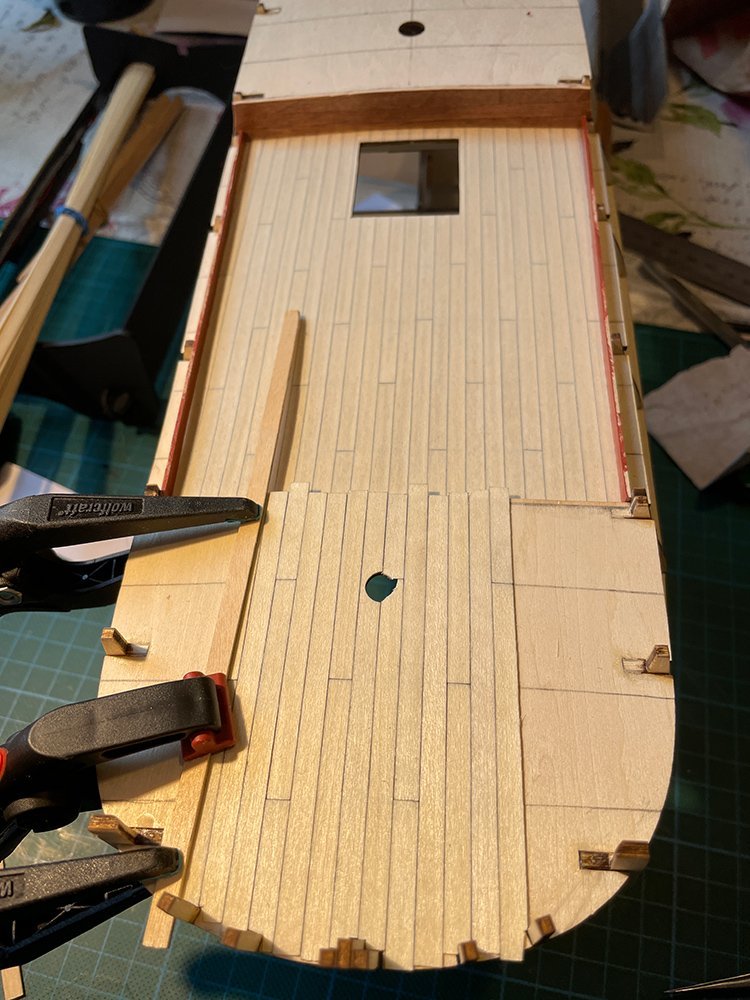
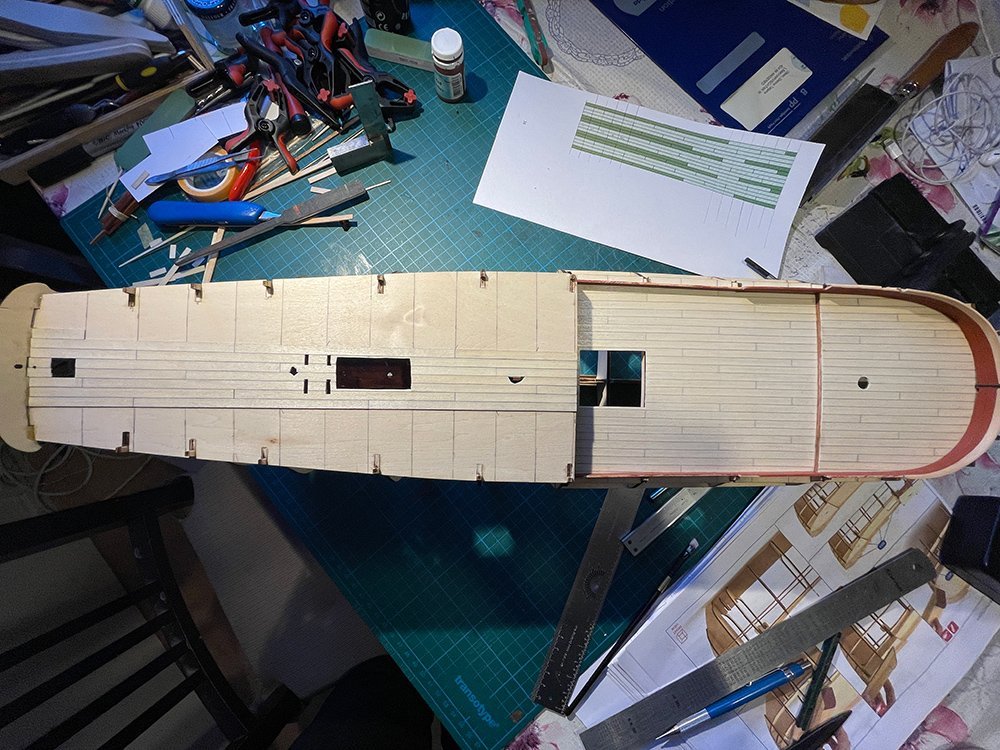
Mid deck planking underway. I cut and sand the planks individually, it takes some time but the results are good:
Deck sanded and varnished and inner bulwarks done:
Forecastle started:
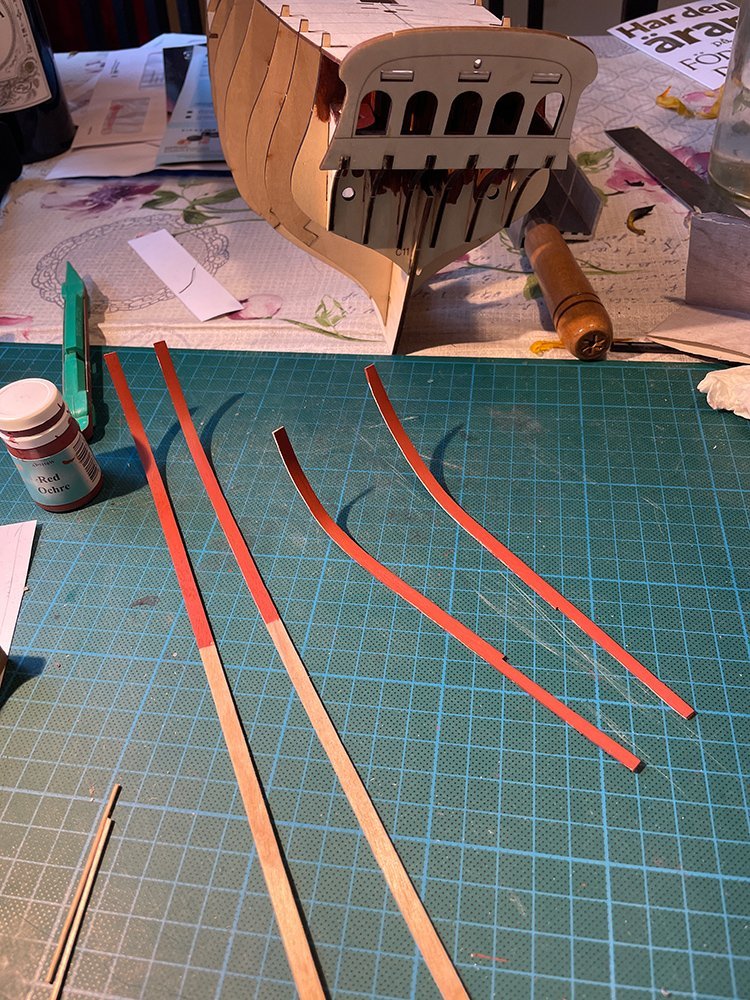
0.5 mm thick strips. Super quality but if I have too much glue on them they tend to curl:
Forecastle bulwarks. I don't know what material this is. Bamboo maybe but they are extremely easy to bend.
Forecastle and bulwarks ready (almost)
Poop deck underway:

And this is as far as I got today...
I'm quite satisfied with the kit so far. Nice materials and a detailed manual without one written word.
The only thing I'm not happy with are the laser cut blocks:
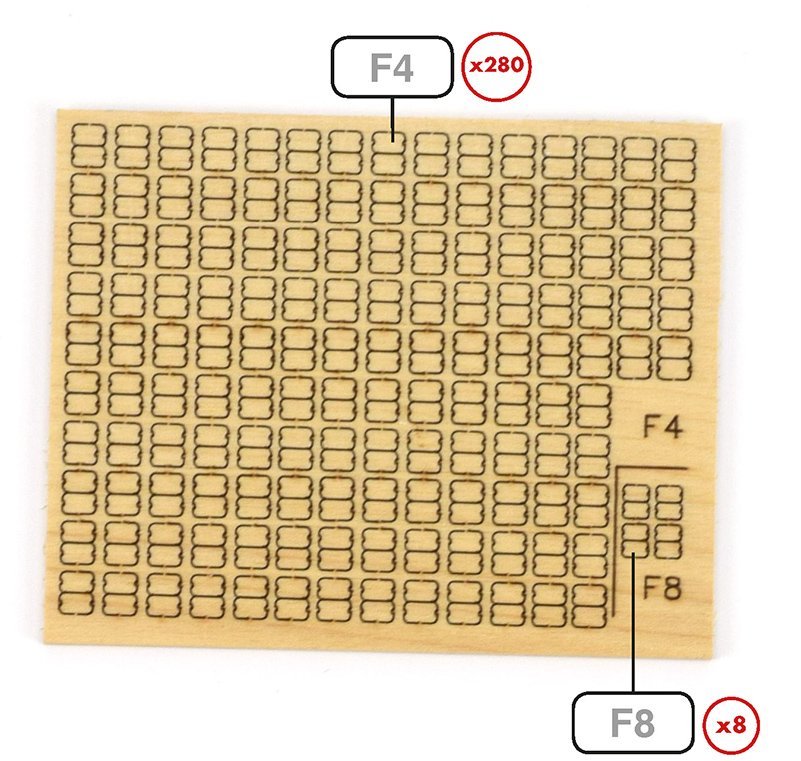
Sanding the char and then drill a hole on 288 tiny blocks is NOT what I want to waste my time on...
I was thinking of ordering the Hermione from A.L. at the end of the month, but I have to look up what kind of blocks there is in that kit first.
To be cont
- bolin, oakheart and chris watton
-
3
-
-
@James H Me too, but I'm building the R.C. and only did the stand and frames because I was curious how it would look. And have no photos of what I've done so far (except these two I took today). Maybe in the future if I ever finish R.C.
- Canute, Artesania Latina and Dave_E
-
3
-
I bought this model a couple of months ago, and the LED light works well. Even in daylight:
-
Thank you very much popeye!!!
- mtaylor, Canute, popeye the sailor and 2 others
-
5
-
-
Thanks Bob!
-
Great job!!!
We're at about the same point of the build. But mine is on hold as I have to build the Royal Caroline for "Der Frau" first.
-
Any acrylic primer and paint will do. Sanding, you have to be careful. Begin with a fine grit and see how much it bites. But I must say that the supports are very sloppy placed. When I print in resin I try to place the supports where they will be as hidden as possible. At least they didn't just break them off, that would leave "dimples" on the pieces. Sand them away carefully.
- thibaultron, Keith Black, allanyed and 1 other
-
4
-
-
Hi cookster,
I'm still very happy with the machine. Though the laser being a diode is not really strong enough to cut other than very thin plywood.
The tuning of the laser can be tedious but once you get used to it it's no big deal.
The cnc part of the machine works great for model ship building. One thing that is extremely useful is when I have to drill lots of holes for pinrails etc.
Making the toolpath in Fushion360 is dead accurate. tell the program how many holes for certain lenght and it places them even so you don't have to do the math. I did all the pinrails for Royal Caroline in one go....
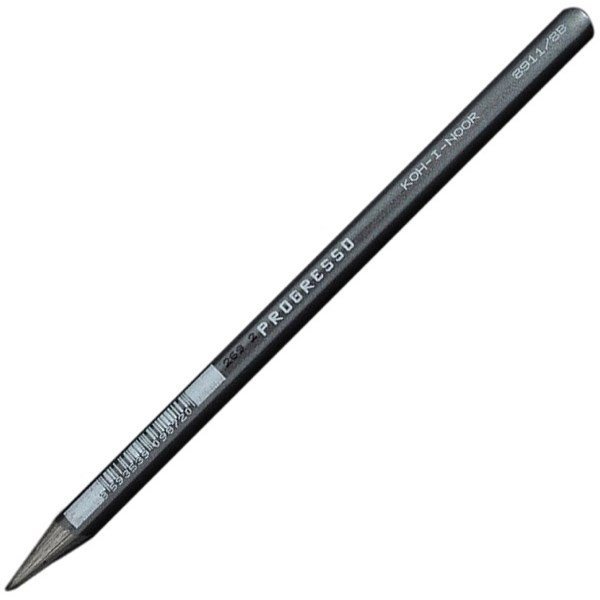
And the machine is good fun playing with. Making signs, laseretching my daughters pencils with her name etc. For me it is the best toy I've had for years.
- mtaylor, Canute and thibaultron
-
3
-
The spindle is interchangeable with a 7W diode laser module, so it's both...
- Justin P., Duanelaker, mtaylor and 3 others
-
6
-
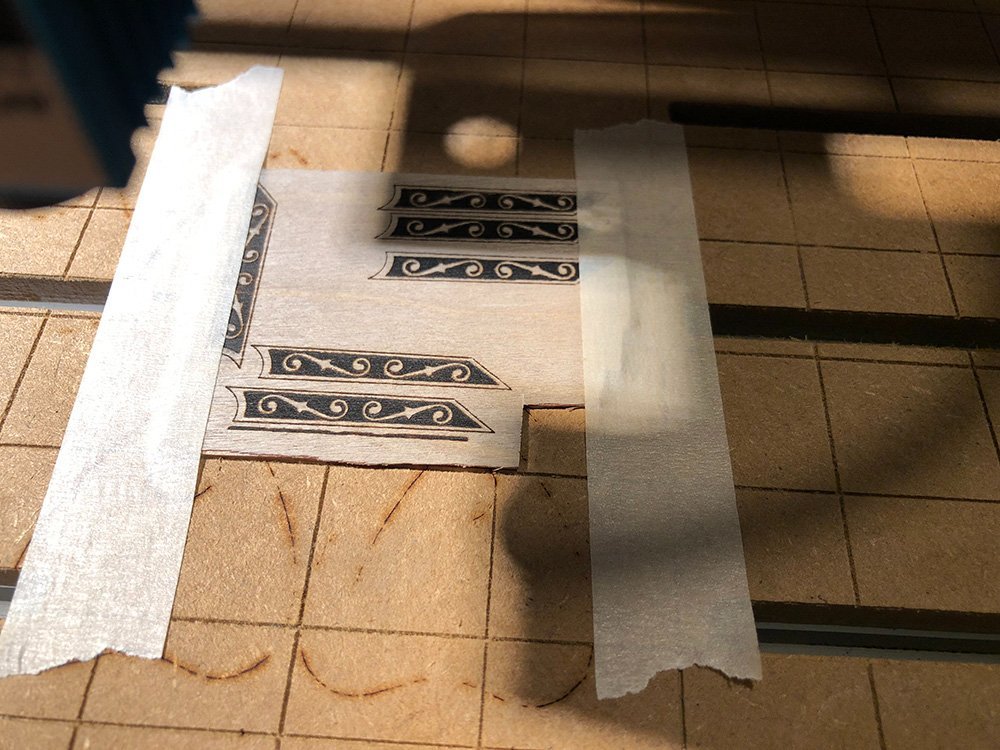
As I continue throwing away parts of my build I had to make a new lasercarving for my Royal Caroline.
The original wood was very porous I had some difficulties getting the same depth in this much harder veneer.
(leftover from Amatis Titanic. Only one I could find with matching thickness).
But after lots of testburns it finally went my way.
This little machine has helped me a lot so far.
- Canute, Justin P., thibaultron and 2 others
-
5
-
Hi folks
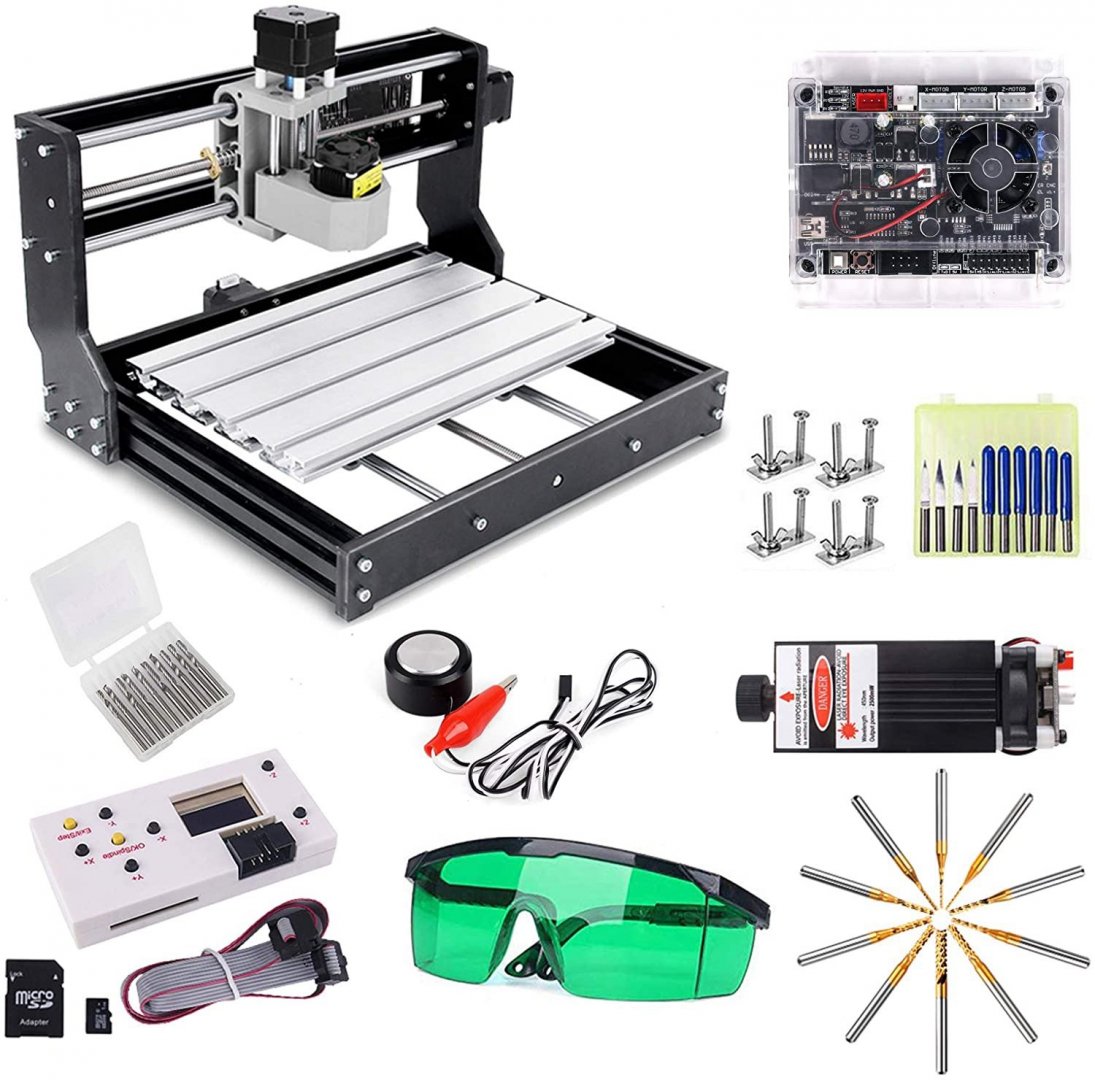
Bought me a 3018 cnc/laser kit some weeks ago. just to have something to play around with...
Then I vacuumed up the masts feet of my Royal Caroline, and made new ones with the laser module.
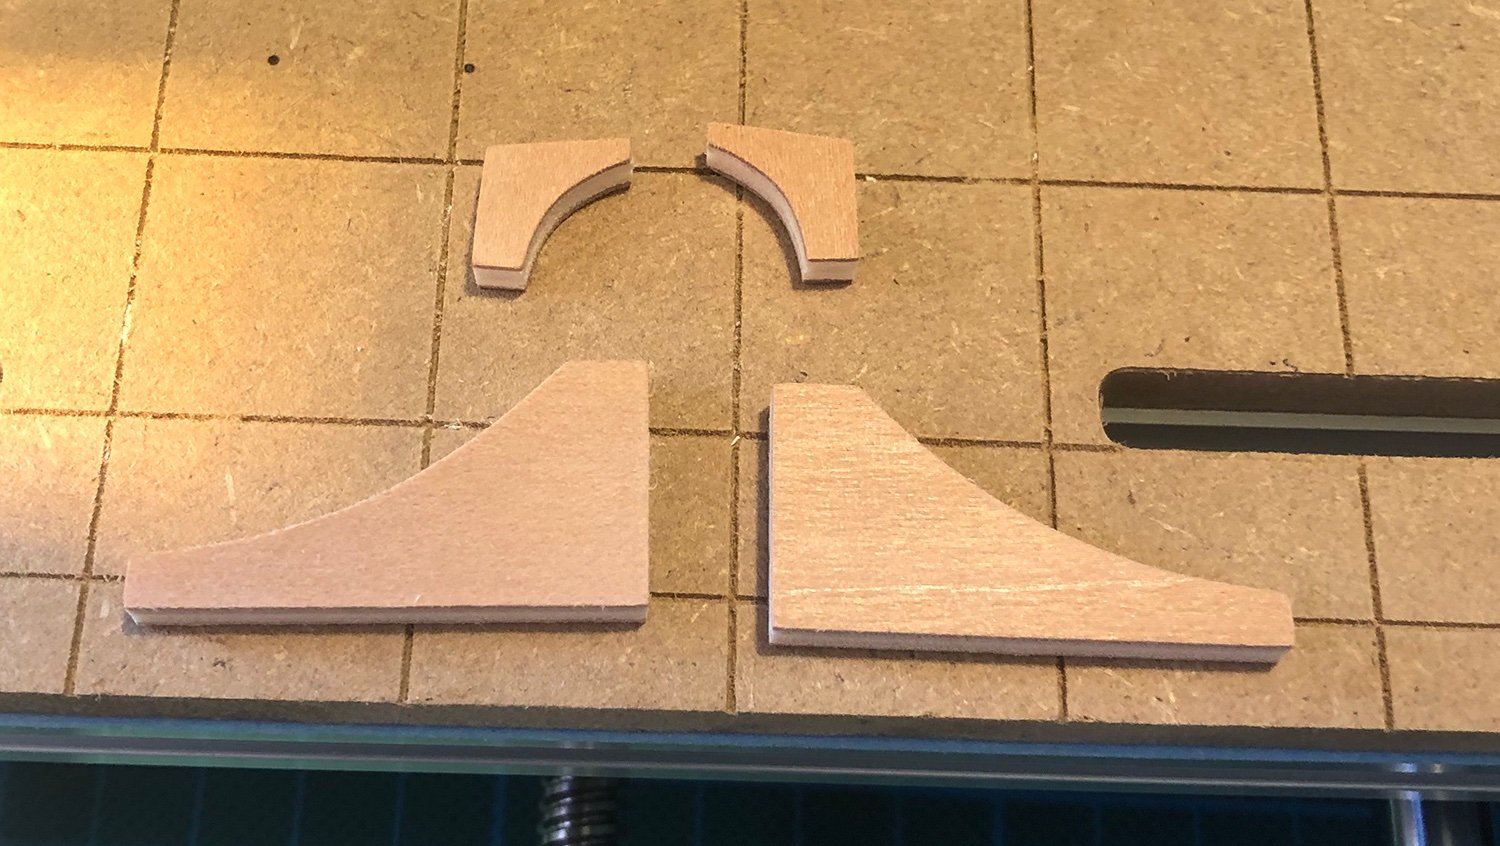
Then this morning I discovered that you had to make the anchor bits (and some other stuff) from some plywood squares...
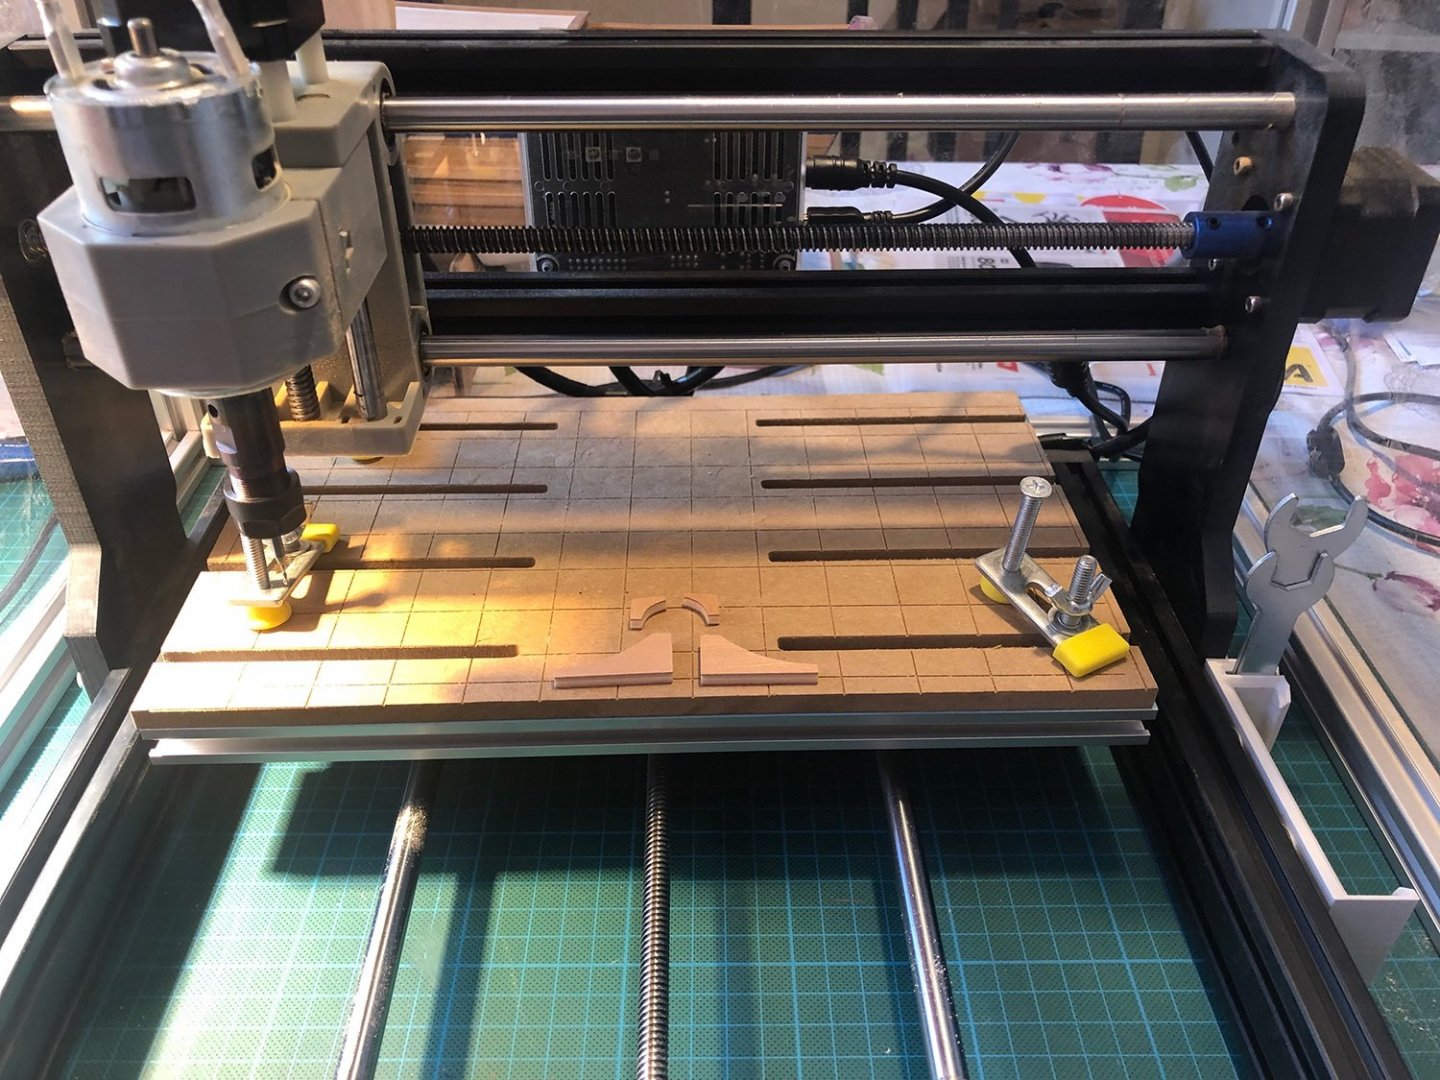
So I did the Toolpaths in Fushion 360 and tried the cnc:
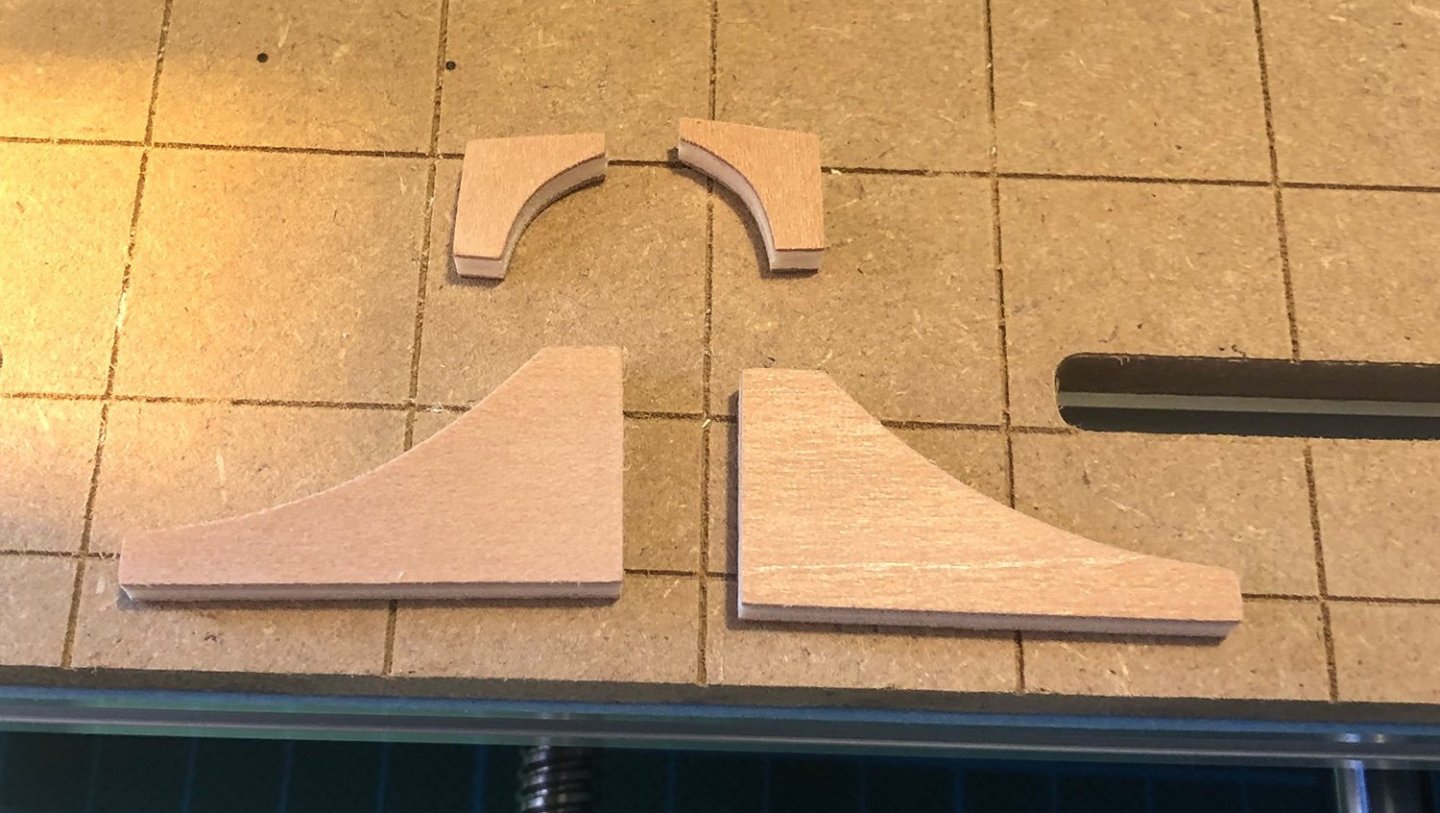
Only problem was that I had the feed rate too high so the first 1mm bit broke but lowering the feedrate 50% fixed that...
the machine:
Old MacBook Air to operate it:
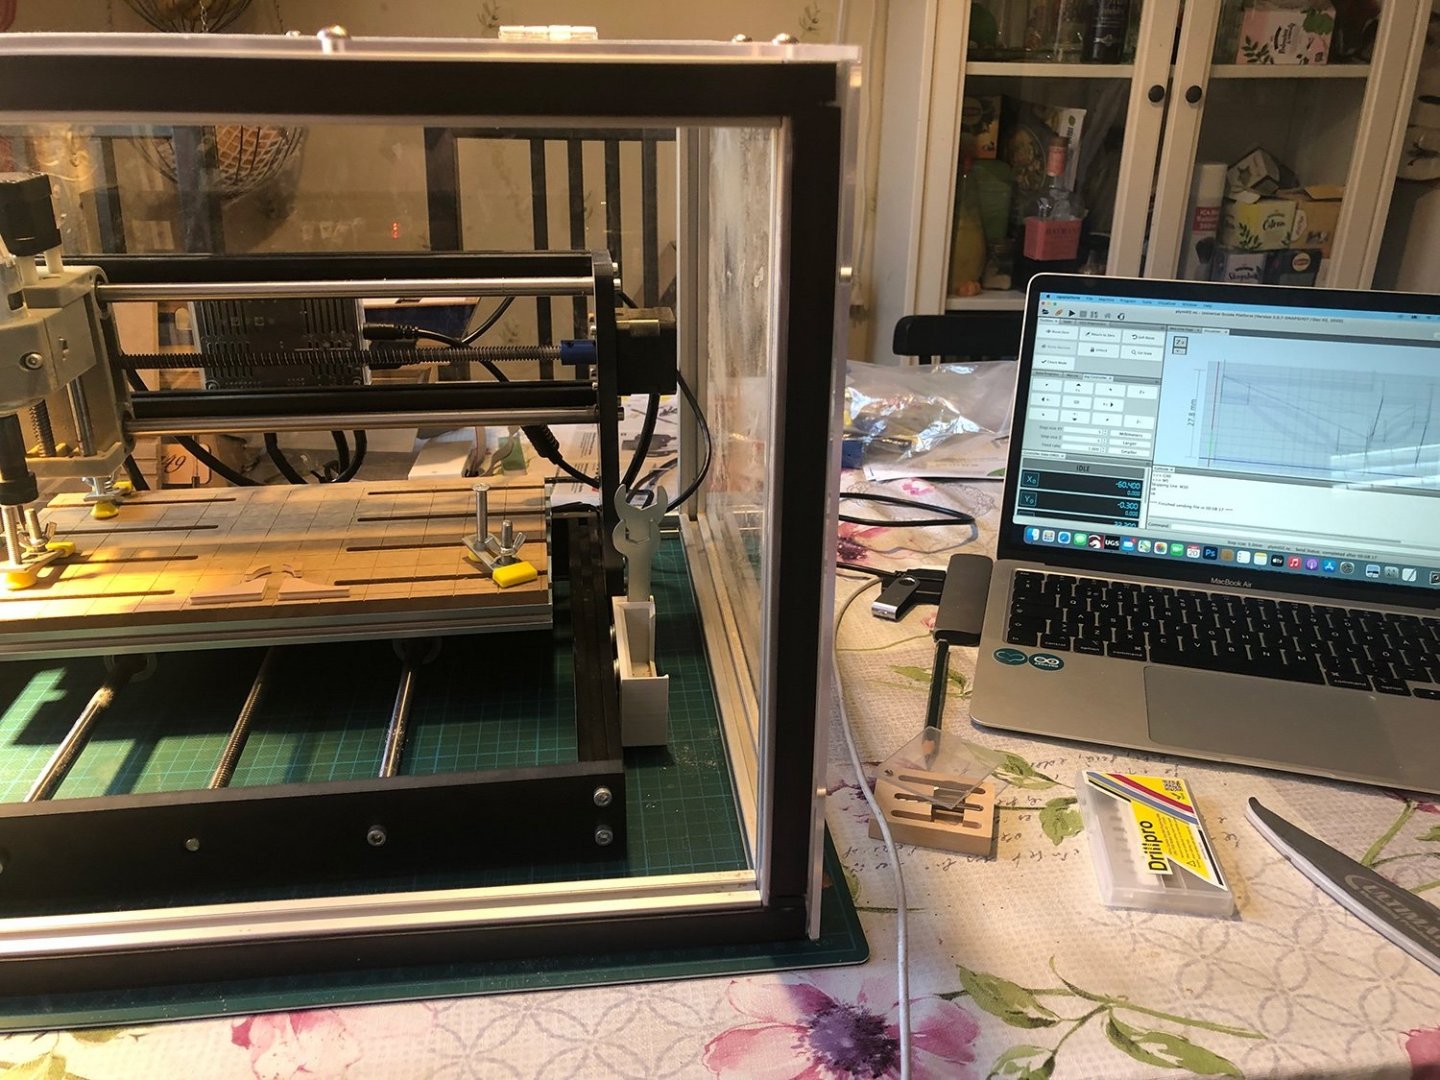
It's now my favorite toy.
- VTHokiEE, Canute, Duanelaker and 8 others
-
11
-
Well, it's new to the BBC.
It's great!!!
And if one doesn't like the story of the Tuunbaq one can always loose oneself in all the detail they chucked into this production. The ships, the clothing etc etc. more here
To fully understand the story of the monster, reading the book is necessary. But even without that part, scurvy, botulism, consumption, freezing and starving is terrifying enough....
-
-
Maybe try to export the object as a .Obj file and load it to the slicer. BTW, what slicer program are you using? So far I found LycheeSlicer to be the best free program. It does a good job finding islands and faults in the model. I printed my Bounty cannons straight up with the muzzel against the print plate. Though I modelled the cannons in Cinema4d.
Edit:
Also there is a BIG difference in resin quality... went through some brands before I found one that works ok with smaller items...

Edit again; I'm printing in resin,,,
-
1: I use mine until they break...
2: A caliper should do
3: I once bought the expencive bits and cried every time they broke
4: if the instructions goes by metric it would be easier with metric bits
5: I buy lots of cheap ones, I'm not a pro but it looks like I'm breaking them as a pro...
-
You're doing a wonderful job!
-


HMB Endeavour by puckotred - Artesania Latina
in - Kit build logs for subjects built from 1751 - 1800
Posted
Thanks a million Christian!!!