


rlb
-
Posts
652 -
Joined
-
Last visited
Content Type
Profiles
Forums
Gallery
Events
Posts posted by rlb
-
-
As I get underway with the continuation of this build log, I will hopefully be able to include some past photos. I've discovered that all my model photos prior to 2013 reside (I hope) on an old hard drive that is no longer attached to my computer. I had to replace the motherboard last year, and the new one didn't support the old hard drive. So it may be a while before I can retrieve those photos.
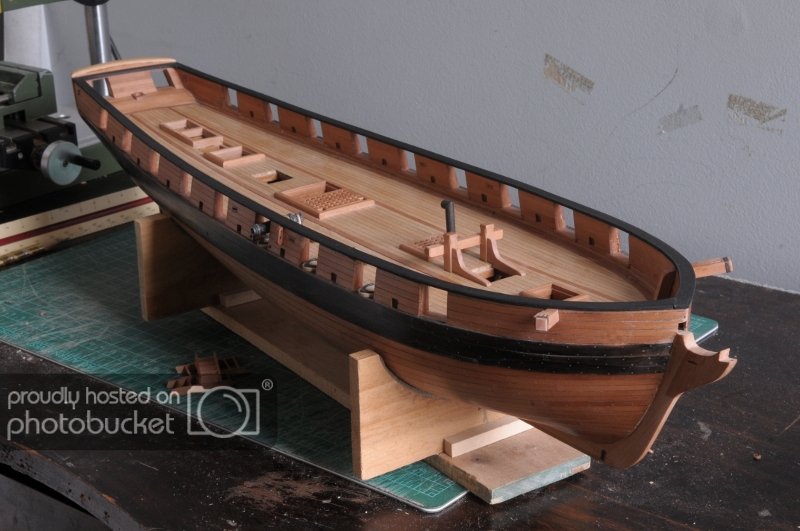
This model of Oneida will represent the brig as she was armed in 1813, with sixteen 24 pounder carronades and two 6 pounder long guns. I also hope to fully rig her, but time will tell!
Here is the current state of the model--
This post is a bit of a placeholder at the moment but I should have some more to add soon.
Ron
- JayCub, Ray49, avsjerome2003 and 6 others
-
 9
9
US Brig Oneida 1809 by rlb - The Lumberyard - 1:48 scale - POF - Lake Ontario Warship
in - Kit build logs for subjects built from 1801 - 1850
Posted
Old business: I have an adapter part on order so that I can put my old hard drive in my new computer, and retrieve all the old photos.
New business: I have a tough time, sometimes, with the "leave well enough alone" concept. The wale on my Oneida has been bothering me since I first put it on, almost three years ago. At the time I was confused about the meaning of this line on the Chapelle drawing:
My interpretation (keep in mind I knew next to nothing, and couldn't find much info) was that it marked a difference in the wale between a strake of "straight" planking above the line, and top and butt planking below. How silly. But that's the way I built it.
I now believe (having seen a little more of the shipbuilding world) that it indicates a change in the thickness of the wale. Below is a sketch of the wale as built, with a dashed green line showing how I think it should have been built--
I just couldn't leave this alone, so work was begun to change it--
Looks pretty ragged here--
But better after sanding--
During the staining process--
And the result after one coat of finish--
I probably didn't take it down quite far enough, but I'm satisfied that at least the difference is there now--
There's not much rhyme or reason sometimes to the things I "need" to fix, and the things I let go. This one fell in the former category but now I'm happy and I can move on!
Ron