


dan evans
-
Posts
36 -
Joined
-
Last visited
Content Type
Profiles
Forums
Gallery
Events
Posts posted by dan evans
-
-
-
great job i am building the Robert E lee but it is an Amati kit. Thousands of tiny planks.
-
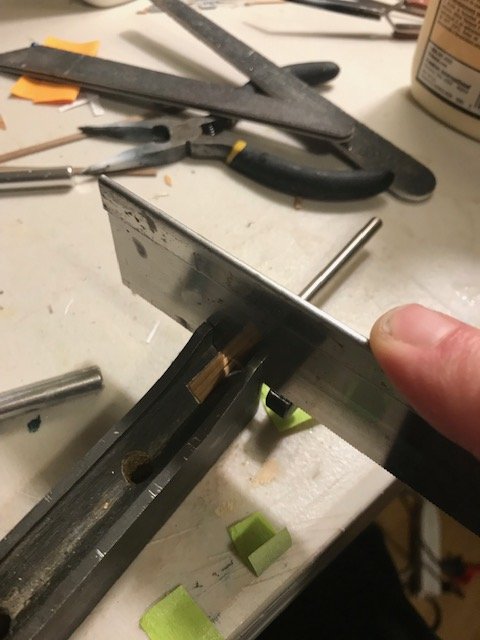
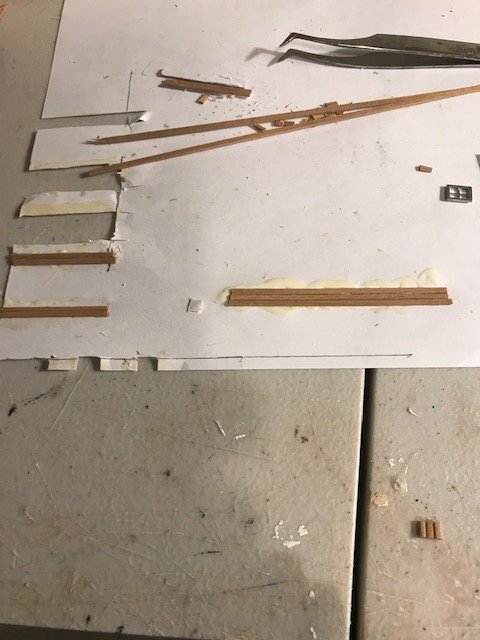
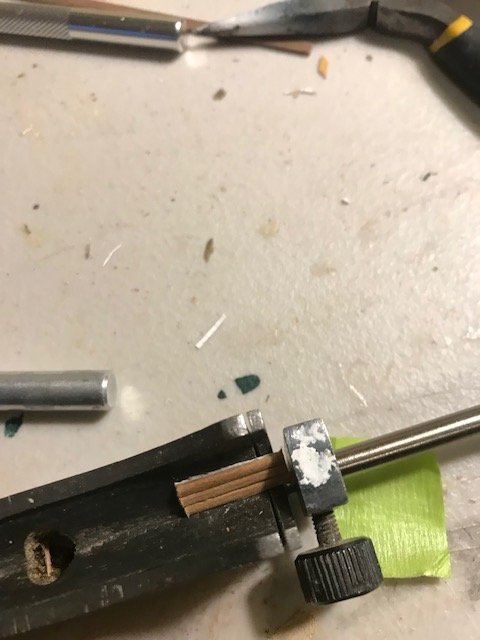
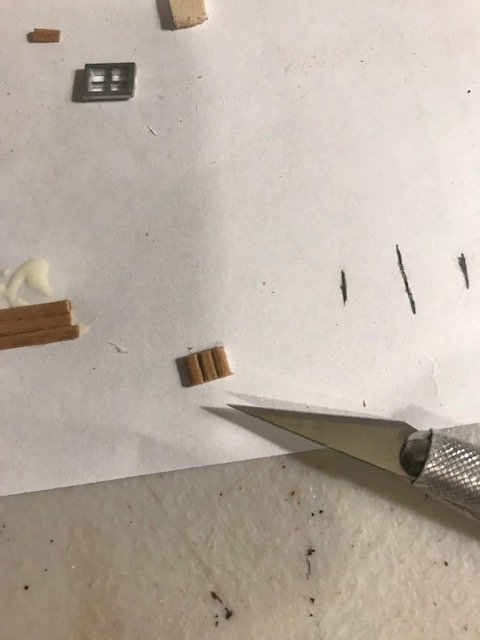
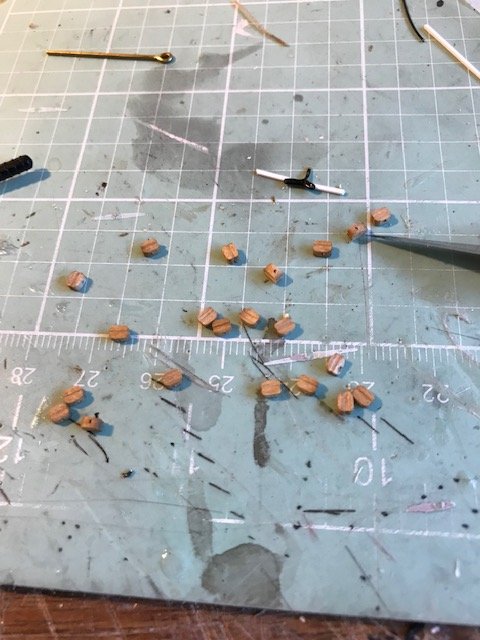
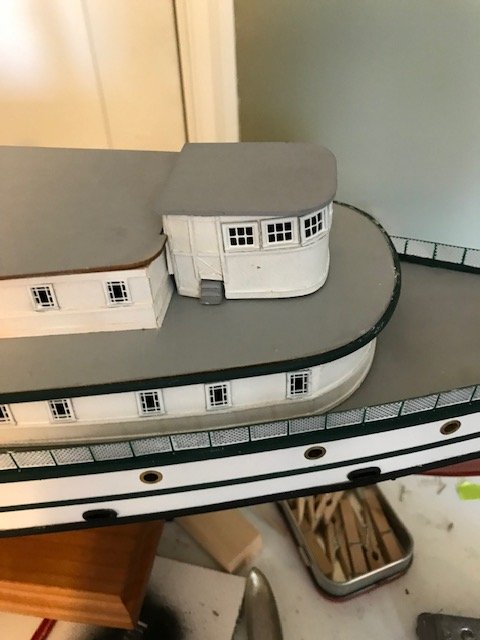
I have not added to this blog in weeks . Recently I came up with a way to create the panels in a faster way.
the strips are very small and are hard to line up on the boxes.
So what I do is glue the strips to paper in two and three strip bundles. then i use a cutting jig to cut as many pieces that I need to go around the windows. This keeps the strips in line and looks better.
I hope this helps anyone taking on this model.
-
its a glencoe kit . I built it in three days for a friend. Added the chains for anchors otherwise its out ogf the box.
good eye
-
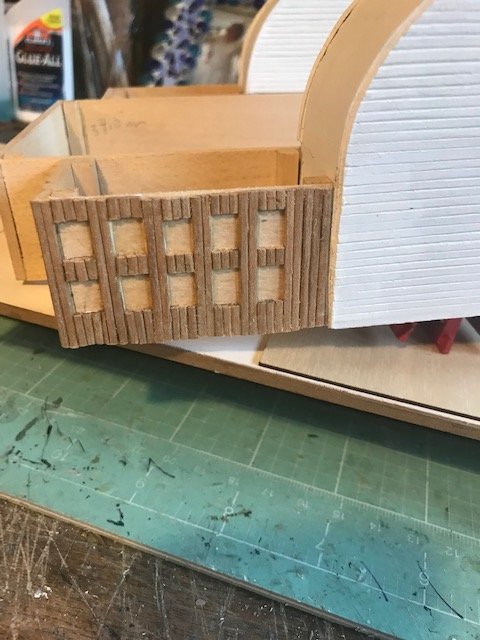
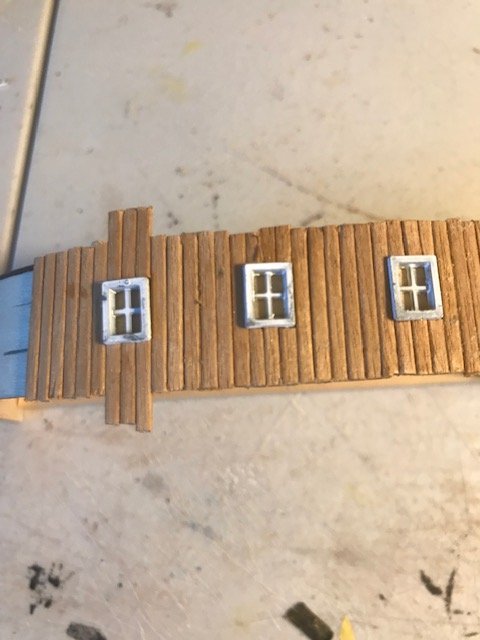
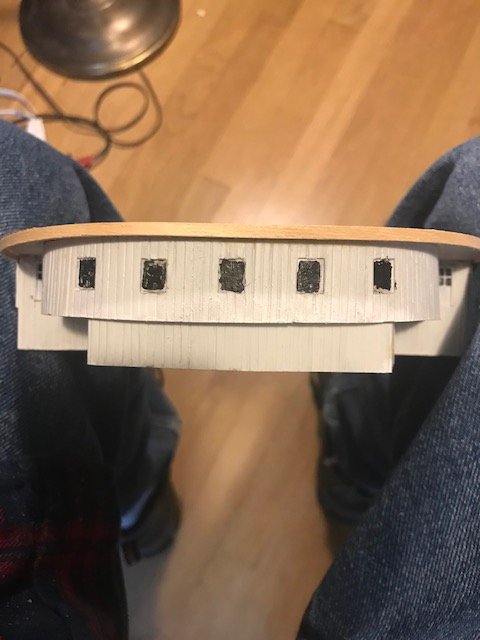
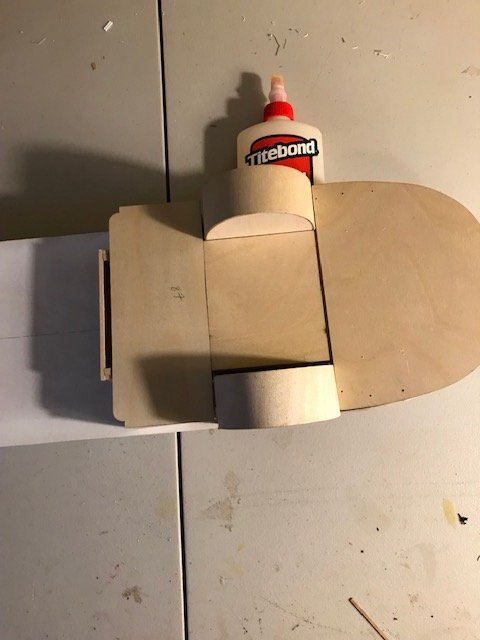
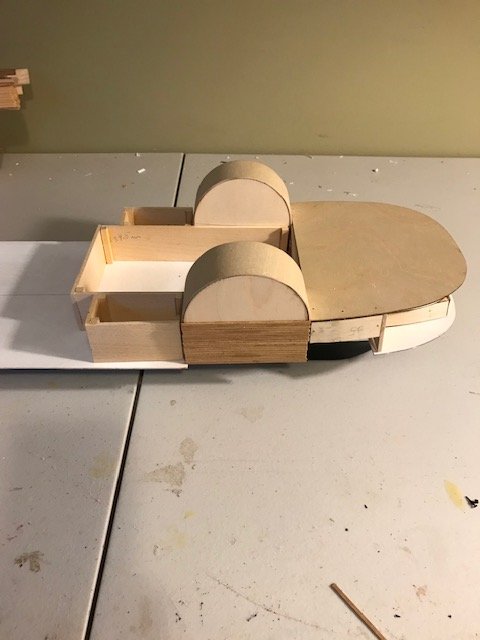
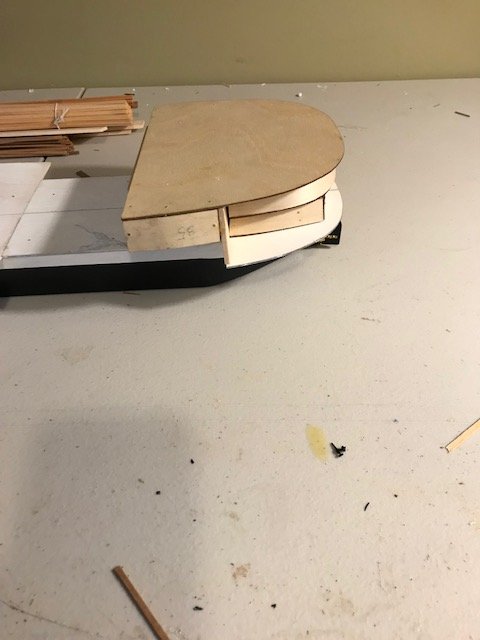
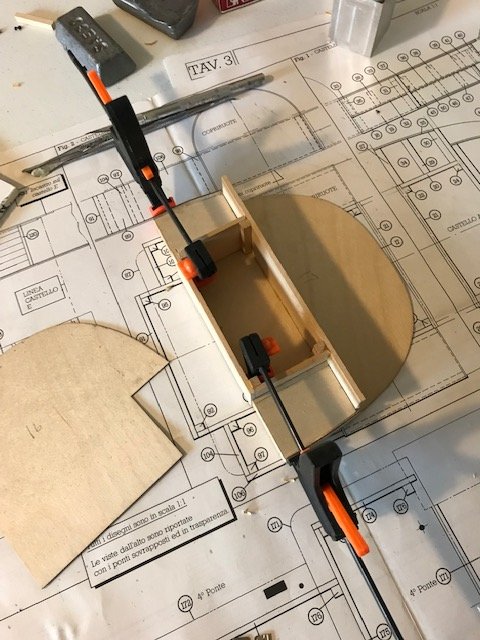
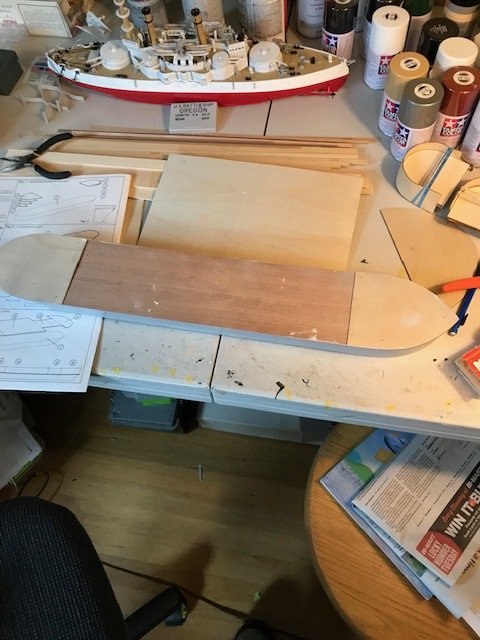
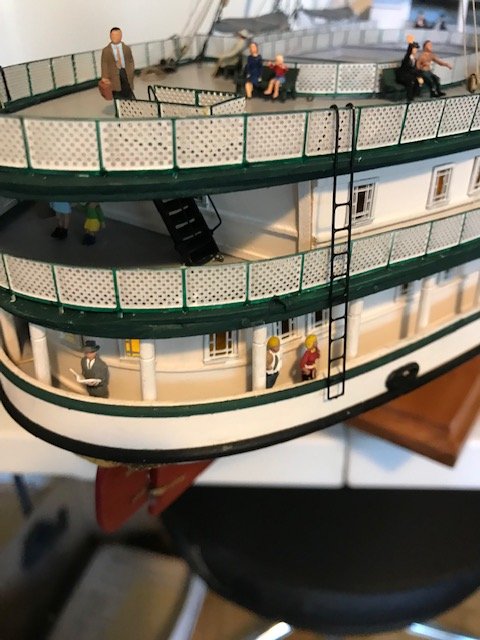
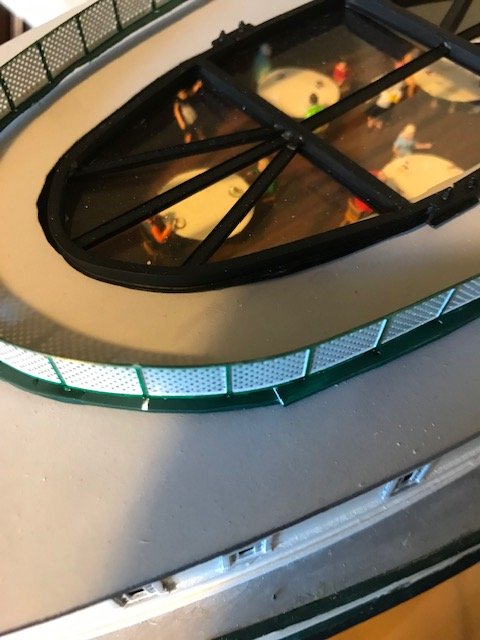
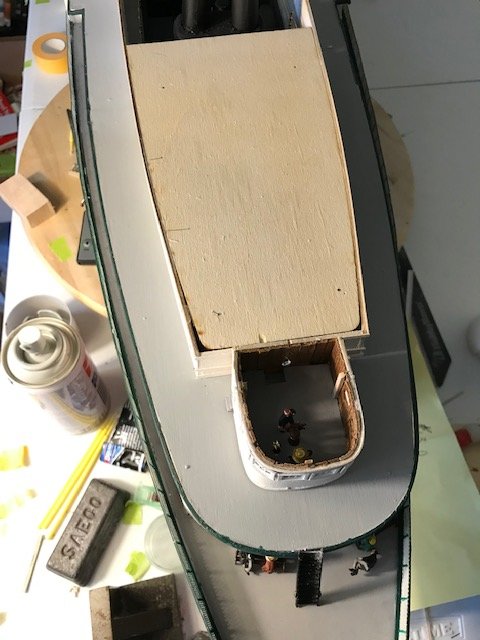
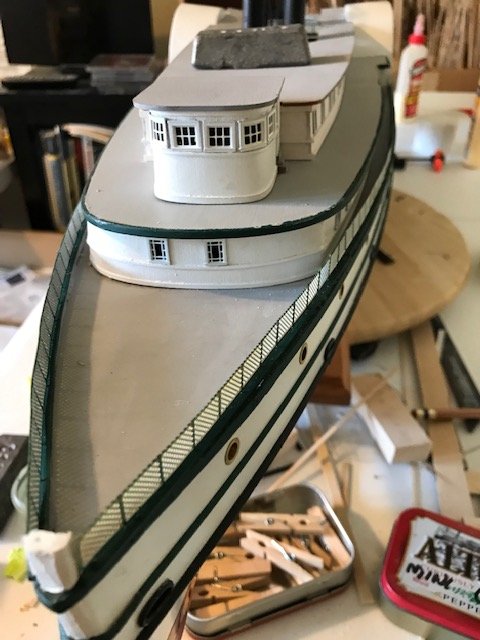
The next section is the construction of the various decks in the stern. These section are built up boxes. They are very solid . They will later be planked with beuatiful windows added.
-
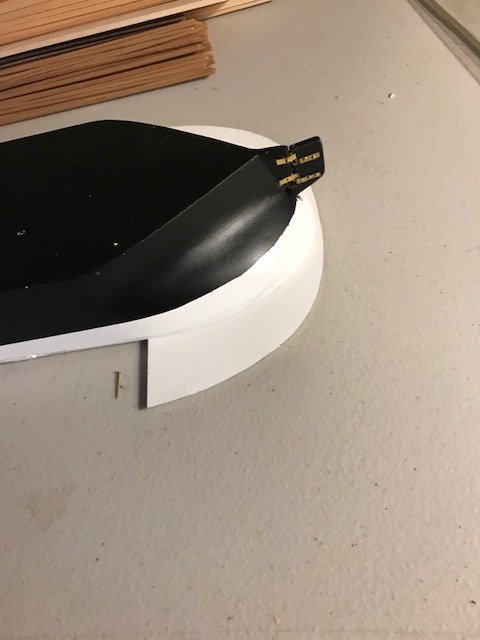
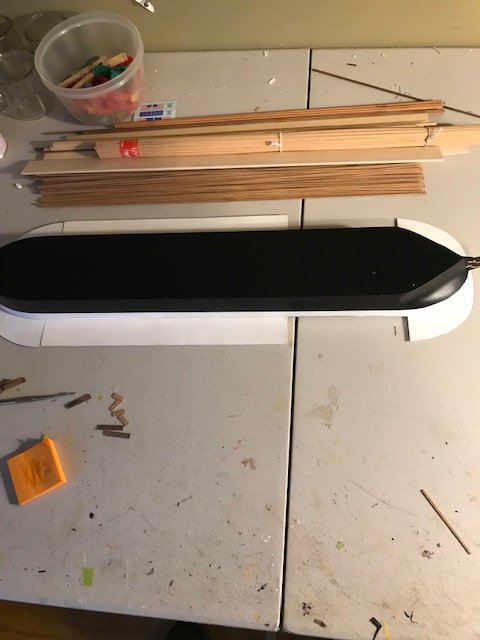
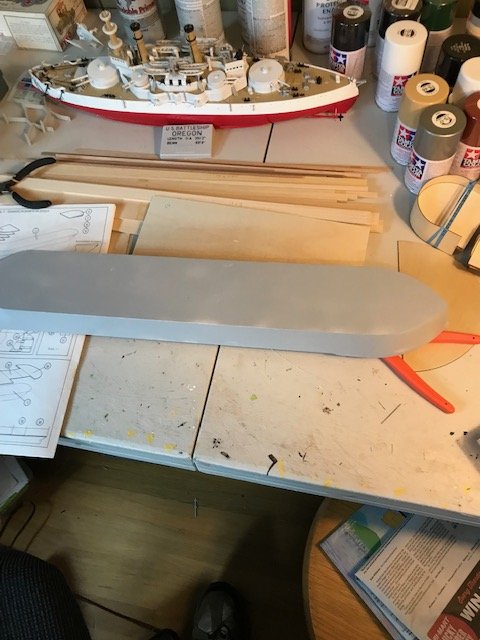
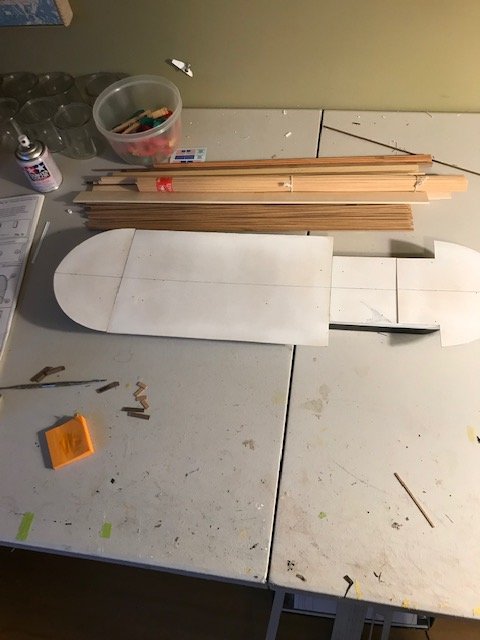
I started the kit with the building of the hull.
It is a solid hull. with three sections of the first deck.
The bottom is painted black and top half white.
The rudder is attached with brass hinges.
-
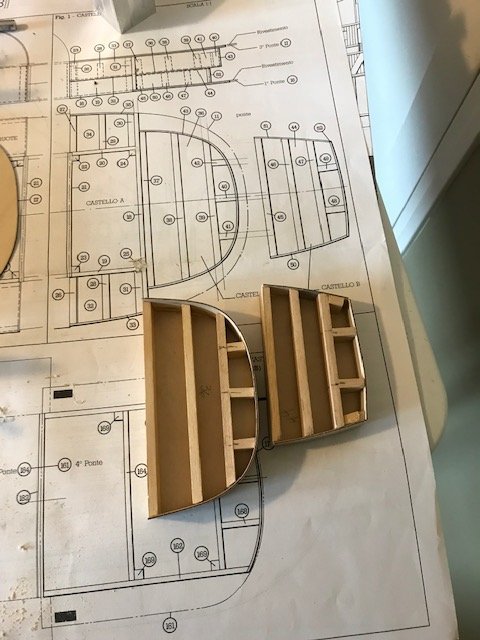
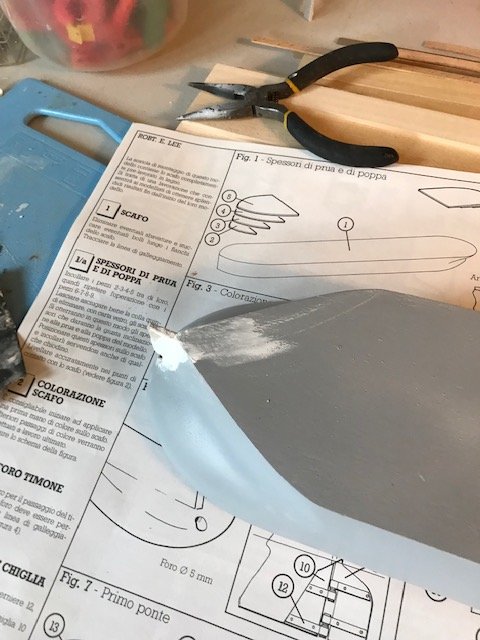
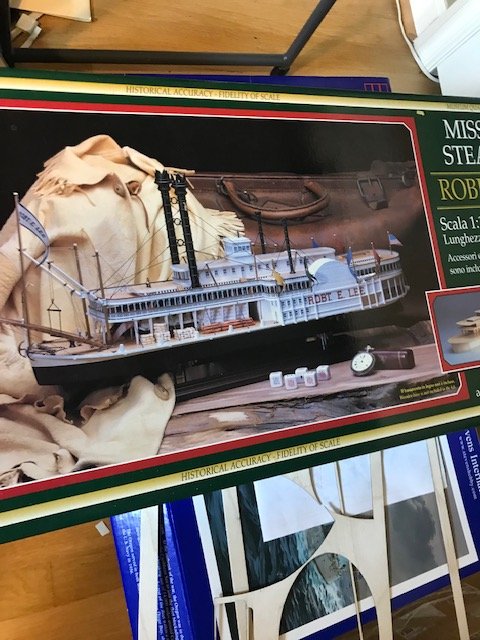
After finishing the side wheeler Portland i decided to build a smaller model of the Robert E Lee by Amati. The kit is very detailed with great metal parts and good plans.
There is a english and Italian plan set. The drawing are in Italian but you can cross reference from the english to Italian.
The different decks are built as individual boxes.
The bluejackect model had slab sides which made it rather difficult at times.
This is my 8th wooden ship . I woould recommend this kit to anyone wishing to build a paddle wheelr.
-
looking good i like that deep red color
Dan
-
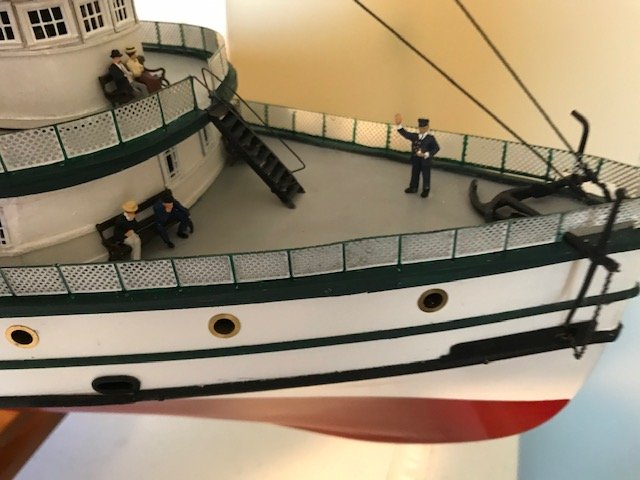
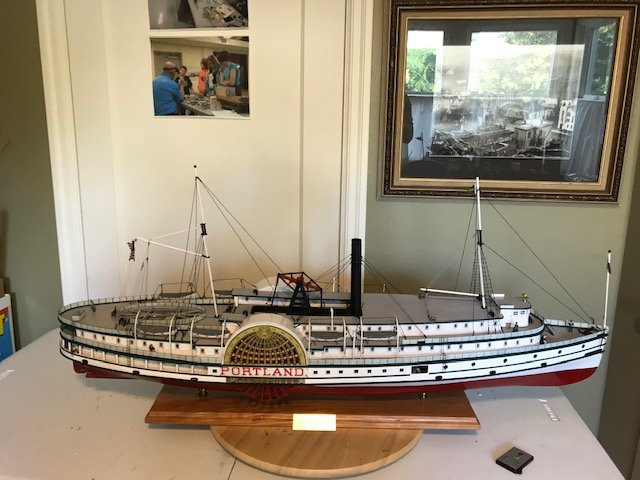
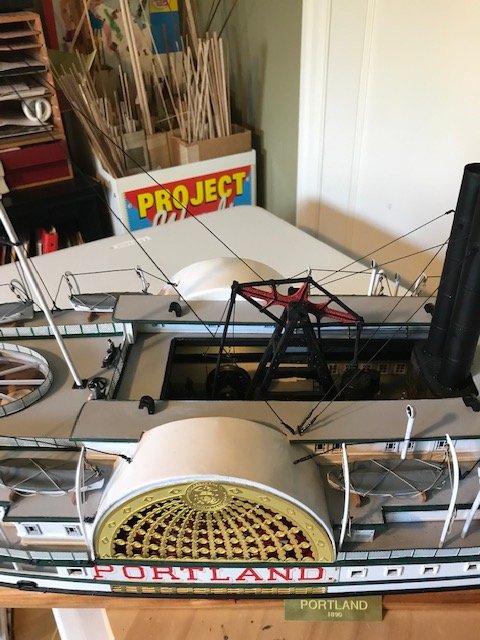
I just finished the Portland . Enjoy


-
hi Norm just got back from Lake Tahoe.
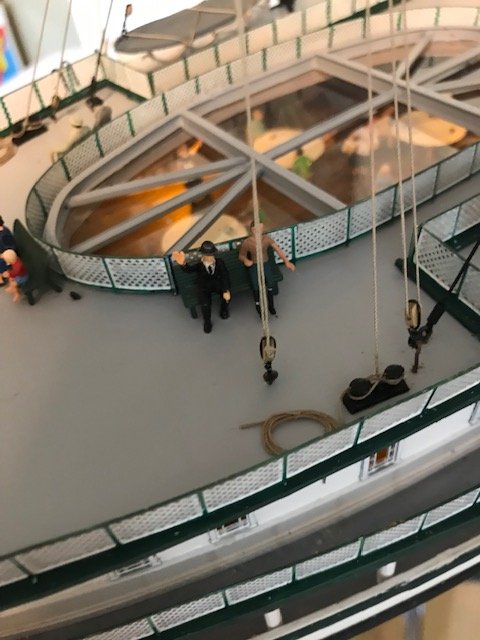
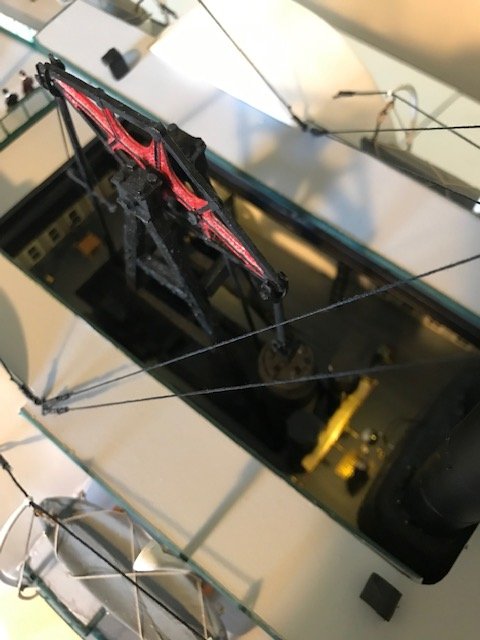
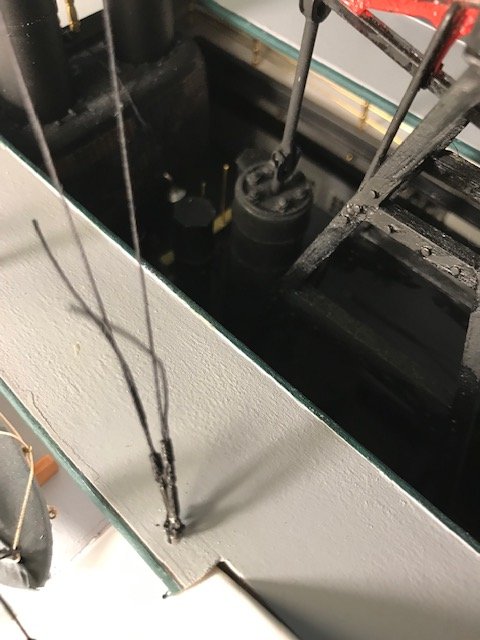
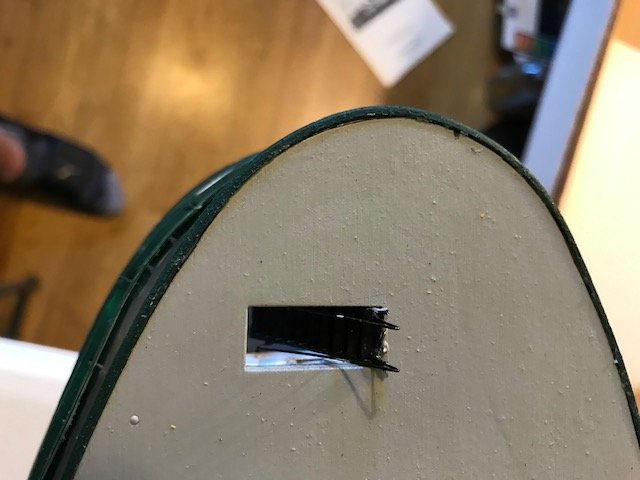
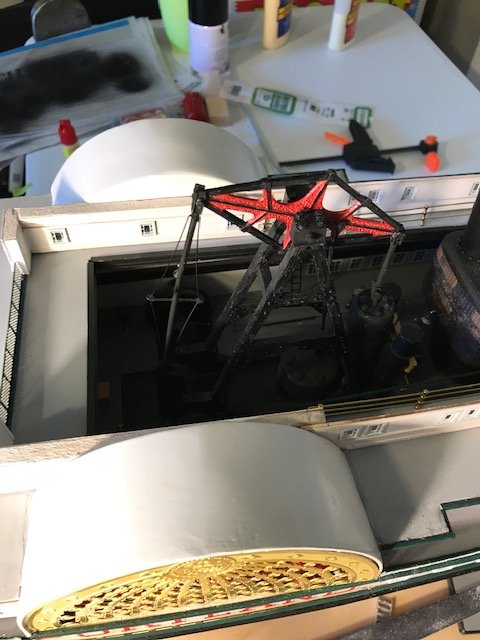
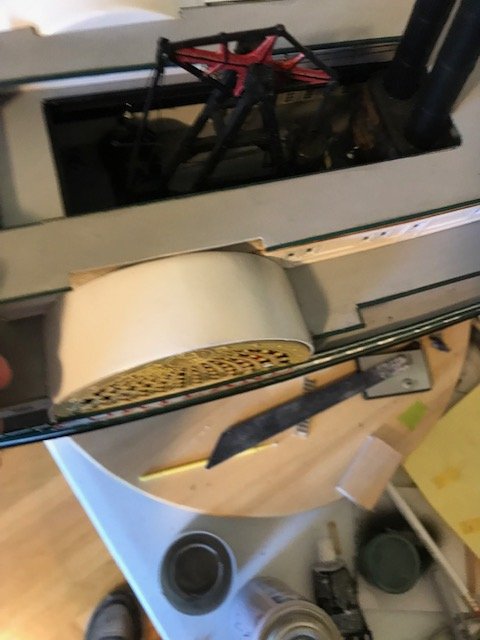
As to the walking beam engine. I think it is one of the most interesting aspects of the ship. The opening looking down is rather narrow. If you leave that way it will limit the veiw of the engine.
on my building I cut away some of that to allow the veiwer a clearer picutre of the engine and the room.
I used a lot of wire and scrap peices from erector sets and old ships. I also used evergreen plastci to form the crank levers.
the only thing i used from the kit was the brass walking beam which I thicken with plastci strip.
You can go as crazy as you like
Good luck
-
very nice pics of the naval museum those are some asmazing models. The walking beam engine shows a lot of detail as far as the bolts and rivets. Also i like the control levers. great share. The Poprtland is almost done should have pictures soon.
Dan
-
Grampa phil this is Dan the Portland ship builder. nice work on your scratch building I m impressed with what you have taken on
-
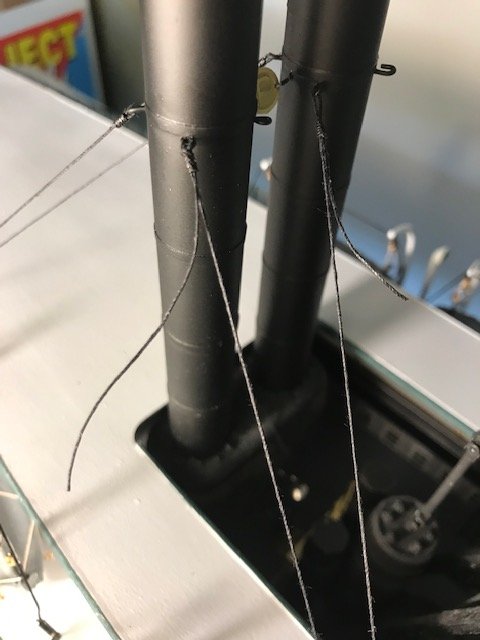
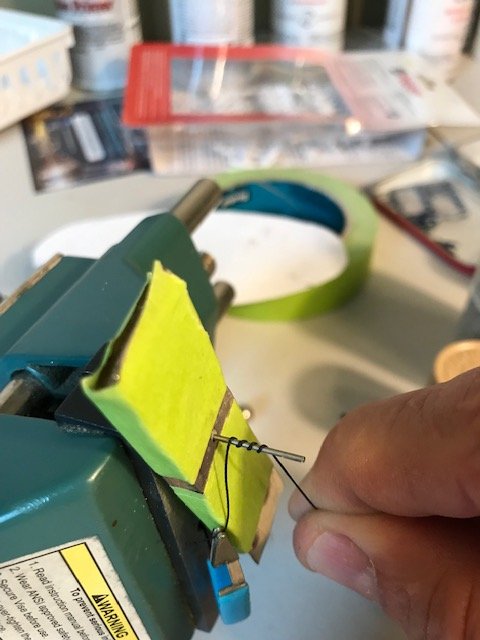
i started rigging the upper deck. I use a technique for making seizing that might save time for other builders.
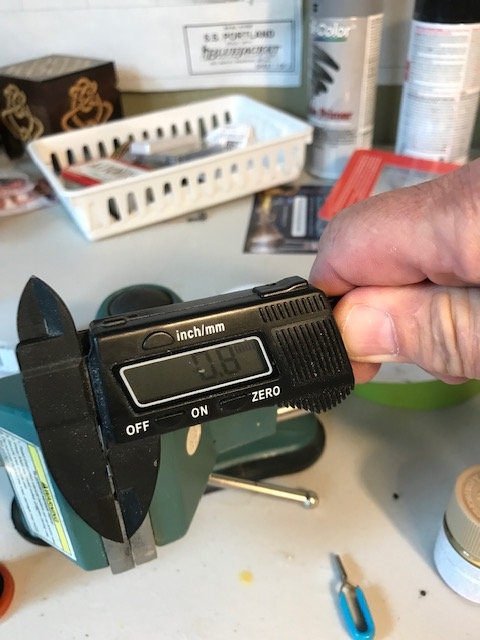
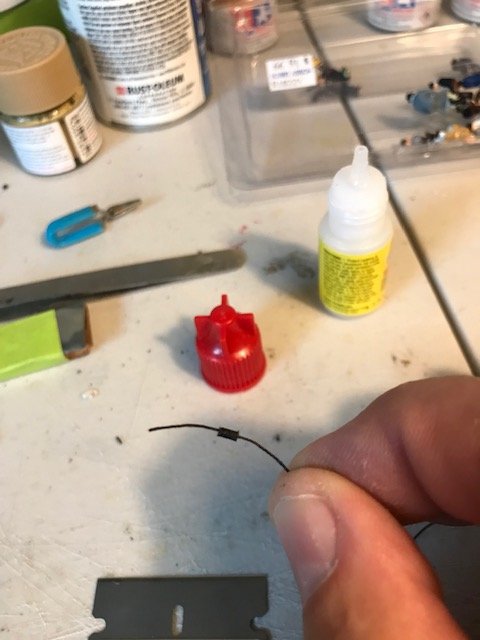
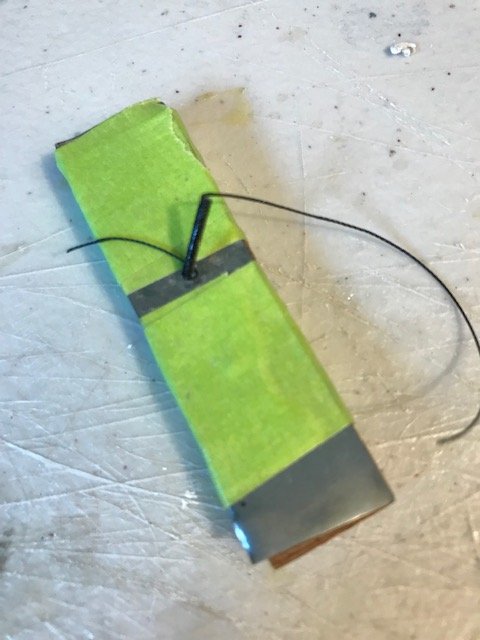
What i do is measure the thickness of the line i am going to use. Then i find a drill bit that is 2x or more the size of the line. I put this bit in a vice and then drill a hole in some scrap wood and slide it over the shaft. This will be used to pull the siezing tube off the the shaft. Next i wax the shaft so the glue doesn't stick to the shaft. Then i wrap some thin thread around the shaft until its completely covered. I also use small clamps for weight to keep the line from unraveling.
Next i put some thinCA glue on the tthread . This stifffens the tube. In about a minute I pull it off. You can the tube with its ends . These are trimmed off . The tube is then cut into what lenght i want. The line is coated at then ends to stiffen it and then is threaded into the tube making a loop. this is put into an eye blot and adjusted as needed . The finsihed tube is secured with a small amount of CA.

-
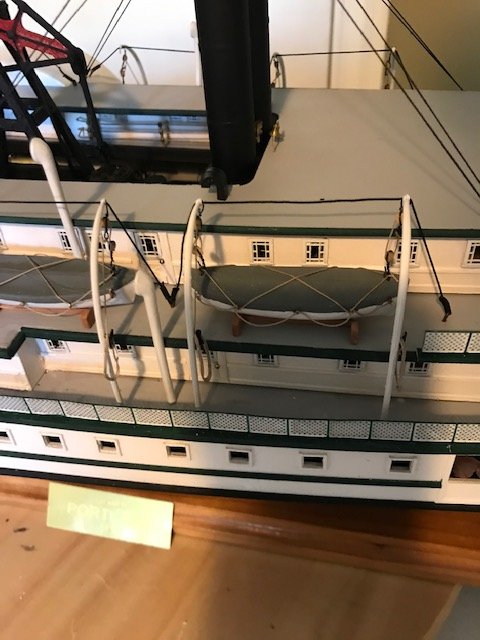
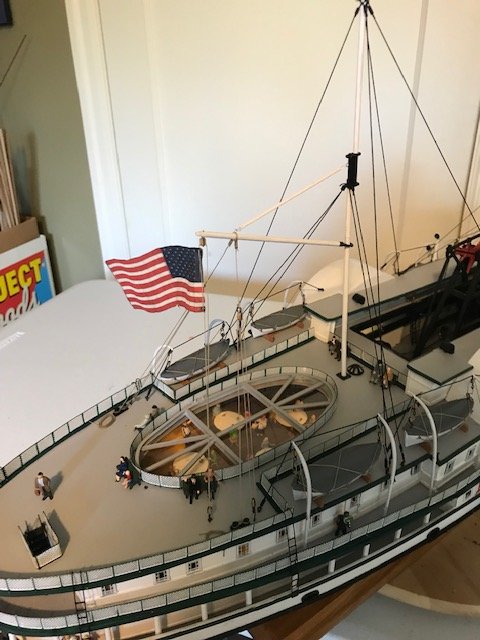
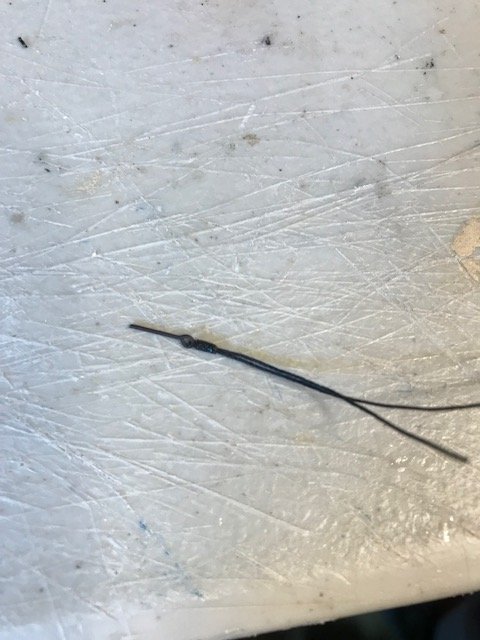
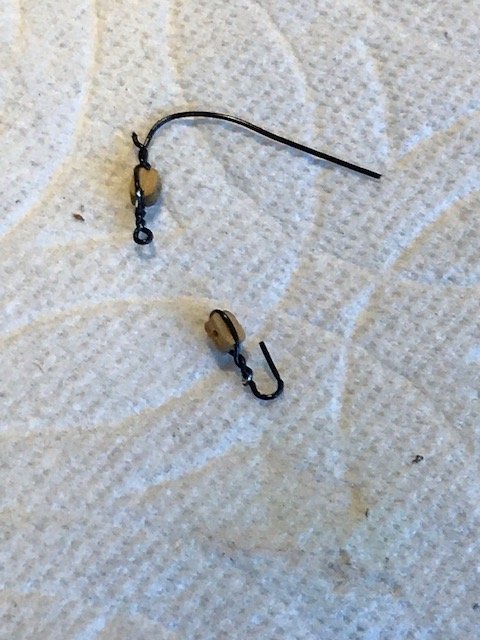
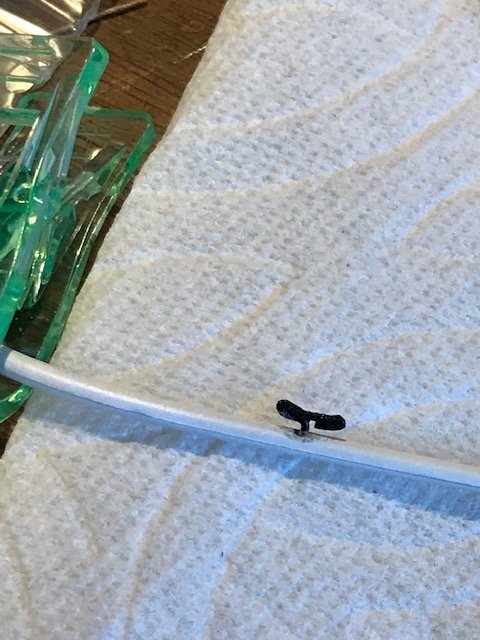
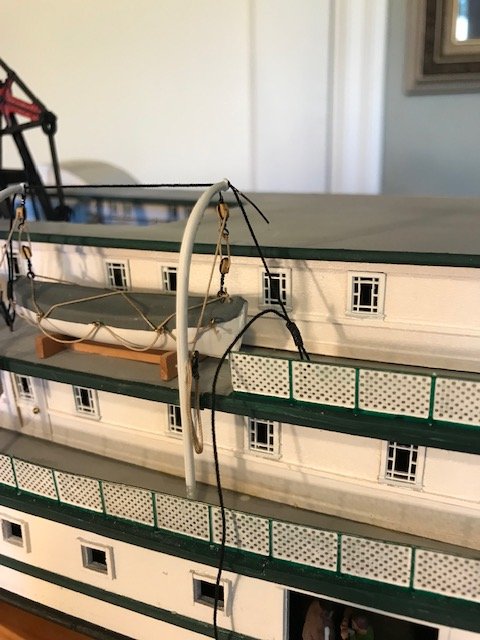
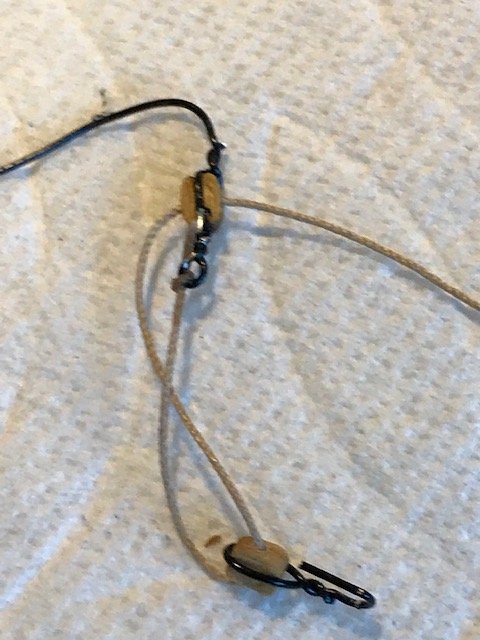
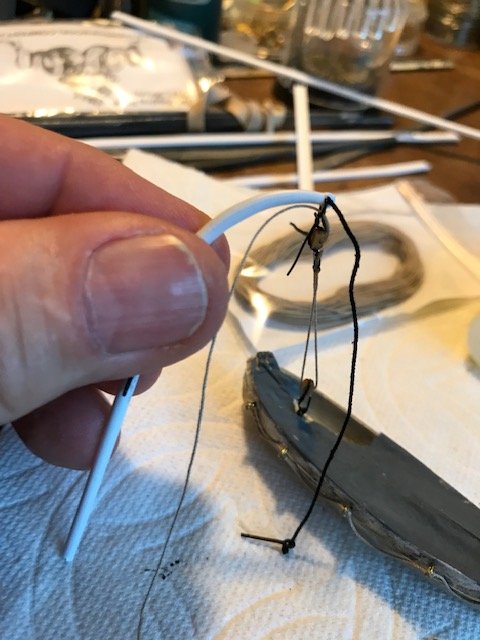
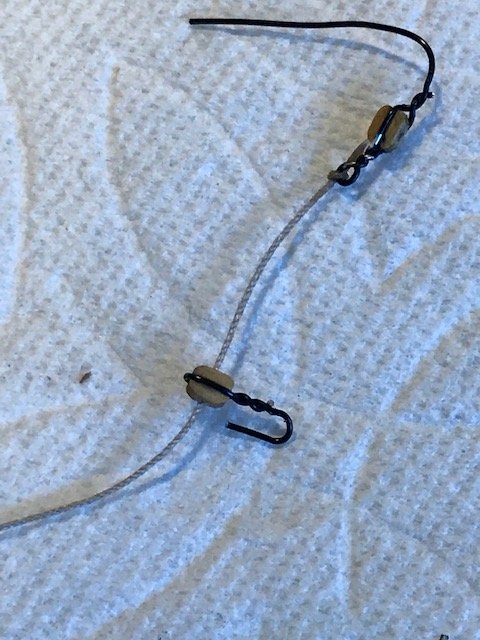
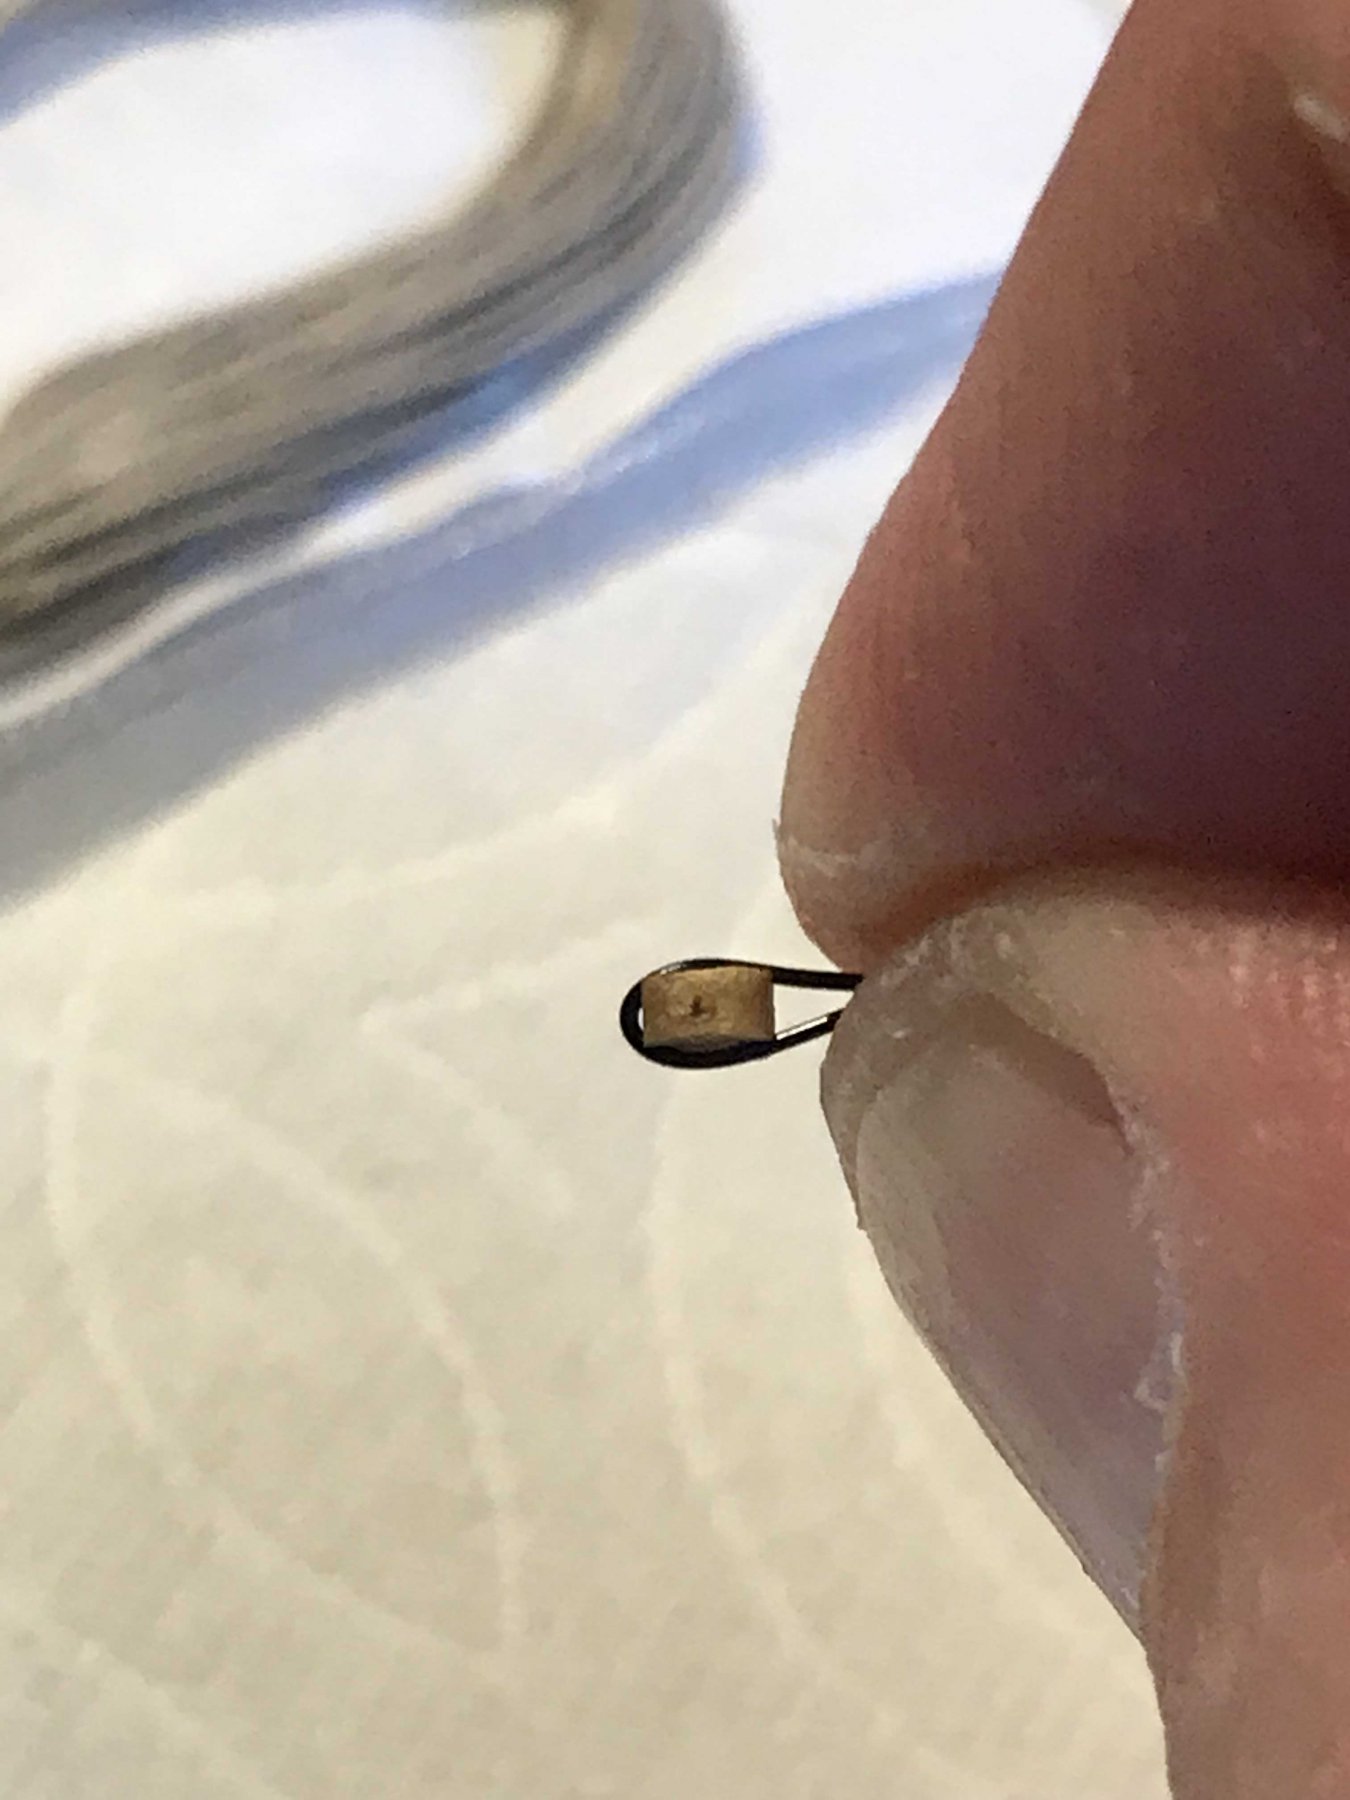
I started rigging and placing the life boats last night. One thing i did not like was the metal single pulleys I replaced them with scale size wooden pulleys i had from some other build. There is a line that support the davits and the pulleys also pass through that same hole in the davits. To attach the pulleys i used a thin black wire. the top pulley is attached to the davit and ring is at the bottom. You can make these by twisting wire. the bottom pulley on the boats has a hook attaching it to the boat. I also made cleats for the davit to tie the rope coils to. these were made from wire filled with glue and painted . Hope you like the effect.

-
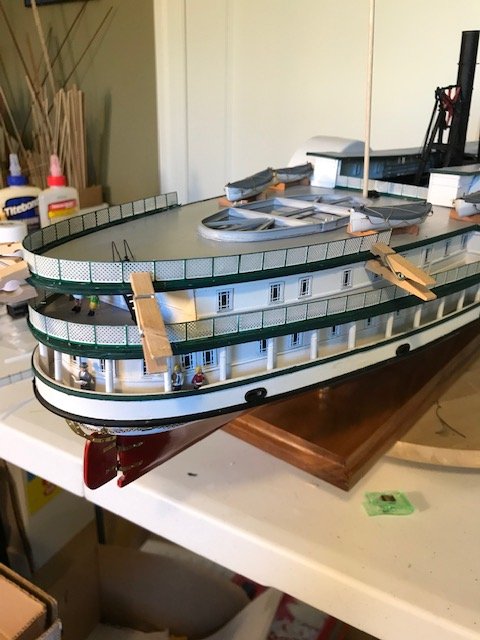
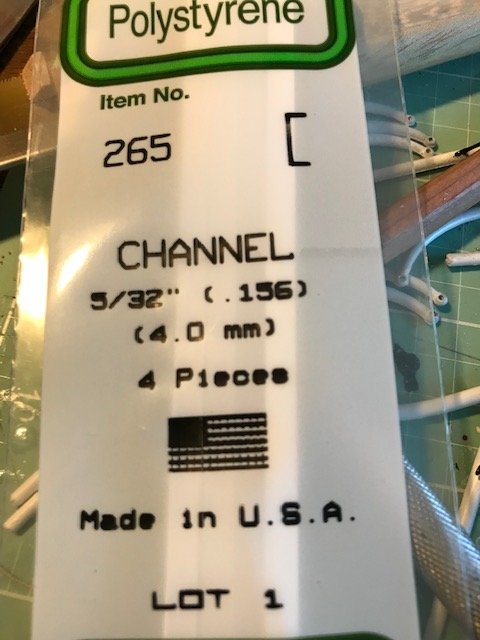
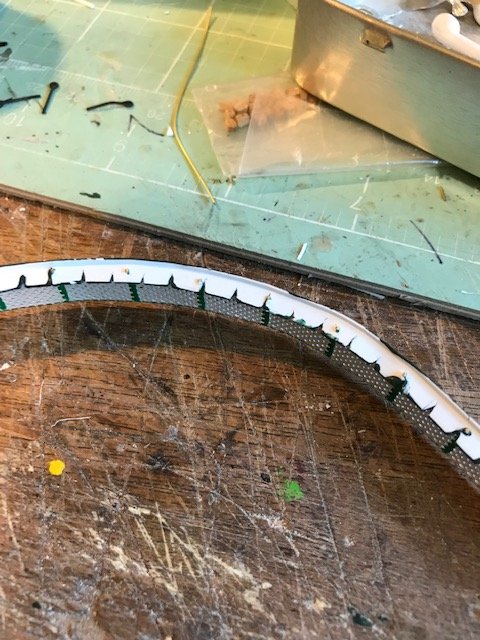
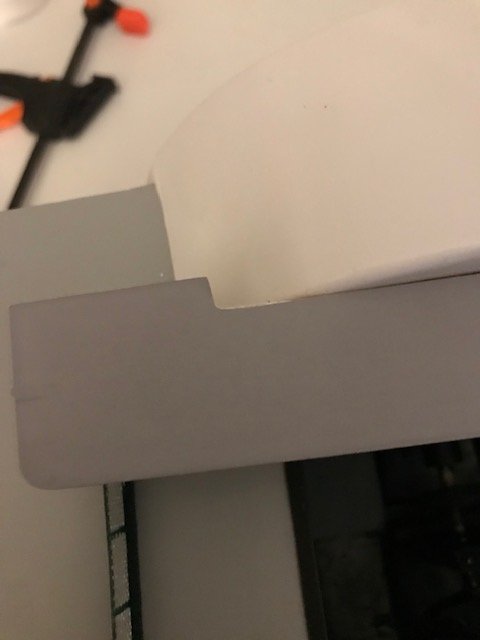
I am just finishing the railing s on the top deck. The instruction call for drilling holes into the deck and inserting the pins. The trim peices are sothin and they often leave gaps between the deck plywood and the trim piece. So I thought i would show the way I took plastic channel and created a base to mount the railings.
First I took some 5/32 " plastic channel made by evergreen scale models. Next i cut one edge of the channel off that way the outside edge will lap over the trim board and the inside will lie flush to the deck. Then i determined the middle of the curve on the deck and mark one centimeter space on the inside of the plastic. Next I cut nothces on each mark. This will allow the plastic to conform to the curve of the deck. Finally the plastic is soft enough to push the pins of the railing into its surface. Then I remove it paint it and when dry glue to the deck. It gives a very tight appearance. which i am sure everyone wants after all the effort in this build.
-
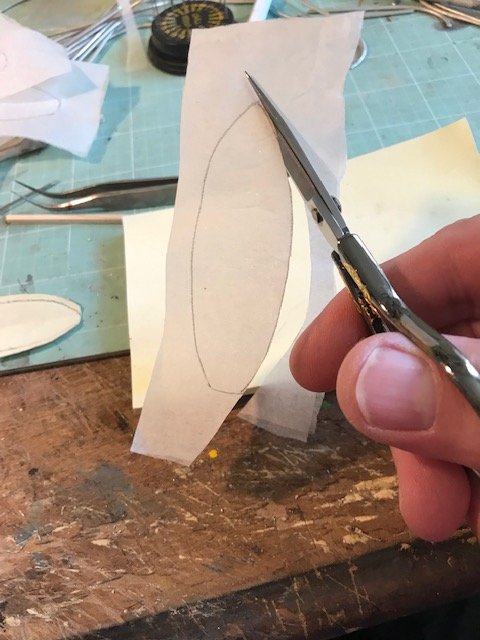
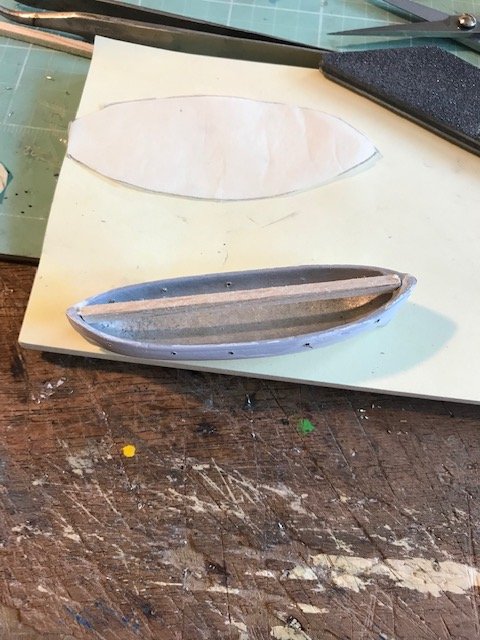
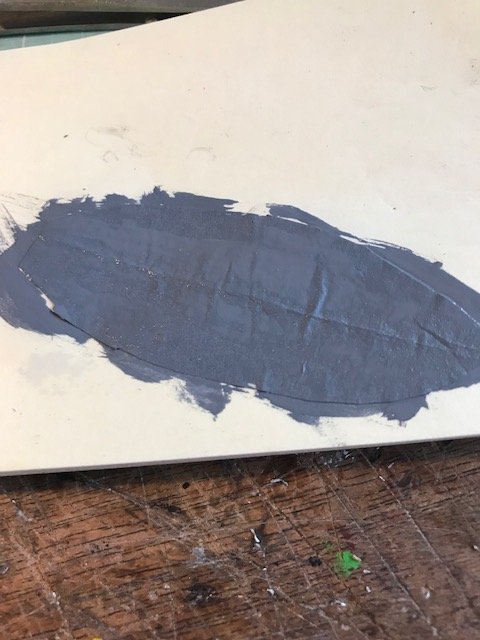
I just started the life boats. Boats in this era had rope attached to the sides. So First i painted the boats with primer then tamiya white.
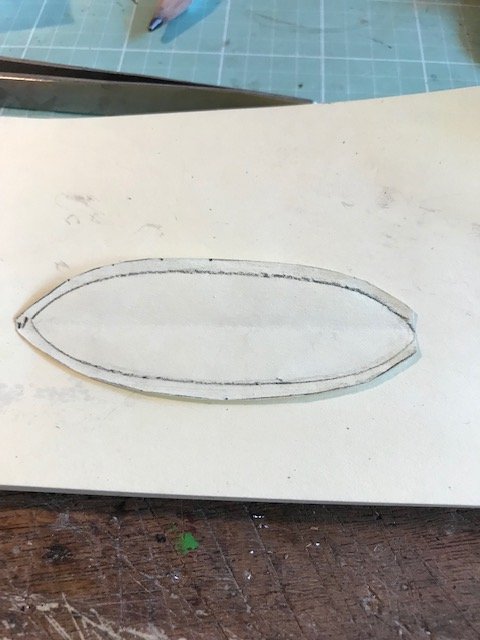
Next i drilled holes for rings. I cut some 1/16 square peices of wood and glued them into the boat. Next I traced the outline on a stiif piece of paper.
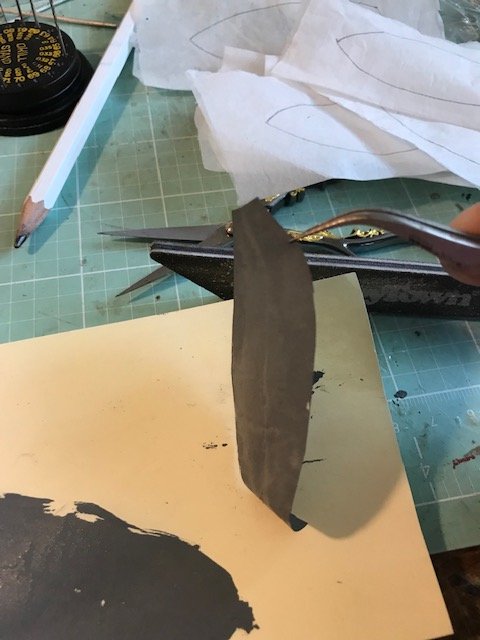
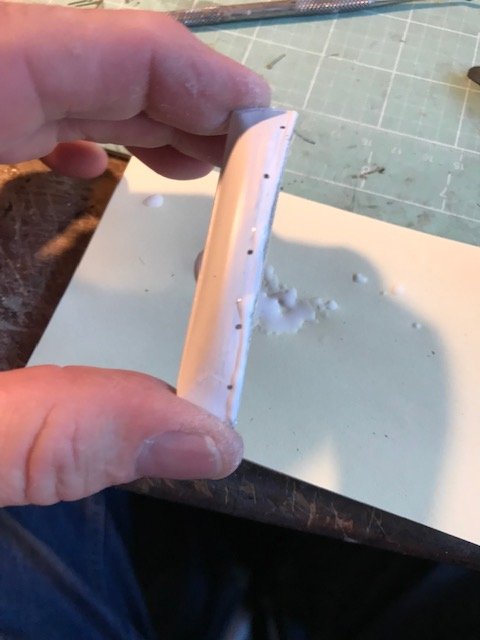
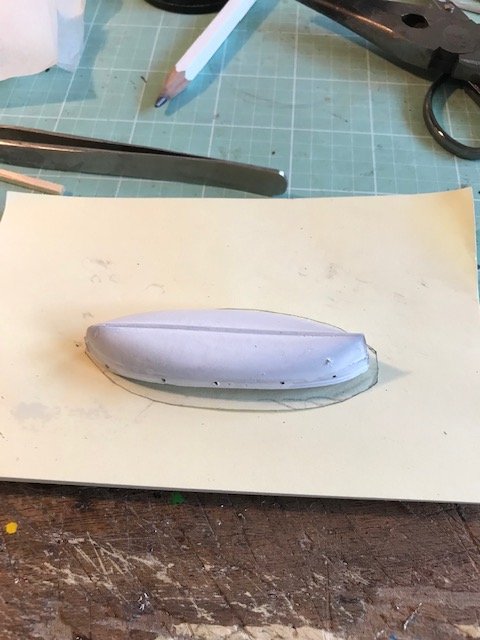
To create the tarps I used two sheet of silk span tissue paper. They were glued together ,traced and cut out. Then they were painted and allowed to dry.
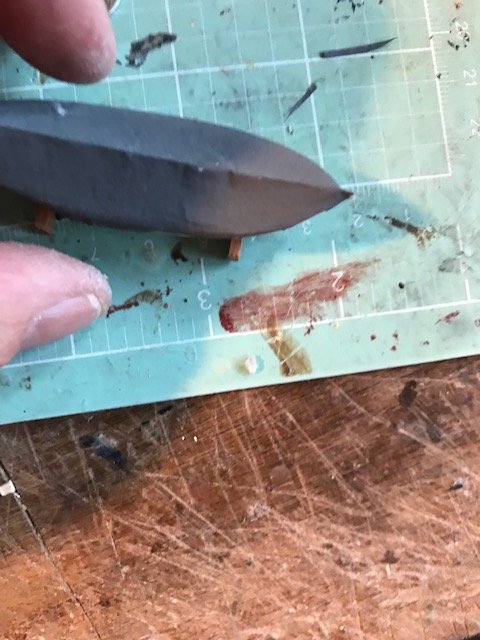
After drying they were shaped to the hull, elmers glue was applied. The final step is to put rings in and tie rope s on the sides.

-
wow what6 a view of the sea. looks like a painting
-
As far as the ht of wheel boxes I would nt get to concerned. the bluejacket model is not that accurate . to reality. If you folks are realy into accuracy i suggest you buy the book titled Paddle Wheel Steamers and their Giant Engines by Bob Whittier. This book is available on Amazon and gave me great insight into the things that are seen on this model. For instance no one will see the space above the paddle wheels because it is covered by the brass decorative piece. However they will see the engine. If you want to get crazy focus on that area It is beautiful.
-
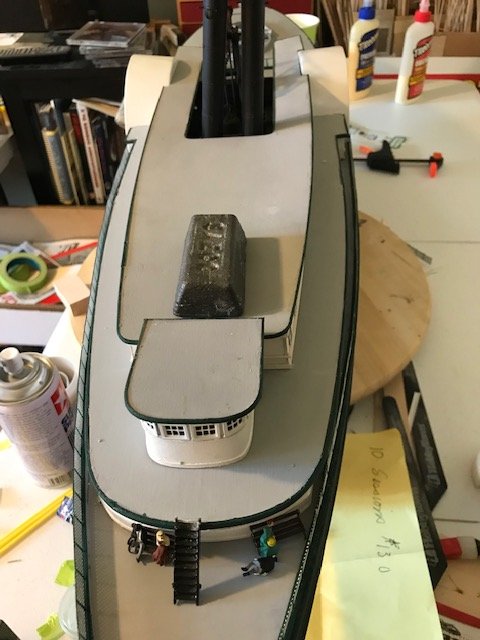
Just finished the last deck. all the trim pieces are on and I am about to glue it in place. the tricky part is fitting these deck pieces around the paddle wheel covers. What I did was to create patchs that would fit tight against the housing. Next step in the life boats and masts. Then the rigging and last the final railings. I am puuting that off to the end because I don't want to fight against the railings when I am fitting the boats and rigging.
Let me know what you think.
- Mirabell61, hexnut, GrandpaPhil and 1 other
-
 4
4
-
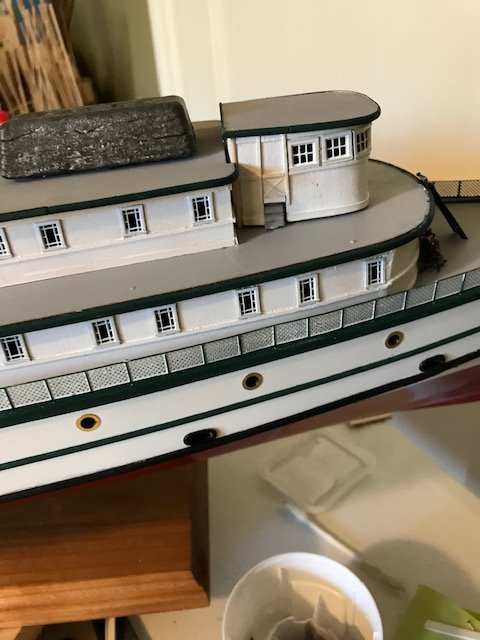
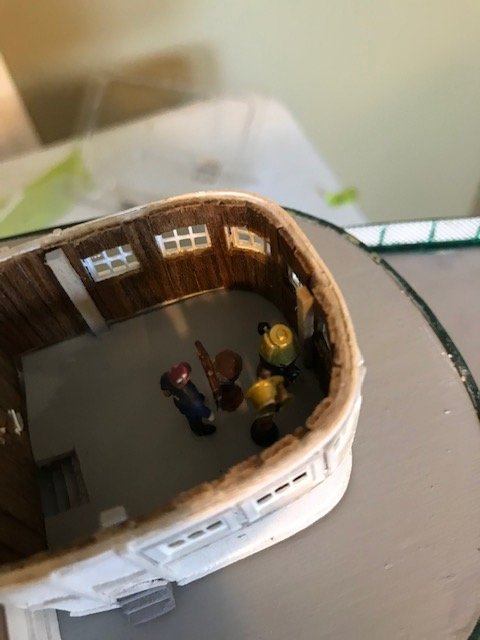
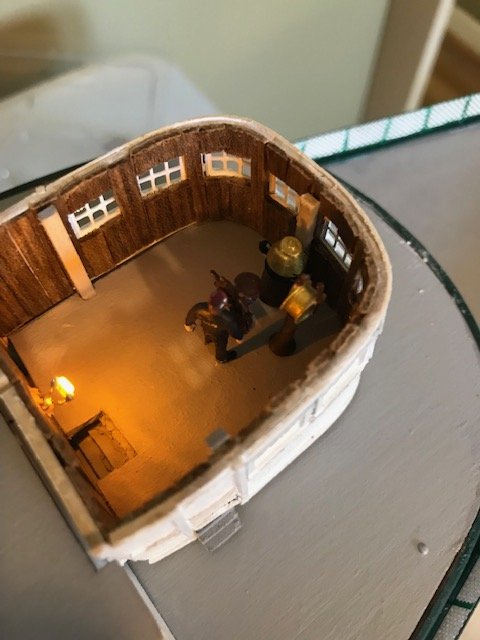
I 'm a little confused about postings. So i will keep posting on Portland side wheeler log. I just finsihed the pilot house . I paneled the interior with mahogney planks. It also has a fuique inside near the ships wheel. It has a led light inside to illuminate the interior.
- schooner, steamschooner and hexnut
-
3
-
-
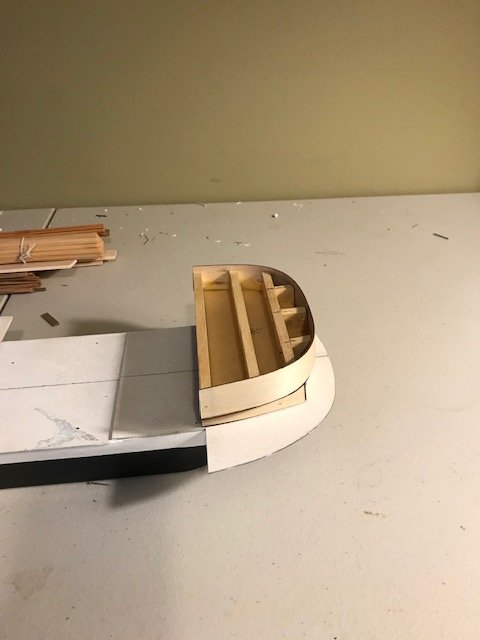
sorry guys Its been so long since I built the boxes i can't remember. But I do recall going all the way down to the deck level. Getting them perpendicular to the deck was a little tricky. The other thing to look out for is the space between each deck top as you build up I had to patch in some peices as I went up the decks. Again i wish i had this many people on the build when I started. Great conversation.
-
-
Robert E Lee by dan evans - Amati - 1:150
in - Kit build logs for subjects built from 1851 - 1900
Posted
I ve been addig some extra decks recently