


MikeB4
-
Posts
320 -
Joined
-
Last visited
Content Type
Profiles
Forums
Gallery
Events
Posts posted by MikeB4
-
-
-
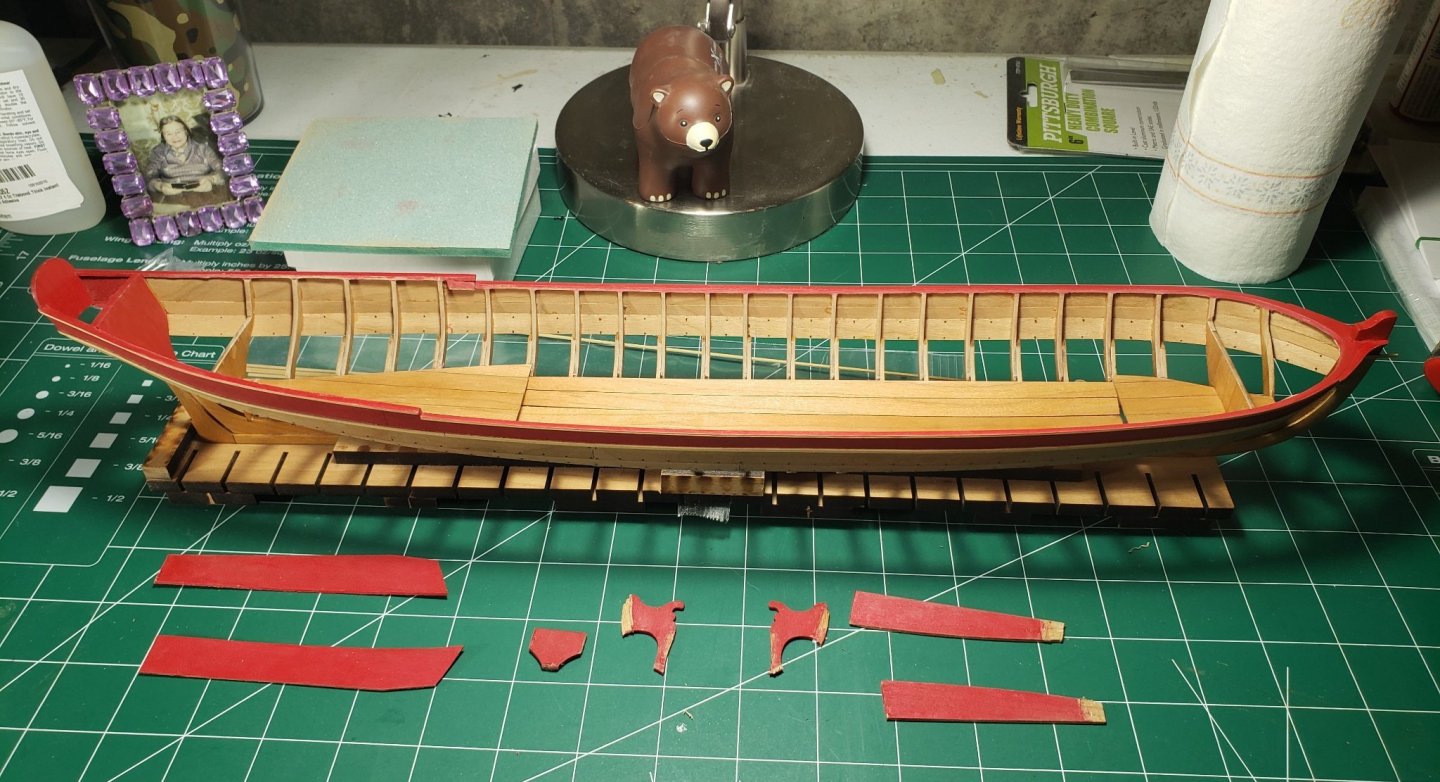
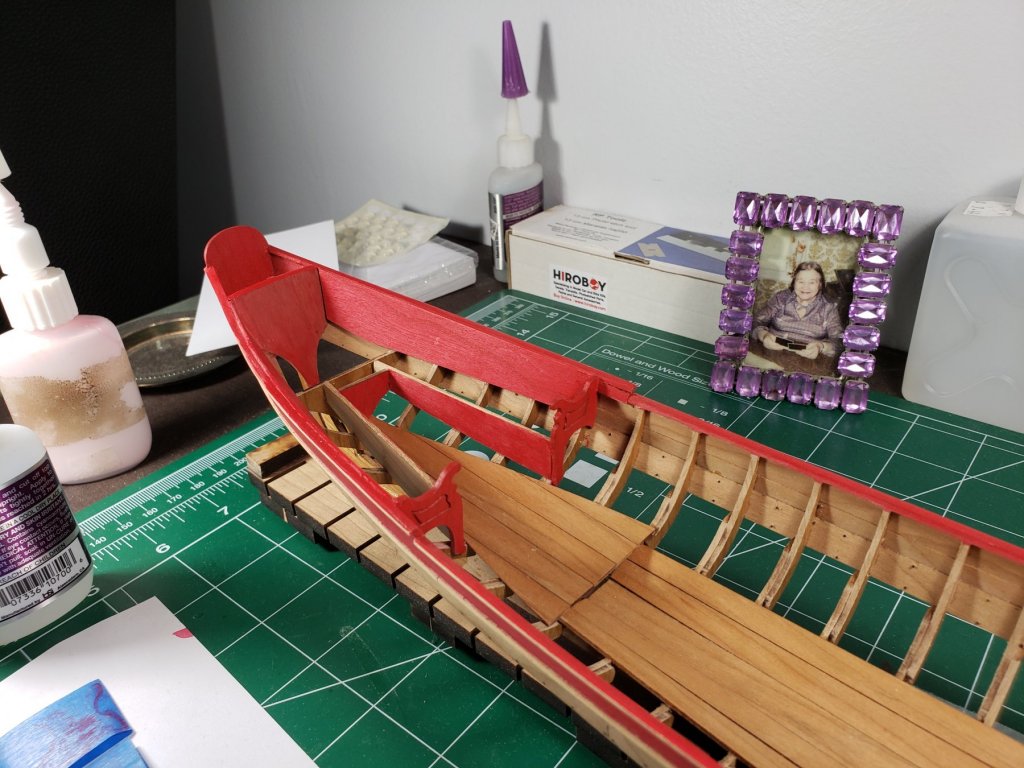
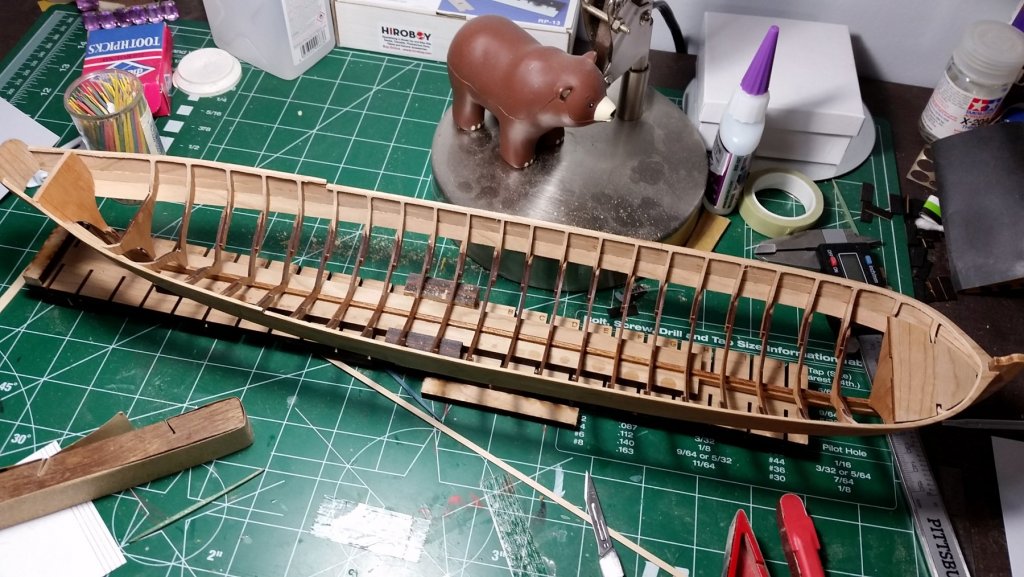
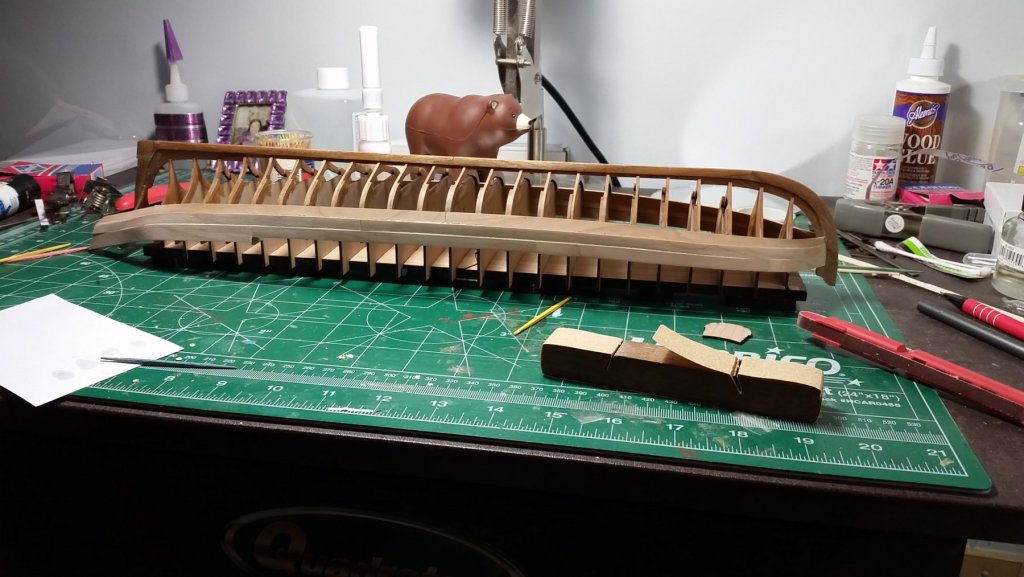
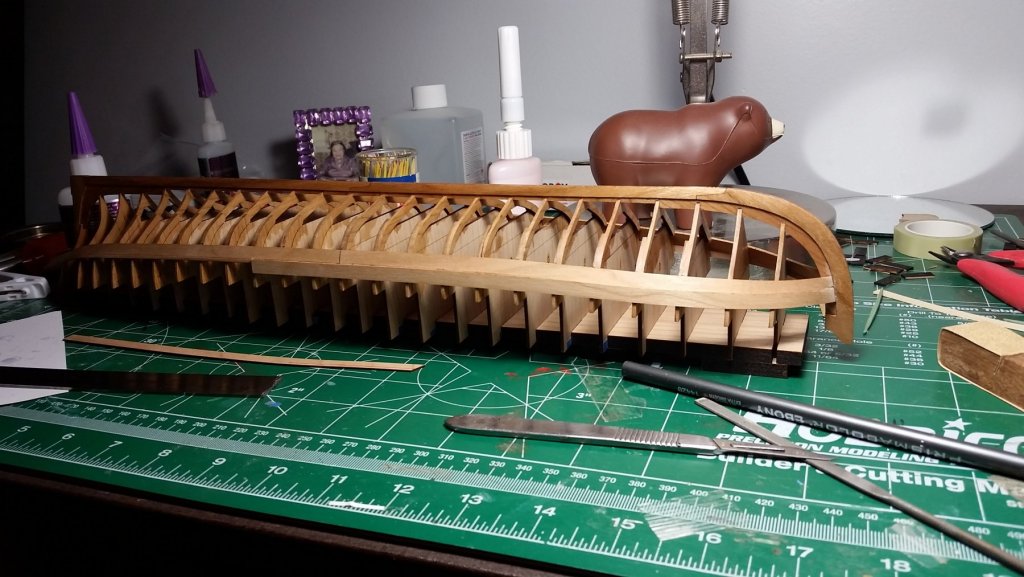
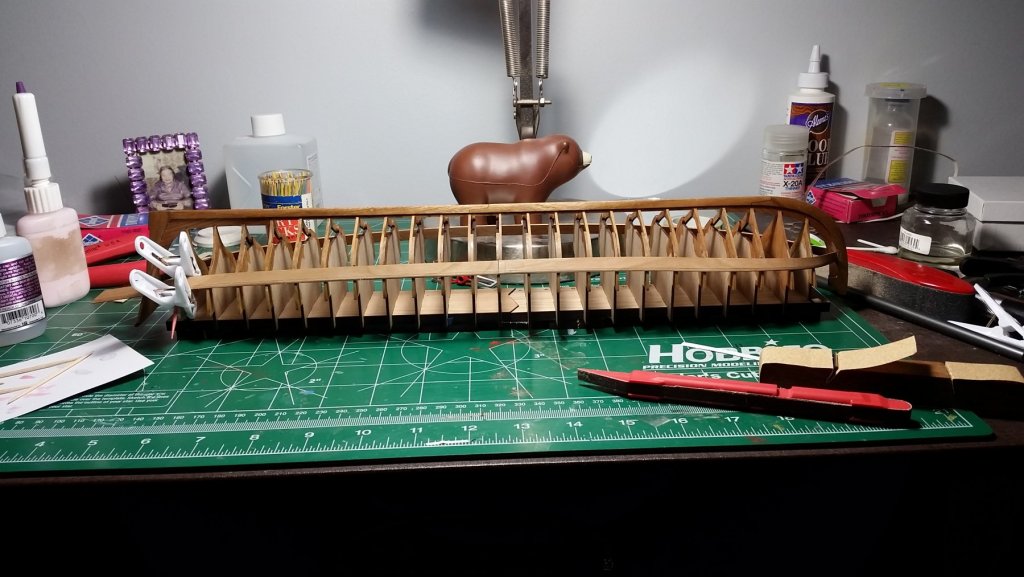
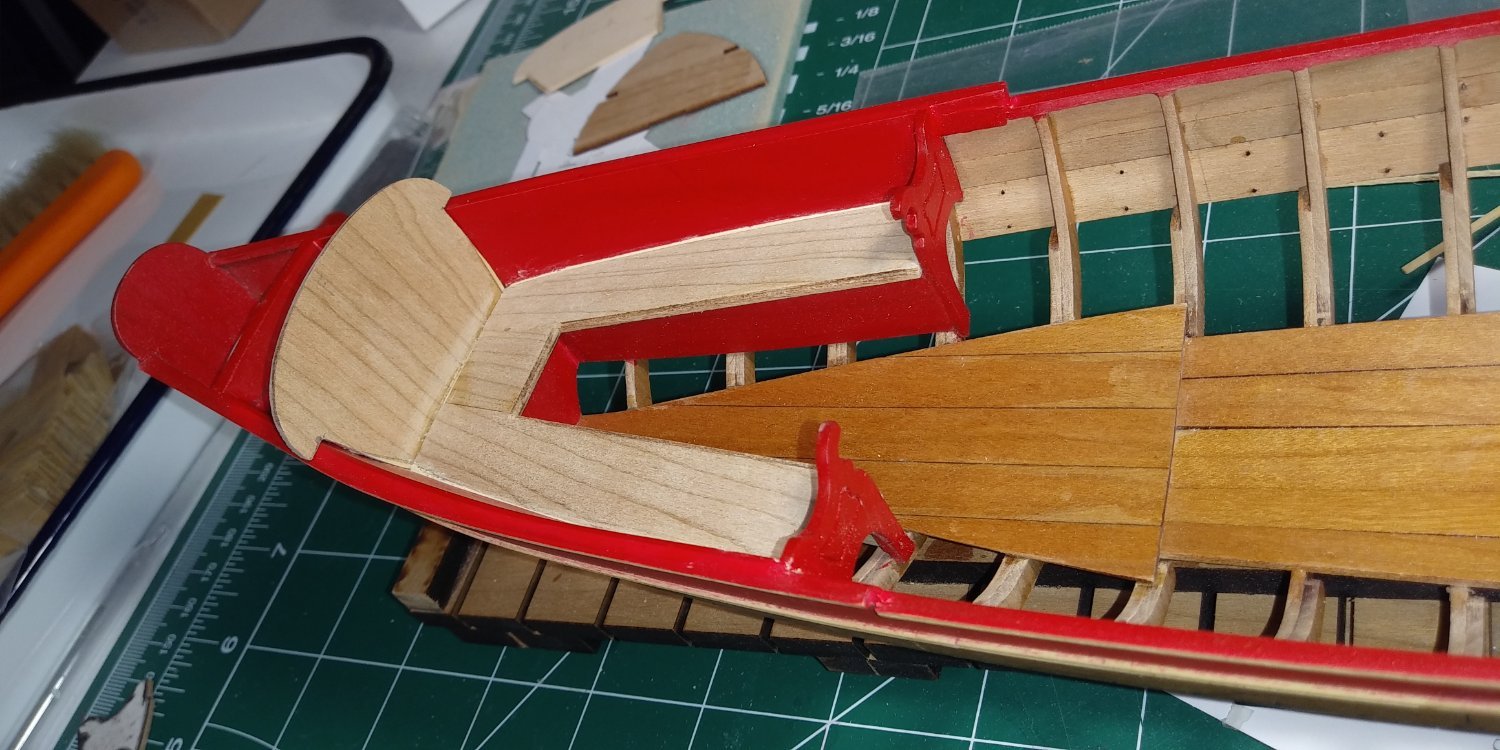
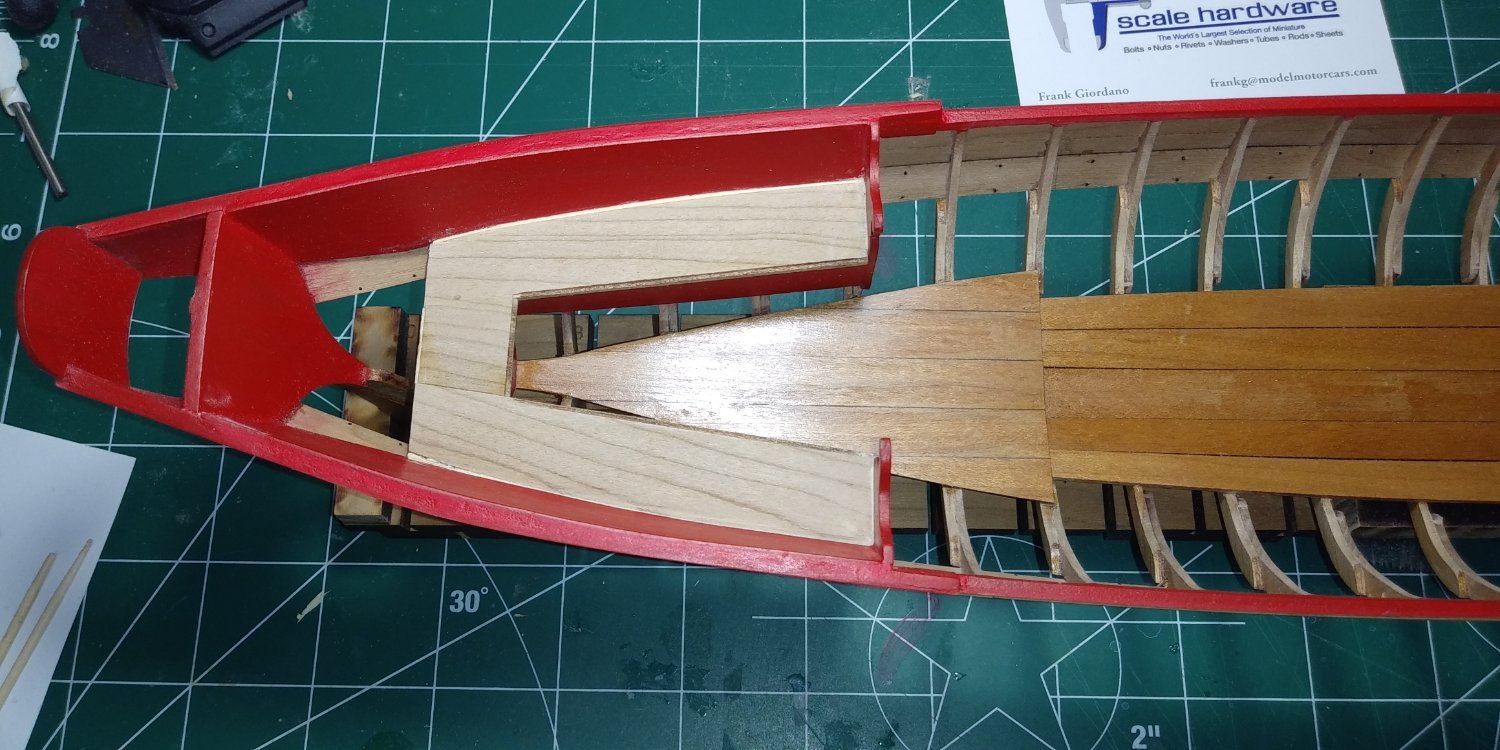
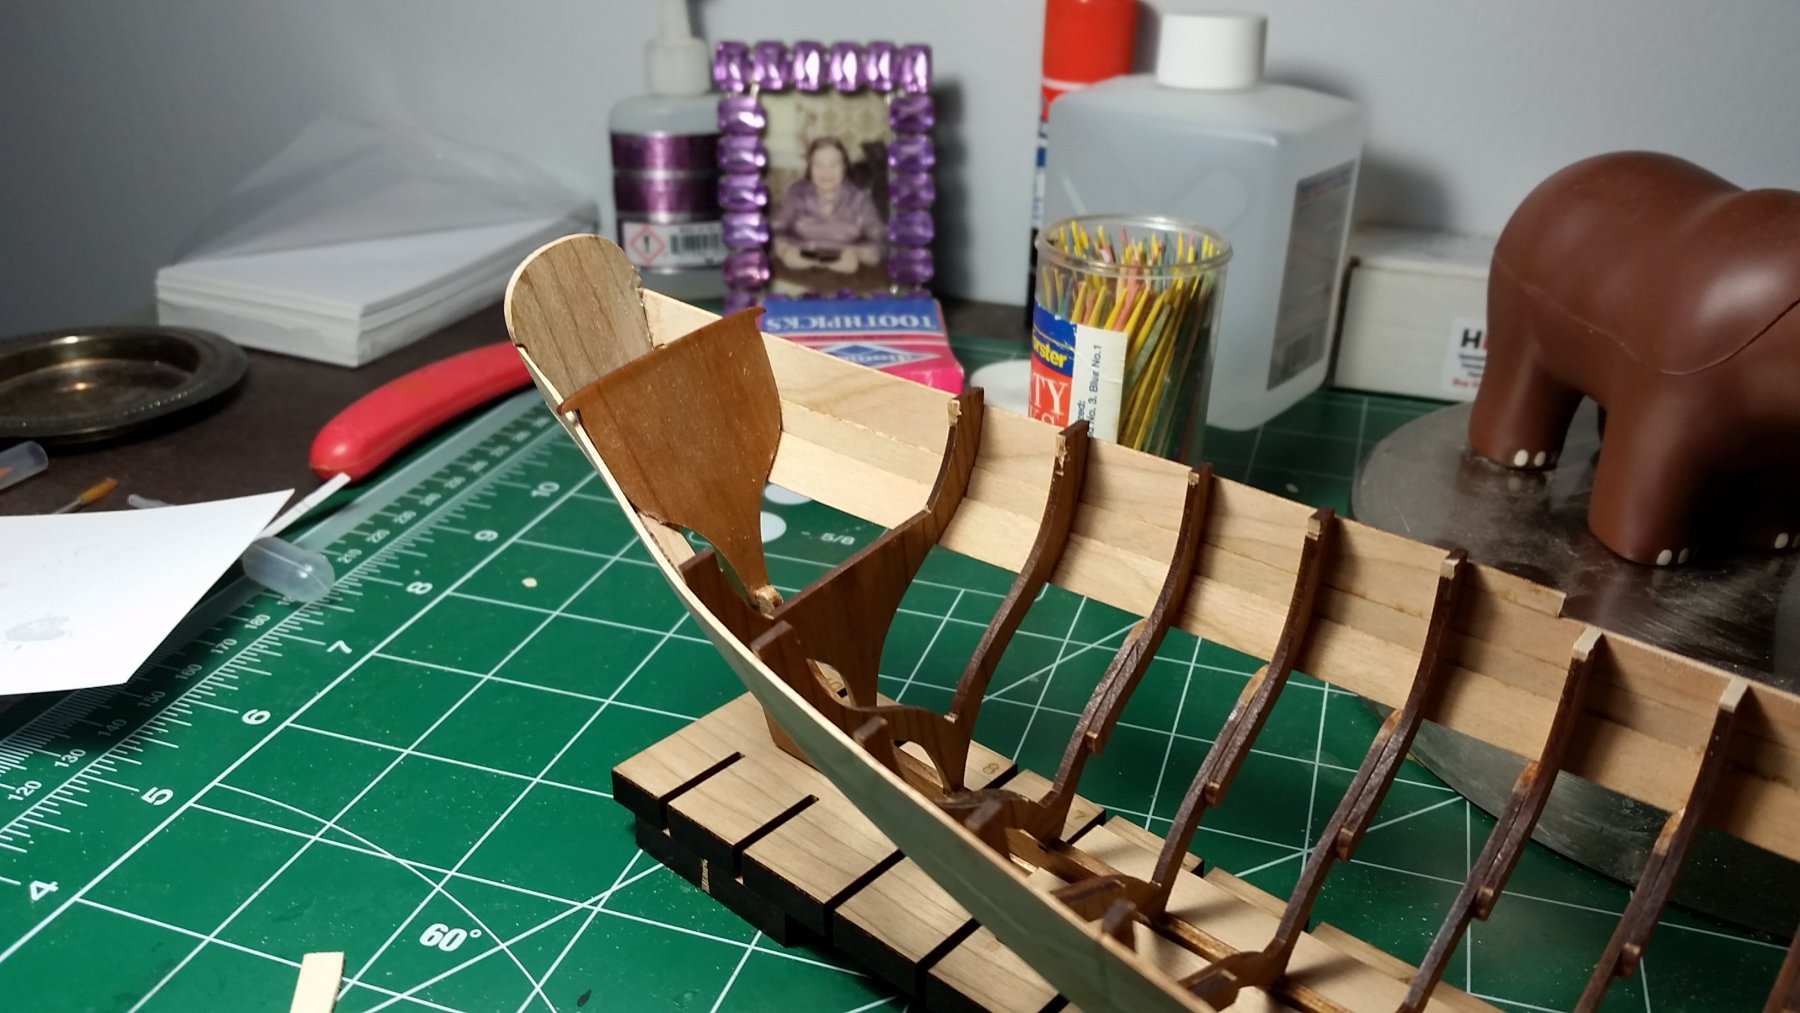
I was able to get the risers in place and also the front platform.

- Blue Ensign, Chuck, gjdale and 2 others
-
 5
5
-
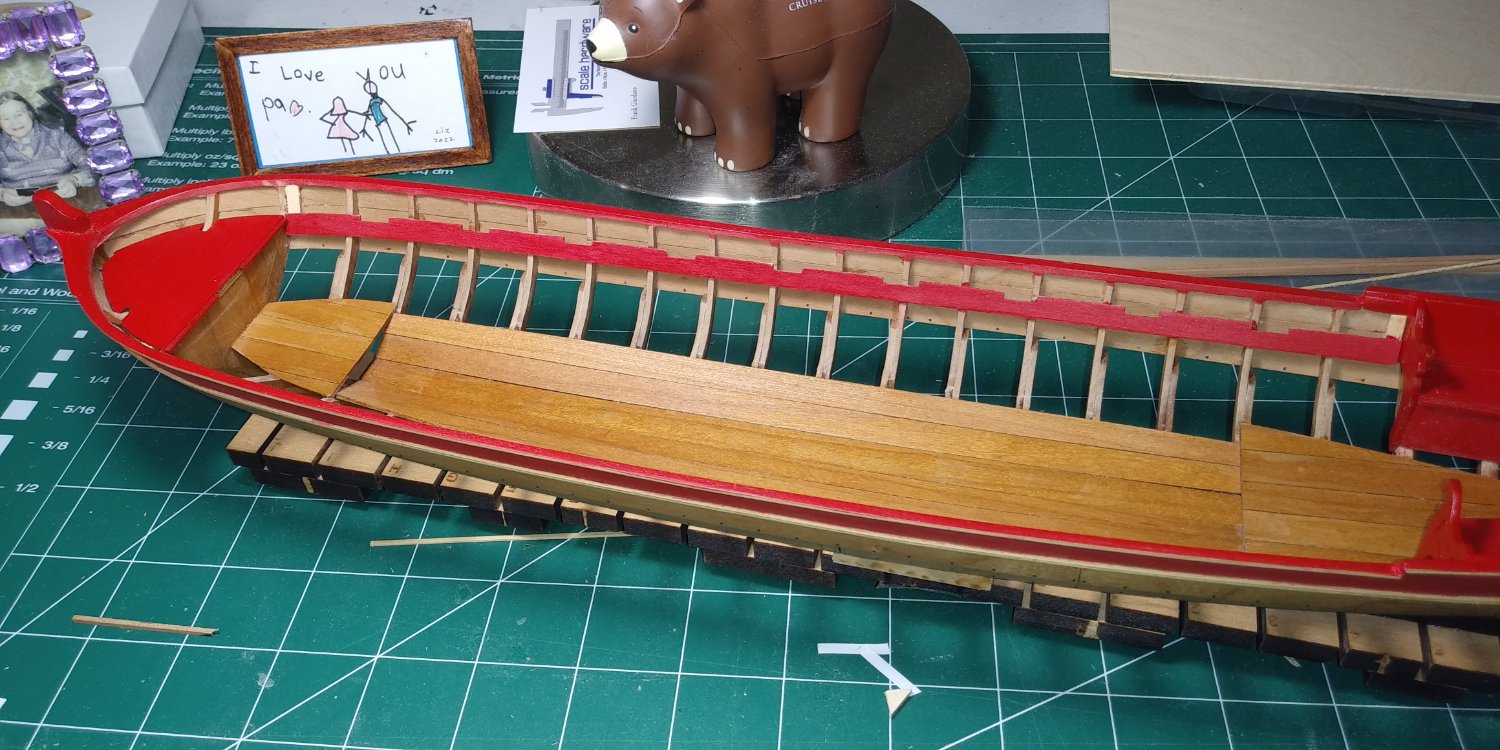
I may give this another coat of paint but I think this is as good as I'm going to get it. I'm pleased over all with the results at this stage in the build and I can only get better as I progress (Hopefully). The real work here was I didn't want to adhere anything directly to the paint, So I had to carefully remove the paint from any areas that I would be applying glue to. Needless to say this is quite time consuming and a bit challenging for me. I realize there's going to be a lot more paint removal thru out this build so patience is a virtue.
- Seventynet, Tigersteve, Ryland Craze and 1 other
-
4
-
-
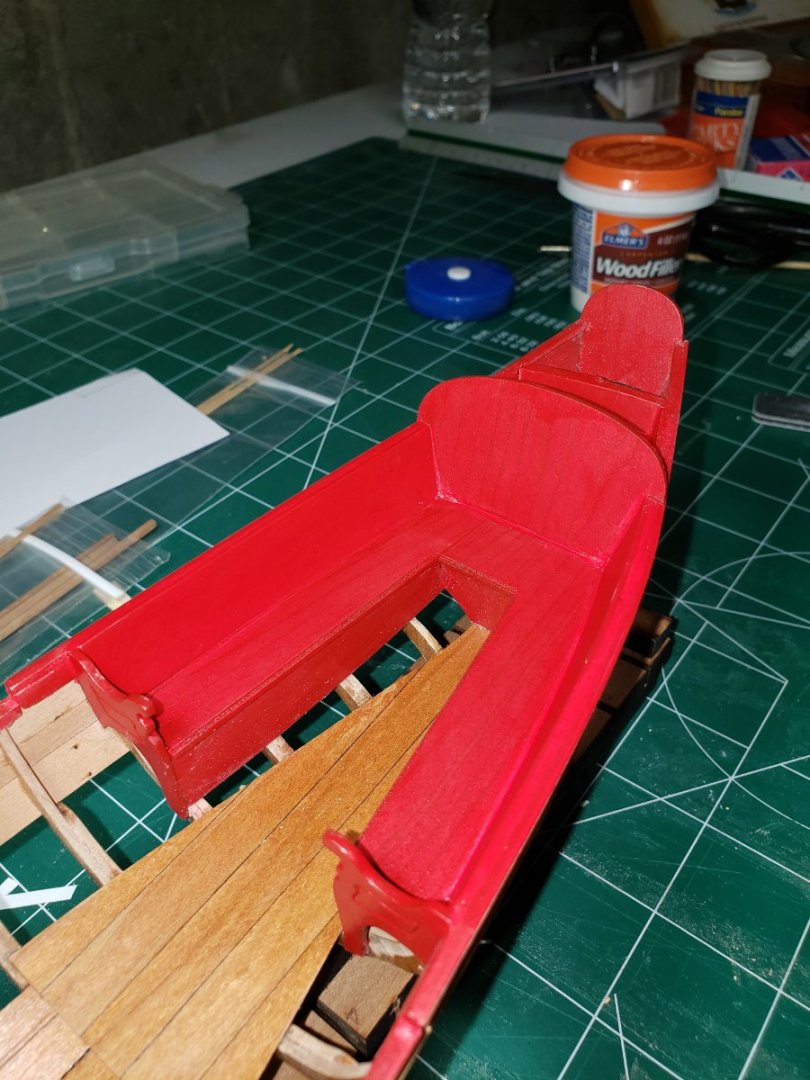
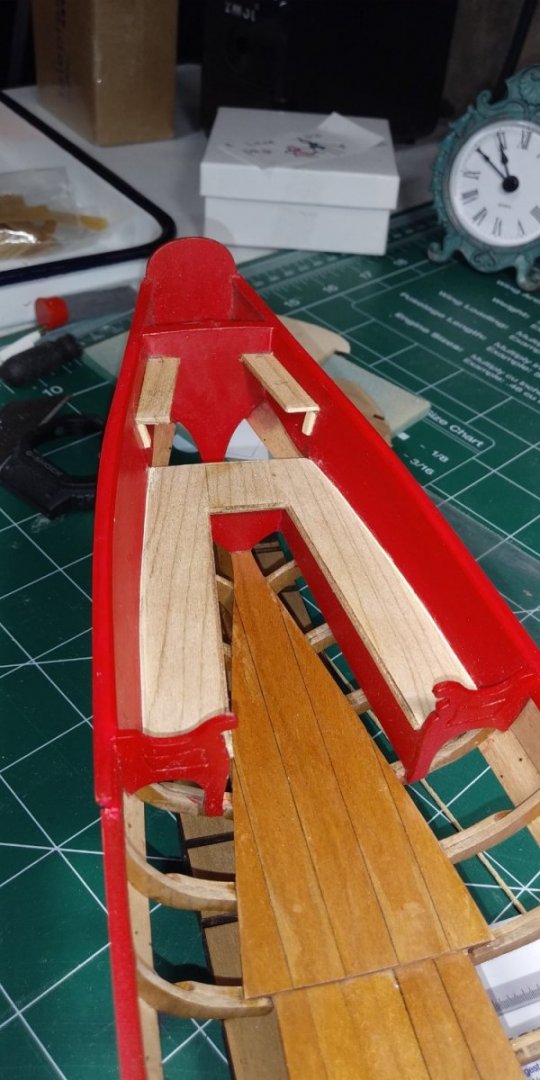
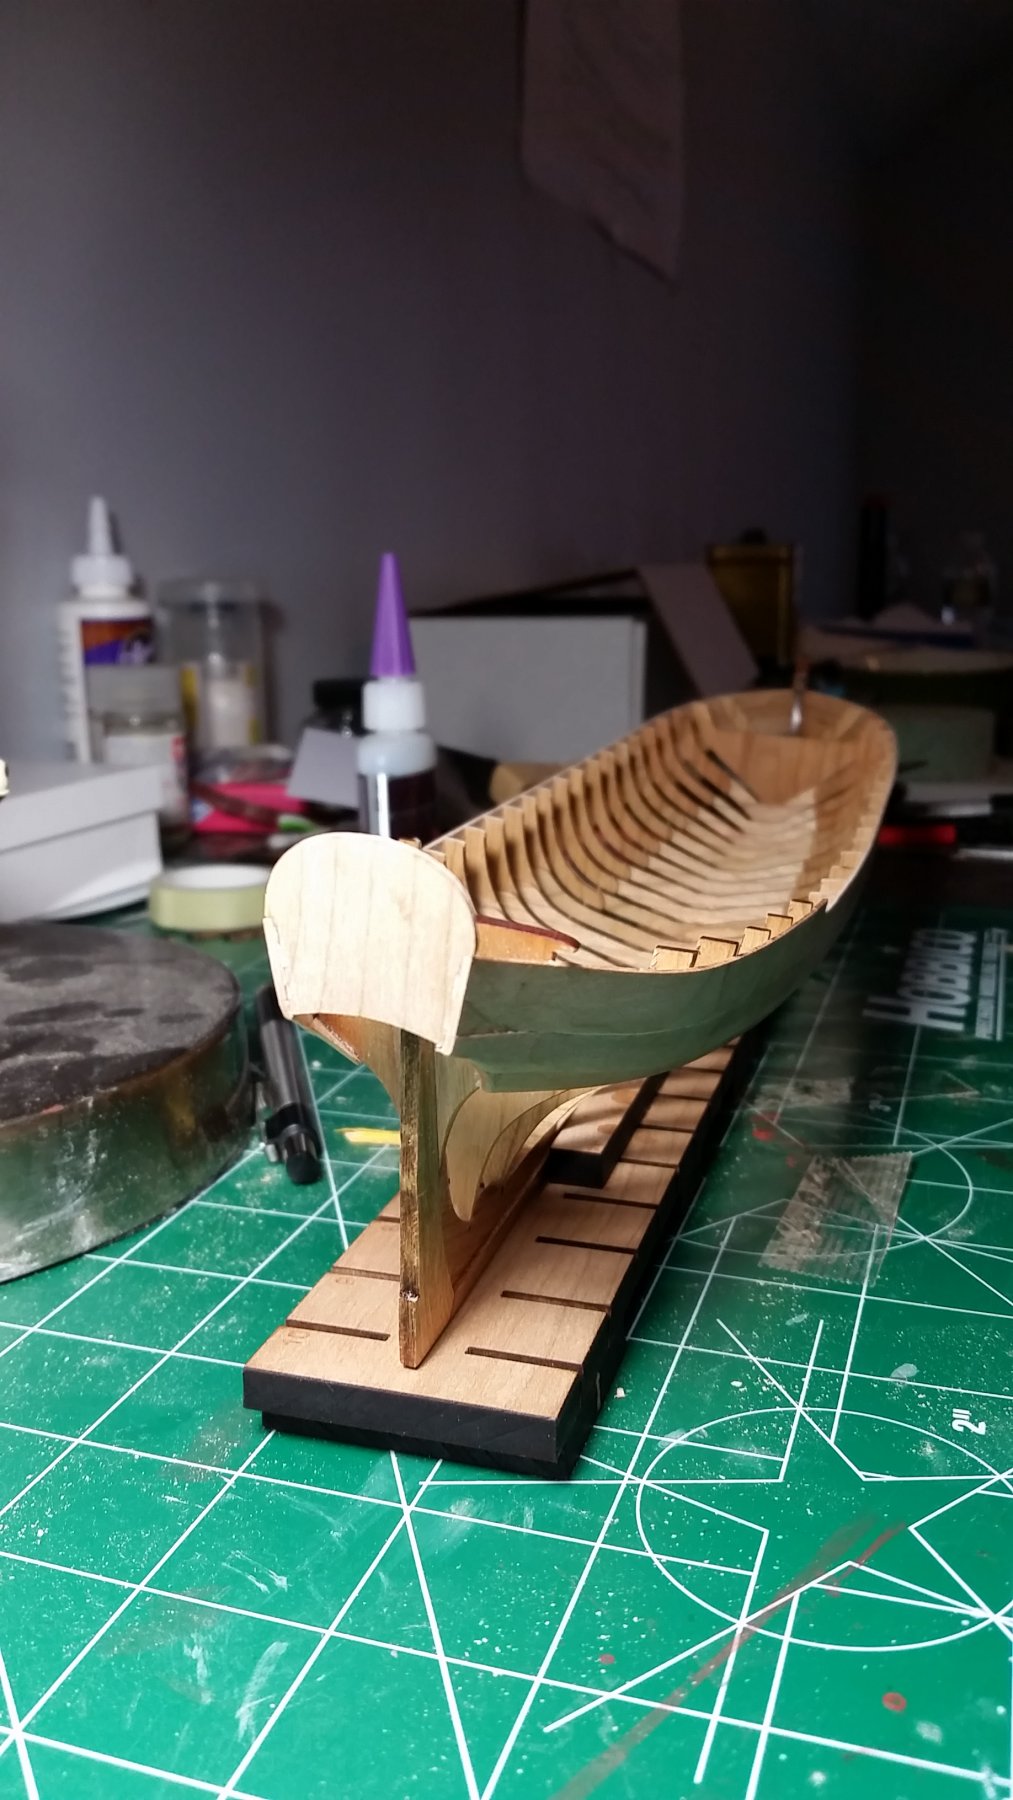
I decided to change the suggested building sequence and put the coxswain seats in first. it just seems easier to remove the paint where they need to be glued to the panel Also it's easier access to paint them before putting the the bench seat back in place. I also added some bracketing in order to have some surface area to glue the back seat in.
-
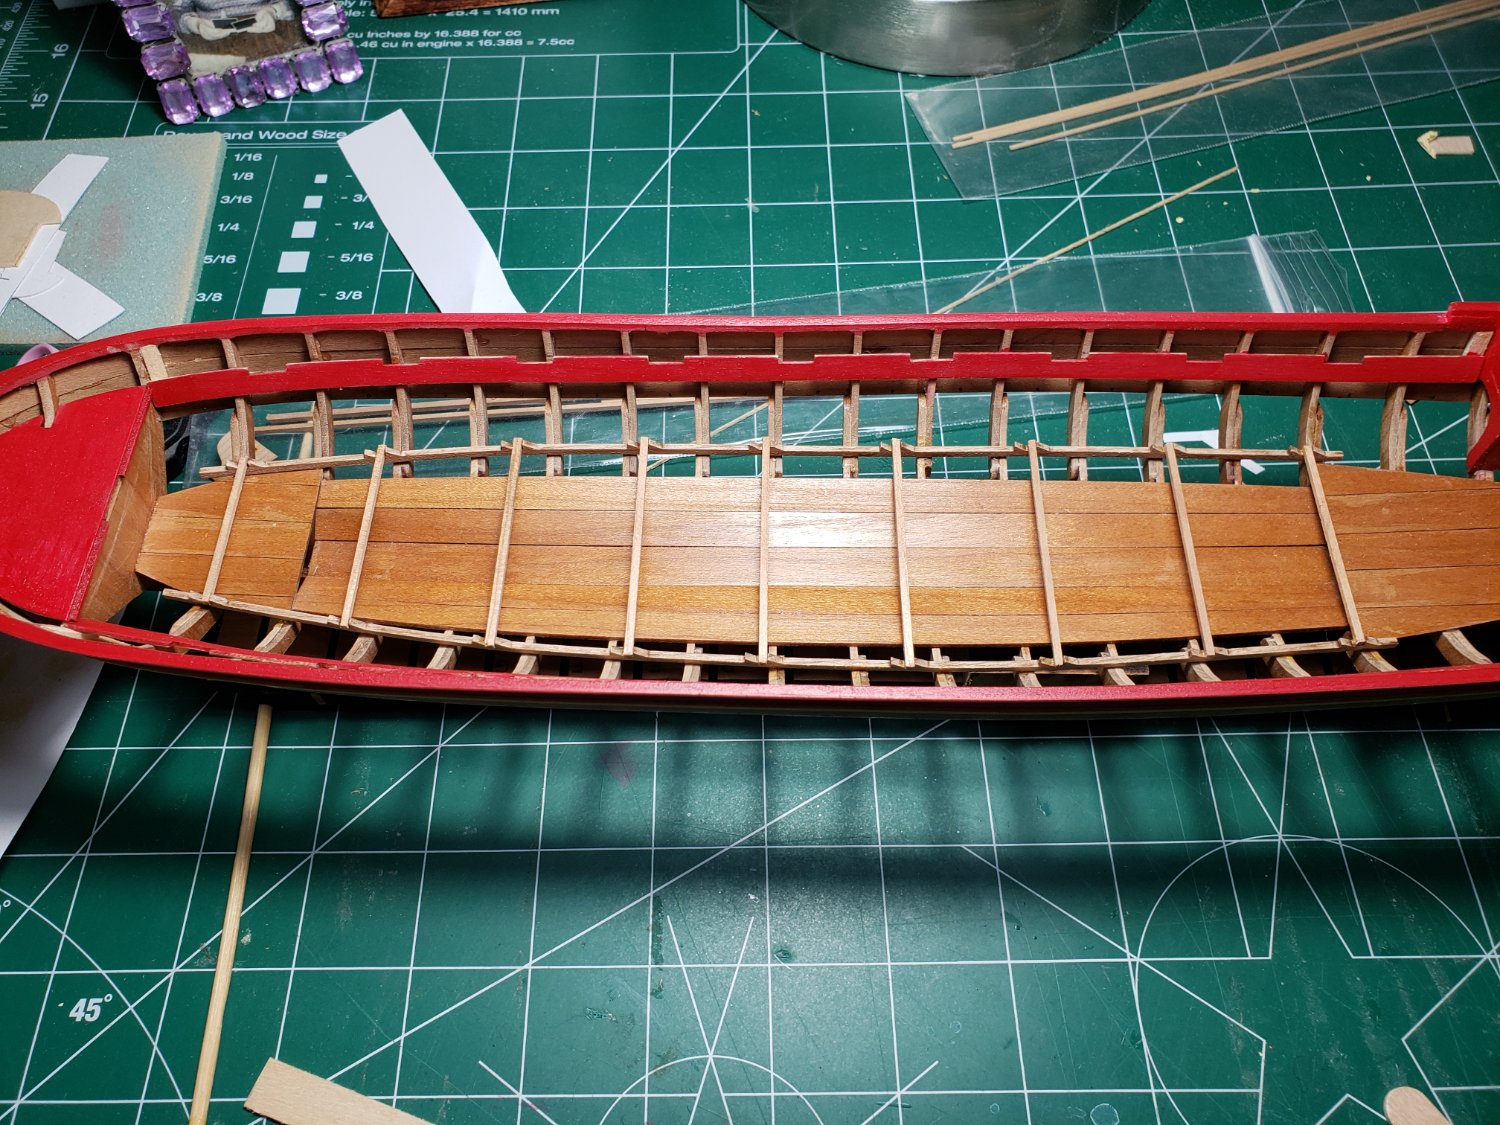
I finally installed the actual benches. I put in some filler where needed so when I paint it hopefully it will cover a multitude of sins. There were some challenges for me but over all I'm satisfied so far. the back of the bench is going to have its own challenges with fitting and gluing it in place.

- Ryland Craze, Archi, GrandpaPhil and 1 other
-
4
-
I'm working out the dimensions of the benches using bass wood pieces first. once I get it to where I'm satisfied (Certainly not perfect) I'll use the bass wood cut outs as templates to shape the cherry cut outs that are provided in the kit. I'm going to take my time tweaking in each angle until it's close enough to what I feel will work. There's nothing a little filler can't take care of anyhow.

- gjdale, Tigersteve, JpR62 and 6 others
-
9
-
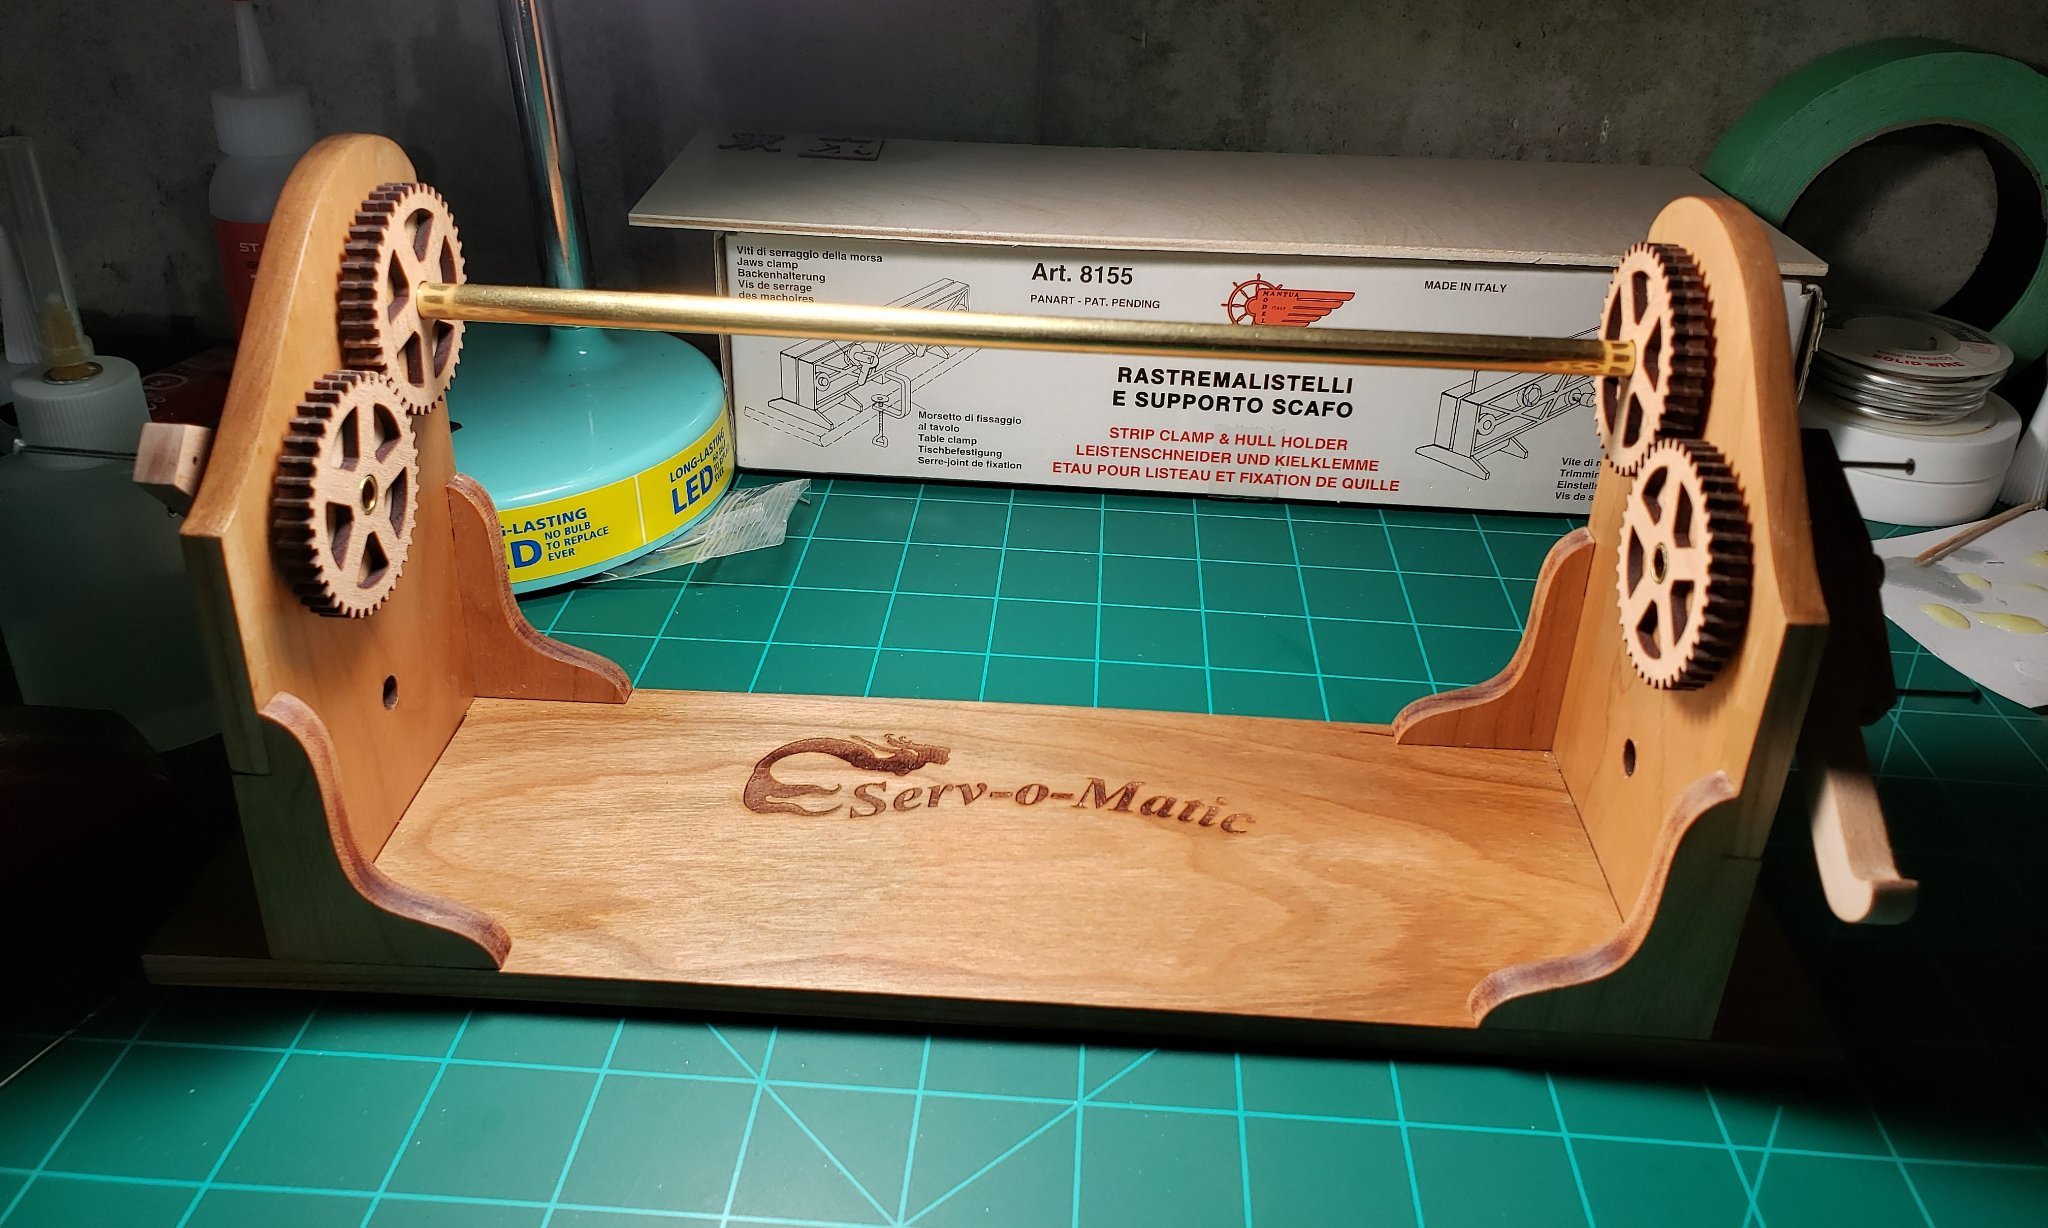
I finally got my Serv-o-matic apparatus built after buying it about 2 years ago. I realize I have a lot of models sitting in my closet that need building. While working on the Royal Barge I'm prepping for my next project when this one is completed. I'm leaning towards building the "Private Armed Schooner (Lively of Baltimore 1813)" from The Lumber Yard for model shipwrights. This seems like it will be a good kit to progress to the next level in my journey of model ship building. Although lively isn't technically a ship it will be the first time I'm tackling a fully rigged vessel with a canon. But I'm only half done with the barge and I'm in no hurry to get it done. I made that mistake two years ago by giving my self a deadline because I wanted to enter it into a show. So the lesson here is, slow down and take your time. At least I got the Serv-o-matic built in preparation for my next project what ever it might be.

-
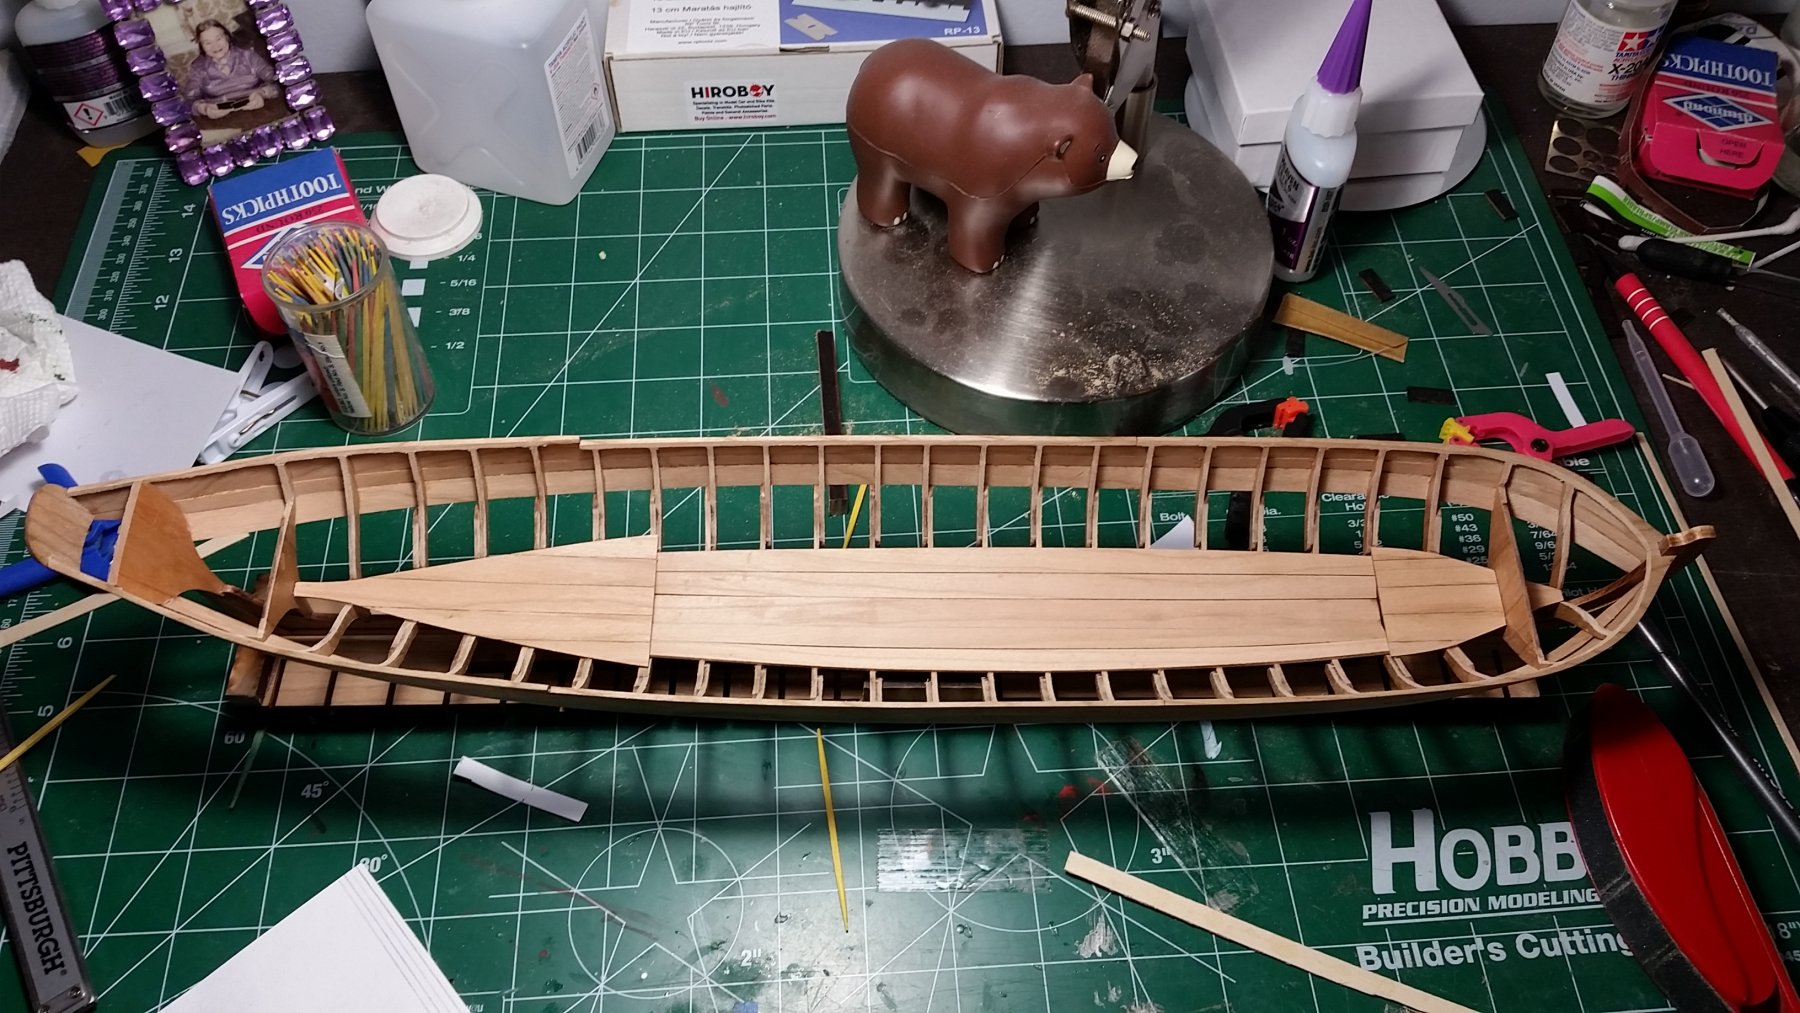
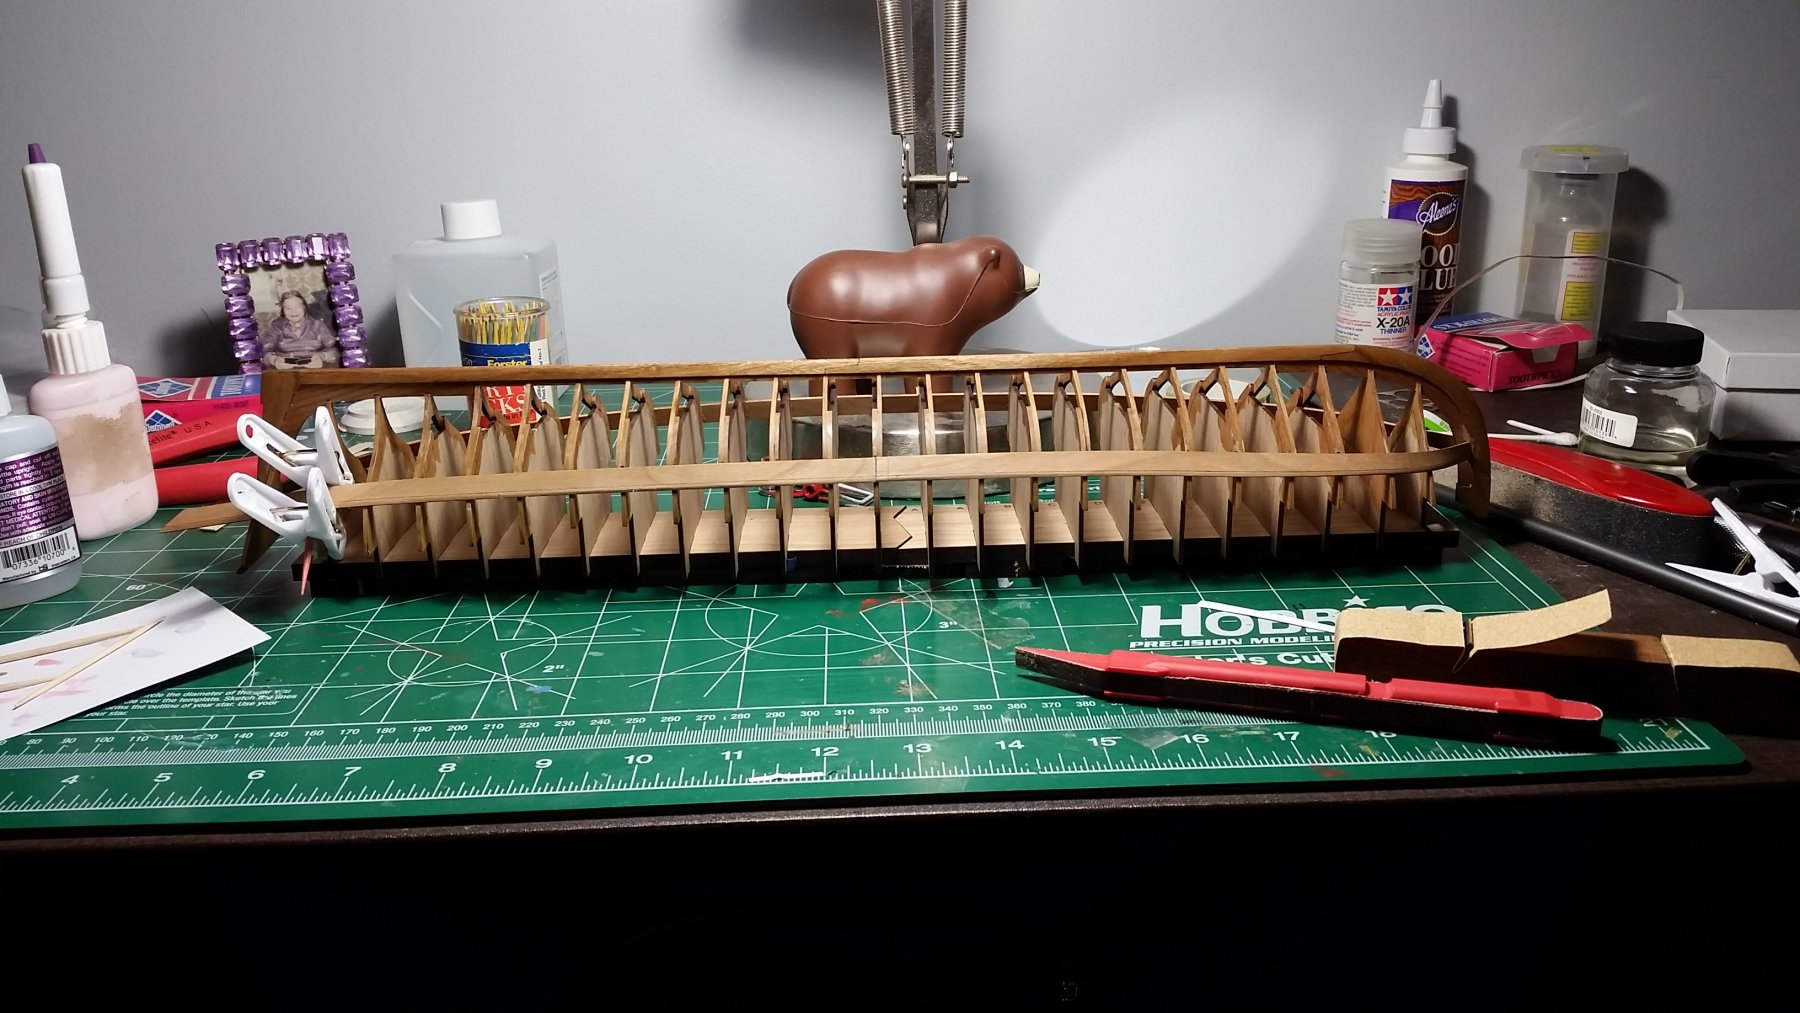
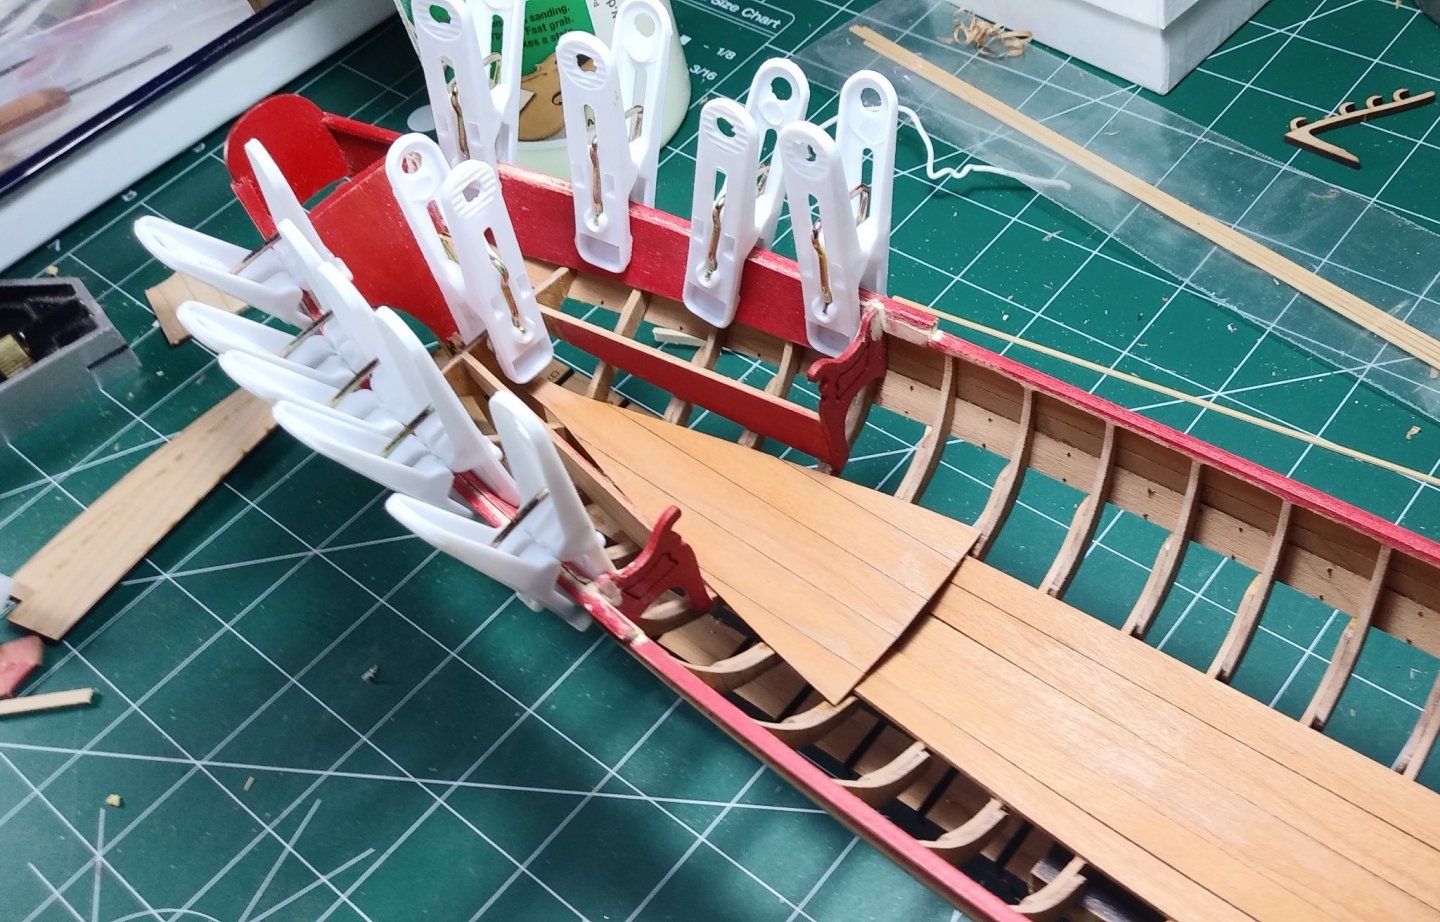 I'm almost back to the point I originally started from. There's still issues but by fairing a little more the benches look like they will finally fit much better.
- JpR62, Blue Ensign, Ryland Craze and 5 others
-
8
-
-
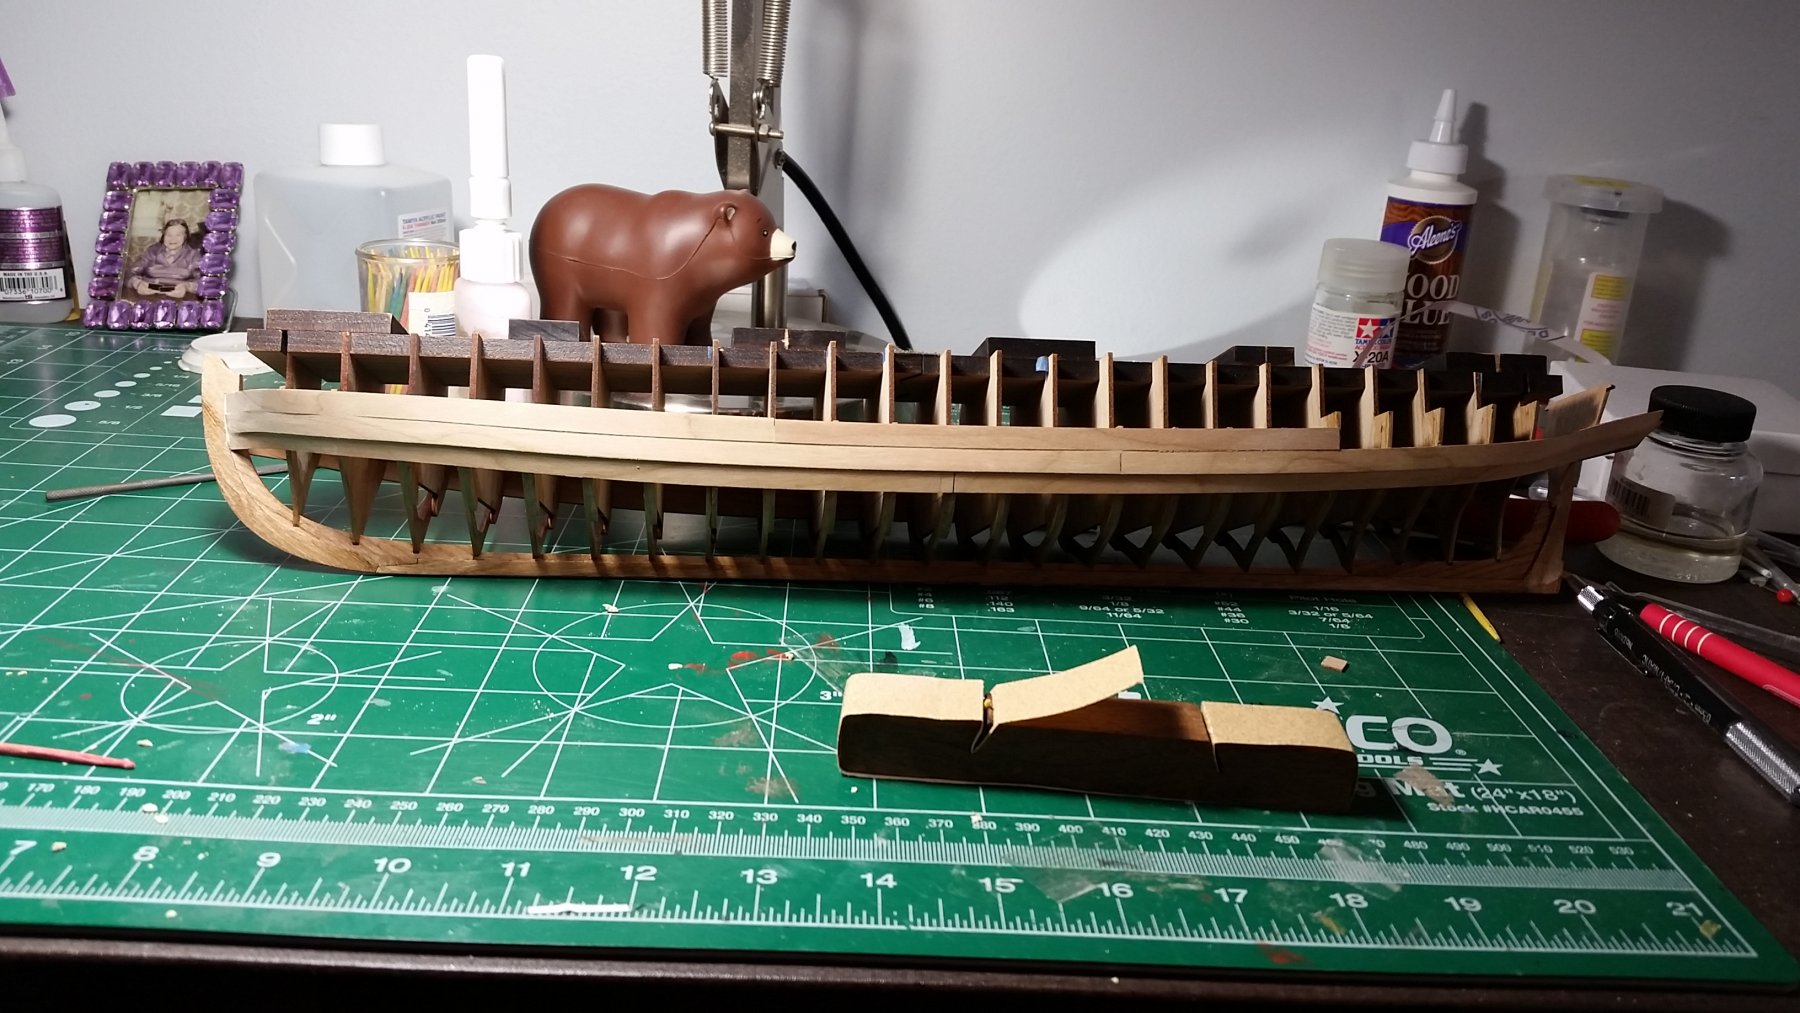
After putting this model away for a couple of years I'm ready to try and correct the mistake I made. When I got to the point of putting the rear benches in place I found that I didn't fair the inside frames enough and would have to tear down some of the build I had already done. Needless to say I was completely discouraged and just put the model away. I'm now ready to look at it again. As you can see in the picture I removed what was needed in order to start sanding down the frames to where they need to be.
-
-
I got some more work done on the rear bench. It was a little tricky getting this to square up but so far I think I'll be alright. I'm also using chuck's method of painting which is to apply many light coats rather than applying one or two heavy coats. when you slowly build it up it looks much better.
- oneslim, GrandpaPhil, Archi and 5 others
-
8
-
It's summertime and it's hard to stay in the house to build models. Since it's extremely hot out I found some time to stay in the cool house and continue my build. It's slowly coming along.
- Ryland Craze, GrandpaPhil, Chuck and 3 others
-
6
-
I'm slowly making progress I finished the molding and have started painting.
- JpR62, bruce d, GrandpaPhil and 6 others
-
9
-
I've made my first attempt at carving one of the blanks for the Royal Barge. It broke on me.
-
I'm going to follow your progress. I have a servomatic machine also that I need to put together.
-
Thank you. My next build is going to be the Mayflower. On Saturday I want to buy all the rigging and blocks from you to replace the supplies given in the kit. What did you use for pedestals and are both the same height rather that off set?
-
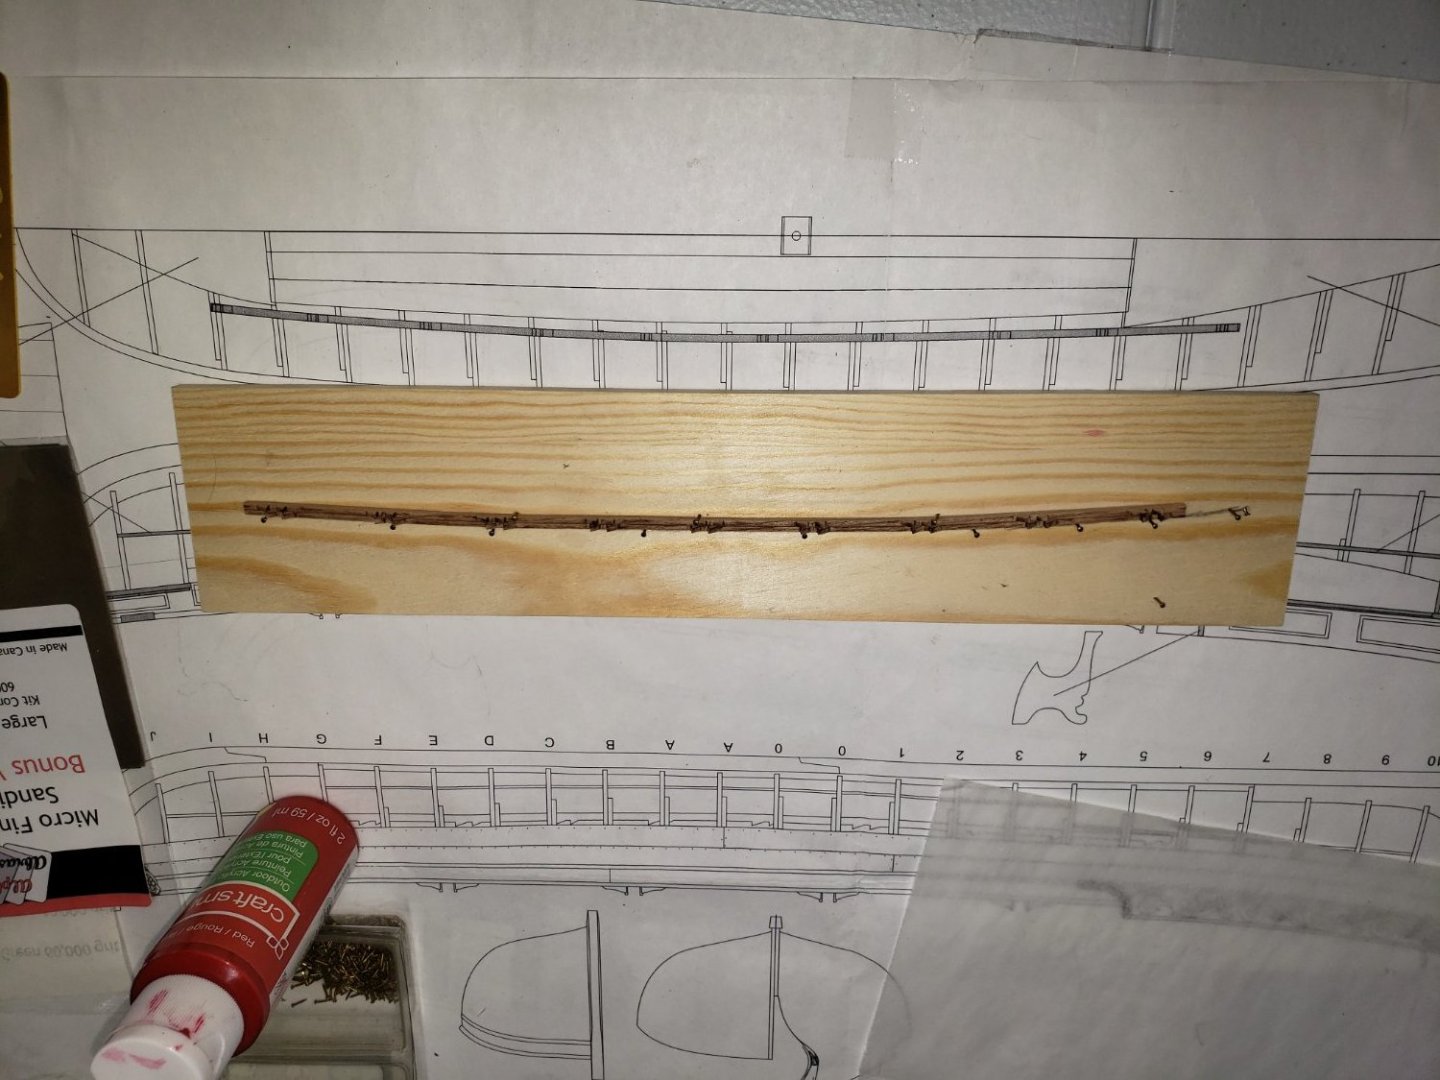
I completed the task of inserting the nails (fishing line). Unfortunately I'm not going to have this model anywhere near presentable for the model show on Saturday. I regret not starting this model last year maybe around June. That might of given me enough time to complete it. With that said, overall I'm pleased with the build up to this point.
.thumb.jpg.a0bba2ae61512be4742e1056b4c4f291.jpg)
- Ryland Craze, bruce d, CaptainSteve and 2 others
-
5
-
-
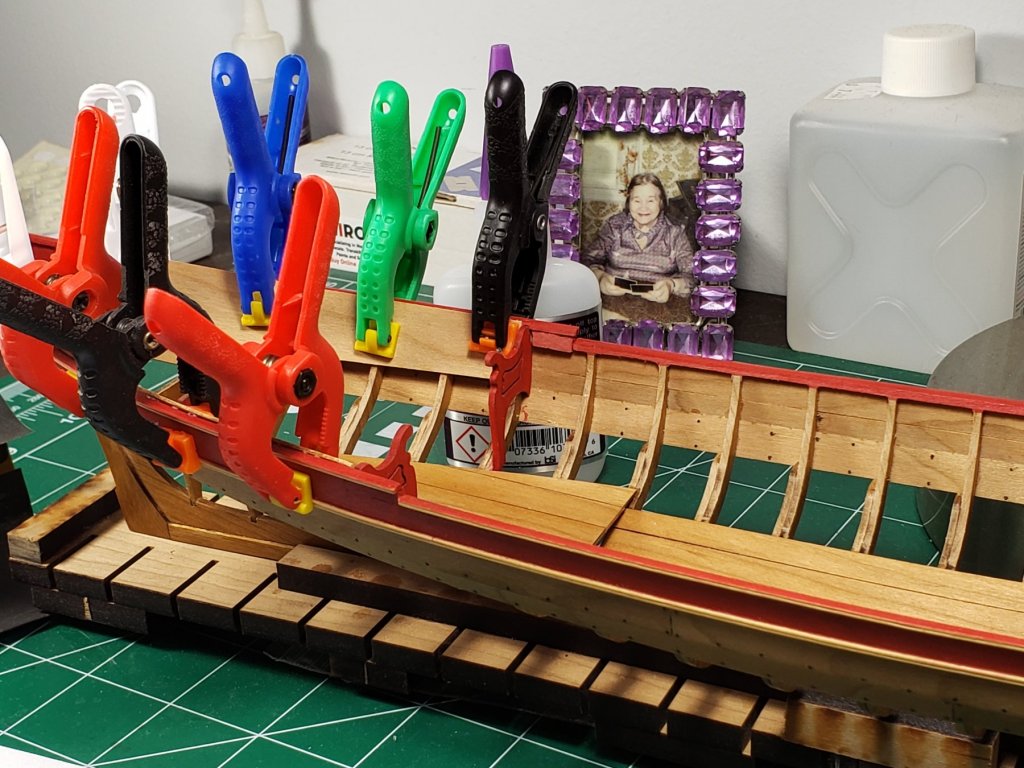
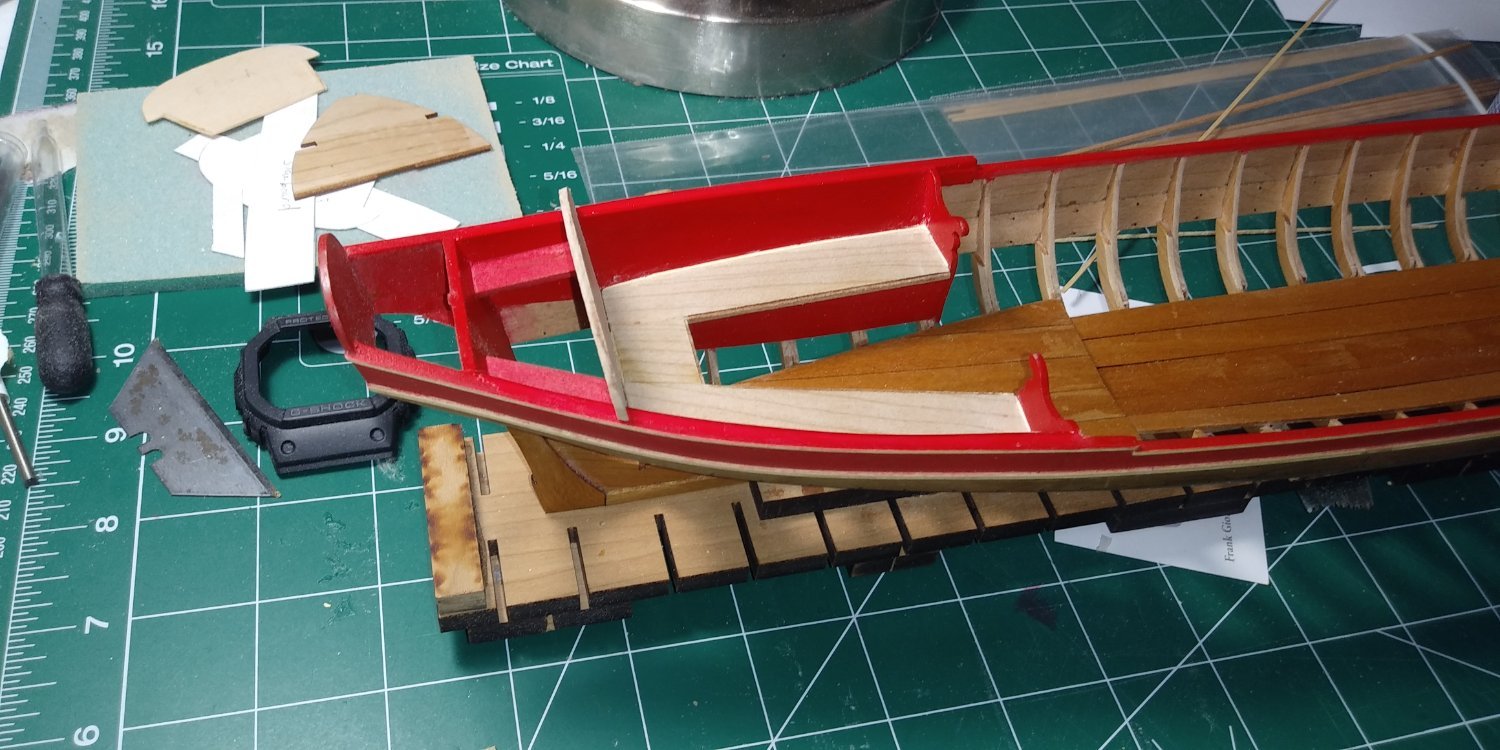
I've got the cap rail installed and sanded down. Not a perfect job by any means. I took a little to much off on the forward starboard side. I don't think it's a deal breaker but I wish I could do it over again. It's a learning experience to say the least. I only have 23 days left before the model show. I will need to work on it everyday until the show.
-
I've installed the flying transom. Time to move onto the cap rail.


- Ryland Craze, Tom E, CaptainSteve and 2 others
-
5
-
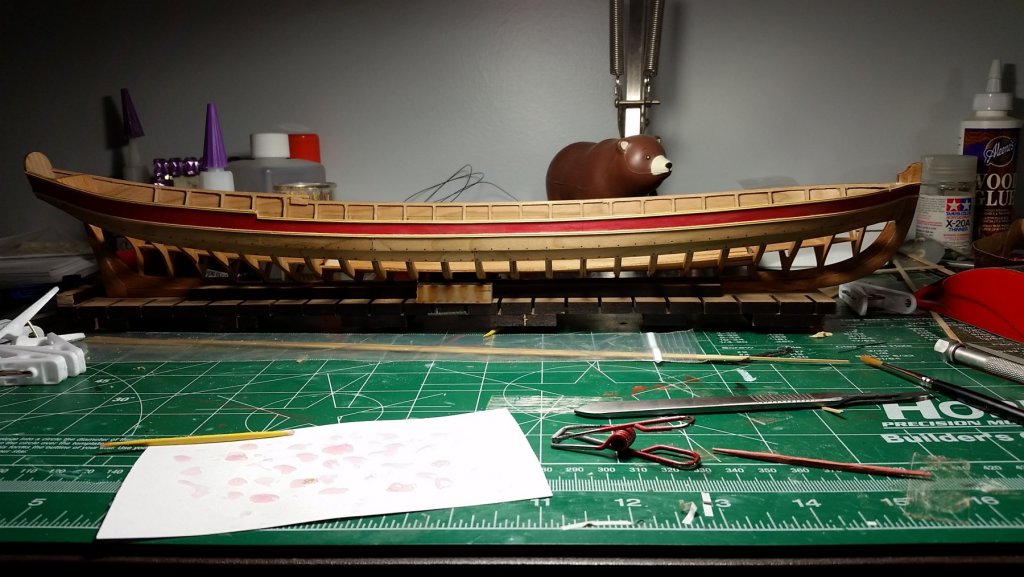
I'm moving along, I have completed the planking. I'll need to do some sanding of course but now I have a stable structure. I have six weeks left before the show.

-
I got the first level planking done on both sides. There where a few unexpected challenges but I'm moving along. I have seven weeks left before the Connecticut show. even if I don't make the dead line completely I will bring the model to the show as is, unless I meet with a complete disaster before hand.
- Chuck, Tigersteve, Ryland Craze and 5 others
-
8


.jpg.0f5ea1f3429d6d5997f93dbbd1d79c8e.jpg)


Queen Anne Royal Barge Circa 1704 by MikeB4 - Syren - 1:24
in - Kit build logs for subjects built from 1501 - 1750
Posted
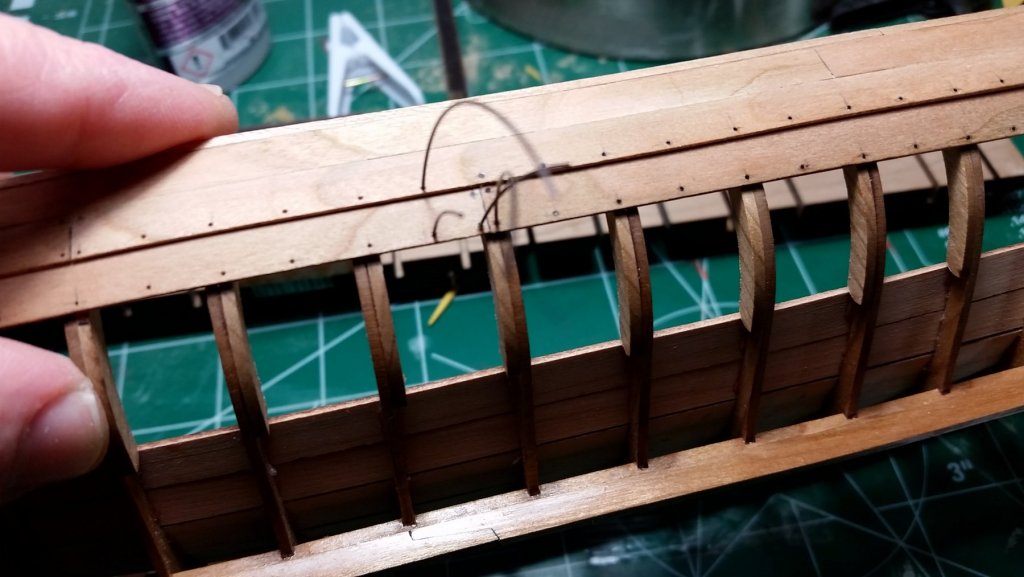
It's been awhile since I posted anything but I have continued this build. I've completed the thwarts.