


Old Collingwood
-
Posts
11,431 -
Joined
-
Last visited
Content Type
Profiles
Forums
Gallery
Events
Posts posted by Old Collingwood
-
-
Looking good mate.
OC.
- Egilman, Edwardkenway, mtaylor and 2 others
-
 5
5
-
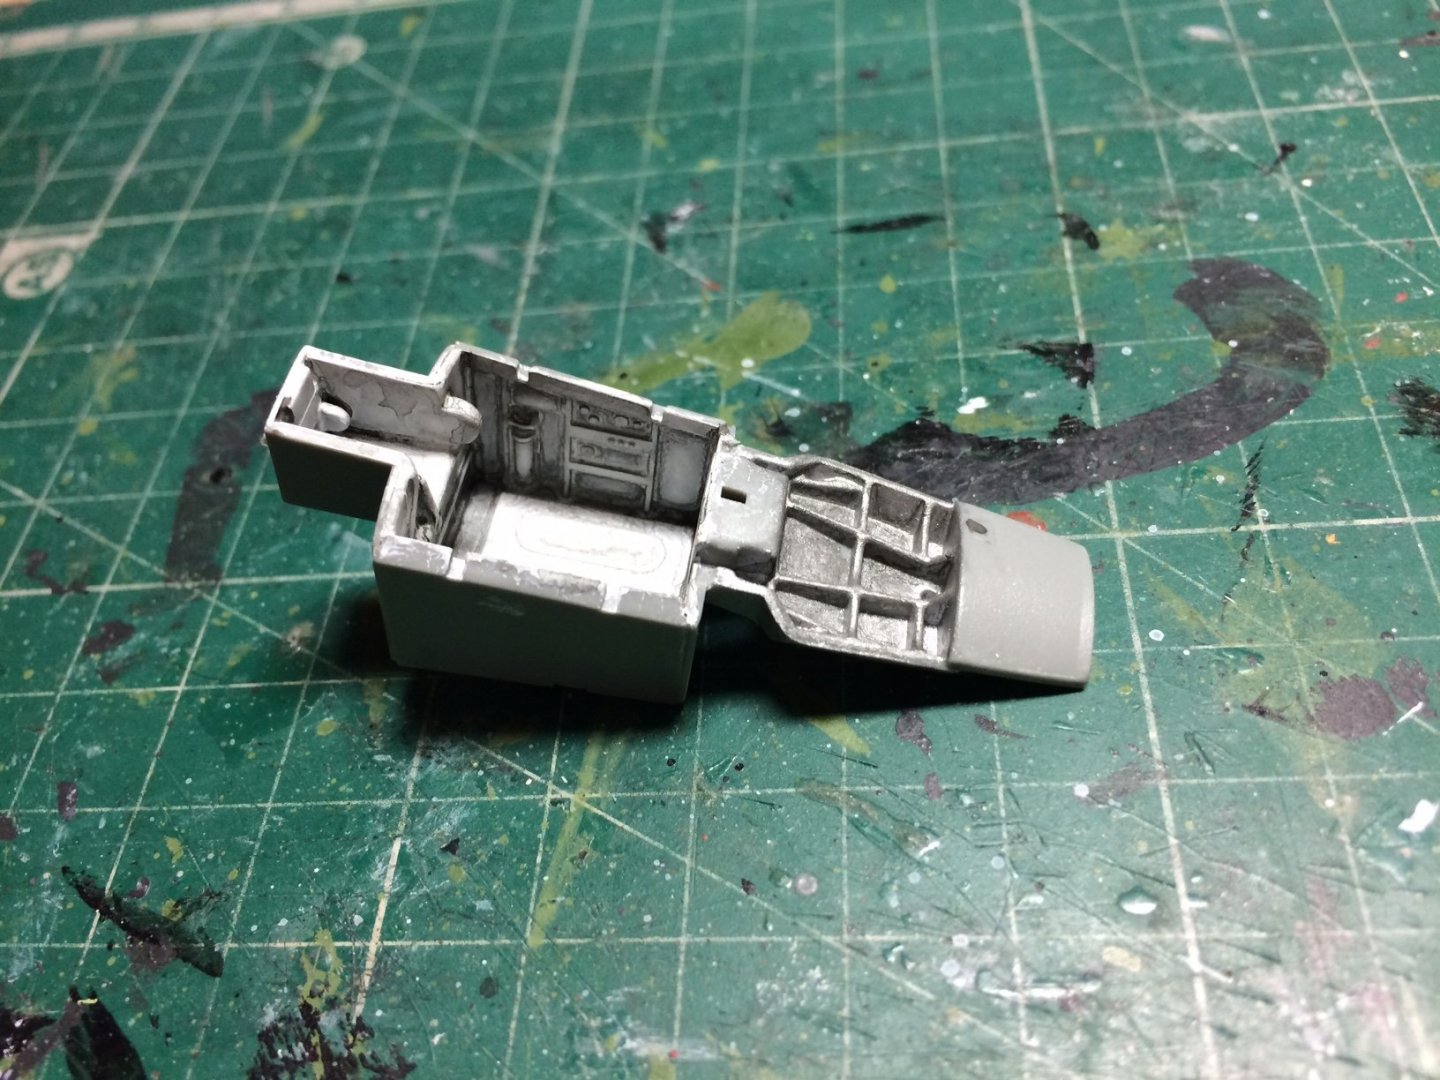
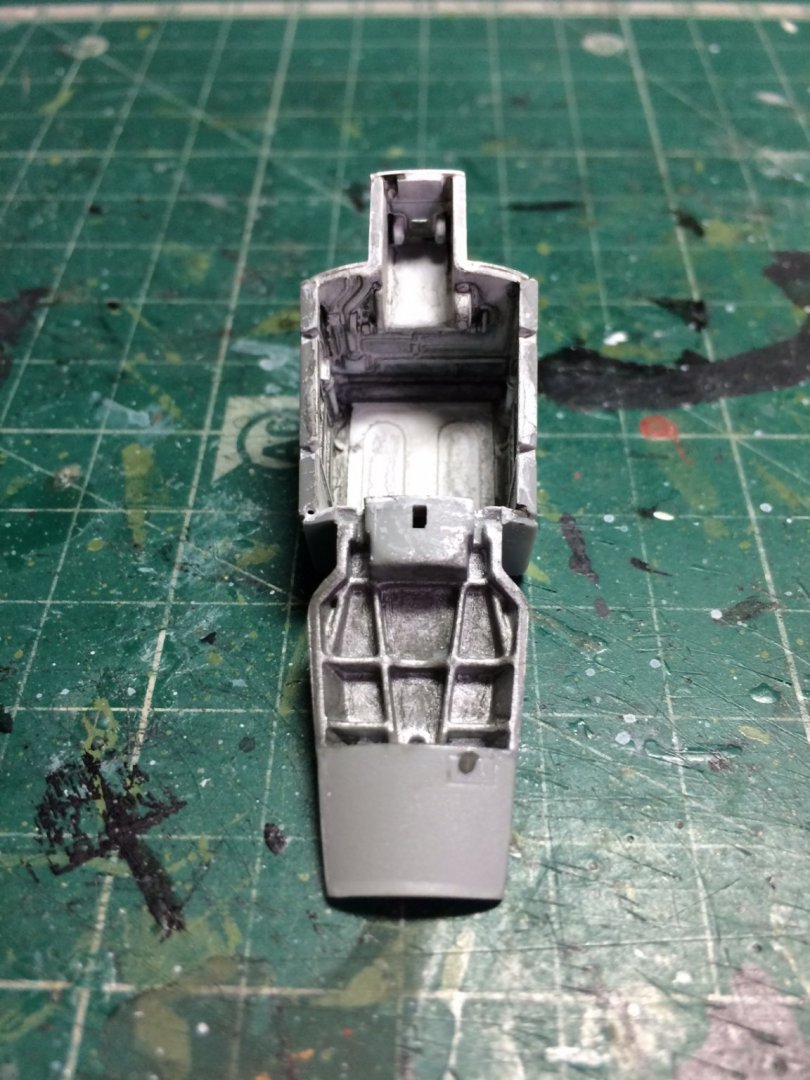
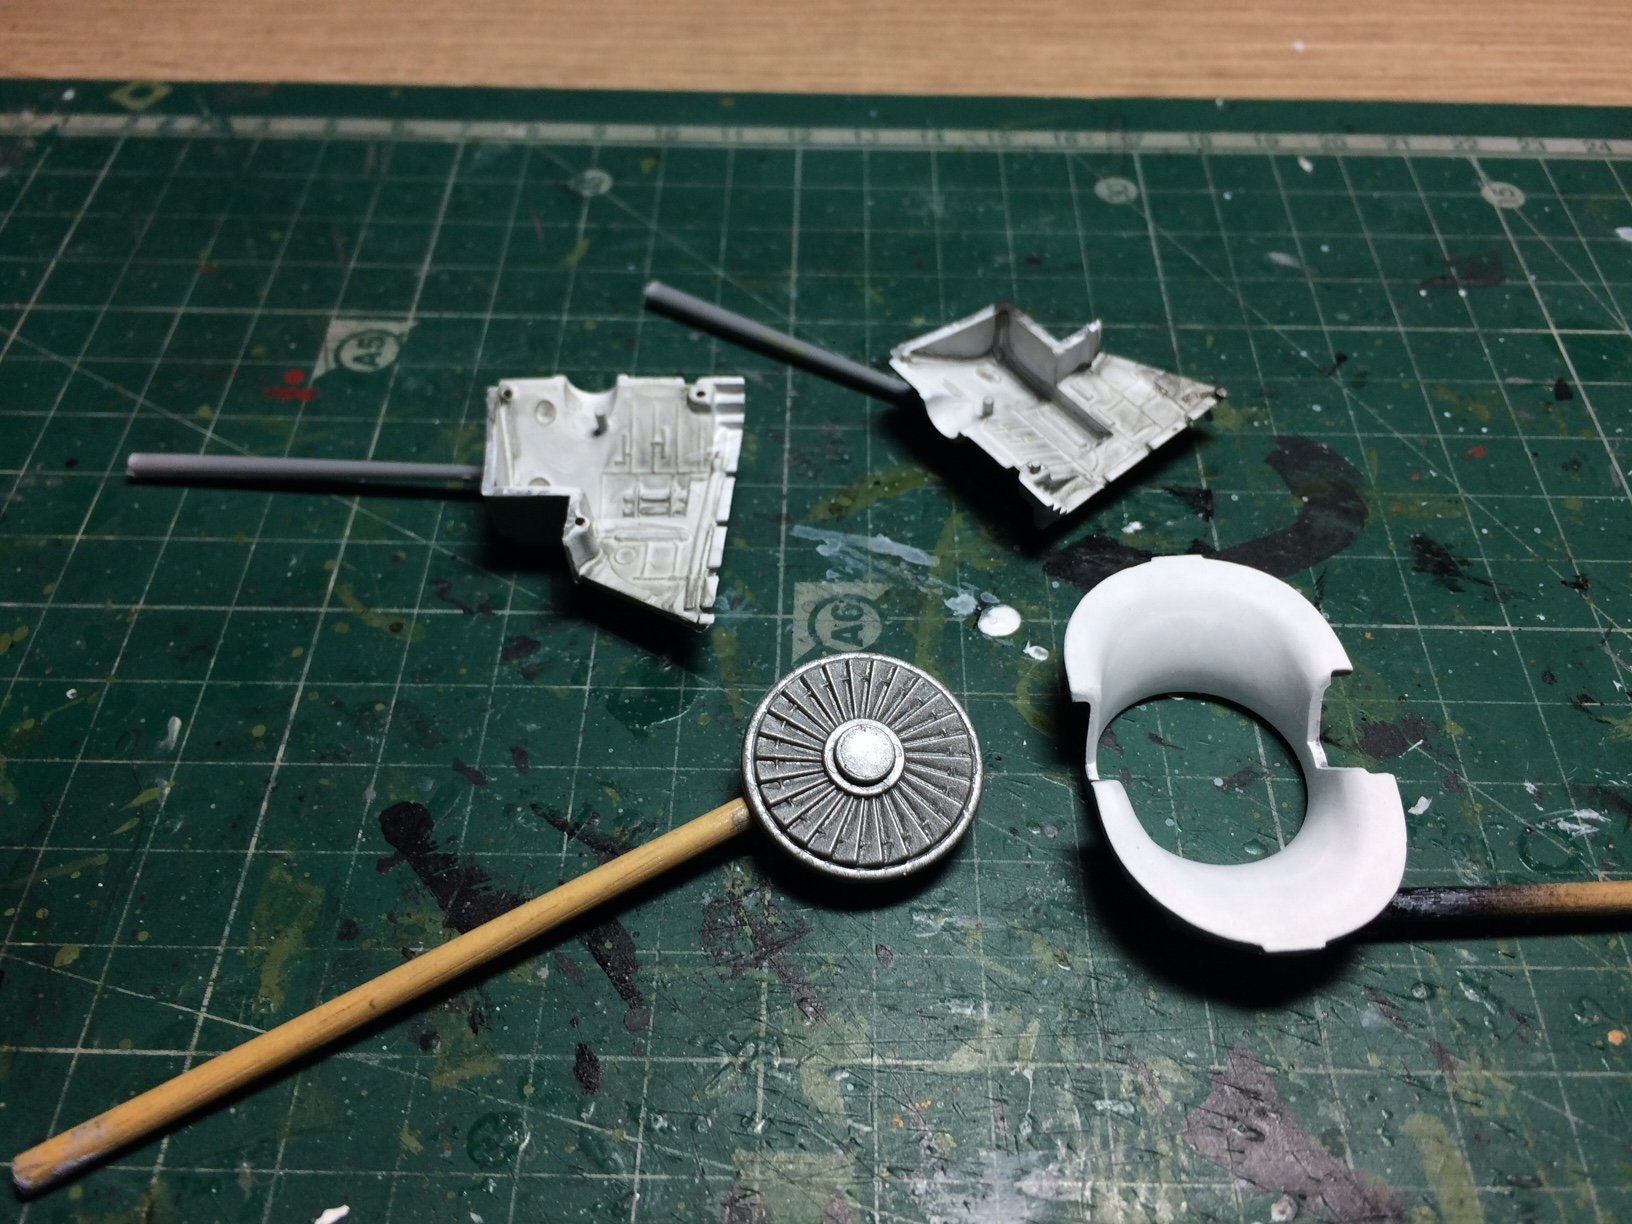
Hi all, more work today - next stage was to construct the main wheel well, this is made up of Four parts and contains some good engraving like the front, after cleaning up some of the edges (nothing drastic - just where the pips from the spru were joined) I then did a few washes of dull white, then when dry - same procedure with a dirty wash, then a bit of alum high lighting, I then glued both parts of the front wheel well together.
The airbrake pit them got a coat of flat alum and a wash, also I glued the front fan to the assembly and dry fitted against the front wheel well assembly.
OC.

- popeye the sailor, mtaylor, Canute and 5 others
-
8
-
9 hours ago, Edwardkenway said:
Looking real good OC!!
Thank you Edward.
OC.
- mtaylor, Canute, popeye the sailor and 1 other
-
4
-
6 minutes ago, Egilman said:
Who said you need PE to build a nice cockpit? (of course it helps having a cockpit in the kit that looks like the real thing)
Nice Job Brother....
Thank you for that, it is rather well moulded, I will have to add a bit of scratch work on the side walls in the cockpit as they are a bit bare.
OC.
- lmagna, Edwardkenway, Canute and 3 others
-
6
-
-
1 minute ago, jwvolz said:
A car now too???
Wow, you really have embraced the dark side fully Mike! 😄
The say "Once you dip your fingers in plastic modeling - your fingers turn to plastic, or if you come from wood - you get plastic splinters"😄
OC.
-
Excellent work Kevin - each post showing more and more fine workmanship by you - you will be able to "splice the mainbrace" soon

OC.
- Kevin, clearway, popeye the sailor and 1 other
-
4
-
14 minutes ago, VTHokiEE said:
Wow... just wow
Thank you mate - welcome aboard this little trip down the Falklands way.
OC.
- Egilman, lmagna, popeye the sailor and 3 others
-
6
-
Talking of James Bond films - I would love one day to build a model of a Lotus Esprit mk2/3 (not the one that converted into a sub) reason being I once nearly owned one (got close to a moment of excitement and madness)
OC.
-
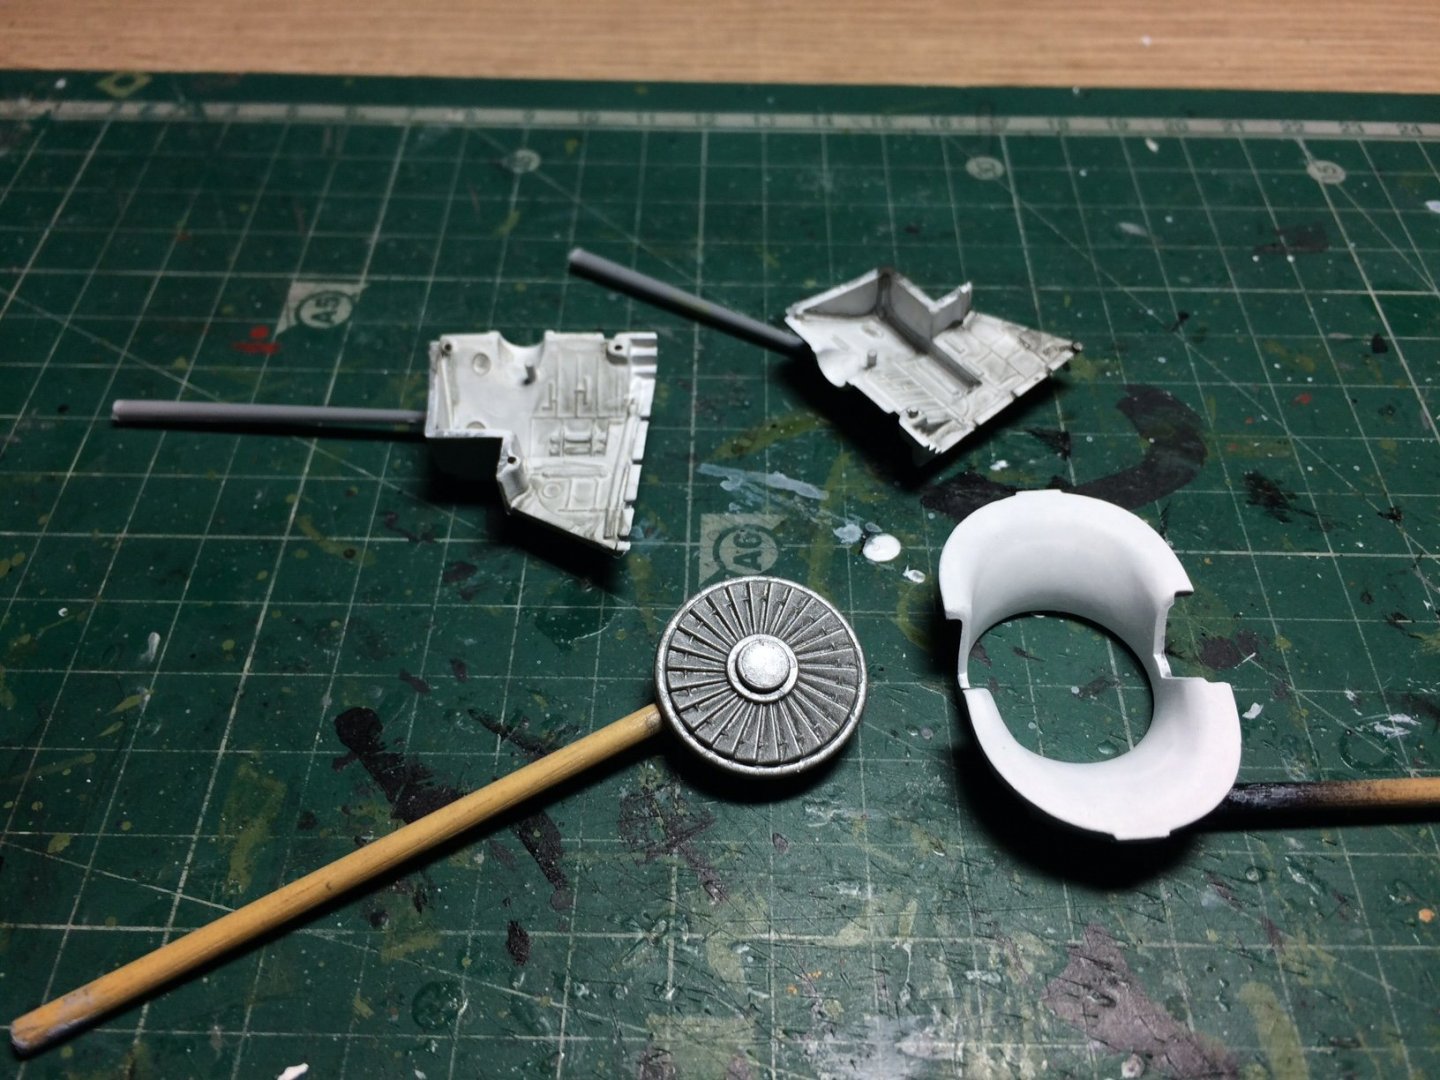
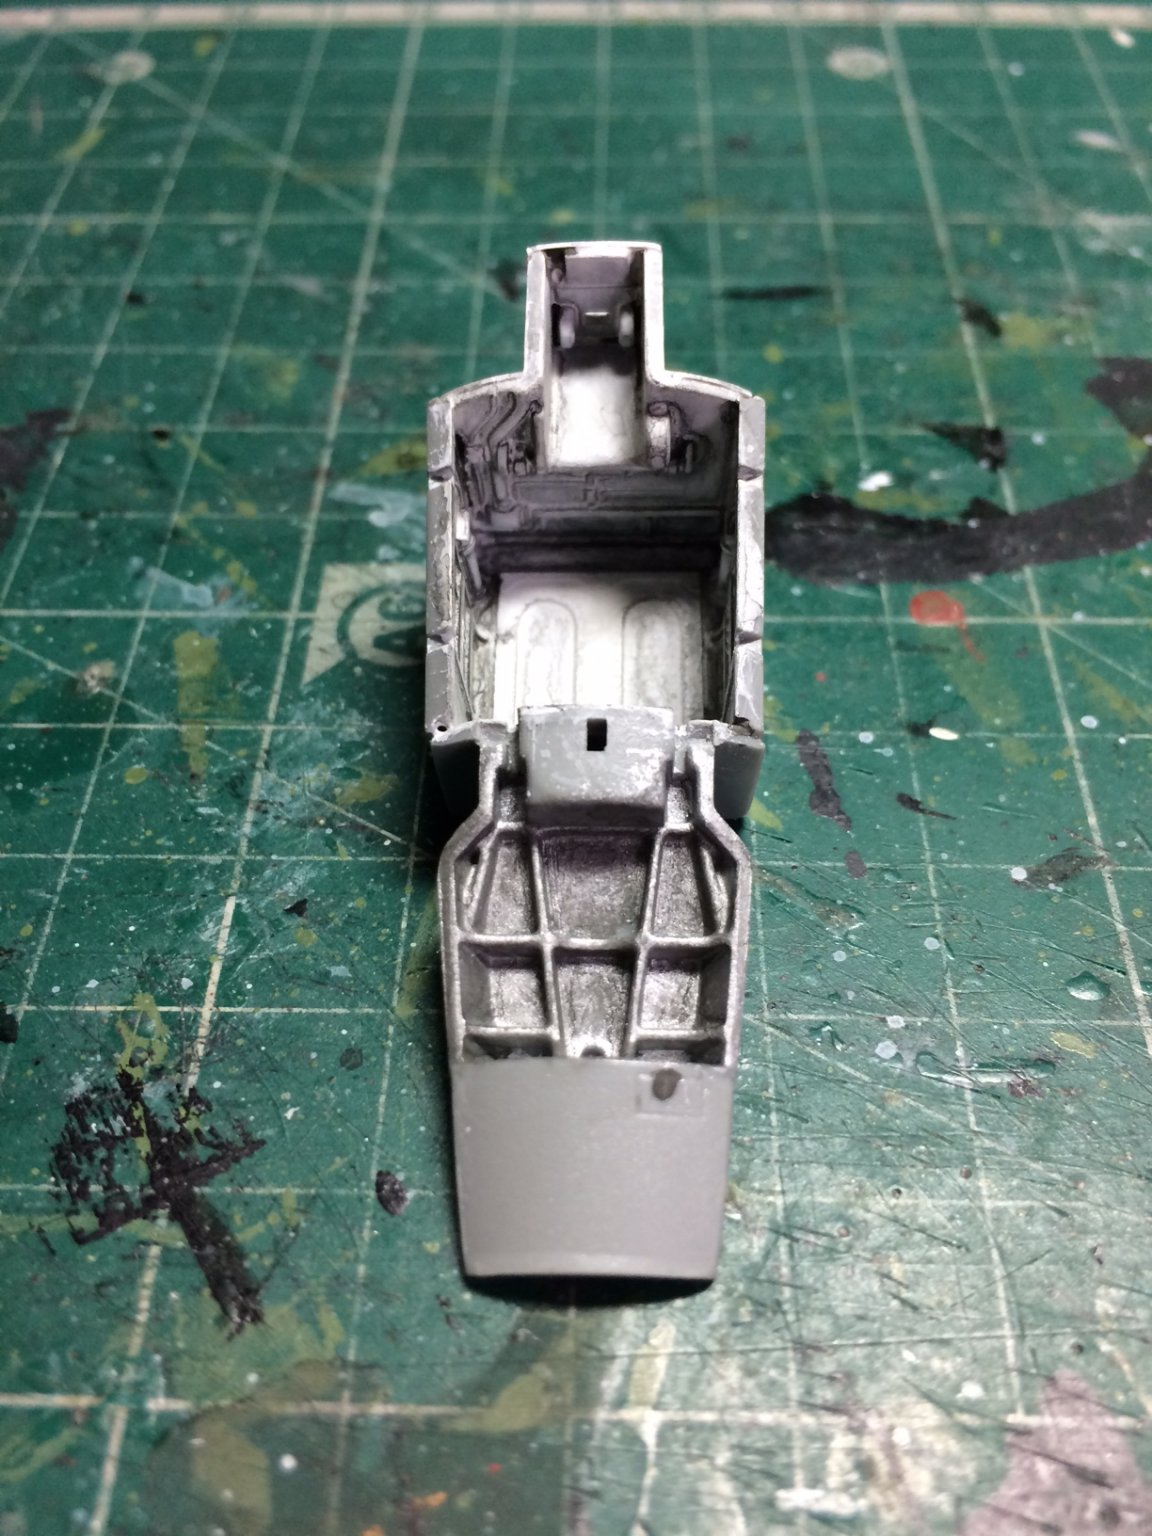
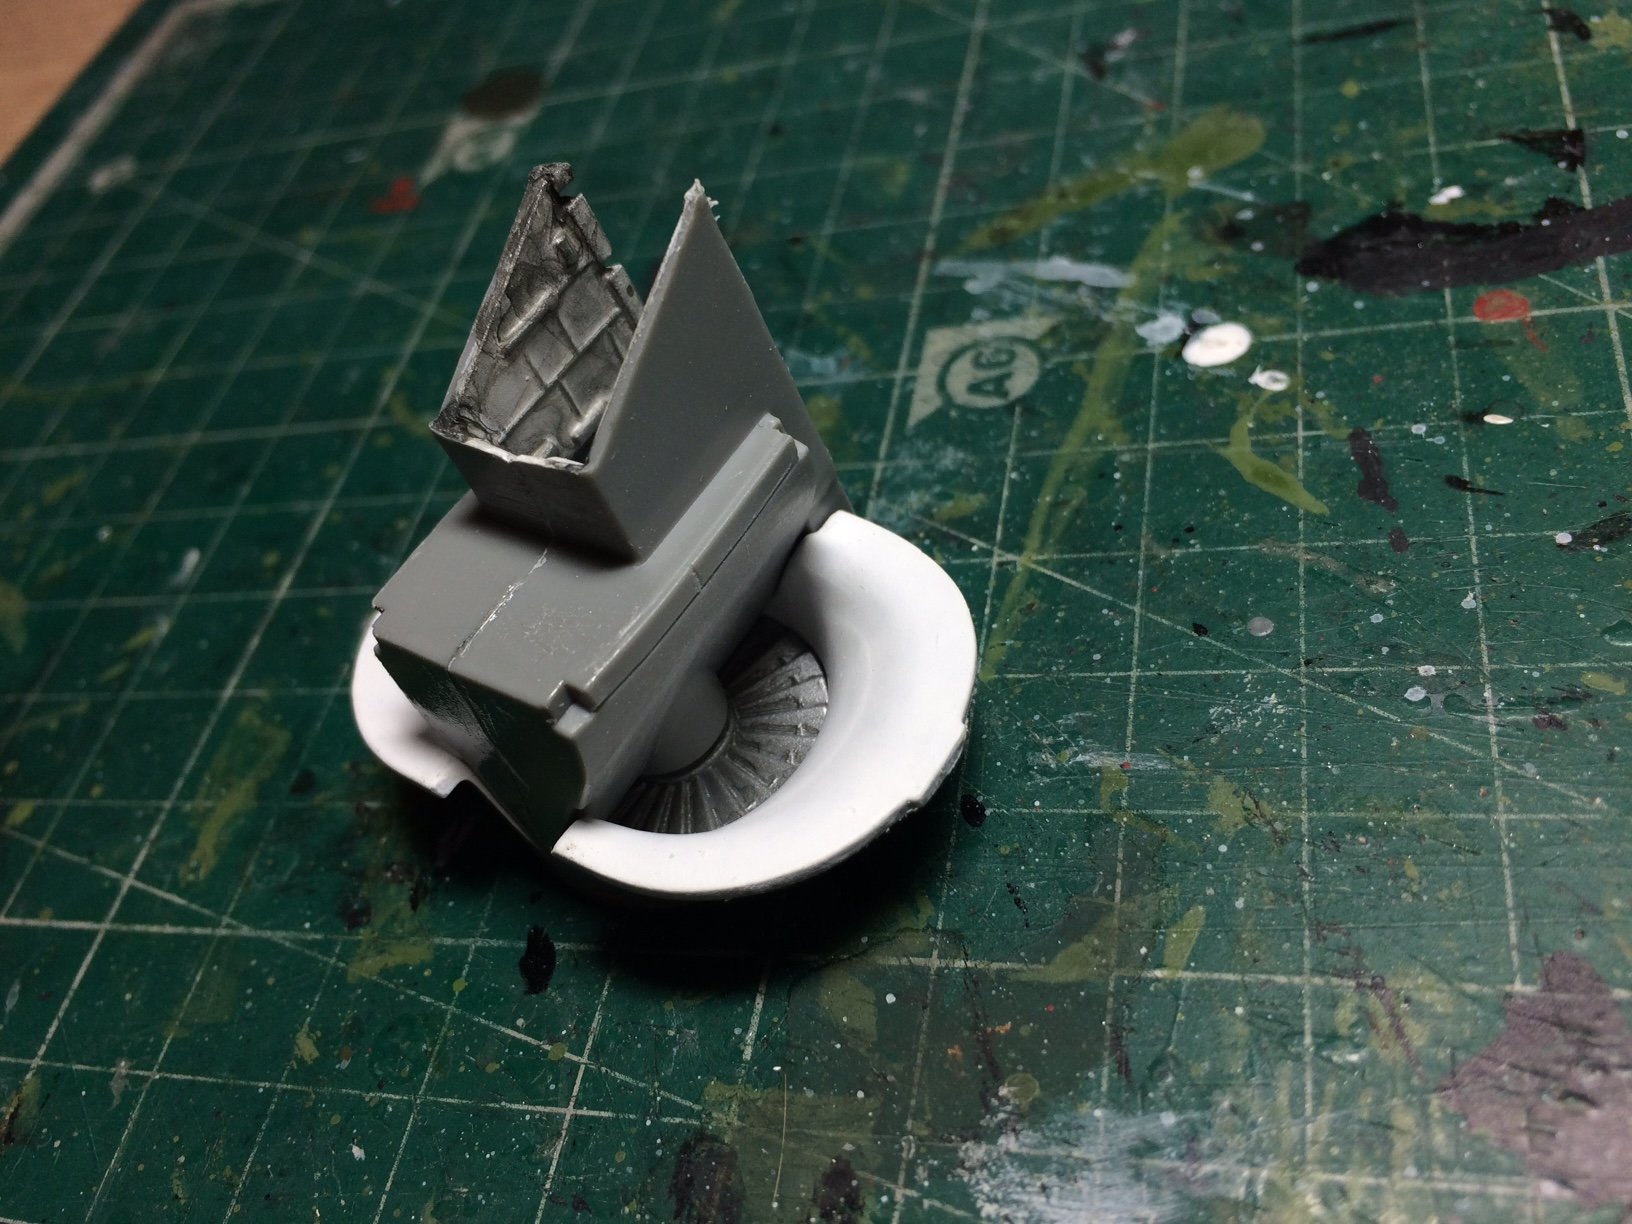
I put the tub aside and going by the structions - next area is the front wheel bay and front fan blade assembly/surround, the blade assembly trunking is one piece and needed a tiny bit of clean up - then it received severa..............l coats of dull white acrylic with a brush (as I mentioned above) I was aware of getting tiny specs of dust and hairs on the paintwork so I needed to keep checking for this, It will need a bit of a polish as its supposed to be a smooth almost satin finish, next was the wheel bay - this comes in two sections to aid detailing, so agian it was a case of putting down several coats of dull white, then when dry I ran a dirty wash of watery dark grey/black and heated it with a hairdryer (they were renowed for catching all the dirt and grime in there - same as the main wheel bay).
Oh, and the fan blade received some flat alum.
Here is a pic of the above on my mat after painting.
OC.
-
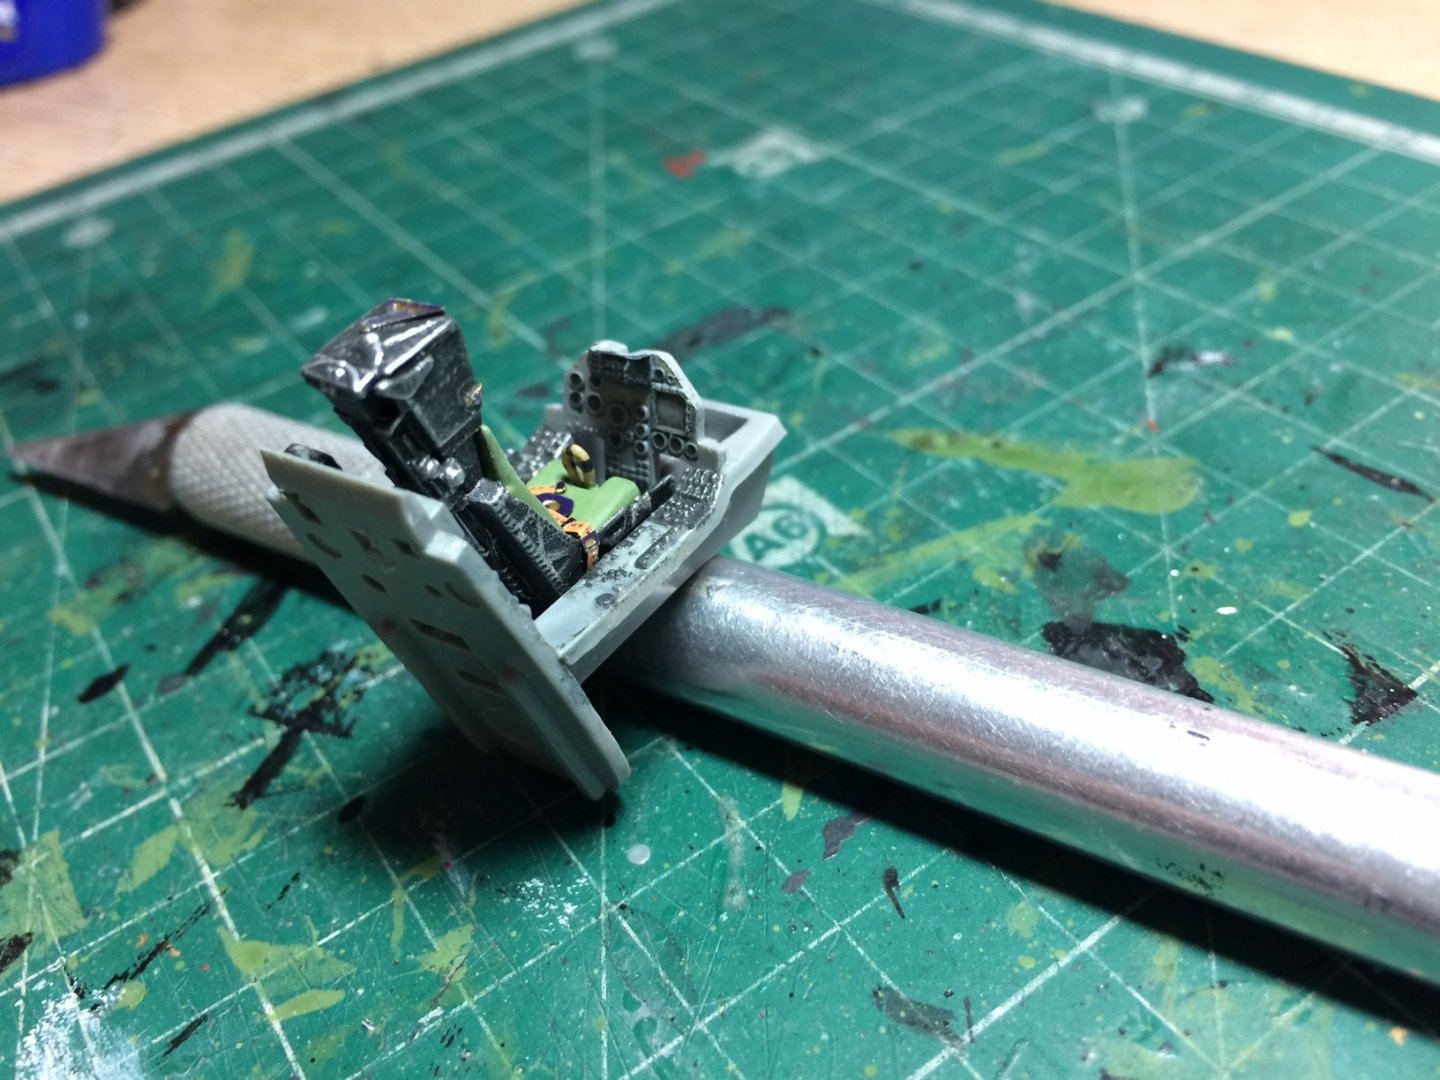
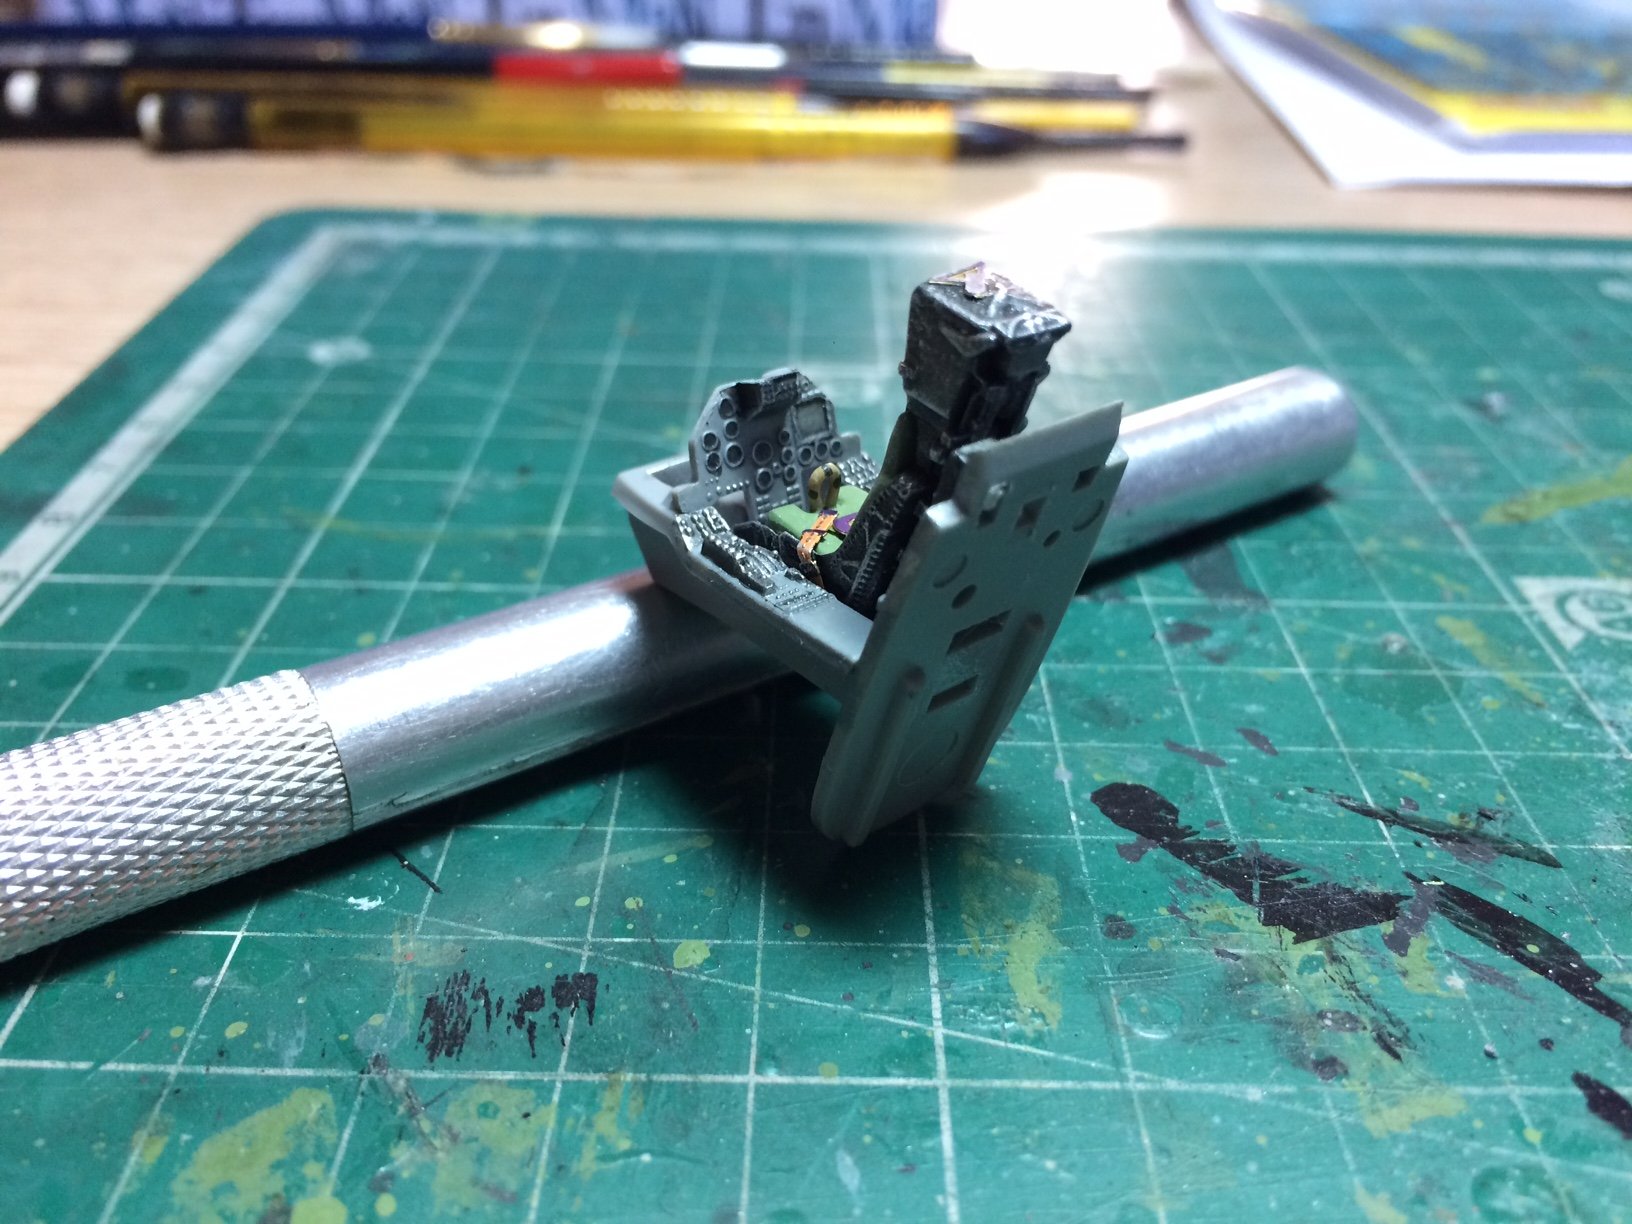
Evening all, got some more good progress today - despite it taking what seemed like ages to put thin paint layers on with hairdryer between each coat, so I put the HUD on the pe frame (fiddly is not the word) as you can imagine not getting glue on the clear part was mission inpossible, after it had set I tried to sand the glue out on the one side I could get to - then I tried the old method of polishing the plastic with tooth past (as you do with canopies, it did a fairly good job but still left behind some marks (not a problem as the front screen will mostly hide this).
So - the tub is finished with the seat glued down.
OC.

- Canute, Jack12477, Edwardkenway and 9 others
-
12
-
Coming on fine can't beat those pre coloured pe pieces.
OC.
- mtaylor, lmagna, popeye the sailor and 2 others
-
5
-
3 hours ago, Canute said:
I flew with a guy who ejected at a high rate of speed. He was grounded for months, but eventually did get to fly again. Multiple waivers for stuff, like the special boot for one leg shorter than the other. Great guy, too. I forget what he was flying when he bailed out, but I knew him at Eglin, in Phantoms.
The MB seat drogue chute was on top of the seat in the F-4 to slow and stabilize the seat. There was a barostat that senses a set altitude and we would separate from the seat with our seat kit and parachute. Think the altitude was 11,500'. Below that altitude, we just separated and the chute deployed. You guys are going to make me drag out my flight manual to check all this stuff.
")
Yep - any "Selfies" would be good also😃
OC.
-
Excellent work - she looks superb.
OC.
- Edwardkenway, cog, mtaylor and 3 others
-
6
-
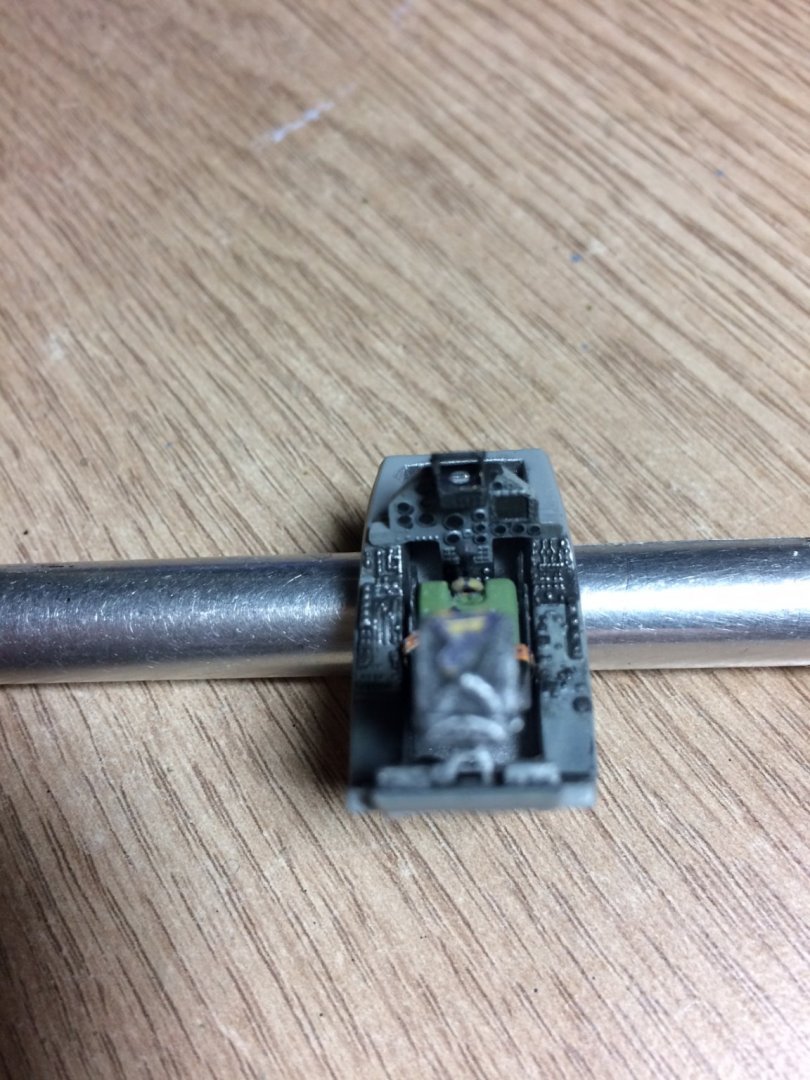
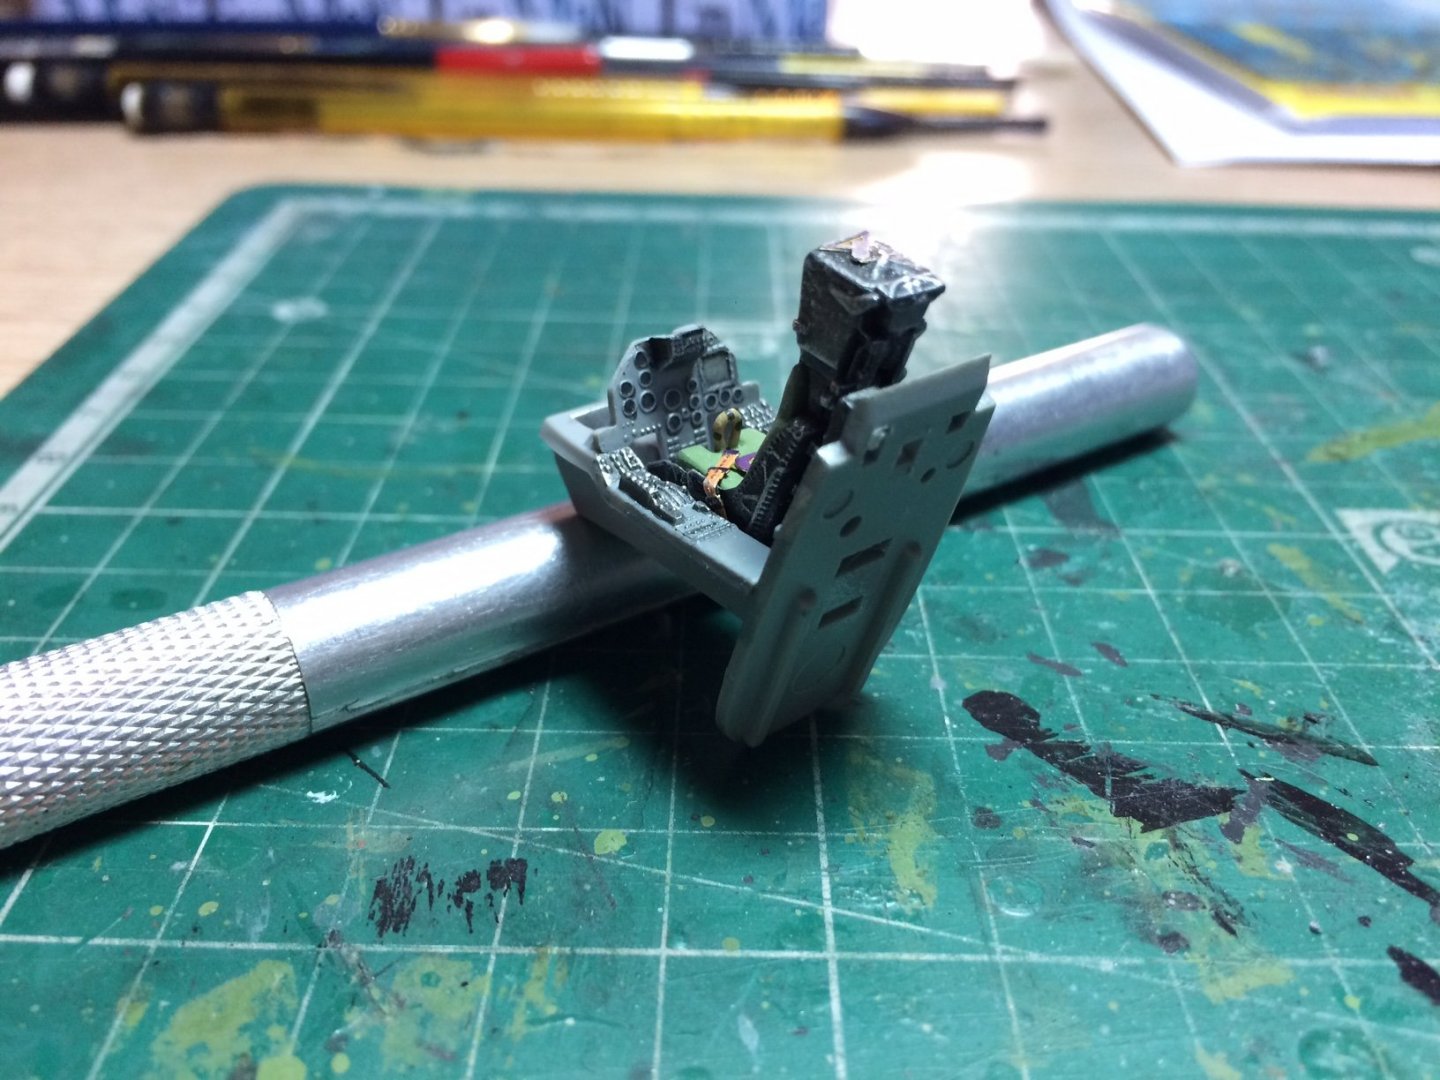
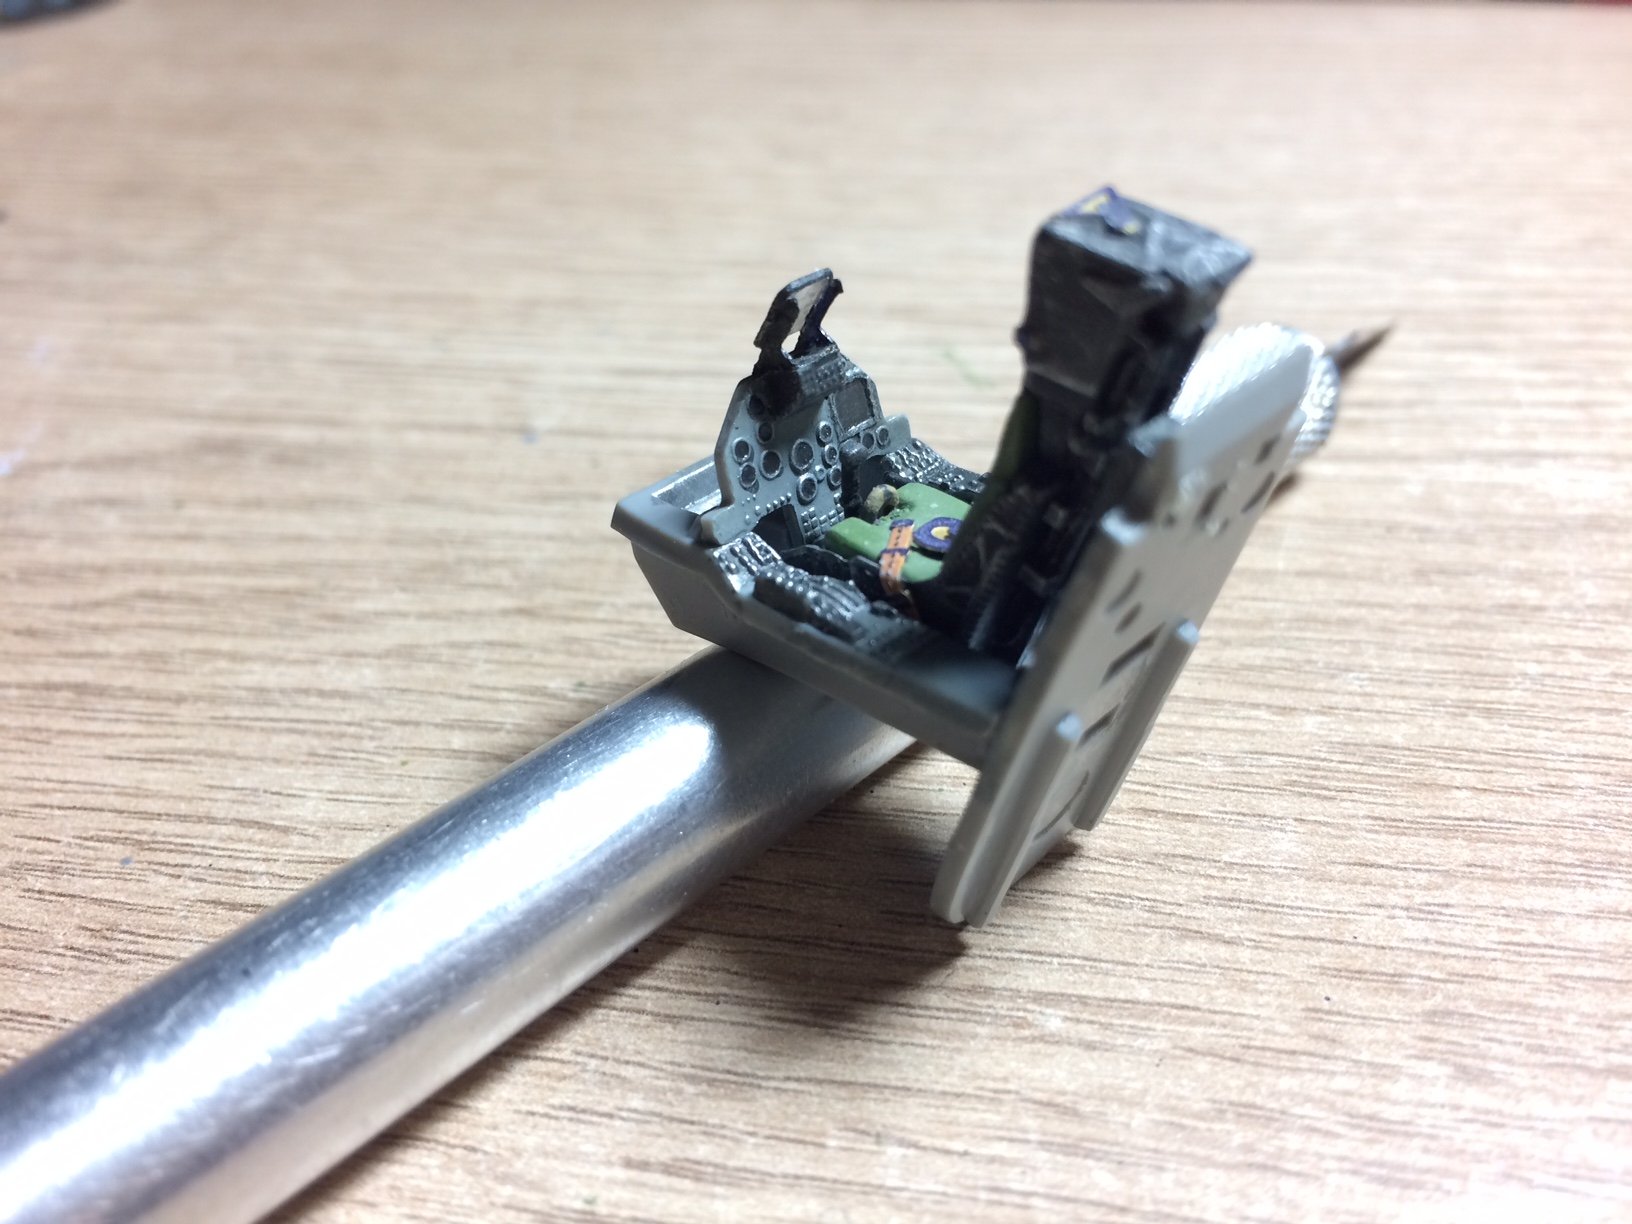
Evening all - so glad to see our refreshments have turned up - building is so much more fun on popcorn, so work continues with the cockpit tub - I gave the bang seat a bit more weathering really starting to bring the details out now, next off was the tub its self - I painted the side walls in flat alum then gave the rest of it a mid sea grey wash in watery coats, then I used a mixture of Black and alum high lighting to bring the details out, same principle with the instrument panel and the rear plate, I then glued them together and dry fitted the seat to check it out.
Still needs the HUD, and a few other fittings.
OC.

- yvesvidal, BLACK VIKING, lmagna and 12 others
-
15
-
-
-
-
That is looking So Good Craig - miles a head of other kits the quality of moulding and your skills making it pop, fantastic build.
OC.
- Edwardkenway, Egilman, Canute and 4 others
-
7
-
10 minutes ago, Canute said:
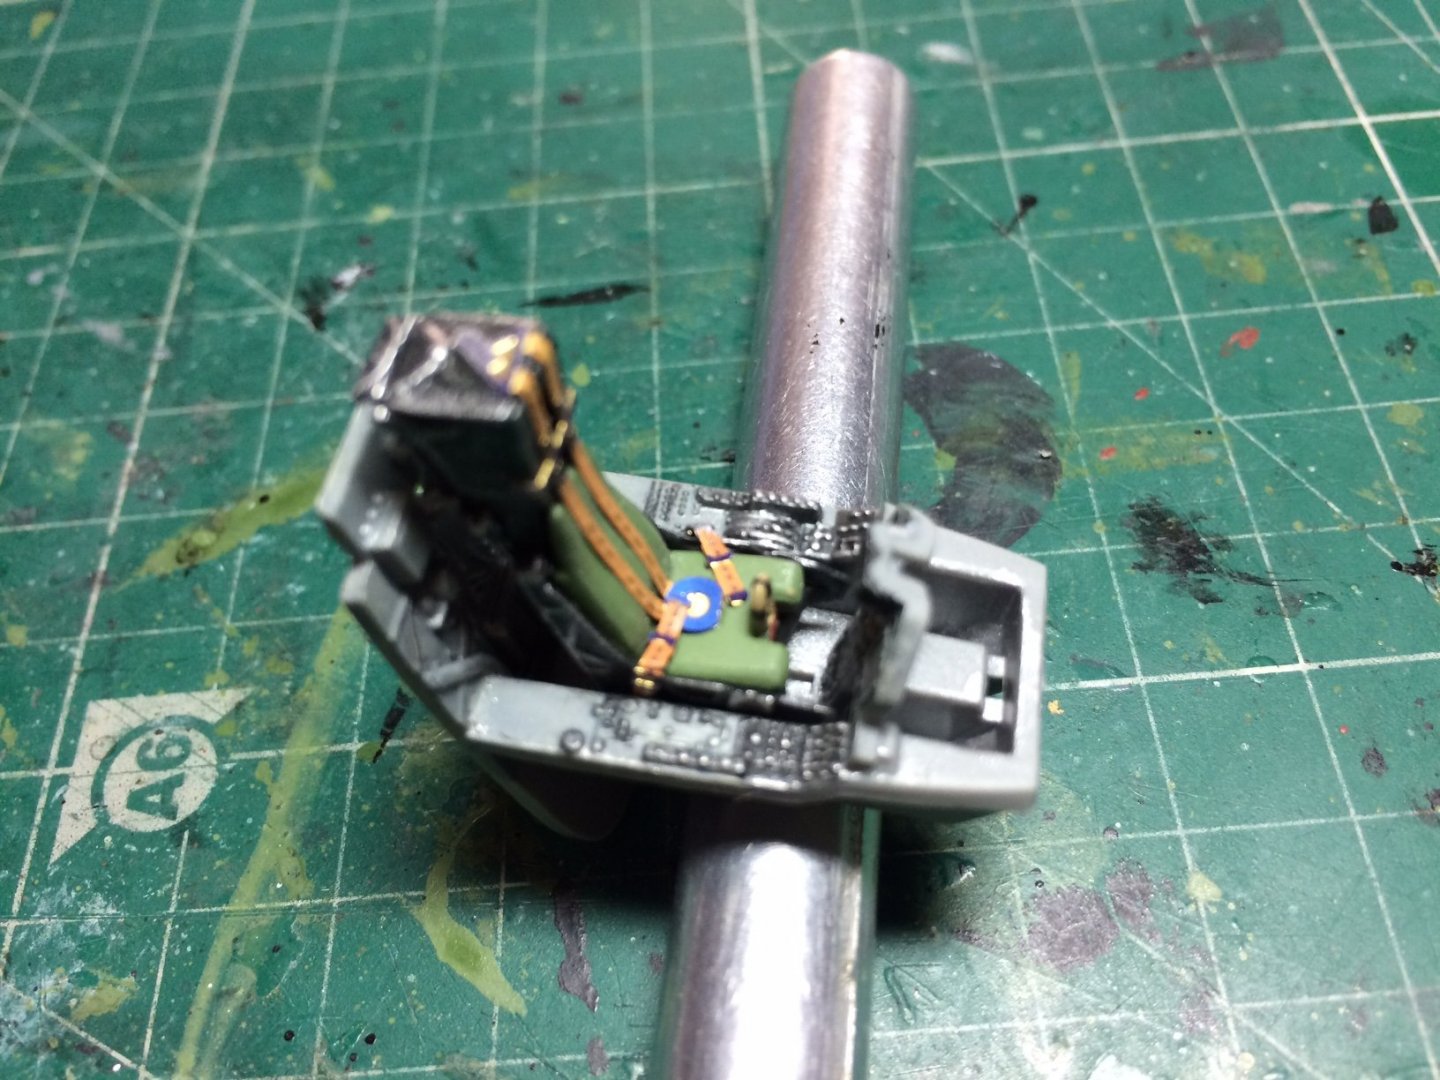
Cool jet, OC. I'm in, too. And your MB seat looks good. It's almost too new, you need to ding it up a tad more with the alu,👍
Thanks Ken, yep I will do that, I was going to put the white/yellow bands on the jet handle - but even under my magnifier - "no chance"
OC.
- Canute, Edwardkenway, mtaylor and 3 others
-
6
-
Loverly work going on there - those fitting really add to her.
OC.
- VTHokiEE and Edwardkenway
-
2
-
Good to see you back Mark, those are some nice fittings there looking forward to more progress my friend.
OC.
-
This was the first time I saw a Sea Harrier in fact Four of them all Falklands vets.
Not my pics off the net.

-
7 minutes ago, Landlubber Mike said:
Nice work OC - I’m in for this one too.
Kit sure does give a lot of marking options!
I think you can potentially build almost every SHAR mk1 built by juggling the numbers around.
Glad to have you on board Mike.
OC.


Sea Harrier FRS.1 by Old Collingwood - FINISHED - Kinetic - 1/48
in Non-ship/categorised builds
Posted
Right the frontal assembly is now complete - I had to first mask (put a bag over the cockpit tub) and spray the intake ducts before attaching the fan unit, next will be some detail to create inside the cockpit/fuselage sides.
OC.