


Old Collingwood
-
Posts
11,472 -
Joined
-
Last visited
Content Type
Profiles
Forums
Gallery
Events
Posts posted by Old Collingwood
-
-
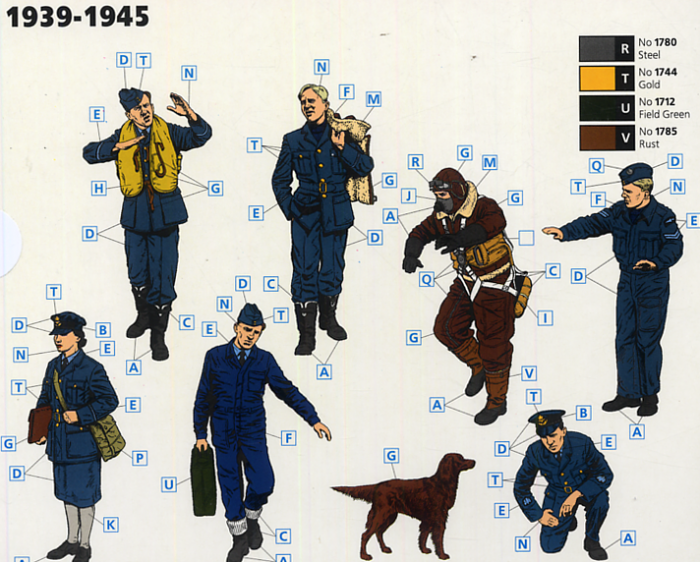
These are the figures and doggy - they are posionable and can swap body parts (that sounds bad)
OC.
- Canute, Landlubber Mike, Egilman and 6 others
-
 9
9
-
4 minutes ago, Egilman said:
Oh yeah, dedication is the name of the game.... Nice jeep color also btw...
I think it stands out quite nicely in that colour bro, dont foreget its gonna get a RAF roundel on the bonnet also.
OC.
-
3 minutes ago, mtaylor said:
Cool.. indeed there are good people around inspite of what the news says. I take it this Mosi will now be a part of a diorama?

It will indeed Mark, have it in my head how I want to set it up - the idea (plan) is that the crew have been driven out to mossie in the jeep, they have got out hanging around near the plane - one of the pilots is on the entrance ladder the other is behind, the plane has been having some minor repairs (me dad still up one of the ladders near mossie) some other staff milling around, in the trailor there is a work bench and some other stuff packed ready to go back to the hanger, the dog is standing on the back seat of the jeep - all jolly.
Well thats just an idea.
OC.
-
1 minute ago, lmagna said:
Speak for yourself EG! There is no help for me, just ask my wife or kids!
Now we expect the same quality on this part of the build as before OC. No slacking!

I aim to please Lou, I have a cunning plan how to set it up - it should be quite busy with me dad loitering around somewere near the mossie, there is even a doggy.
OC.
- Edwardkenway, mtaylor, Egilman and 4 others
-
7
-
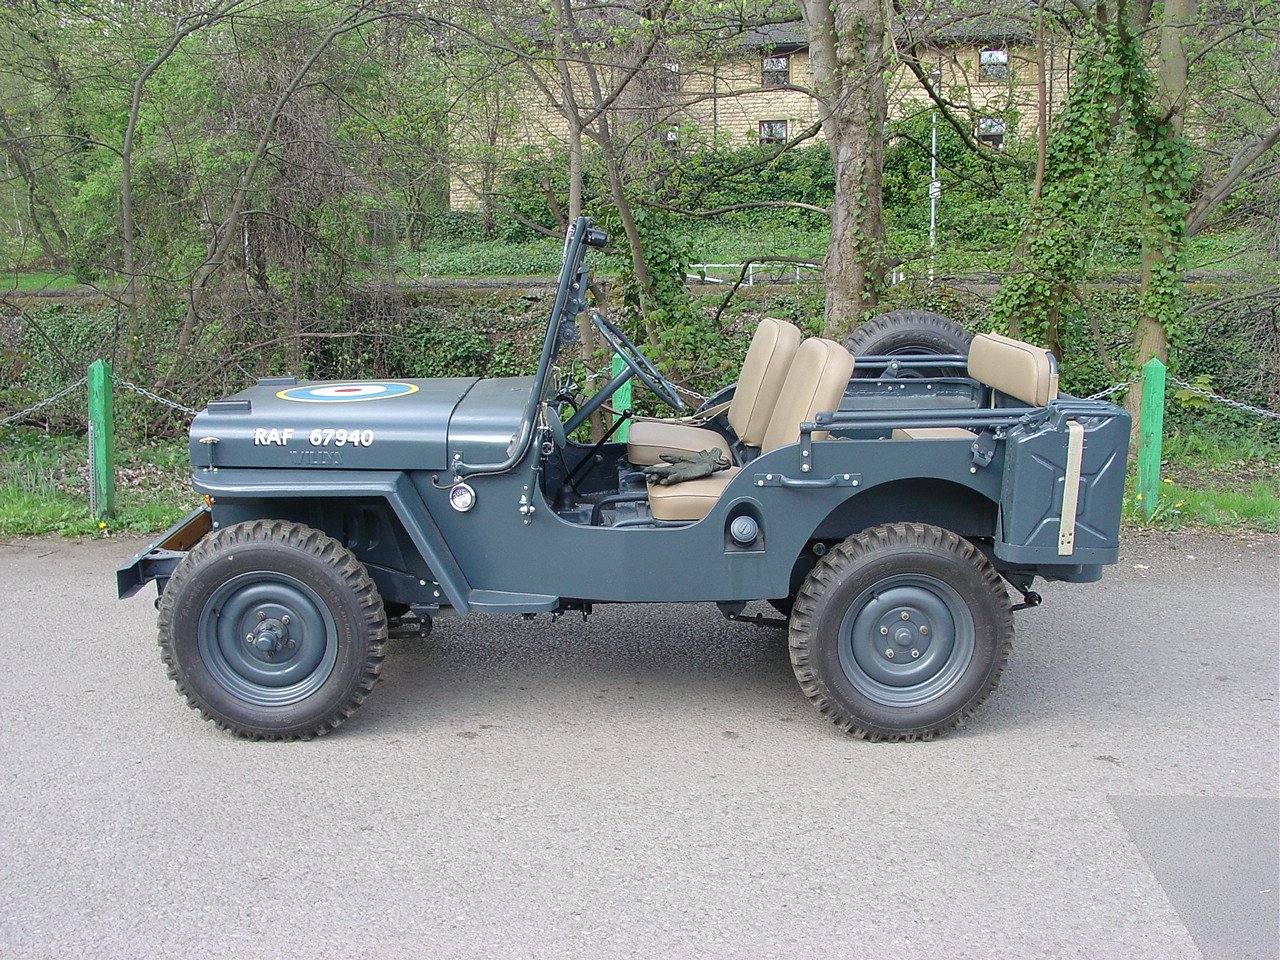
This is the eqv of what I am building -
Pic off the net.
OC.
- Egilman, popeye the sailor, mtaylor and 3 others
-
6
-
9 minutes ago, Kevin said:
there will always be nice people around, just the bad ones get the news
Indeed my friend - this place is full of Truely decent people who I feel honoured to call my friends.
OC.
- Canute, Edwardkenway, Jack12477 and 5 others
-
8
-
-
-
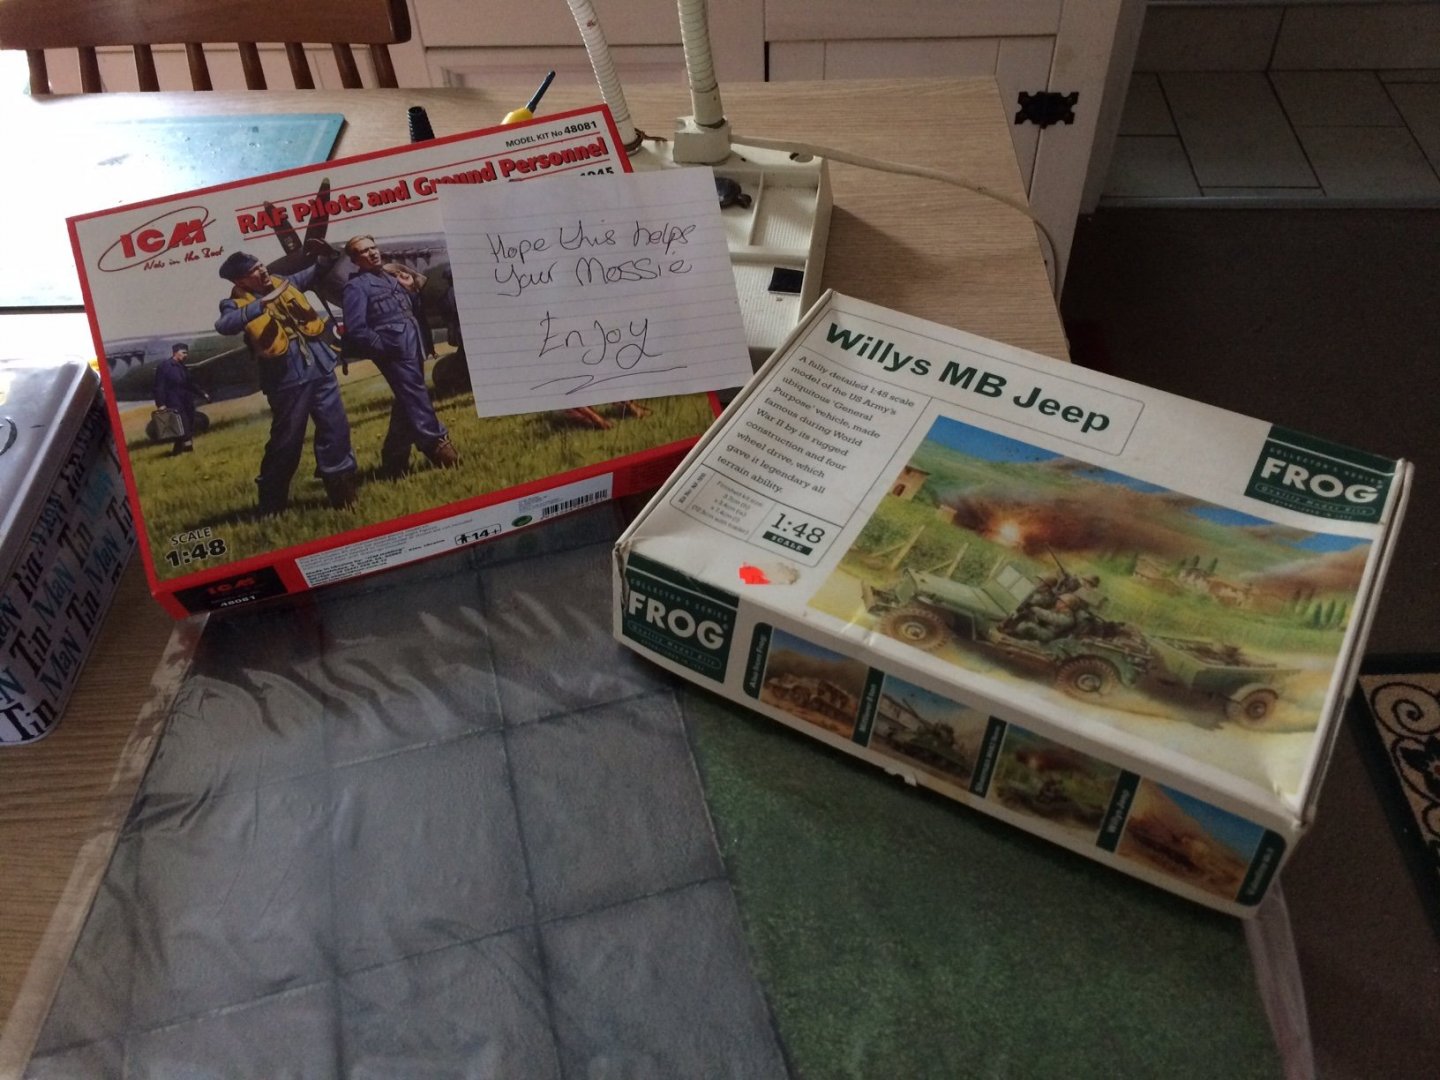
Hi all, so I dived right in - my freebies consisted of - a Superb looking mat looks like its part grass - part slabs made from a kind of stiff rubber, then there is a kit of RAF WW2 airfield staff including a pilot and some equipment, last a jeep and trailer.
I decided to start with the jeep - I am doing it as a RAF version with the open top with the trailor (this will contain some of the equipment from the figure kit)
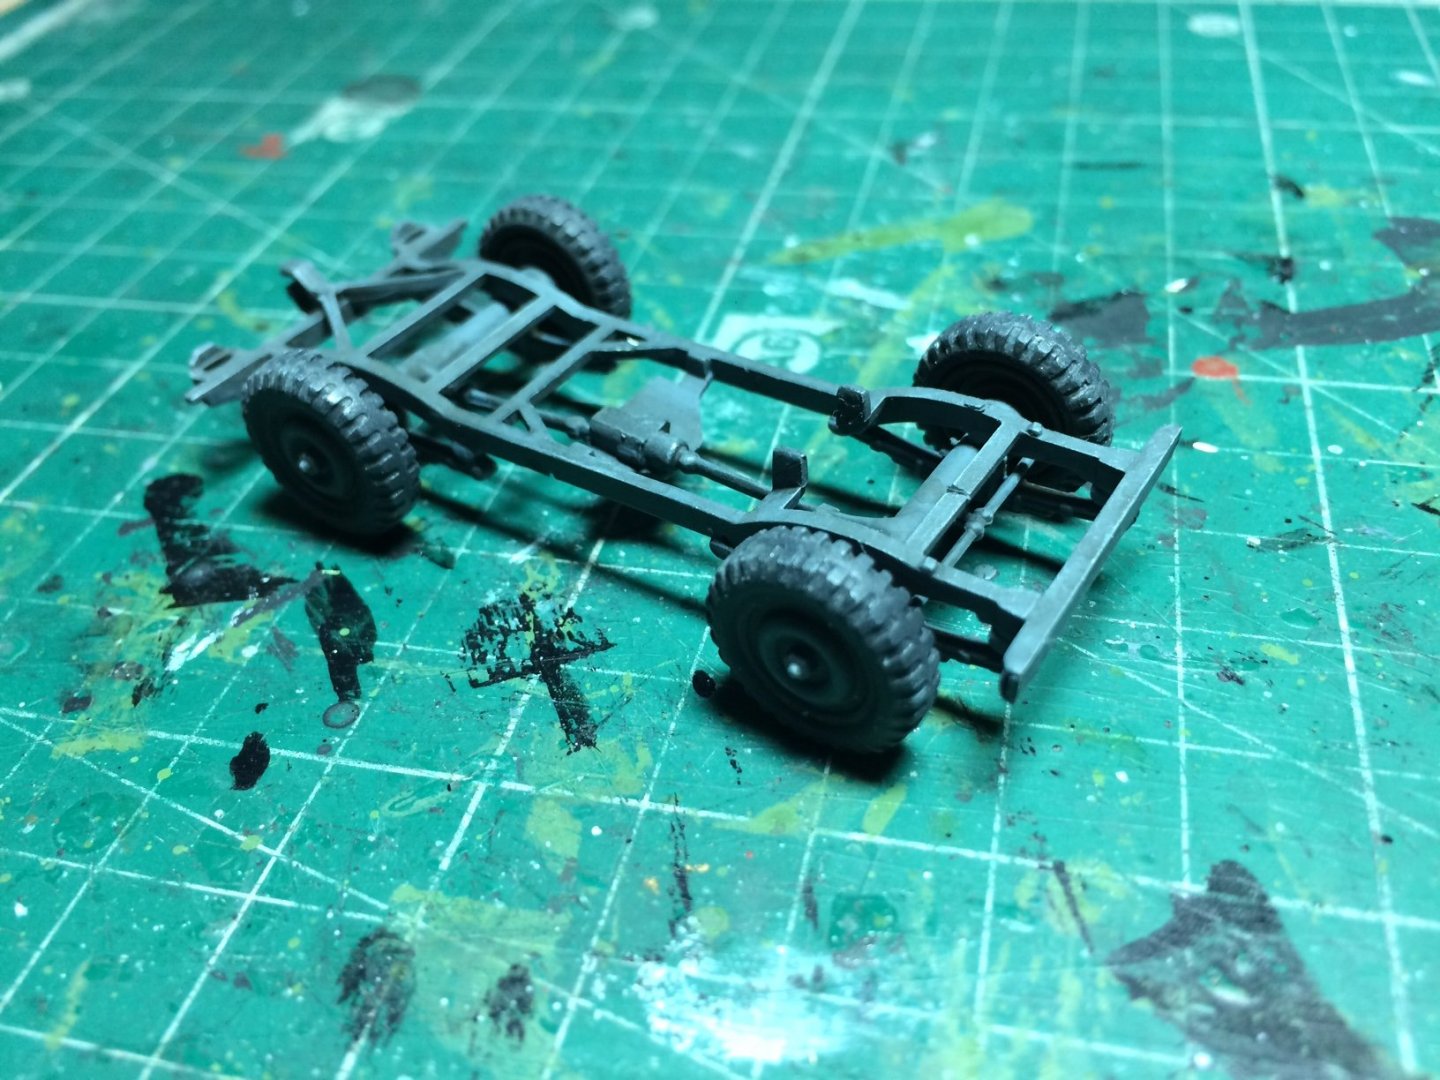
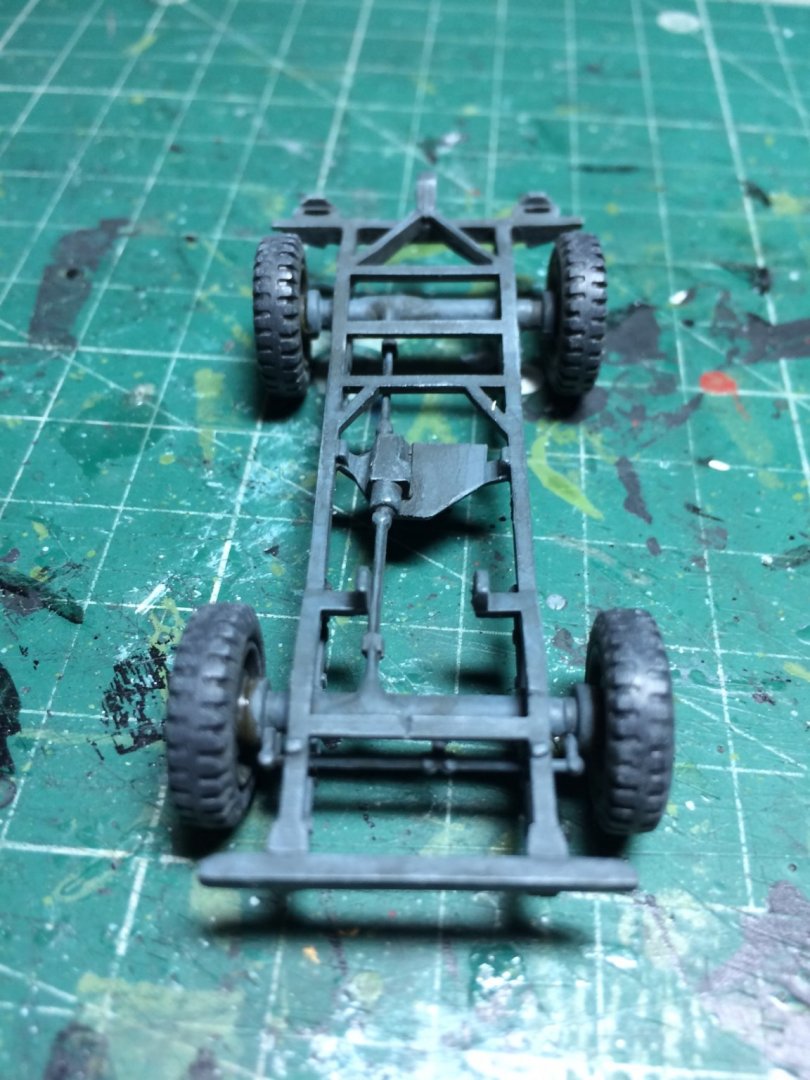
First I assembled the chasis then painted it RAF Blue/Grey then ran a few washes over it finished off with some high lighting, I havn't built a vehicle in a long long time and never in 1/48 last was in 1/35.
OC.
-
I am still in shock 😃😃😃
OC.
- lmagna, mtaylor, BLACK VIKING and 7 others
-
10
-
-
Hi all,
Post man arrived this morning with the normal junk, but there was also a larger parcel that I/we was not expecting so I opened it and these were inside with a note - I was truly choked and supprised.
Dont know who its off but a huge thanks is due to them.
OC.
-
They are sometimes horribly over size also especially seats.
OC.
-
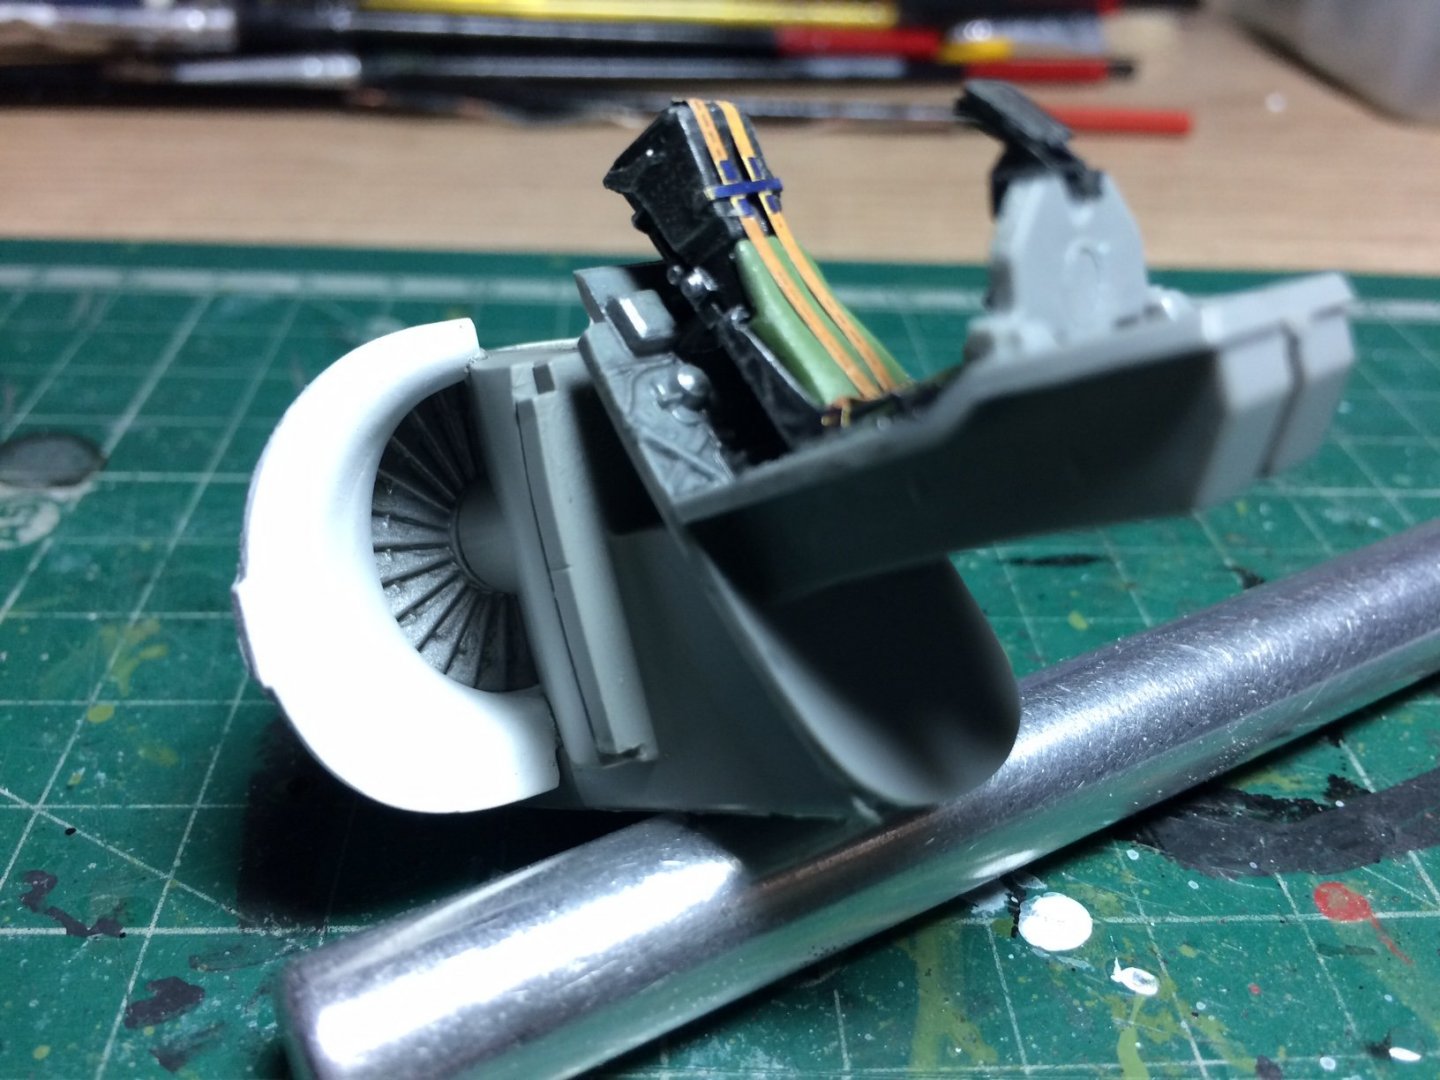
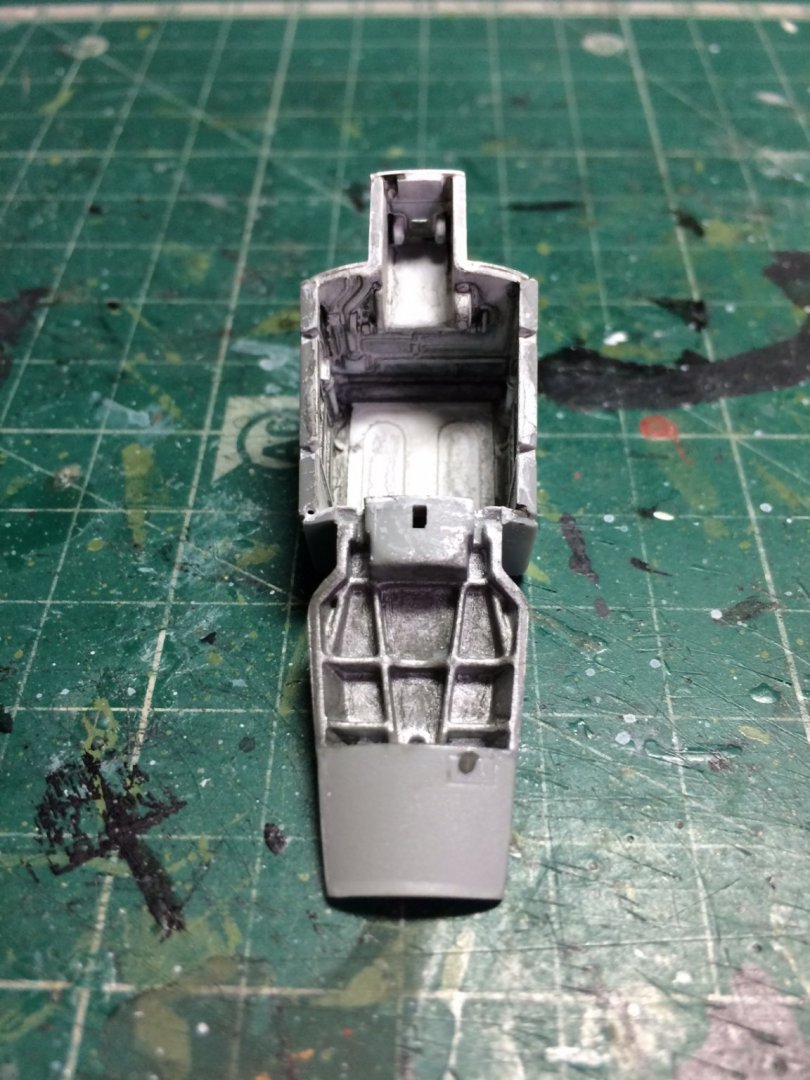
Right the frontal assembly is now complete - I had to first mask (put a bag over the cockpit tub) and spray the intake ducts before attaching the fan unit, next will be some detail to create inside the cockpit/fuselage sides.
OC.
- Moab, Landlubber Mike, mtaylor and 6 others
-
9
-
Looking good mate.
OC.
- Edwardkenway, mtaylor, Jack12477 and 2 others
-
5
-
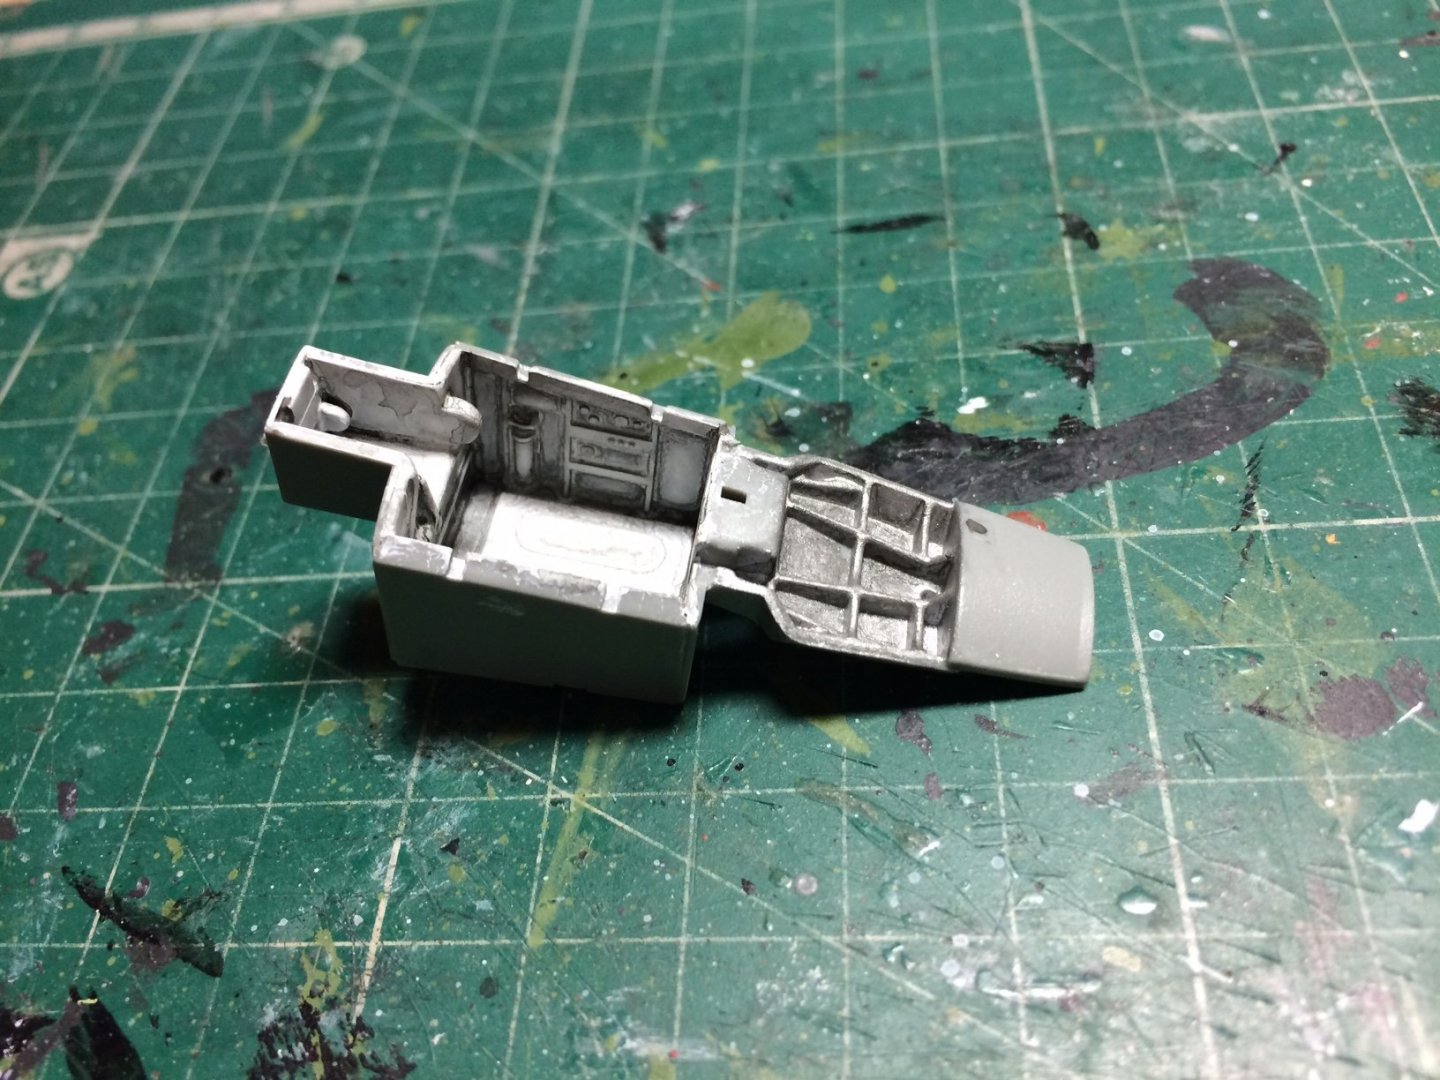
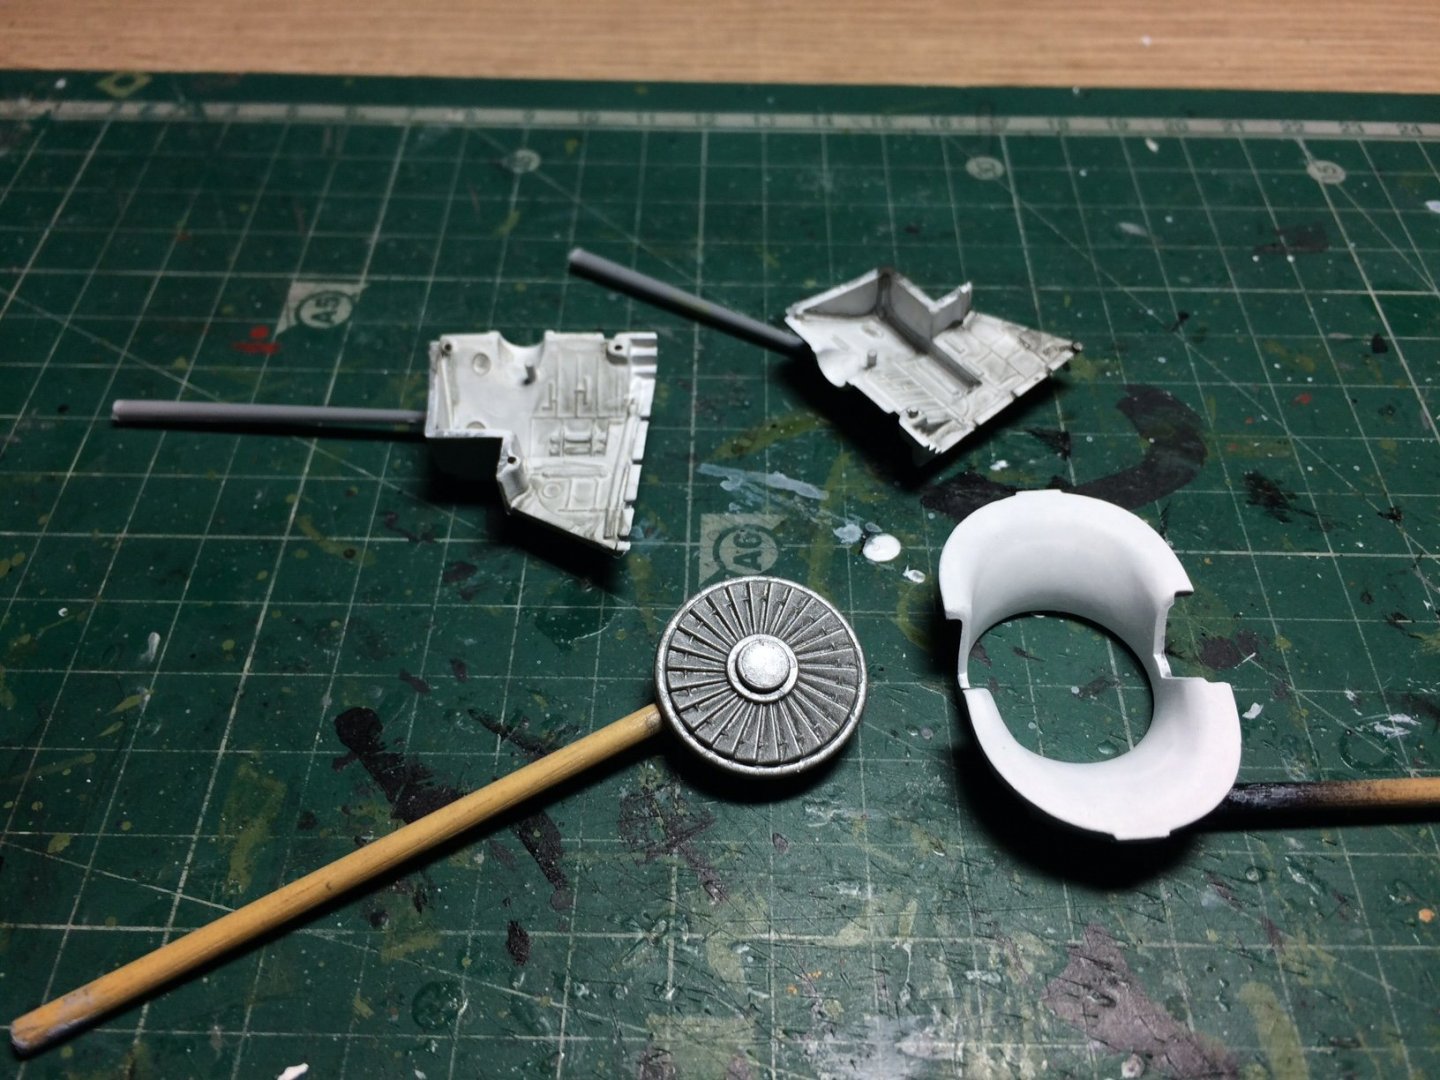
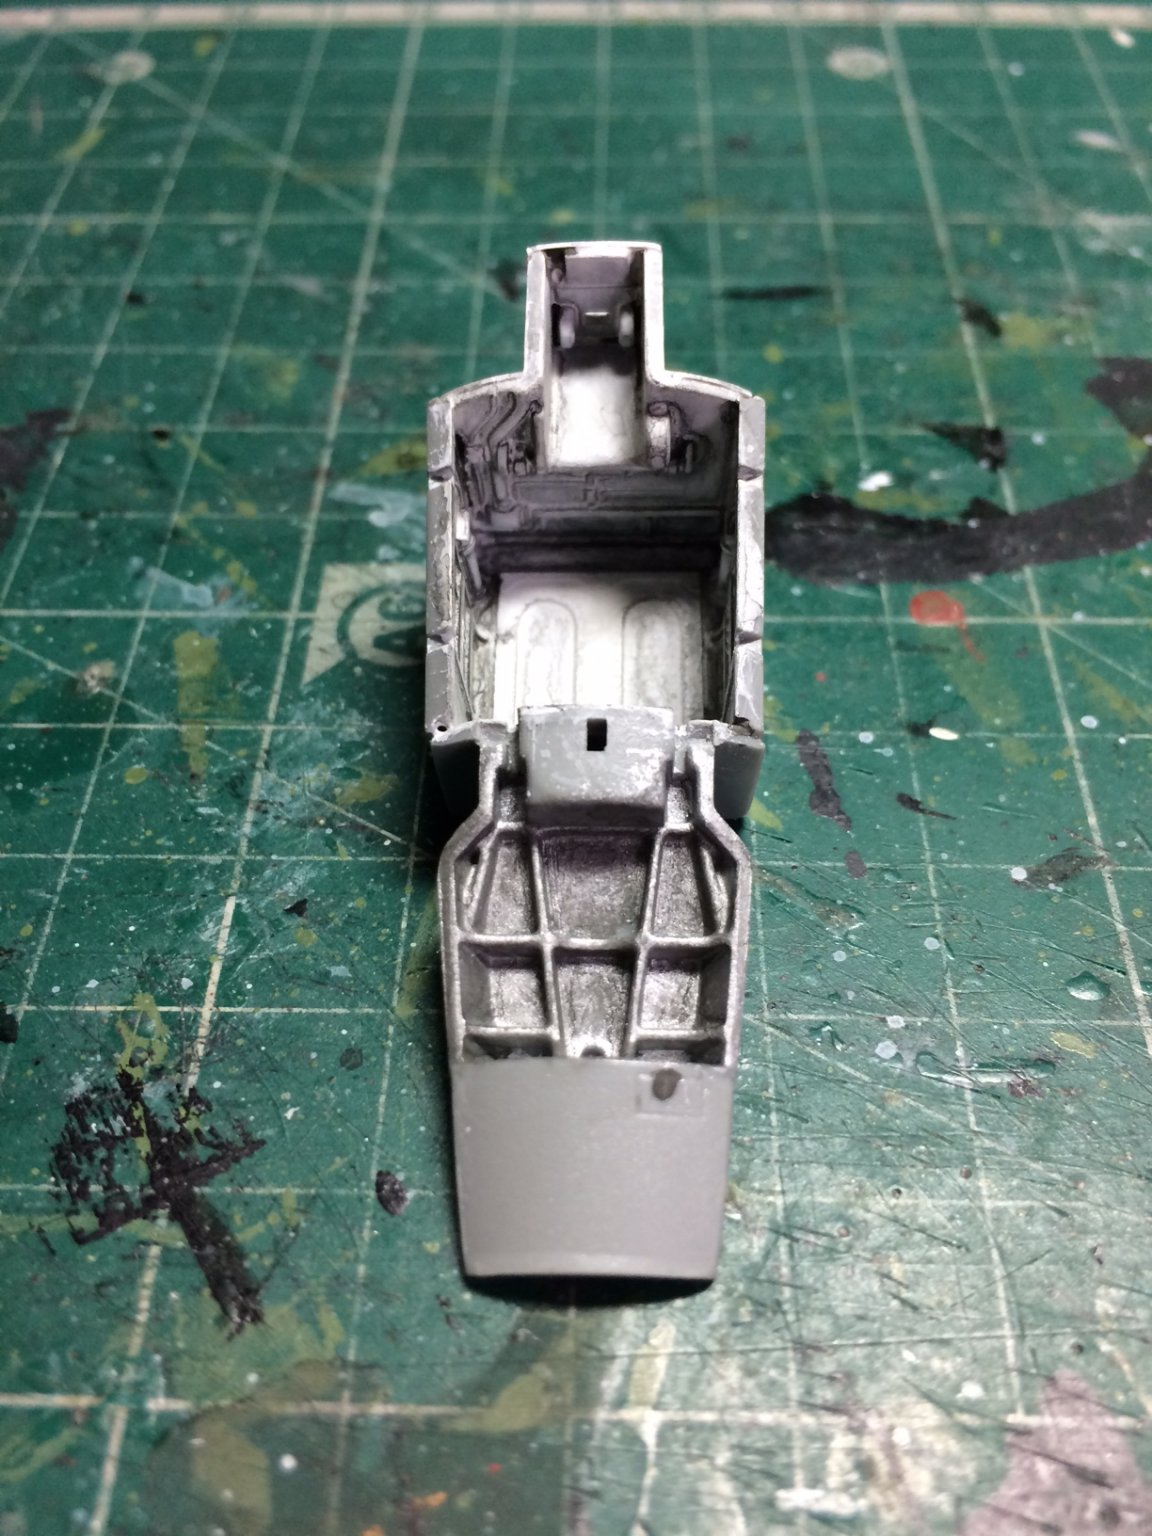
Hi all, more work today - next stage was to construct the main wheel well, this is made up of Four parts and contains some good engraving like the front, after cleaning up some of the edges (nothing drastic - just where the pips from the spru were joined) I then did a few washes of dull white, then when dry - same procedure with a dirty wash, then a bit of alum high lighting, I then glued both parts of the front wheel well together.
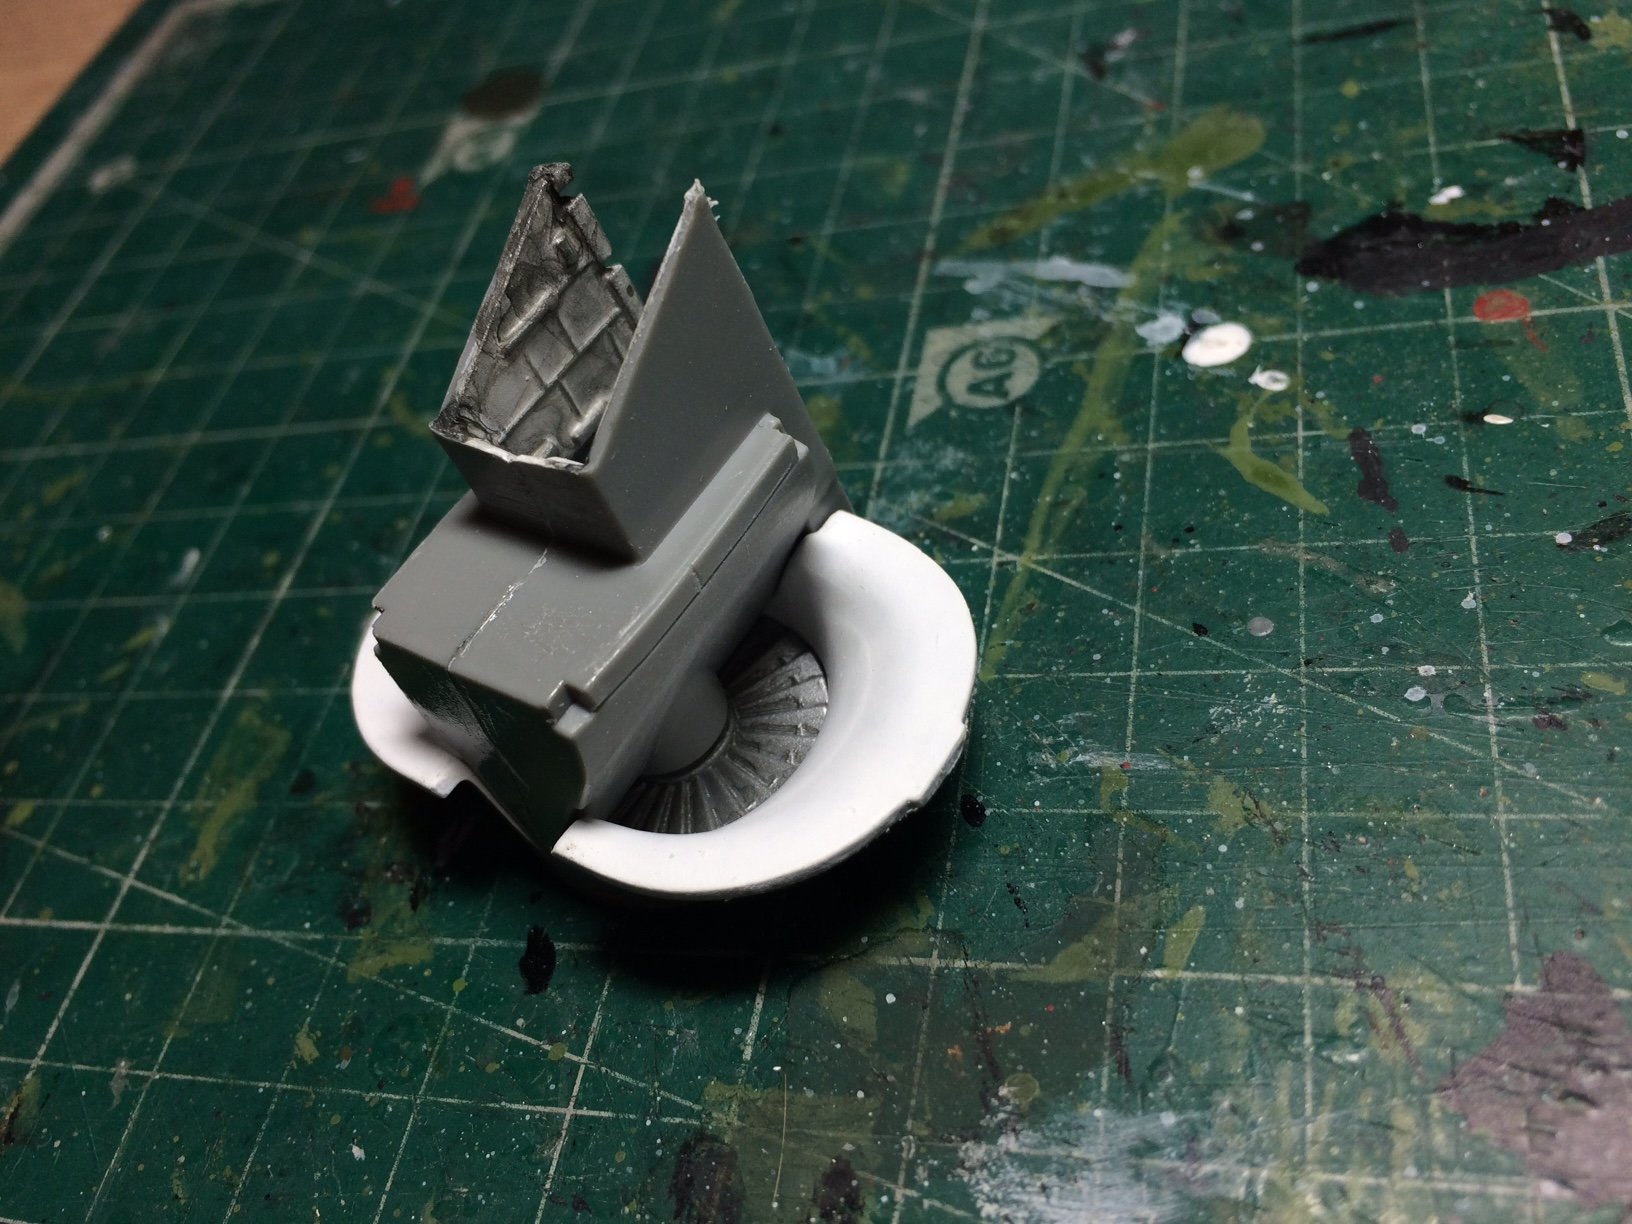
The airbrake pit them got a coat of flat alum and a wash, also I glued the front fan to the assembly and dry fitted against the front wheel well assembly.
OC.

- mtaylor, Landlubber Mike, Canute and 5 others
-
8
-
9 hours ago, Edwardkenway said:
Looking real good OC!!
Thank you Edward.
OC.
- Canute, mtaylor, popeye the sailor and 1 other
-
4
-
6 minutes ago, Egilman said:
Who said you need PE to build a nice cockpit? (of course it helps having a cockpit in the kit that looks like the real thing)
Nice Job Brother....
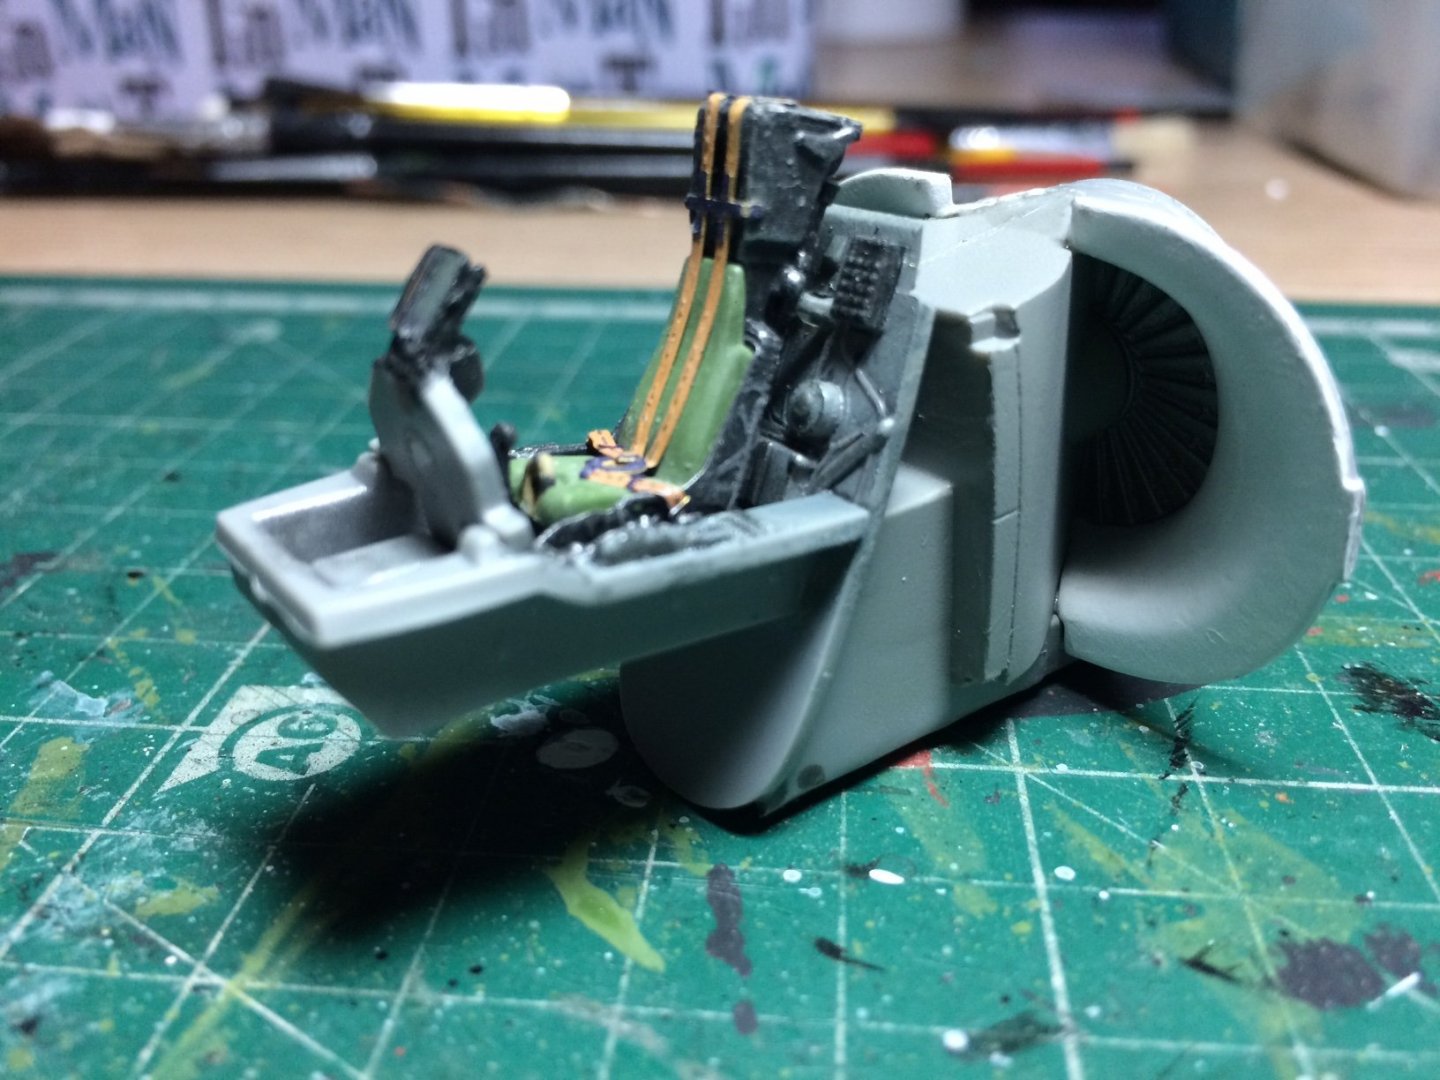
Thank you for that, it is rather well moulded, I will have to add a bit of scratch work on the side walls in the cockpit as they are a bit bare.
OC.
- Edwardkenway, Egilman, Canute and 3 others
-
6
-
Just now, lmagna said:
Nice work OC
Thank you kindly Lou.
OC.
- Egilman, popeye the sailor, Canute and 2 others
-
5
-
1 minute ago, jwvolz said:
A car now too???
Wow, you really have embraced the dark side fully Mike! 😄
The say "Once you dip your fingers in plastic modeling - your fingers turn to plastic, or if you come from wood - you get plastic splinters"😄
OC.
-
Excellent work Kevin - each post showing more and more fine workmanship by you - you will be able to "splice the mainbrace" soon

OC.
- clearway, Kevin, popeye the sailor and 1 other
-
4
-
14 minutes ago, VTHokiEE said:
Wow... just wow
Thank you mate - welcome aboard this little trip down the Falklands way.
OC.
-
Talking of James Bond films - I would love one day to build a model of a Lotus Esprit mk2/3 (not the one that converted into a sub) reason being I once nearly owned one (got close to a moment of excitement and madness)
OC.
-
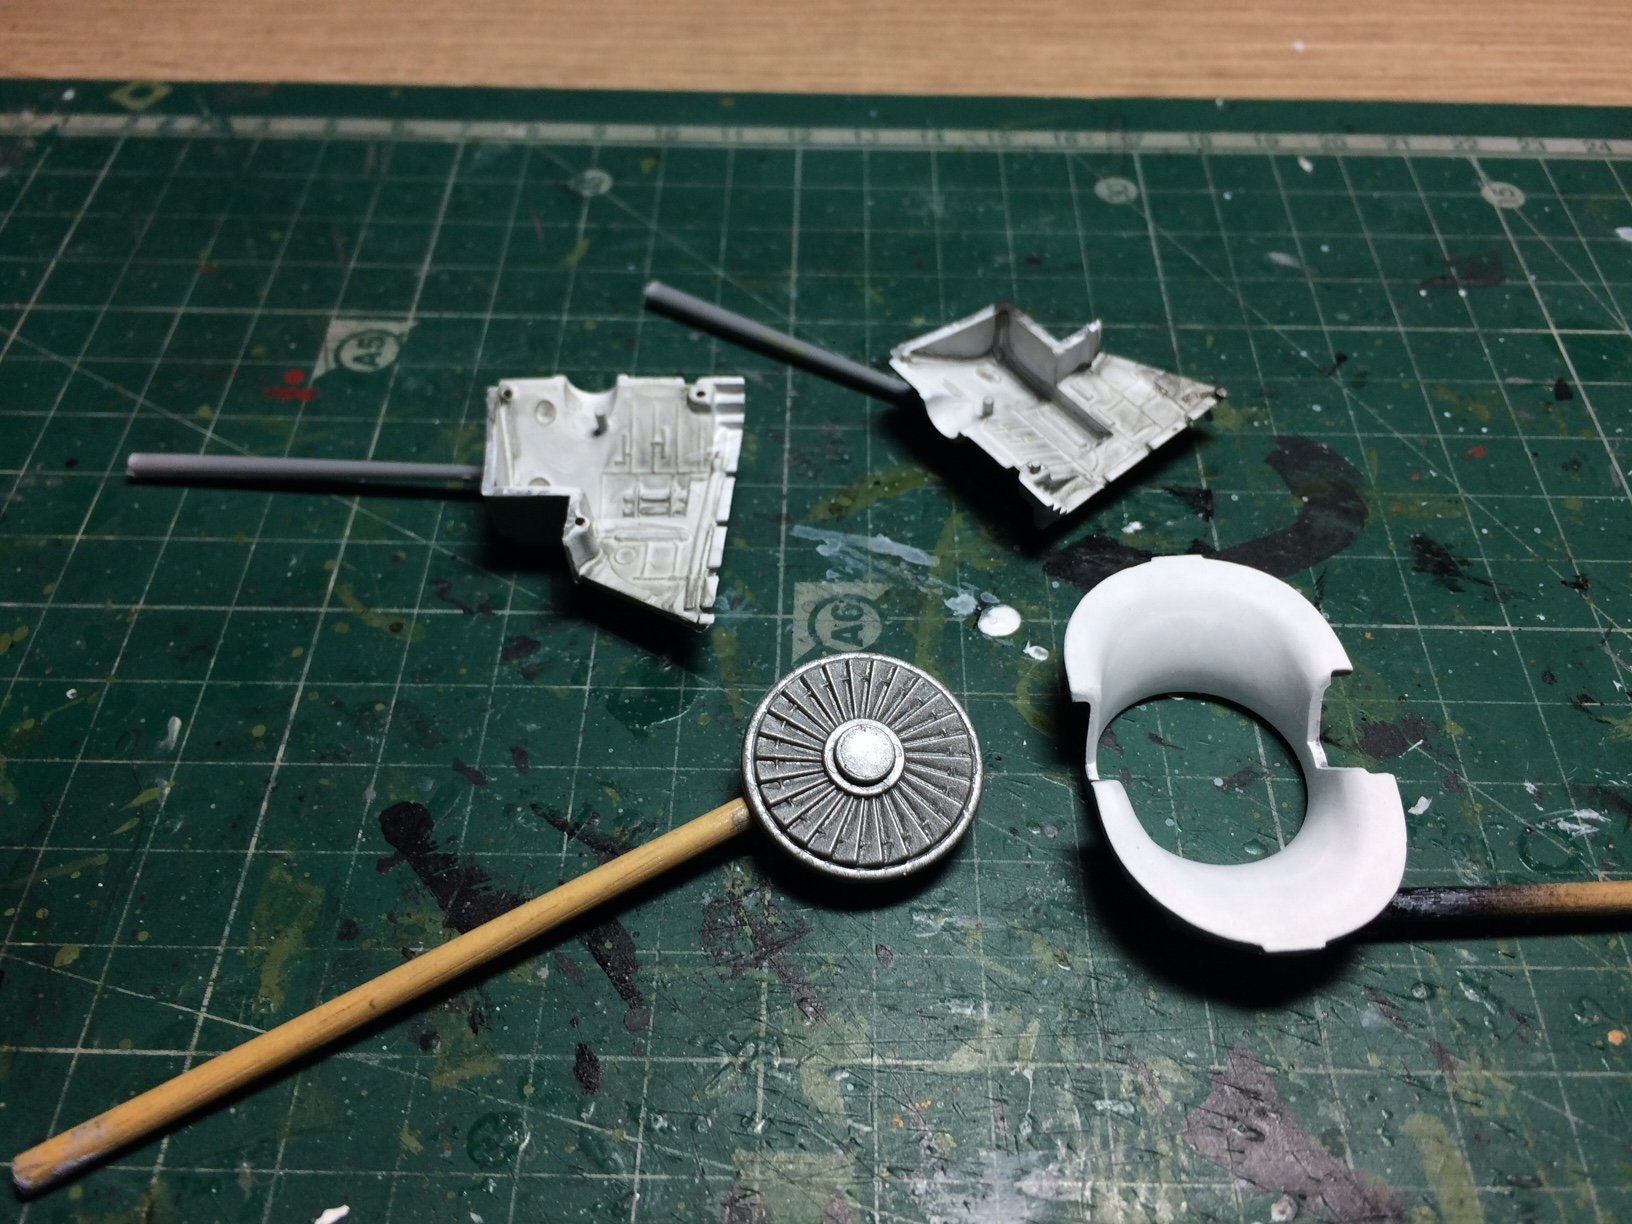
I put the tub aside and going by the structions - next area is the front wheel bay and front fan blade assembly/surround, the blade assembly trunking is one piece and needed a tiny bit of clean up - then it received severa..............l coats of dull white acrylic with a brush (as I mentioned above) I was aware of getting tiny specs of dust and hairs on the paintwork so I needed to keep checking for this, It will need a bit of a polish as its supposed to be a smooth almost satin finish, next was the wheel bay - this comes in two sections to aid detailing, so agian it was a case of putting down several coats of dull white, then when dry I ran a dirty wash of watery dark grey/black and heated it with a hairdryer (they were renowed for catching all the dirt and grime in there - same as the main wheel bay).
Oh, and the fan blade received some flat alum.
Here is a pic of the above on my mat after painting.
OC.
- GrandpaPhil, marktiedens, Canute and 8 others
-
11


Mosquito B Mk IV - FINISHED - Revell - My next non-ship project
in Non-ship/categorised builds
Posted
Thank you Edward, doesn't it just, some amazing people out there.
OC.