


Old Collingwood
-
Posts
11,442 -
Joined
-
Last visited
Content Type
Profiles
Forums
Gallery
Events
Posts posted by Old Collingwood
-
-
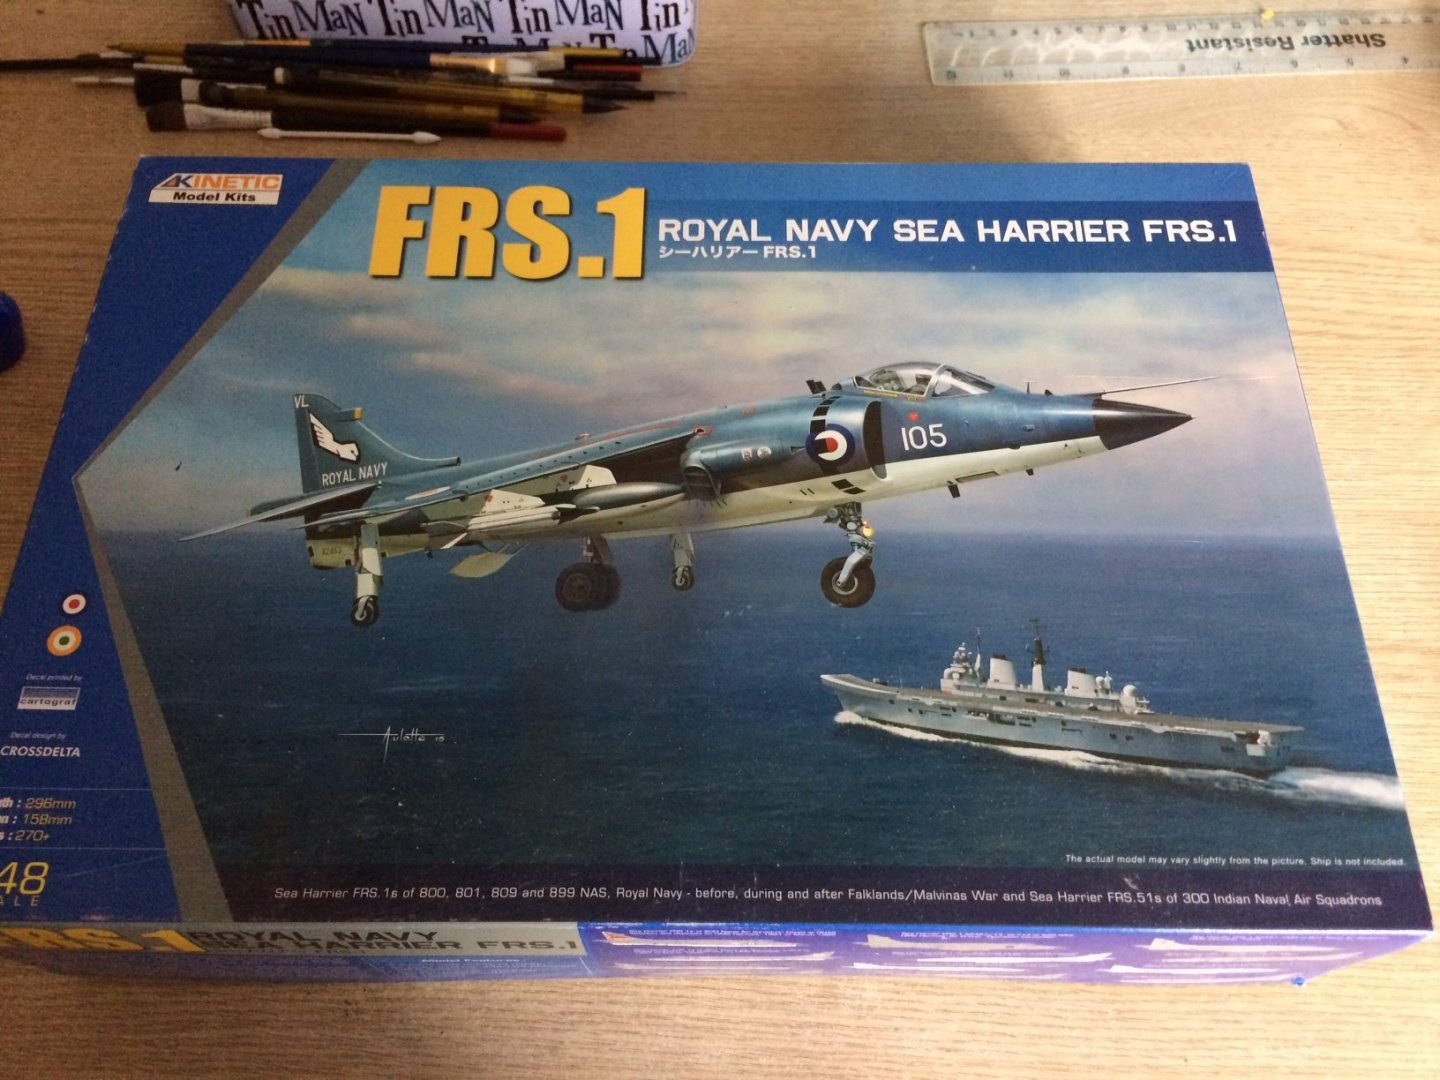
Hi all, I have put my two spits on hold for a bit - time to change subject matter and come forward in time a bit, I have always had a love affair with the Harrier after seeing my first one when I was seven at an airshow with my dad, I was in aw of them and the noise they made when lifting off verticaly (amazing) another one of my loves is the Navy (blame my late farther) I tried to join the navy just before the Falklands War but never made it, and when the Falklands kicked off I was watching almost every movement by the Sea Harriers in action on the Tv.
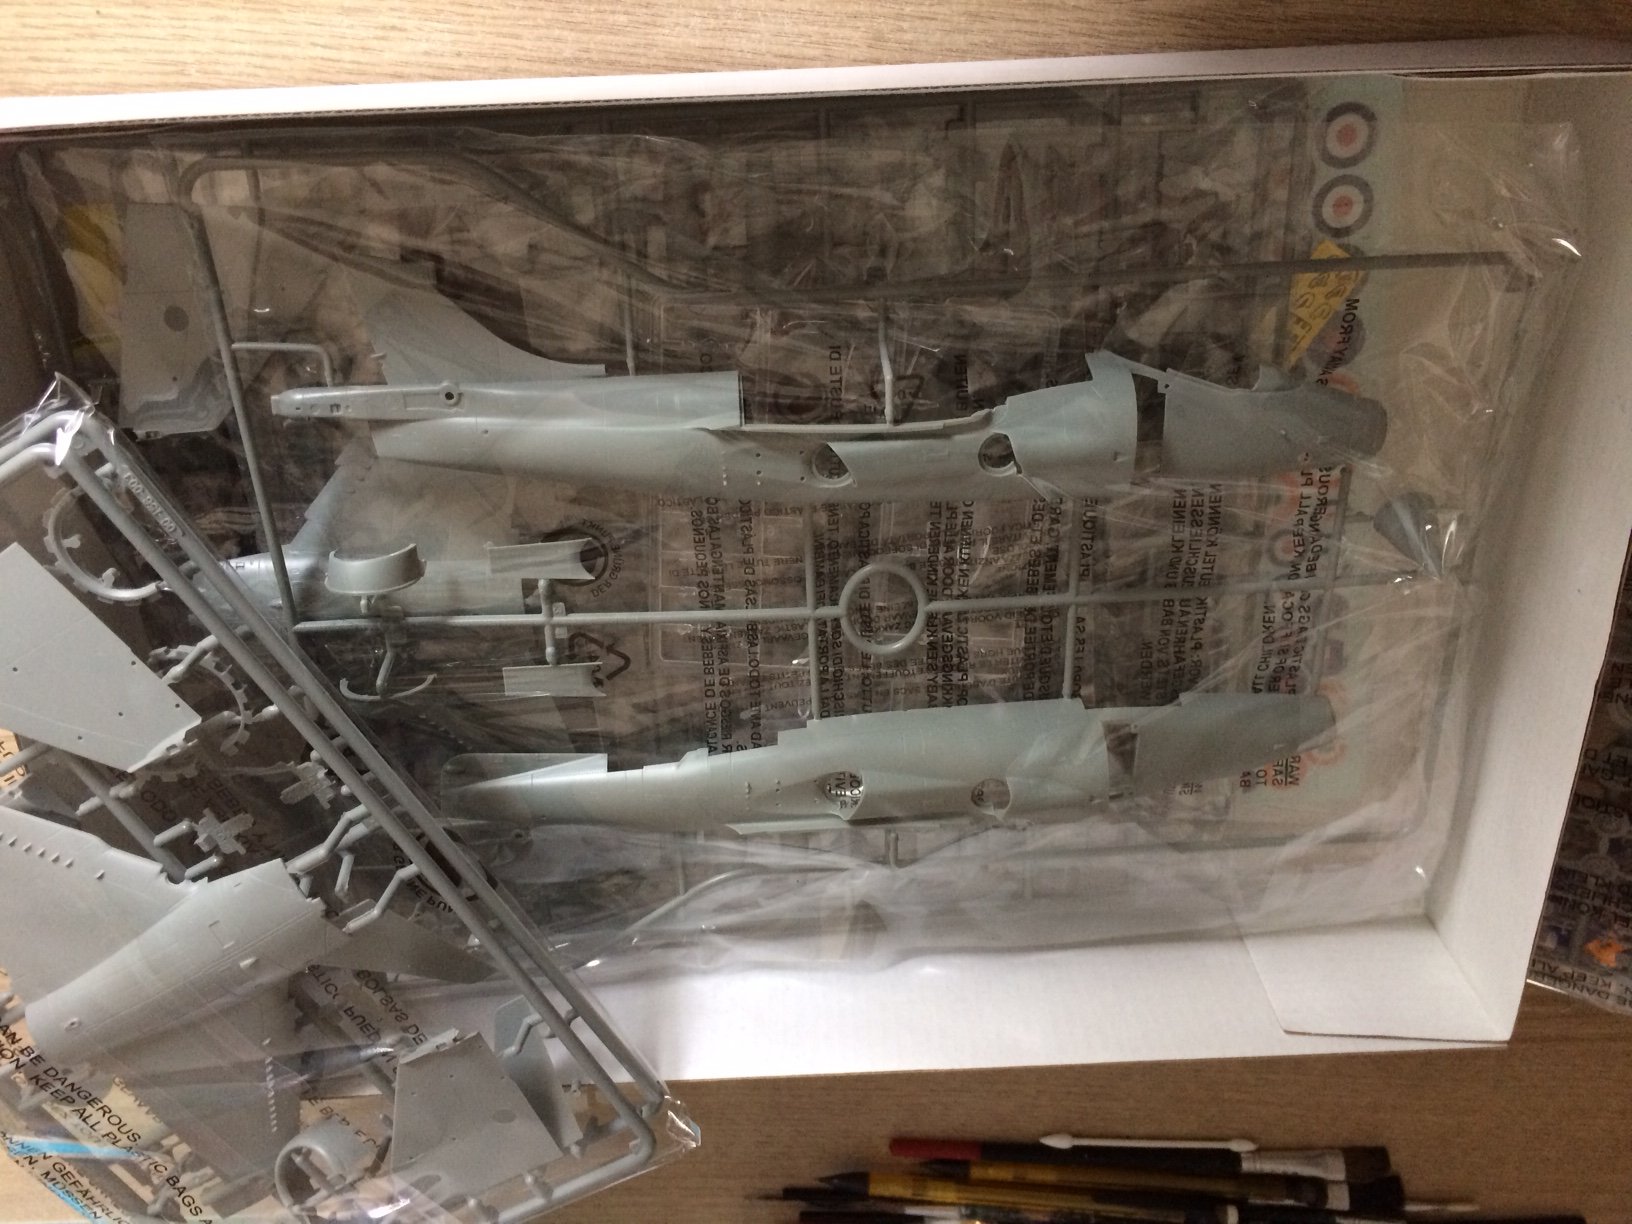
I have built several of them mainly in 1/72 scale including the Esci and Airfix versions - but I always wanted to do a 1/48 kit - so when the Tamiya version came out I snapped one up - but that kit was famous (for all the wrong reasons) totally the wrong shape and poor details but I still built a couple of them.
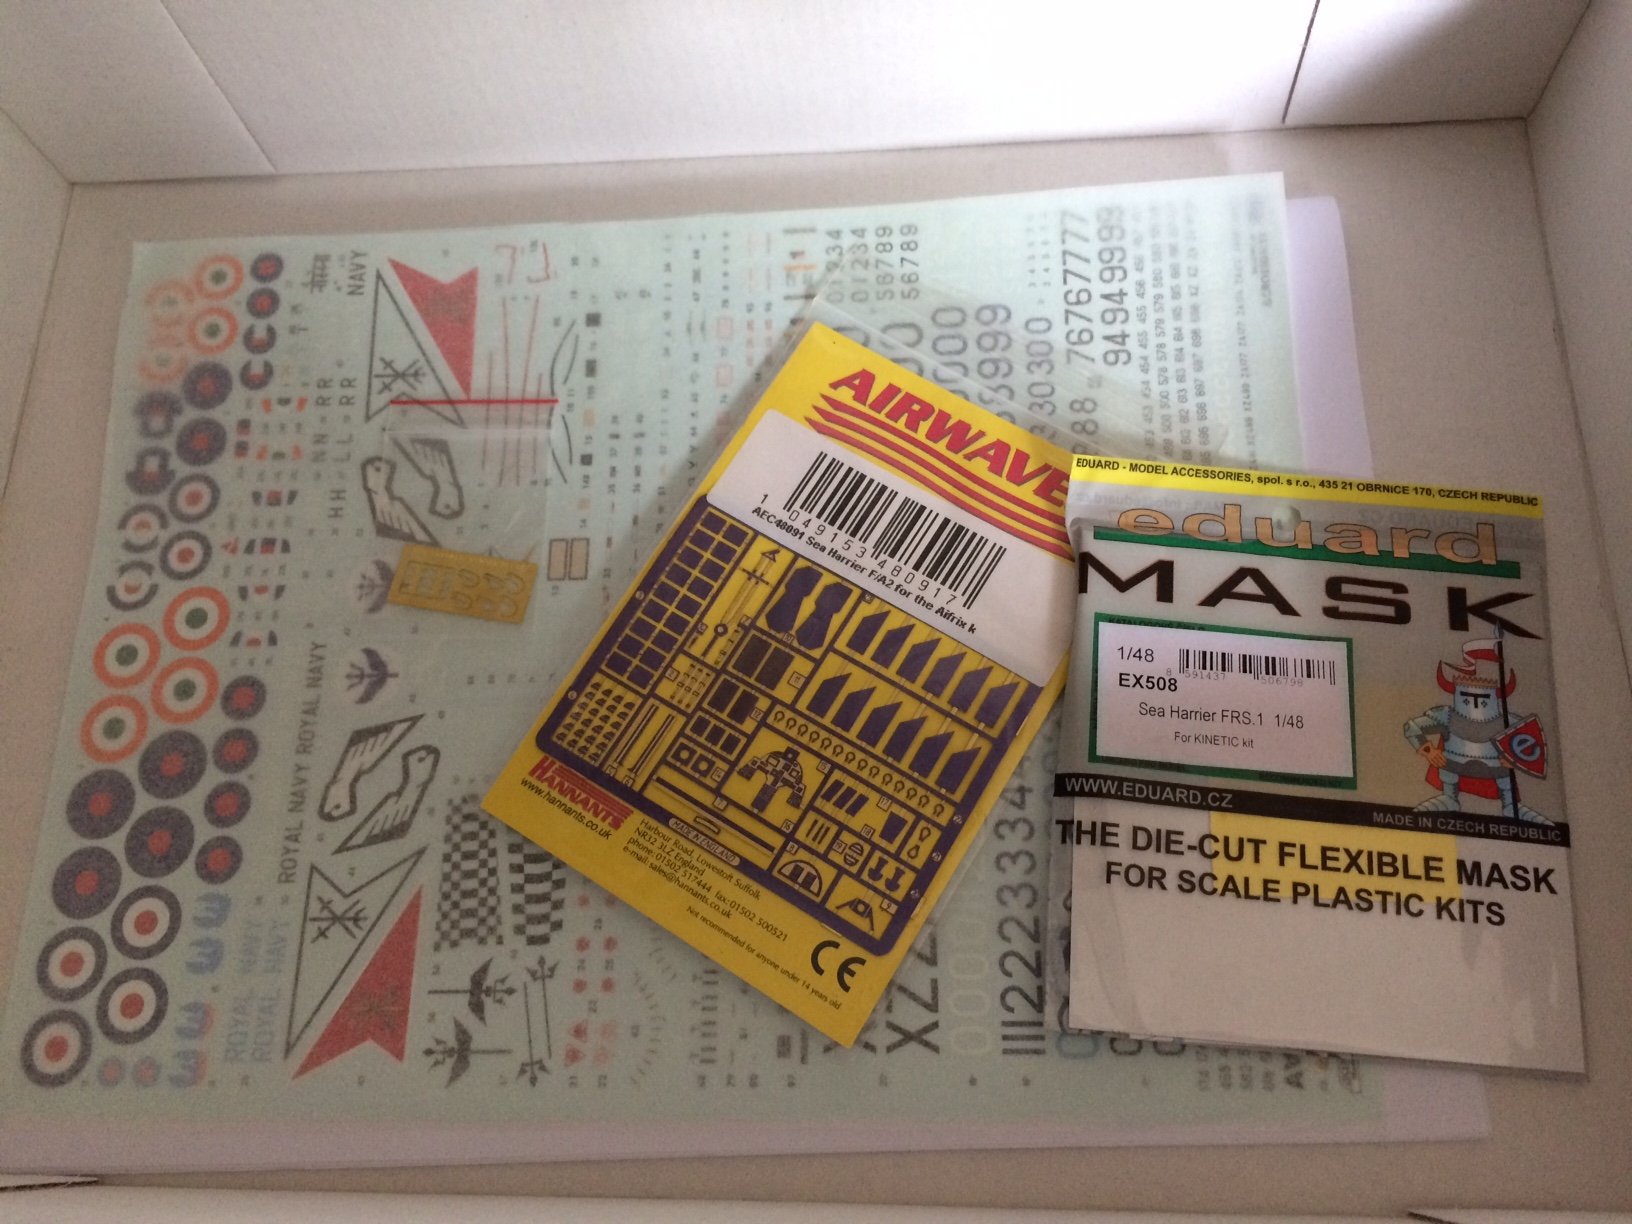
This brings me to the current day some time a go I was checking out what Ebay was doing and spotted this on bids - yep patience and I won it got it for a great price with the kit was some nice extras.
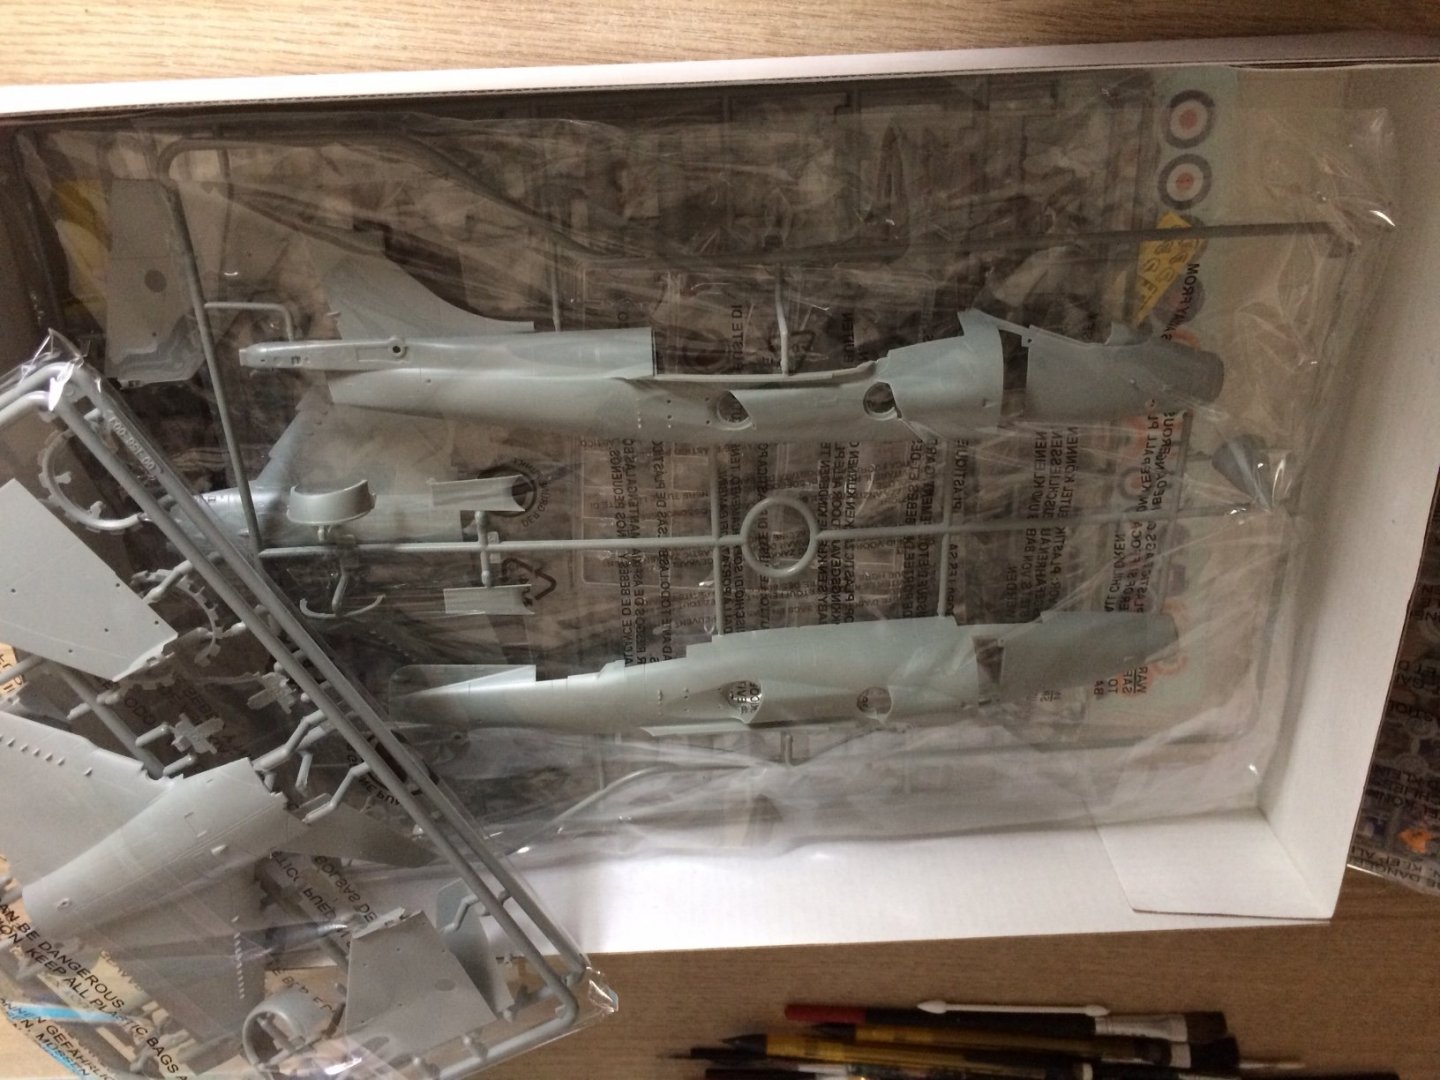
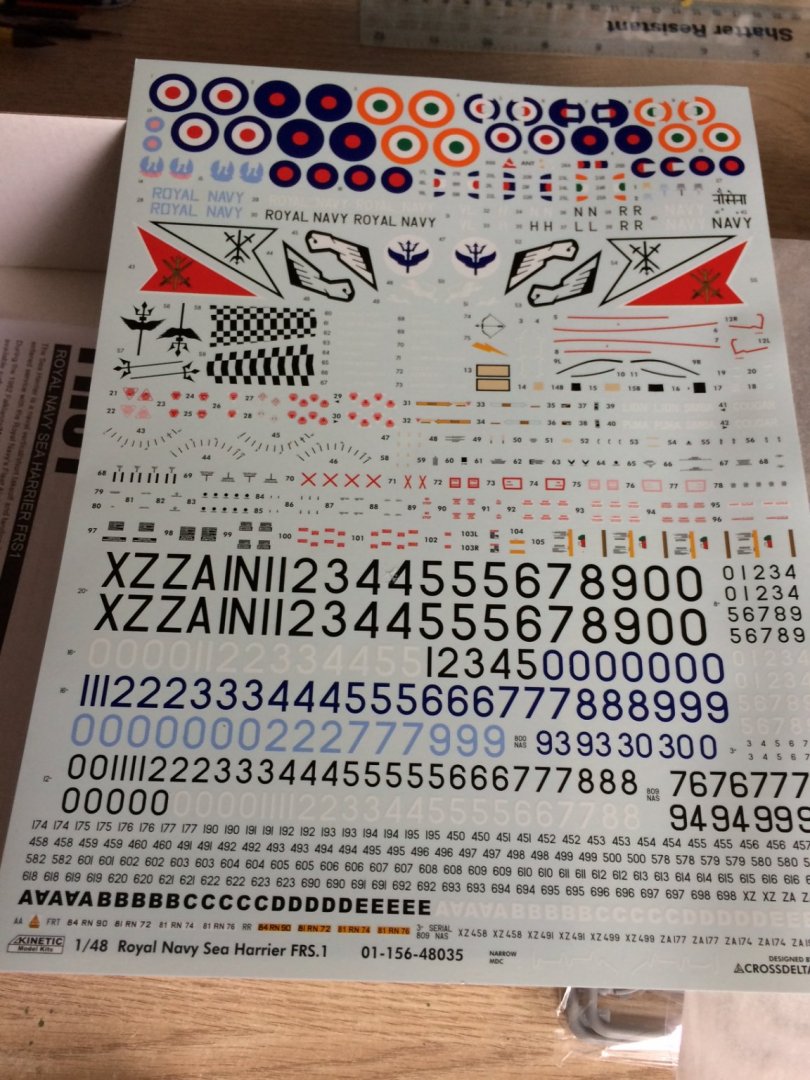
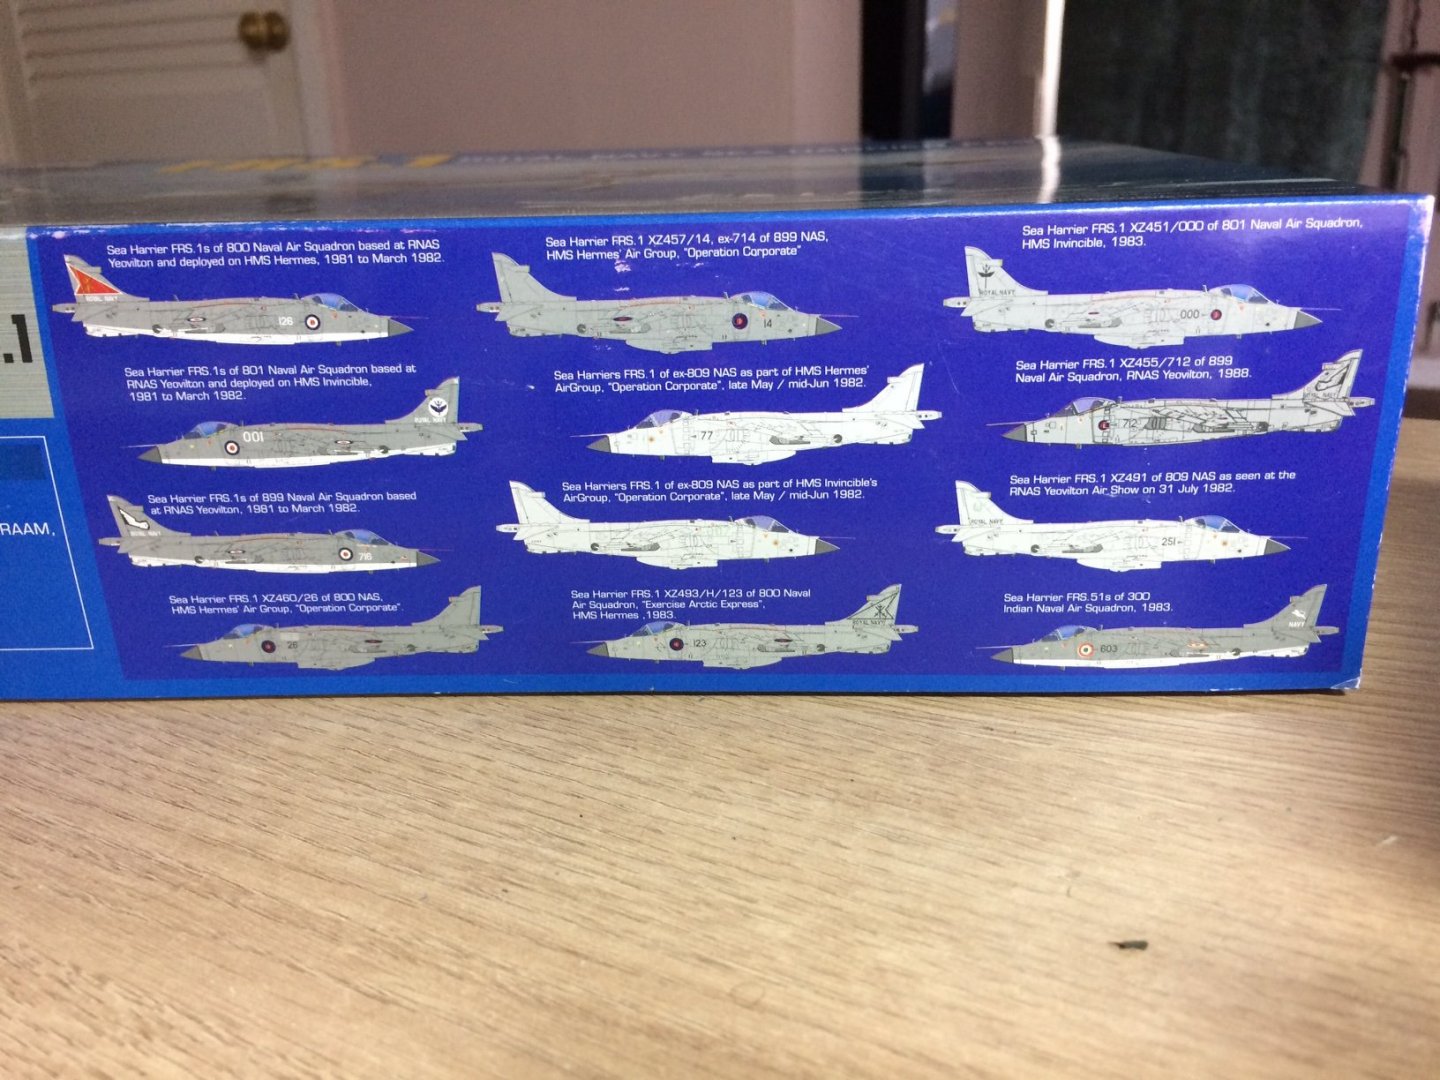
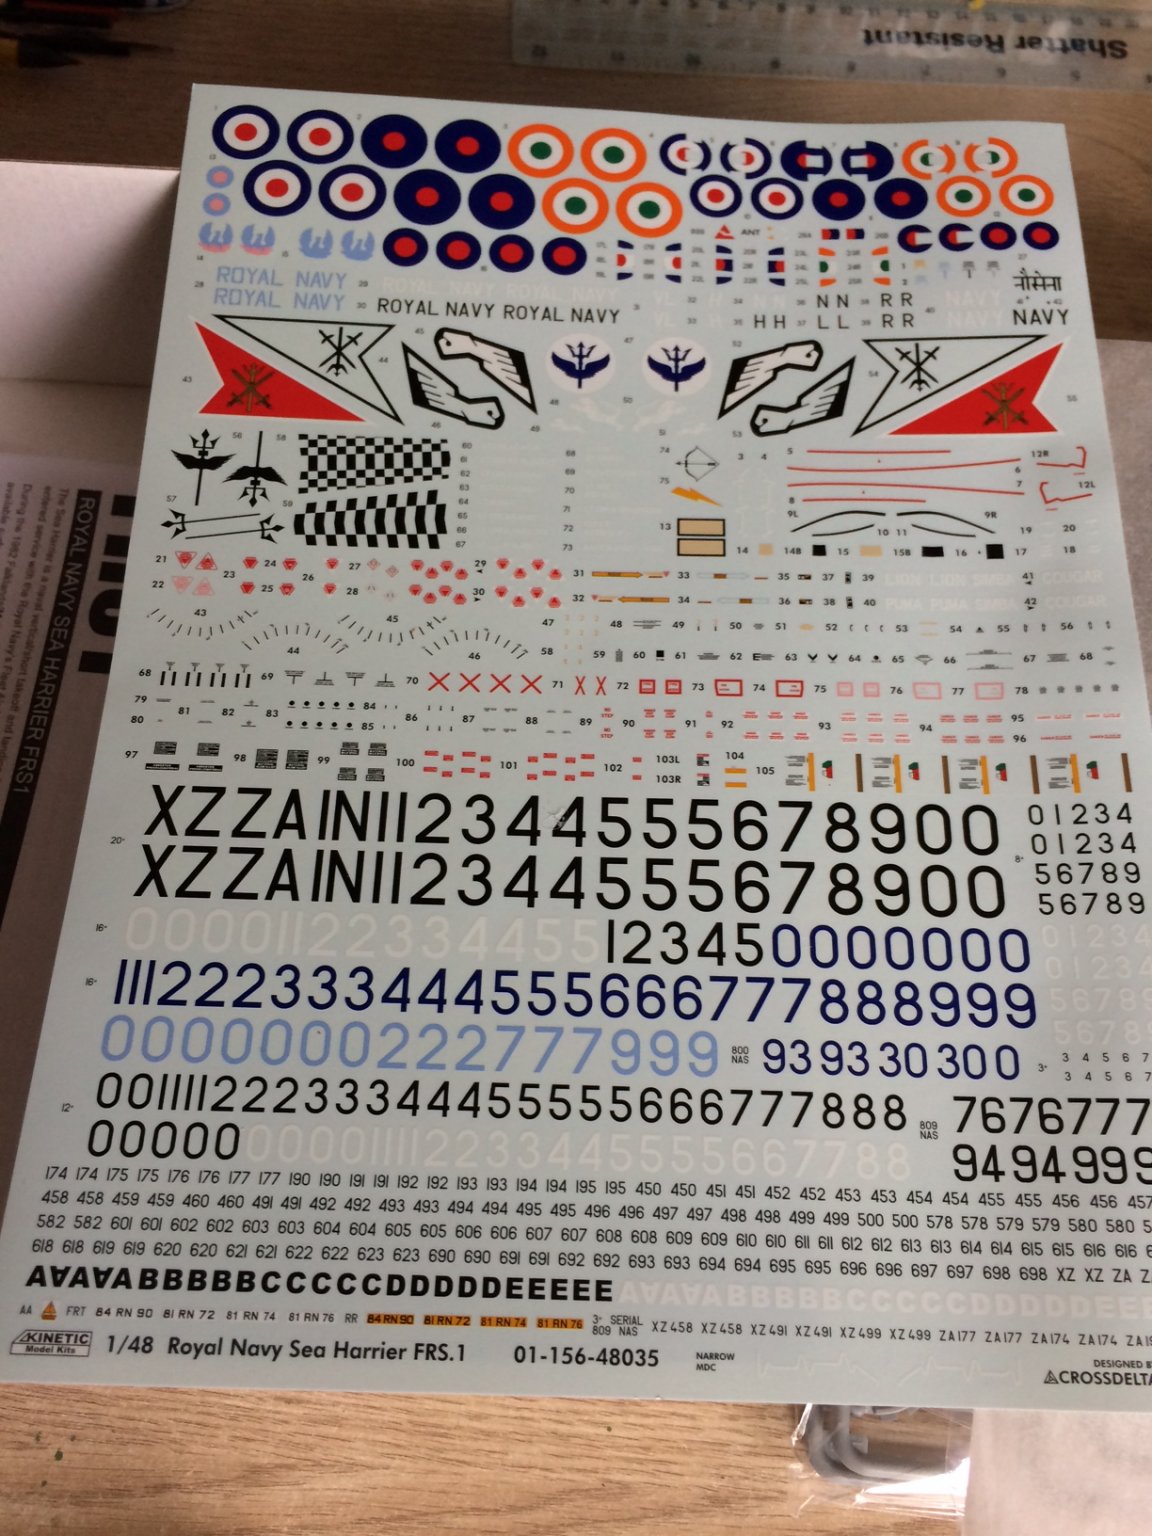
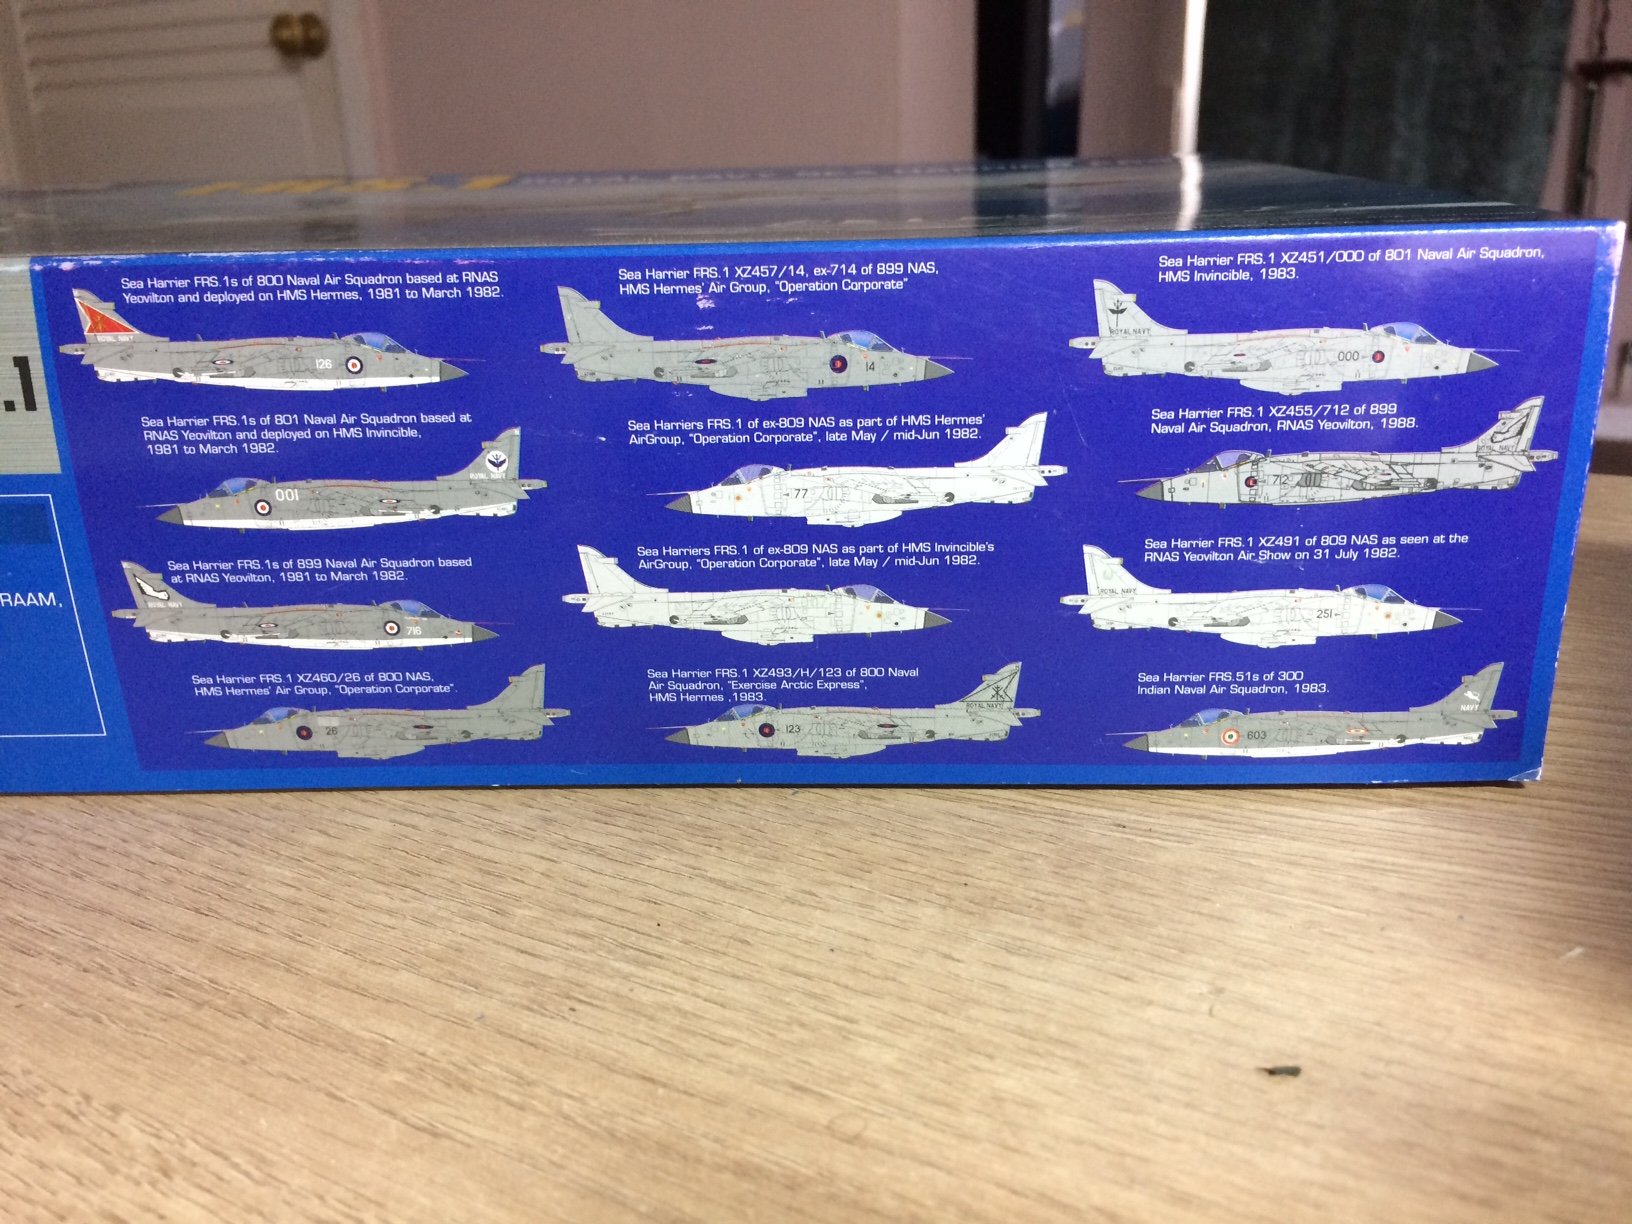
So without further a do - the box/contents pics -
OC.


-
I have put this aside for now same with my Seafire - just need to get my mojo back on those two.
In the mean time I have started something else from my old stash -
OC.
-
4 minutes ago, Kevin said:
Congratulations she looks great and a fitting tribute.
whats next?
So kind and special of you to say that - thank you so mutch.
OC.
- popeye the sailor, Canute, Kevin and 3 others
-
 6
6
-
33 minutes ago, mtaylor said:
Just love this. Will there be a postern gate hidden in the rear of the castle? Usually tucked away behind a shrub or two.
Dont foreget the welcoming holes where they used to drop boiling oil and things on un welcome vistors.
OC.
- Edwardkenway, Canute, Egilman and 1 other
-
4
-
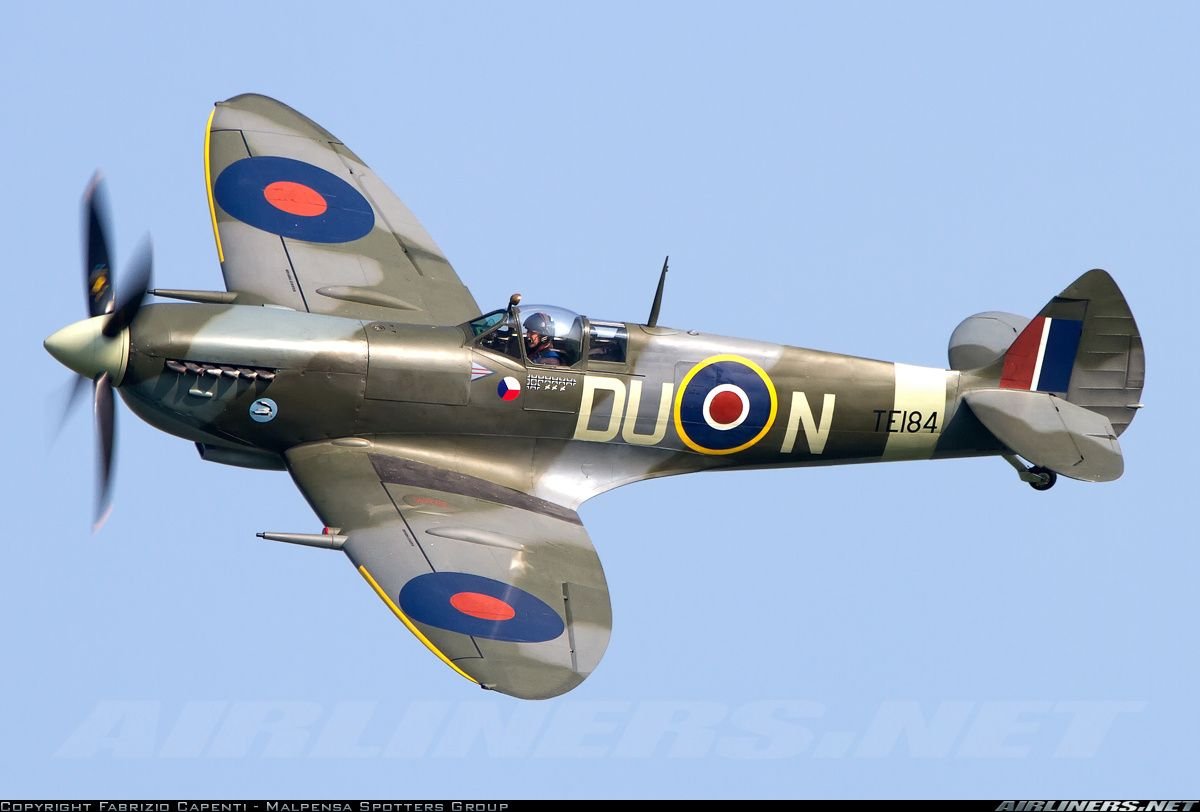
What I was trying to achieve - deffo not a hard edge sprayed on using rubber masks I believe on the real things.
Pic off the net.
OC.
- Jack12477, Edwardkenway, Canute and 2 others
-
5
-
Anyone used those camo paint masks you can get - any good?
OC.
-
When I saw the saw excuse the pun, I nearly hid under the bed always one of those "hold your breath moments"
OC
- popeye the sailor, Canute, CDW and 1 other
-
4
-
3 minutes ago, Javlin said:
I agree Craig it would of found the shelf of doom for me Great Work OC
 Kevin
Kevin
Thank you Kevin.
OC.
- mtaylor, Canute, popeye the sailor and 2 others
-
5
-
4 minutes ago, Tom E said:
Evening,
Not much of an update, but should encourage me to get the weekend chores done early so I can play with new stuff!
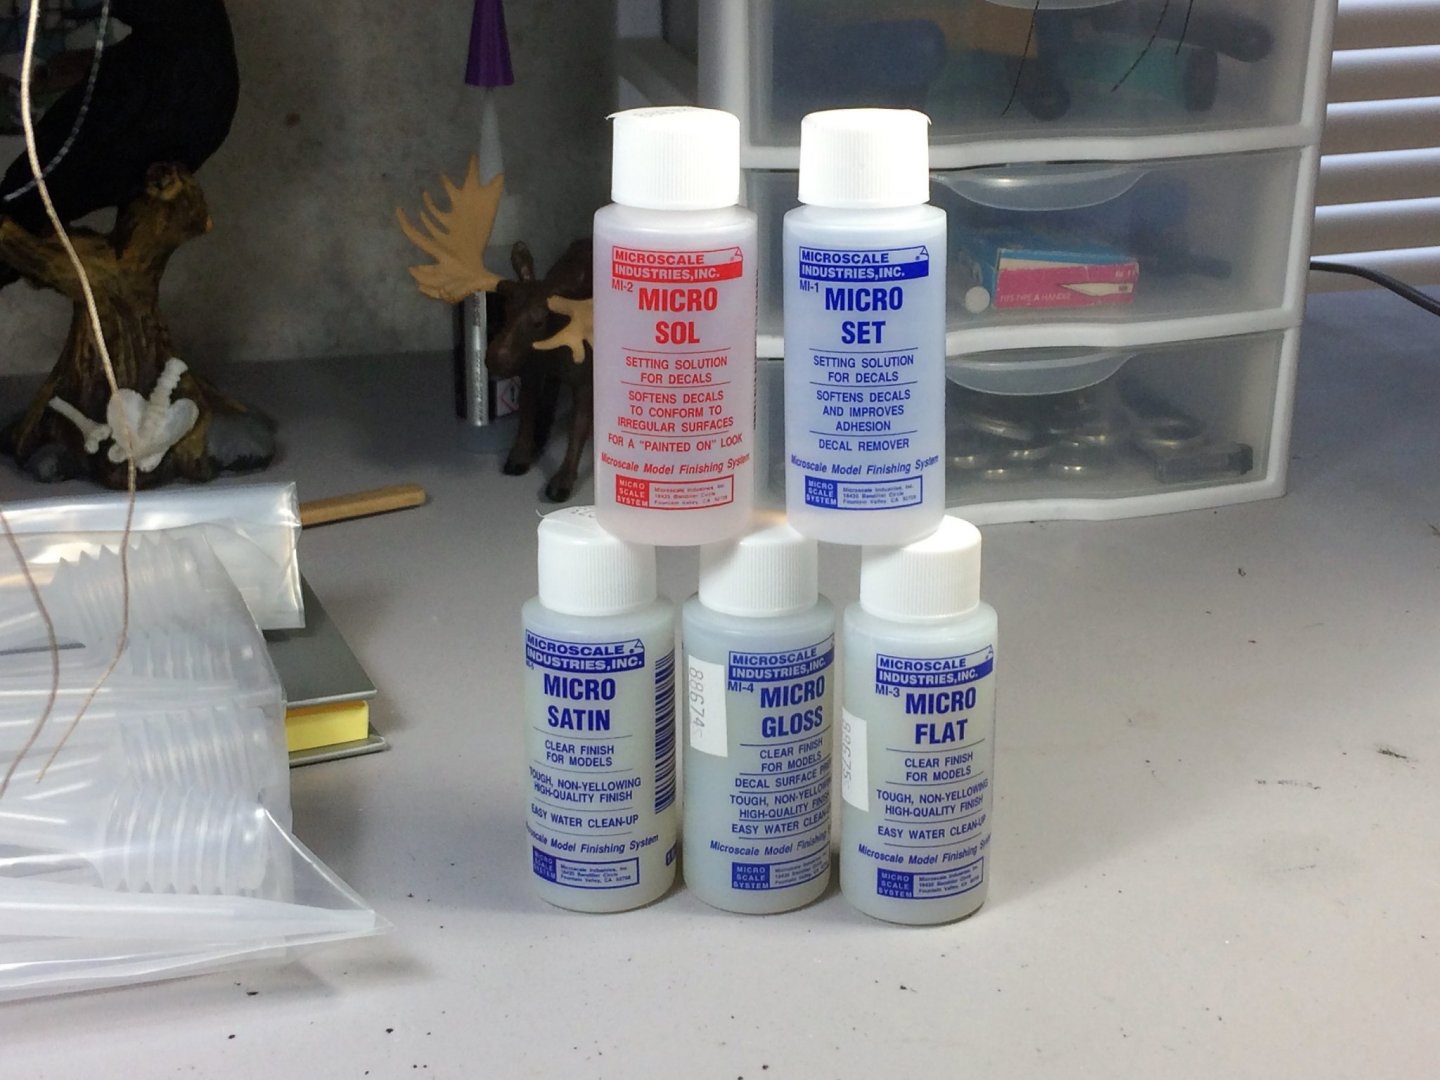
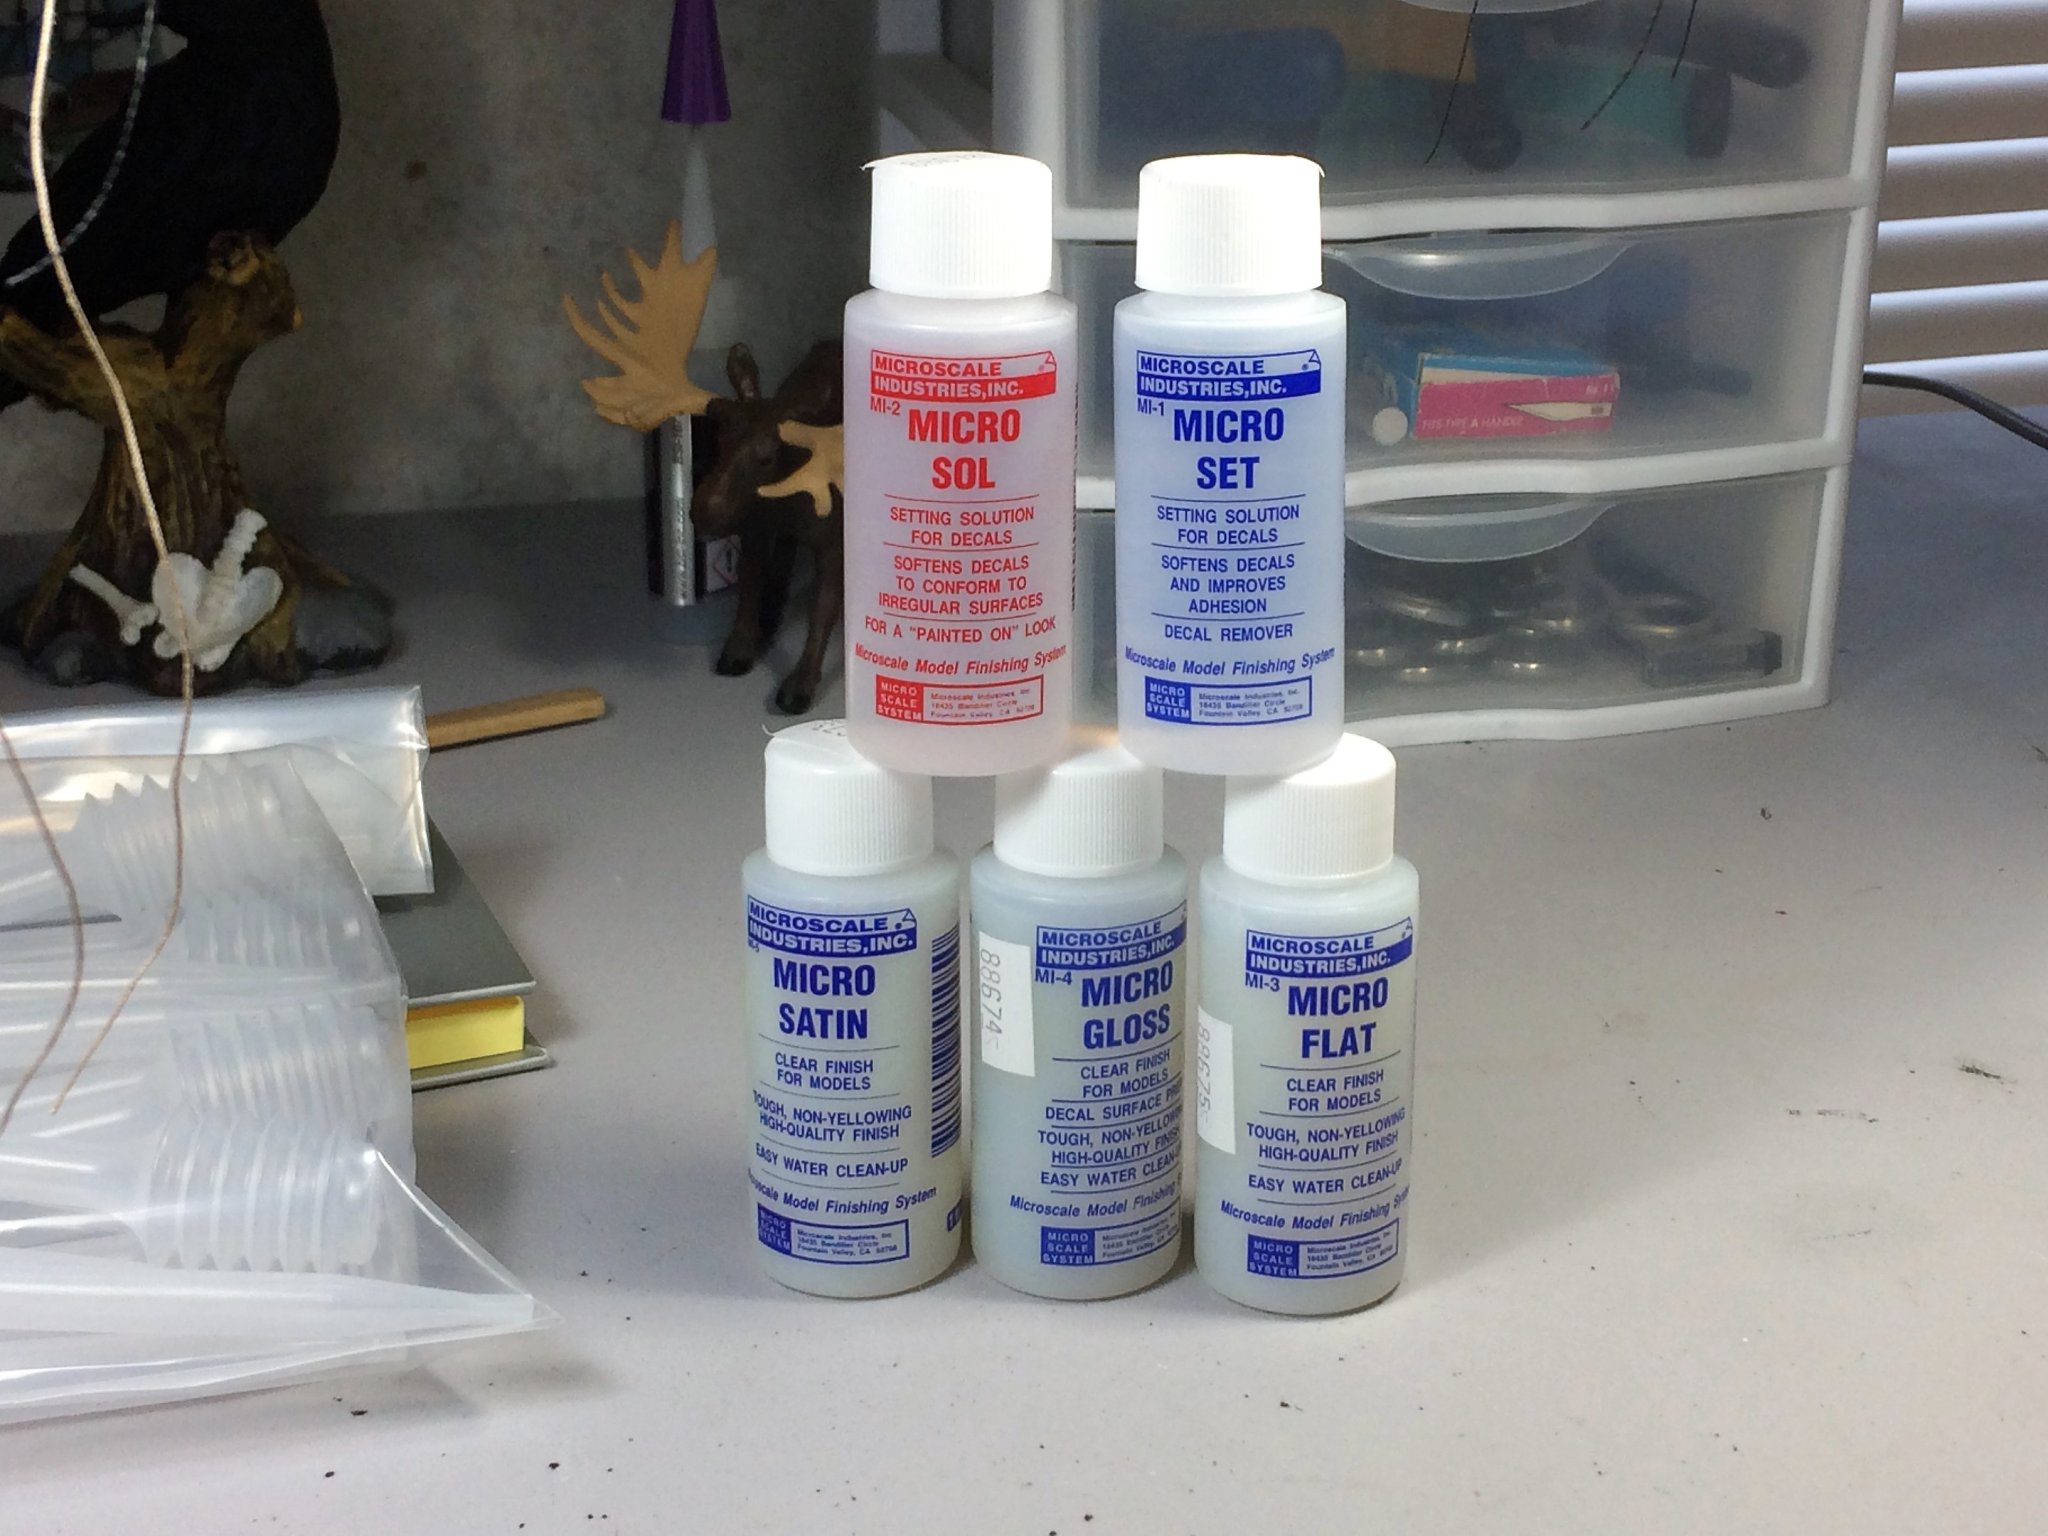
Never used decal solutions before. Bought these from MicroMark. A five bottle set for about $24.00.
I plan on trying these on some un-used decals to practice with.
Reading the directions, seems pretty straight forward.
As a side note...… It's been a good Friday!
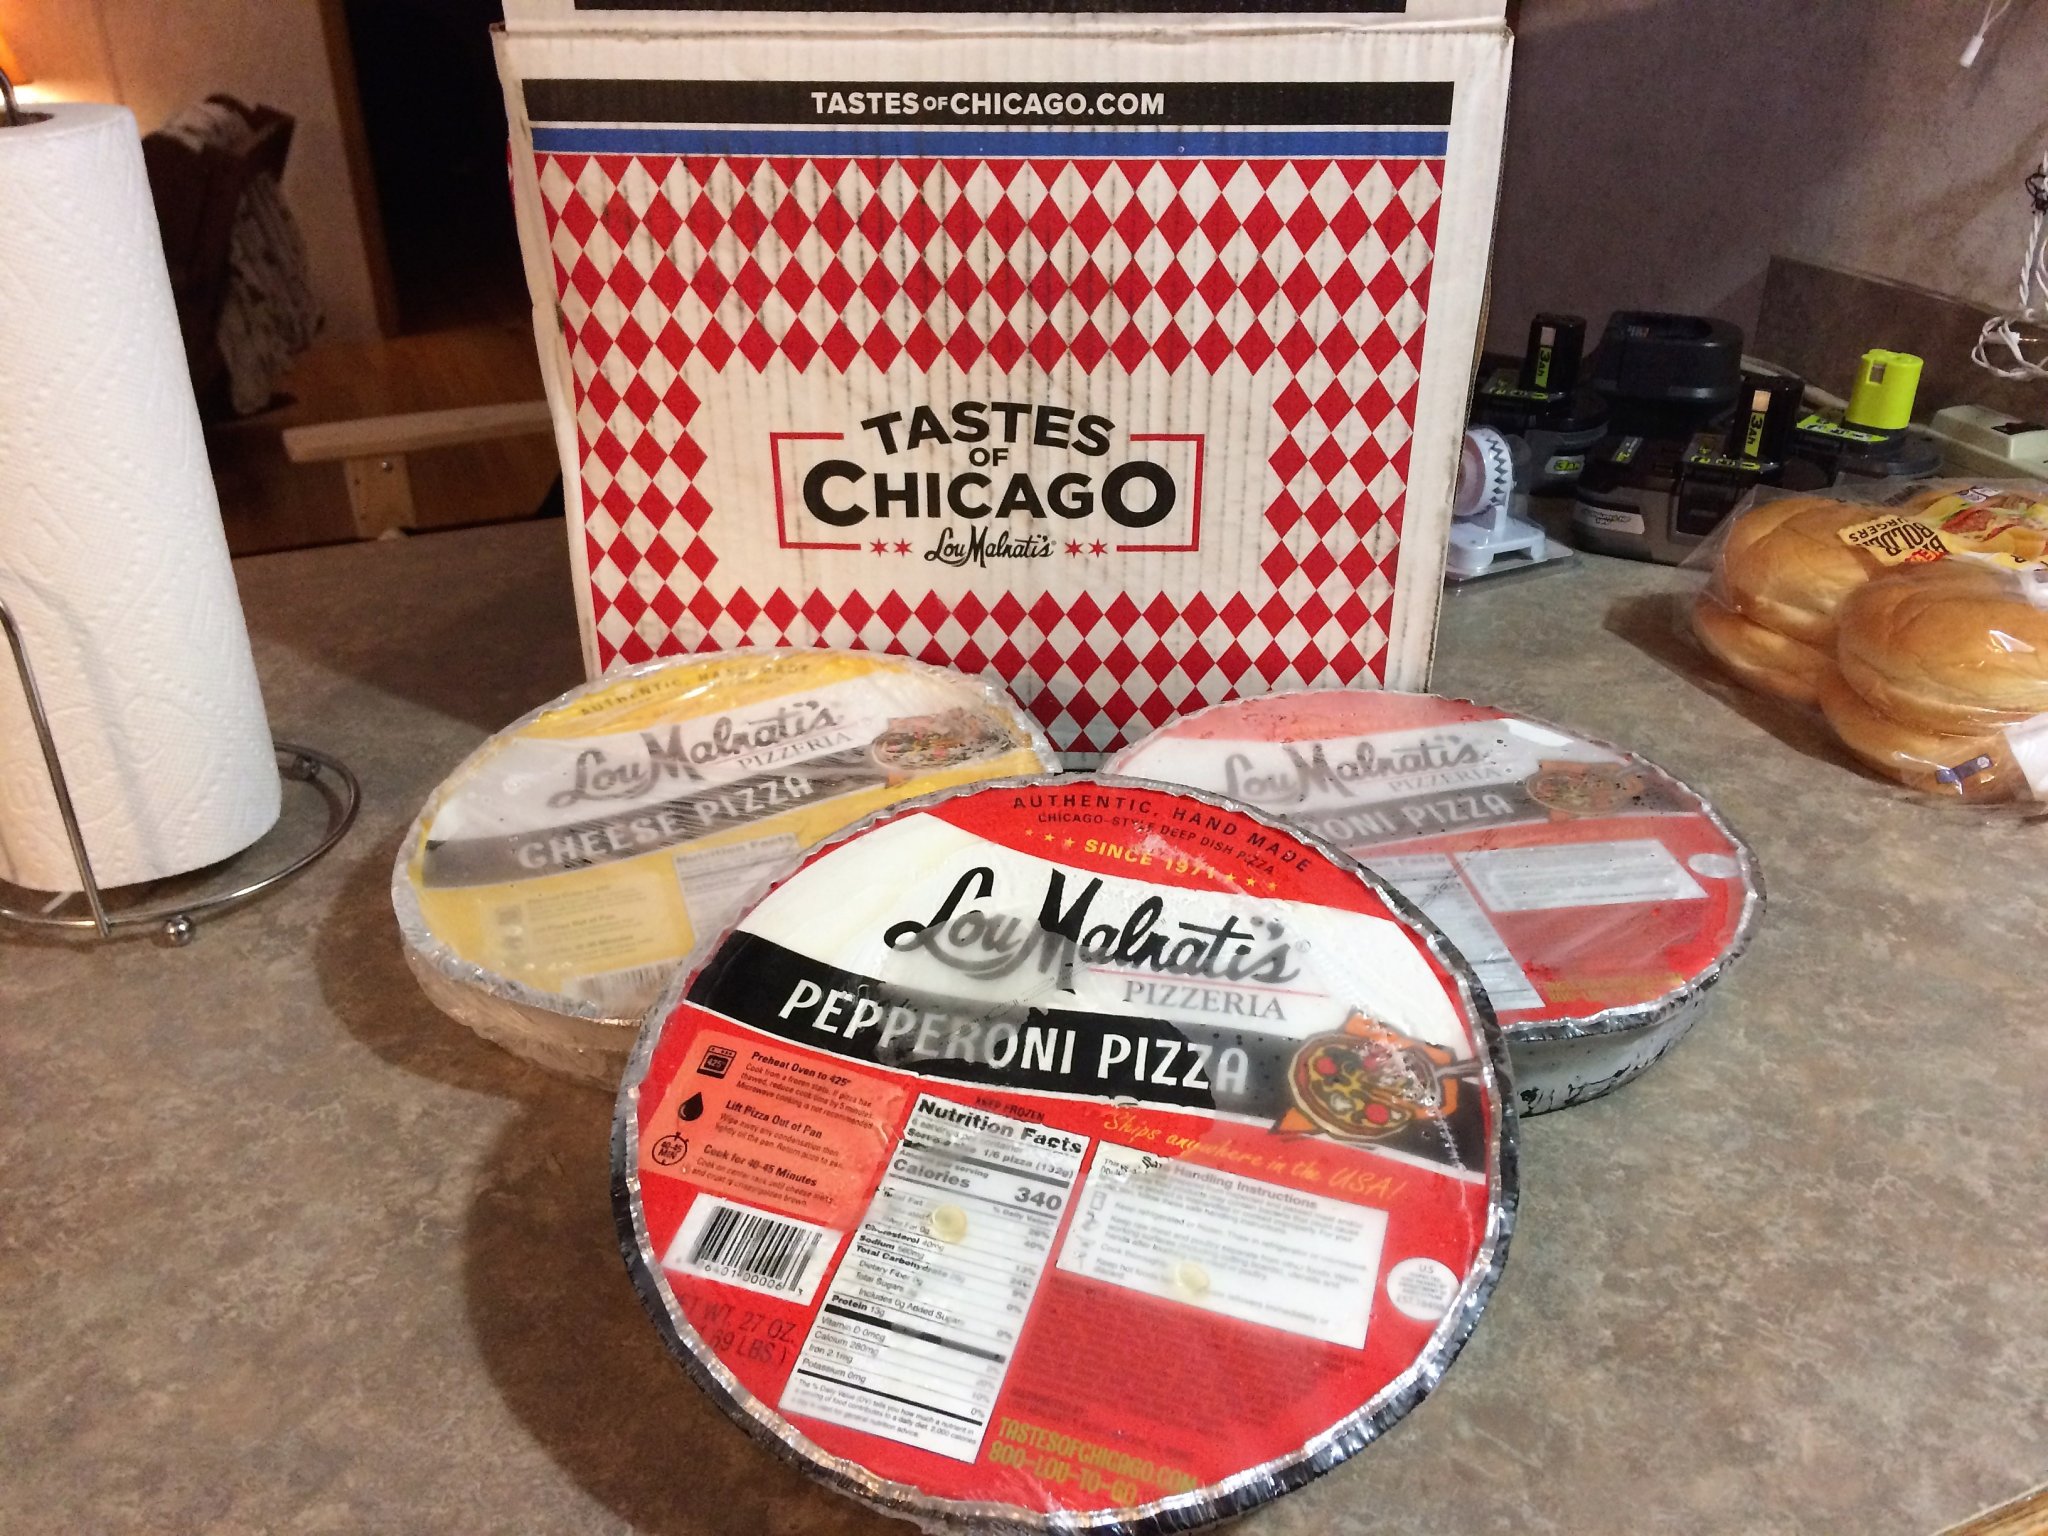
Splurged on some deep dish pizza direct from Chicago.
Everything in my town is New York style.
Good pizza, but sometimes you need a pizza where one slice fills you up.
With a tall glass of Coke loaded with ice....ya cant beat it!
I do recommend Lou Malnati's pizza.

There should be a fourth pizza in this shot. The other is in the oven!

Tom E
Sounds like a plane Tom - both the food and the decal solutions.
With the micro sol Please - please be carful Not to mess with the decal after you have applied it over the decal, you will see some reaction on the decal - thats Normal (but you Must Not touch the decal till the micro sol has completely dried)
OC.
- Tom E, CDW, Edwardkenway and 5 others
-
8
-
I could resort to plan num2 - build her as a High Altitude IX in overall Ocean Grey with just the sea grey underneath, that could work and would still be viable and No masking for camo.
OC.
-
I'm just a bit fed up at the moment - fed up and angry at the way the world is right now, and my build is supposed to be some light relief to de-stress its actually having the opposite effect making me tense and wound up.
I will sort it (probably wont be as first intended) but it will be built - remember the Yellow Subamrine song? nah only joking aint gonna paint her yellow - Pink she will be.
OC.
- Edwardkenway, Canute, mtaylor and 2 others
-
5
-
7 minutes ago, Egilman said:
Ok another question?
Why?
What I would do is find a decent sized cardboard box that can be knocked down when not being used, use it to place your model on when painting therefore you do not have to touch it when painting and you only have to control the paint not both paint and model at the same time.... when done painting knock the box down flat and slip it into a closet.....
Dont have anything to hand like that - I see how easy it is with painters using those turntables hand free painting, I always seem to rush the painting as I am battling either against wind we get funeled in our patio or dodging showers or insects due to heat.
OC.
- mtaylor, Canute, Edwardkenway and 1 other
-
4
-
I'm just so off the idea of having to have to re mask the whole thing all over again - it feels like a chore (even a head ache) almost dont have the interest tempted to just spray over it in one colour and pretend it was ment that way.
Thankfully the seafire is more straight forward just Sky underneath and dark grey ontop.
So glad my other builds I brouht ages ago are single colour builds no camo patterning.
OC.
- popeye the sailor, Canute and mtaylor
-
3
-
16 minutes ago, Egilman said:
The whole point of masking the way you were is to keep a clean demarkation between the different colors but create a fade over effect in scale between the colors. (it's called feather edging) Extremely hard to do with an airbrush alone.....
It's only my opinion my friend, but it's too rough an edge, there wouldn't be that much wear and tear on the paint, especially in the areas where it's showing greatest... the edge between the colors would remain feathered but still very clear....
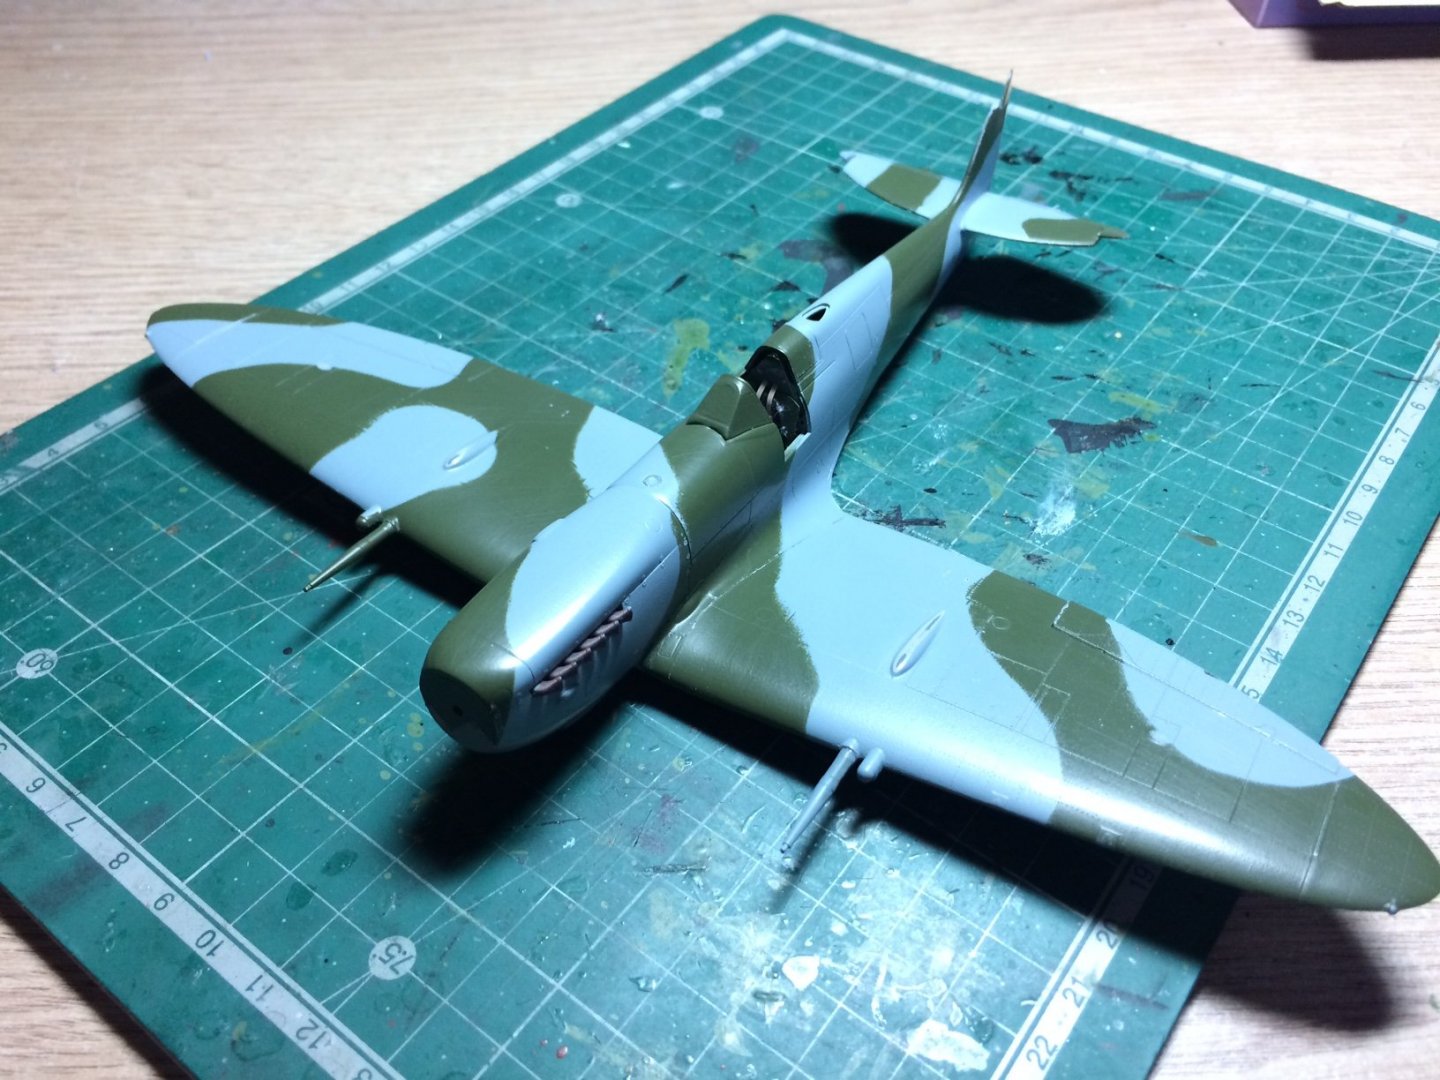
To be honest I was very dissapointed by the finish and without a doubt its down to my less than clinical masking as there are some quite tight turnes using the blue tack - the idea is to roll the it into long worm shapes then press it down onto the fuselage/wings, then cover the part not to be sprayed with either paper or tape, the other difficult thing is the holding the plane without touching areas to be painted - for this I try to attach a stick underneath held in place with lots of tape, then there is the control paroblem using a blast from the Rattle cans, its too fierce and if you go to close to make sure the camo lines are filles - then it can buld up causing runs.
In hind sight it would have been better if I could have masked and painted the fuse and wings seperate like I did the mossie as there was more surface area to work from that way.
I guess I am Always going to have these issue having to use the methods and equipment I have to use - its a viscious circle with no rememdy.
I see people using fine air brushes and I am so jelous and envious and know its whats holding me back - that and not having a man cave or even shed to use use.
OC.
OC.
-
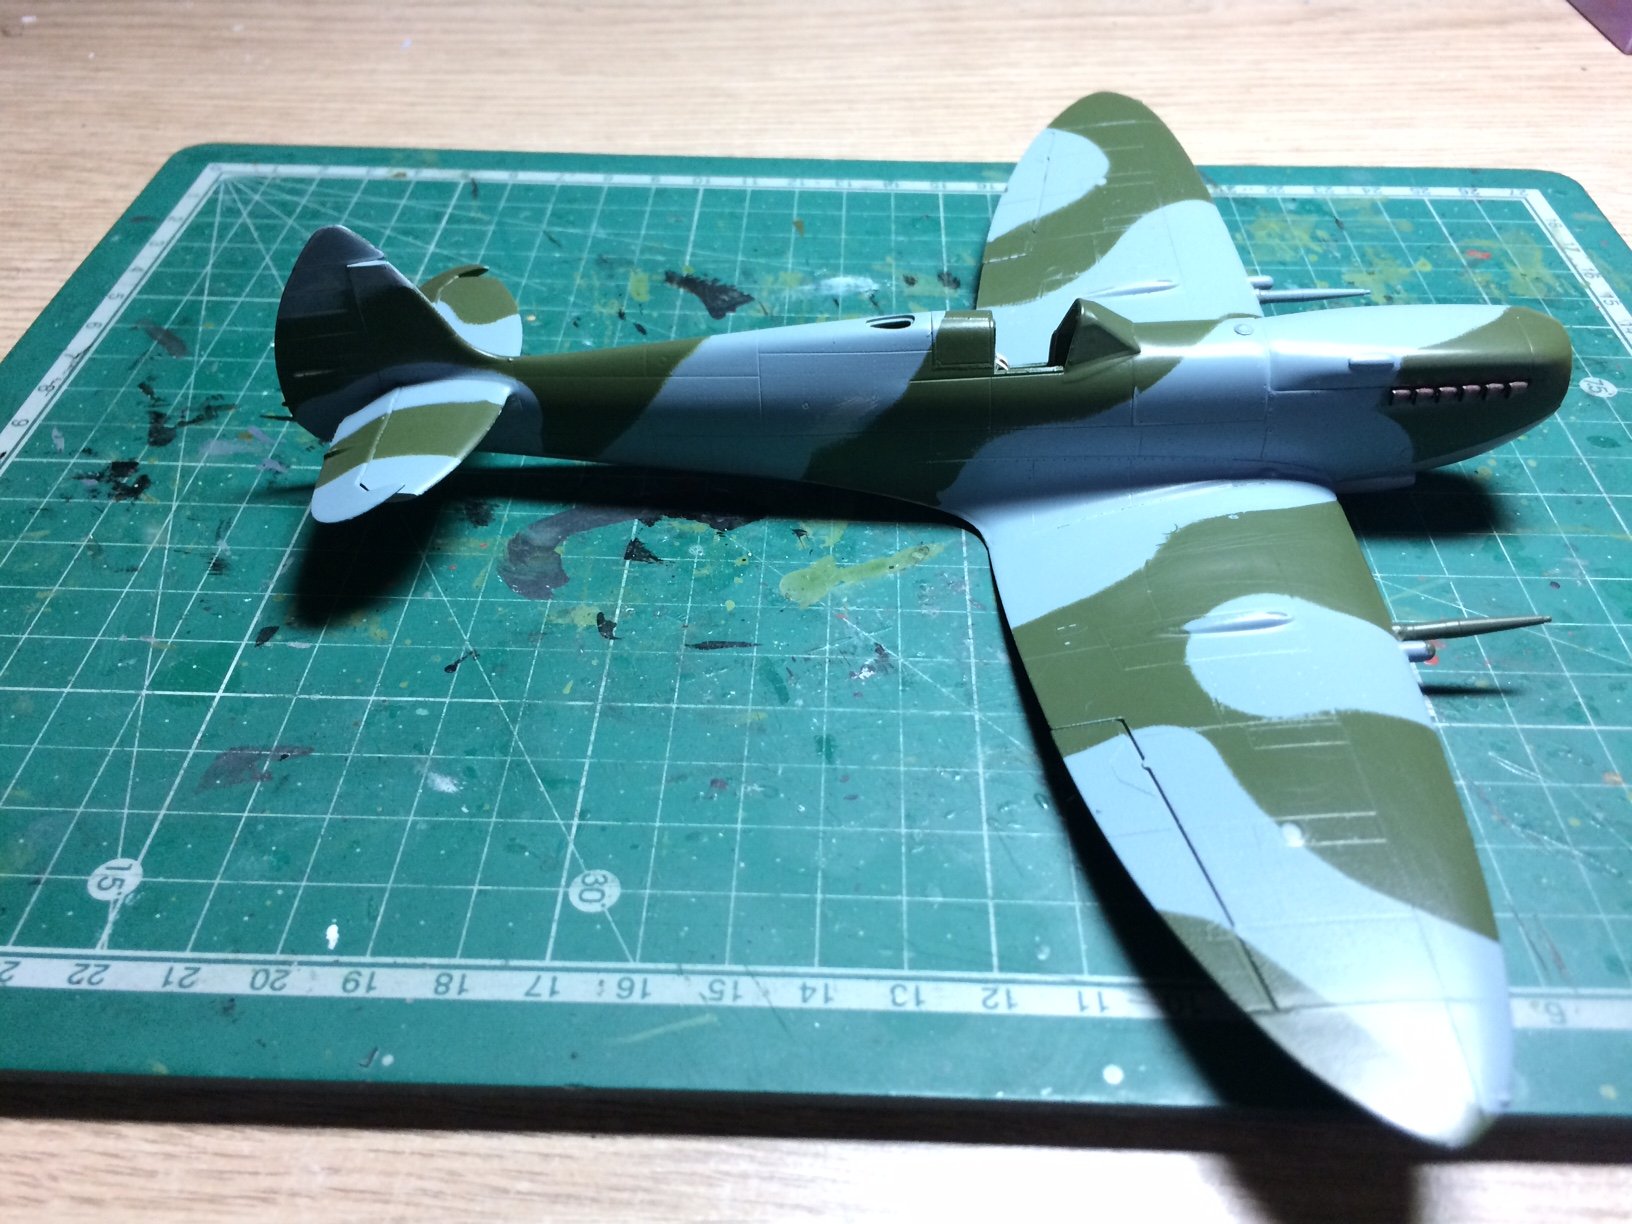
Evening all, more work on the Spit - first I stripped off all the masks and examined the camo closely, I decided to use some fine wet and dry and give the whole thing a gentle sand over - I then noticed that I was fading the camo and giving the whole surface a worn appearance with a few areas where the primer is showing - question does it look normal or should I touch up the paintwork, not forgeting I will be shading the panel lines and high lighting, after the decals are on.
OC.

- lmagna, mtaylor, popeye the sailor and 6 others
-
9
-
Another interesting build - loving the variety on here at the moment.
OC.
- Edwardkenway, Egilman, lmagna and 3 others
-
6
-
Looking mighty fine Denis - really showing the definitive shape of the Fortress.
OC.
-
Superb - so much detail.
OC.
- Edwardkenway, Canute, Egilman and 3 others
-
6
-
1 minute ago, Egilman said:
Just a suggestion brother, don't forget the starboard 20mm cannon, will look kinda strange with only one....
Yep the housing for that is yet to be put on, the one you see is the bare barrel of the other, they are fiddly (easy knocked off thingys) I have learned that on my other Spit build - I knocked it off twice almost like the glue wasn't holding it strong enough.
OC.
-
You will be "cooking on gas" my friend - hope you have enough hands.
OC.
- Egilman, lmagna, popeye the sailor and 3 others
-
6
-
-
I have been into cameras for many years probably had more cameras than my age 😲 I have inherited a camera off my neighour but to be honest my best tool for model photography is my mobile phone camera, as it slim and can get it underneath the actual plane to get shots looking upwards (you could not do that with a lens) but no doubt any decent camera would take better general photos of the model due to quality of optics / pixals etc.
OC.
- Canute, mtaylor, Edwardkenway and 5 others
-
8
-
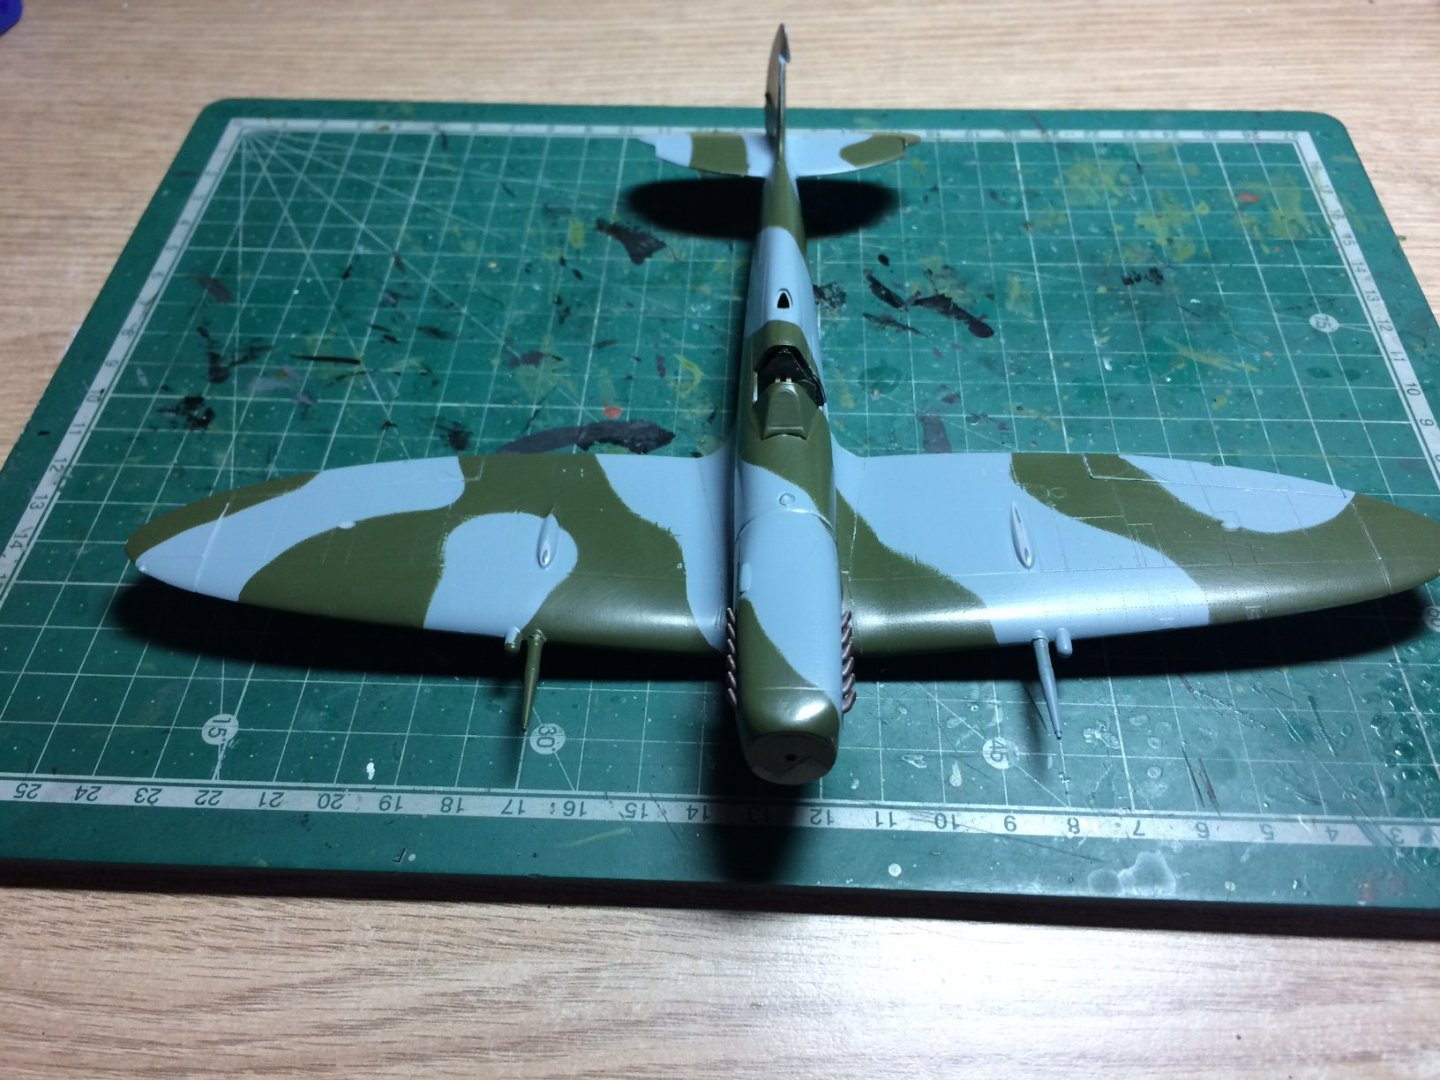
Slight update on this - I de - masked the camo, it didn't come out too bad but neded a few areas of gentle re spraying - so it was a case of stage by stage re masking where I dont want over spray to go, I started by covering most of the plane in a plastic bag then ran some lasking tape to trap it - then more tape and Blue Tack to get a smooth line, then I touched up around the tail using Grey first.
I will remove the bag and move over the plane doing the same as there are a few areas that need the same work, practice makes perfect they say.
OC.
- Edwardkenway, lmagna, Canute and 5 others
-
8
-
She is looking splendid Kevin - all that hard work is deffinatly paying off.
OC.


Sea Harrier FRS.1 by Old Collingwood - FINISHED - Kinetic - 1/48
in Non-ship/categorised builds
Posted
The build sequence starts with the bang seat - normal Martin Baker affair, its built straight out of the box and has lots of detail, after assembly of the main seat frame (the seat cusion assembly is sepaerate) I then did a bit of dry brushing for high lights using flat alum paint.
OC.