


Old Collingwood
-
Posts
11,472 -
Joined
-
Last visited
Content Type
Profiles
Forums
Gallery
Events
Posts posted by Old Collingwood
-
-
13 minutes ago, mfrazier said:

The planking is slow going. I can only do 2 to 4 planks in a day as the glue has to cure after installing each plank. And I am edge gluing each plank. I now have to line off the hull before going any farther as I need to start tapering planks.
Mark Frazier
Thats good progress Mark - nice tidy work.
OC.
- mfrazier and Edwardkenway
-
 2
2
-
Yep KP as Edward said despite the pit falls of the kit you are getting there, some kits certainly test of skills and patience.
OC.
- Canute, mtaylor, Edwardkenway and 2 others
-
5
-
My first ever kit age about 7 (me not the kit) was a Red Arrows Gnat aircraft I only glued the wings on back to front and got the canopy glued to my finger - so I guess it happened to us all.
OC.
-
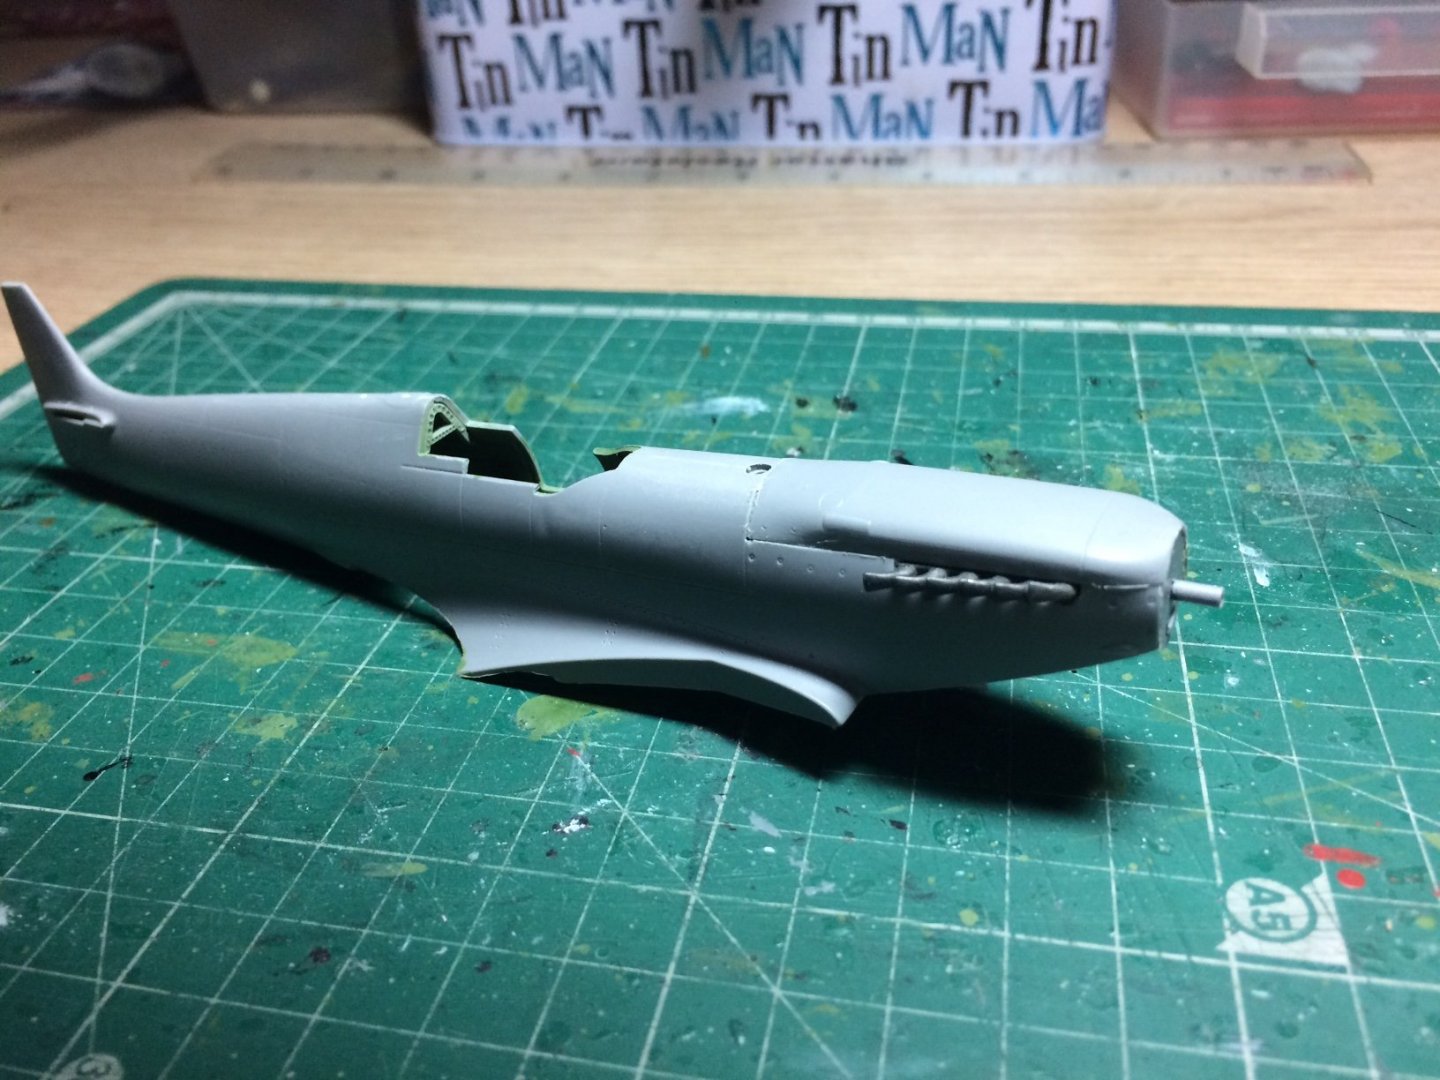
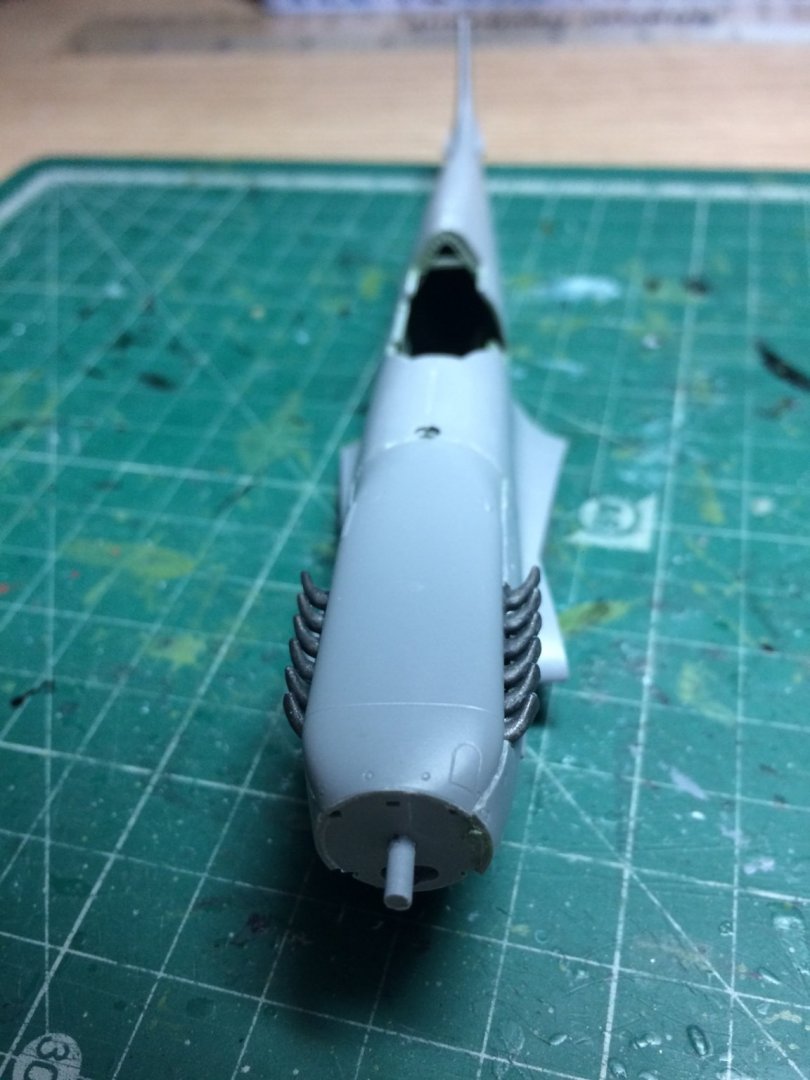
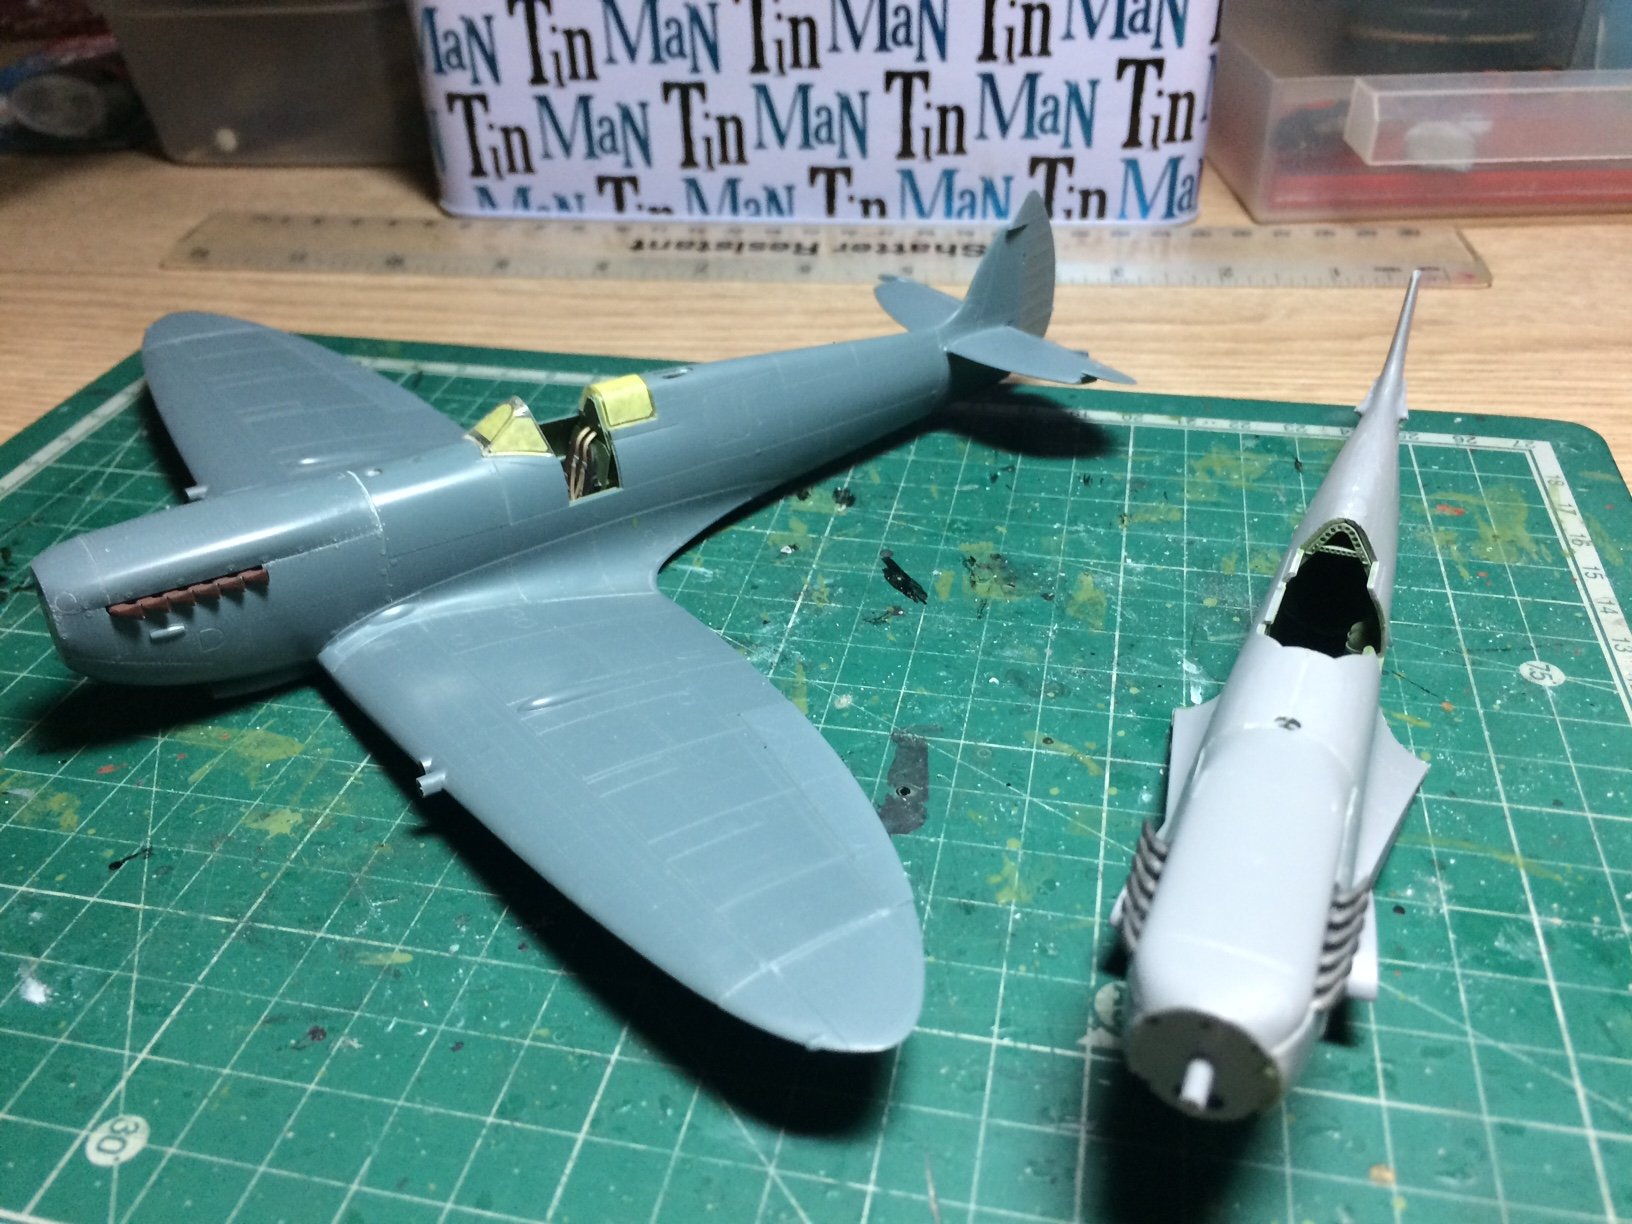
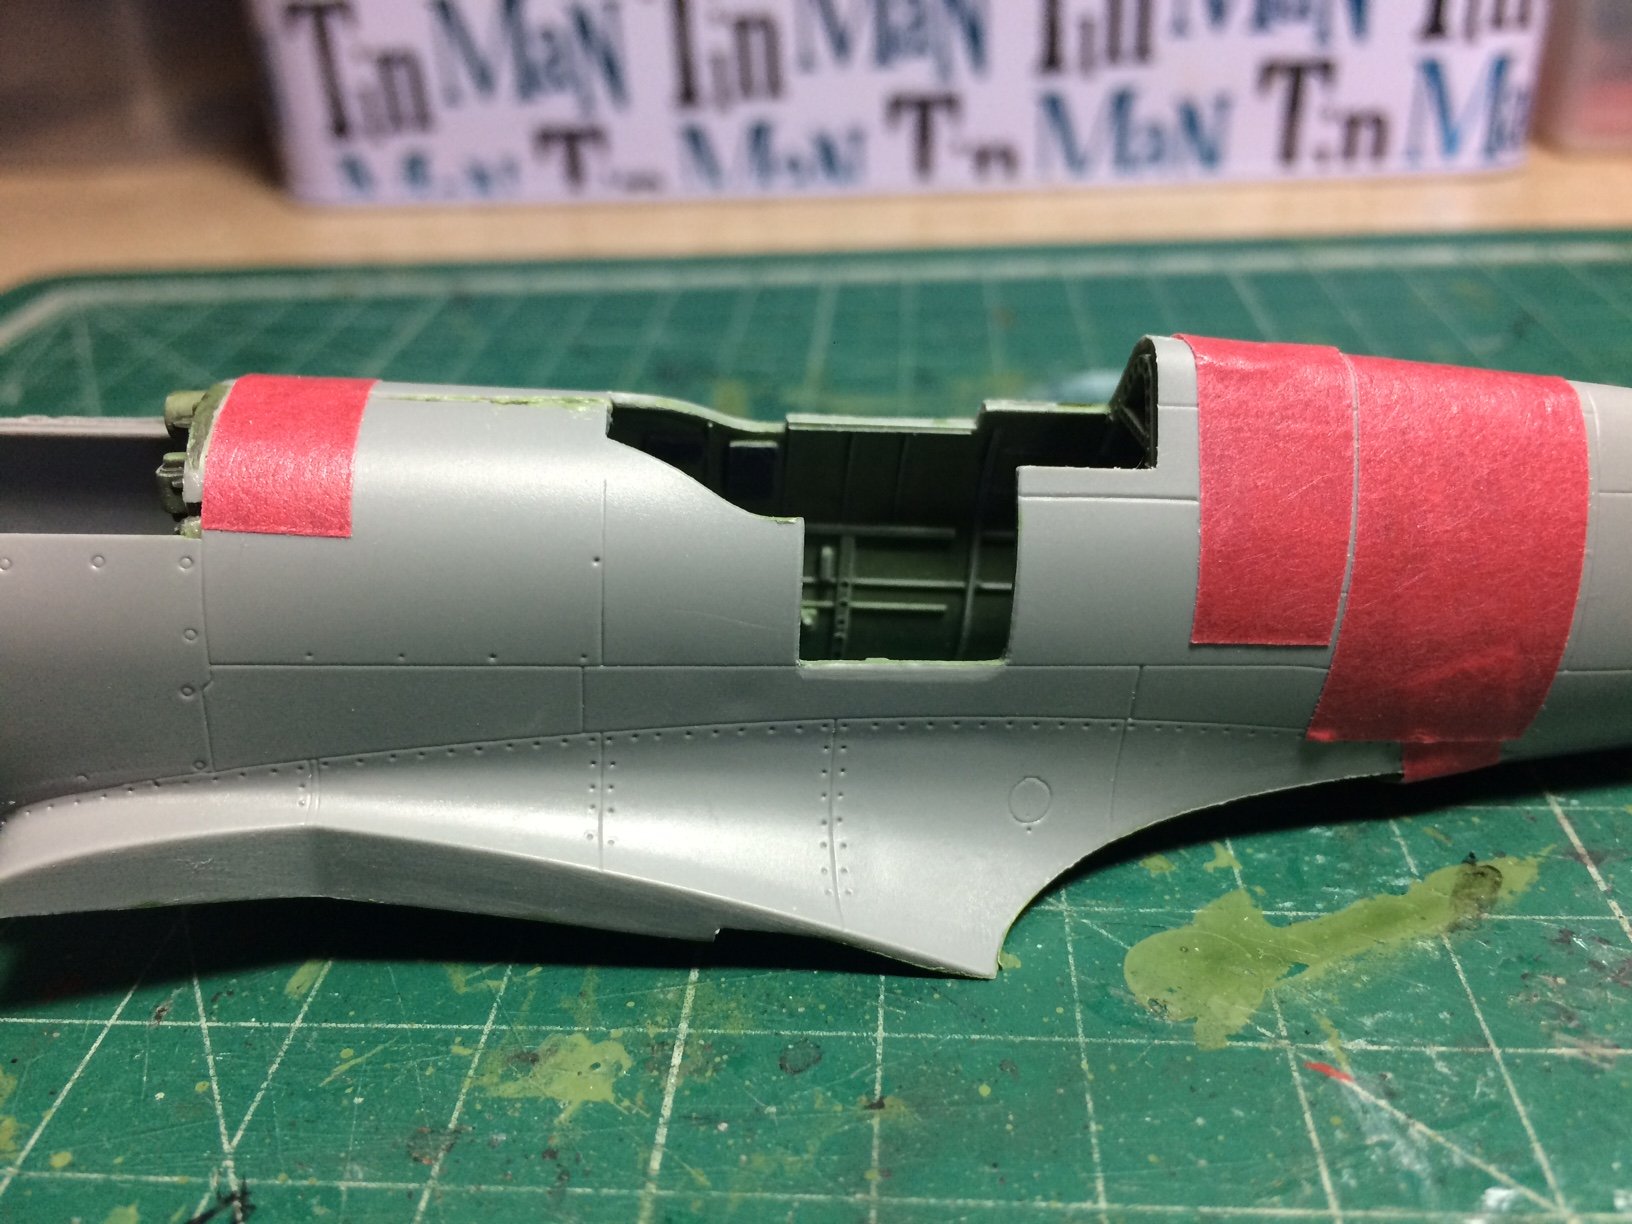
Evening all, I did a bit more work this evening - firstly I removed the tape and checked the seams, these needed just a bit of sanding (but no filler I dont think) this was a supprise to find two companies who manage to build kits with quite high build standards - it also makes my first observations what I first started to build this kist (in my earlier build log - Not Eduard one) as being incorect.
Anyway next off was to fit the prop cone bulkhead, then when set I had to fix one of the exhausts stcks that had broken in two, this was fixed then glued in place in the recess - same the other side, then I got the engine cover and test fitted it, quite a bit of scraping and sanding was needed to get a good fit - then this was glued down.
It needs sanding and cleaning up whne its set.
So here are a couple of pics including one of my Supermarine prod line.
OC.

-
42 minutes ago, lmagna said:
Thanks Lou.
OC.
- Canute, mtaylor, popeye the sailor and 1 other
-
4
-
11 minutes ago, Kurt Johnson said:
OC,
She's coming along marvelously! I love all the spitfire marks, the MK1 best of all. Have you seen the Guy Marshall special about the reconstruction of a BoB MK1, it's really a great piece of work. It' on you tube, its a Channel 4 Full episodes video. Sorry I could get the link to work right, there shouldn't be any problem finding it. Sorry too, if you've already watched it.
Kurt
Thank you for your interest Kurt, and your very kind word, I havn't seen that vid but I do pay a lot of inteest in the BoB flight as I have a friend who is one of there pilots.
OC.
- Canute, Egilman, Edwardkenway and 2 others
-
5
-
15 minutes ago, mfrazier said:
Dry brushed is painting with an almost dry brush. You dip your brush in the paint ,scrape most back off on the container edge, then dab it on a cloth so it is just damp without a lot of paint. You brush the part and this only deposits a small bit of paint at a time, (takes a lot of brushing) so it must be done several times to get any finish. This will color a part without gobbing a heavy layer of paint that hides fine details. I do this on something that has small detail I don't want to lose with a heavy layer of paint. Grates such as these on this model have small holes with square corners and sharp edges and lines. Paint tends to clog the small holes and round the tiny corners. I want the fine details to show. The acrylic paint is thick so I thin it to a water consistency to help keep detail.
Mark Frazier
Like I do on my plane builds in the forum - its a great way of showing raised detail also.
Still loving what you are creating Mark.
OC.
-
There is an old saying - "Keep calm and carry on" you are a fitting example of that saying phil, your work is just pure lovely to watch unfold.
OC.
-
-
Nice tidy paitwork Joe I like that paint scheme.
OC.
-
Looking really nice mate.
OC.
- Edwardkenway and VTHokiEE
-
2
-
Looking good Mark.
OC.
-
6 hours ago, mfrazier said:
Yes, I do. I thought about trying that. Thanks for the tip.
Mark Frazier
No problem Mark.
OC.
-
-
9 minutes ago, jwvolz said:
Another one, nice!
Thanks Joe, yep it was my original one that I had scrapped due to me messing the engine up, but I was able to rescue it and build it as Seafire.
OC.
-
10 minutes ago, Jack12477 said:
Me too
Welcome Jack.
OC.
- Edwardkenway, mtaylor, Egilman and 2 others
-
5
-
13 minutes ago, Egilman said:
Draggin up a chair.......
Welcome EG.
OC.
- Edwardkenway, Egilman, Canute and 2 others
-
5
-
32 minutes ago, Canute said:
Nice, a tailhook bird. I'm in.
Welcome Ken.
OC.
- popeye the sailor, Canute, Egilman and 2 others
-
5
-
-
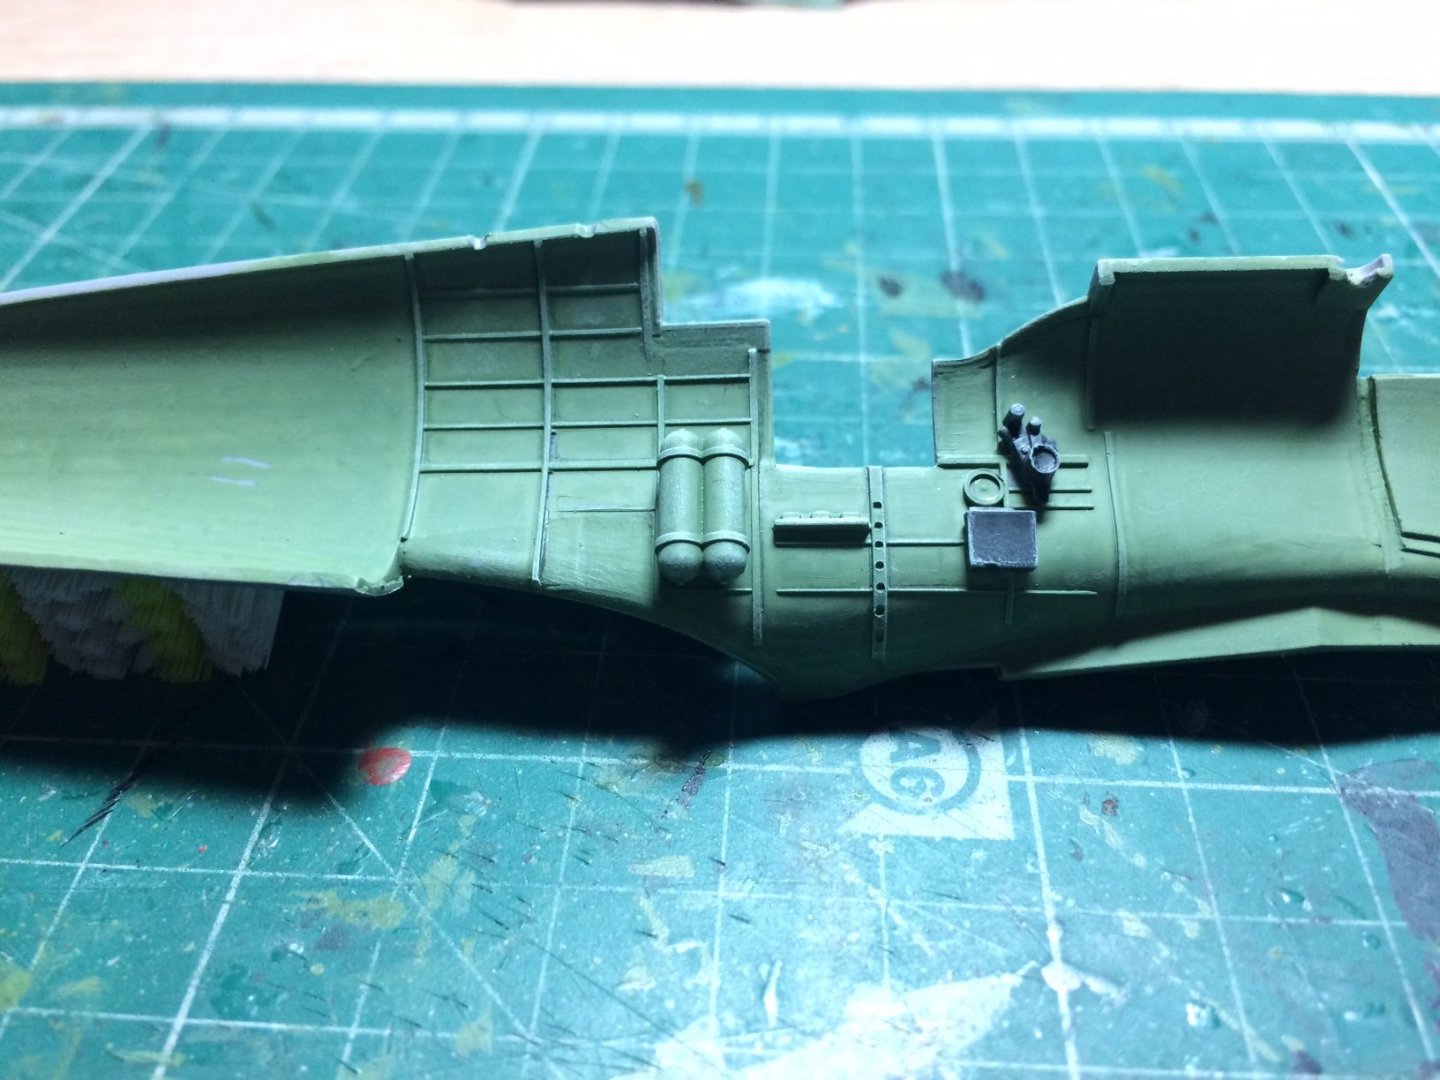
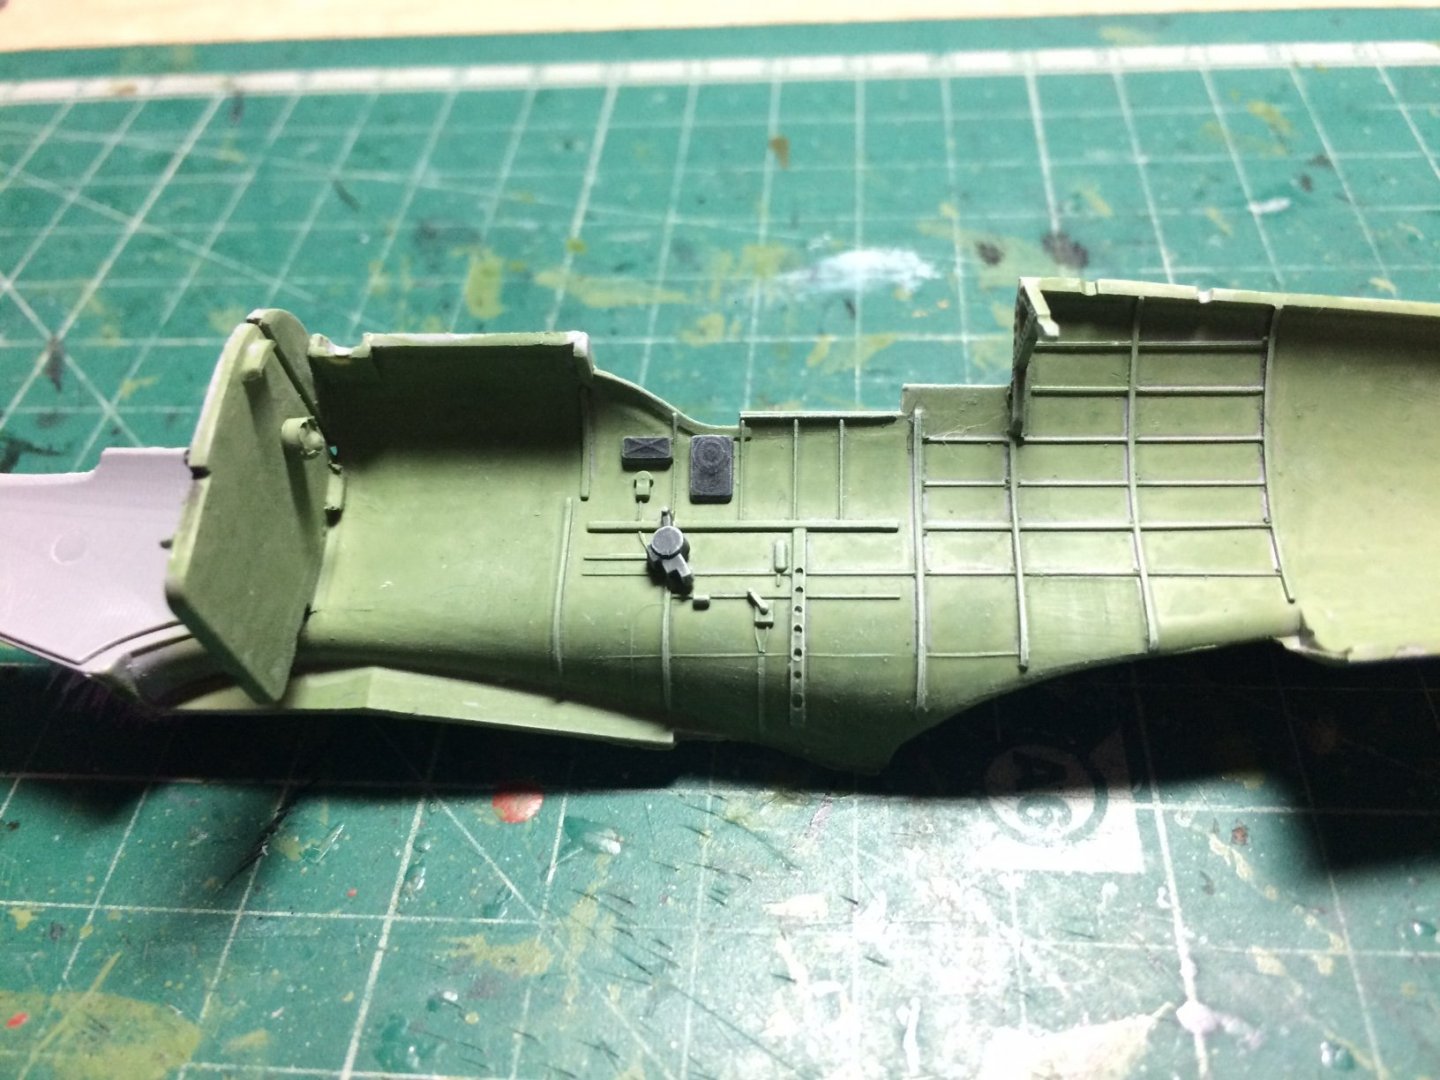
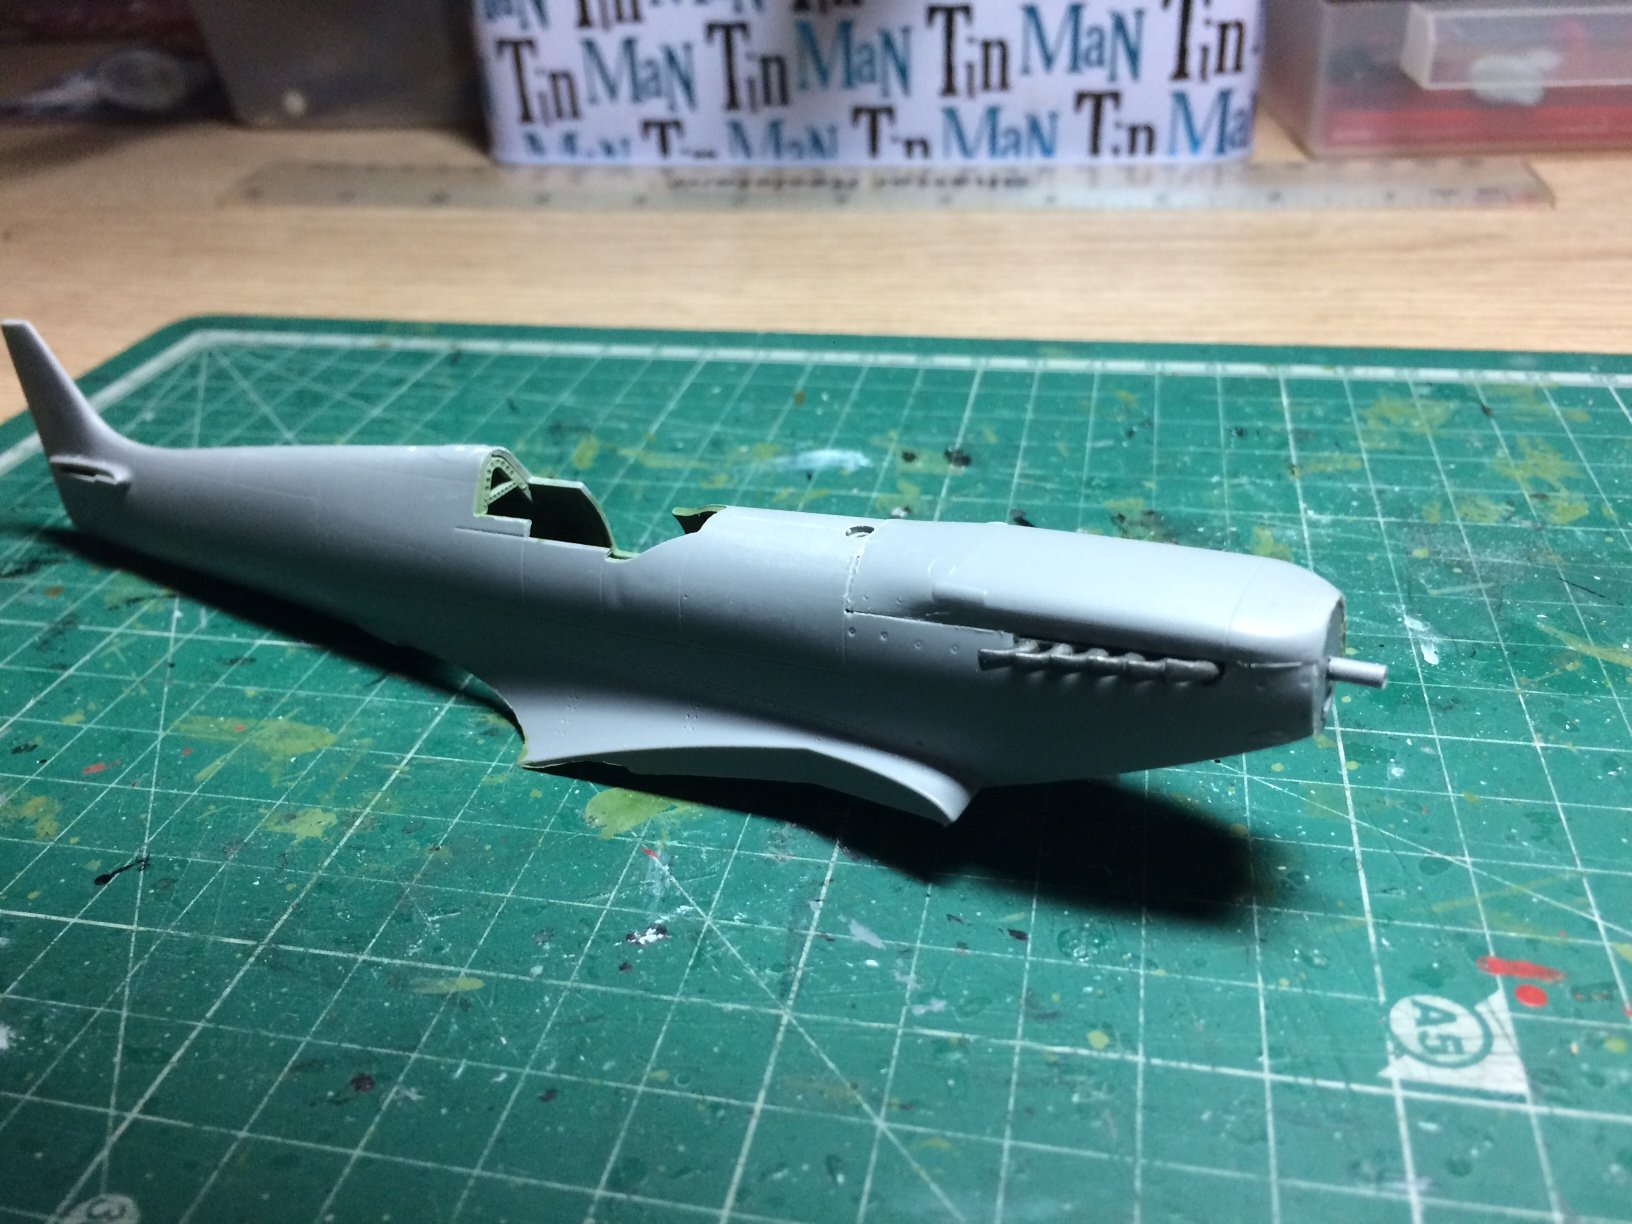
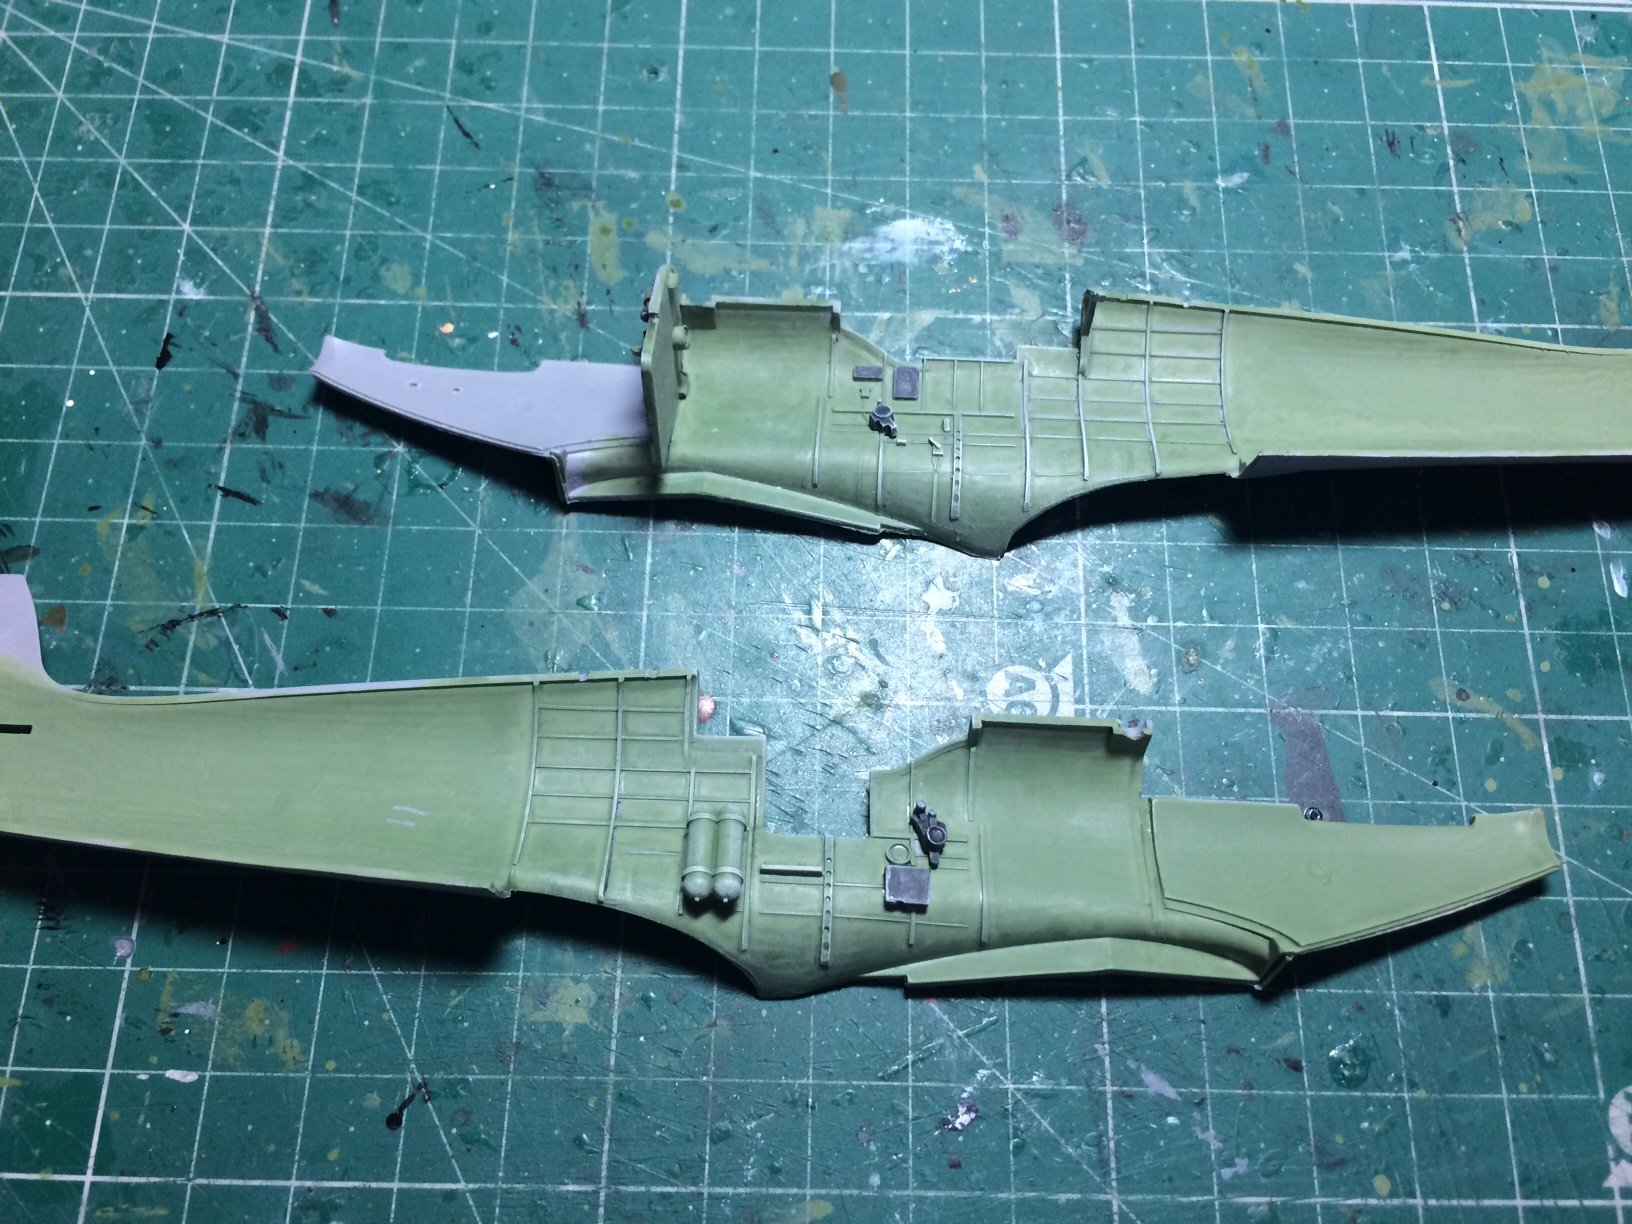
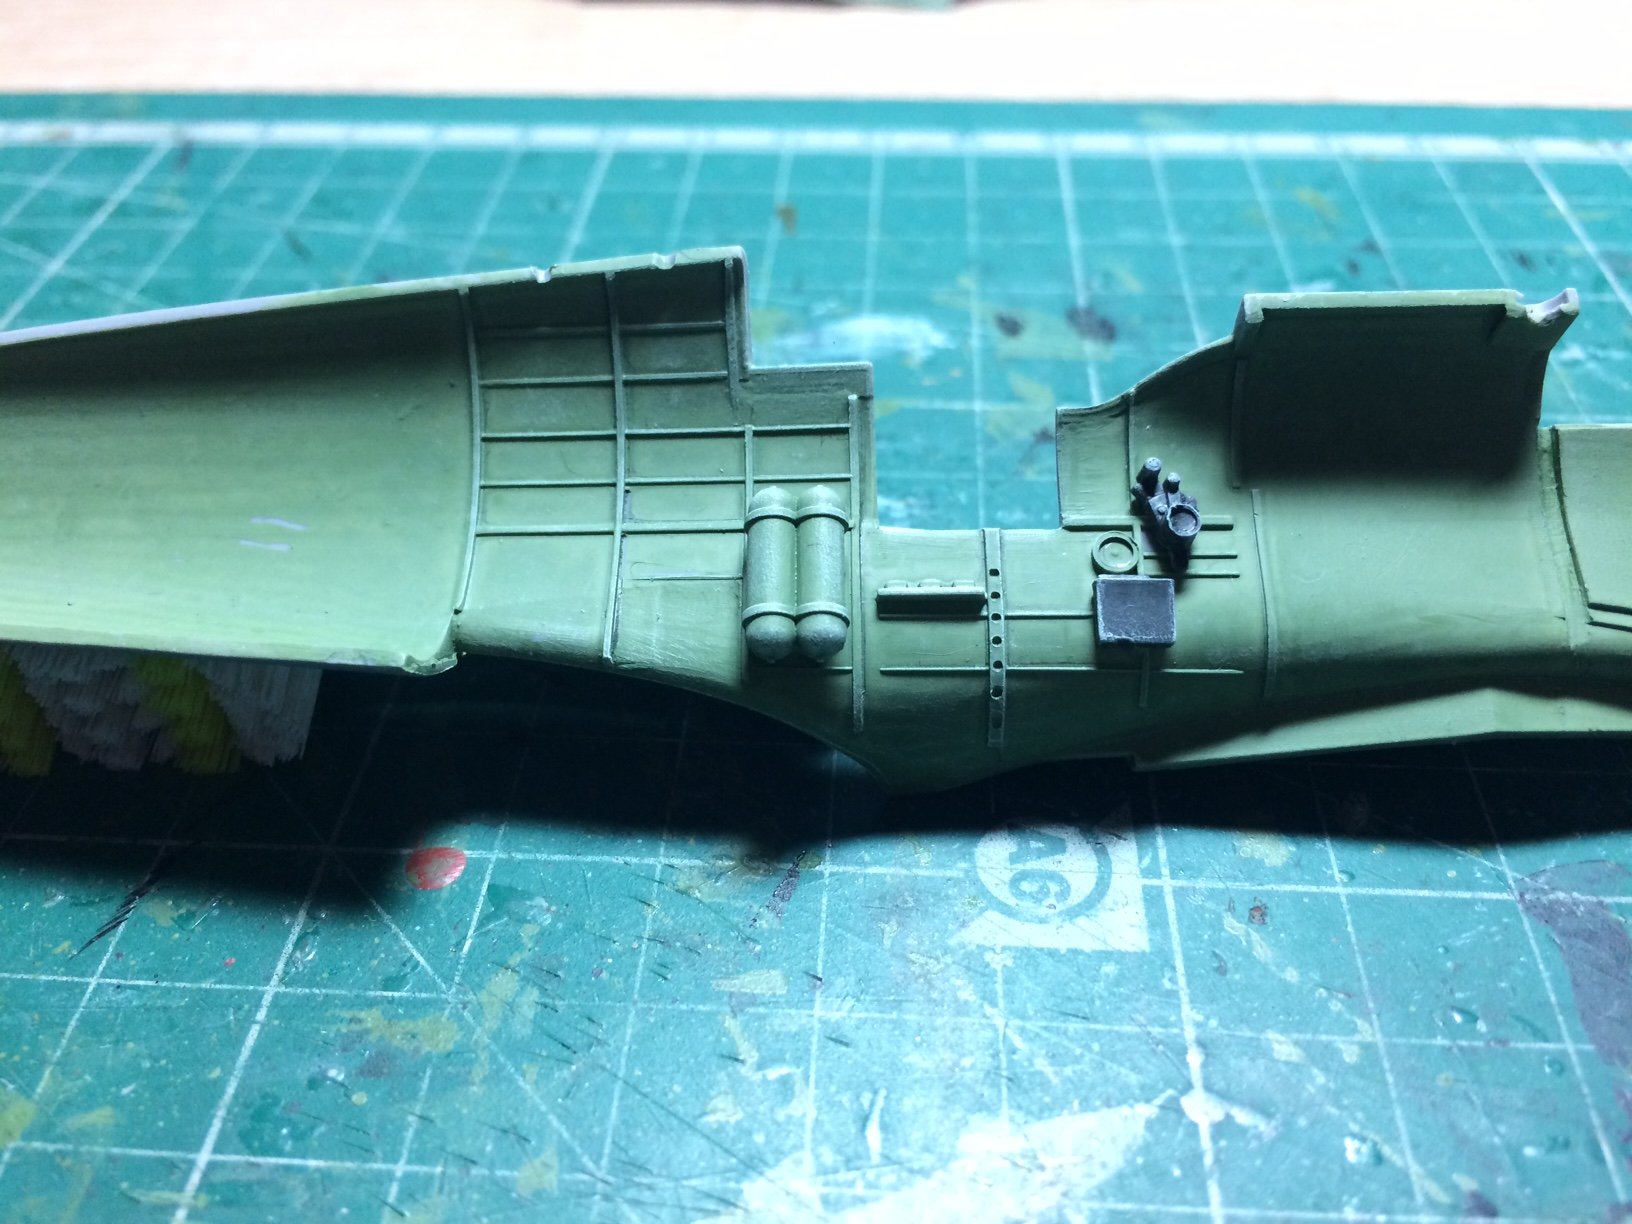
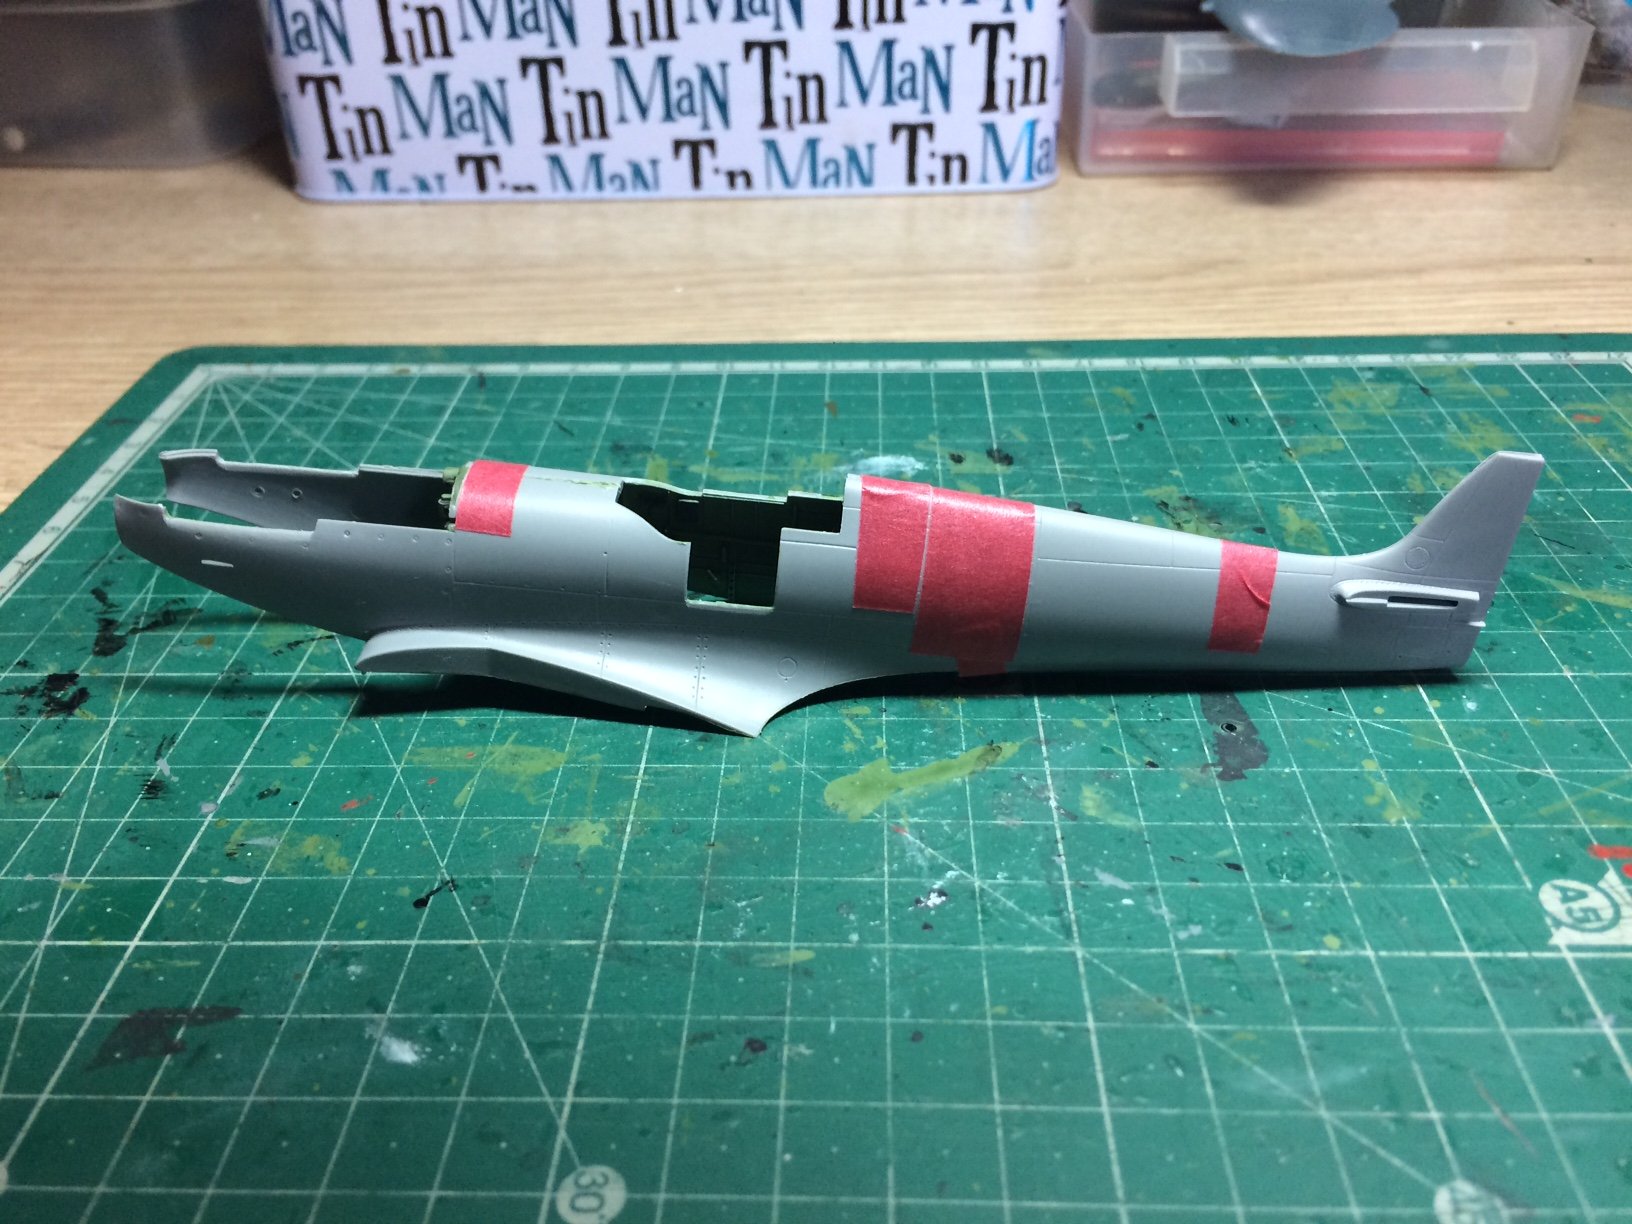
So another spit on the go - this time I am rescuing the ICM Spit IX kit and turning it into a Seafire Mk.111 as I believe they were basically the same apart from a few mods that I should be able to create - seam on the wing that would have been for the wing fold, and scribing under the bottom rear to simulate the cut out for the arester hook, I will also fashion a hook and fit it semi recessed, the rest is basically built as the kit IX.
Reason I have chose to do this is during the war my father cut his teeth on Seafires before moving on to RAF types.
So here it begins with the already fitted out cockpit wall - I added the paintwork (cockpit green) and picked out the details then my normal pencil for shading and white highlight, I then closed both sides together as the cockpit floor/seat/insrument consol are made as a unit and popped in from underneath.
Here are the first pics.
OC.


-
-
Yeah its looking ok............ seroulsy superb greg.
OC.
- mtaylor, popeye the sailor, RGL and 1 other
-
4
-
2 hours ago, Jack12477 said:
The governor of NY state issued an Executive order mandating that we wear a face covering when I leave my house, so I ordered this to wear

I have a pair of shorts like that.😊
OC.
- Egilman, Canute, Edwardkenway and 2 others
-
5
-
12 minutes ago, lmagna said:
That is cleaning the oils and dirt, not stripping the finish.
I see, I didn't know Lou, chemo at school wasn't my strong subject - I knew water was known as "that wet stuff" lol
OC.
- Edwardkenway, mtaylor, Canute and 1 other
-
4


HMS Diana by Shipyard sid - Caldercraft - 1/64 scale
in - Kit build logs for subjects built from 1751 - 1800
Posted
Great seeing you back hope your in good health, in your absence I completed a build of The Black Pearl from Piarates of the Carribean.
OC.