hircsailor
-
Posts
25 -
Joined
-
Last visited
Content Type
Profiles
Forums
Gallery
Events
Everything posted by hircsailor
-
I just checked the instructions from my 1982 Swift kit and in A.5 second paragraph it says that the third plank to be put on appox. half way down the frames is called the Master Plank as it sets up how the other planks need to be shaped.
- 153 replies
-
- 1
-

-
- swift
- Artesania Latina
- (and 1 more)
-
Just spent the last 1/2 hour looking at the other Swift building logs and saw that the newer kits have a transom that look like a triangle more that the oval that the instructions show. Guess that I will have to make and cut a new pattern to look like that then the oval shape that is shown on the plans. Jim
-
Thanks guys, that is pretty much what I was thinking. Take the blocks and angle them to the false keel. My feeling was that stopping the blocks short would leave a void with nothing to fasten the planking to. Jim
-
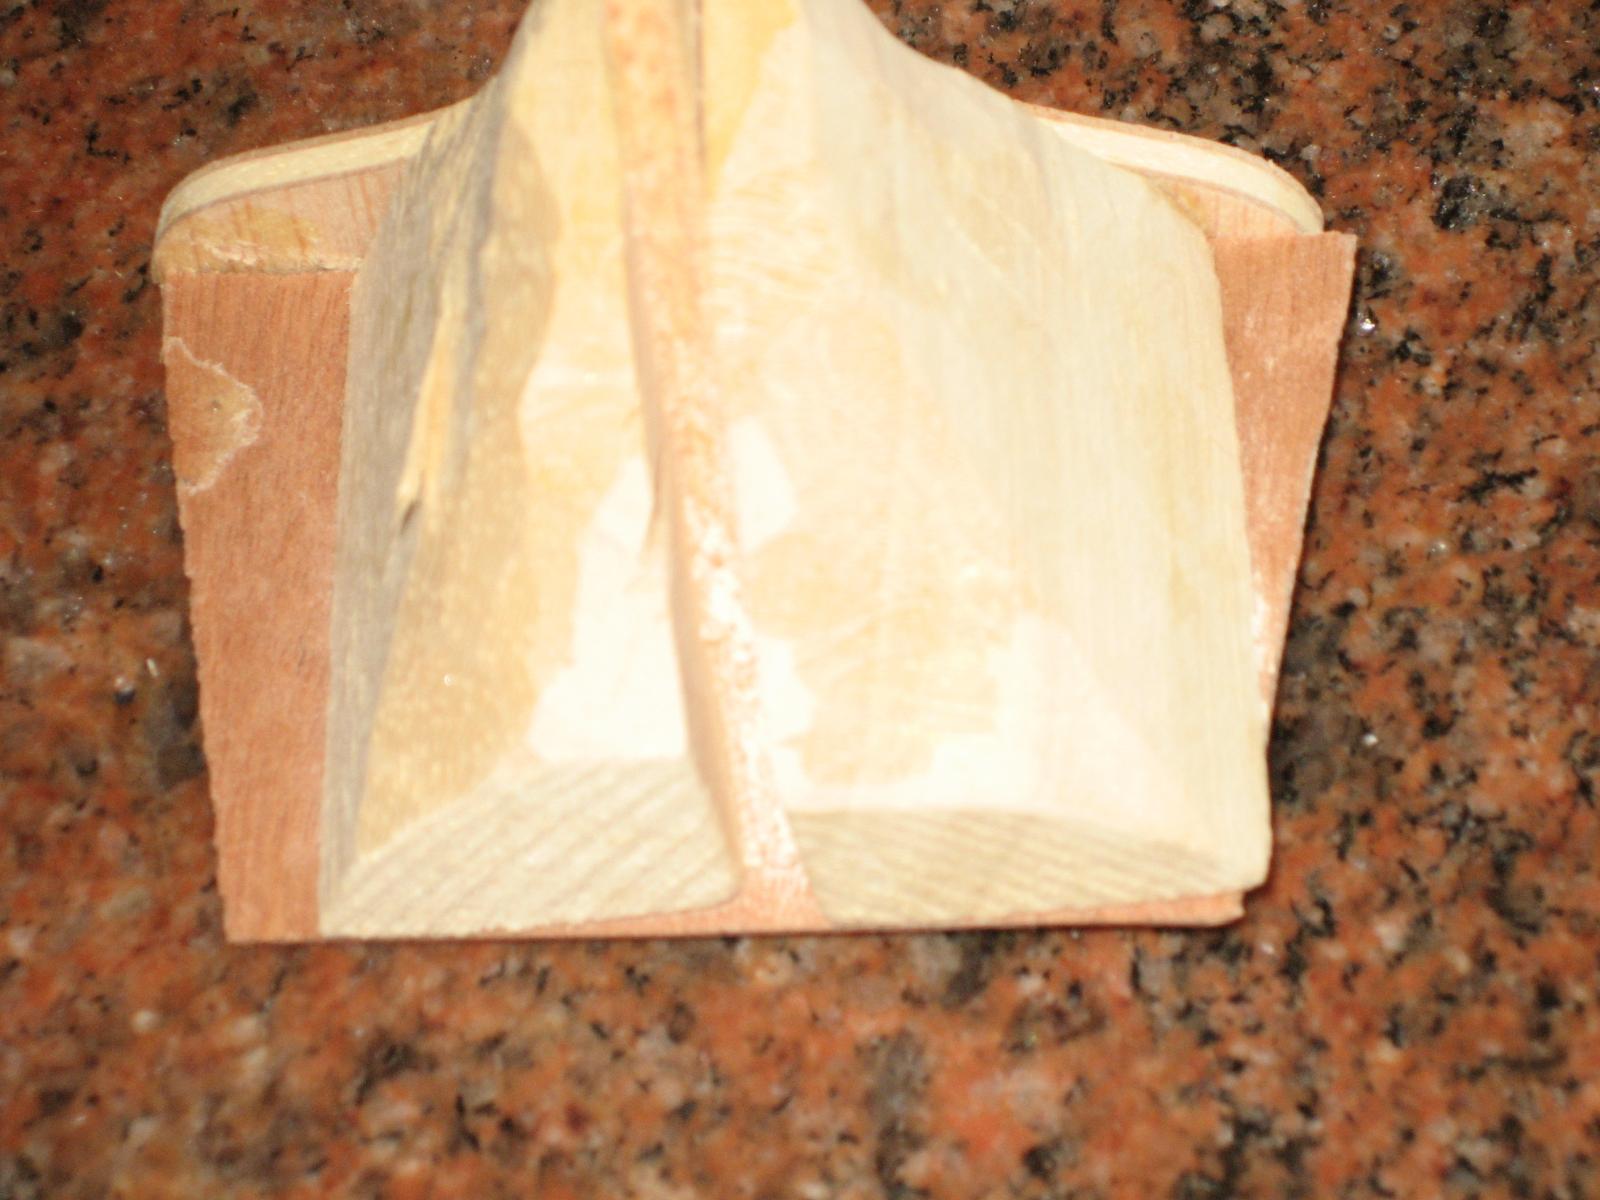
No one has accused me of being speedy but I have the bow blocks shaped, frames sanded for planking. I am now getting ready to make a jig so that I can rough shape the stern blocks, I have drawn up a pattern for the stern shape but now I wonder if the blocks follow the angle of the false keel which I think would be right or if the block stops short of the stern angle. Of course the instructions don't really say anything about that. I noticed that the box top has a date of 1982 so it is really an older kit. Does any one have some advice about this.
-
Spent the afternoon on the lanai carving the bow blocks to their rough shape. Will use some 50 grit sandpaper to get it closer to it's final shape then attach the deck and finish sanding to final shape.
-
It is looking great, it will look outstanding when it is finished. I can't wait to see it.
-
Funny how life gets in the way of our hobbies. After close to two weeks I finally had a chance to get back to the Swift. Cut out the bread butter pieces for the bows blocks and like several others put blocks between frames 1 and 2. Glued then in place and when dry will sand to shape. I'm going to wait to do the stern blocks as I'm thinking of making a pattern for the transom to help in shaping the stern blocks. Slow but sure but then I'm retired and in no hurry besides it keeps me out of the bars. Jim
-
In one way I envy you modelers on the mainland as you have all these different stores that you can go to for tools and parts. Here in Hawaii we are pretty much limited to online shopping, we have Ben Franklin and Walmart with very little that modelers can use. No matter what the ads say about free shipping there is never free shipping to Hawaii. But with winter coming I will be happy paying shipping than living back in Chicago with the snow and cold.
-
10 days after ordering from Hobbylinc they still haven't shipped the order claiming a problem with cc then shipping address so I cancelled the order and placed it with Tower hobby paying a little more. Funny thing is that Tower hobby and AgesofSail and Model Expo had no trouble with my card. It just gives me a week longer to think about what I am going to do next.
-
Great building log. It should give any new builder lots of information how to go about building their kit.
-
I brought some tools from Hobbylinc and they were about $10 cheaper the Tower or Model Expo. The only place that I could find pin nails of the correct size was at Ages of Sail as the carry AL products. You might give them a call to see if they have what you need and their cost, I ordered on Monday and had the parts on Thursday. Great customer service and they seem to know their products.
-
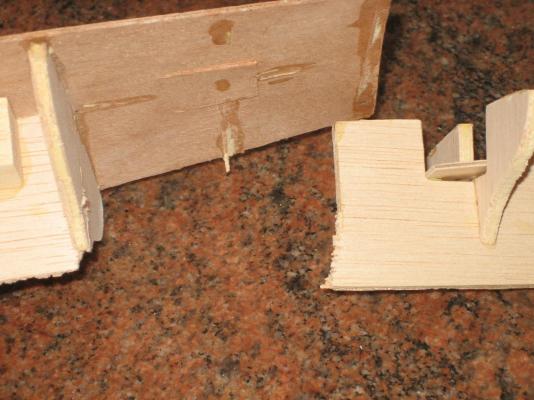
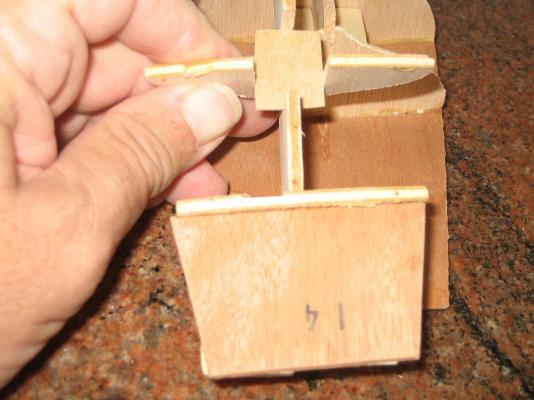
While waiting for some parts to arrive I made up a pattern and jig to make the bow locks. I believe that using the bread butter system of bow blocks will speed up making the blocks. Much less carving and I believe a better fitting piece without risking damaging the frames and keel.
-
Your pictures show a AL Swift without sails, is this a kit that you brought some time ago or picked up at a flea market. I ask because the latest kits have sails and a larger deck openings. I picked mine up at a flea market and it was in rough shape a couple of pictures on my log. I look forward to more on your building log as well as a second Swift building log on here. Jim
-
It's interesting looking at your building log and the great work that you are doing. I've had this kit for several years and every so often get it out and look at it. We have moved from a 4 bedroom house to a one bedroom condo and I'm not sure that we have room to display it if I decide to build it. We already have 3 boats hanging on the wall. I'll keep reading your log and look forward to the finished model Jim
-
Cut out a new keel from 1/8" basswood and so far ever thing fits good. Just waiting for the pin nails to arrive so that I can move on. I plan using the bread butter method for the bow and stern blocks that is show in the article about planking on this site. This way saves a lot of carving and sanding. As everyone says all you have to do is cruise thru this site and you can get an answer to almost any question that you have. I have been following the other 2 Swift building logs on the and have picked up some pointers. Since I made a new keel I noticed that the bow and stern are higher that the frames close to them. Since the frames are vertical the blocks either have to be above the frame an trimmed down or the blocks have to be angled so that they can lay flat against the frames and still match the top of the keel. Hope this makes sense to everyone. Thinking ahead I have been thinking of using black thread as caulking on the deck like giantdog is doing.
-
Ok now I am confused has AL changed the design of the Swift over the years. As I has said the kit I picked up is about 30 years old and the cut outs for below deck is only 2"x2" and I have noticed that pictures of the newer build logs show much larger openings. It makes me wonder if the kits are models of the same boat. Can anyone help with this. Jim
-
Enjoying your building log. I brought a AL Swift kit at a flea market last week and from the paper work that was with it the kit is about 30 years old. The original owner started it and did a terrible job on it. I posted a couple of pictures of the work before I took it apart to correct the mistakes. The keel was a total loss so I brought bass wood to build a new one. I will keep watching your log and hopping to pick up pointers to use in my build. Jim
-
Spent yesterday afternoon getting the frames off the keel and managed to save all of them and the deck. The keel was broken in half so that was a total no save that is why I sawed through the keel to free up the frames. I have the sheets that the keel and frames were cut from and will use that to cut a new keel. I set the frames in their sheets and they will fit back in place after a light sanding to remove any dried glue.. So far so good.
-
I picked up a older AL Swift at a flea market over the week end. The kit had been started and was in rough shape; The frames, deck and bow, stern blocks were attached in a sloppy way. Nothing was aligned in general it was a mess. It was only $5 and I figured that the wood in the kit was worth it. After getting it home I inspected it and everything seems to be there except the pin nails, the keel was broken In half by frame #7 so this morning I ordered the pin nails from Ages of Sail ad took a good look that the keel and frames. This afternoon I took a saw and cut the keel by each frame to free up the frames. I managed to save the frames and deck now need to cut a new keel this week and start rebuilding the hull. Will update as progress is made. A couple of pictures of the kit as I got it.

-
Meddo there is a sailing club in the Dayton-Kettering area that hold contest at a area lake. Check the AMYA website under clubs for information.
-
Great job, I built a small plastic model of the Flying Cloud years ago. I love the looks of the ship and it is one of my favorite clipper ships. Look forward to more pictures in your log.
-
I have been reading the building logs on the AL Swift while waiting for my kit to arrive. I have noticeed that you have used tung oil several kits. Is this something that the instructions say to do. I have built three wood rc models as well as refinished a couple of end tables and never used tung oil or any kind ot stain untill I was finished building.