malmoerik
-
Posts
81 -
Joined
-
Last visited
Content Type
Profiles
Forums
Gallery
Events
Everything posted by malmoerik
-
Hi LMDAVE How are the sails coming along? When I built my Endeavour I ended up removing the sails in the end, didn't think they looked nice. But on the Britannia I'm building now I'll definitely have sails. The cloth delivered with that kit was thinner and smoother than that delivered with the Endeavour, plus they aren't printed, something I think you commented that you didn't like. Do you have any other hints when it comes to sails? Did you soak them in wallpaper glue to make them a bit stiff? Erik
-
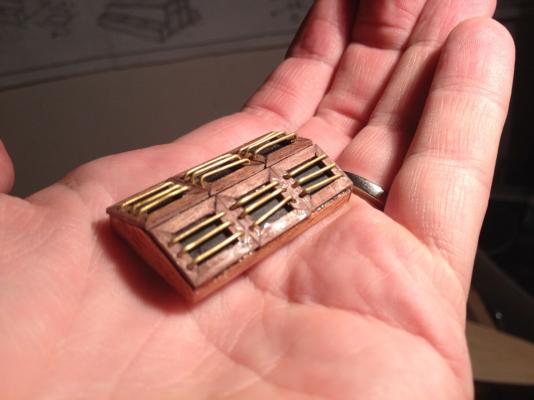
Hi Osaler1 Thanks. It's been a lot of work, I haven't posted any pictures in ages. Getting the brass bars straight on the houses almost had me give the whole thing up. I ended up re-building them from scratch, slightly bigger than according to the plans. And this time I didn't drill any holes for the brass bars because I couldn't manage to get them at equal distances, neither in the X not in the Y dimension so to speak. Instead I just dipped the brass bars in super glue and put them in place using a pair of tweezers. Maybe you're better at it?! I have now started with the mast, it's gonna big a big ship once ready, have you checked out the no 8 plan which is 1:1 of the whole ship?! Cheers Erik
-
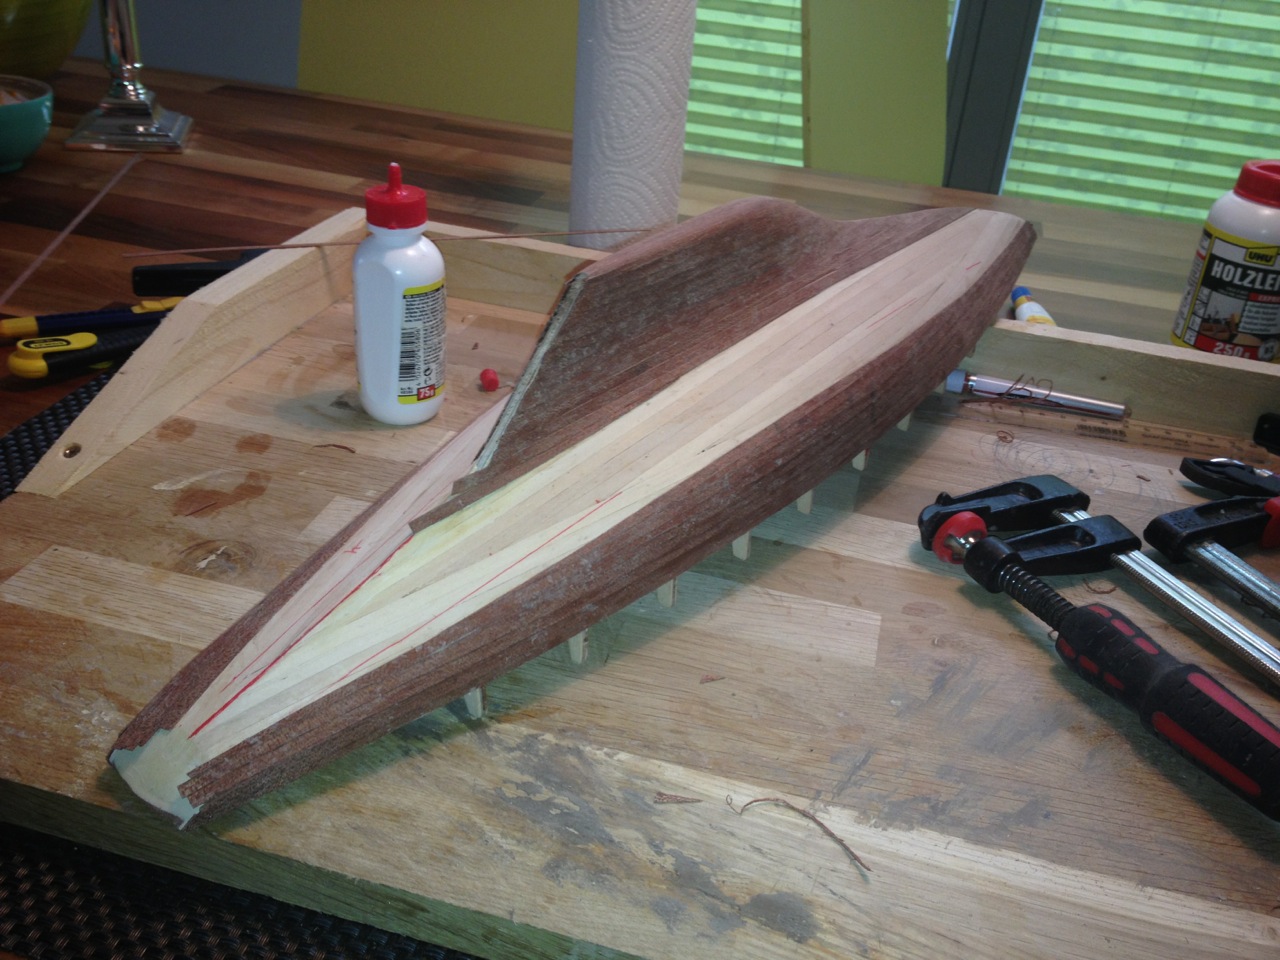
Deck is ready, third and final try! The first deck, pictures in earlier posts, didn't look good because I wasn't careful enough. Gaps between the planks, joins with king plank not perfect etc. The second deck was of walnut wood and looked awful because the wood came from different batches (no pictures) and I threw it away. But now I'm happy - at last. I coated it with sanding filler by the way.


-
Great work on planking that keel Floyd, I'm impressed! I saw Floyd mentioning a darker king plank. I did exactly that and it came out great (imho). And just like Floyd I also painted the hull first and when done mounted the deck.
-
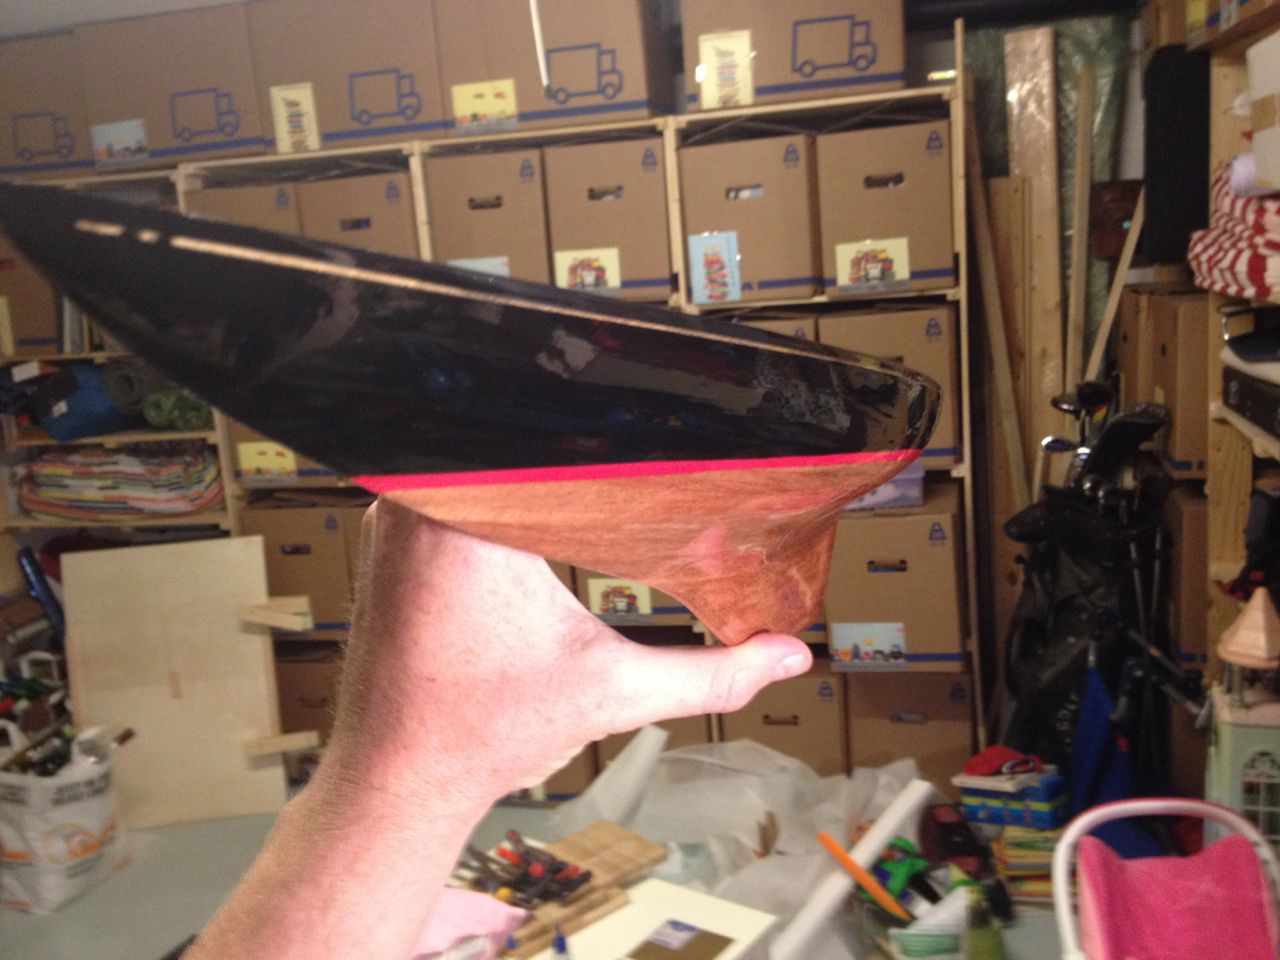
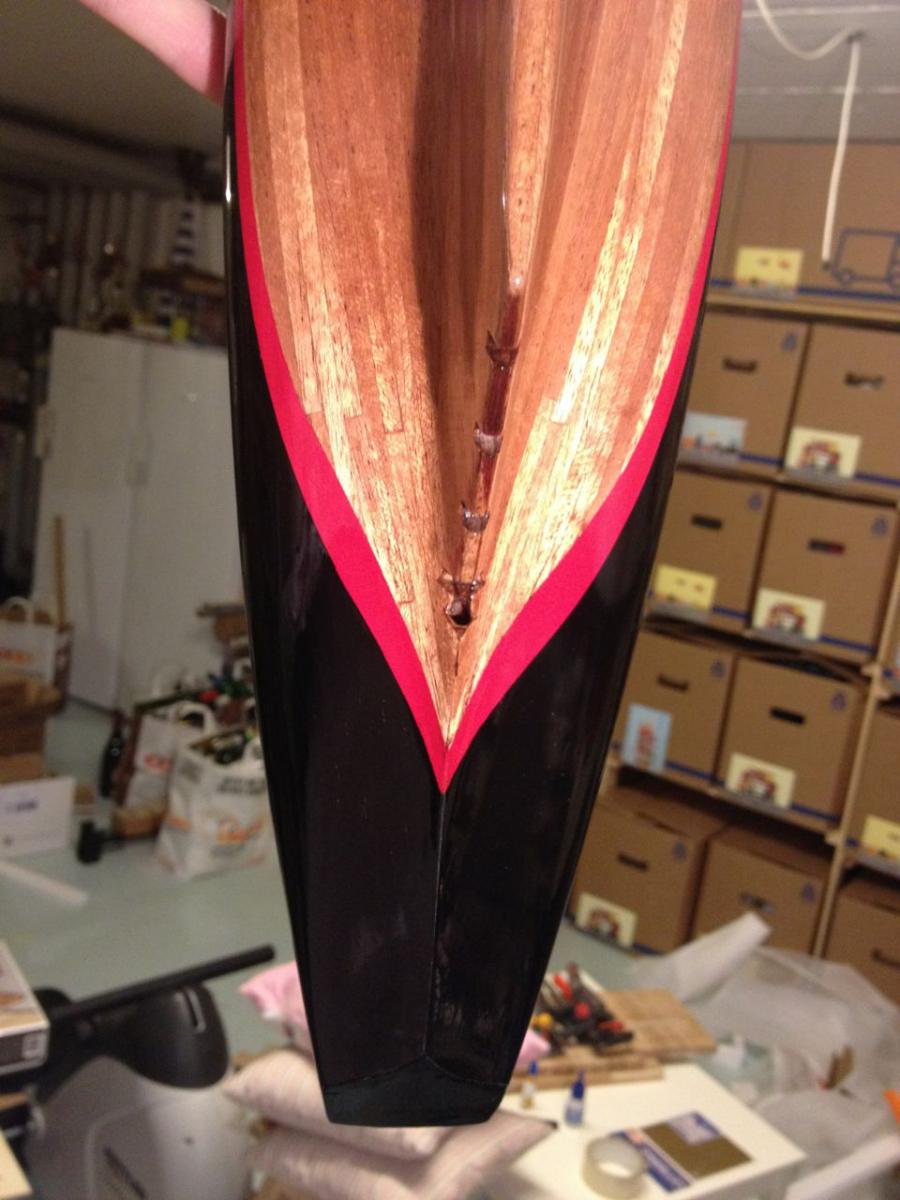
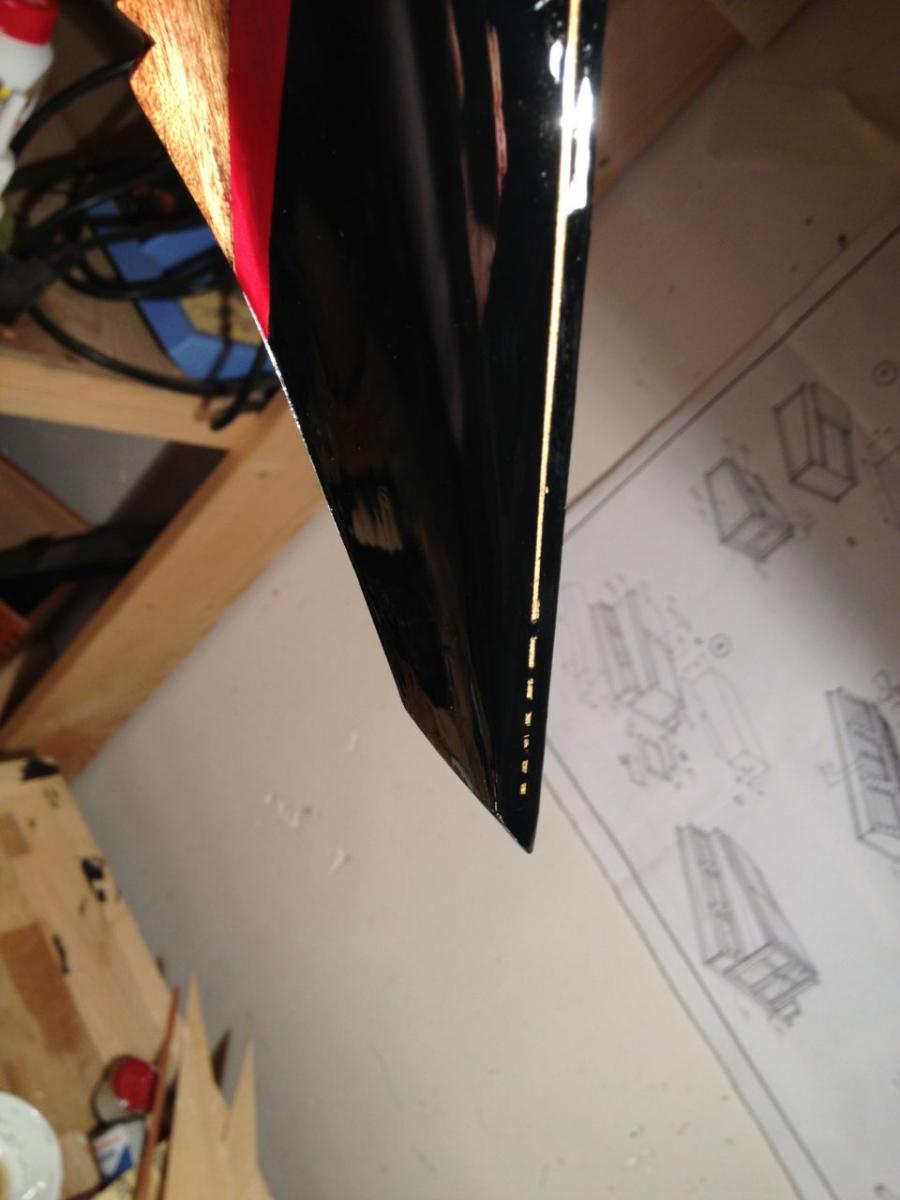
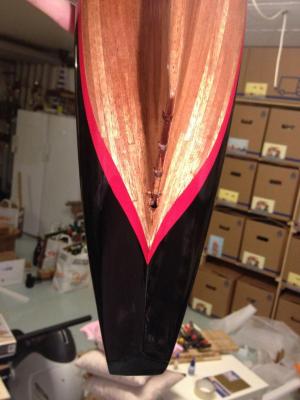
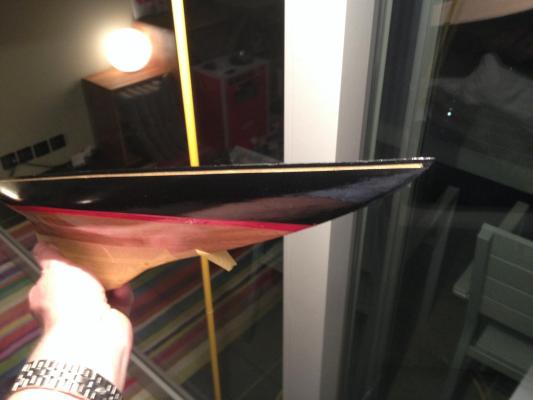
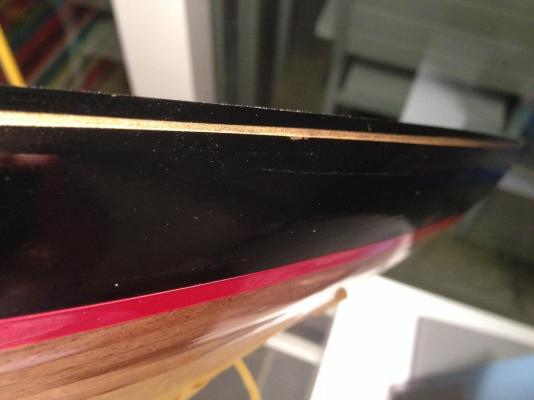
@Keith: I painted the waterline next to the black area, not on top, thus avoiding a contour. Then I wet-sanded and applied a few layers of varnish. Gently stirring the varnish instead of shaking it, using a rather soft brush and applying the varnish with few strokes was my methodology. I over-diluted the black paint and the red one didn't cover properly so it's not perfect... One more thing. Sharp edges (between the hull sides or at the aft) gives a realistic impression. I therefore painted one side at the time, masking the other. Painting all at once makes everything soft and rounded. @Mike: not sure yet. I won't put masking tape directly on the paint though.
-
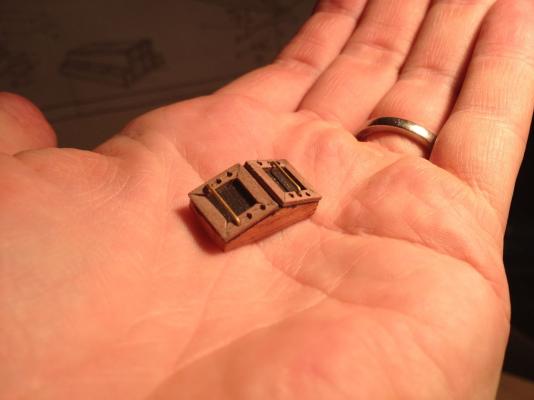
In the last picture I posted the hull was painted and looked ready. I wasn't happy with the result. There was a contour along the waterline, the golden line along the deck was too thick and the finish wasn't great. Now it's as good as it gets with me handling the brushes. I used a laser to mark the contour of the waterline at the aft. It looks weird but when viewed from the side it's perfect. I'm building the a new deck that I will mount on top of the old one, with a 4mm mahogany King's plank in the middle. I built another deck out of walnut but the planks had so different colours that I threw it away. The small houses are a bit tricky. First it's the frames that are joined at 45 degree angels. Get one plank slightly too long and it looks awful. Drill one hole slightly off center and it looks awful. I decided to manufacture the pieces in one batch so that they are identical (by drilling through 30 planks at once). Seems to have worked, will start over soon. By the way, sorry for poor quality of the pictures.


-
Or the opposite happens, that the planks age completely differently, like on my first build...
-
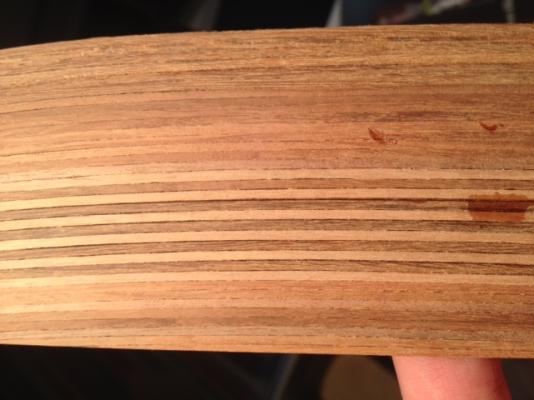
Thanks for feedback. The dimensions and finish were also very different, some planks were at least 1.5 if not 2mm wide compared to the 1mm I ordered. So clearly the wood came from a few different batches. I did get in touch with the supplier and suggested that maybe they could knock off the 8 (or was it 9) EUR from next order as a gesture. I got an arrogant answer back so that made it simple, next time I'll just order my stuff elsewhere (I was actually about to order sails worth around EUR100). I just can't understand how stupid sales people are sometimes. If a customer complains, then you apologize (a few times for effect). Simple as that. And you offer a free coffee if you work in a restaurant. TaDa, happy customer that will return!
-
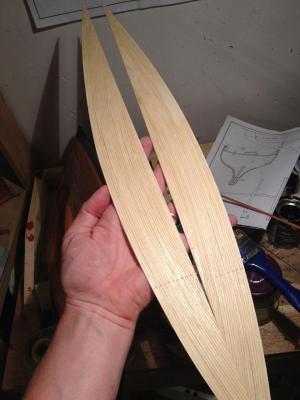
Hi I just ordered a batch of walnut wood and found that the variations in colour were were quite radical. All the planks in the attached picture are supposed to be walnut, varying in colour from redish, greyish and brownish to very bright, almost white. I understand that colour may vary if the wood is from different batches but I didn't expect it to vary this much. What do you say? Cheers
-
Be careful with epoxy, I covered my whole hull with it (good intentions, poorly thought-through!) and it was impossible to sand. When you apply pressure it gets warm and then it's like chewing gum. I ended up planking it from scratch again...
- 80 replies
-
- 1
-

-
- Americas Cup
- Endeavour
- (and 1 more)
-
What's a king plank? A wider plank?
-
Hi guys, thanks for your advice. Regarding the deck, I'll try out both your tips. If nothing else for practice. If it doesn't turn out good enough I'll just order new planks and build the deck separately and mount it afterwards. That way I'll build two "half-moons" and will for sure be able to sand a straight line. Painting the hull is definitely more work. I thought I did wet-sand down the varnished hull before applying paint (grade 800), and it _was_ smooth as silk until I painted it. My dad told me he used some kind of sticky cloth that absorbed all grains of dust, like waxing a lady's leg if you see what I mean... Cheers
-
Thanks Keith. Eventually it will look nice with a red waterline and a thin gold line on black background. Right now it doesn't. Need to figure out how to achieve that ultra glossy finish. All clues are welcome. Regarding the deck, also a bit disappointed. I do have quite a few gaps. Maybe I'll try out some filler? It would also be good if I somehow managed to remove the two center planks and sand down to make room for four planks. The reason being that the joins are not so exact.

-
Fantastic Mike. Really nice.
-
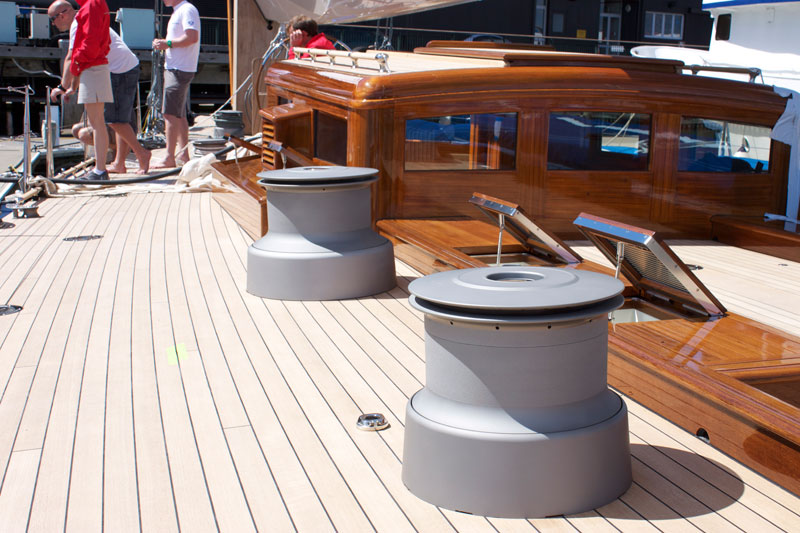
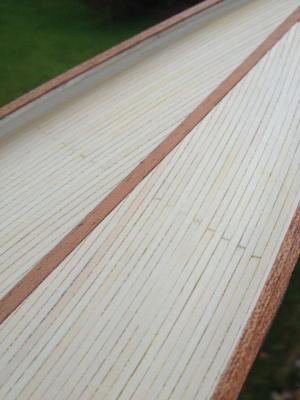
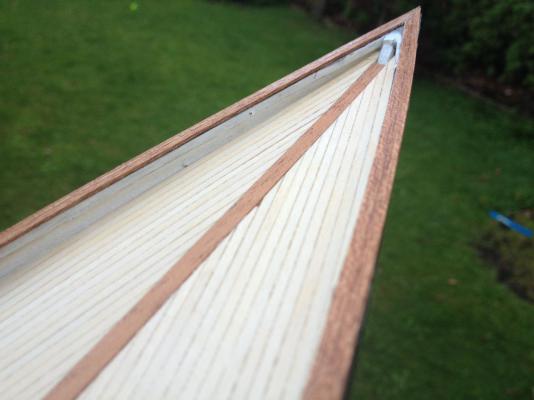
That's how decks are laid on racing yachts. Thin planks starting from the edge working its' way to the middle. See pic from a modern replica of Endeavour.

-
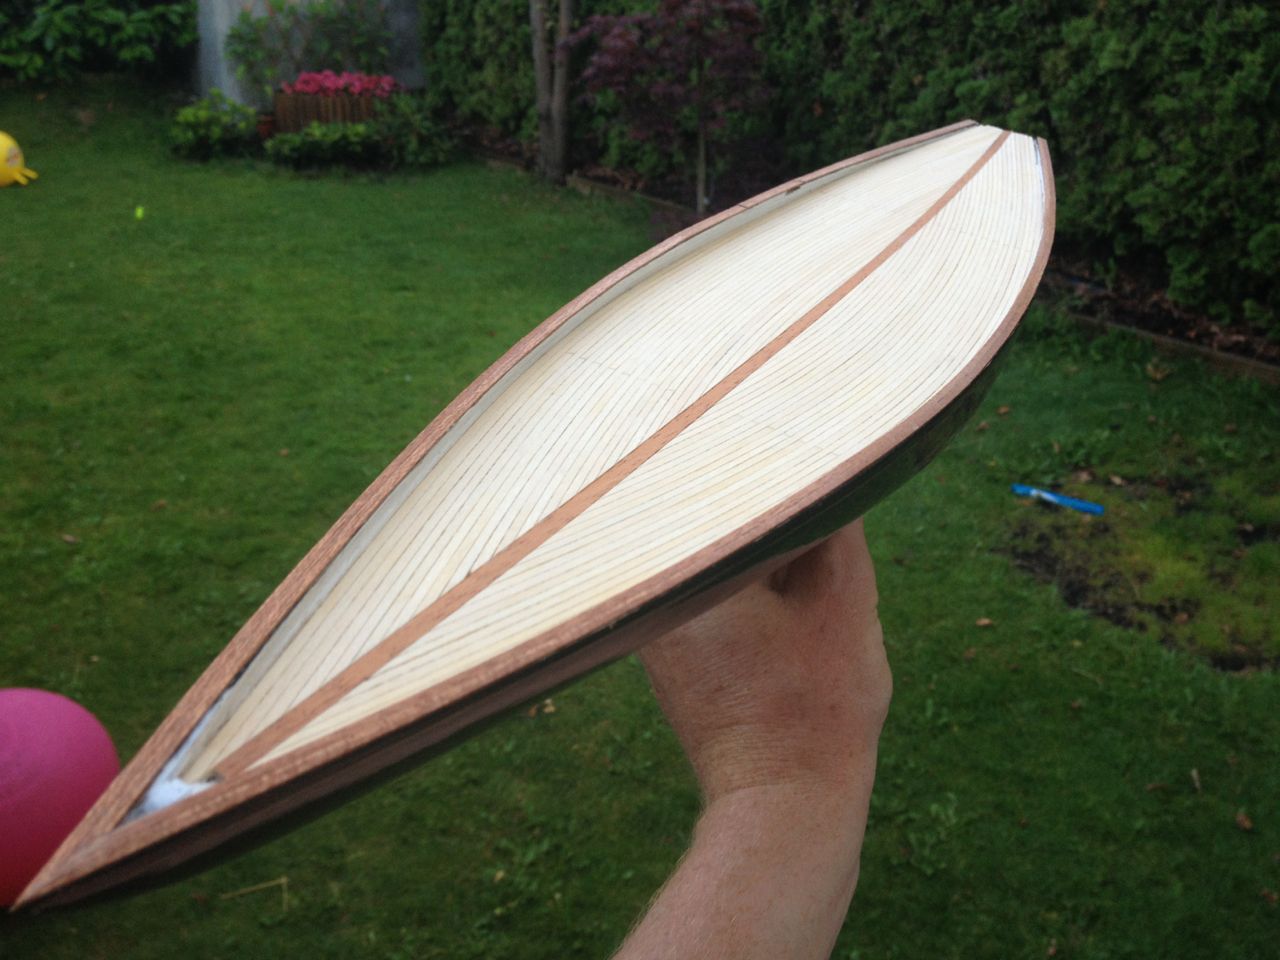
Cool, you're getting there! I like how thin and delicate the hull looks.
- 137 replies
-
- 1
-
-
- finished
- model shipways
- (and 1 more)
-
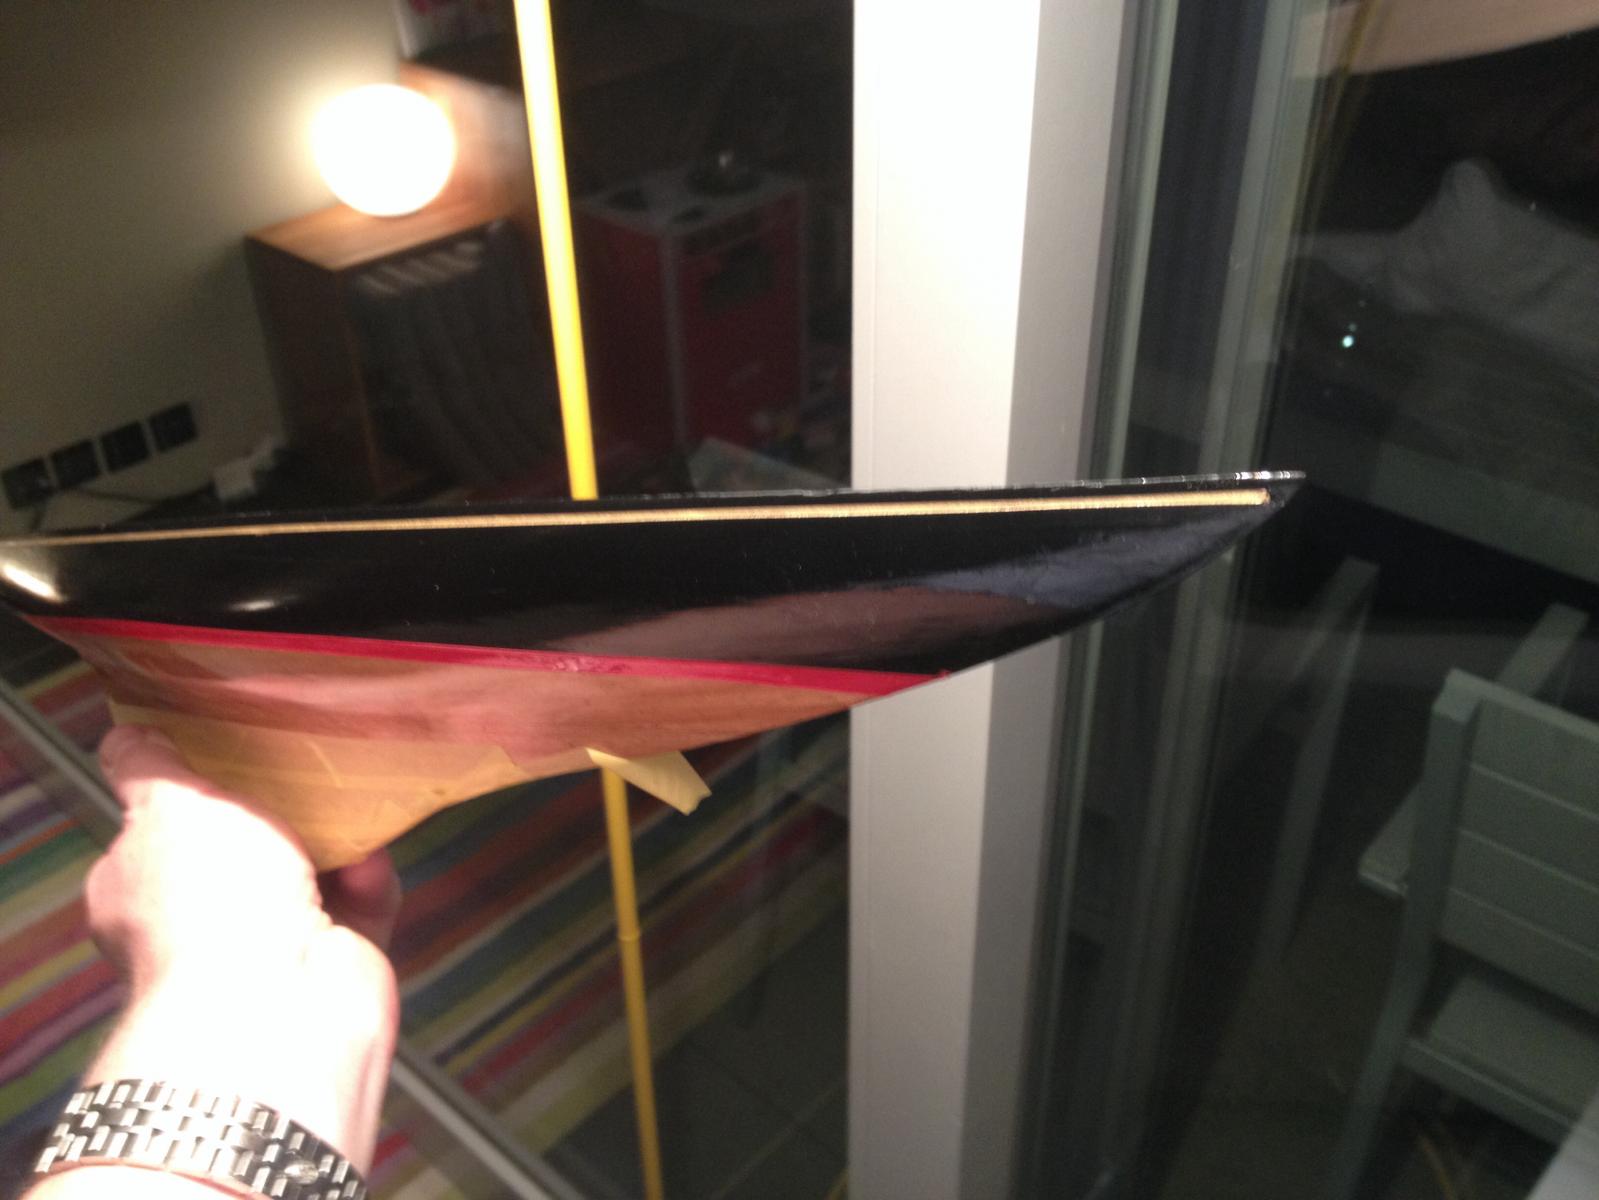
Got the black paint on. Red waterline is missing. Before I turn to that I decided to giver her another coat of black paint, just to be sure I did everything I could to have an as nice as possible surface. So I didn't sand in the basement in order not to have dust in the air. And after I painted her I put her in my kids' playing tent (they don't mind do they?) to protect from dust flying around. And I closed windows as well. If that doesn't do it... By the way, I decided to ditch the deck as included in the kit, standard 4mm planks... Instead I bought 1x1 mm planks to create a deck that is closer to the true scale. I actually don't mind the gaps between the planks, they emphasize the contours (I keep telling myself).

-
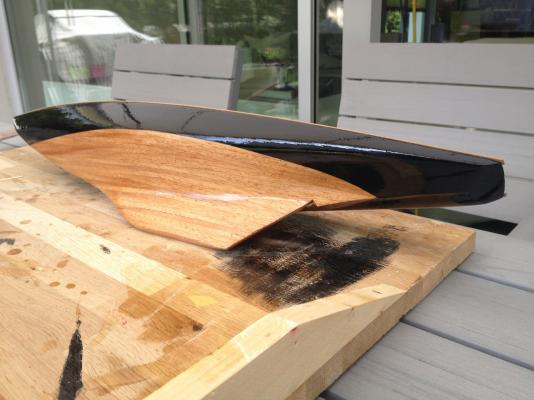
Varnishing done. Now time to paint her black above waterline.

-
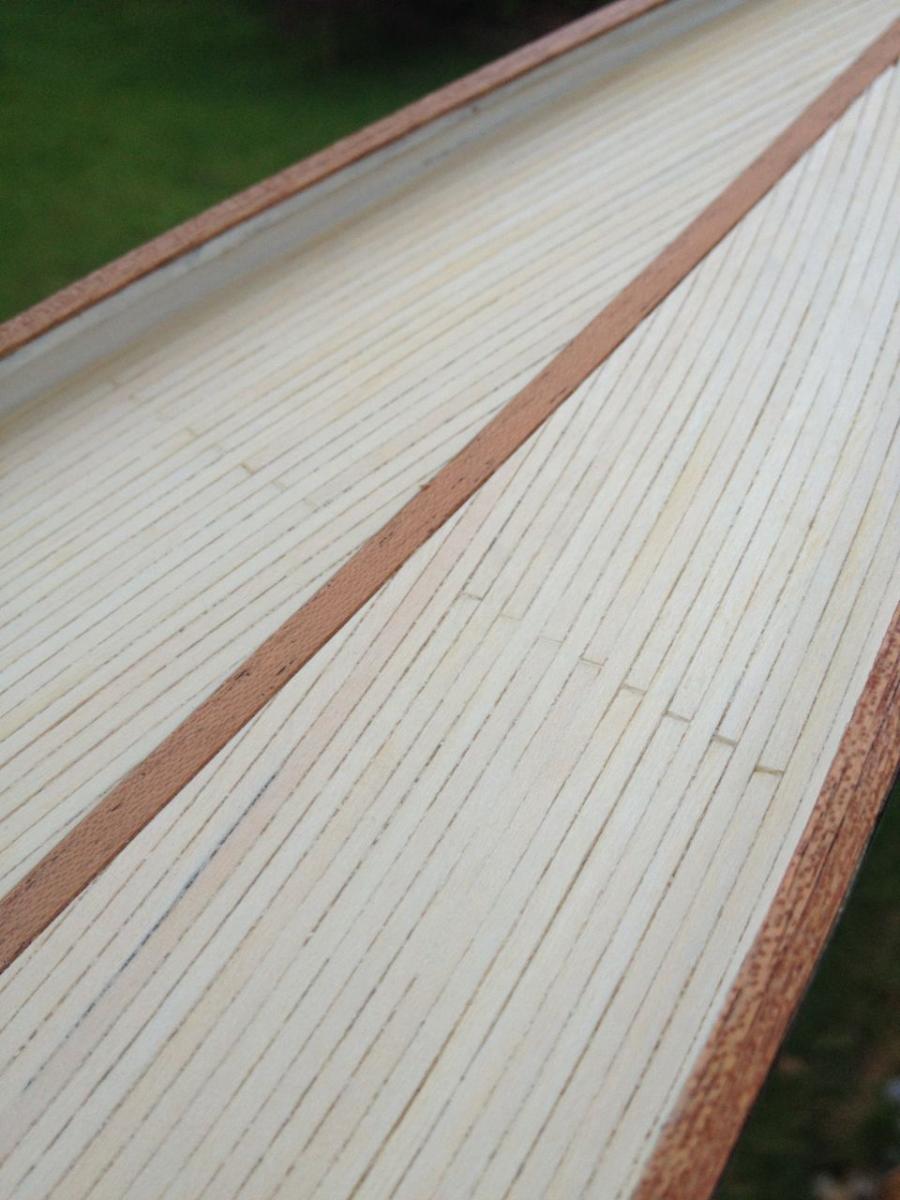
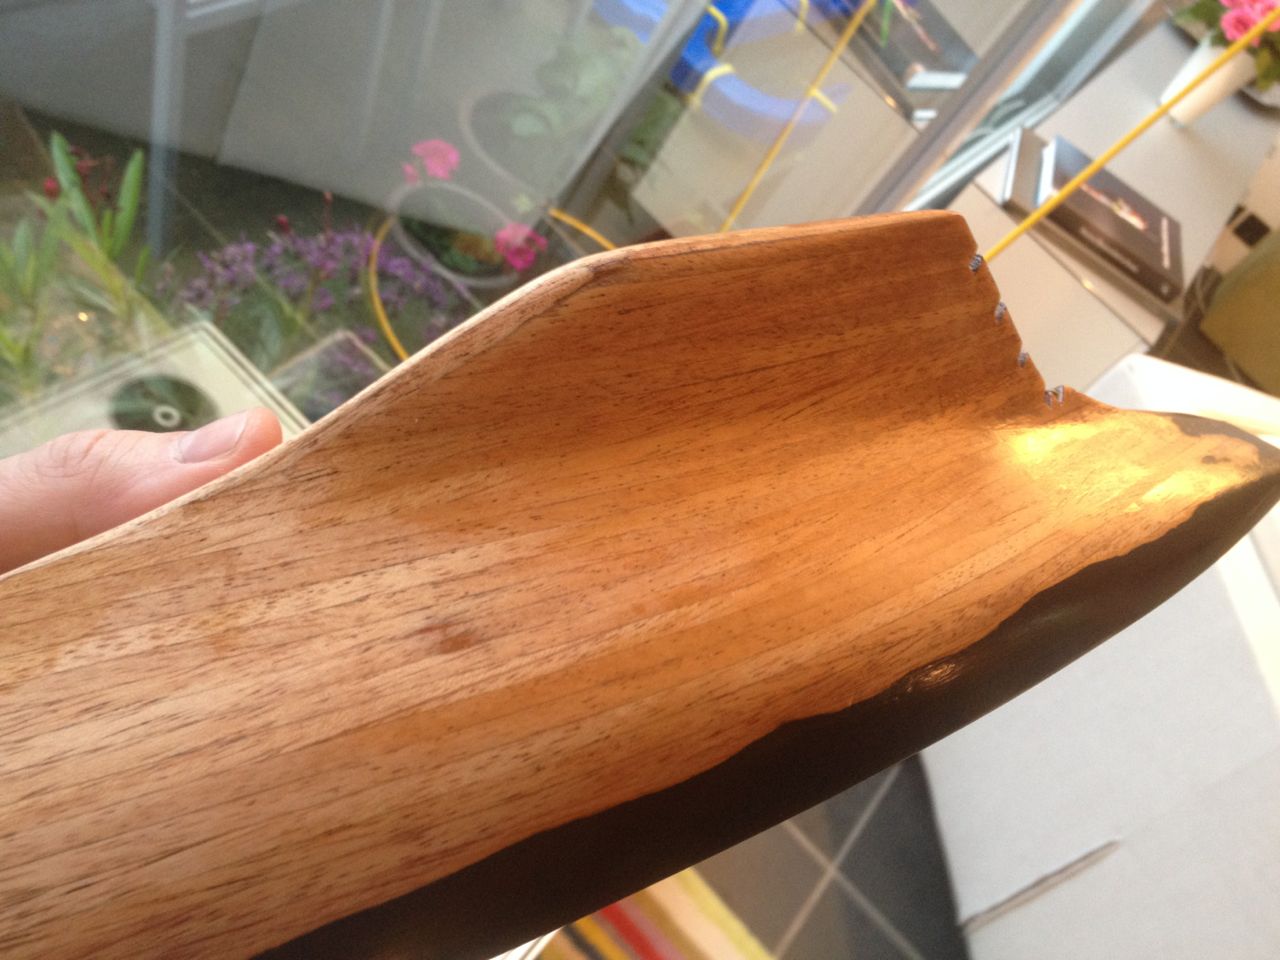
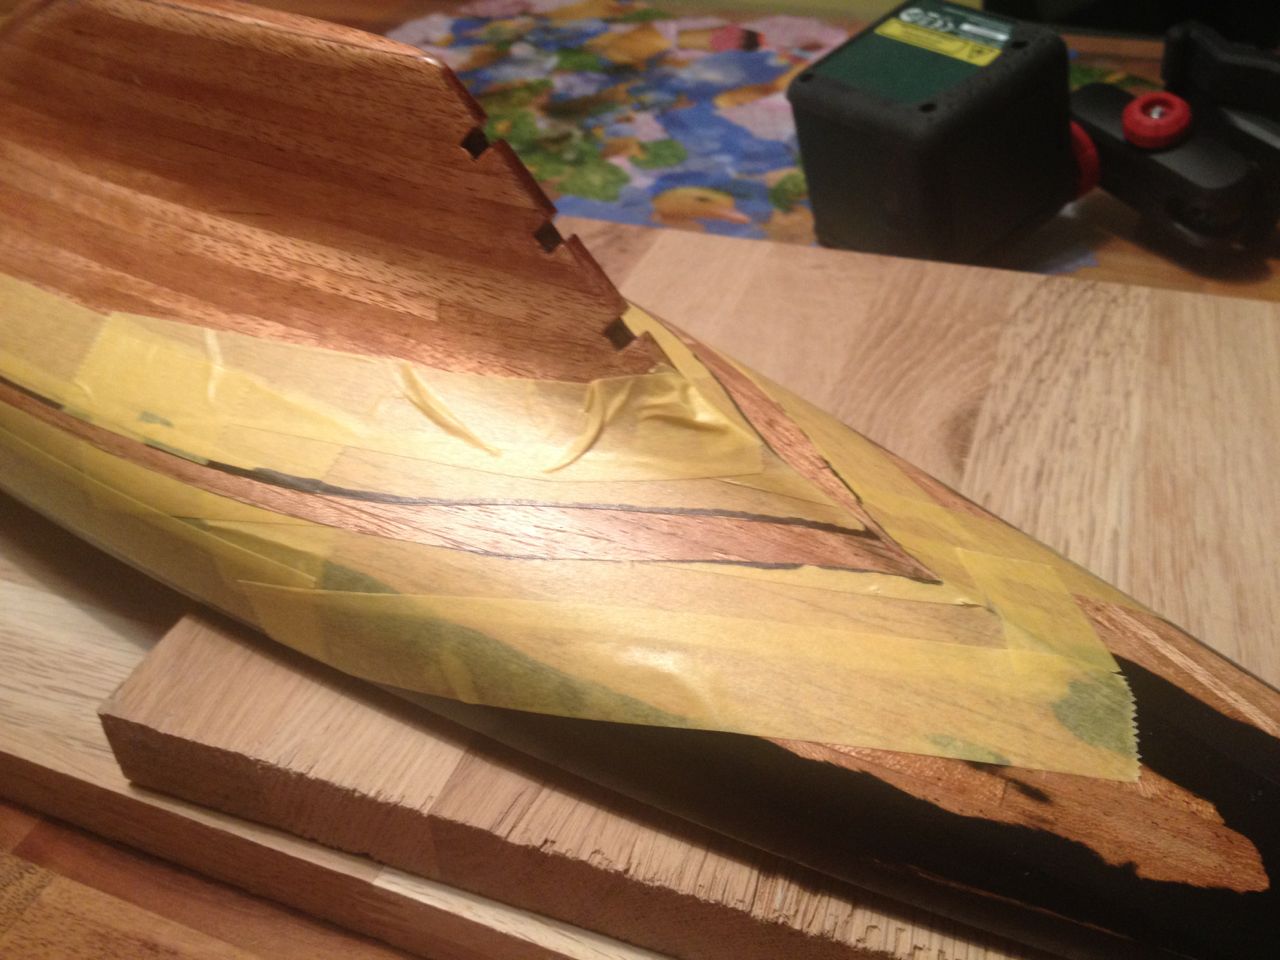
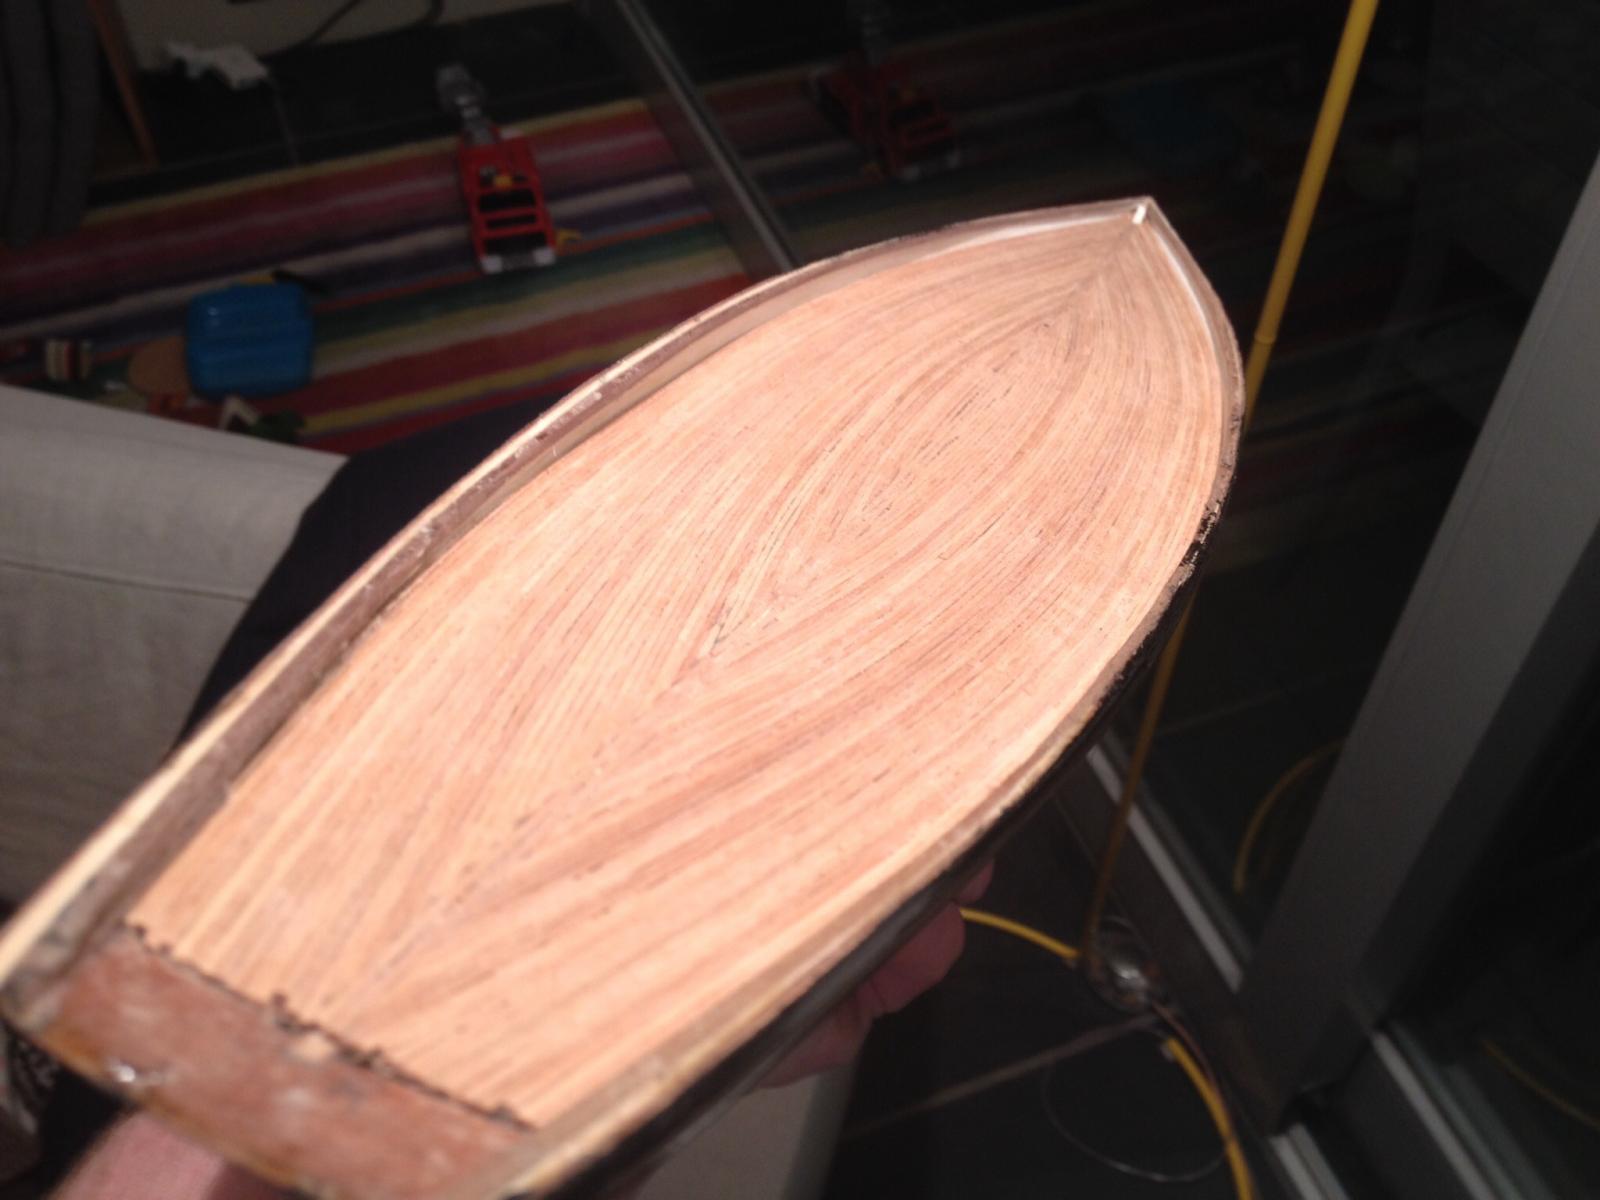
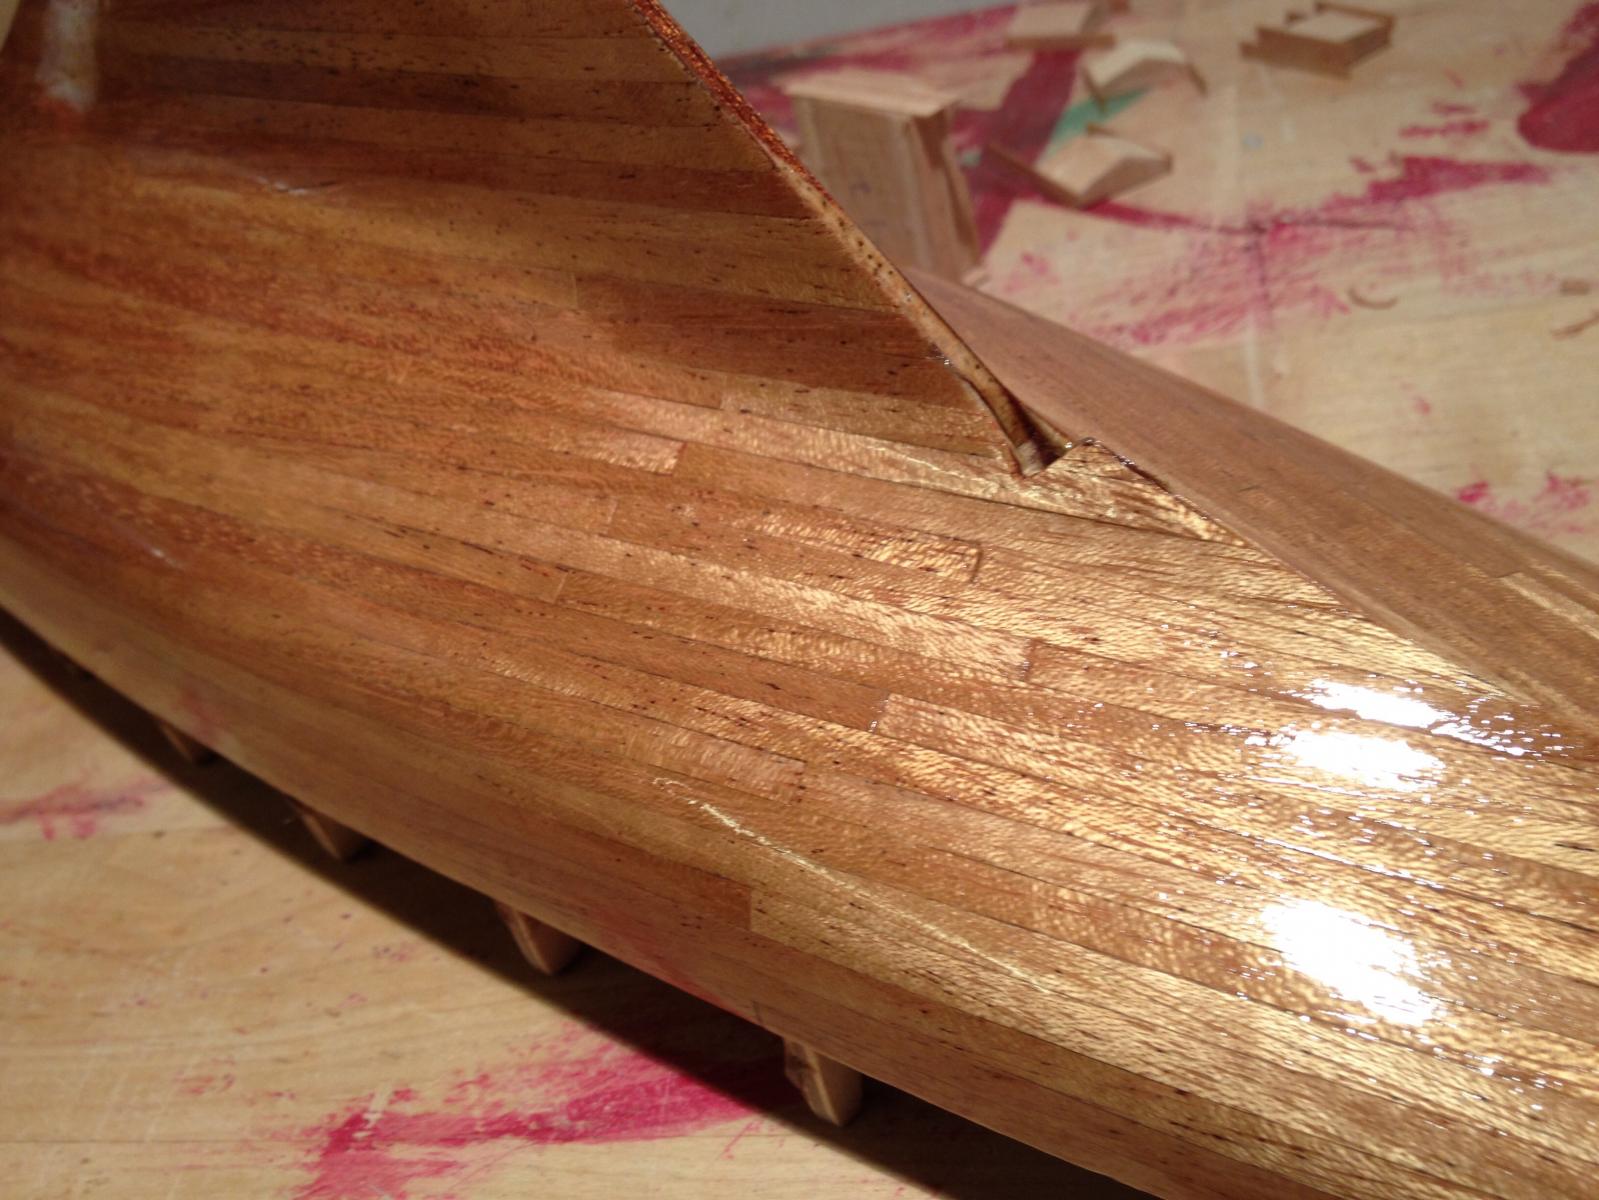
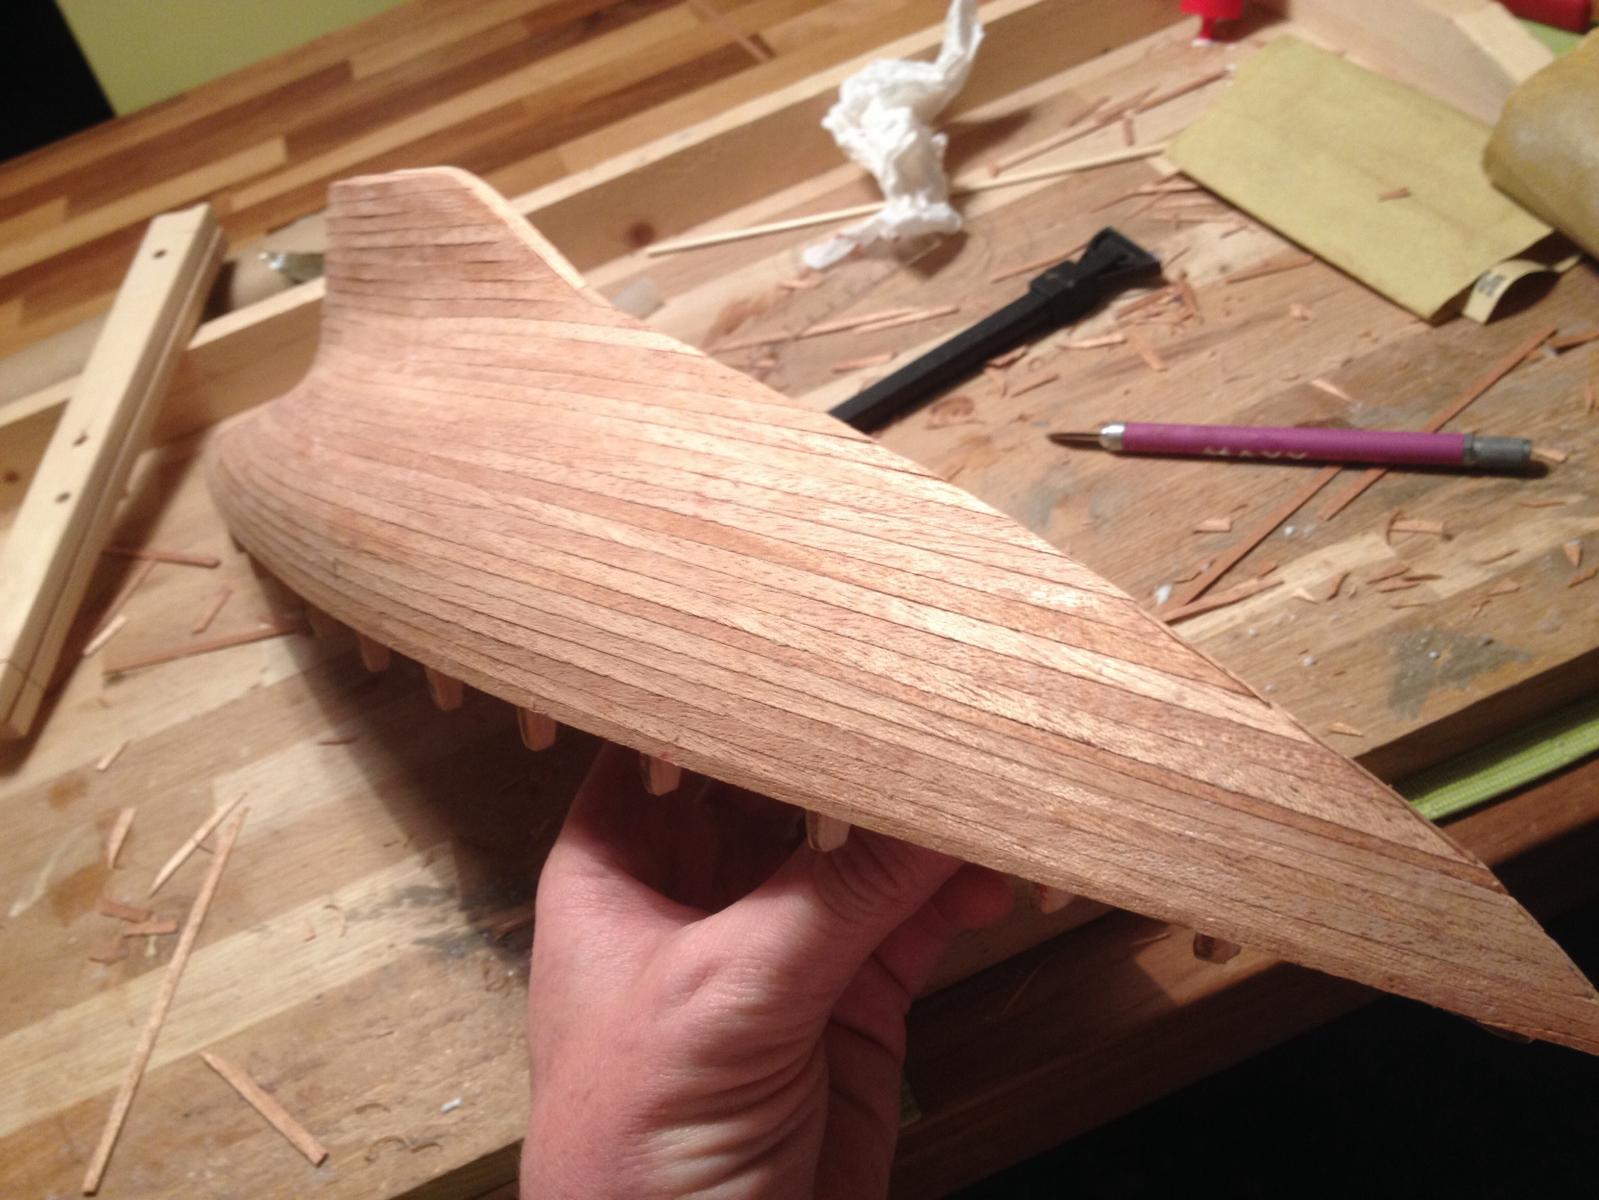
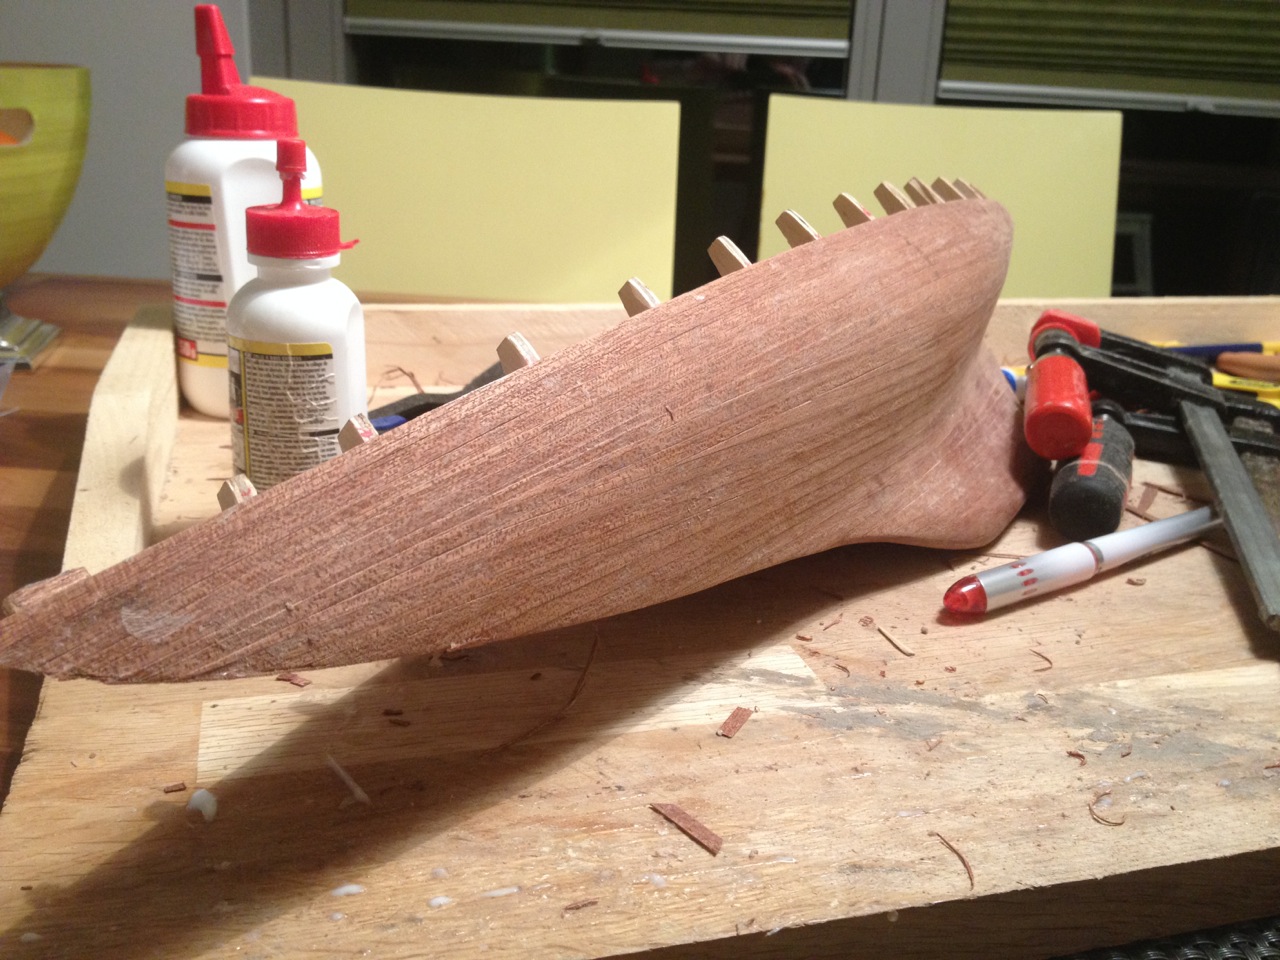
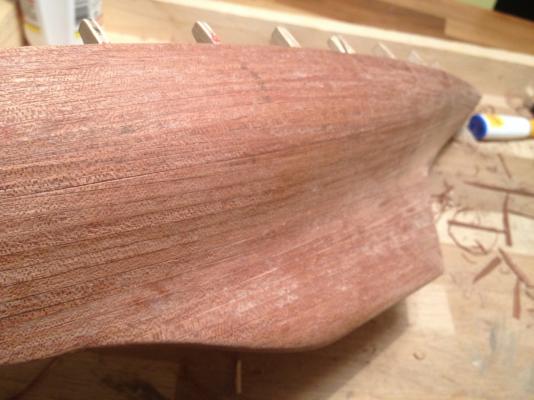
I tapered the top 8 planks, from deck line, at stern to get a nicer line. By using the bent planks I didn't have to use a single stealer.

-
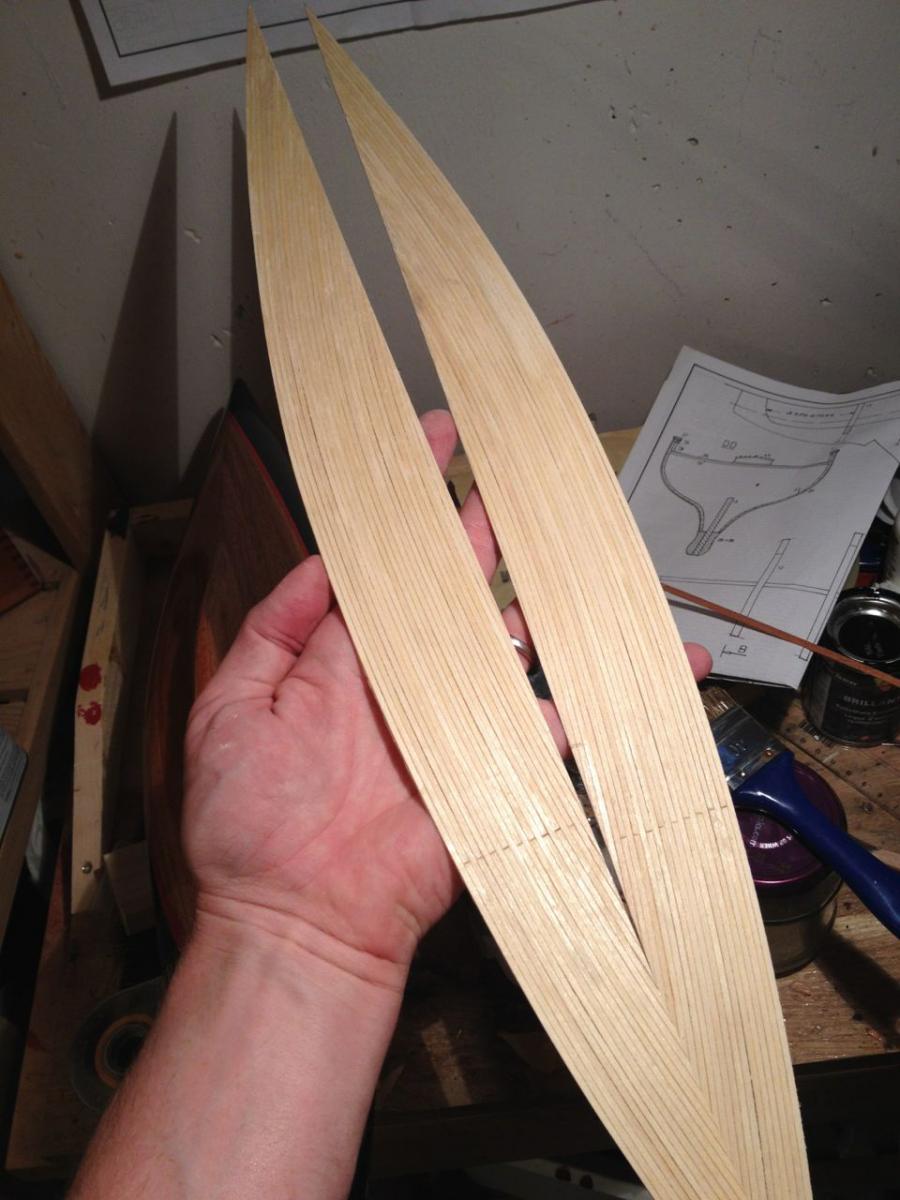
New start. This time I'm bending the planks. I did this by soaking 20 of them in boiling water, then layering them on top of each other, between two pieces of wood for stability. Then I bent them and left them to dry. Worked great.
-
Thanks Mike, it was all for nothing though because I ruined the whole thing. It almost to embarrassing to tell in an open forum like this but here goes. After that last picture I thought I'd use some kind of filler for the tiny gaps. But to ensure that the filler would have the same colour I decided to make it myself. So I collected the dust when sanding the hull and mixed it with glue and applied it. Then it struck me that this mixture could actually be used to seal the pores in the mahogany to make an even smoother surface. So without thinking I happily made a new batch of my magic (evil) potion and smeared the whole hull with it. The problem is that when you start sanding glue it turns soft, like chewing gum, so you can't really get rid of it. I put on one coat of varnish just to see how it would look and it looked awful. On some small patches where I had actually managed to sand it away properly the glow of the mahogany was beautiful, the rest of the hull looked dead. I spent hours sanding, hoping I would be able to salvage it, but only with the result that I would sand through down to the first layer of white wood. So now I have ordered new mahogany and will plank it again. On a positive note, I have an idea about how I will plank it this time. I have always thought you shouldn't bend planks if it could be avoided. And with bending I mean in the horizontal dimension if you place the plank on a table, understand what I mean? If you don't do that, then you end up with tons of stealers which I did this time too. But if you bend, and you need to bend a lot on a shape like this hull, then I think you can get away with just a few stealers and the planking will look a lot nicer. Some tapering will be needed but not that much. No idea how hard it is to bend 0.5mm mahogany strips? Will soak them properly and be careful.
-
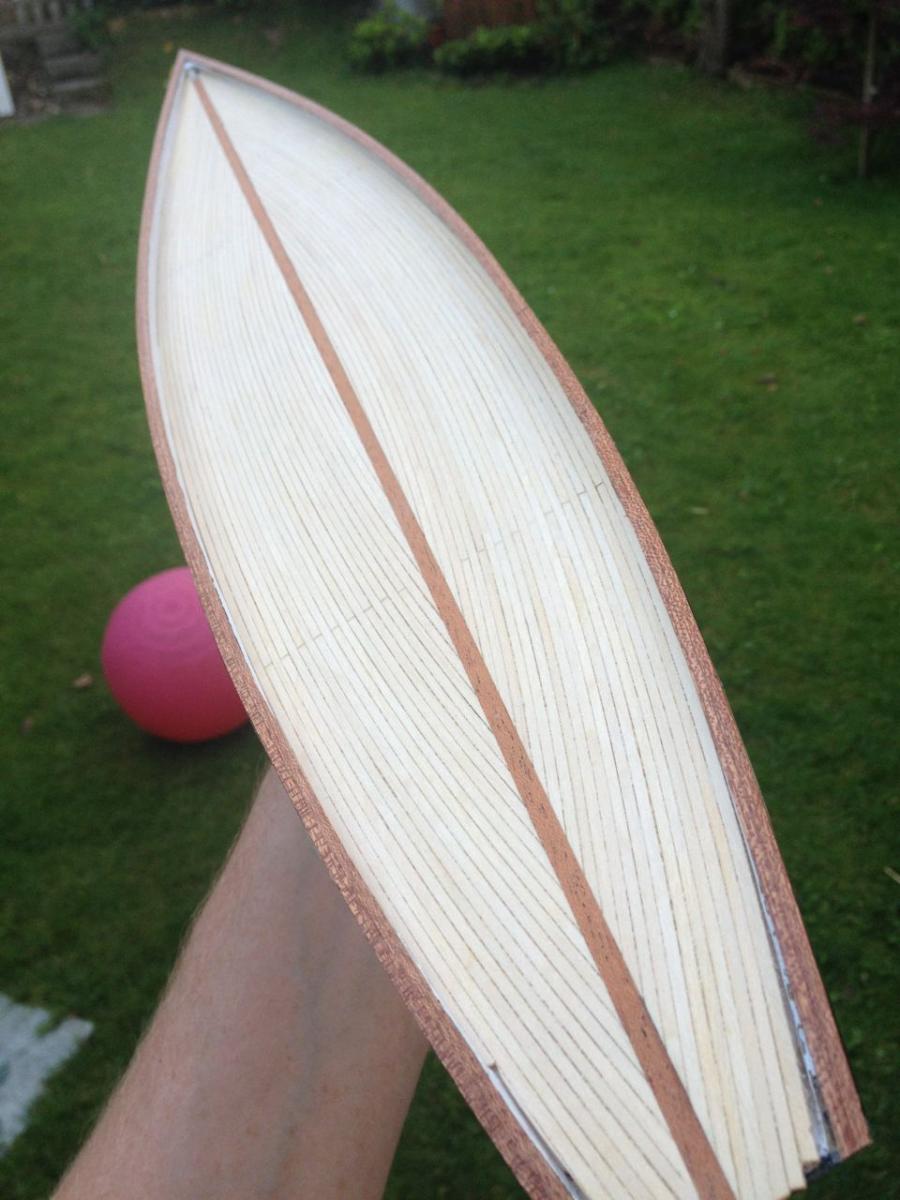
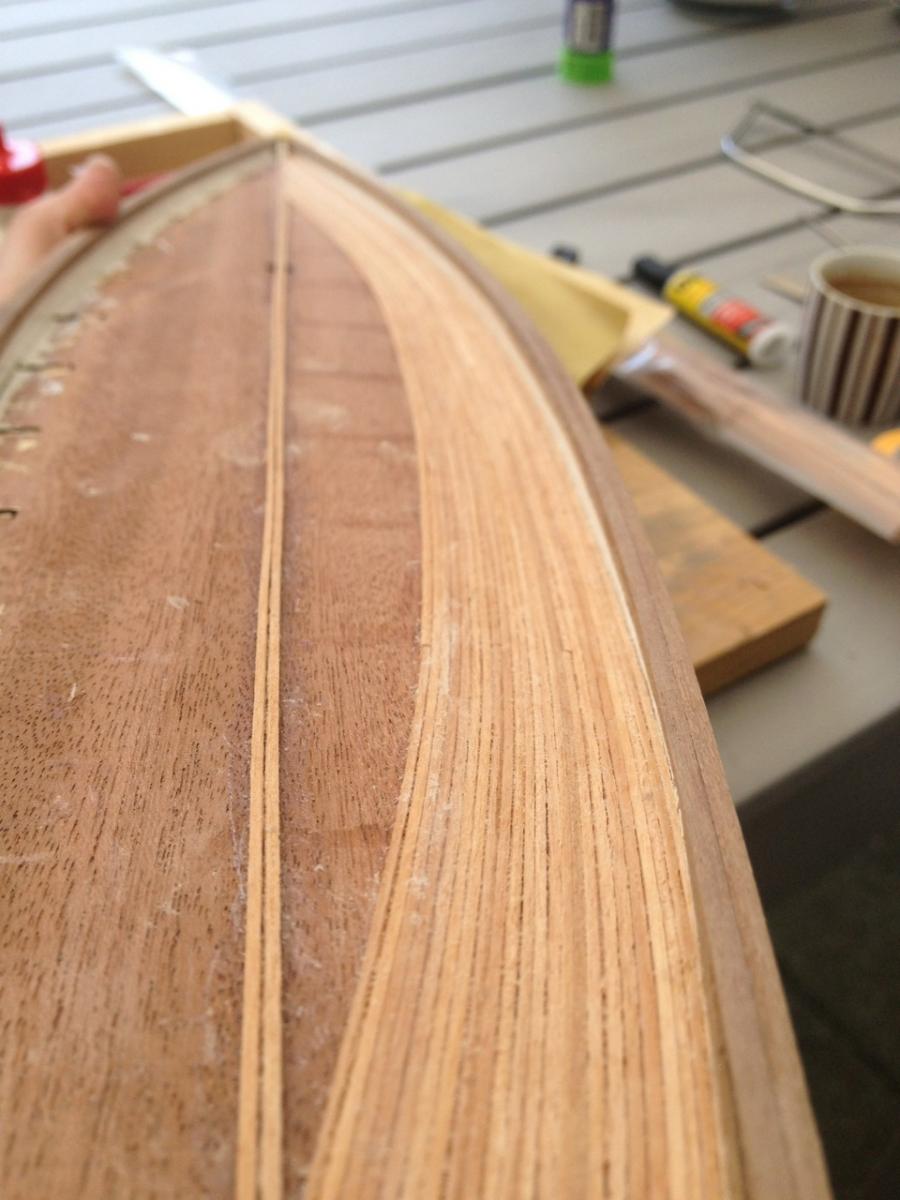
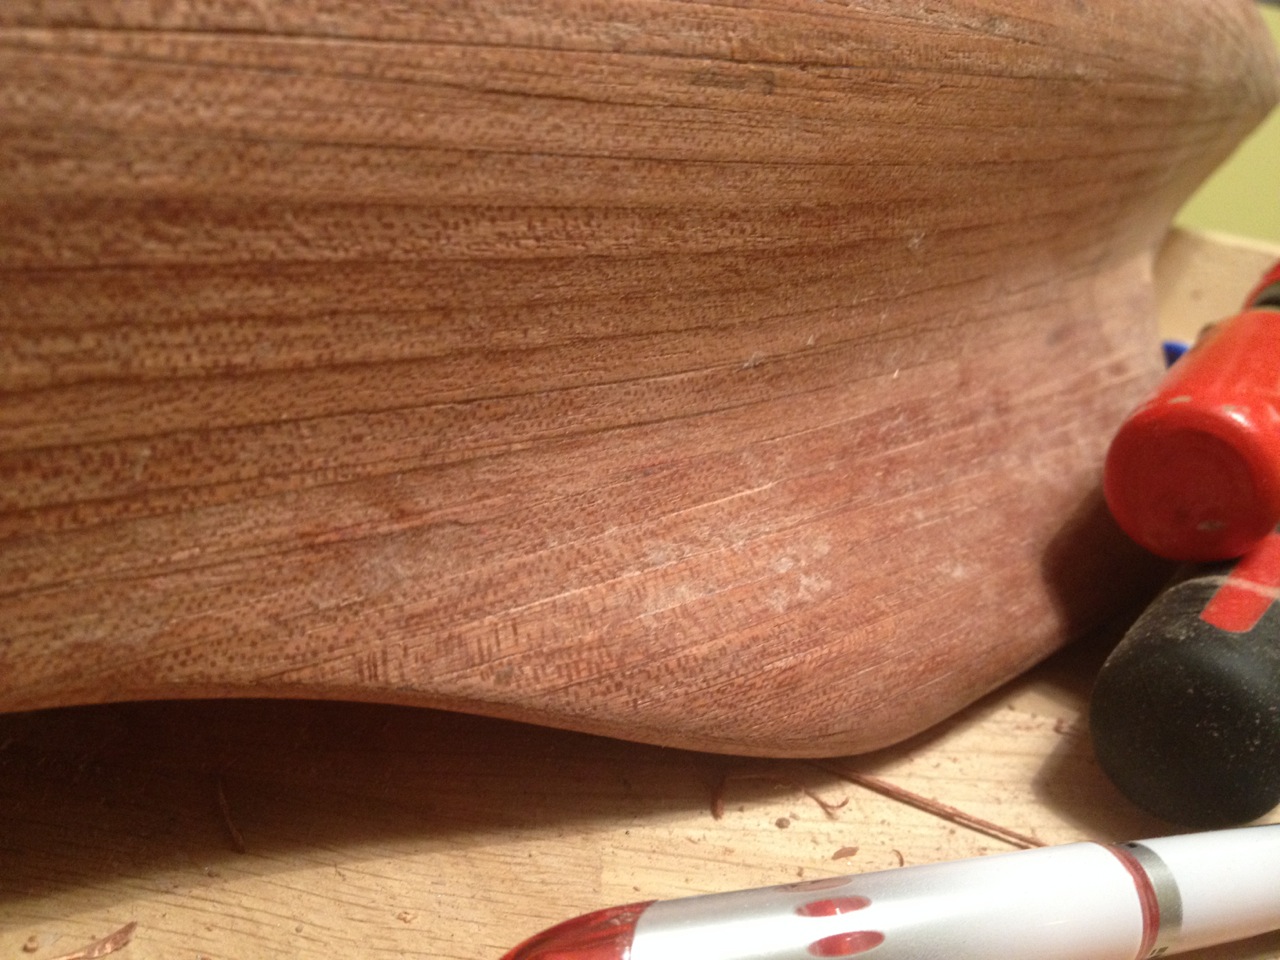
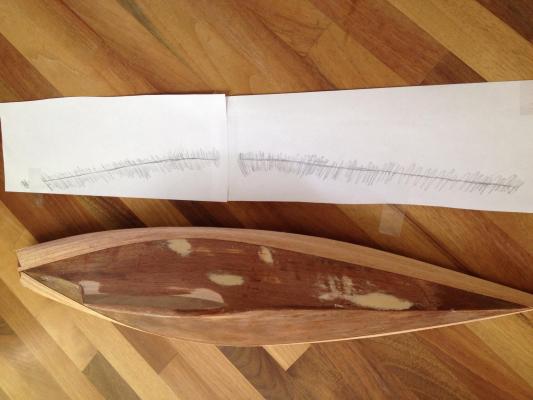
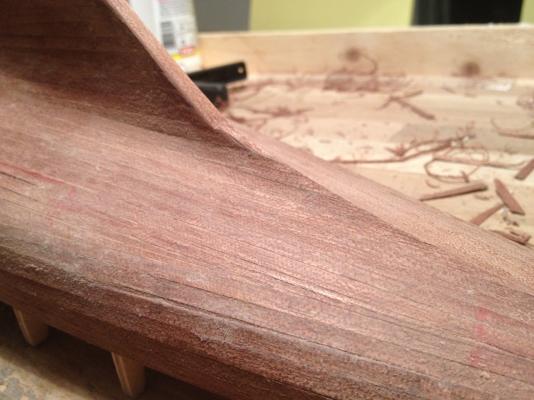
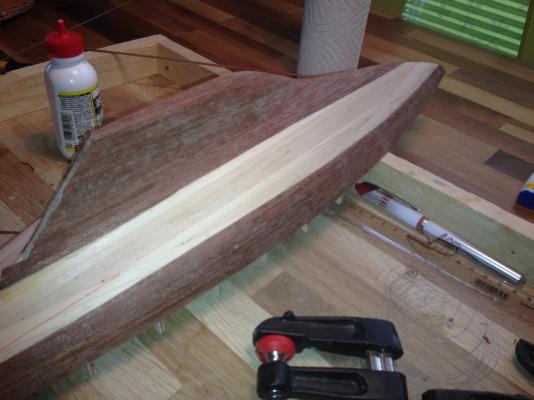
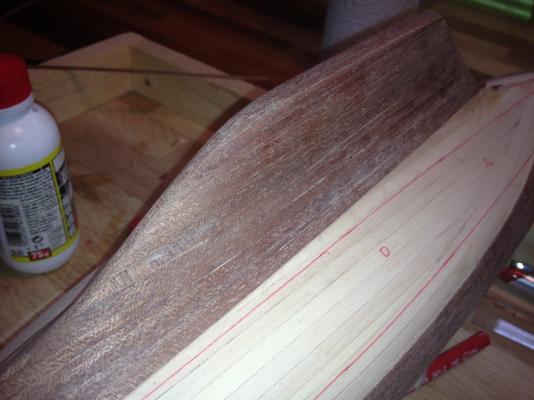
Planking done - at last. Will be interesting to see what she comes out like after sanding.


-
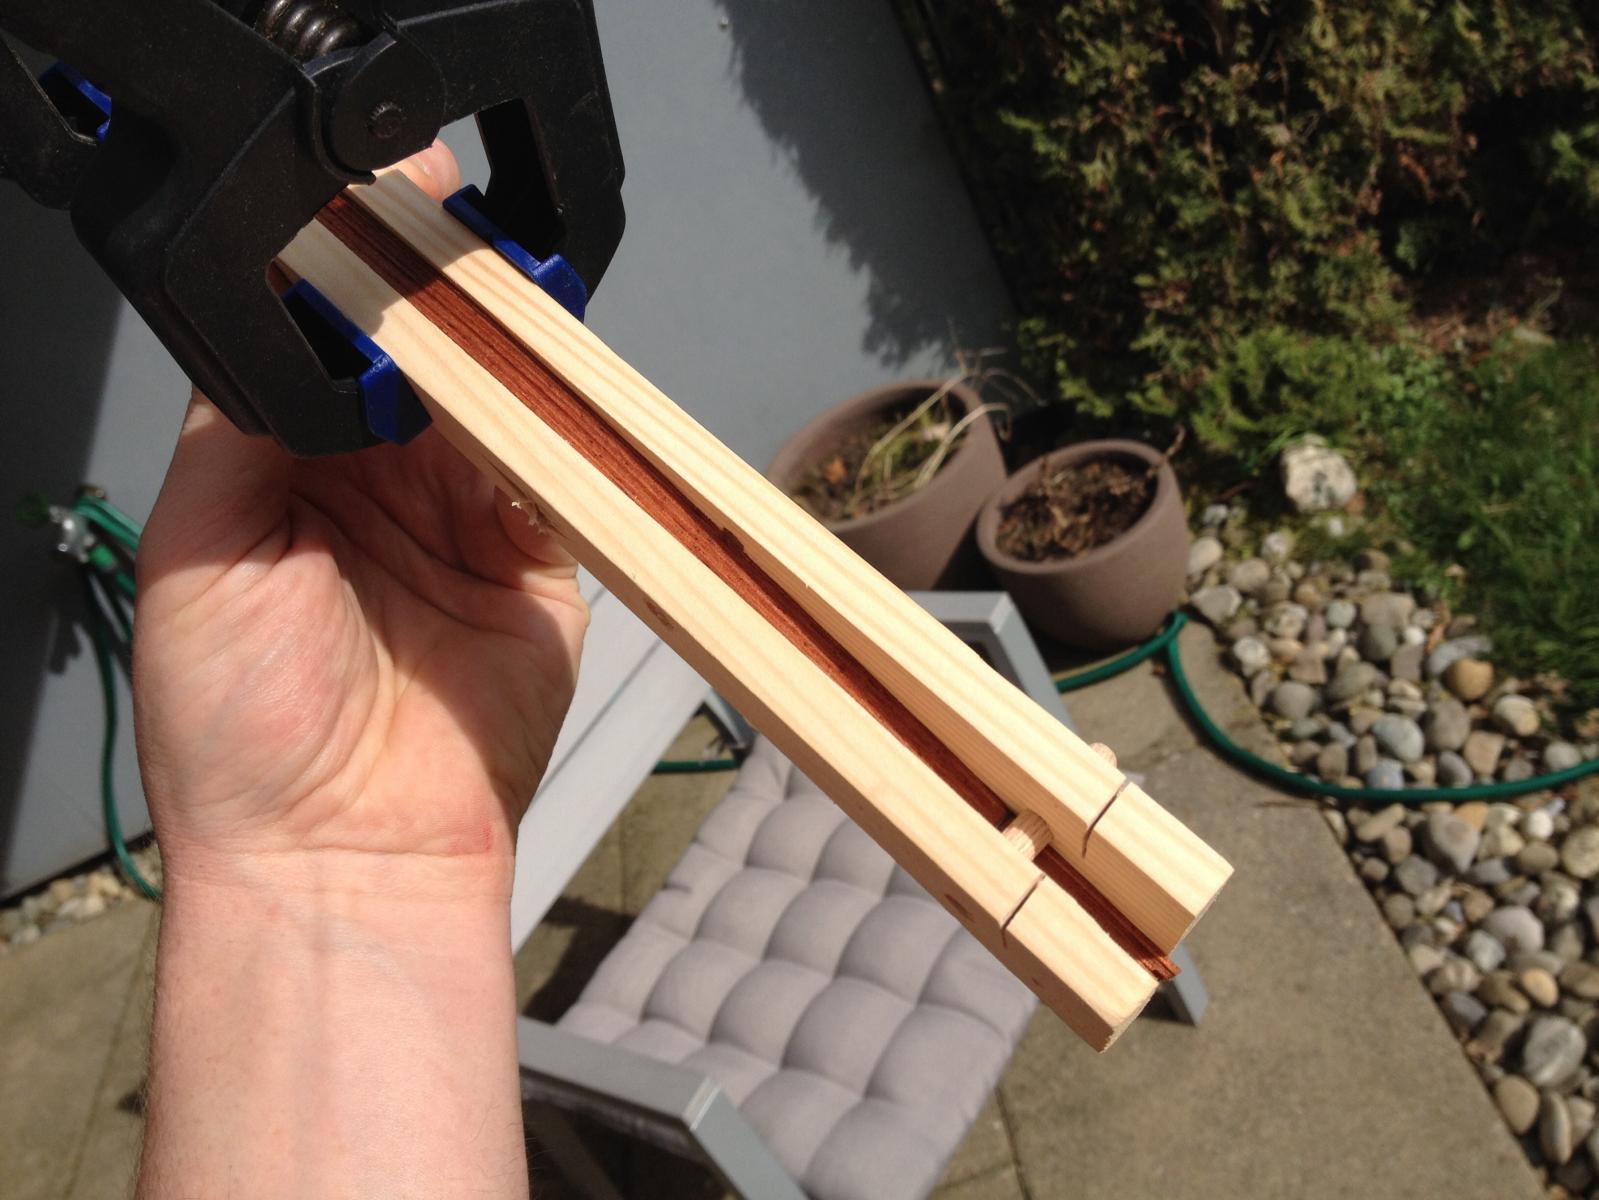
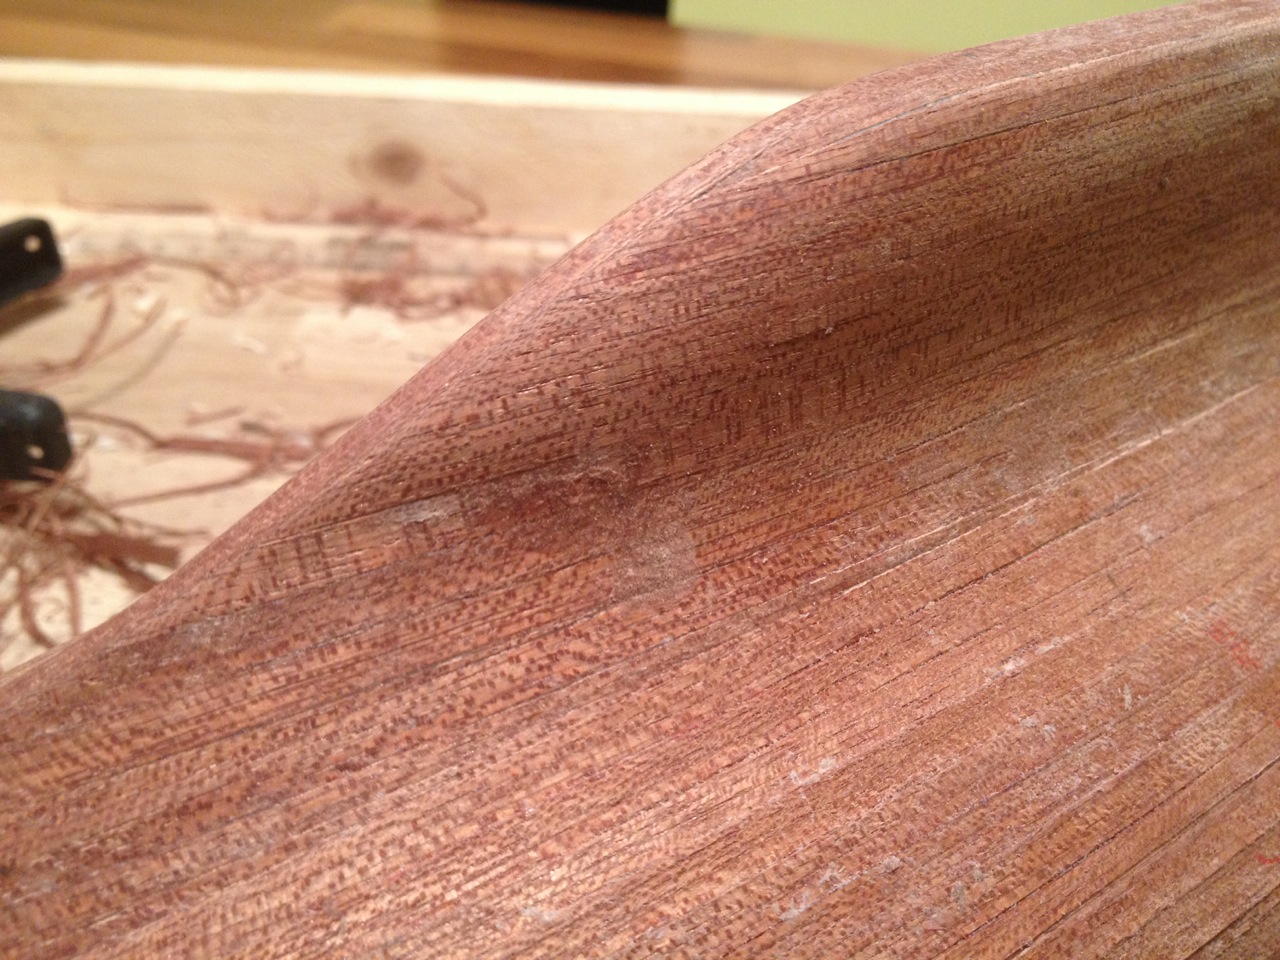
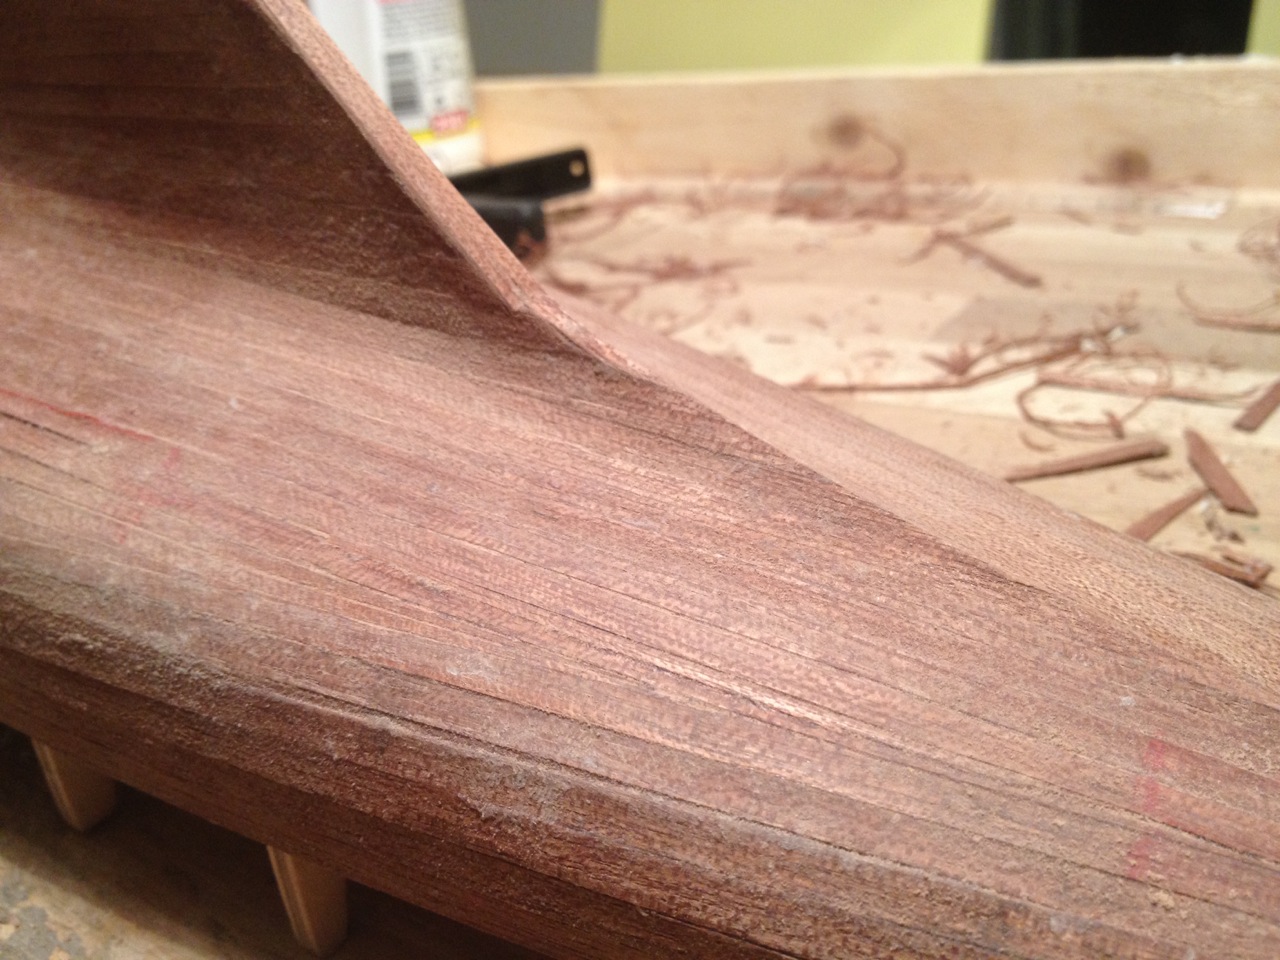
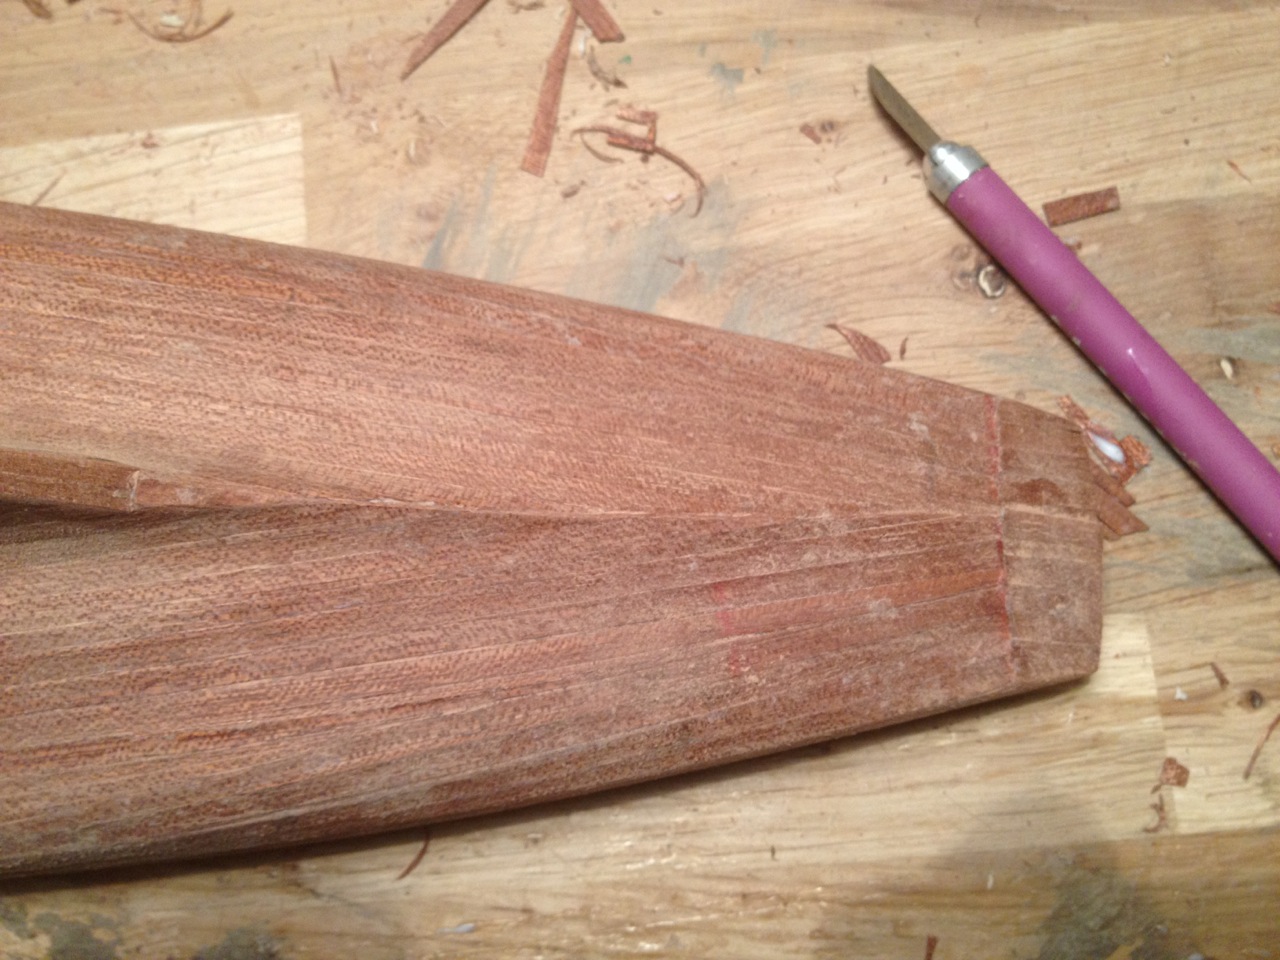
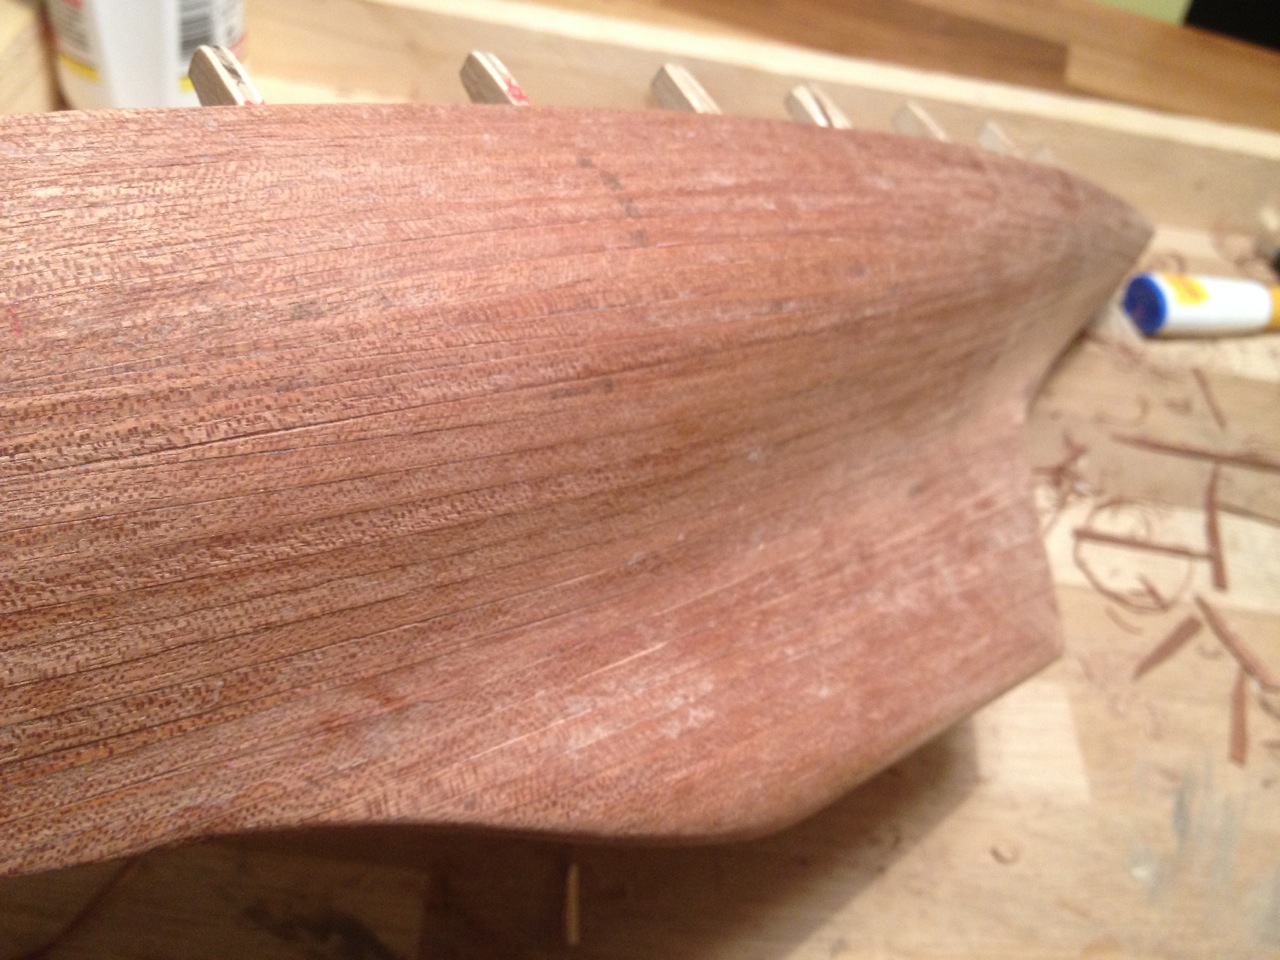
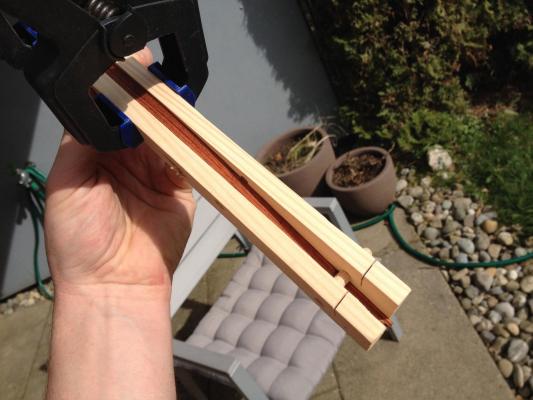
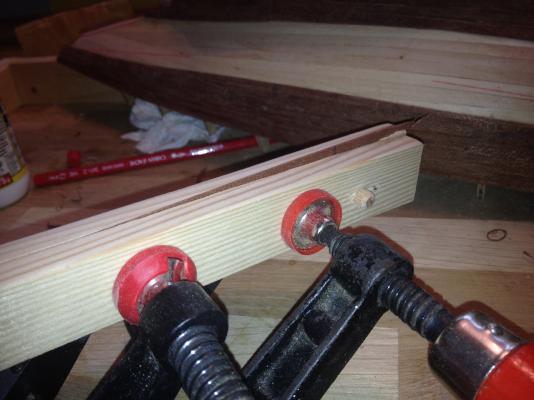
Here's an update on progress. I still haven't figured out exactly how to manage the curvature but am a lot happier with result than in my first build. Especially the keel came out better. The last picture shows how I taper a plank. I squeeze it between two pieces of wood, then it's easy to make a clean cut, especially since I can sand the edge too. Has worked out quite well for me.

-
Hi Henry. When I built it I found the curvature very tricky. I'm now building a similar yacht and still haven't figured how to really do it. Do post a lot of photos so that we can see how you progress. Anyways, what I did on my second build was to temporarily place 4 planks at equal distances without bending them, to get a feeling for what I was aiming for. If you just start at deck-line and work your way down you may run into some extreme (haha) tapering... By the way, when I taper a plank a squeeze it between to wooden blocks, letting the part I want to remove stick up. Then it's easy to cut it and sand it and you get an even cut. I'll post a picture on my Britannia log. Erik
-
Cool Mike! Haven't checked in for quite a while. Tree nails look especially nice. Impressed!
- 137 replies
-
- 1
-
-
- finished
- model shipways
- (and 1 more)